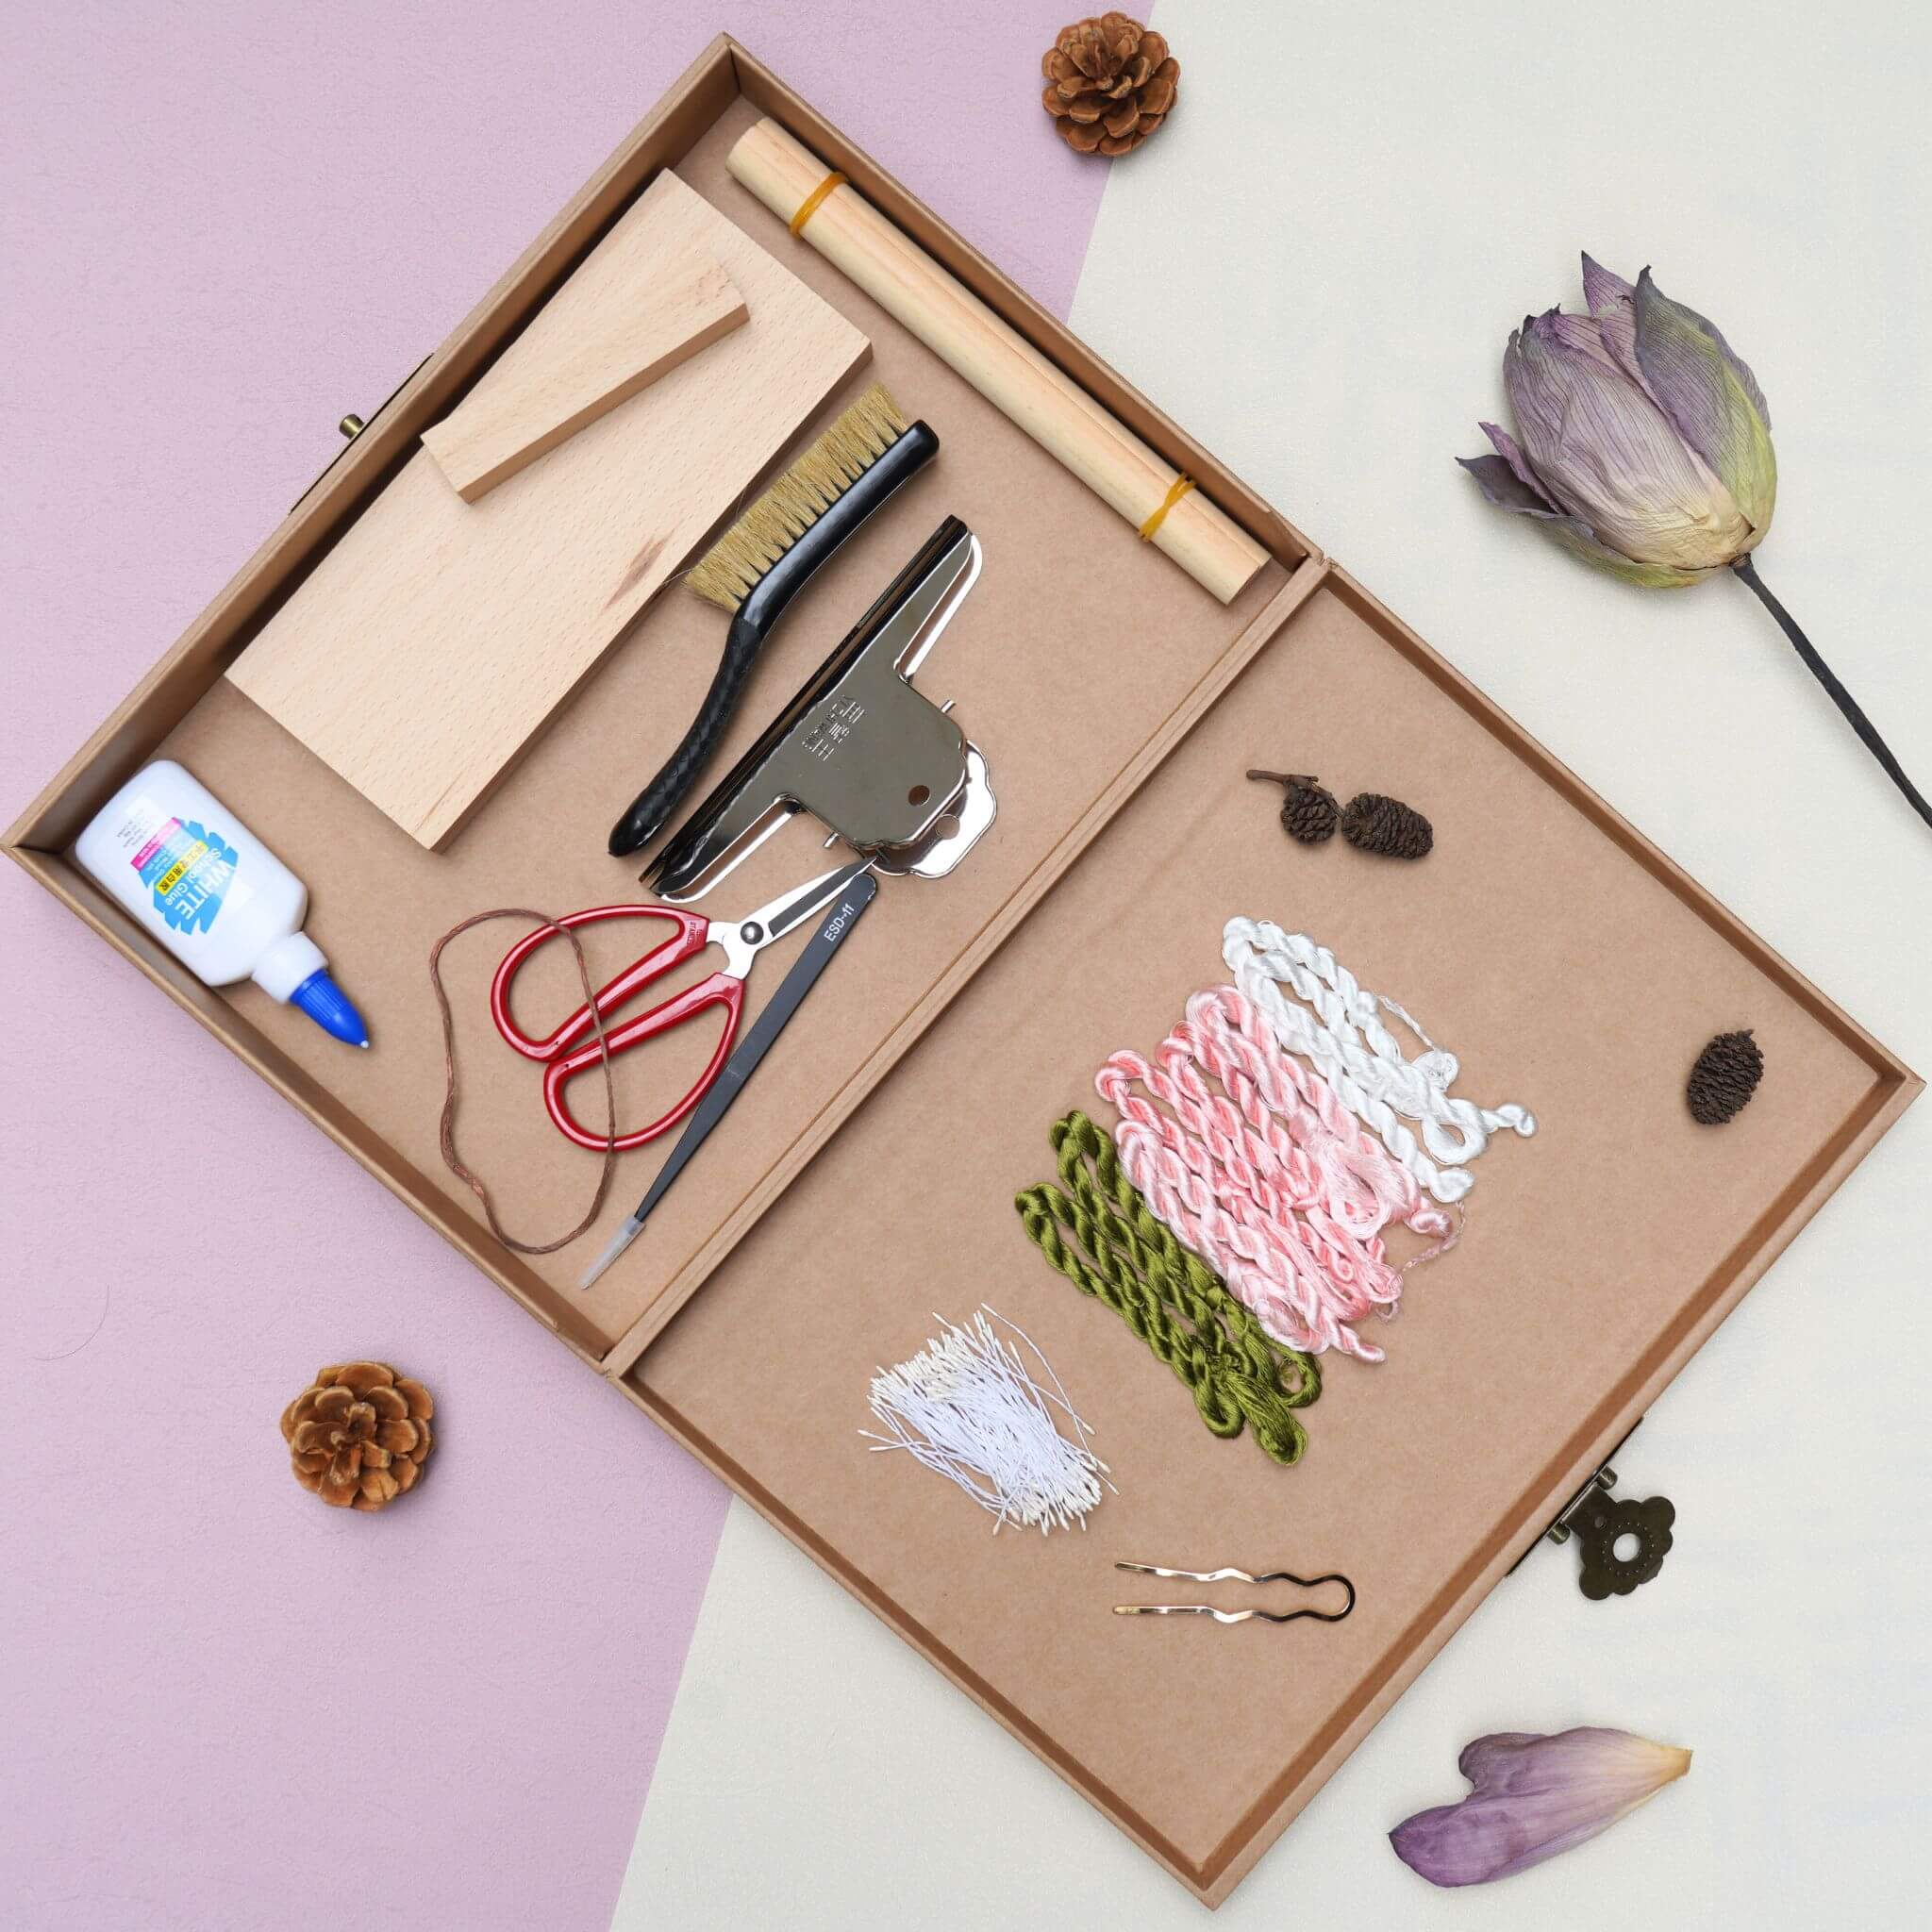
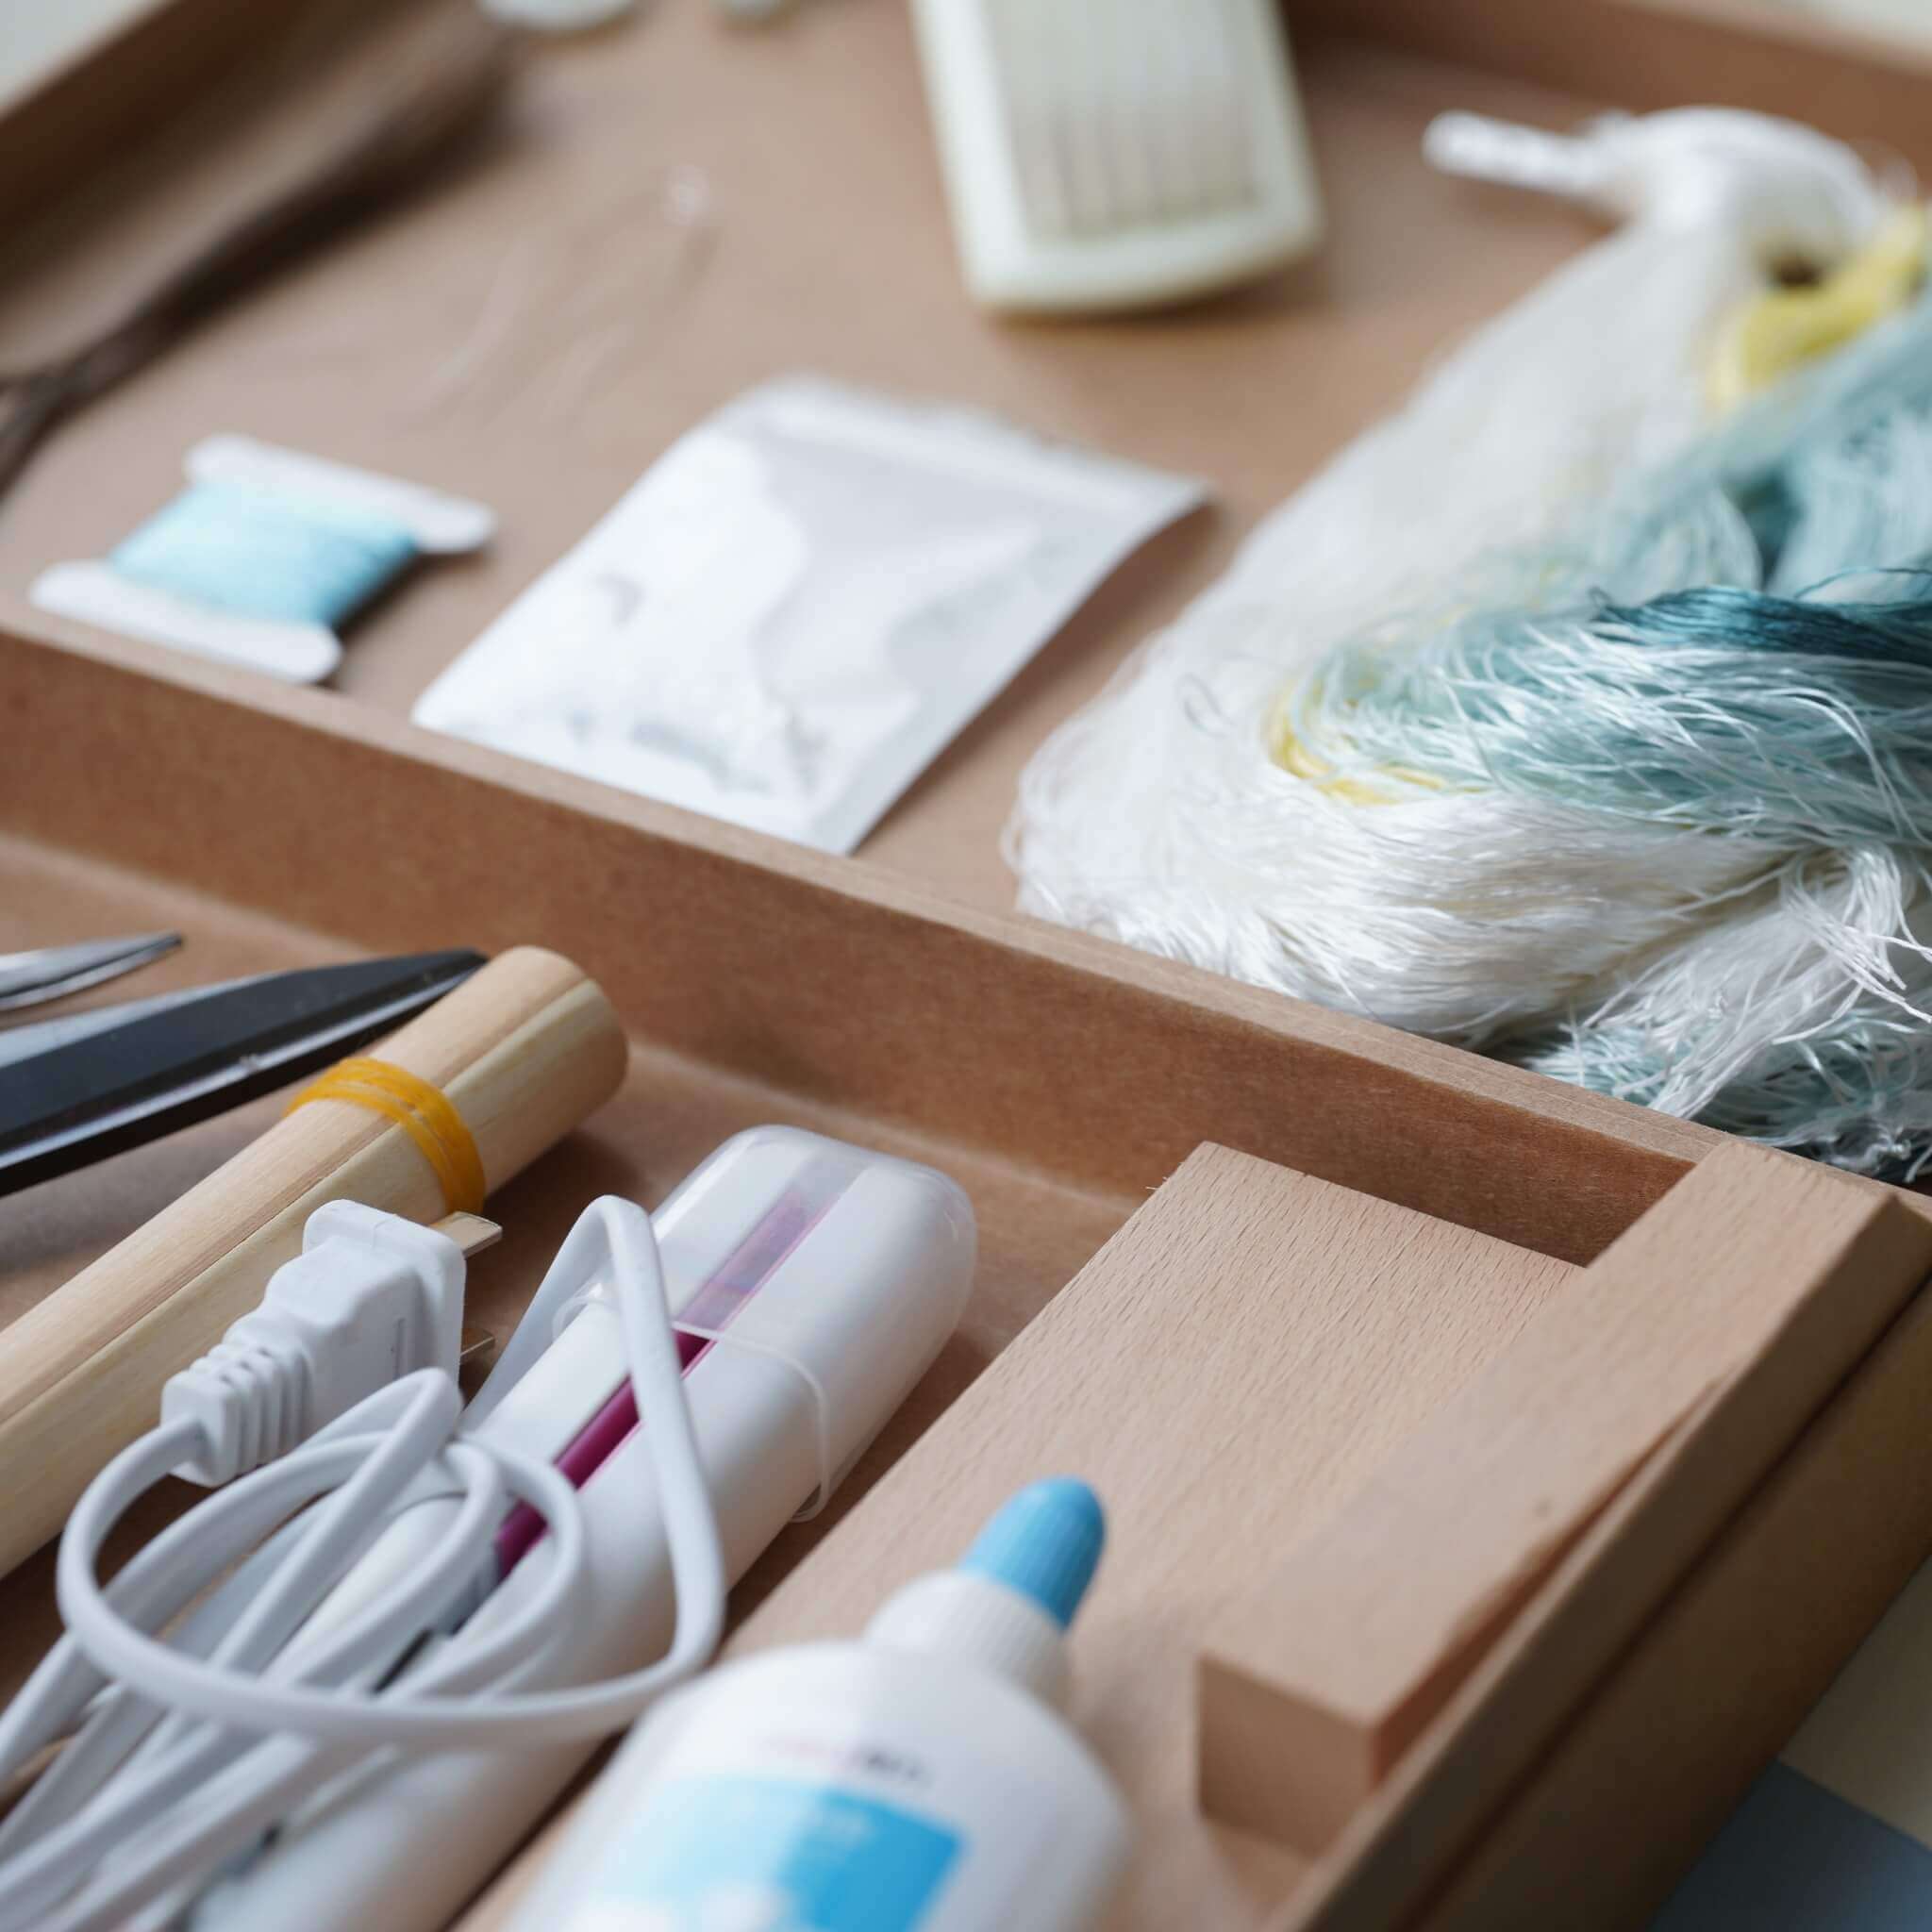
A picture frame, which we’ll also use as the embroidery frame, along with mulberry silk embroidery thread, sewing, beading, and embroidery needles, thumbtacks, ear clips and earring posts, beads, thick cotton thread, highlight thread, aluminum wire, copper wire, pliers, and embroidery scissors.
Take out the embroidery fabric and connecting fabric.
Align one piece of connecting fabric with the embroidery fabric and sew them together using thin cotton thread and a sewing needle. Simple running stitches are sufficient as long as the connection is secure.
Keep the stitches neat, fine, and evenly spaced. At the end, backstitch a few times to prevent loosening. Repeat the same process for the second connecting fabric piece.
Once both sides are attached, iron the fabric flat. Fold and press the seam allowances to strengthen the edges and prevent tearing when the fabric is stretched later.
Fold the excess connecting fabric underneath and wrap it around one long side of the embroidery frame. Pull it smooth and secure both ends with thumbtacks.
Repeat on the opposite side, pulling firmly until the fabric is under tension before securing it.
Continue tightening and adjusting as needed. When viewed from the front, vertical wrinkles are acceptable at this stage, but horizontal wrinkles indicate insufficient tension and should be corrected.
Cut a piece of thick cotton thread approximately 2.5 times the width of the frame.
Using an embroidery needle, sew tension loops along one side of the fabric. Insert the needle from bottom to top, spacing the loops roughly 4 cm apart. Stitch back near the previous entry point to create a loop.
Secure the thread at the end and trim away excess thread. Repeat on the opposite side.
Insert thumbtacks every 4 cm along the frame edge.
Tie a 1-meter length of thick cotton thread to the first thumbtack. Pass it through each tension loop and hook it around the thumbtacks sequentially. Secure the end temporarily and repeat on the opposite side.
Gradually tighten all tension threads until the fabric is stretched evenly and firmly.
Step 2. Transfer the Pattern
Place the pattern template underneath the stretched embroidery fabric. For easier tracing, slide a smooth, hard flat object (such as a small board or book) under the paper template to support your pen pressure.
Trace the design lines step by step onto the silk using a heat-erasable pen. The standard design includes two large flowers, two medium flowers, and one small flower; however, extra silk thread is provided if you wish to trace additional petals to expand your layout.
Step 3. Embroidery Process
3.1 Wire-Outlined Petal Borders
-
Technique: Wire Couching & Wire-Wrapping Stitch
-
Thread Color: 1/2 Strand Blue Silk (#4 - lightest blue)
-
Materials: Fine Copper Wire (~15 cm per petal)
Cut a 15 cm piece of fine copper wire and bend it roughly 3 cm from one end. Anchor 1/2 strand of Blue #4 silk onto the fabric with two tiny stitches. Make a loose stitch, thread the bent copper wire through the loop, and pull tight to anchor the wire anchor point.
Bend the wire along the printed petal outline. Wrap fine, closely spaced embroidery stitches around the copper wire, anchoring it to the silk fabric while ensuring the metal wire is completely covered by thread. Where petal outlines meet, snip the wire cleanly and add extra stitches to secure the cut wire end.
3.2 Blue Petal Shading Base
-
Technique: "Sha" Stitch (纱绣 - Free-form Spaced Stitch)
-
Thread Colors: 1/4 Strand Blue Silk (#2, #3, #4)
Draw radial stitch direction guide lines across the petals with a heat-erasable pen. Split your silk threads twice into 1/4 strands. Using 1/4 strand of Blue #2, work from the outer copper-wire border inward toward the center, leaving intentional open gaps across the fabric.
Repeat the process using 1/4 strand of Blue #3, interweaving stitches between the Blue #2 lines and staggering the stitch end points to avoid rigid horizontal lines. Finish filling the main blue body of the petals with 1/4 strand of Blue #4, working outside-in while keeping some open gaps for secondary accent colors.
3.3 Pink Petal Accent Blending
Fill the open gaps left during the blue shading using 1/4 strand of pink silk thread. Anchor with two tiny stitches, then work from the outer edge inward, keeping stitch angles aligned with the blue threads.
Where pink meets blue, alternate long and short stitches to blend the colors naturally, creating a soft, watercolor-like gradient between the cool blue and warm pink tones.
3.4 Yellow Flower Center Shading
-
Technique: Alternating Long-and-Short Radial Stitch
-
Thread Colors: 1/4 Strand Light Yellow Silk, 1/4 Strand Dark Yellow Silk
Using 1/4 strand of light yellow silk, execute alternating long and short radial stitches around the base of the flower center to add depth.
Follow with 1/4 strand of dark yellow silk, stitching over a tighter radius closer to the core to create a subtle, multi-toned shadow effect around the petal roots.
3.5 Inner Center Petals
To embroider the small accent petals in the center of the large bloom, use Blue #1 silk thread. Work from the outer border toward the center, laying neat, dense stitches that contrast sharply with the airy "Sha" stitch of the outer petals.
Tip: 1/4 strand gives a flat, delicate look, while 1/2 strand provides a rich, dimensional relief.
3.6 Freestanding Small Wire-Petal Flowers
-
Technique: Stumpwork Wire Shaping & Beading Anchor
-
Thread Color: 1/2 Strand Blue Silk (#1)
-
Materials: Fine Copper Wire, 4 mm Pearl / Colored Beads, 2 mm Beads
Draw small flower templates on the silk. Bend a 15 cm copper wire into continuous petal loops. Couch and wrap the wire loops with 1/2 strand of Blue #1 silk until the wire is completely concealed.
Pass excess wire tails to the back of the fabric. In the center of each small wire flower, stitch a 4 mm pearl or colored bead (or a 2 mm bead for the smallest bloom), passing the thread through the bead hole multiple times and wrapping thread beneath the bead to hold it upright.
Step 4. Remove from the Frame & Cut Out Embroidered Pieces
Unmount the fabric from the frame once stitching is finished. Lightly mist the back of the embroidered sections with hairspray to lock the raw fabric edges, taking care not to overspray the front face.
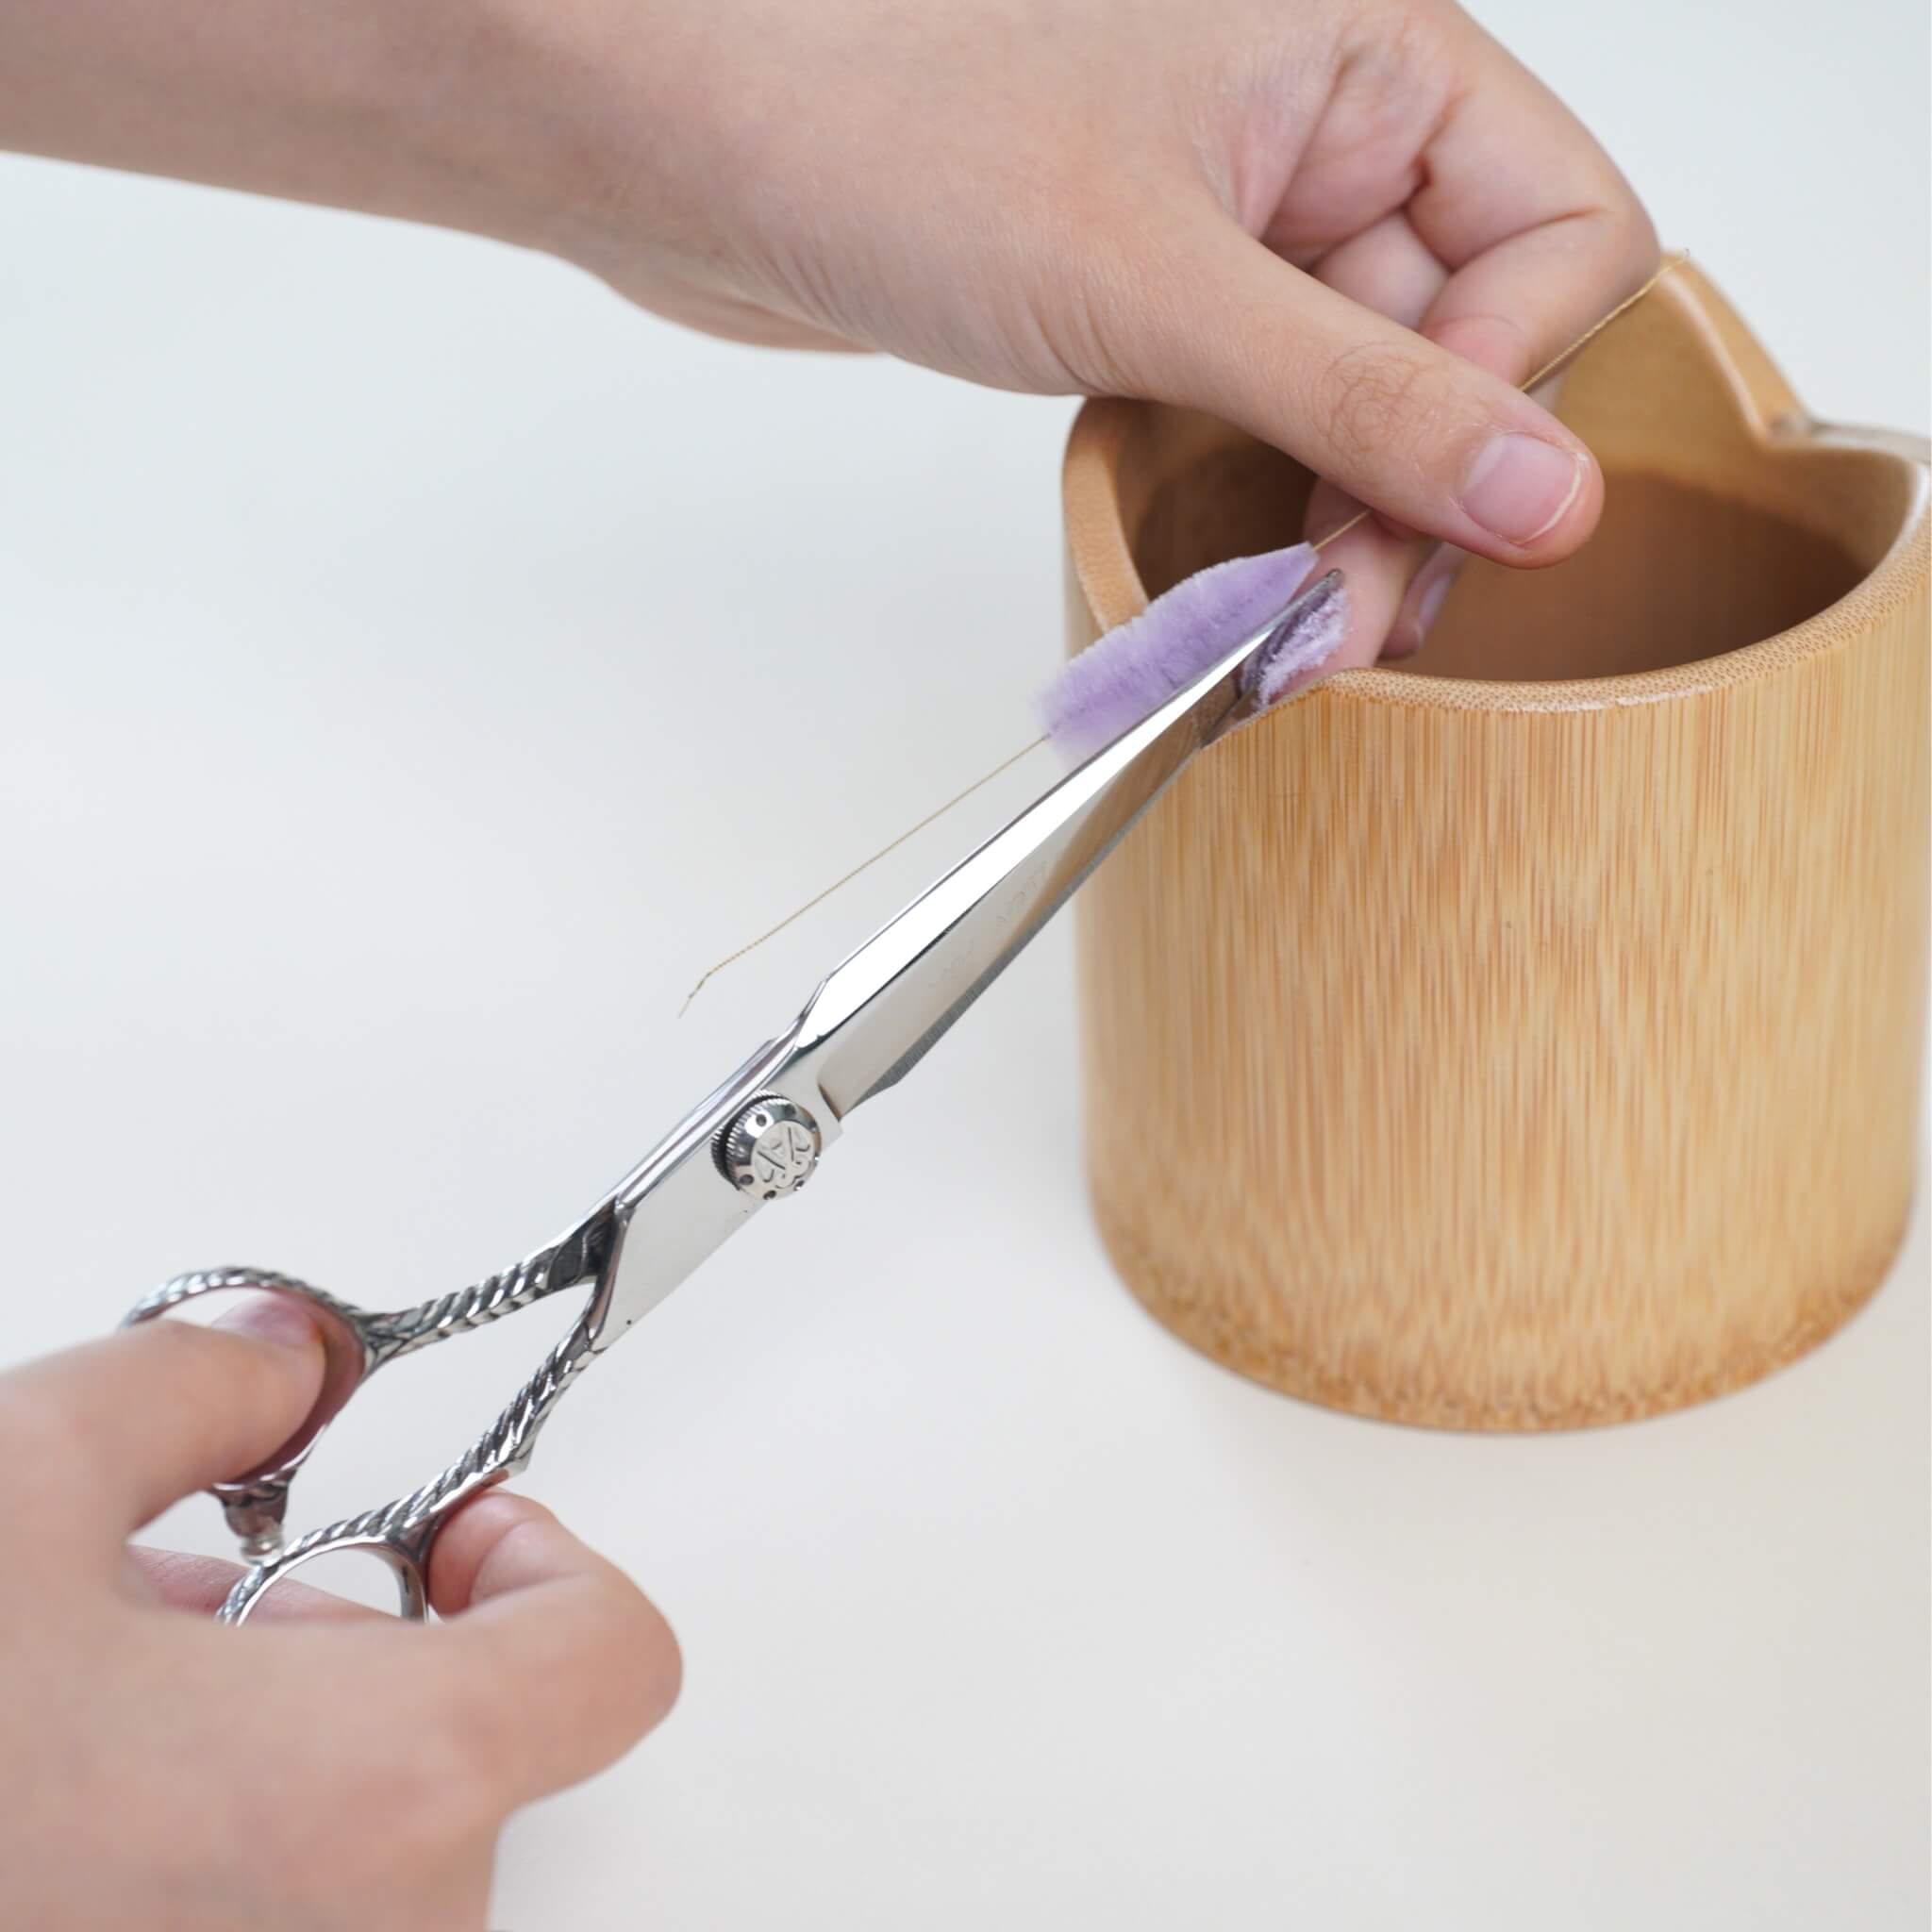
Using fine embroidery scissors, trim carefully around the outer wire edge of each individual flower, removing all excess silk fabric without severing the structural embroidery threads or copper wires.
Step 5. Component Assembly & Ear Cuff Construction
5.1 Assemble Flower Heads & Beaded Wire Stems
Layer small wire-petal flowers over the center of the large embroidered flowers. Pierce a small pass-through hole with a beading needle, insert a folded 7.5 cm piece of copper wire through the assembly, and twist the wires together on the back to lock the multi-tiered bloom into one component.
Twist folded 30 cm copper wires around 6 mm pearls to create decorative pearl picks. String combinations of 2 mm colored beads, 4 mm pearls, and 4 mm colored beads onto 14 cm copper wires to form flexible, beaded botanical branches.
5.2 Build the Ear-Cuff Beaded Branch
Gently curve a beaded wire branch into an arc matching the shape of the outer ear. Attach embroidered flower components along the branch by feeding their back copper wires behind 2–3 beads, pulling taut with pliers, wrapping excess wire tightly around the main beaded branch, and trimming clean.
5.3 Wrap and Mount the Main Aluminum Ear Frame
Cut an 11 cm piece of heavy aluminum wire and curve a 2 mm loop at one end using pliers. Insert the wire end into a 6 mm pearl, trapping the end of your wrapping silk thread inside the pearl hole.
Wrap the thread tightly and evenly along the aluminum wire stem. At 1 cm from the top pearl, position the beaded ear-cuff component against the aluminum core, binding them securely together with dense, overlapping thread wraps. Continue wrapping thread down the full length of the stem, securing the lower end of the ear-cuff branch 1 cm from the bottom. Seal the thread end inside a terminal 6 mm pearl with a drop of glue or hairspray, then shape the finished cuff to fit your ear contour.
5.4 Assemble Drop Earring Pendants
To construct matching dangle earrings, use 8 cm copper wire lengths to connect small embroidered flower components, 4 mm pearls, and 2 mm beads into a 3 cm layered drop chain using loop-and-wrap wire techniques.
Connect this drop chain to a 10 cm copper wire foundation strung with 4 cm of custom-arranged colored beads. Finish the top of the wire with a wrapped loop, attaching either a silver earring post or an ear clip according to your wearing preference.
Finished Piece
Your Freestyle "Sha" Stitch Silk Peony Ear Cuff & Earring set is now complete!
Featuring light-reflecting, wire-sculpted silk petals paired with wrapped pearl branches, this versatile handcrafted set can be worn as a striking single ear cuff or as a coordinated jewelry suite, bringing classical silk artistry into modern fashion.





Deja un comentario
Todos los comentarios son moderados antes de ser publicados.
Este sitio está protegido por hCaptcha y se aplican la Política de privacidad de hCaptcha y los Términos del servicio.