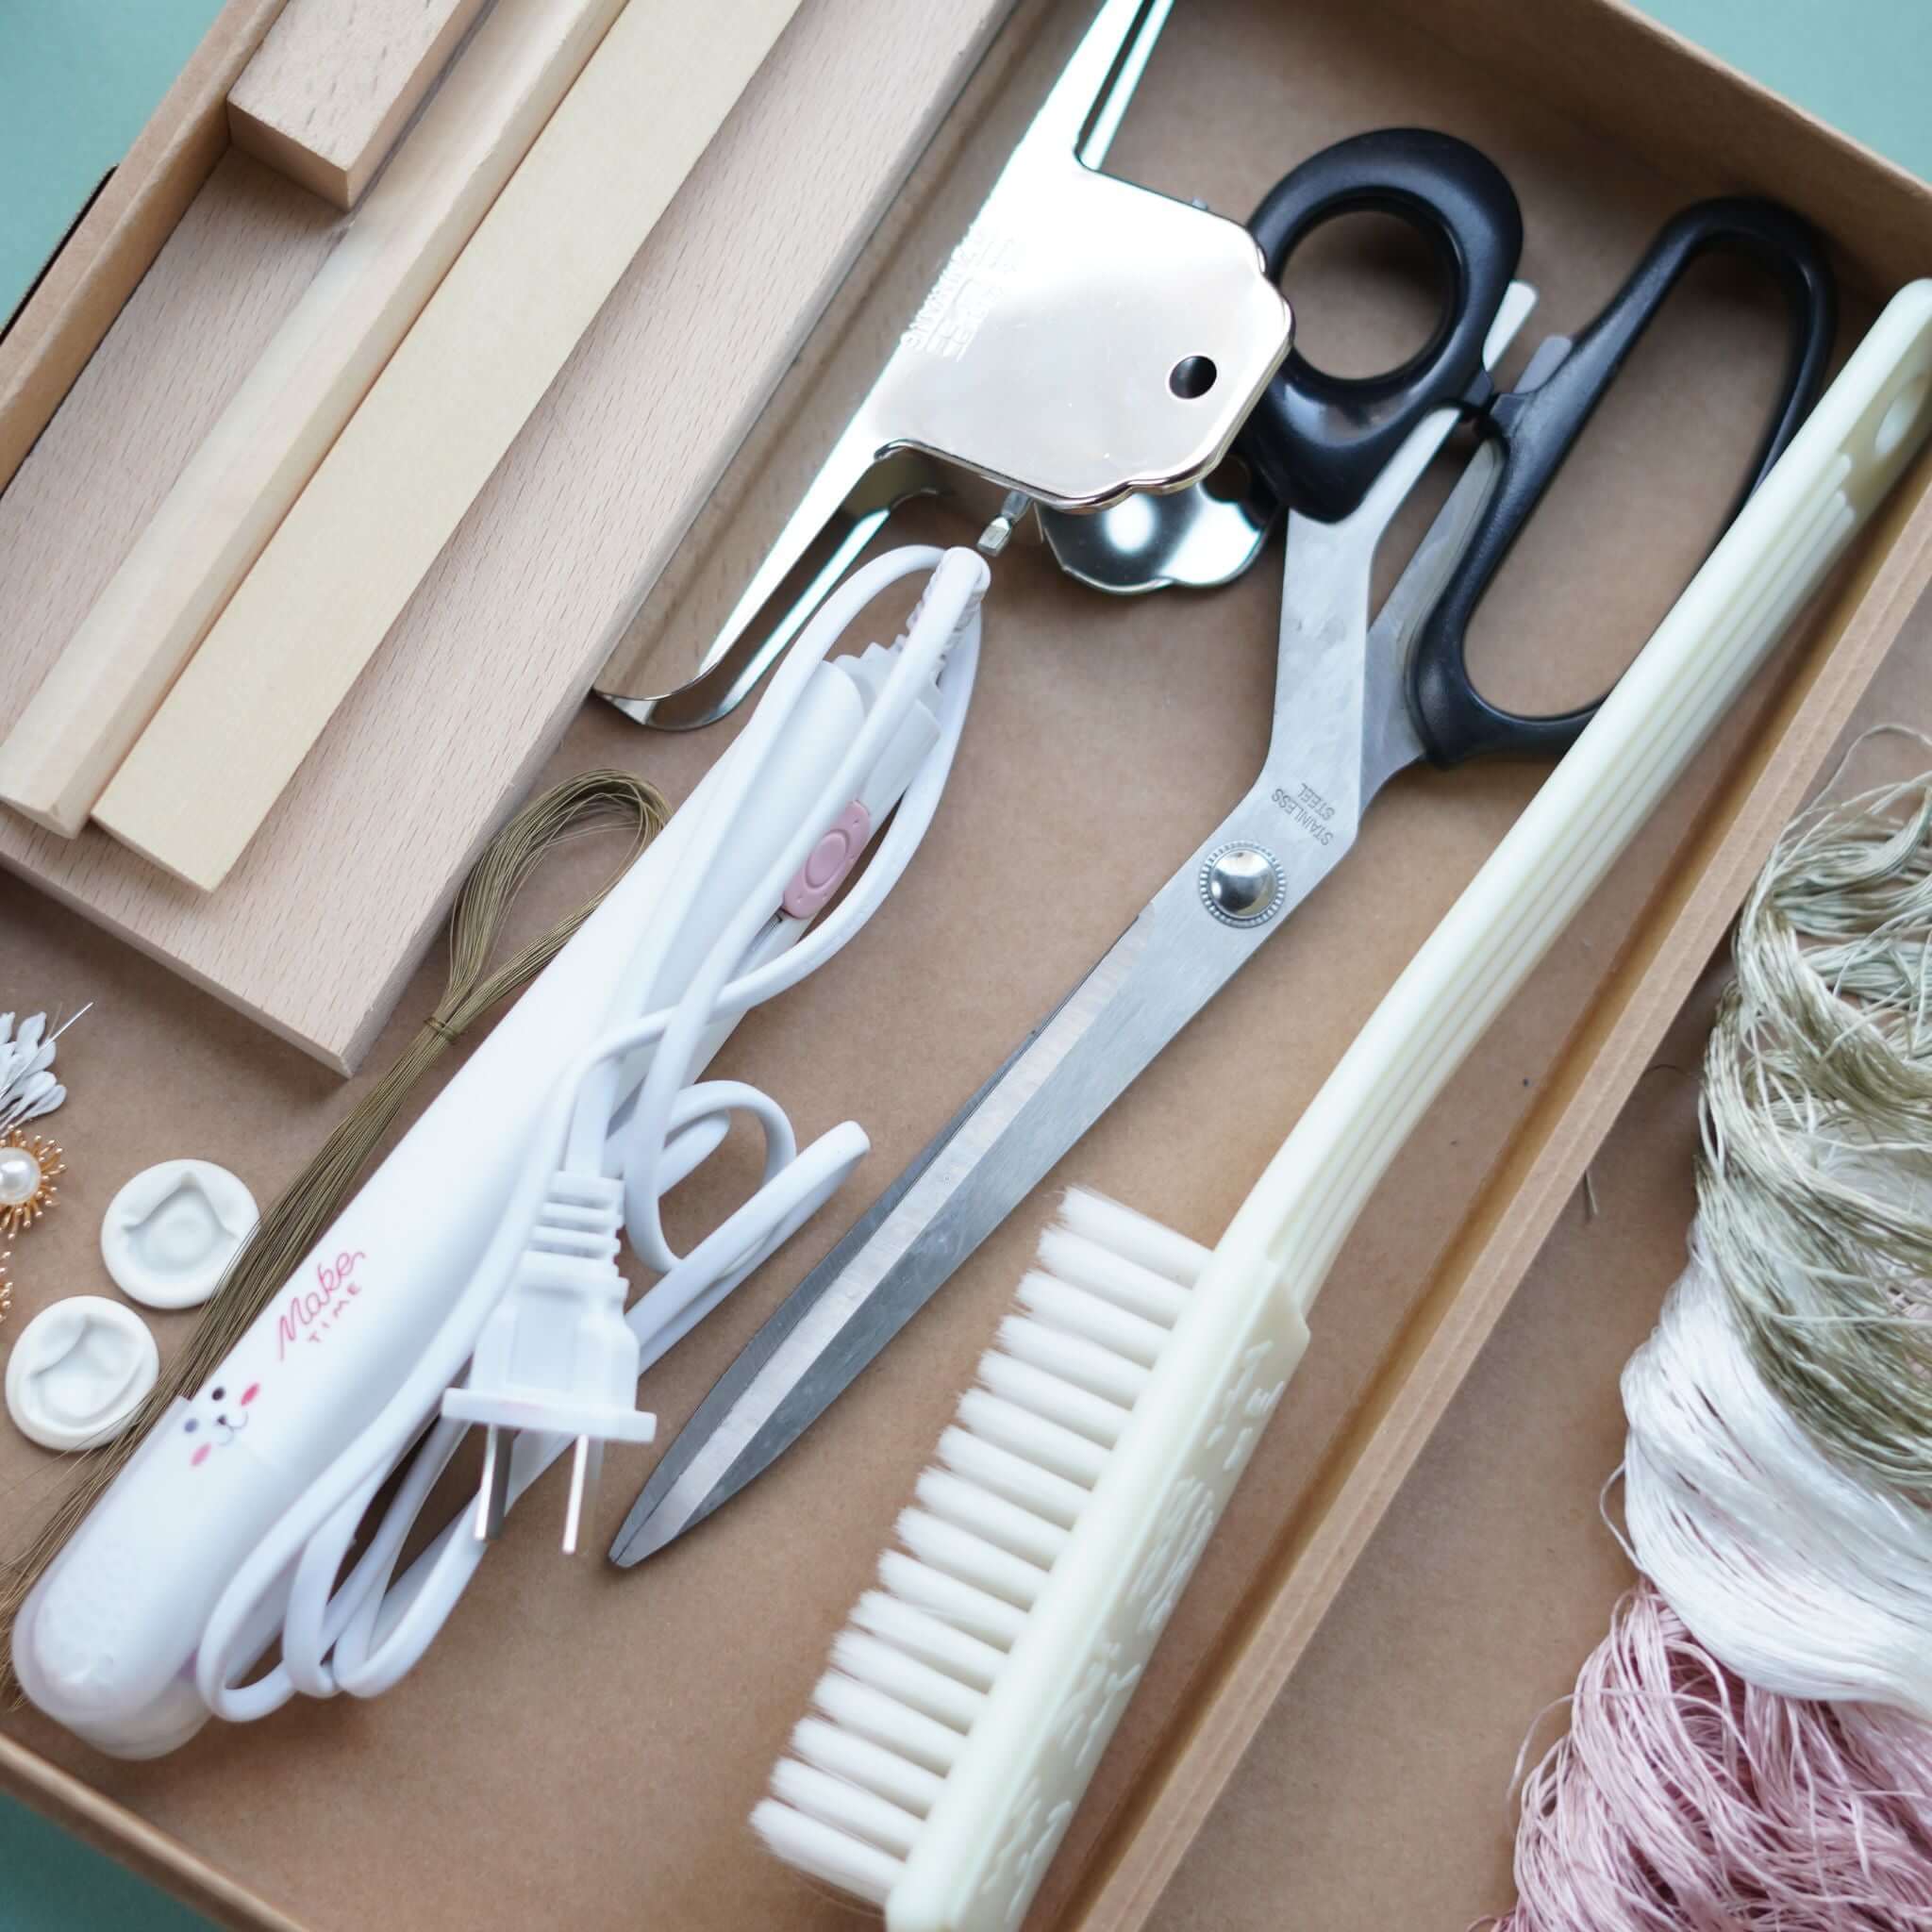
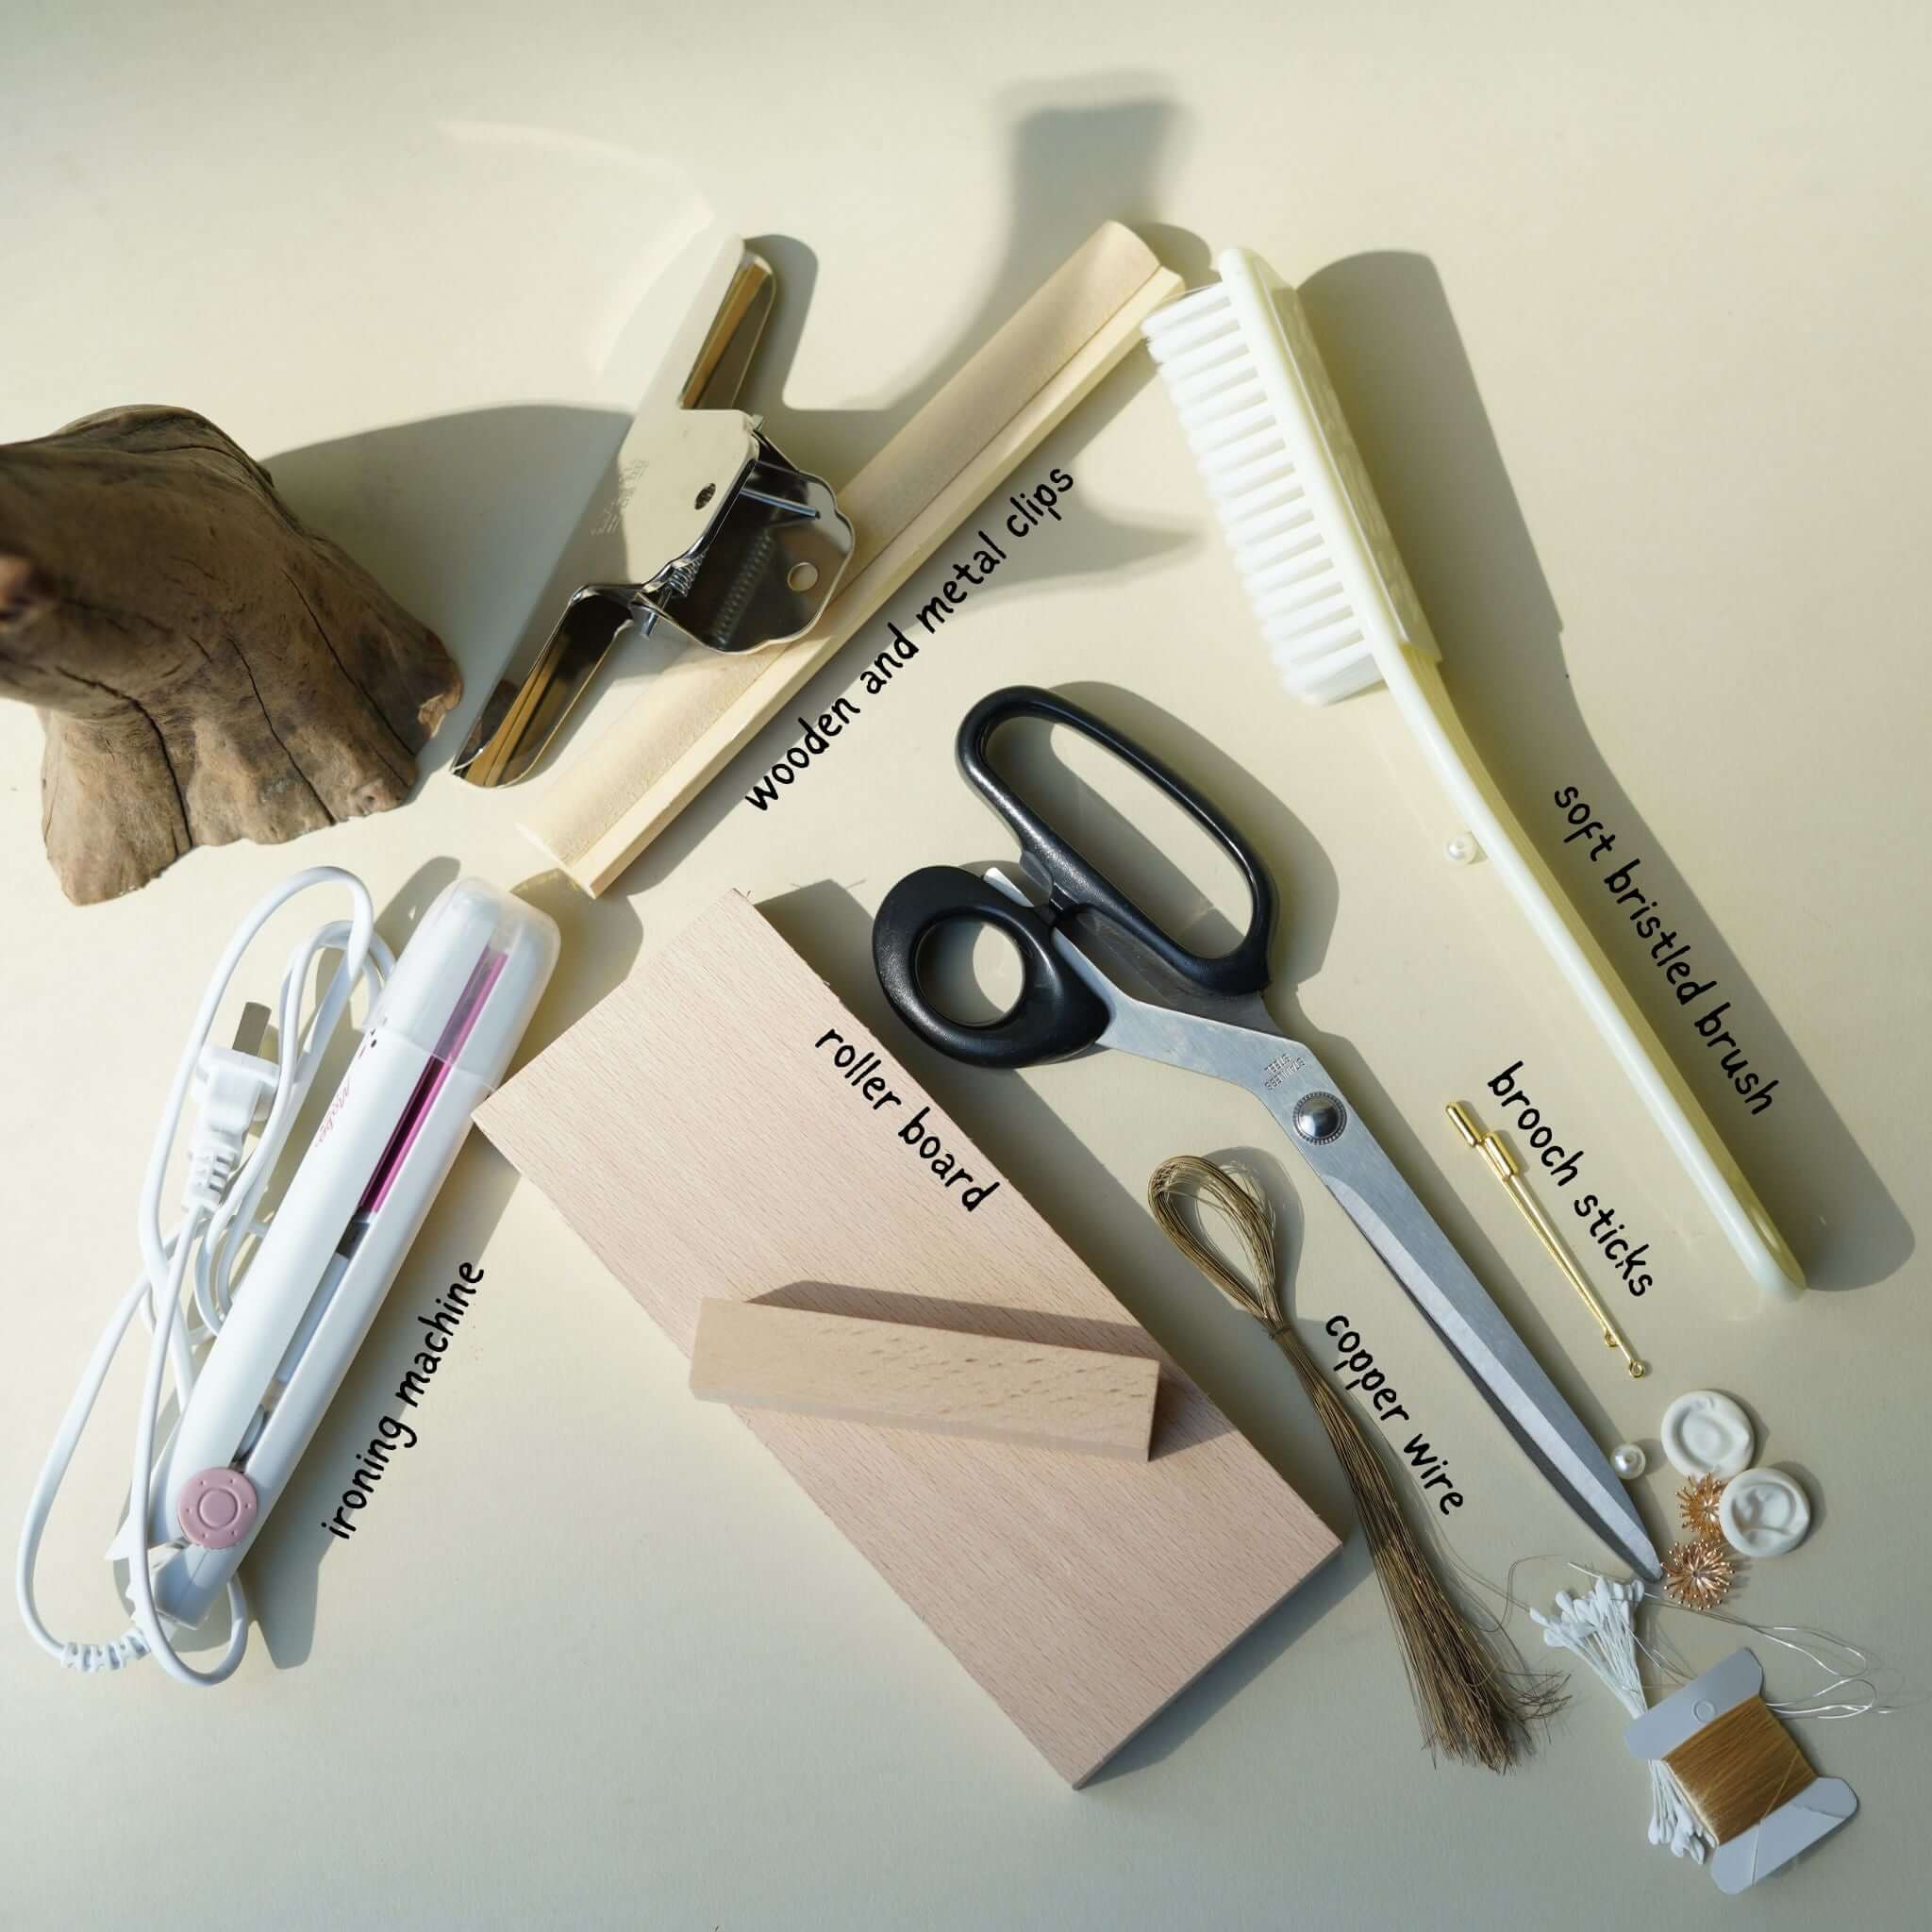
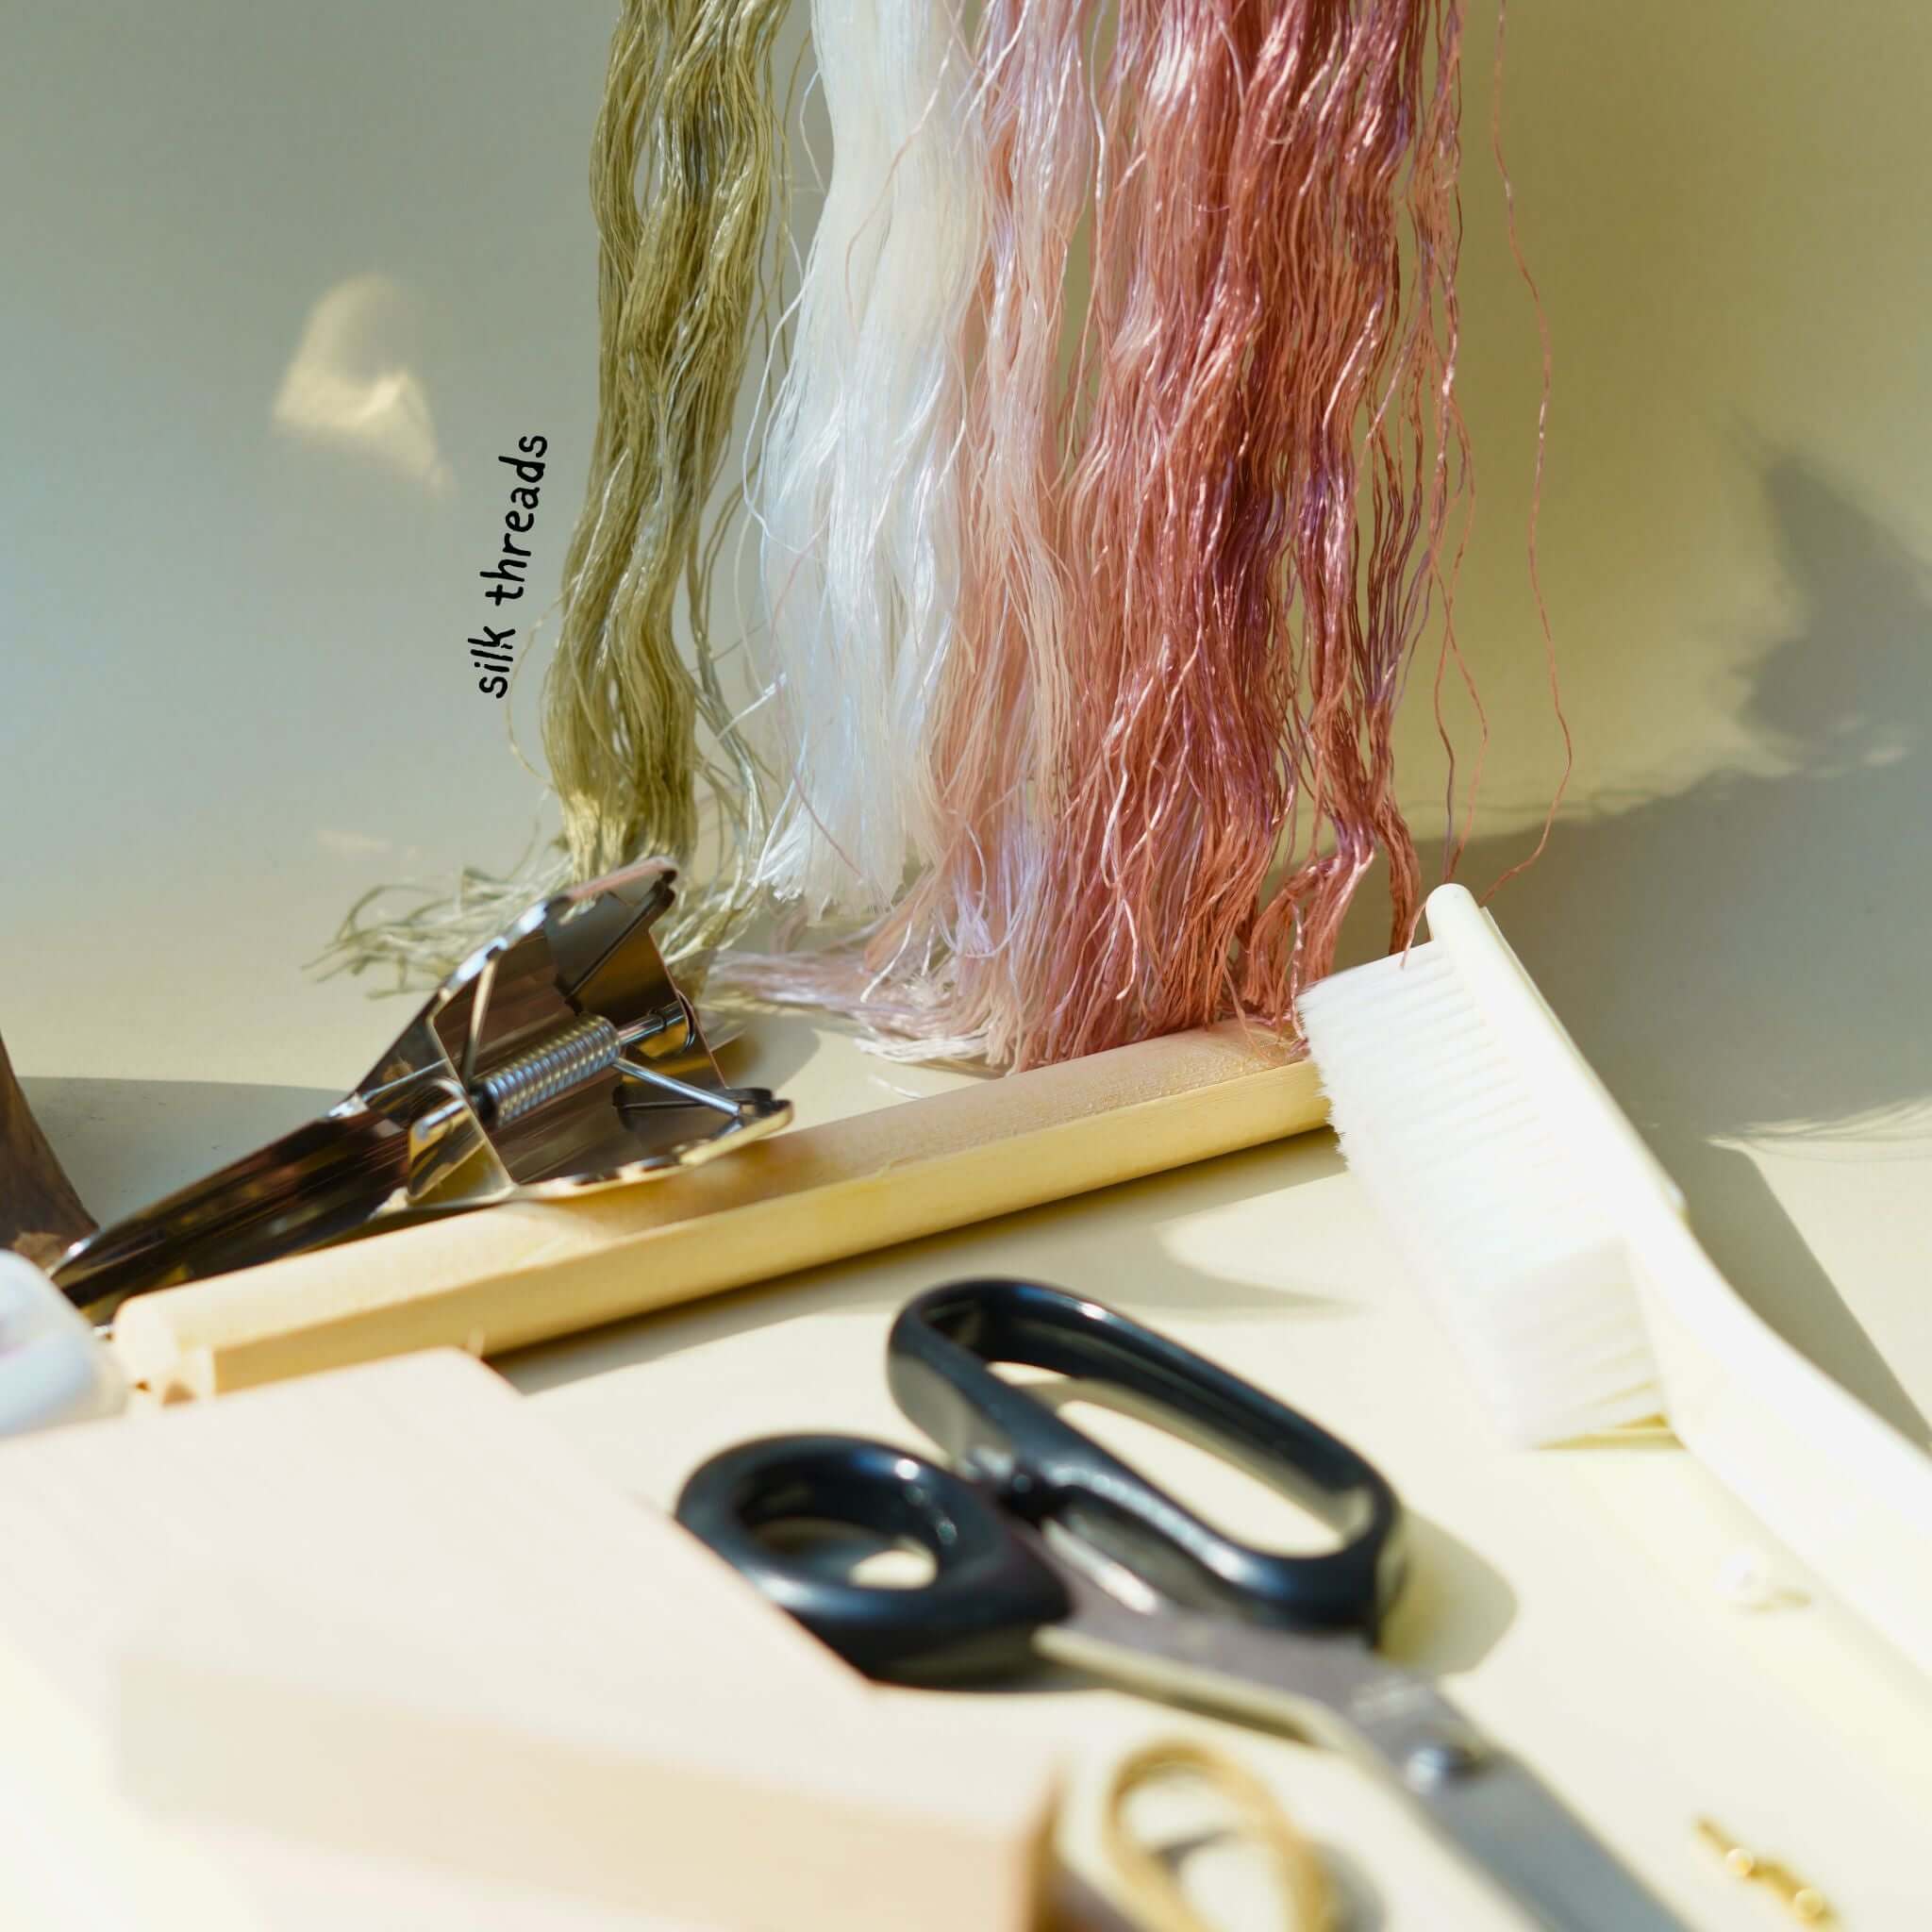
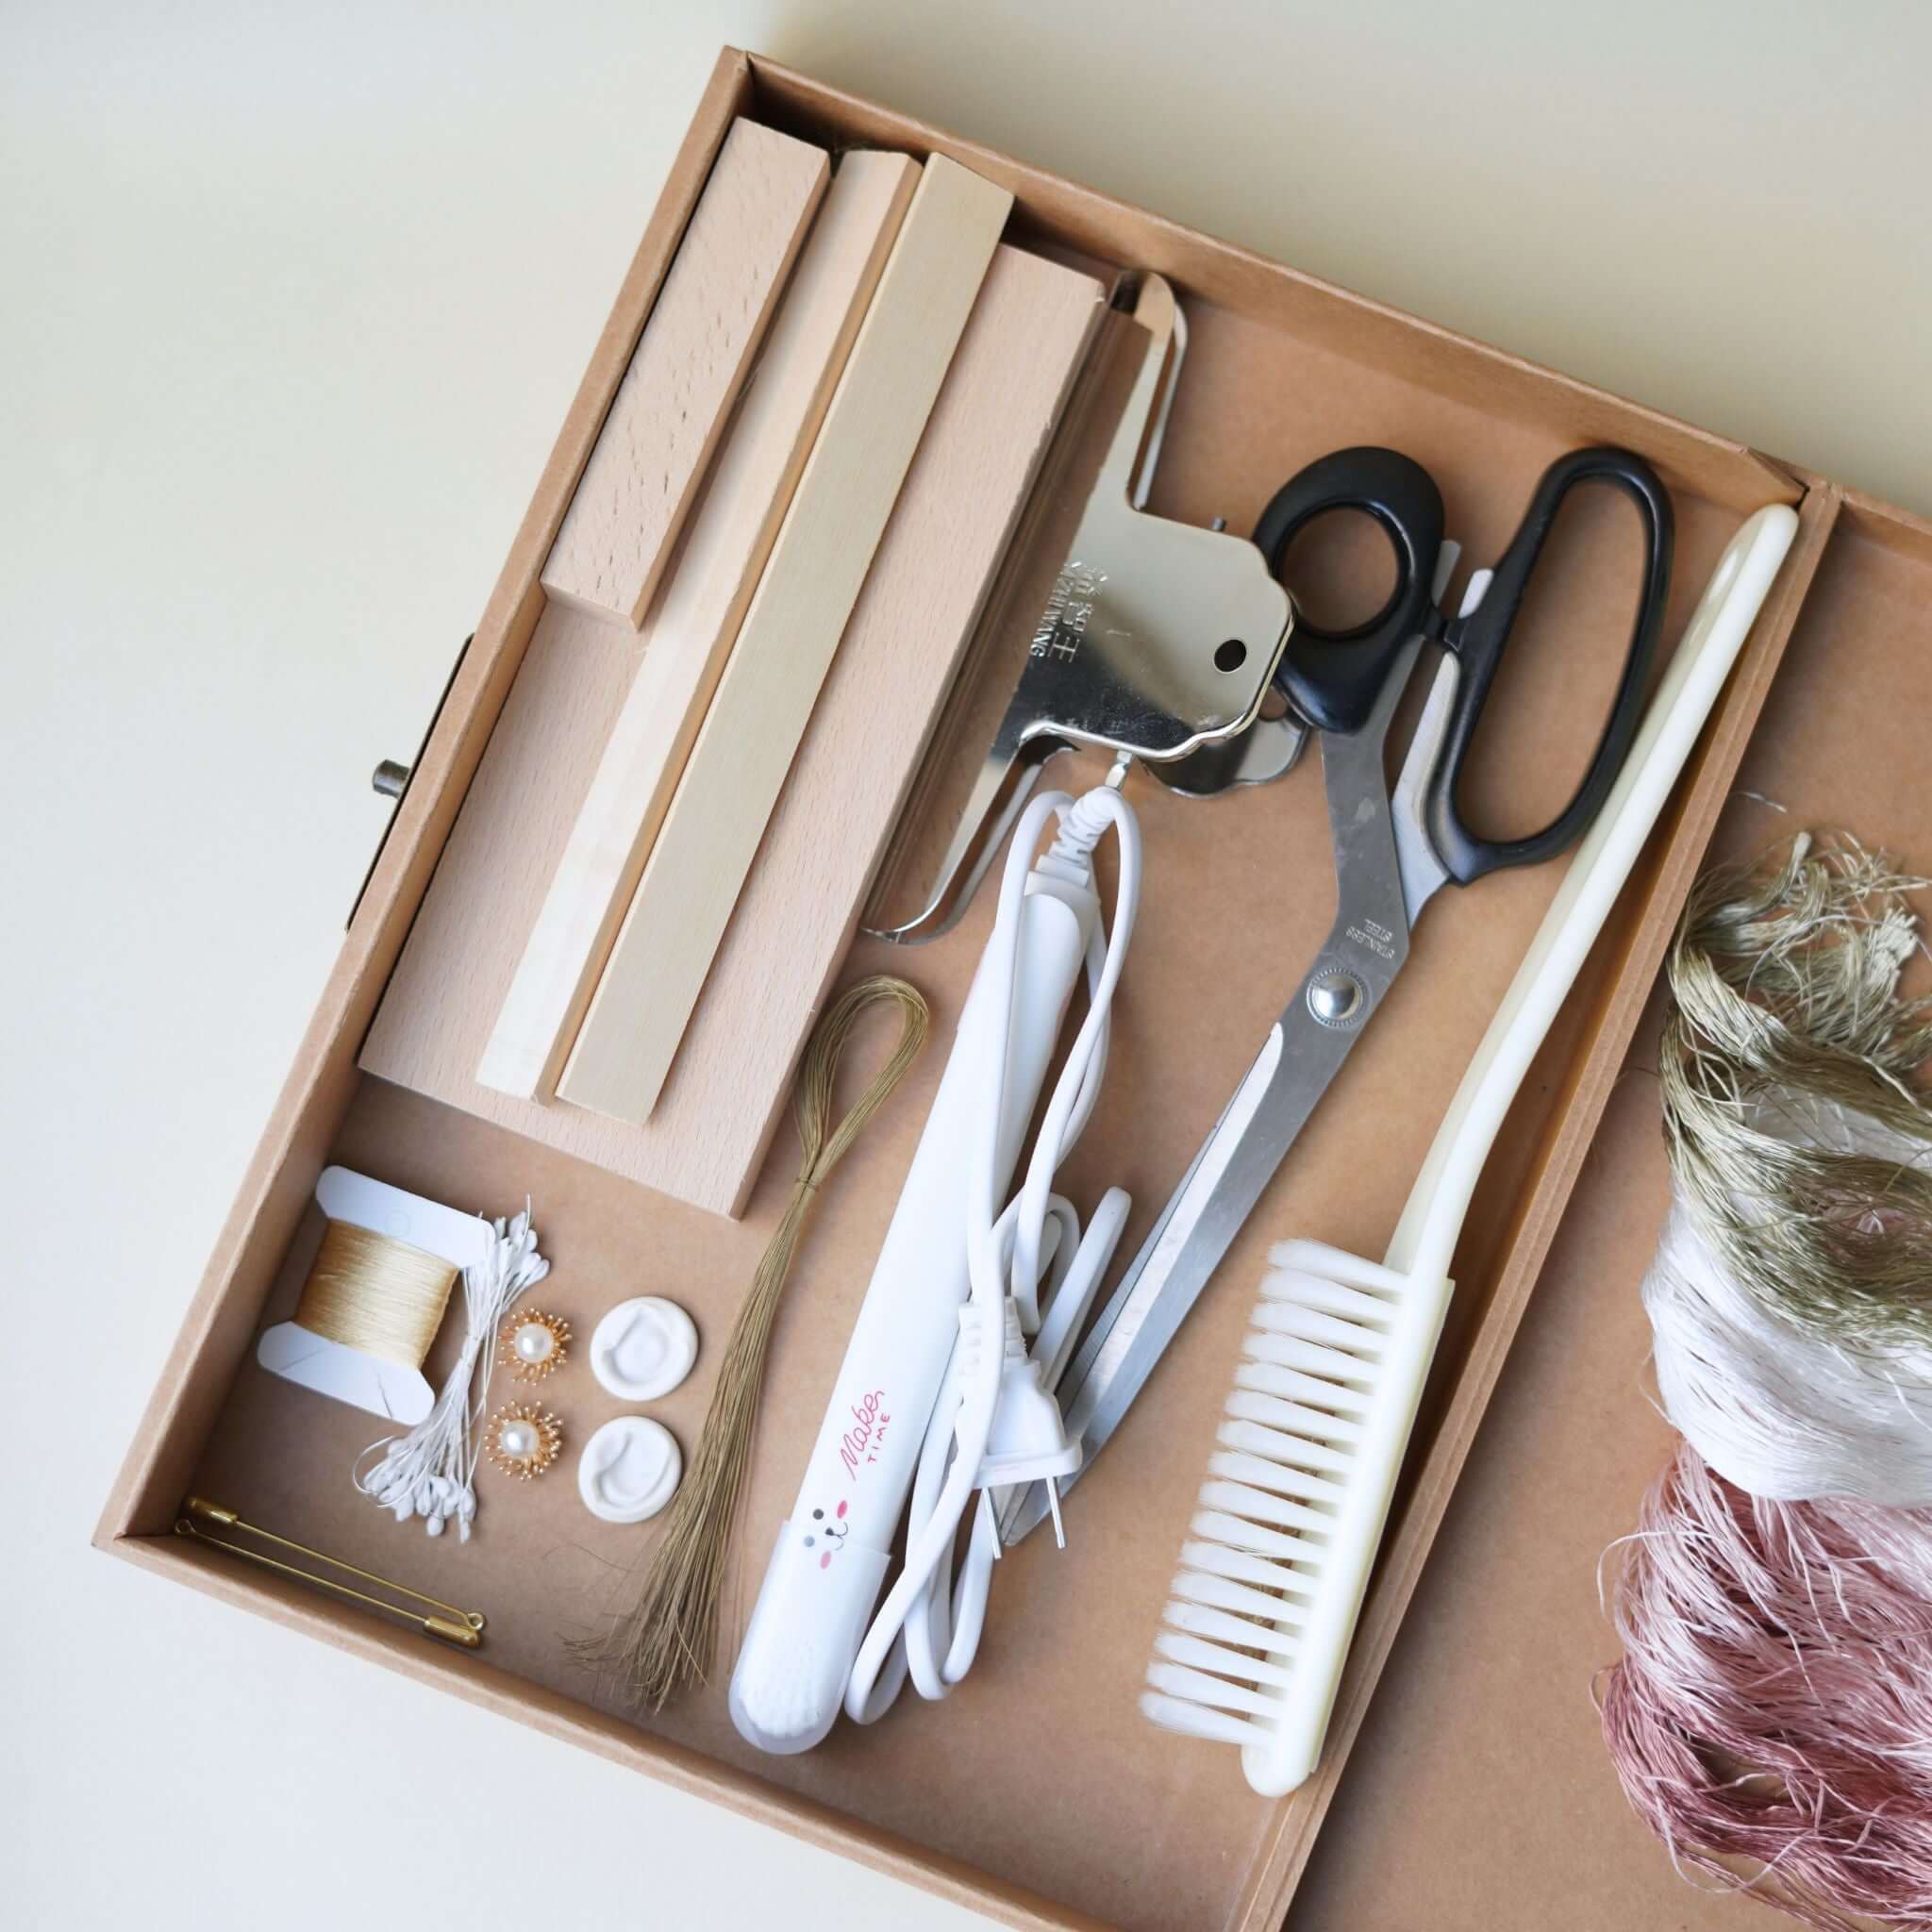
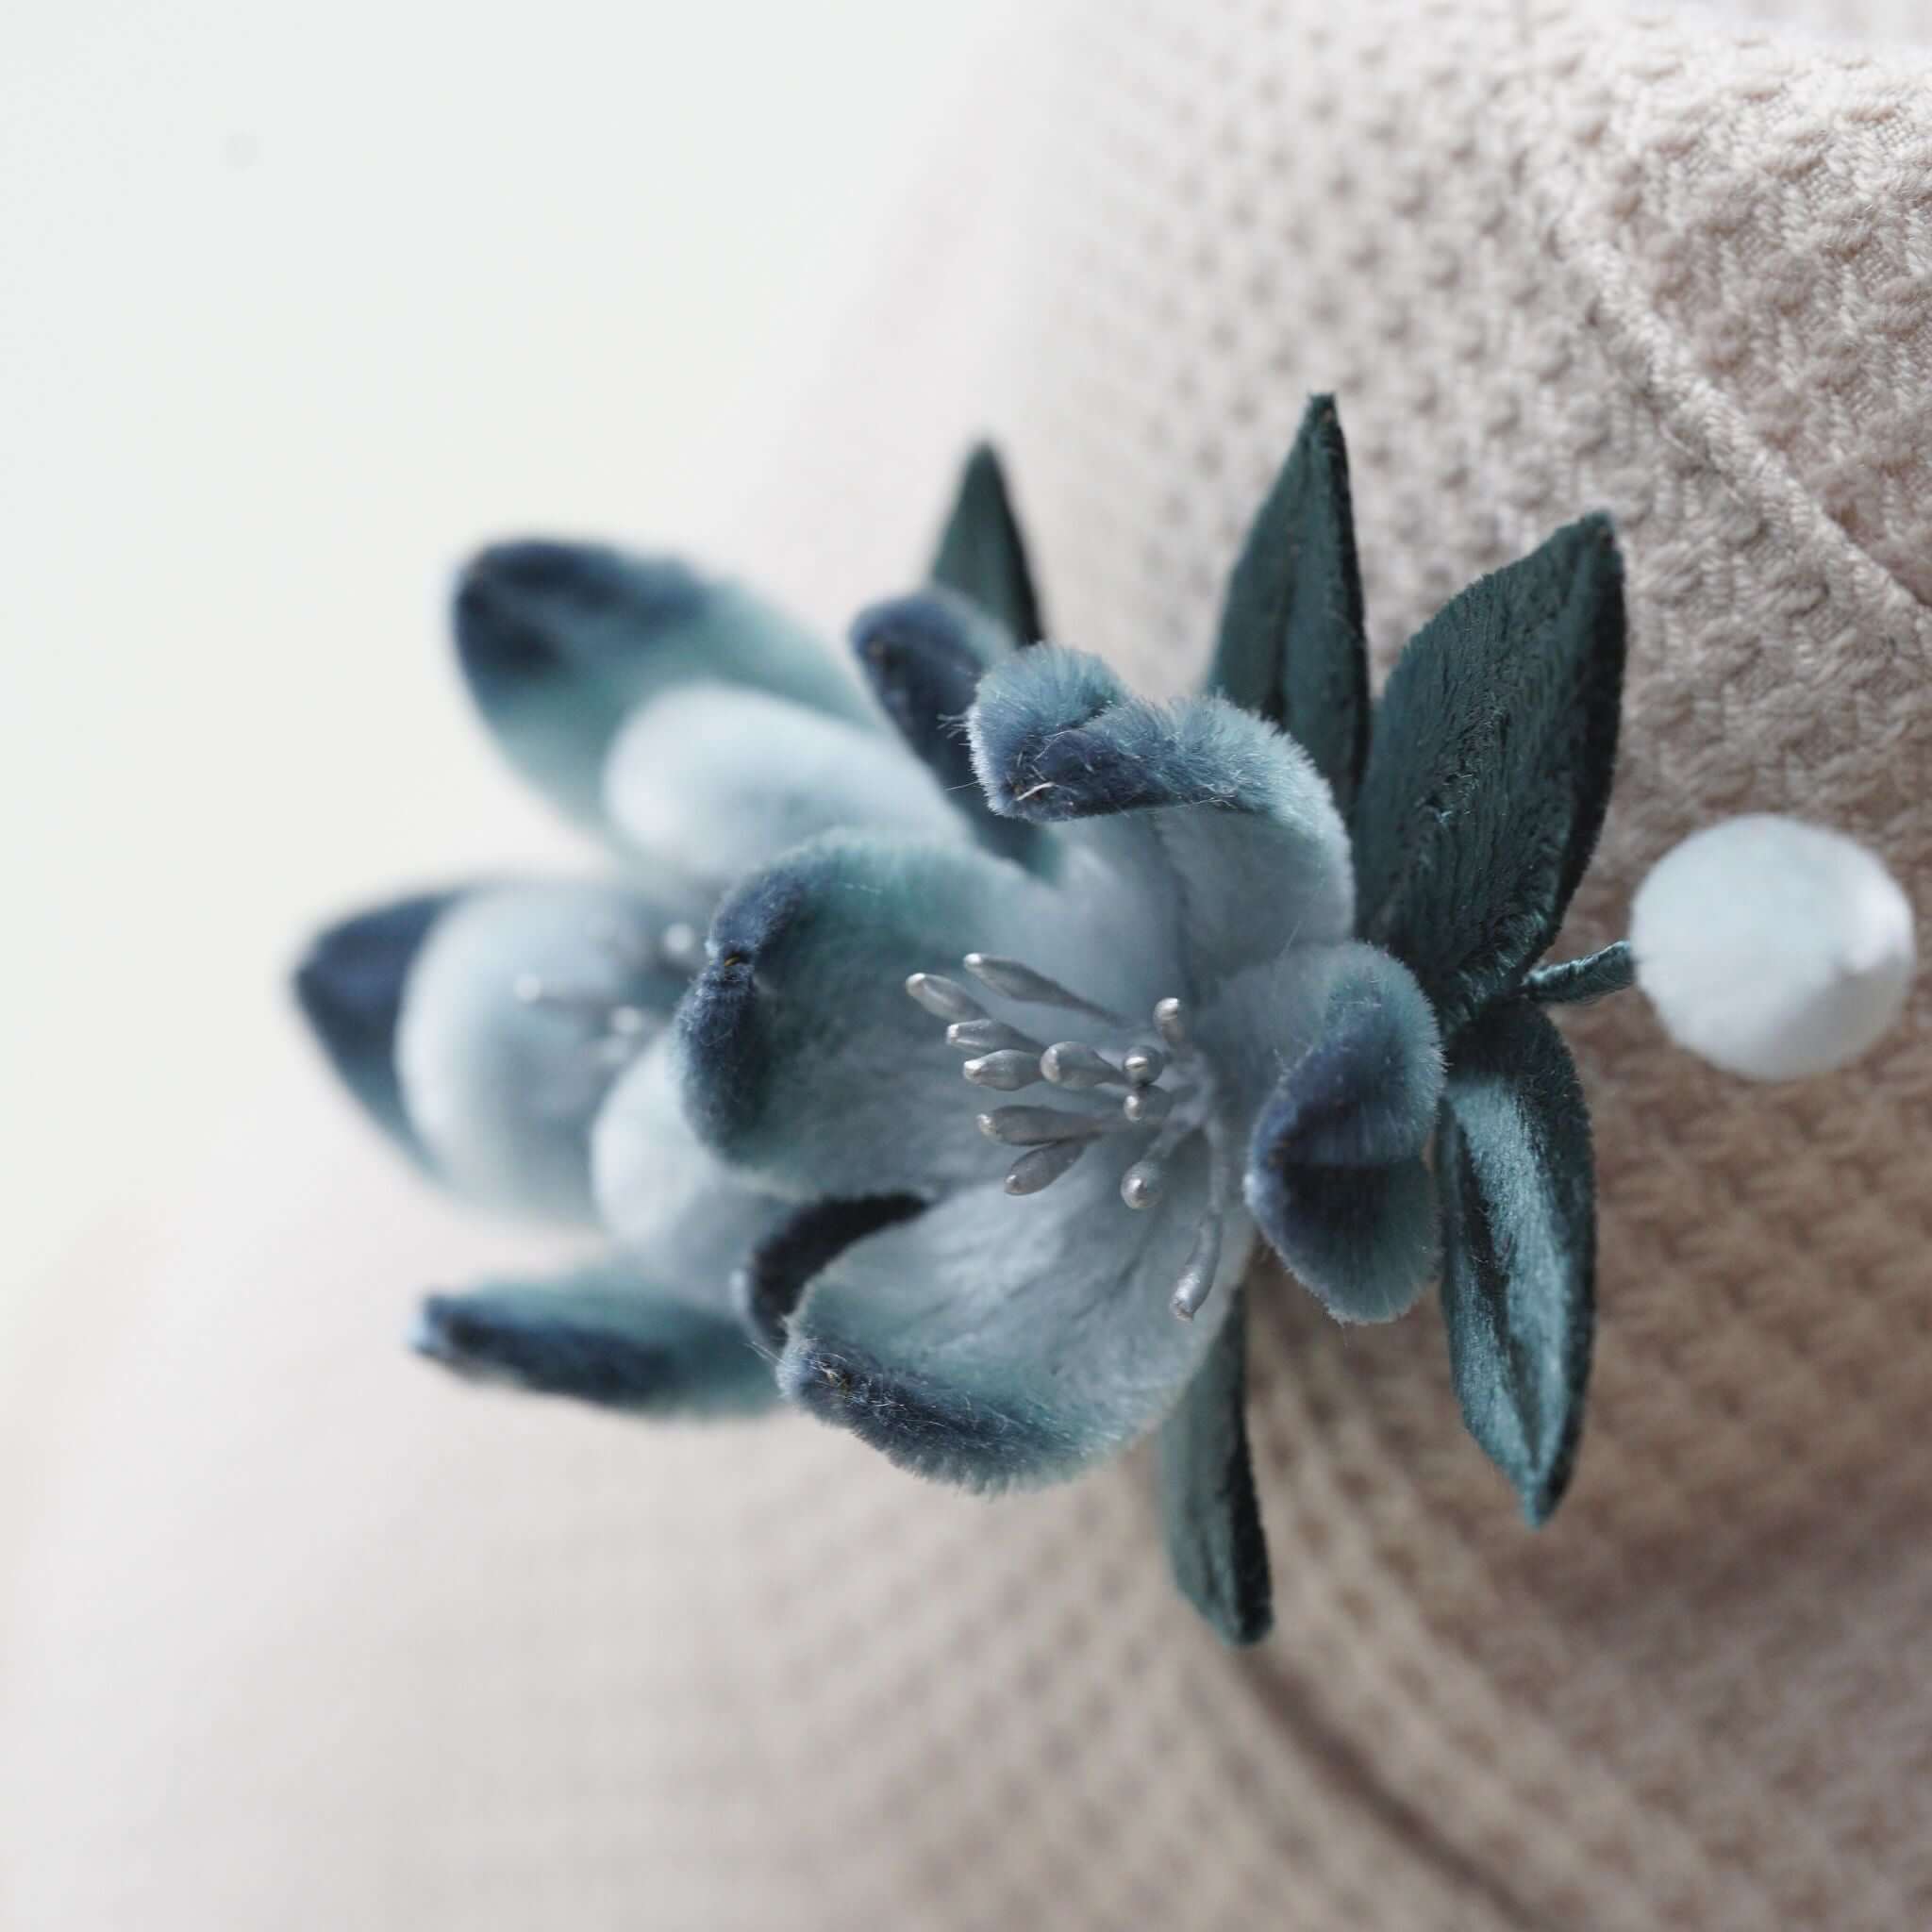
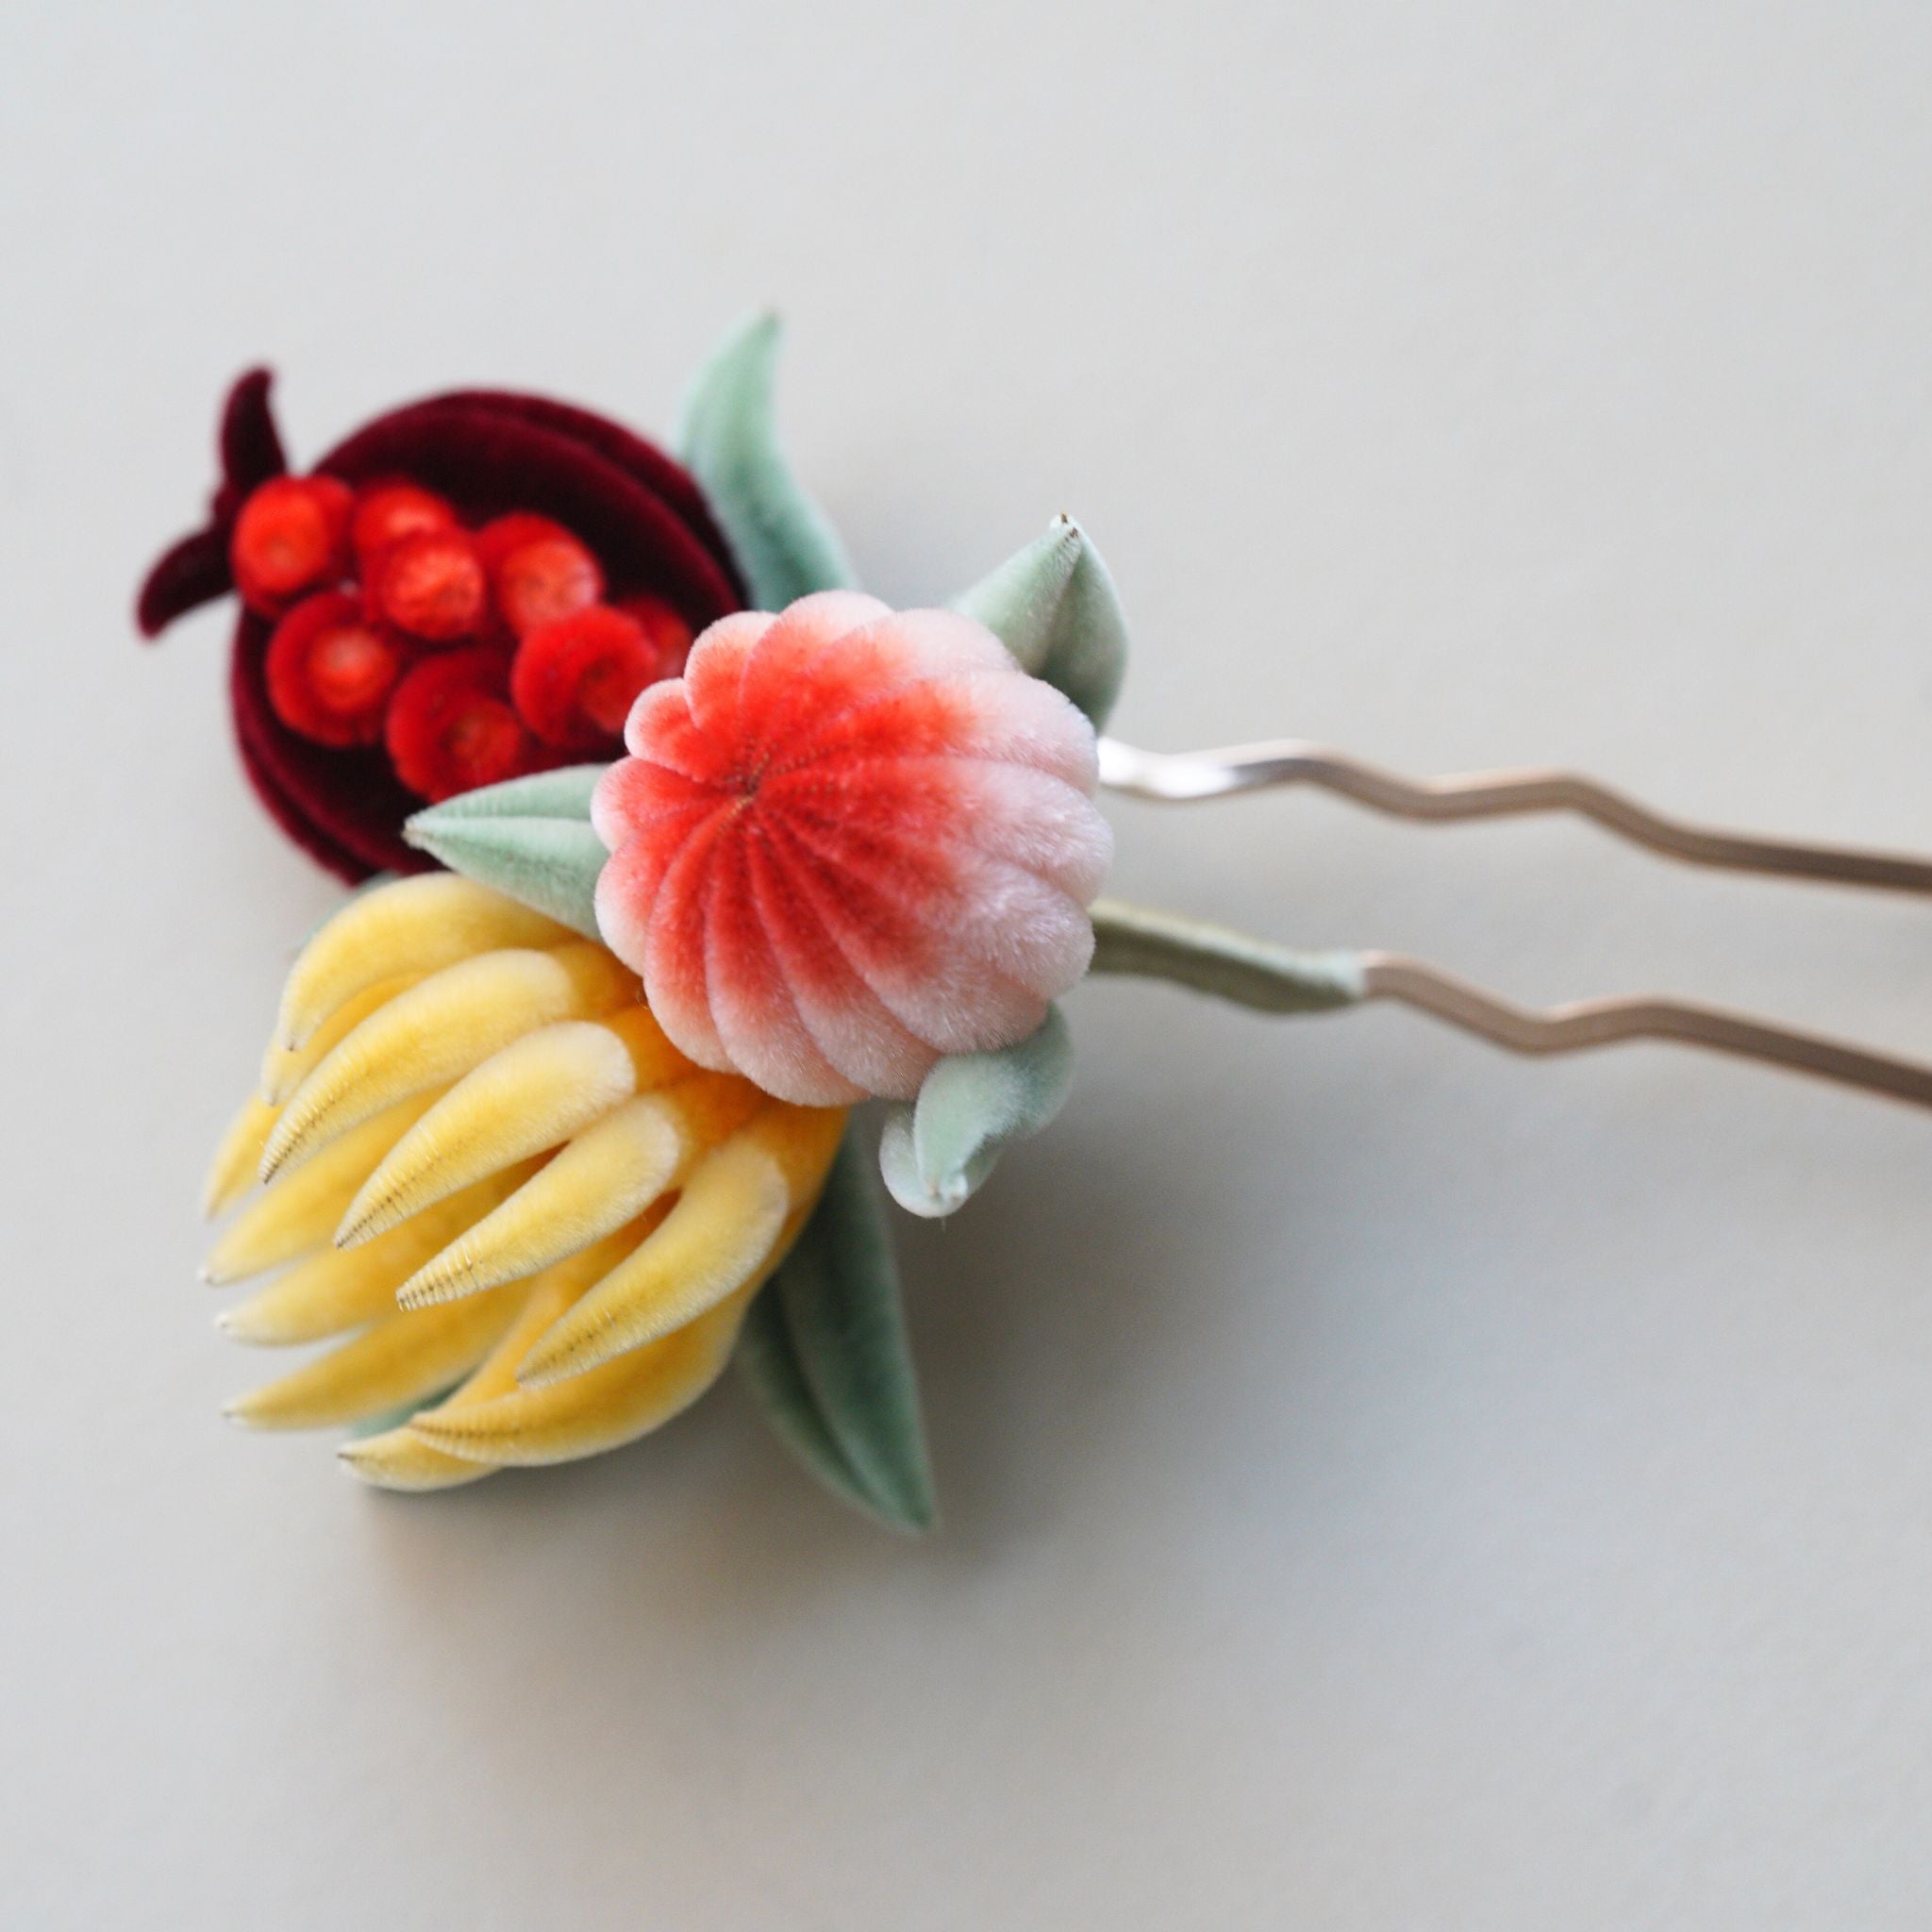
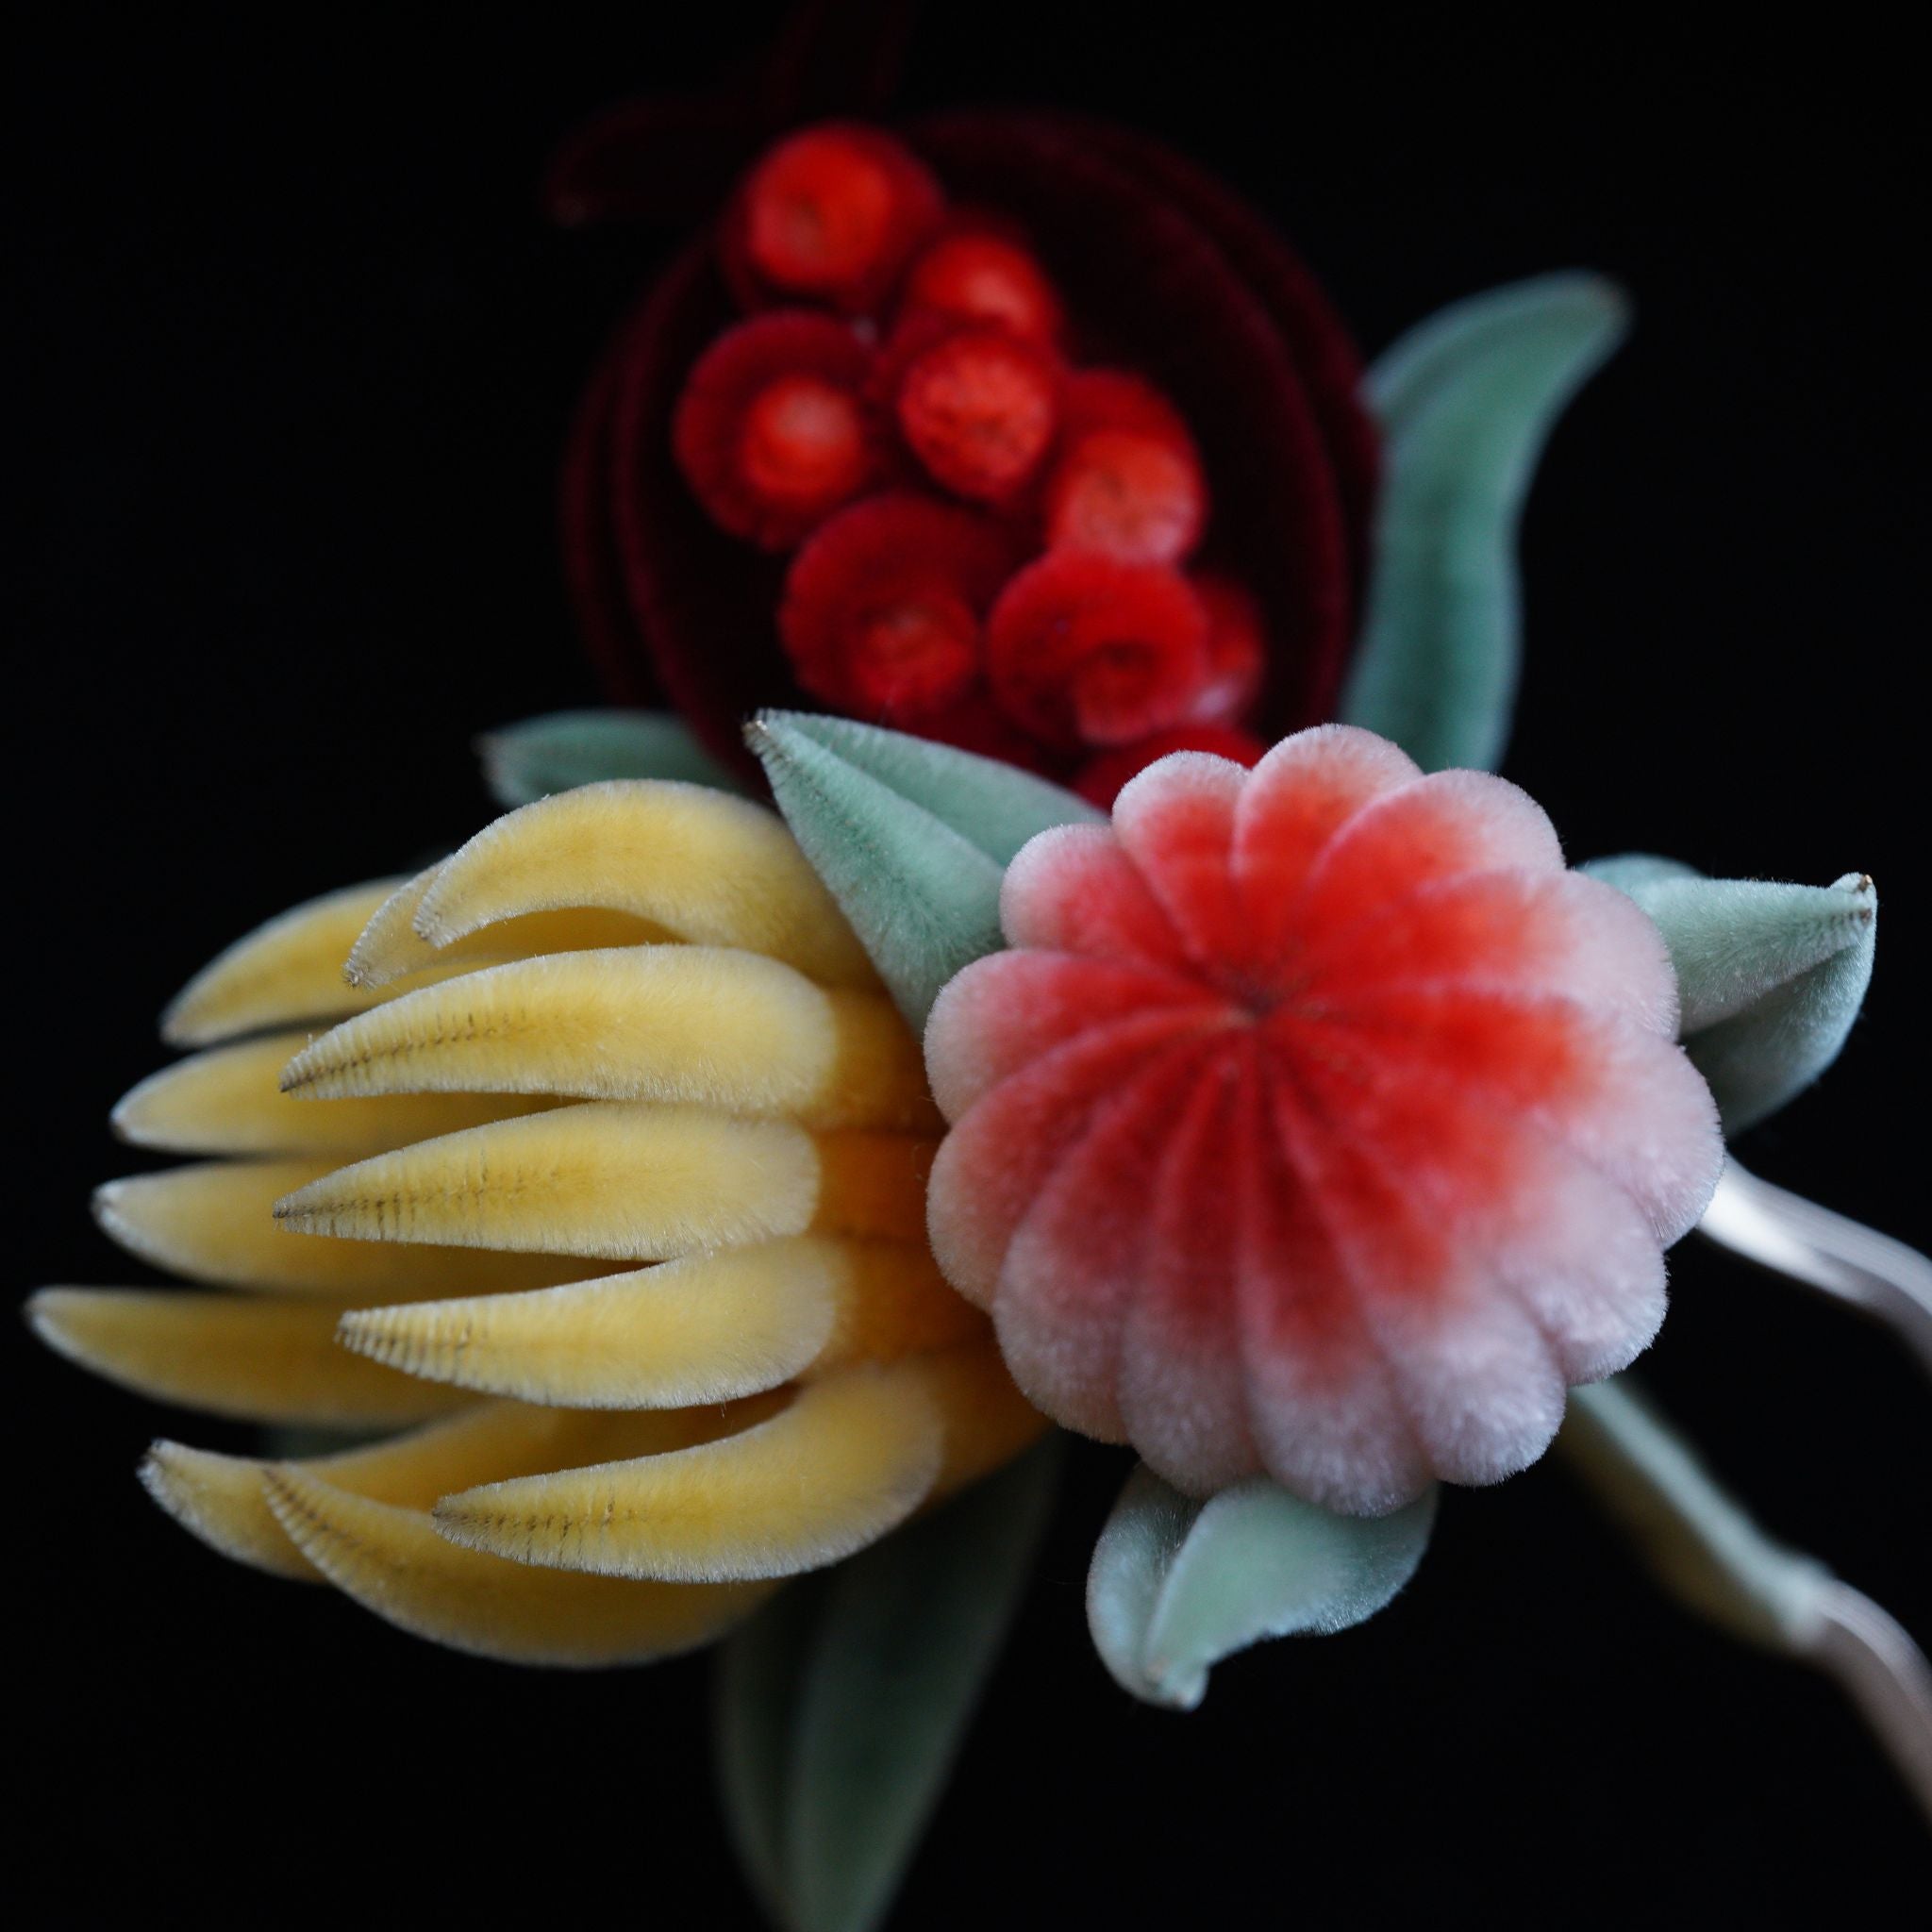
Creating an exquisite ronghua requires practice, experience, and attention to detail. Here are some key points to help you craft beautiful ronghua more efficiently.
1. Prepare Materials
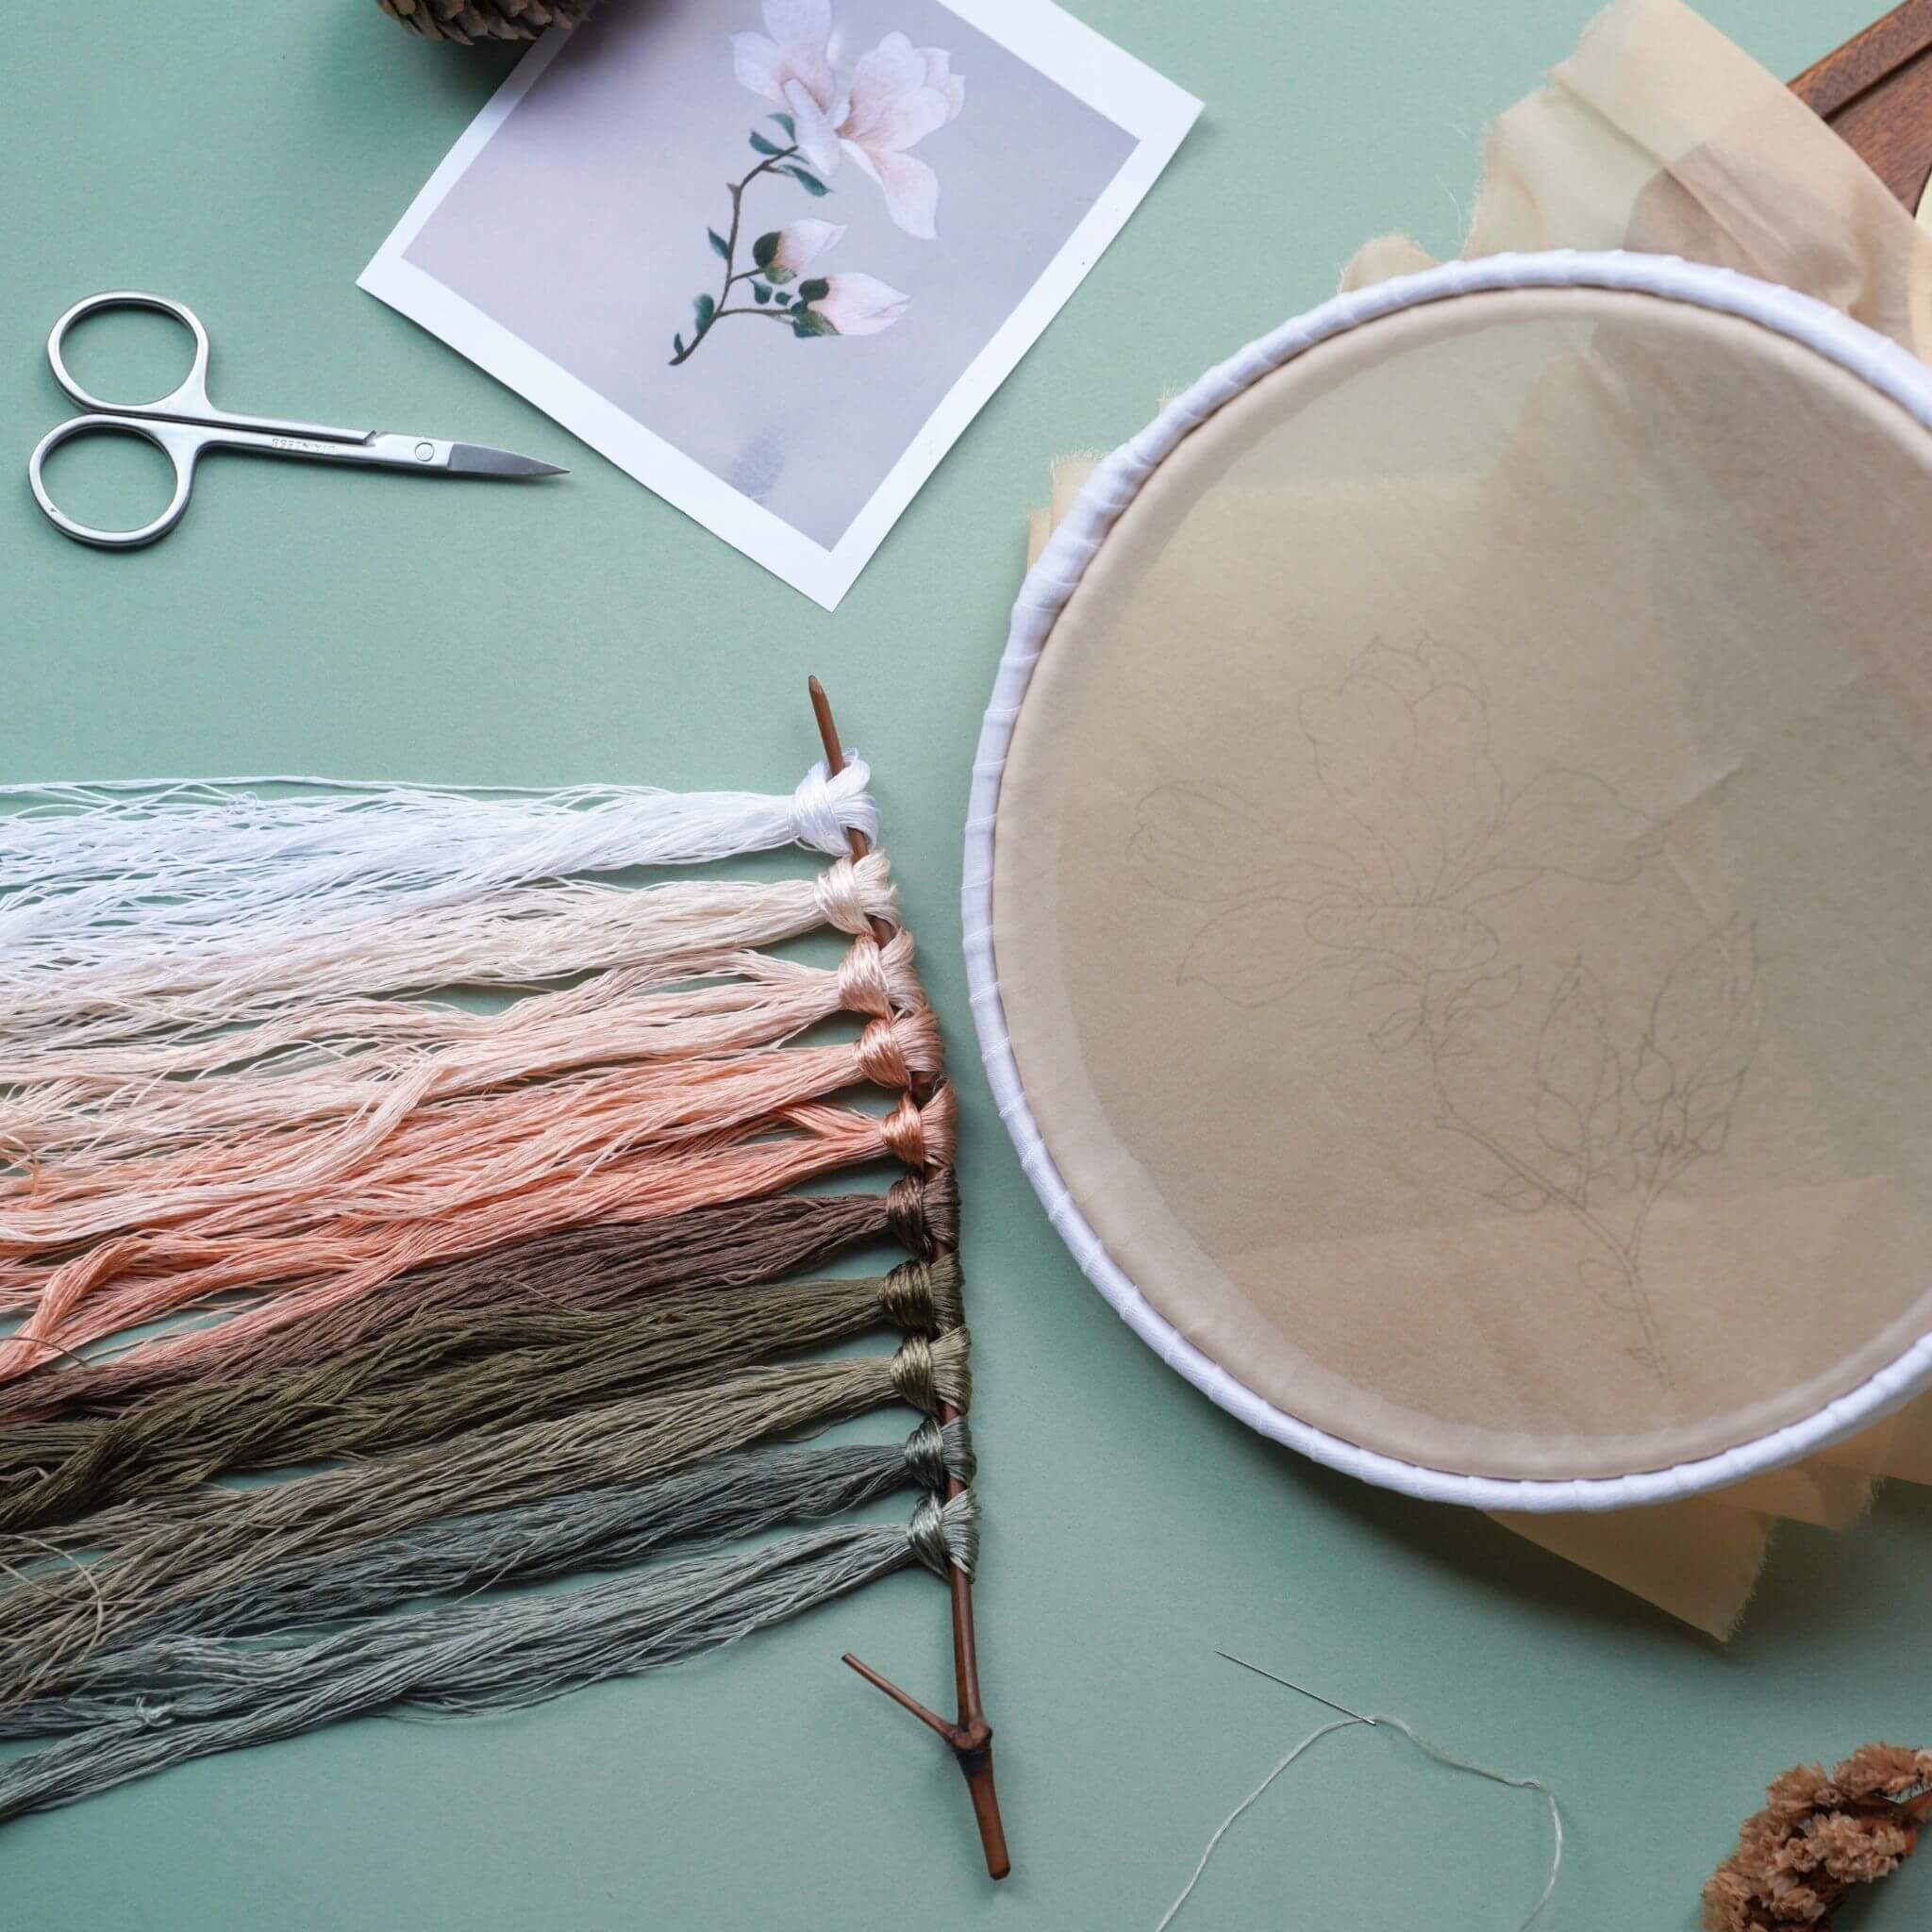
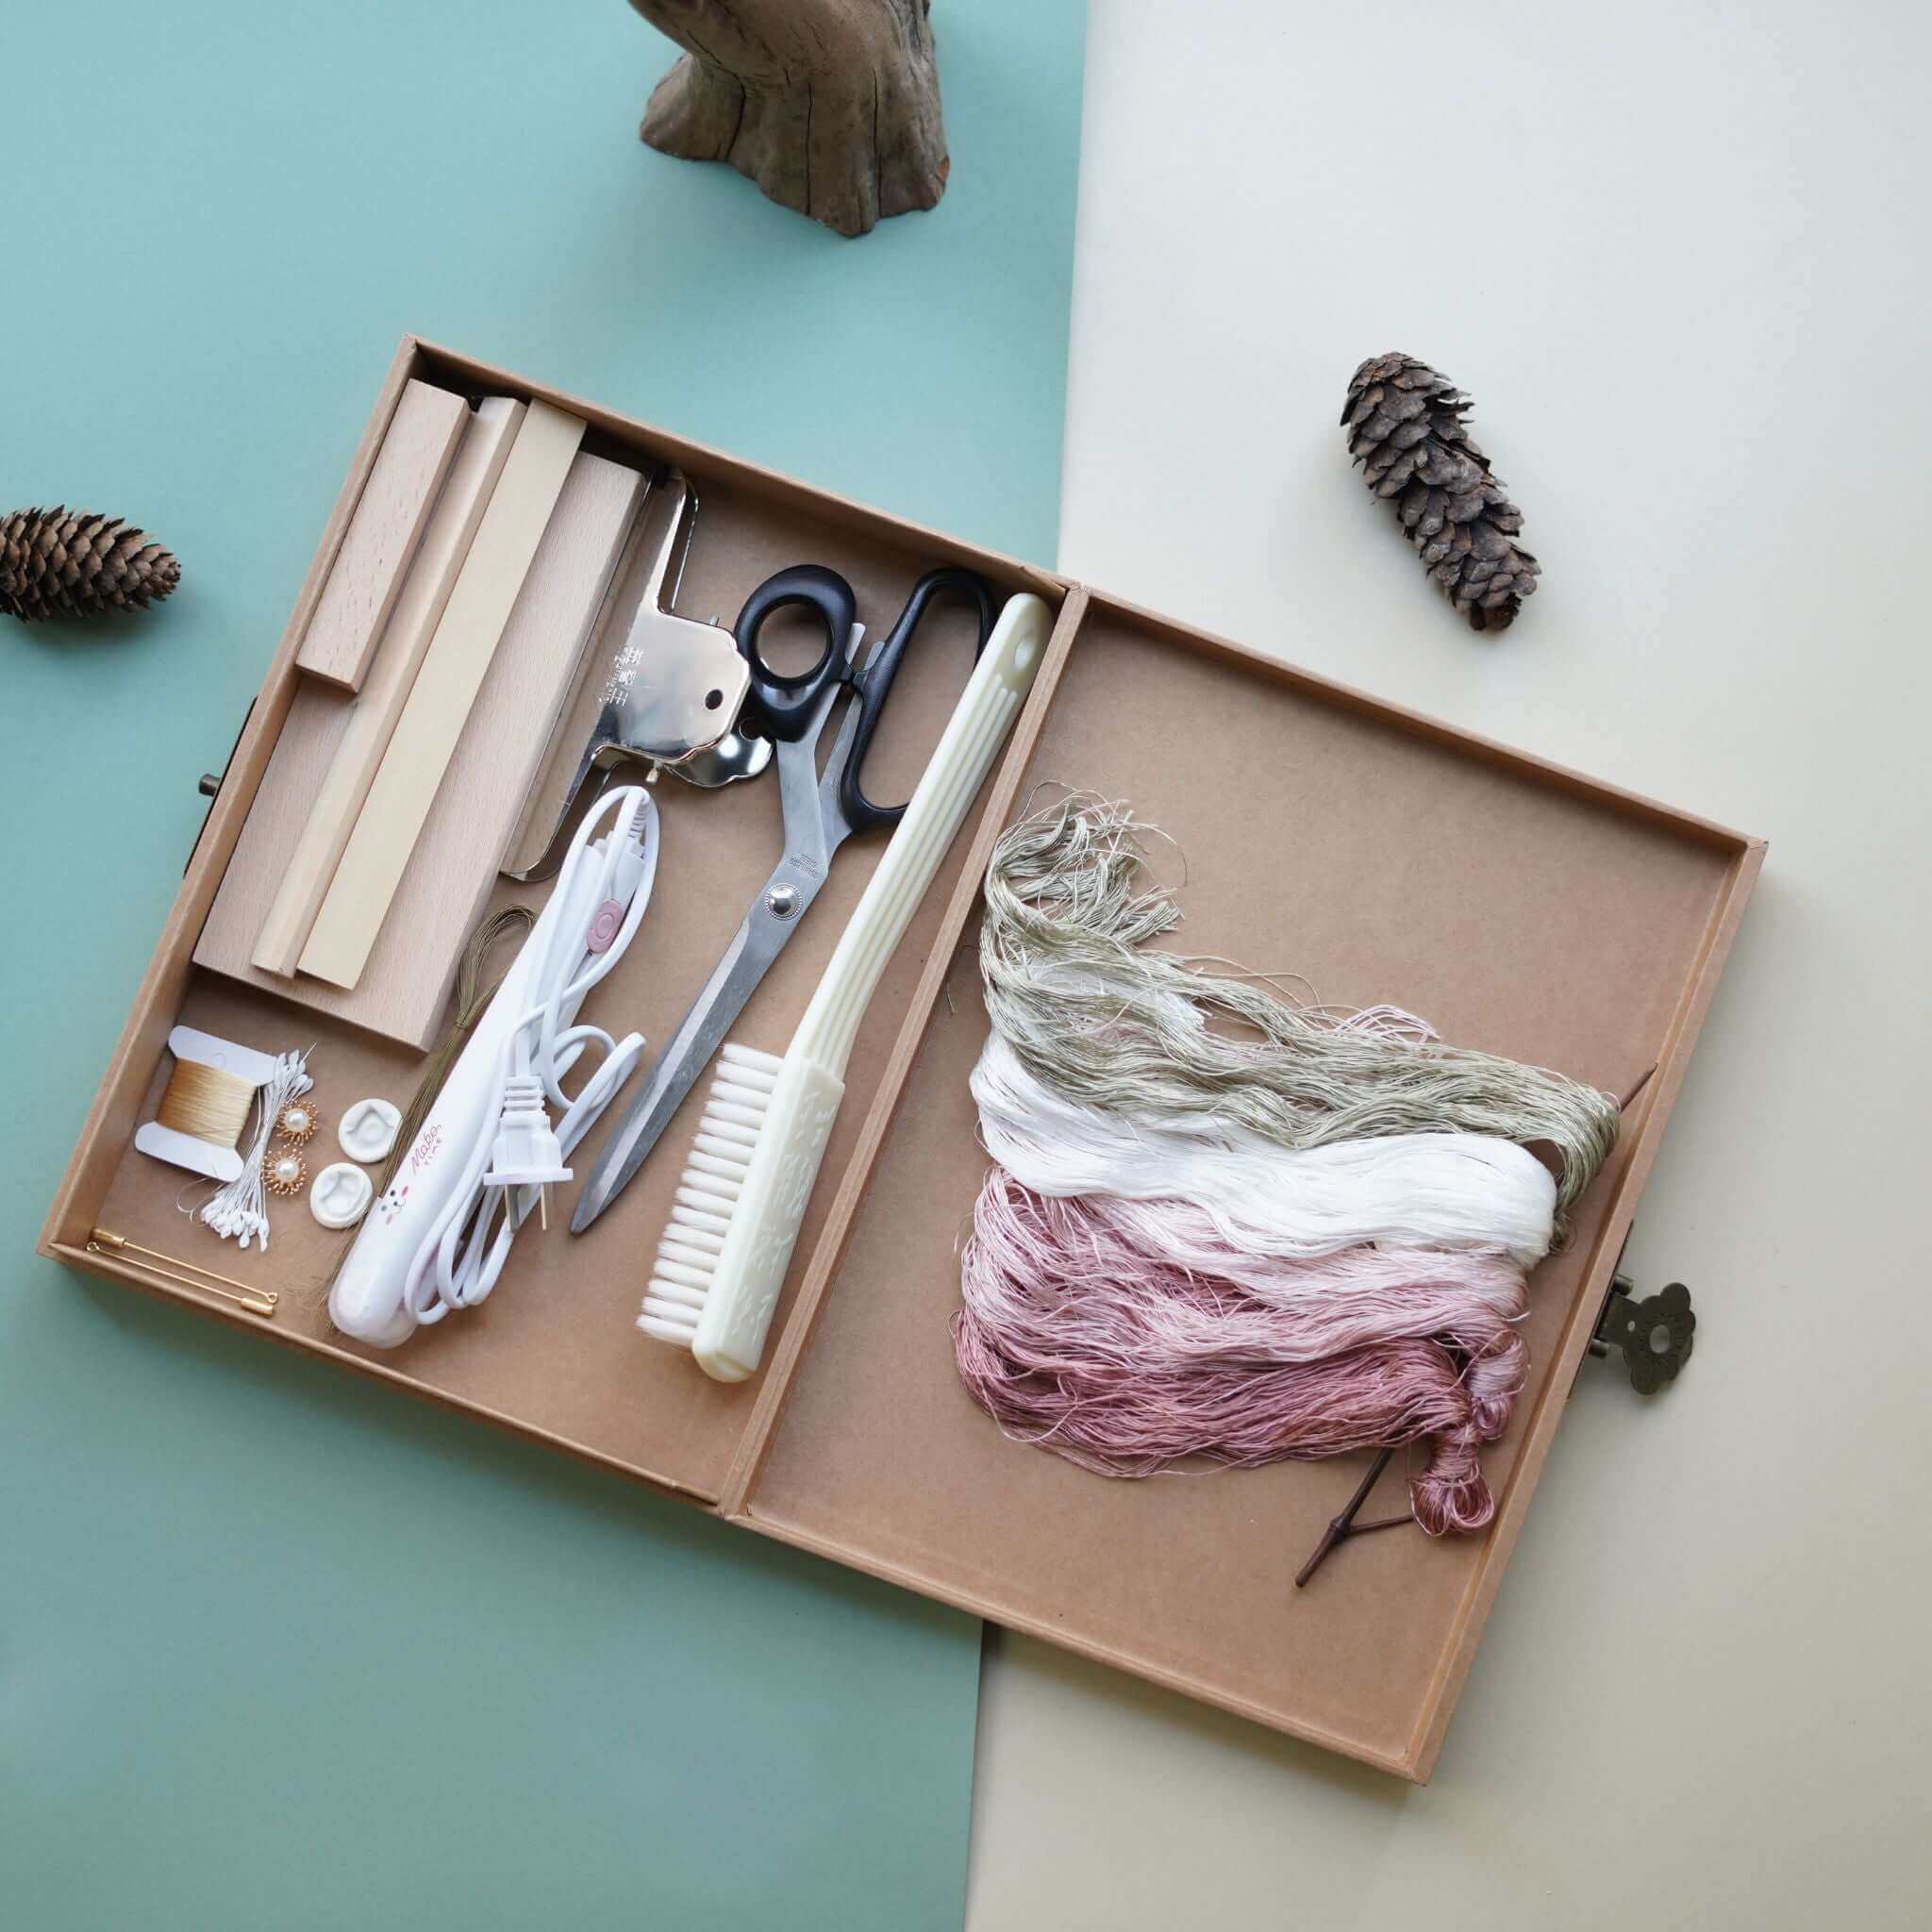
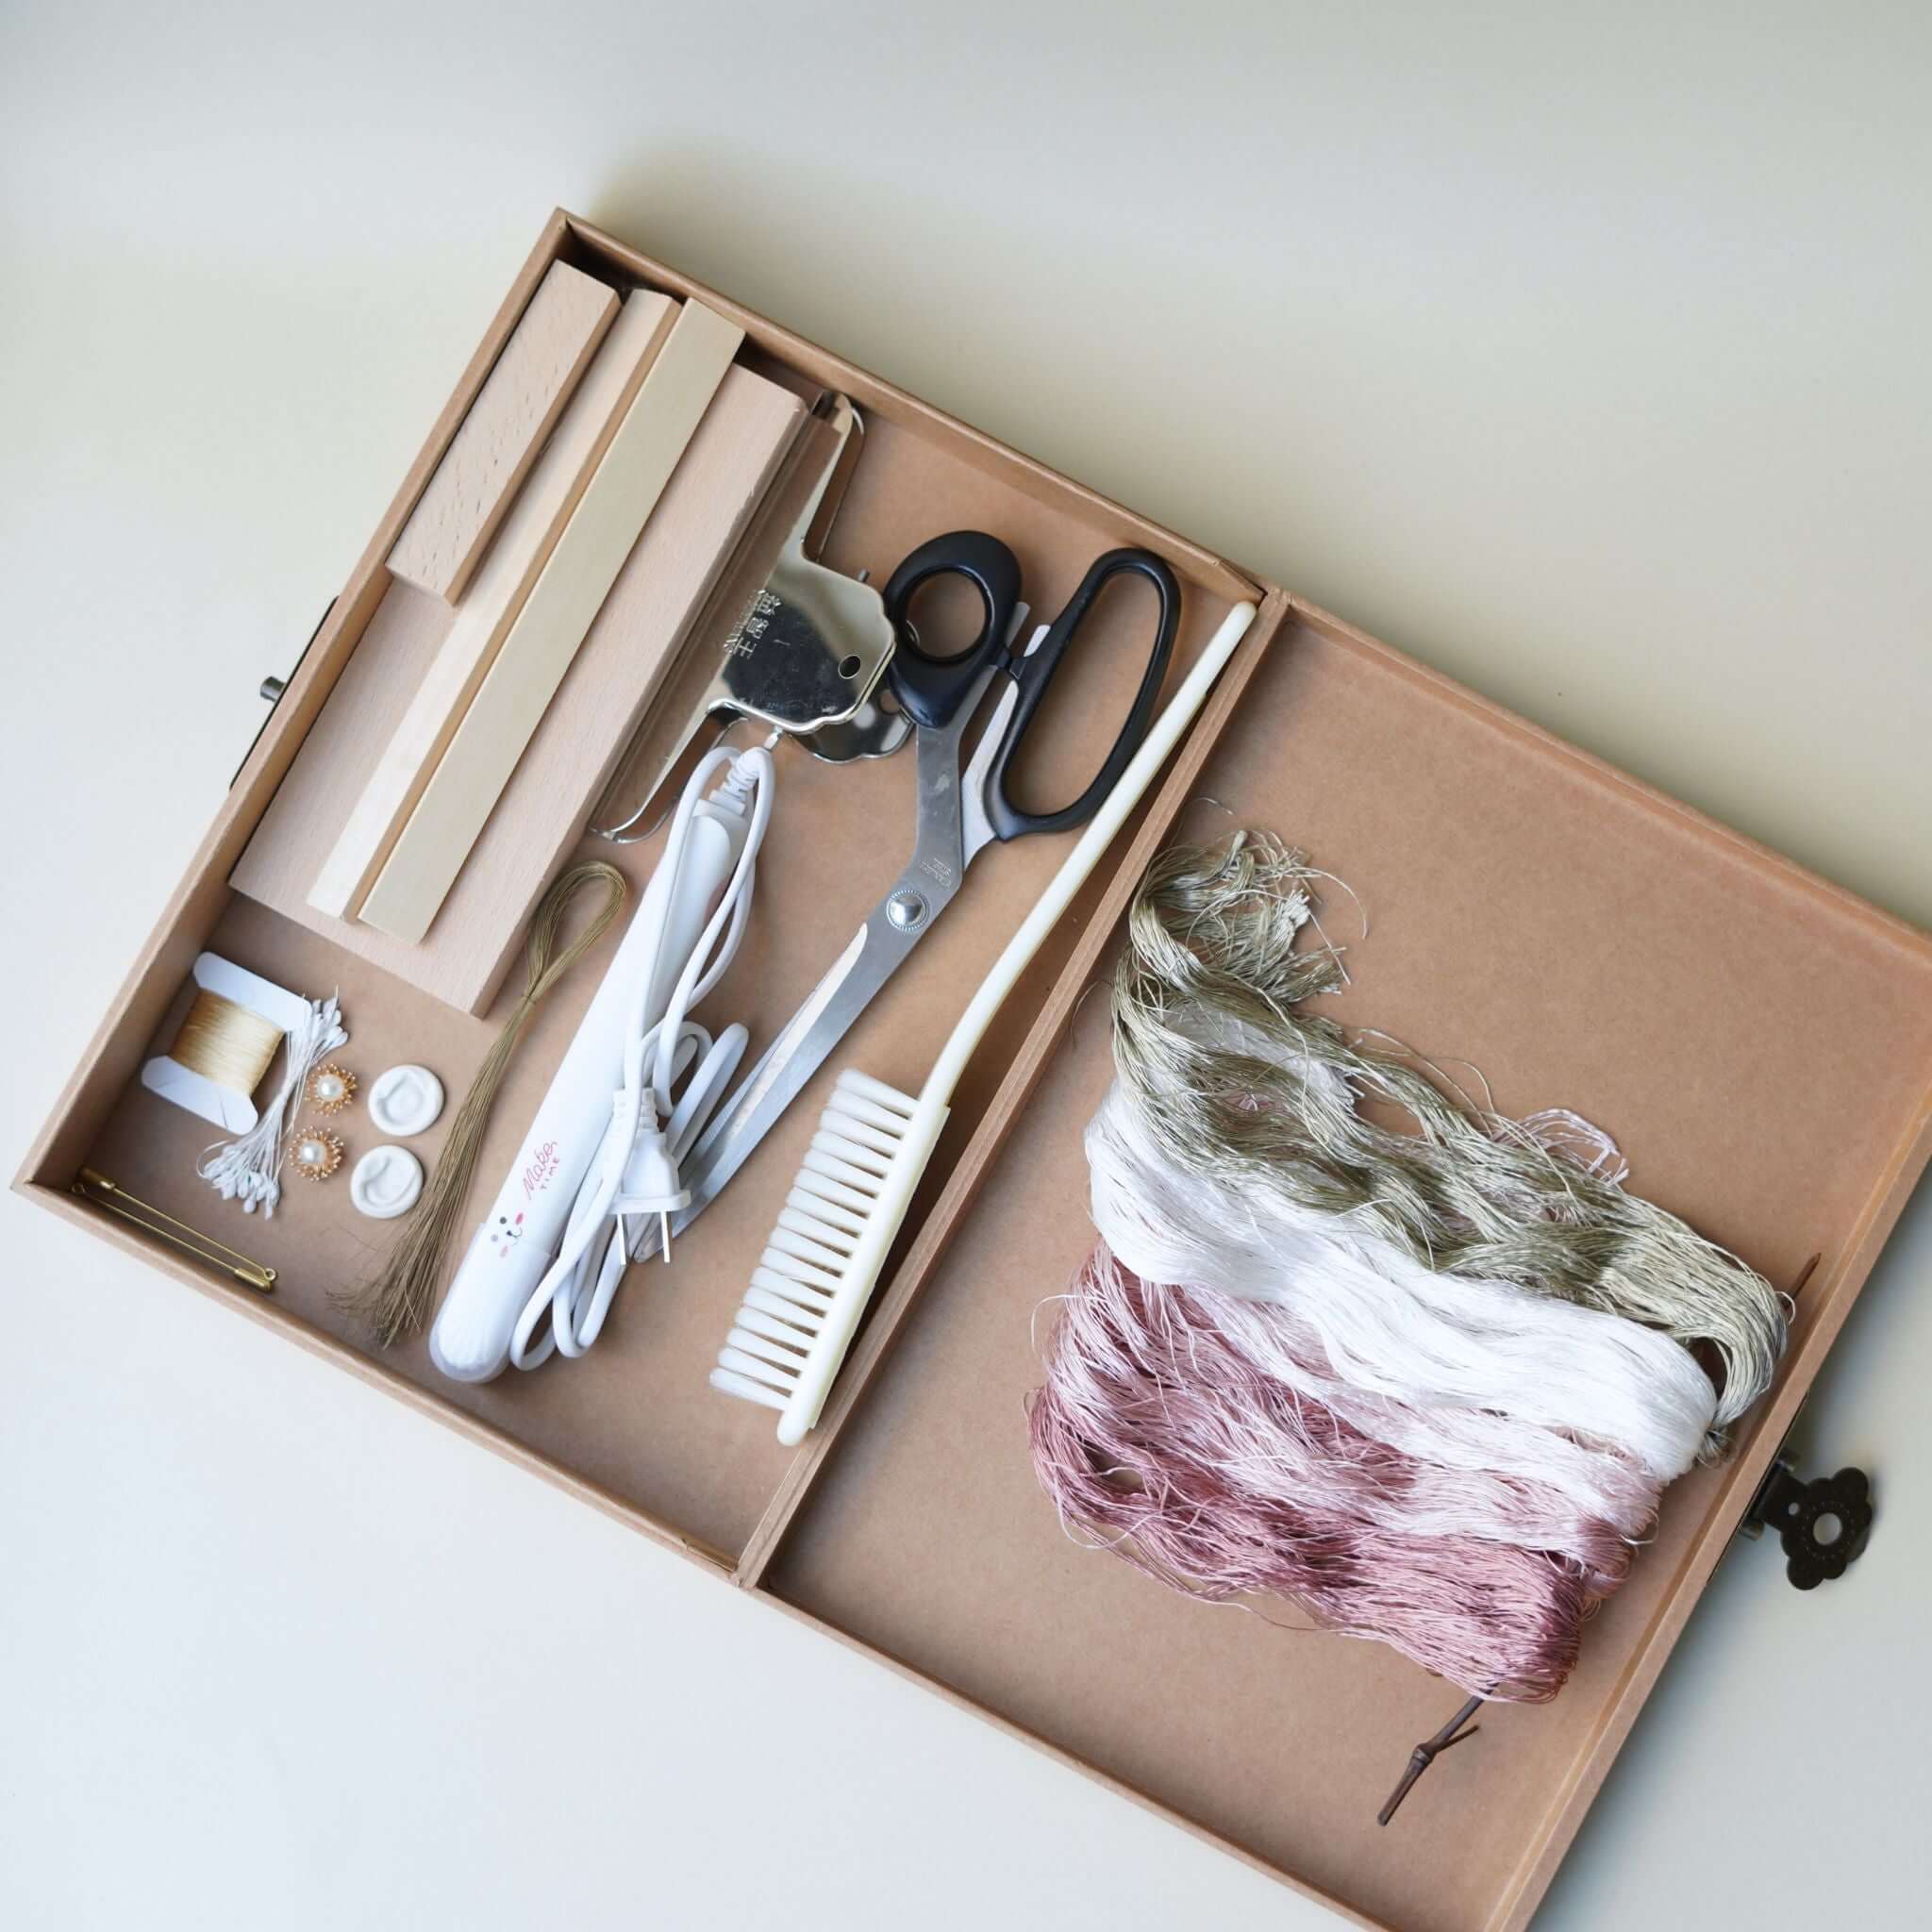
First, choose high-quality mulberry silk as your main material. Mulberry silk gives the flowers a better sheen and texture. The copper wire should be of appropriate thickness and flexibility to ensure better shaping. The thinner the copper wire, the denser the silk threads. For fluffy ronghua, use 0.15mm copper wire, and for pressed ronghua, use 0.2mm copper wire.
Identifying High-Quality Mulberry Silk
- Luster: High-quality mulberry silk has a natural sheen, vibrant color, and a consistent texture.
- Feel: It should be soft, smooth, and comfortable to touch. High-quality silk is slightly sticky and the longer the thread, the better the quality.
- Burn Test: Authentic mulberry silk burns with a natural smell and leaves behind black beads that are hard to crush.
- Bleach Test: Real mulberry silk won’t dissolve in bleach after degumming. If it does, it’s fake.
- Elasticity and Toughness: Quality mulberry silk has good elasticity and toughness and is not easy to break.
Silk Thread Standards (1A - 6A)
When purchasing mulberry silk, check the label and certification:
- 1A Grade: The lowest quality, shorter fibers, less sheen, and more impurities.
- 2A Grade: Improved quality but still not the best.
- 3A Grade: Better fibers, more sheen, and very few impurities.
- 4A and Above: The highest quality with excellent sheen, softness, strength, and almost no impurities. Perfect for high-end products.
2. Combing the Silk
Before combing, ensure the silk threads are untangled. Comb from the bottom up, making sure the brush penetrates the threads to prevent pilling.

3. Making silk sticks / strips
The quality of silk sticks/strips is crucial for making fine ronghua. Arrange the silk threads neatly to ensure uniform length and thickness. For example, when making pressed ronghua, if the petal length is about 4cm, use 5-6 threads per group, aligning them in 14 groups to ensure the final width matches the petal size. Ensure the top and bottom widths are consistent as c.4cm and measure them precisely.
4. Trimming
Pay close attention to your posture and technique while trimming. Open your arms slightly, keep your armpits hollow, hold the copper wire with your left thumb and forefinger, and twist slowly. Use scissors to trim the threads, keeping the copper wire straight.
5. Setting
Spray the silk threads with setting spray and lay them flat to dry. The setting liquid contains polymers, amino acids, and vitamin B, and is alcohol-free, making it easy to wash off and gentle on the threads. If you don’t have setting liquid, you can use hairspray or white glue (diluted with water at a 1:3 ratio). Avoid direct sunlight or high temperatures during drying to maintain quality.
6. Shaping
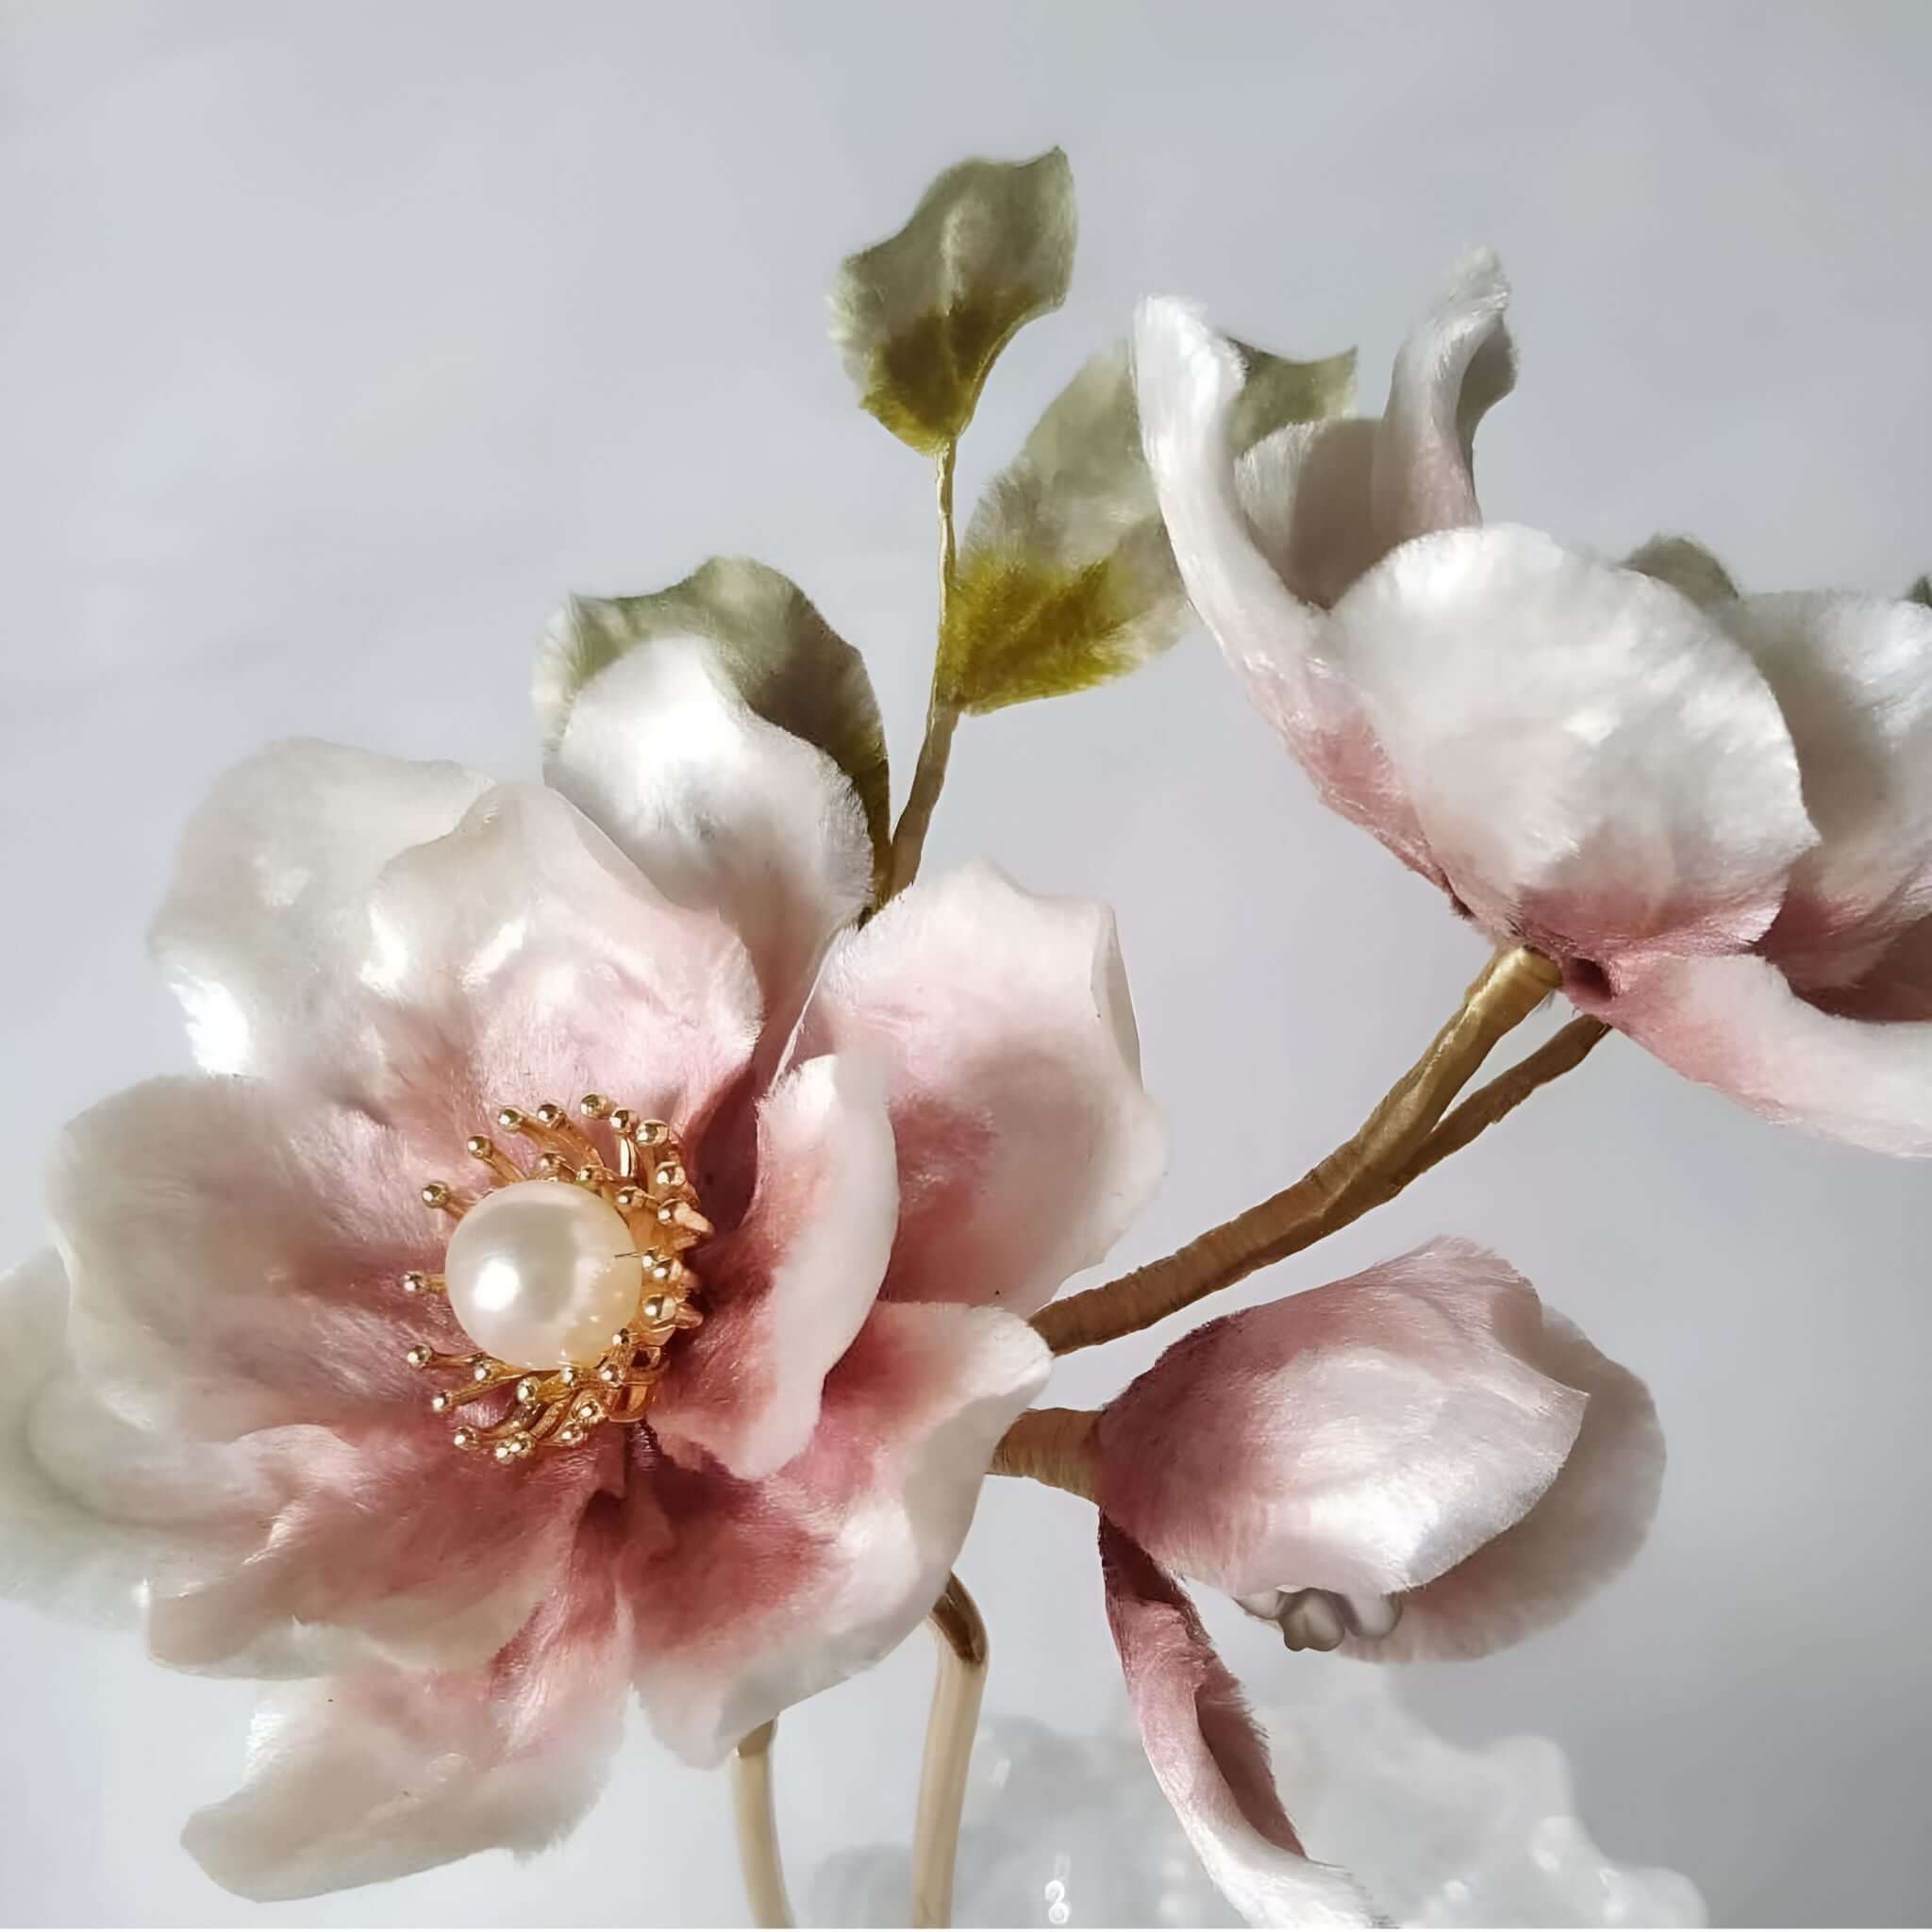
Use tweezers to gently adjust the shape of the ronghua. This step is critical to achieving the desired look. Refer to reference images or actual flowers for guidance, bending or straightening as needed.
7. Decorating
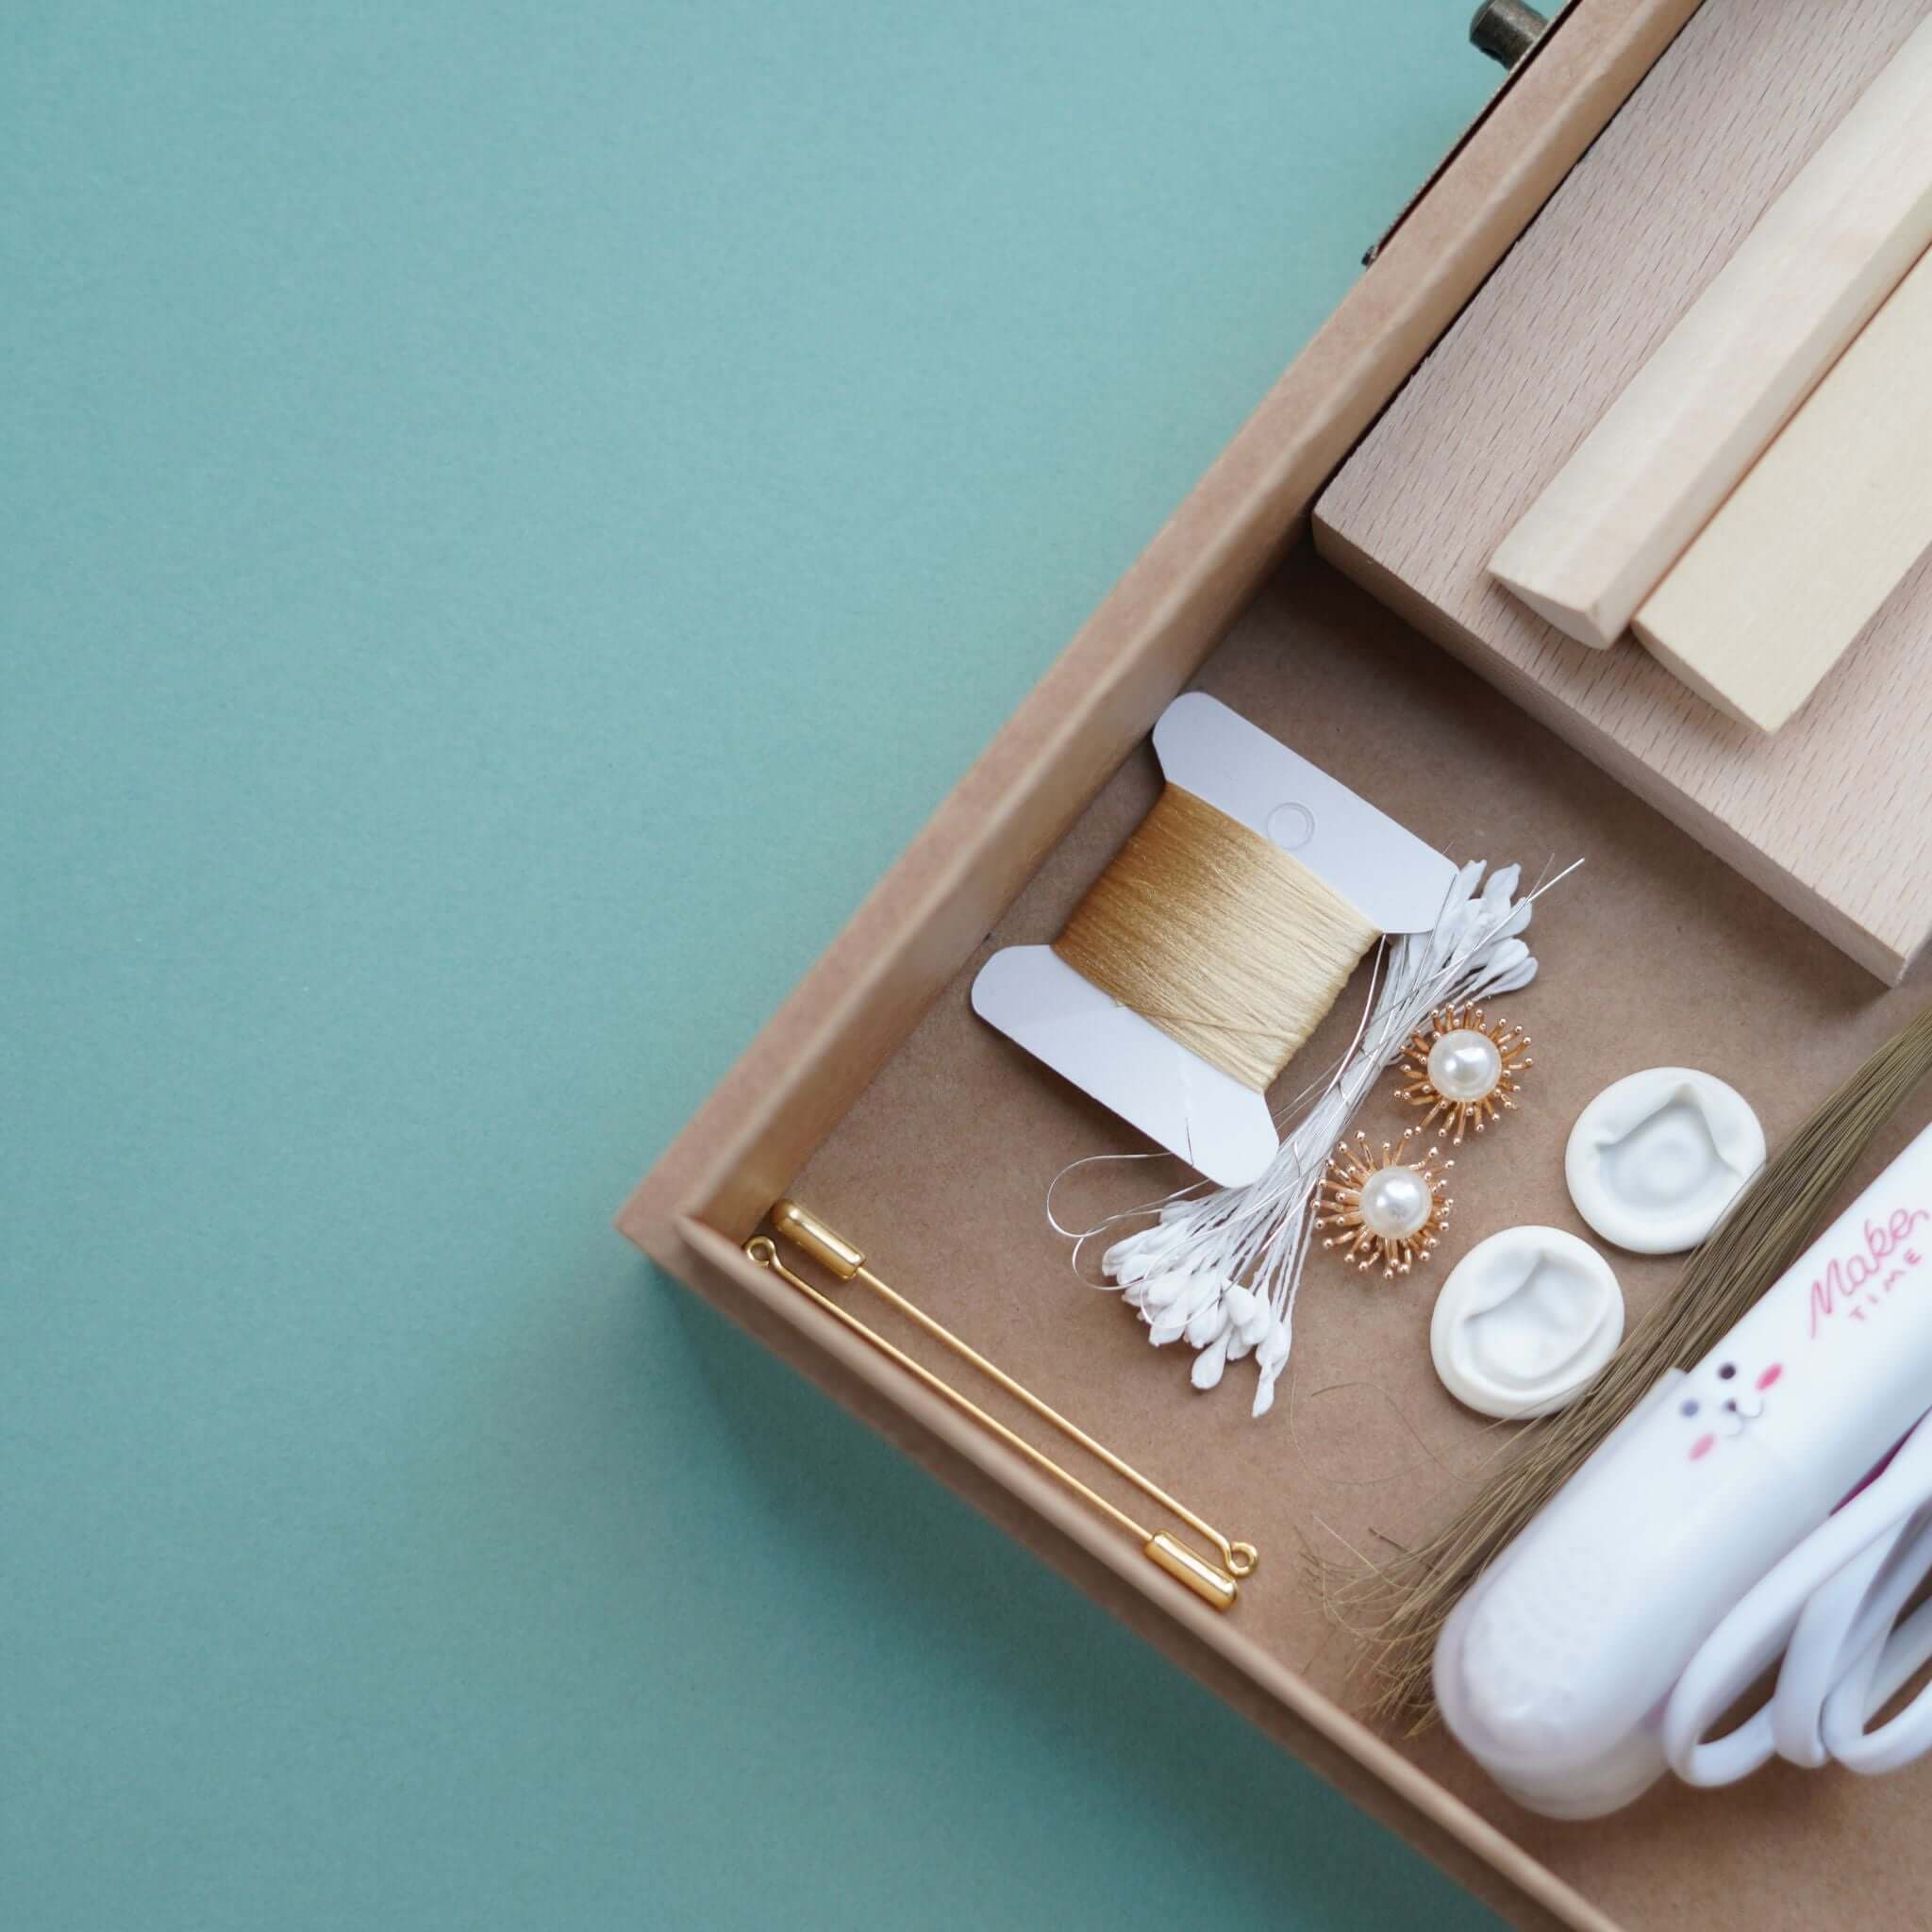
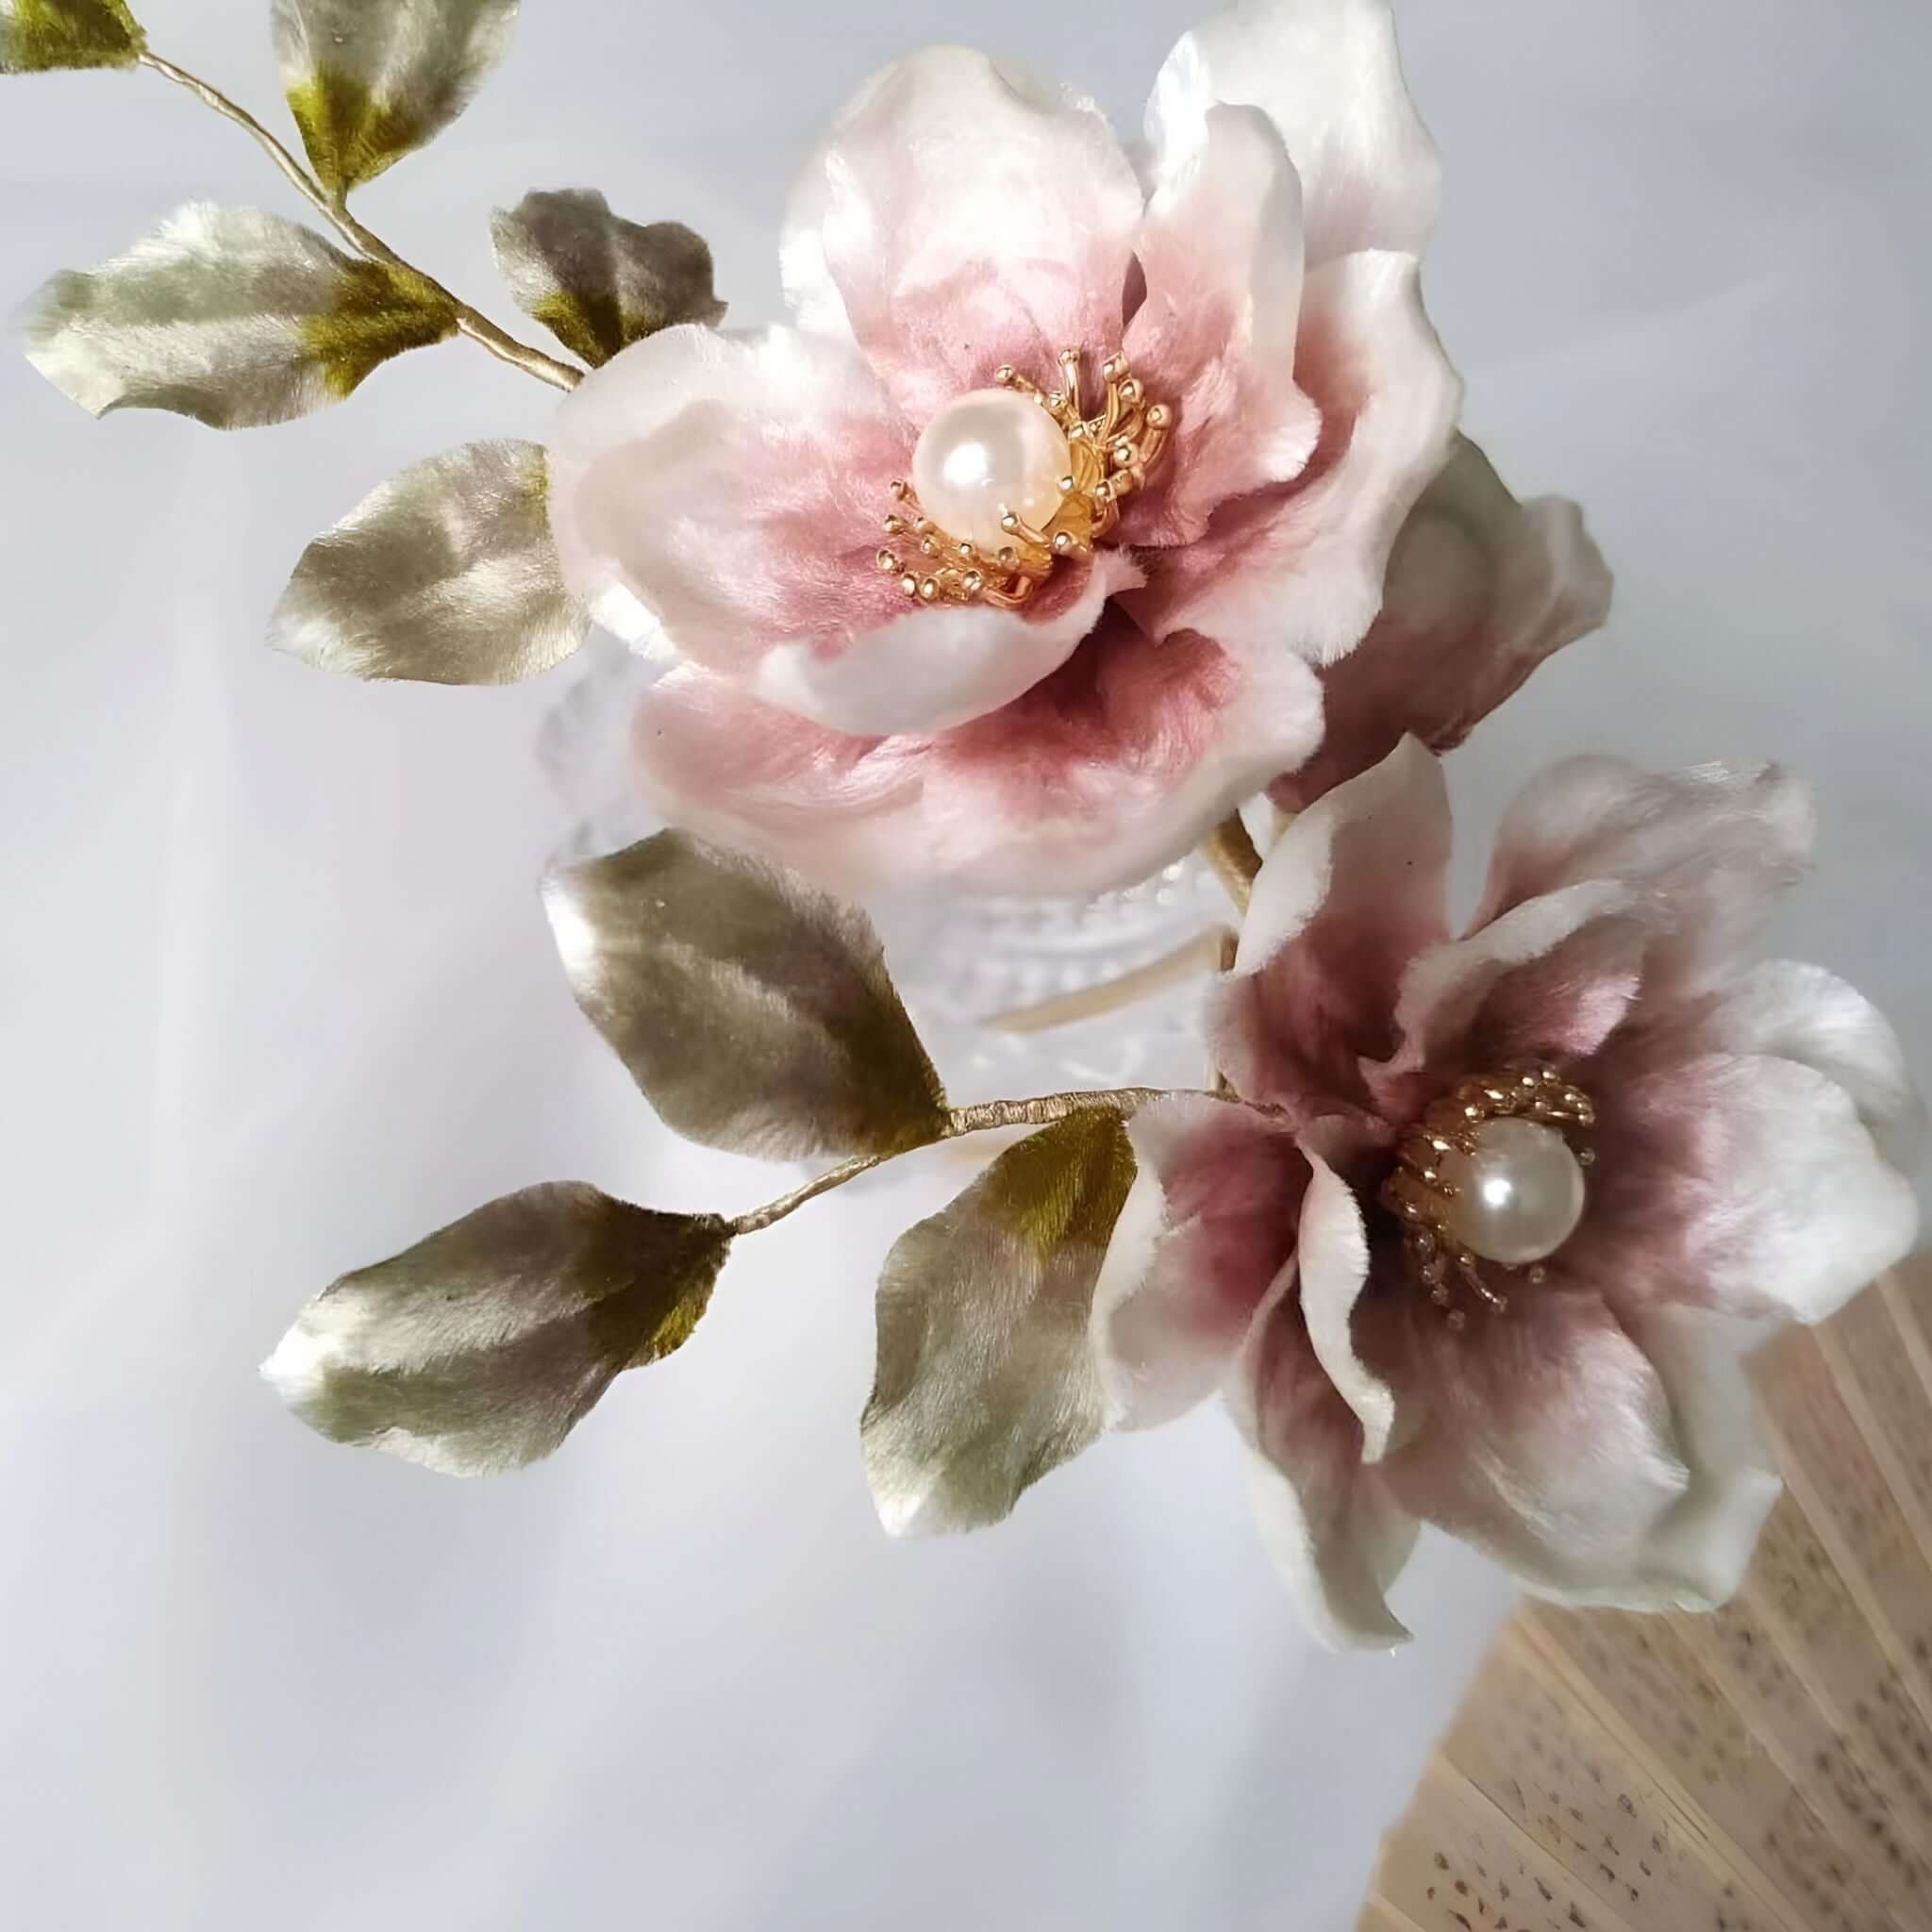
Add embellishments like pearls, mother-of-pearl, tassels, or gemstones based on personal preference to enhance the beauty of the ronghua. Be careful not to overdo it; a few decorations will suffice.


8. Creative Twists
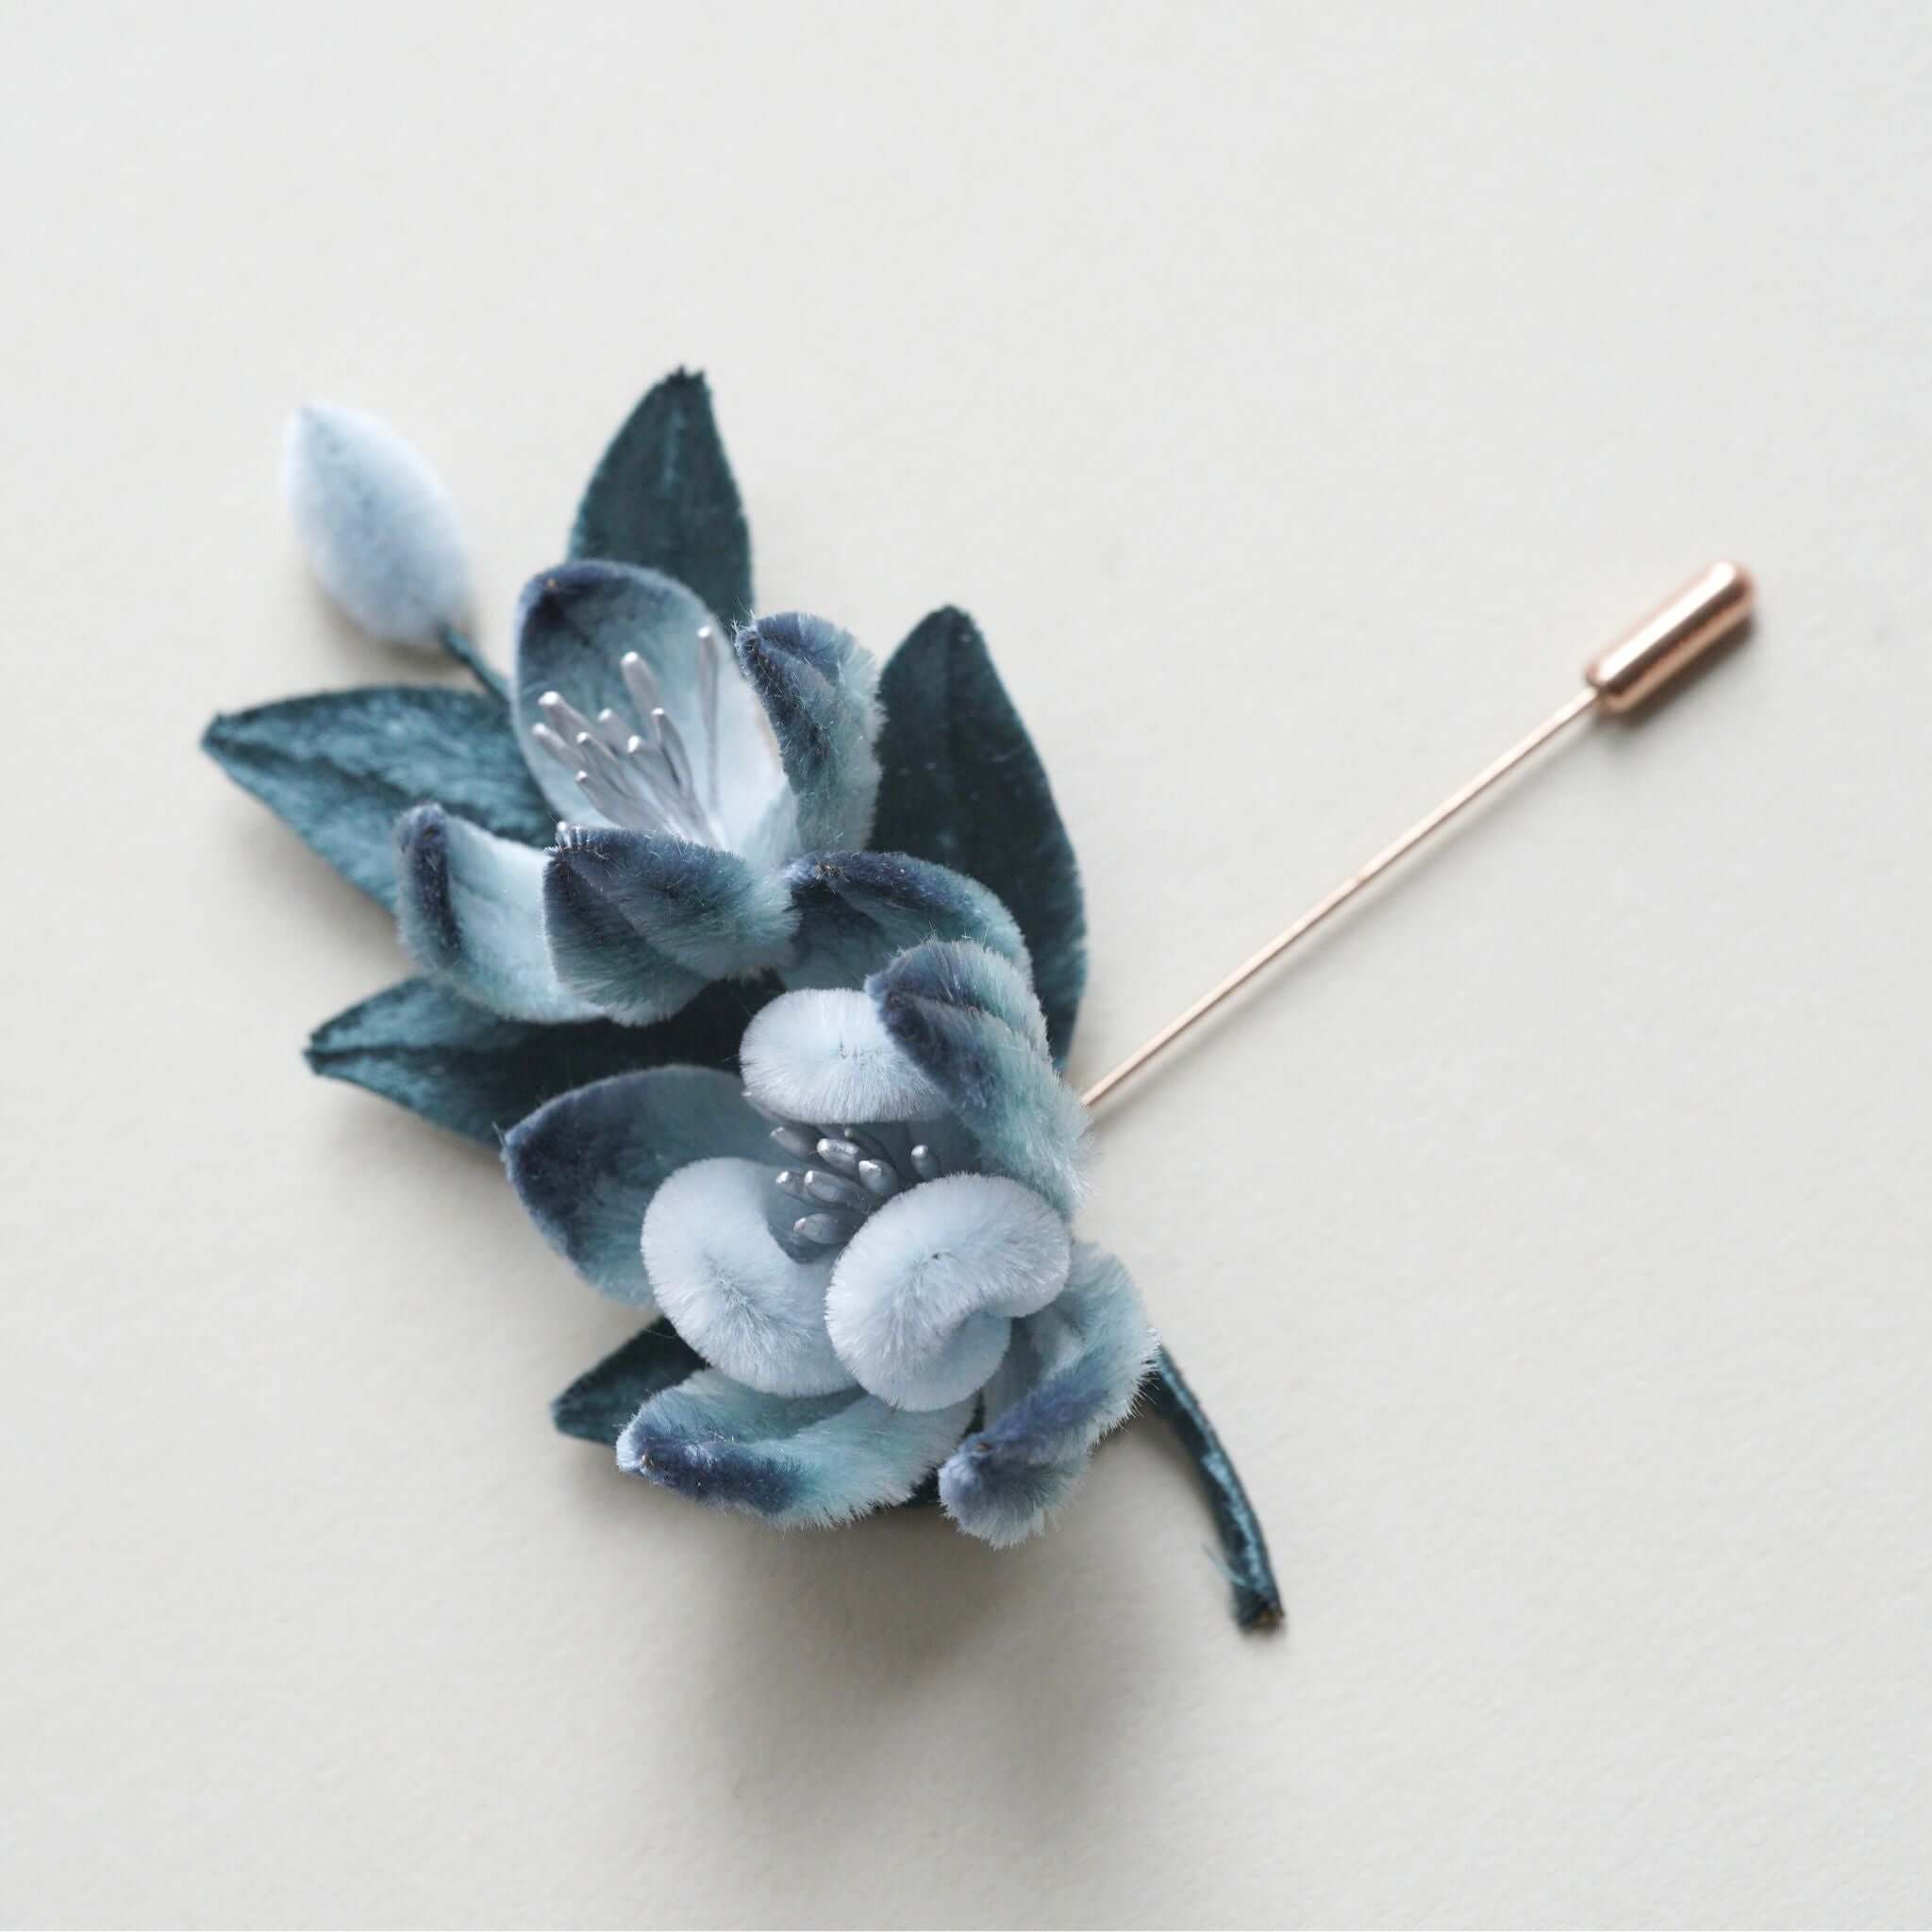
Once you master the basics, experiment with different shapes and styles to unleash your creativity. Combine modern aesthetics with traditional elements to design more fashionable and artistic ronghua pieces.

With these steps, you can elevate your ronghua craftsmanship and create intricate, beautiful silk flowers. Happy crafting!


