


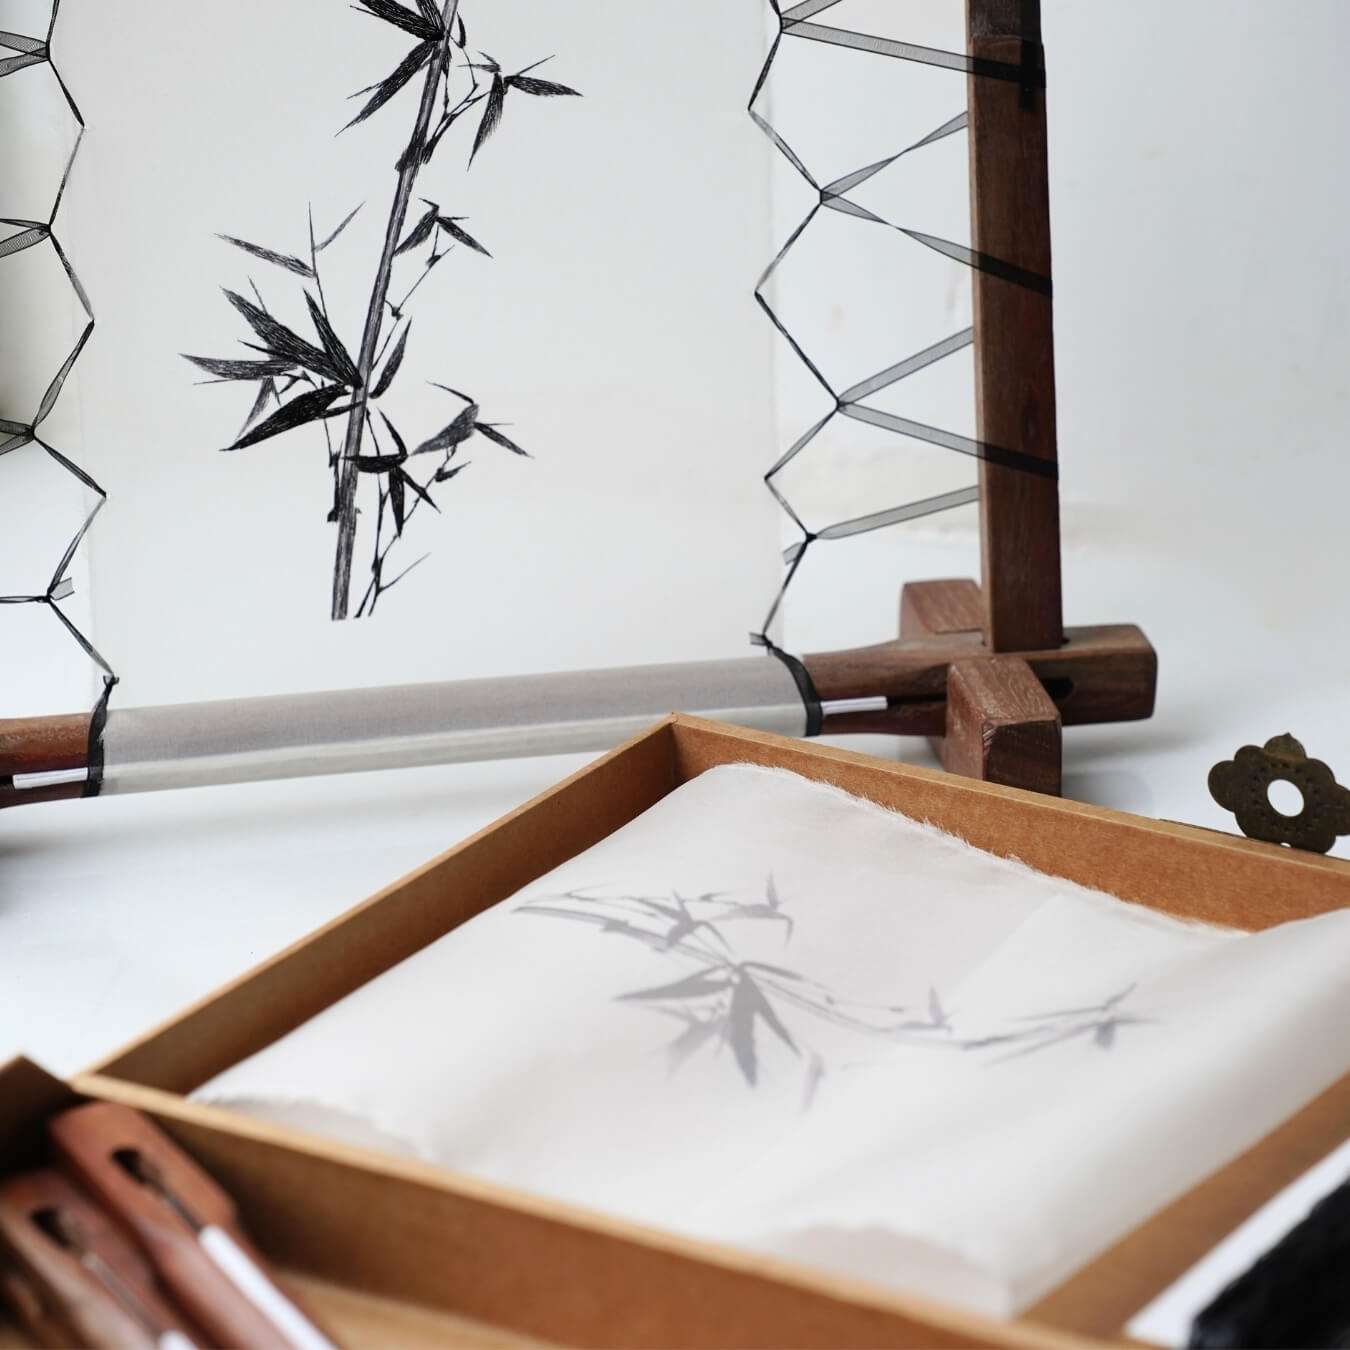

In this detailed tutorial, we’ll guide you through every step of creating your own exquisite door plate using traditional cloisonné techniques—shaping delicate wires and layering vibrant colored sand.
Step 1: Transferring the Pattern and Applying Glue 00:00~00:30
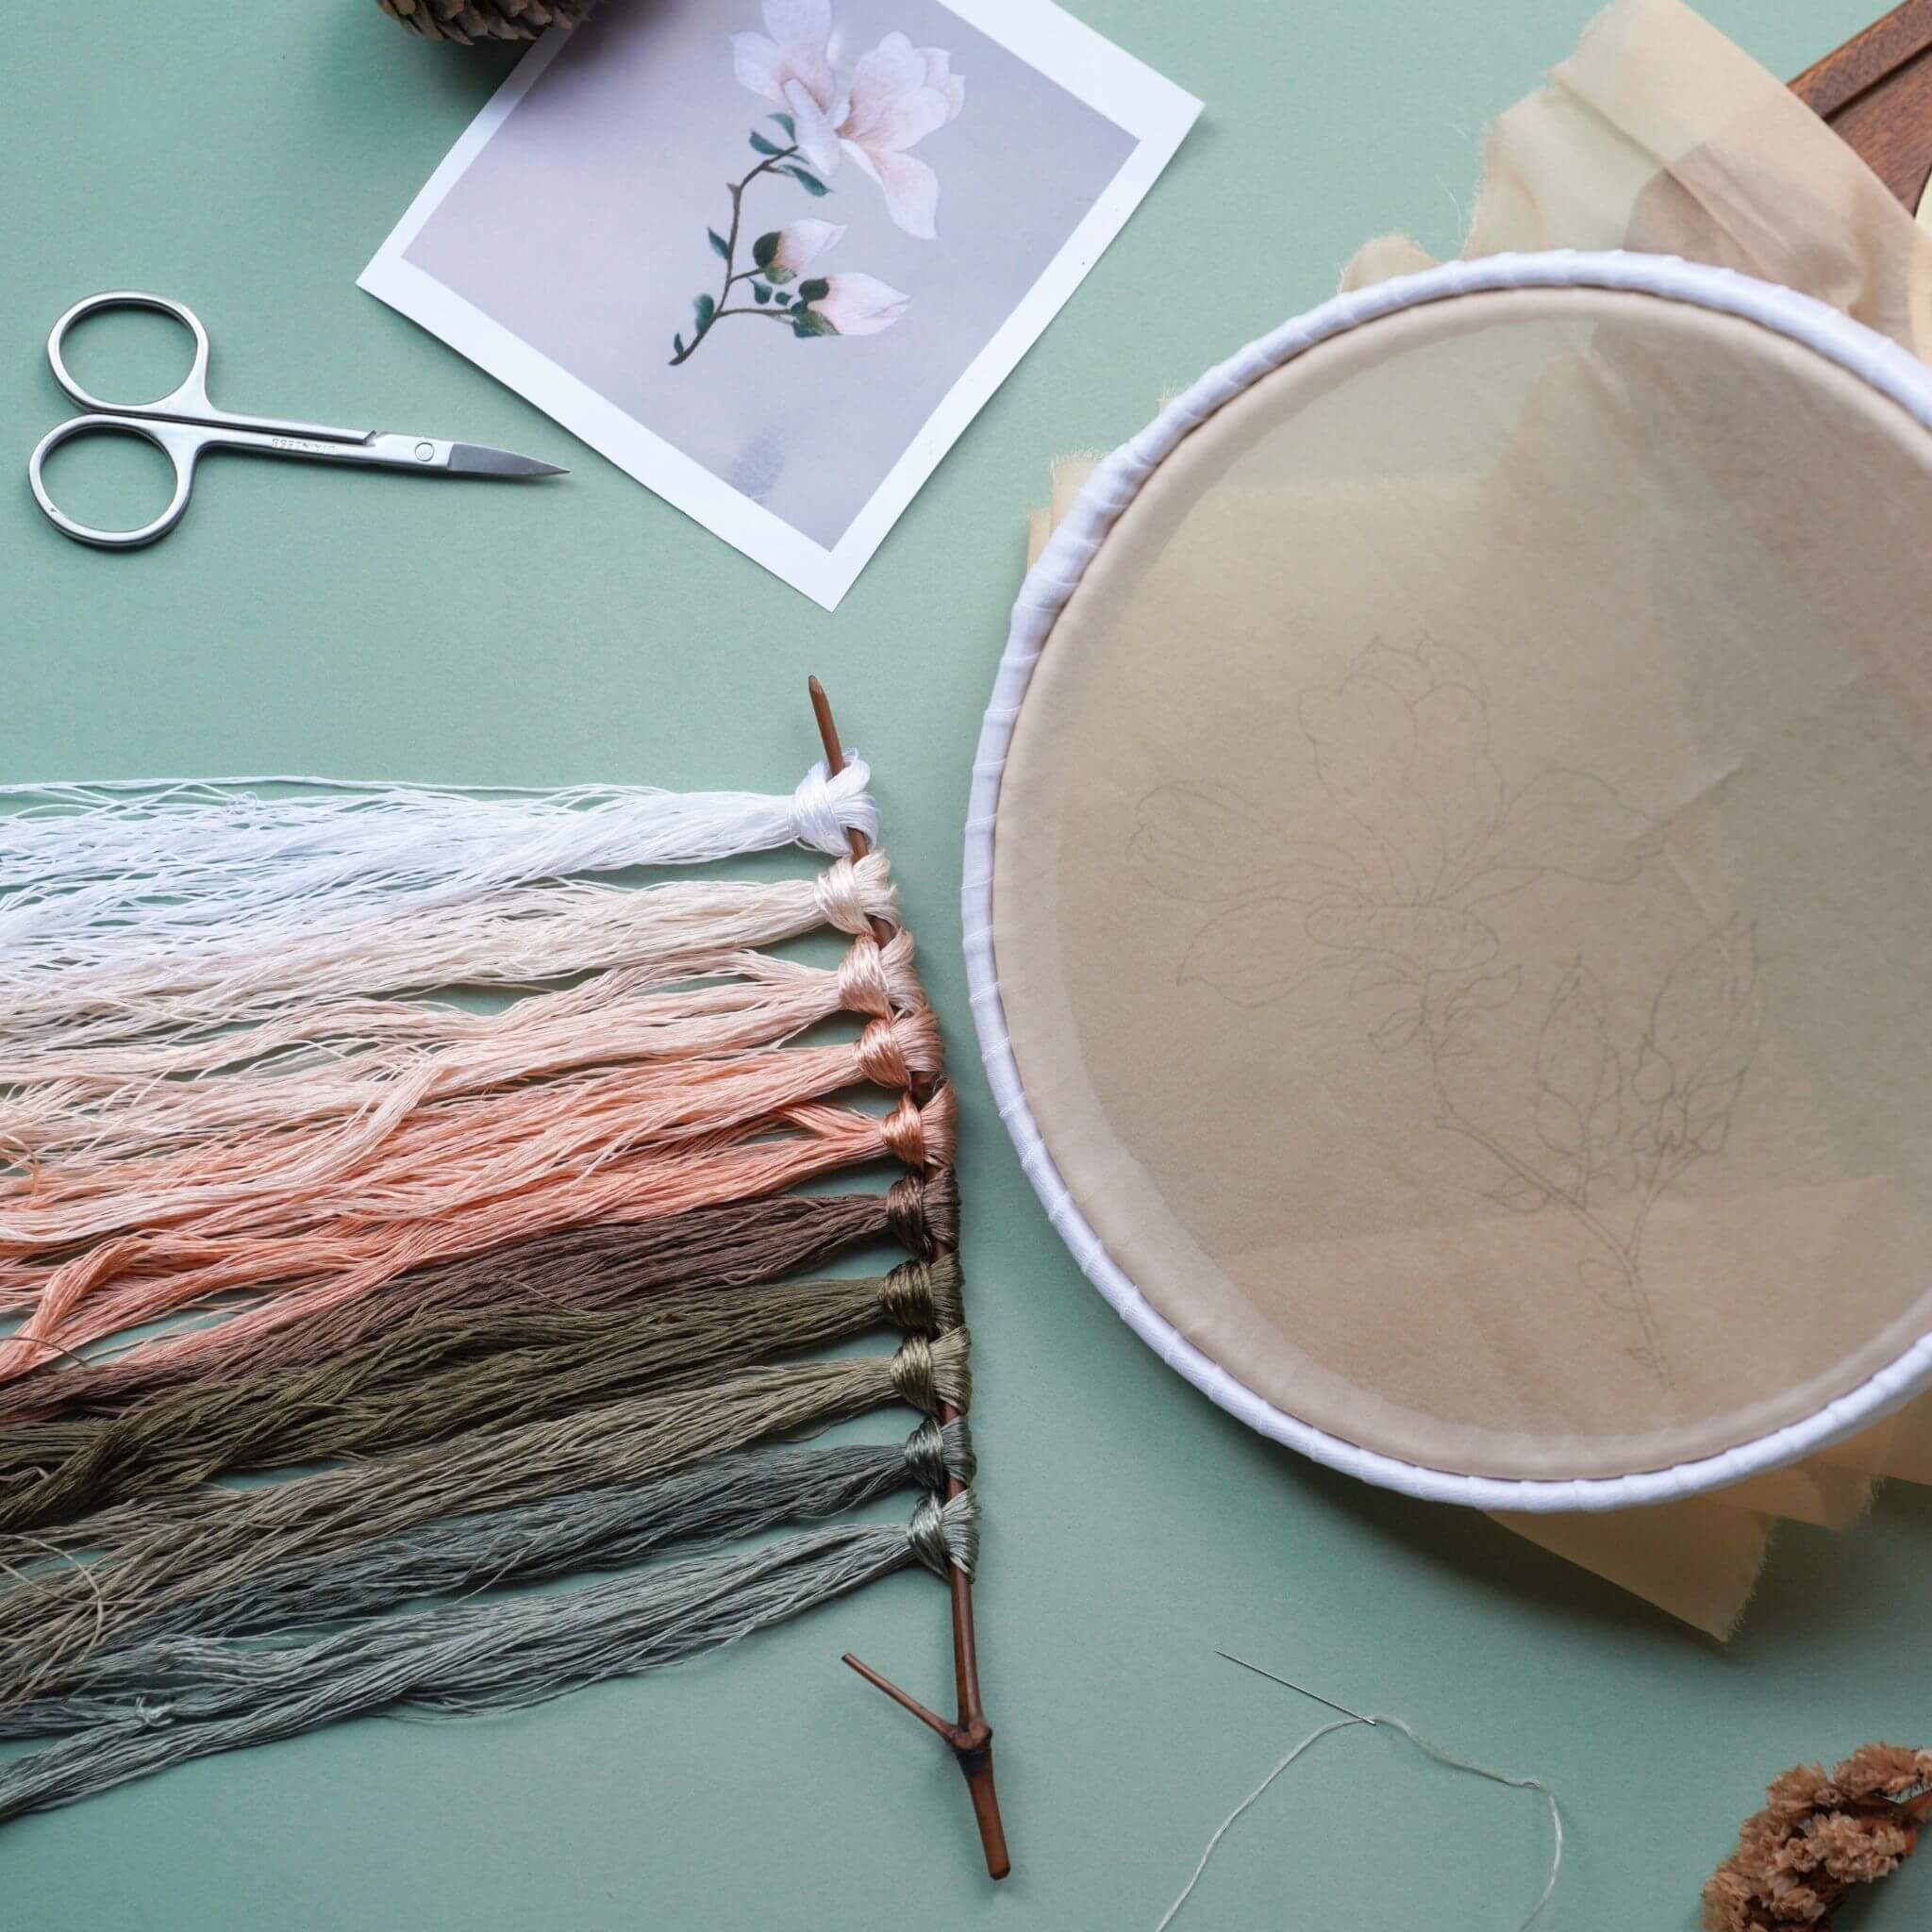
Use transfer paper to copy the pattern onto the baseboard. The inked side should face down, and the dry side should face up. Secure the paper in place with tape to prevent it from shifting during the transfer. Make sure the transfer paper is facing the correct direction—if it's upside down, the pattern won’t transfer properly. Place the sketch on top of the transfer paper and trace over the original lines with a pen. Be careful not to rub the surface too hard while tracing, as this may smudge or erase the transferred pattern.

Apply glue evenly along the lines of the pattern. The width of the glue line should be slightly wider than the diameter of the metal wire. Avoid using too much glue, as this may cause the wire to slip or lead to uneven layering of colored sand later. Apply the glue in small amounts and in stages to ensure an even distribution across each area.

Step 2: Making the Cloisonné Blue Orchid Door Plate 00:30~end
Take out the gold wire and cut it to appropriate lengths according to the pattern. Next, shape the wire along the design lines. If the wire gets accidentally bent, simply straighten it and continue using it. You can use a wire-smoothing board to gently pull both ends and remove noticeable bends or twists. Straightening the wire helps it fit the lines more precisely, which ensures the colored sand fills evenly and the final piece looks polished. You can also straighten the wire by hand.
Once the glue is applied and the wire is fixed in place, you can still make slight adjustments to the shape to ensure smoother, cleaner lines. Seal any leftover glue properly to prevent it from drying out.


If you can’t finish the project in one session, you can mix the colored sand separately. In a small container, add the binding glue—just enough to fully coat the sand. The recommended ratio of glue to sand is 1:1. Stir well until the mixture is fully combined. Before applying the sand, lightly spray the glued area with water to improve adhesion and overall texture.

Use a palette knife to evenly spread the sand into the glued areas. If the sand overflows, gently blot the excess with a tissue. Wipe off any stray grains with a clean tissue. Start with a layer of light green sand, then add darker green sand in specific areas for depth. Before switching colors, clean your palette knife, container, and other tools to avoid color contamination.

Apply yellow sand to the center of the flower first, then gradually blend in white and blue to create a soft gradient. Gently mix the overlapping sections with your palette knife to help the colors transition smoothly. After filling the sand, lightly tap the baseboard to help the grains settle into any gaps and create an even surface.

The color gradient layering creates a more natural transition. Finally, add any metal embellishments and your chosen numbers or letters to complete the sign!
If you finished your DIY product, welcome to show your awesome work to us and get coupons for the rest of our DIY kits!
INS@lanseichina
Pinterest@lanseichina


