


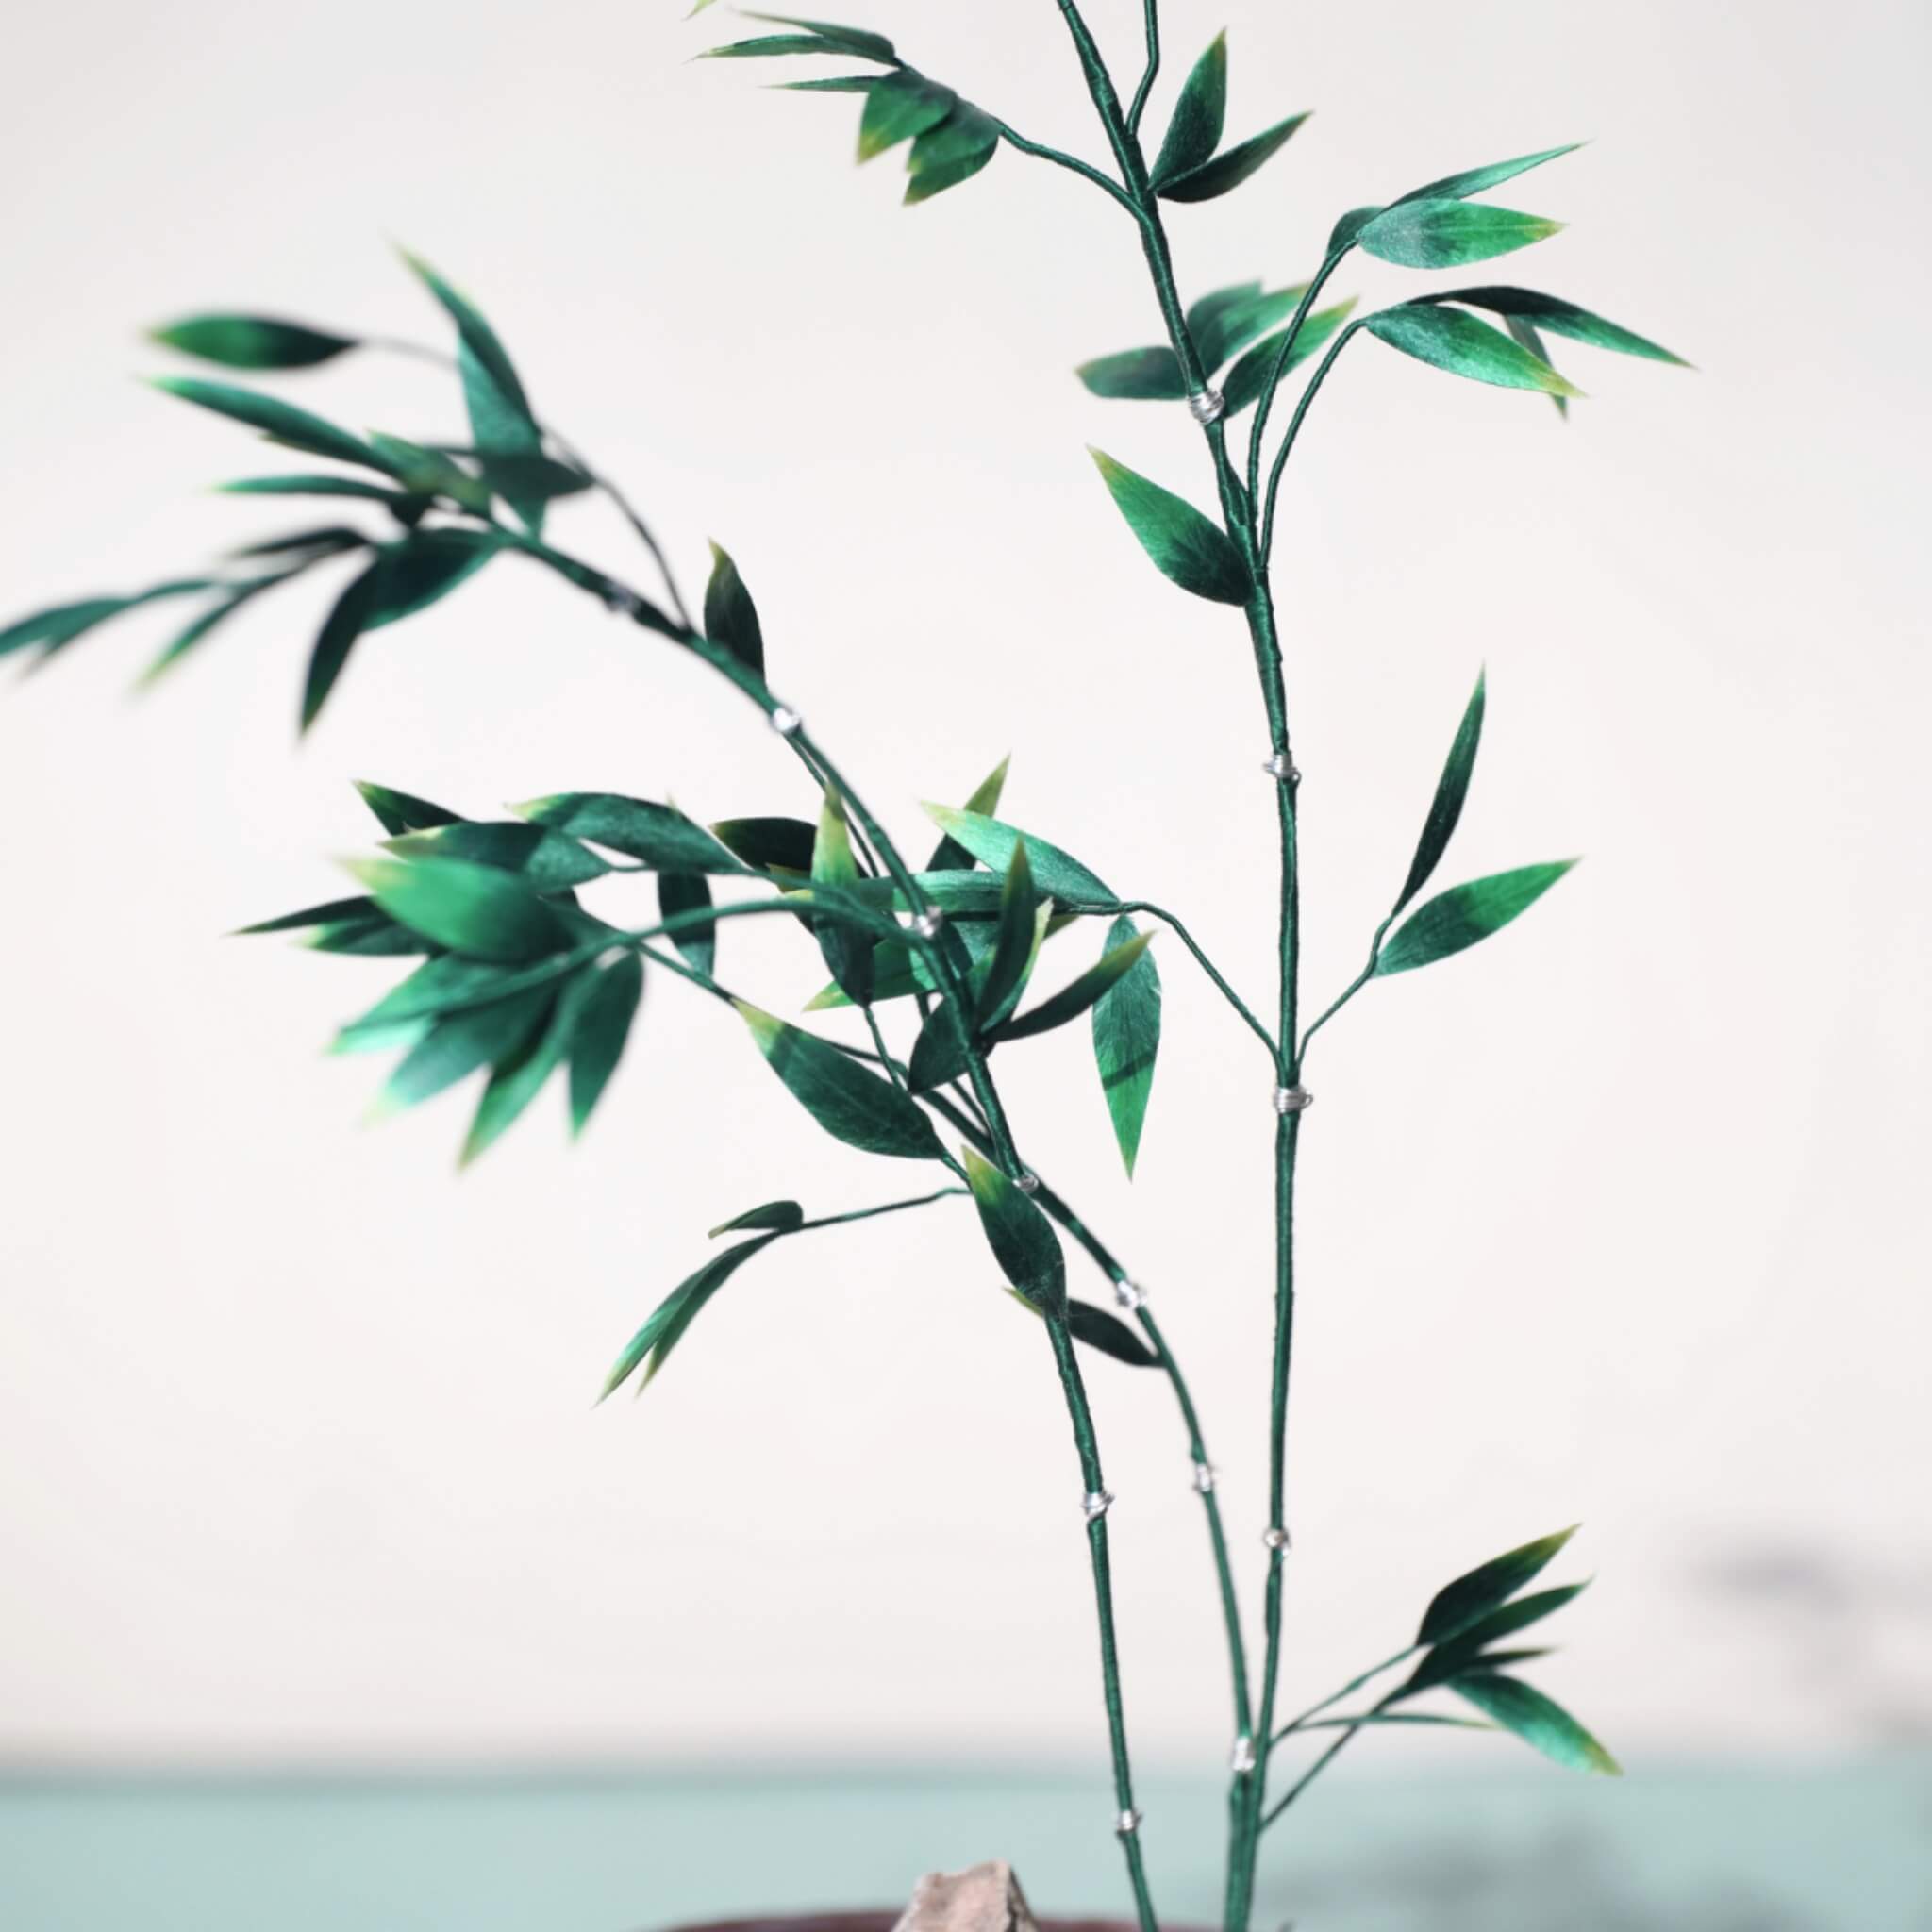
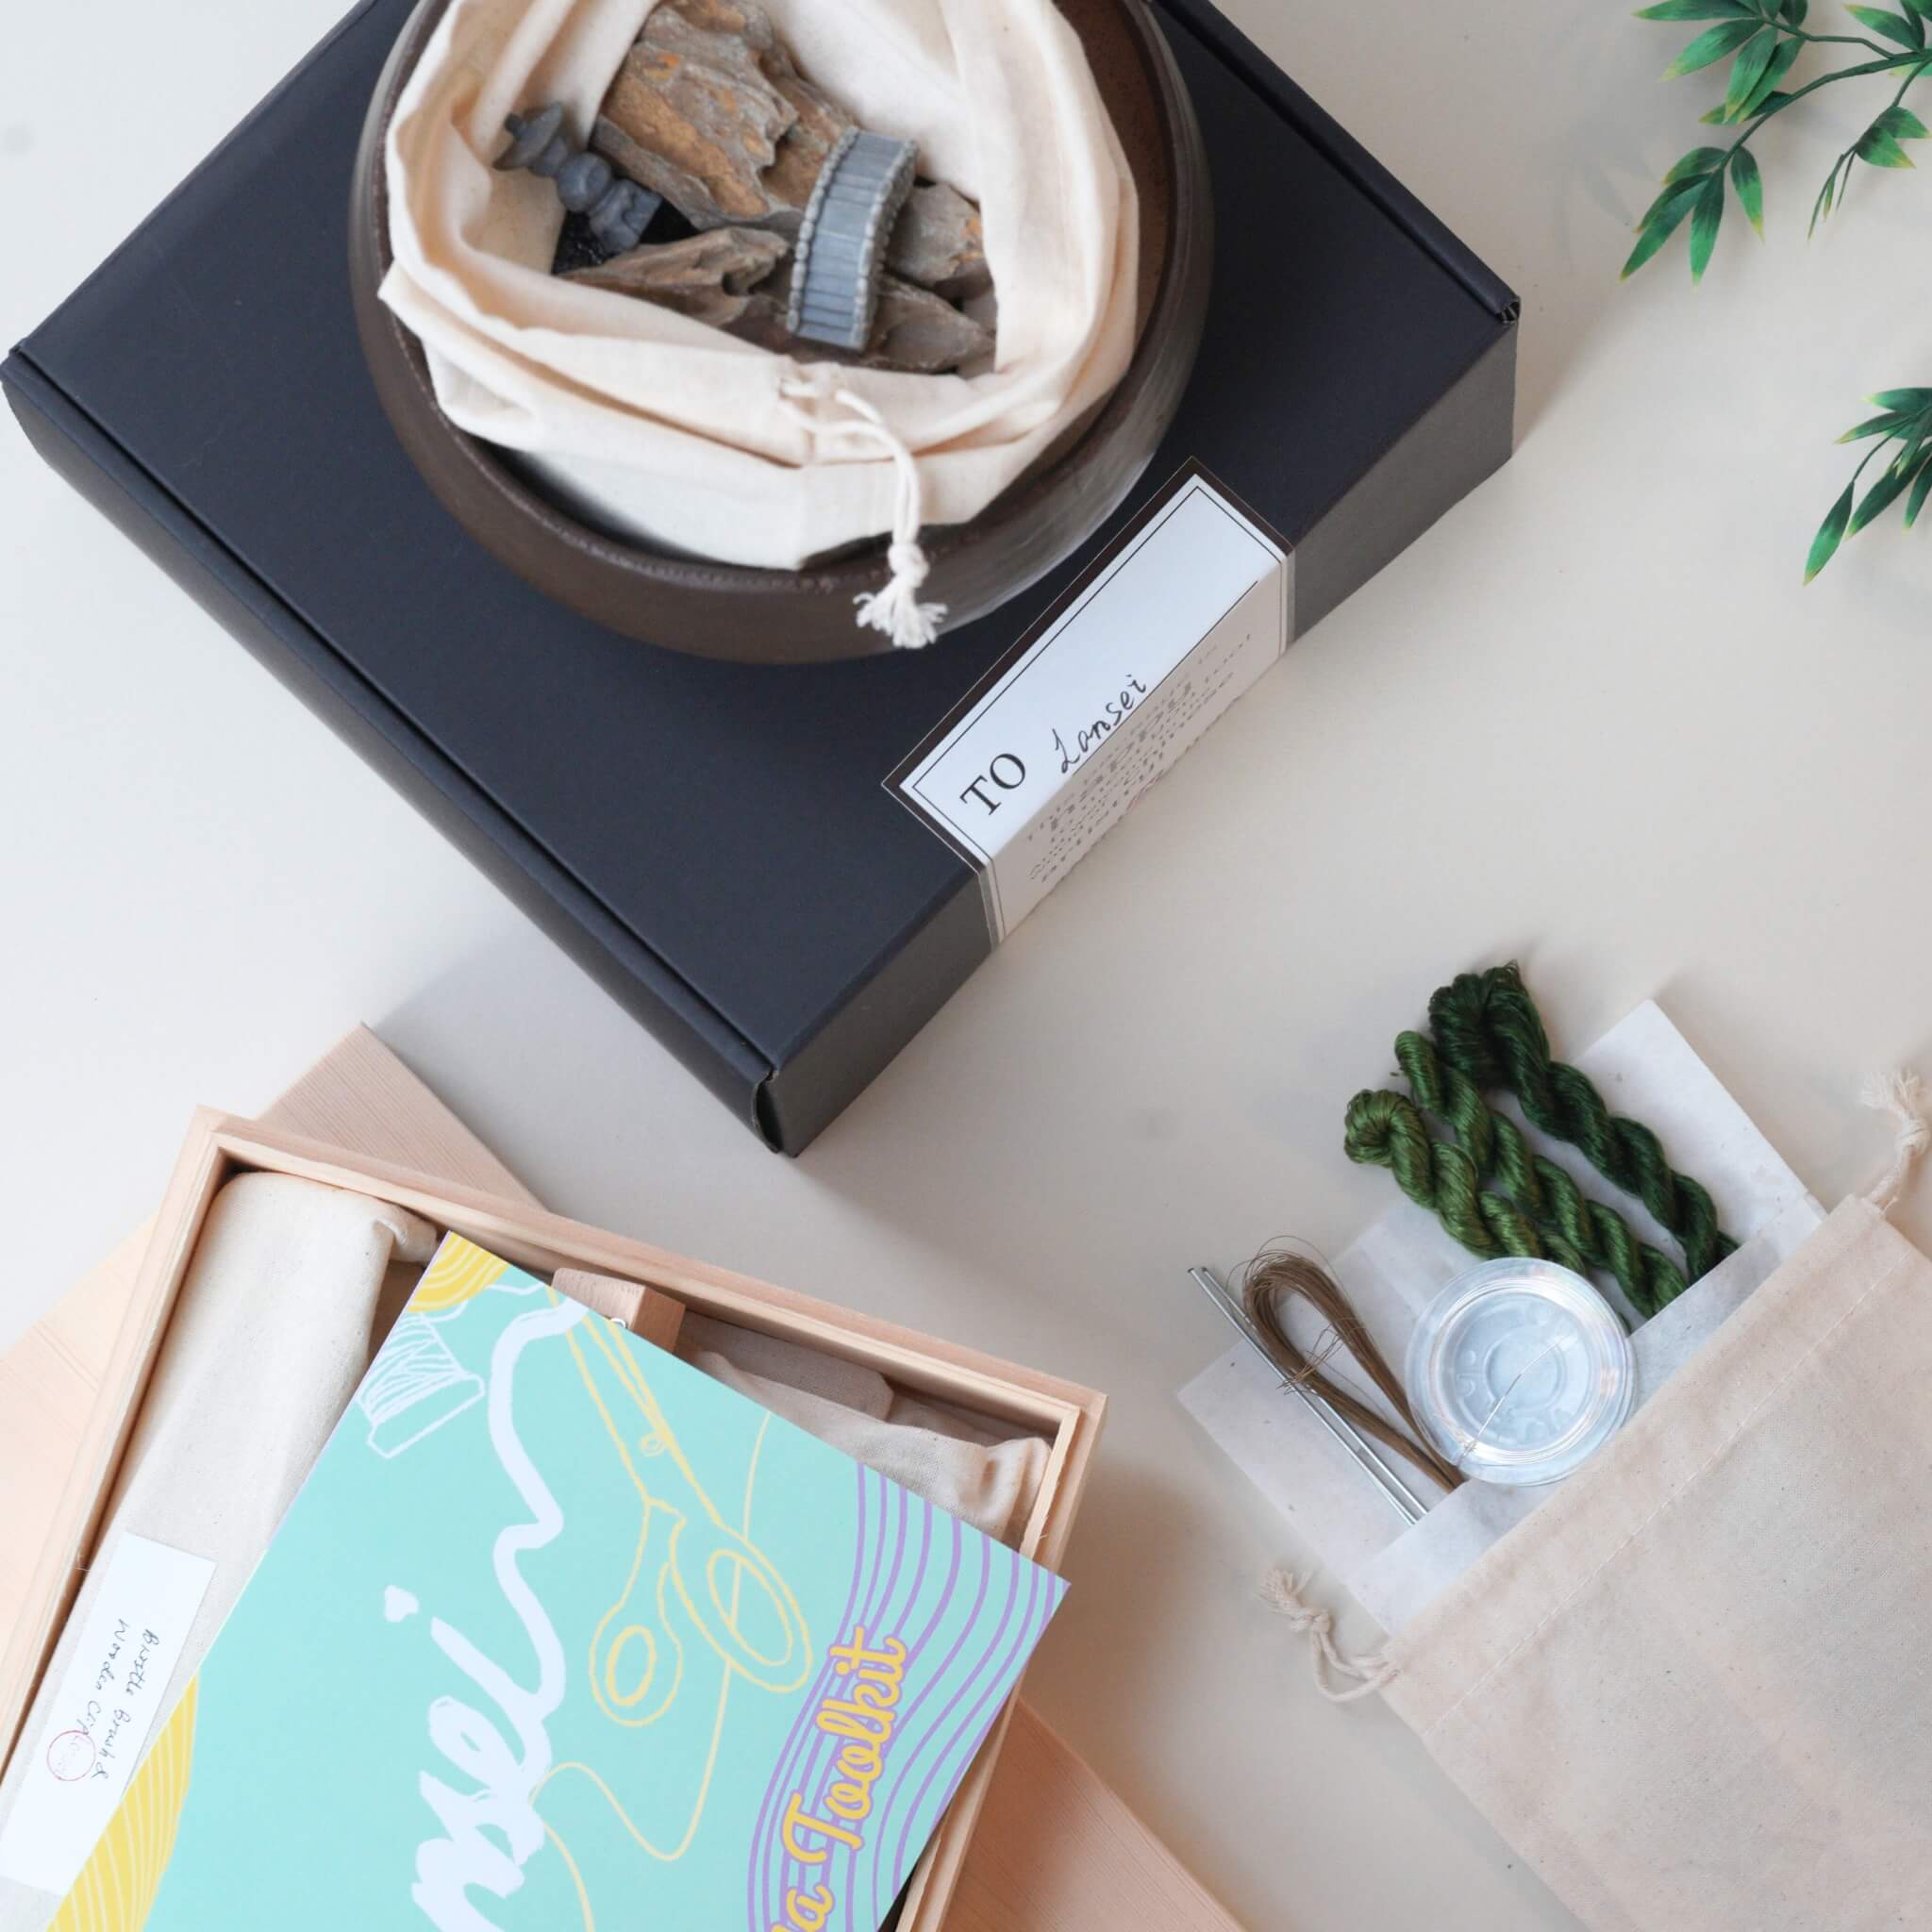
Learn how to create adorable penjing/bonsai using the traditional Ronghua crafting technique! In this step-by-step tutorial, we’ll guide you through preparing the silk strips, brushing, shaping, and assembling your very own Bamboo Bonsai/Penjing.
Step 1: Organize the silk threads and make the silk strip 00:00~01:06
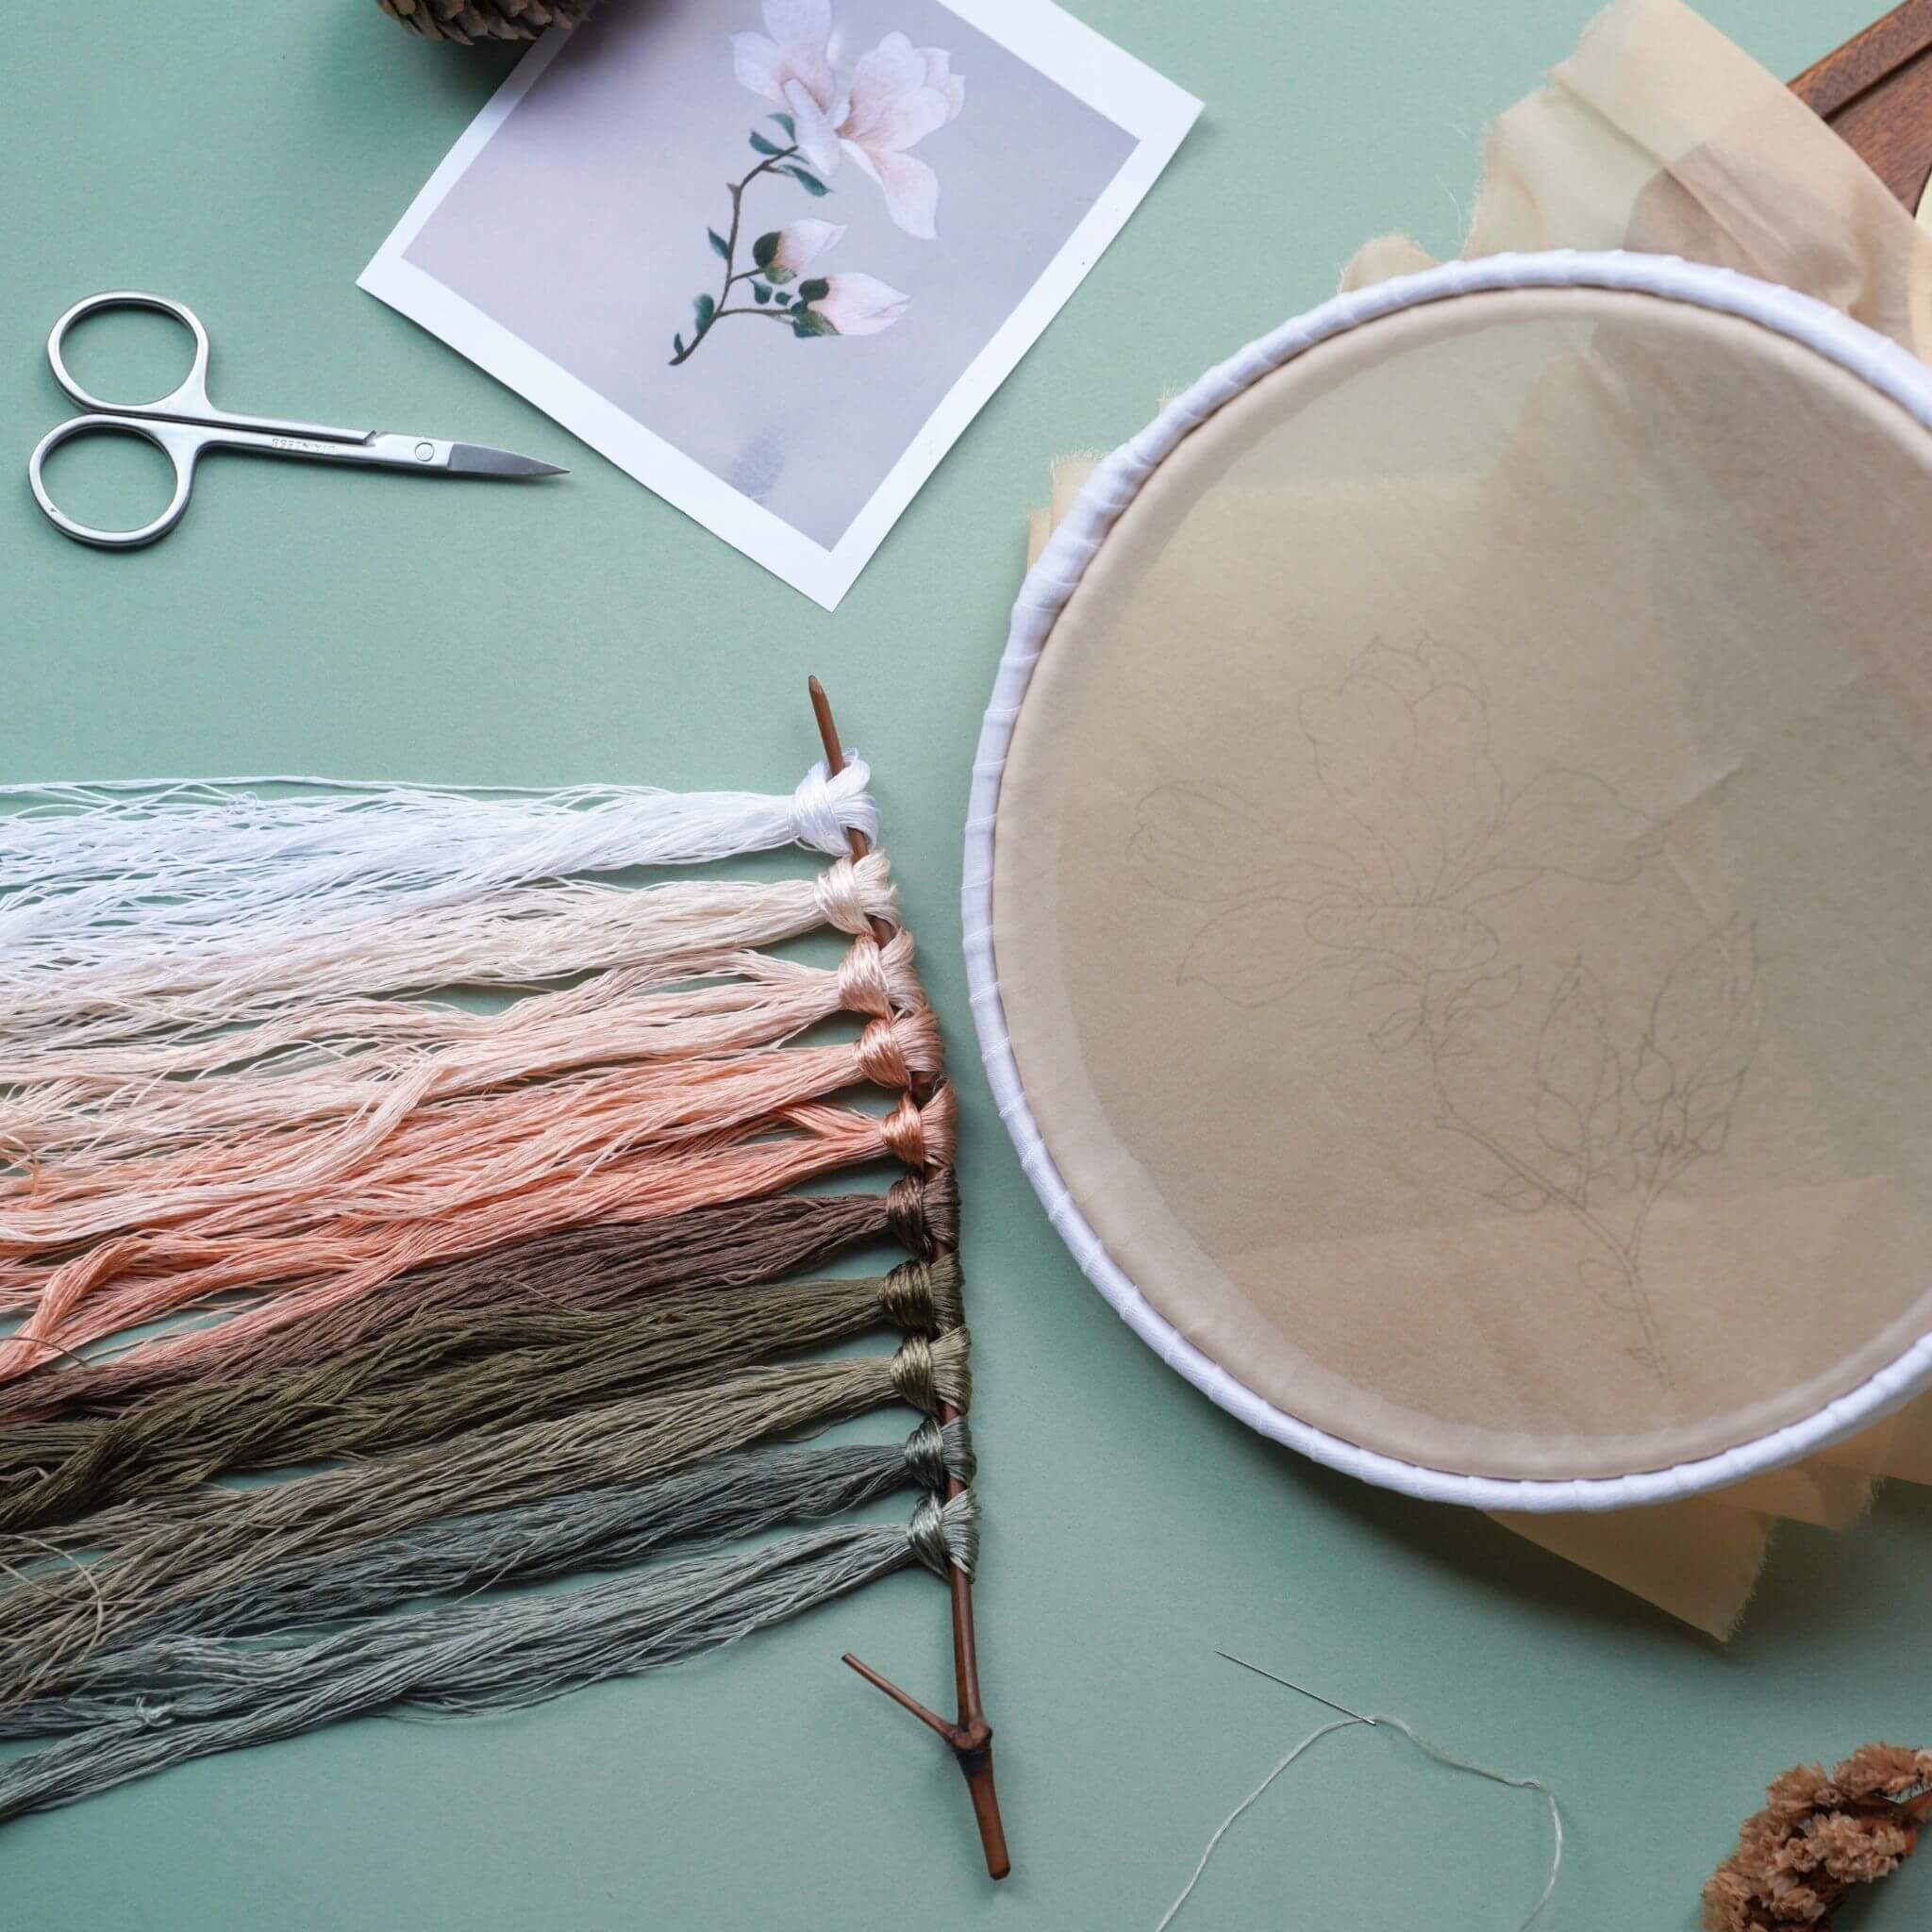
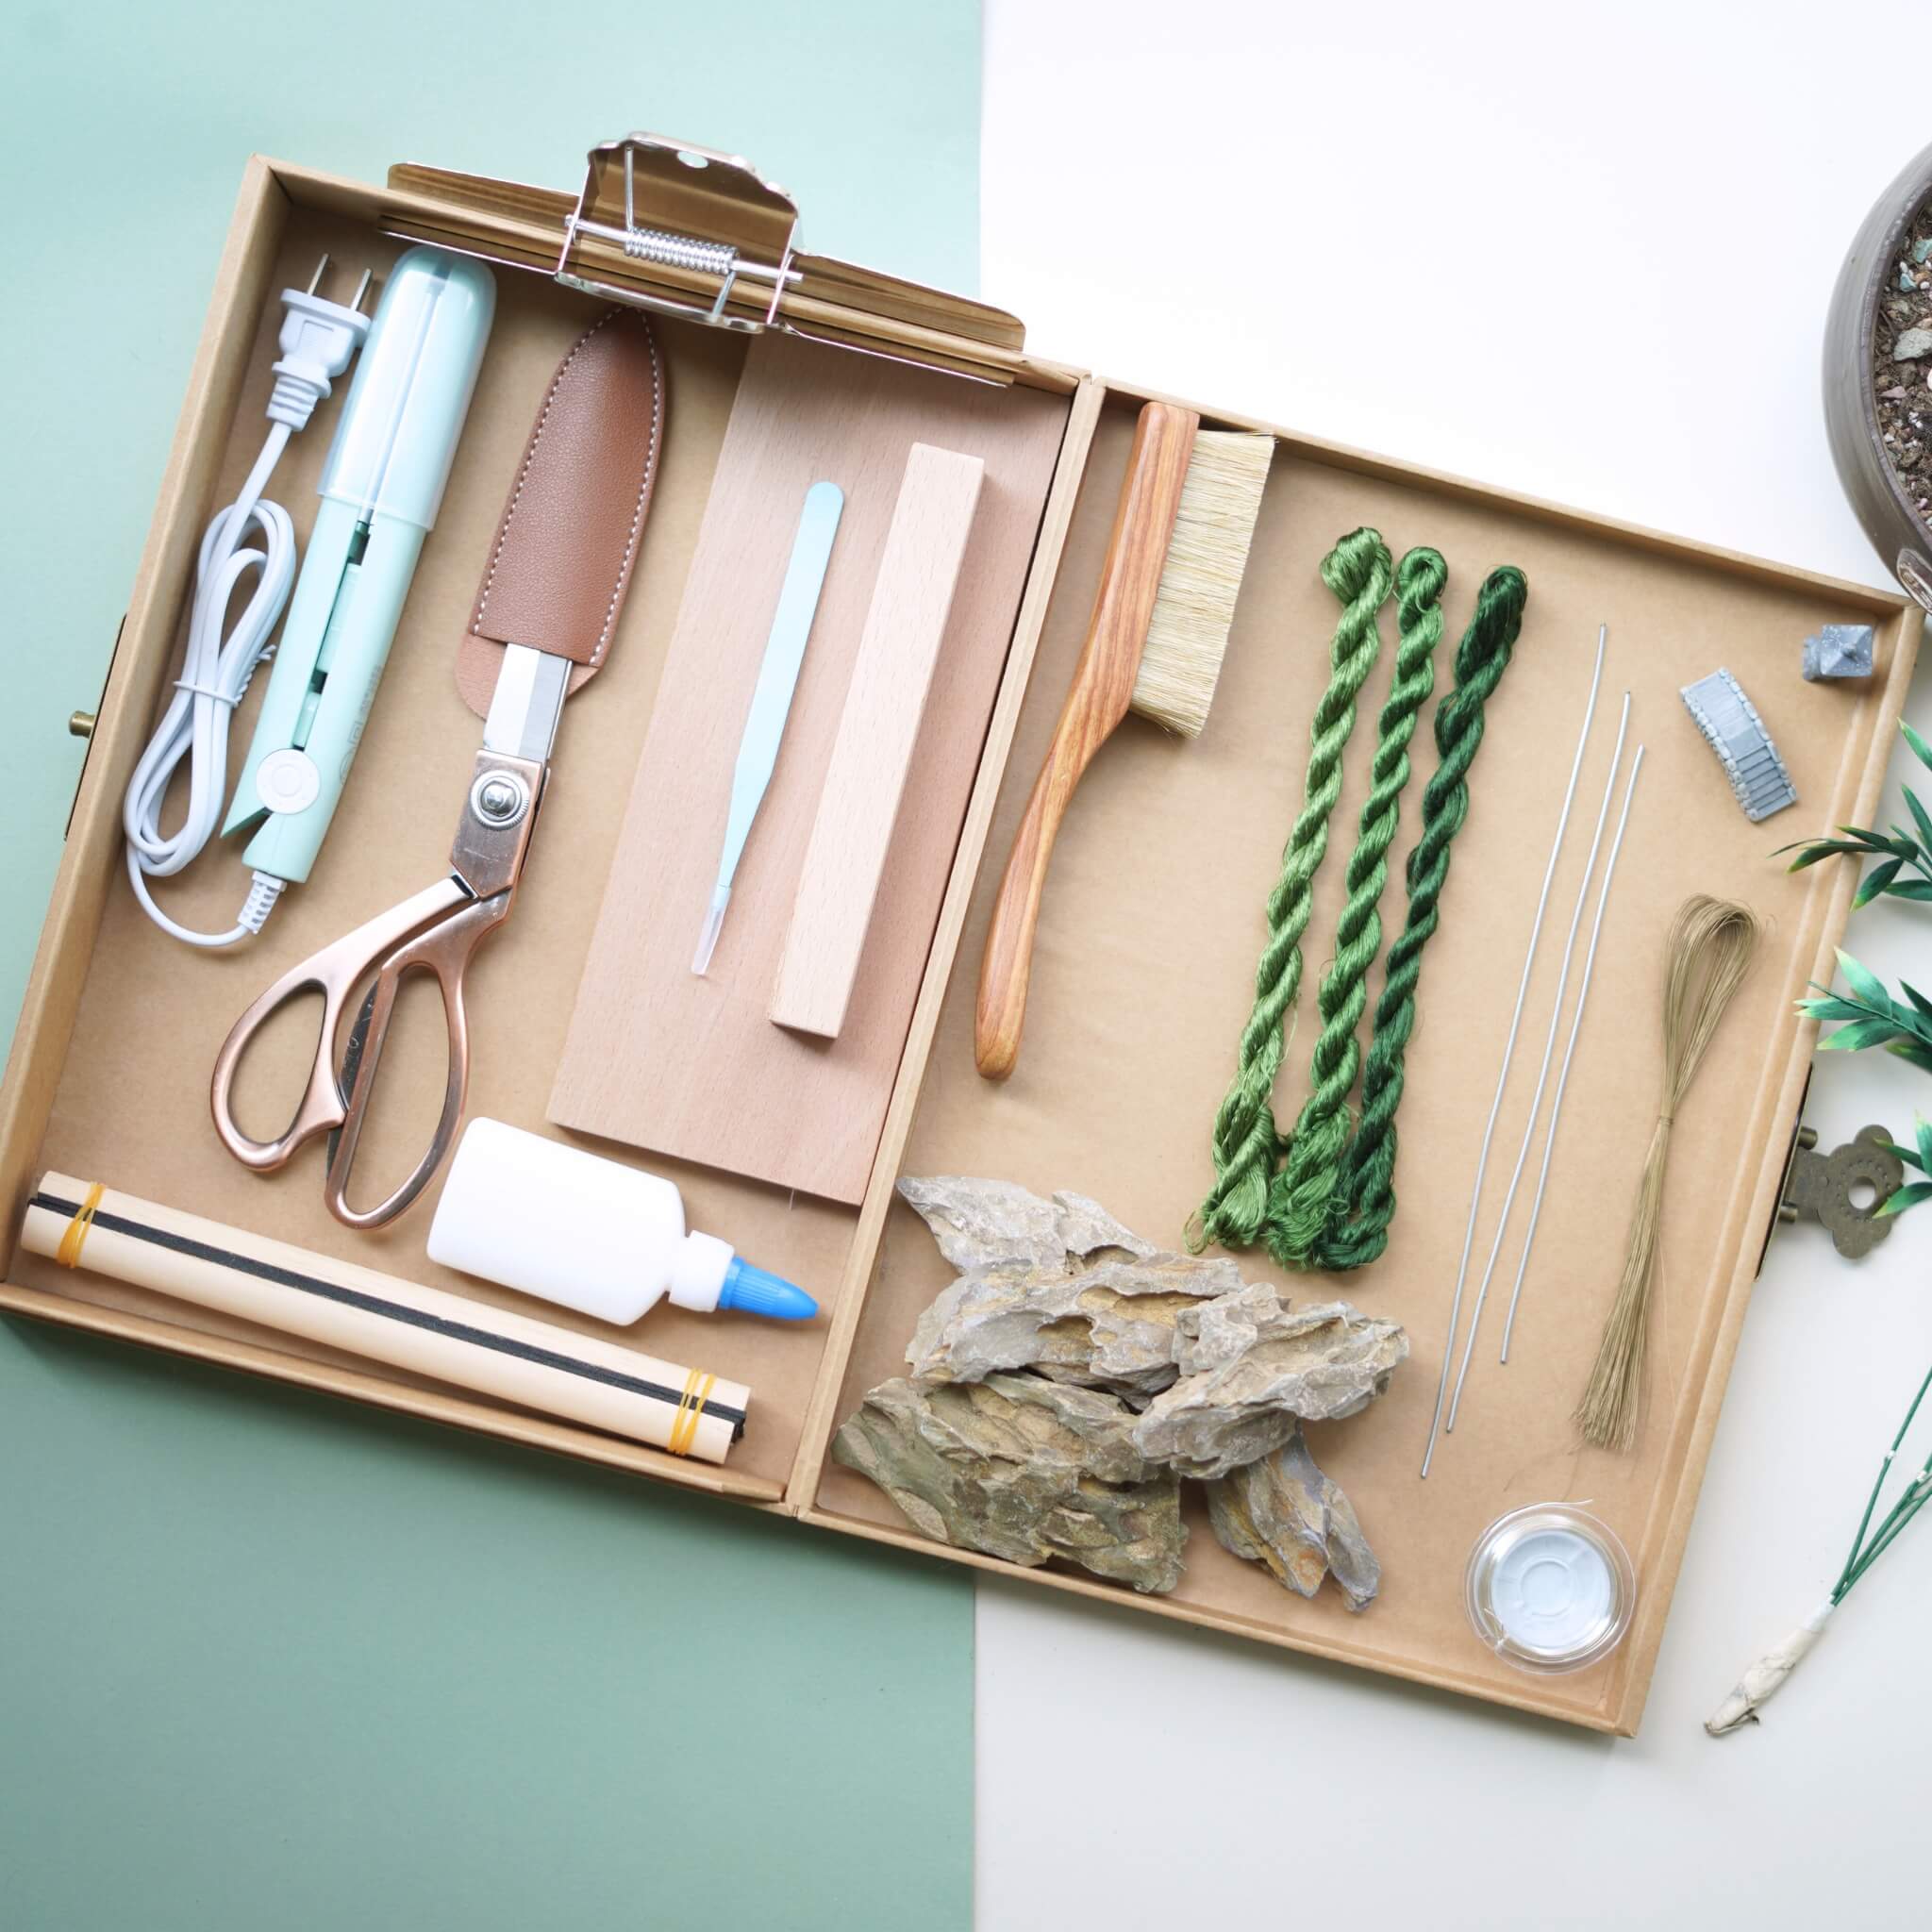
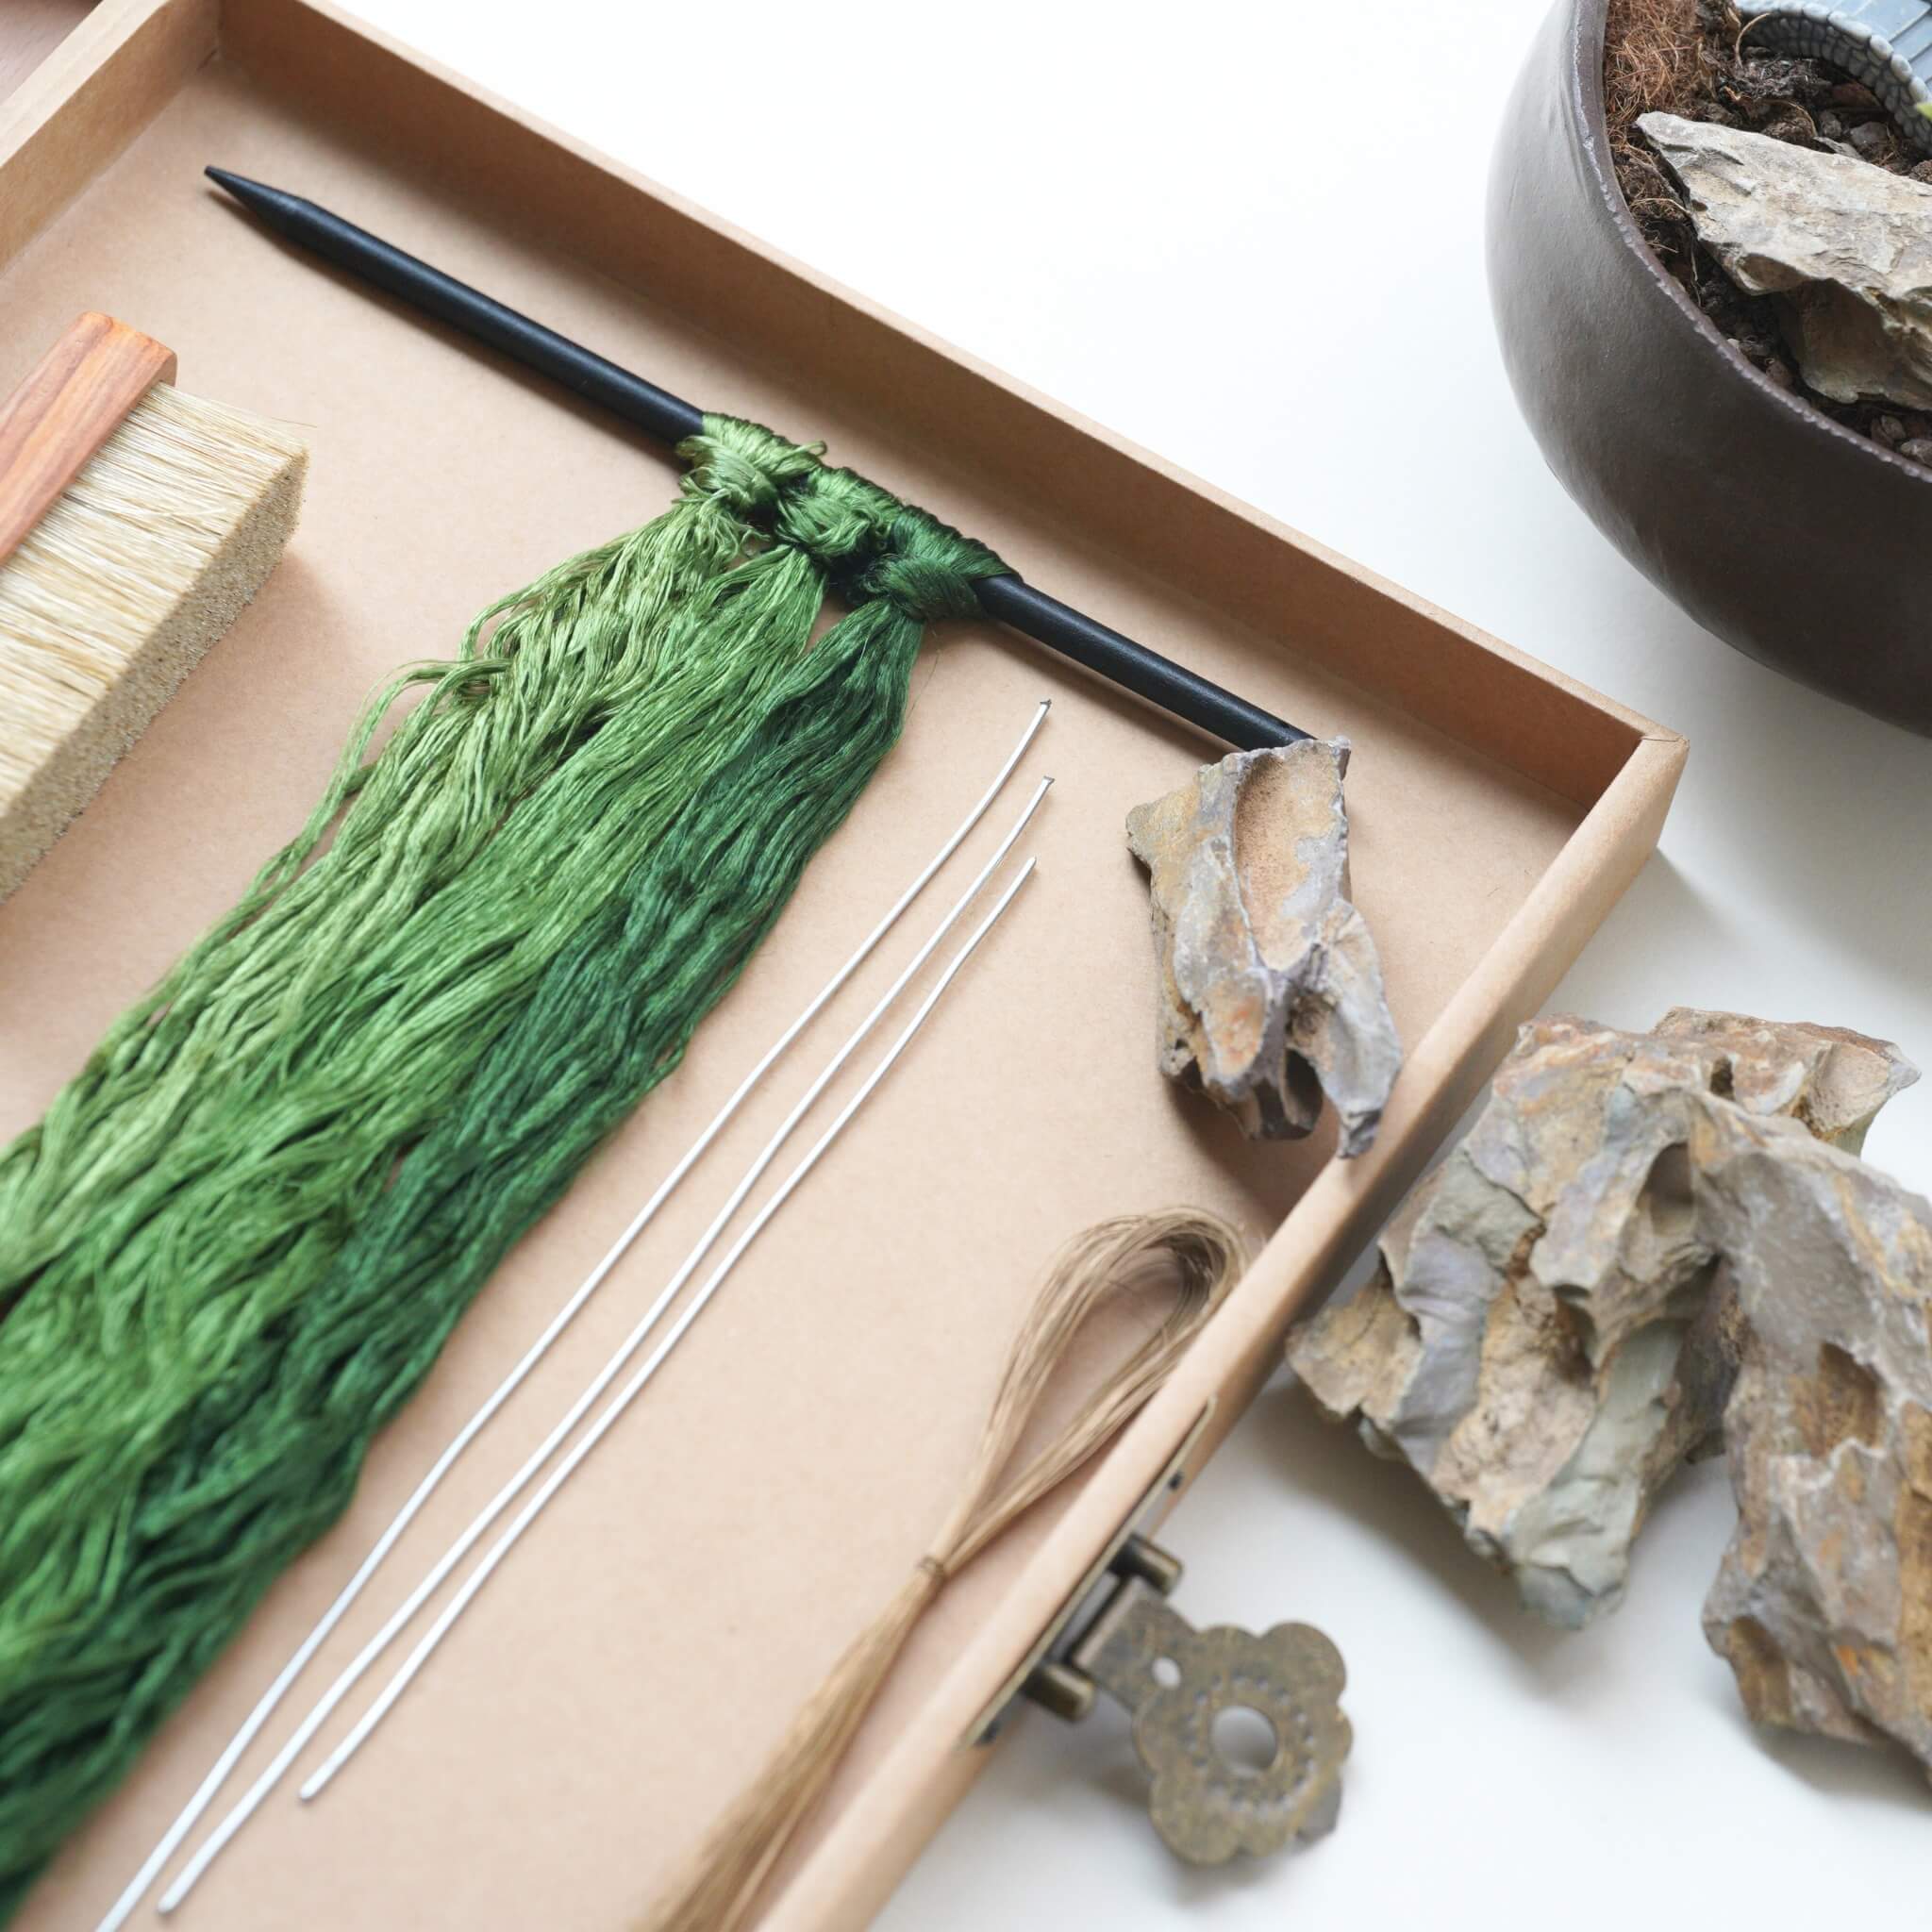
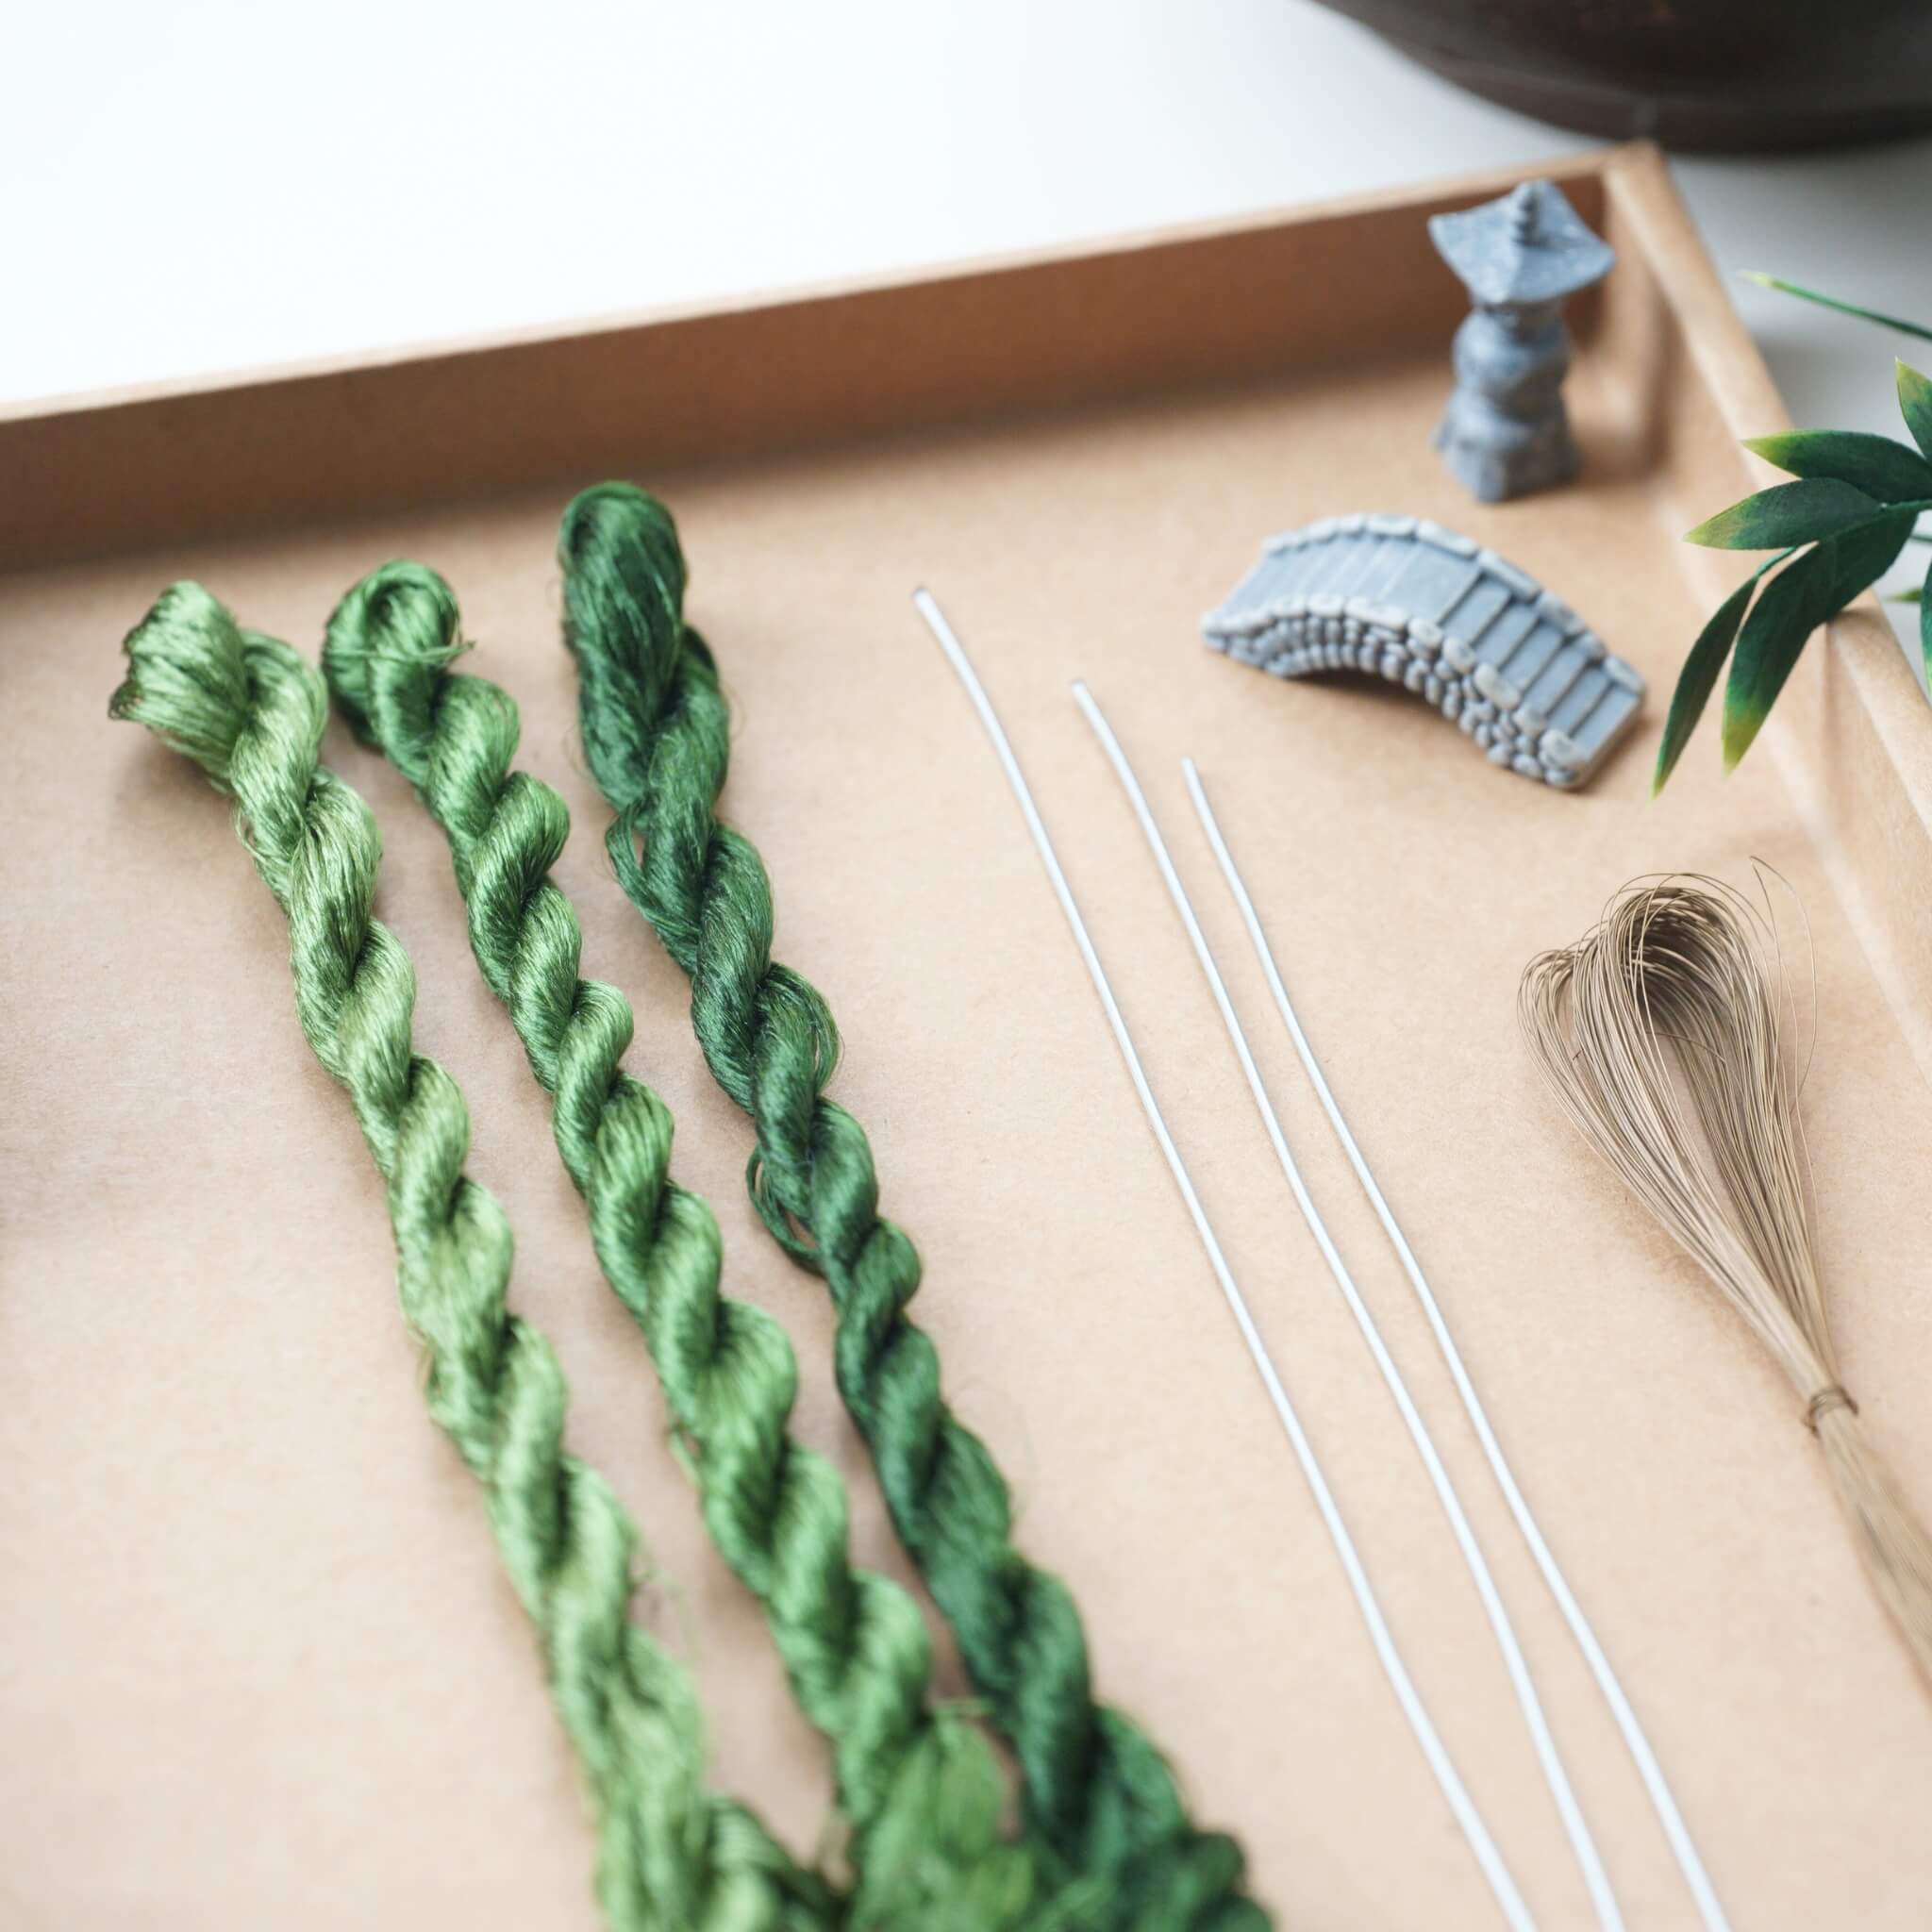
The bamboo uses silk threads grouped in sets of five, with a total of 21 groups. Two silk rows/ranks need to be prepared. Since the silk row/rank is a bit wide, I brushed it in two sections, left and right. You can spray a little water while brushing to help prevent static electricity. Both the front and back sides need to be brushed. Once the threads look fluffy and have a soft sheen, the brushing is complete.


Step 2: Make the silk strips 01:07~04:02
Use a clip to secure the silk strip and adjust the spacing from top to bottom to ensure the width is consistent. Then fix it in place with a mountain-shaped clip. Fold the copper wire in half and straighten it. Twist the closed end about 2 to 3 cm. When tying the copper wire, be sure to keep it taut. Twist the wire tightly by rotating both hands in opposite directions. It’s important to secure the copper wire firmly, or it will affect the later steps.

When cutting the silk strip, you can support it with one hand while cutting with the other. If the strip feels too long to handle, you can cut it in half first. Align both ends of the cut silk strip, then gently twist it by turning both hands in opposite directions. Do not apply too much force while twisting, or the copper wire may break.

Step 3: Make the bamboo leaves 04:03~06:22
Cut the silk strip in half. Use a mini iron to flatten the silk strip. The flattened silk strip should have a glossy finish. Evenly apply shaping liquid to the silk strip. If you don’t have shaping liquid, you can use hair spray or white glue diluted with water. Once coated, set the silk strips aside to dry. It’s best to place them upright rather than laying them flat. After they are dry, use the iron again to make the silk strips even flatter. Then trim them into the shape of bamboo leaves. The defining feature of bamboo leaves is their long and narrow shape—avoid making the leaves too rounded. Finally, gently press each bamboo leaf with the iron to give it a slight curve.

Step 4: Assemble the bamboo leaves 06:23~end
Now we’ll assemble the small bamboo branches. You can arrange and combine the leaves freely—start by grouping the leaves like this. We are going to assemble the bamboo leaves into a full bamboo stalk. First, prepare a few thick copper wires and cut both ends of each wire at a slant. Attach the small branches to the thick copper wires. Then, connect a piece of 0.4 mm copper wire. This thin wire will be used to create the bamboo nodes.
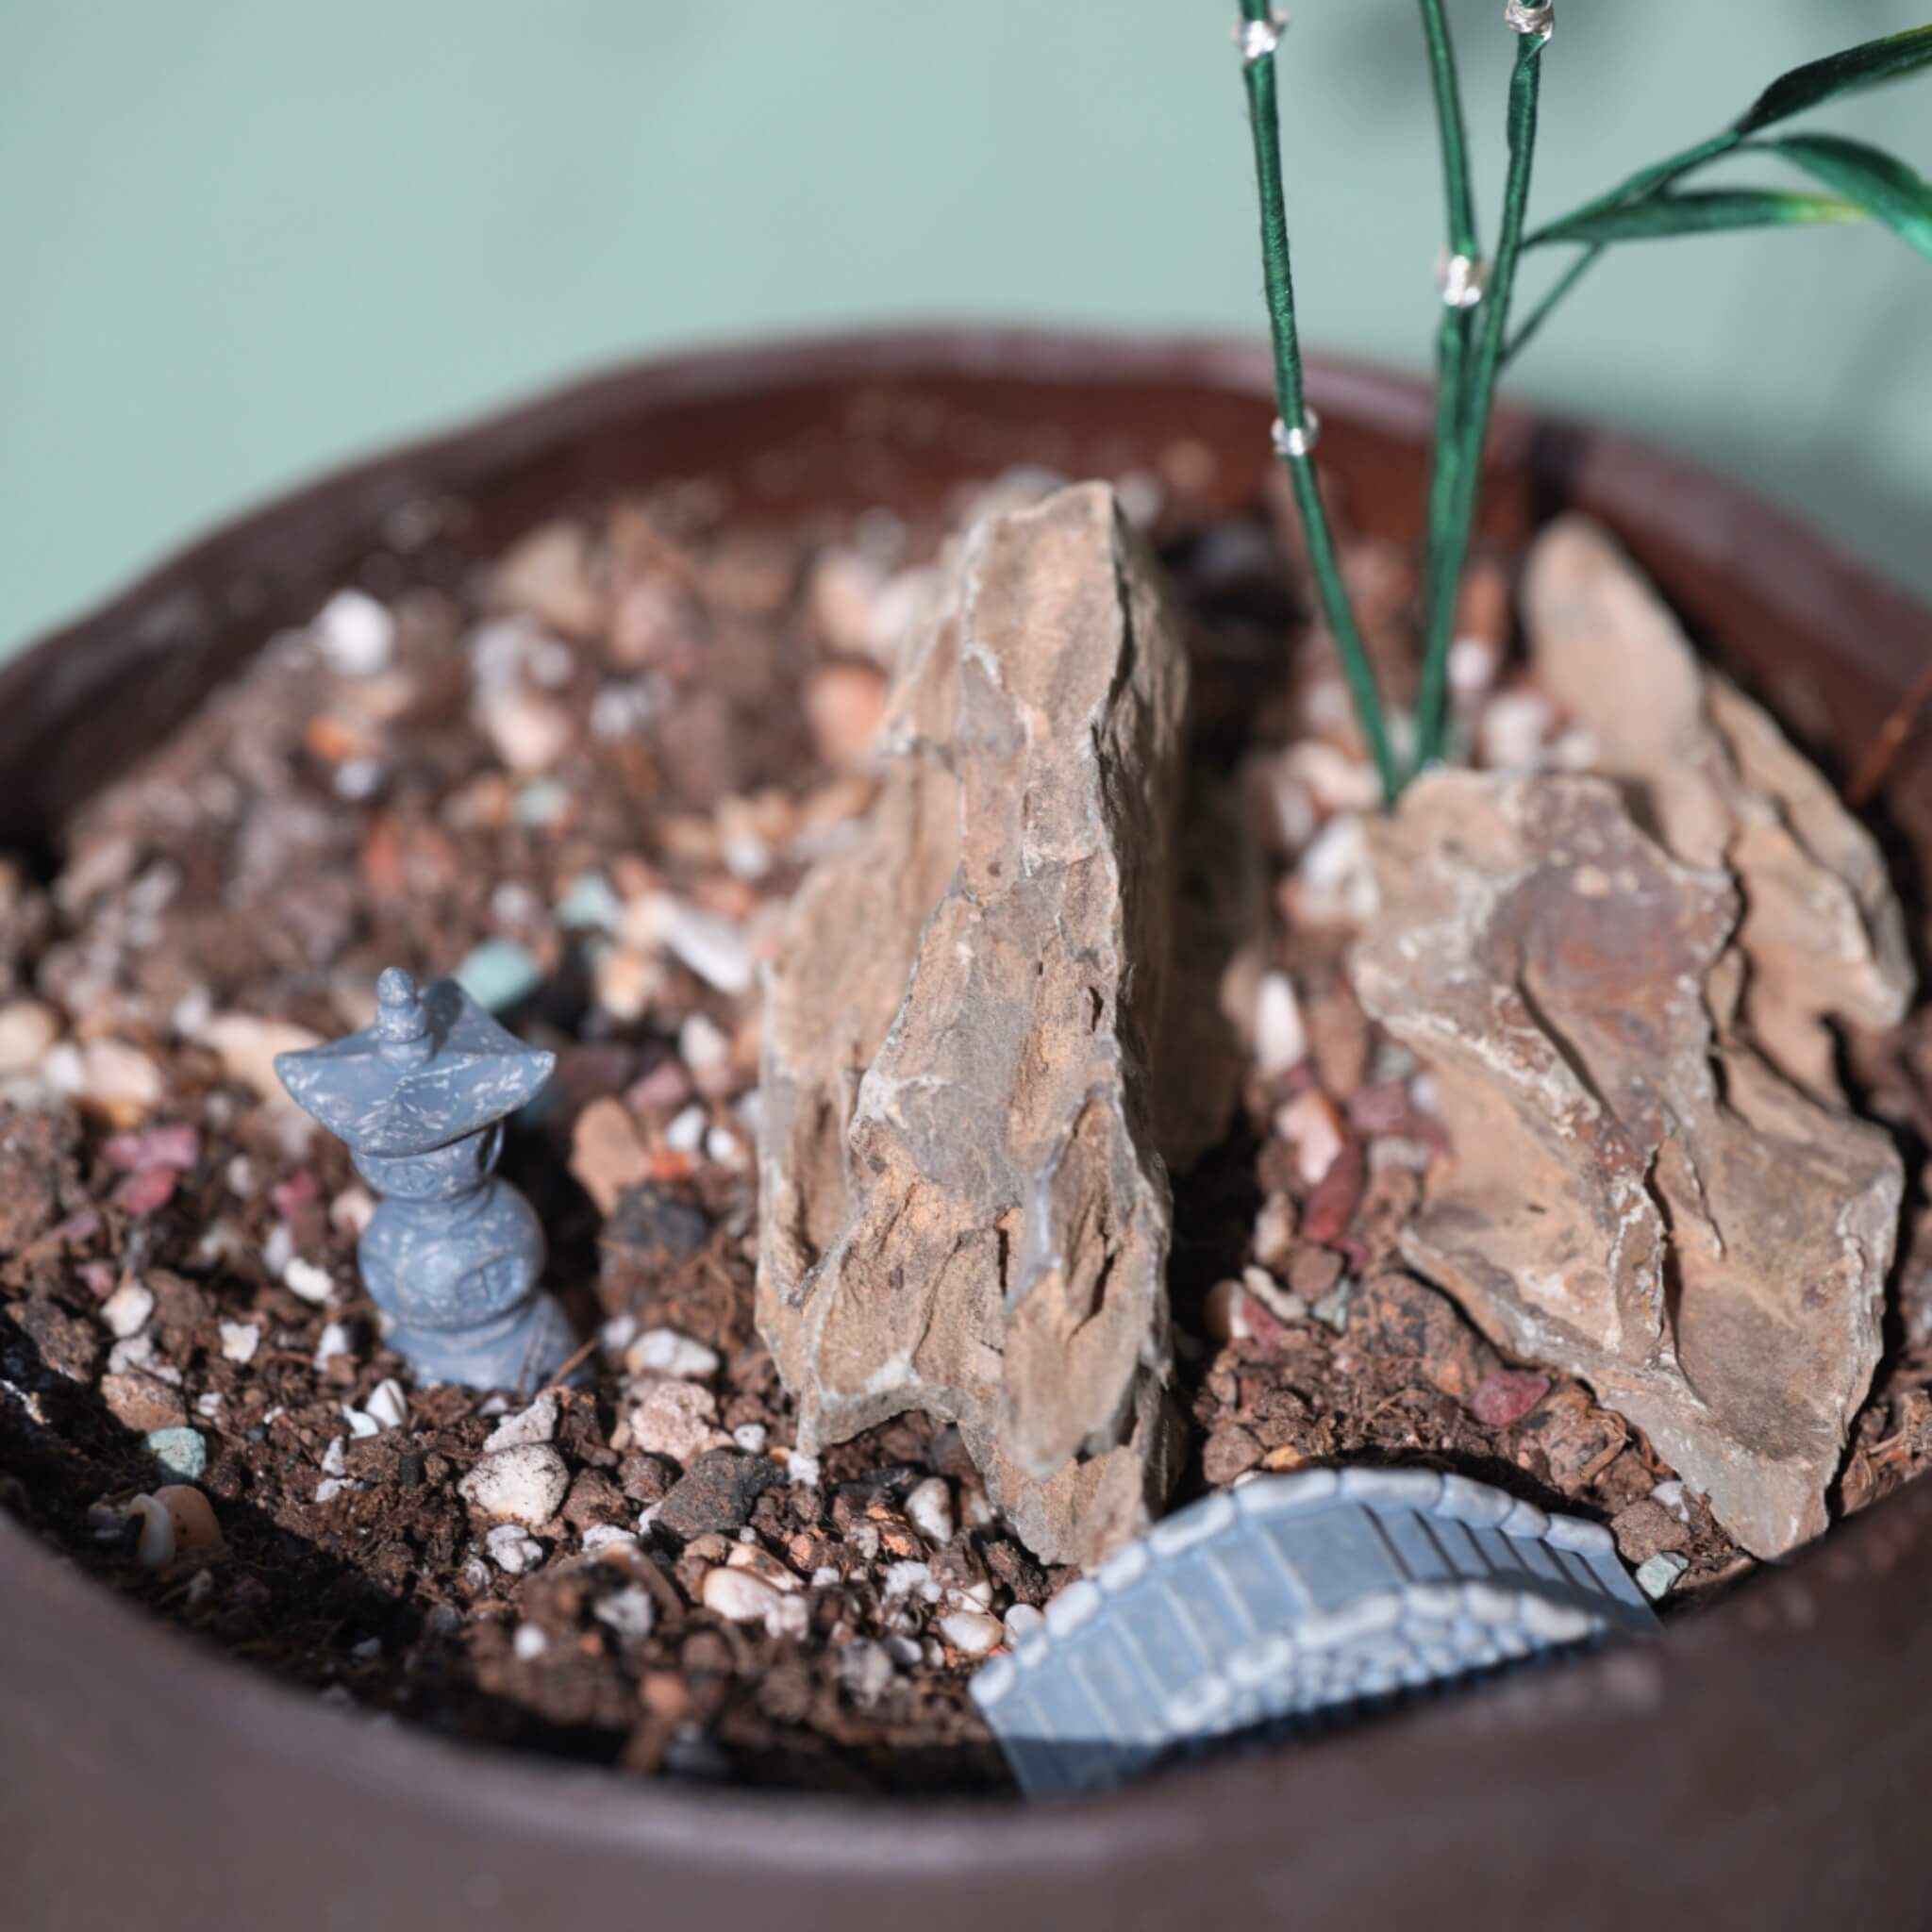
To make the nodes, wrap the thin copper wire around the stalk about five times. Once the node is wrapped, use silk thread to cover and hide the copper wire. Insert the finished bamboo into a flowerpot, and the bamboo is complete.

If you finished your DIY product, welcome to show your awesome work to us and get coupons for the rest of our DIY kits!
INS@lanseichina
Pinterest@lanseichina


