


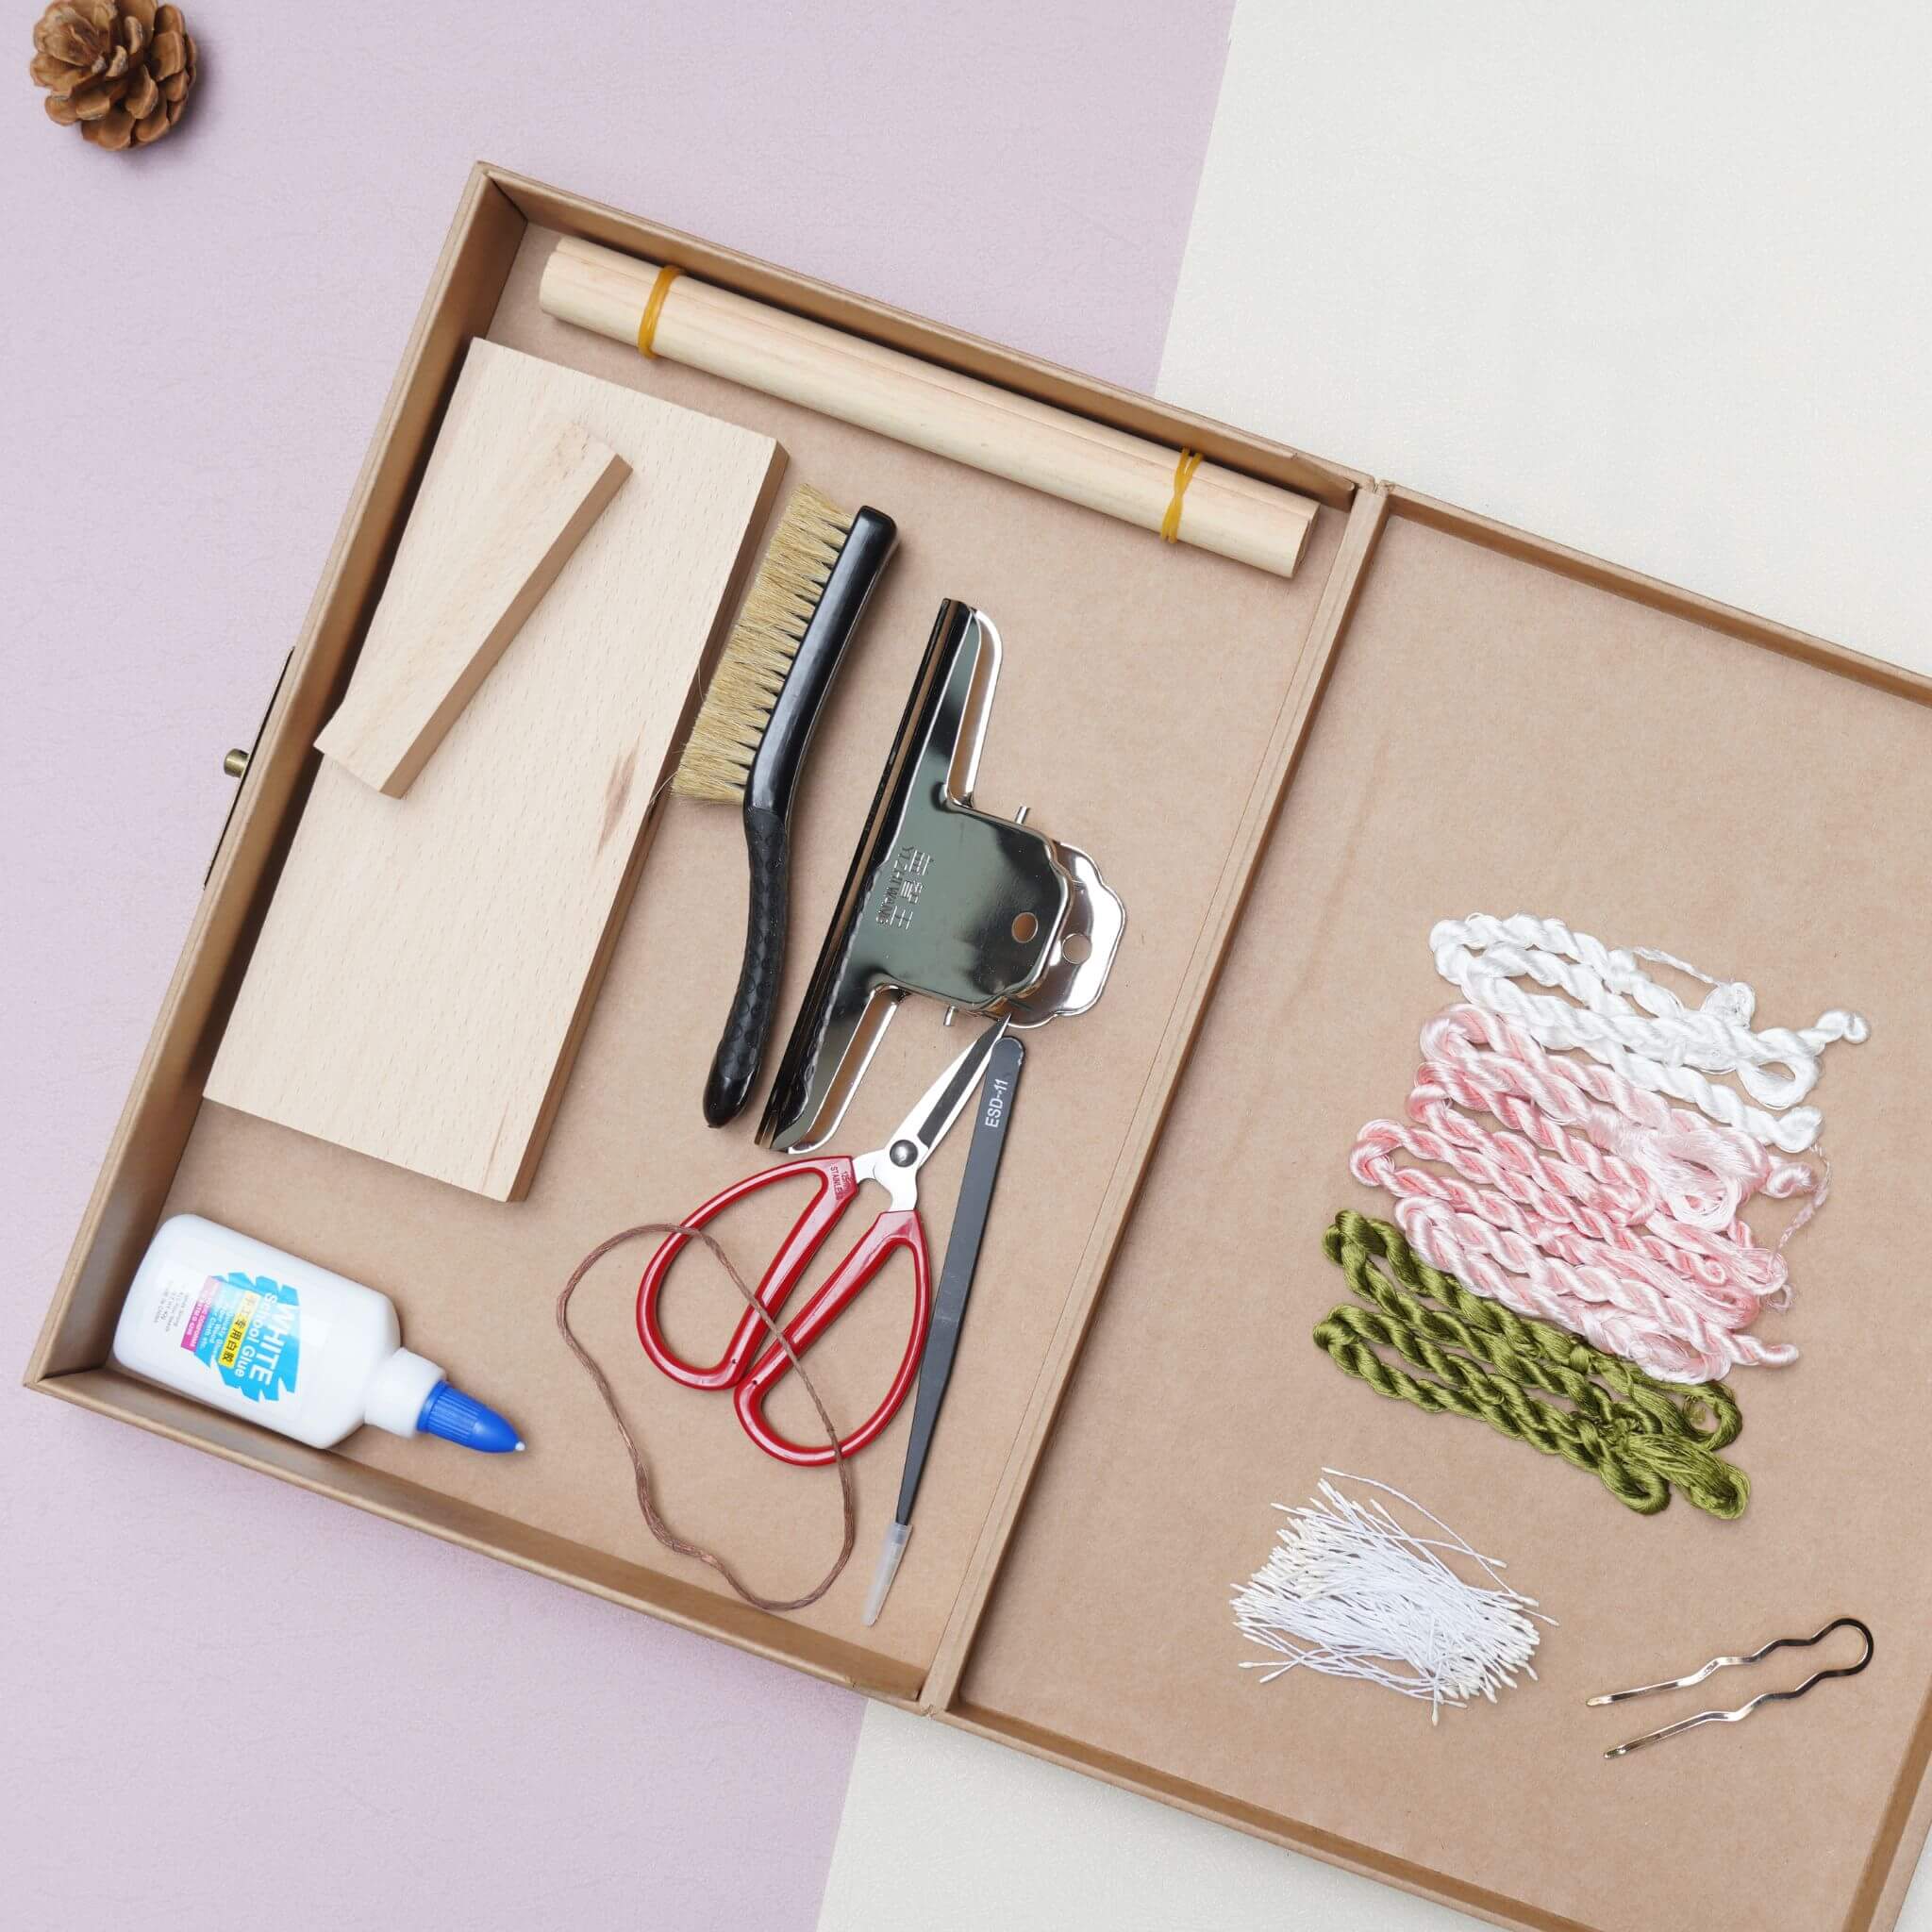
Learn how to create adorable plum flowers using the traditional Ronghua crafting technique! In this step-by-step tutorial, we’ll guide you through preparing the silk strips, brushing, shaping, and assembling your very own Plum Flowers.
Step 1: Organize the silk threads and brush the silk
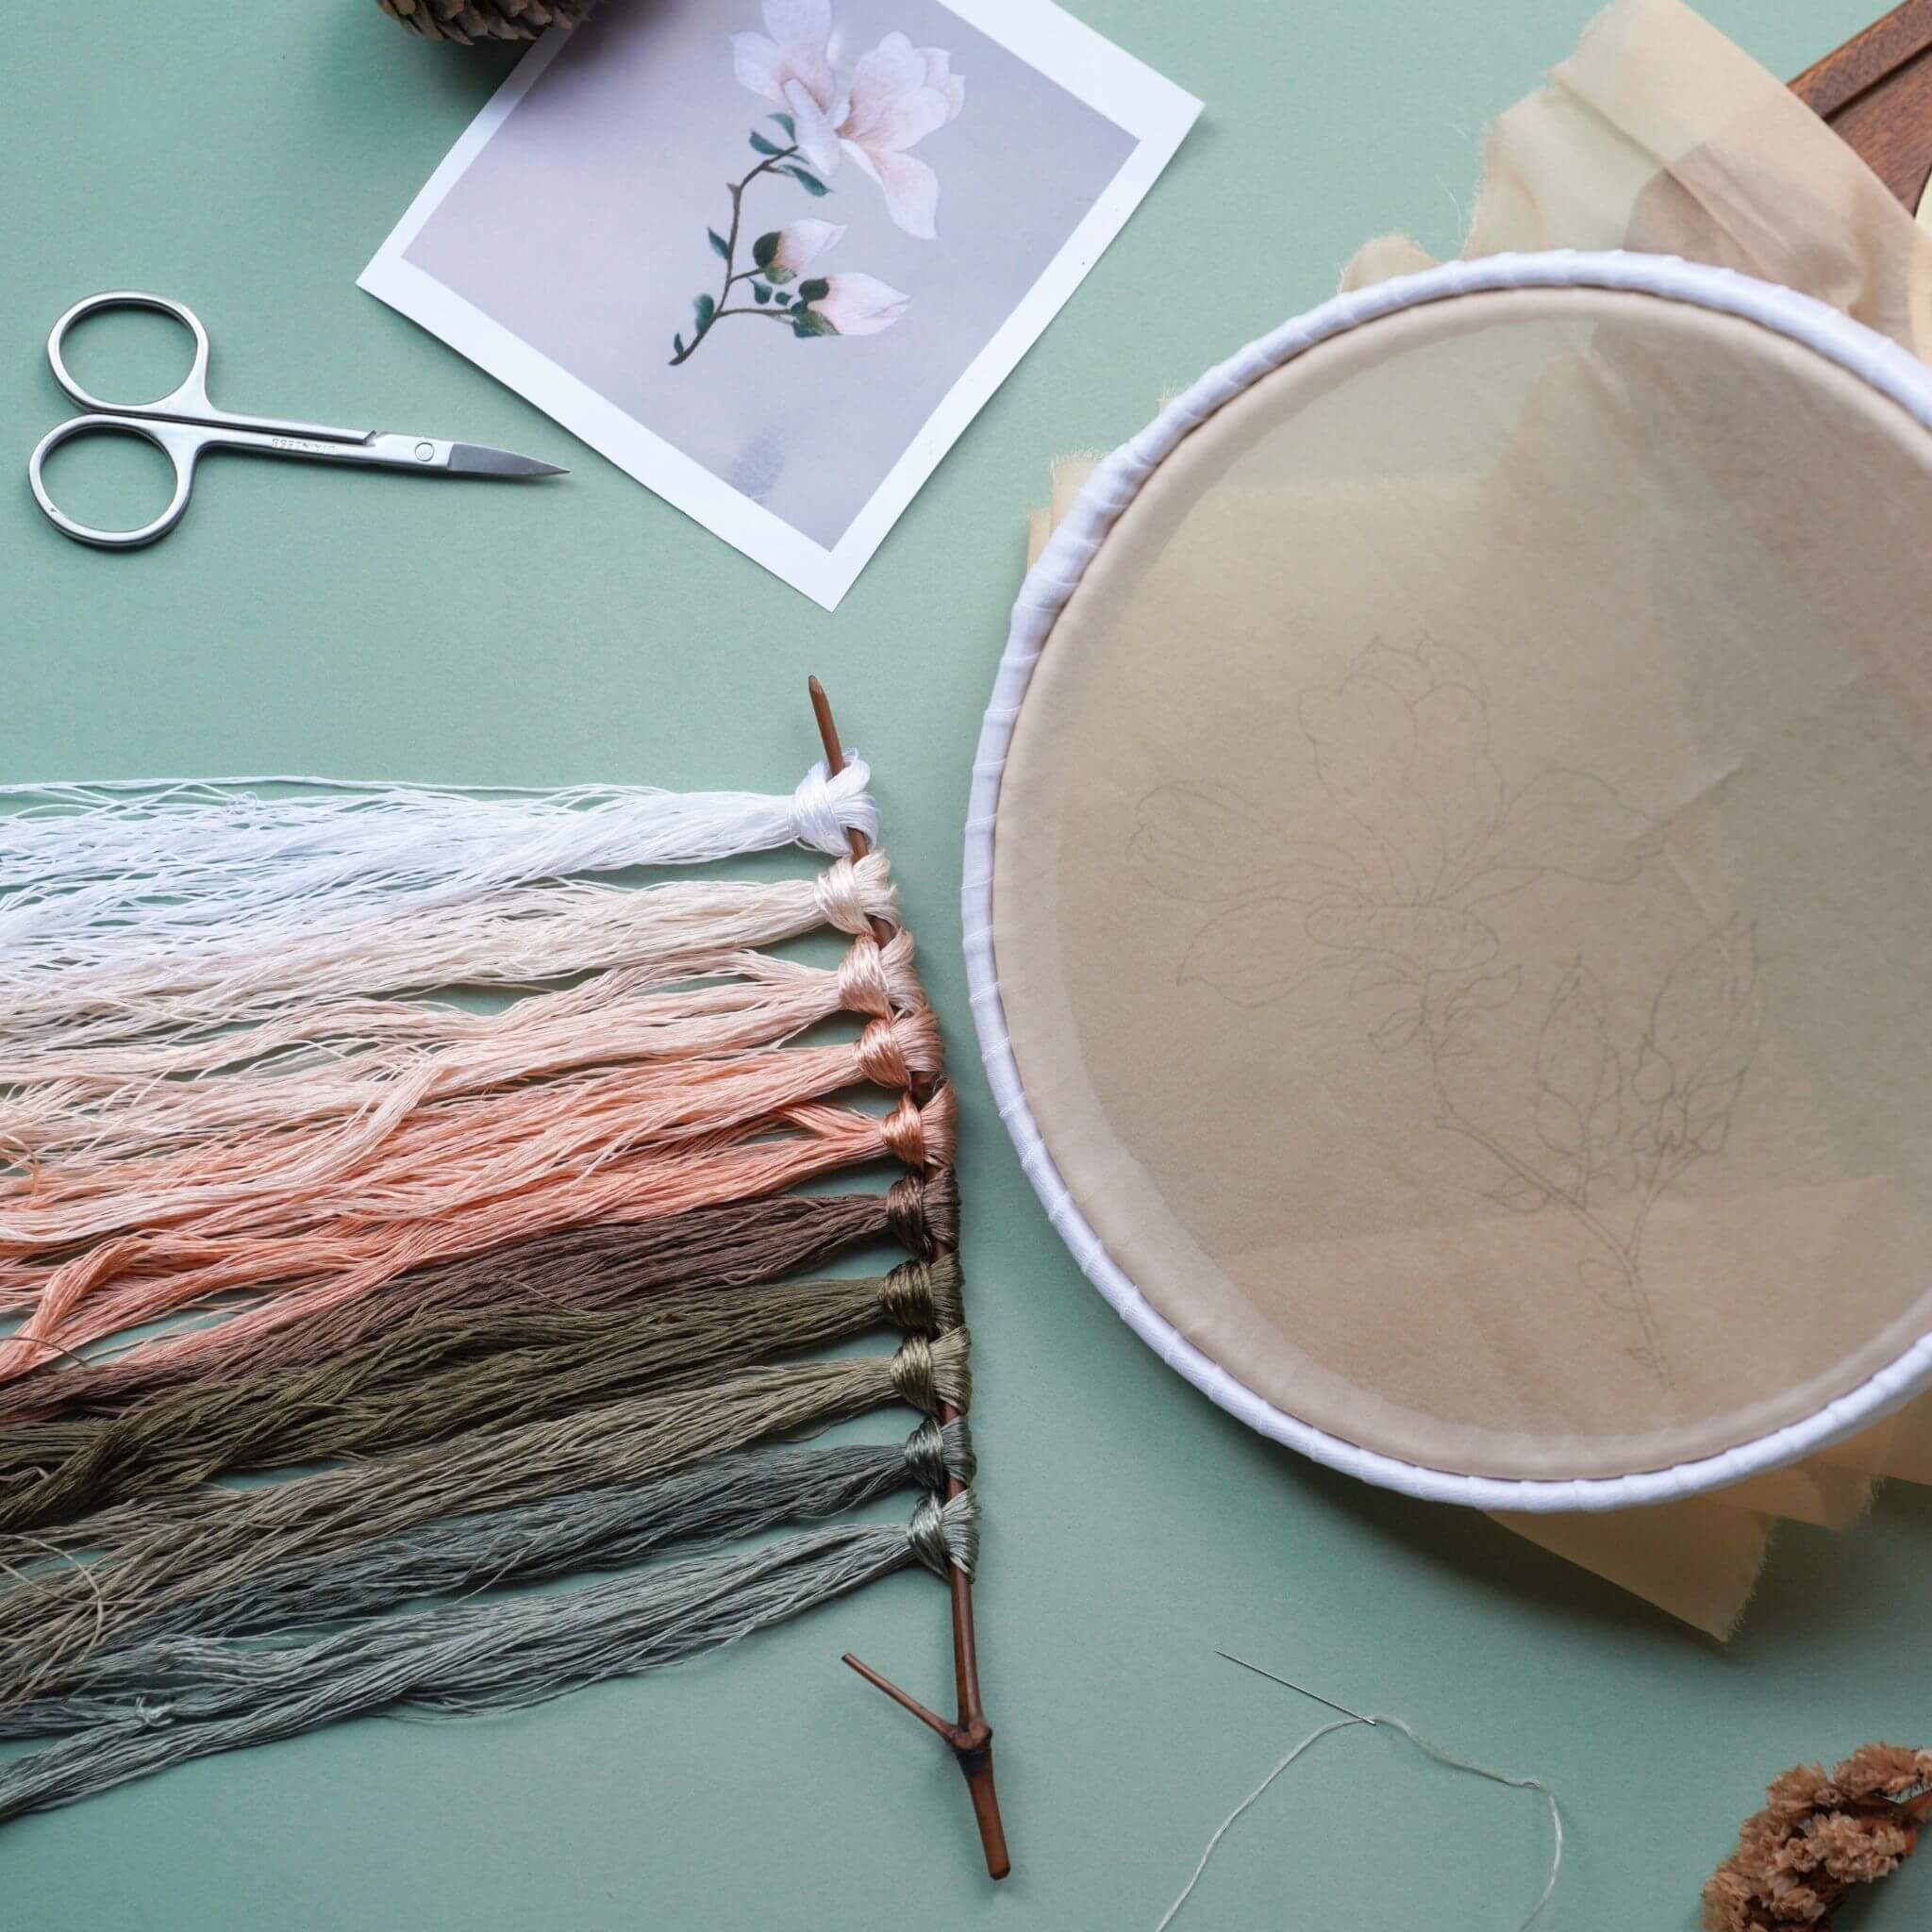
Divide the peach blossom silk threads into groups of 10 to 12 threads, keeping each group tightly packed together. For the leaves, only half the amount of a normal silk strip is needed, since peach blossom leaves don’t require much. Making too many would be a waste. Split the threads in two and cut them in the middle, then cut again through the center. The fluffiness of the silk strip is not determined by the number of threads in each group, but by how tightly the threads are arranged.

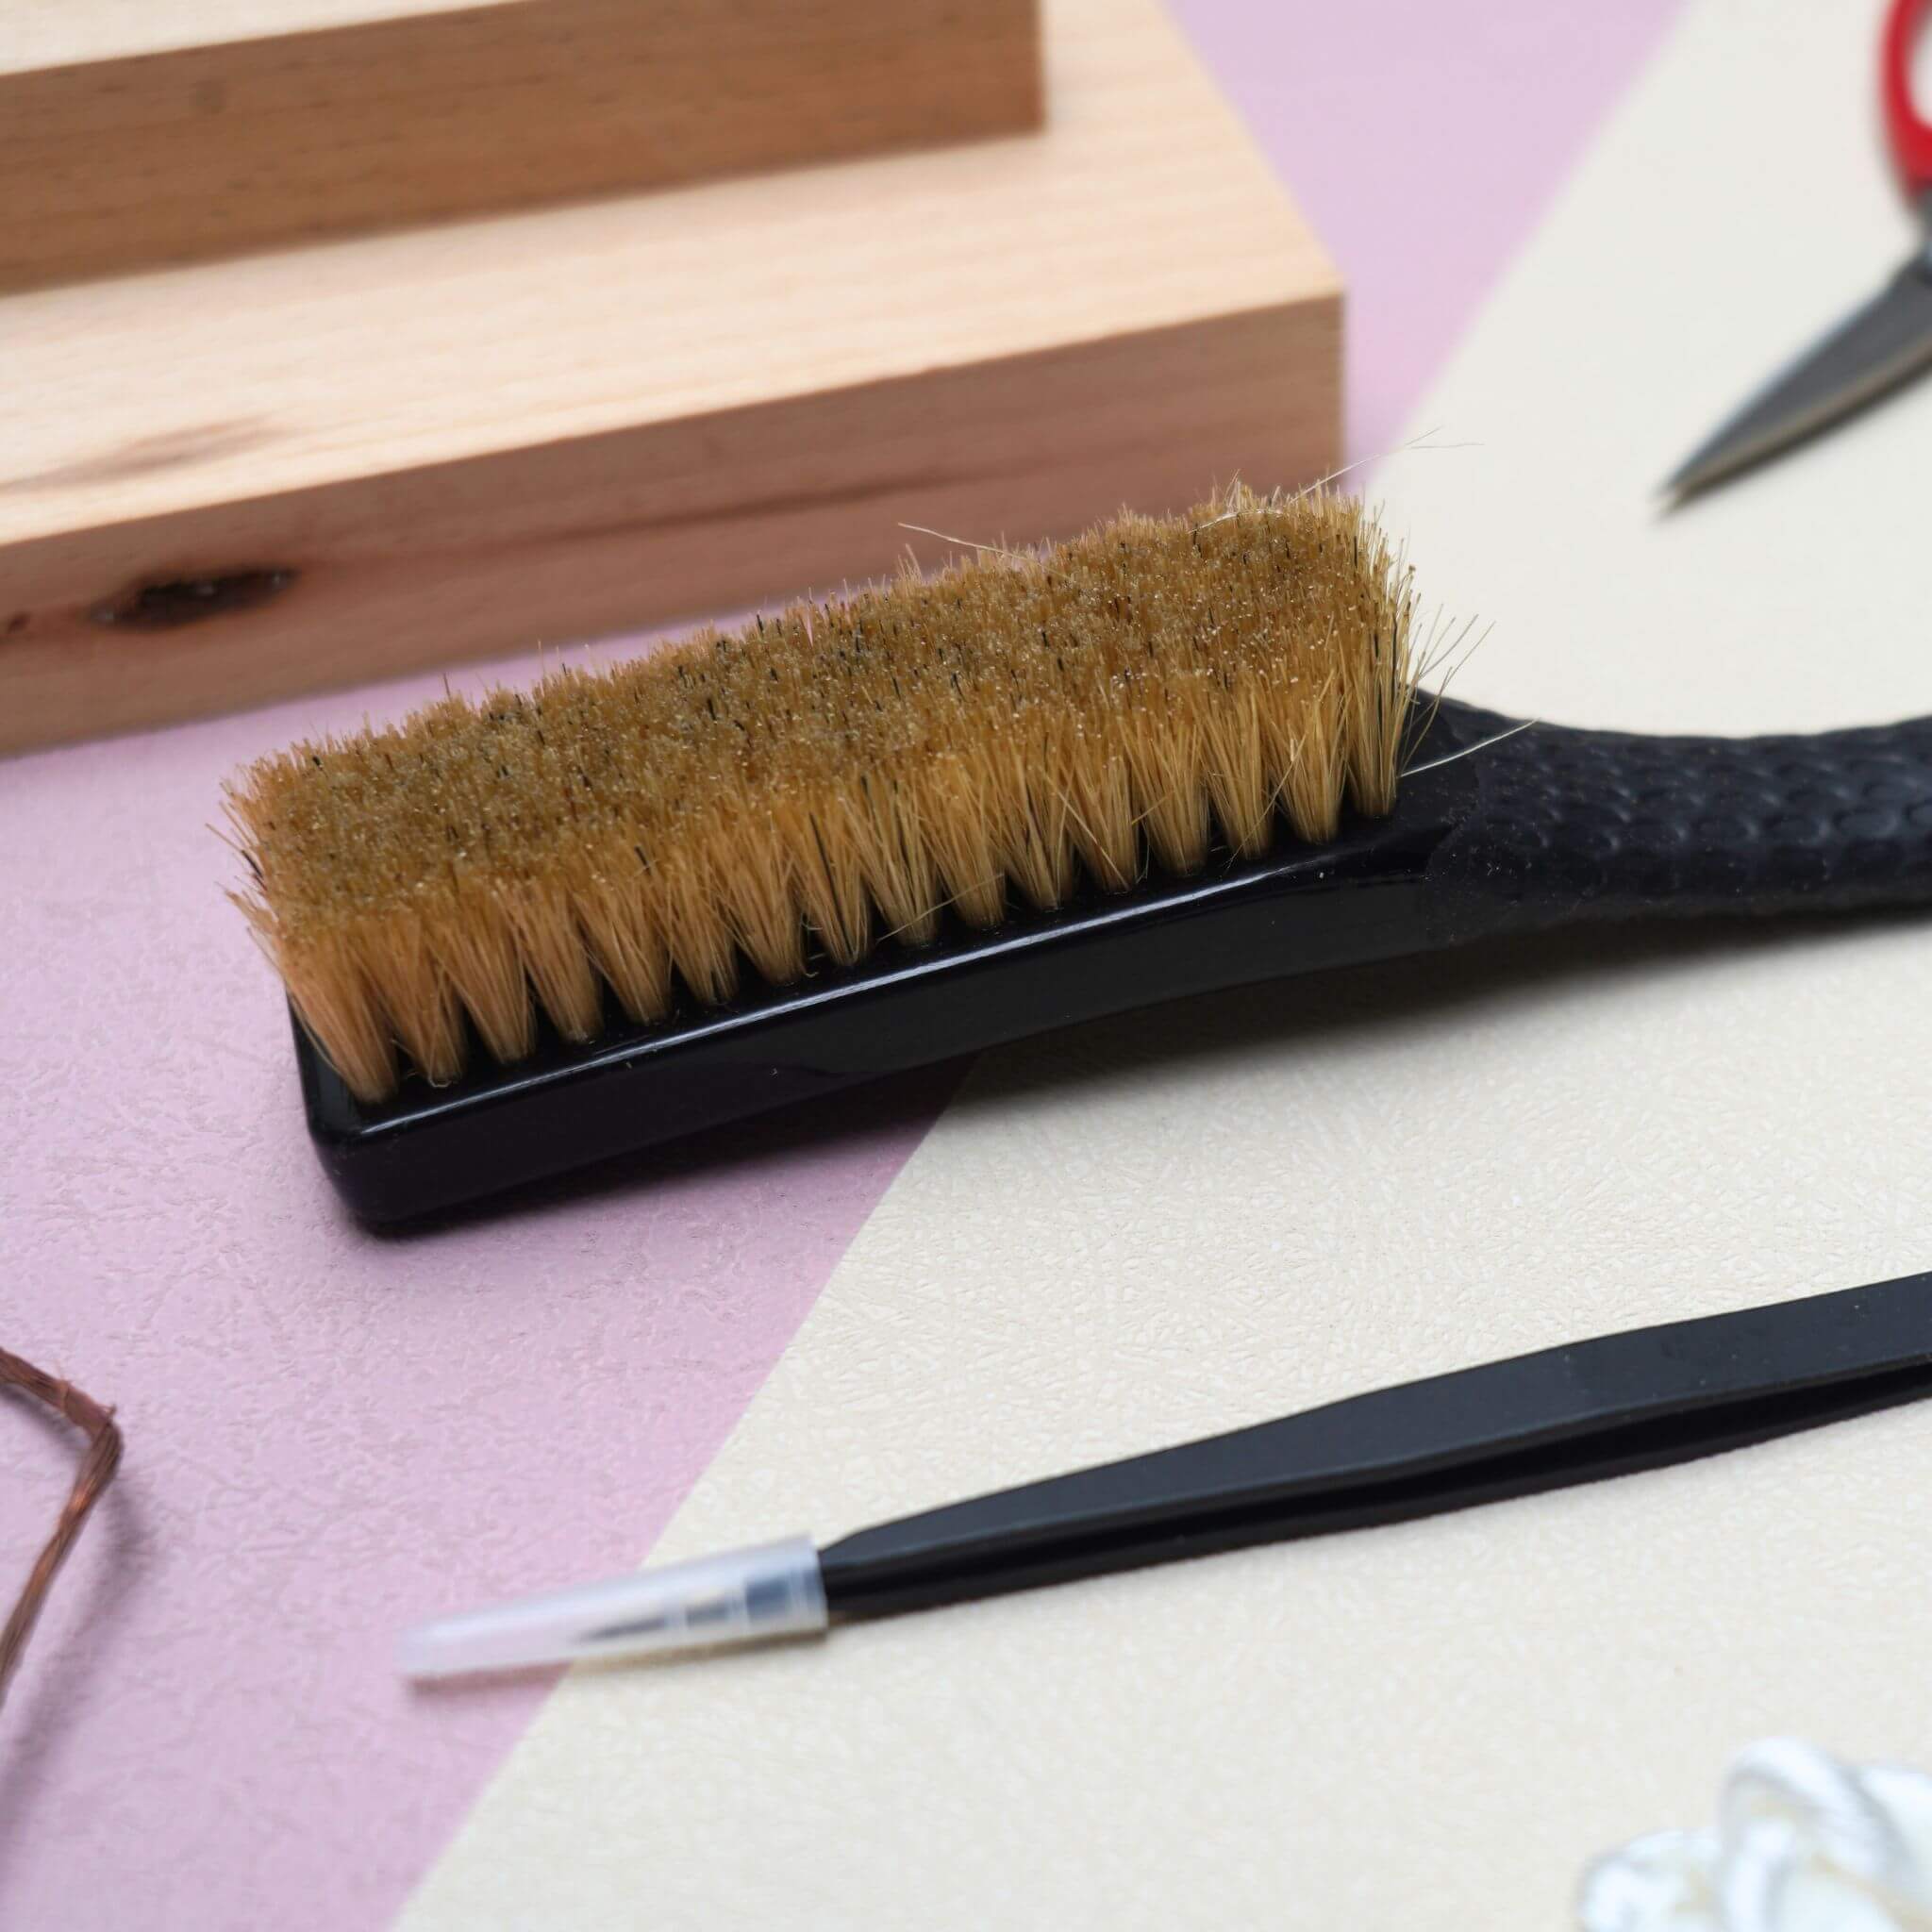
Spraying a bit of water while brushing can help prevent the threads from flying around. The bristles of the brush must penetrate the silk threads, otherwise, they tend to tangle. After brushing, using a heated clamp to press the silk will make it even smoother.

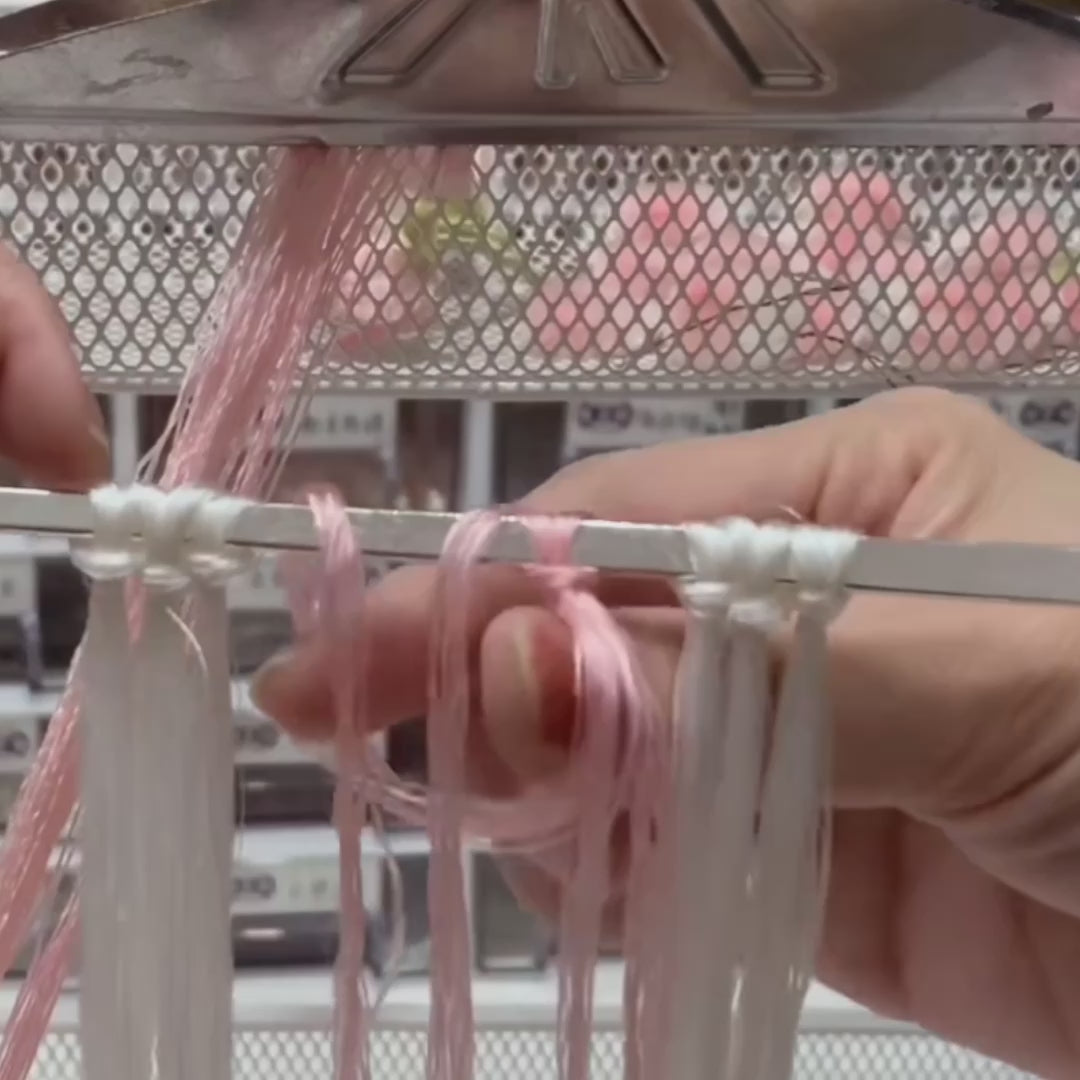
Step 2: Make the silk strips
Use a supporting stand to secure the silk threads. Make sure the silk strip is stretched tight and the width is consistent from top to bottom. Finally, fix it in place with a mountain-shaped clip. Straighten the copper wire and twist the closed end about 2 to 3 cm. When tying the copper wire, it must be kept taut. First, twist the two wires on one end together, then use both hands to twist the copper wire in opposite directions. The wire should be tight but still able to move up and down. For this silk strip, the distance between the copper wires is 1.5 cm. If the copper wire isn’t twisted properly, the silk strips may fall apart during cutting. It's best to apply some magnesium powder or anti-slip powder to your fingers when working with the copper wire.


Once the wire is secured, begin trimming the silk. The silk strip should be trimmed into a shape similar to the picture—thicker on one end and thinner on the other.


Step 3: Assemble the petals
Cut the base of the flower center at a slant, then use silk thread to wrap it tightly. Five petals make up one complete flower. Each time you add a petal, wrap the thread once. After wrapping the thread to the bottom, tie a knot and trim off the excess. Use tweezers to adjust the shape of the petals.

Now we’re going to assemble the leaves and the flower together. First, twist the copper wires at the base of the two leaves together. Then apply white glue to the leaves and stick them together. Once the glue dries, cut off the excess copper wire.
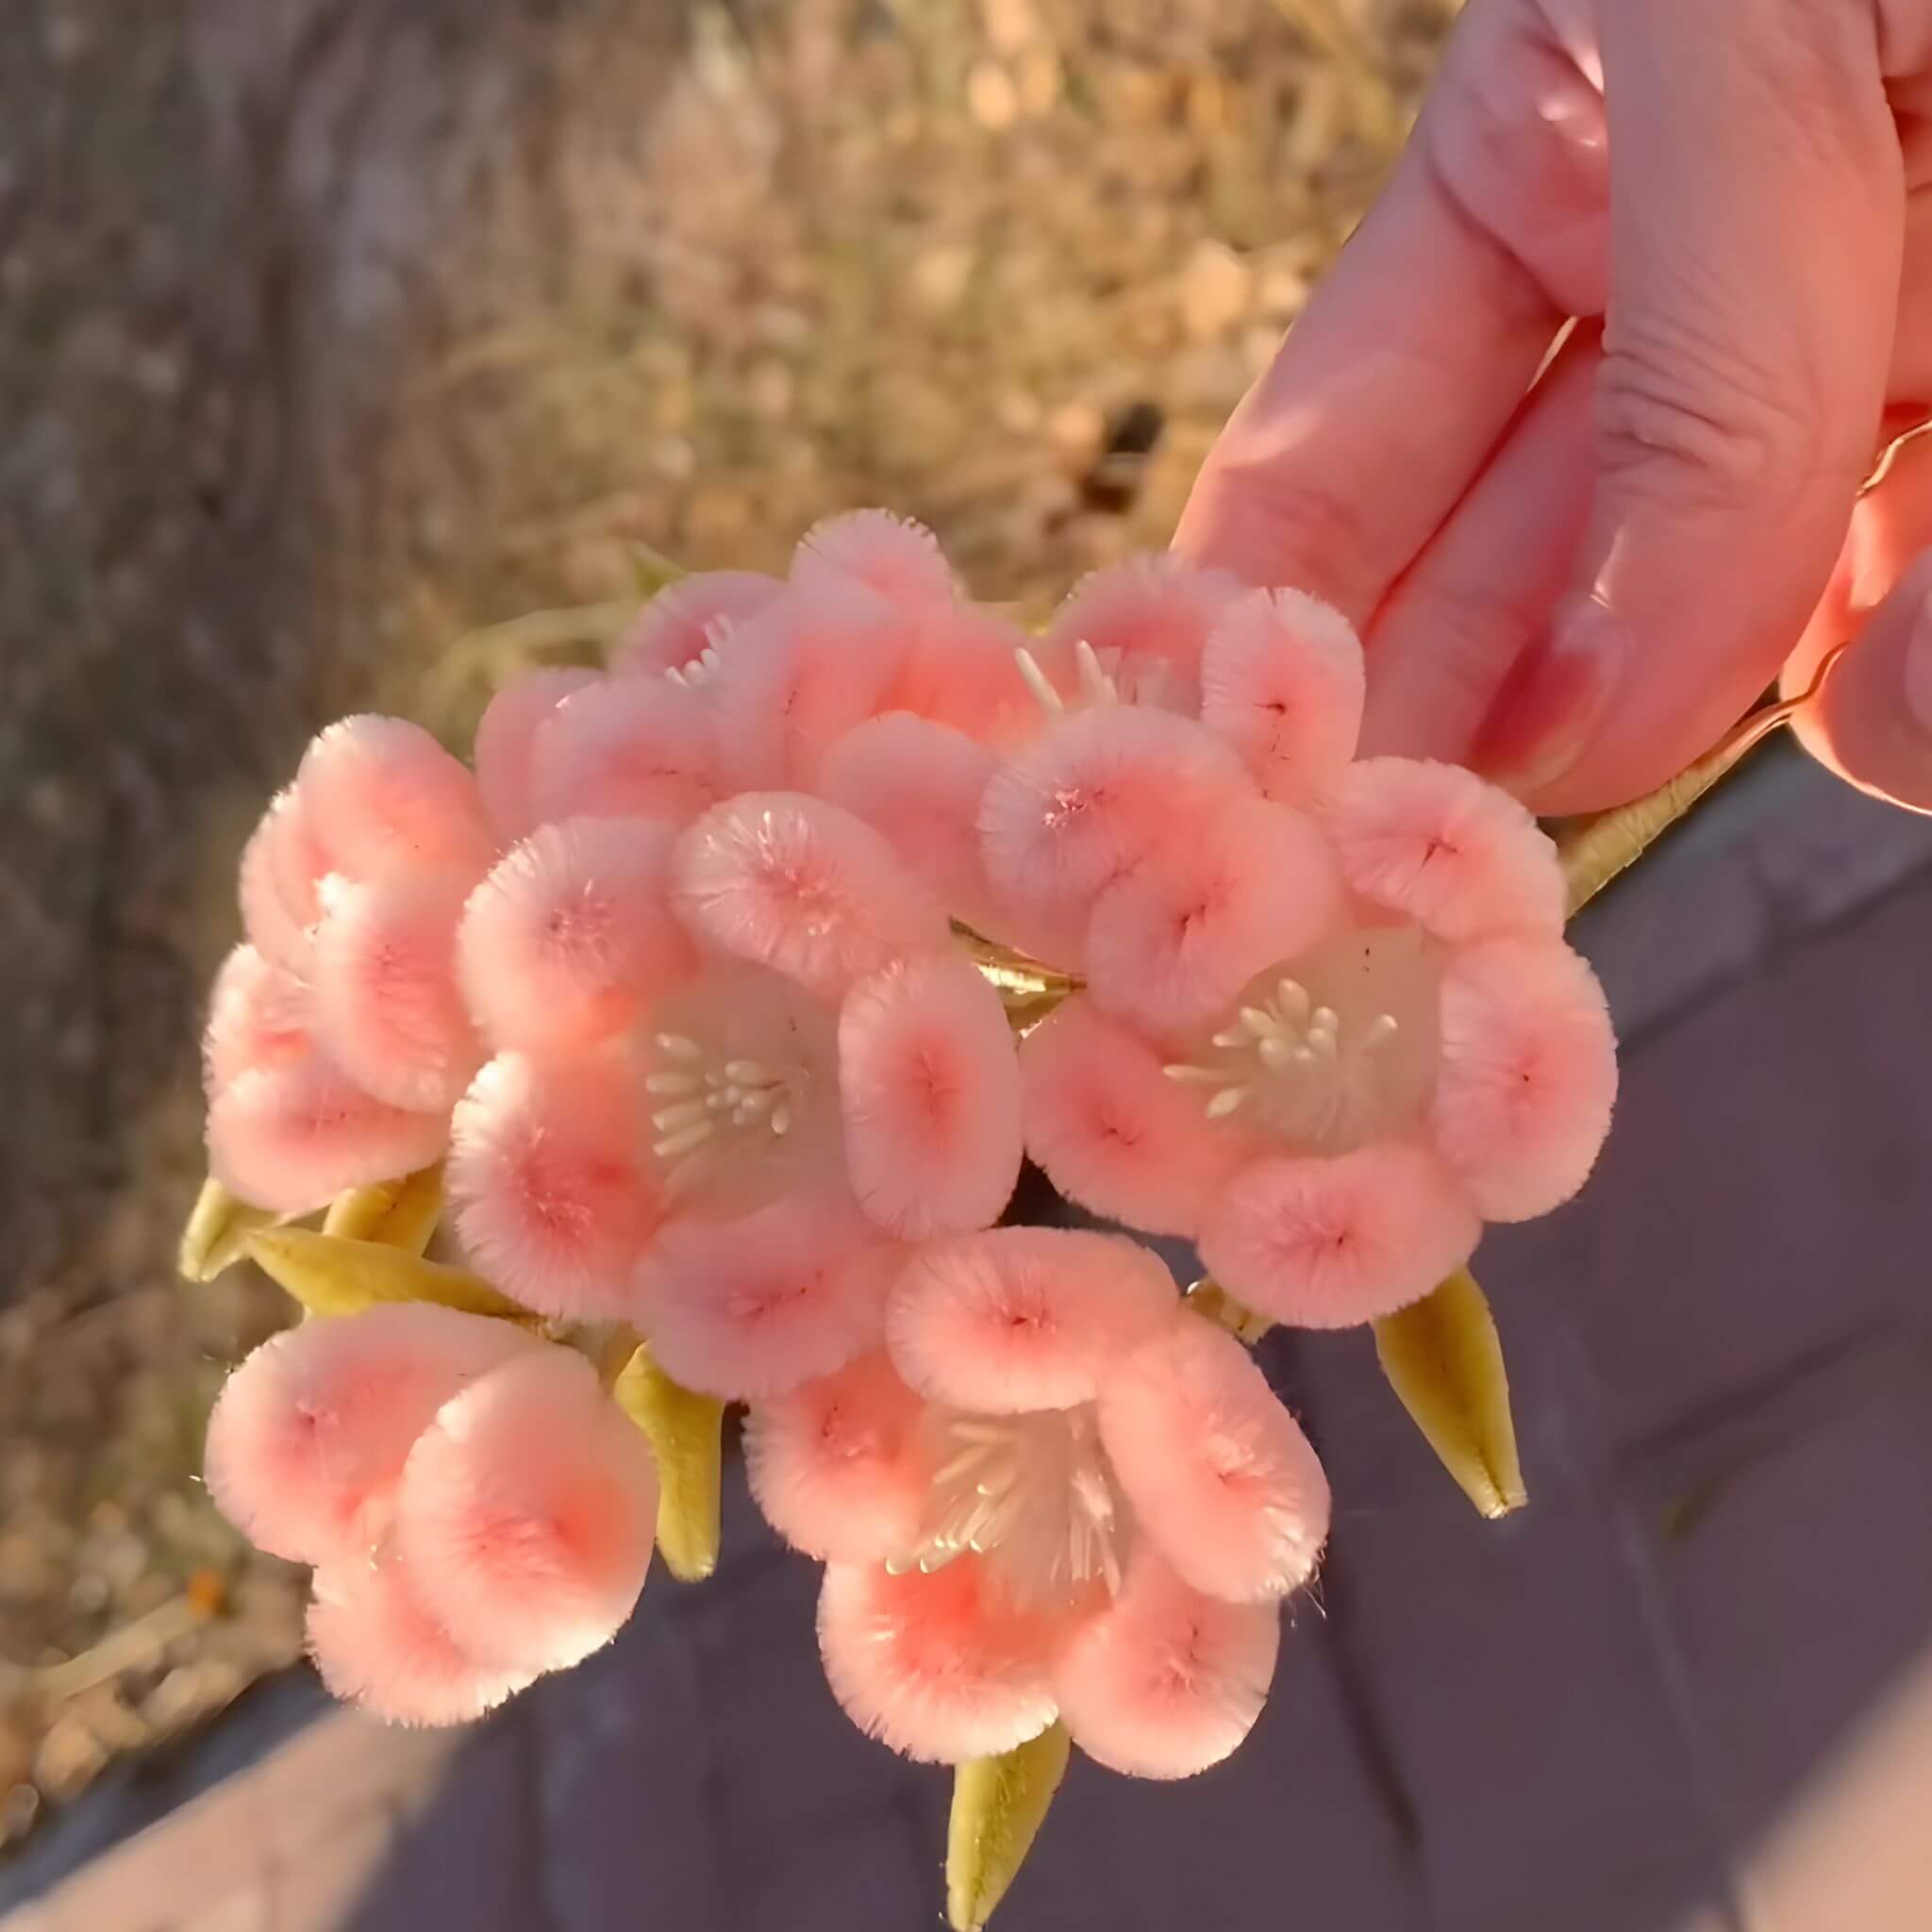
Once the flower is finished, choose a base you like and attach the flower to it. The peach blossom is now complete.

If you finished your DIY product, welcome to show your awesome work to us and get coupons for the rest of our DIY kits!
INS@lanseichina
Pinterest@lanseichina


