


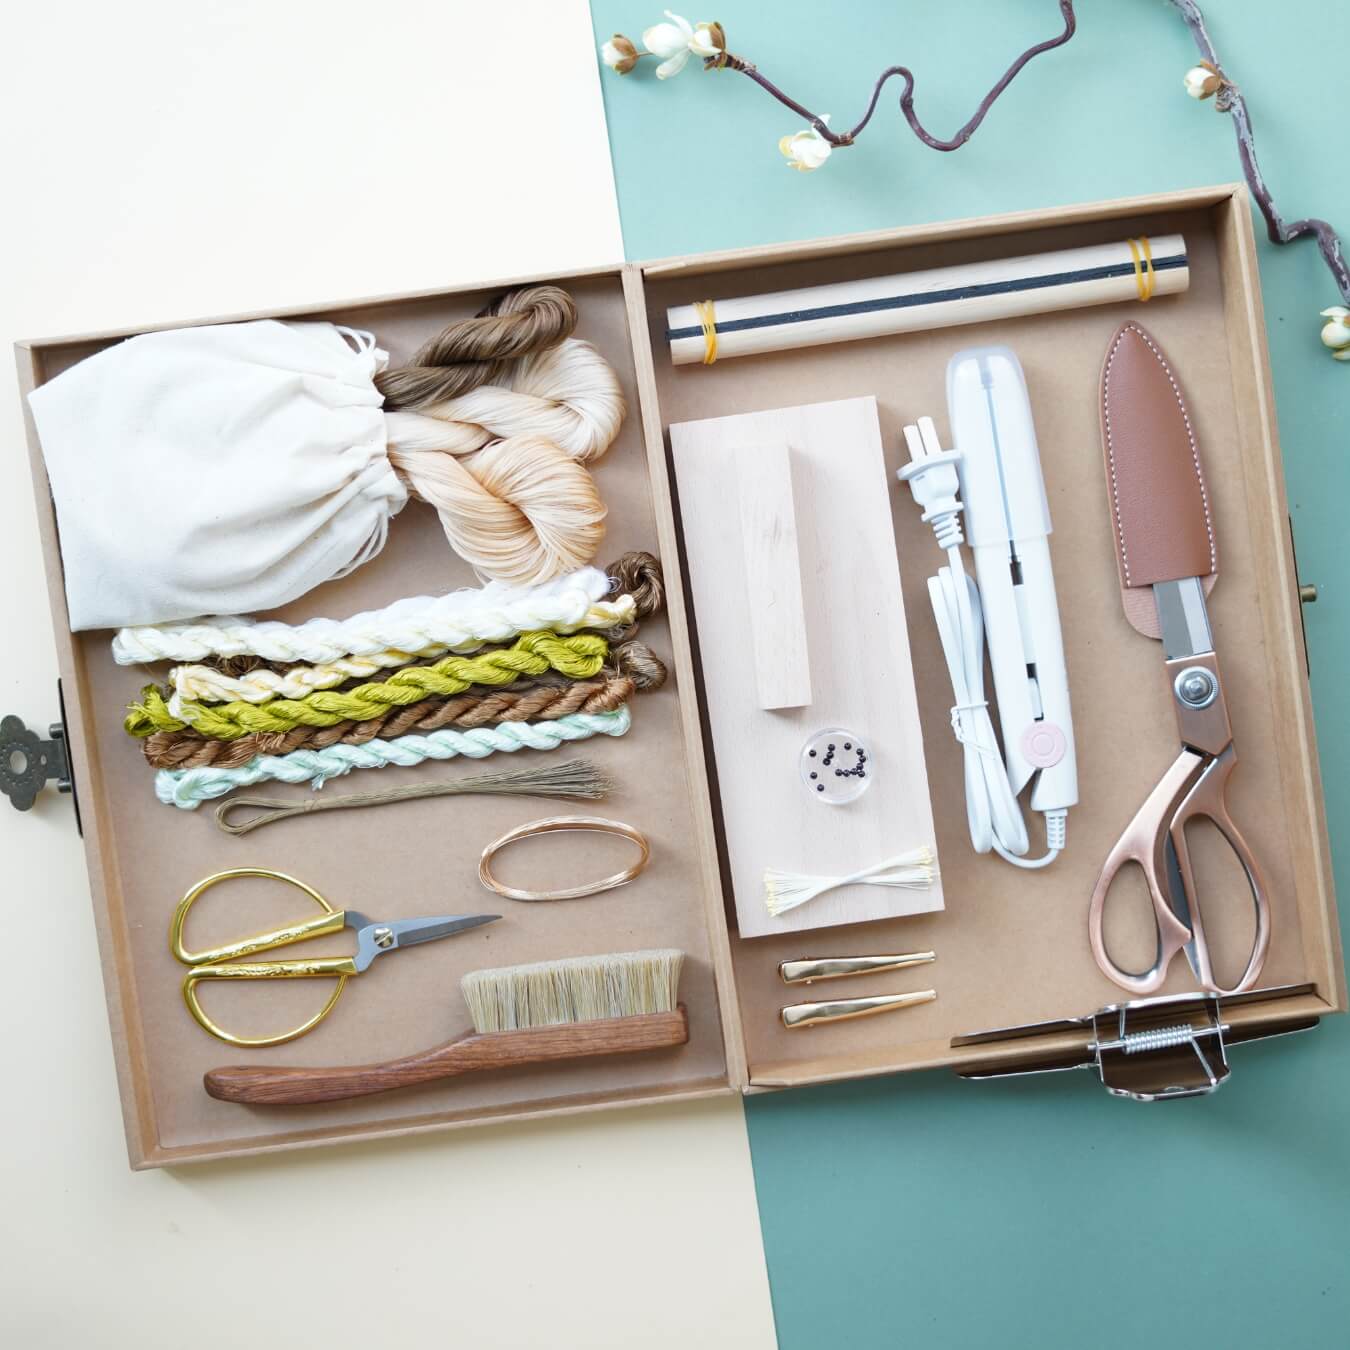
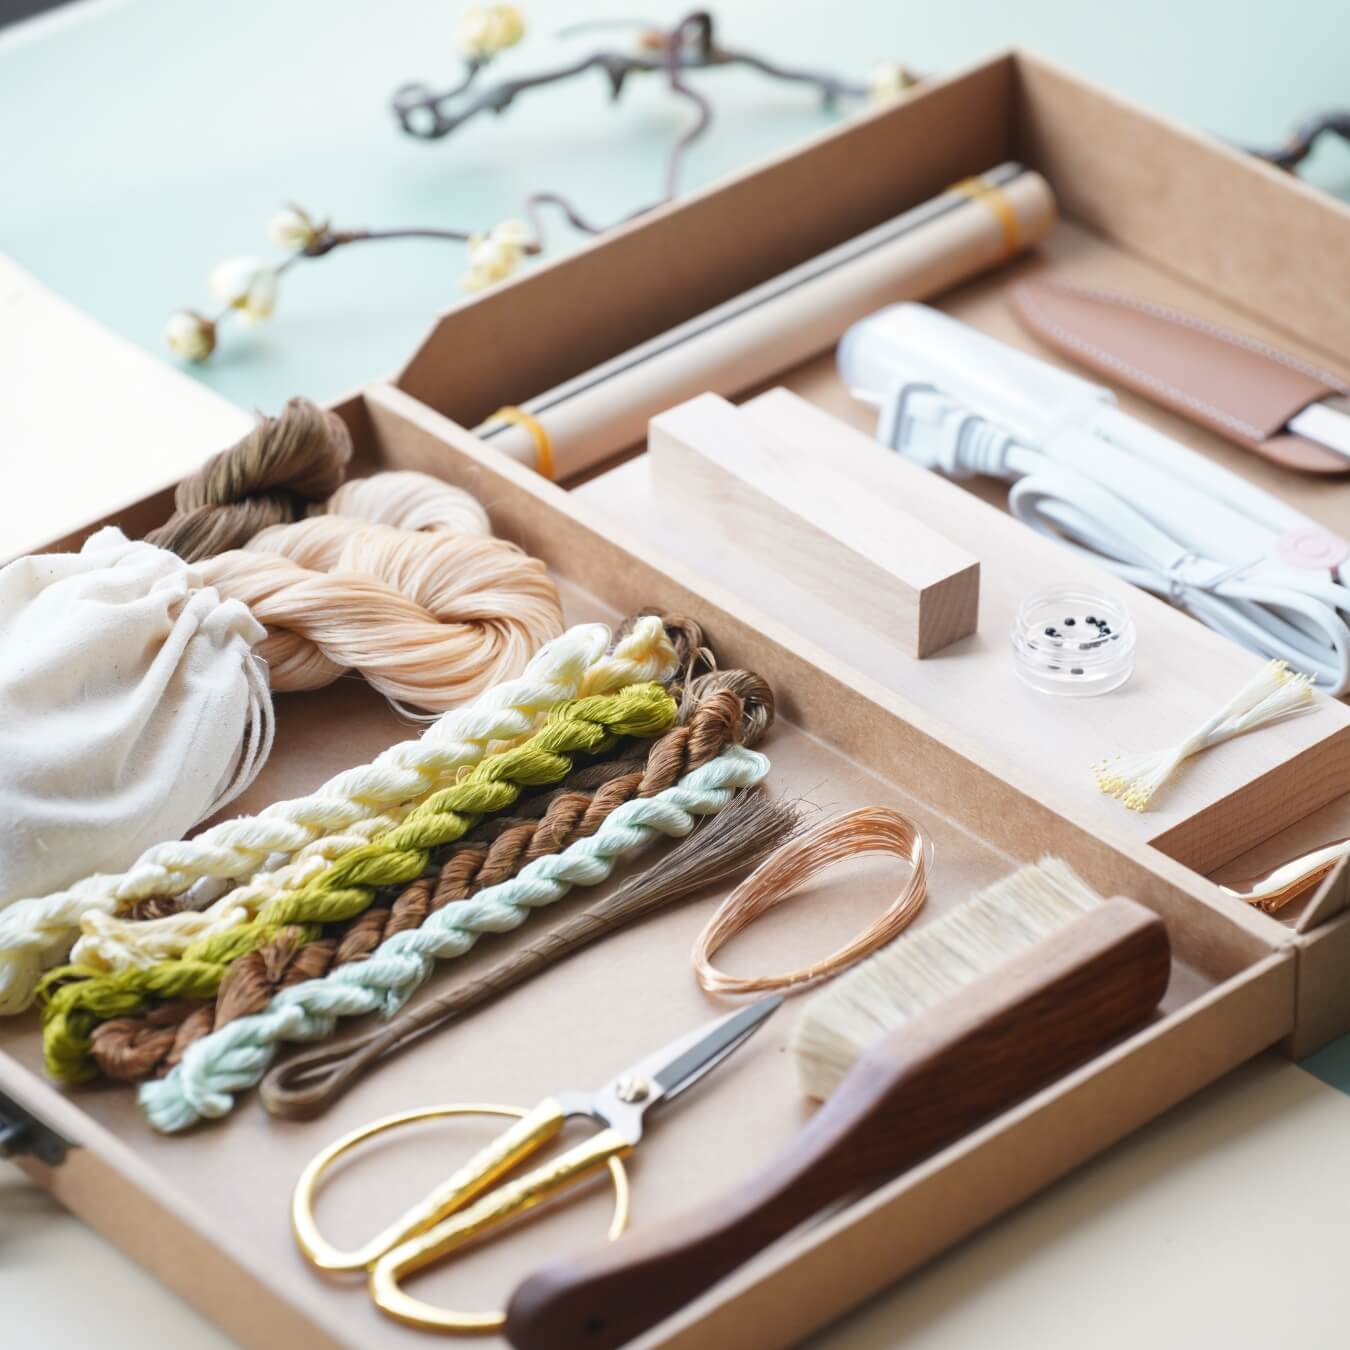
In this step-by-step tutorial, we’ll guide you through preparing the silk strips, brushing, shaping, and assembling your very own vibrant wintersweet flowers and cute birdie. Perfect for adding a handmade touch to your festive decor!
Step 1: Making the Wintersweet Flower 00:00~22:02
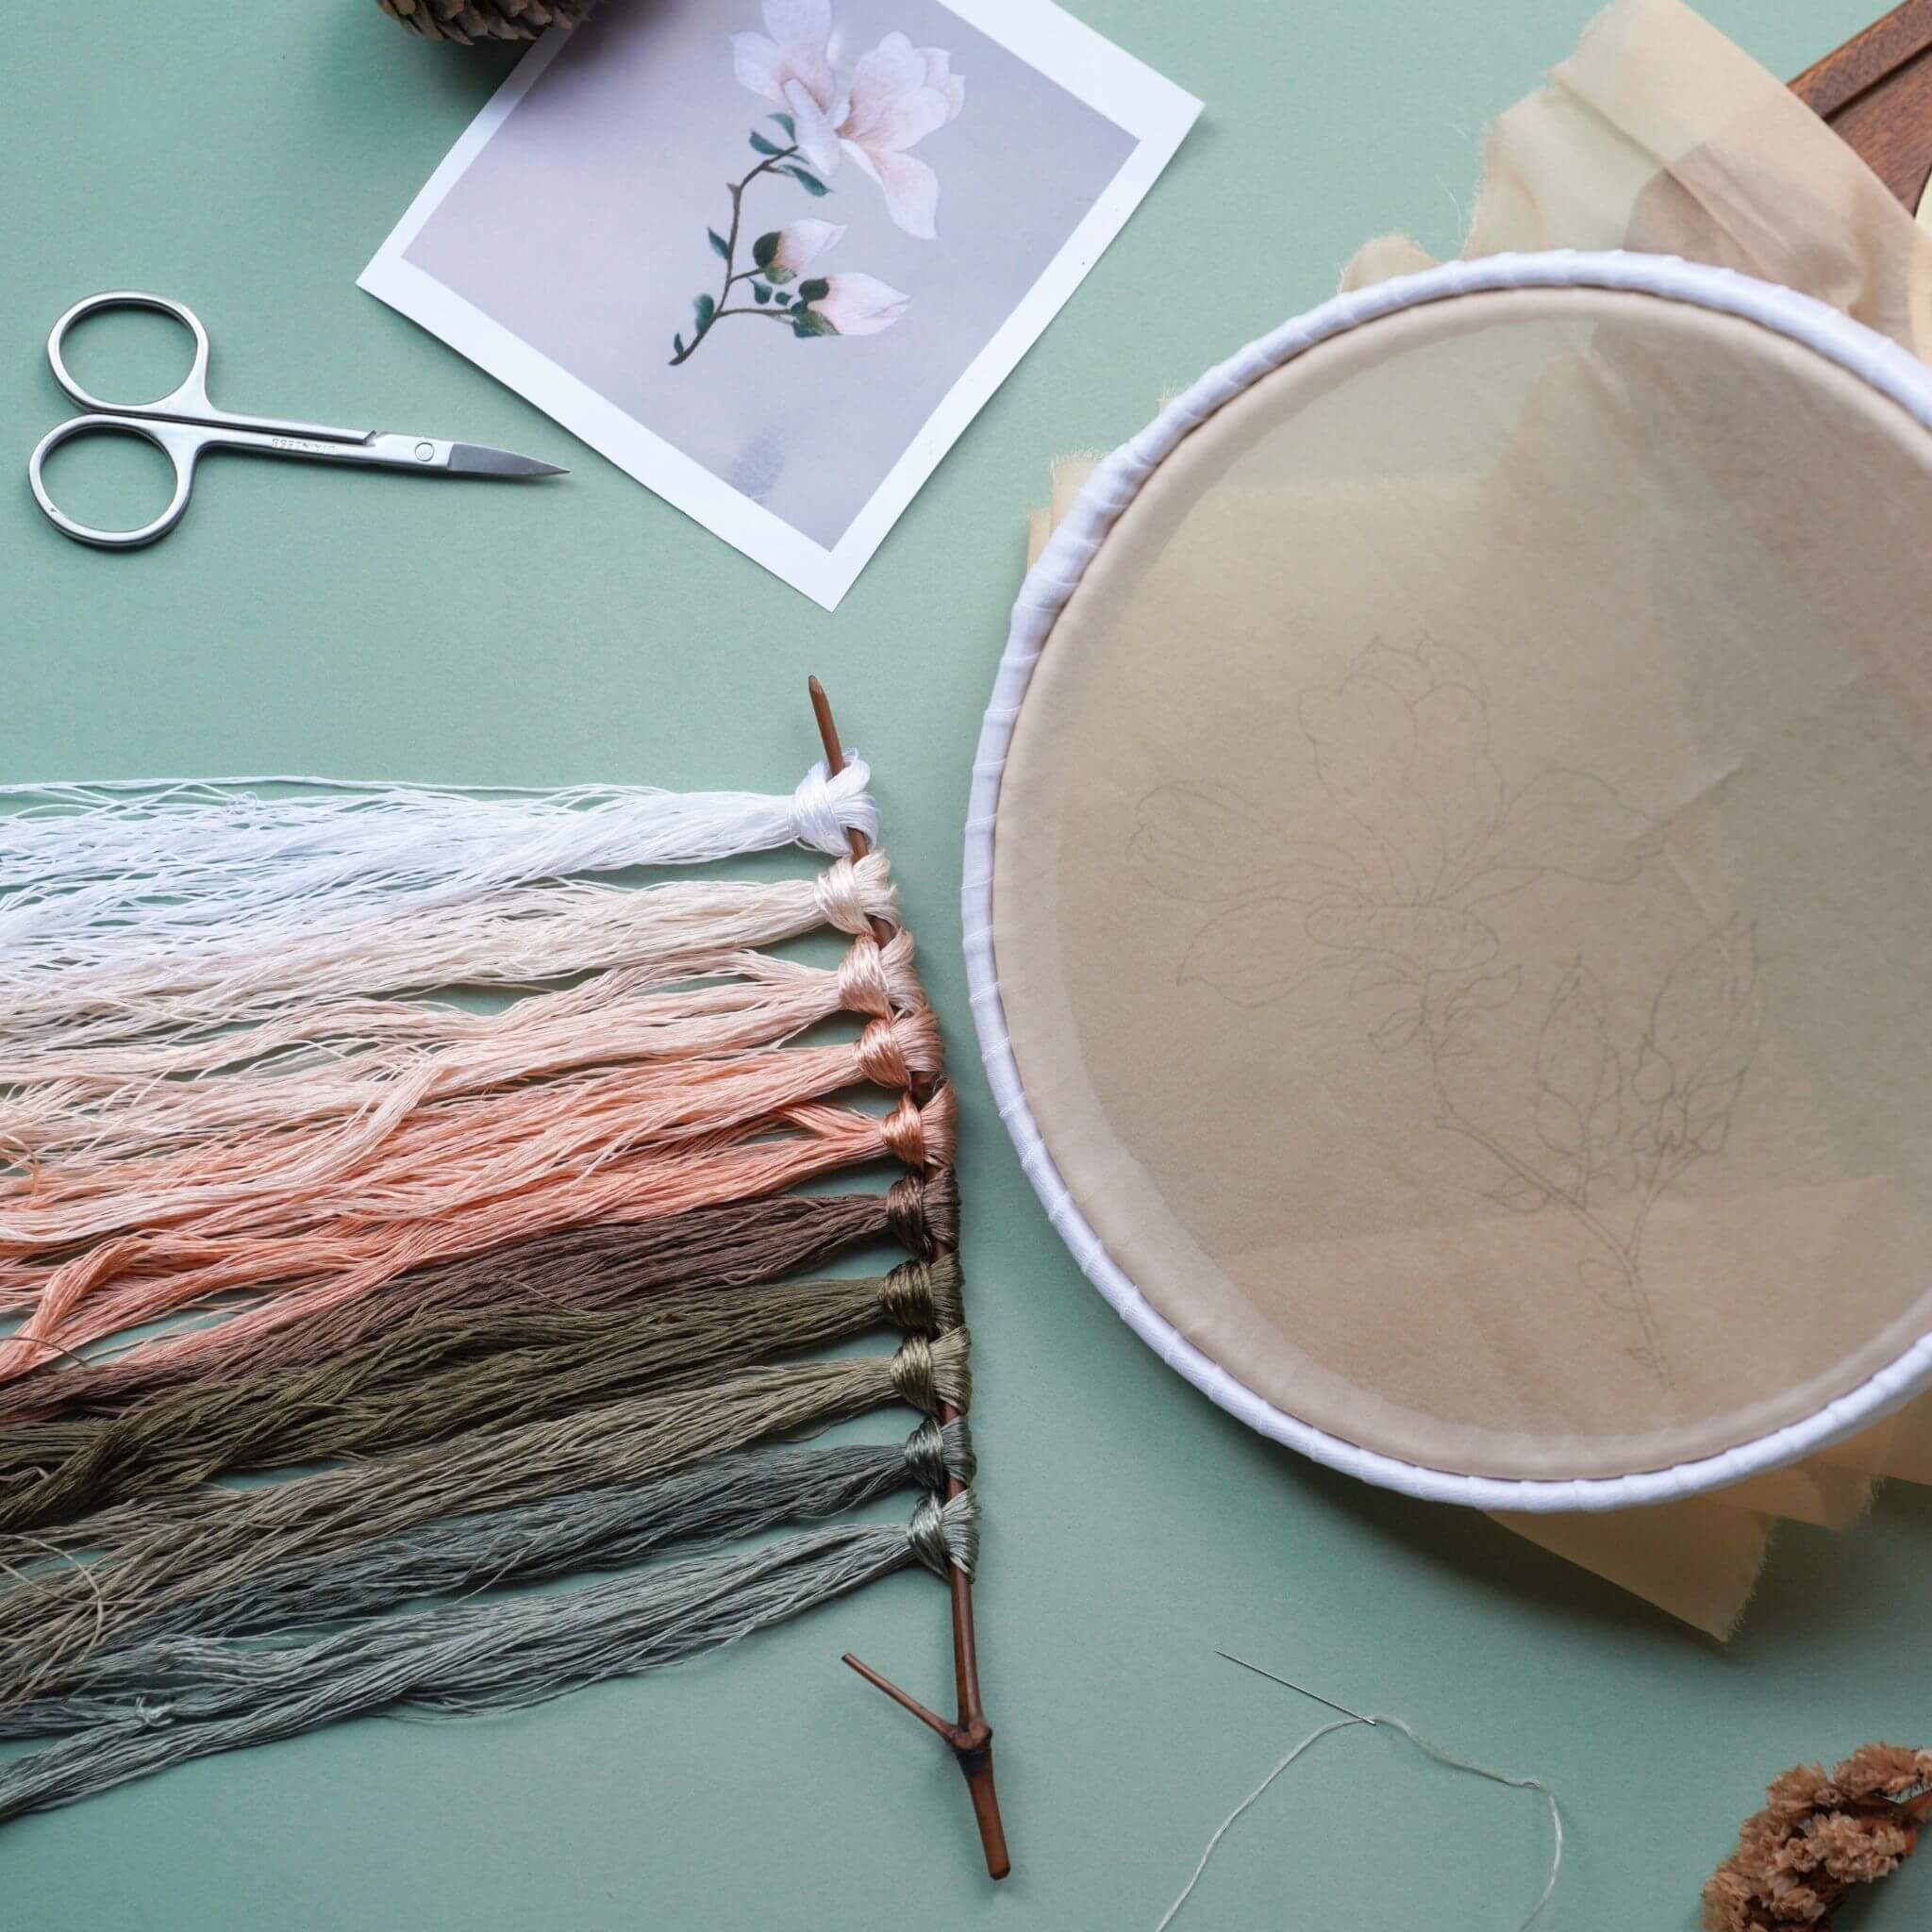
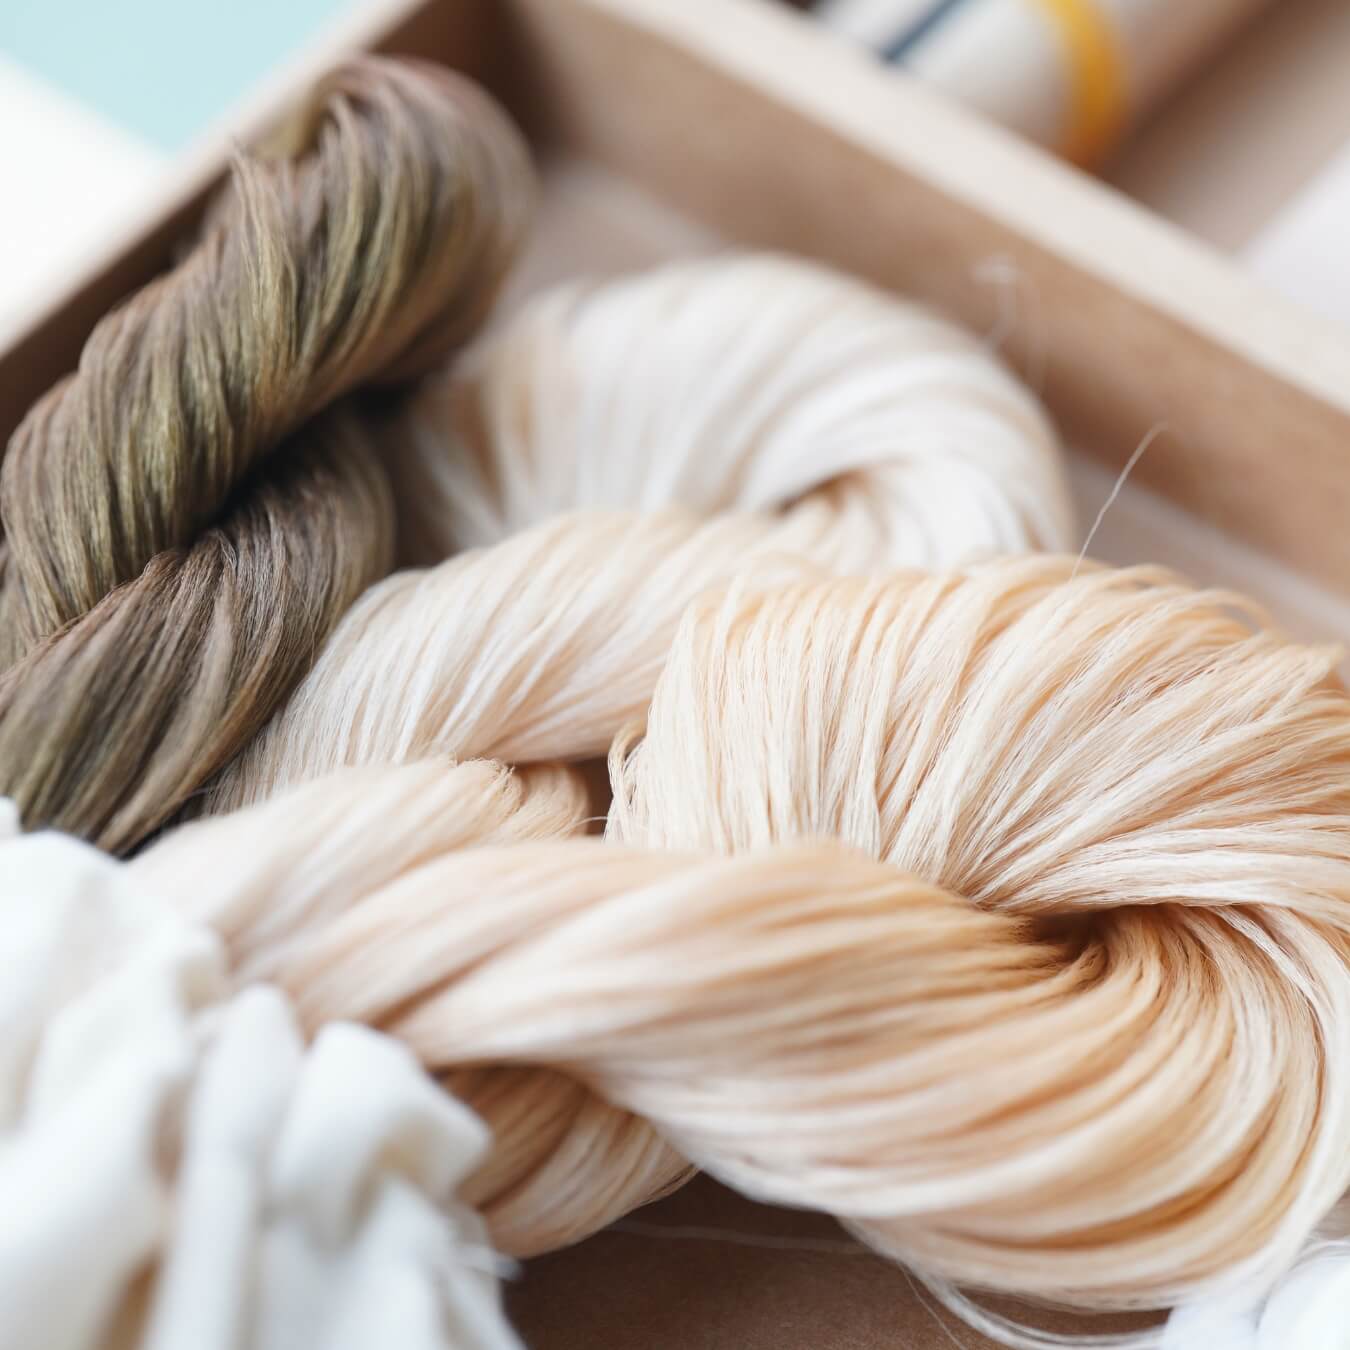
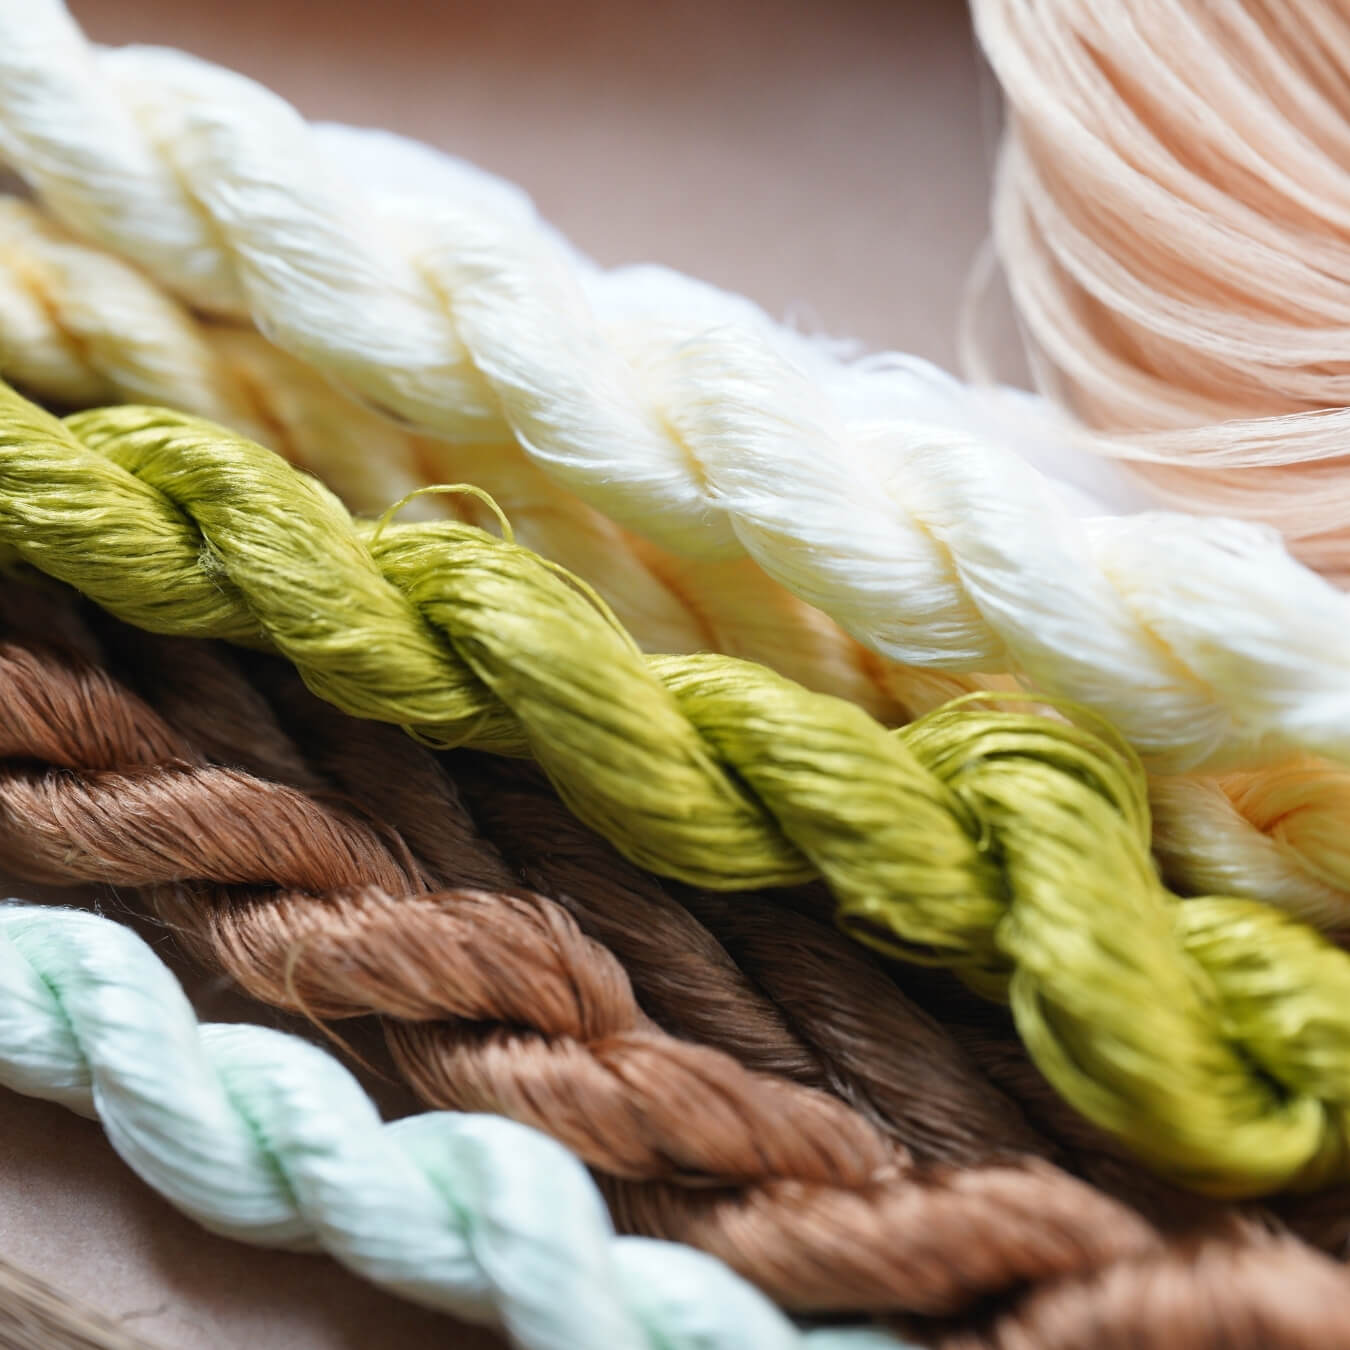
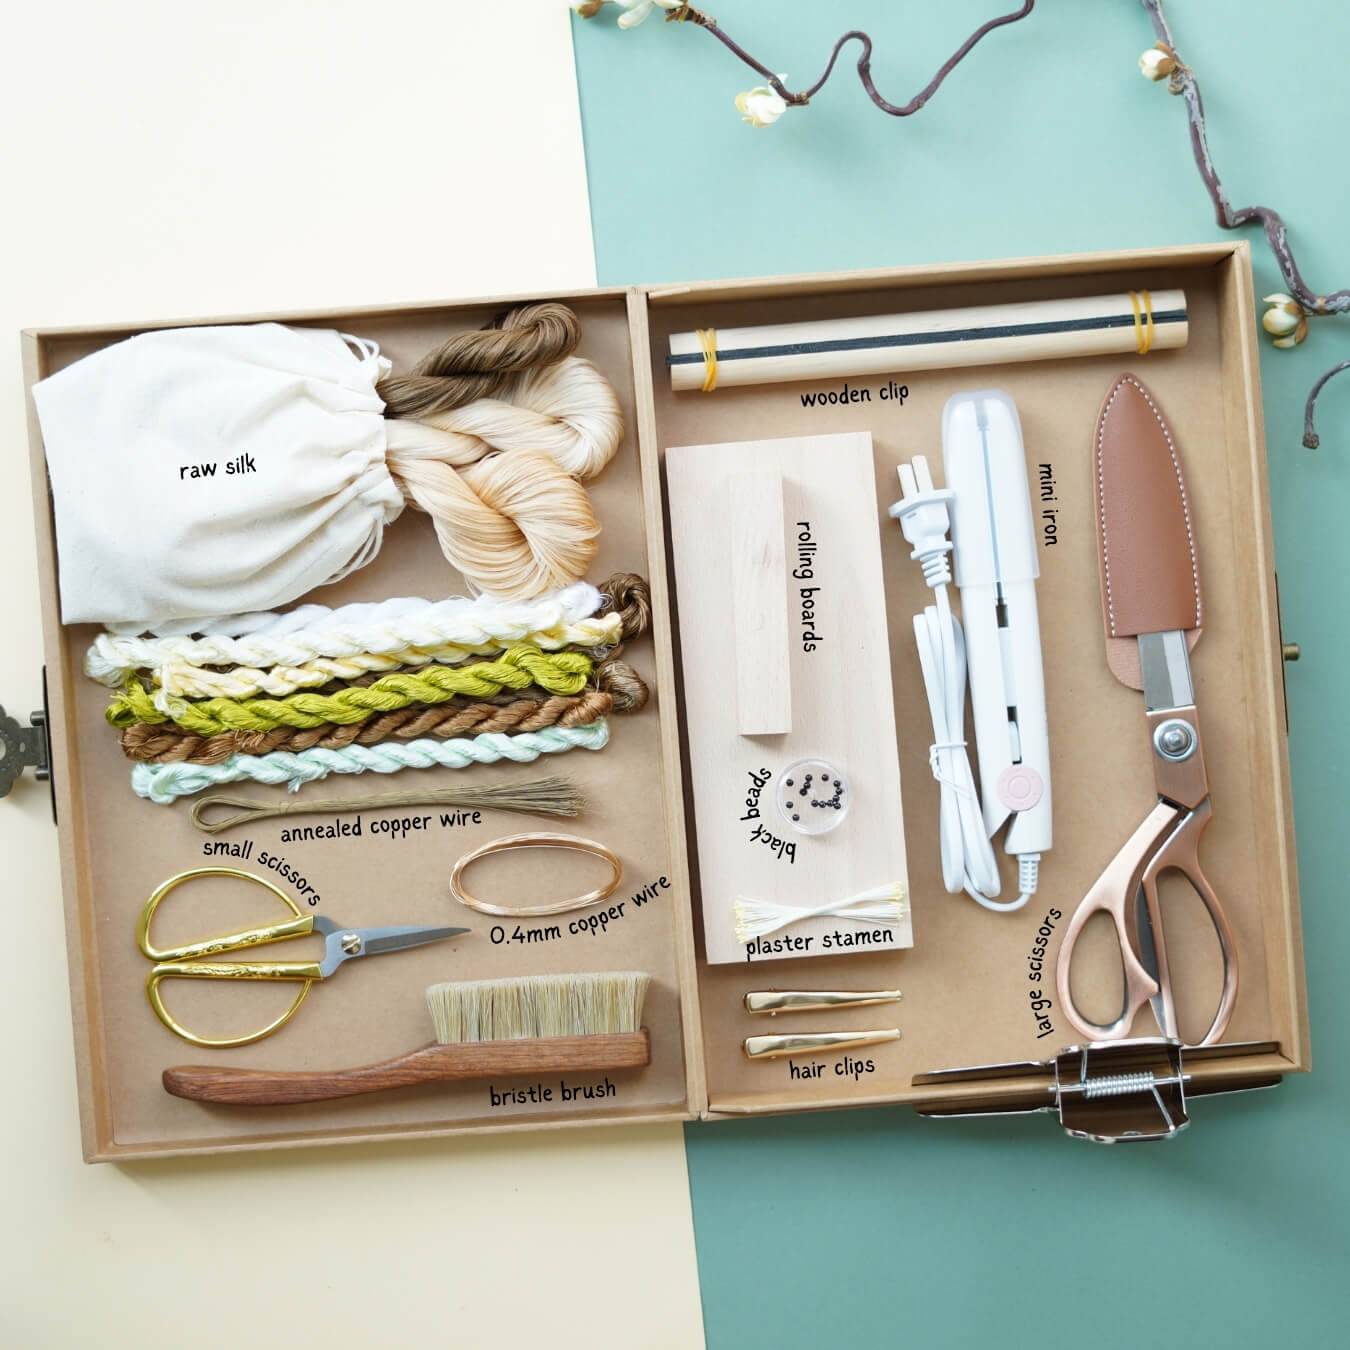
Start by locating the knotted ends of the five colors of silk thread. Cut the threads at the knots and divide them into groups of seven strands each. Fold the threads in half and tie them onto a wooden stick. You’ll need to prepare three sets of thread rows (ranks). The lighter-colored silk rows will be used for flower petals, and the darker-colored ones for the calyxes.
For the first silk rank/row, place 10 deep yellow groups in the center, with 3 light yellow and 3 light green groups on each side—22 groups in total.

For the second silk rank/row, place 5 deep yellow groups in the center, then 4 light yellow and 3 light green groups on each side—19 groups in total.

For the third silk rank/row, place 5 grass green groups in the center, with 4 ochre yellow groups on each side—13 groups in total.

Fix the silk rows onto a supporting stand. Gently sort out and straighten the threads. Spraying a little water or applying a small amount of fabric softener will help reduce static electricity. Hold the threads with one hand and brush them with the other. Do not let go until the brush reaches the end. Brush both sides. Properly brushed silk should appear fluffy and shiny.

Take a piece of copper wire, fold it in half and straighten it. Twist the back half of the wire tightly—about 3–4 cm is enough. Clamp one end of the wire onto the silk threads, making sure the wire is taut. Twist the two loose ends of the wire together. Pinch the wire with both hands and twist in opposite directions until the wire just grips the edge of the silk strip. Maintain a spacing of about 0.7 cm between the wires. If that feels too tight, you can leave it wider for now and trim it later.
For the widest strip, the spacing should be about 1.2 cm. If the wire clamps down on threads, cut away the pinched threads.
The third strip is narrower, with a spacing of about 0.9 cm between the wires. You can apply some magnesium powder to your fingers while twisting for better grip.
After tying all the wires, remove the strip and lay it flat on your palm, or place it on a flat board or piece of cardstock. Trim the silk strips evenly along the edge so that the copper wire sits at the center. Twist the wire slightly to secure the threads in place so they won’t fall out. Use a twisting board to twist the strips tightly. After twisting, the strips may shrink slightly in length. Blow gently to fluff up the strips.

Next, cut all the strips in half. Use a heated flat iron to gently press and smooth them. Since the threads are silk, they will have a natural sheen. Pour out a little shaping solution. If you don’t have a dedicated one, you can mix hair spray or white glue with water as a substitute.
Dip a brush into the solution and apply it evenly to the strips. Then, use a round shaping stick to press and curve the strip to create a natural arc. You can also fully soak the strip in the solution before shaping. Press again with the stick, then insert the shaped strips into a sponge pad to dry. Once dry, remove them and keep the strips from each row separated to avoid mixing.
 When dry, begin trimming the strips. Start with the base of the petal—the lower part should be the thinnest. Cut it with scissors at an angle. The top of the petal should be round and smooth. For the calyx, trim it smaller—about half the size of the petals.

Next, assemble the petals. Take five flower stamens and use two leftover silk threads to wrap around them a few times. Tie a knot to secure them more firmly. Each wintersweet flower has three layers of petals and one layer of calyx. The first layer includes three petals, and with each additional petal, wrap the thread around once to hold it in place. Both the first and second layers use small-sized petals. Use tweezers to gently adjust the position of the petals. The second layer should be positioned so that each petal aligns with the gaps between the petals of the first layer. This layer also has three petals, the same size as the first. For the third layer, switch to slightly larger petals—five in total. Finally, attach five small calyx pieces.
Trim the copper wire at a slant so it gradually tapers from thick to thin. Wrap the silk thread around the stem for about 3 cm and tie a knot to secure it, then cut off the excess thread. In total, sixteen flowers were made. The smaller flowers have only a single layer of small buds and one layer of calyx. Pair two flowers together at slightly different heights, and wrap the threads all the way down before tying a knot. Four such paired flower clusters were made. The remaining flowers will be used individually. Cut off the exposed copper wire from each single flower and apply white craft glue to the wrapped thread. Once the glue is dry, trim off the excess stem, leaving only about 1.5 cm. Since the thread has been glued, there's no need to worry about it unraveling.


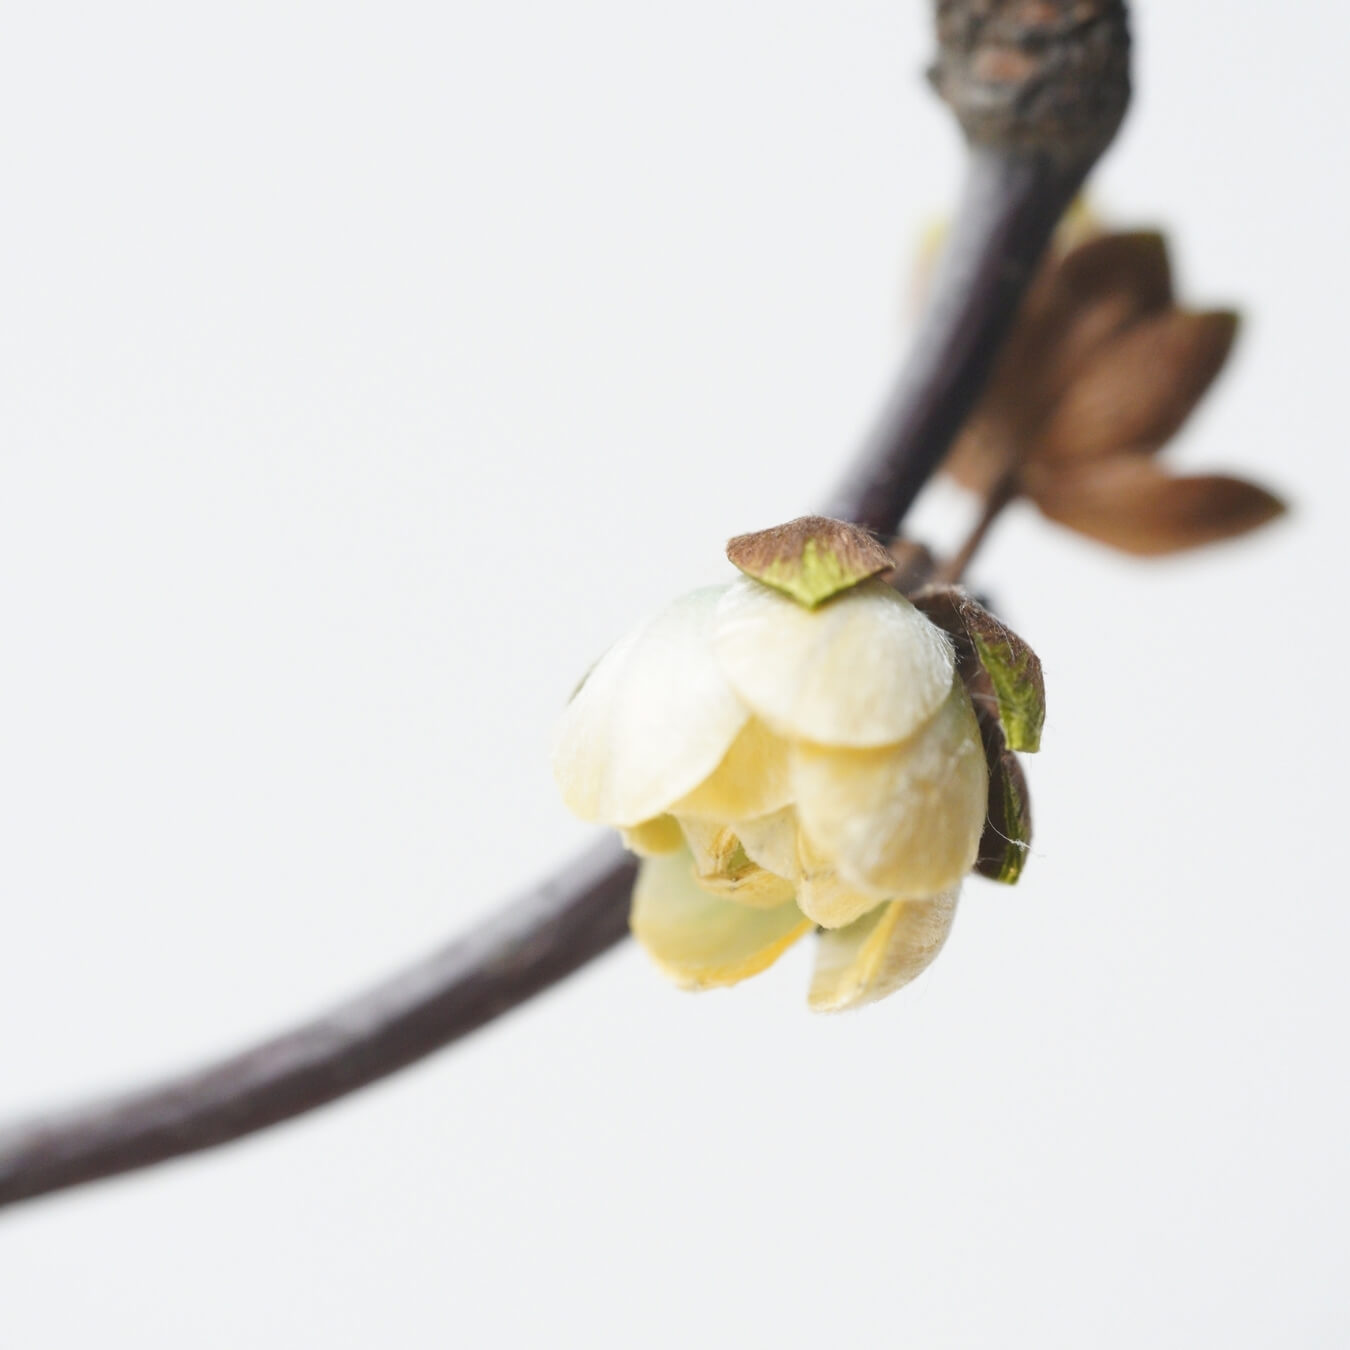
Now prepare a dried tree branch. Wrap the flowers onto the branch using thread. Once secure, tie a knot to finish. For flowers with shorter stems, apply a bit of jewelry glue to attach them directly to the branch. Press for a few extra seconds to ensure they hold firmly. Reinforce with thread and add another layer of white craft glue. Once the glue dries, it will turn clear, so you don’t need to worry about it being visible. After all the flowers are securely fixed in place, the flower-making process is complete.


Step 2: Making the Bird’s Body 22:02~35:36
The bird’s body is made with raw silk, while the wings are made with refined silk. Raw silk offers better structural support, making it ideal for shaping the bird’s body without deformation. Start by loosening the raw silk, and cut the threads at the knotted ends. Count out 30 strands of raw silk, fold them in half, and cut along the fold. This amount of silk is enough to make four birds. If you want to make more, you can skip cutting the threads and just fold them in half. Tie the folded threads onto a wooden stick—six sets of silk strips will be enough. Two adjacent shades of light-colored raw silk are used. The refined silk, which is softer and more flexible, is used to make the bird’s wings and tail. For the wings, use three colors: dark brown, light brown, and white. Each group should consist of 8 threads placed closely together, and you’ll need 8 such groups. For the body, count 30 strands per group; it’s recommended to make 6 groups. Be sure to keep the data consistent between the two types of silk strips used for the bird’s body.

The brushing and wire-tying method for the bird body strips is the same as that used for the wintersweet. Fix the silk strip onto a brushing frame using a mountain-shaped clip. Since the raw silk has been folded and cut, these strips are shorter than standard silk strips. Raw silk is thicker, so it needs to be brushed in smaller sections. Start by using a flat iron to smooth out the raw silk. The straighter it is, the better. Properly flattened raw silk will resemble smooth hair. Lightly spray the silk to reduce static, then separate it into small bundles and brush each bundle 3 to 5 times on both sides. If any curling occurs, spray a bit more water and continue brushing.
After brushing, gather the raw silk together and trim the bottom edge evenly. Because raw silk is tough, it’s recommended to use an old pair of scissors that you don’t mind dulling. Use a wooden clamp to grip the silk firmly and secure both ends with rubber bands. Slide the clamp to the base of the threads, then trim the bottom again for an even edge. The silk strip should be about 8 cm wide.

Fold a piece of 0.4 mm unannealed copper wire (or steel wire) to a length of 18 to 20 cm, and twist the back half tightly. To improve grip while twisting, you can apply some magnesium powder or anti-slip powder to your fingers. If the wire is difficult to twist, use pliers or similar tools. The wire doesn’t need to be twisted extremely tightly—just enough so that it won’t slip downward. The spacing between the wires on this strip is about 4 cm, allowing for four to five wires to be attached.

On another strip, the spacing between copper wires is closer—around 0.8 cm—so you can attach over forty wires in total.
 Once all the wires are attached, remove the mountain clip and the wooden clamp. Carefully cut away the strips, supporting the base of the threads with your hand to prevent them from falling apart. Use tweezers to adjust and even out the distribution of the raw silk.

Align the edges, and twist the wire firmly so it grips the silk tightly. The wire should be positioned in the center of the silk strip. While twisting the strip, keep the copper wire pulled taut and twist both ends tightly. There should be no gaps between the silk threads. 
A total of eight raw silk strips were made, enough for four birds. Make sure the strips in both color groups are the same length. To trim the silk strips, hold the wire between your thumb and index finger. Rotate the strip as you trim to gradually shape it into a rounded form. The goal is to taper one end narrower while keeping the other end wider. The light-colored strip should be larger than the darker one. Align the wider ends of both strips and bind the two wires together with silk thread. Wrap the thread downward for 2 to 3 cm, then tie a knot to finish. Apply white craft glue to all the wrapped sections.

Step 3: Making the Bird’s Wings and Tail 35:37~45.38
Trim off the copper wire from the lighter-colored end of the silk strip. Use a flat iron to press the strip flat, then soak it in shaping solution until it’s fully saturated. Once the strip is shaped, stick it into a sponge pad to air dry.


After the strip is dry, press it again with the flat iron. Now, trim the silk strip into a feather shape—the feather should be wider at the top and narrower at the bottom, and make sure the shape is smooth and rounded.
Once the feathers are trimmed, apply a small amount of white craft glue along the edges, and gently press the feather edges together to bond them. Four strips are used to form one small wing. Use the flat iron again to help the glue set faster. The exact shape of the wing isn’t fixed, so you can trim it according to your own preferences. Use the flat iron to press a slight curve into the wing, then wrap the exposed copper wire with silk thread. After that, join the two wings together. Start wrapping thread about 1.5 cm from the base of the wings—there’s no need to wrap too far, just enough to secure them tightly before tying a knot to finish.Take a piece of annealed copper wire and fold it a few times, then secure it to the wings to extend the length of the wire. With that, the wings are finished. Next, take three silk feathers and wrap them together with thread. Once secured, tie a knot to finish. Trim another set of three feathers into the same shape, just slightly shorter. Combine the small set with the larger set and press a gentle curve into them with the flat iron. Now the bird’s tail is complete.


Step 4: Assemble the Bird and Attach It to the Branch 45:39~end
Place the wings between the two silk strips. The wings should be positioned just slightly forward of the midpoint of the bird’s body. Then attach the tail as well. When wrapping the thread, make sure there are no gaps.


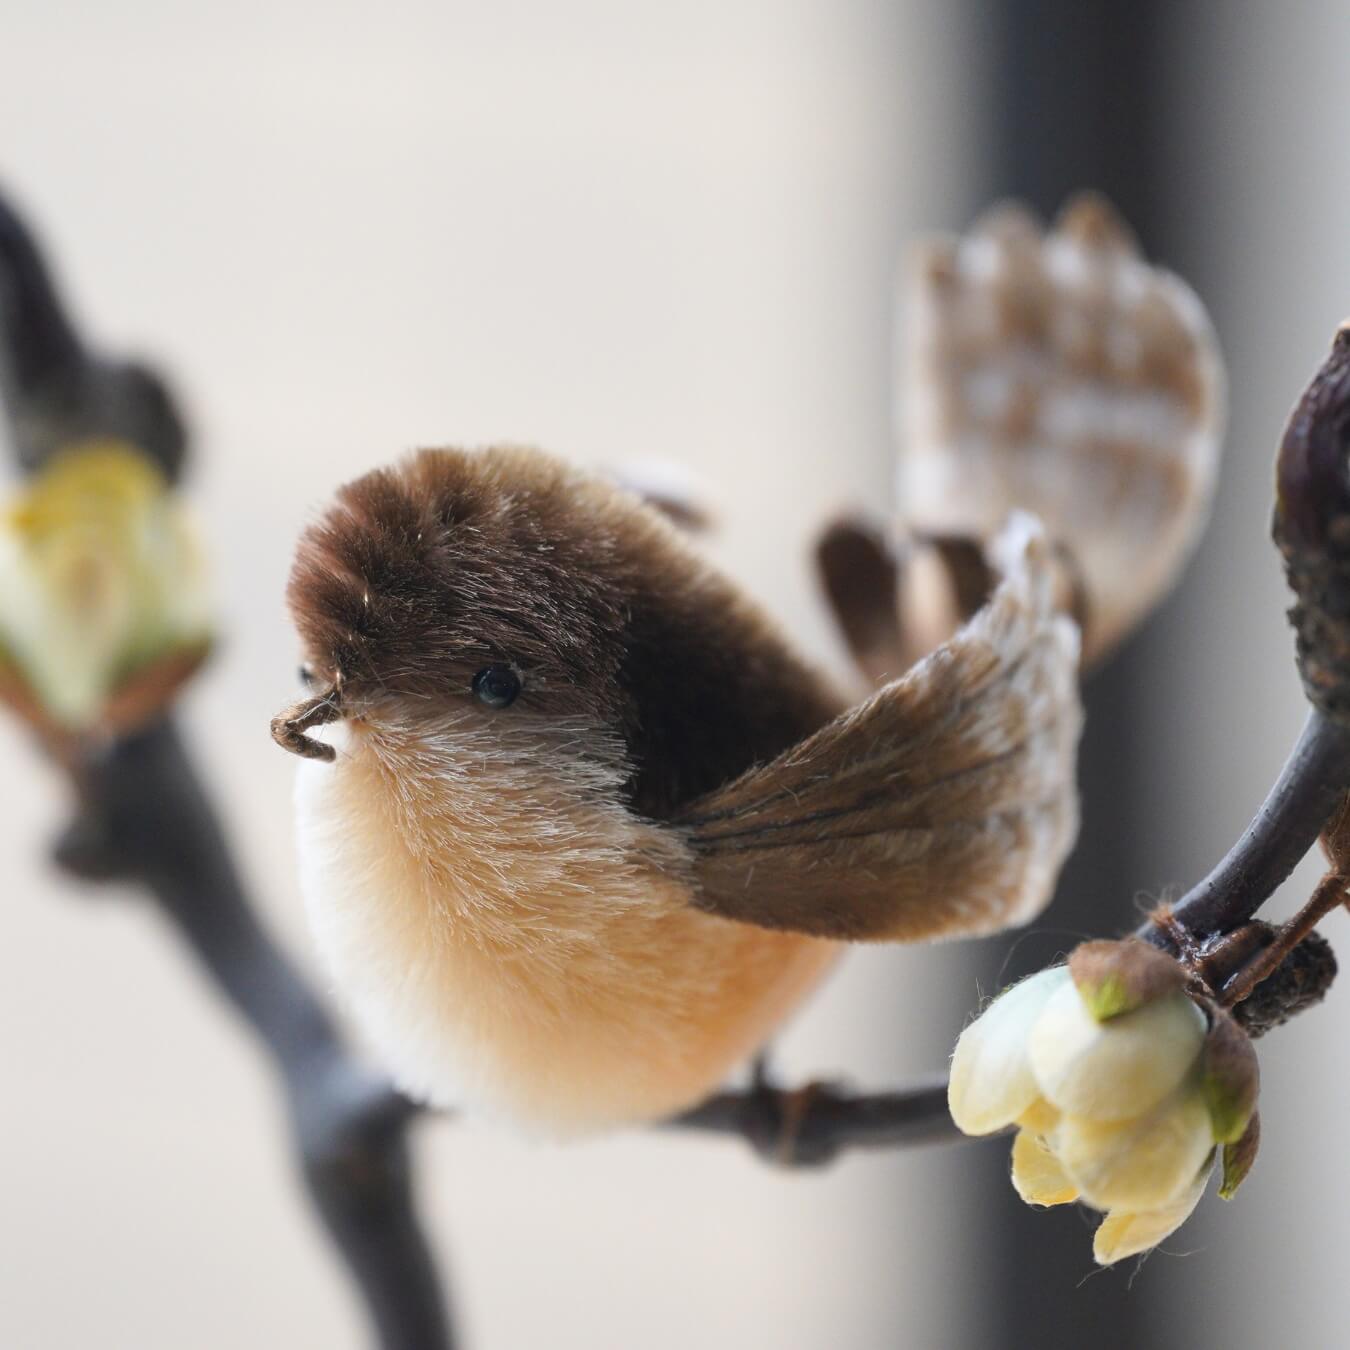
After assembly, trim the copper wire at an angle. The direction of the wings can still be adjusted—use pliers or tweezers to bend the front section of the copper wire downward, then cut off any excess. That finishes the bird’s beak. Next, we need to continue trimming the bird’s body. Make sure to trim all sides evenly—shape it however you like. Bend the copper wire slightly and tuck it under the bird’s body; from the side, it looks a bit like little bird feet.

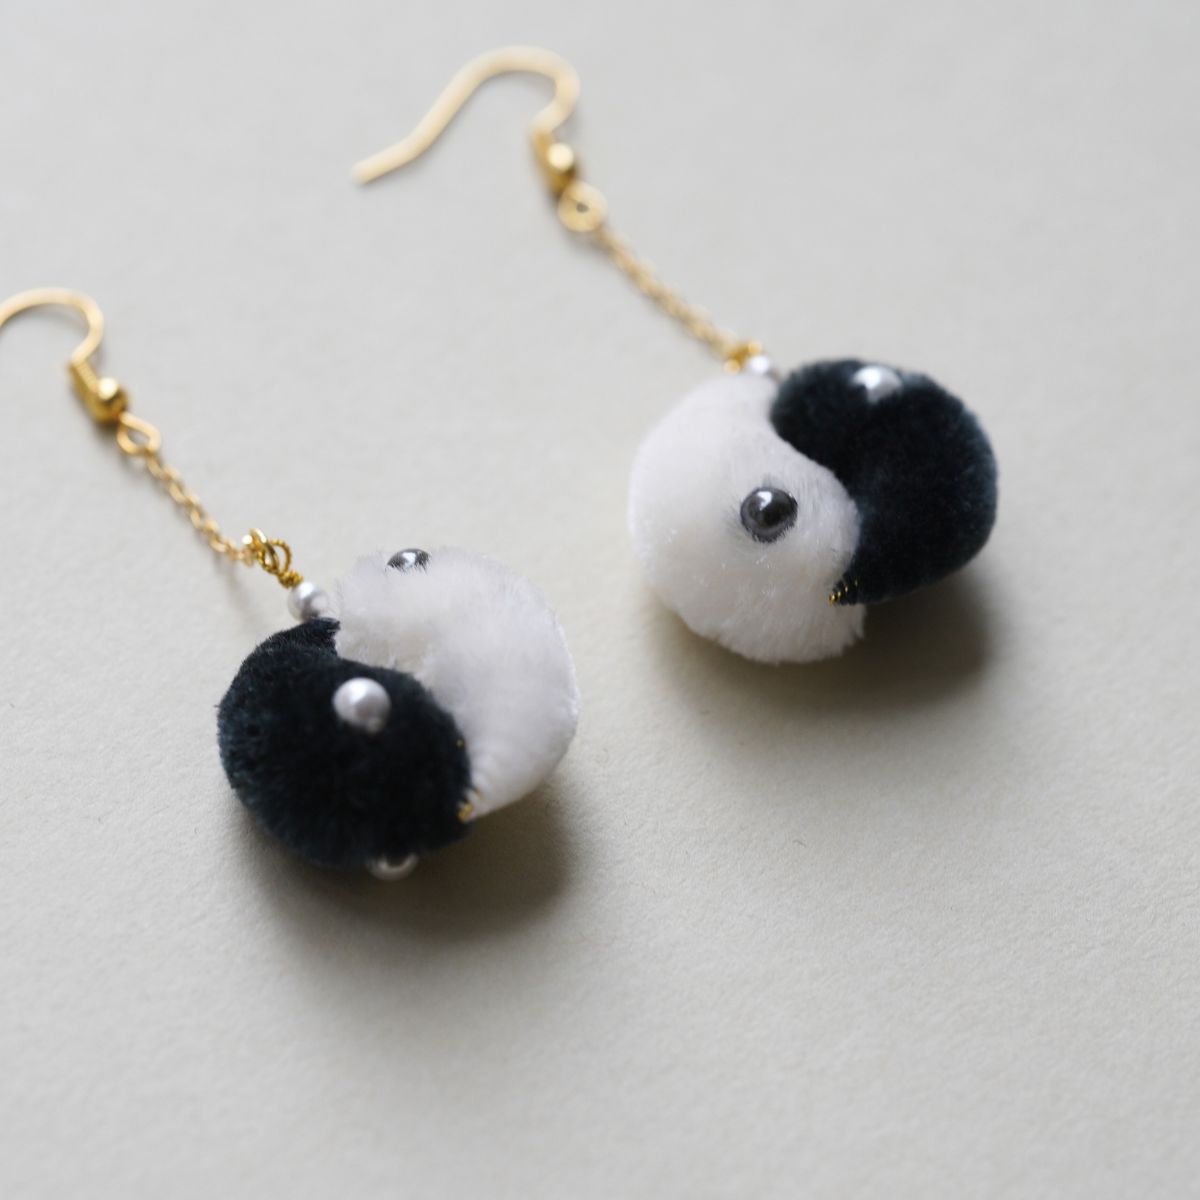
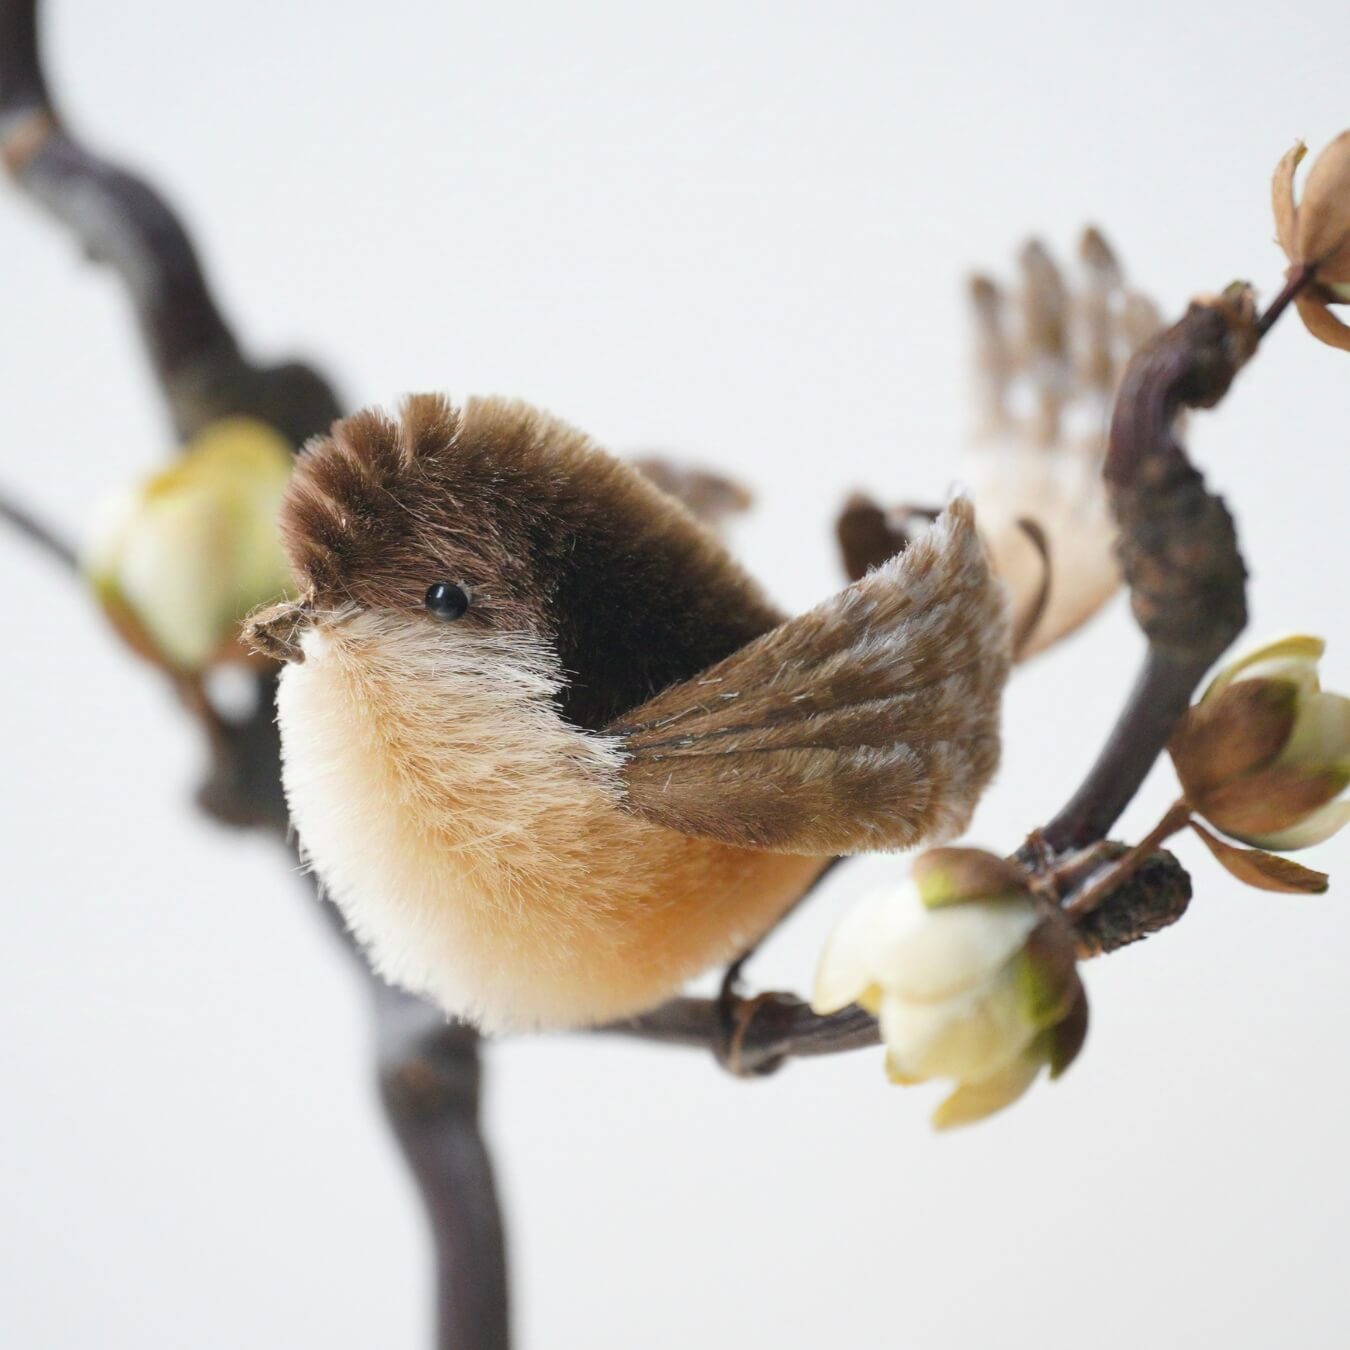
Dab a bit of white craft glue where the eyes should go, and attach the bird’s eyes. Now the bird is finished.
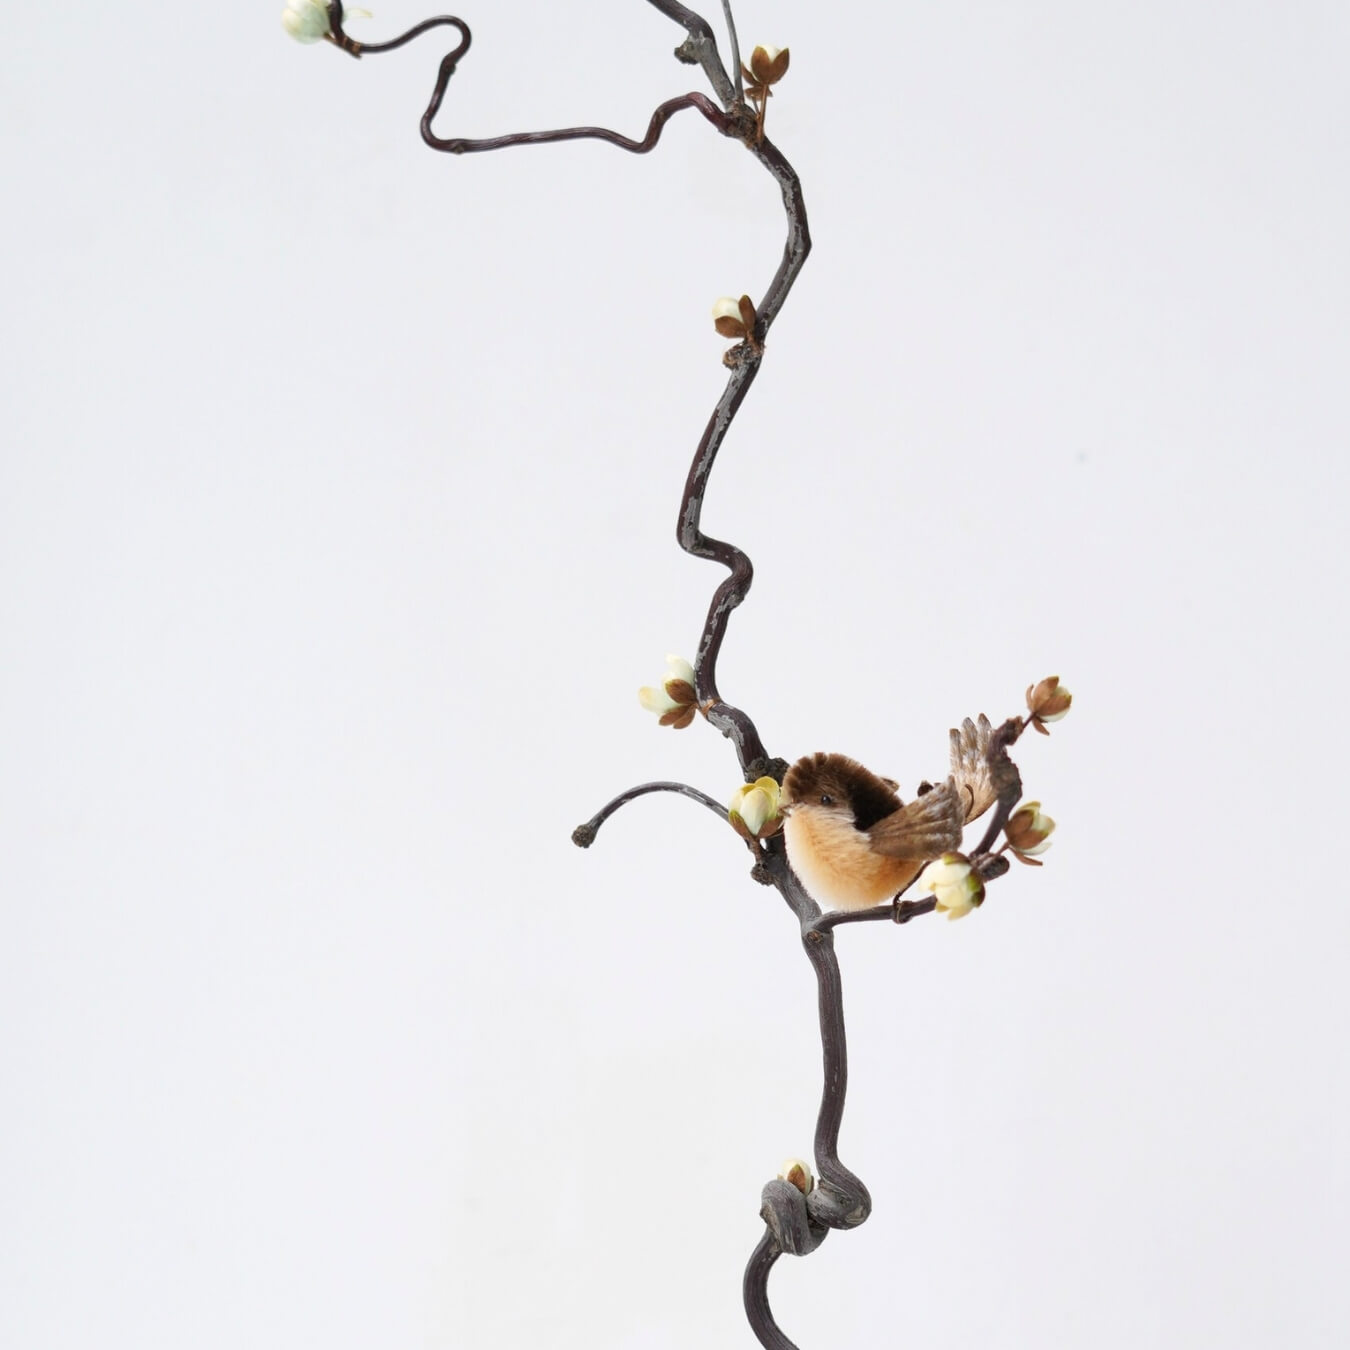
Finally, wrap the remaining copper wire around a tree branch. At the point where the wire meets the branch, apply a small amount of UV resin and cure it with a UV light. Then insert the branch into a flower pot, and your one-of-a-kind wintersweet bird is complete!

If you finished your DIY product, welcome to show your awesome work to us and get coupons for the rest of our DIY kits!
INS@lanseichina
Pinterest@lanseichina


