This is a complete, beginner-friendly guide to making a cloisonné-style decorated mirror using metal wires and colored sand. From transferring the design to shaping the wires and applying sand, every detail is covered to help you create a stunning handcrafted artwork.
Step 1: Transfer the Design to the Baseboard 0:00~1:12
Place your printed design on the mirror and adjust it to the correct position. If needed, trim the paper to fit the mirror using scissors. Insert carbon transfer paper between the design and the mirror, ink side down and dry side up. Secure the design with tape to prevent shifting during tracing. Trace over the lines using a ballpoint pen, keeping the strokes smooth and clear. Once done, be careful not to rub the surface too hard to avoid smudging the lines.

Step 2: Cut and Straighten the Metal Wire 1:13~1:22
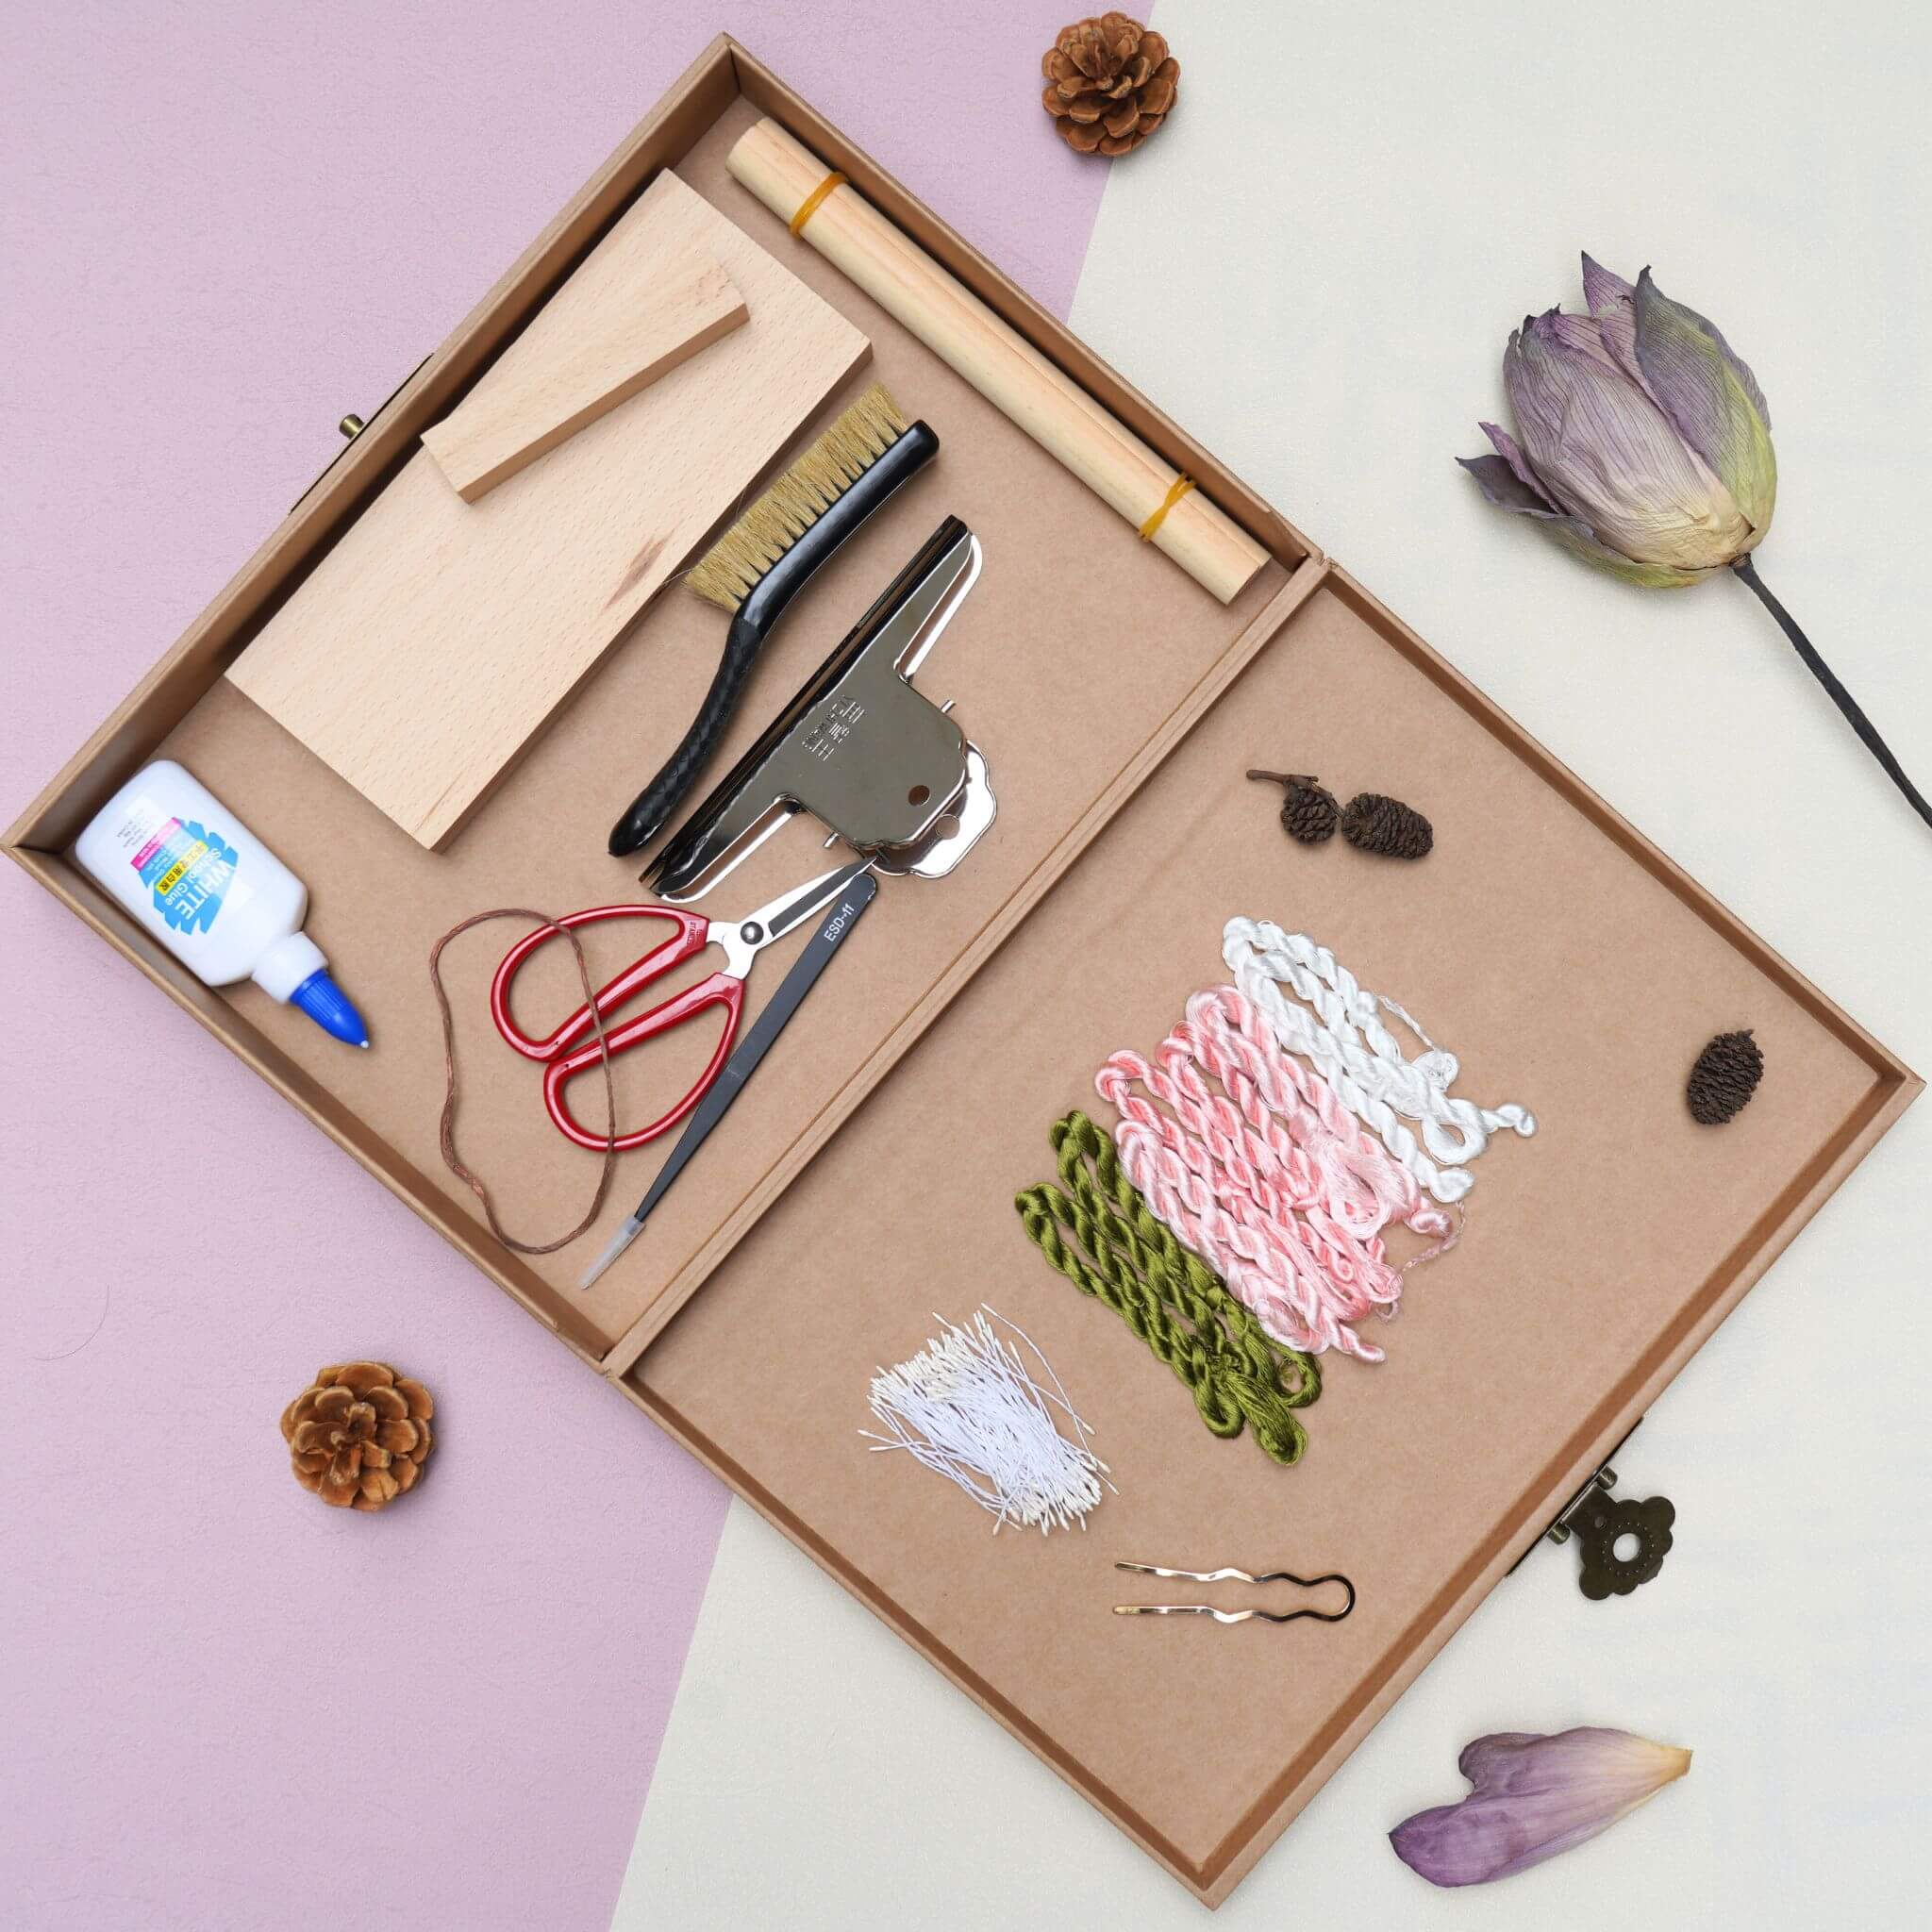
Cut gold wire to suitable lengths based on the design lines. Straighten the wire to remove any kinks or curves. This helps the wire fit the lines better and ensures a smooth surface when adding sand. Use a wire-straightening board or gently straighten it by hand.

Step 3: Apply Glue and Attach the Wire 1:23~2:26
Apply glue evenly along the traced lines. The glue width should be slightly wider than the wire diameter. Use minimal glue—less is better—to prevent the wire from slipping or causing uneven sand buildup. Work in small sections to keep glue distribution even. Gently press the wire onto the glue using tweezers, ensuring full contact with the surface. For complex designs: Place double-sided tape on the paper, shape the wire over the design, then transfer it to the baseboard. You can also divide the design into smaller areas and assemble them later.

Step 4: Shaping the Wire (Cloisonné Technique) 2:27~4:27
Use tweezers to hold the wire and slowly bend it along the traced lines. For curves or sharp angles, press the turning point with the tip of the tweezers and bend with your other hand. Be gentle—avoid bending the same spot repeatedly to prevent breakage. Make sure all wire shapes are fully enclosed without any gaps; this keeps the sand from leaking. Press joints with tweezers to secure them and make smooth, seamless connections.

Step 5: Wire Layering Example (Mini Osmanthus Pattern) 4:28~5:19
Straighten the wire and bend small U-shaped pieces using tweezers. First, attach the bottom layer of wires, and once the glue dries, add the top layer for dimension. Break the design into smaller components like leaves, branches, and flowers, then assemble them on the base. Transfer wire shapes from paper to the mirror or baseboard.

Step 6: Washing the Colored Sand 5:20~6:48
Pour colored sand into a container and add water until the sand is fully submerged. Gently stir with a small spatula to release dust and excess pigment. Carefully pour out the dirty water, making sure not to lose any sand. Repeat the rinse process two times until the water runs clear. Drain the water completely and mix the clean sand with glue at a 1:1 ratio, stirring well. Repeat the process for each color.

Step 7: Applying the Colored Sand 6:49~end
Lightly mist the board with clean water to help the sand adhere and create a smoother texture. Wipe off excess water with a clean tissue to keep the surface damp but not wet. Use a spatula to evenly spread the prepared sand into the glued areas. If glue seeps out, gently blot it with tissue paper. For gradient effects: Start with light green, then layer dark green, and add a touch of yellow at the edges. Always clean tools before switching colors to avoid mixing. Use the spatula to gently blend the transition areas for a smooth color flow. Lightly tap the board to help sand settle into all the gaps and ensure a flat surface. Fill in the tree trunk color last to unify the design. Clean off any leftover dust or sand particles. And you’re done — your handmade cloisonné sand painting is ready to shine!


Tips & Tricks: Bend wires gently to keep them from breaking. Apply glue sparingly for better control. Start with lighter colors, then layer darker tones for better blending. Practice with simple designs first before moving on to complex compositions.

And that’s it — your full journey from blank board to beautiful artwork!
With a bit of patience and attention to detail, you’ll find that this traditional technique is as therapeutic as it is stunning. Want more tutorials, tool kits, or step-by-step videos? Leave a comment or message us — we’d love to help! Let’s bring traditional crafts back into modern life, one piece at a time.
If you finished your DIY product, welcome to show your awesome work to us and get coupons for the rest of our DIY kits!
INS@lanseichina
Pinterest@lanseichina



Leave a comment
All comments are moderated before being published.
This site is protected by hCaptcha and the hCaptcha Privacy Policy and Terms of Service apply.