


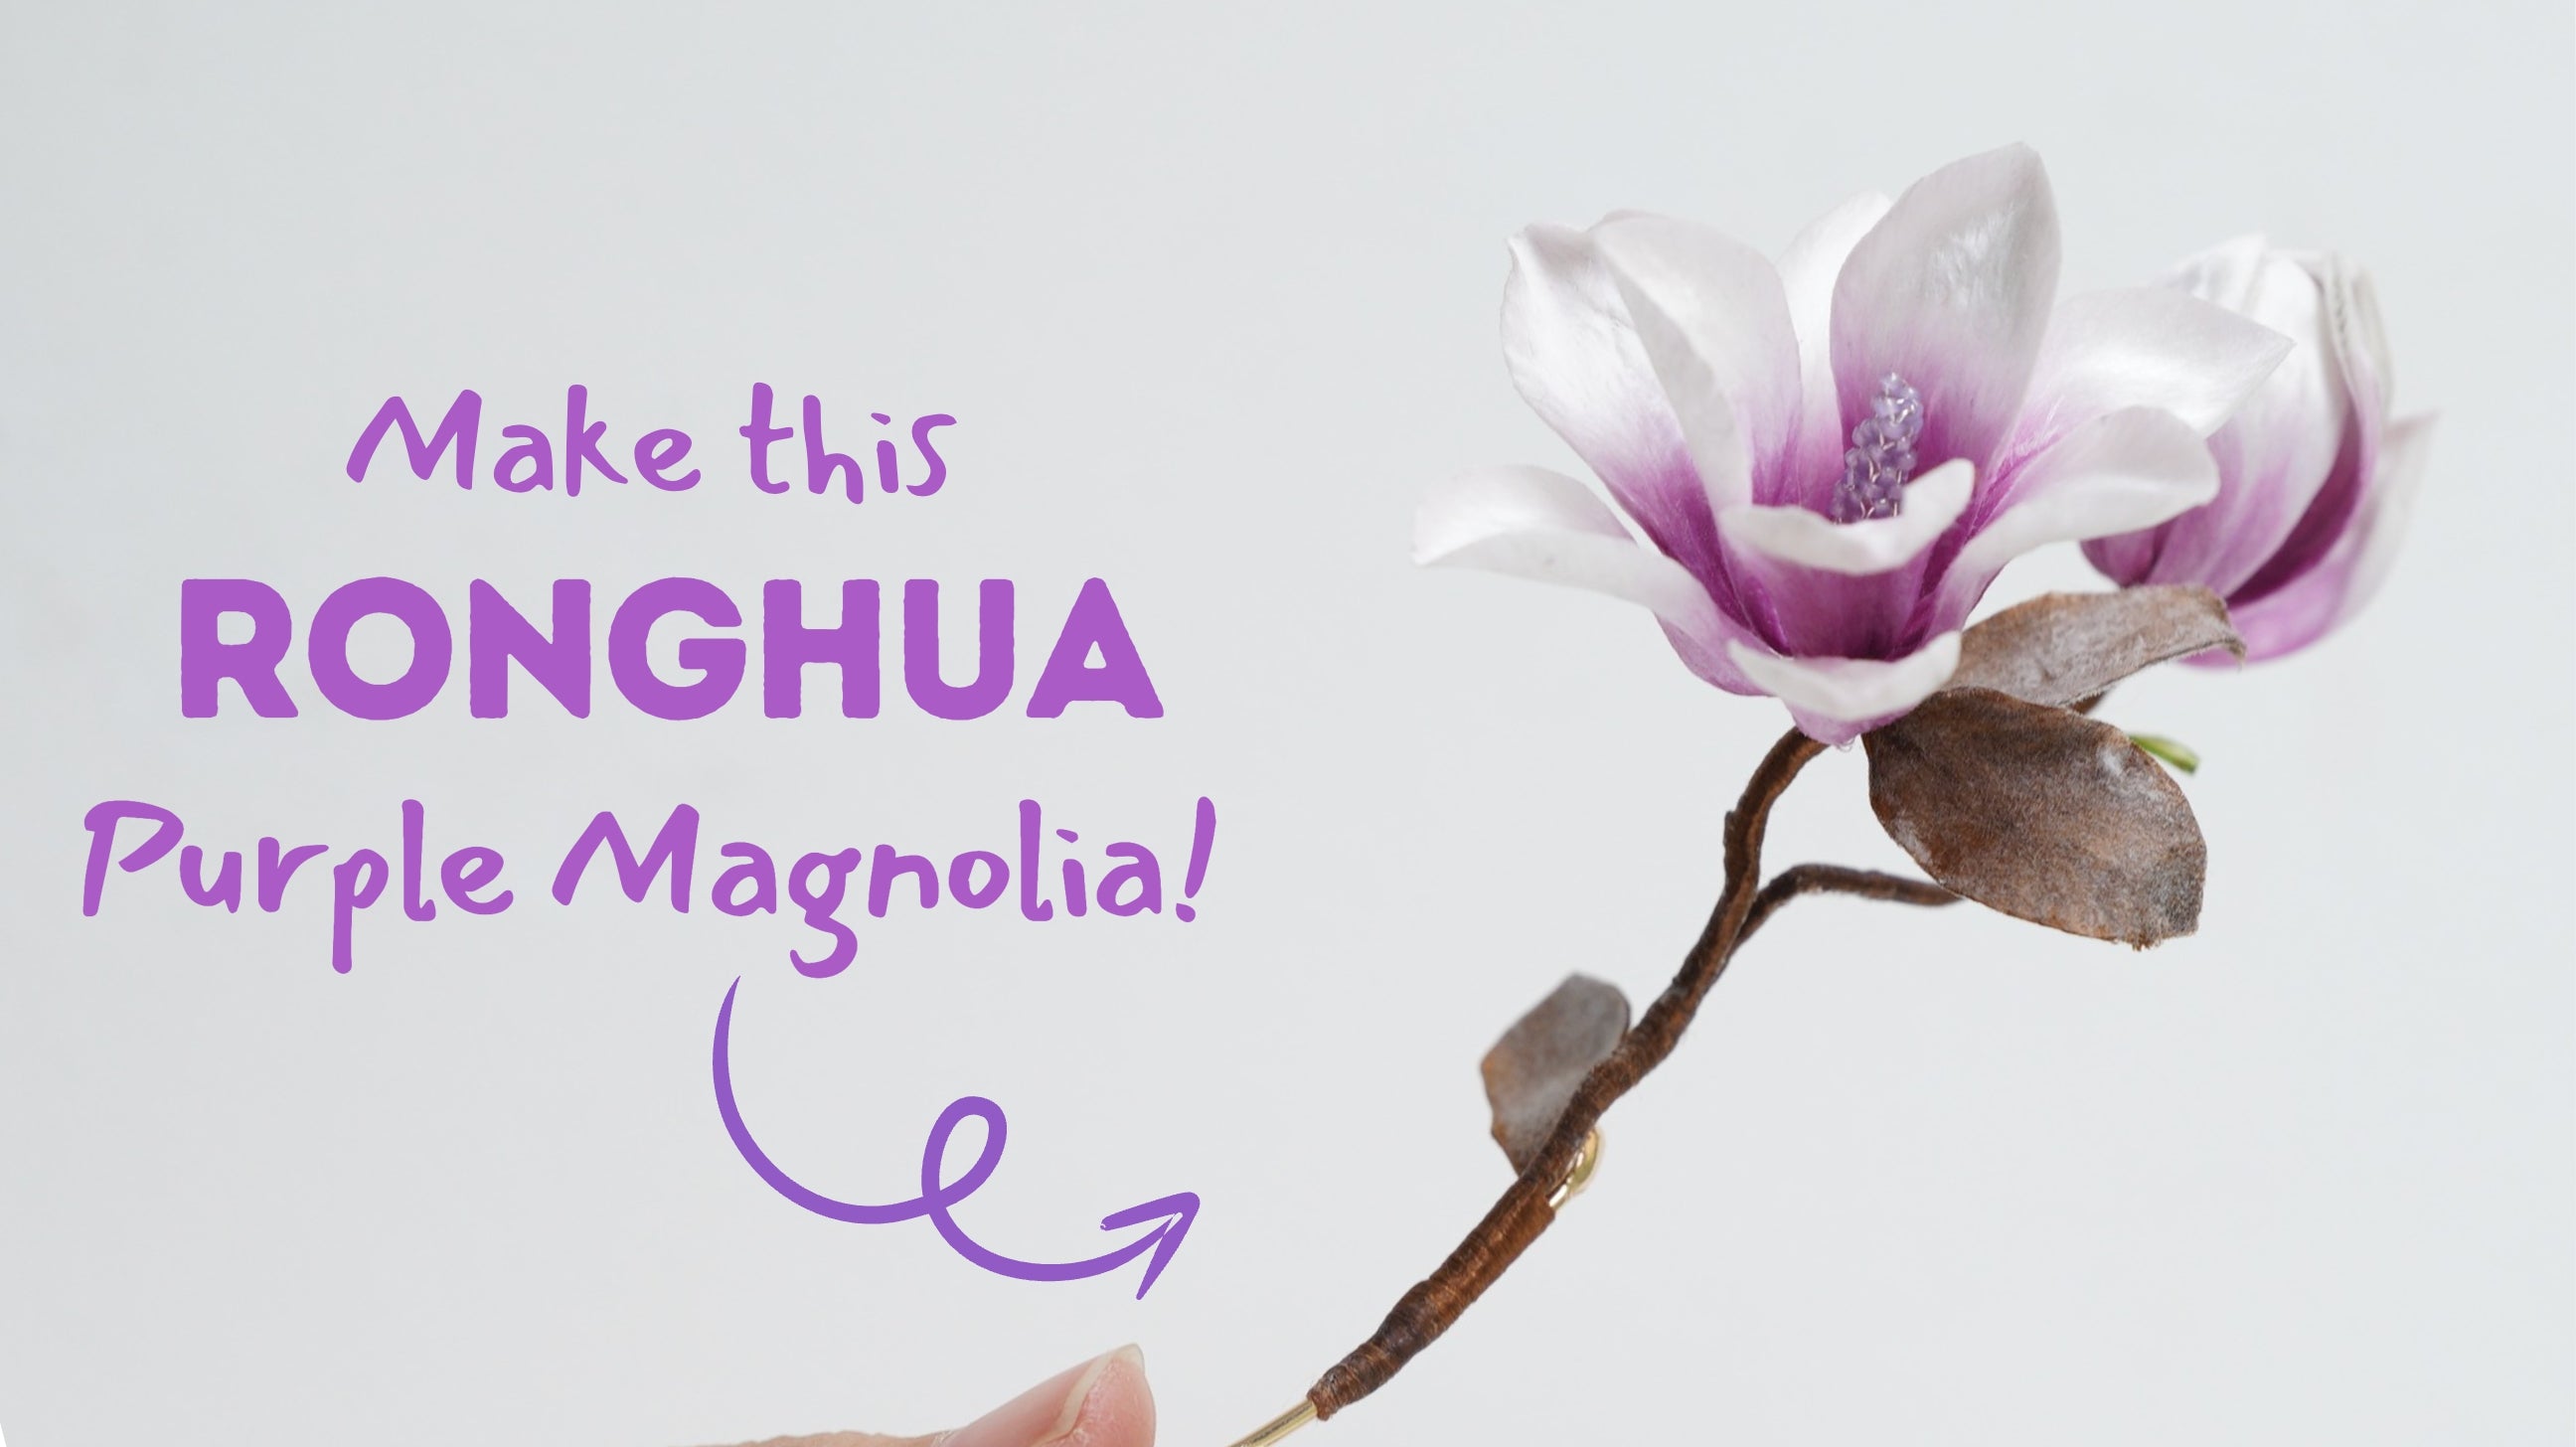
We're so excited to share the highlights from our first-ever livestream where we discussed tips and tricks for crafting beautiful Ronghua flowers! 🌸 Despite the technical hiccups (please forgive us, we're learning!), your passion and support kept us going. For those who couldn't join us live, we’ve summarized the key points here. We hope these tips help you on your crafting journey!
Ronghua Crafting Tip 1: How to Handle Mulberry Silk
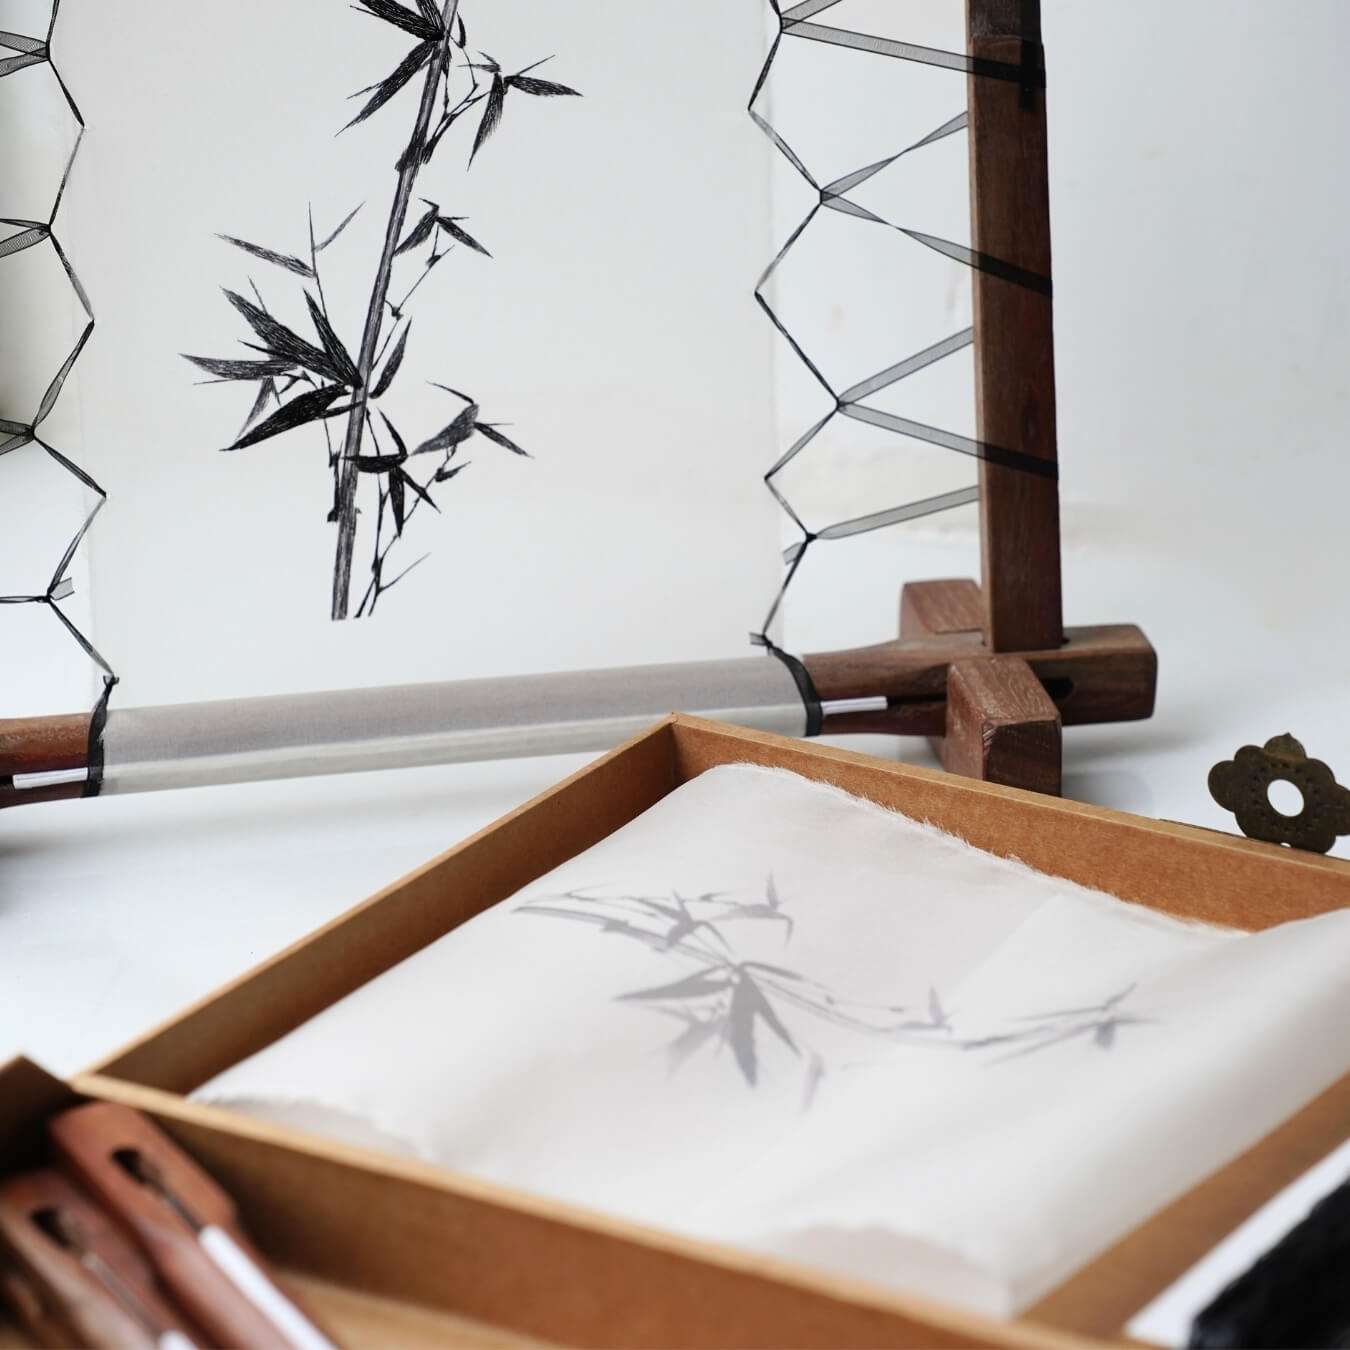
Mulberry silk can be delicate, but it’s also resilient. Beginners often worry about breaking it, but trust us, it’s much tougher than it looks! Here are some ways to organize your silk properly:
Twist It Back to Braid Shape: Stretch the silk with both hands, twist the ends, and let the silk naturally braid itself.
Hang It on a Hanger: If the silk is already cut, simply tie it with a flexible knot and hang it on a cloth hanger for easy access.
If It Gets Messy: Don’t panic! Just give it a sharp cut and carefully separate the threads.

(Guiting was showing how to twist silk back to braid shape)

(If you want to use a cloth hanger to organize your silk, this is how you should tie the silk on it)
Ronghua Crafting Tip 2: Smart Setup for Beginners (No Stand Needed!)
You don’t need a fancy stand to start crafting. Use your drawer instead! Place your silk rank at the right height, and add some weight to keep it stable. Another simple trick is to use books or water bottles to secure your silk if the clips won’t fit on thick tables.

( A quick demo of how to use a drawer as a ronghua stand for beginners)
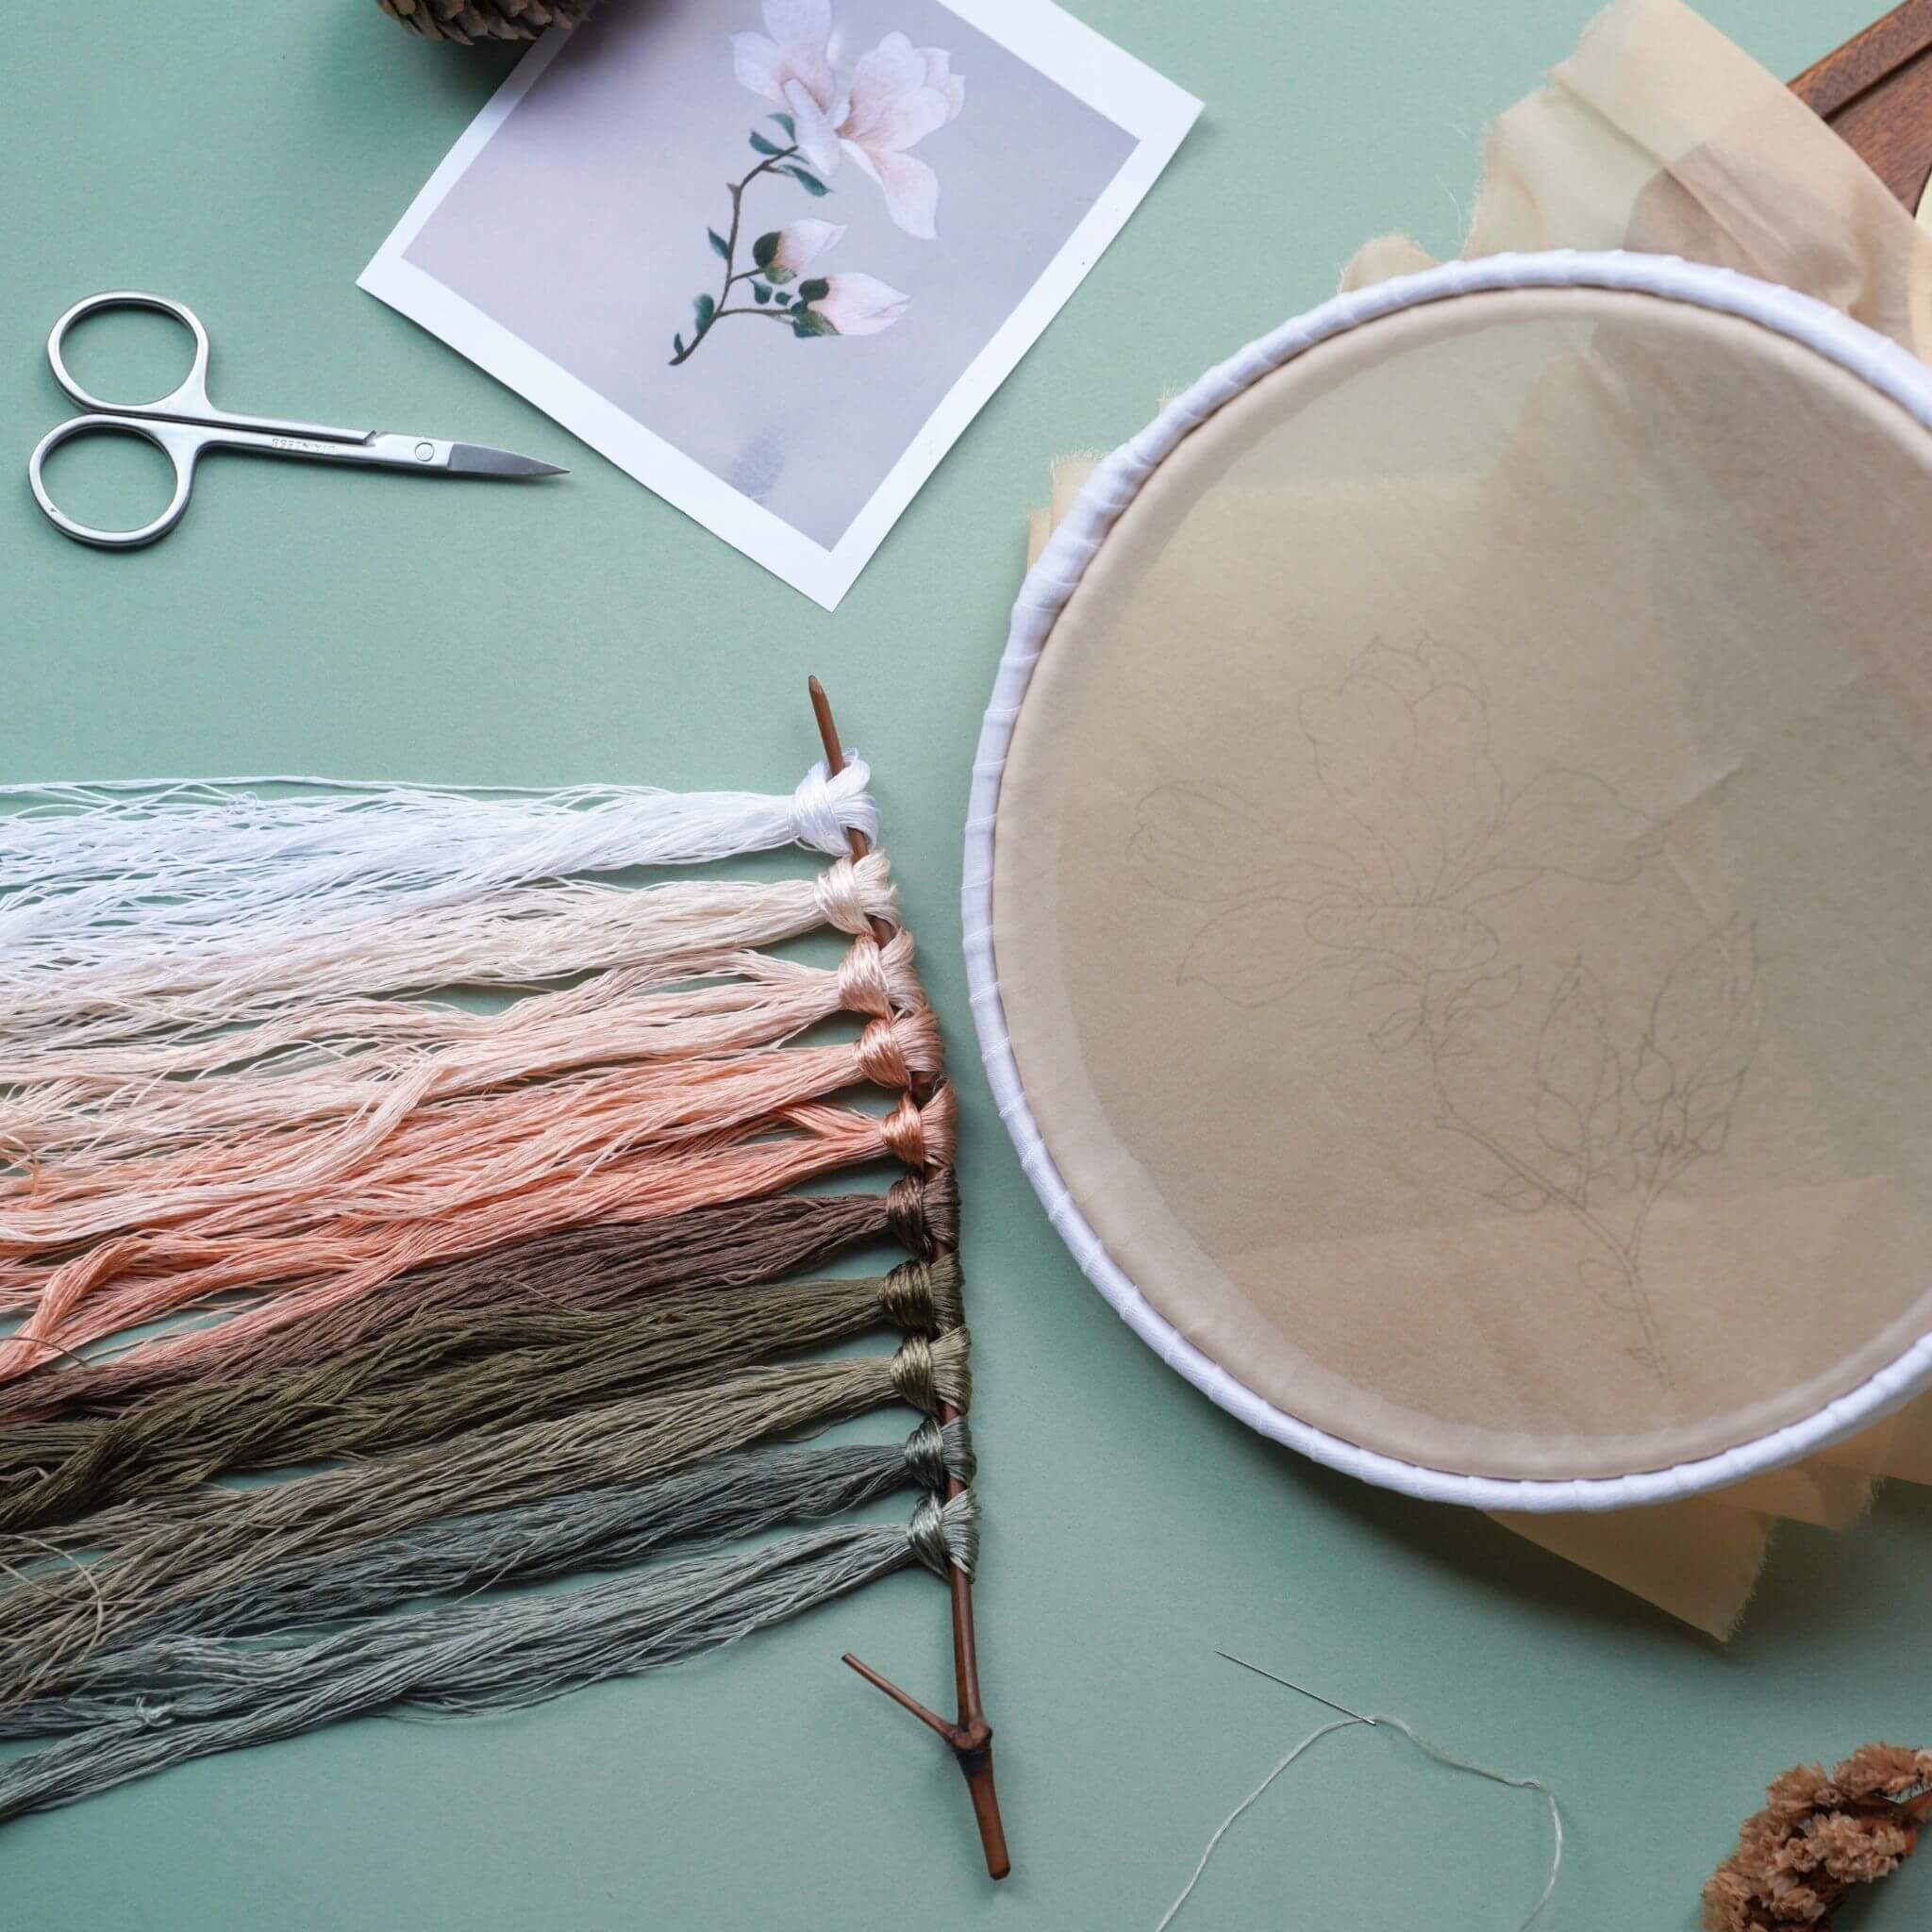
Ronghua Crafting Tip 3: The Maths Behind Silk & Copper Wire
The width of your silk rank directly affects the length of your petals, while the distance between the copper wires controls their width. Remember these proportions for future reference!
To avoid holes in your petals, check your copper wire spacing before ironing. If you notice a hole, use tweezers to squeeze the silk to fix it before ironing.

(Squeeze the silk and the copper wire like this if you notice a hole on the petal)
Ronghua Crafting Tip 4: Copper Wires
Anti-Slip Powder: Always use anti-slip power (magnesium powder, or at least baby powder) before handling copper wire to avoid the struggle.
Silk & Copper Wire: Make sure your silk is always straight when attaching to copper wires. If it gets snagged, simply use a bit of water or untwist a bit to unstick it!

( Guiting was demonstrating how to twist copper wires)
Ronghua Crafting Tip 5: Cutting Silk with Confidence
When using scissors, wipe off any protective oil and remove any static by wiping with a damp cloth. If the silk gets pushed together, don't stress! Just adjust it with tweezers after cutting.
Ronghua Crafting Tip 6: Rolling the Silk
Make sure the copper wire is centered before rolling it with your fingers. If you have trouble with slipping, you can insert nails into the board for extra stability.

(Comparing these two silk sticks - the upper one was twisted when the copper wire was correctly placed in the middle, while the other was not)
Ronghua Crafting Tip 7: Trimming Small Details
Use your pinkie and third finger to support your scissors when trimming. For fluffy petals, make sure your silk outline is smooth from all angles.

( Guiting was showing how to use fingers to support scissors while trimming)
Ronghua Crafting Tip 8: Taking Care of Your Mini Iron
Prevent scratching by applying temperature-resistant protection tape to the iron’s board. When ironing, always start from the bottom and apply gentle pressure before adding more for a smooth finish.

(An example of the tape we use to protect the mini iron)
Ronghua Crafting Tip 9: Setting Solutions
There are several ways to make a setting solution for your petals:
Hairspray (easy but expensive)
White Glue + Water (cost-efficient, requires a bit of experimentation)
Elm Tree Bark (natural and organic, but hard to find!)
Check out our full tutorial on YouTube for more on these solutions!

(The setting solution we made by using Elm tree bark)
Ronghua Crafting Tip 10: Shaping Petals
Wet Shaping: Shape petals when they’re still wet for flexibility—perfect for beginners.
Dry Shaping: If you prefer an easier method, shape when dry, but expect some rigidity and wrinkles.

(Guiting was showing how to shape petals when they are still wet)
We hope these tips inspire you on your Ronghua crafting adventure! Stay tuned for more tips, tutorials, and updates on our future livestreams. 💖
Leave a comment
All comments are moderated before being published.
This site is protected by hCaptcha and the hCaptcha Privacy Policy and Terms of Service apply.