

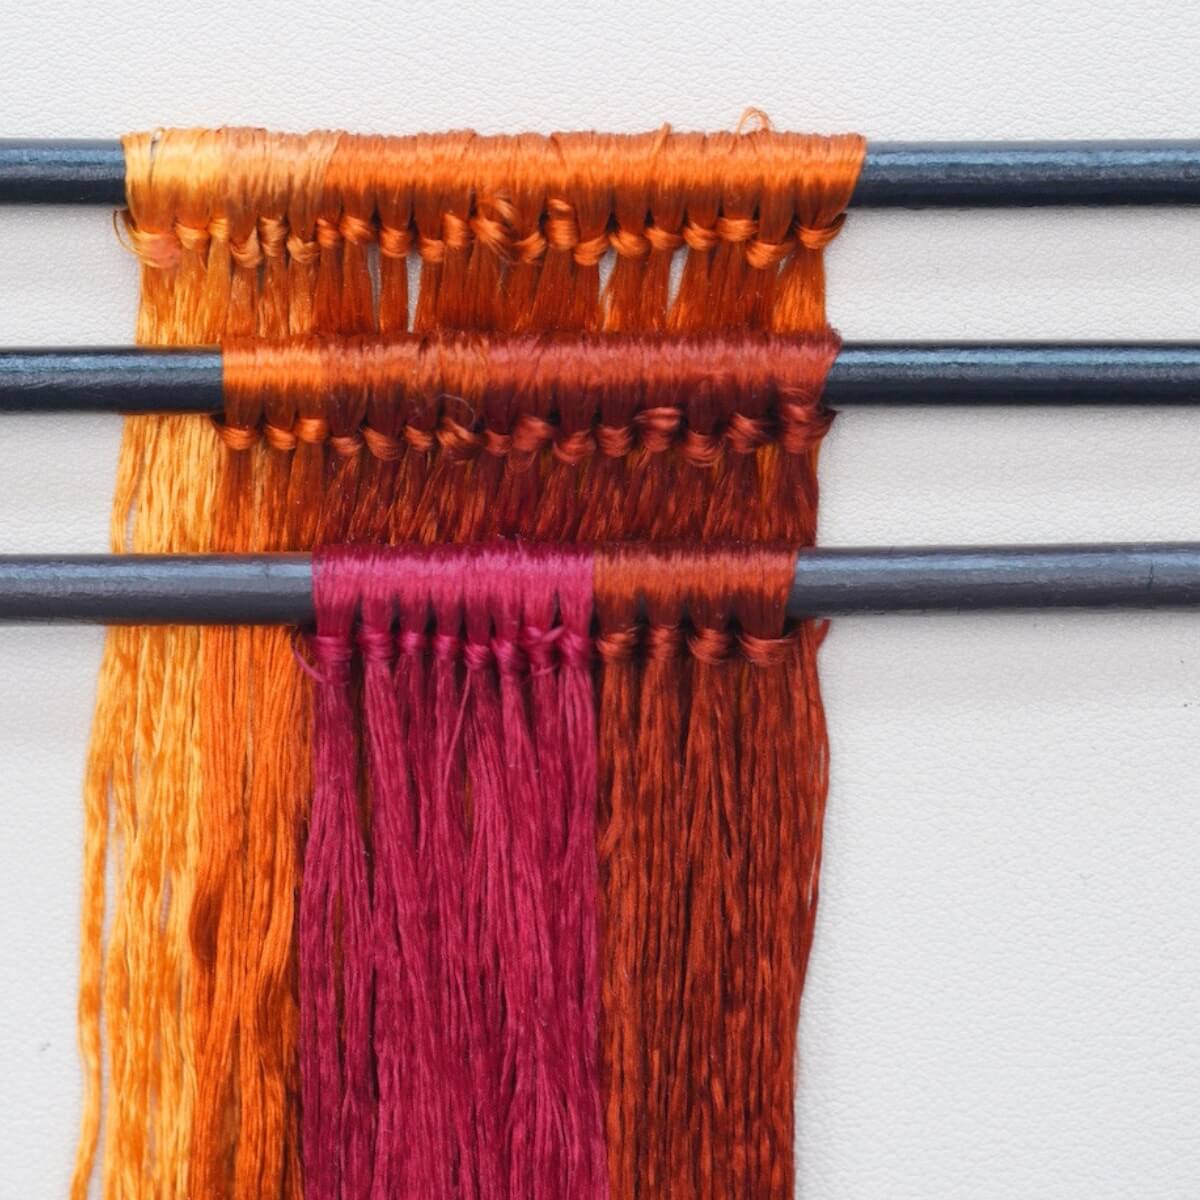
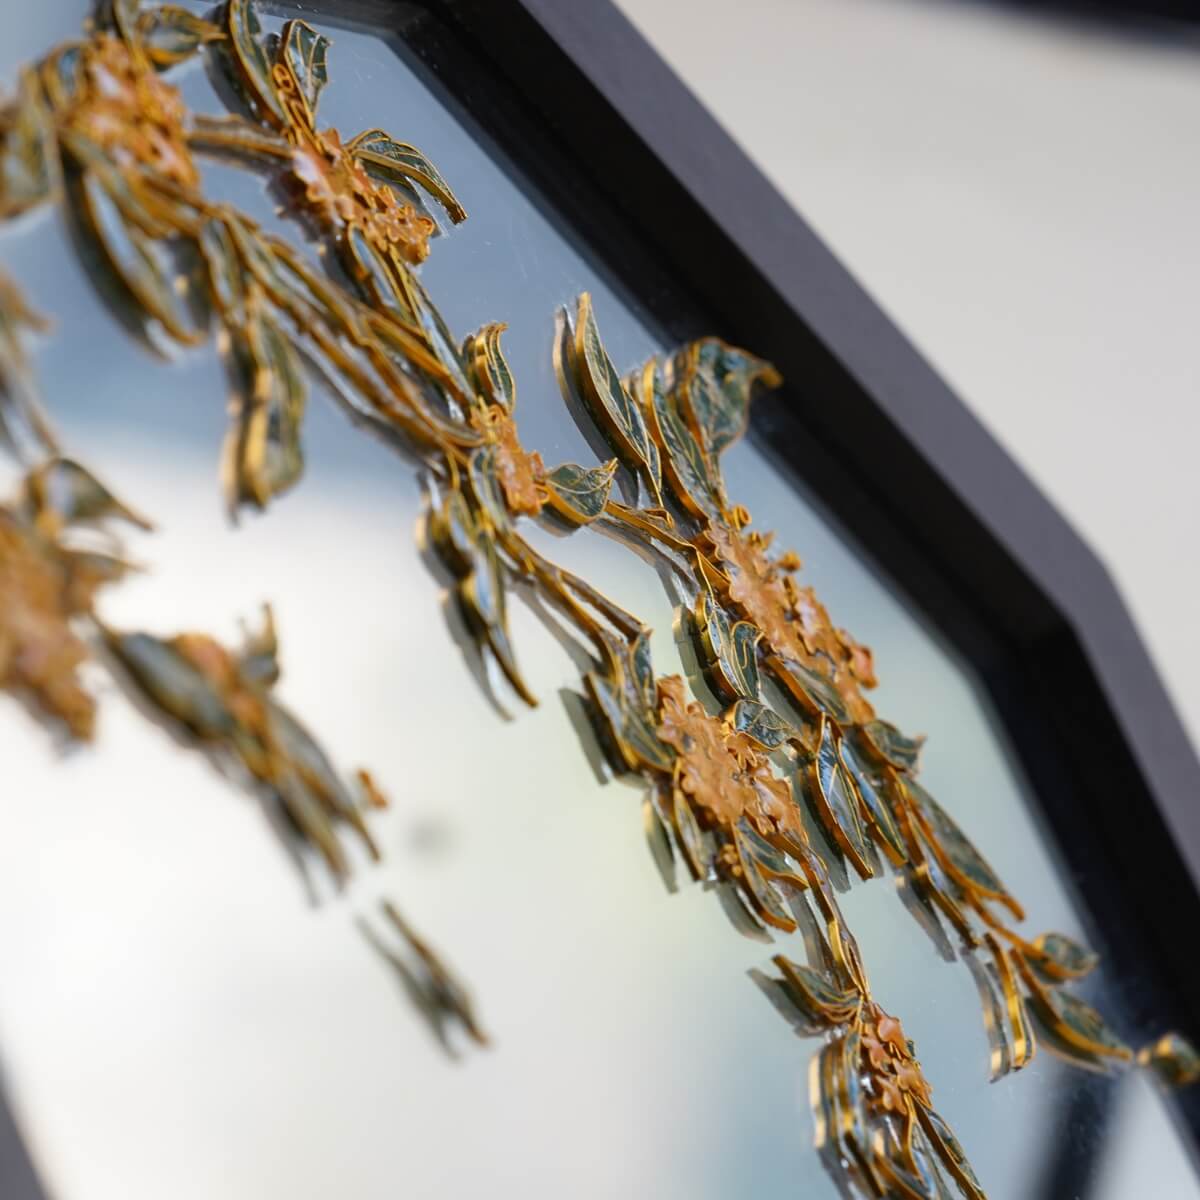

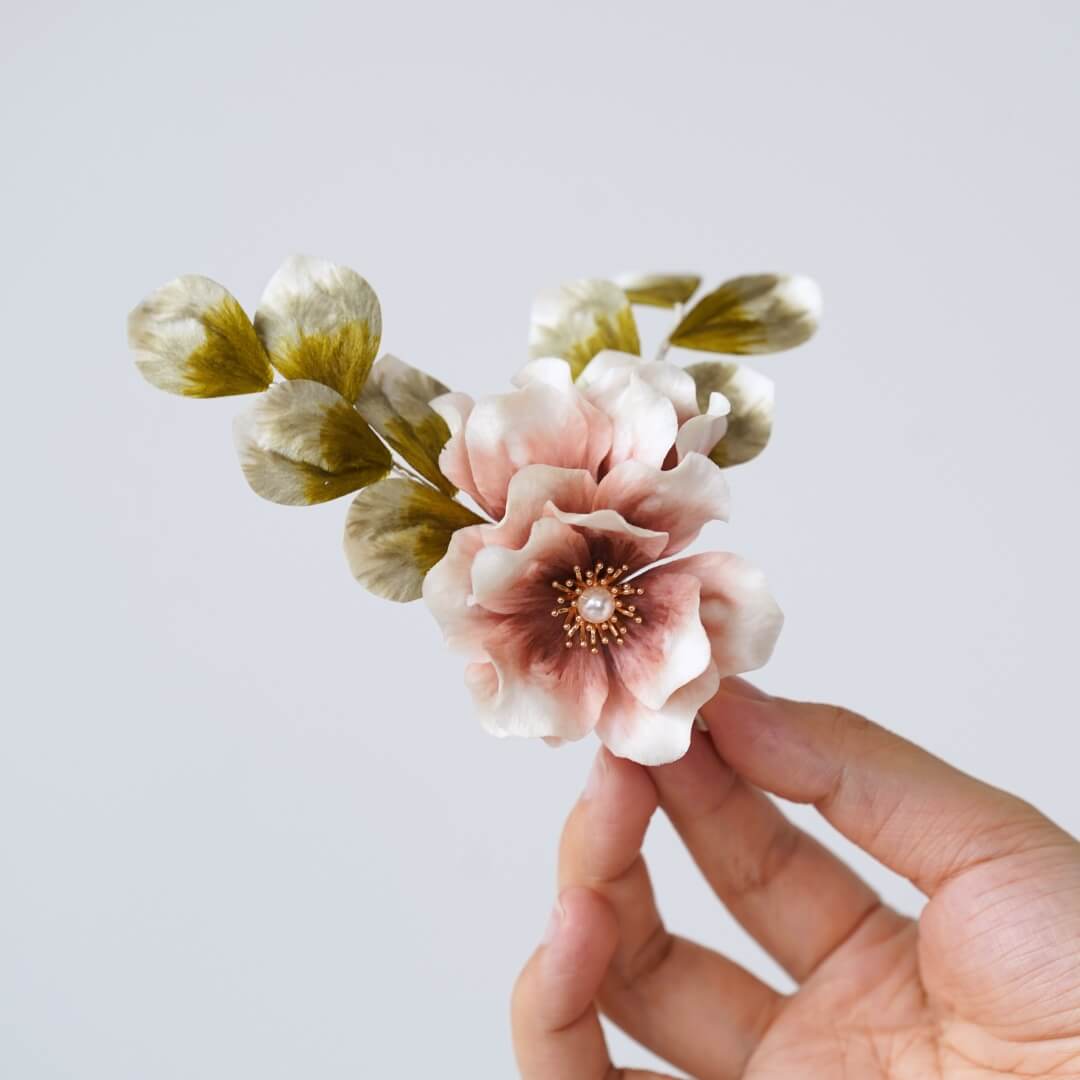
Known in Chinese as dēnglóng huā (灯笼花), fuchsia is admired for its elegant, lantern-like blossoms that sway gracefully in the breeze. Its layered petals and vibrant colors have long made it a favorite ornamental flower, symbolizing beauty, gentleness, and joyful vitality.
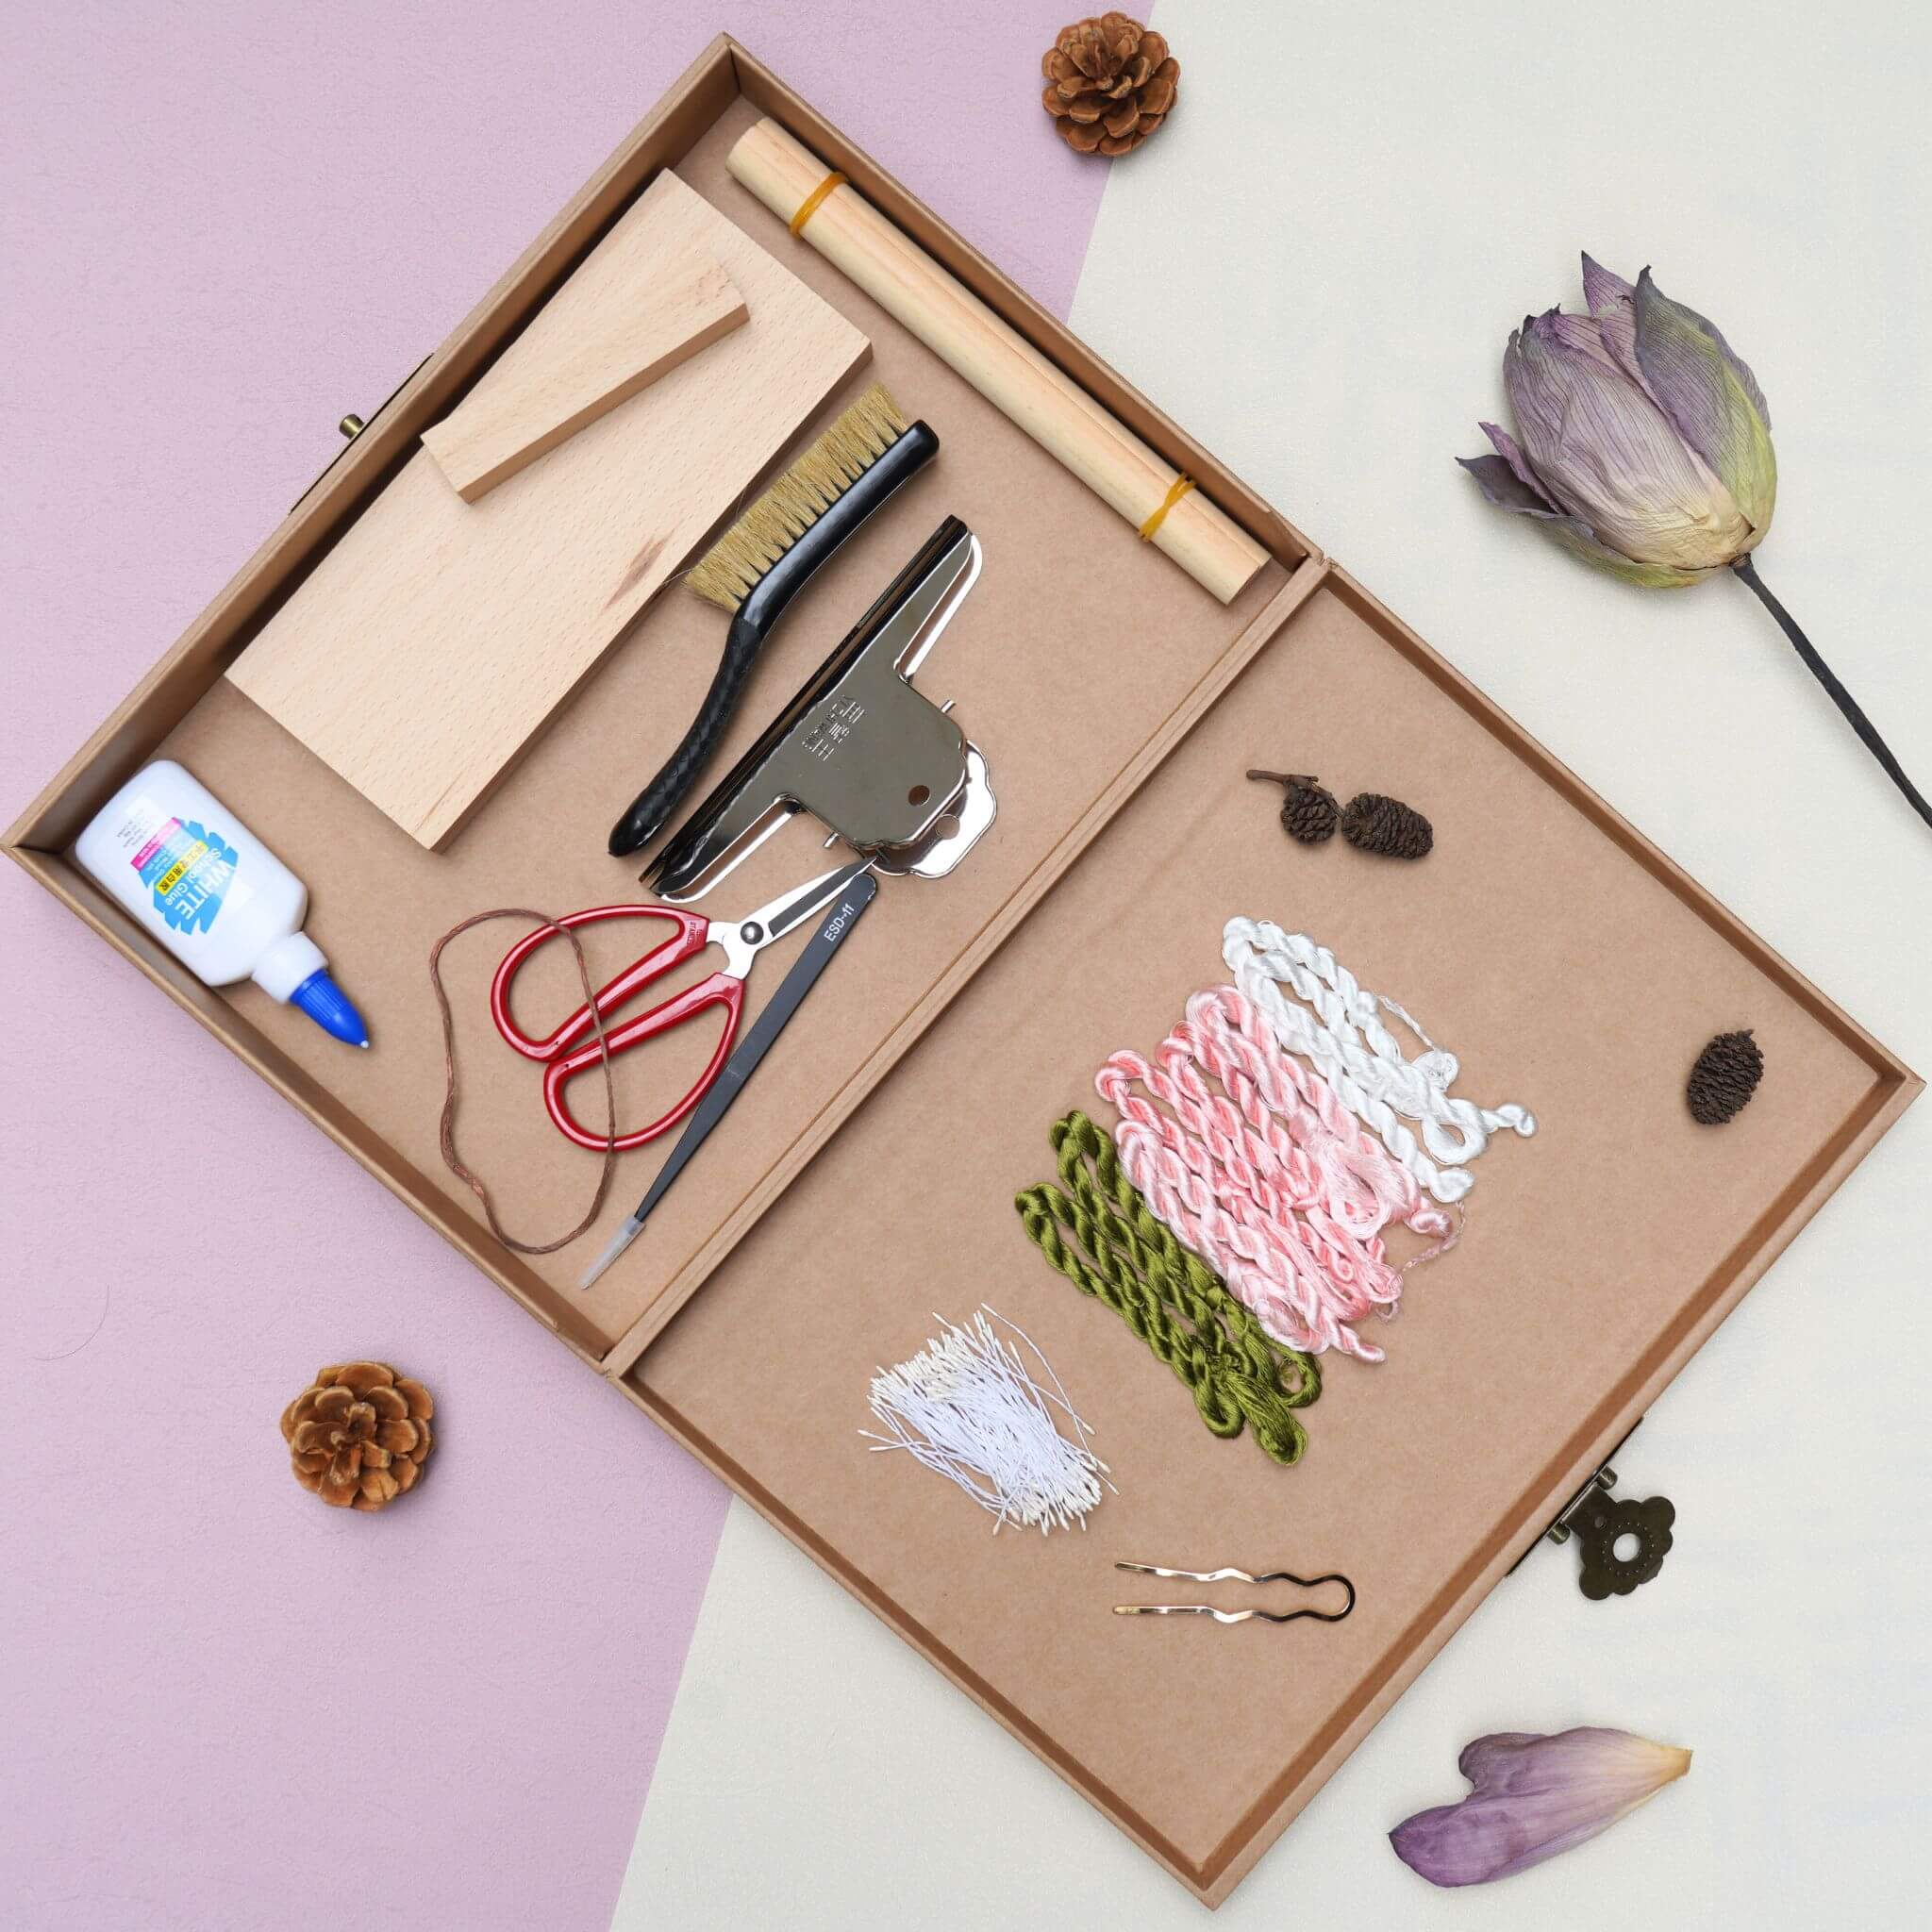
Preparation: What You’ll Need
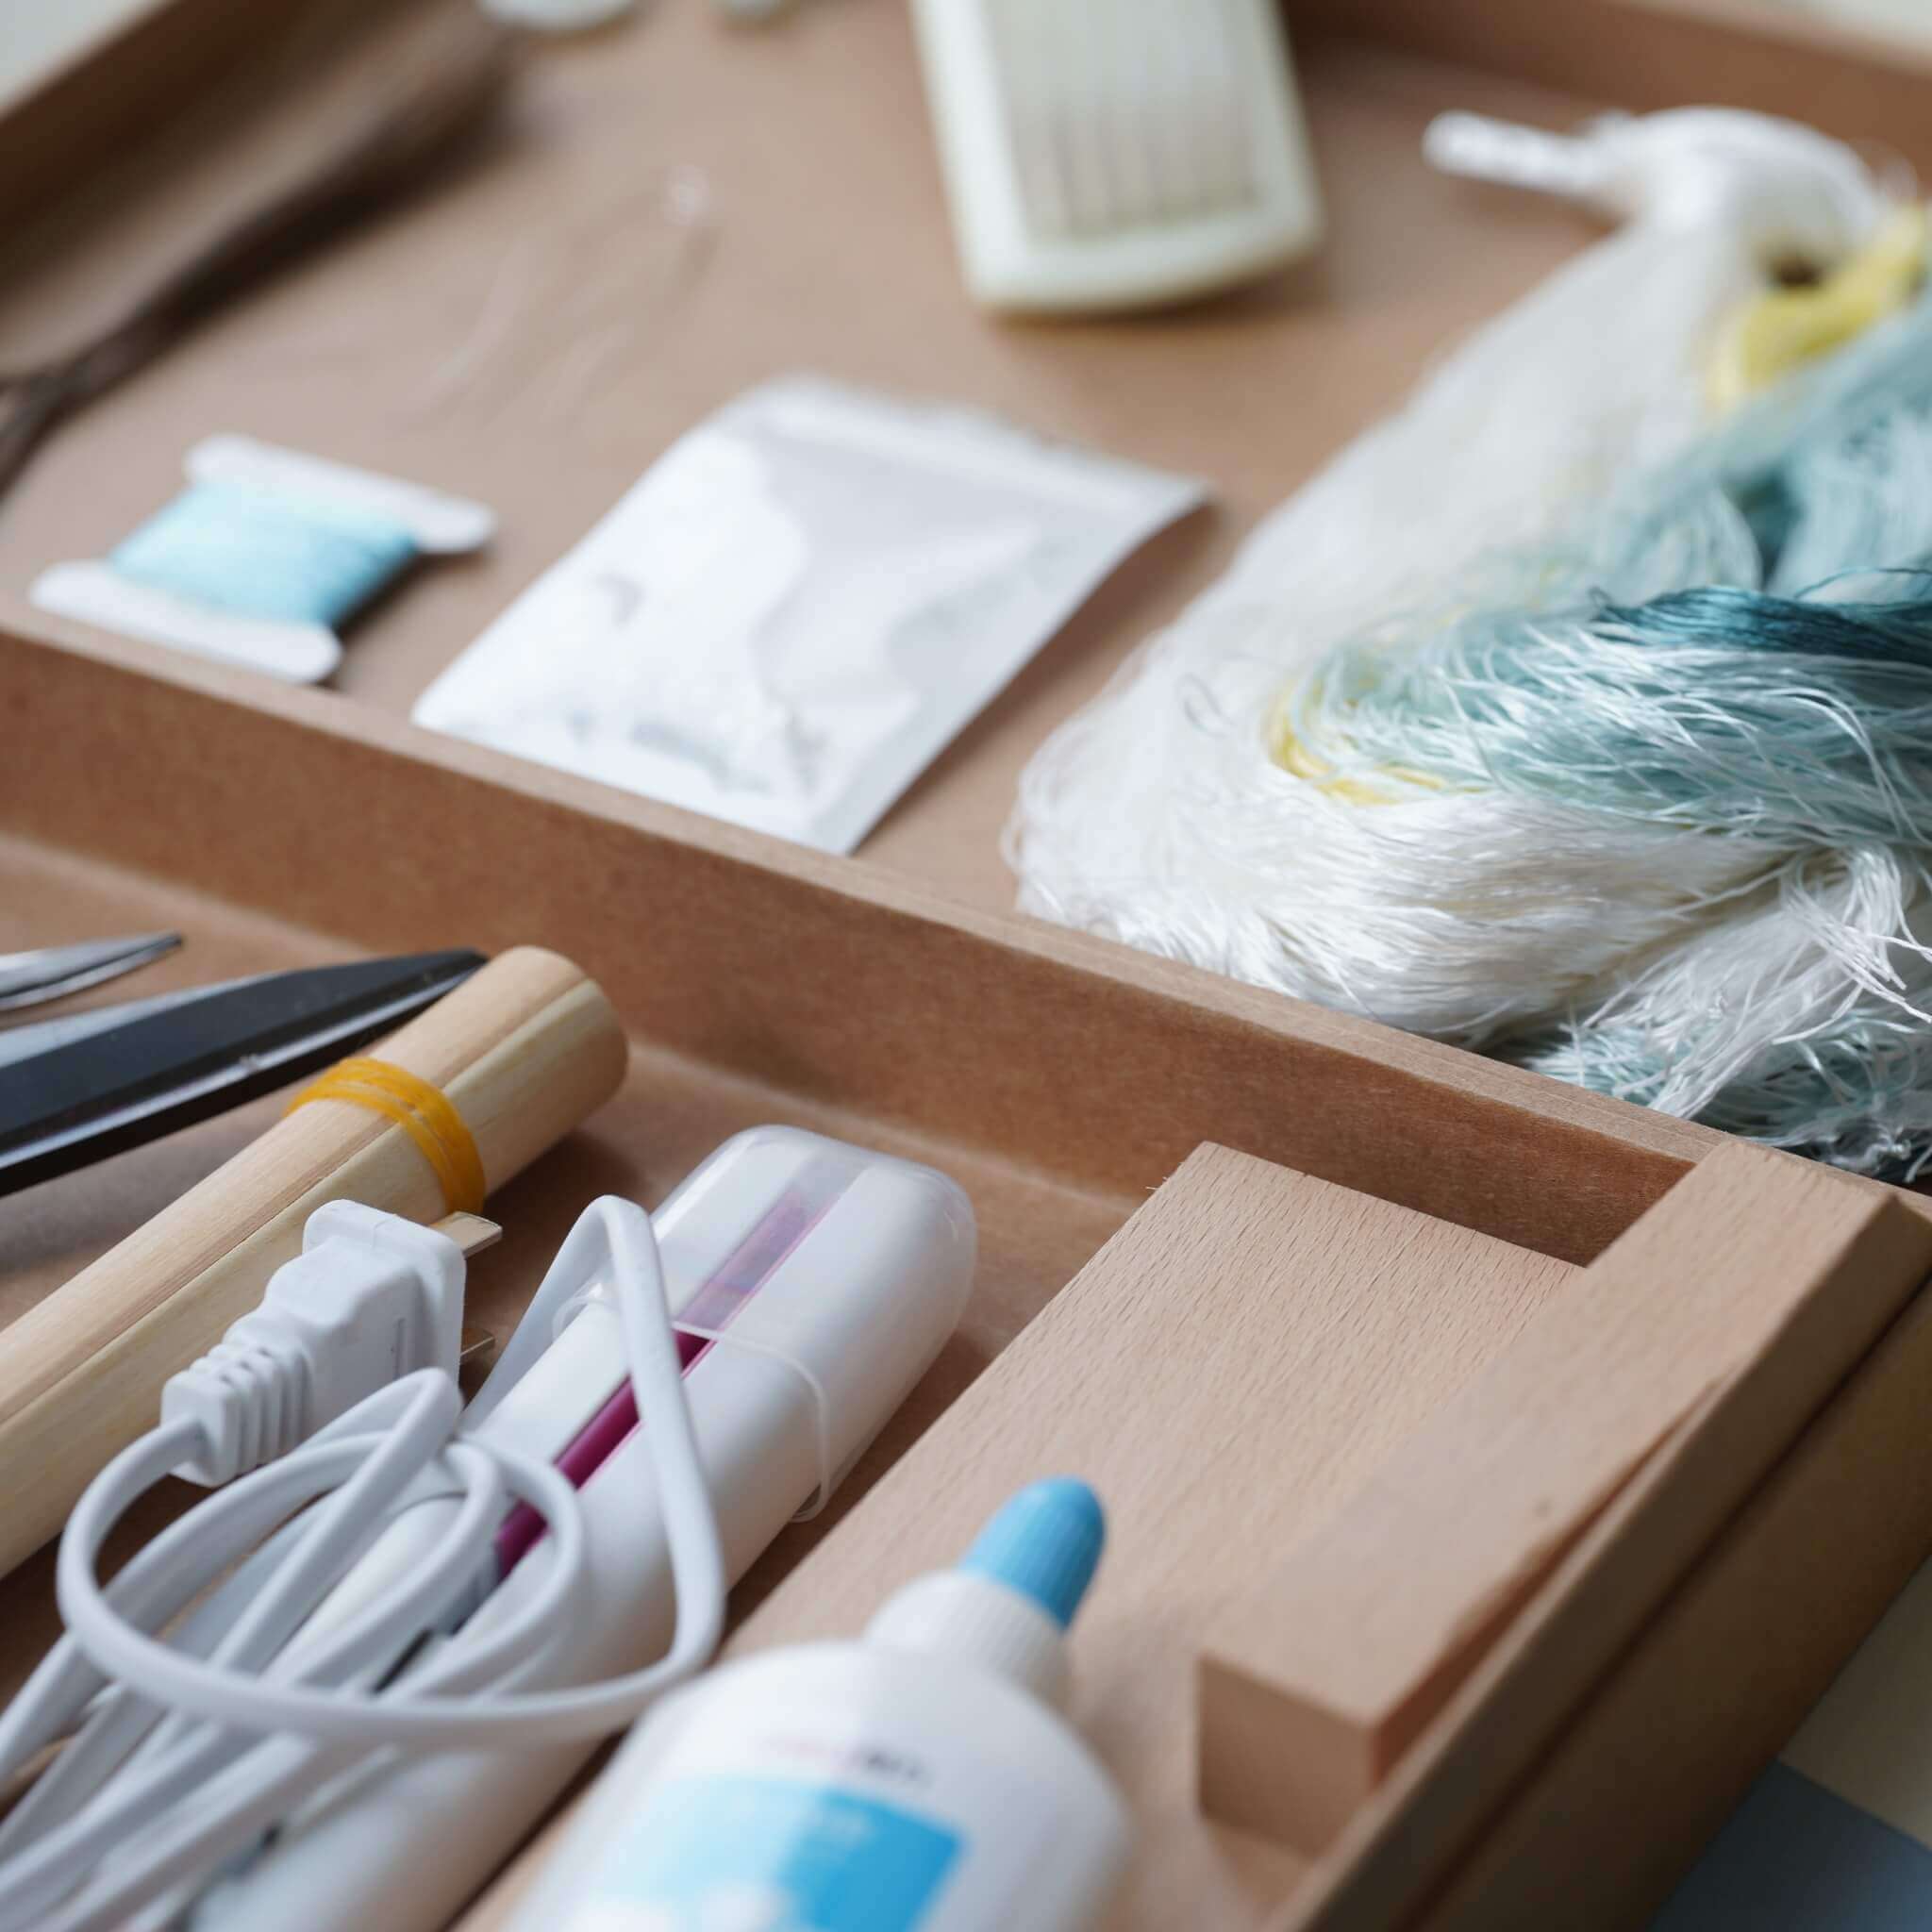
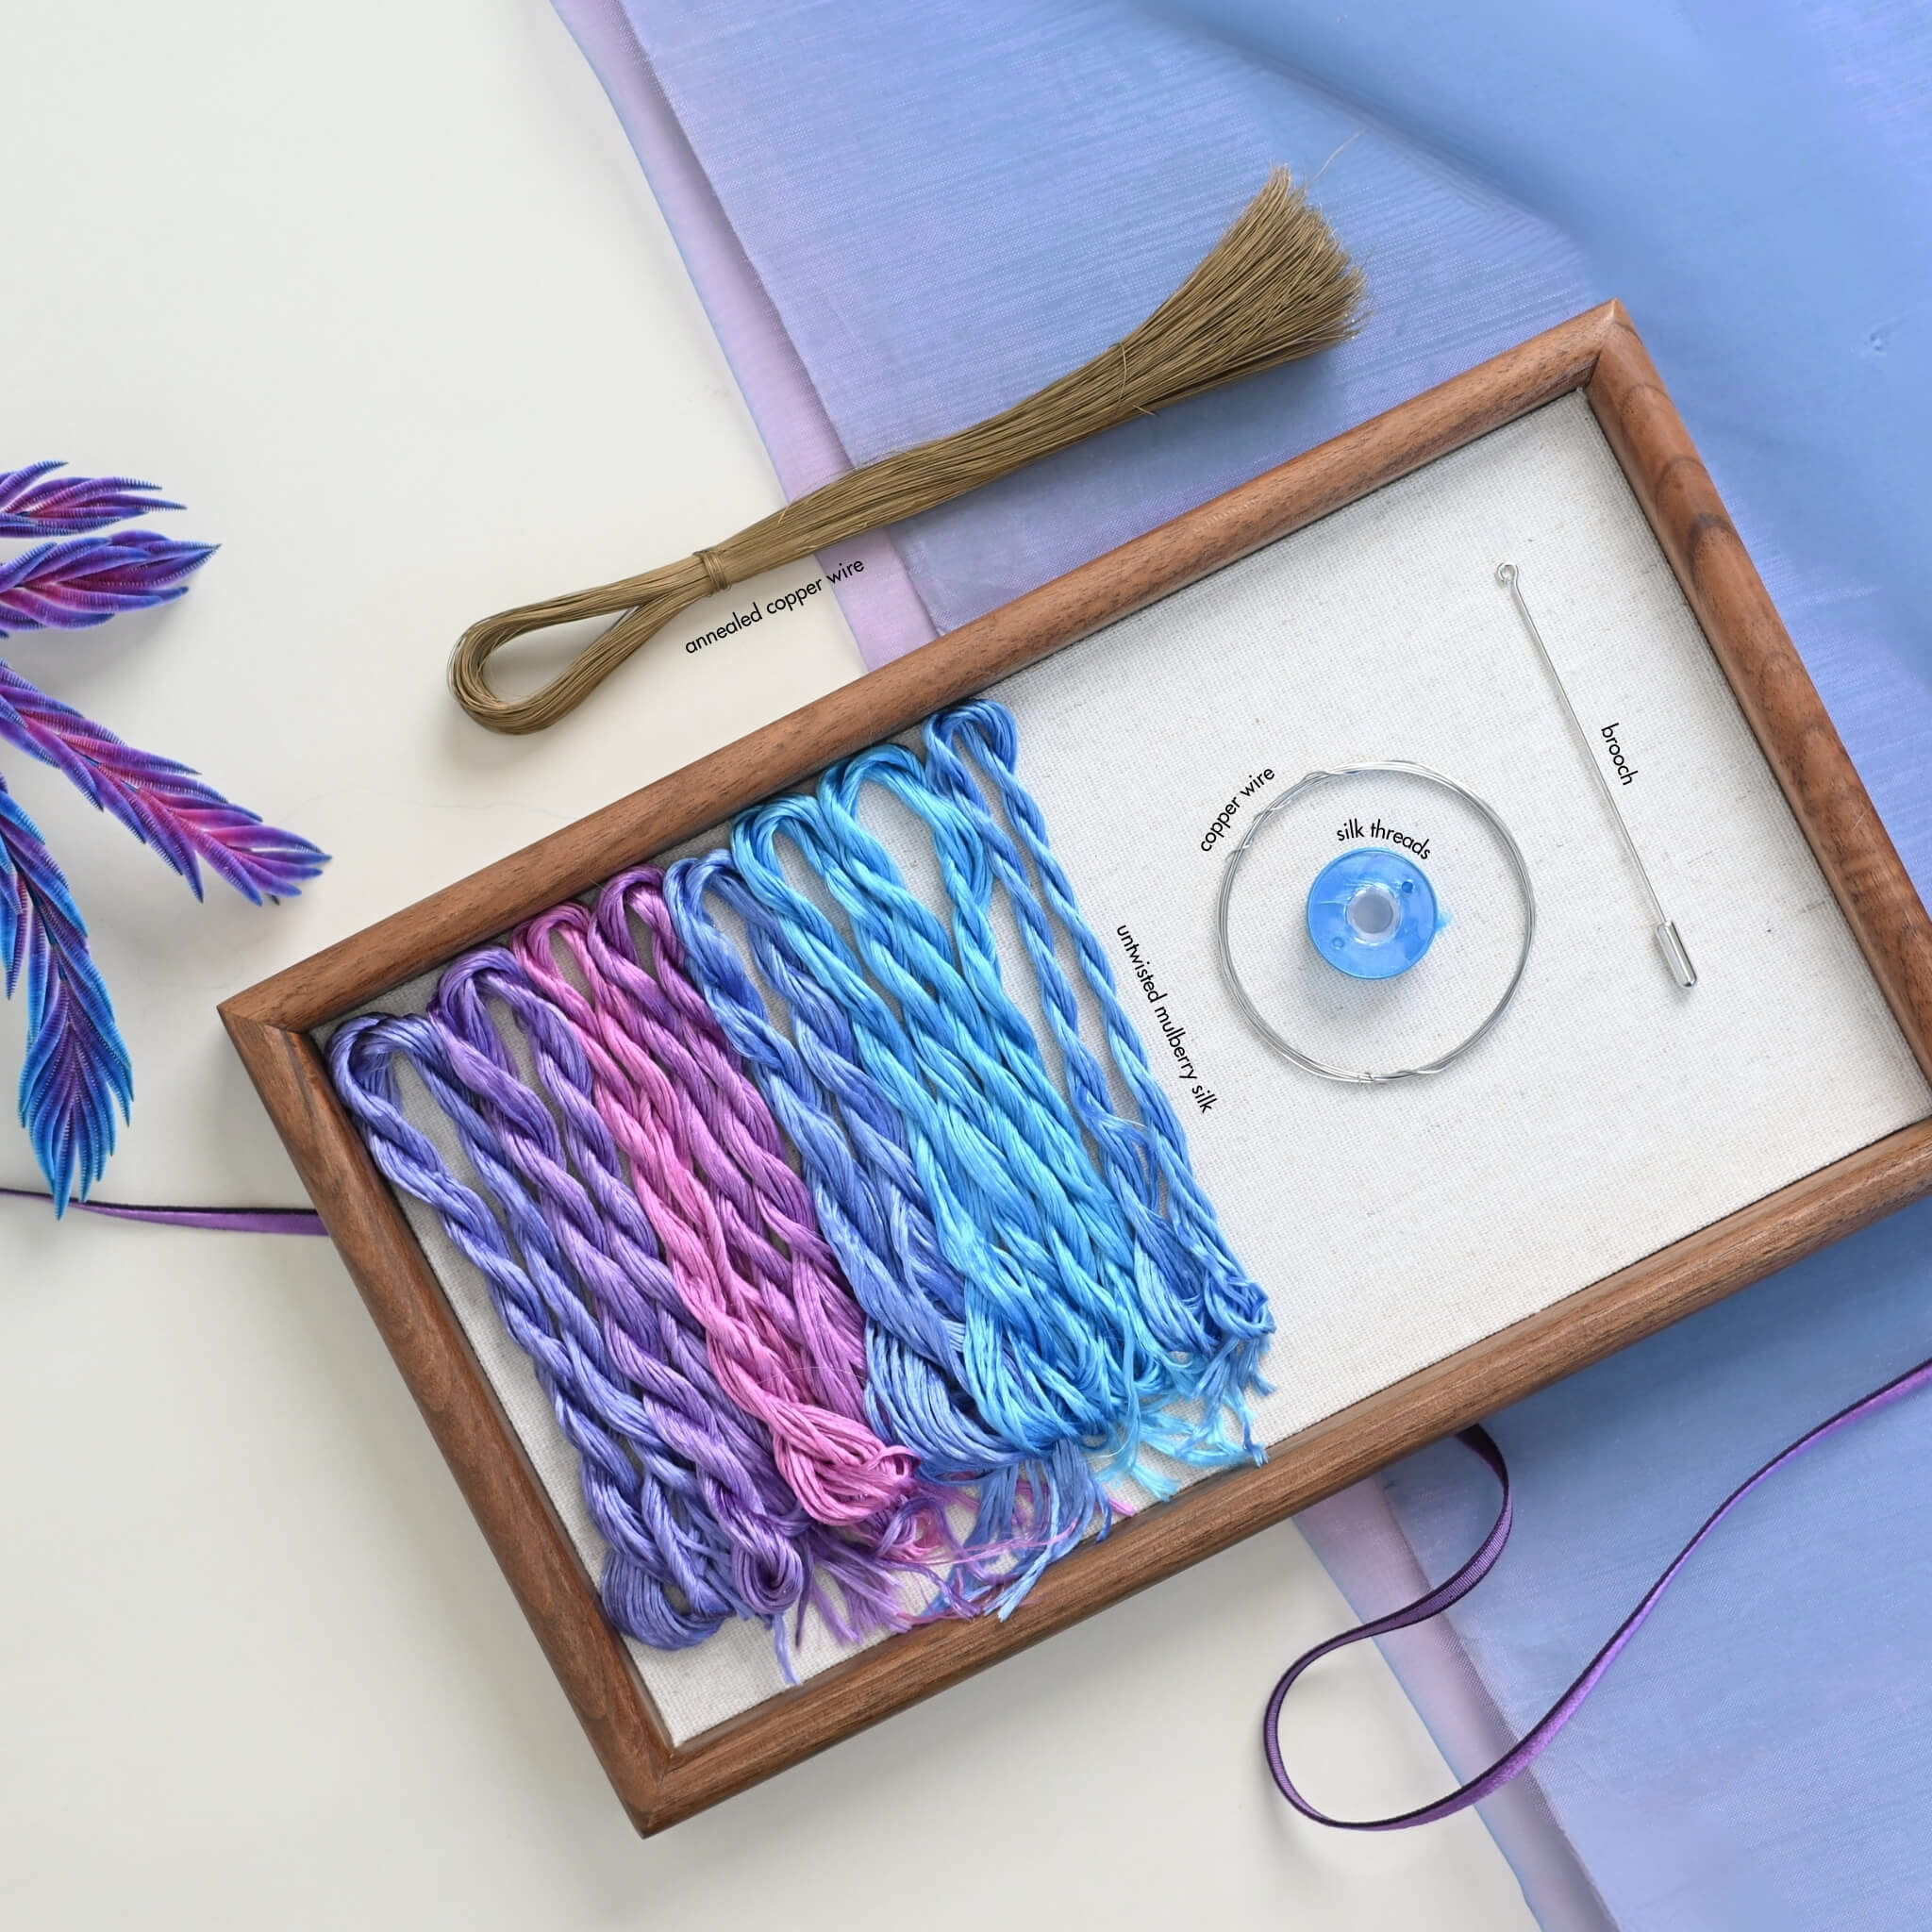
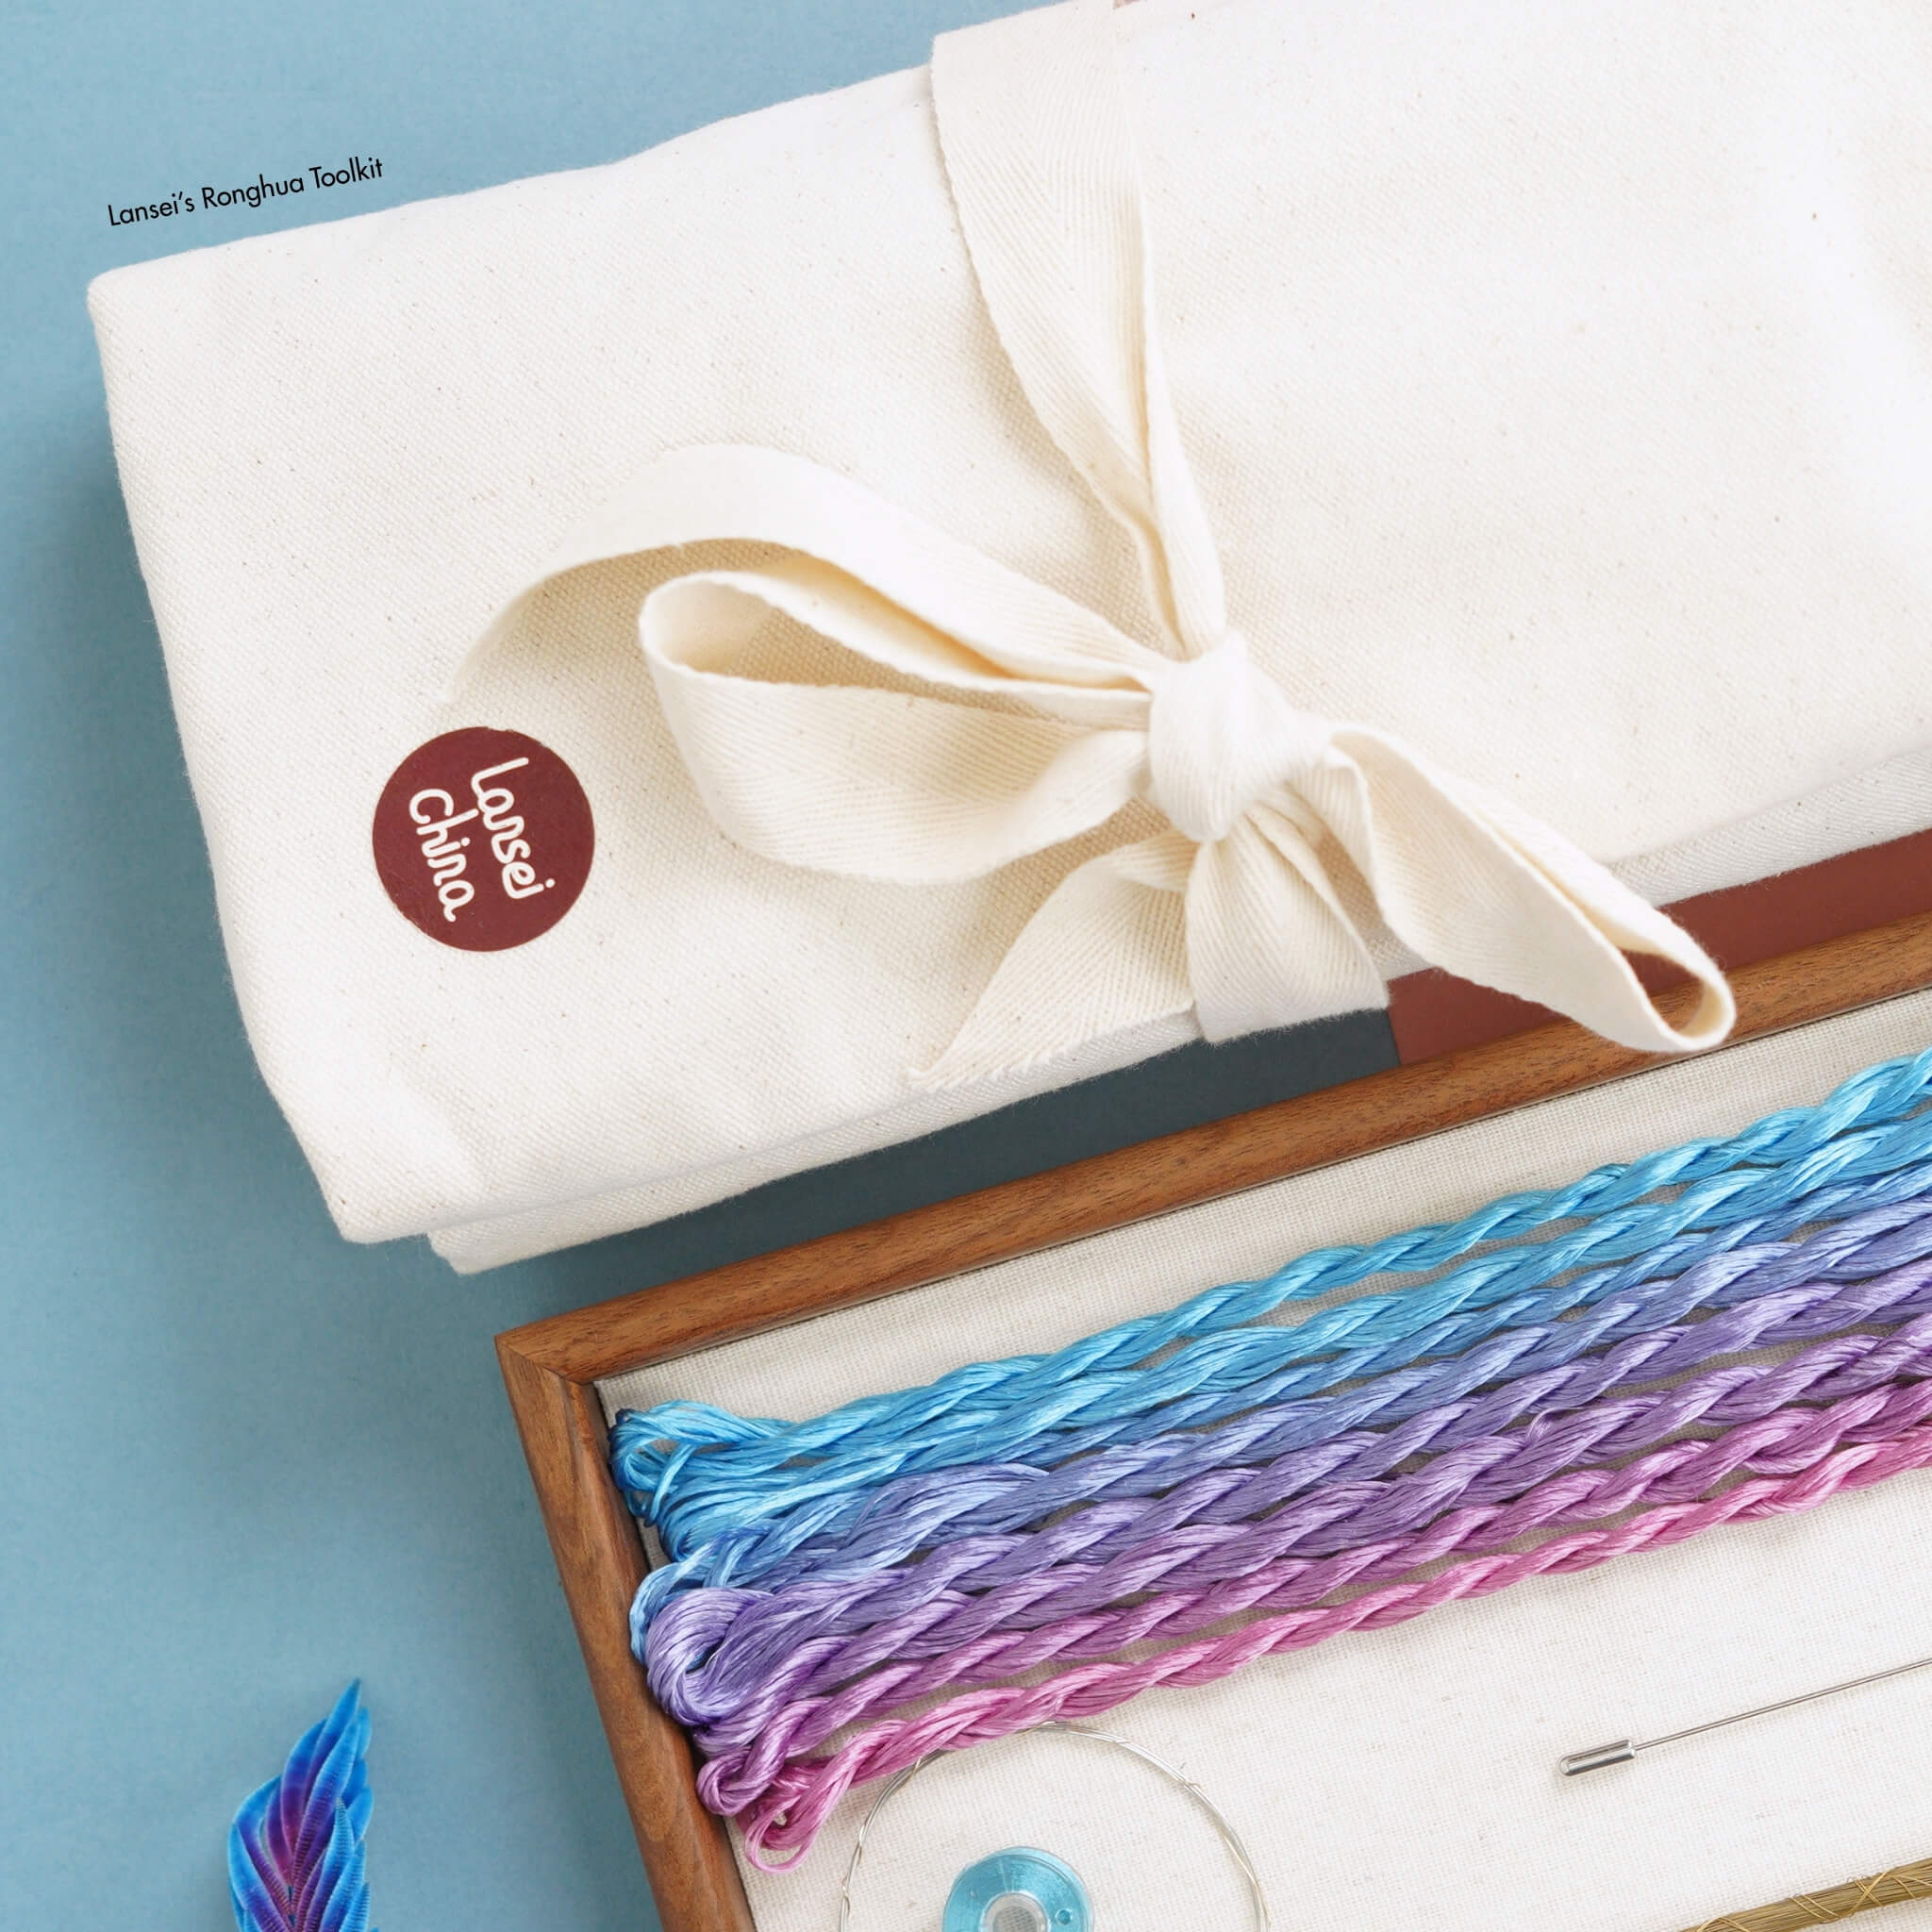
If you’ve purchased our Ronghua Toolkit, you already have everything required!
If not, prepare the following tools:
- Bristle brush (Medium to soft hardness)
- Flat iron (the one you use to straighten your hair)
- Tweezers
- At least 2 pairs of Scissors
- wooden sticks / pencils / chopsticks
- Hair spray or diluted white glue (1:1.15–1:1.2 ratio)
- Big clips (around 15cm)
- Twisting boards and wooden blocks (for even tension)
- Anti-slip powder (optional but helpful)
Full Tutorial Video
Step. 1 Align and Arrange the Silk Threads
Begin by untying your silk threads and locating the knot at one end of each bundle. Carefully cut the knot open and ensure all strands are straightened. Group and prepare your silk bundles according to the specific color requirements needed for the deep red, rose-red, and light pink petals, as well as the contrasting accent threads for the beaded centers.

Step. 2 Group and Prepare the Threads
Each silk bundle is composed of many tiny individual strands. Align these strands carefully and tie them around a small stick or pencil, ensuring the ends are perfectly flush. Keeping the lengths even is vital for a consistent texture during the brushing process.

Step. 3 Make Silk Rows
Proceed to group the threads into distinct rows. You will need to prepare separate rows for the multi-colored petals and the delicate thin silk strips. Ensure that each row is organized according to the specific sizing and color transitions required for your fuchsia project layout.

Step. 4 Brush the Silk
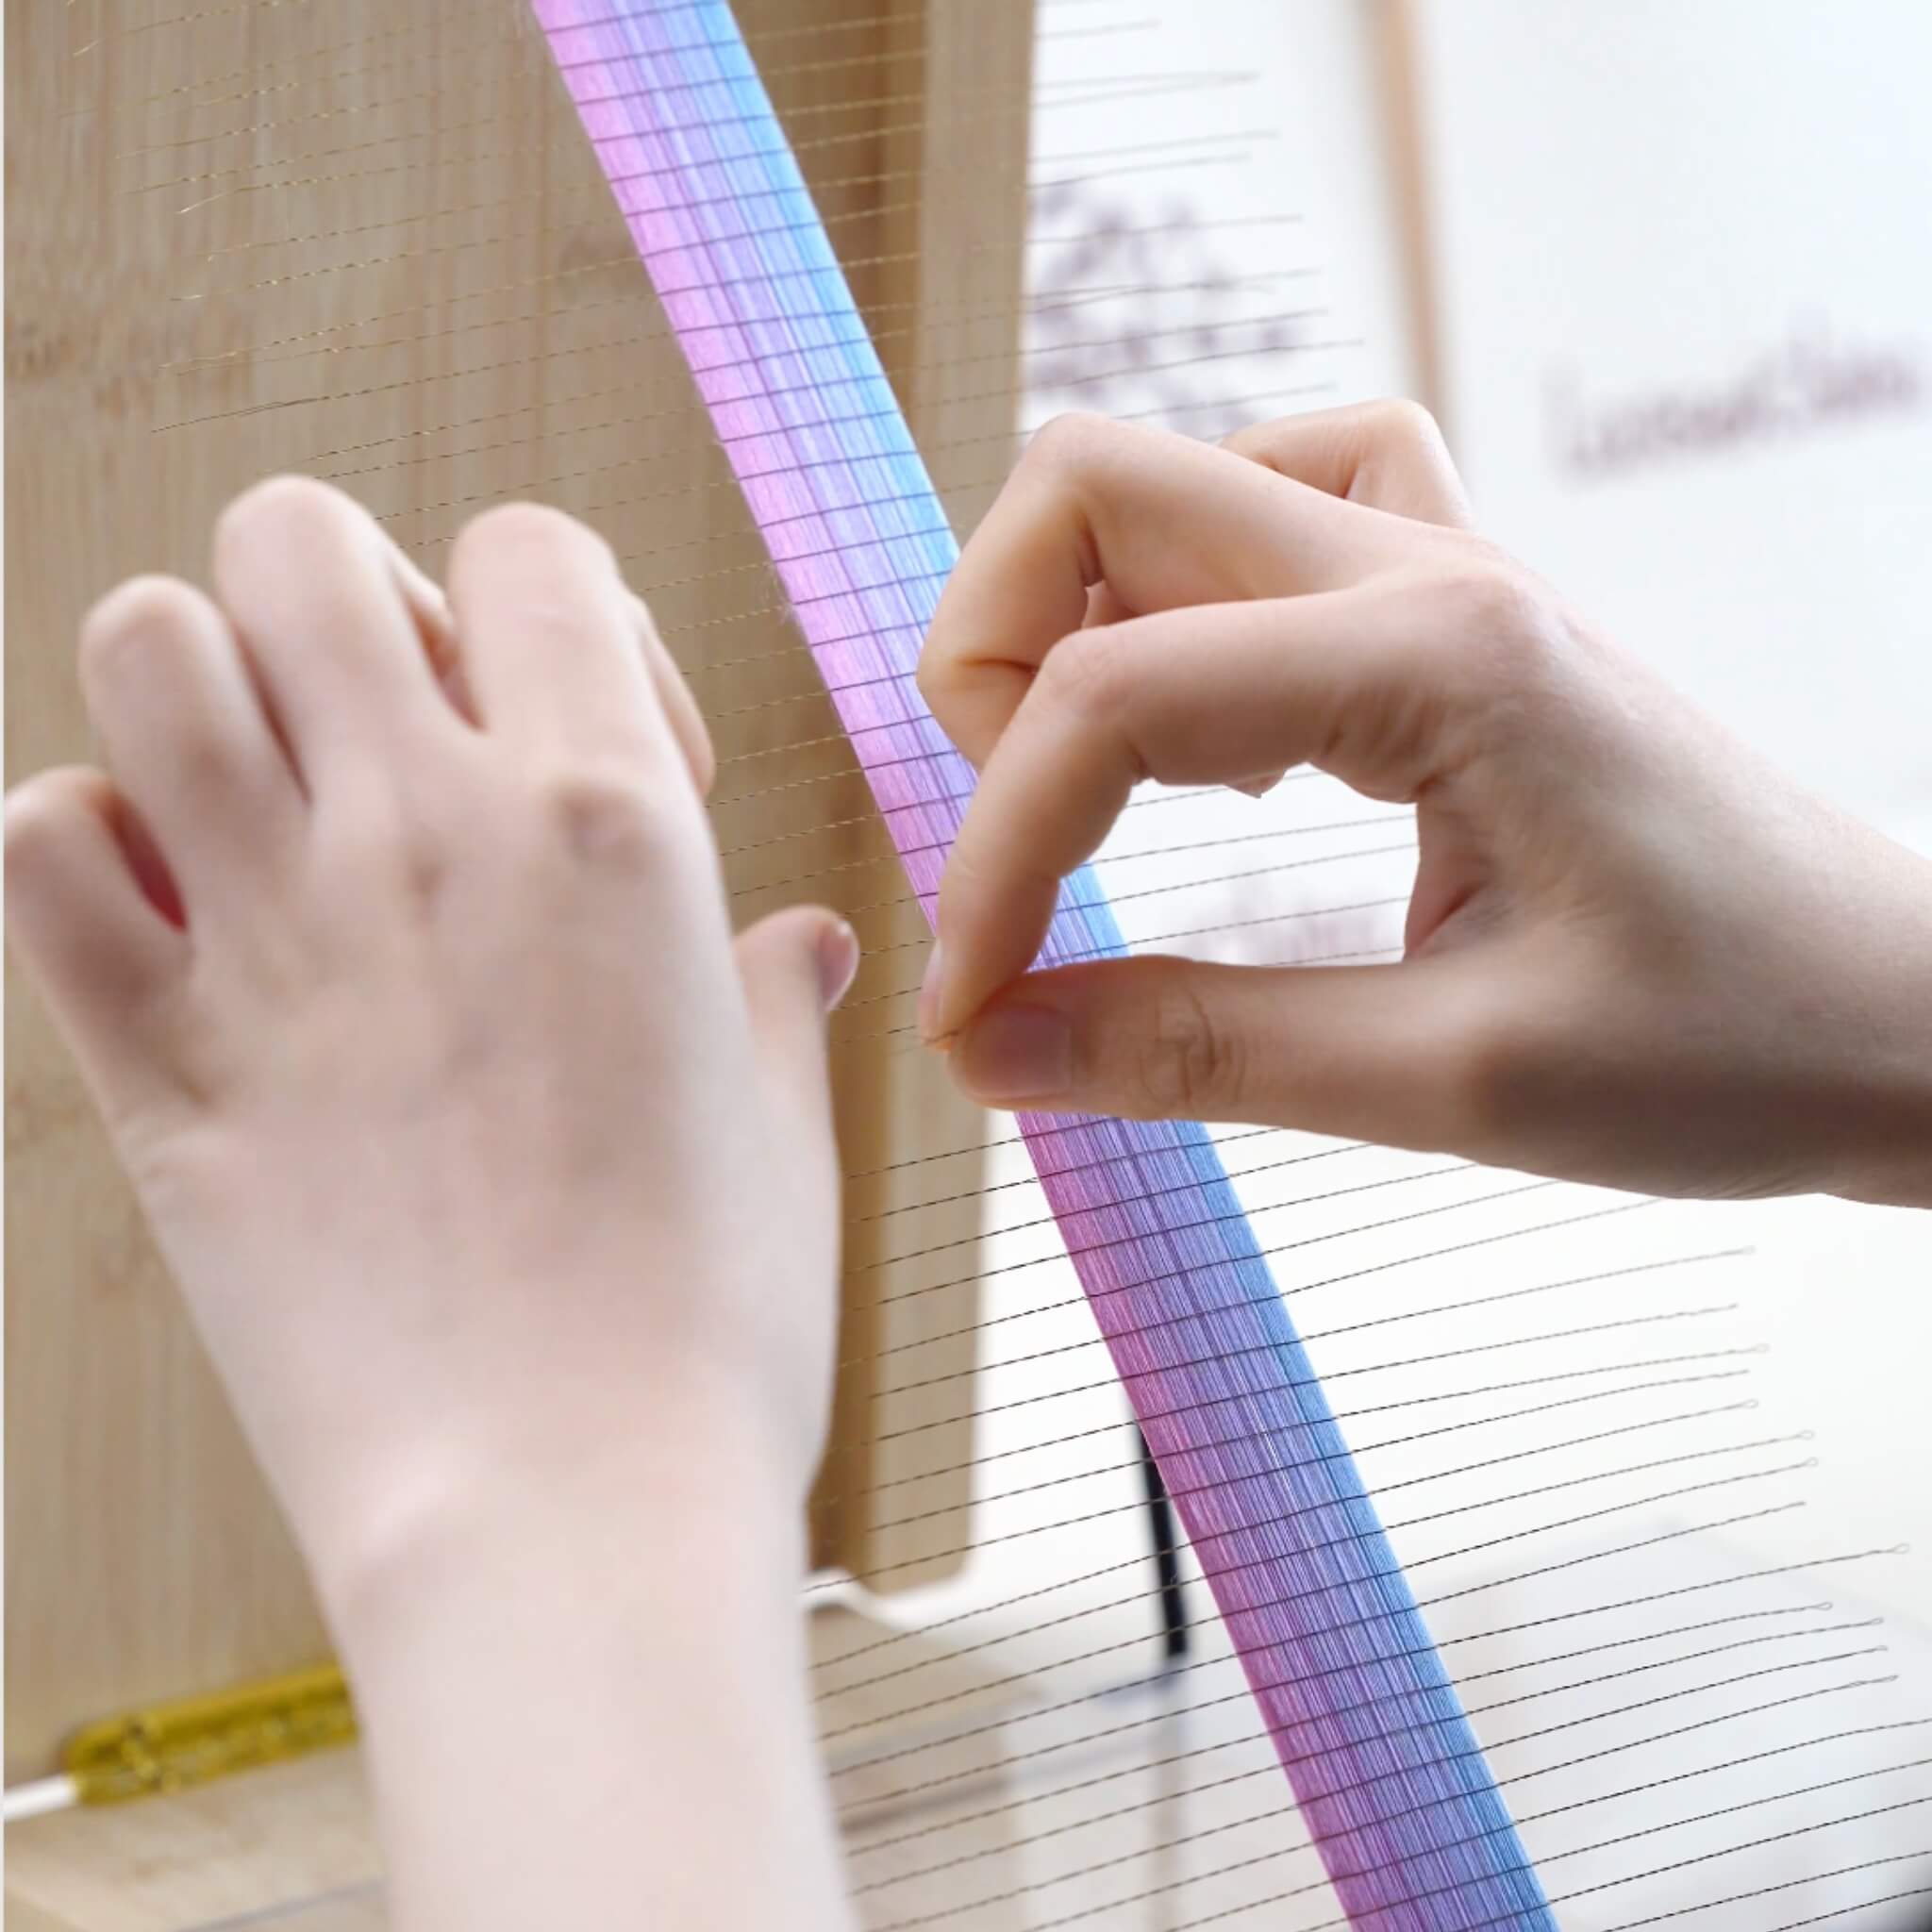
Attach your silk rows securely to a stand or a flat surface. Using a bristle brush, comb the silk thoroughly from top to bottom. Continue brushing until the silk is completely smooth, fluffy, and free of any tangles. If the silk becomes static, mist the surrounding air lightly with water.

It should look like this when done.

Step. 5 Attach Copper Wires
When you feel that the silk is brushed enough, secure its tail with another big clip to your table or anything that can help stretch it taut. Take out one copper wire from the folded end of the row and straighten it. Twist the folded part into a spiral of about 3 cm. Clamp the silk threads between two copper wires and twist the opposite side tightly. Pull both wires taut and continue twisting until they merge into one.
Remember, the twisting direction for the left and right end are opposite. The spacing should be the same as shown in step 1.
You can watch our video tutorial for this step:)
Step. 6 Cut the Silk Strips
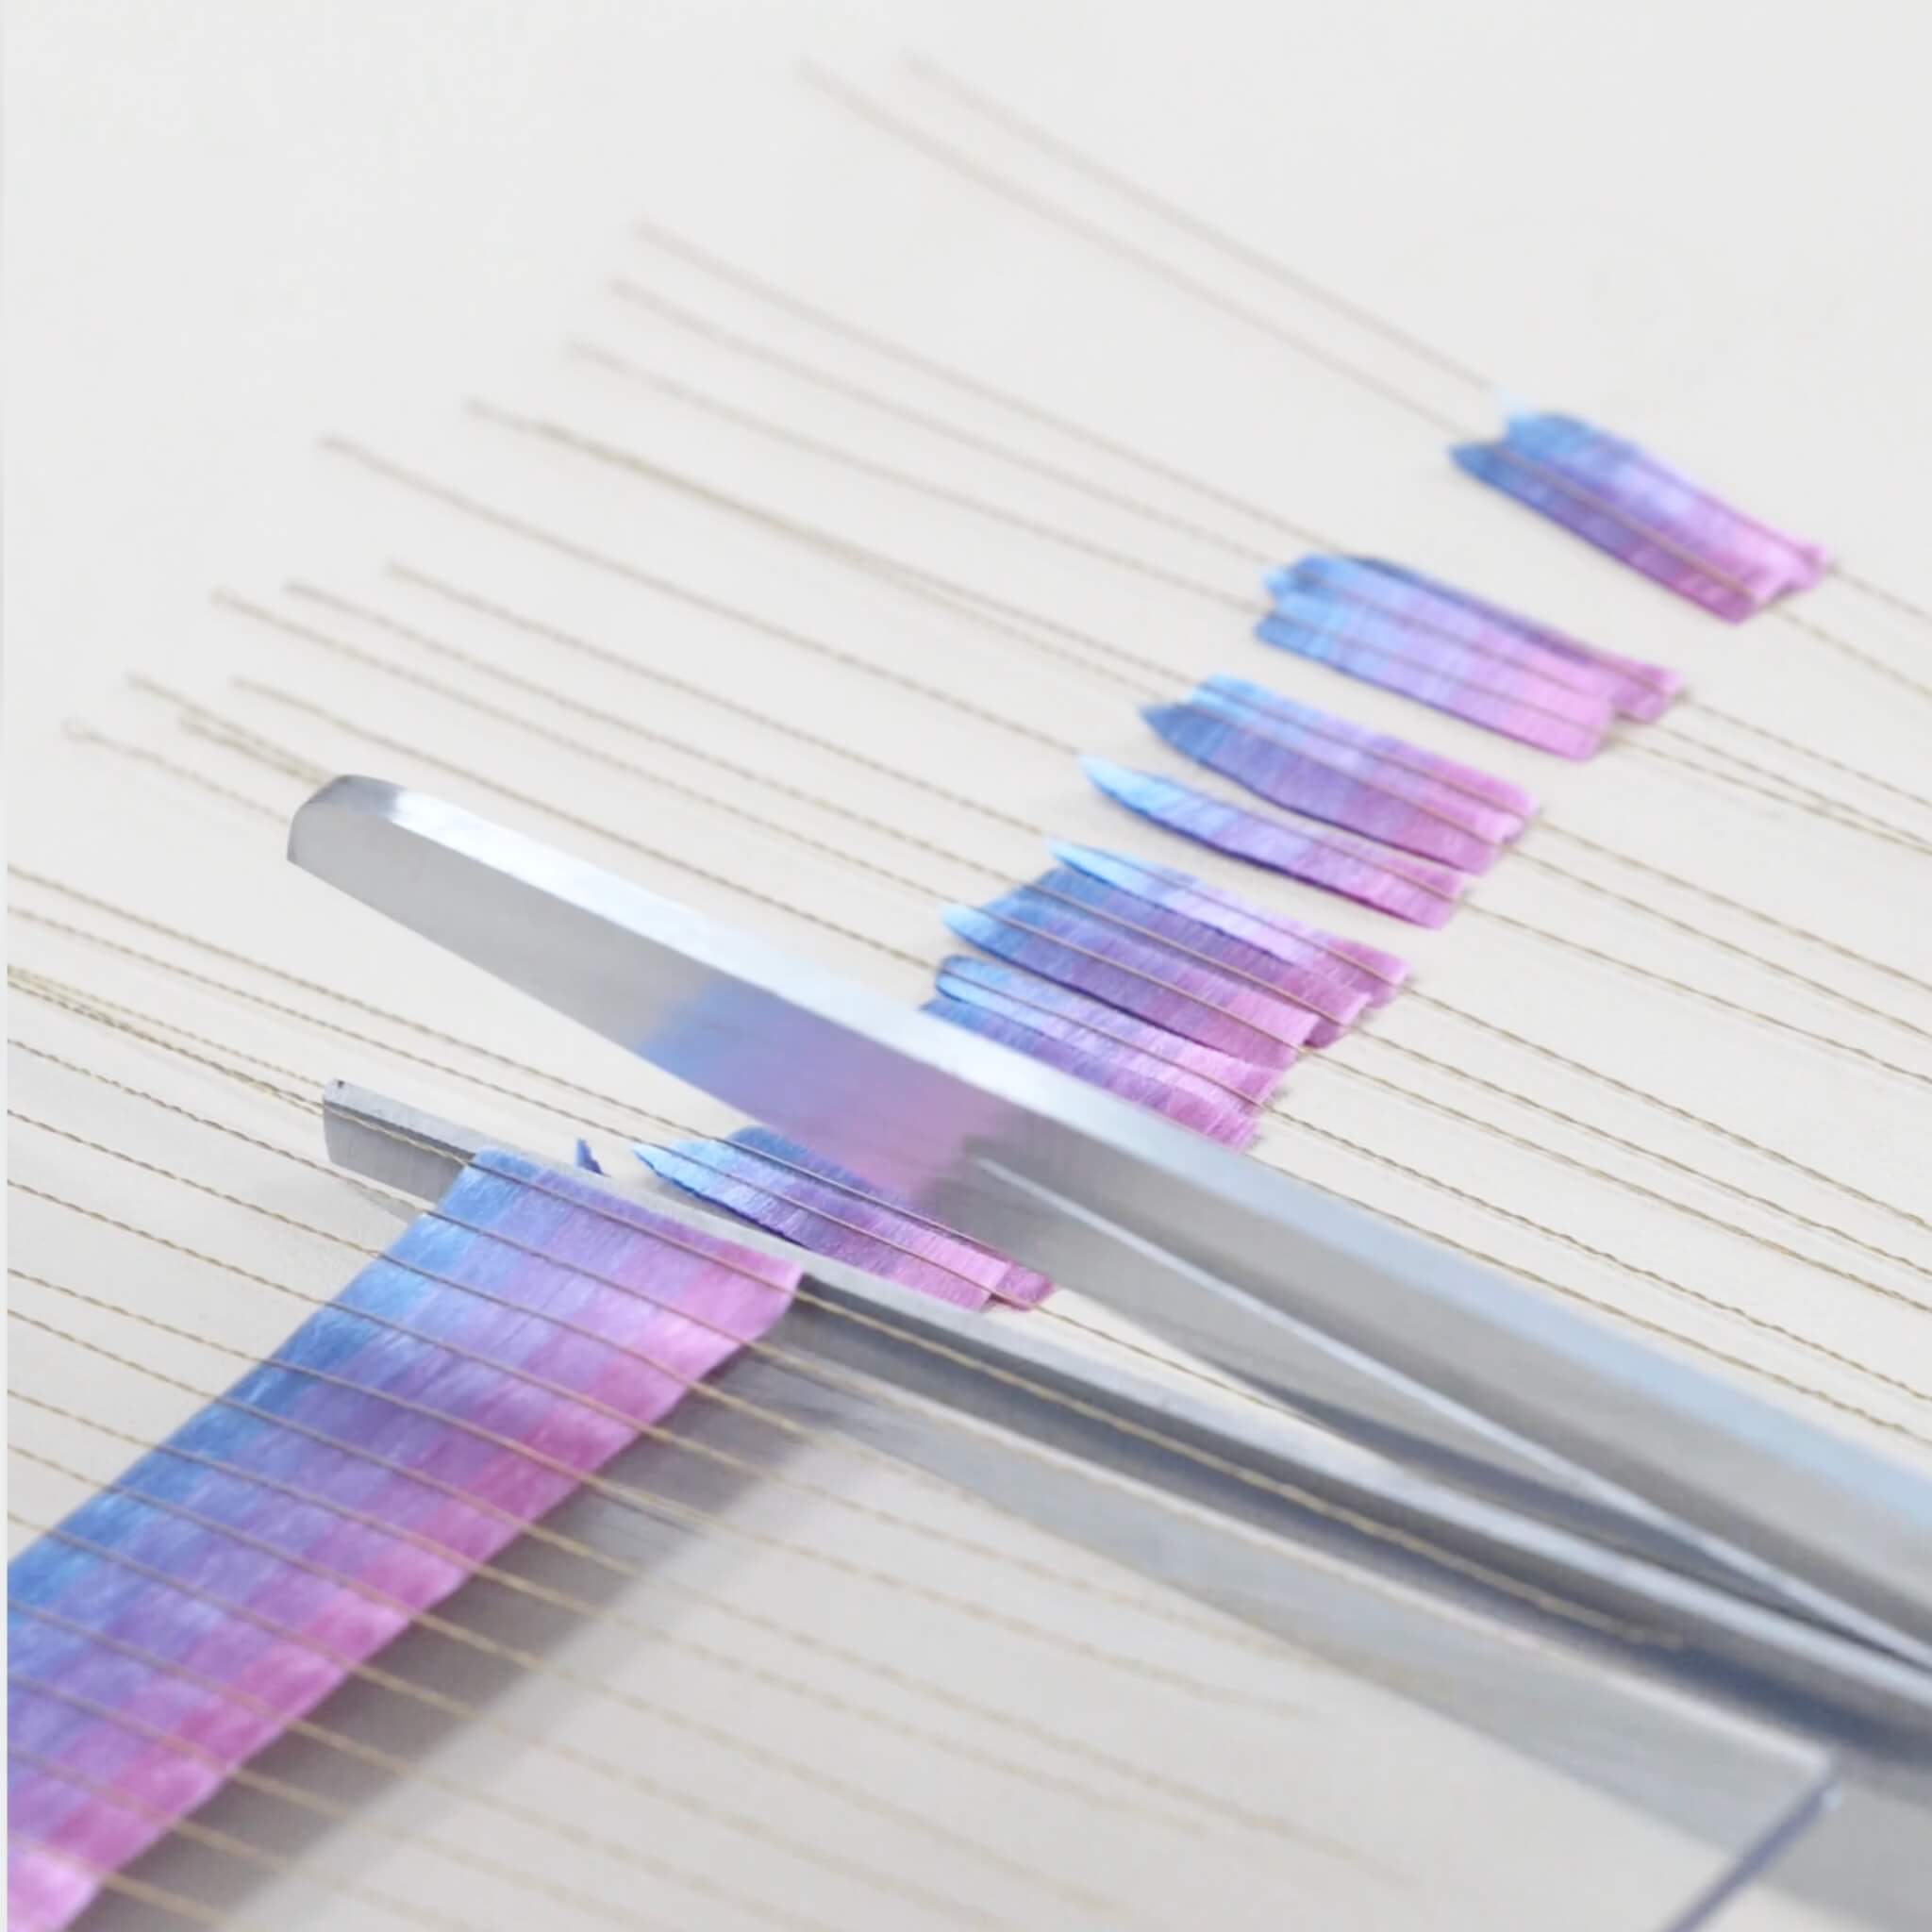
Using a pair of scissors designated for silk, trim away the excess thread from the row ends. Cut through the silk exactly in the middle of each wire twist to separate the row into individual silk strips. Never use these scissors on copper wire, as this will dull the blades and cause the silk edges to fray.

Step. 7 Center and Twist the Strips
Lay each silk strip on a flat surface and ensure the copper wire is perfectly centered.

Twist the wires by hand to tighten the grip on the silk, then place the strip between two twisting boards. Roll the boards firmly to twist the wire until it is tightly embedded and nearly invisible within the silk.

Step. 8 Trim the Thin Silk Strips
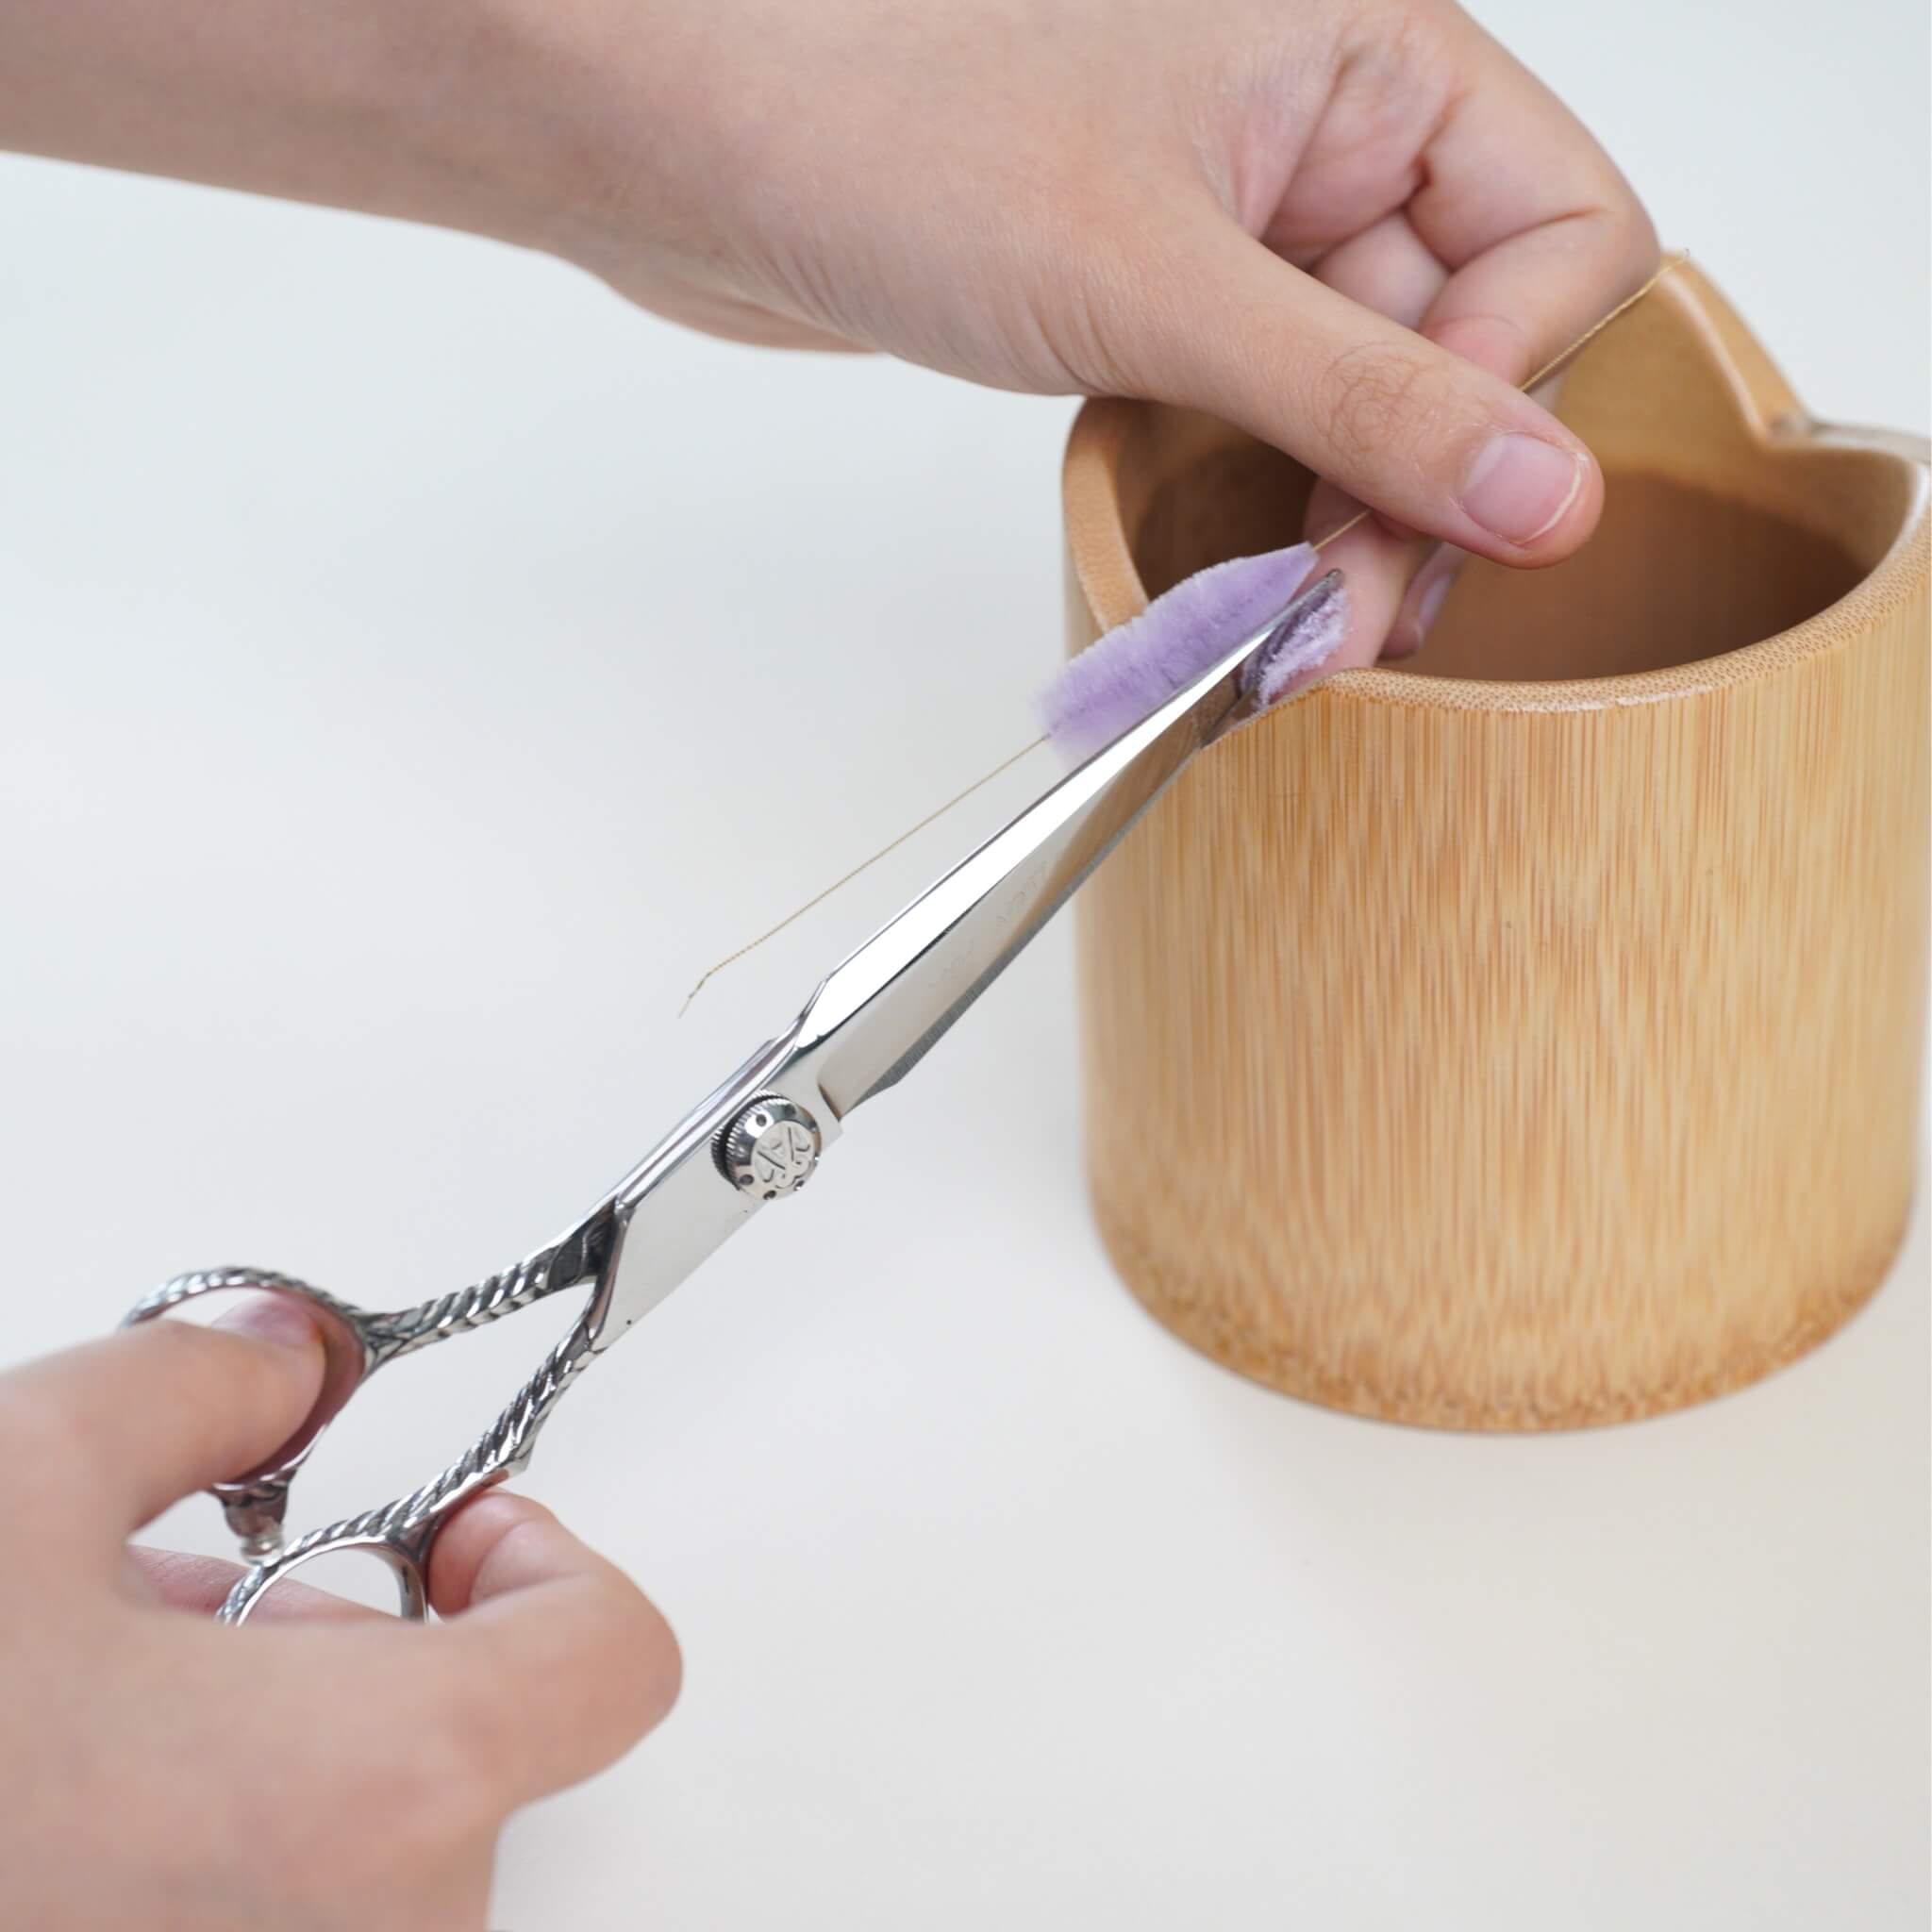
After tightening the silk strips, check whether the edges are even. If there are any loose or uneven fibres, simply trim them away. If the edges are already smooth and neat, no further trimming is necessary. The thin silk strips require particularly precise trimming. Place both the silk strip and the scissors against the notch of the bamboo shaping jar, then rotate the silk strip as you trim. Since the strip stays in a fixed position, you only need to rotate it in place.
Trim the lighter-colored end into a sharper point by slightly tilting the scissors, while shaping the darker end into a softer, rounder curve. Because trimming these delicate strips requires great precision, it's worth investing in a good pair of scissors if you plan to make ronghua regularly. The scissors used for shaping pointed tips should never be used to cut petals or copper wire, as this will quickly dull the blades. Trim all of the thin silk strips into the shape shown in the tutorial.

You'll need approximately 24 pieces. If you don't have a bamboo shaping jar, you can trim the strips by hand instead, although this is more tiring and less efficient.
Step. 9 Flatten and Shape the Petals
Once the thin silk strips are finished, fold all of the remaining silk strips in half, making sure their bases are perfectly aligned before tightening the copper wire. For this particular petal color, create a slightly stronger inward curl.
Once the hair straightener has fully heated, flatten the silk strips from the back toward the front. Continue pressing until there are no visible gaps when viewed from the side. All of the silk strips except the thin ones should be flattened in this way.

Next, prepare a bowl of clear, fragrance-free hairspray. If you don't have hairspray, you can mix white glue with alcohol (1:2/1:3) until it reaches a similar consistency.

Begin shaping the petals with the lightest-colored ones. Dip each petal into the hairspray until it is fully saturated, then gently remove any excess liquid.

Curl the petal outward from the base while allowing the upper portion to curl inward. Tuck the silk fibres along the edges inward and shape a small pointed tip at the top. Once shaped, insert the petals upright into foam, a sponge, or a cat scratching board to dry.
The next color of petal is shaped a little differently. Begin by curling the petal inward, then gently push the silk fibres along the edges slightly outward in the opposite direction. After shaping, stand the petals upright to dry.

The deep red petals have the simplest form. Shape them into a rounded curve while maintaining a small pointed tip at the very front.

Once all of the petals have dried completely and become firm, neatly trim the edges if necessary. Always use sharp scissors reserved for petals—never scissors that have previously been used to cut copper wire. Finally, trim away any excess copper wire from the base of each petal.
Step. 10 Create the Beaded Flower Centers
Prepare the gold color-preserving copper wire by cutting it into 16 cm lengths. You'll need 12 pieces in total. Fold each piece in half, then thread a 2 mm gold bead onto one side of the folded wire. Fold the wire together and pinch it tightly to secure the bead.
Next, thread a 3 mm pink bead through both wires simultaneously, making sure the wires remain straight and the first bead stays properly positioned. Wrap the exposed wire beneath the beads with pink silk thread, continuing for about 3 cm before finishing. Make ten bead stems in this style.

Prepare two additional bead stems using blue silk thread instead of pink. These follow a slightly different bead arrangement, and the silk thread should continue wrapping all the way to the end of the copper wire. Once all of the bead components are complete, fold a section of silk thread in half and begin assembling the flower center.
Position one blue-wrapped bead stem in the middle, slightly higher than the others, then arrange five pink bead stems evenly around it before tying everything securely together.

Step. 11 Assemble the Flowers
Begin assembling the flower with the darkest-colored petals. The first layer consists of four deep red petals. Leave a small gap before adding the second layer, which uses five rose-red petals.
Throughout the assembly process, the most important thing is keeping the bases of all the petals neatly aligned. Maintain a spacing of approximately 4–5 mm between each layer. The third and final petal layer uses five light pink petals. Secure each petal tightly with silk thread as you add it.

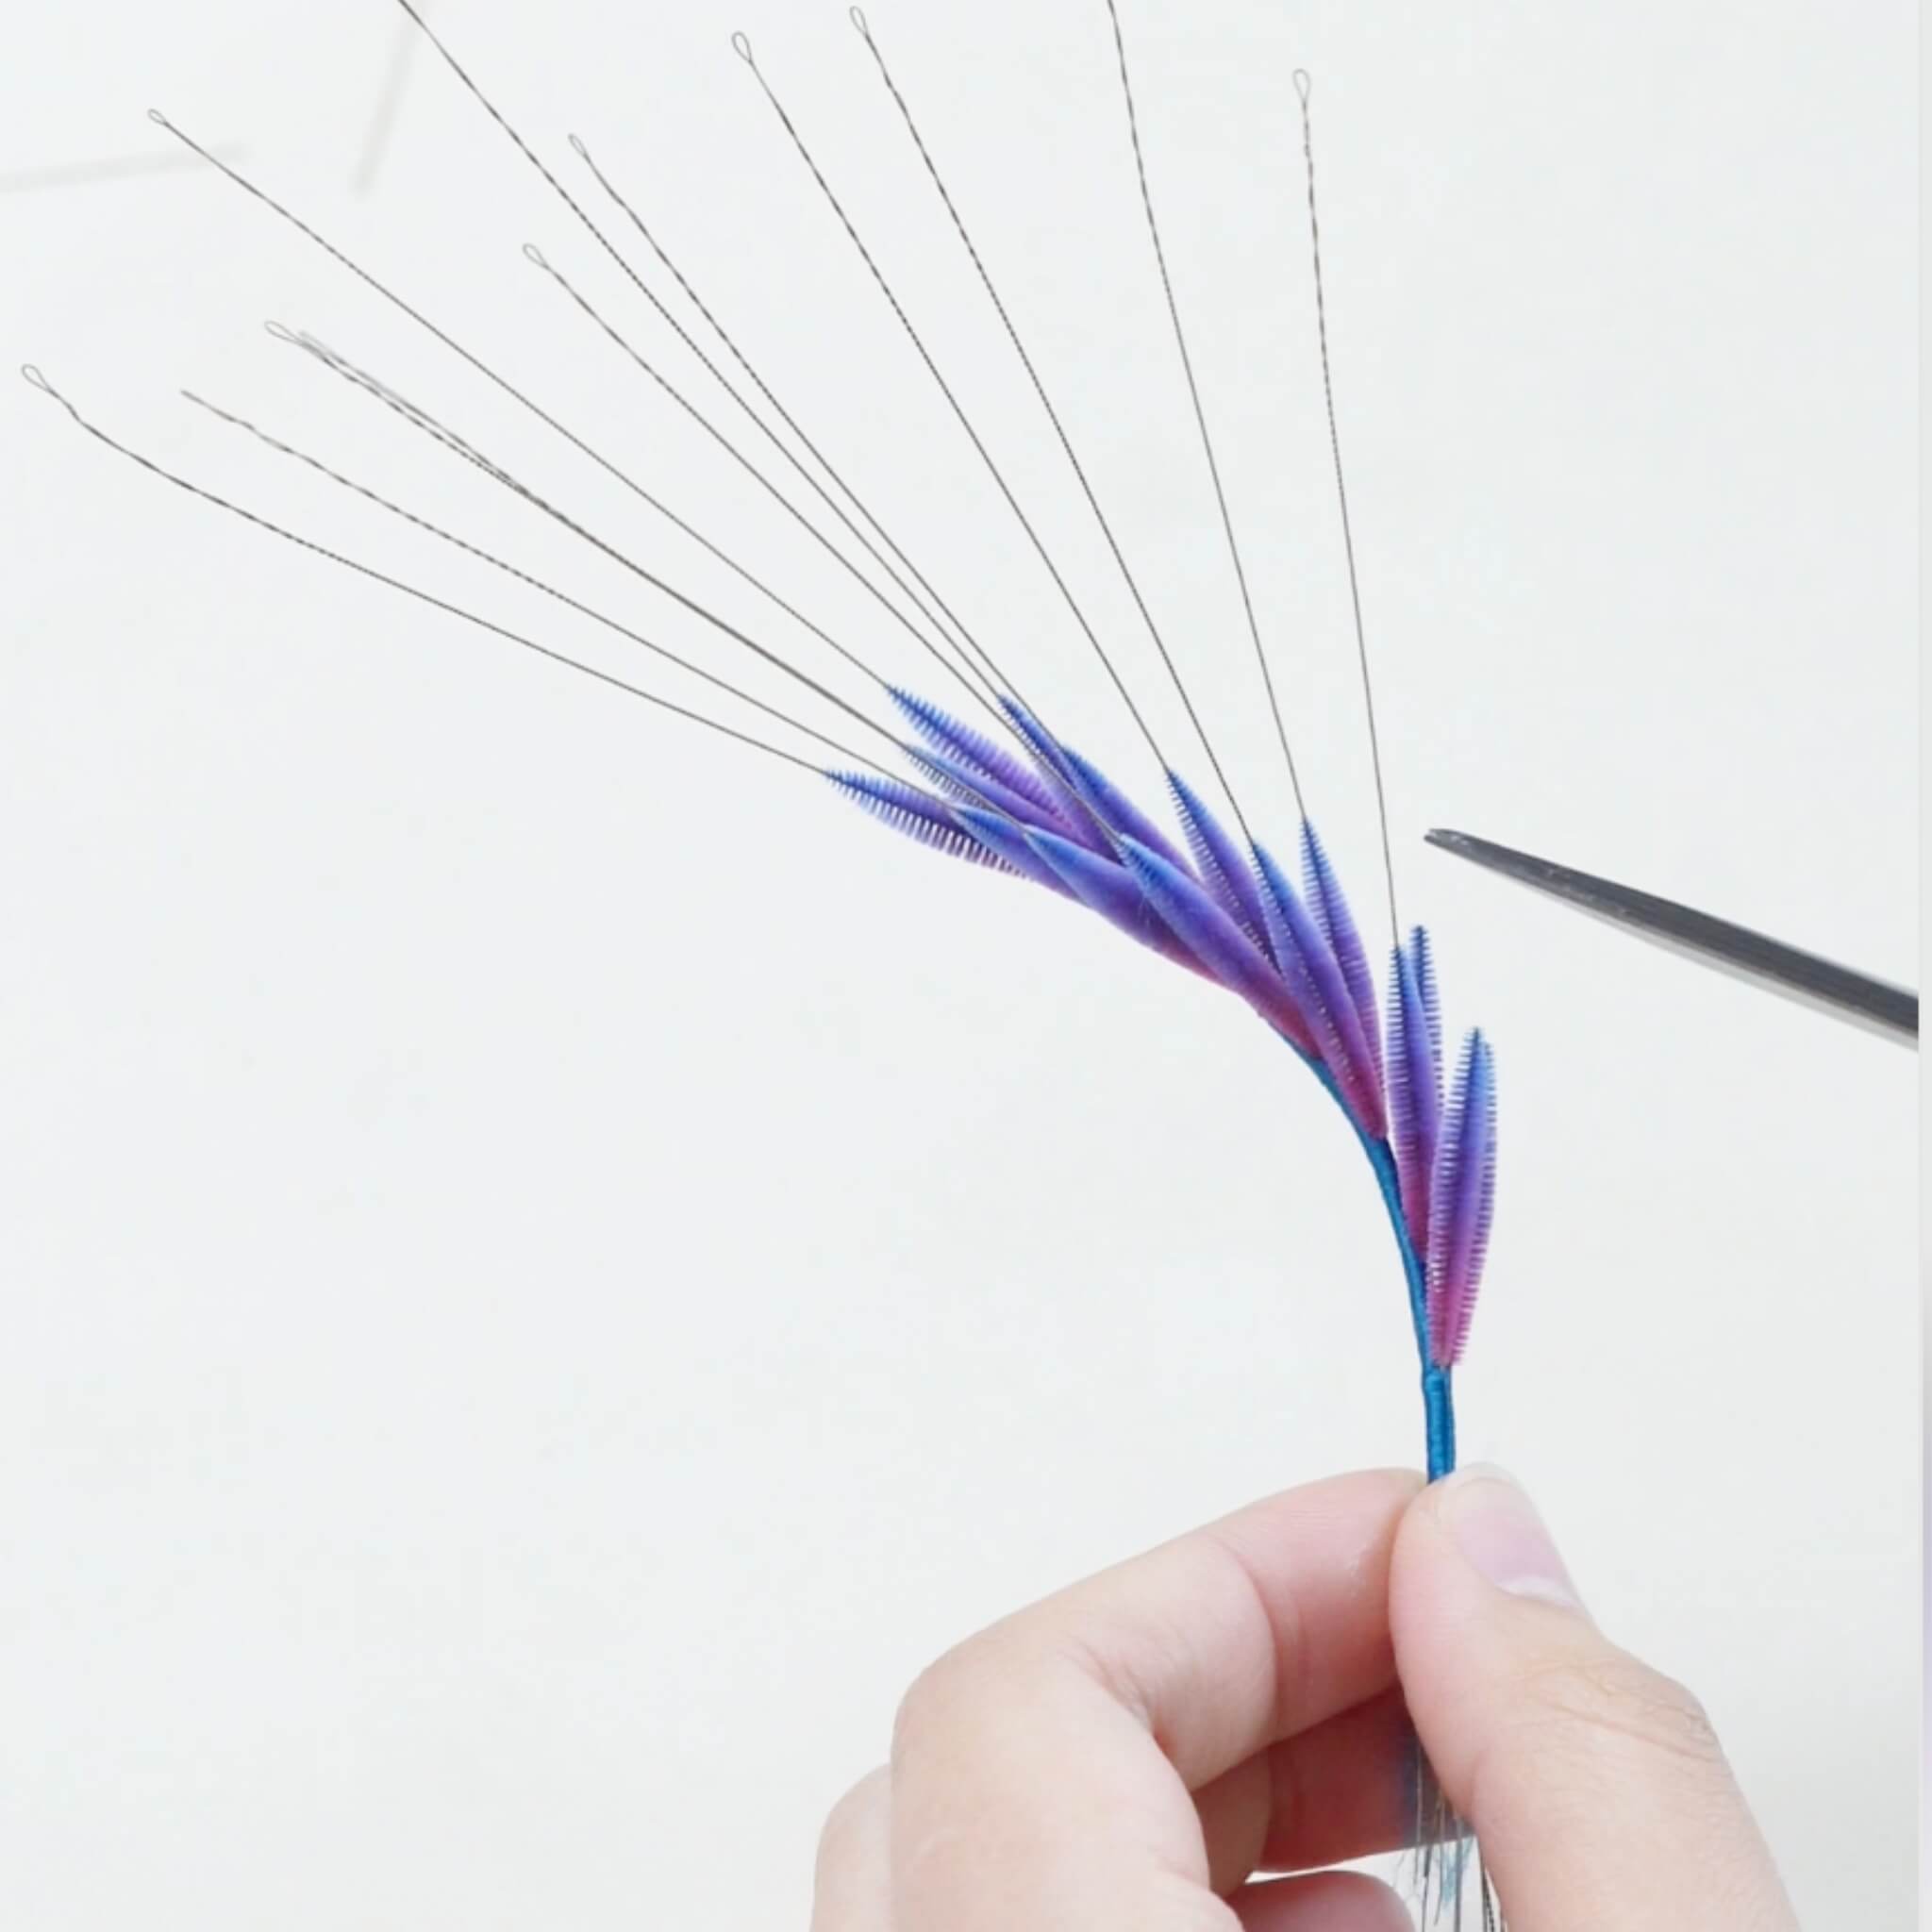
Next, attach the thin silk strips. Position them close to the previous layer of petals, wrapping them continuously around the entire flower. Make sure the bases of all the thin silk strips are neatly aligned. One complete layer uses 12 thin silk strips.

Continue wrapping the silk thread toward the back of the flower. If your thread runs out, simply tie it off, cover the knot with a new piece of silk thread, and continue wrapping downward. Since there are many copper wires inside the flower, you can trim away any unnecessary ones before securing the remaining thin silk strips. Once all of the thin strips have been fastened, trim the remaining copper wires diagonally.
Continue wrapping silk thread until all of the exposed wires are fully covered, then fold the wrapped wire ends in half, leaving a small loop at the tip. To finish the wrapping neatly, place a folded piece of silk thread or copper wire alongside the stem. Wrap the silk thread over it several more times, pass the silk thread through the copper wire loop, pull the wire through, and trim away the excess thread.
You can watch our video tutorial for this step:)
Step. 12 Attach the Flower to the Clip
Finally, make a few small adjustments to the petals until the flower looks balanced and natural.
Open your metal jump ring, use it to connect the top loop of the wrapped flower stem to your chosen earring finding, then close the jump ring securely using your jewelry pliers. Your delicate fuchsia silk flower earring is now complete and ready to wear.





Leave a comment
All comments are moderated before being published.
This site is protected by hCaptcha and the hCaptcha Privacy Policy and Terms of Service apply.