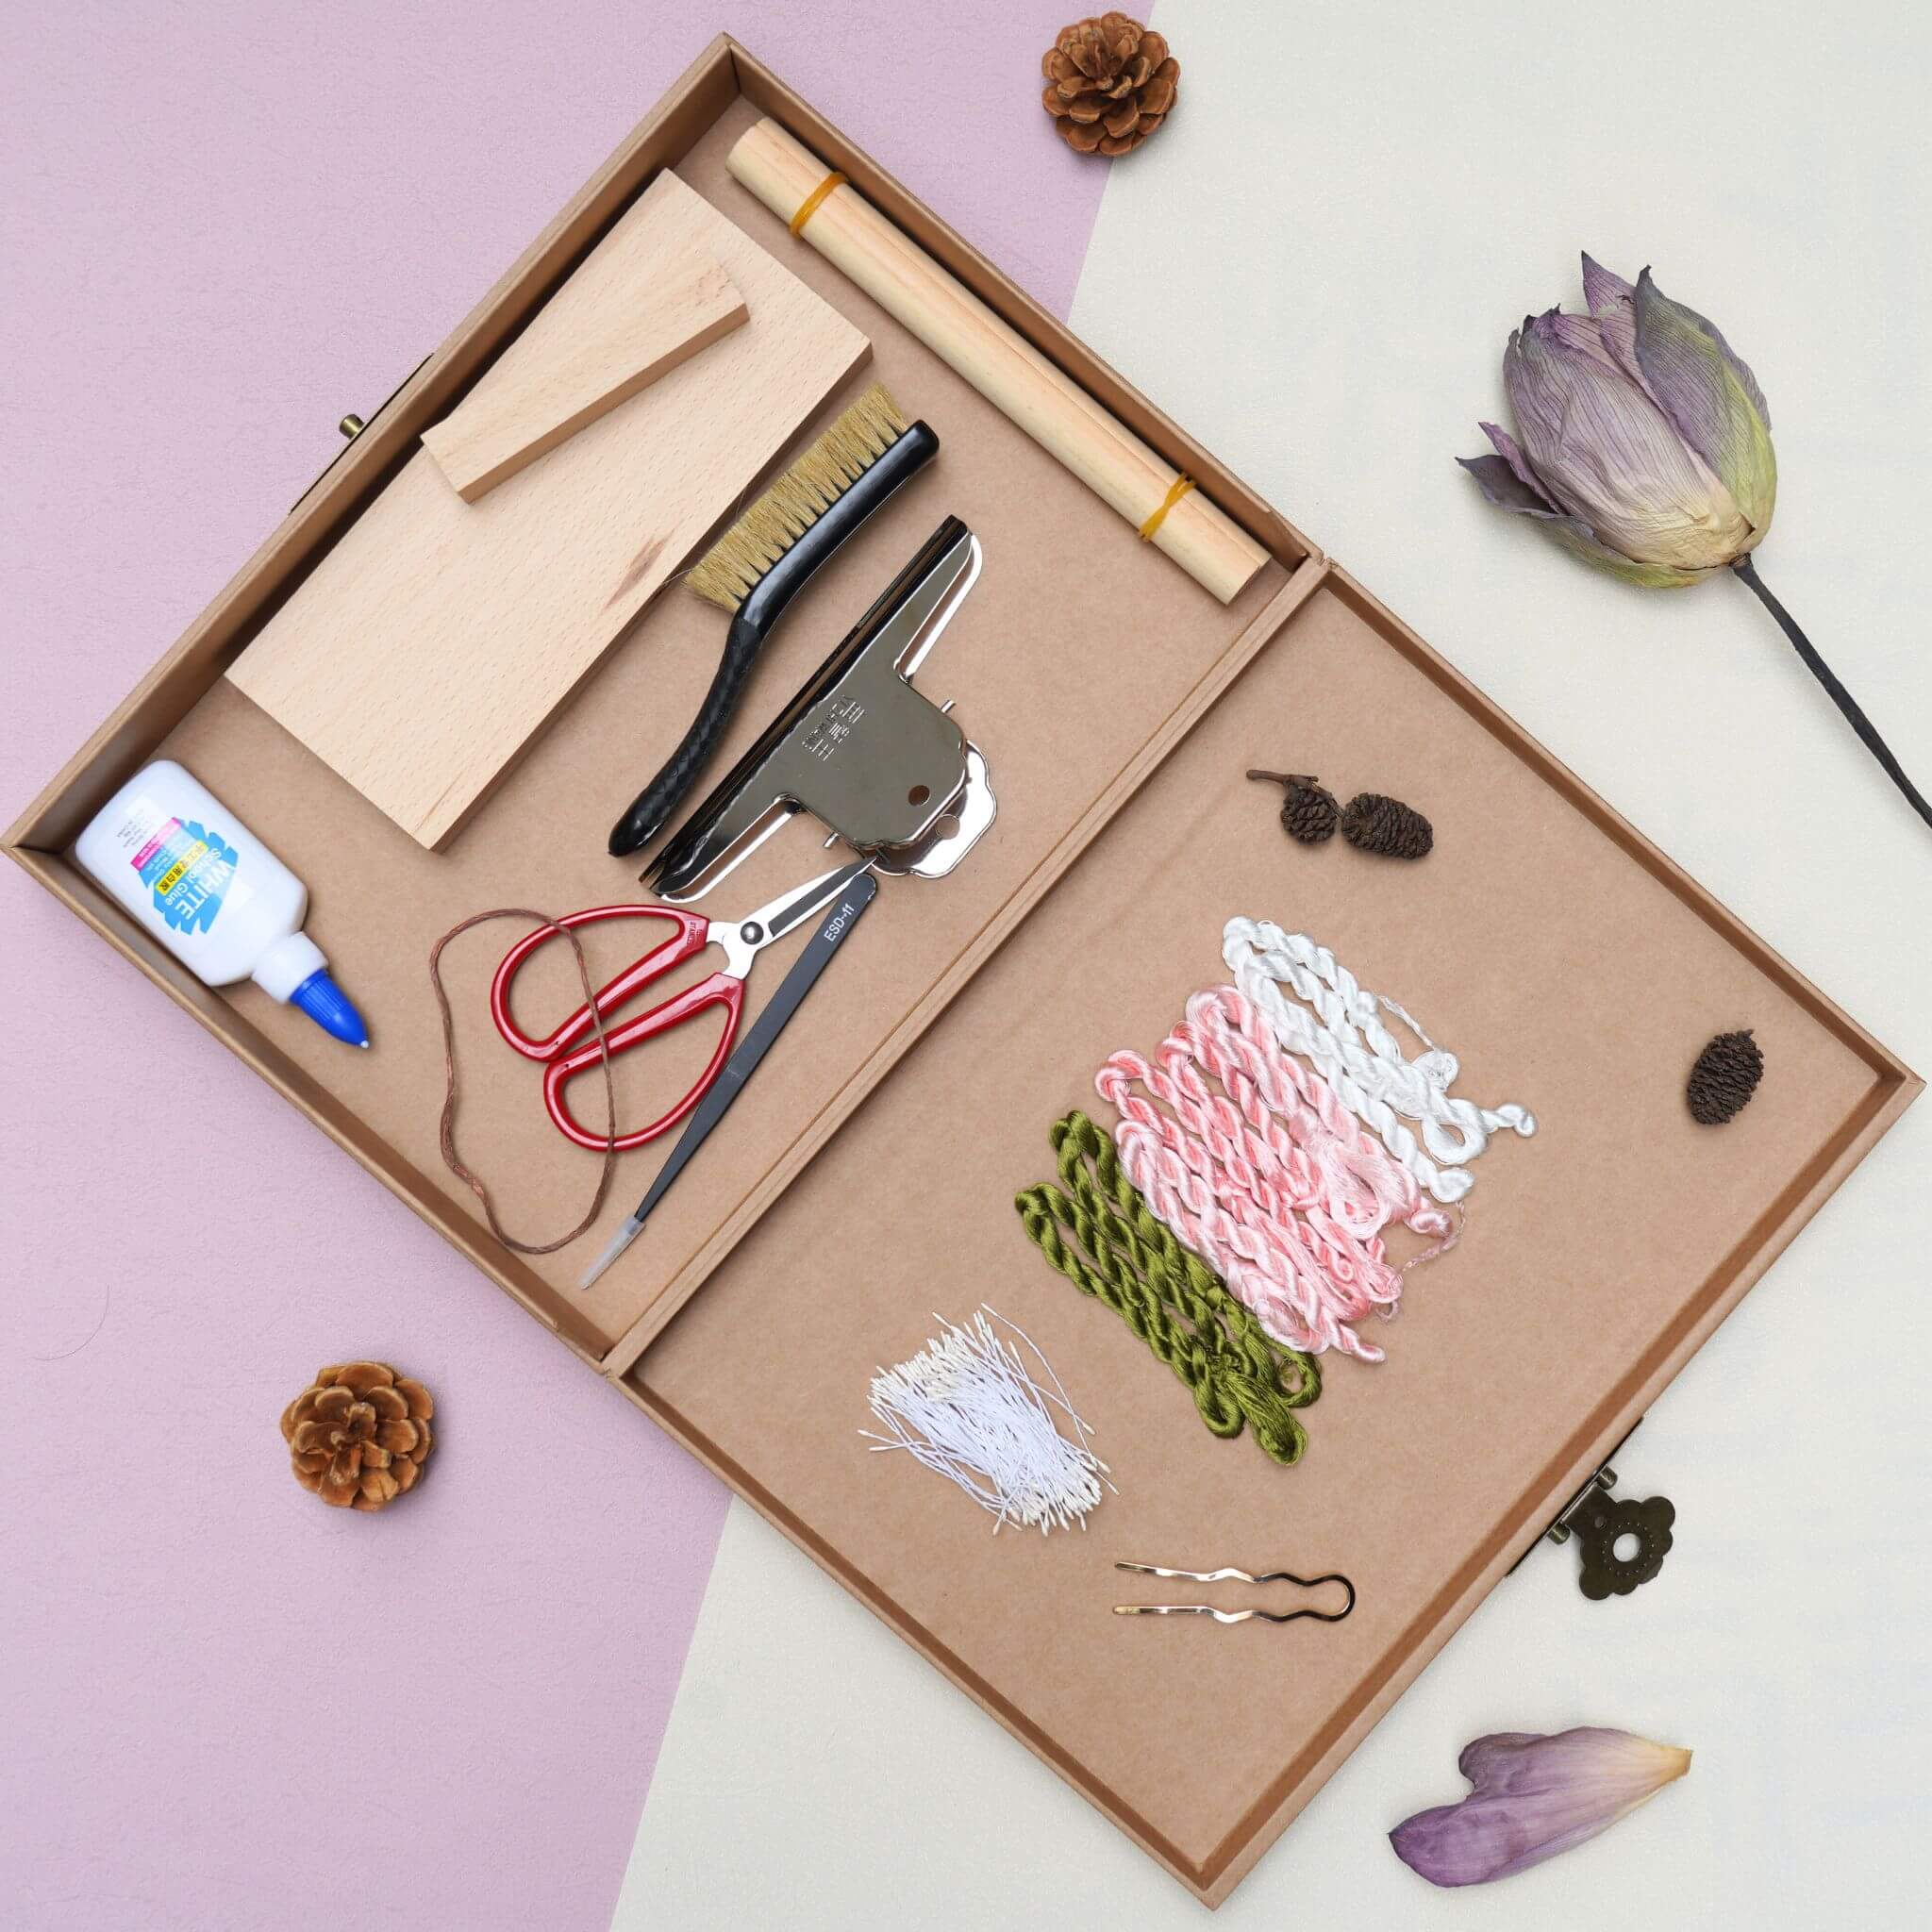
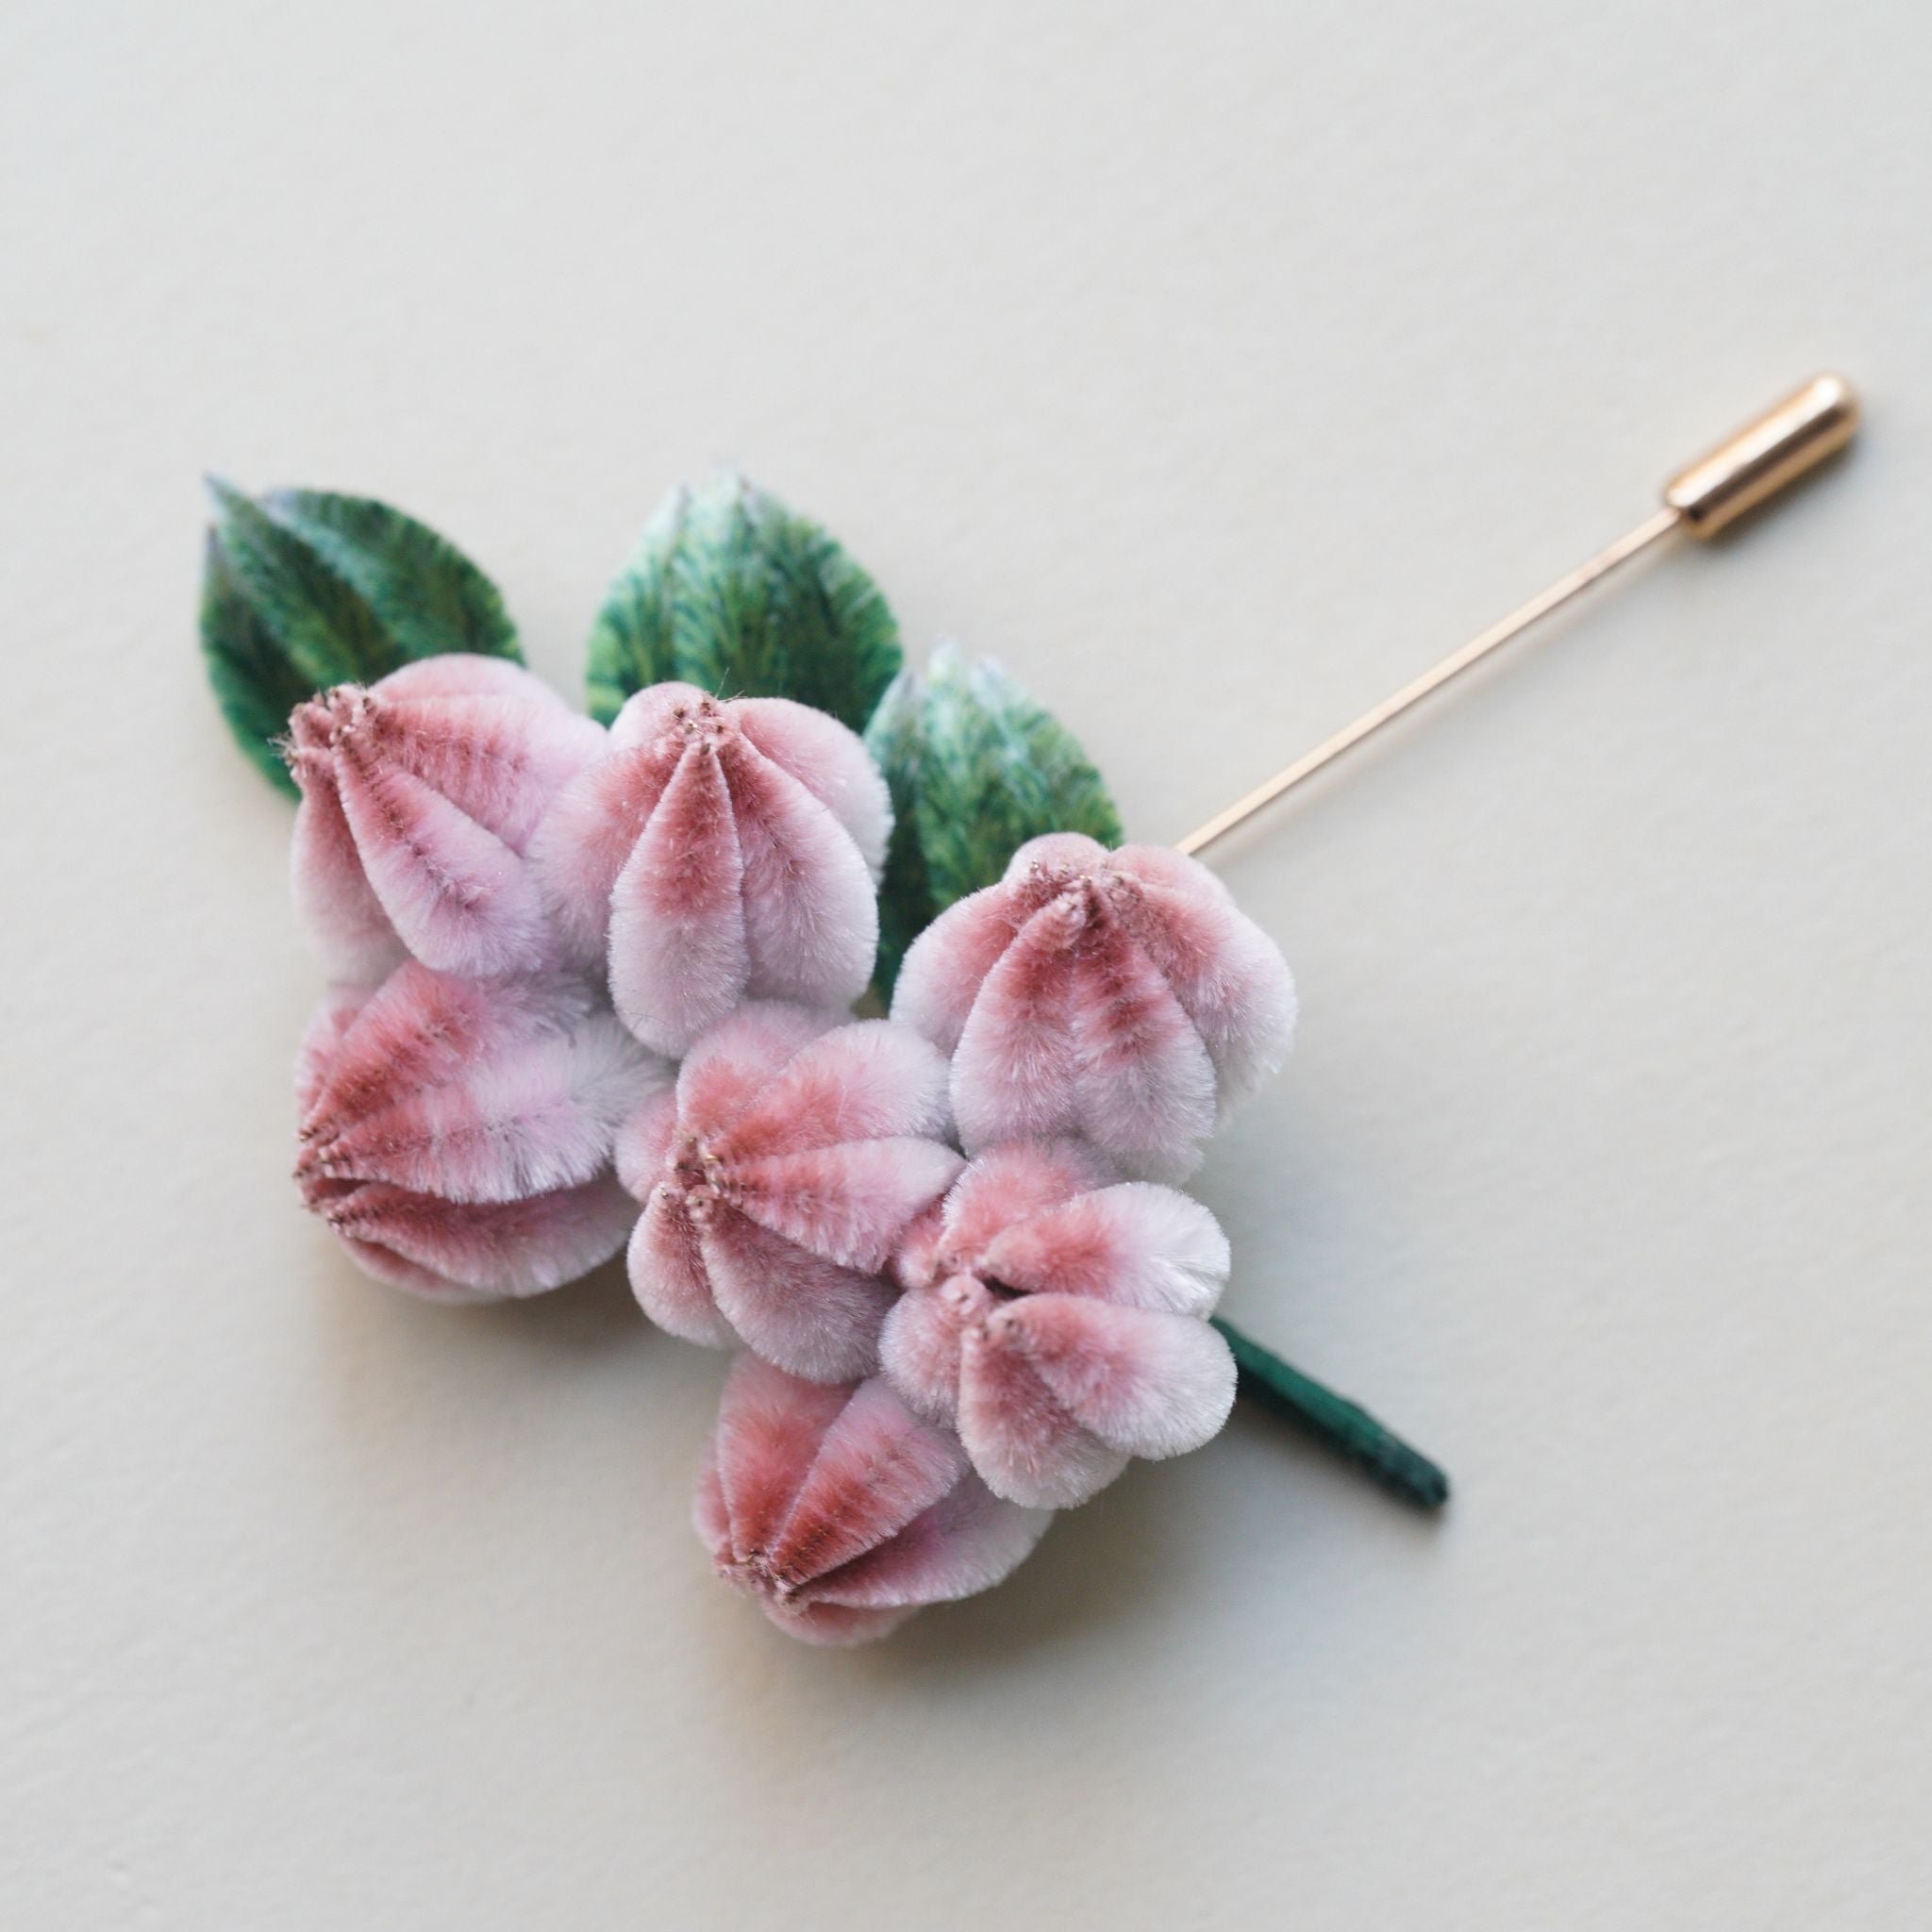
Learn how to create lotus flowers penjing/bonsai using the traditional Ronghua (silk velvet flower) and Tanghua (scorched silk flowers) crafting technique! In this step-by-step tutorial, we’ll guide you through preparing the silk sticks, combing, shaping, and assembling your very own vibrant lotus flowers. Perfect for adding a handmade touch to your festive decor!
Step 1: Cut the Fabric Circles 0:00~2:01
Draw a circle on a piece of paper. The size depends on how large you want your lotus leaf. (Mine is 18cm in diameter.) Cut out the paper circle. Place the paper circle on the stiffened kopak fabric and cut along the shape. Tip: You can clip the paper and fabric together for more precise trimming. Each lotus leaf needs two fabric circles — one for the front and one for the back.

Step 2: Dye the Fabric 2:02~11:29
Prepare your dyes — I used Grass green (for the base color), Black (to darken colors, not used alone), and Brown (adds a withered look when blended). Scoop 4–5 spoons of each dye into a container and dilute with warm water. Shake or stir to mix well. Spray water onto the fabric to dampen it. Apply grass green as the base. Blend brown along the edges for depth. Note: The fabric must be damp to allow the dye to spread evenly. If there’s too much water, blot with a tissue or towel. Dyeing may require multiple layers to achieve the desired richness. You can dye both pieces in matching or contrasting colors for a realistic effect. Lay the fabric pieces flat to dry.

Step 3: Assemble the Leaf 11:30~18:24
Gather 6–8 floral wires and wrap them together with thread. Wrap slightly longer than the leaf’s radius. Bend open the wires like ribs. Apply thick glue to the center of the wire bundle. Press the wires onto the center of one fabric circle. Apply glue quickly to the surface of the leaf. Cut a small “X” in the center of the second fabric circle. Press it onto the first, sandwiching the wires between. Use your hands to smooth the fabric — there should be no air gaps. With tweezers, trace the edge of each wire to form natural leaf veins. Trim any excess wire and clean the edges of the leaf.

Step 4: Shape and Finish 18:25~end
While the glue is still tacky, start shaping the edges using your hands or a thick pen.
Once the glue dries, you’ll need a flower iron to reshape it. Use floral tape to wrap the stem and wires neatly. If you want a longer stem, extend it by attaching extra wire or aluminum wire. Wrap the entire stem with floral tape — and you’re done!


Tips:You can adjust the height and angle of the lotus leaf as needed. The lotus flower tutorial is already shared in another video — Go check it out here!
If you finished your DIY product, welcome to show your awesome work to us and get coupons for the rest of our DIY kits!
INS@lanseichina
Pinterest@lanseichina


Deja un comentario
Todos los comentarios son moderados antes de ser publicados.
Este sitio está protegido por hCaptcha y se aplican la Política de privacidad de hCaptcha y los Términos del servicio.