


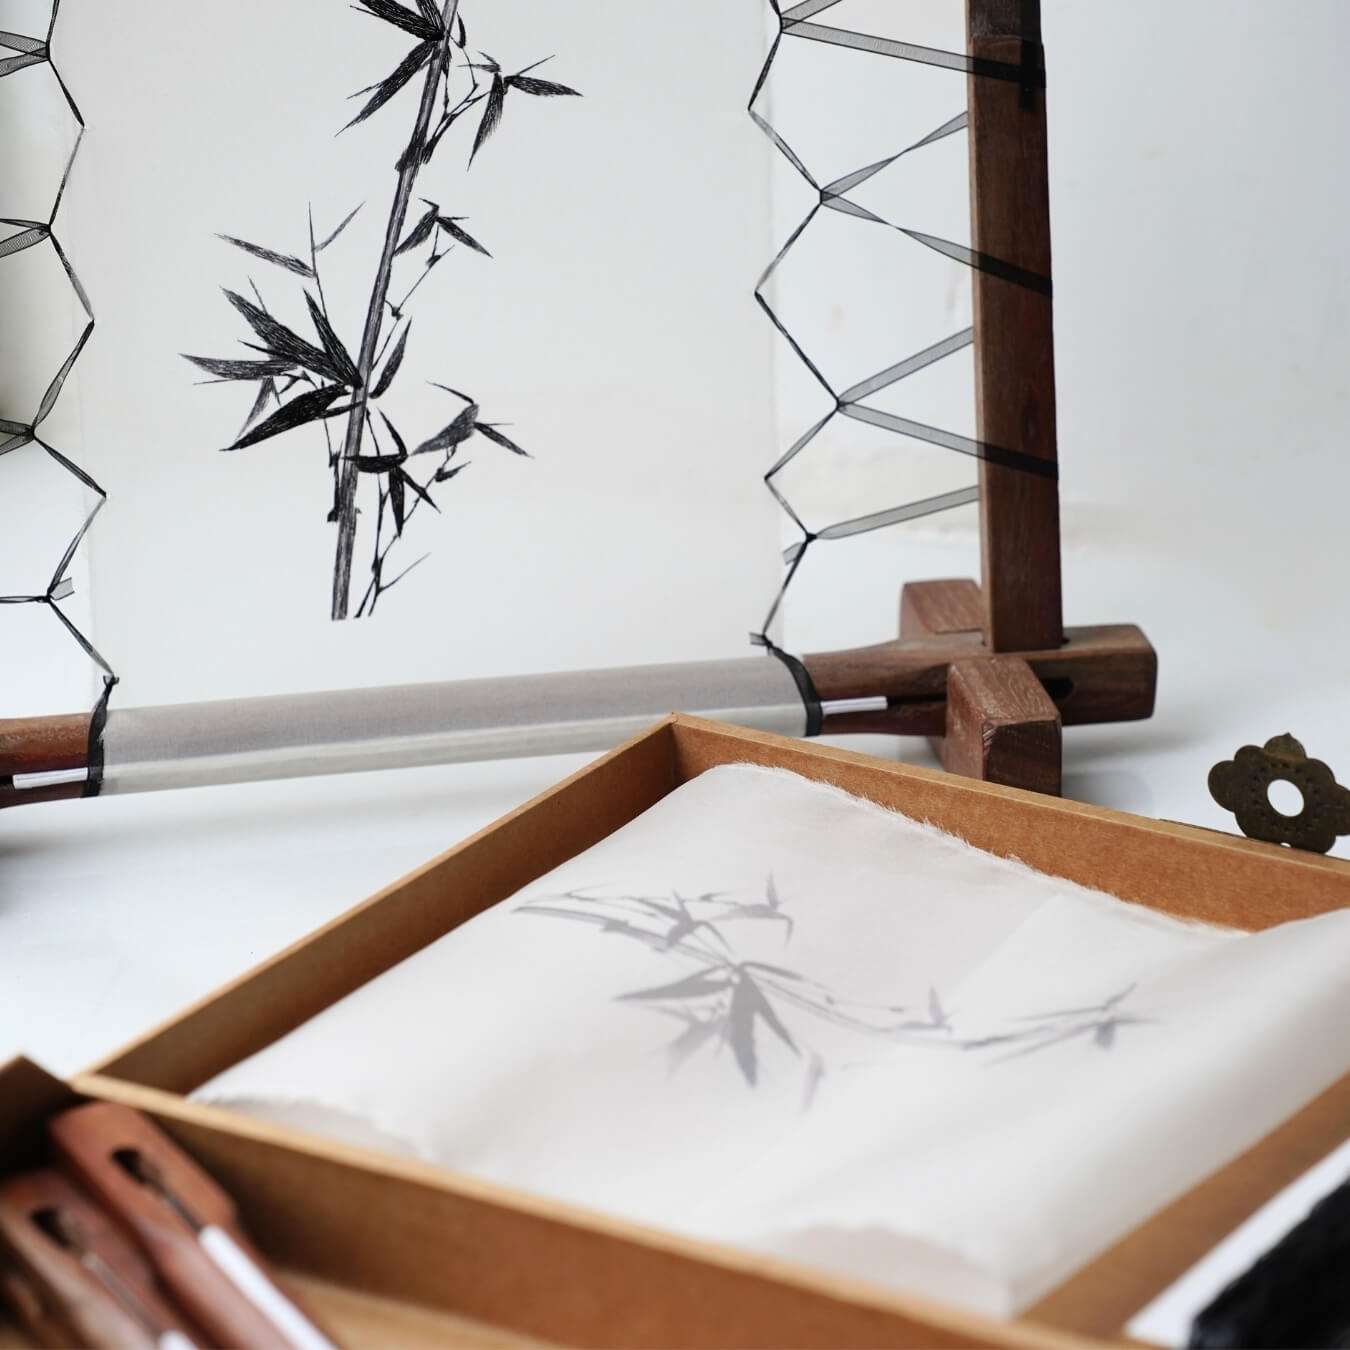

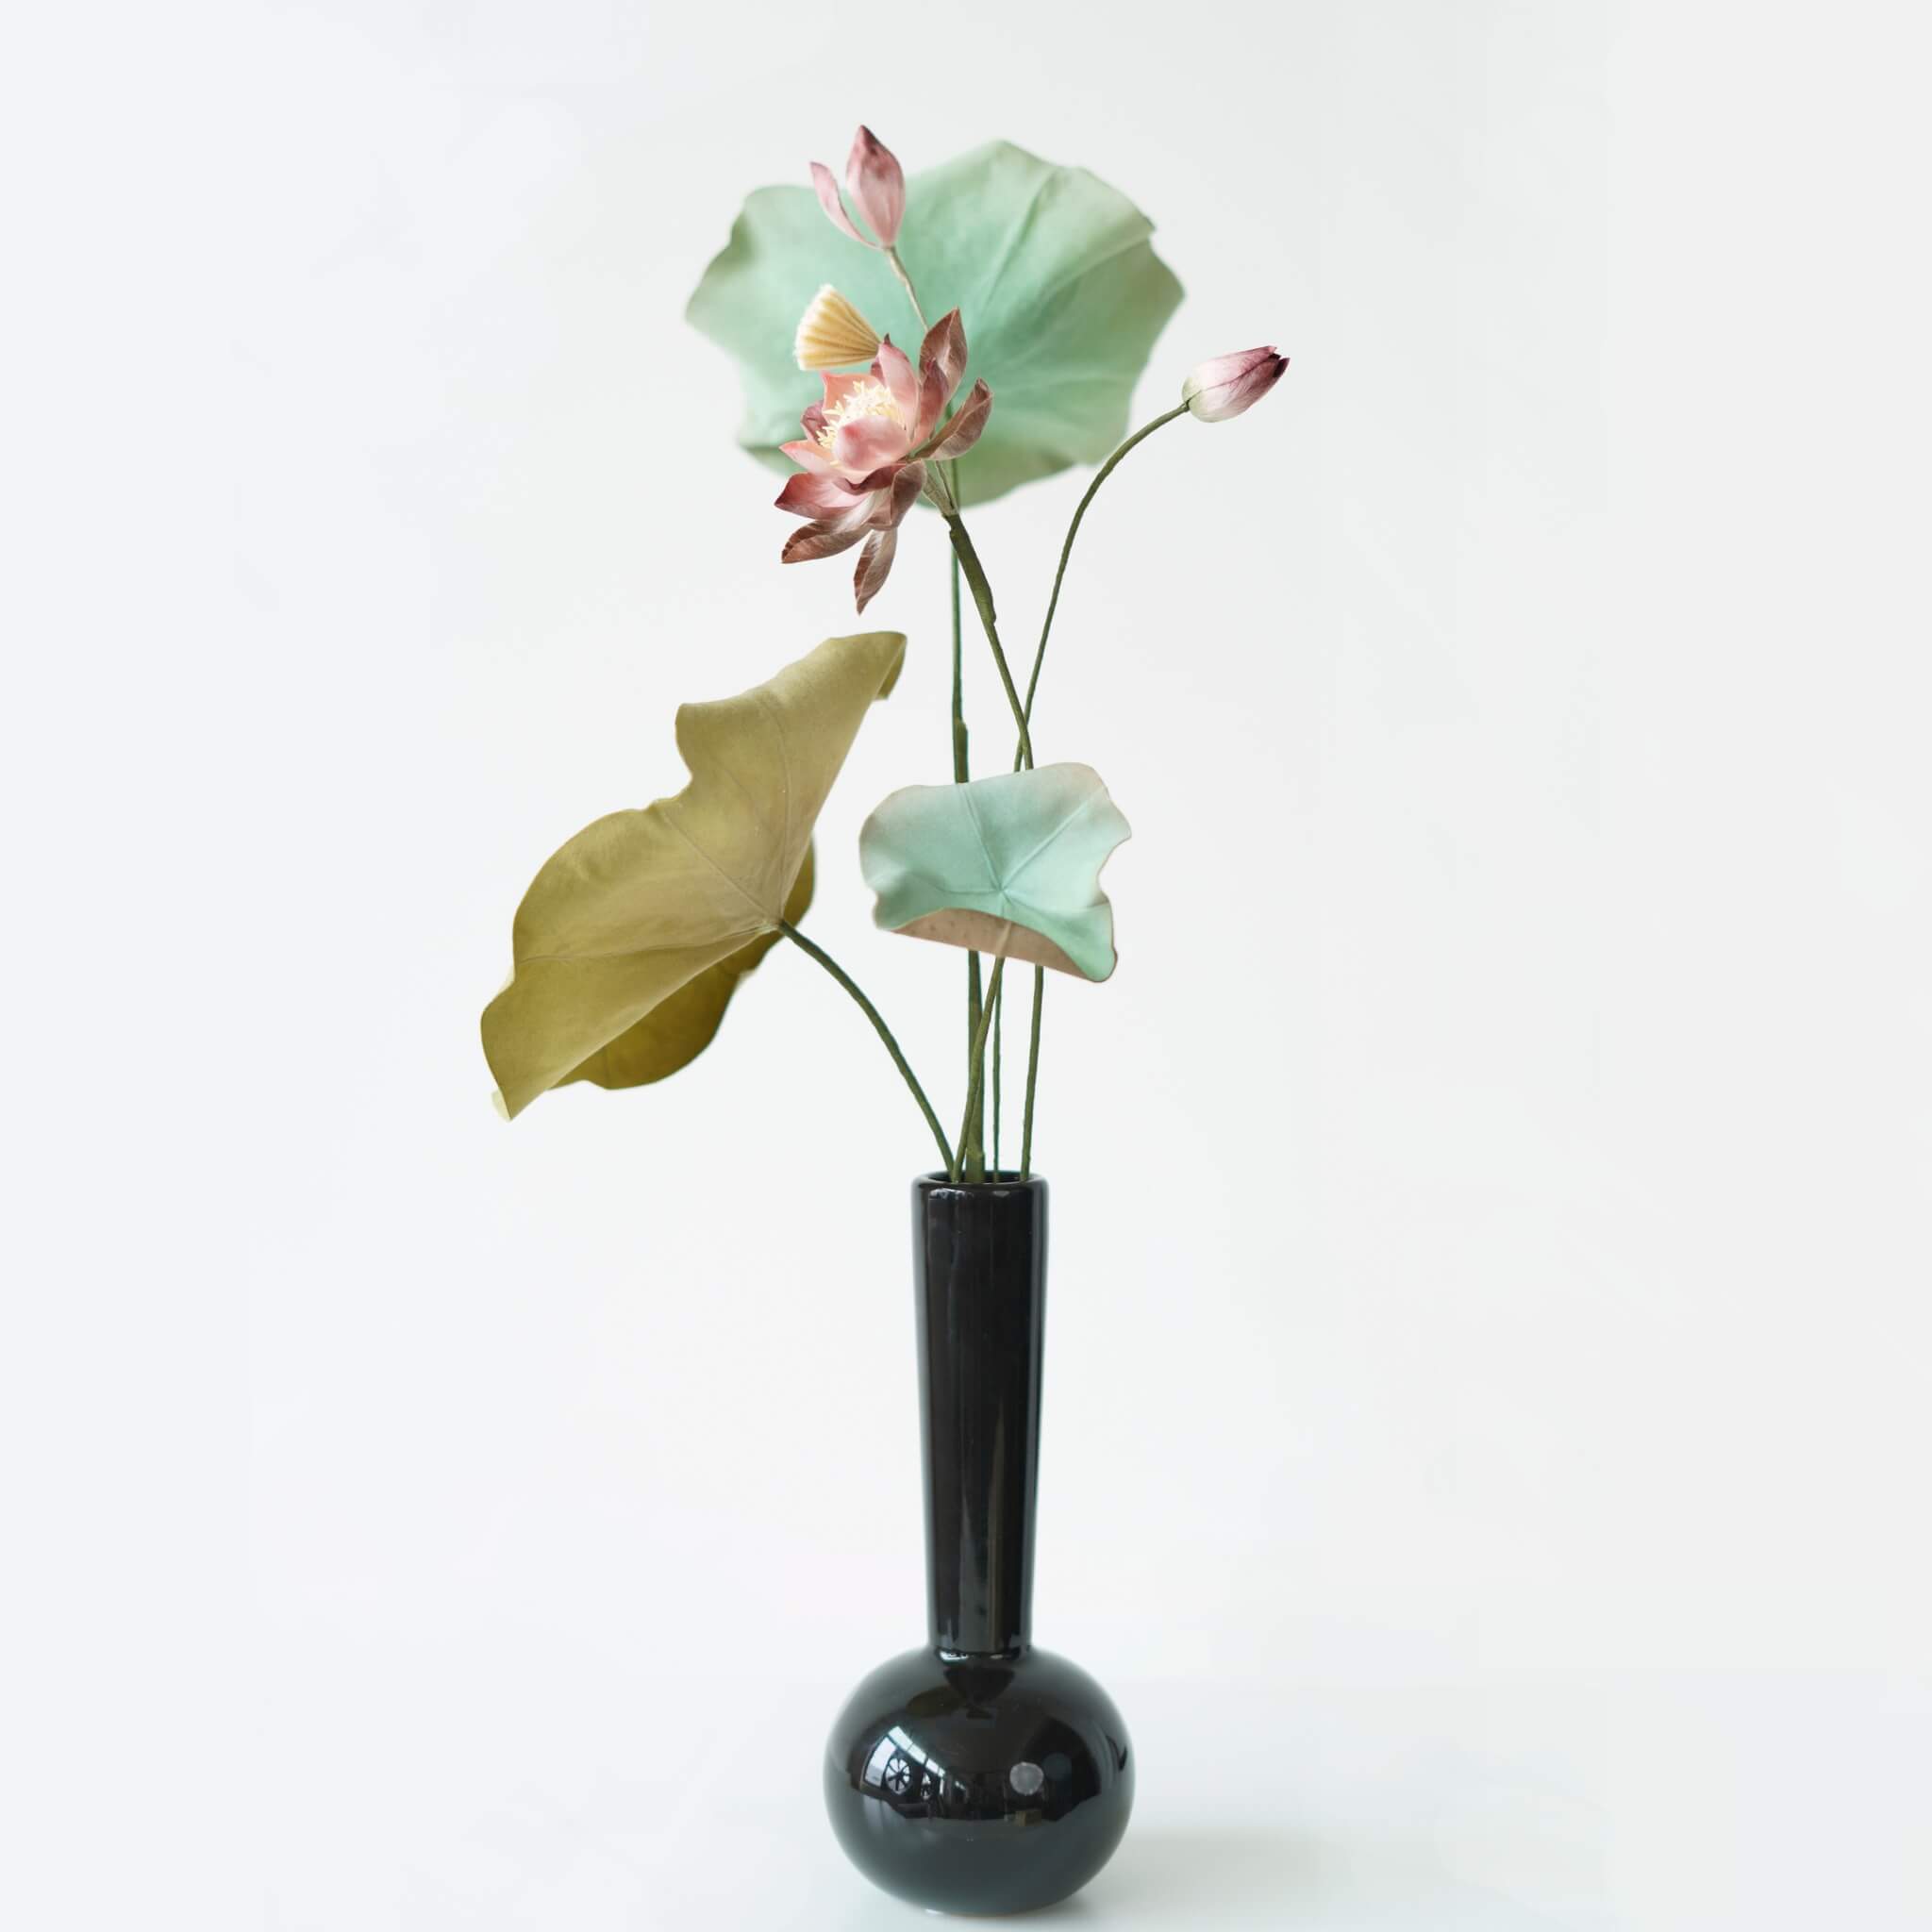
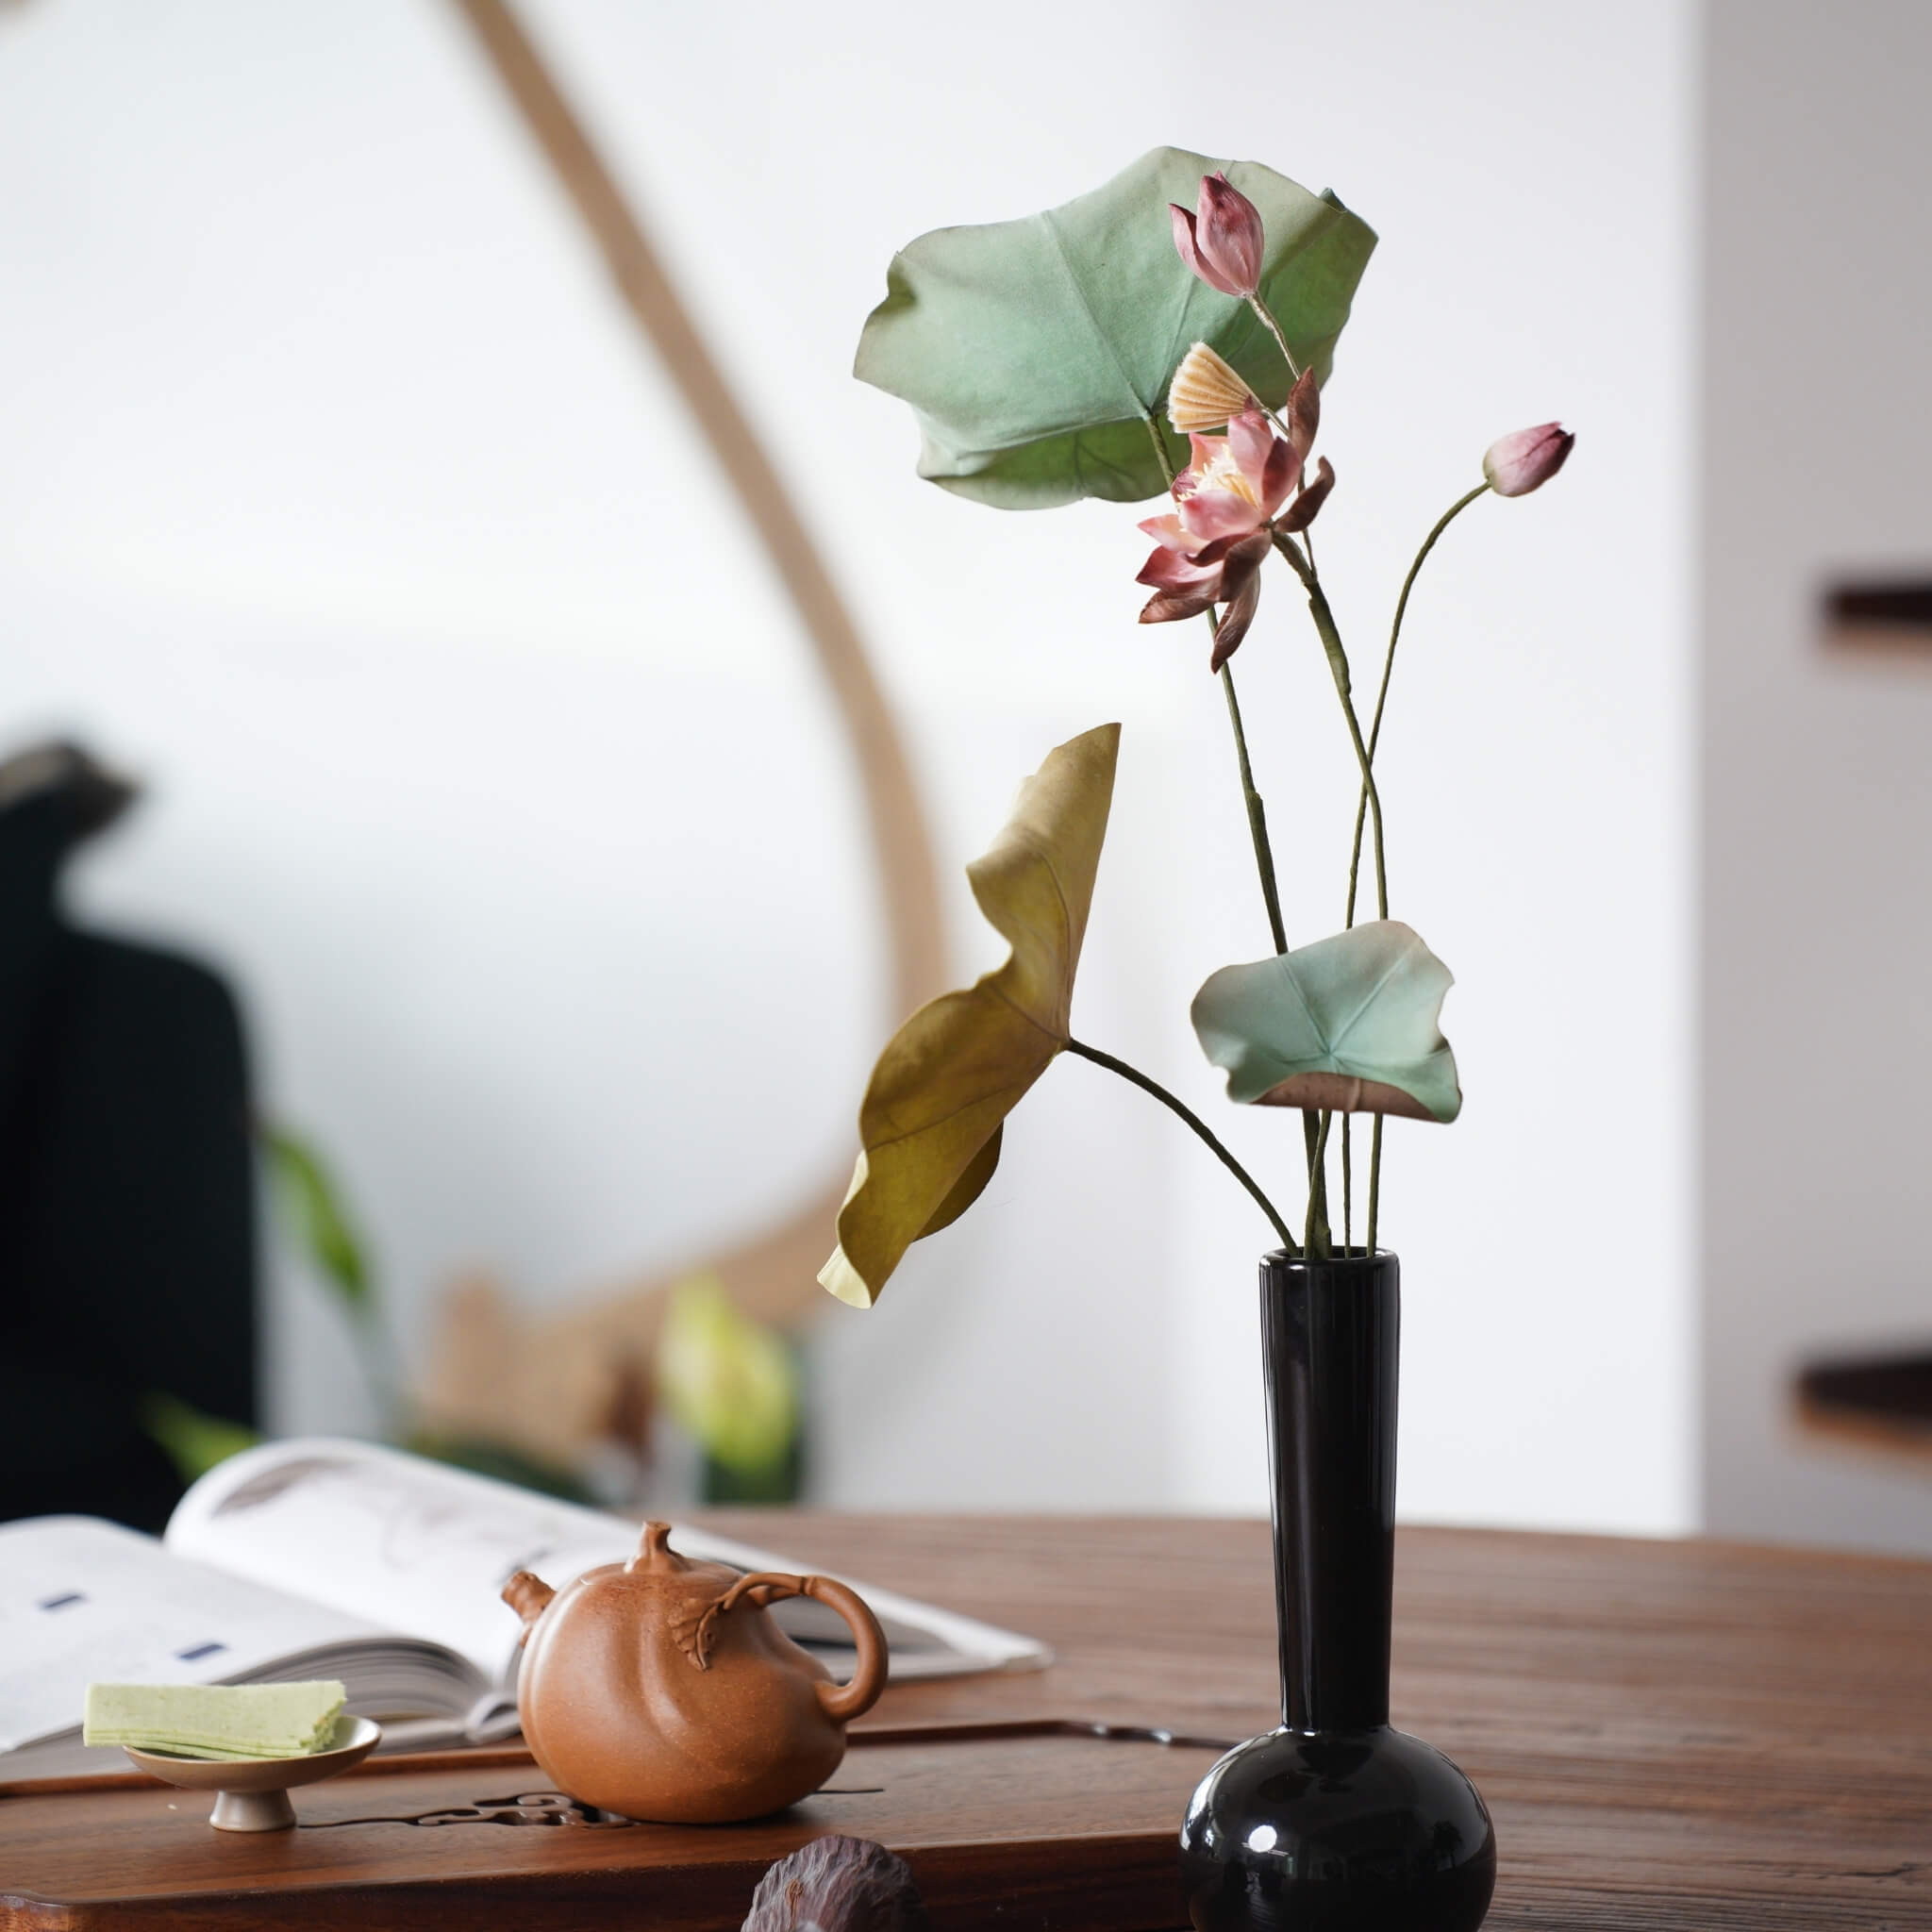
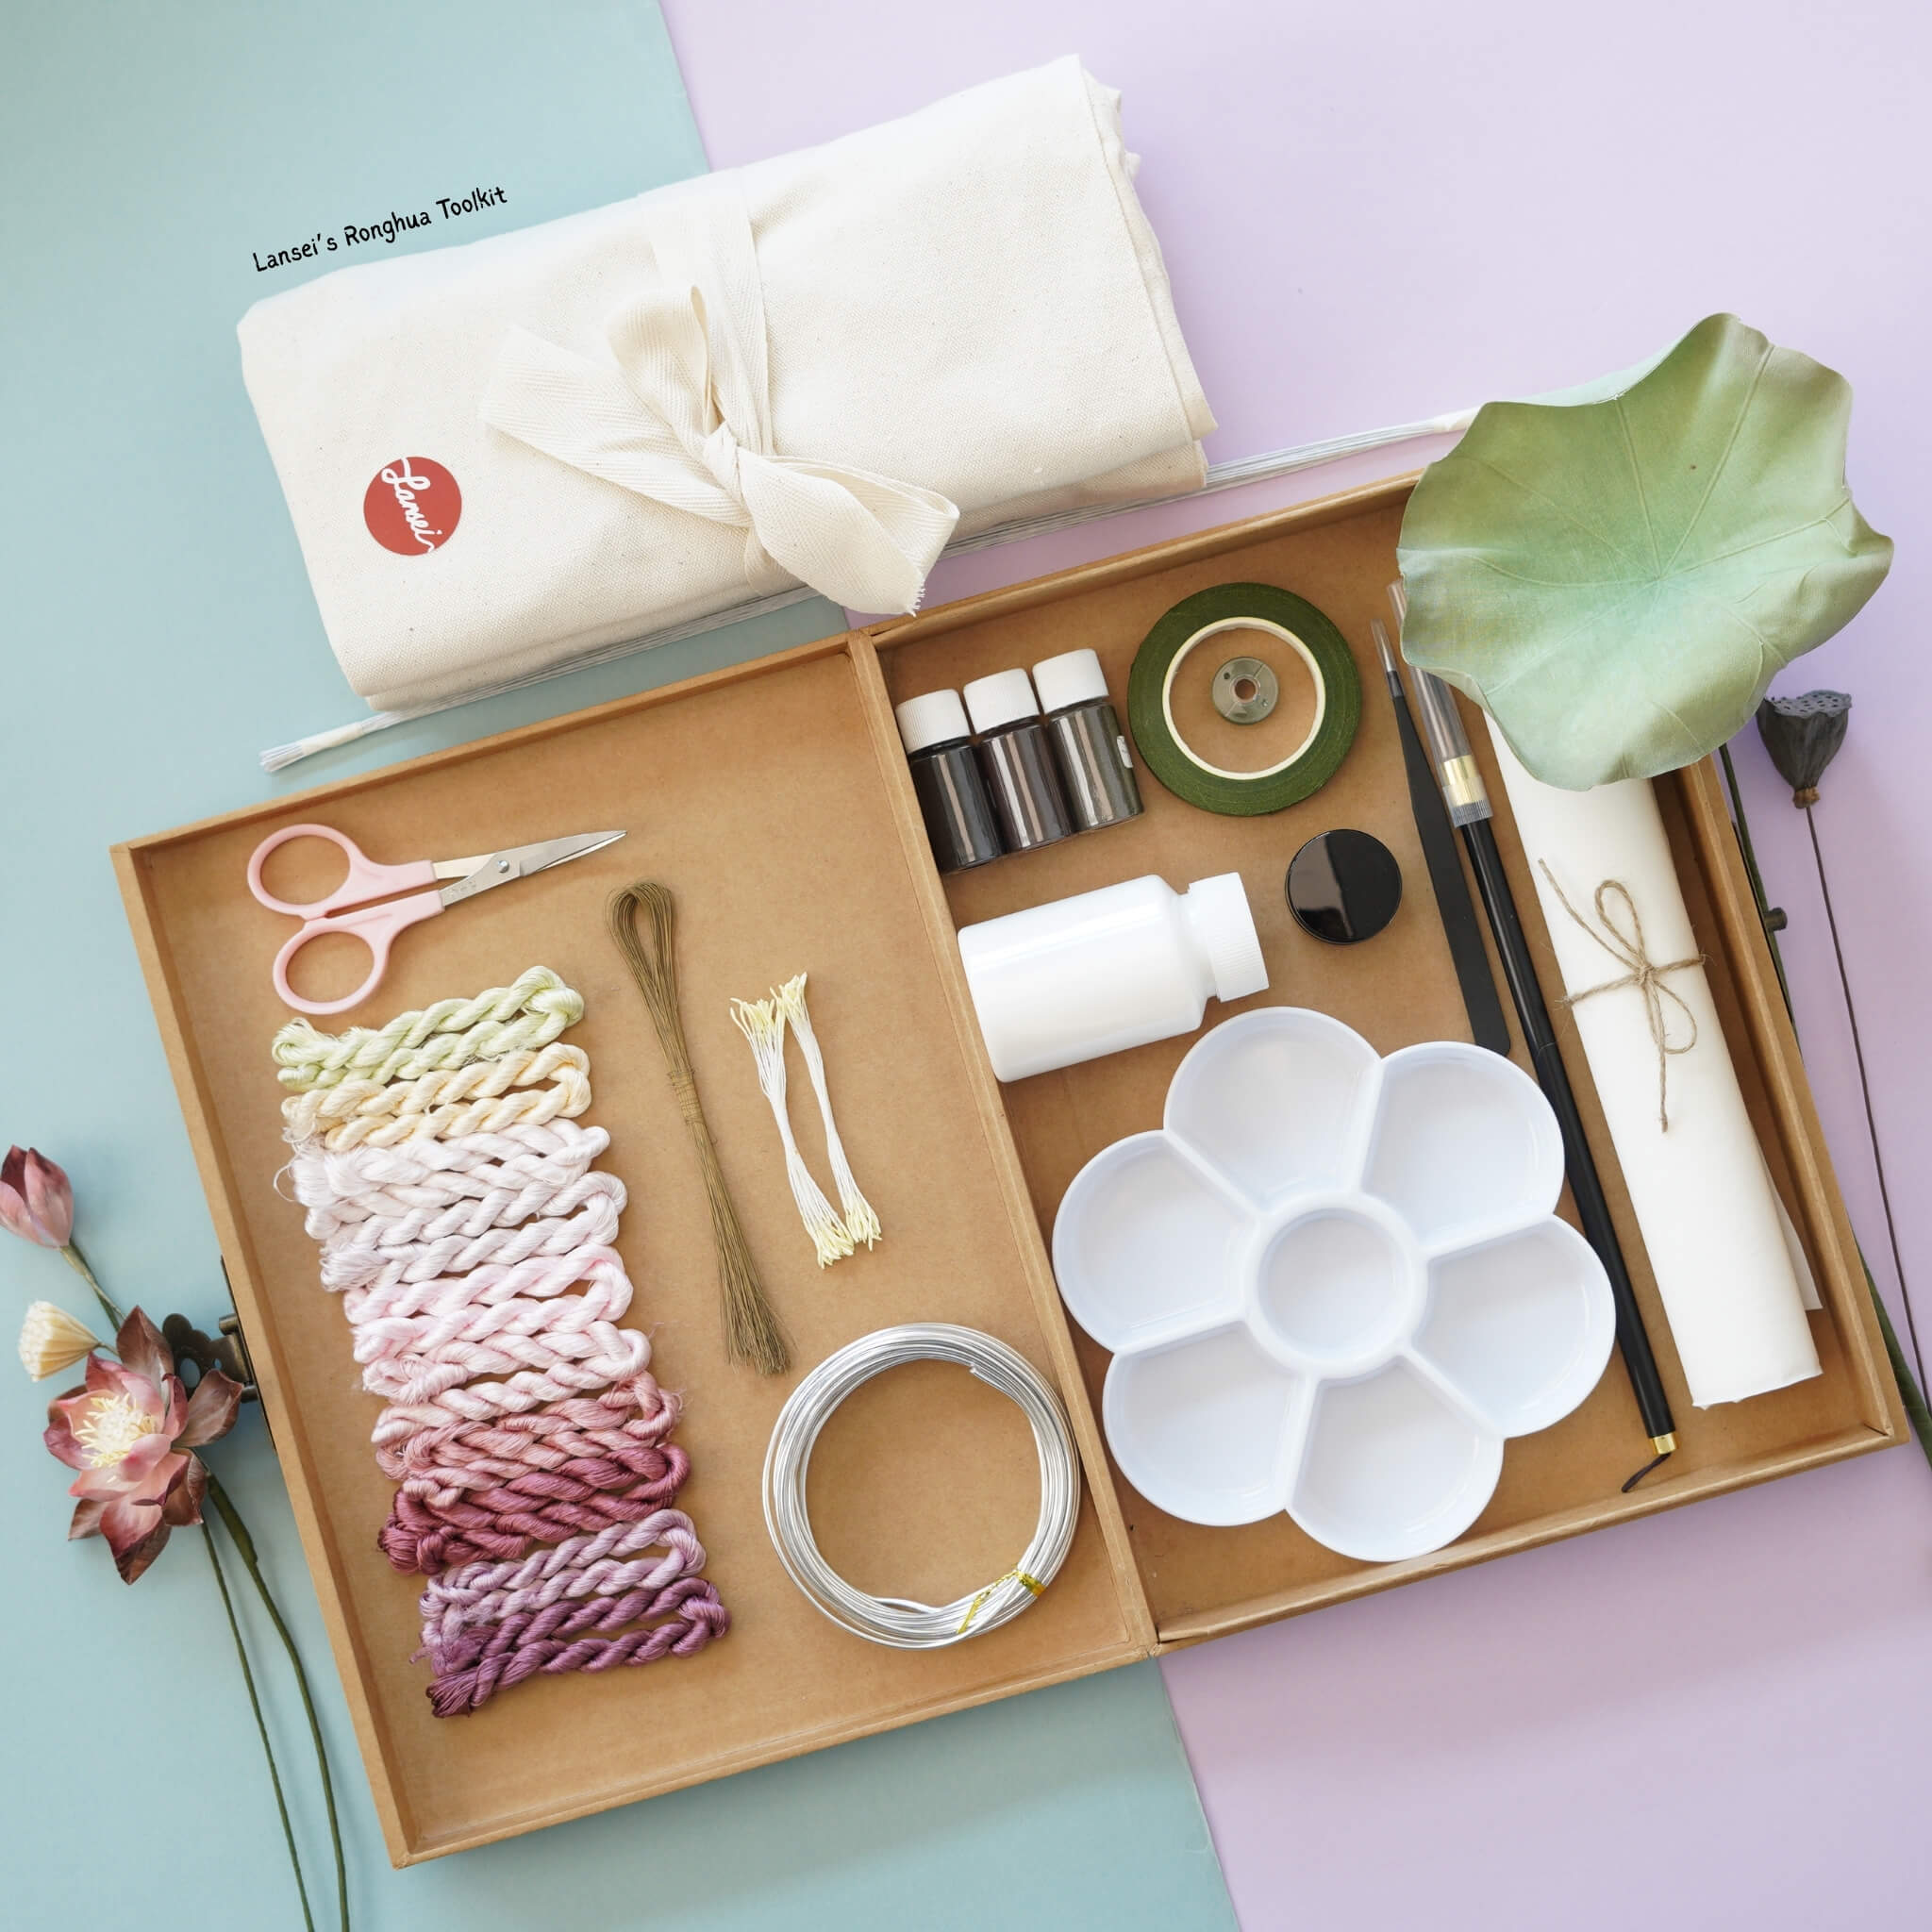
Learn how to create lotus flowers penjing/bonsai using the traditional Ronghua (silk velvet flower) crafting technique! In this step-by-step tutorial, we’ll guide you through preparing the silk strips, brushing, shaping, and assembling your very own vibrant lotus flowers. Perfect for adding a handmade touch to your festive decor!
Step 1: Preparing the Silk Threads 0:00~2:11
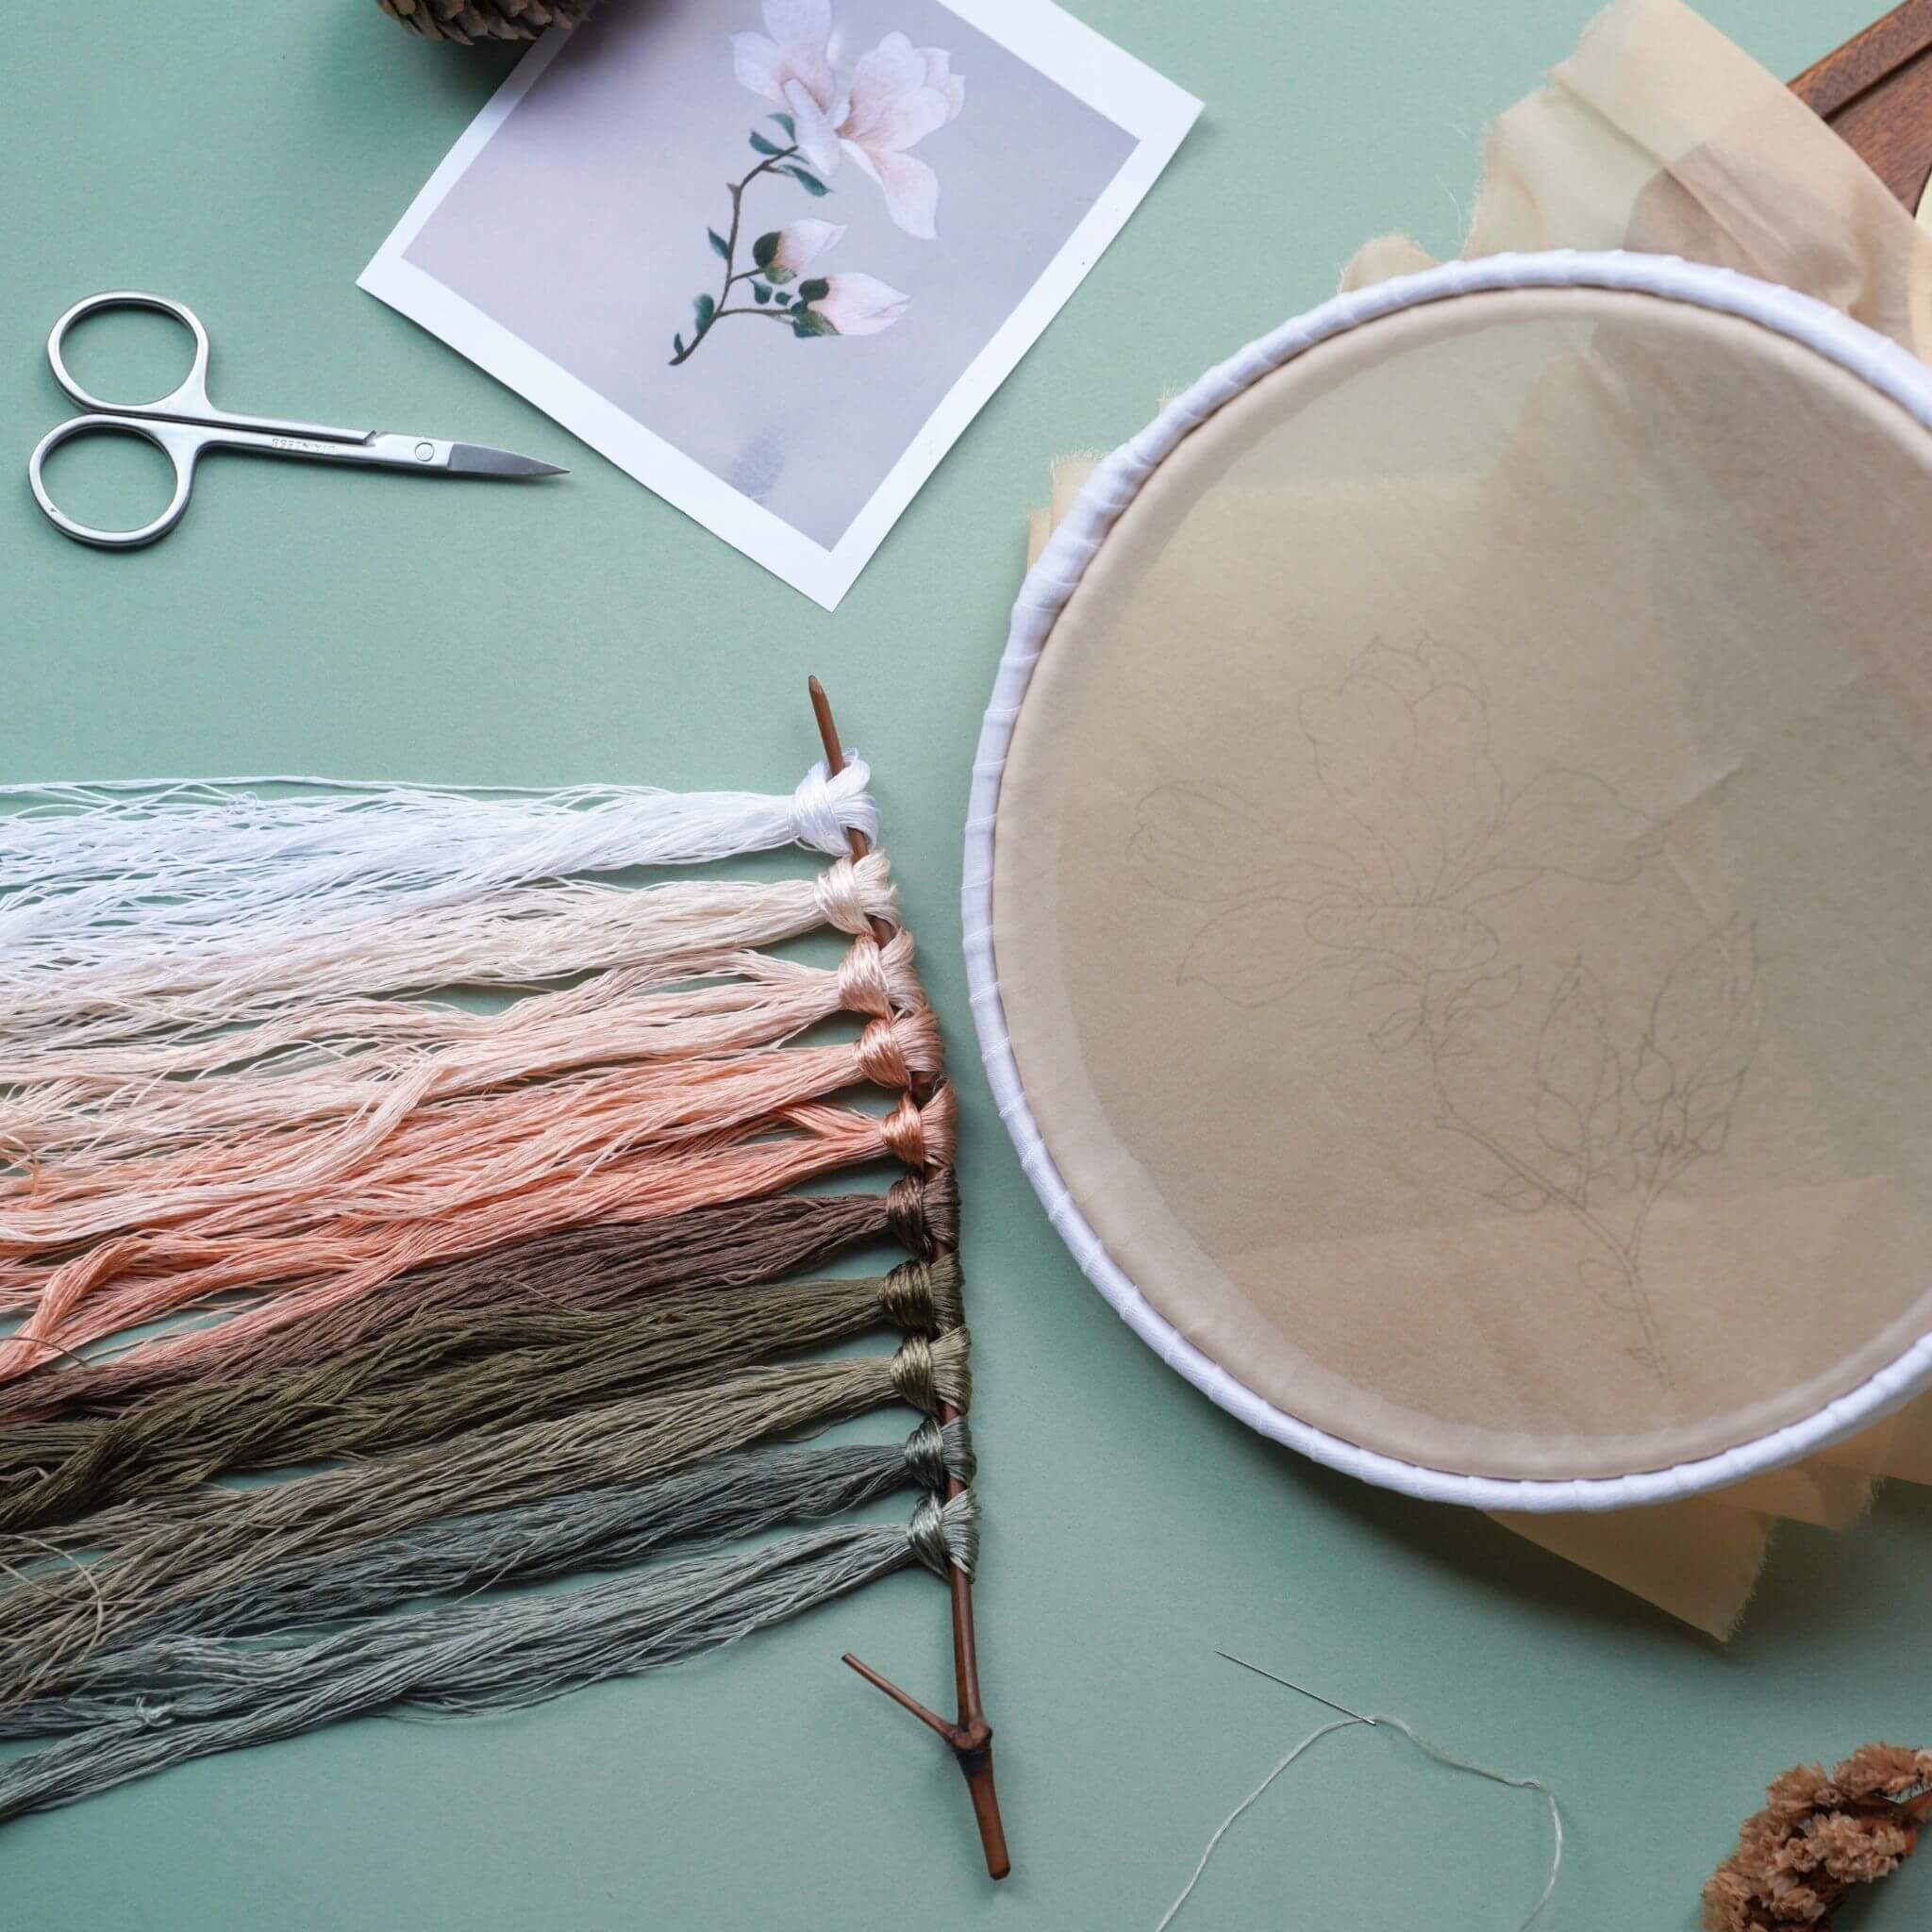
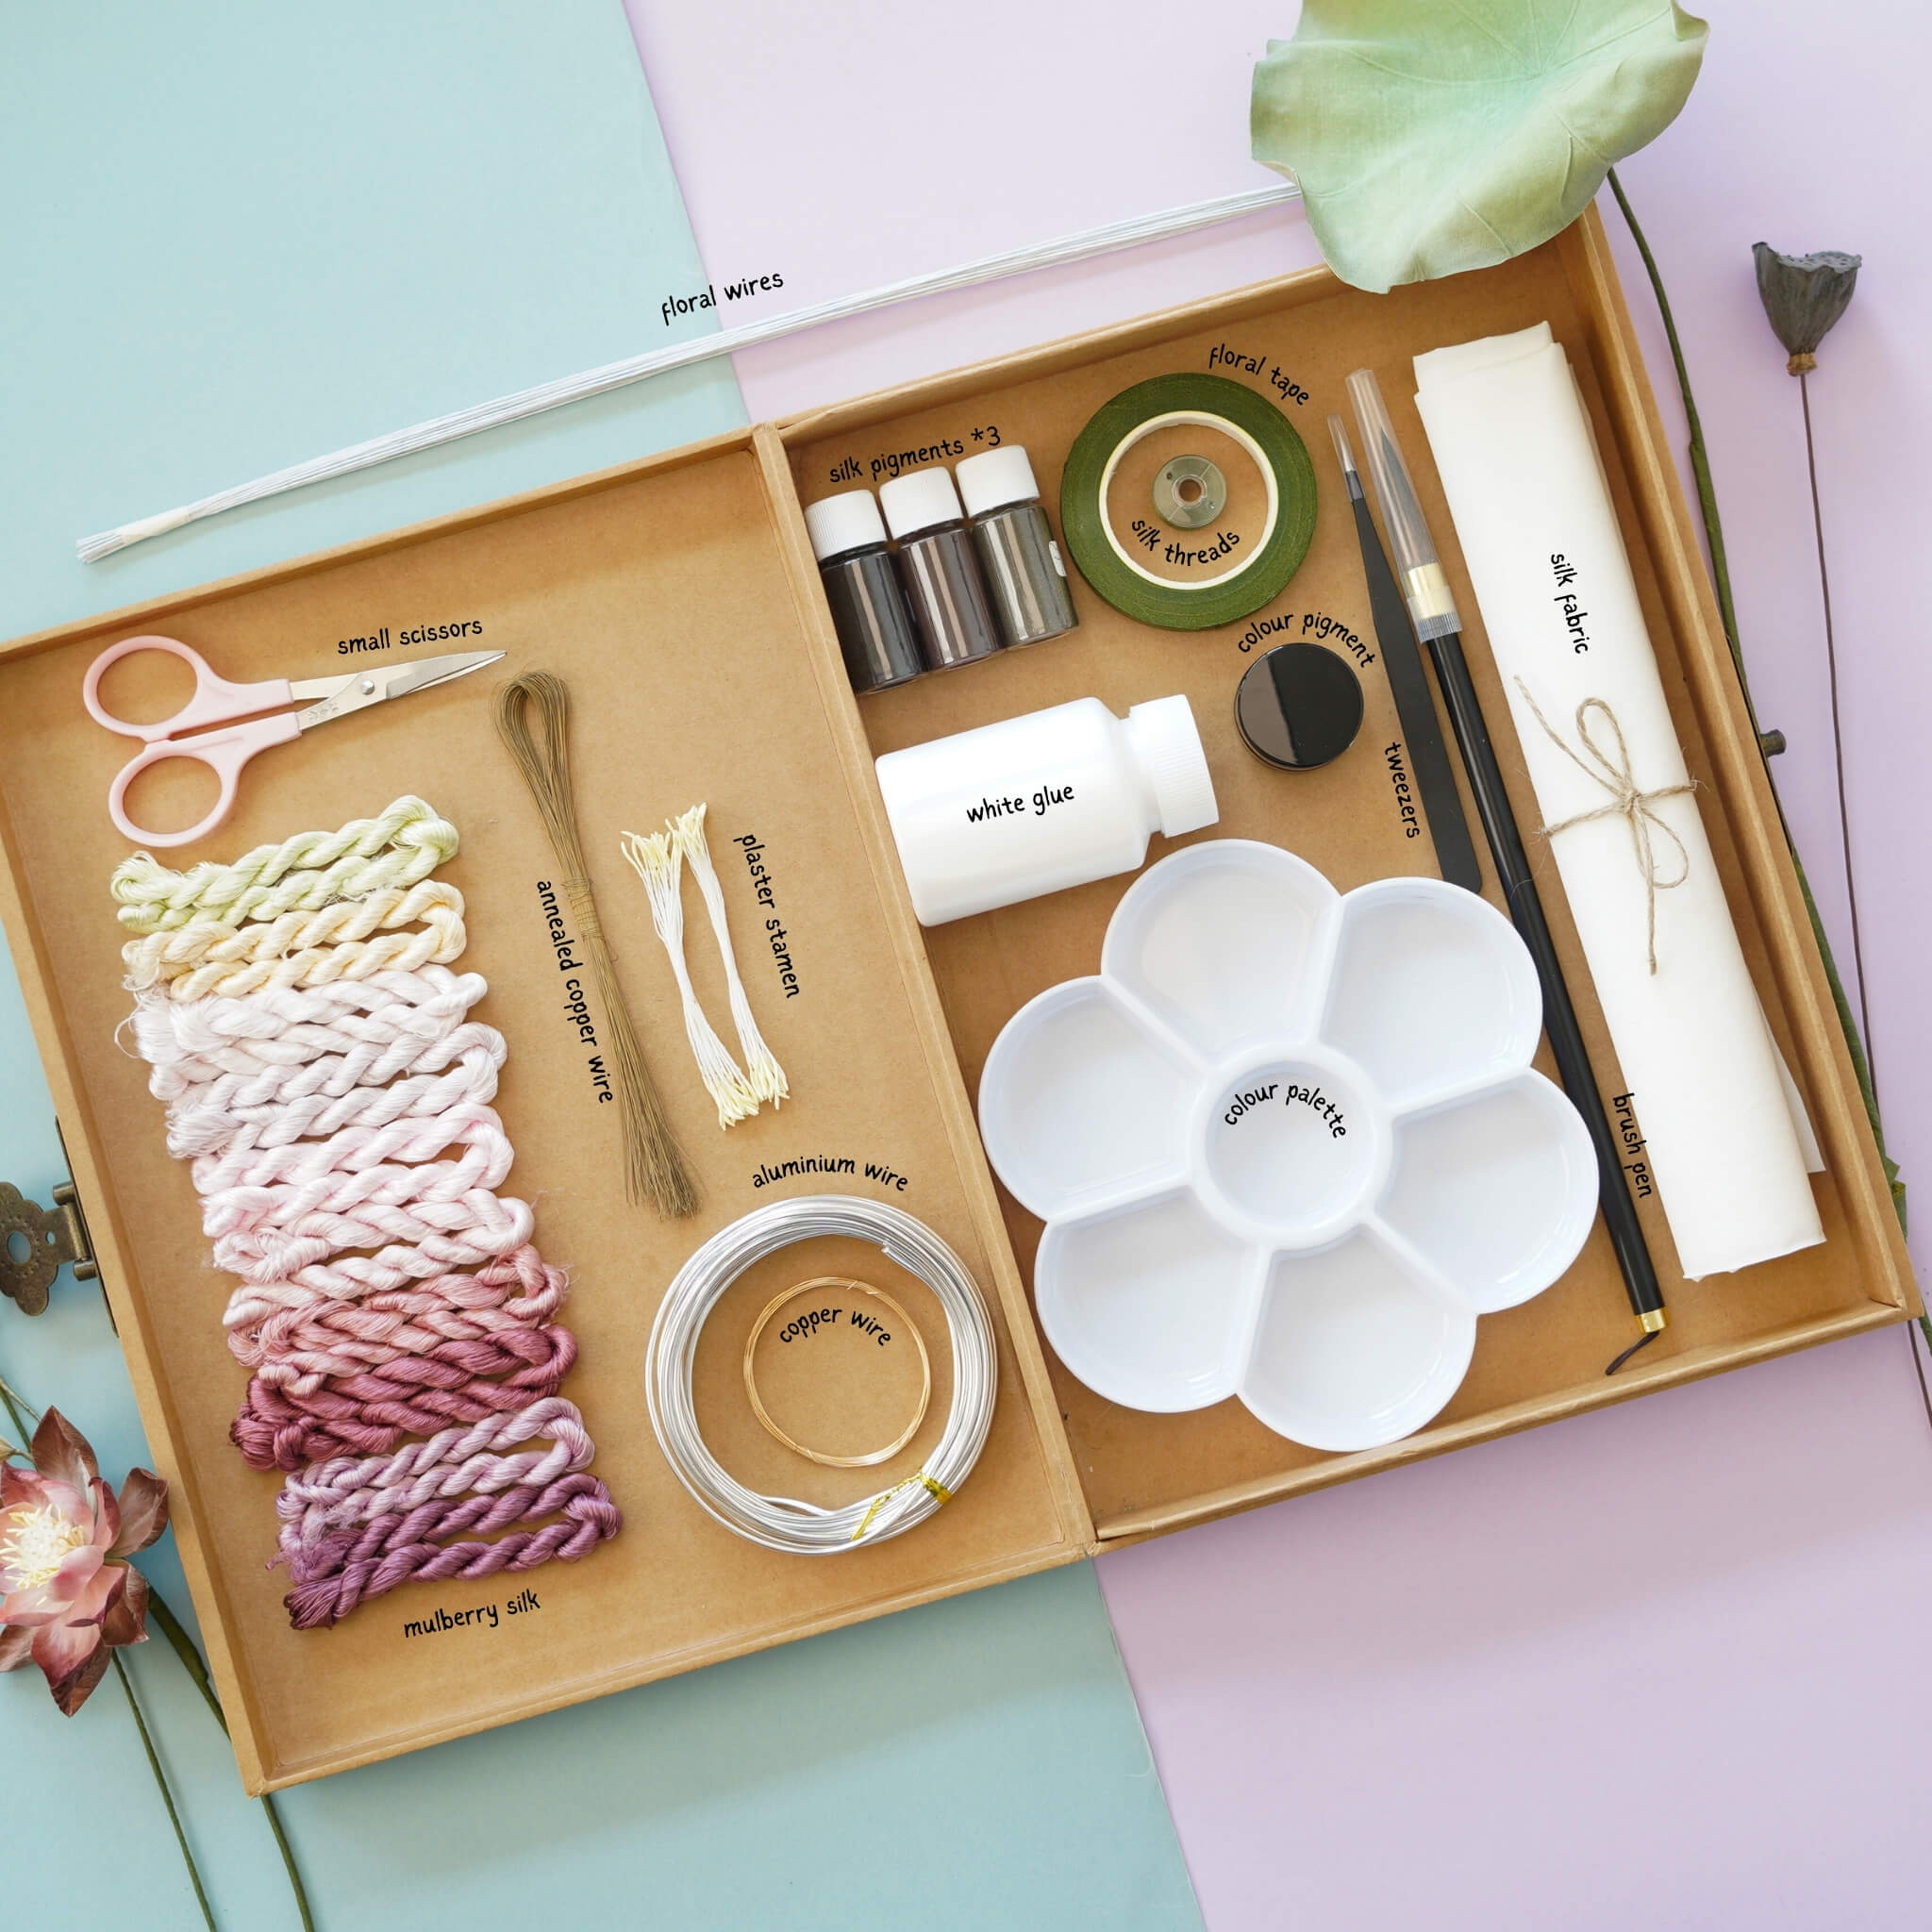
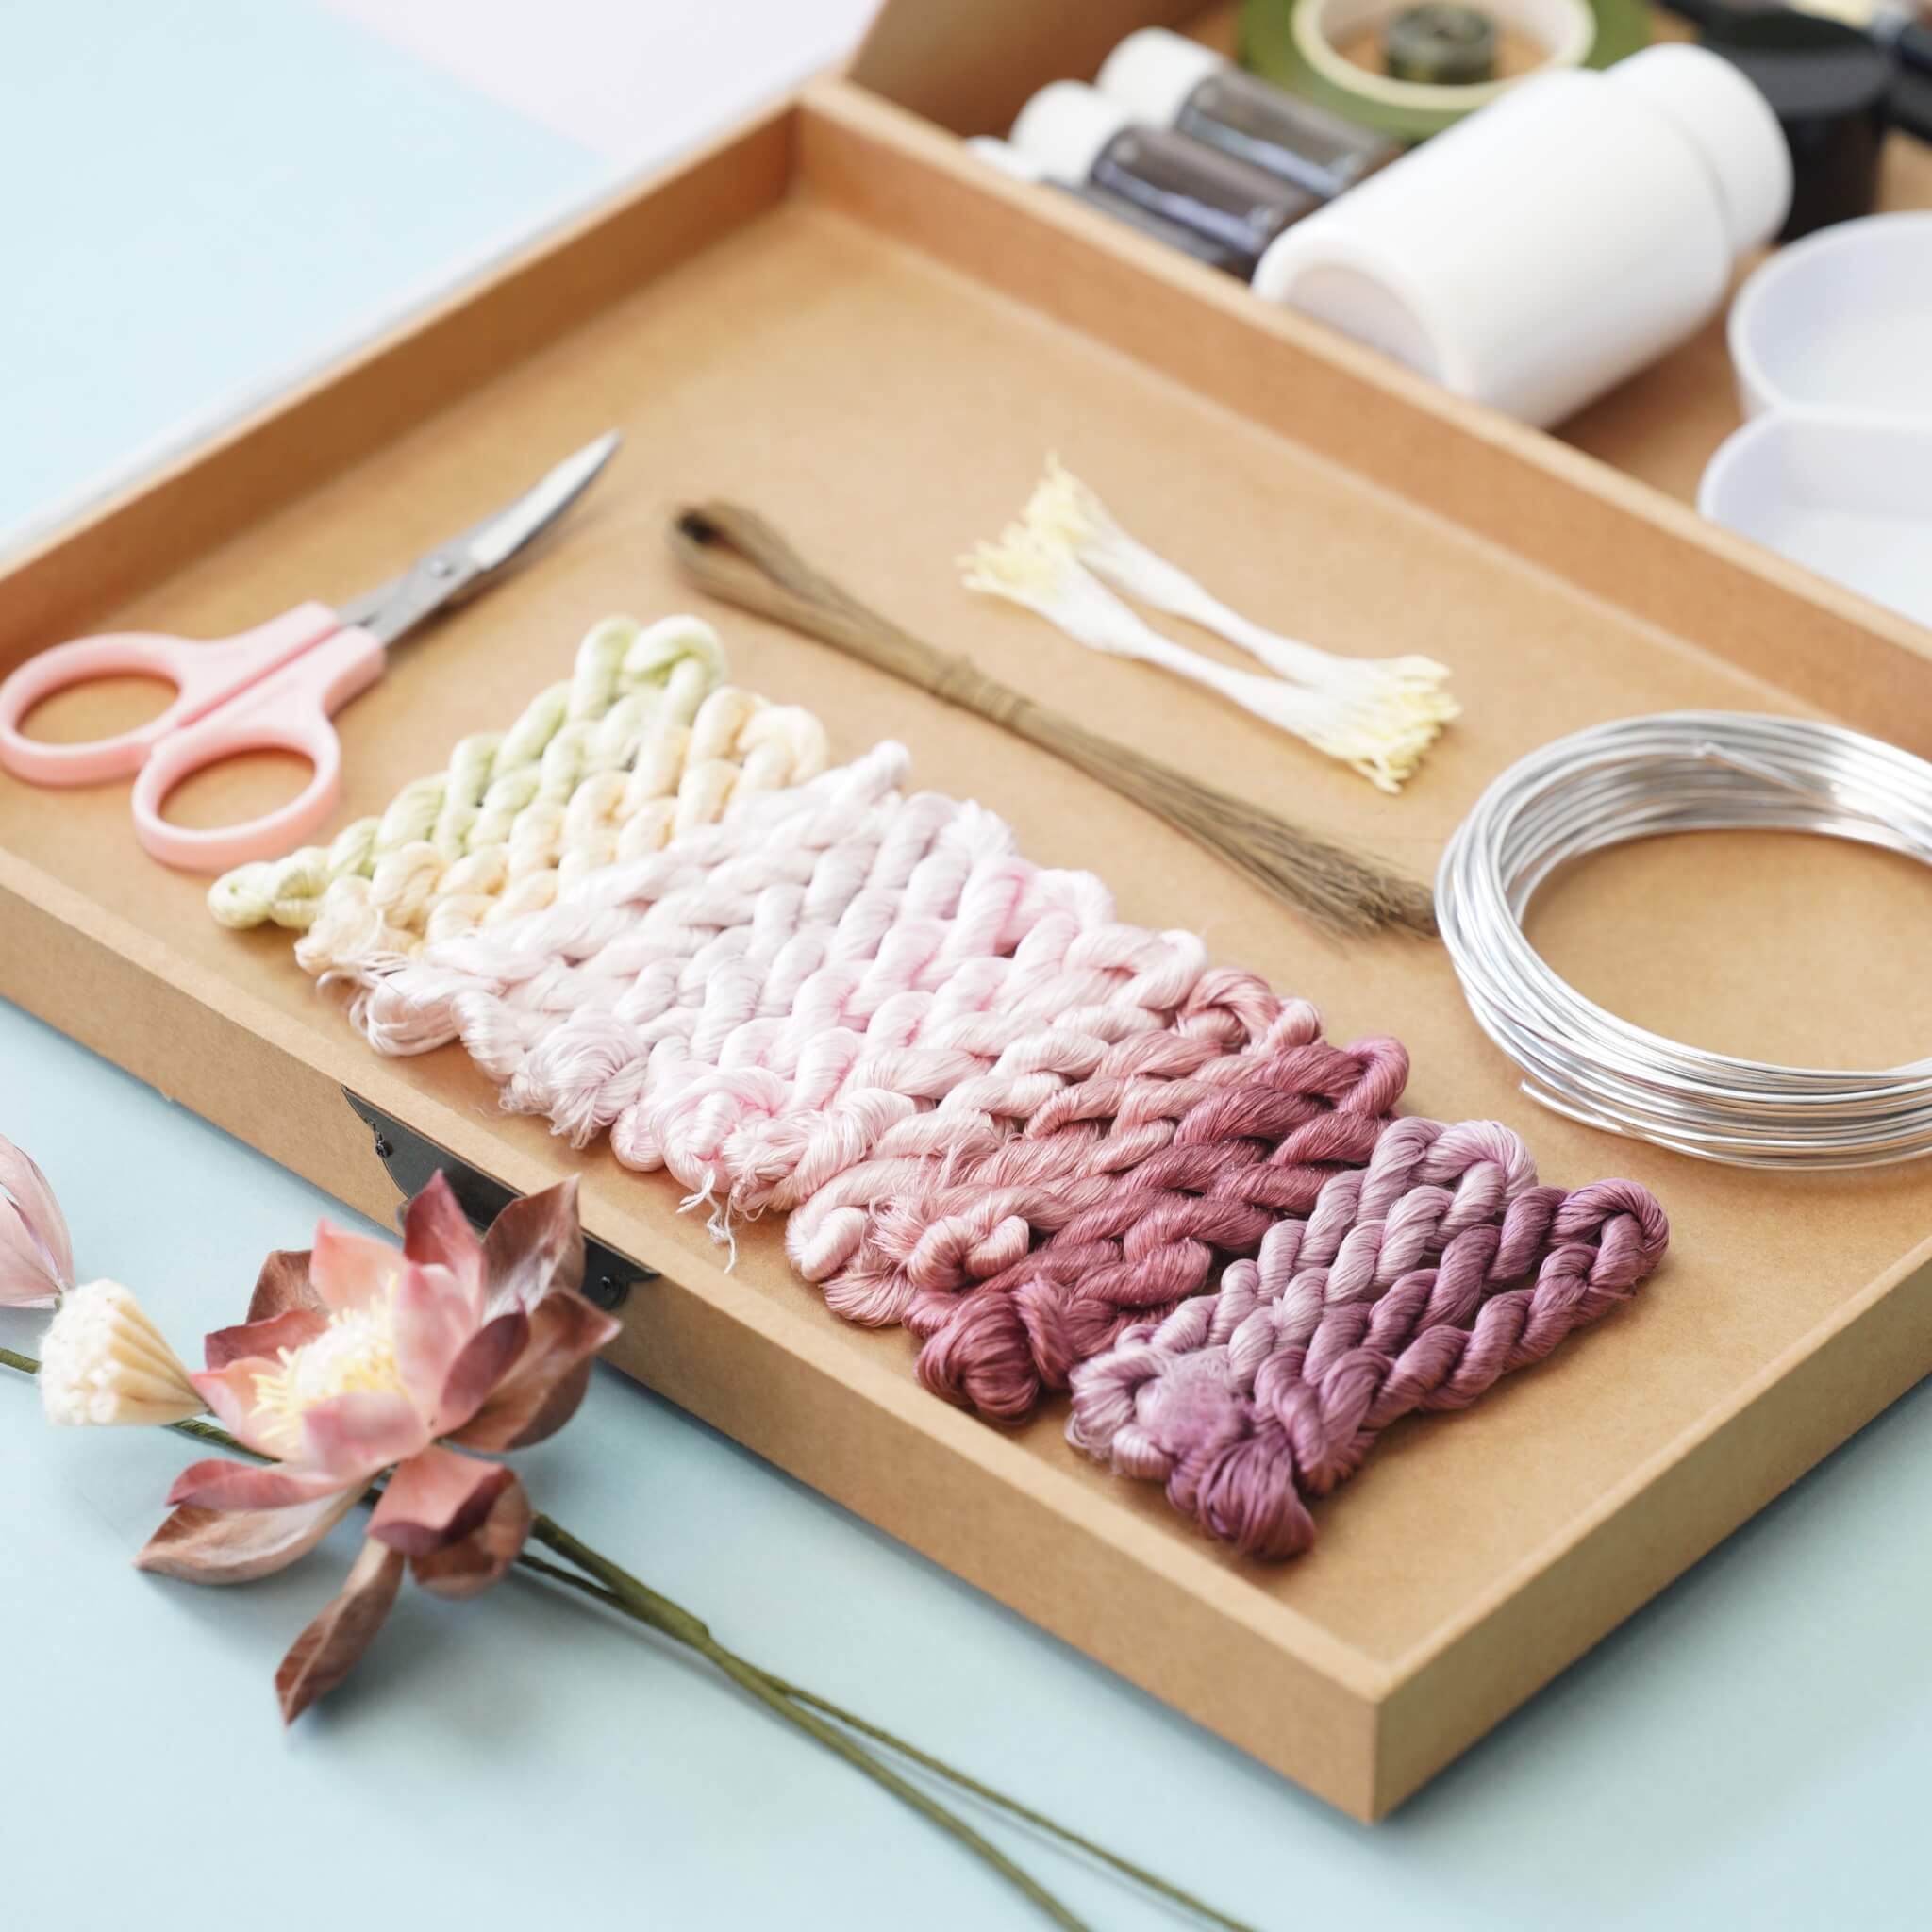
Use twistless mulberry silk threads; choose about 10 coordinating colors for a soft pink lotus. Find the knots in the thread bundles and cut them open. Divide the threads into groups (usually 7 or 8 threads per group), depending on thickness. Mount the threads onto a wooden stick. Except for those used in the widest silk rank, silk threads for the rest of the silk ranks should be cut twice as the shorter lengths (half of the full length) are sufficient for outer petals. Example groupings: Lotus seed pod base: 10 groups of 8 threads, width ~3.5 cm. First petal layer: 21 groups of 12 threads. Second petal layer: 24 groups of 12 threads. Outer petal layer: 24 groups of 7 threads
 Step 2: Brushing the Silk 2:12~5:42
Secure silk threads to the supporting stand. Lightly spray with water to aid brushing. Use one hand to hold the bottom of the threads tightly and the other to brush downward with force so the brush reaches the bottom. Divide wider bundles into sections if necessary. Once smooth and fluffy, clip with a wooden clip and secure both ends with rubber bands. Adjust the width and ensure both ends are even.
 Step 3: Twisting Wire into the Threads 5:43~10:14
Straighten and cut copper wires. Twist the back end of each wire about 2–3 cm (use magnesium powder for grip). Sandwich threads between two wires and twist the left ends together. Keep wires 1.5–2 cm apart. For thinner silk strips (for stamen or seed pod), wire spacing is narrower (~3 mm). Keep tension on wires and make sure there are no gaps between threads and copper wires.

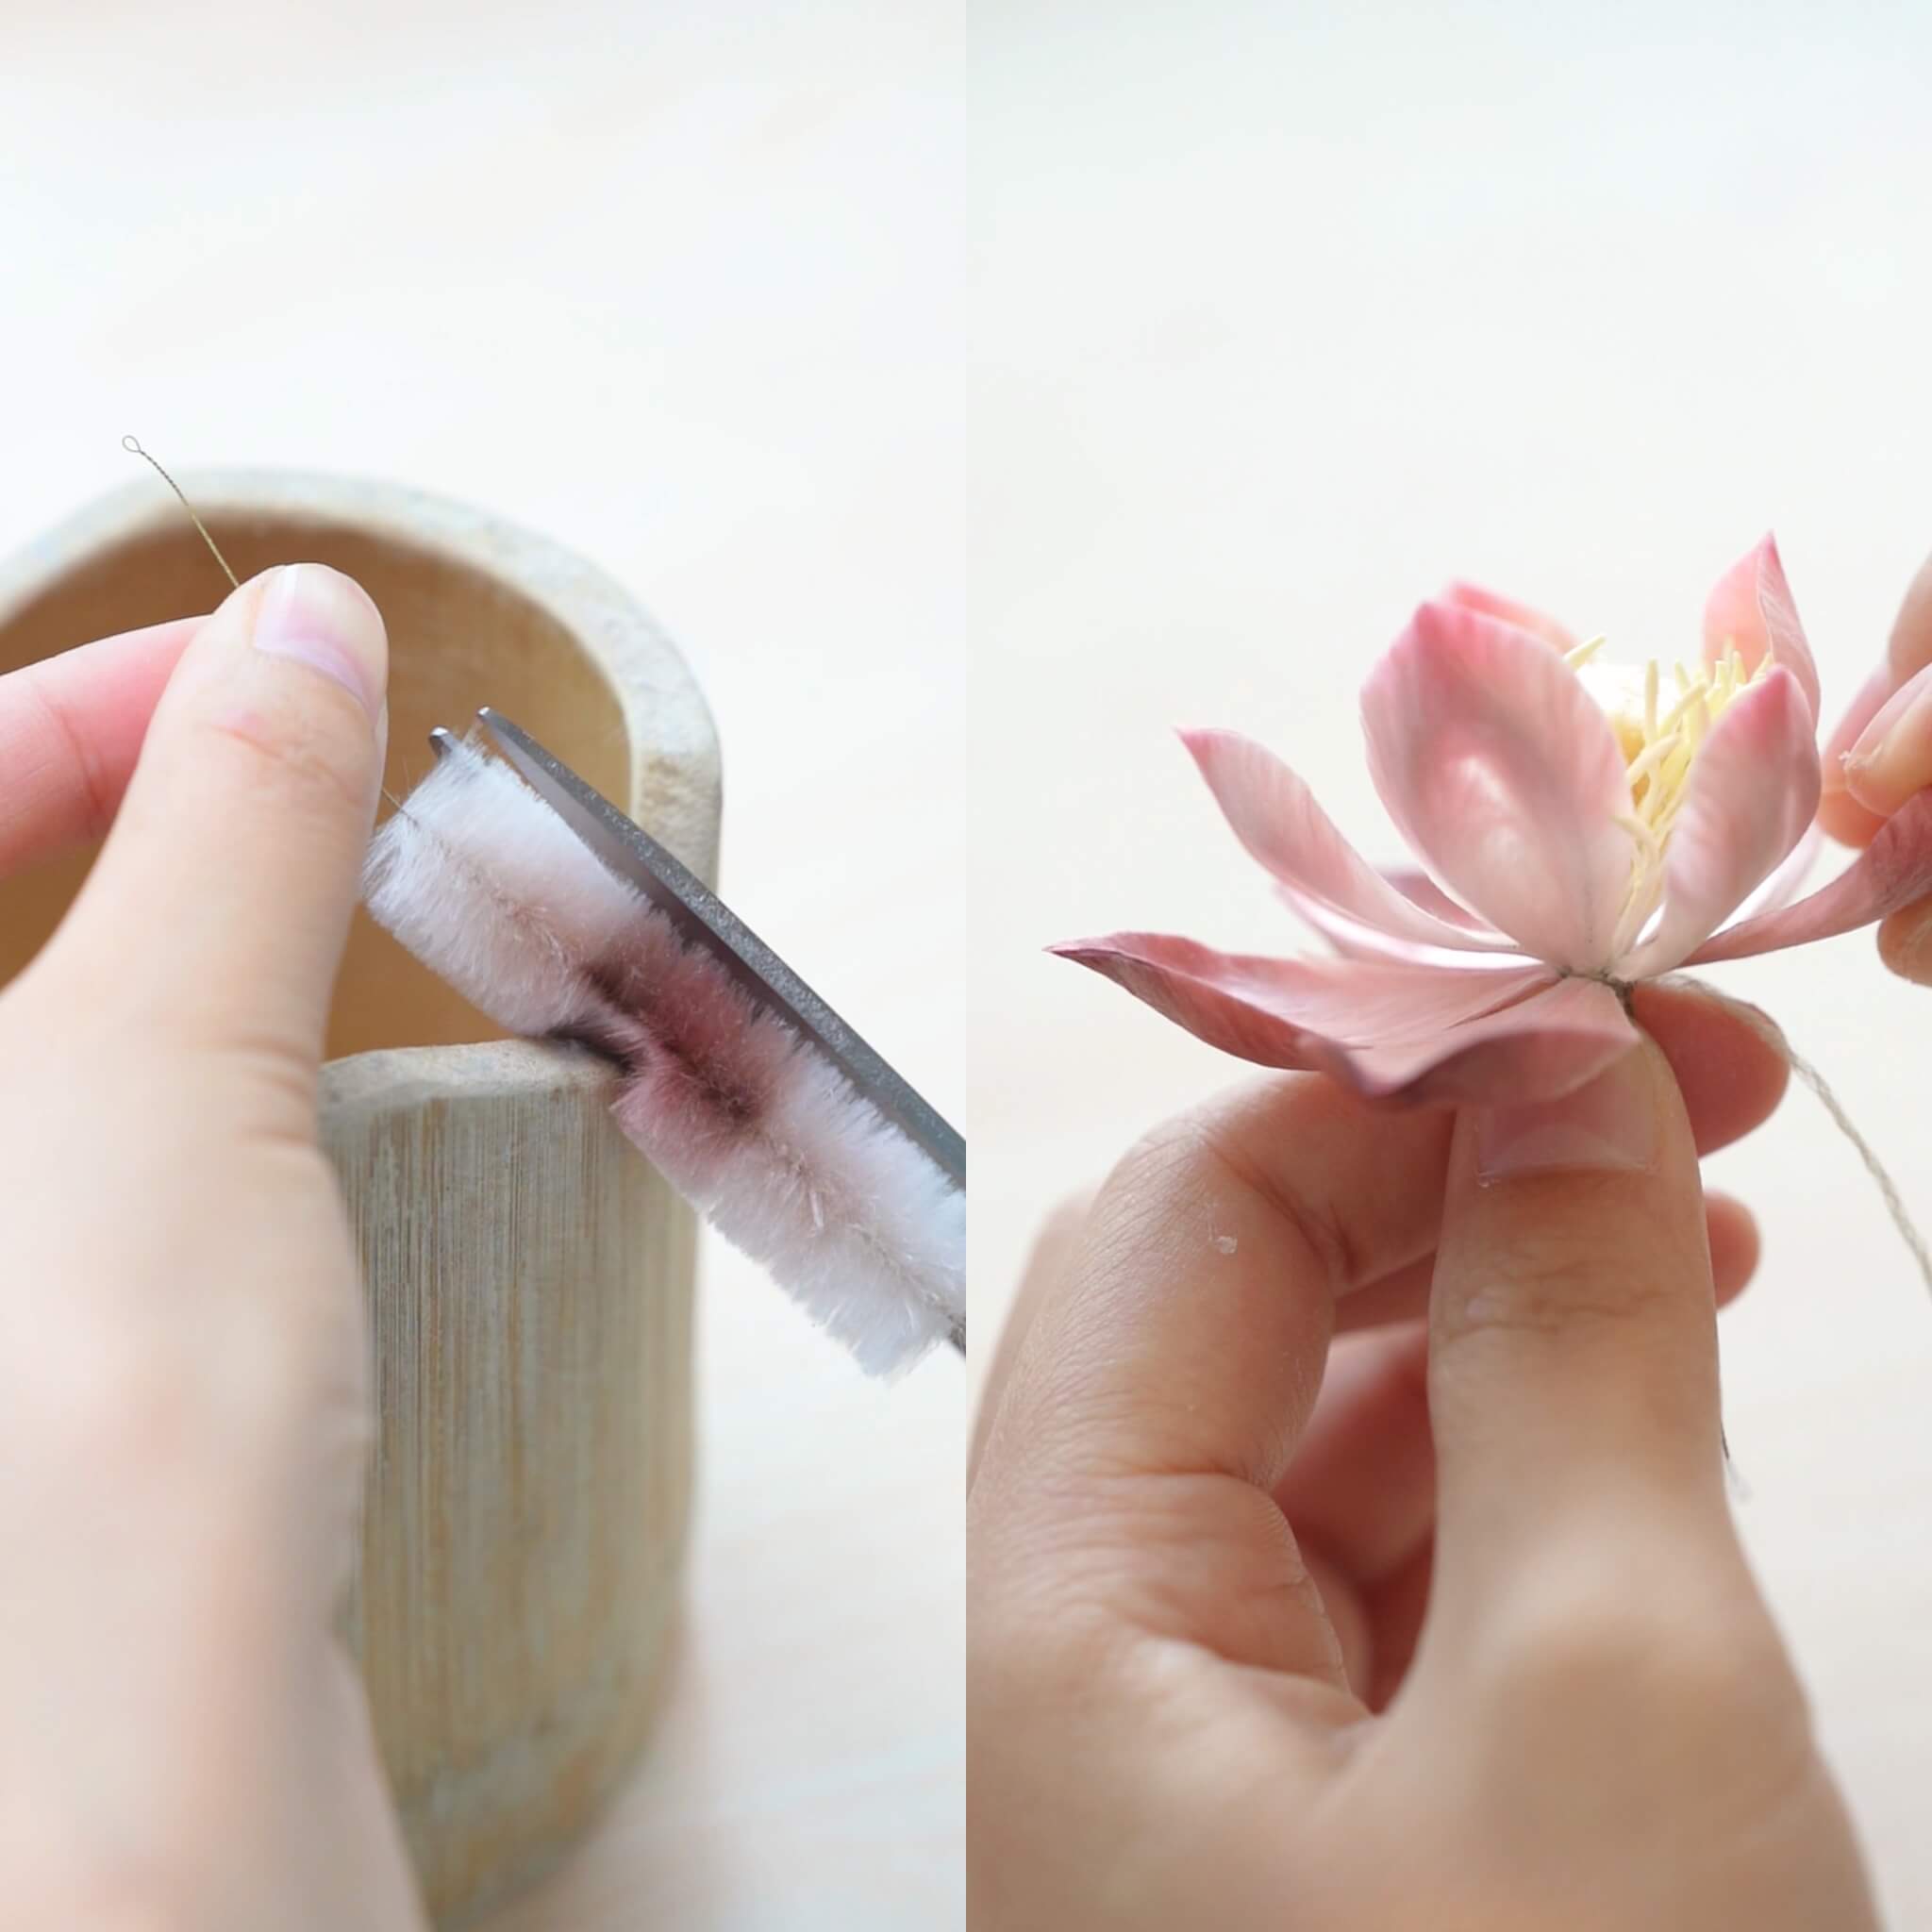
Trim thread ends even. Pull twisted wire to the thread base and hold it tight. Use scissors to cut between each wire pair. Keep wires centered and cut cleanly. Tighten the wire twist after each cut. Use the rolling boards for further twisting. If the direction is wrong, the strip will unravel—check before continuing. Brush each silk strip with a small pet brush. Trim off excess fuzz and shape both ends narrower.

Fold and align the base evenly. Use tweezers to help organizing silk threads. For lotus stamens: Cut strips into one thick and one thin end. Bundle about 16 strands and wrap tightly with thread. For seed pods: Use about 10–15 strips, trim top flat, glue gaps, and wrap exposed wires

Step 6: Forming Petals 22:07~26:26
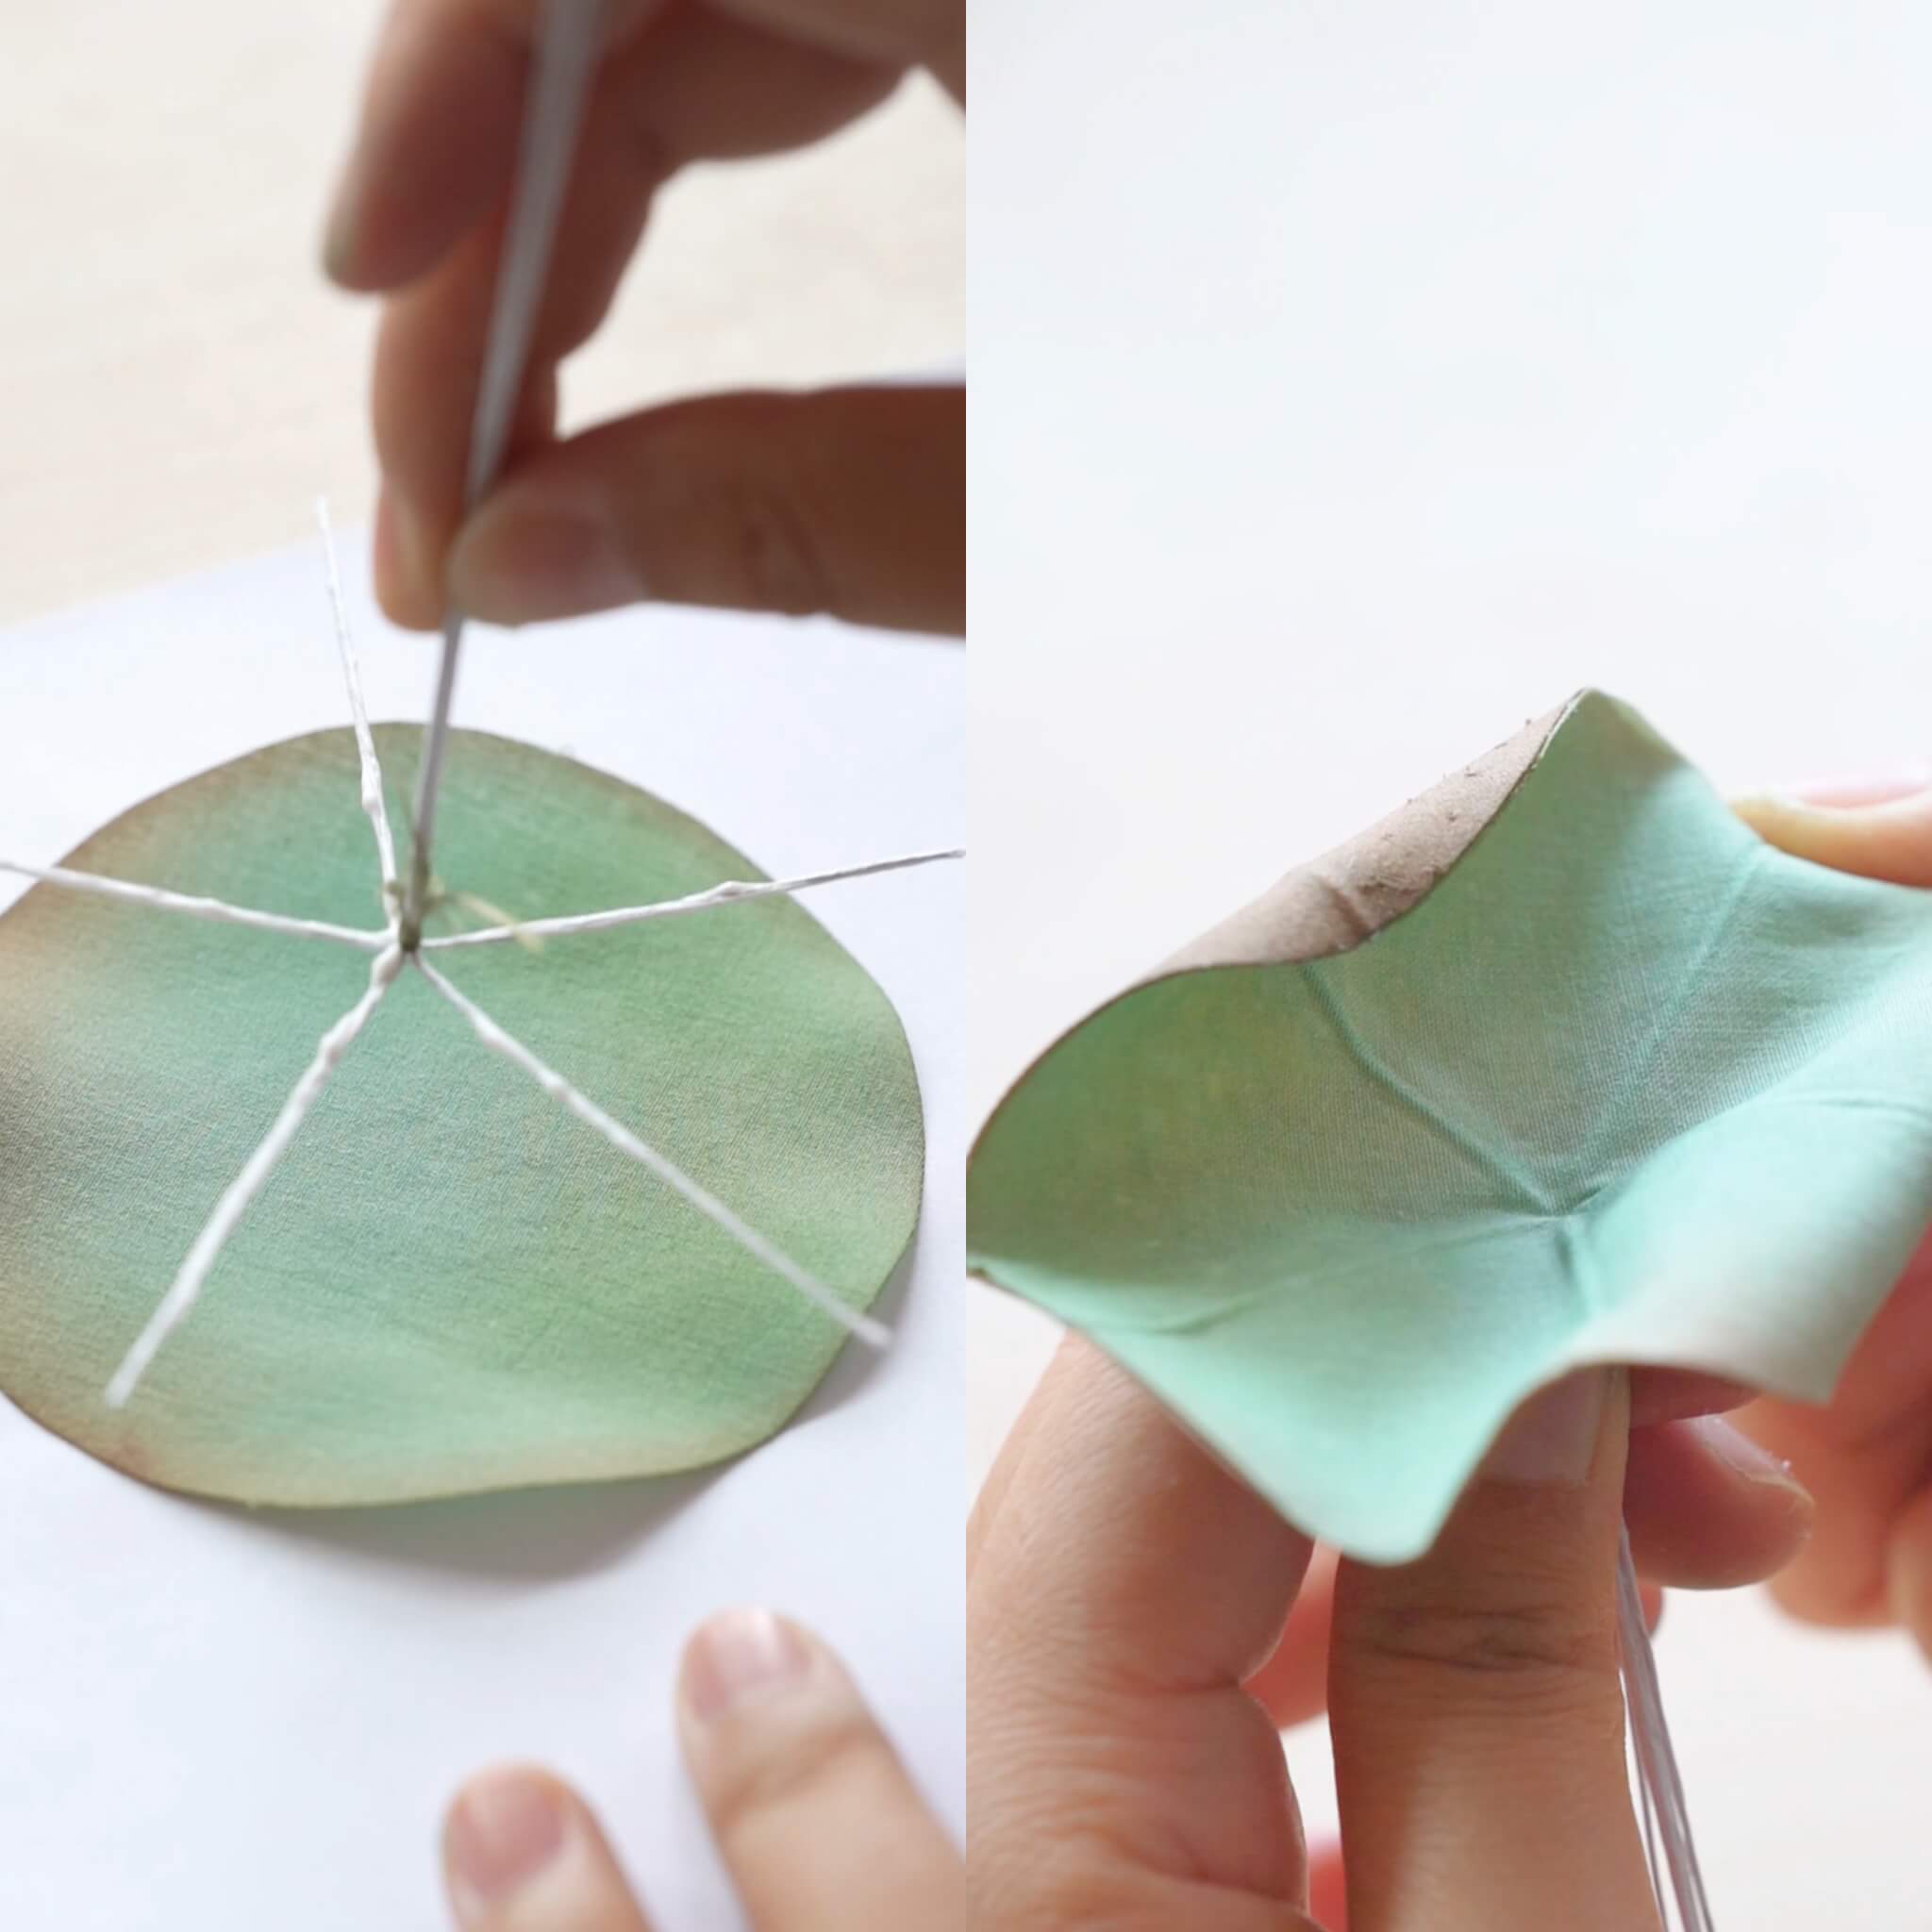
Flatten the strips using pressing plates. Soak in shaping liquid or brush it on if shrinkage is a concern. Pinch curved shapes using tweezers: edges inward, tip pointy. Dry in place by fixing the shape on a foam board. After drying, trim petal edges neatly.

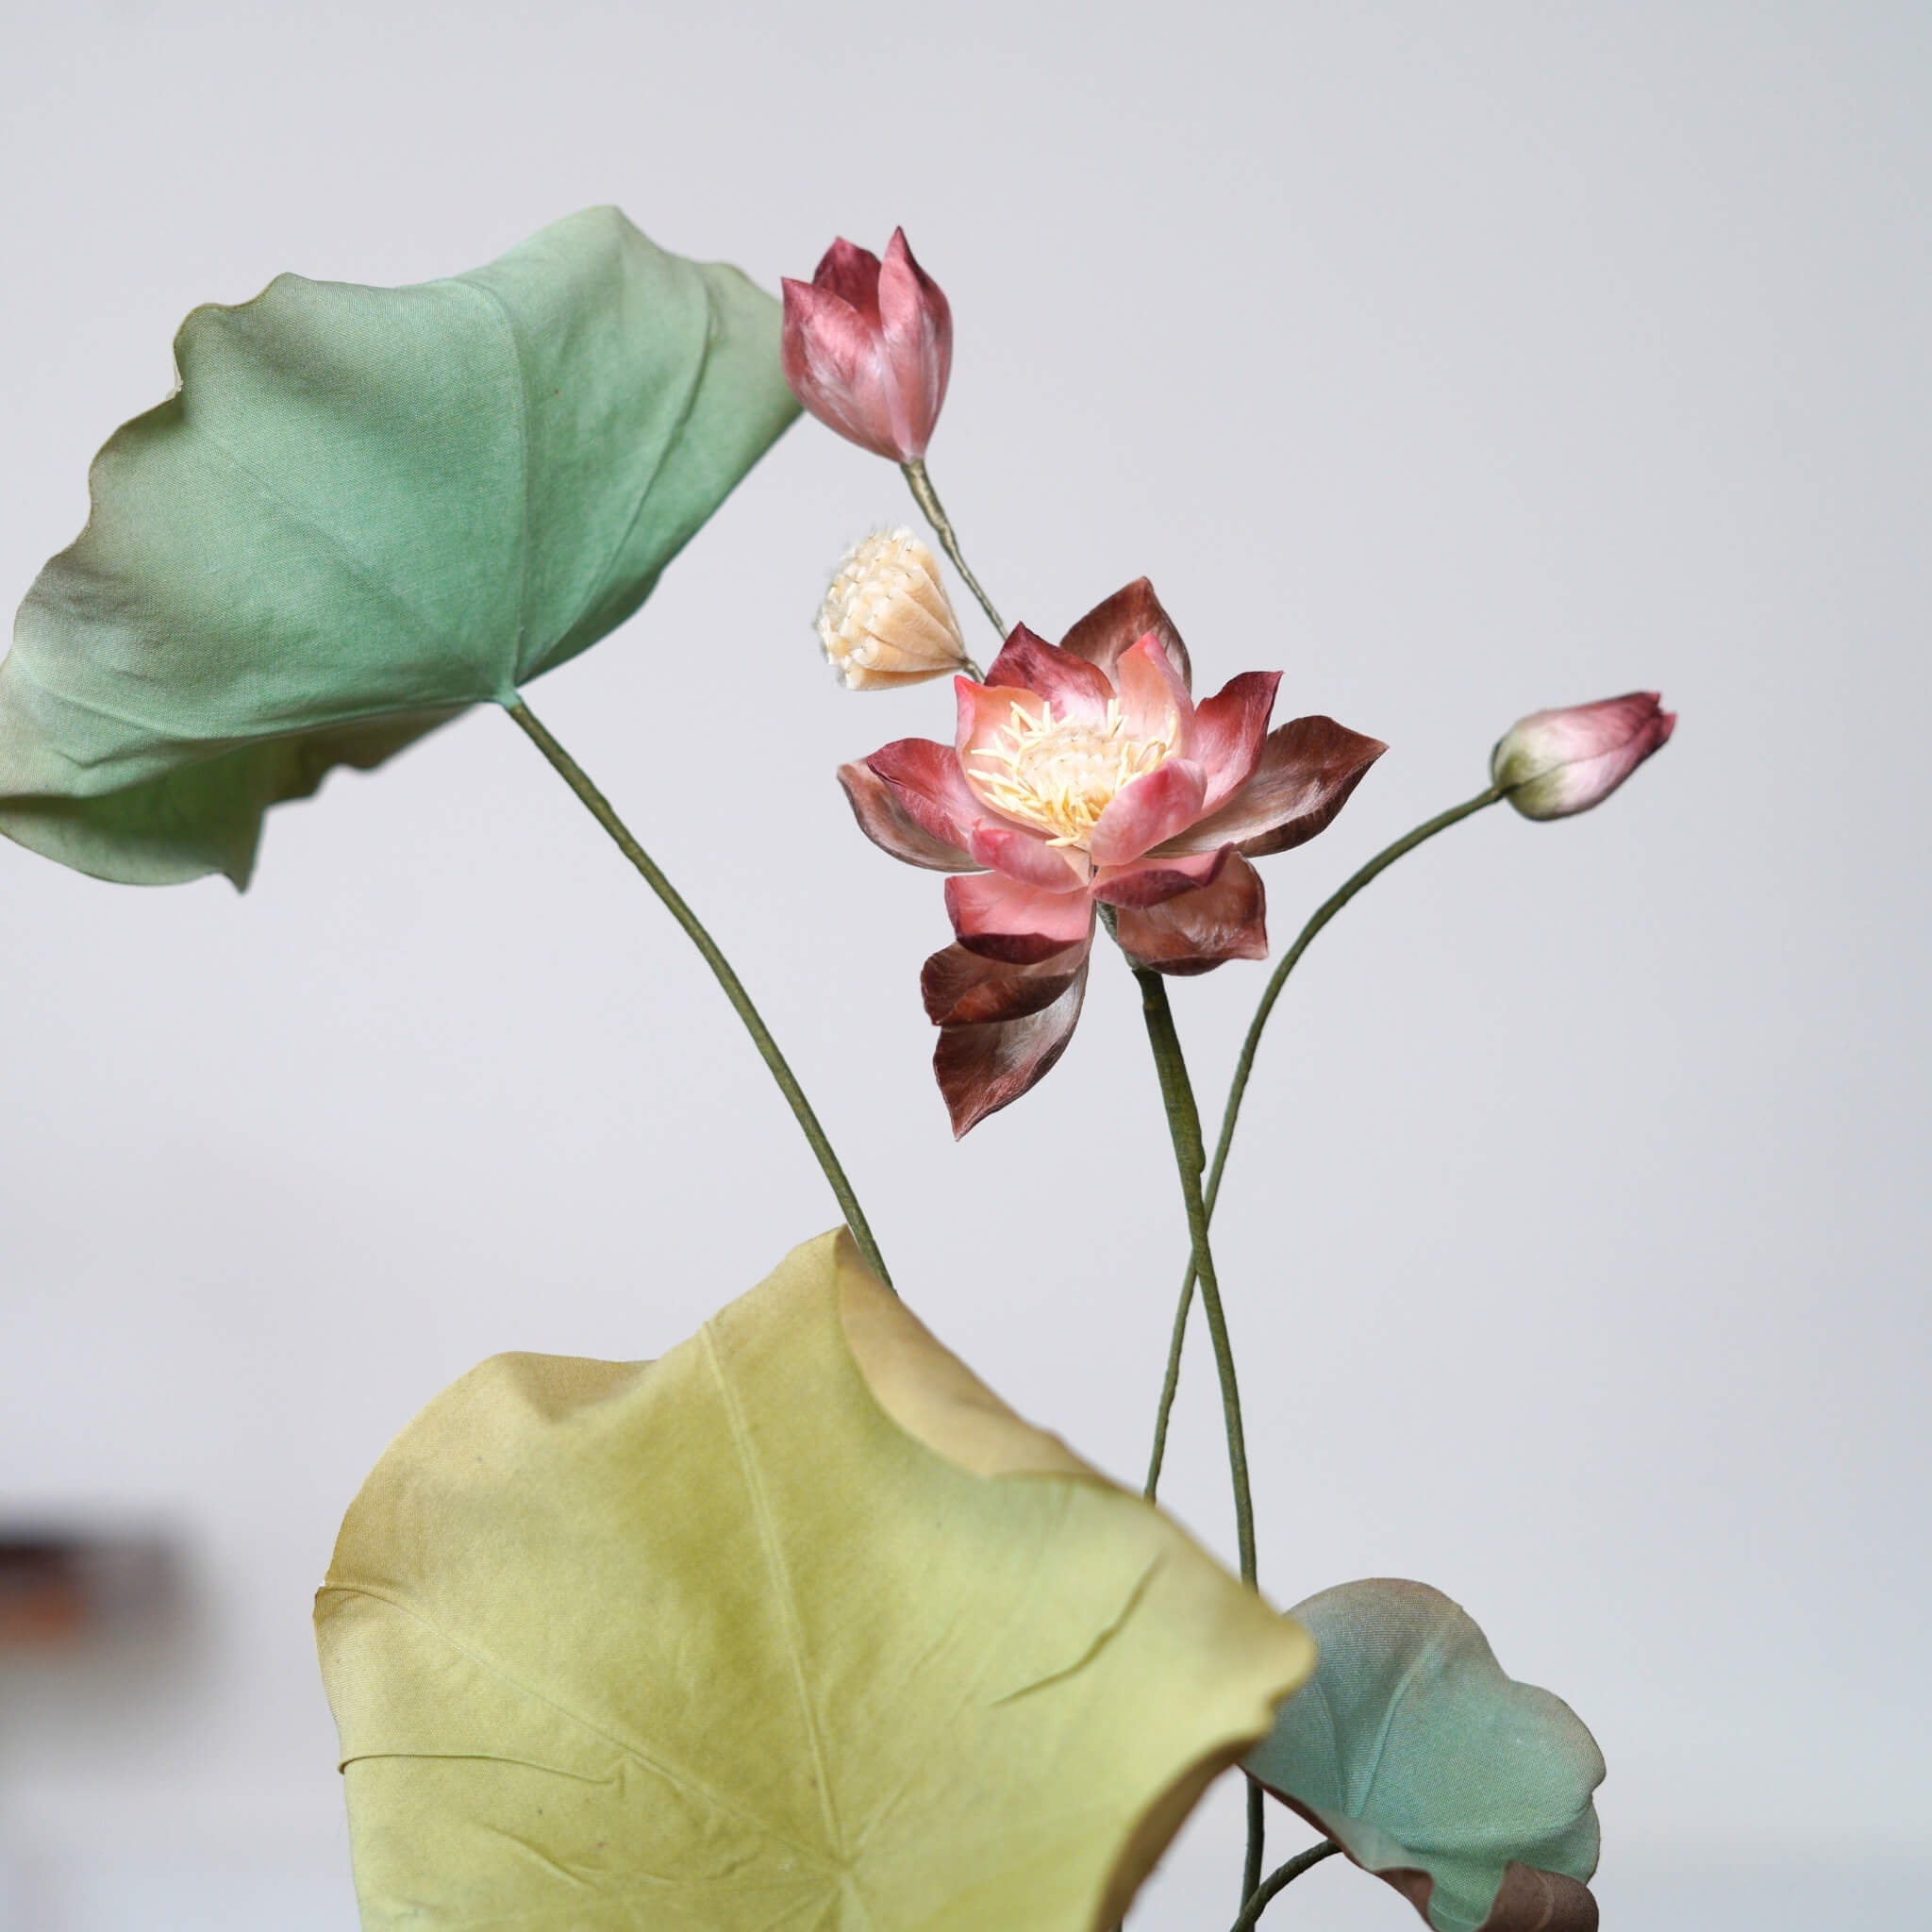
Start with the inner petal layer (lightest color): 6 petals. Second layer (darker): 5 petals. Outer layer (faded pink): rest of the petals. Wrap tightly with silk thread after each layer. Flower Buds: Use 3–4 petals for a bud. You may skip stamens for buds.

Trim off excess annealed wire at an angle. Use a 0.4 mm copper wire to extend the stem. Wrap stem tightly with silk thread, tie a knot at the base. For Hairpins: Keep stems short. For Vases: Extend the stem with extra wire and wrap securely. After assembly, adjust petal positions for balance and natural appearance. If the stamen looks awkward, feel free to remove or replace it.


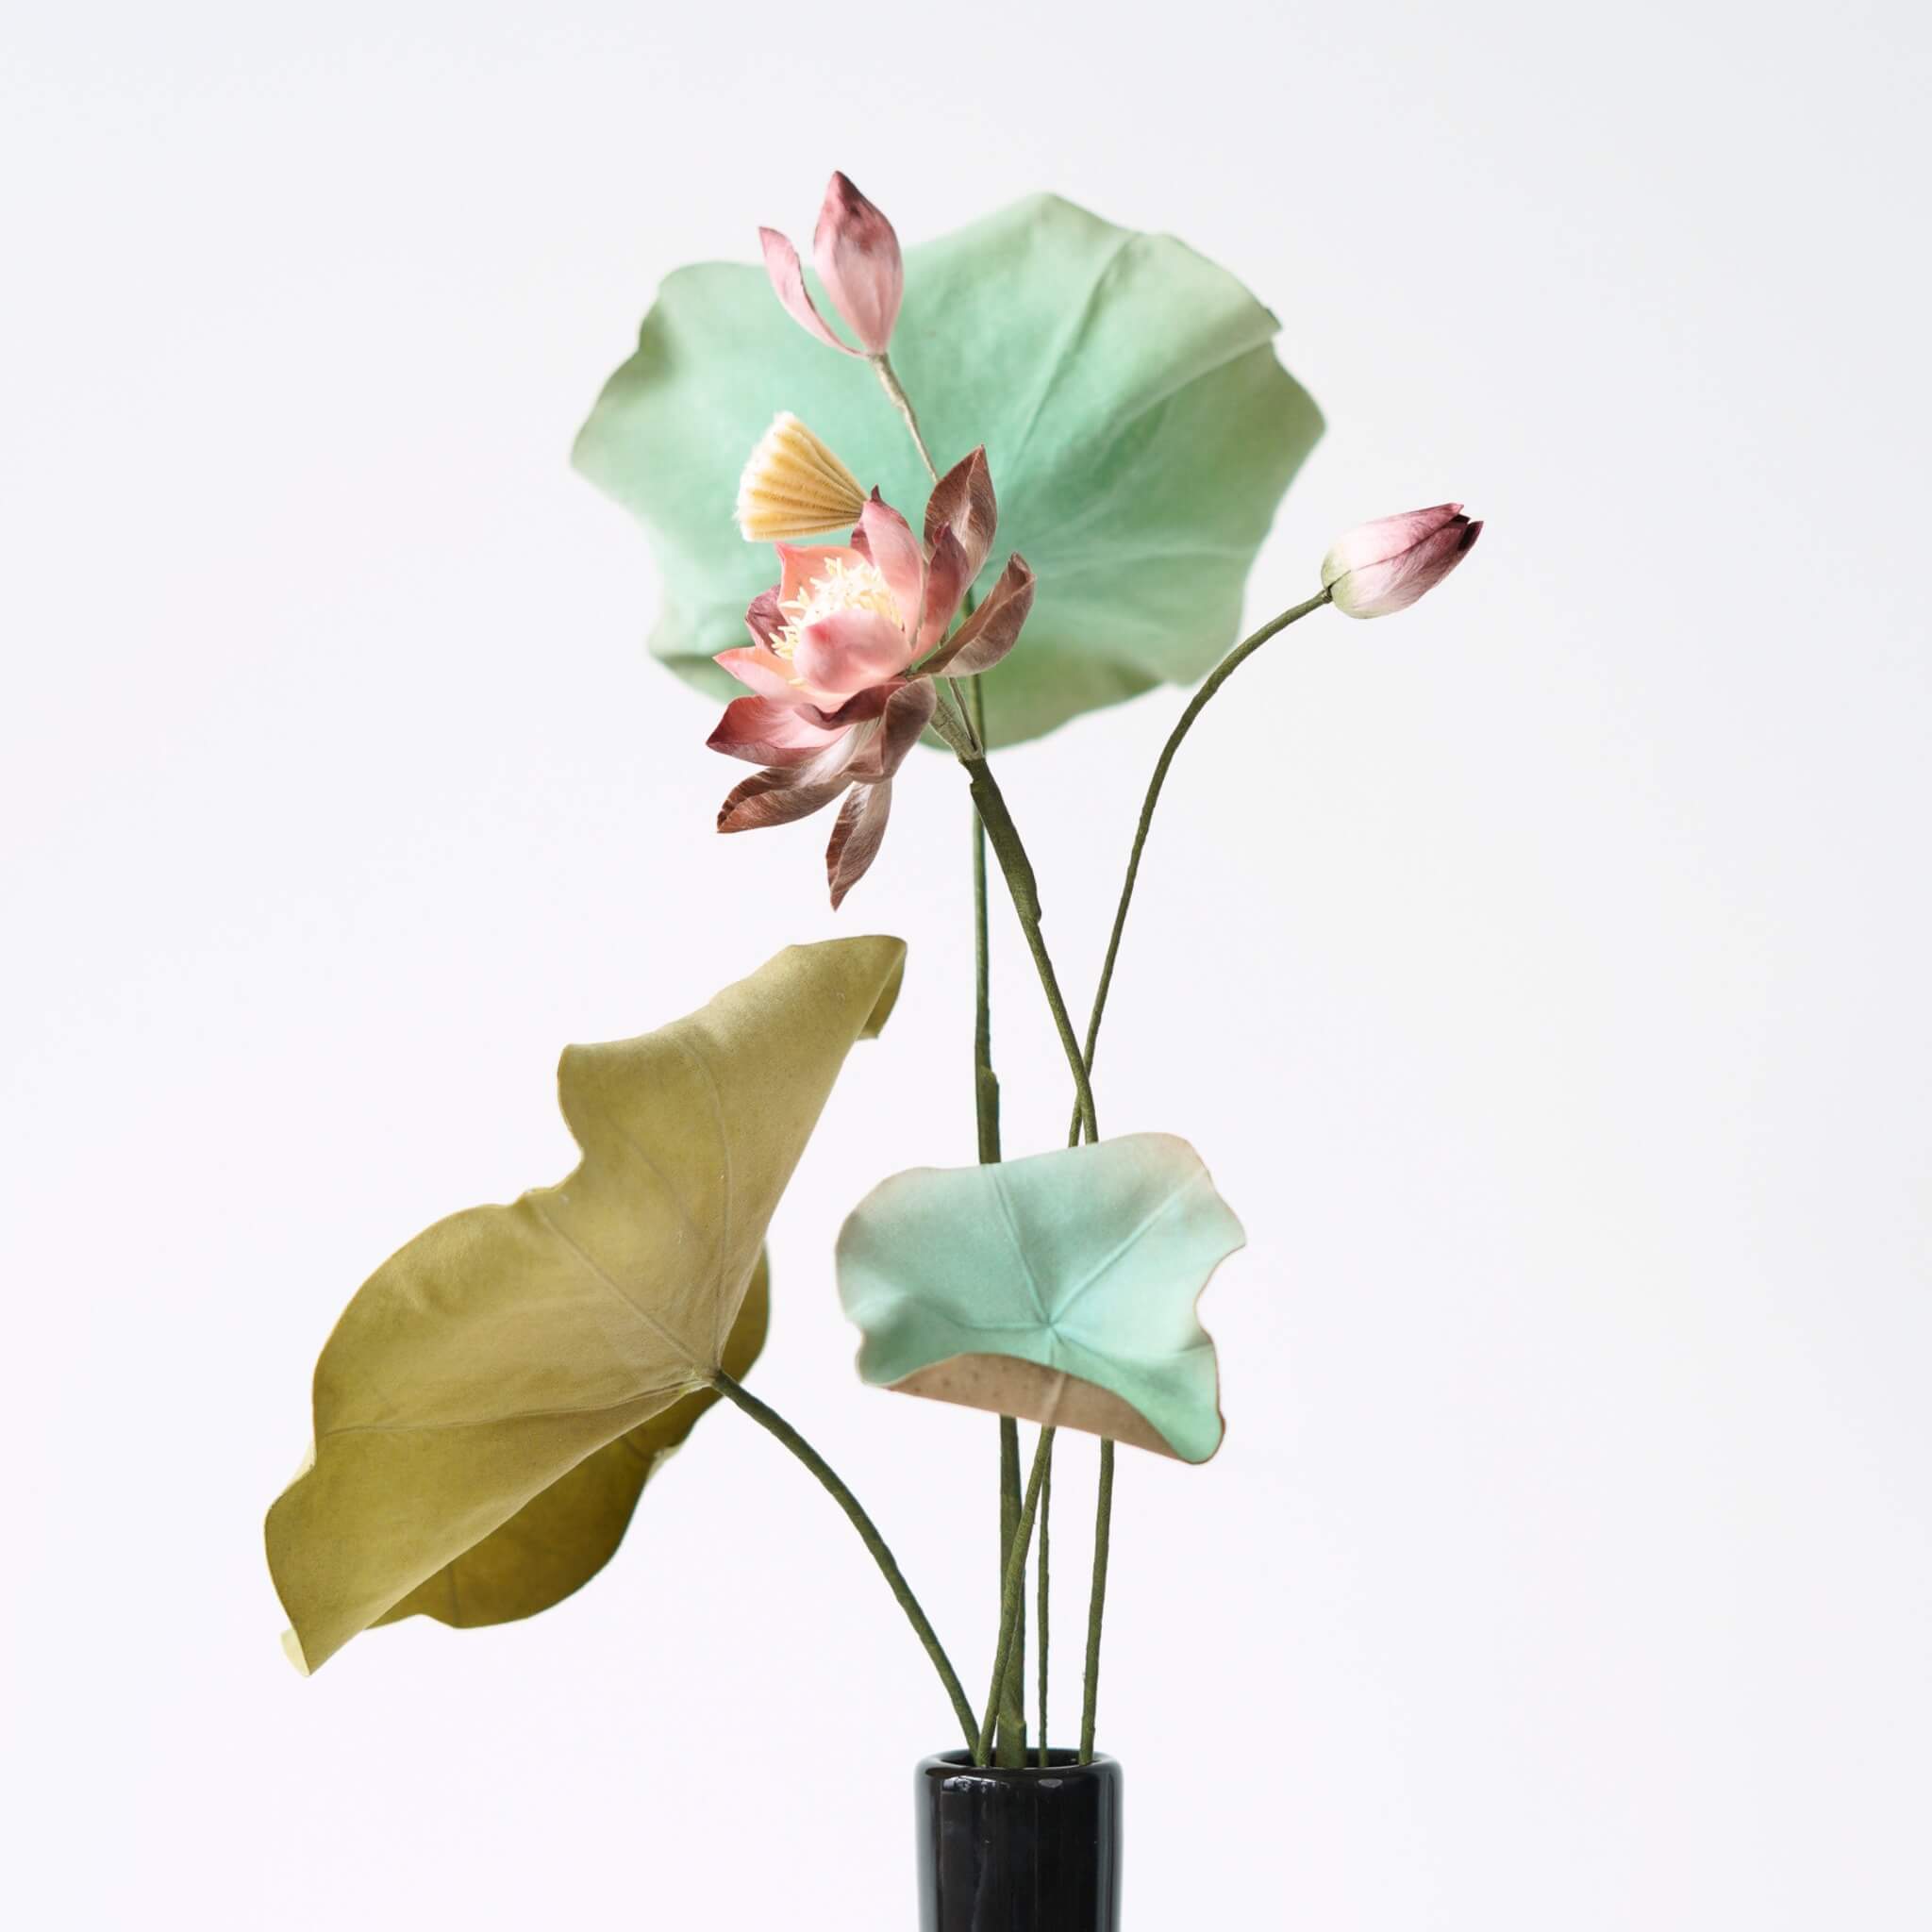
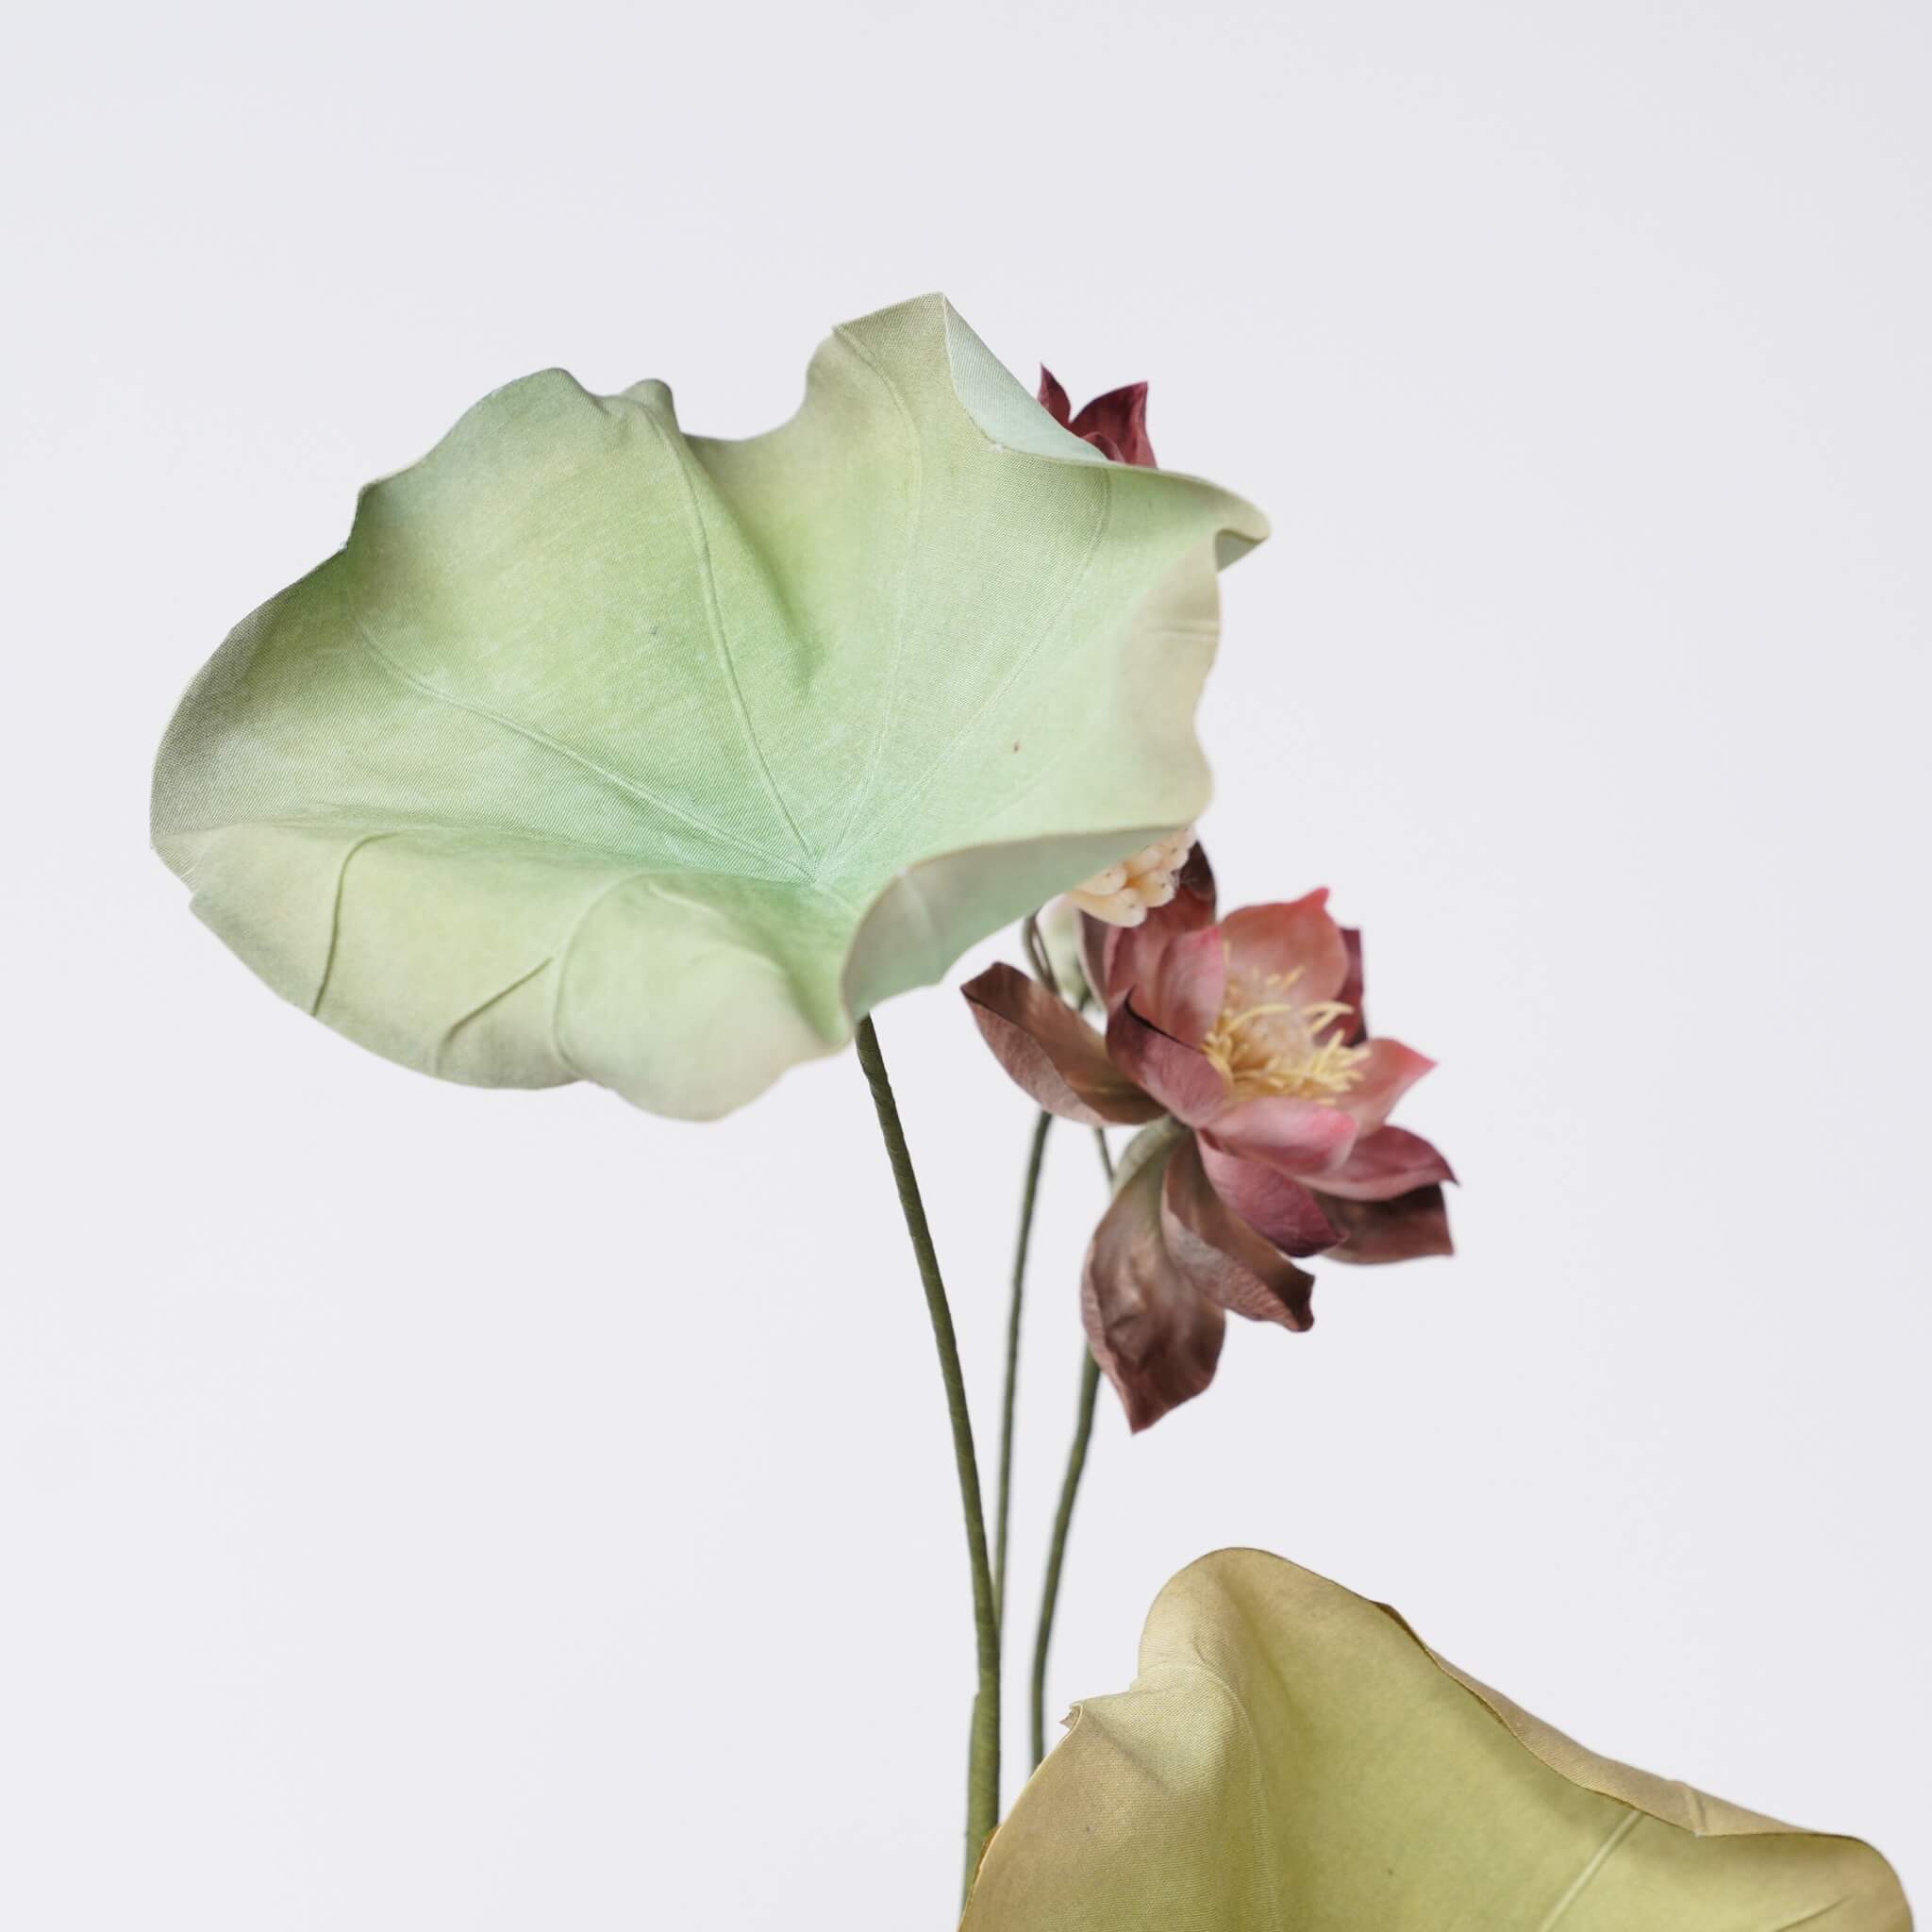
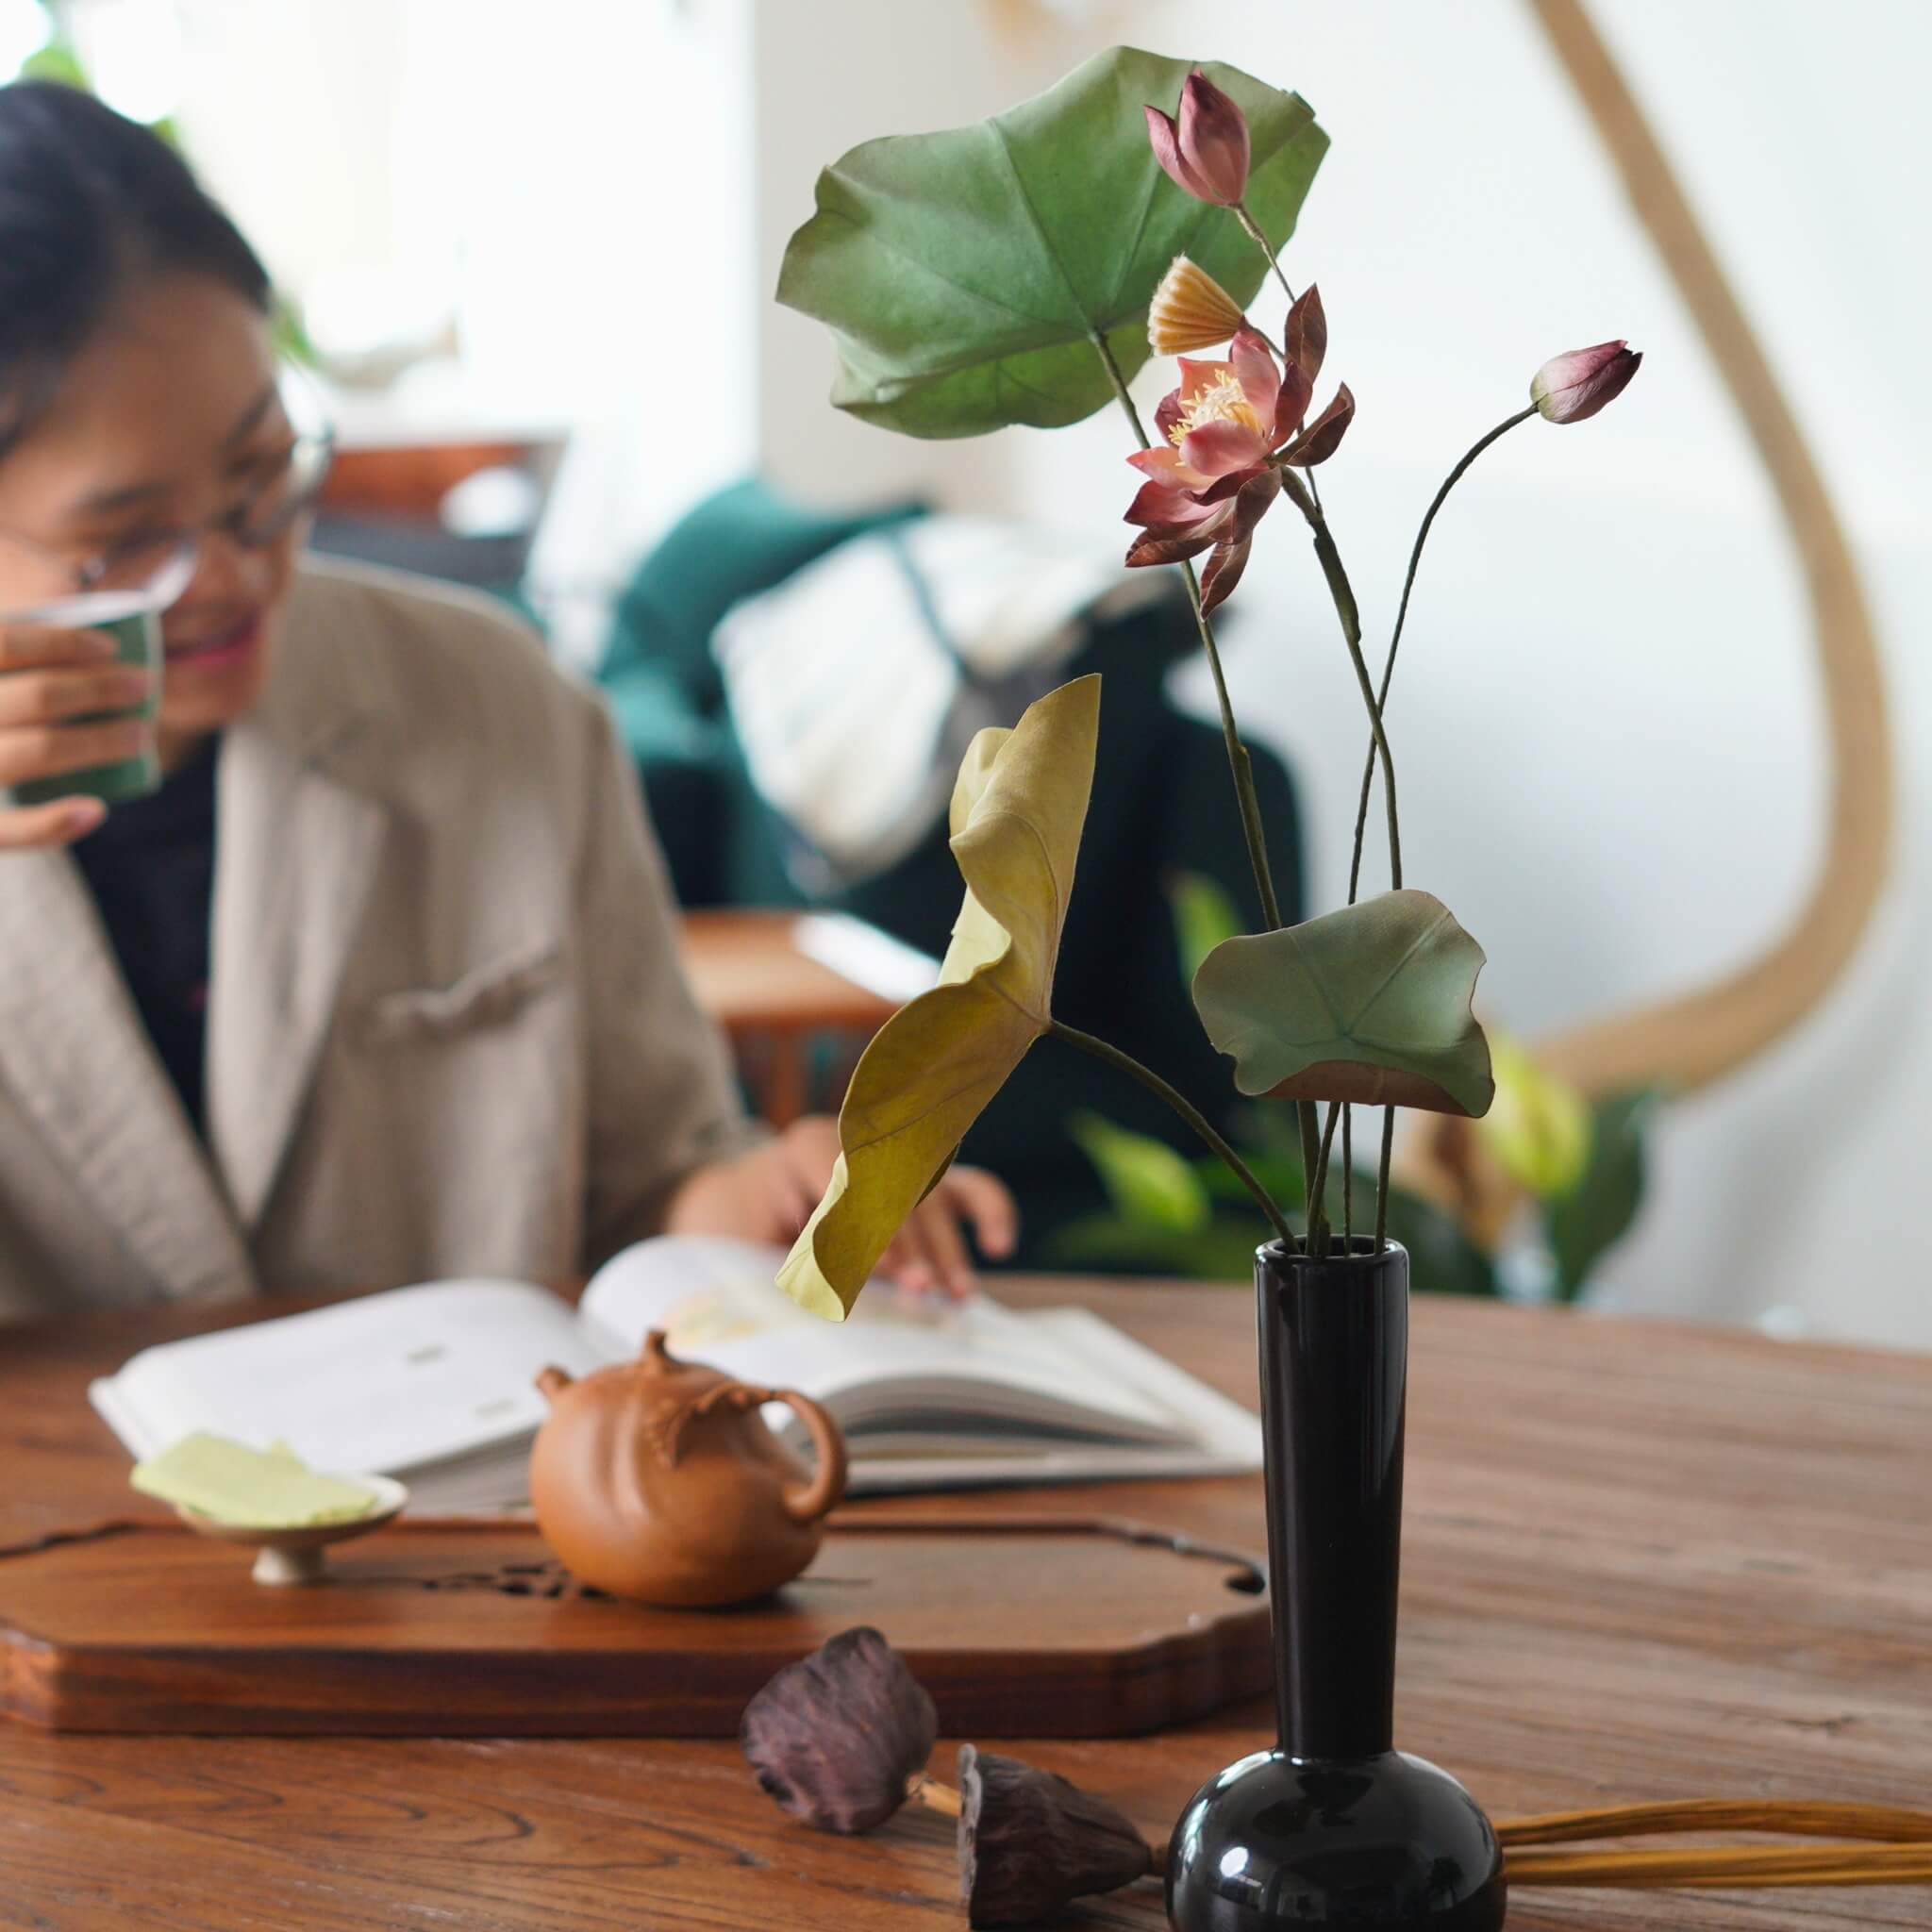
Your silk thread lotus flower is now complete. You can enjoy it as a delicate home decor item or turn it into a beautiful hair accessory.
If you finished your DIY product, welcome to show your awesome work to us and get coupons for the rest of our DIY kits!
INS@lanseichina
Pinterest@lanseichina


