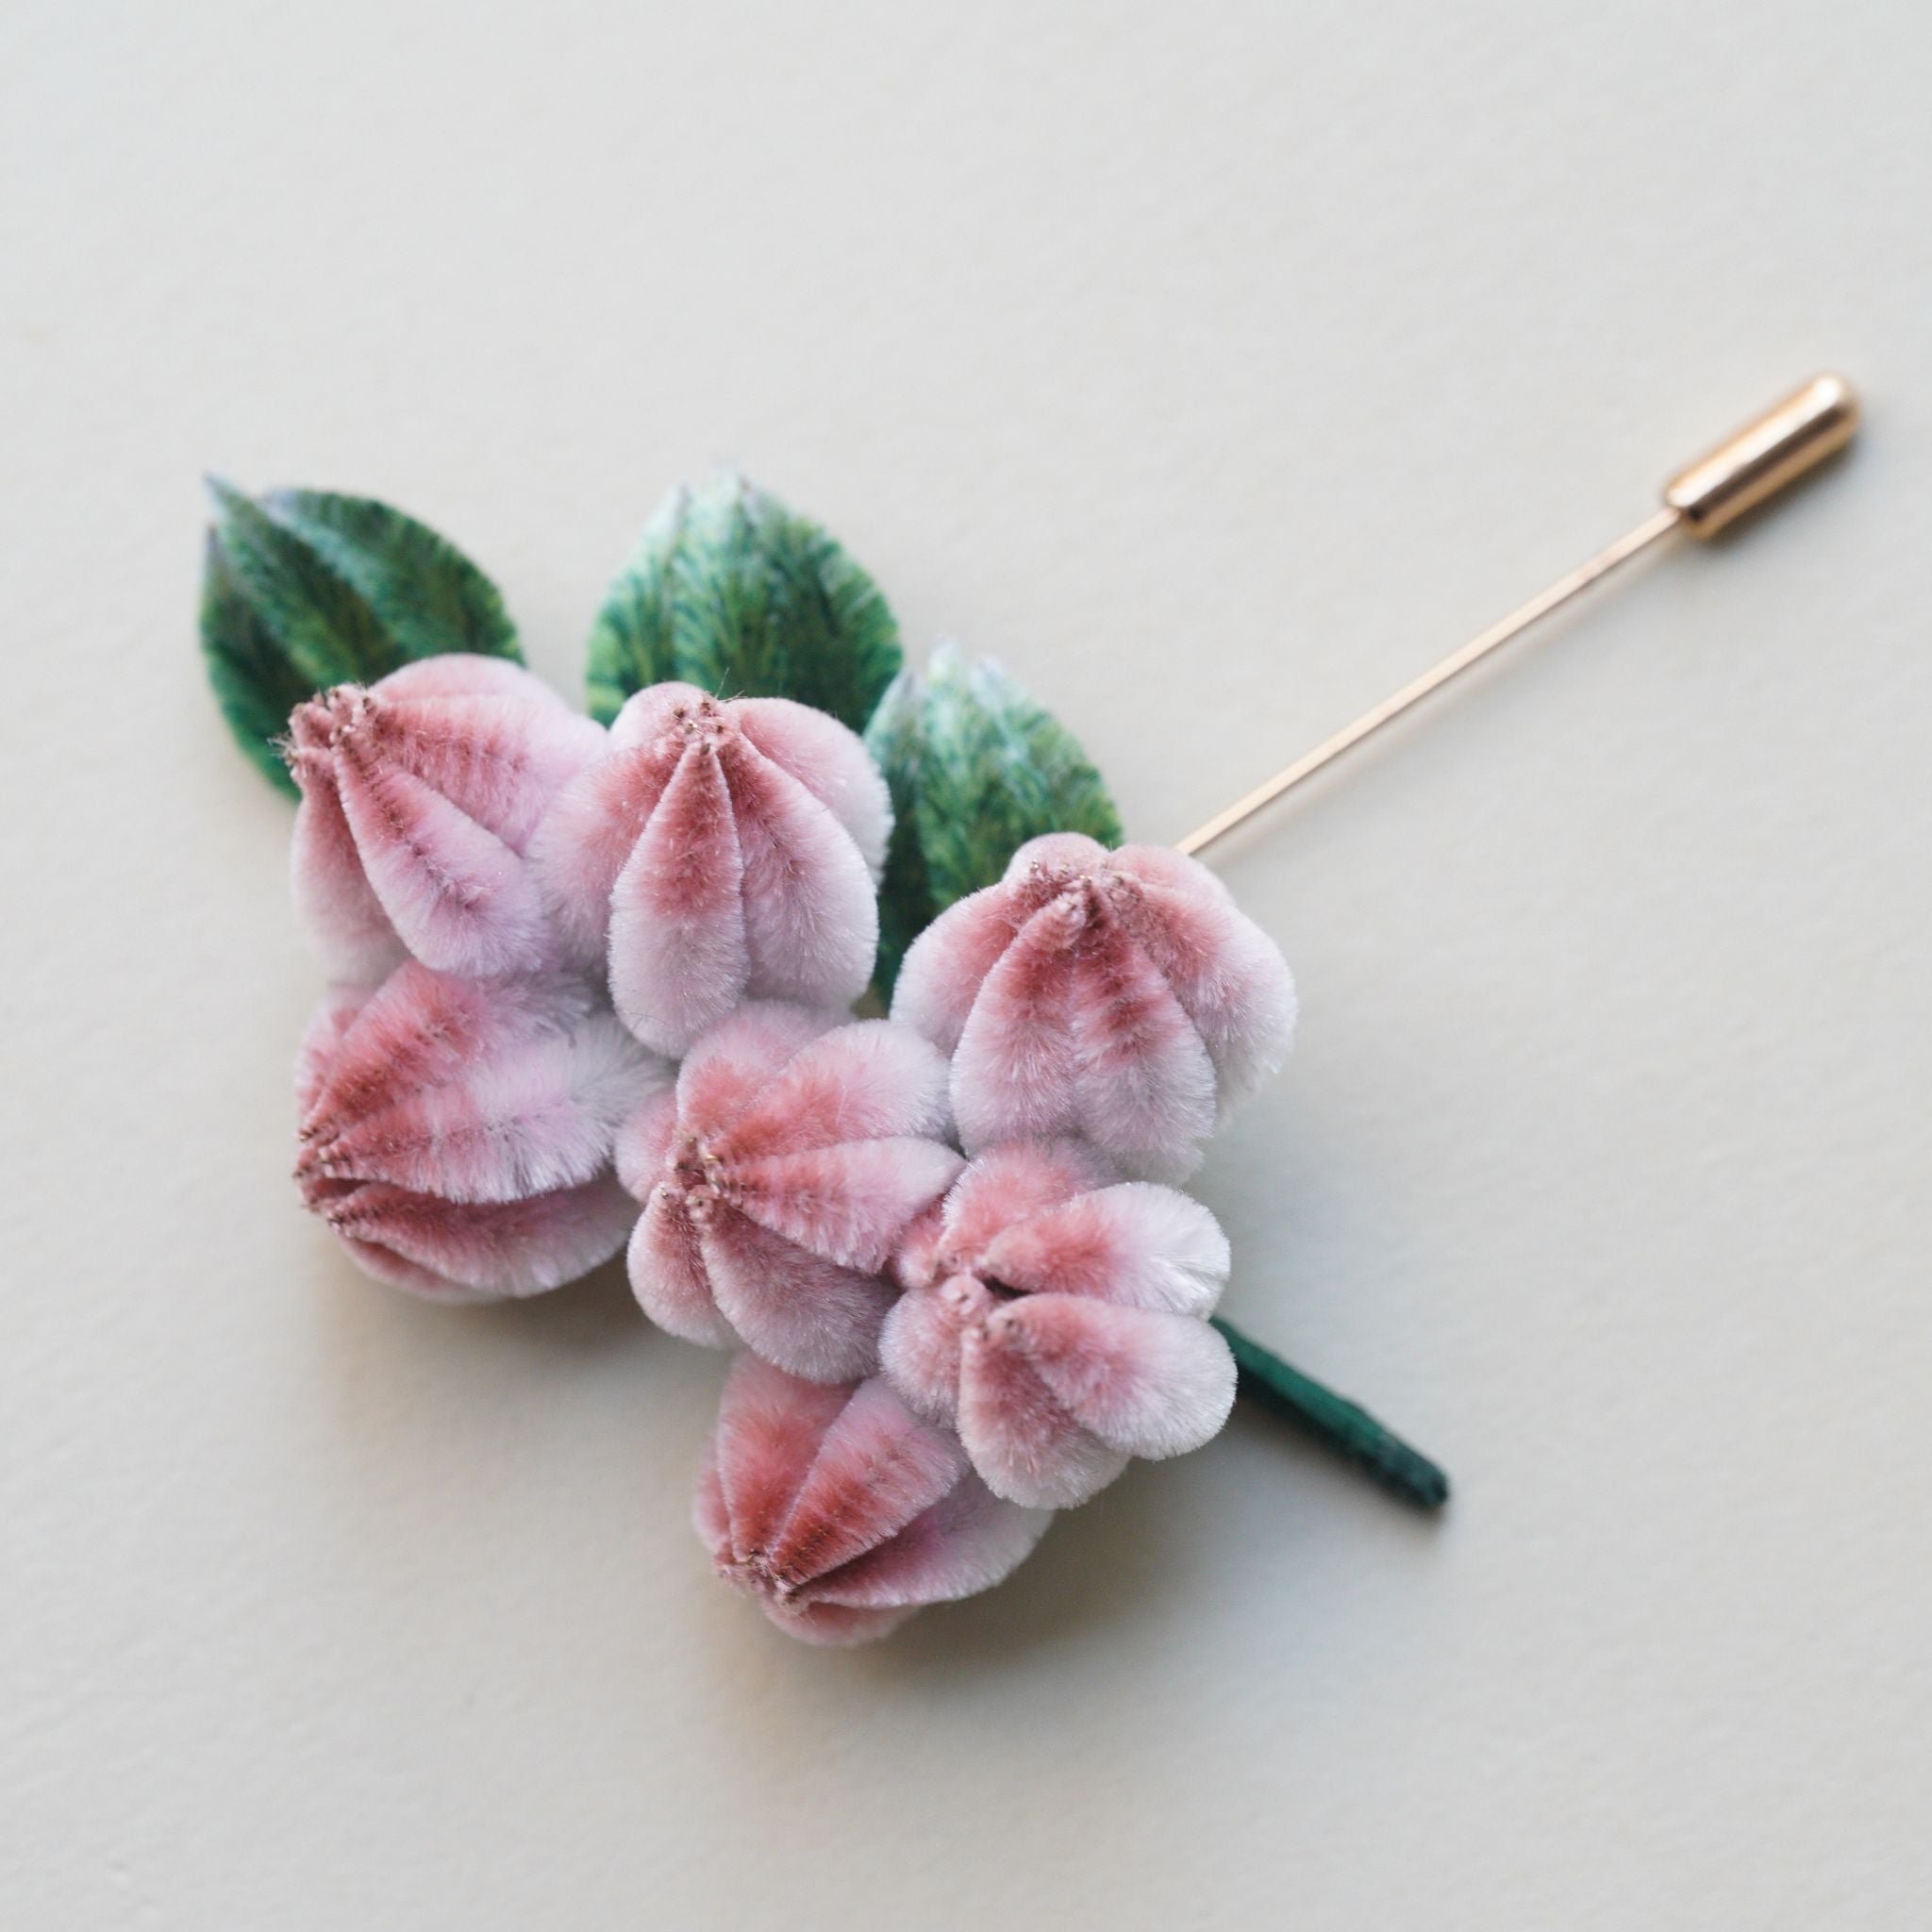
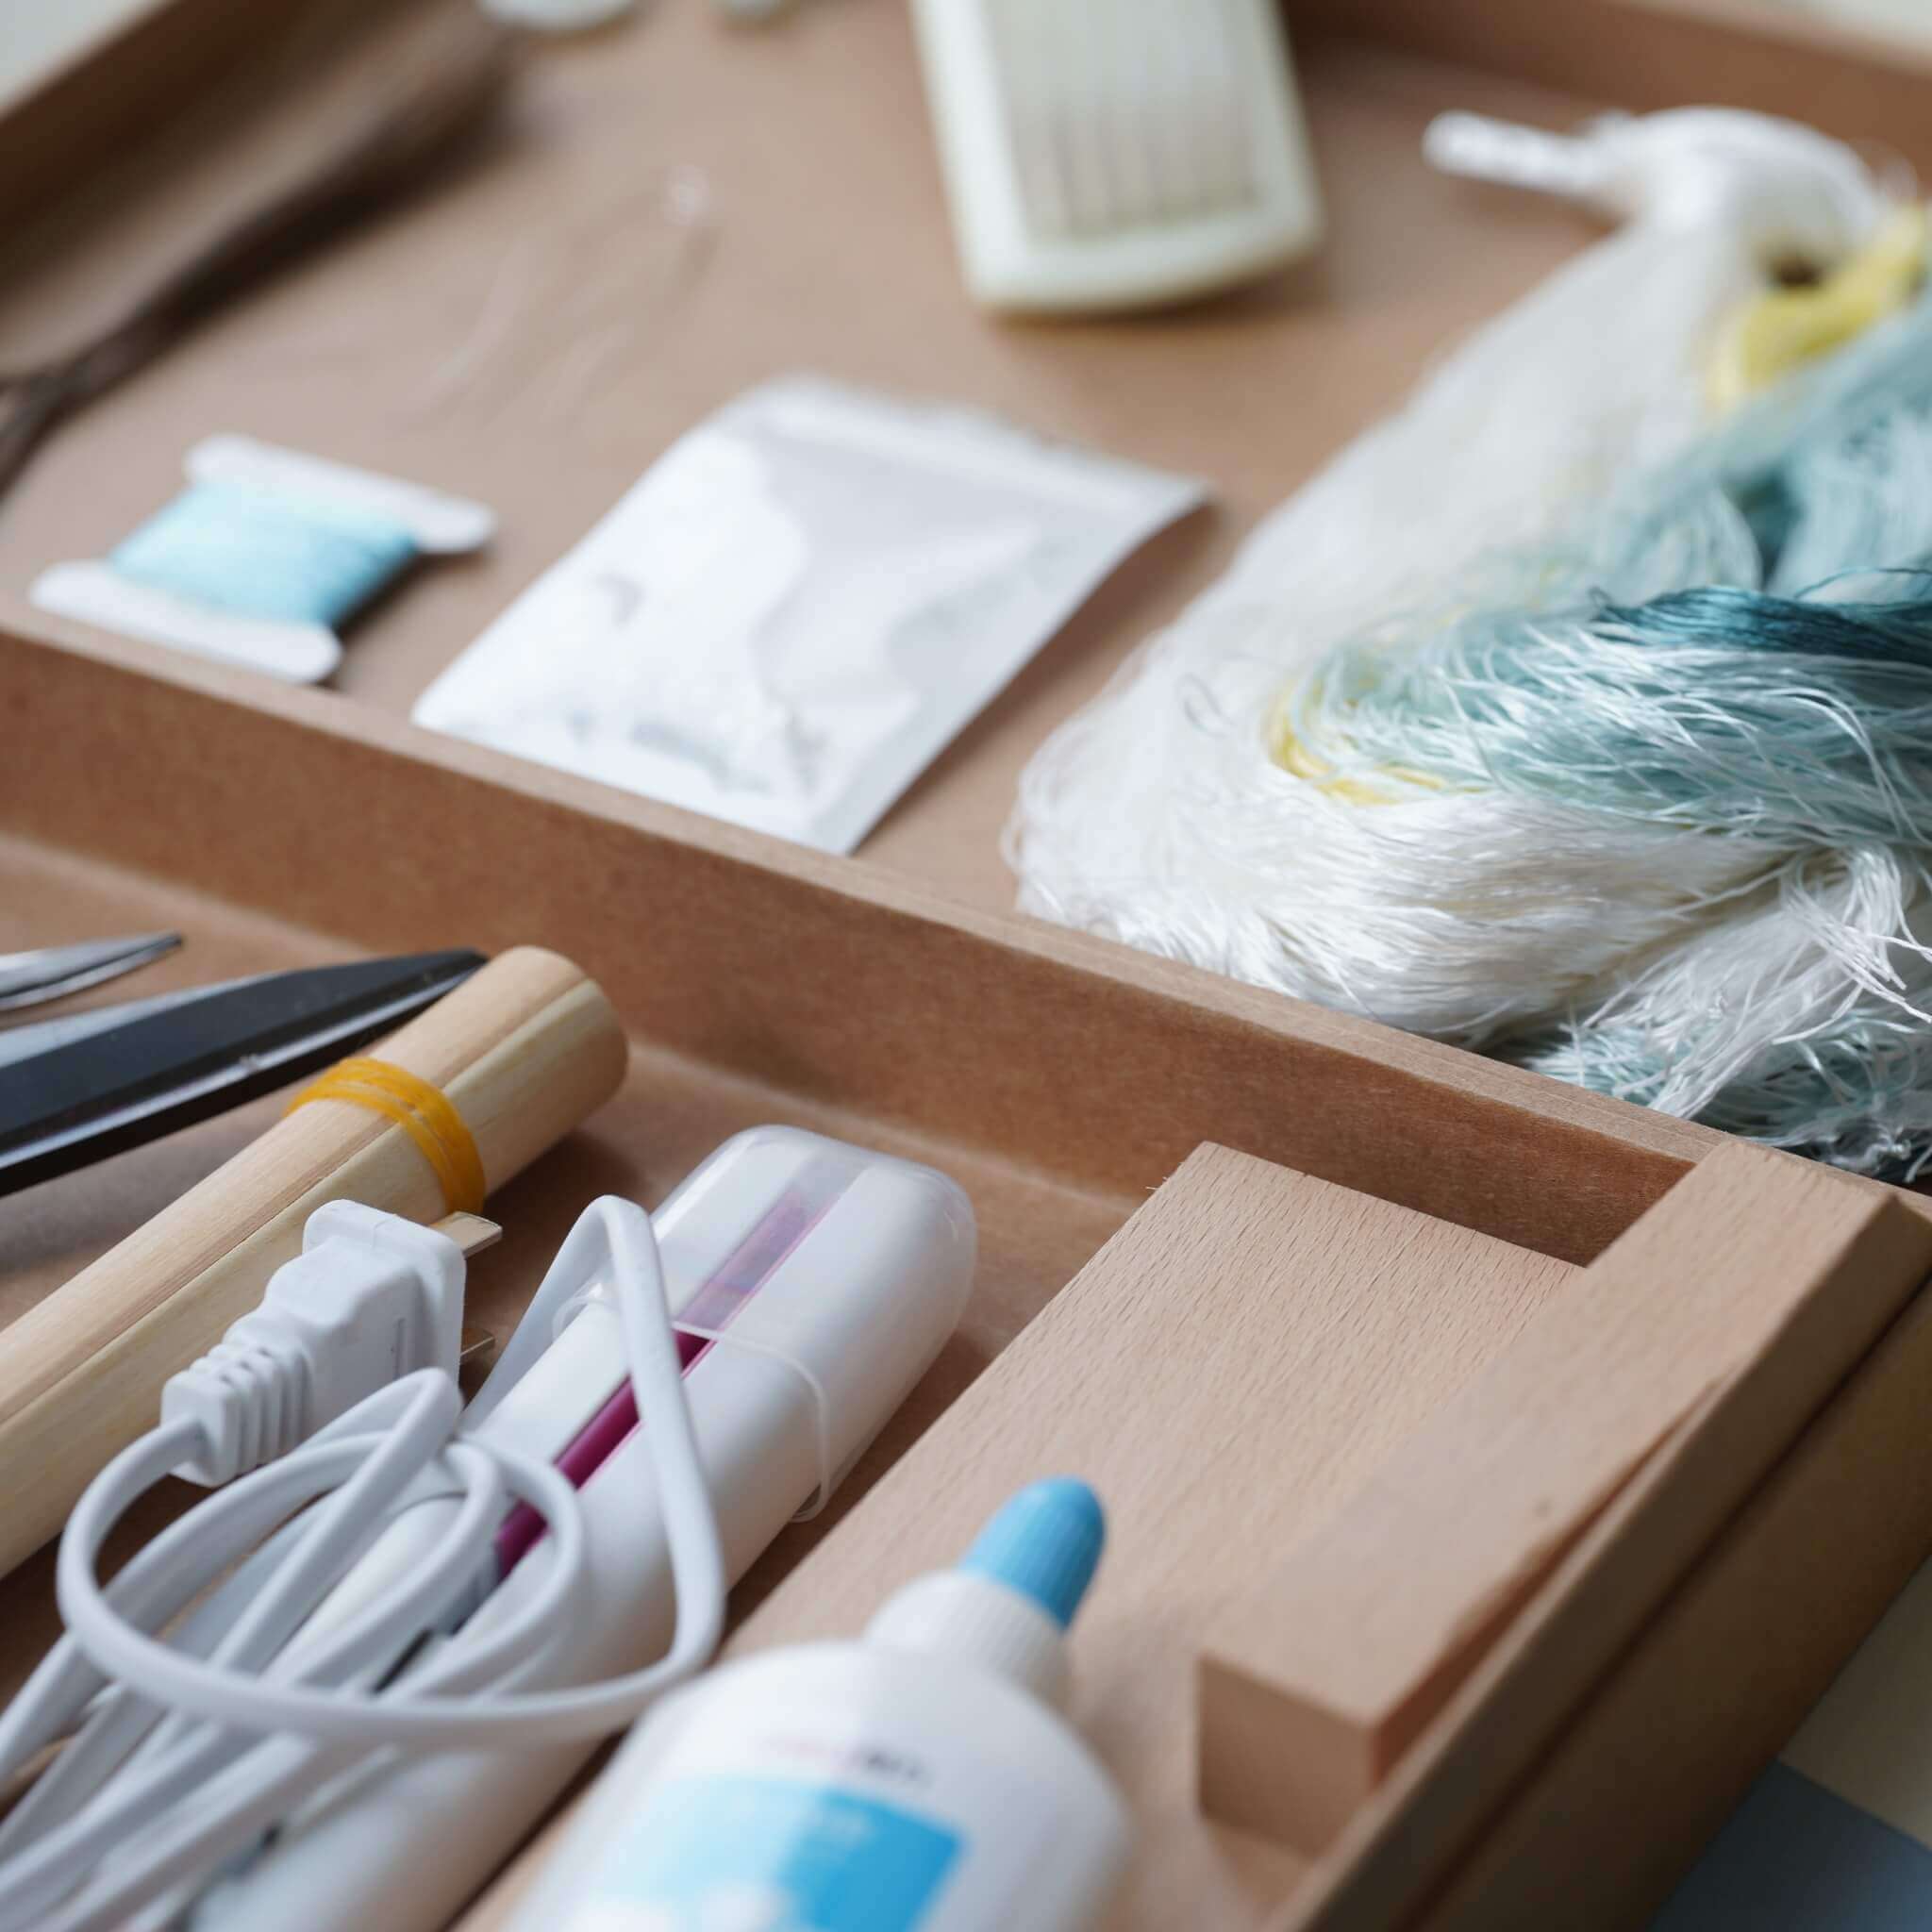
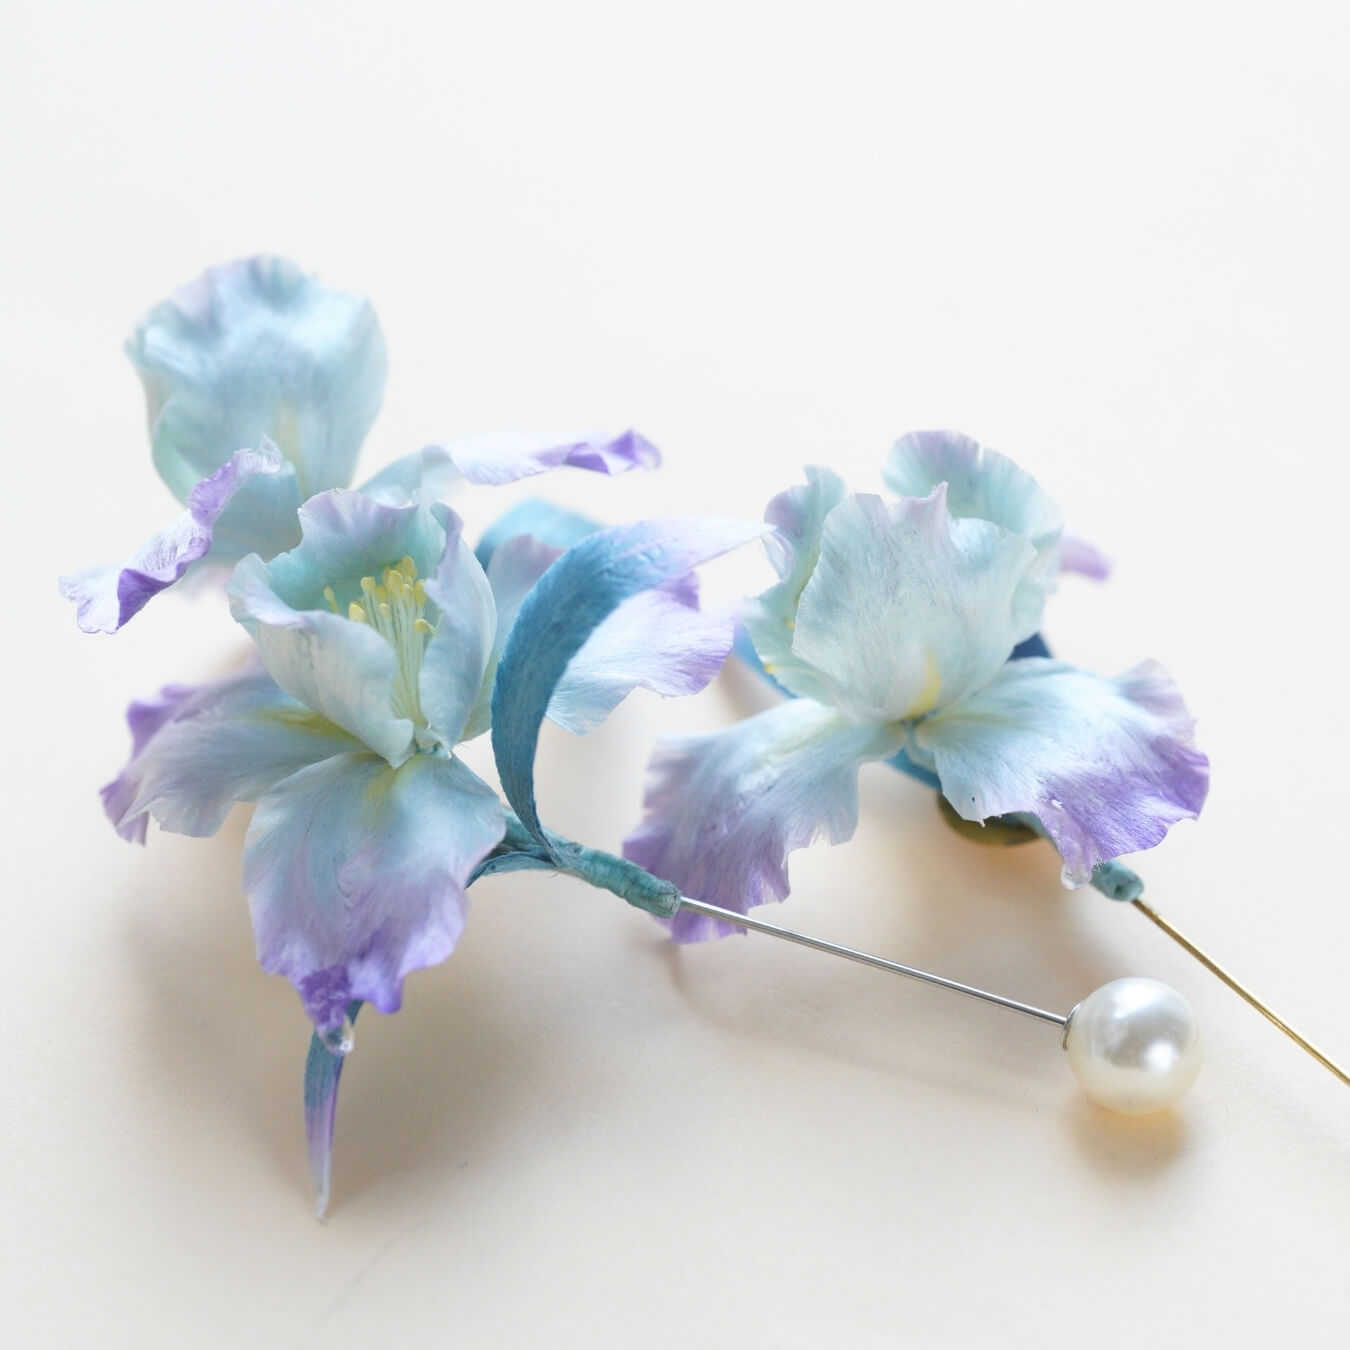
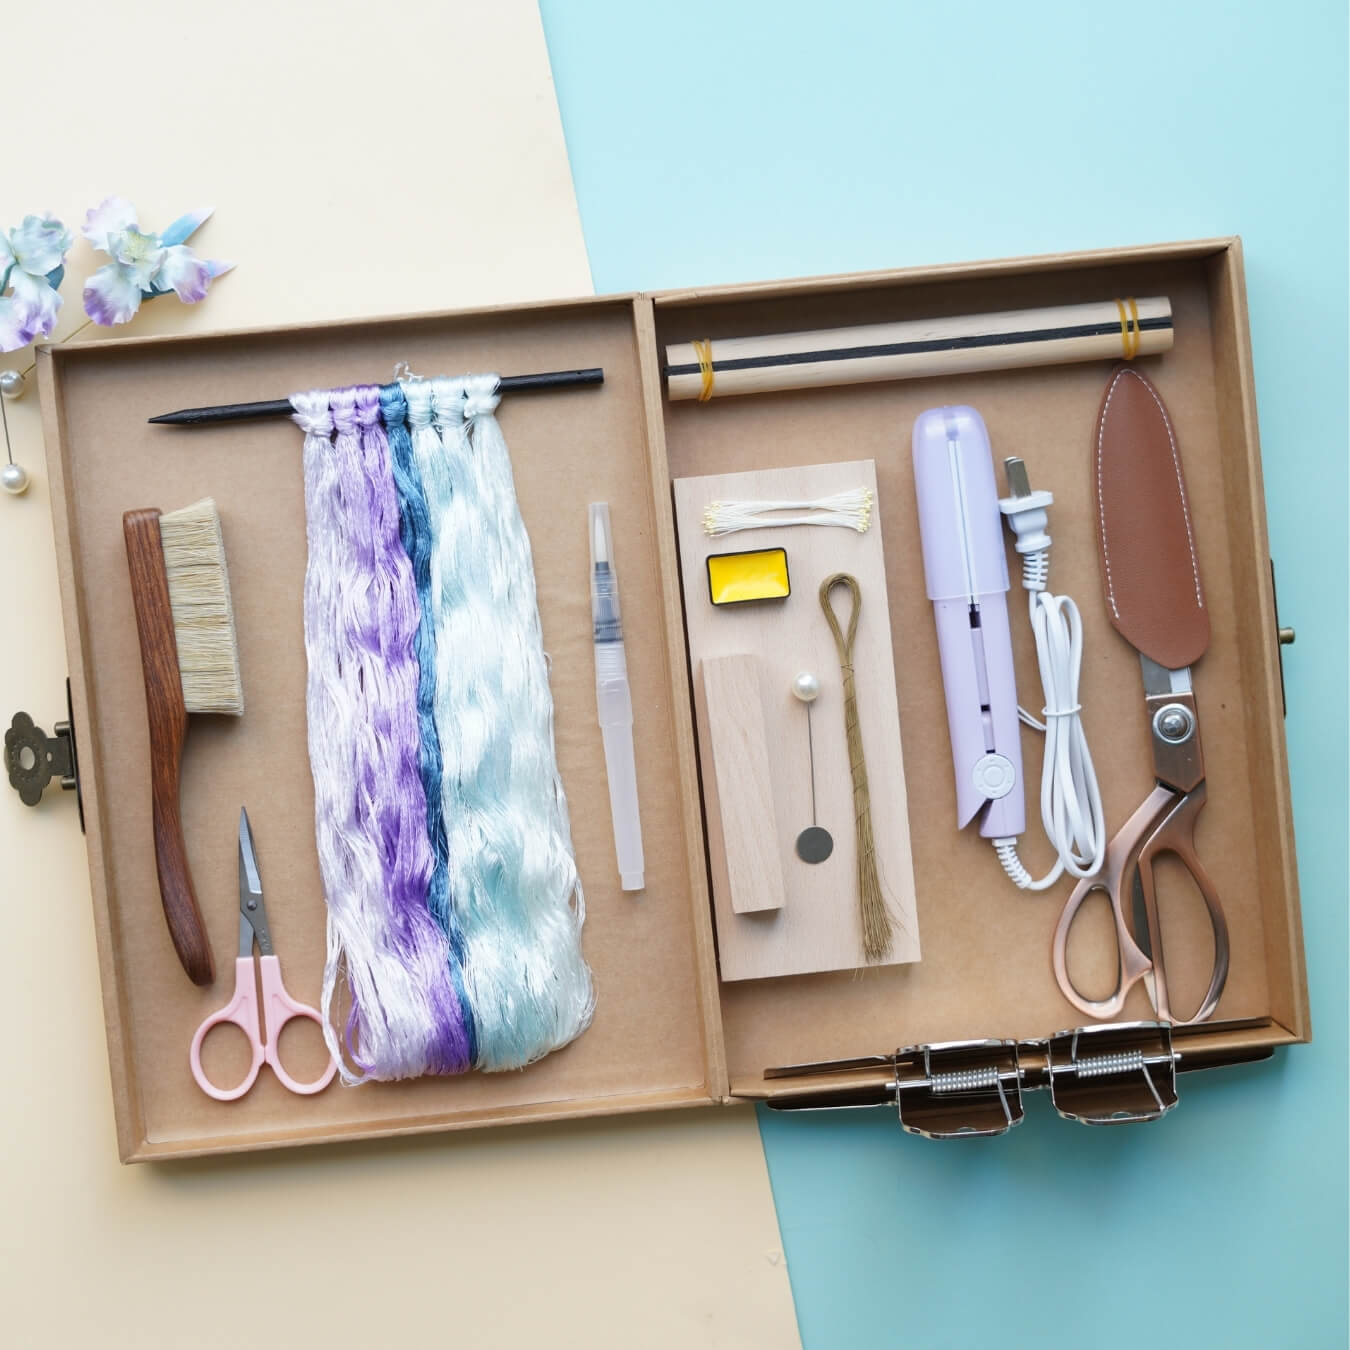
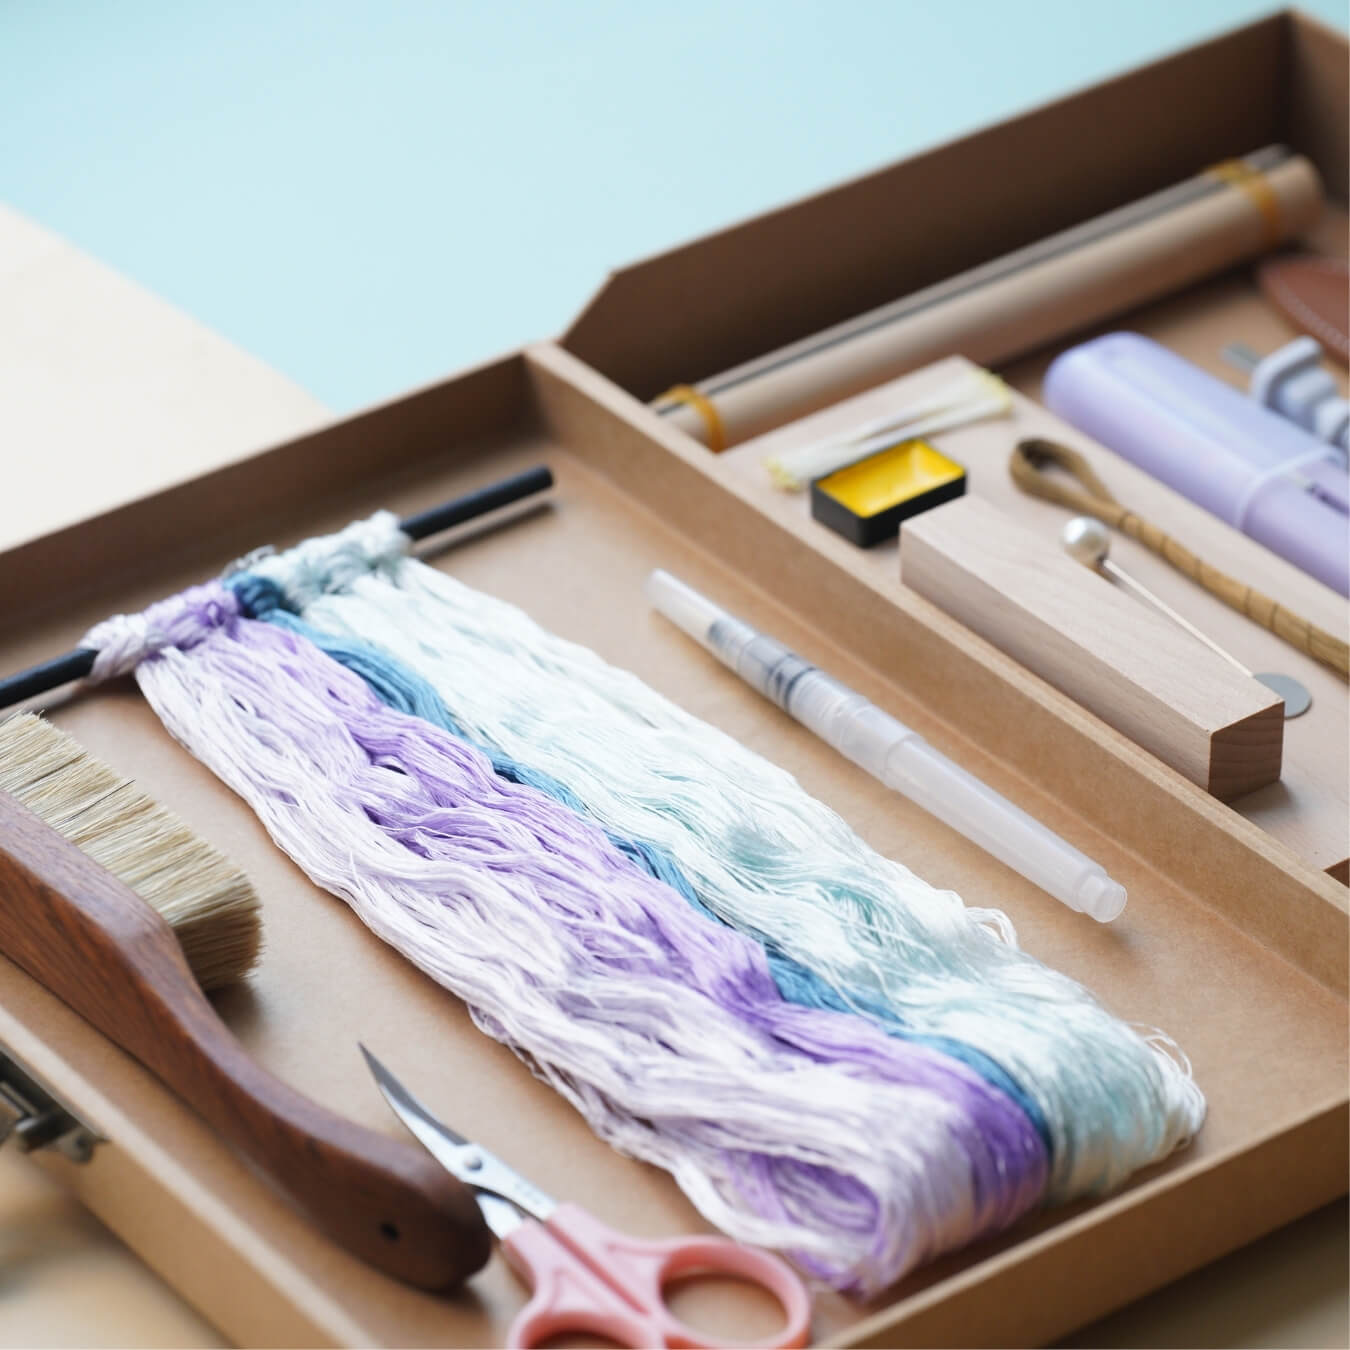
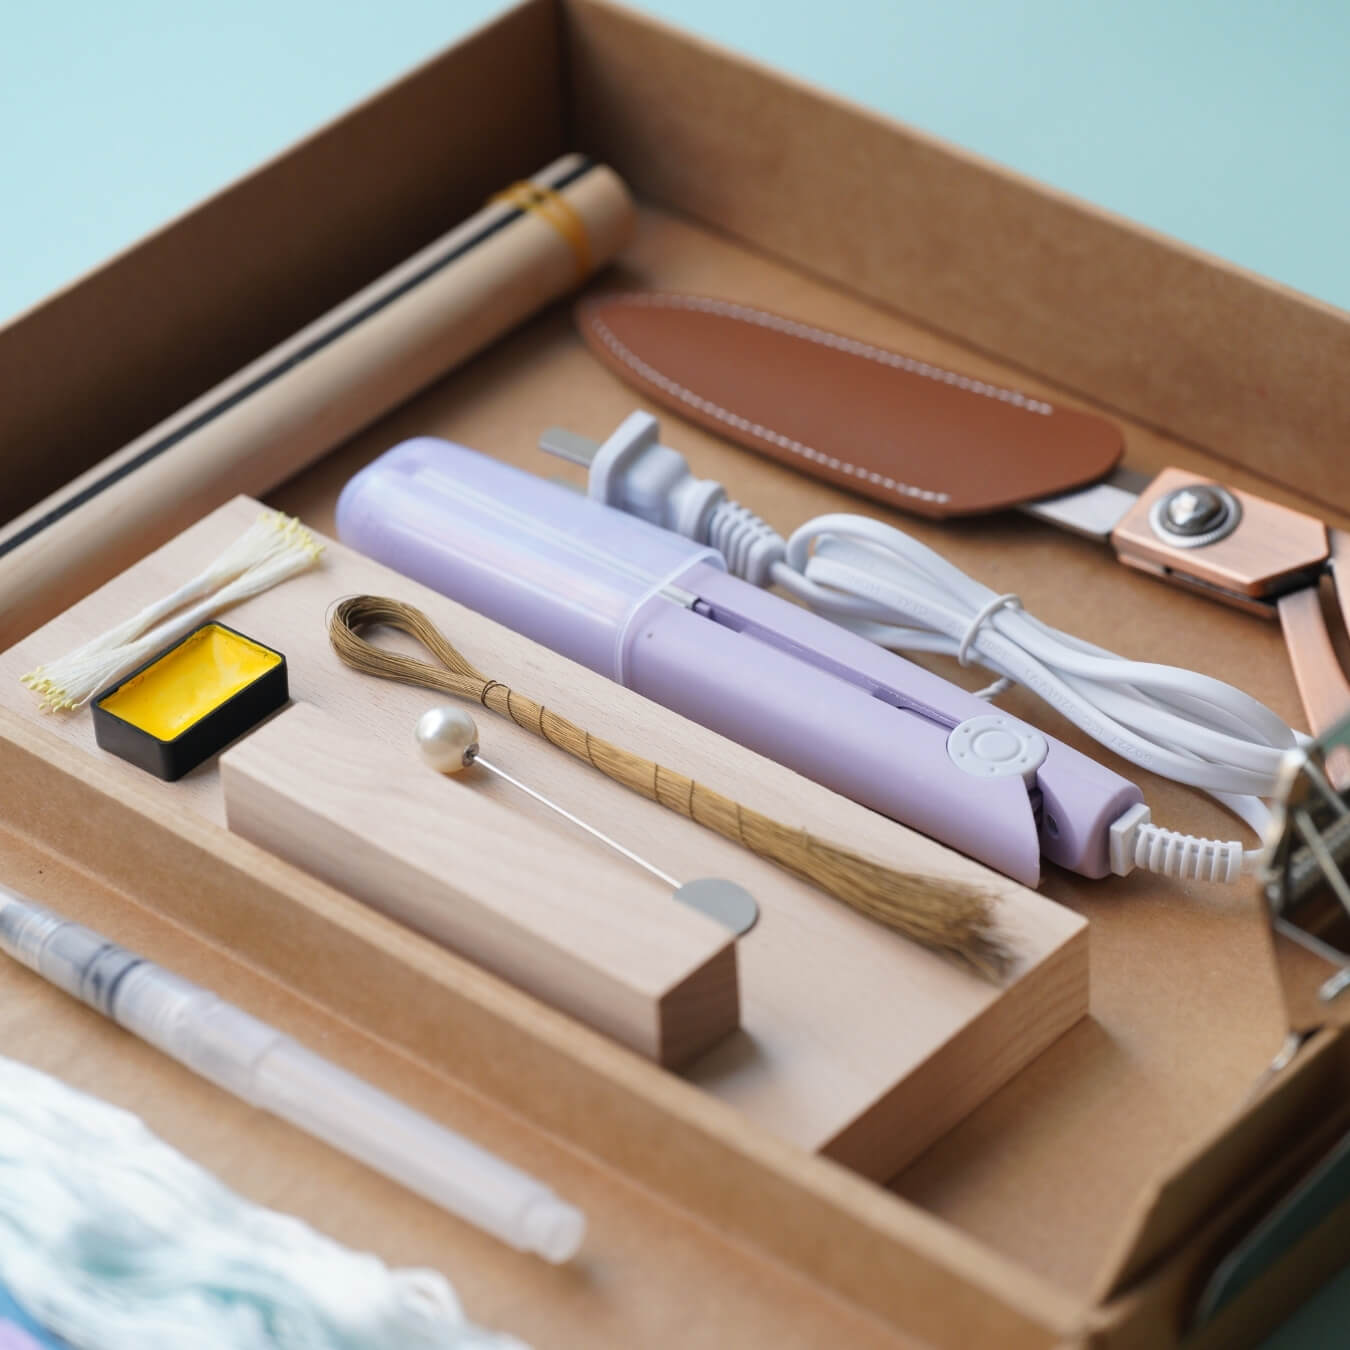
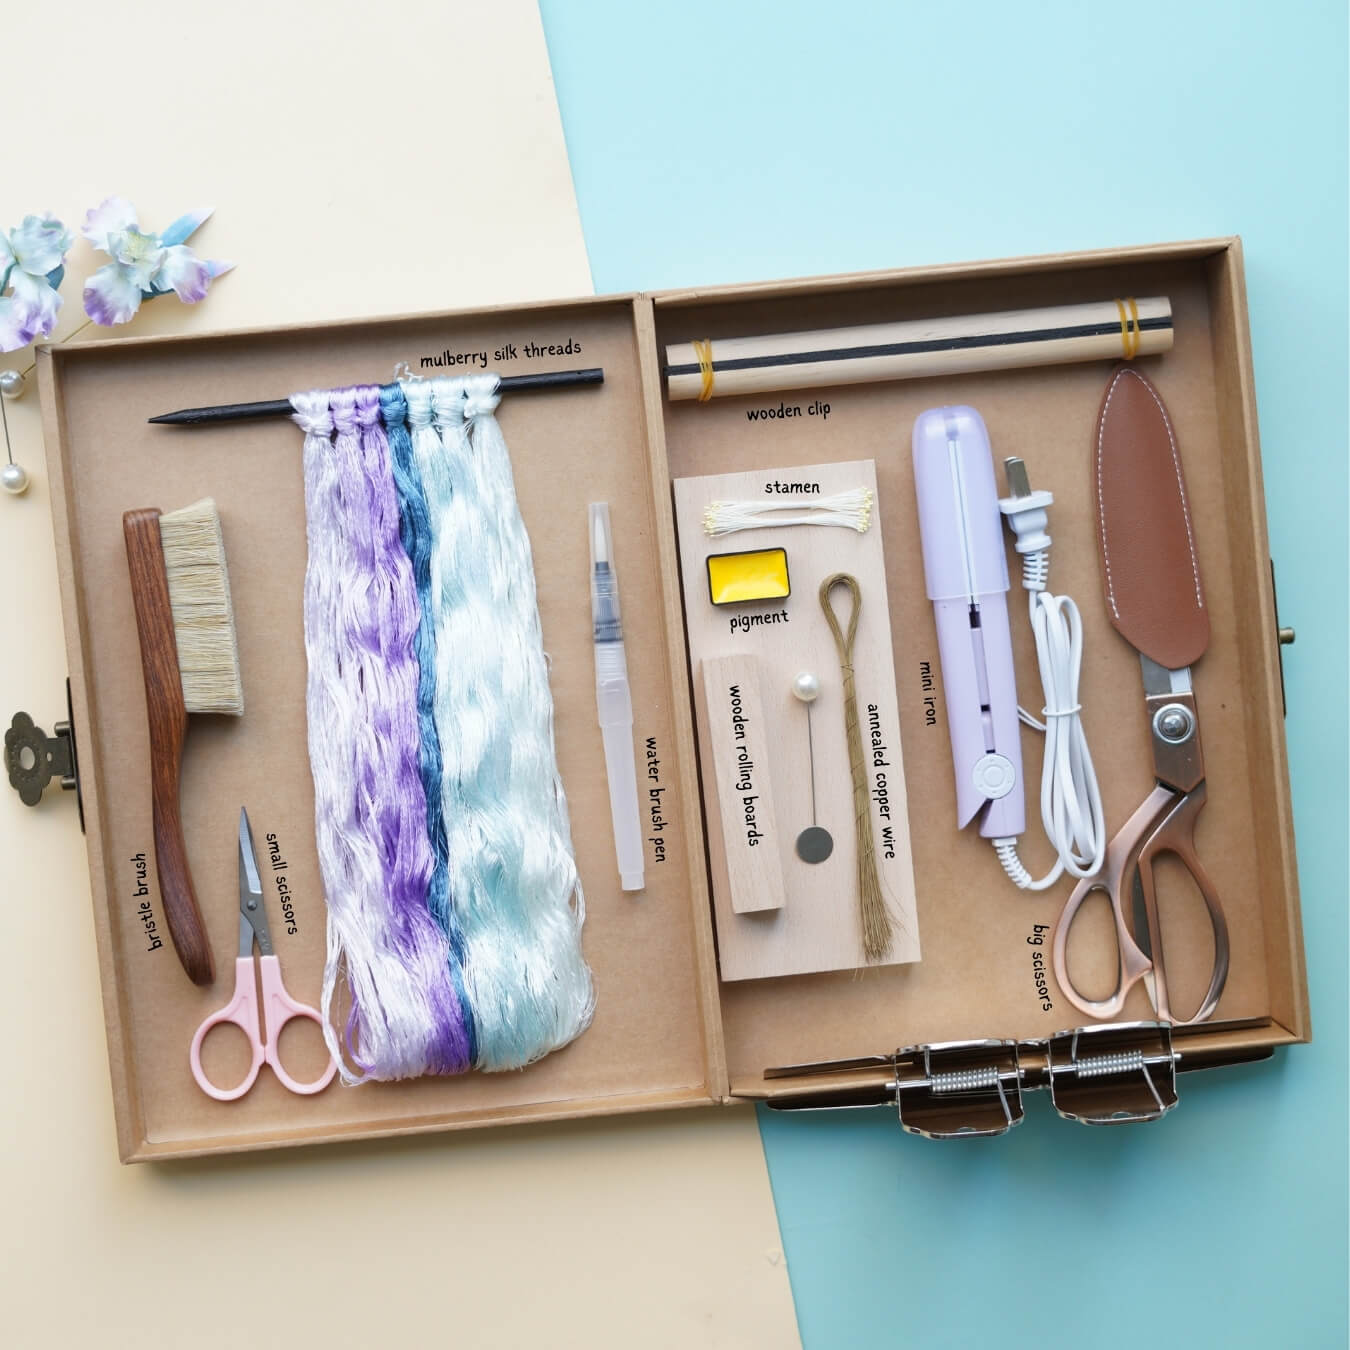
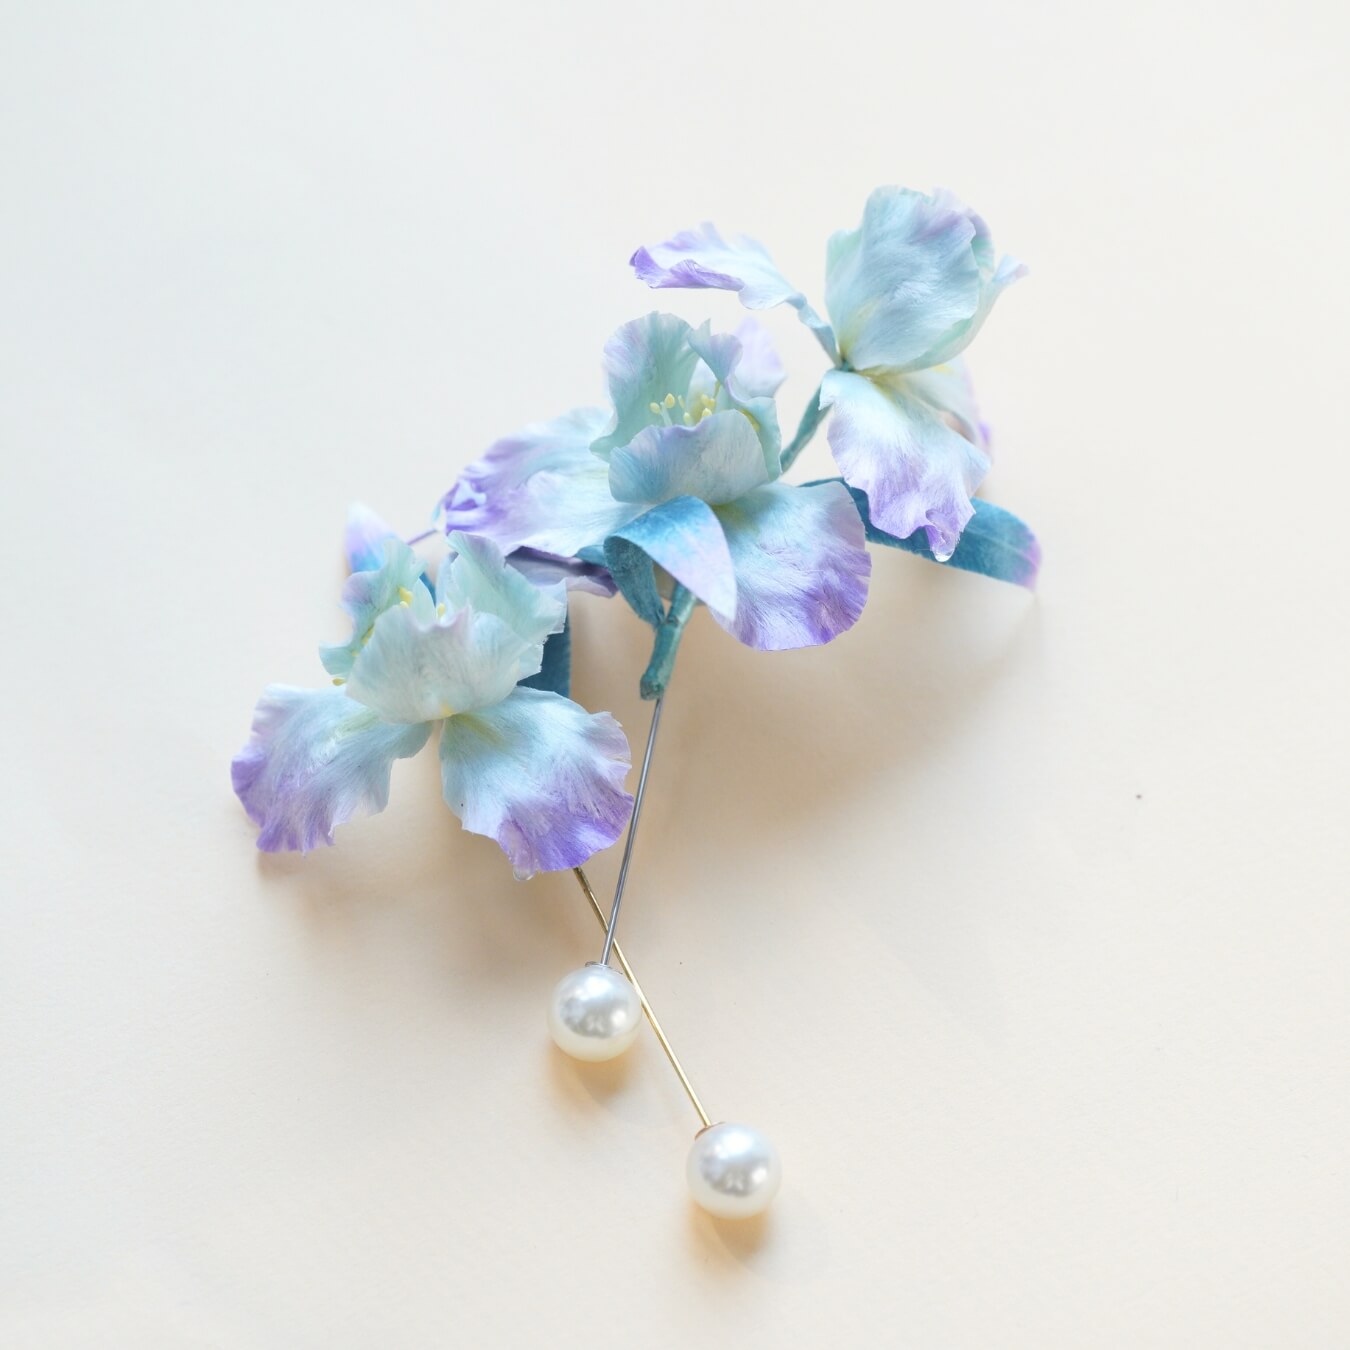
Learn how to create a stunning iris flower using the traditional Ronghua (silk velvet flower) crafting technique! In this step-by-step tutorial, we’ll guide you through preparing the silk strips, brushing, shaping, and assembling your very own vibrant Blue Iris Brooch.
Step 1: Prepare the Petal Fuzz Strips 00:00–01:39
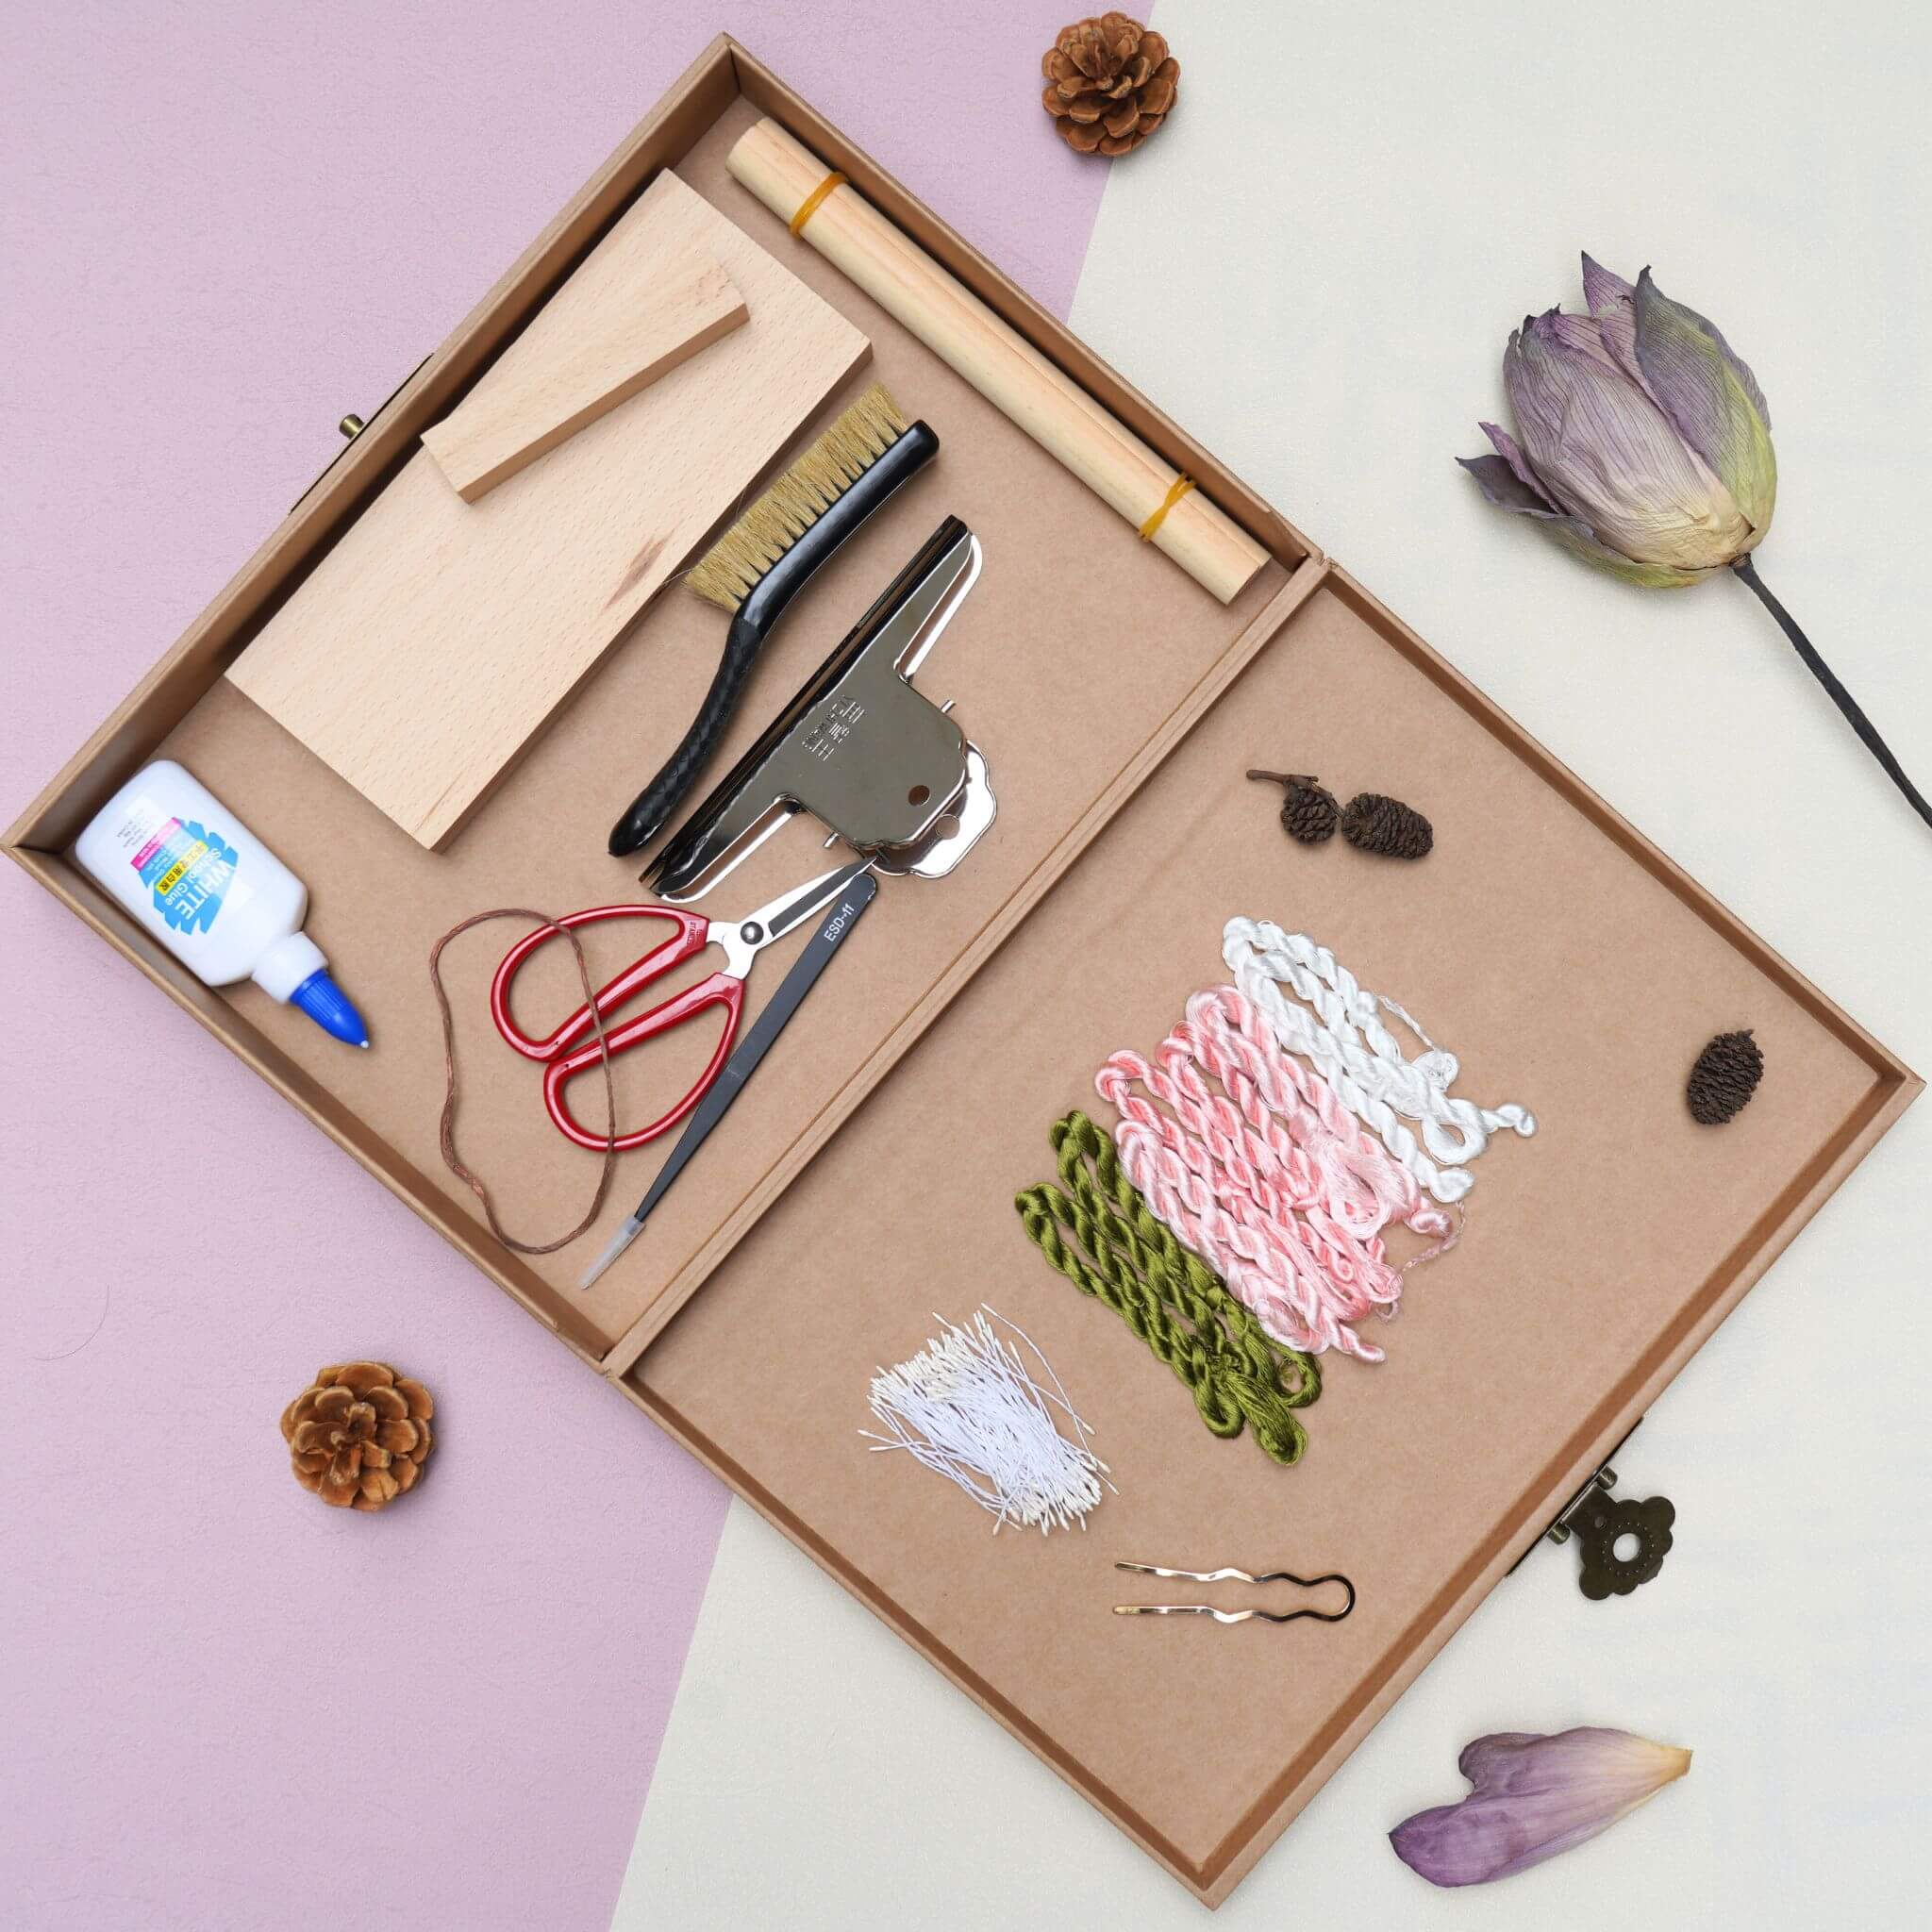
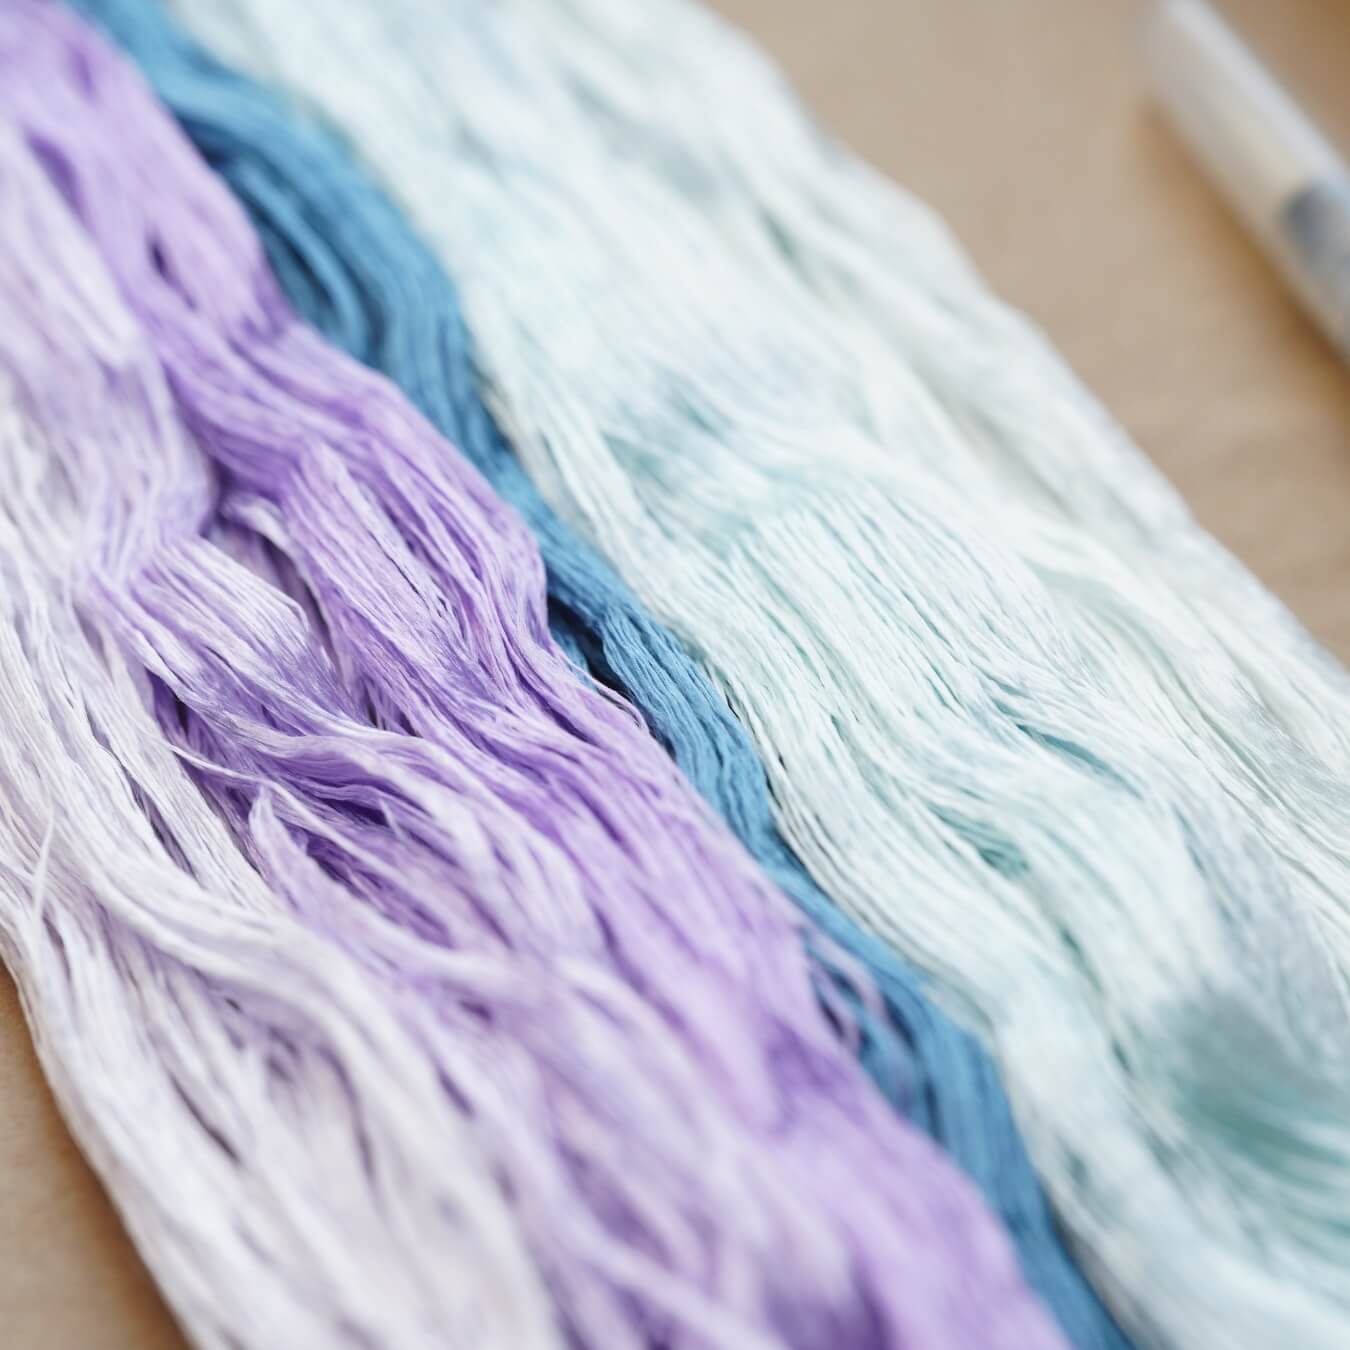
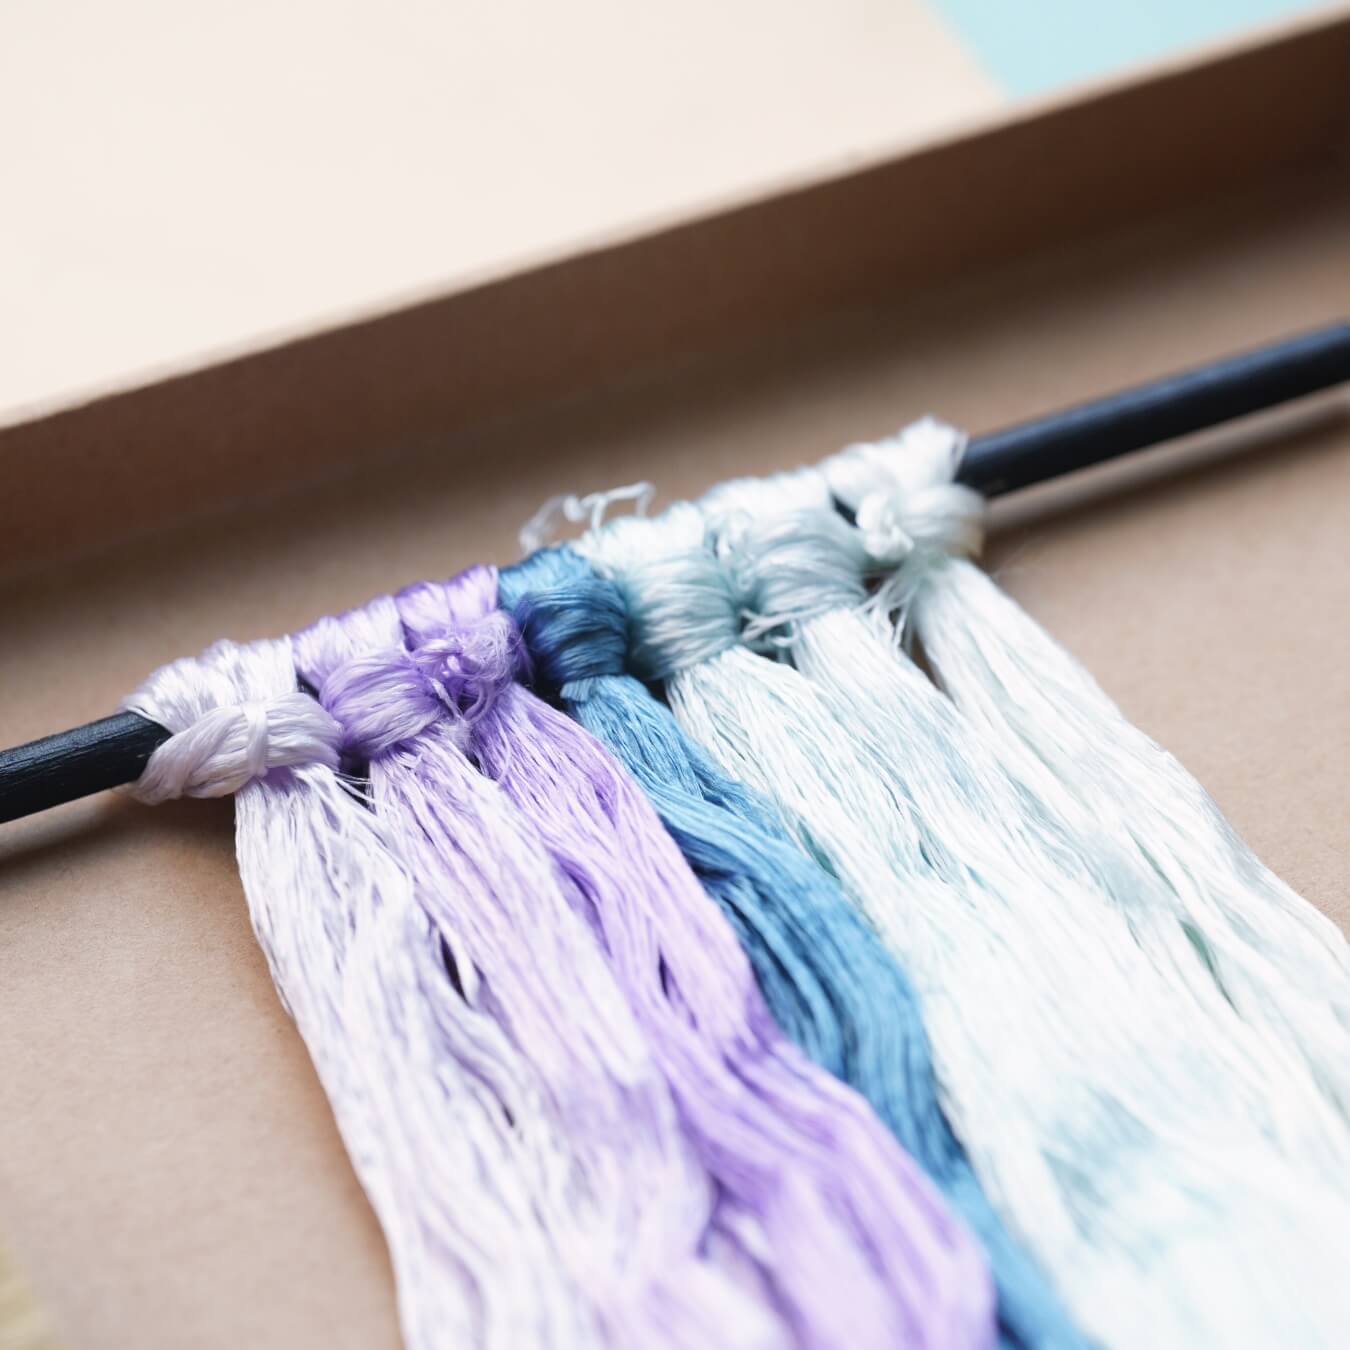
Start by cutting the embroidery thread. Divide the threads into groups of seven and wrap them around a wooden stick. Arrange the three types of fuzz strips as shown in the below section of the tutorial video.

Step 2: Brushing the strips 01:40–03:29
Fix the strips to the frame using a mountain-shaped clamp. Before combing, spray a little water onto the threads, but don’t overdo it. Organize the threads and stretch the strips straight. Use one hand to hold the brush and comb the threads. Only release the other hand after the brush reaches the very bottom of the threads to prevent tangling. The goal is to comb the threads so that they are fluffy, smooth, and glossy.

Step 3: Twist the Copper Wire 03:29–08:11
Before twisting the copper wire, use a wooden clamp to secure the end of the threads. Make sure the threads are stretched straight and adjust the width of the strips to ensure they are even. If the strips are loose, you can push the frame backward. Once the strips are properly adjusted, fold the copper wire in half and straighten it. Twist the two copper wires tightly together for about 2-3 cm. Use the copper wire to clamp the threads, then twist the other end of the two copper wires together. Hold the edges of the copper wire with both hands and twist them in opposite directions. The copper wire should tightly grip the edge of the threads.
As shown in the following pictures, the spacing between the copper wires for the three strips should be controlled within these ranges: 1.6–2 cm, 1.8–2 cm, and 1–1.2 cm.


Step 4: Roll the Strips 08:11–09:56
Remove the strips from the clamp. When cutting the strips, make sure to cut right in the center of the two copper wires. While rolling the strips, ensure that the copper wire is positioned in the center of the threads. Use tweezers to align the edges of the cut strips neatly. After adjusting, gently twist the copper wire and tighten it on the rolling board. Be careful with the direction of the copper wire—don’t twist it in the wrong direction, or the threads will come apart.

Step 5: Make the Petals 09:57–14:22
Fold the rolled strips in half, twist the copper wire at the bottom together, and cut off the copper wire at the lighter end. Use the clamp to flatten all the strips. Apply the shaping liquid to the strips and use tweezers to remove any excess liquid. First, shape the petals into a larger curve. Then, use the tip of the tweezers to gently touch the edge of the petals. The petals, once soaked in the shaping liquid, will be very soft and easy to mold. Use a small amount of light yellow paint to decorate the petals, ensuring that the paint saturation is very low.
Once the petals are shaped, insert them into a sponge pad to dry. After the shaping liquid has dried, trim any frayed edges from the petals. For the leaves, trim them to be wider in the middle and narrower at both ends. Use the clamp to gently press the leaves to create a slight curve.


Step 6: Leaf and flower assembly 14:22–end
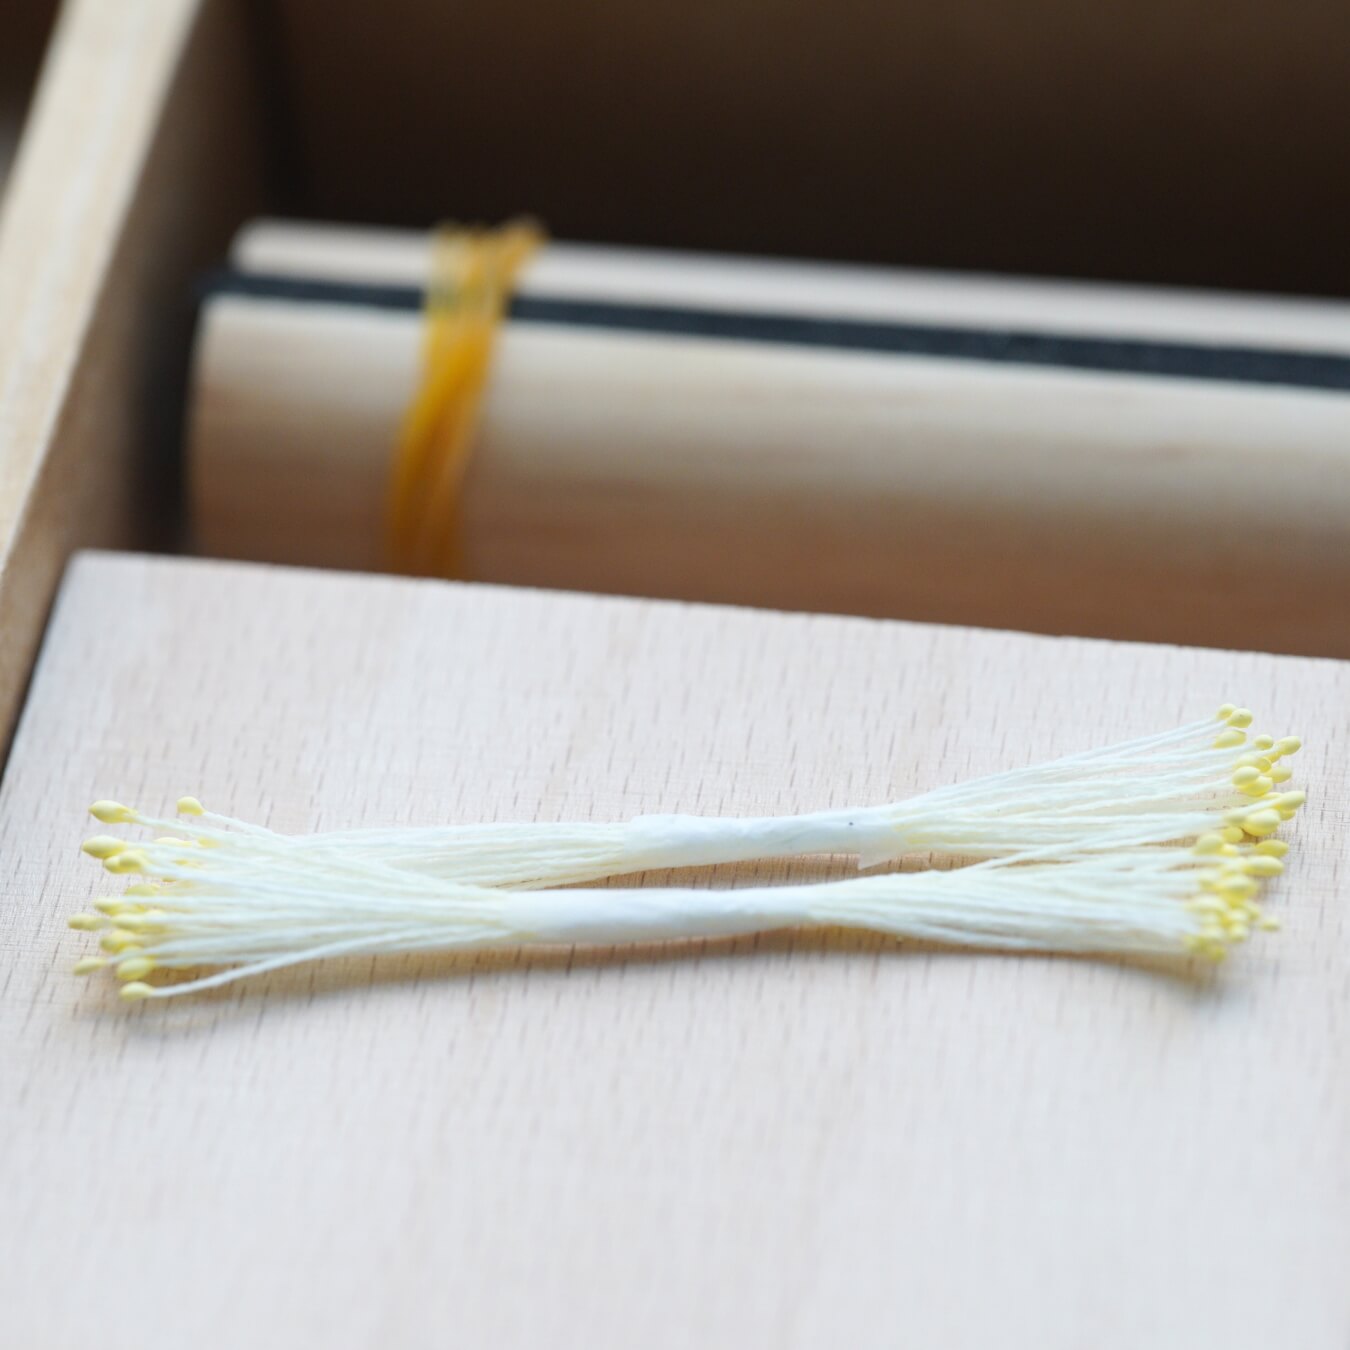
Prepare the flower core and cut the bottom of the flower core at an angle. Use the remaining thread to tightly secure the flower core. The iris flower consists of 6 petals. For the first layer, arrange 3 petals inward. For each additional petal, secure it with thread. The second layer of petals should face outward and fill the gaps between the petals of the first layer. Wrap the copper wire at the bottom with thread. Then, attach the leaves and the flower together. Finally, tie a knot to finish the flower.

To complete the flower, attach the two iris flowers together, one higher and one lower. Add two more leaves. Cut the copper wire at the bottom at an angle, and use pliers to fold the copper wire back. Continue wrapping the exposed copper wire with thread. Once wrapped, tie a knot to secure it and ensure the thread doesn’t unravel.


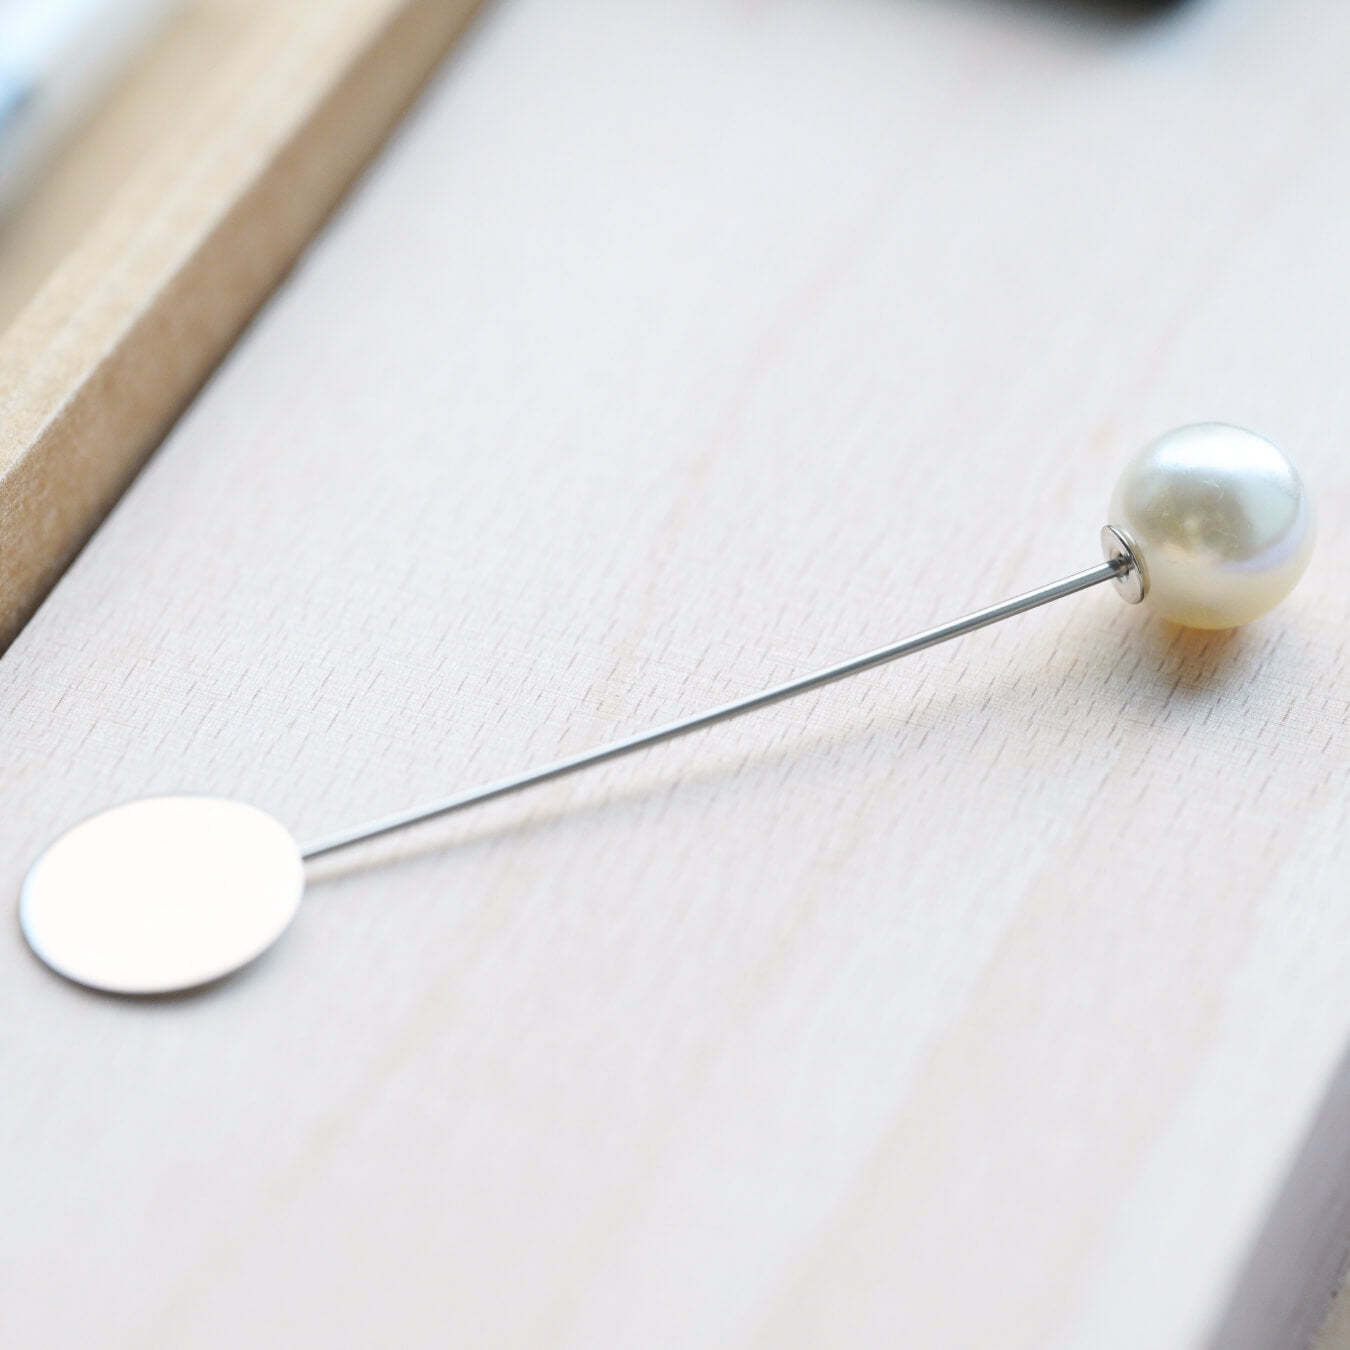
Fix the iris flower and the brooch together. Trim any excess thread and use a lighter to burn off the frayed edges. Apply a little white glue at the end to prevent the thread from slipping. Add a drop of UV glue to the petals to create dewdrops, and cure the UV glue with a lamp. Your iris flower brooch is complete!

If you finished your DIY product, welcome to show your awesome work to us and get coupons for the rest of our DIY kits!
INS@lanseichina
Pinterest@lanseichina


