

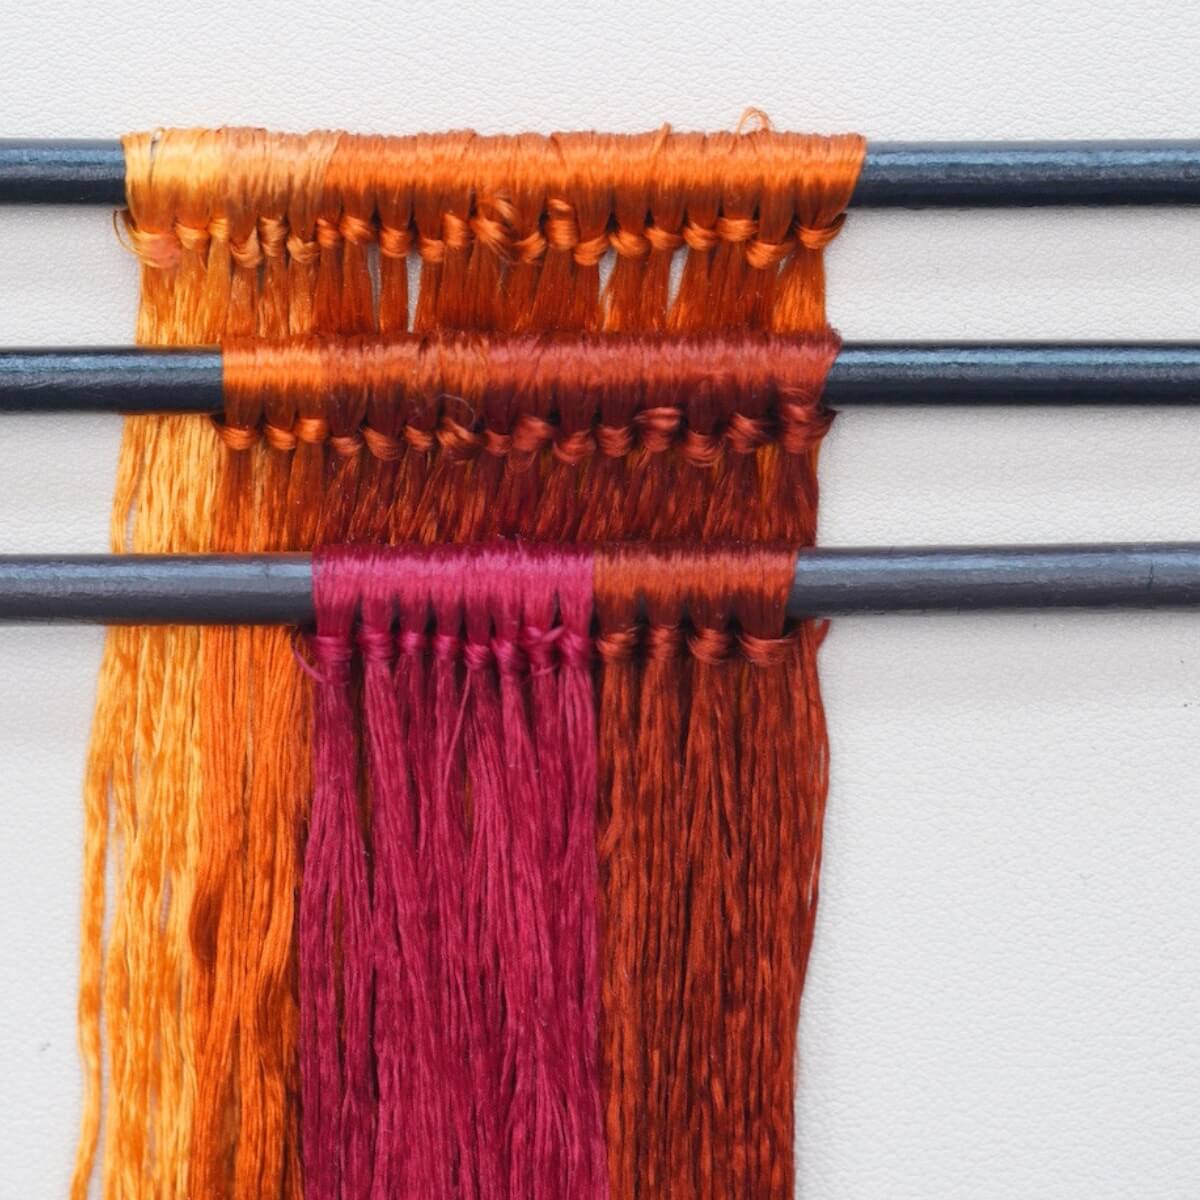
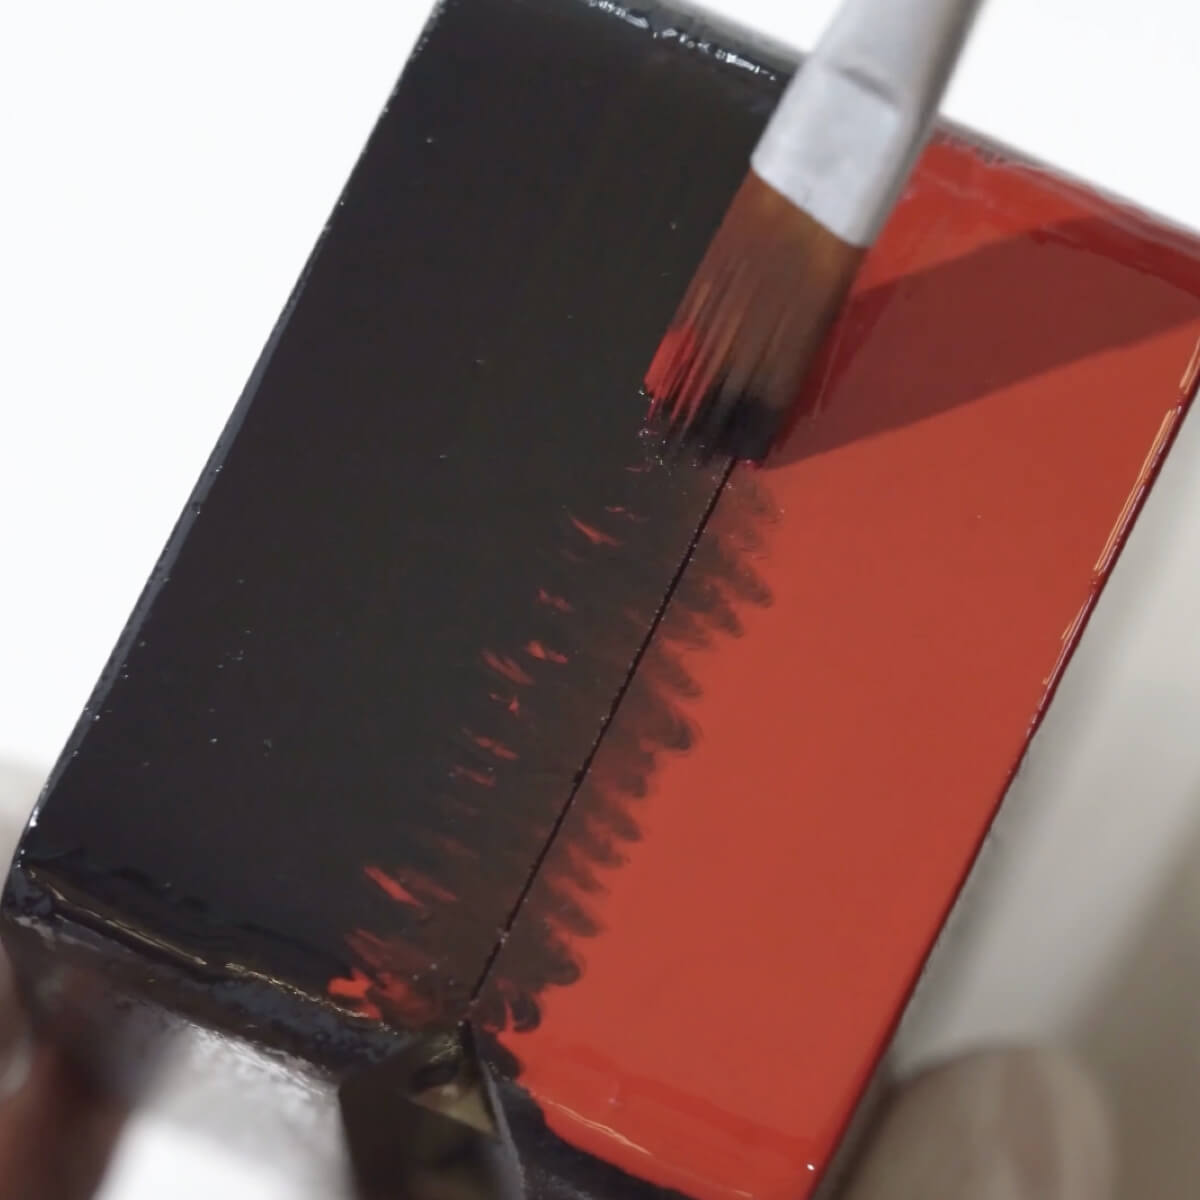
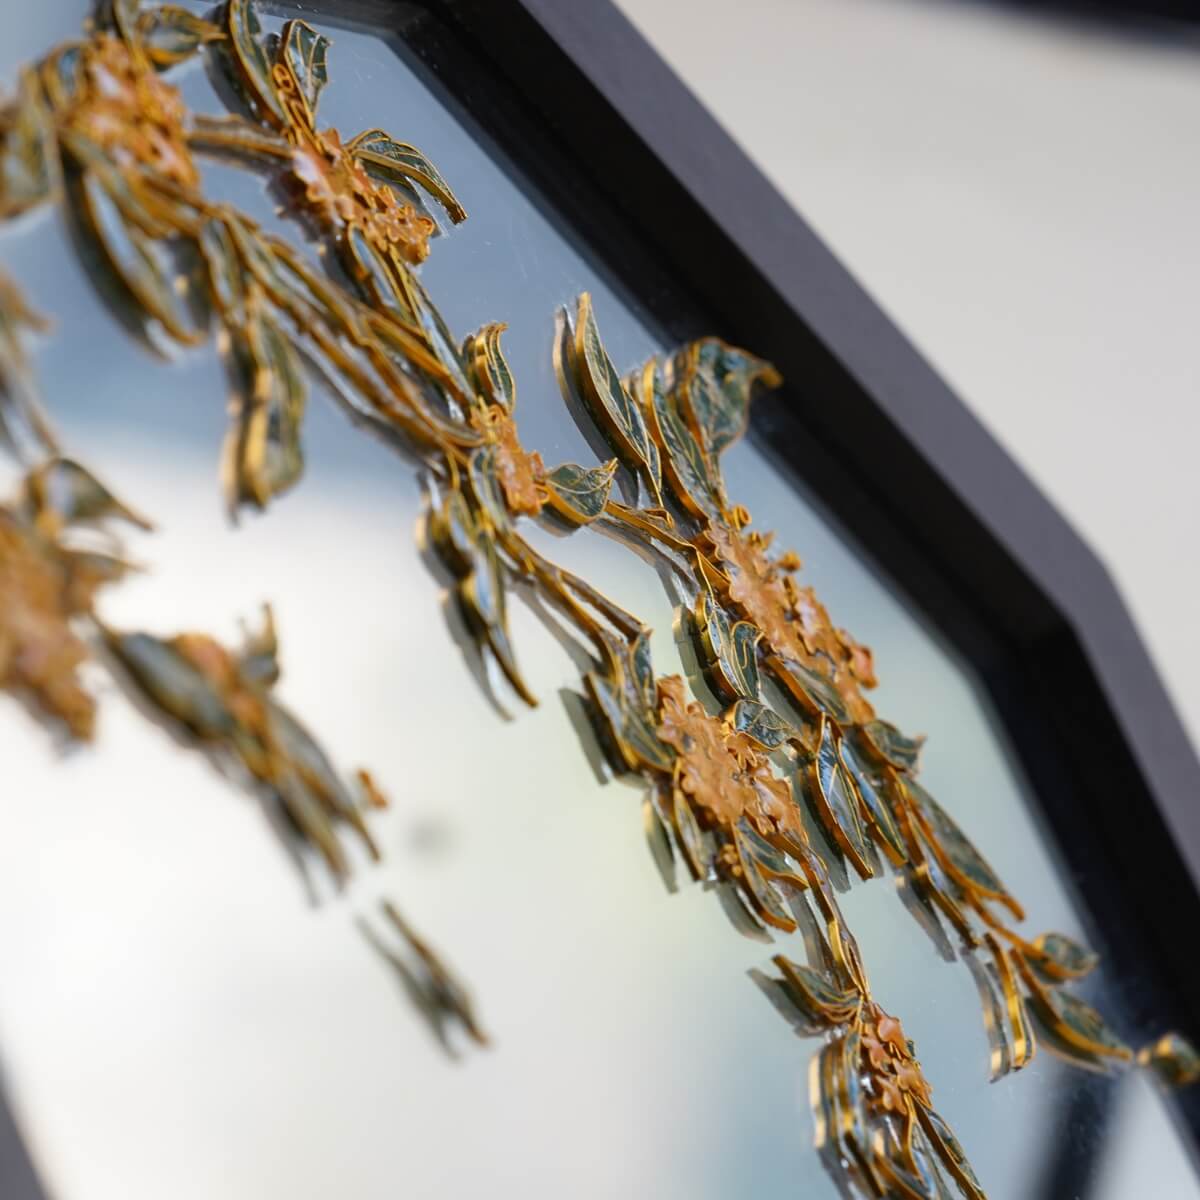
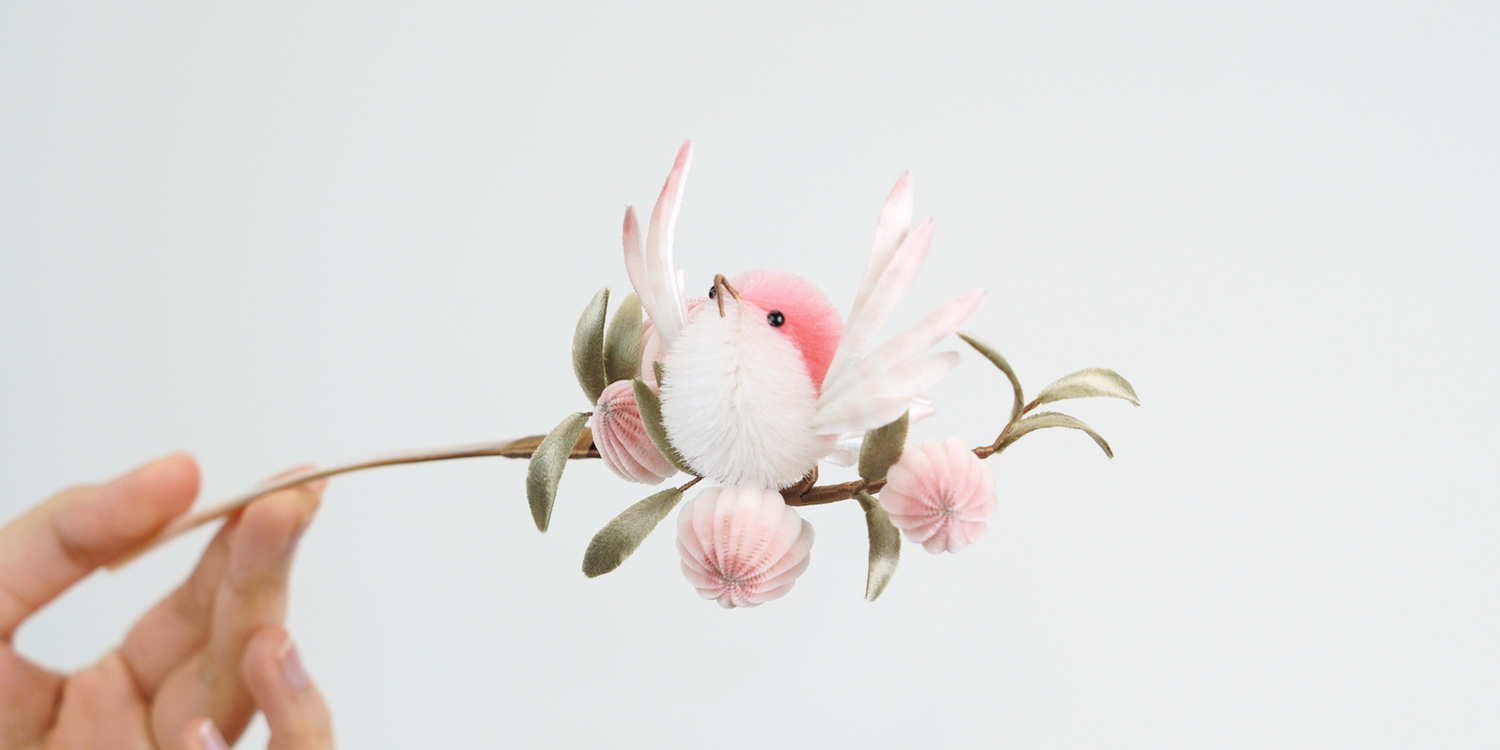
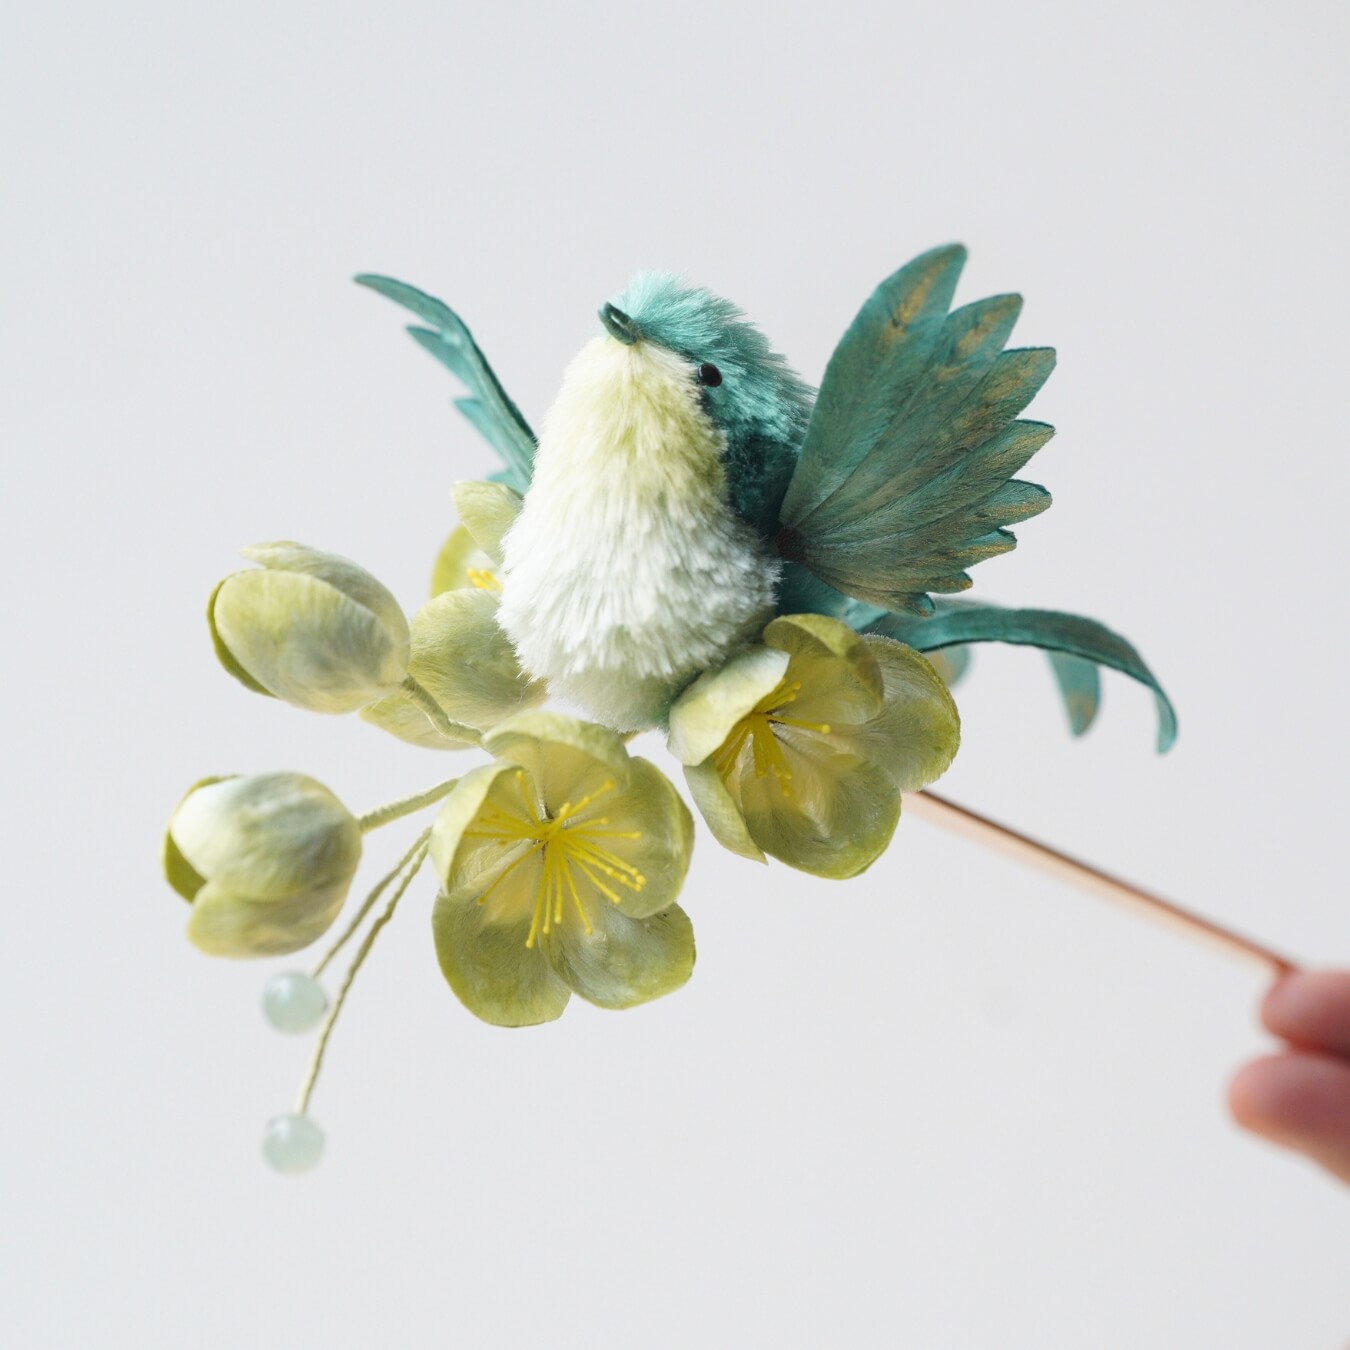
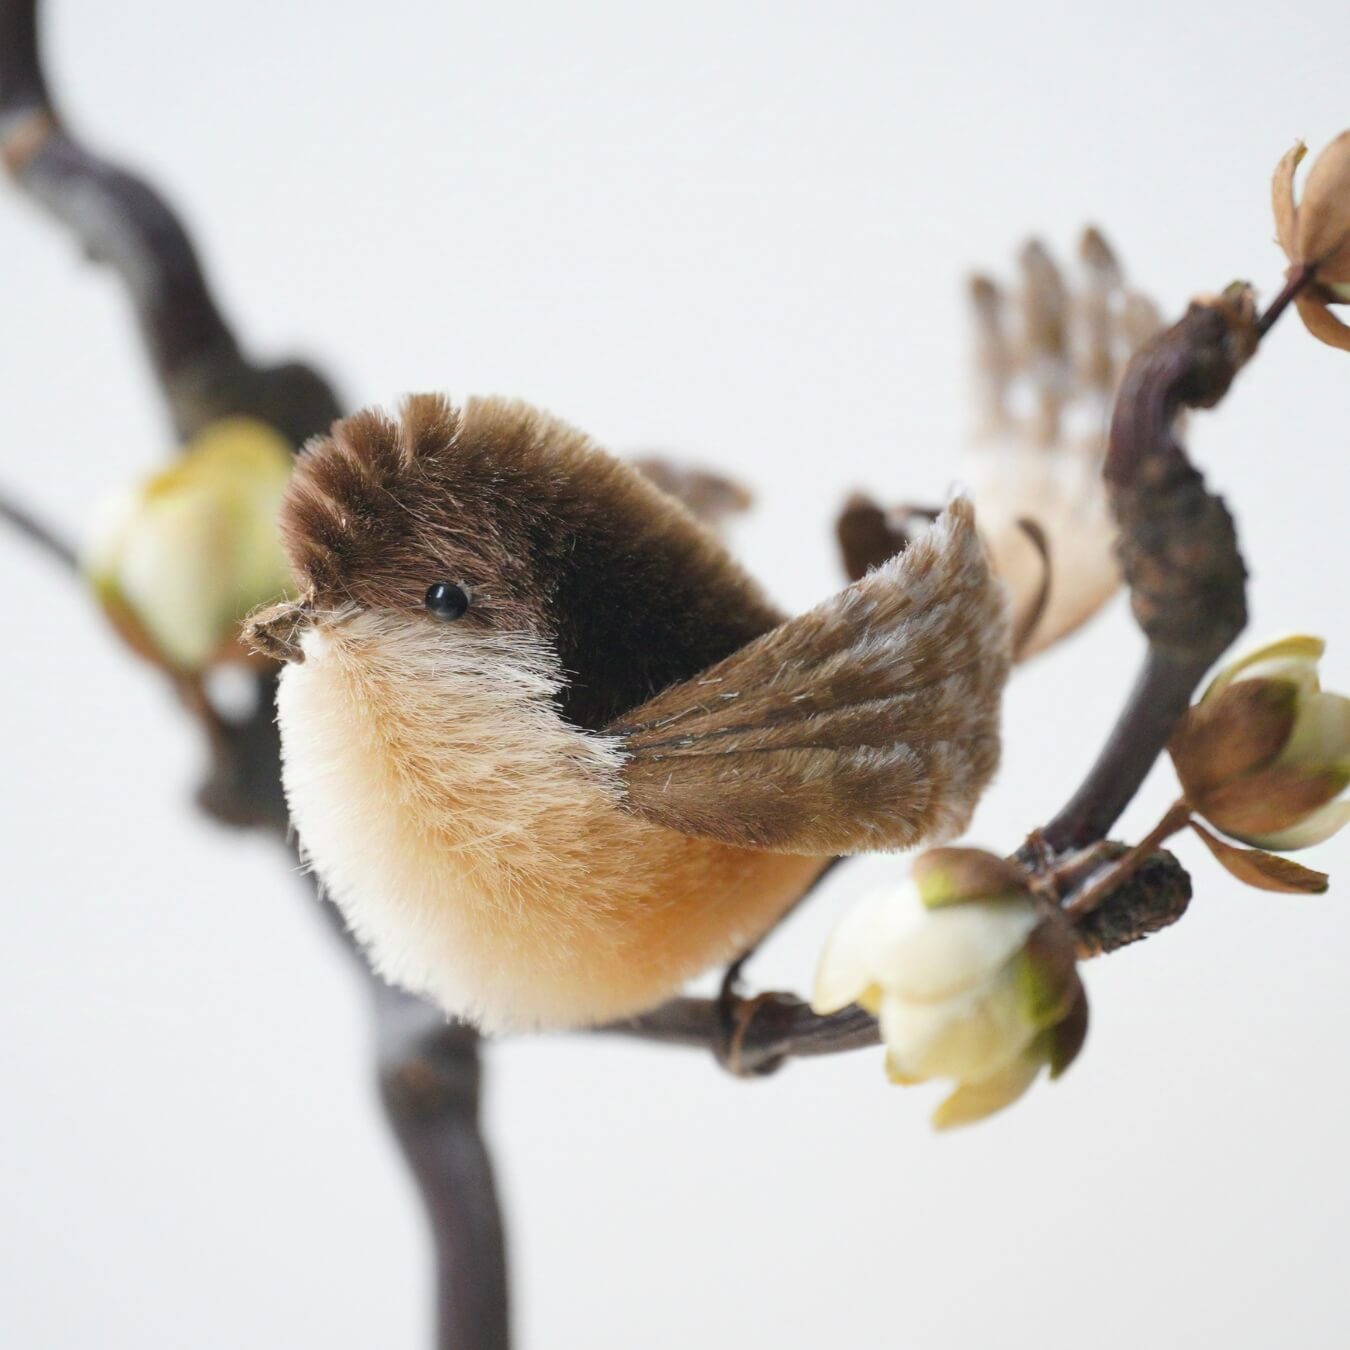
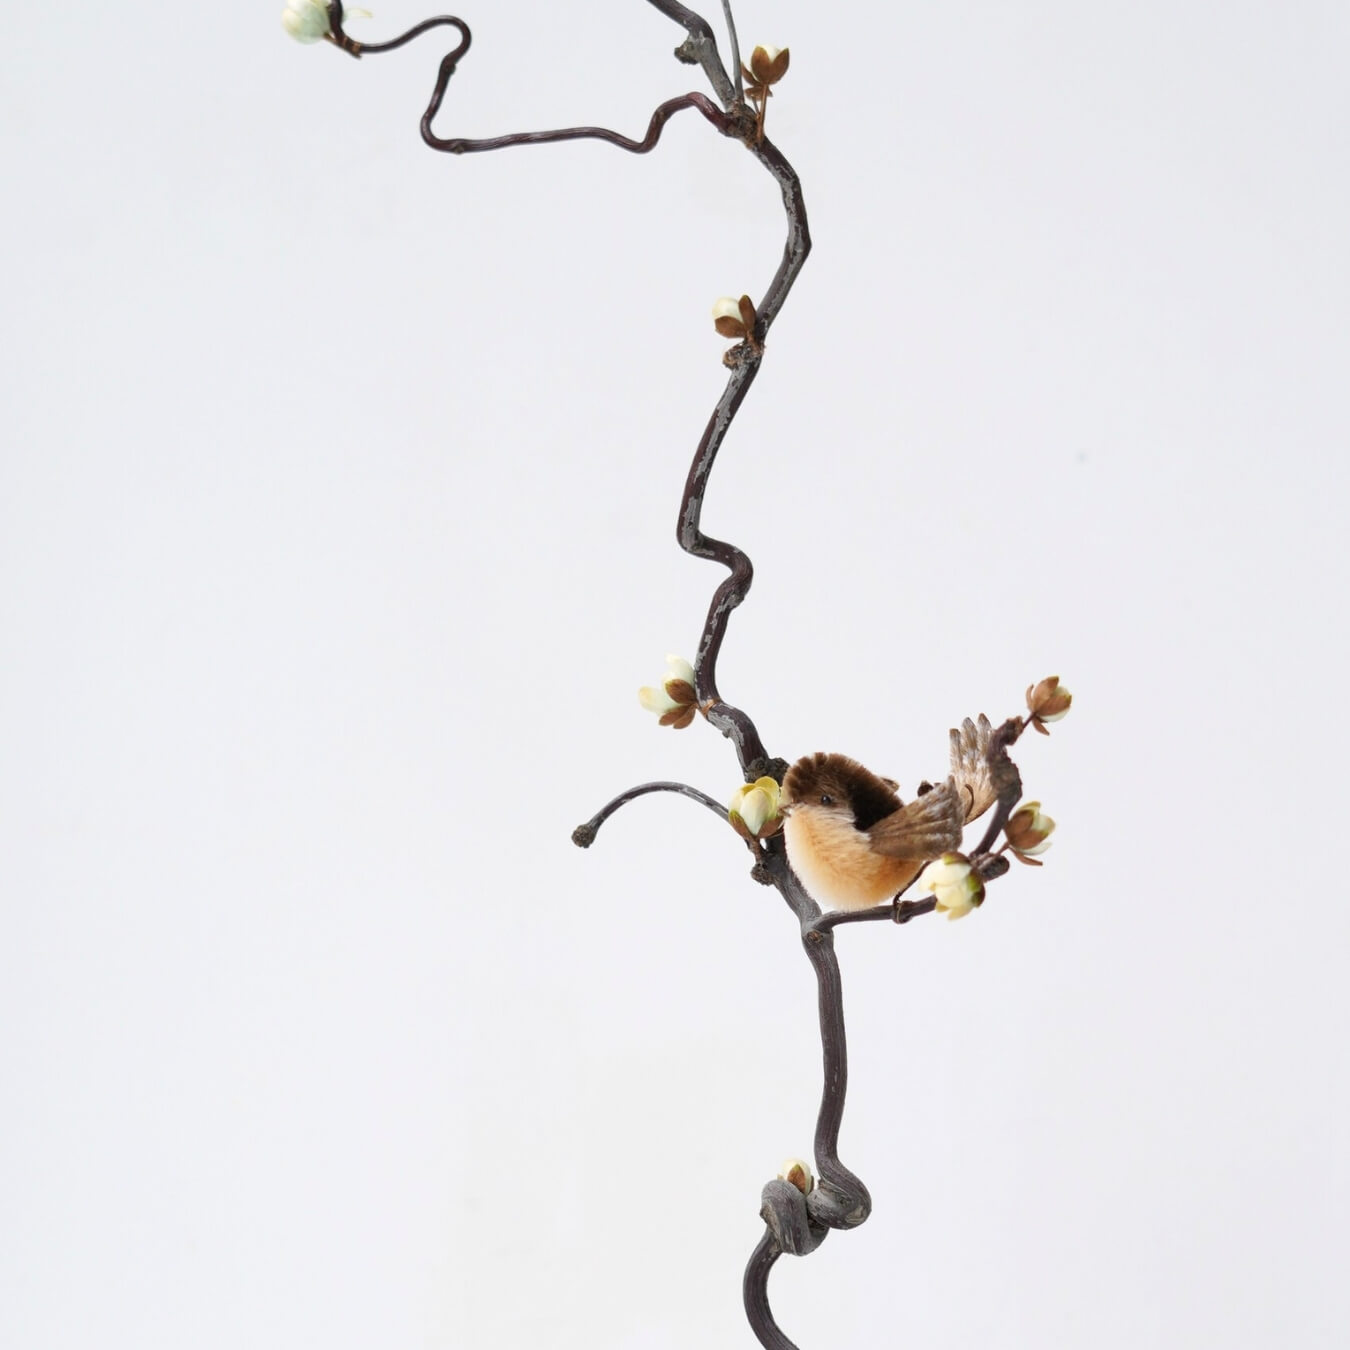
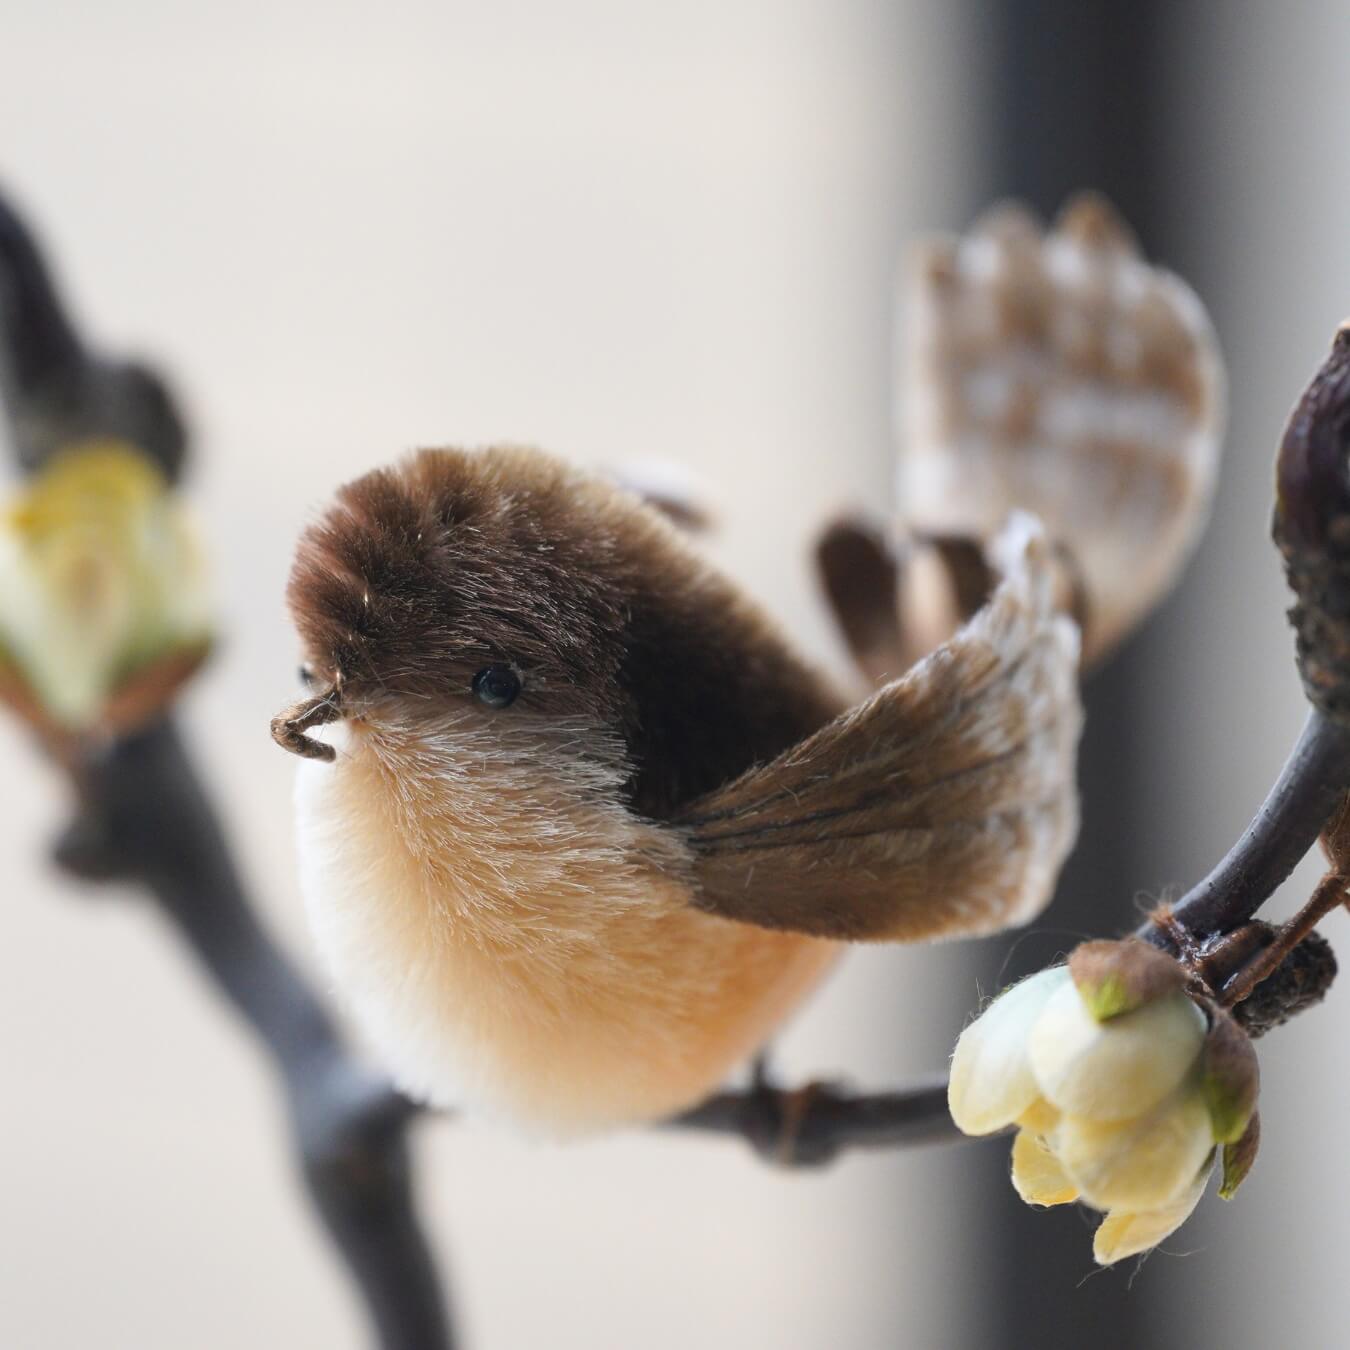
The Spring Birdie is a small, lively detail that brings a sense of movement and warmth to a piece. With its soft colors and slightly tilted posture, it feels like a bird just about to hop or take flight. Paired with blossoms, it naturally evokes spring, when everything starts to wake up again and the air feels a little lighter. It’s simple, but full of life.
Preparations: What You’ll Need
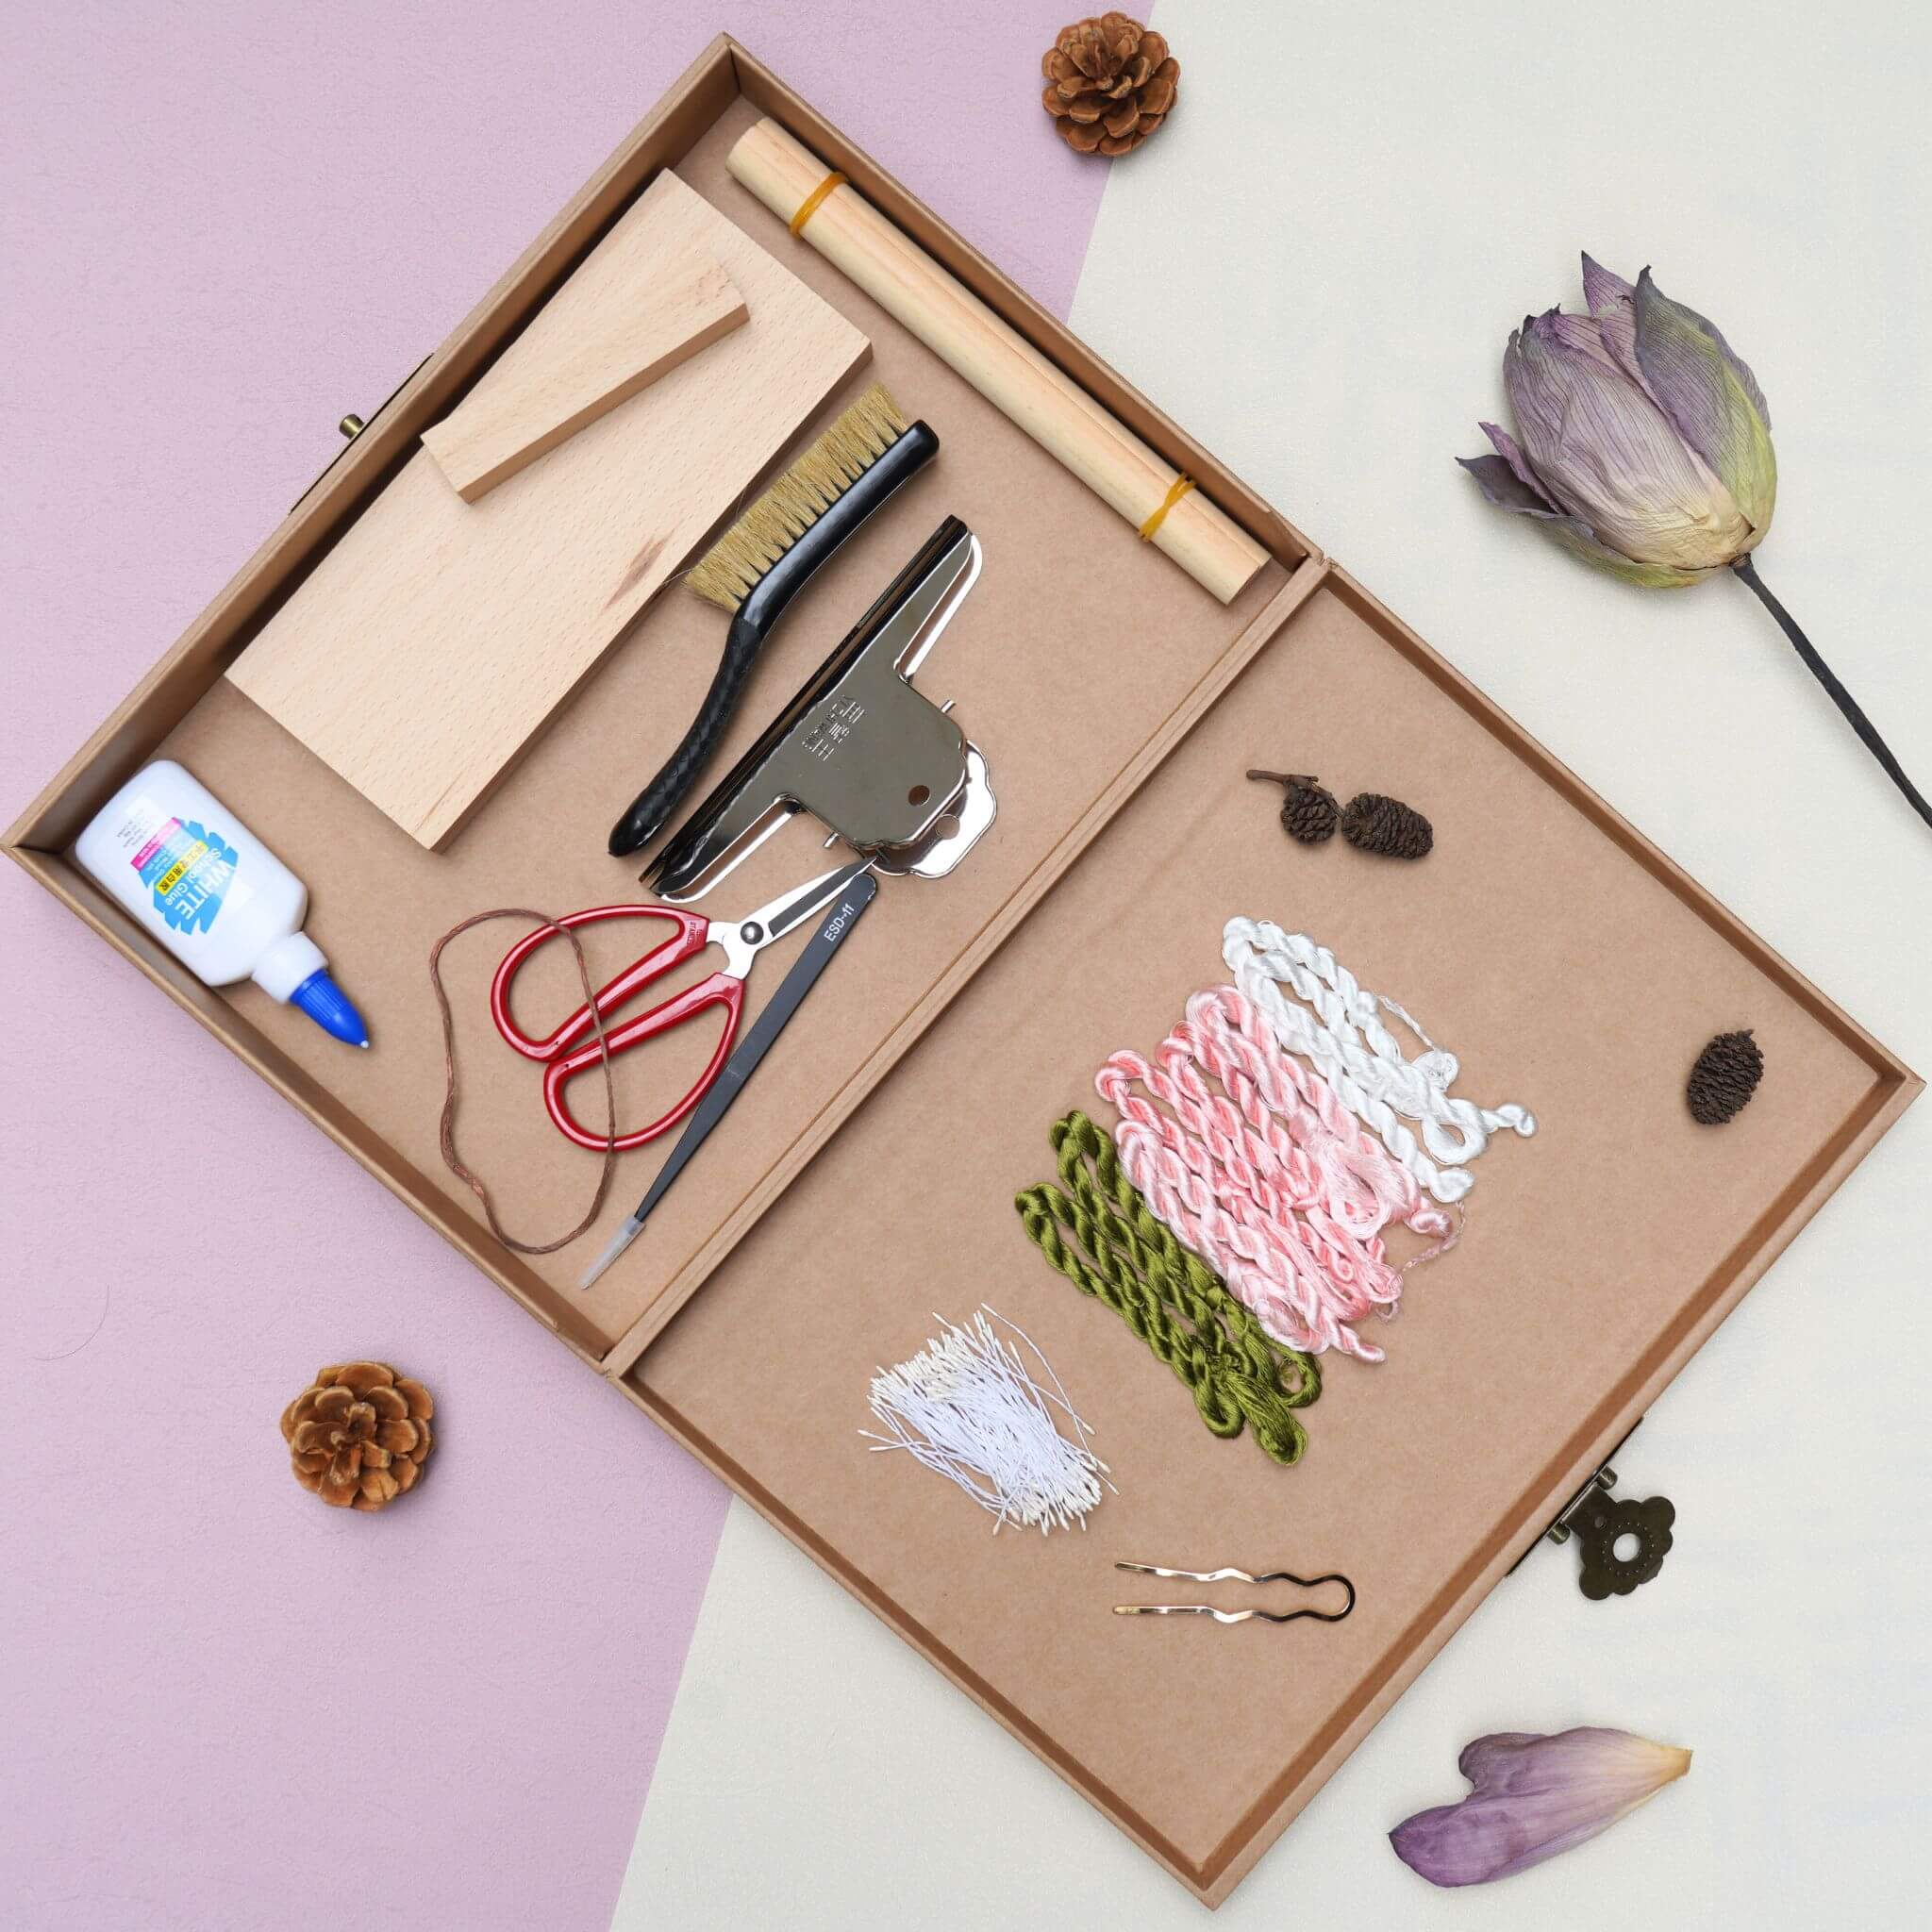
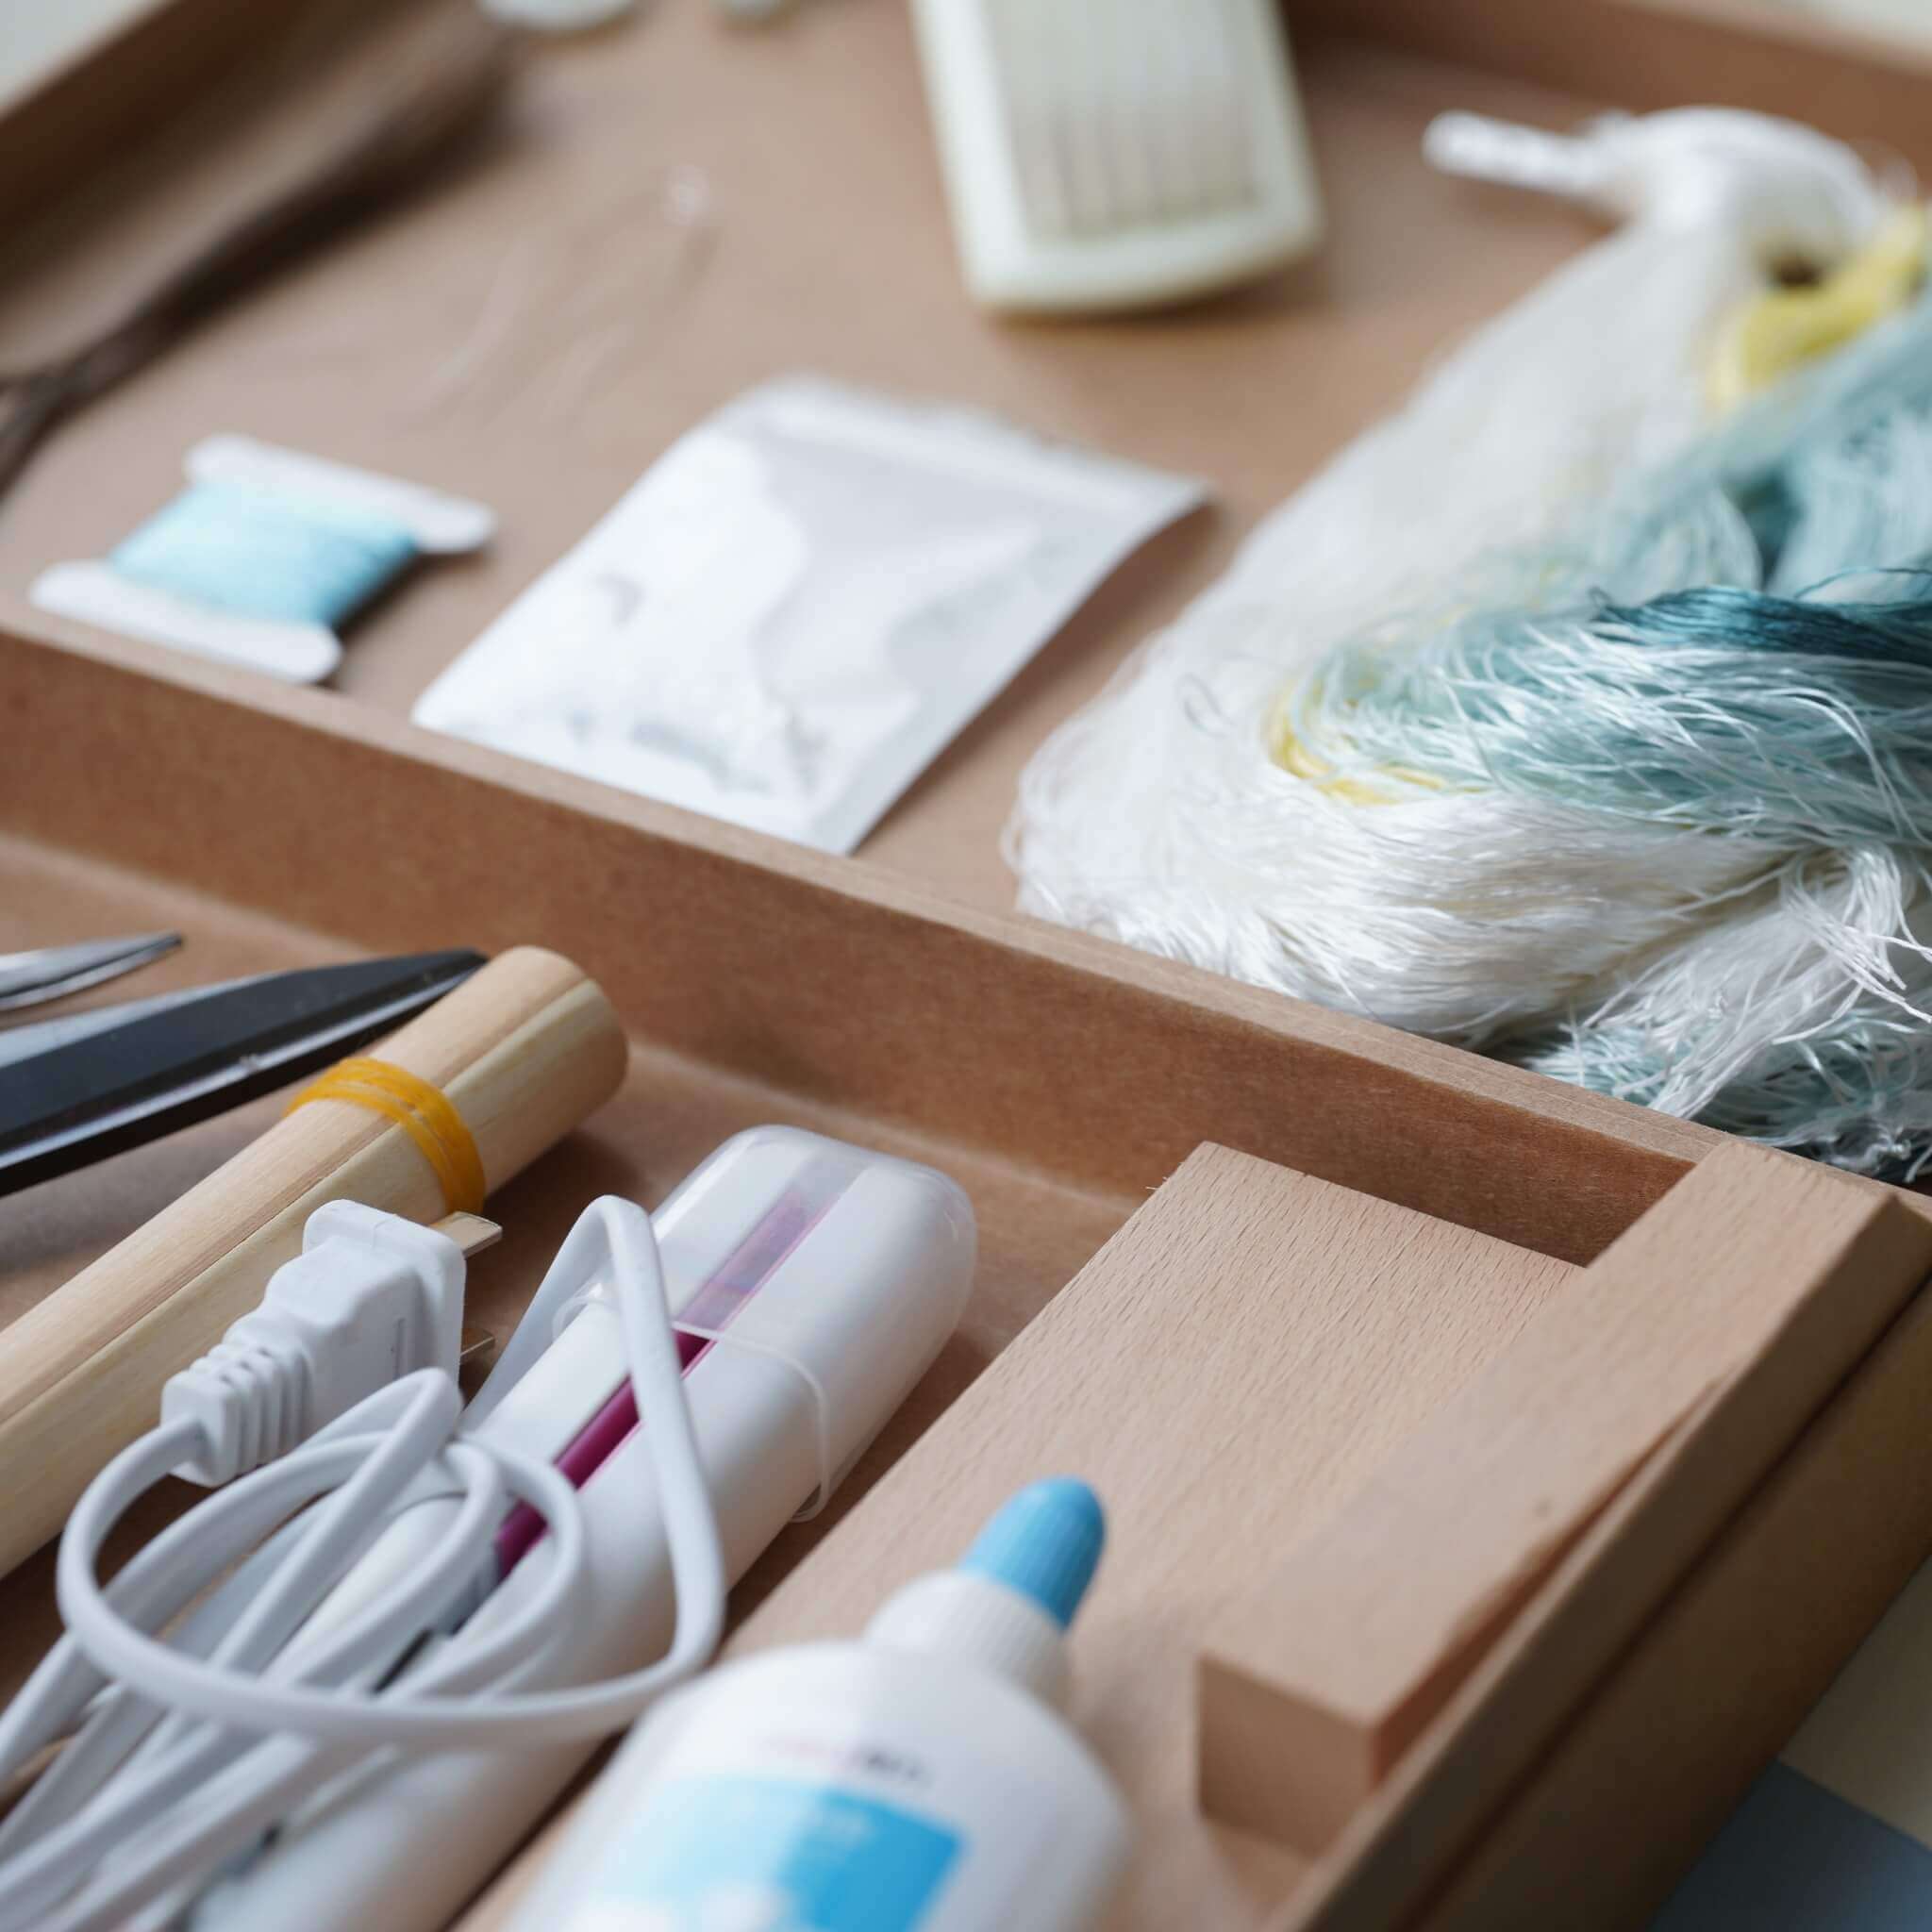
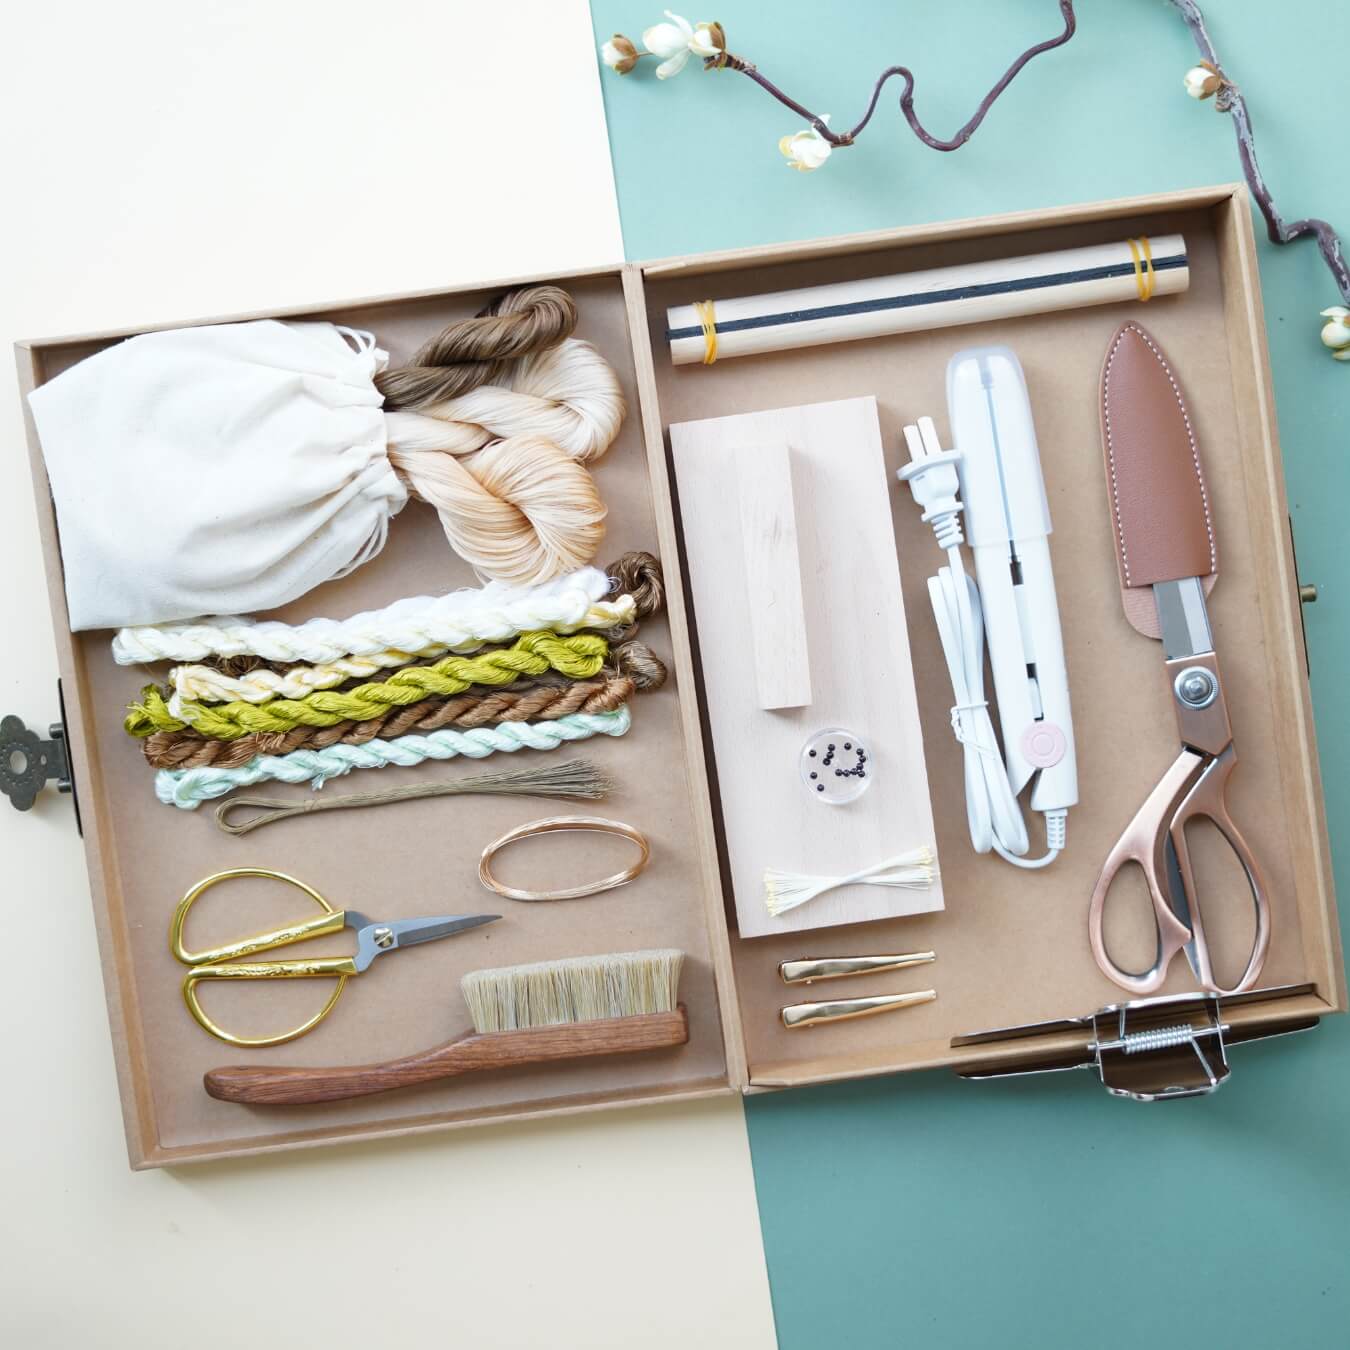
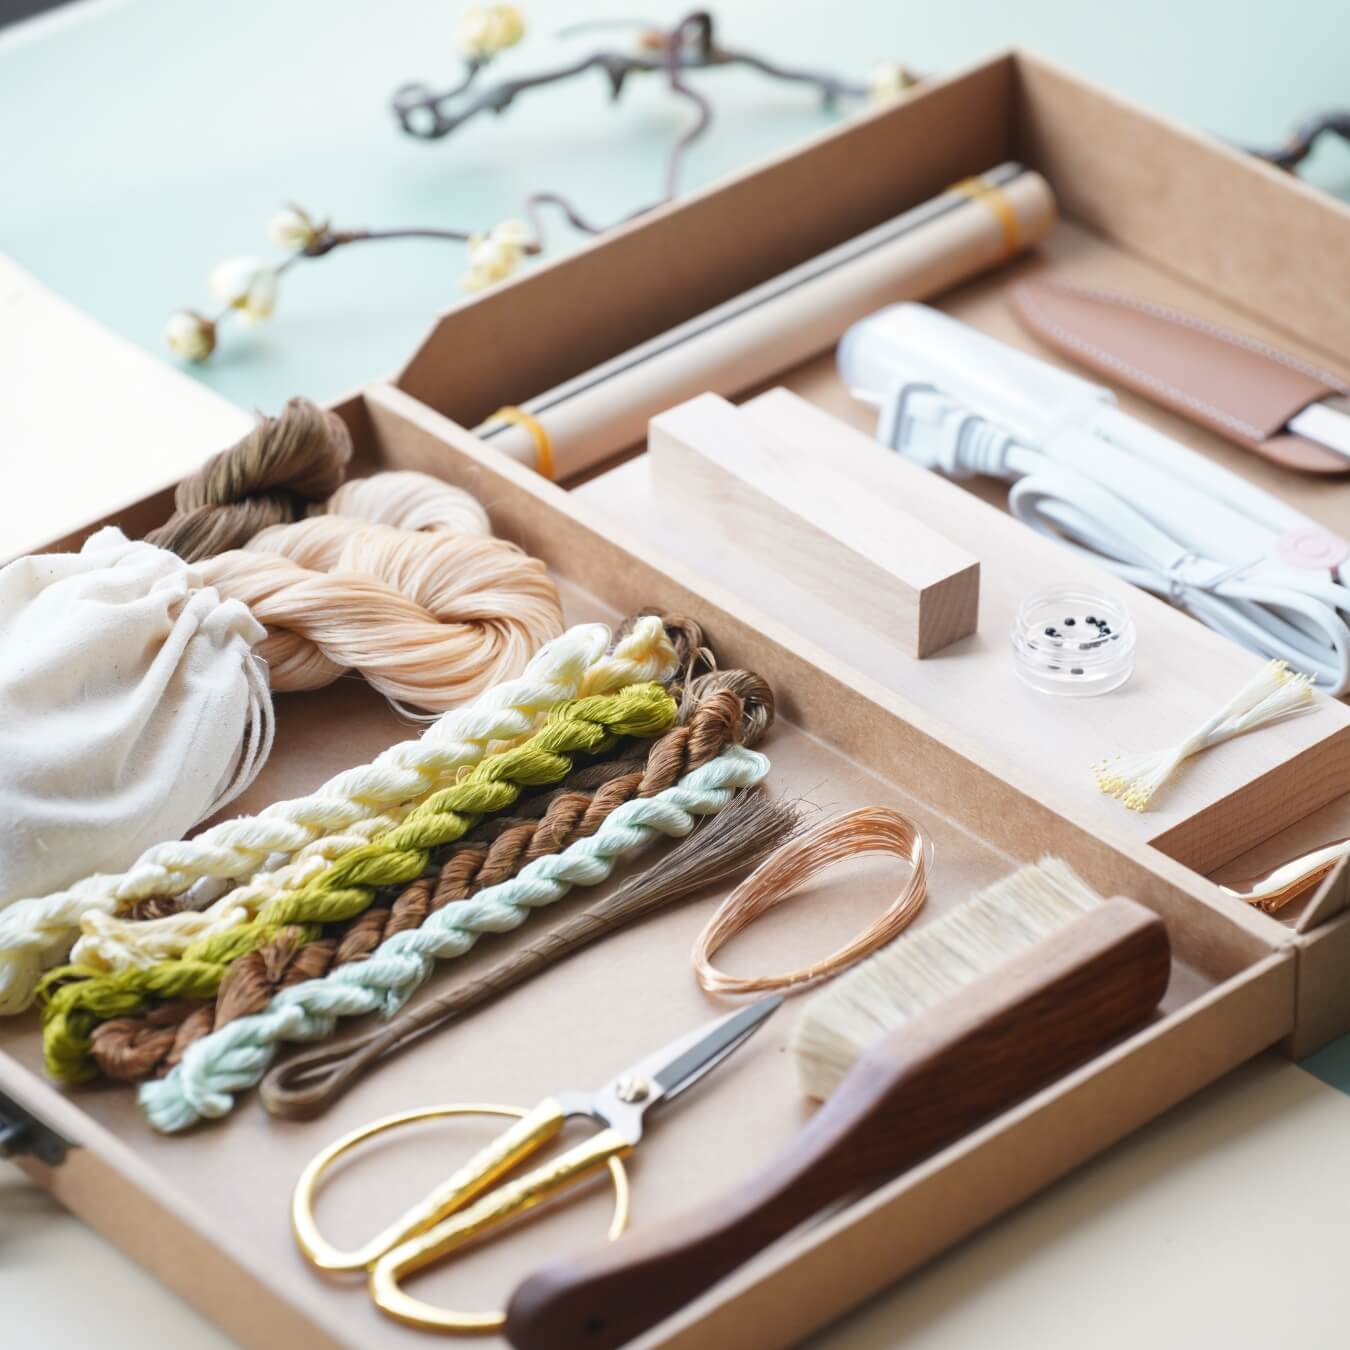
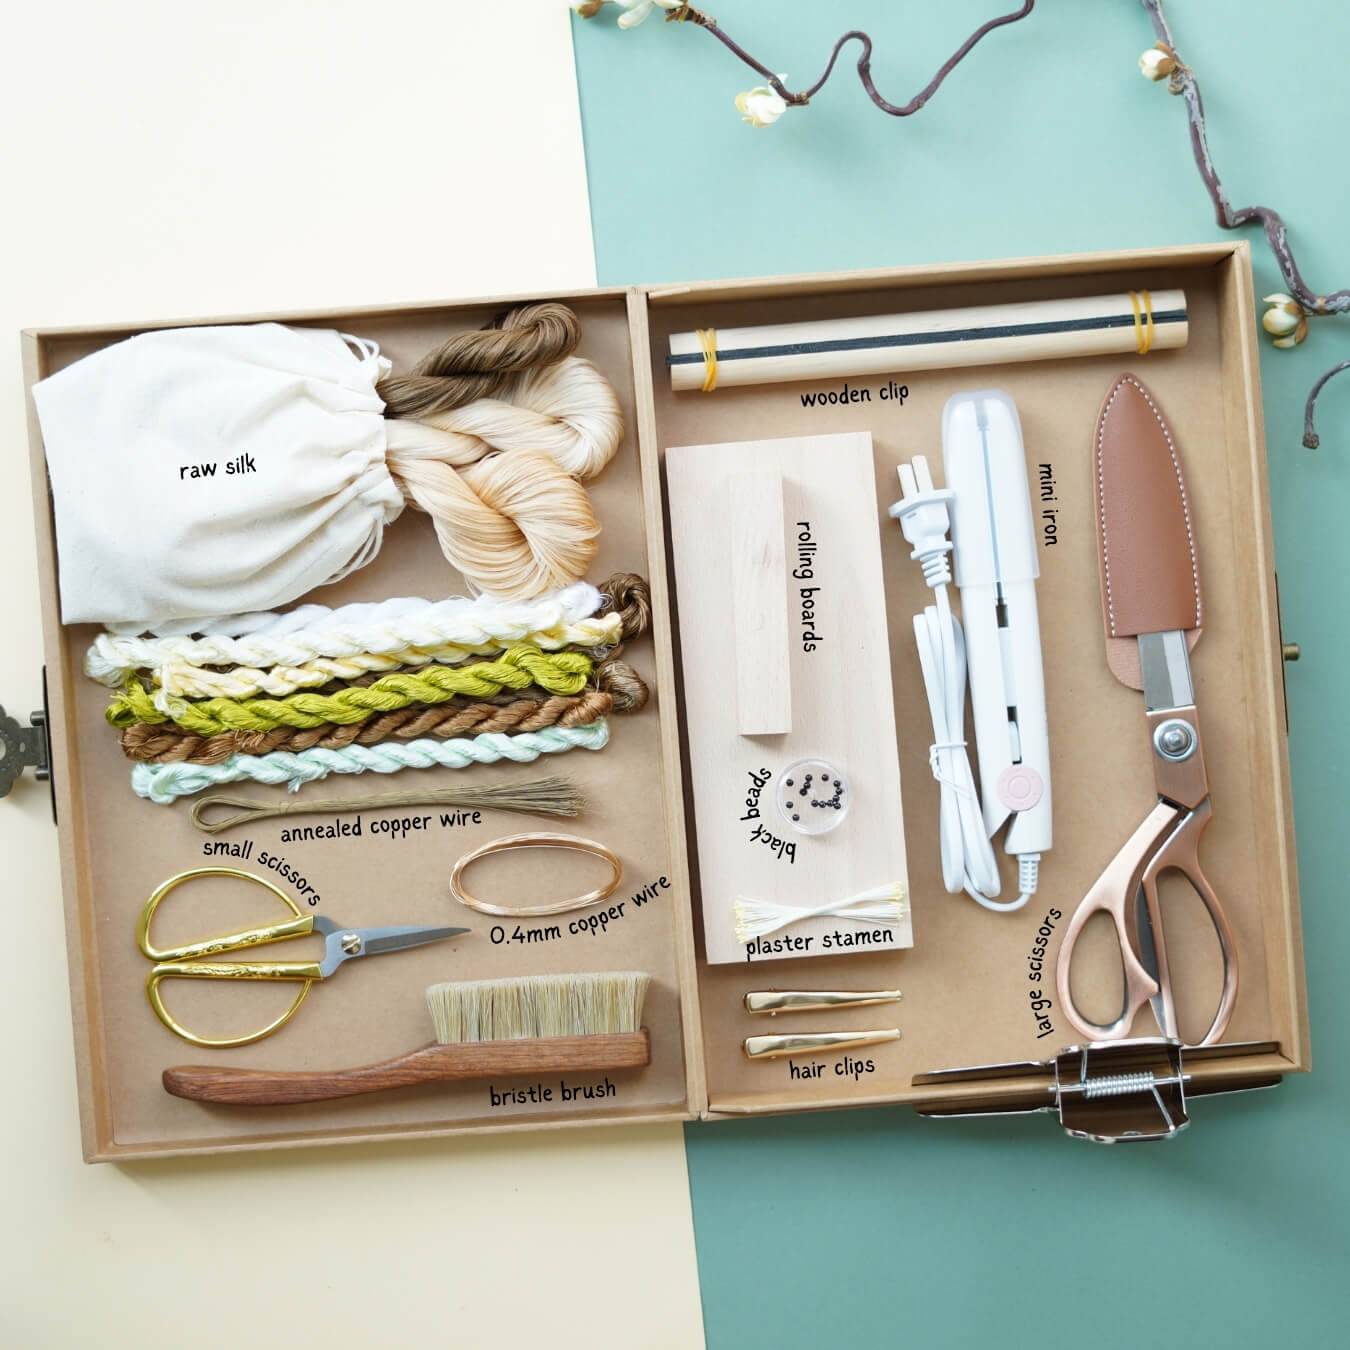
If you’ve purchased our Ronghua Toolkit, you already have everything required!
If not, prepare the following tools:
- Bristle brush (Medium to soft hardness)
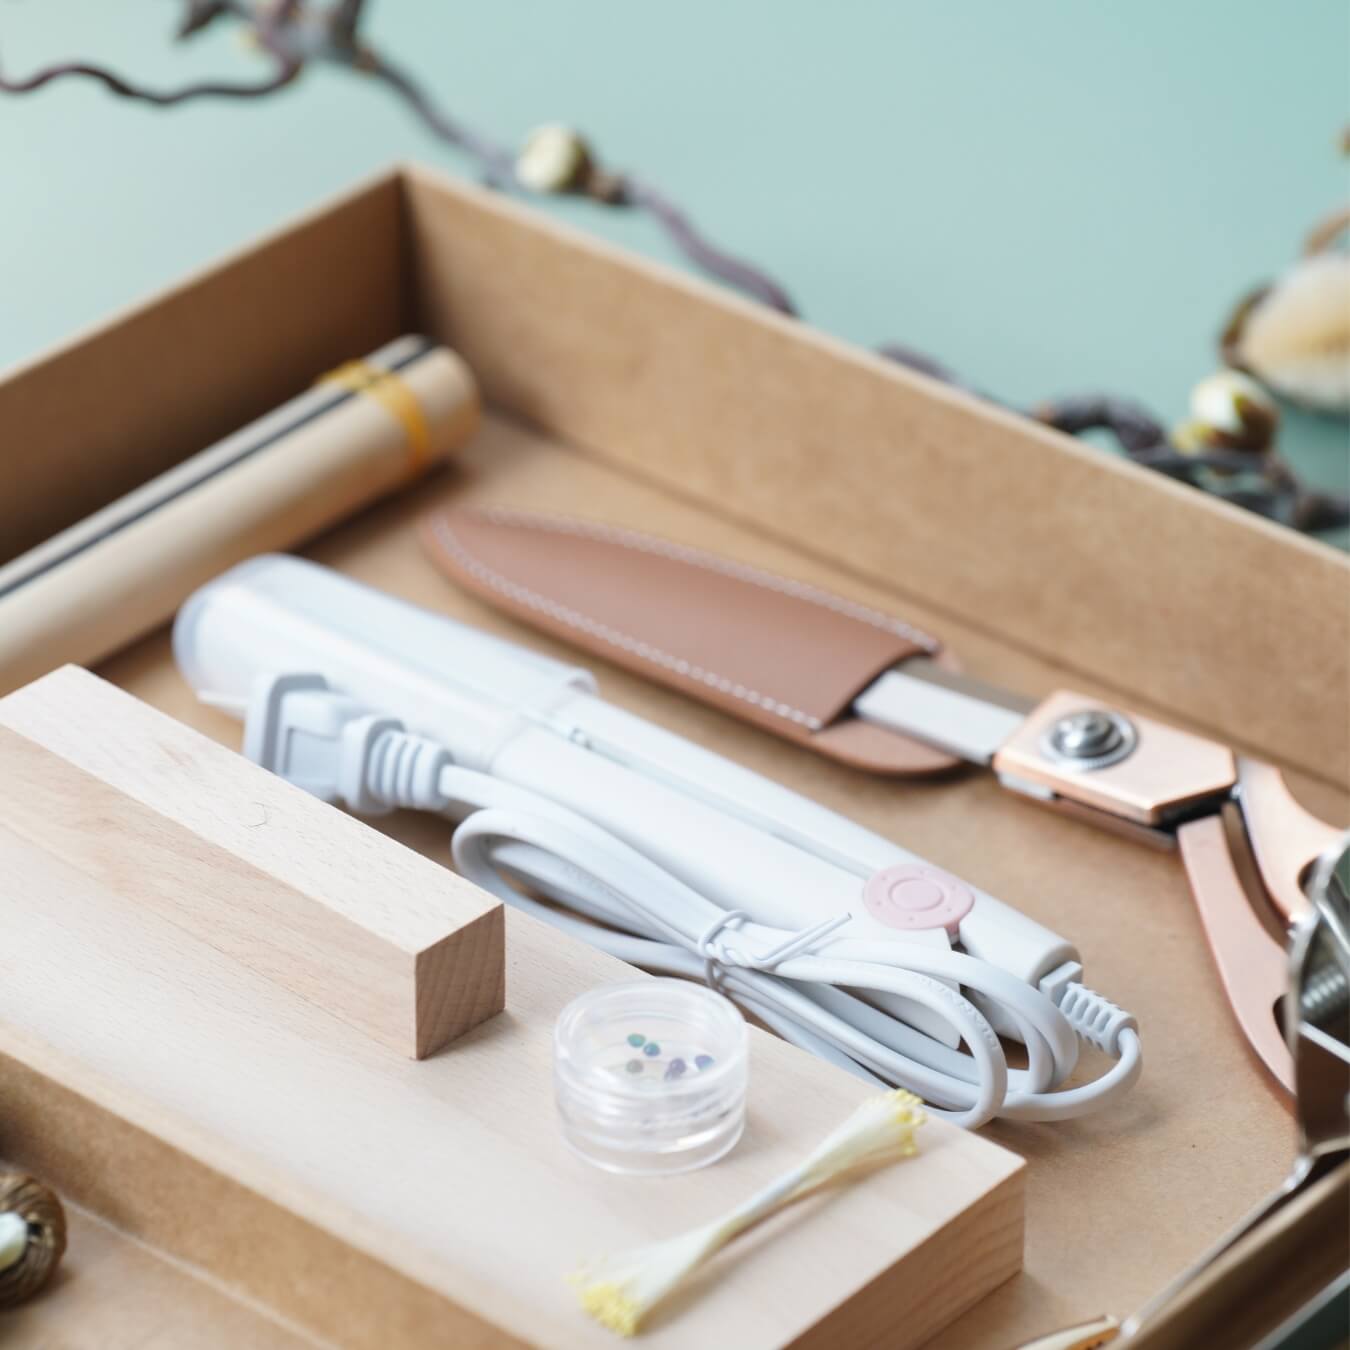
- Flat iron (the one you use to straighten your hair)
- Tweezers
- At least 2 pairs of Scissors
- wooden sticks / pencils / chopsticks
- Hair spray or diluted white glue (1:2-1:3 with water or alcohol)
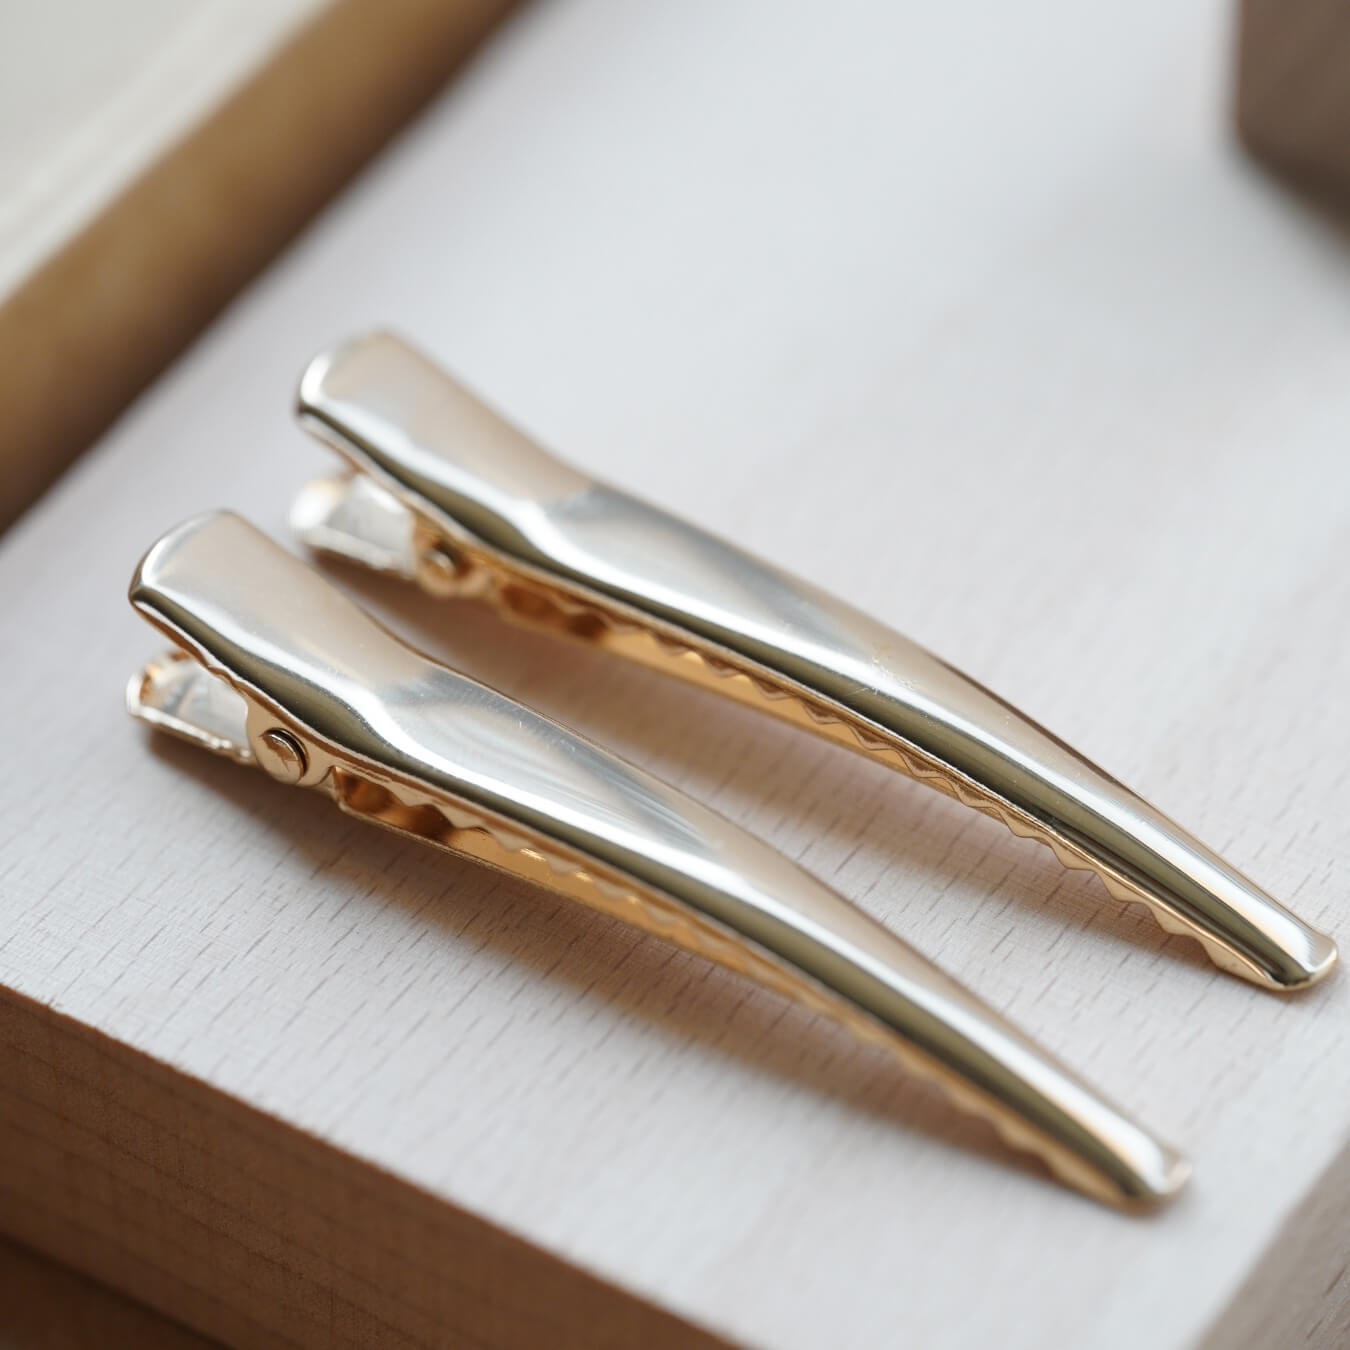
- Big clips (around 15cm)
- Twisting boards and wooden blocks (for even tension)
- Anti-slip powder (optional but helpful)
Full Tutorial Video
Step 1. Align and Arrange the Silk Threads
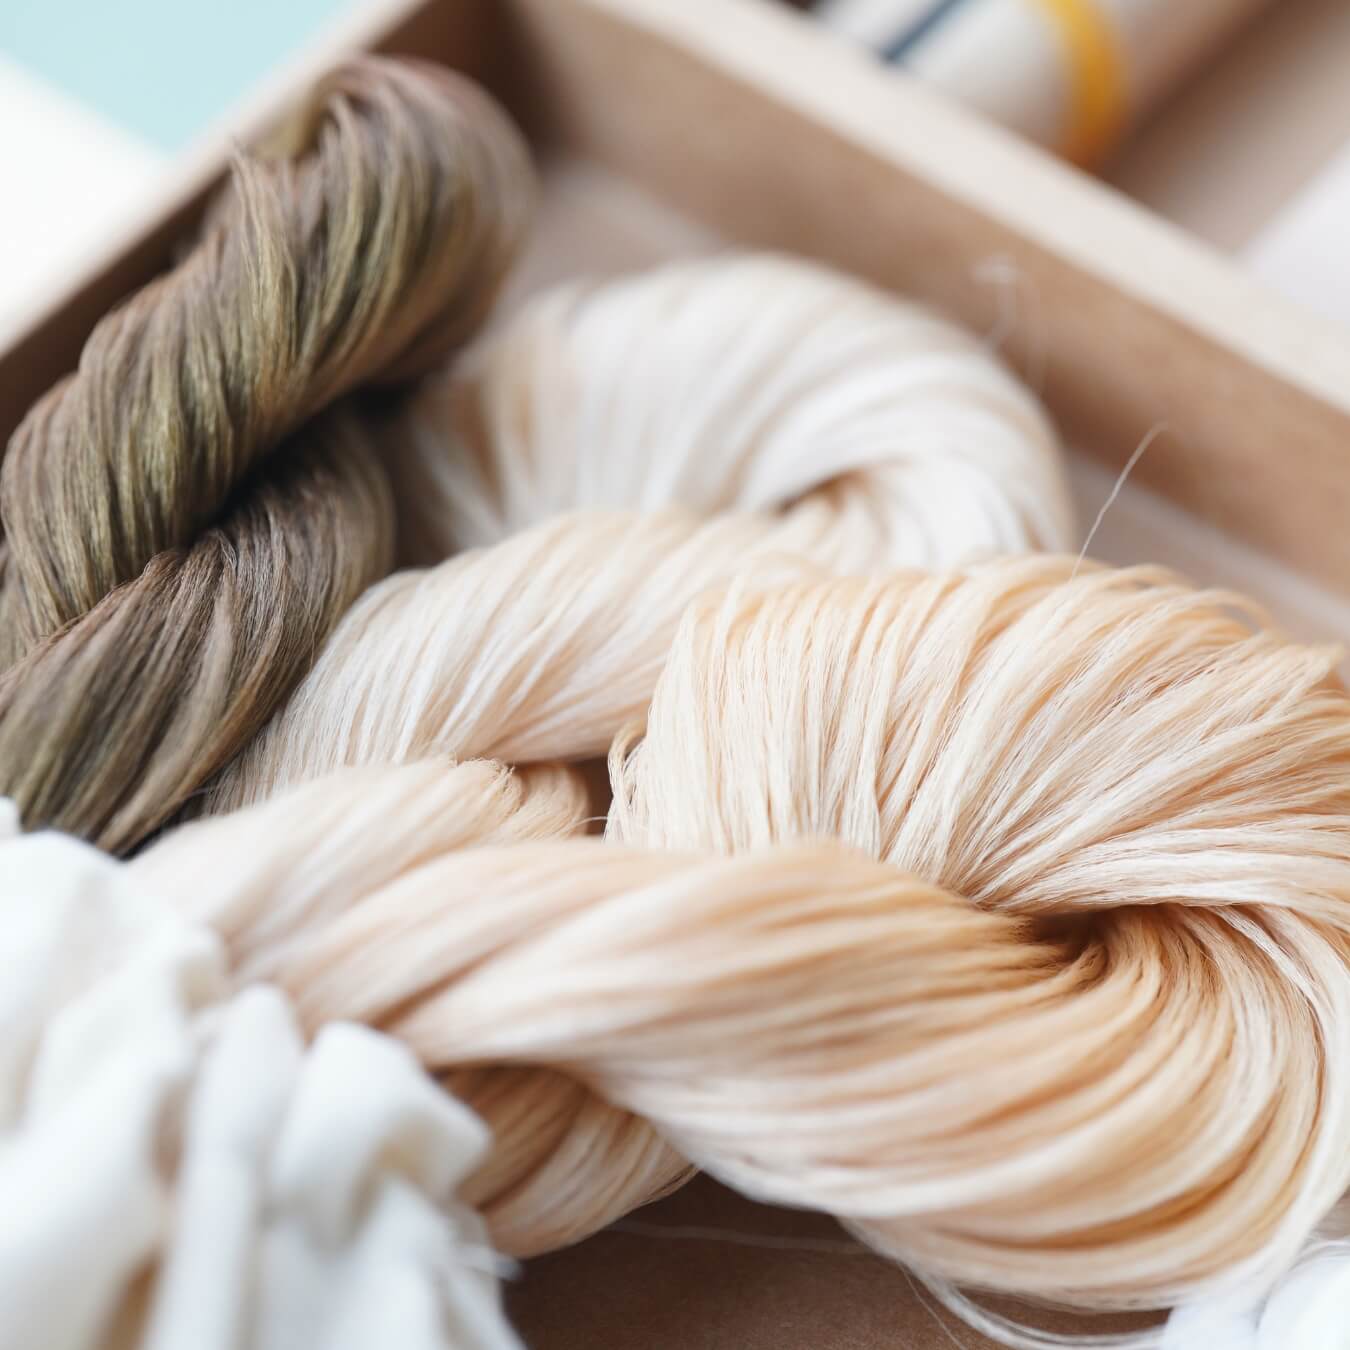
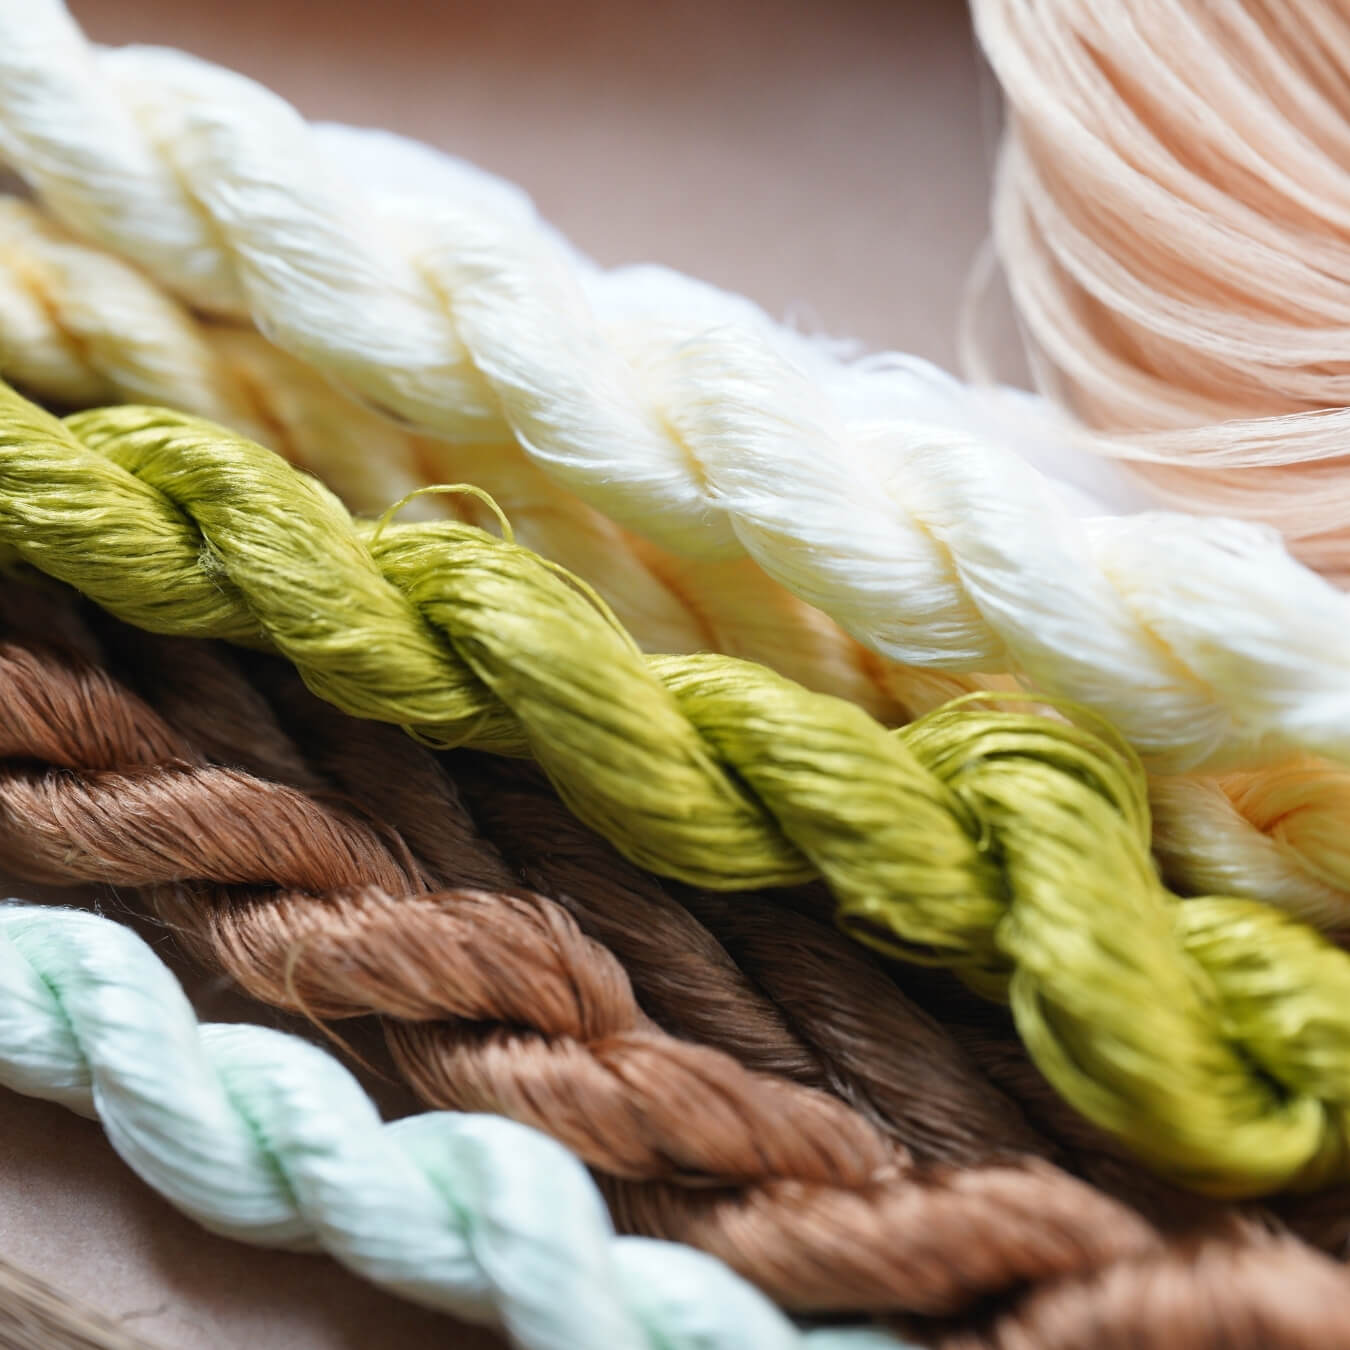
Start by untangling your silk threads. For the processed silk (peaches and leaves), group the silk into sets of eight strands. All of them need to be cut in half.

For the raw silk (the bird), divide the pink and white silk into larger groups of 20 strands. Locate any knots and cut the silk at those points, keeping the strands stretched straight as you work.

Step 2. Group and Prepare the Threads
Fold your prepared bundles in half and cut them again to achieve uniform lengths. Tie each bundle onto a wooden stick or pencil.

Ensure that the ends are even; this is especially important for the firmer raw silk to prevent uneven textures during the brushing phase.

Step 3. Make Silk Rows
Repeat the process to create rows for each component: peaches, leaves, and the bird’s body/wings. It is often easier to complete one row at a time. Refer to your project diagram for the specific color sequences required for the bird's plumage versus the peach gradients.


Step 4. Brush the Silk
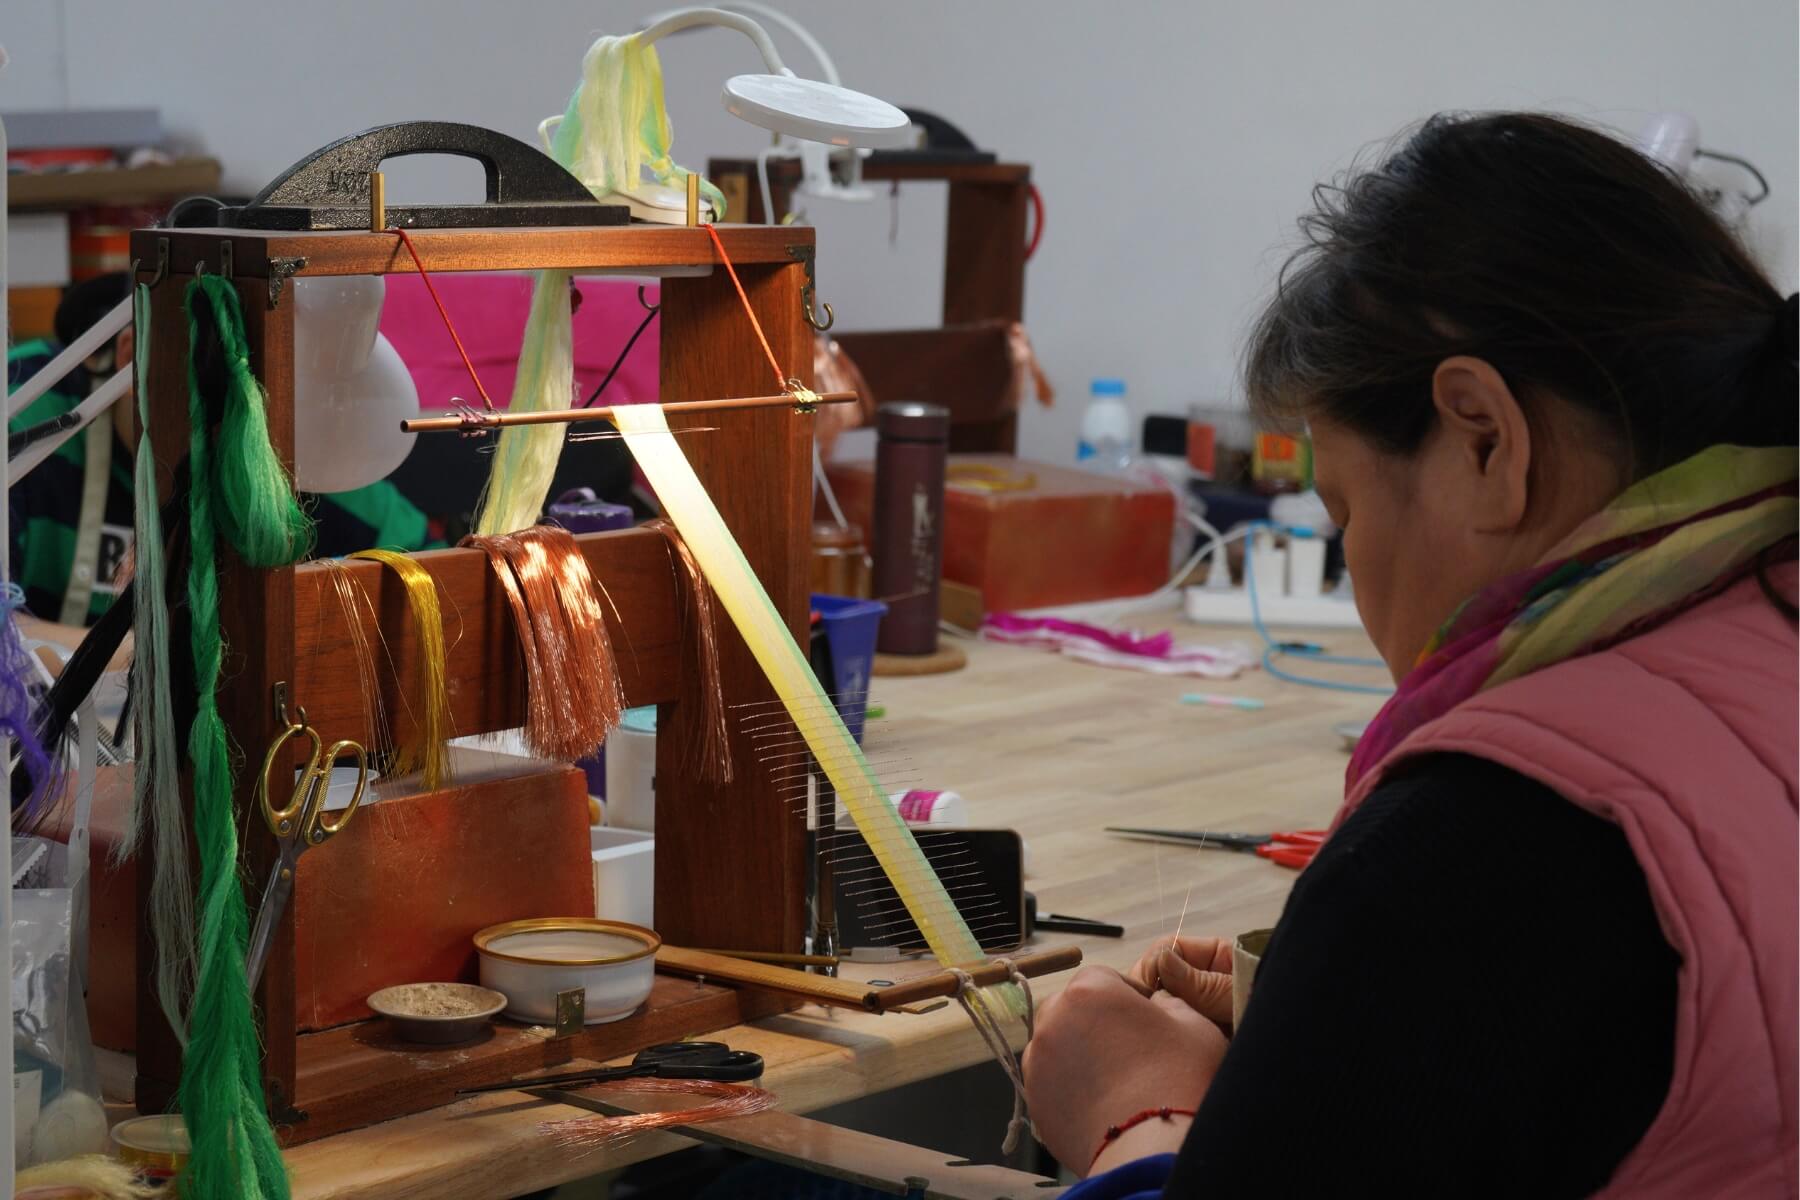
Secure the silk onto a frame and brush from top to bottom.
-
For processed silk: Brush until the silk becomes smooth, fine, and free of tangles.

-
For raw silk: Because raw silk is coarser, alternate between brushing and pressing the strands with a flat iron. This heat treatment helps separate the strands and ensures they stay smooth and straight.

Step 5. Attach Copper Wires
When you feel that the silk is brushed enough, secure its tail with another big clip to your table or anything that can help stretch it taut. Take out one copper wire from the folded end of the row and straighten it. Twist the folded part into a spiral of about 3 cm. Clamp the silk threads between two copper wires and twist the opposite side tightly.
Pull both wires taut and continue twisting until they merge into one. Remember, the twisting direction for the left and right end are opposite.
The spacing should be the same as shown in step 1.
You can watch our video tutorial for this step:)
For the row made with raw silk, the process is a bit different. For the wire, you need to bead it first.
Insert a bead onto a copper wire. Fold the copper wire in half and twist it tightly. The bead helps make twisting the copper wire easier. Because the copper wire is thick and not annealed, twisting it by hand is very difficult. Twist about 5 cm. Place the silk threads between the copper wires. Insert another bead on the other end of the copper wire. Thread both copper wires through the bead.
Step 6. Cut the Silk Strips
Remove the silk rows from the stand. Trim the excess silk at the ends and cut between each pair of copper wires.

For the bird strips, ensure the cut is perfectly even so the resulting oval shape remains symmetrical.

Step 7. Center and Twist the Strips
Align the copper wire to the center of each strip.
For processed silk: 4 pink-white strips are for the bird's feathers and 2 of them need to be made into different lengths. Take out your tweezers and pull off 1.5cm of silk from the wires.
- Center the strips against a wooden board.

-
After centering the wire, roll the strips firmly with a wooden board. This technique hides the wire inside the silk, making the strips appear smoother, slightly shorter, and more refined.

For raw silk: Ensure the wire is tightly secured and centered, but focus more on maintaining the volume needed for the bird's body.

Step 8. Taper the Leaves and Peach Strips
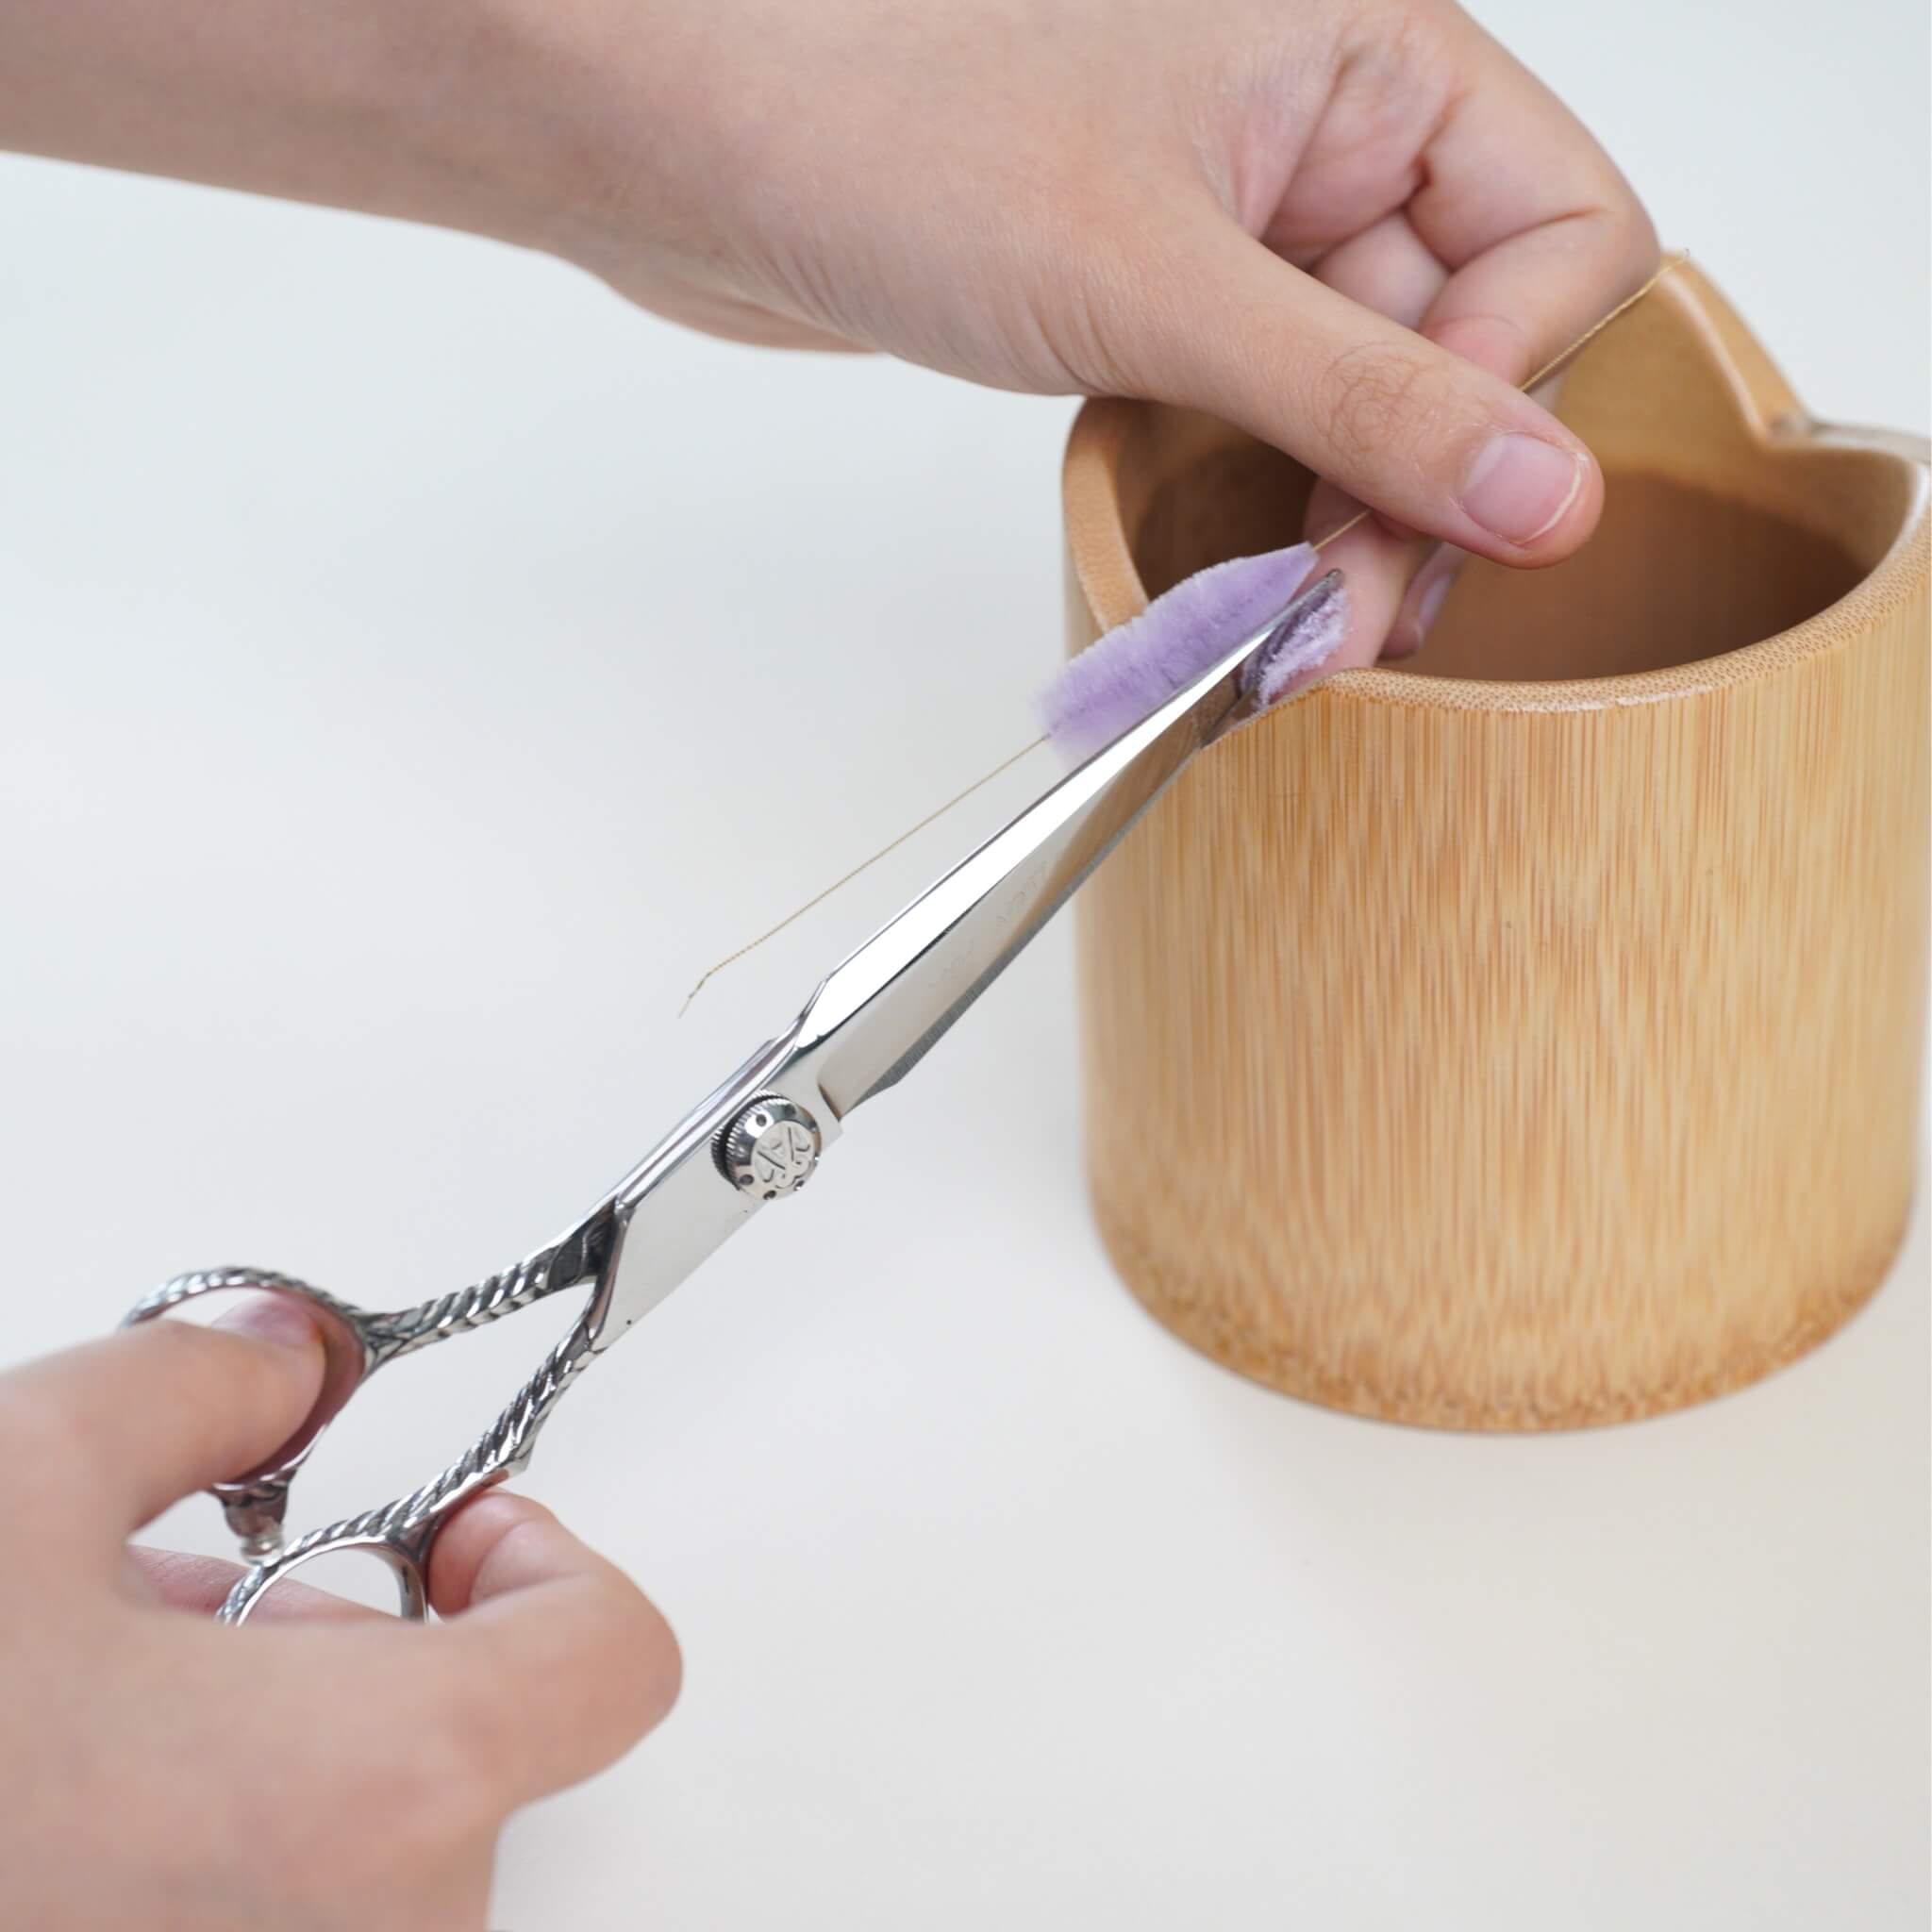
Rest each processed silk strip against a bamboo slot and trim while rotating the strip. Keep your scissors at a slight angle.
Shape the leaves so they are wider in the middle and pointed at both ends.

The peach strips should follow a similar cone-like form but should be prepared in two different sizes to create depth in the final arrangement.


Step 9. Prepare and Flatten the Stems
Use a heated flat iron to press the strips for feathers thoroughly until they are smooth and no visible layers can be seen from the side.

Repeat this for the green leaf stems, adding a gentle curve after pressing.
Step 10. Assemble the Peaches
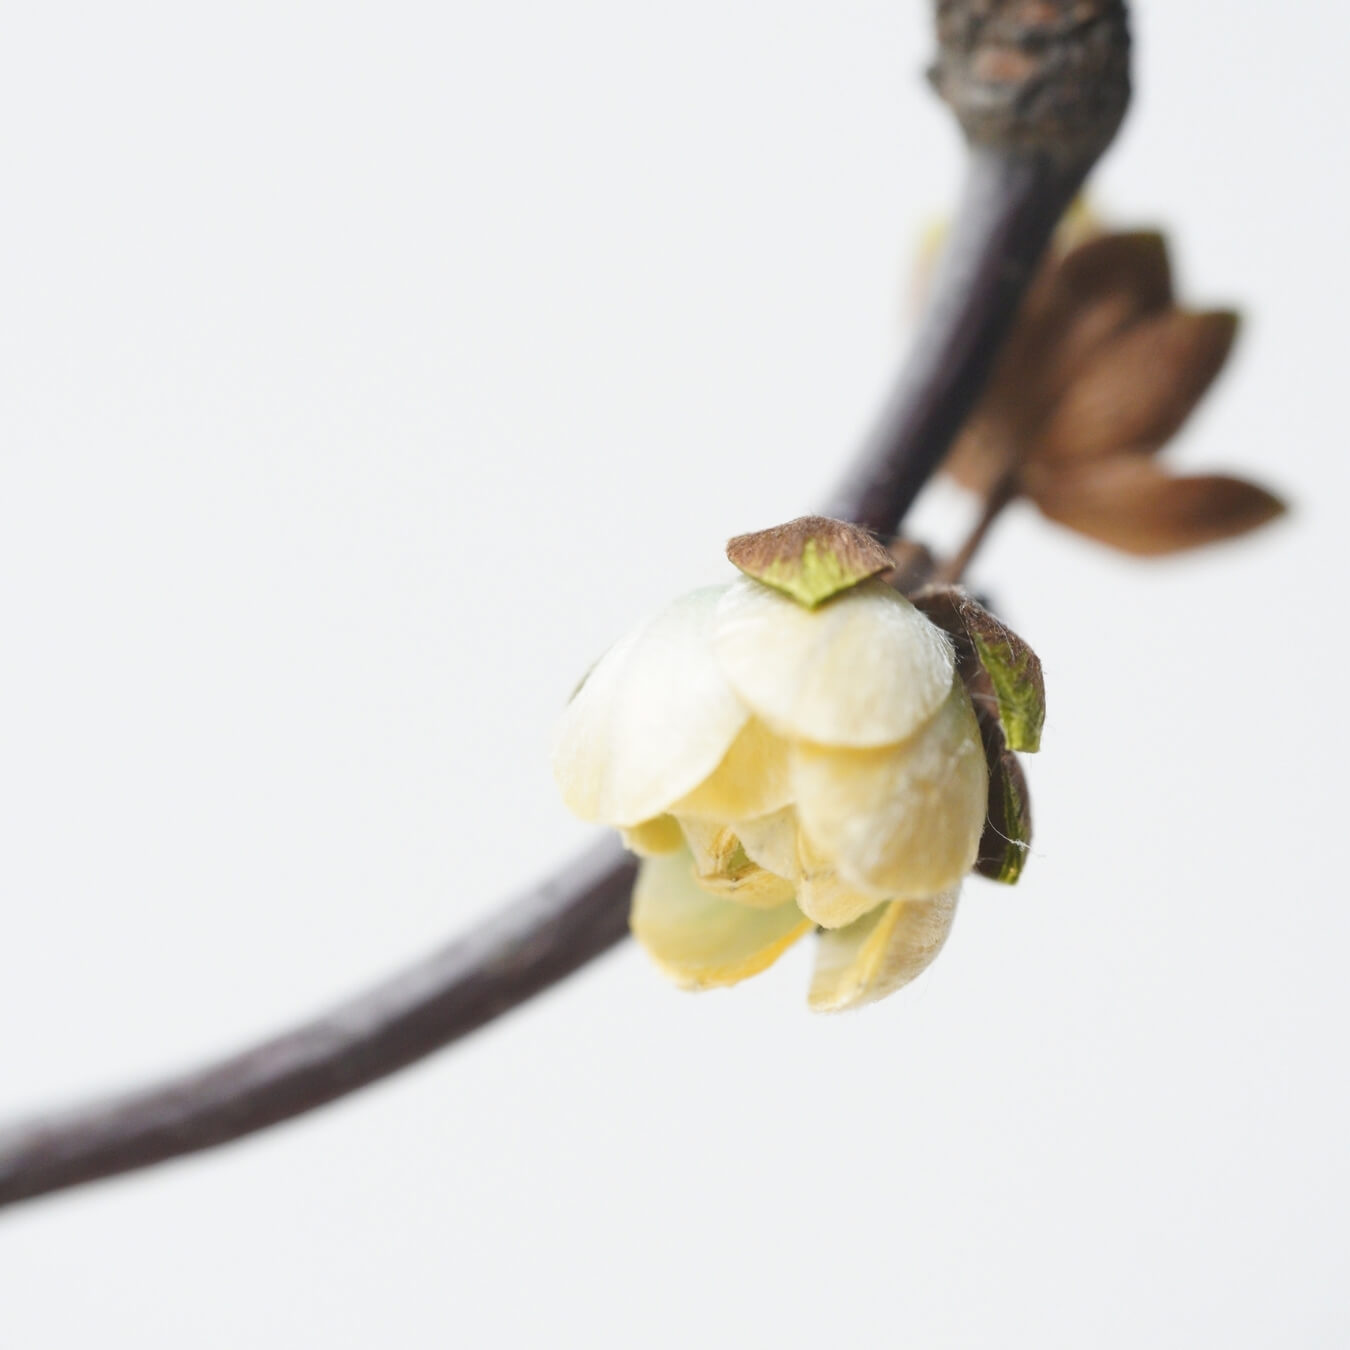
To build a peach, align 4–5 strips of the same size. Tie them tightly with thread at the base, gradually building a full circular shape. Wrap the thread downward about 1 cm and secure it into the wire. Once tied, use tweezers to gently pull the silk outward from the center, creating a full, rounded peach shape. Make four peaches in total.

Step 11. Make the Bird’s Body
Using the raw silk strips, trim them into a soft oval shape. Do this for both shades of raw silk strips.

Assemble two strips together by wrapping from the base, ensuring the wire is fully concealed. Secure the wires with silk thread. Hold the copper wire tightly with your fingers on the other end, then twist in opposite directions to form a slight S-shaped curve.

Twist the strips gently as you wrap to create a subtle curve that mimics the bird's posture. Narrow the tail section of the bird slightly. Apply a small amount of hair gel to the front tip to set the shape, then trim any excess wire.
Step 12. Add Bird Details
Shape the bird’s beak by bending the wire at the tip into a small triangle.

For the wings, assemble five silk strips per side, shortening them gradually from the fourth strip onward to create a feathered effect. Now assemble the tail feathers of the bird. First secure one silk strip with thread. The second layer contains two feathers. These two feathers are on the same horizontal level. After a short gap, attach two more feathers. Tie off to finish.

Secure each wing, then attach them and the tiered tail feathers to the body.
Apply a small amount of glue to the black bead. Insert the bead into the gap between the pink and white sections. The eyes should be aligned horizontally with the beak. Make sure that both eyes are symmetrical.
 Use a mini iron to curve the wings upward for a more lifelike appearance.
 Step 13. Assemble the Branches
Create leaf branches by attaching the individual leaves to copper wire in small clusters.


Deja un comentario
Todos los comentarios son moderados antes de ser publicados.
Este sitio está protegido por hCaptcha y se aplican la Política de privacidad de hCaptcha y los Términos del servicio.