

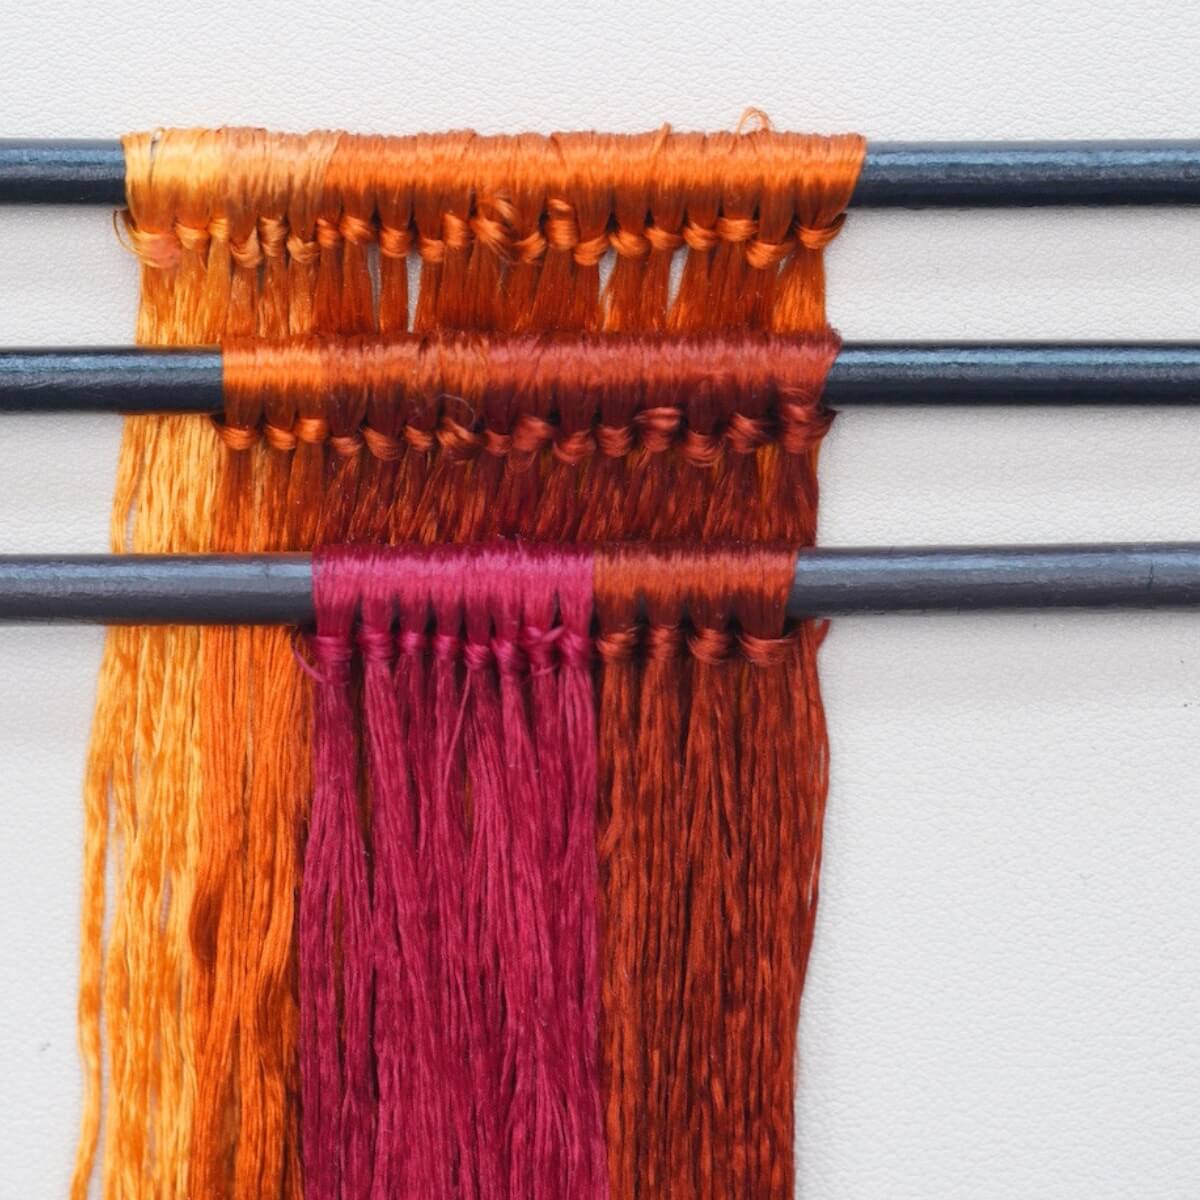
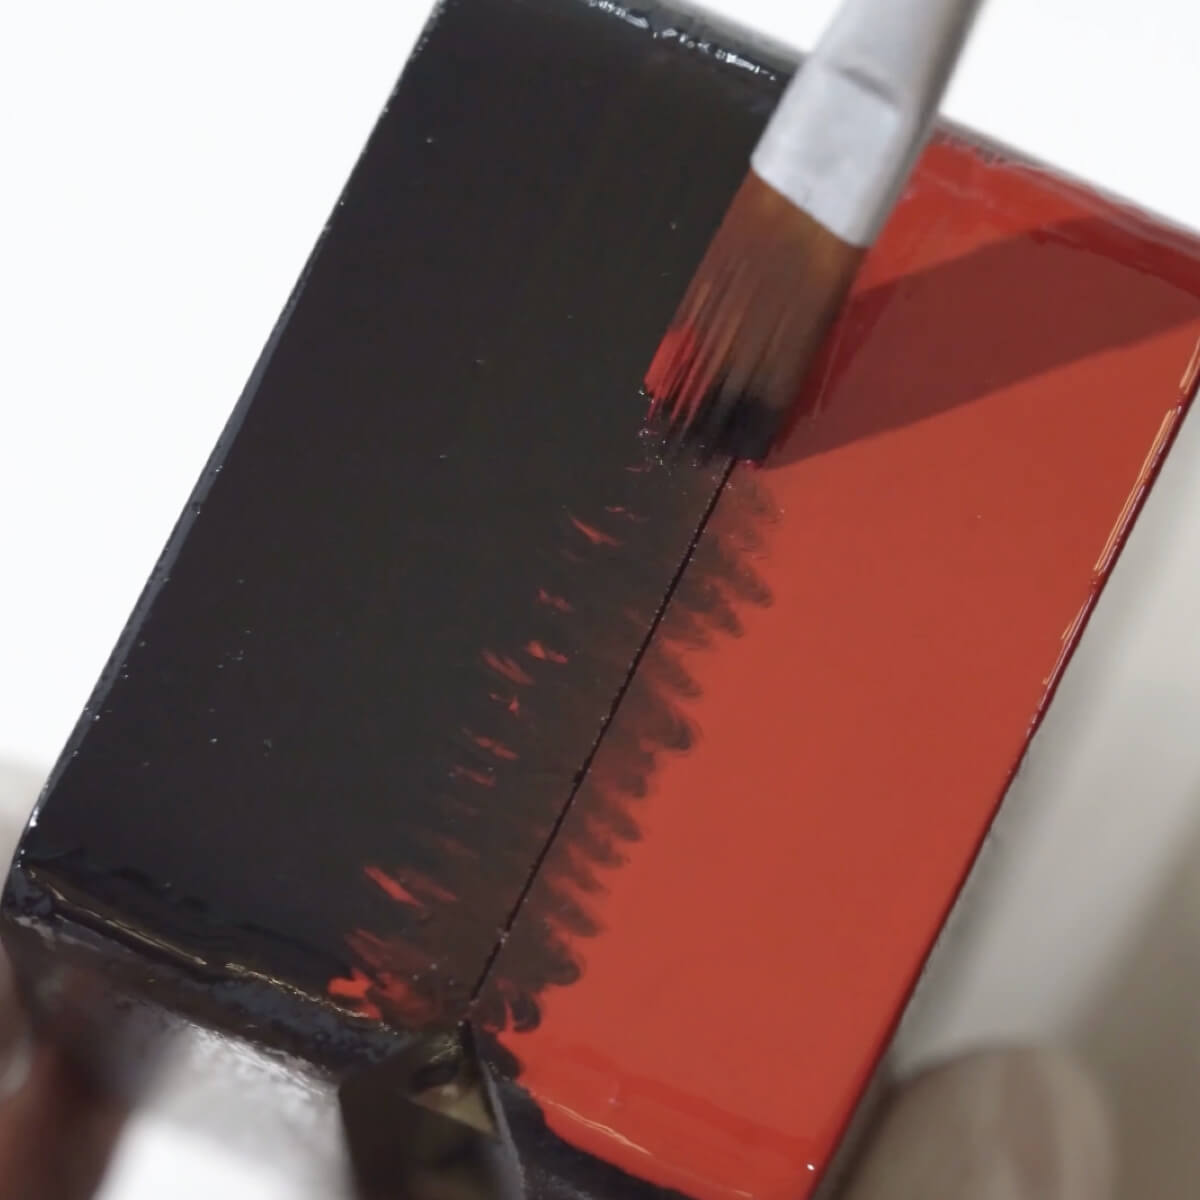
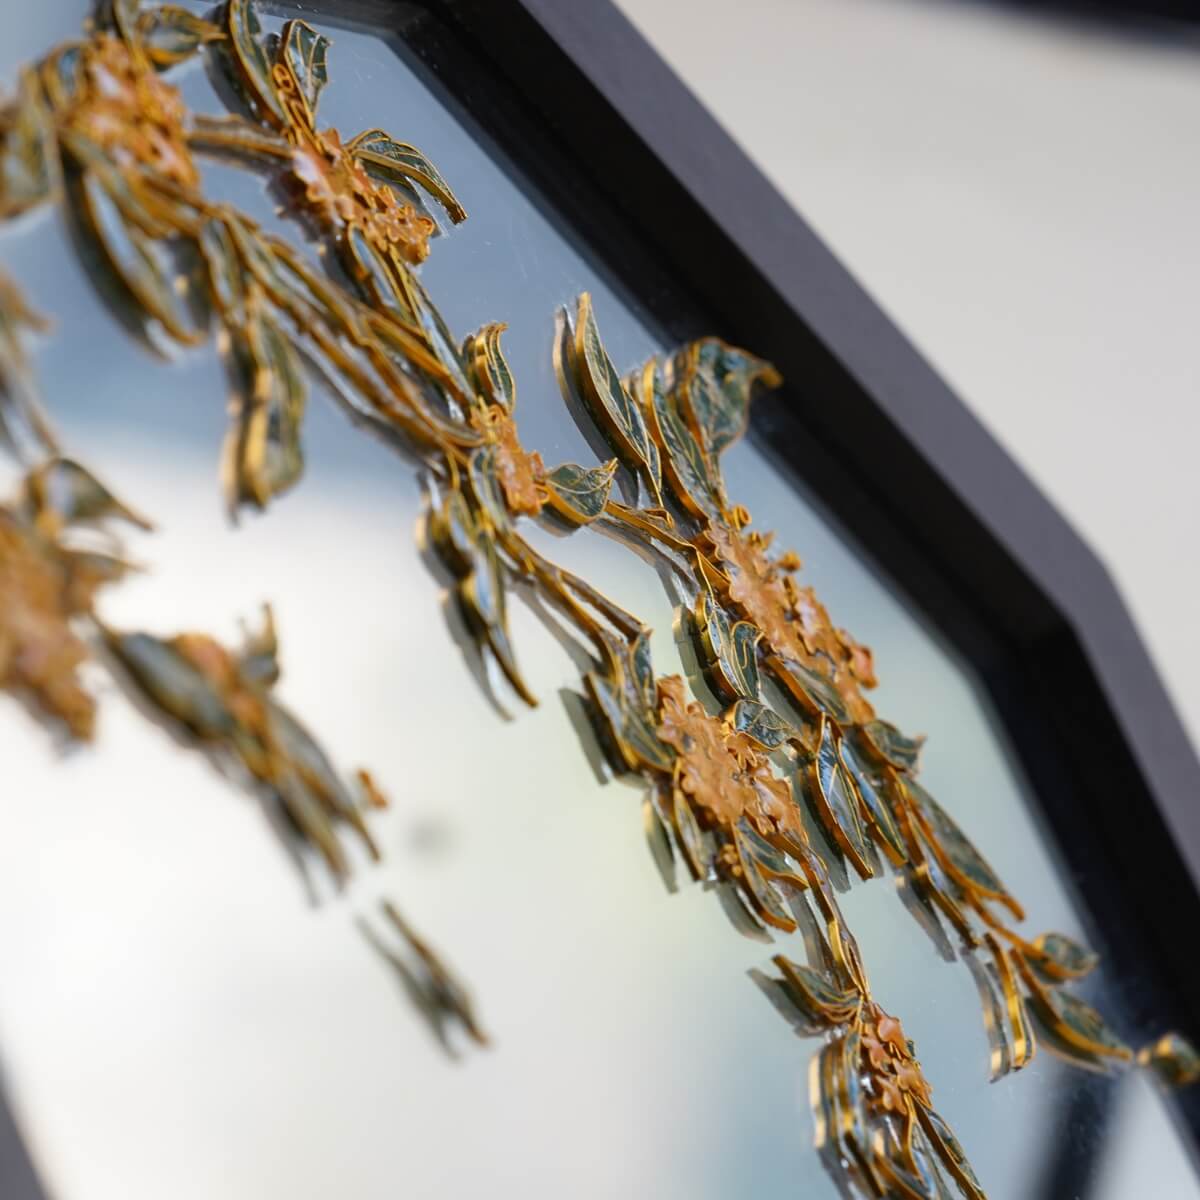
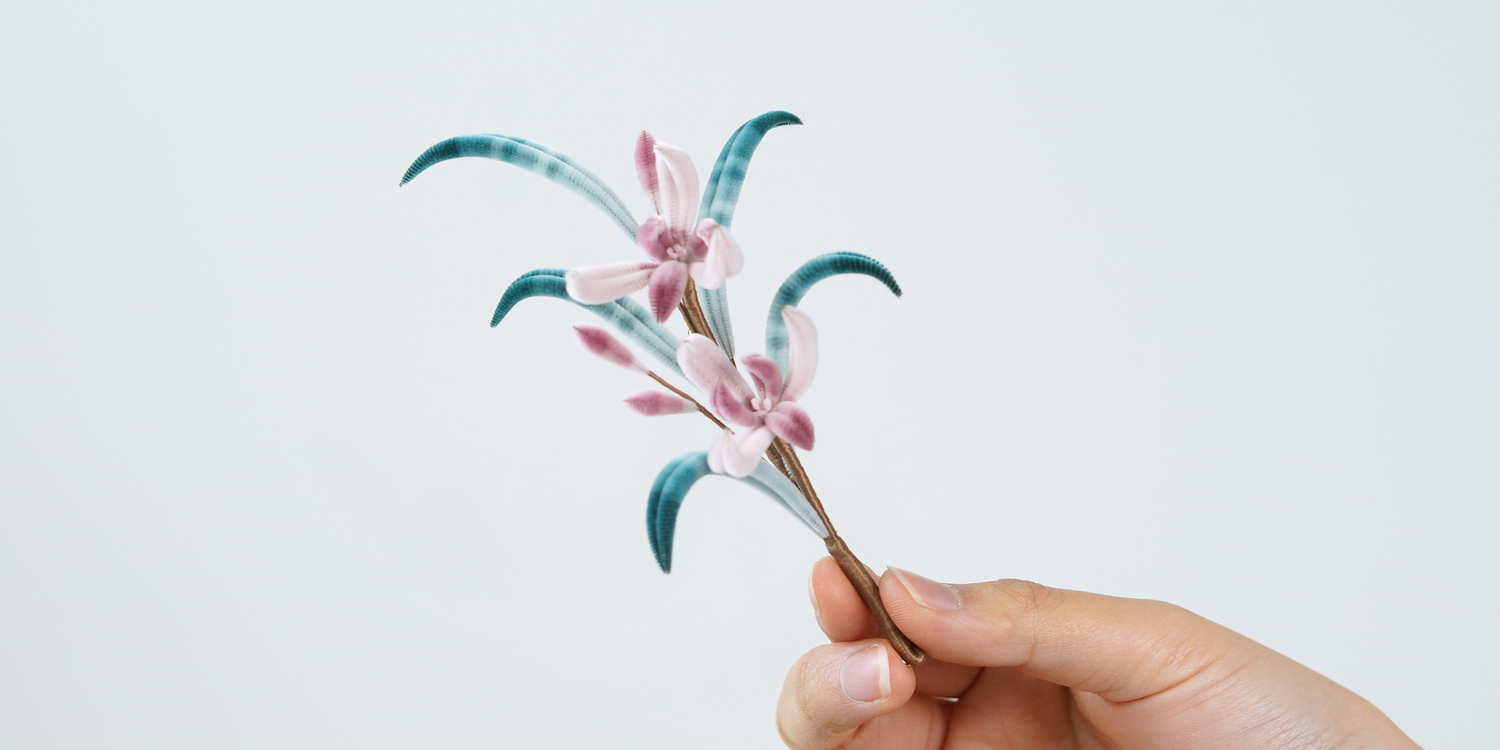
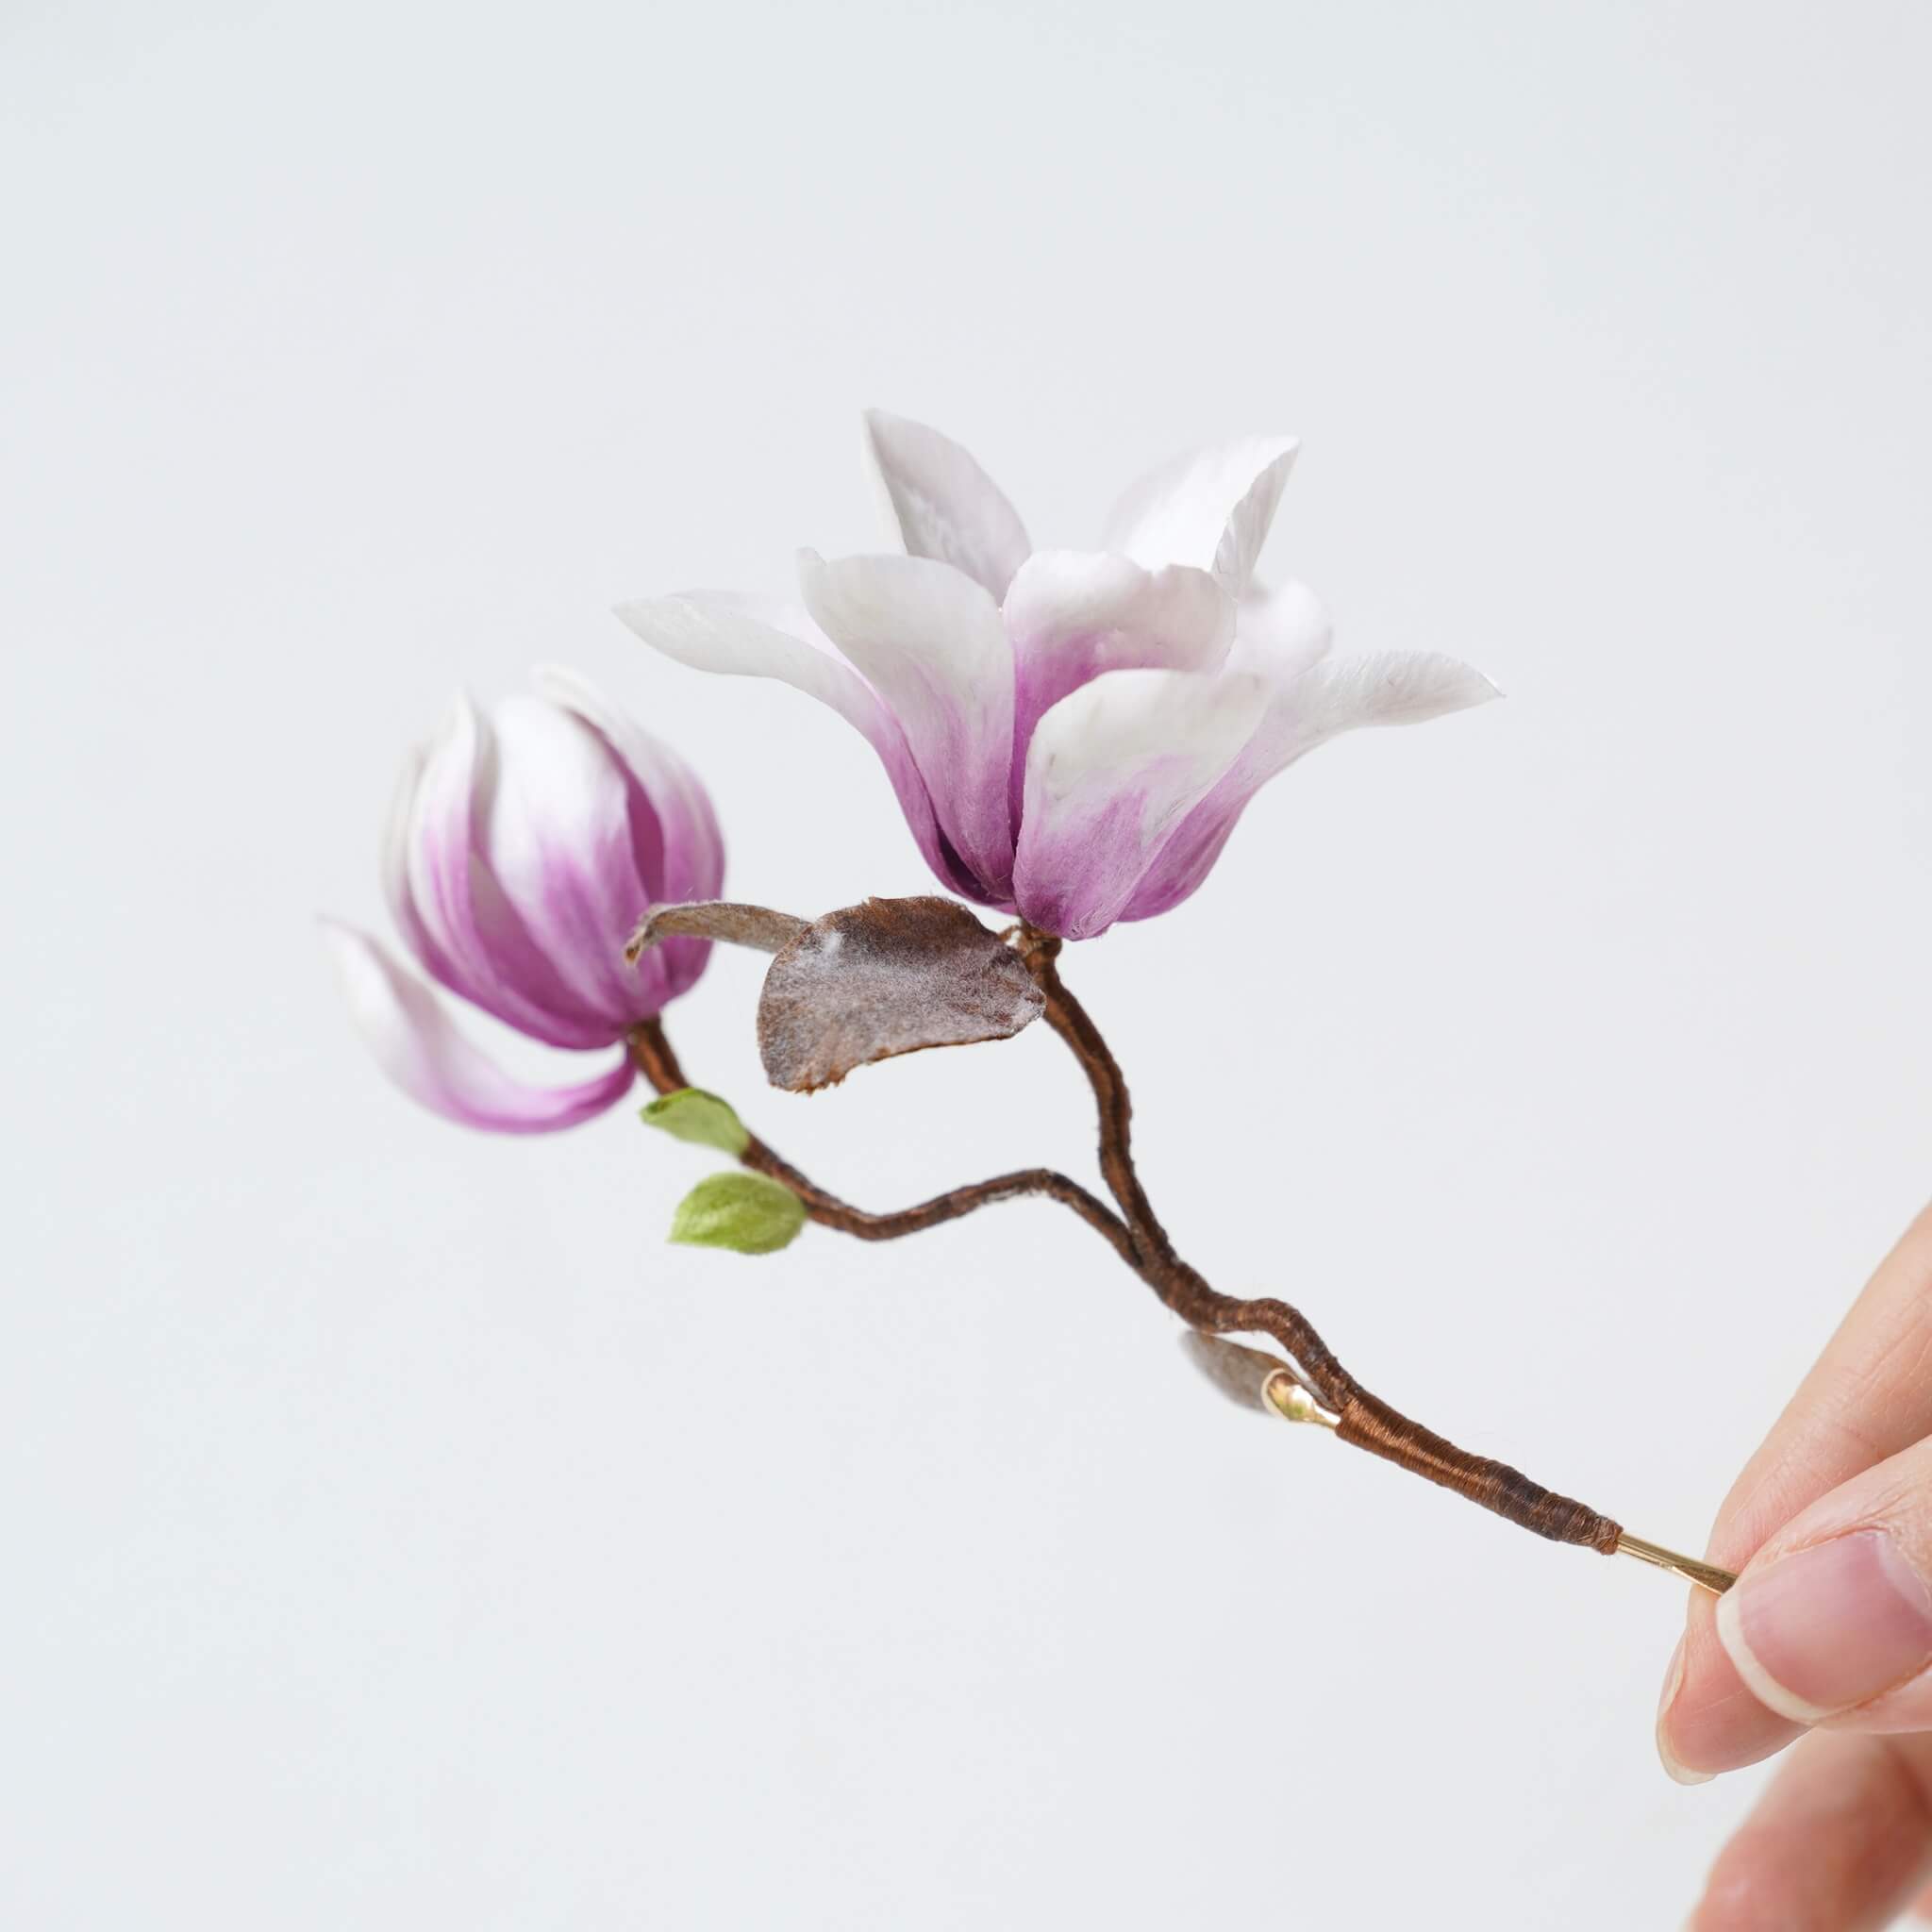
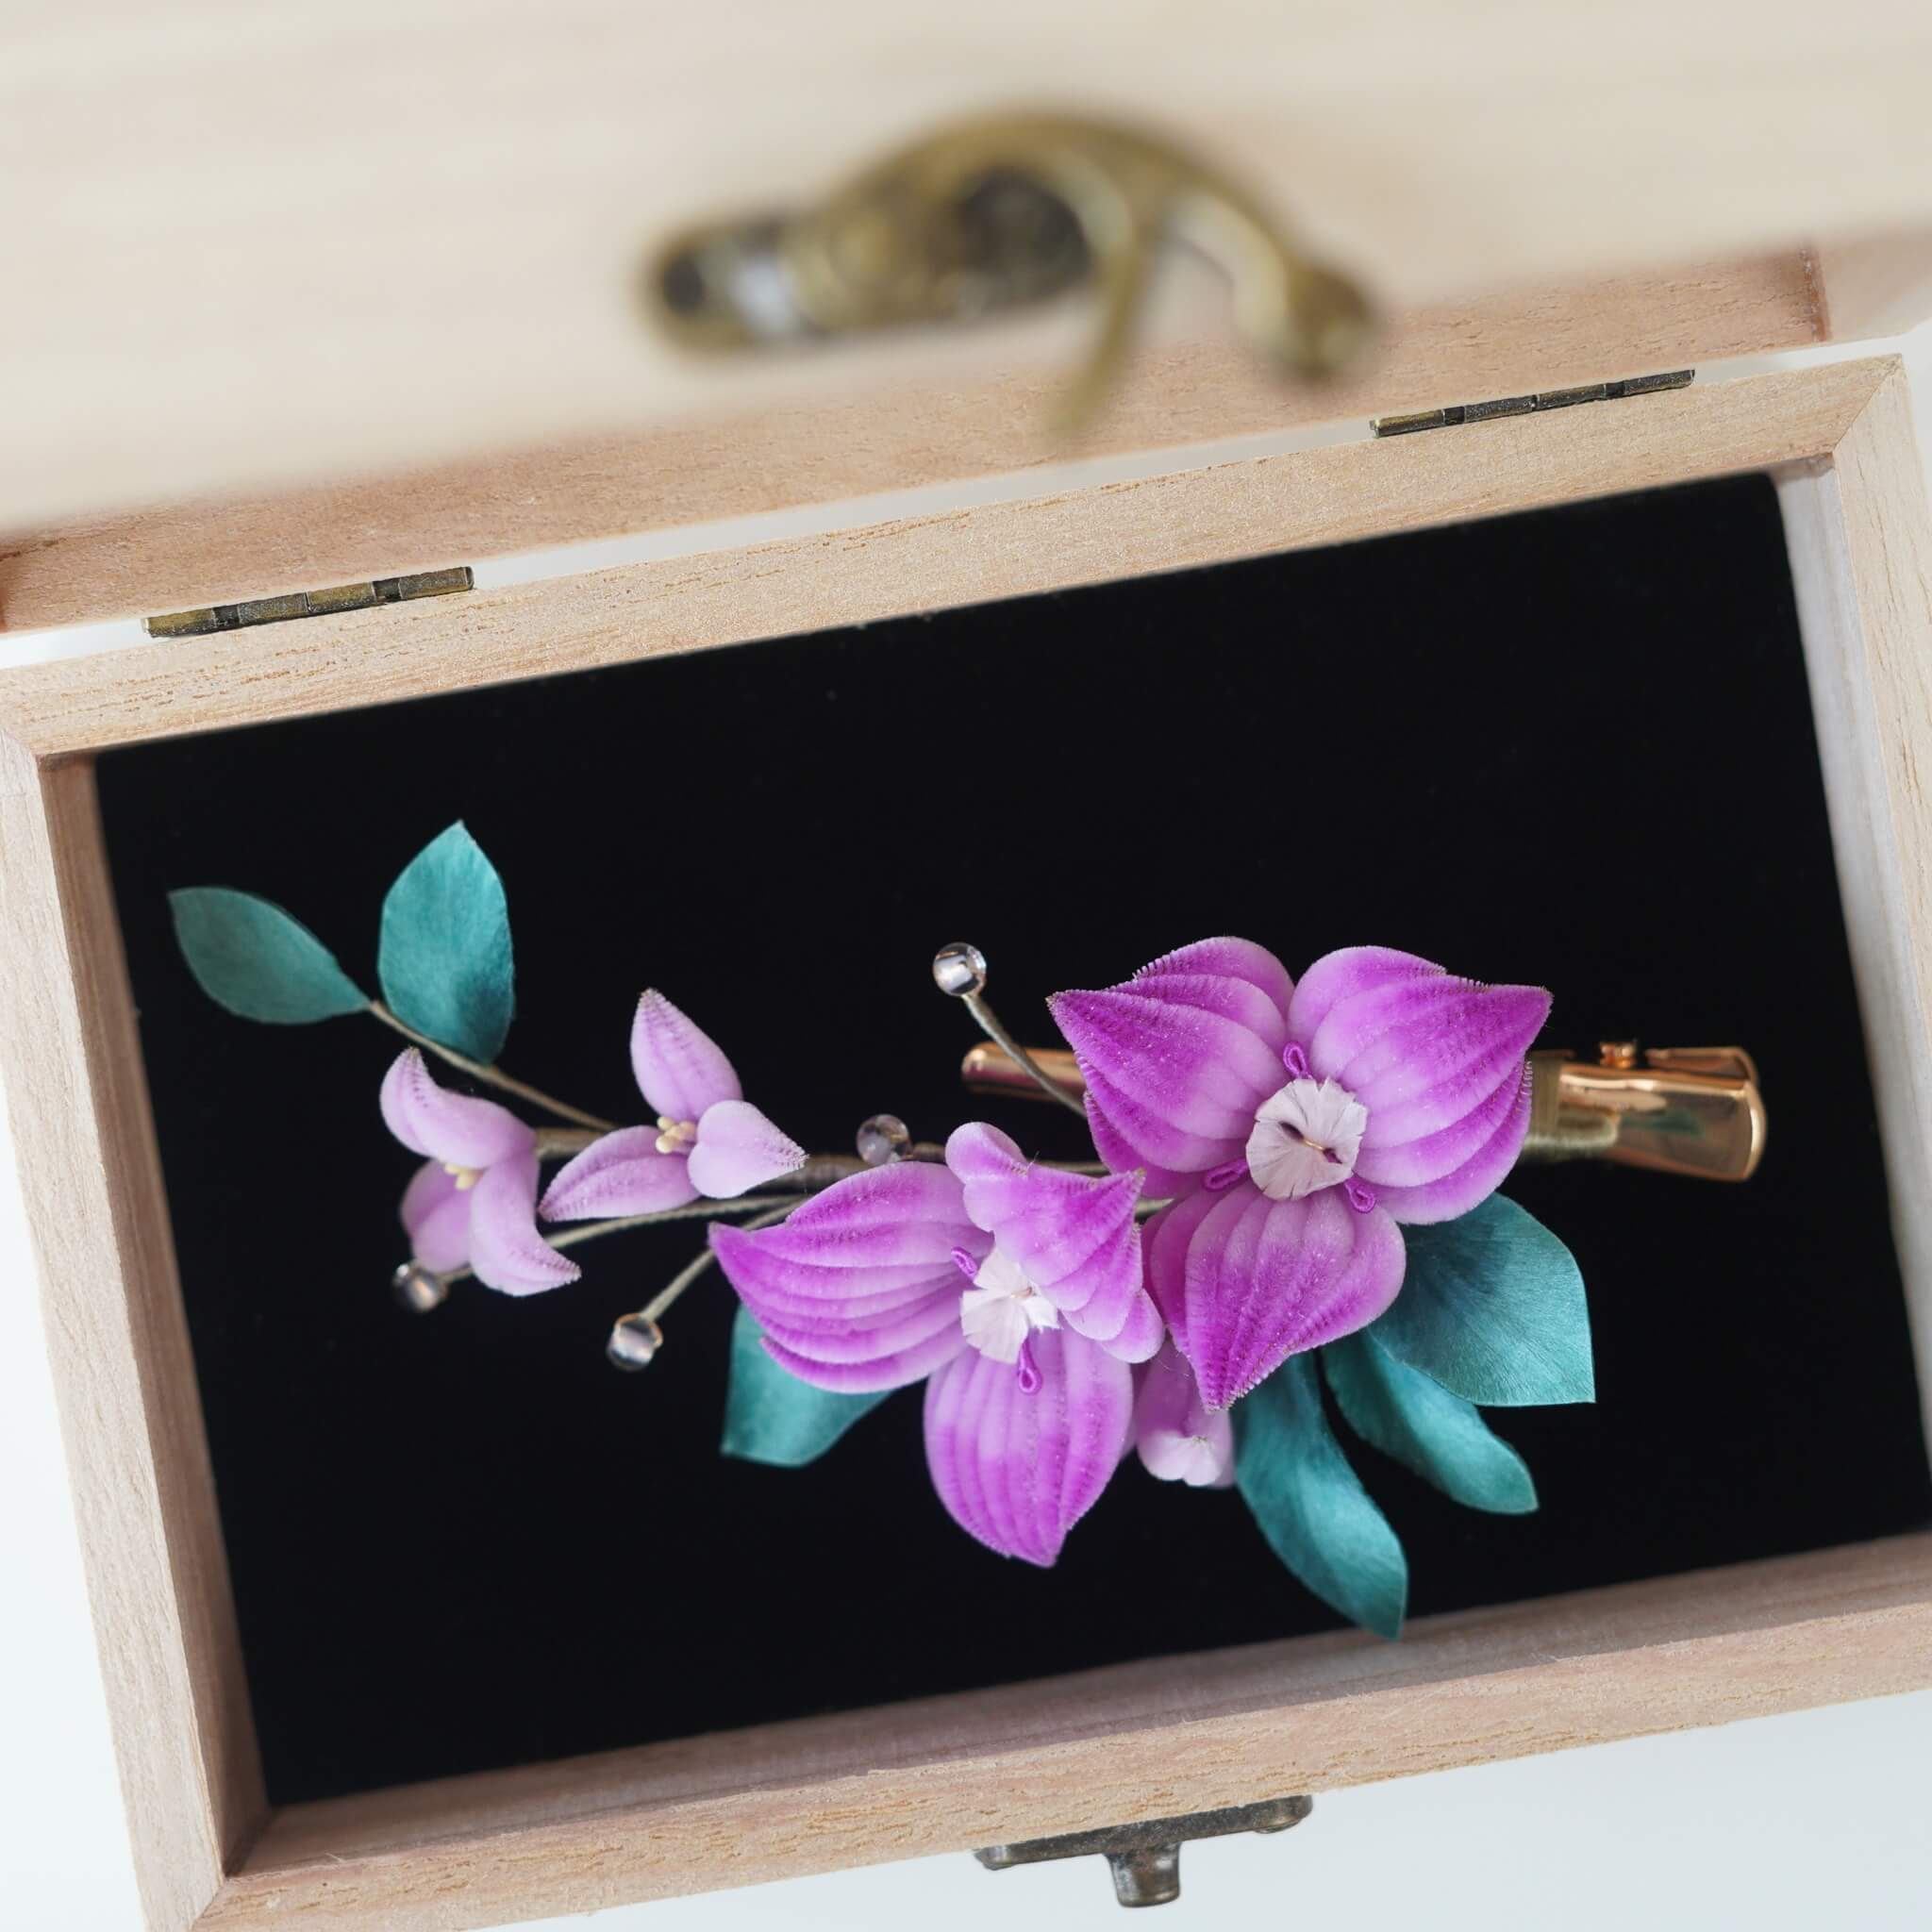
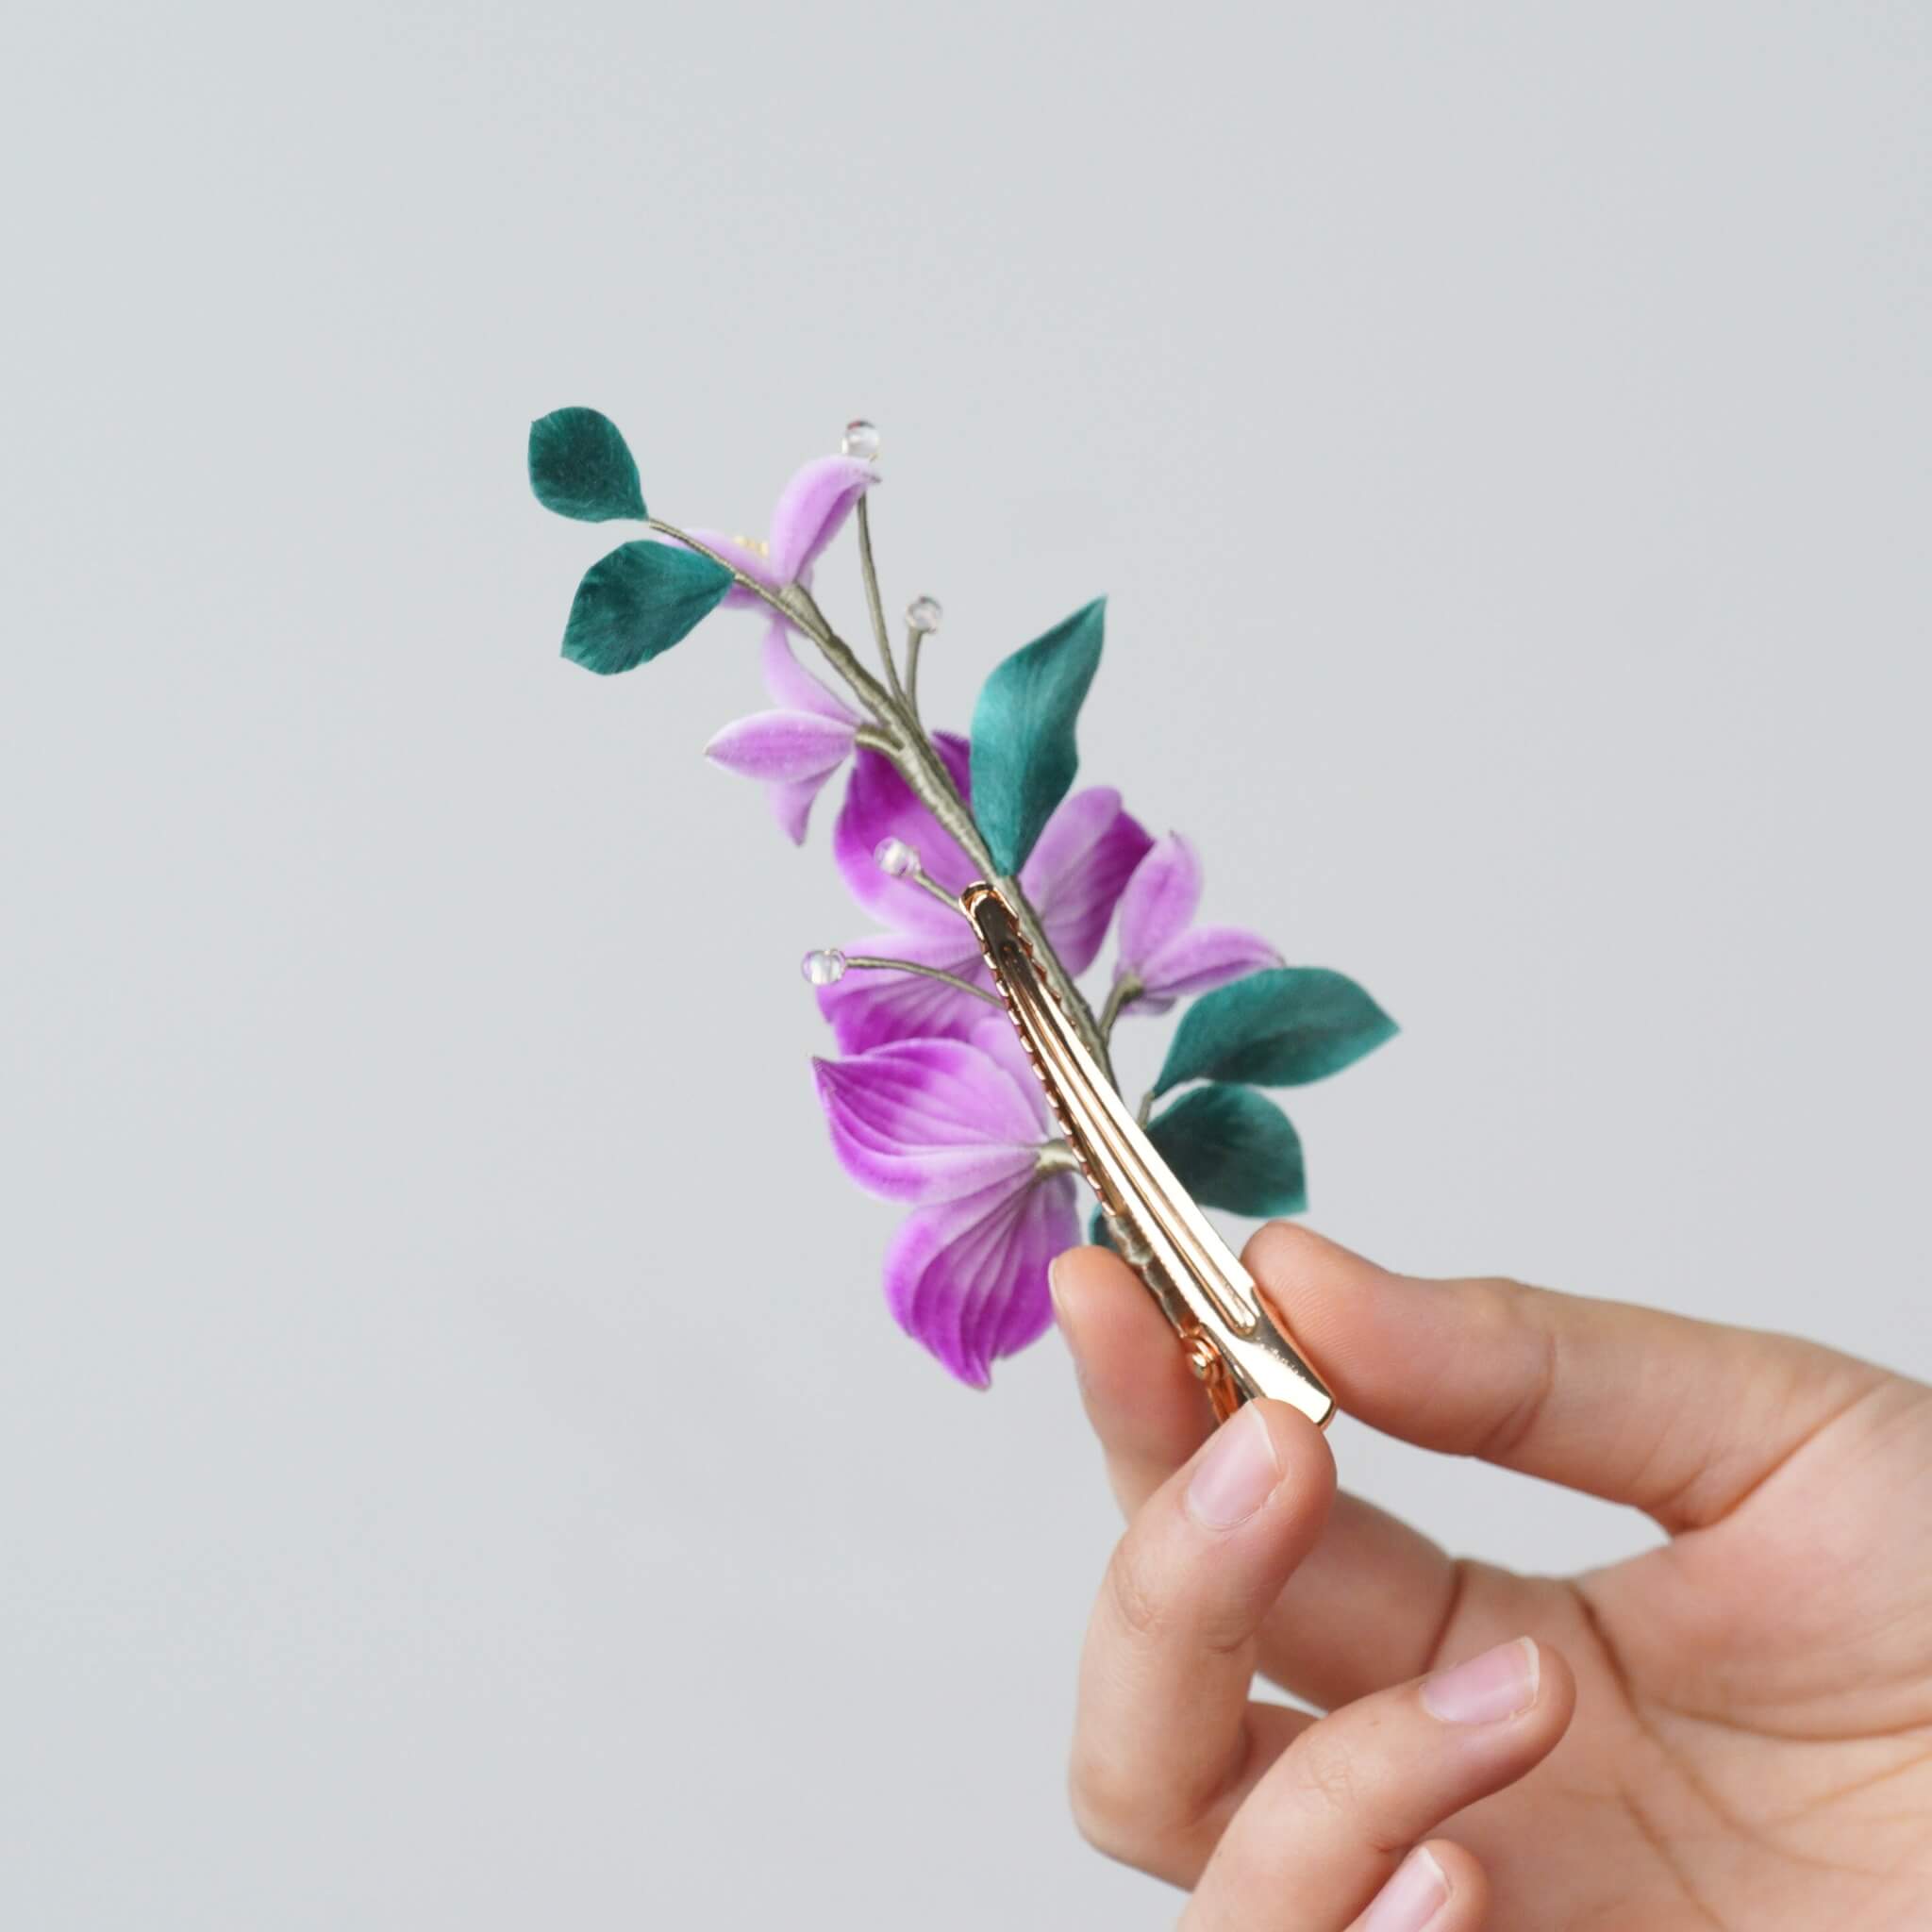
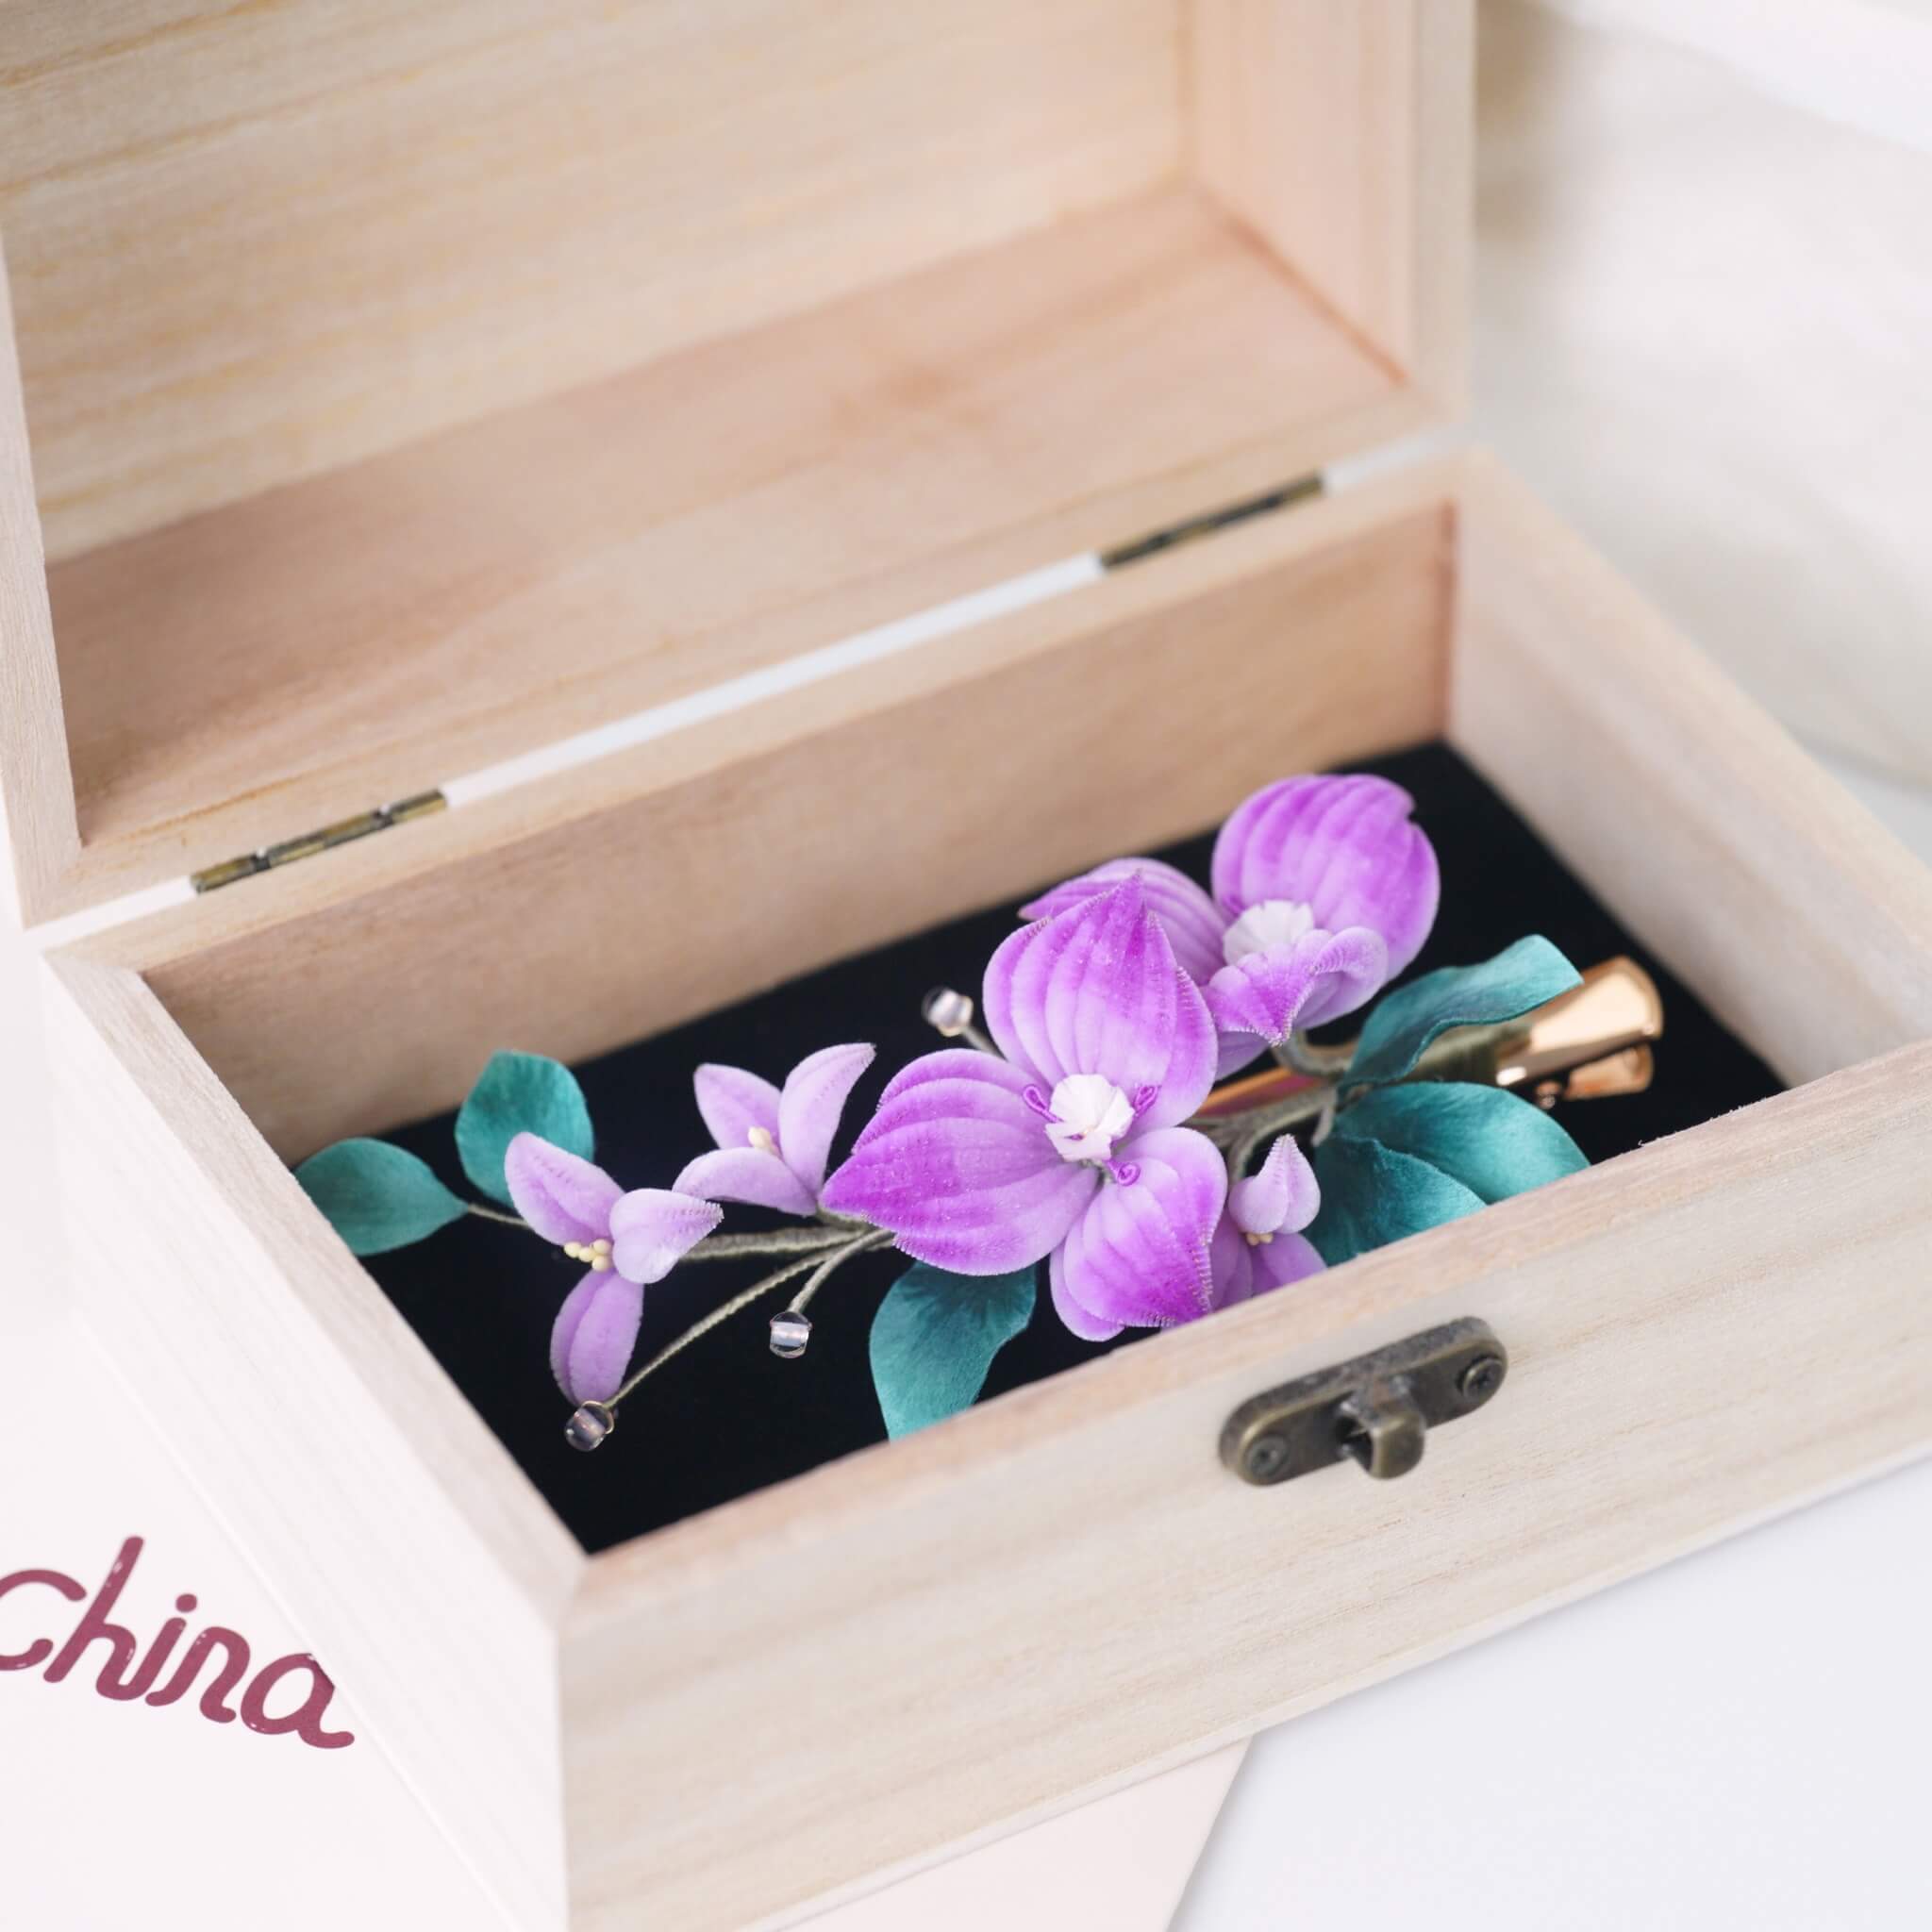
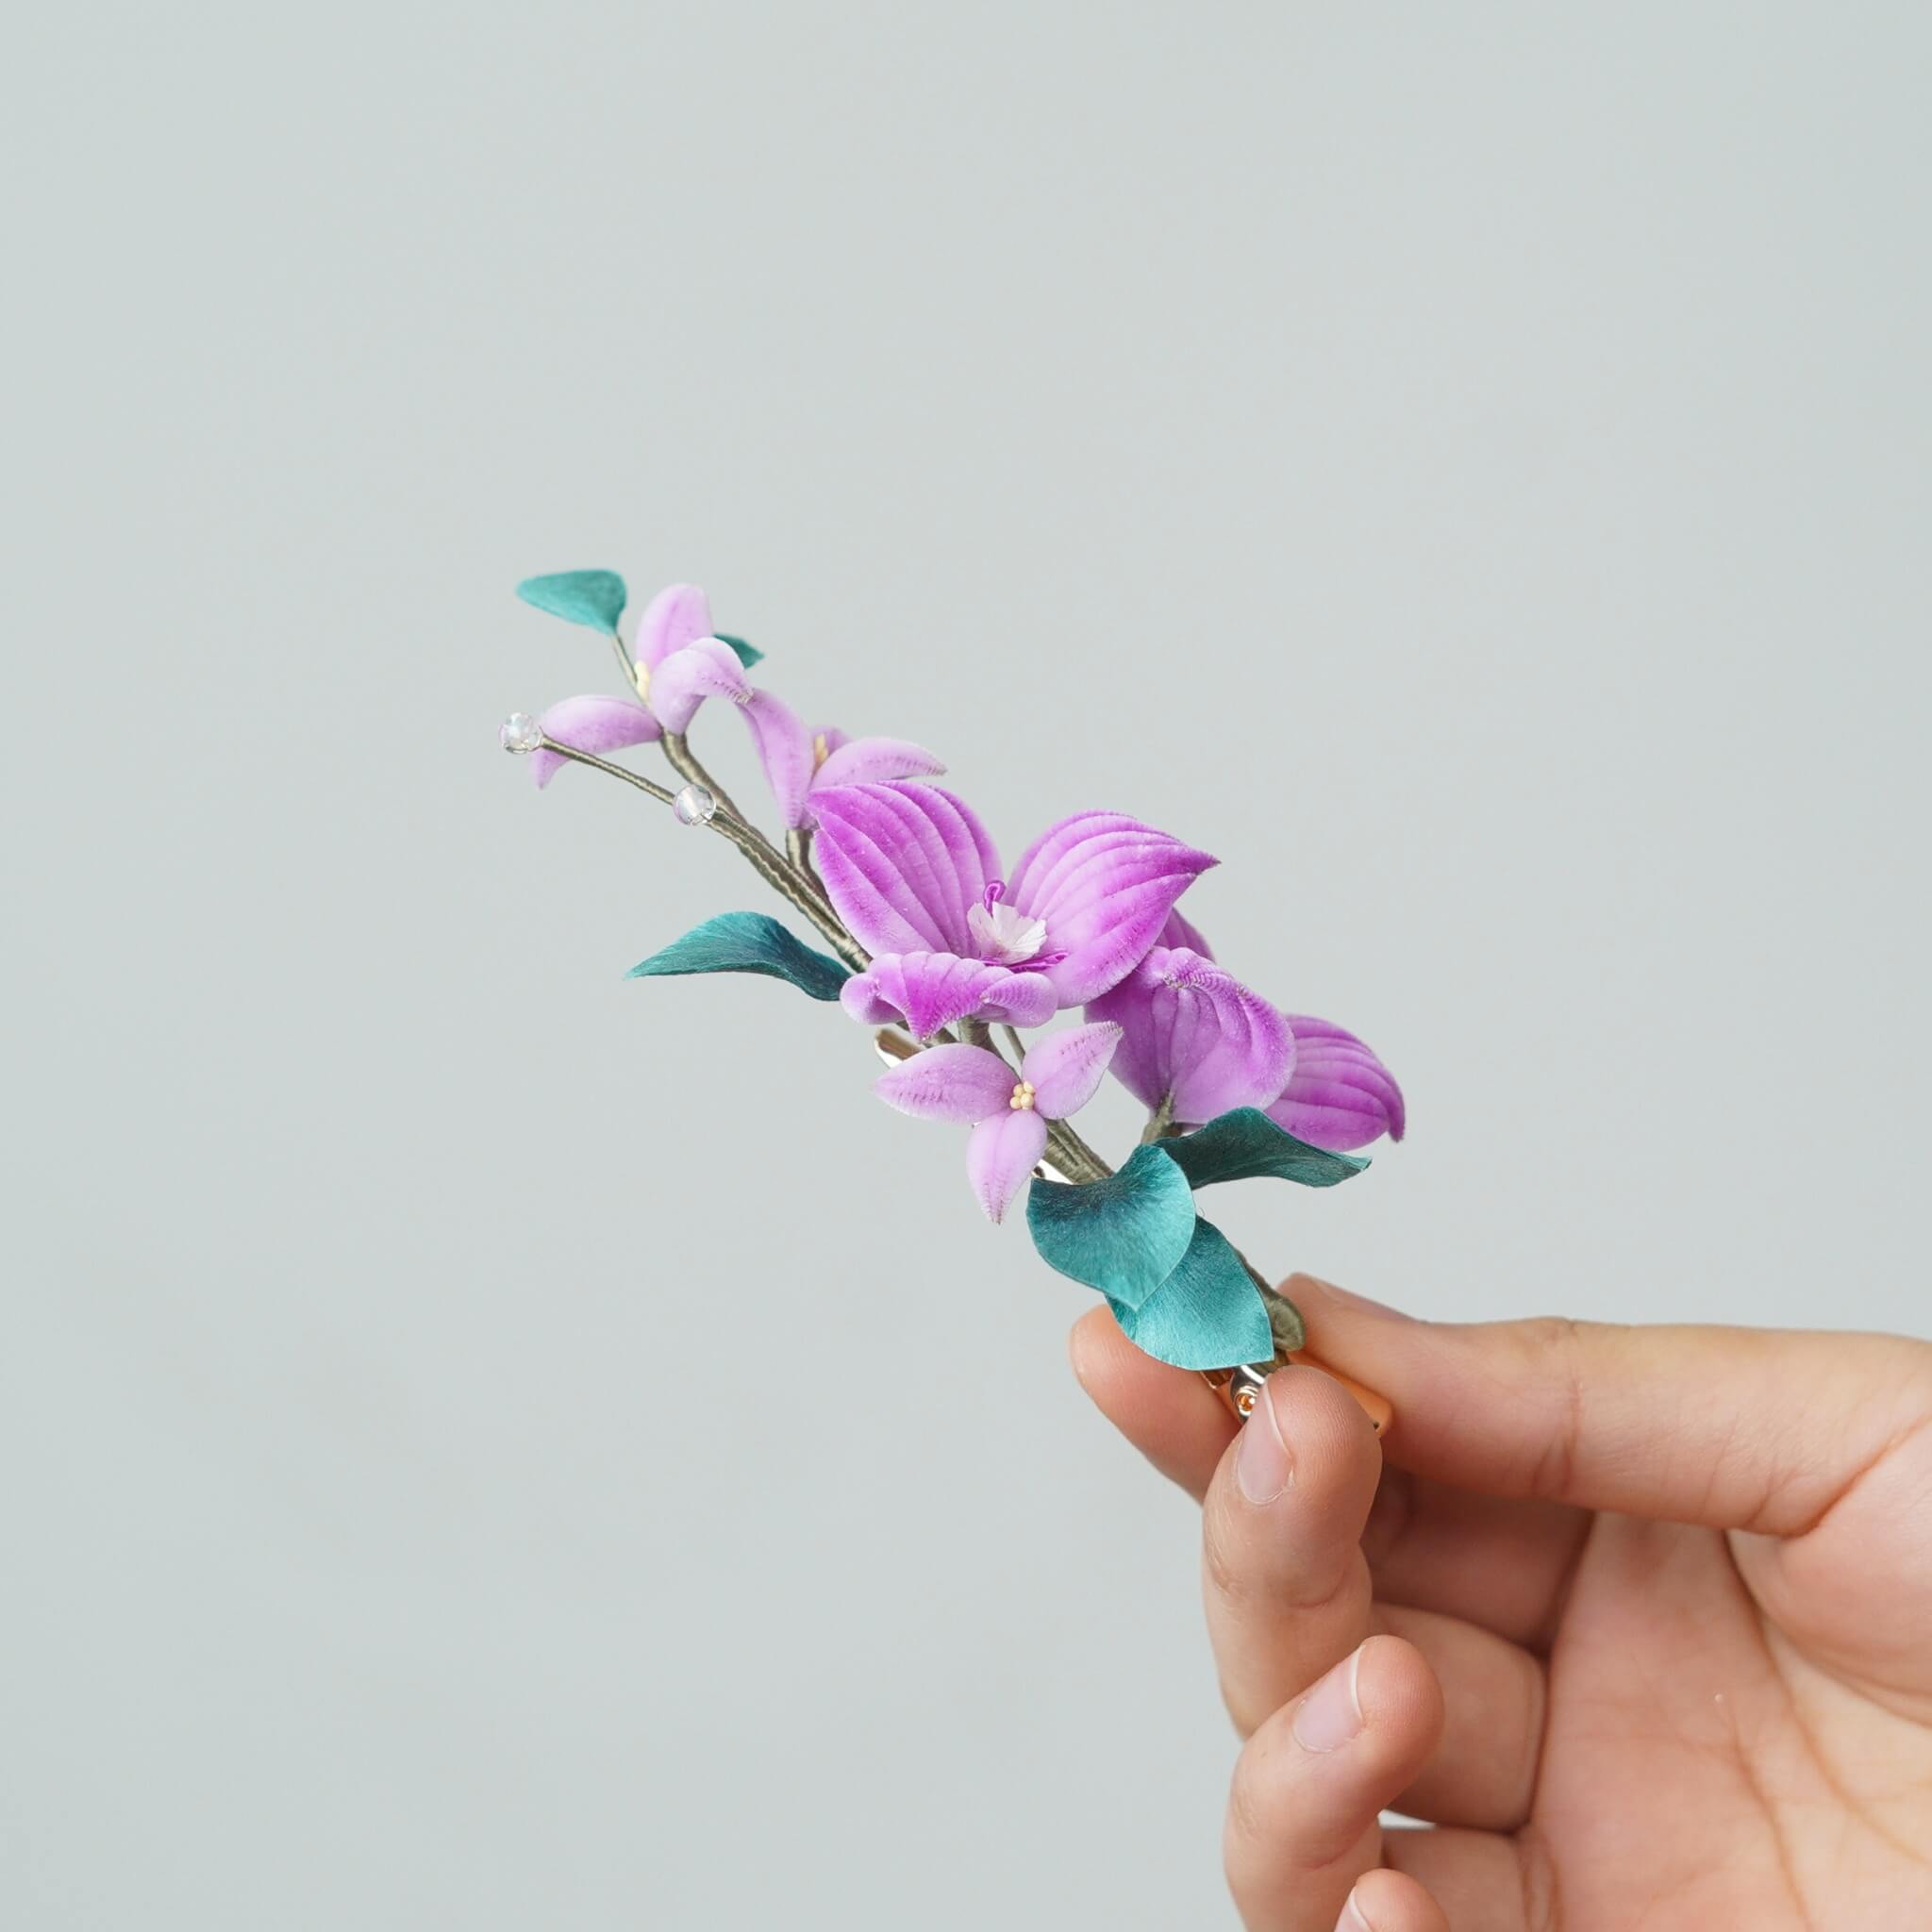
This piece is inspired by the quiet elegance of orchids hidden deep in mountain valleys. With their slender leaves and delicate blooms, orchids have long been symbols of refinement, resilience, and inner peace in East Asian culture. We wanted to capture that same understated beauty—blending soft, fluid movement with a natural sense of balance and calm.
Preparations: What You’ll Need
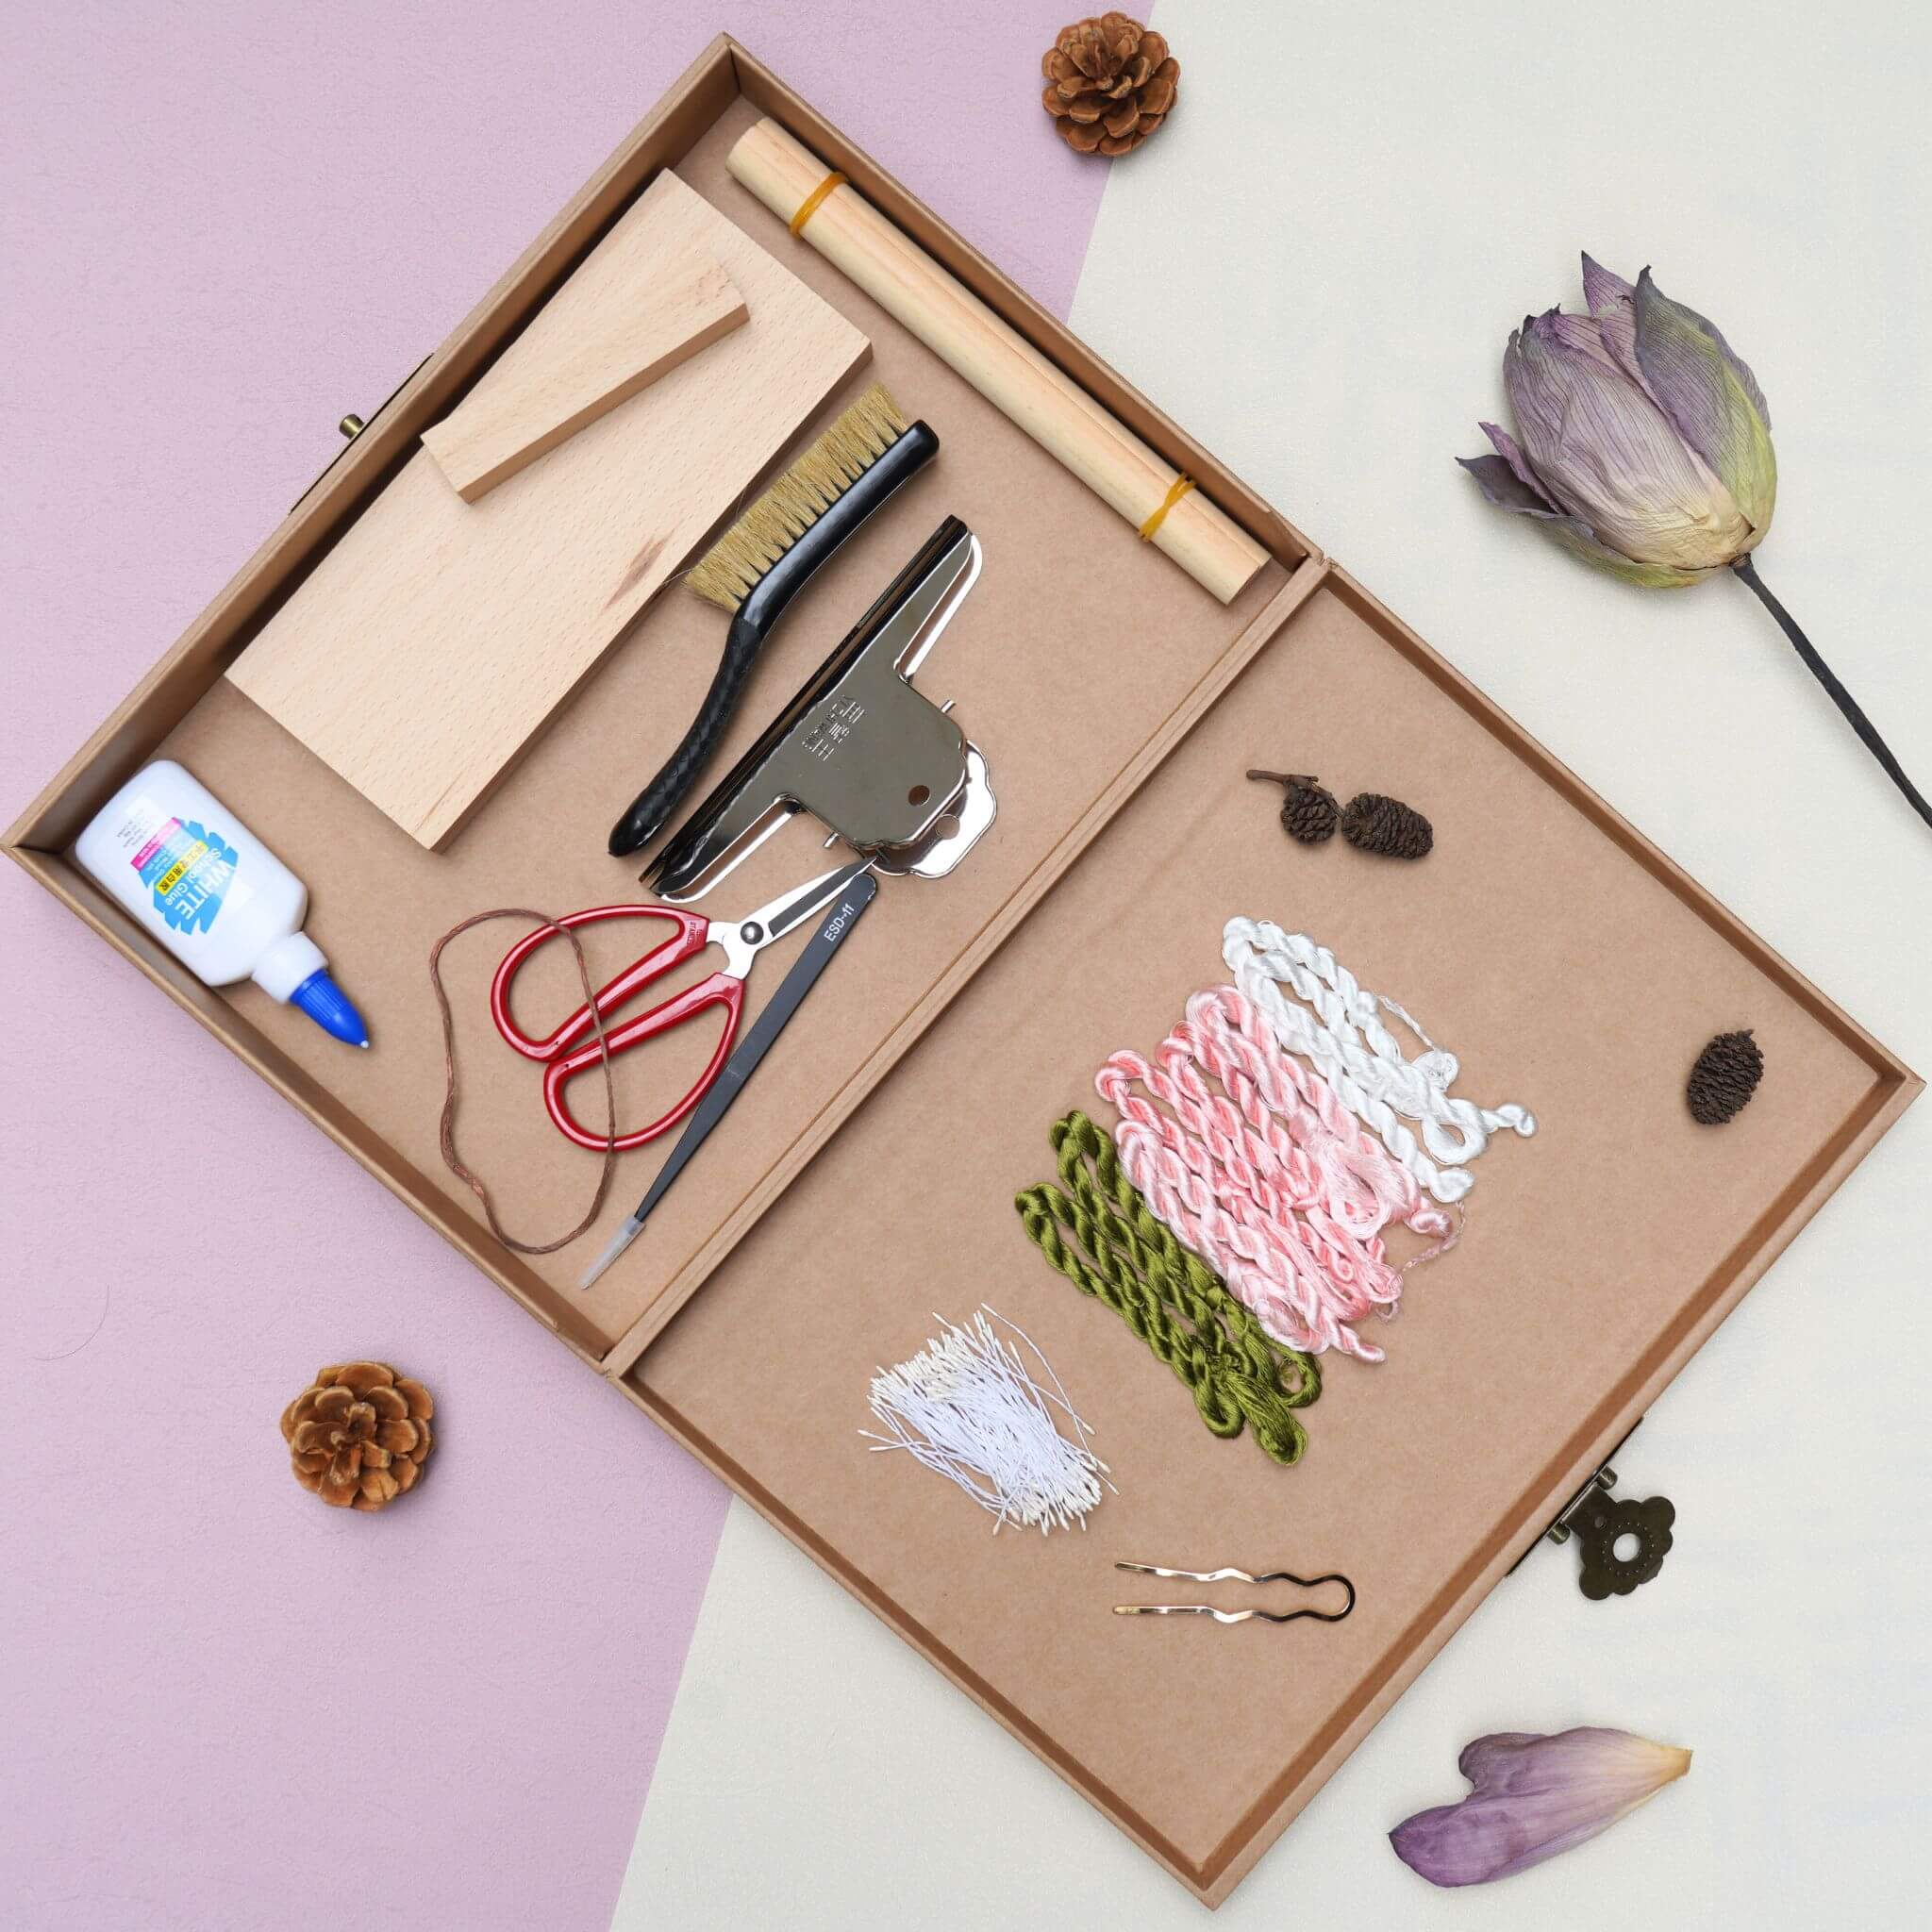
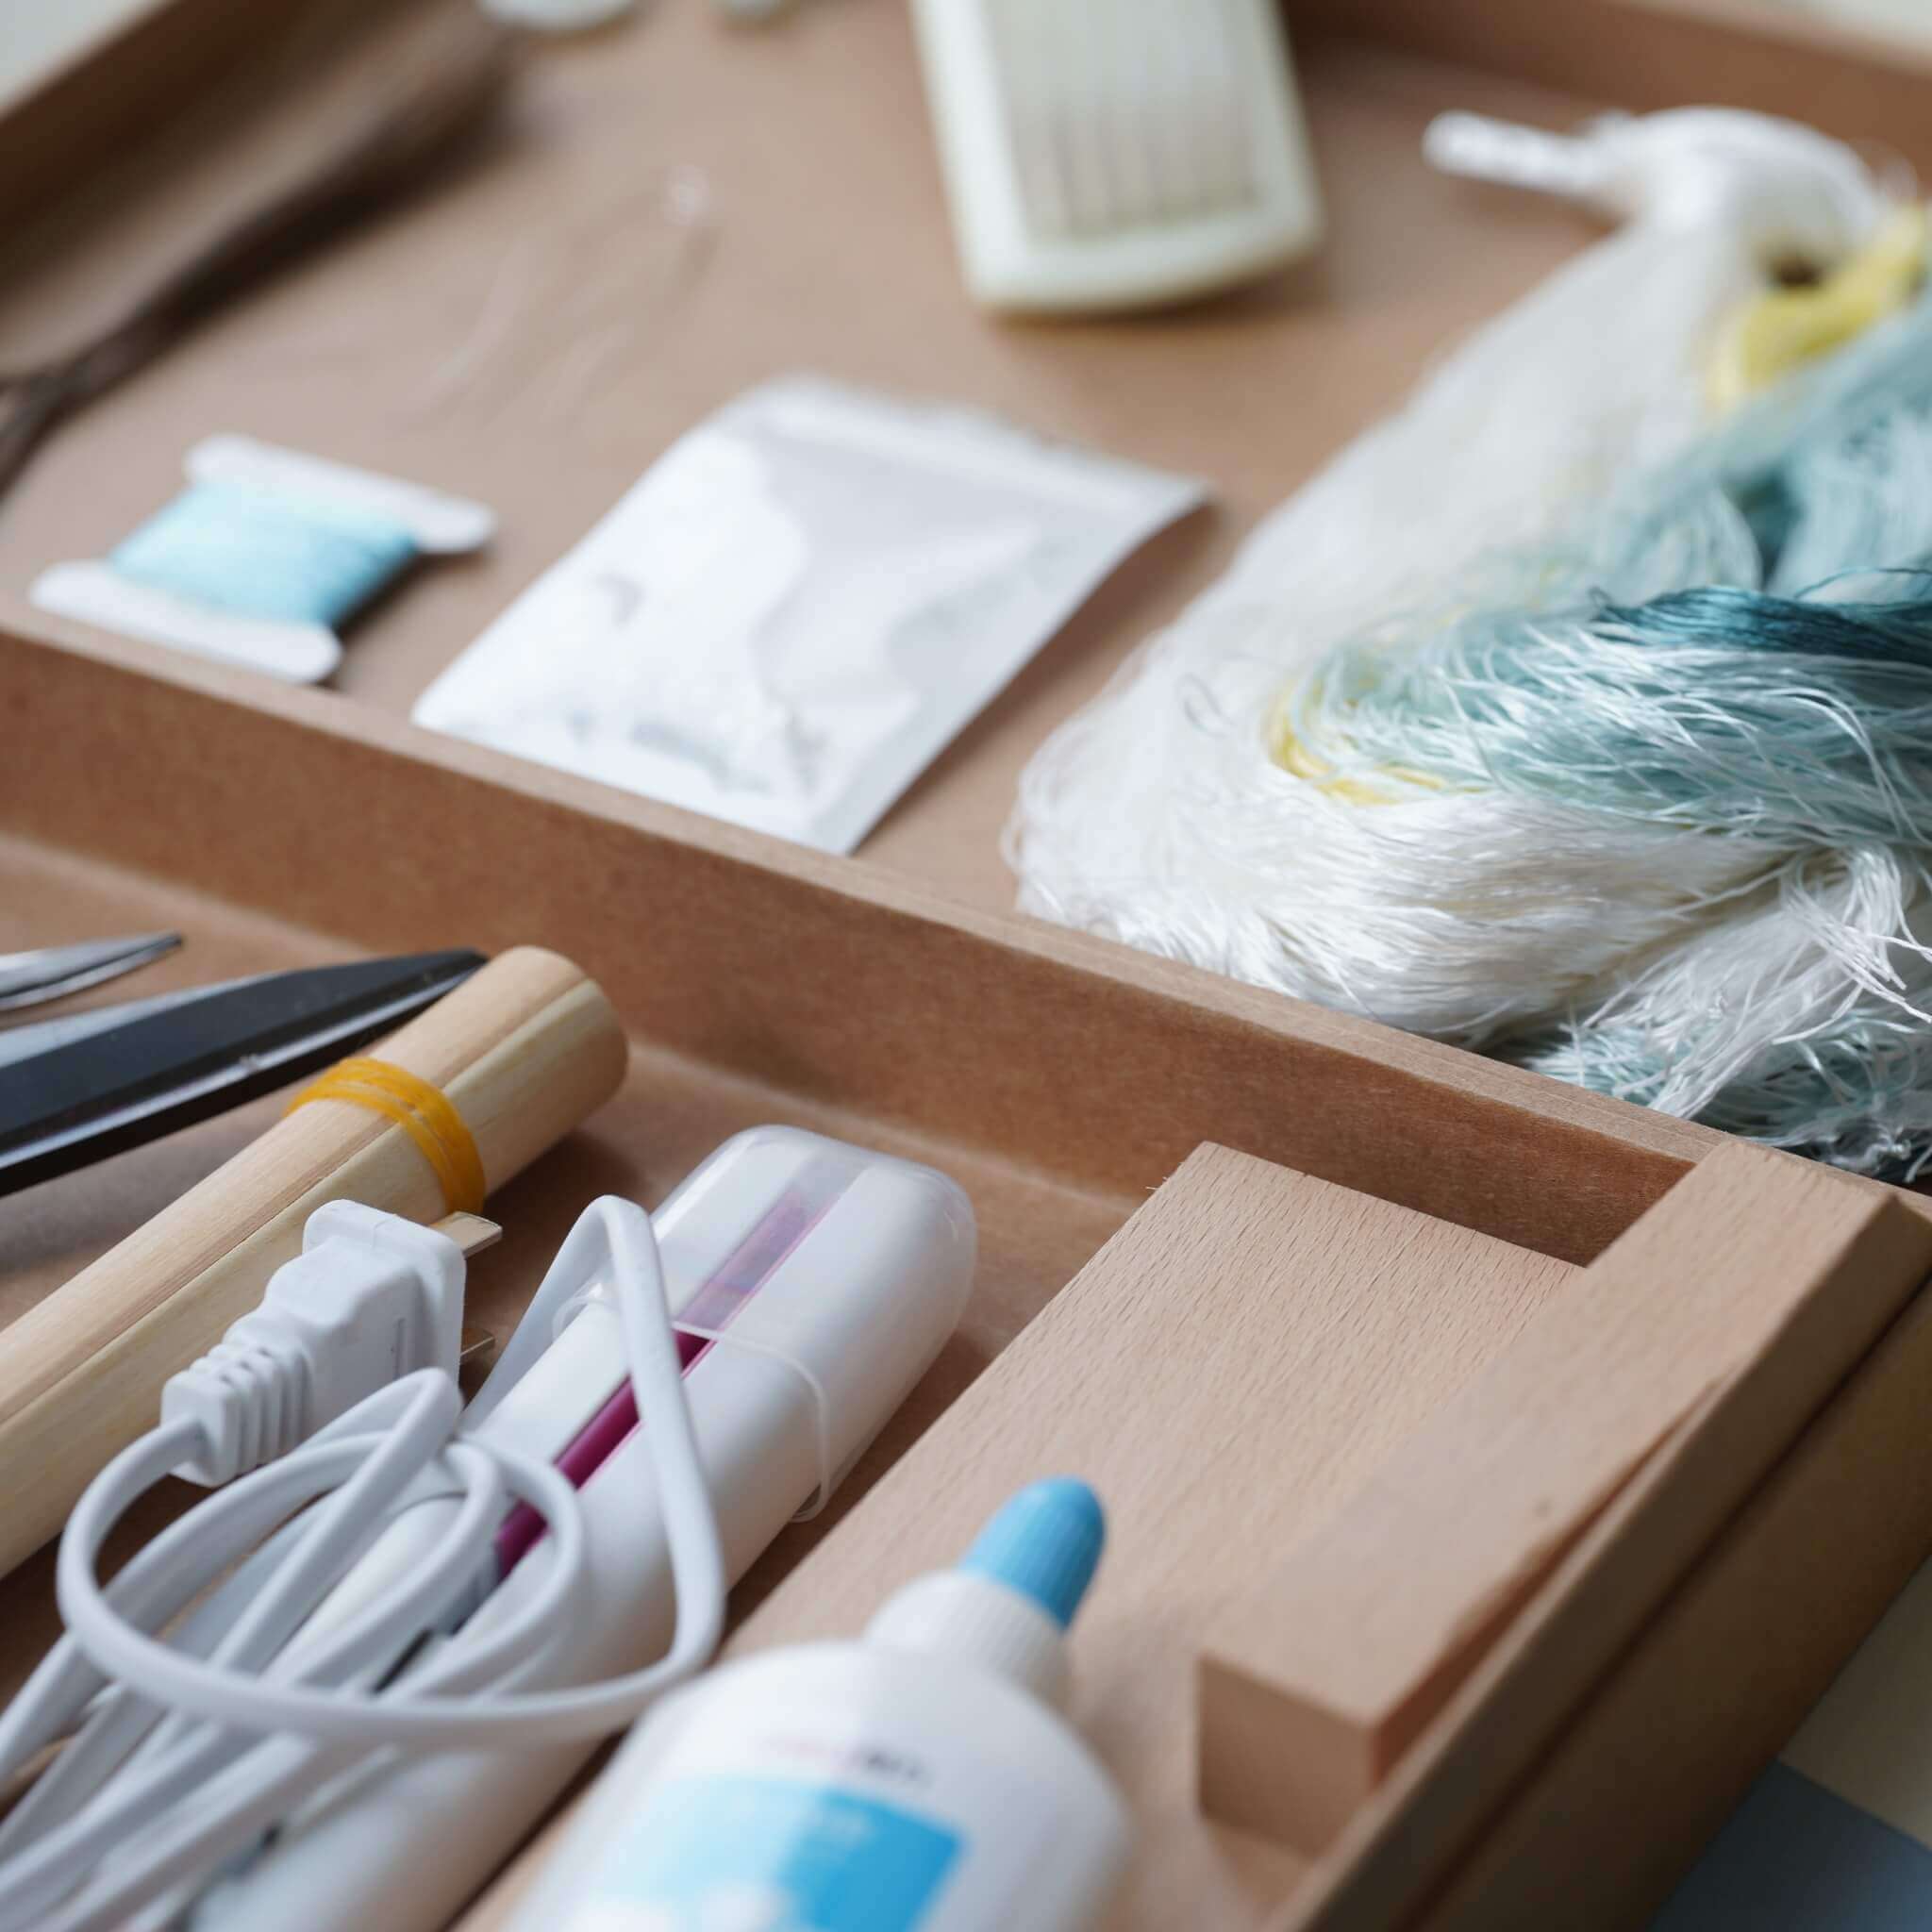
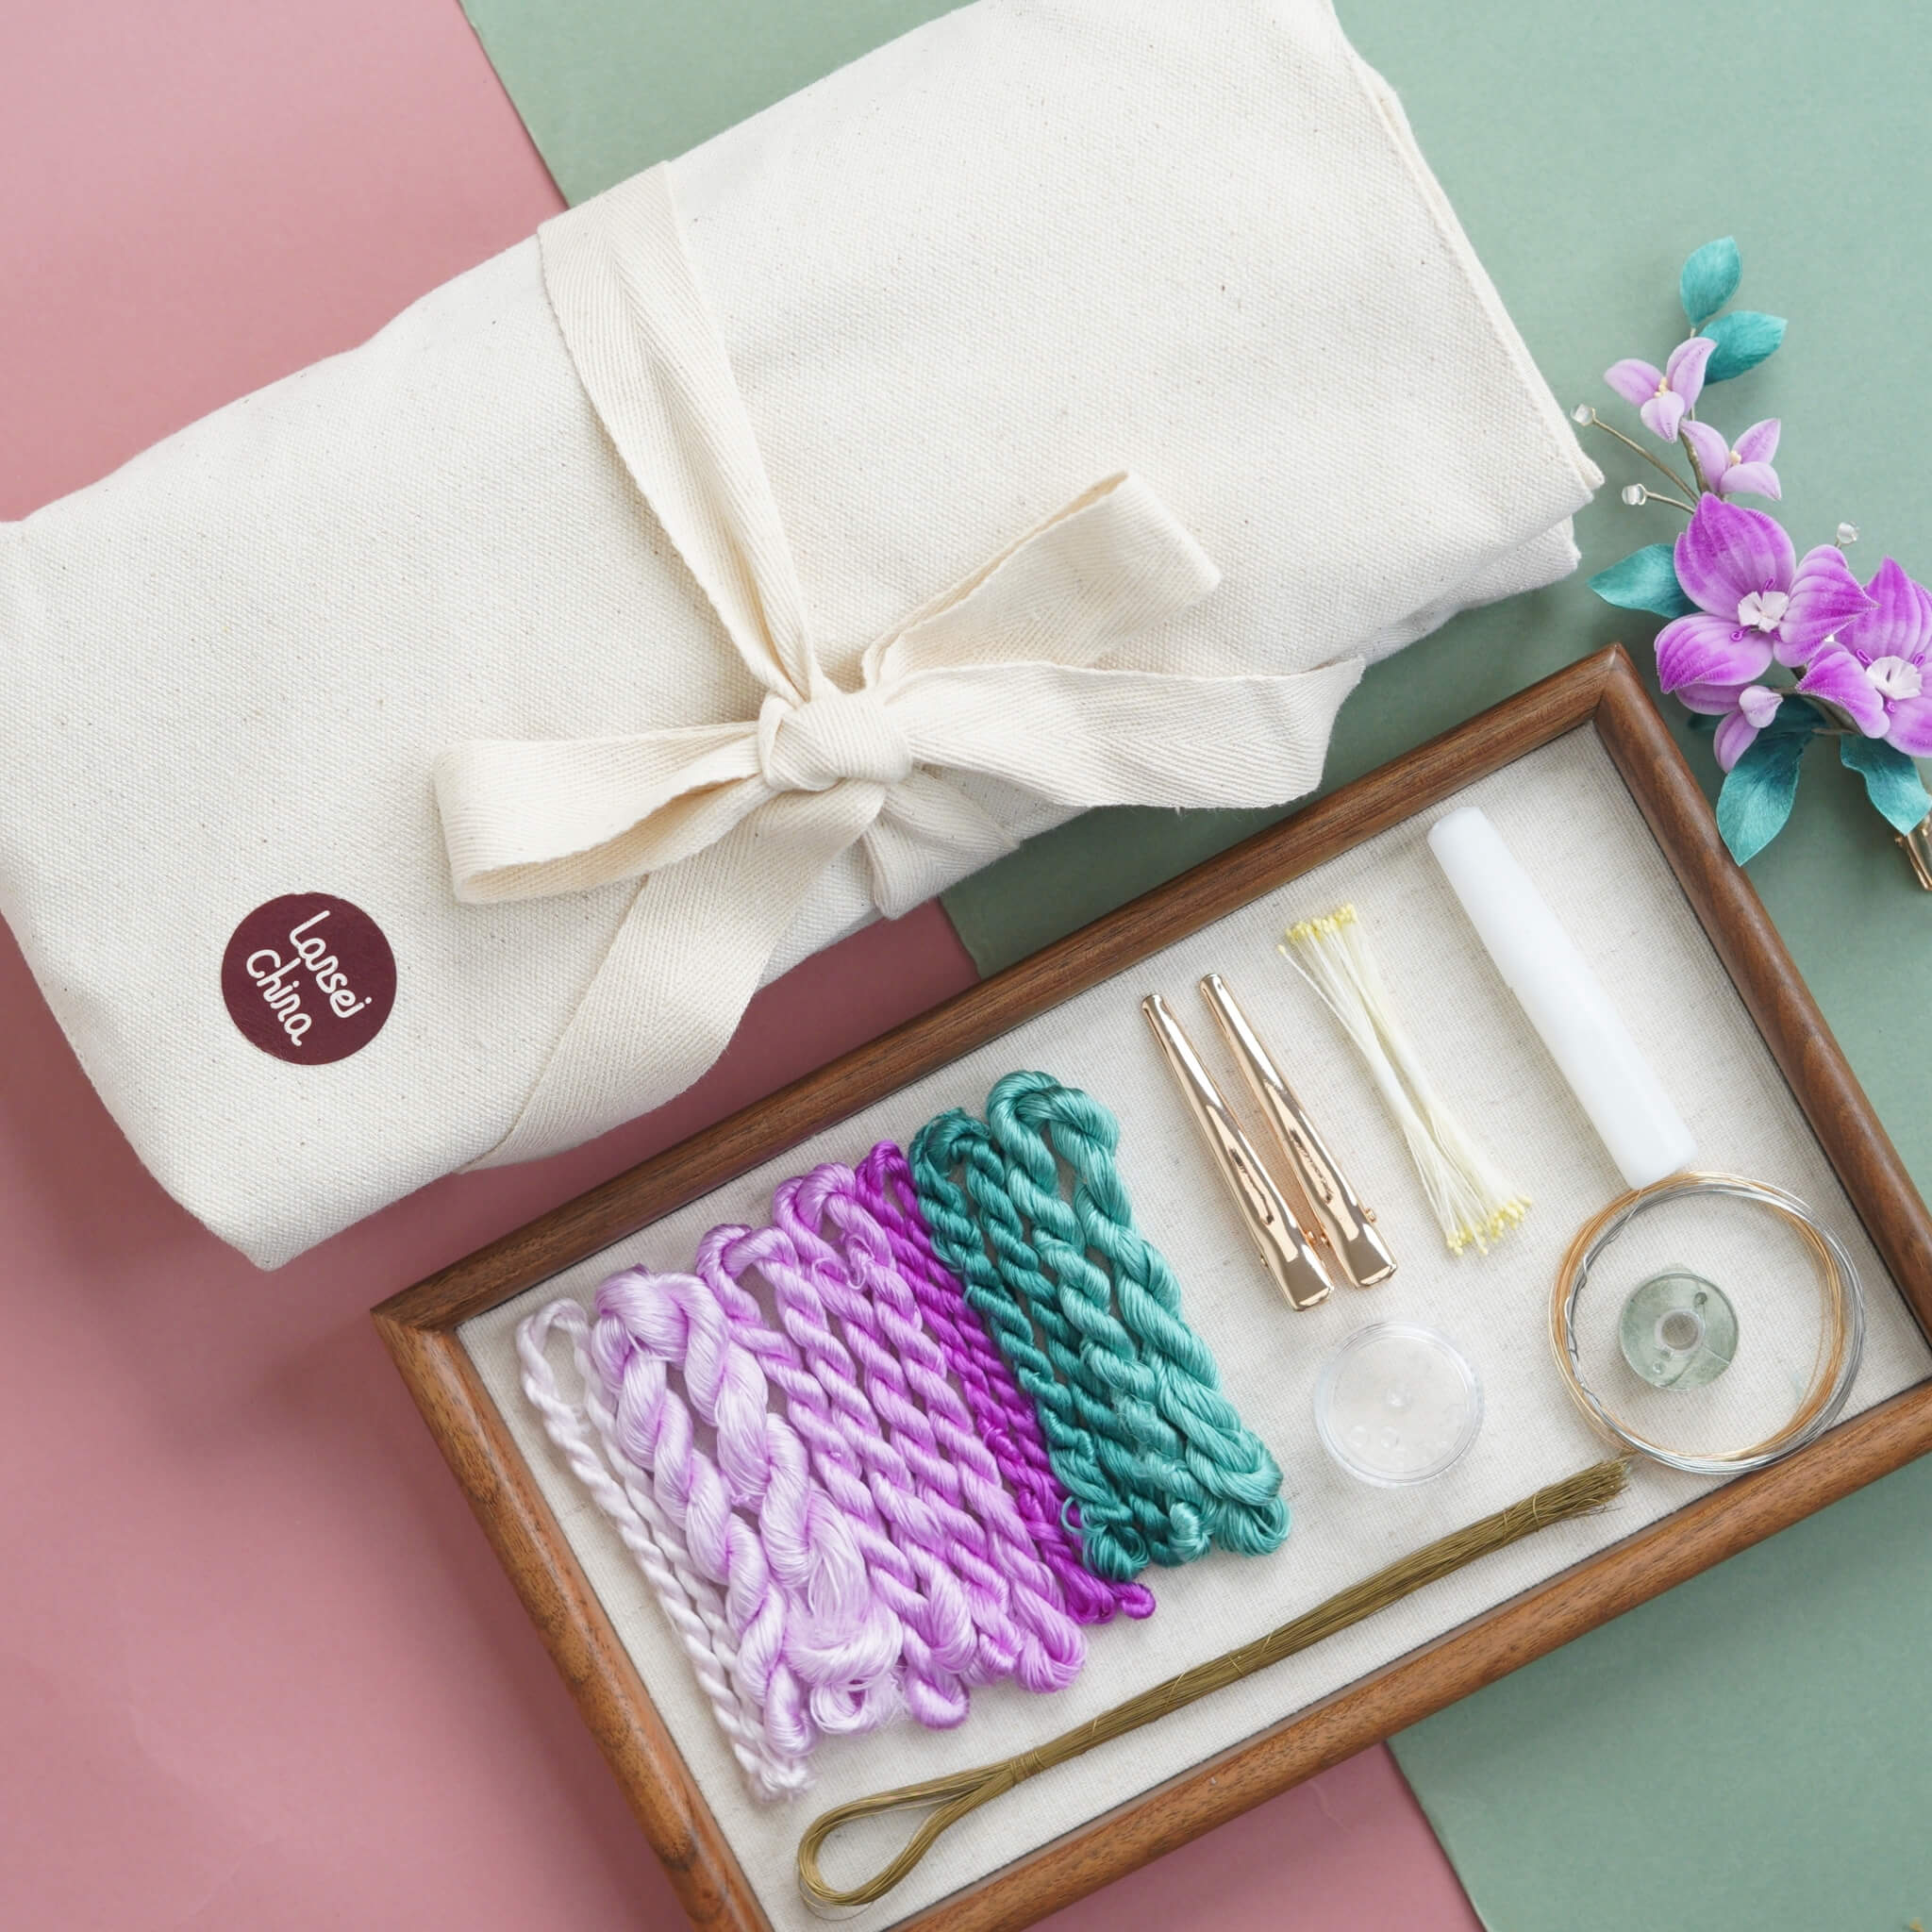
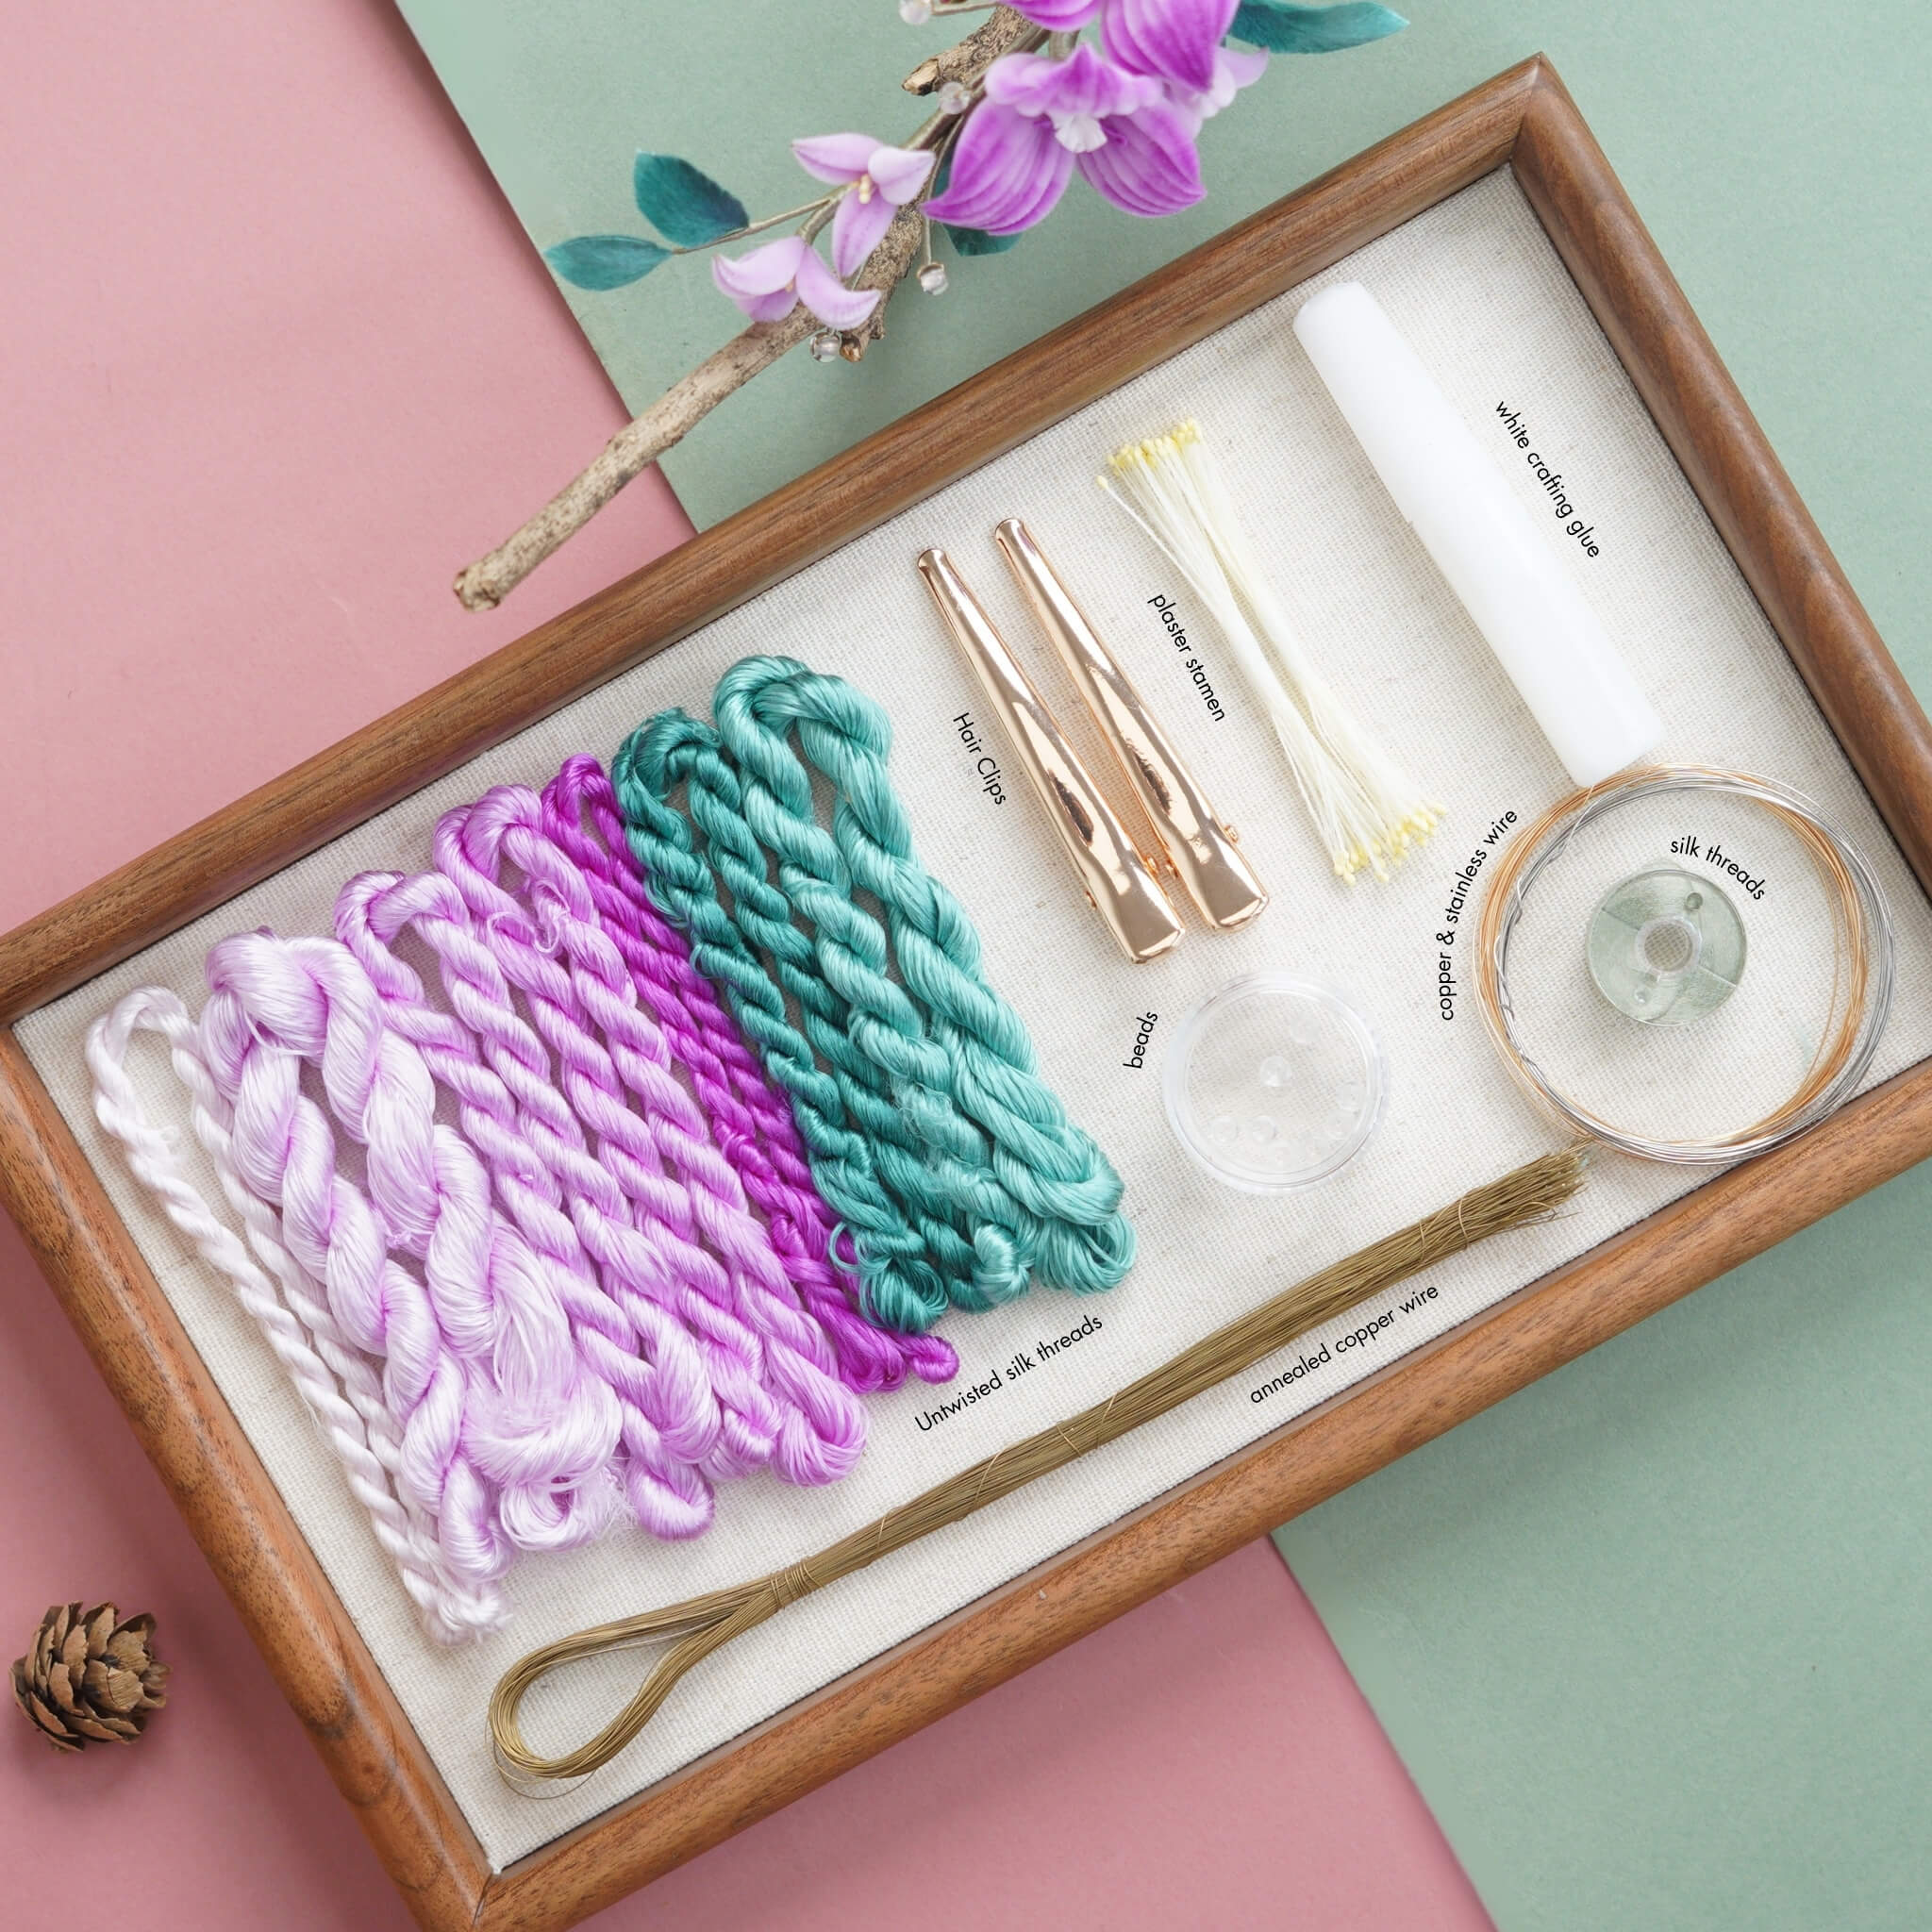
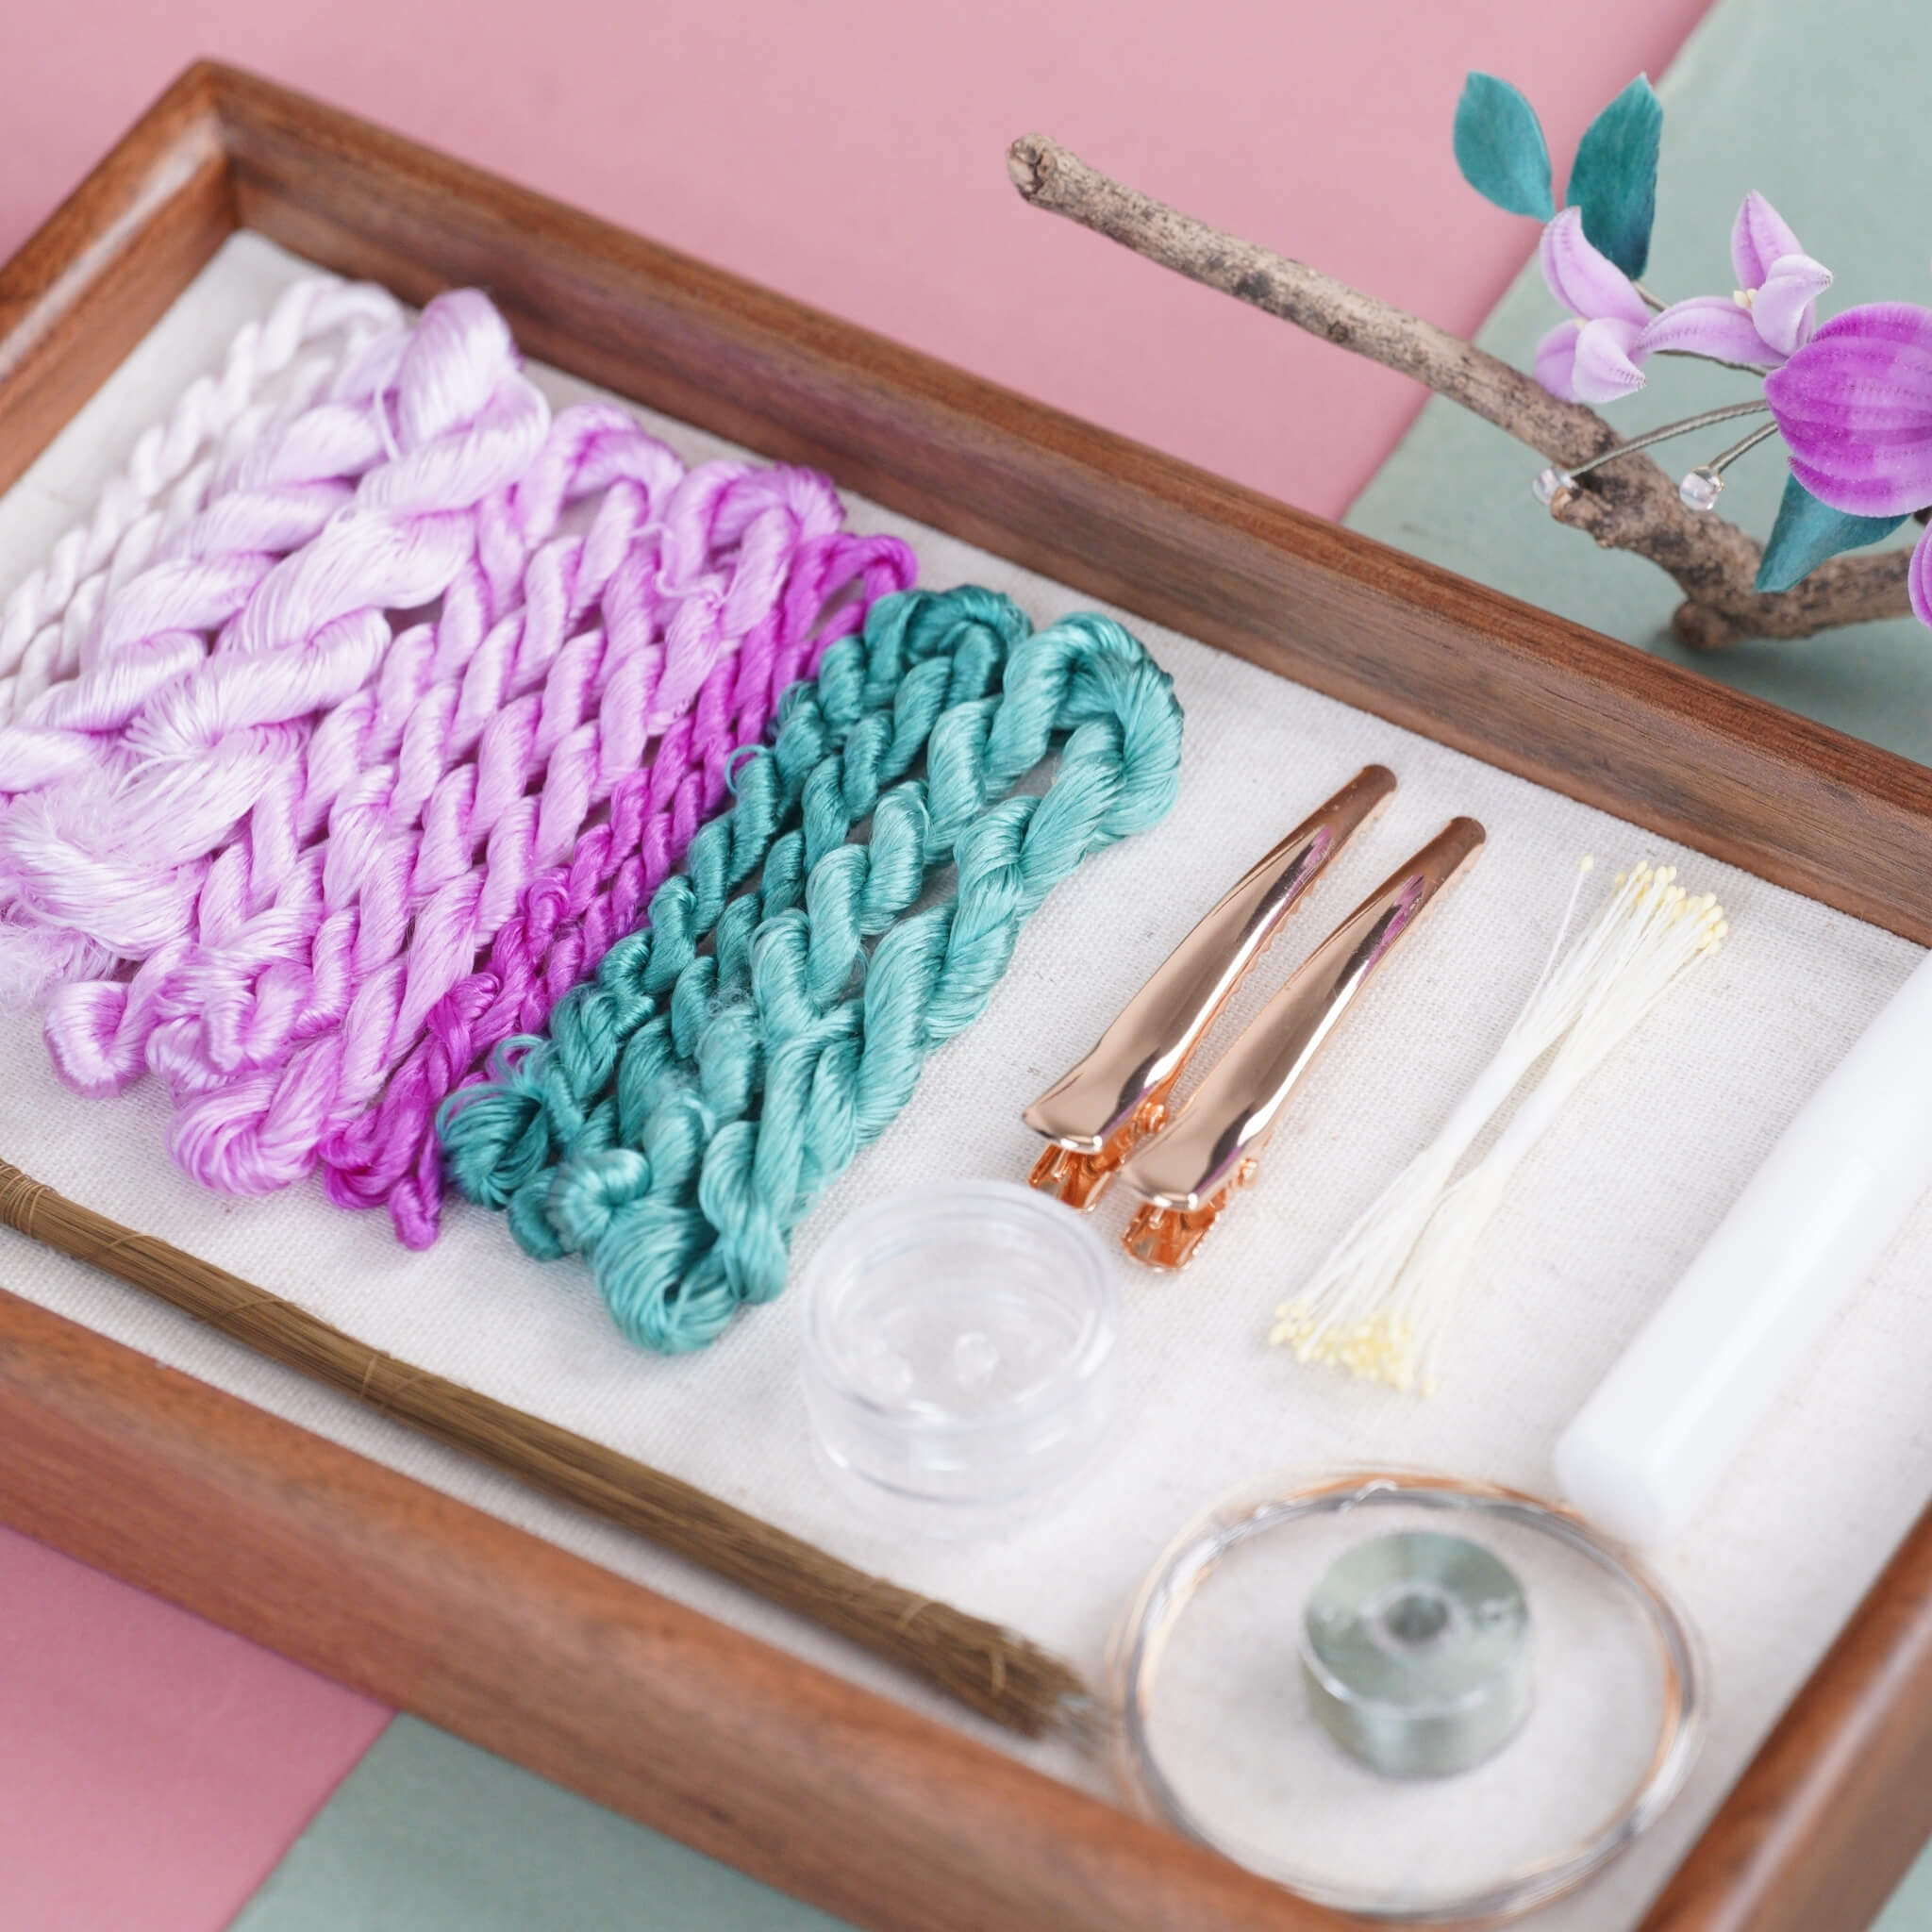
If you’ve purchased our Ronghua Toolkit, you already have everything required!
If not, prepare the following tools:
- Bristle brush (Medium to soft hardness)
- Flat iron (the one you use to straighten your hair)
- Tweezers
- At least 2 pairs of Scissors
- wooden sticks / pencils / chopsticks
- Hair spray or diluted white glue (1:2-1:3 with water or alcohol)
- Big clips (around 15cm)
- Twisting boards and wooden blocks (for even tension)
- Anti-slip powder (optional but helpful)
Full Tutorial Video
Step 1. Align and Arrange the Silk Threads
Start by untying your silk threads. Locate the knot at one end of each bundle and cut it open carefully. Refer to the diagram below for color combination details. Note that for all rows, you need to cut the thread in half.

Step 2. Group and Prepare the Threads
Each silk bundle consists of tiny individual strands. Align all strands neatly and tie them around a thin stick or pencil, keeping the ends perfectly even. Avoid uneven lengths to ensure a consistent texture when brushing.

Step 3. Make Silk Rows
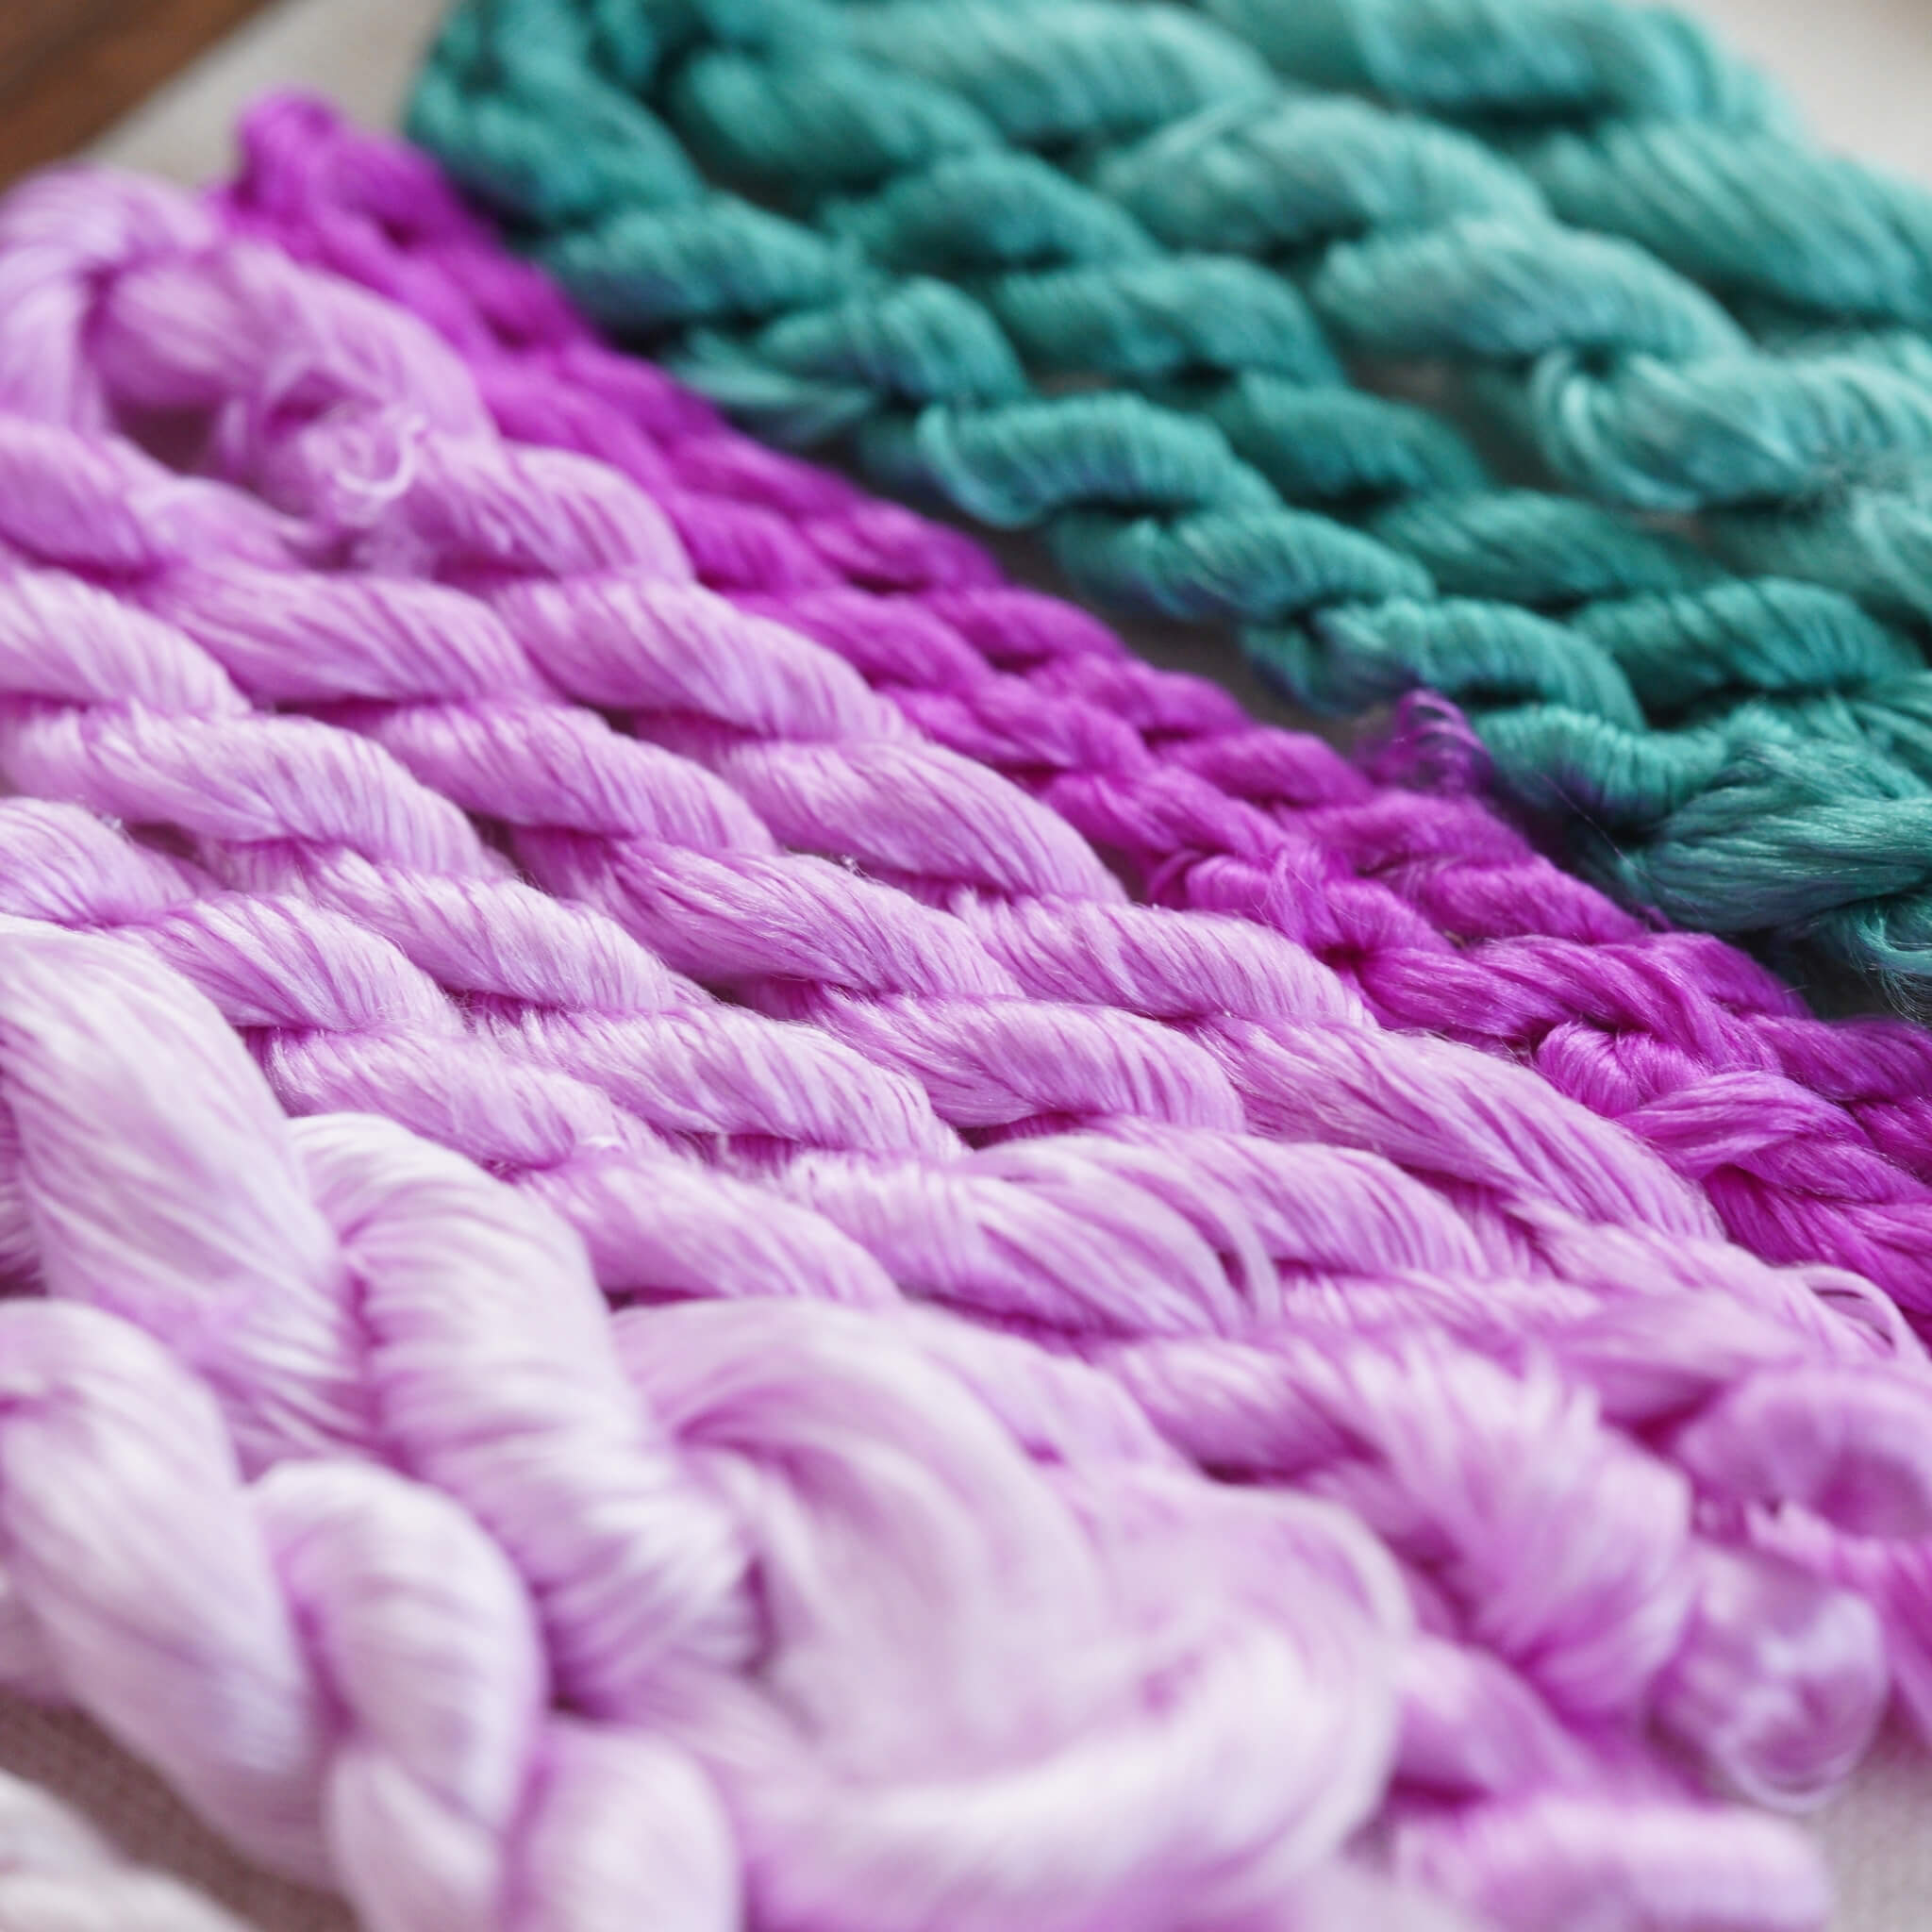
Repeat the grouping process to create your silk rows. You will need separate rows for the inner petals, outer petals, and the long leaves. Refer to the specific color data in your kit to ensure the gradients match the orchid's natural look.

Step 4. Brush the Silk
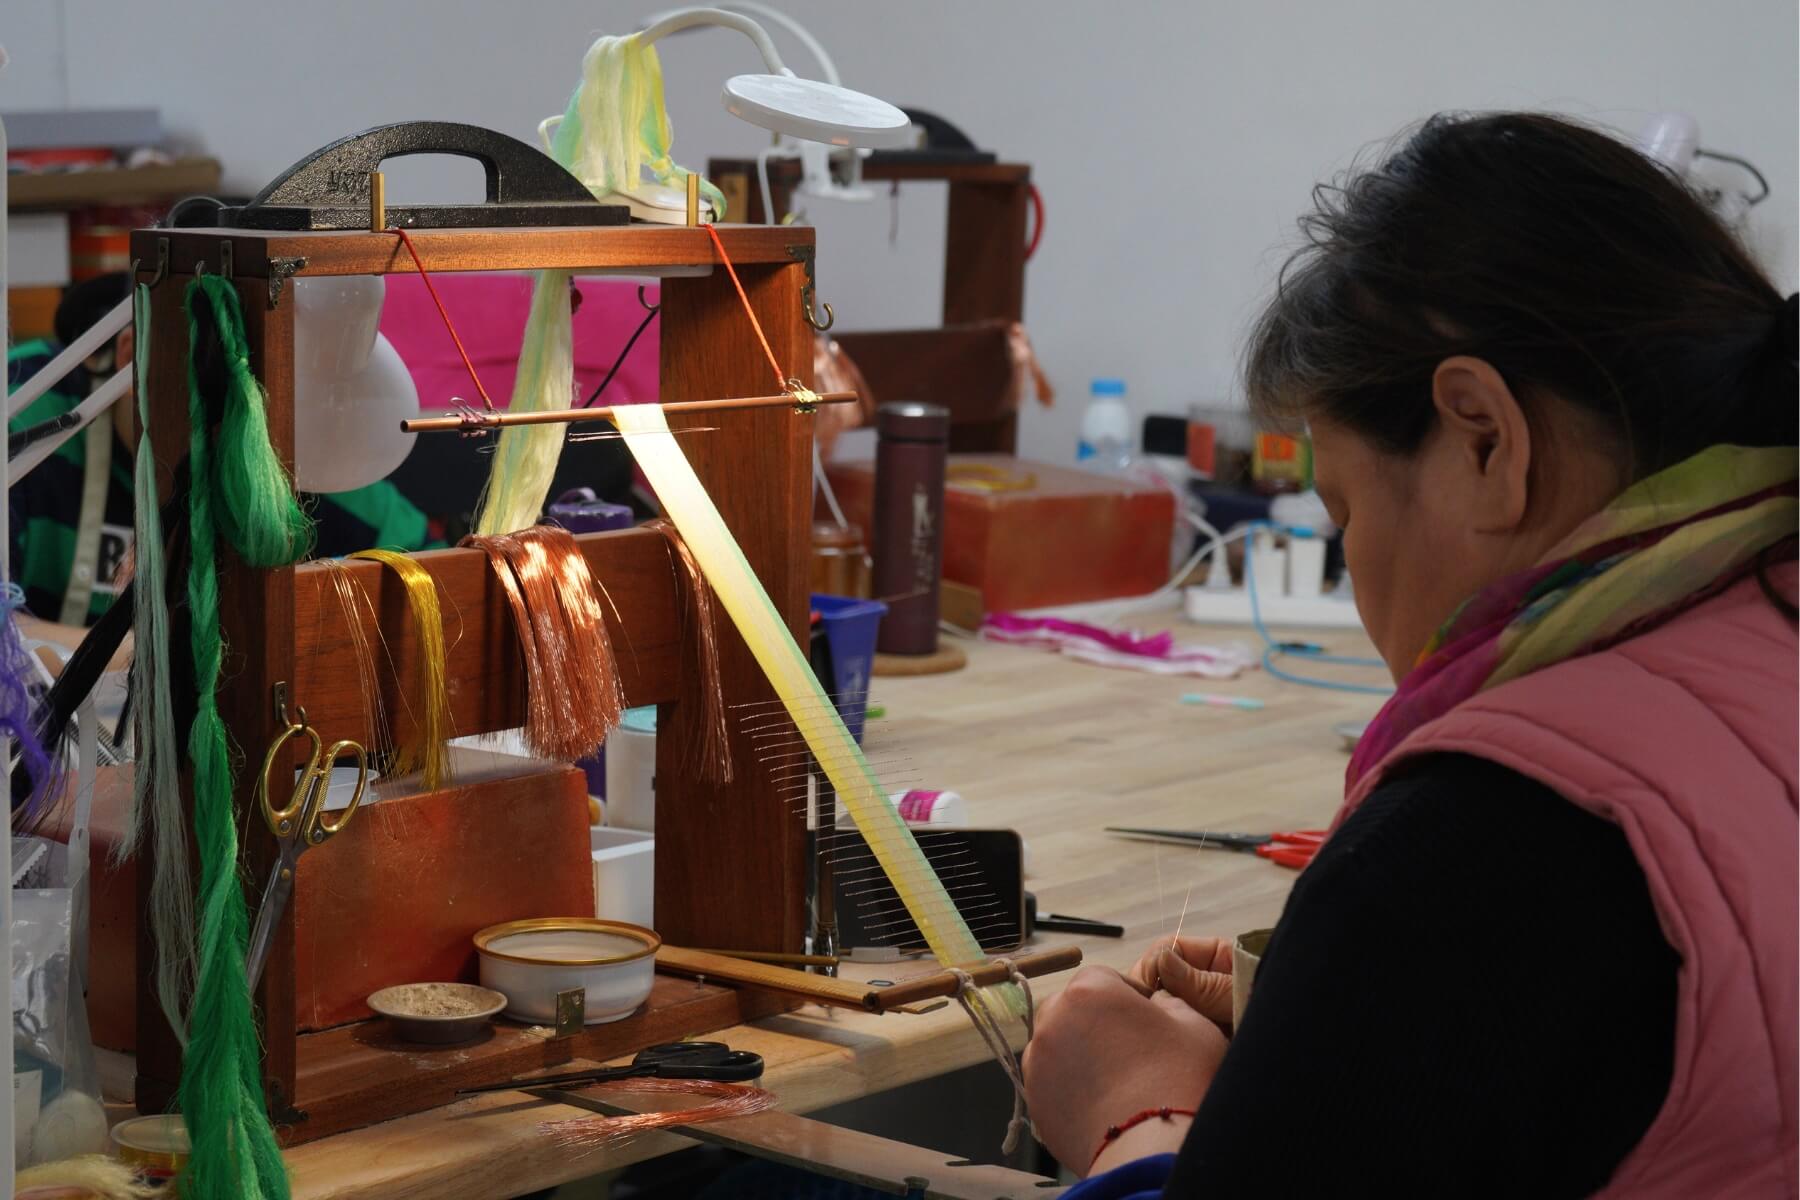
Secure your silk rows to a stand or frame. Use your bristle brush to comb the silk. Brush for about 10 minutes until the silk is smooth, fluffy, and free of tangles. If static occurs, lightly mist the air nearby with water.

Once it is smooth and fluffy like this, it's ready.

Step 5. Attach Copper Wires
When you feel that the silk is brushed enough, secure its tail with another big clip to your table or anything that can help stretch it taut. Take out one copper wire from the folded end of the row and straighten it. Twist the folded part into a spiral of about 3 cm. Clamp the silk threads between two copper wires and twist the opposite side tightly.
Pull both wires taut and continue twisting until they merge into one. Remember, the twisting direction for the left and right end are opposite.
The spacing should be the same as shown in step 1.
You can watch our video tutorial for this step:)
Step 6. Cut the Silk Strips
Trim the excess silk from the ends of the row. Using sharp scissors, cut through the silk exactly in the middle of each wire twist to create individual silk strips. Be careful not to touch the wire with your silk scissors, as this will dull them.

Step 7. Center and Twist the Strips
Place each strip on a flat surface and align the copper wire so it is centered.

Twist the wires by hand first, then place the strip between two twisting boards. Roll the boards to tighten the wire until it is firmly embedded and almost invisible within the silk.

Step 8. Taper the Strips
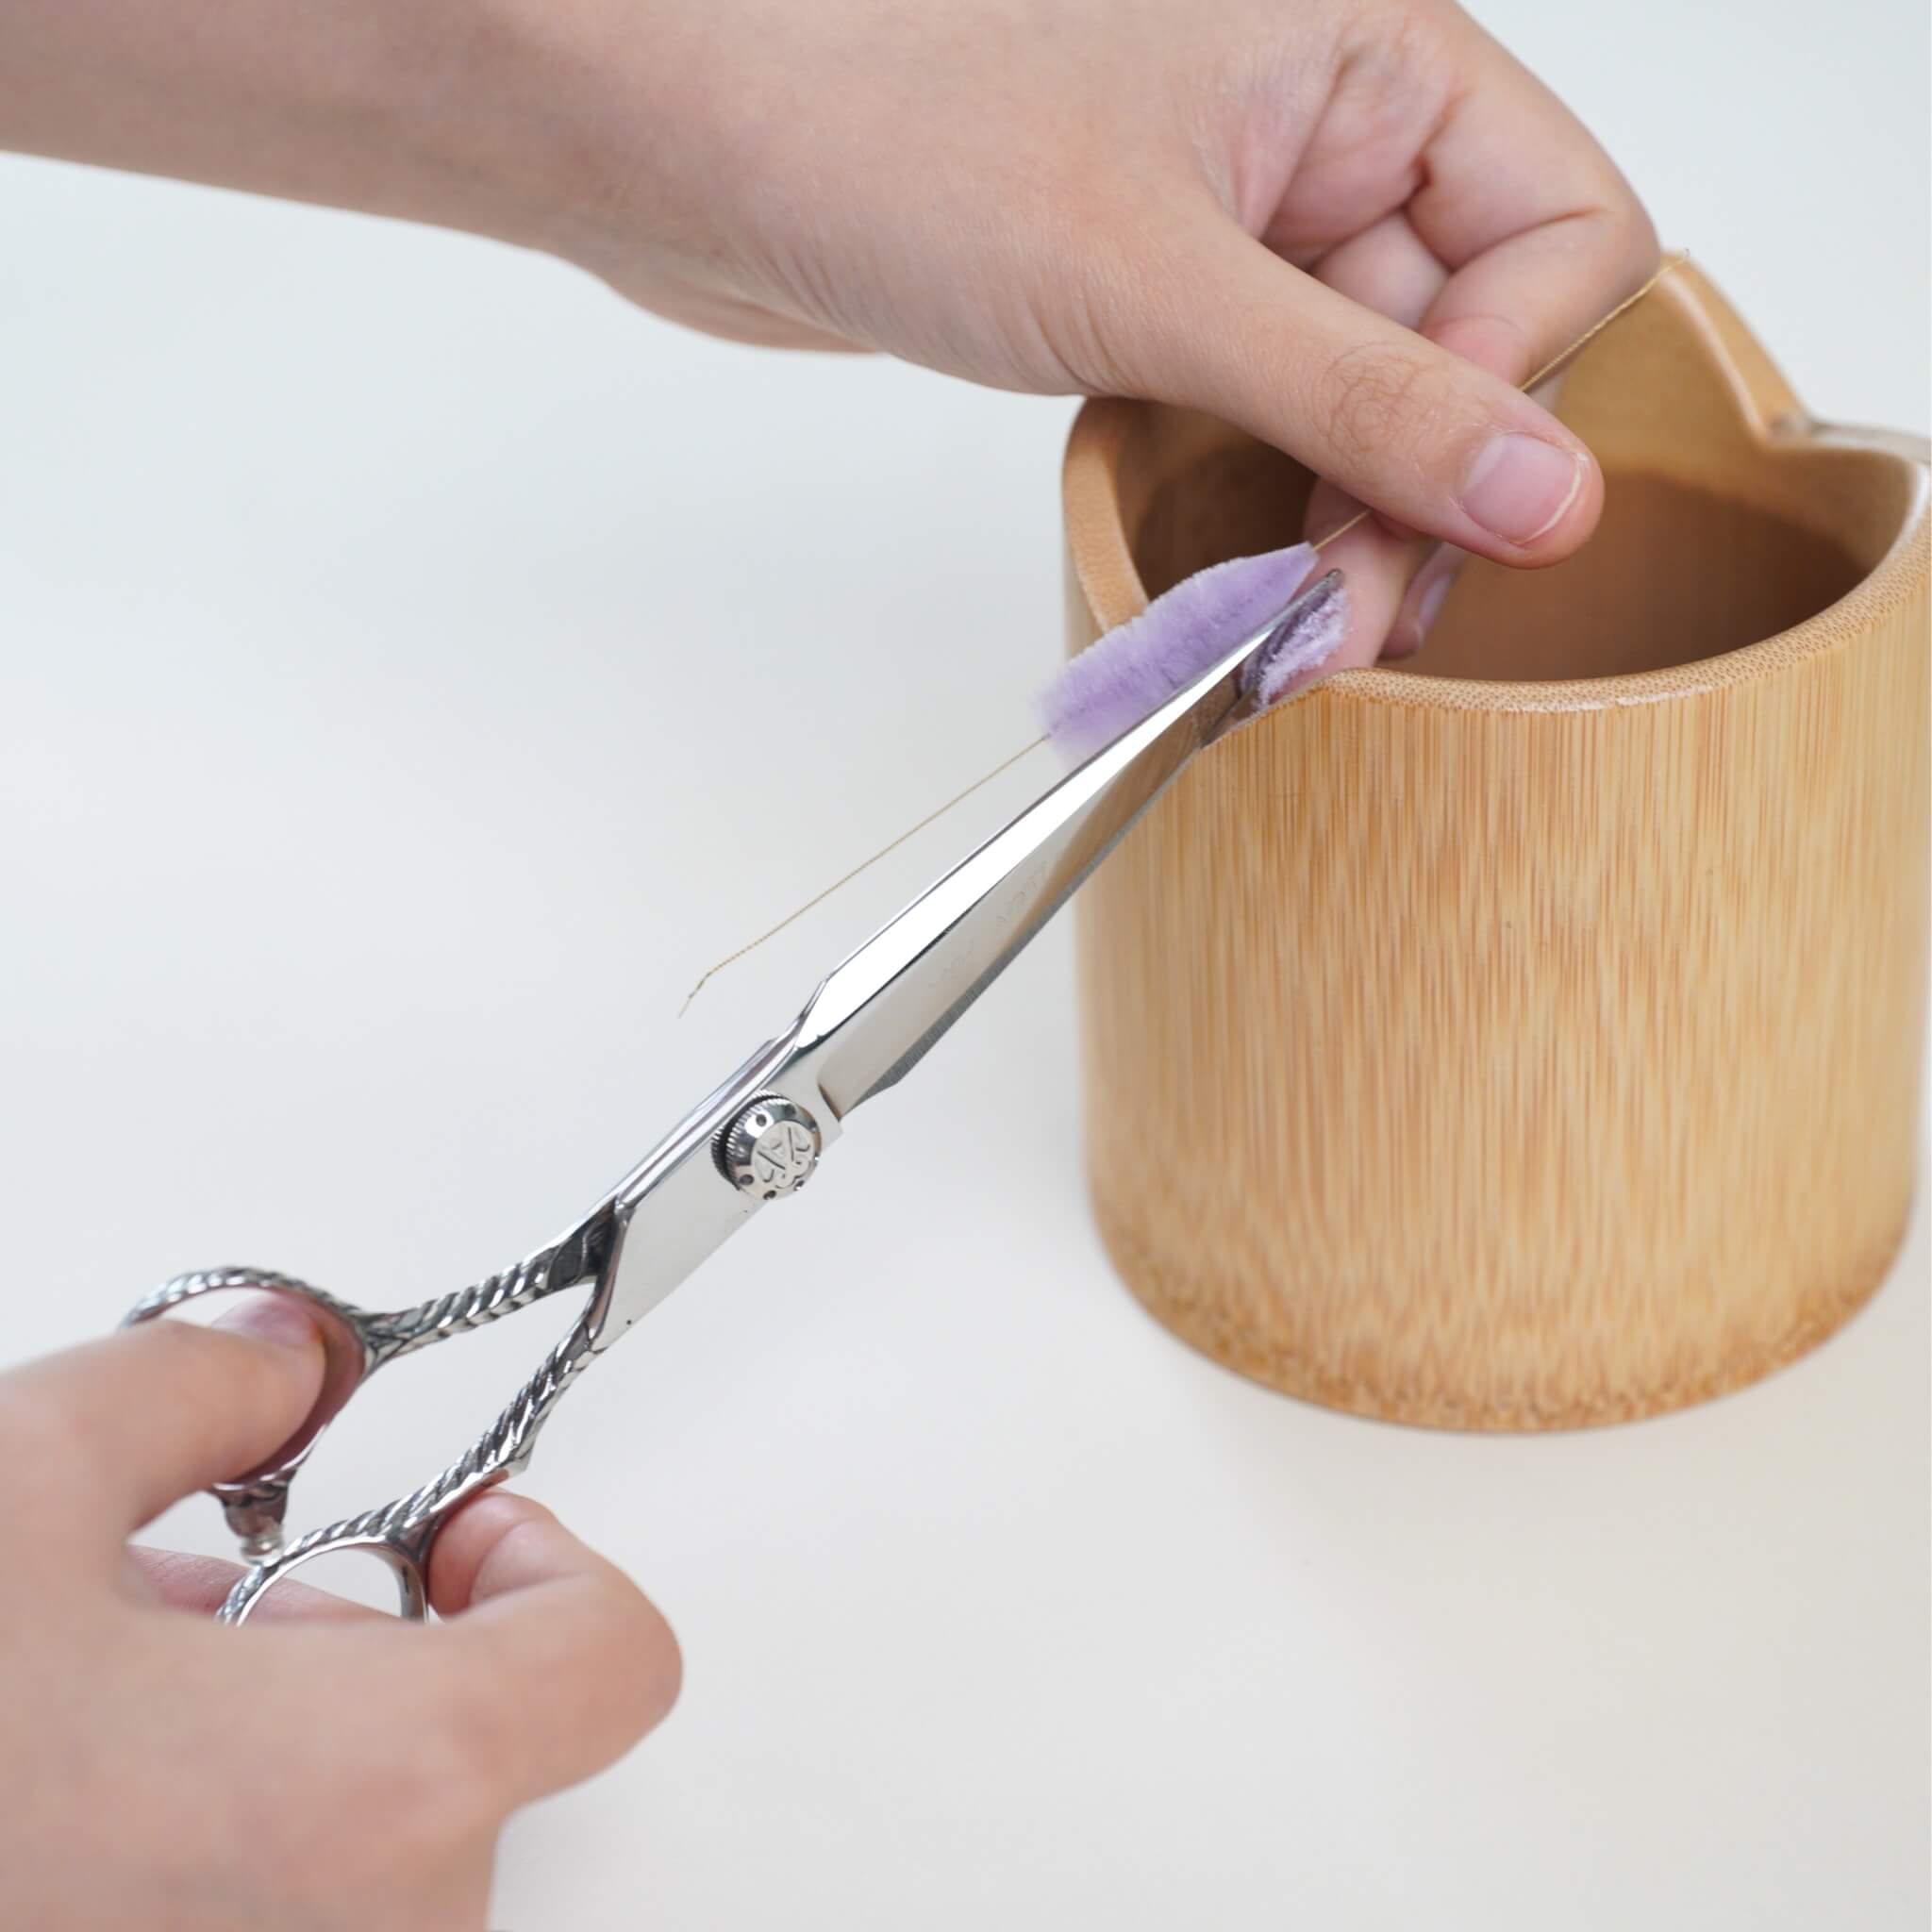
Rest a silk strip against the notch of your bamboo cup. Trim the silk while rotating the strip, keeping it fixed in the notch to avoid shifting.
For flower buds: Tilt the scissors slightly to create a pointed tip on one end, while keeping the other end rounder. Trim 3 strips into this shape.
For outer petals: Trim the strip to be slimmer than the bud strips. The dark-colored end should be wider, while the light-colored end is narrower. Trim 12 strips of this shape as evenly as possible.
The strip on the left is for flower buds, and the one on the right is for outer petals.
 For inner petals: Use the same tapering shape as the outer petals for the remaining pink strips. You will need 2 strips total for the smallest inner details.

For leaves: Trimming the blue (or green) leaf strips is the most difficult part because they are quite long. Keep the strips straight and rotate them slowly while trimming. You must trim these repeatedly until they are very thin. A high-quality, sharp pair of scissors will greatly improve your efficiency here. Once successful, they should look very slender and straight.

Step 9. Pairing the Strips
Pair the silk strips in twos and align their roots (bases) perfectly. Use silk thread to tie the two strips together, wrapping downward for about 1cm. Use a wire to apply a small amount of white glue between the two silk strips—apply a little at a time to avoid messy buildup. Combine the two strips, making sure the tops are perfectly aligned, and secure the other end with silk thread. You will need 6 paired petals of each pink type and 5 paired leaves.

Step 10. Reinforce the Buds and Leaves
Prepare a 10cm wire. Place the wire at the base of a flower bud and secure them together with silk thread. Add a second small flower bud about 2cm further down the wire. For the leaves, secure a wire to the base to add support to the stem section, wrapping the silk thread downward for about 3cm to finish the reinforcement.

Step 11. Assemble the Flowers
Prepare 2 flower stamens, fold them in half, and cut them open.

The Inner Layer: Use 3 dark small petals. Align them as neatly as possible around the stamens and secure with two strands of thread.
The Second Layer: Use 3 light-colored petals. Position these into the gaps of the first layer. Wrap the silk thread downward for about 3–4cm. Adjust the petal positions so they are evenly distributed.
Use your hands to gently curve the petals into shape, but don't press too hard as it will flatten the strips.

You need to make 2 flowers in total.
Step 12. Assemble the Piece
Tie the leaves and small flower buds together, overlapping the silk thread layer by layer so no copper wire is visible. Add one orchid flower so it sits slightly lower than the buds.

Continue assembling downward, staggering the flowers and leaves at different heights rather than putting them on the same level. Ensure the dark side of the leaf faces upward and the light side faces downward.

Wrap the silk thread all the way to the bottom. Fold the wrapped wire in half and continue wrapping to combine them. To finish, place a folded 3mm copper wire loop on the stem, wrap over it 5 times, thread the silk through the loop, and pull the wire to lock the thread inside.
You can watch our video tutorial for this step:
Step 13. Attach the Piece to the Brooch
Finally, position the brooch pin behind the orchid.

Using 4 strands of thread, loop around the brooch pin and the flower, tying tightly to cover all gaps. Use the same finishing technique to secure the final thread.
Curve the leaves and flowers into their final positions—ensure they are not too crowded. Cut off any visible copper wires. Lastly, brush a small amount of hairspray onto the wrapped thread areas only to prevent loosening. Be careful not to get hairspray on the silk petals or leaves.
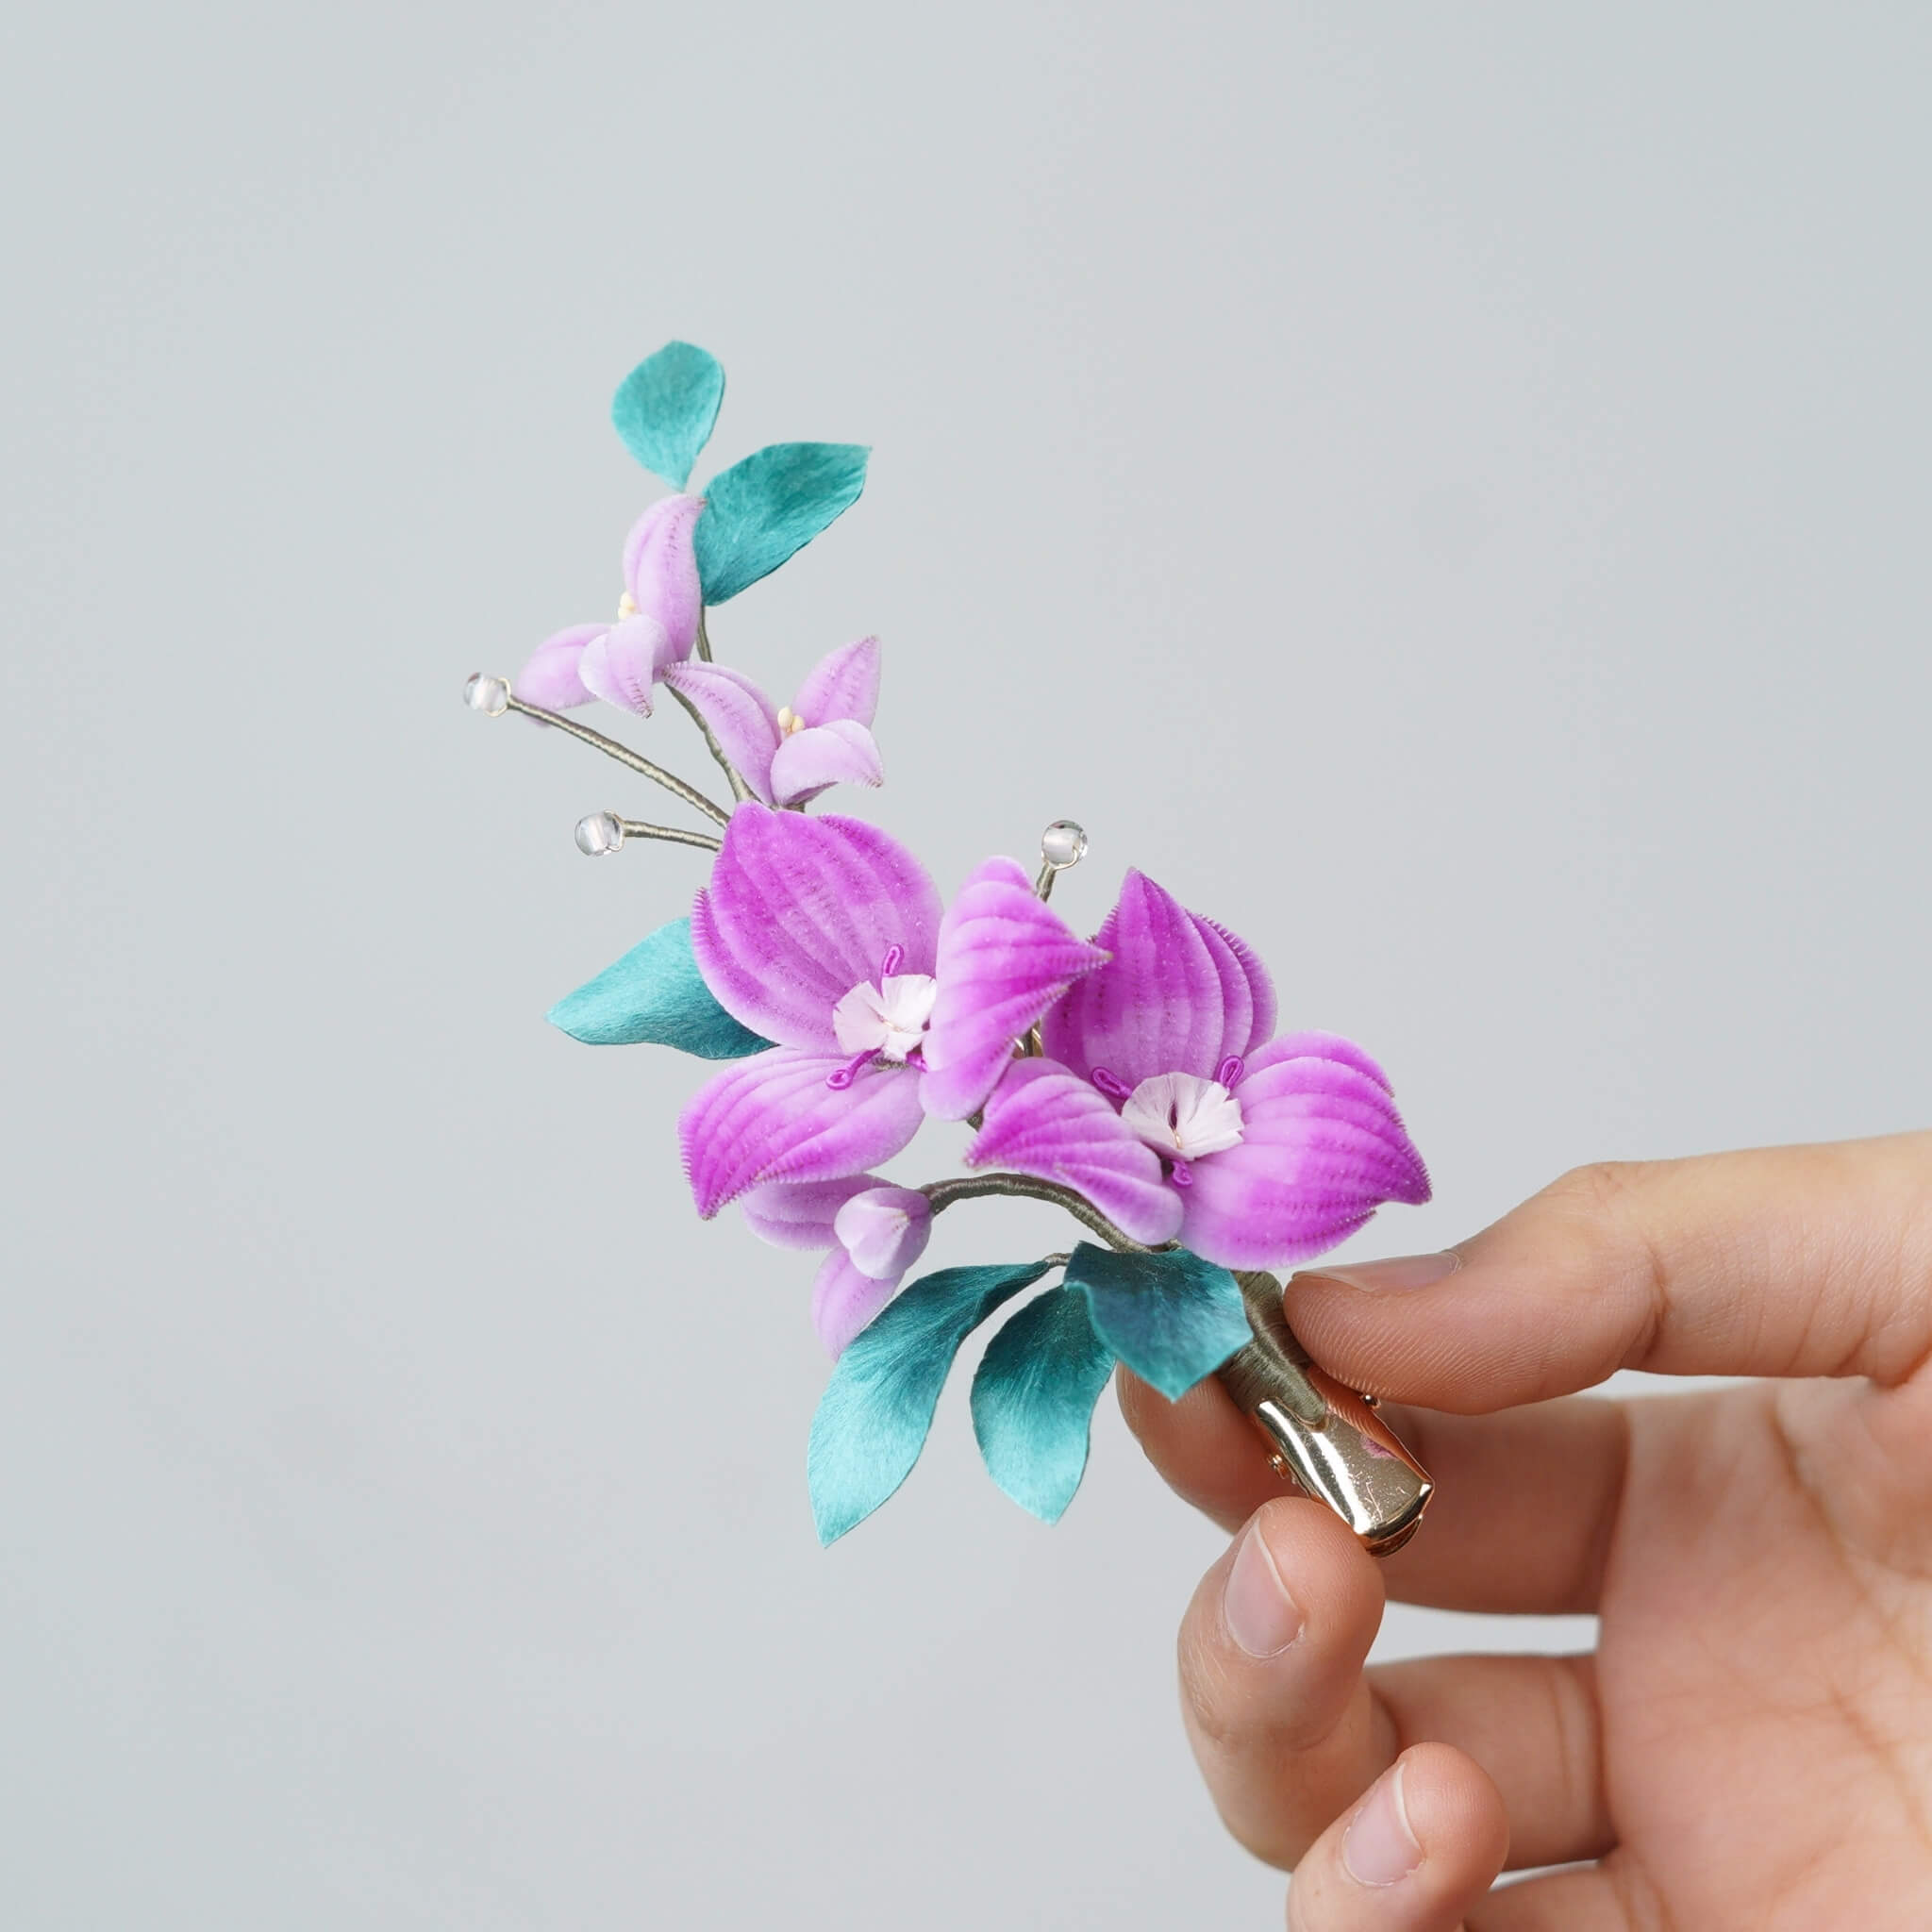
Your Graceful Orchid Brooch is now complete! 🌸






Deja un comentario
Todos los comentarios son moderados antes de ser publicados.
Este sitio está protegido por hCaptcha y se aplican la Política de privacidad de hCaptcha y los Términos del servicio.