

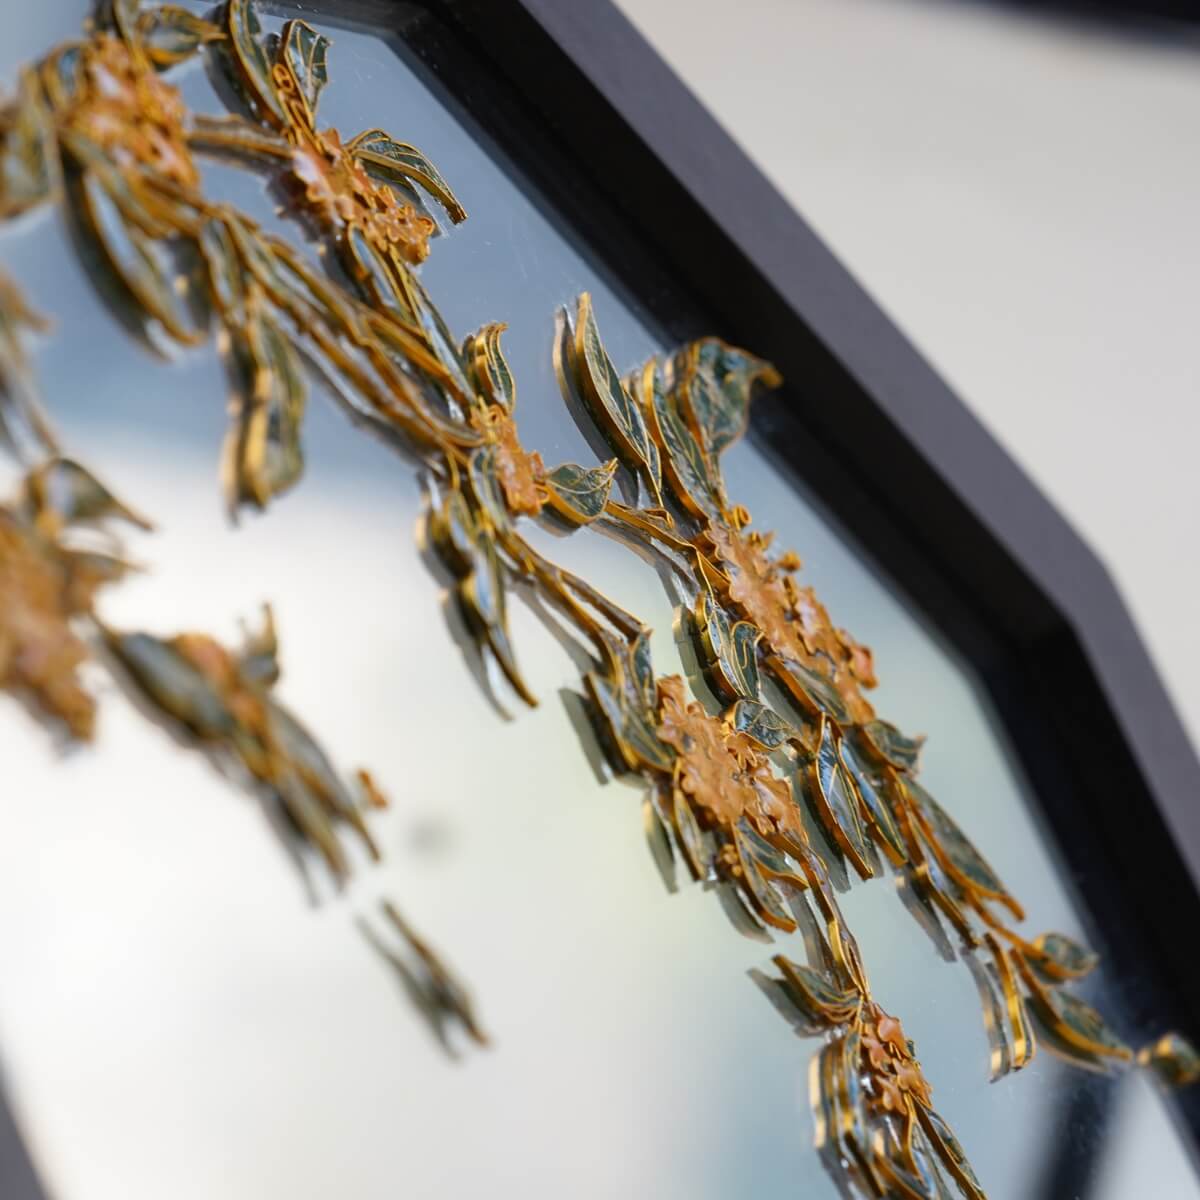

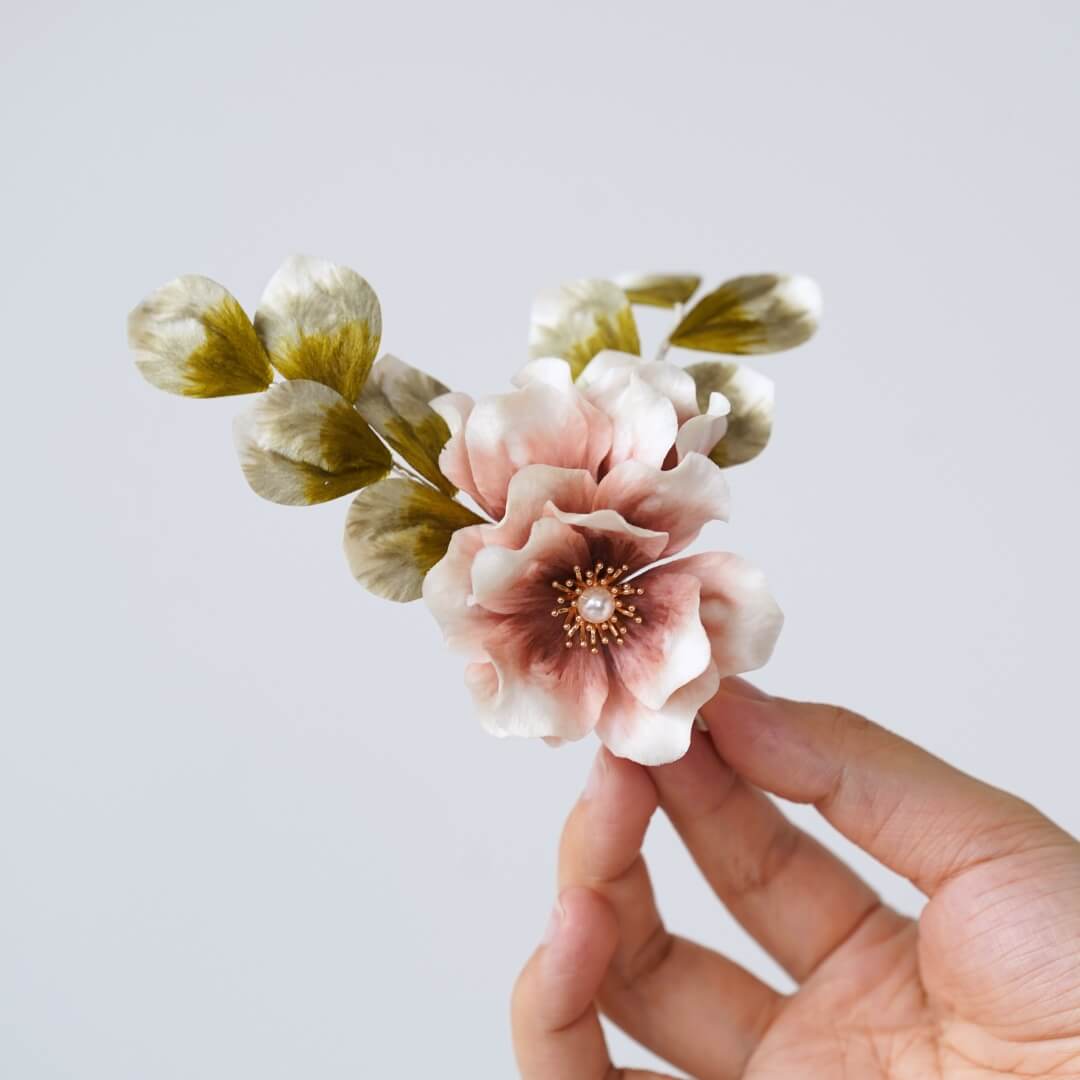
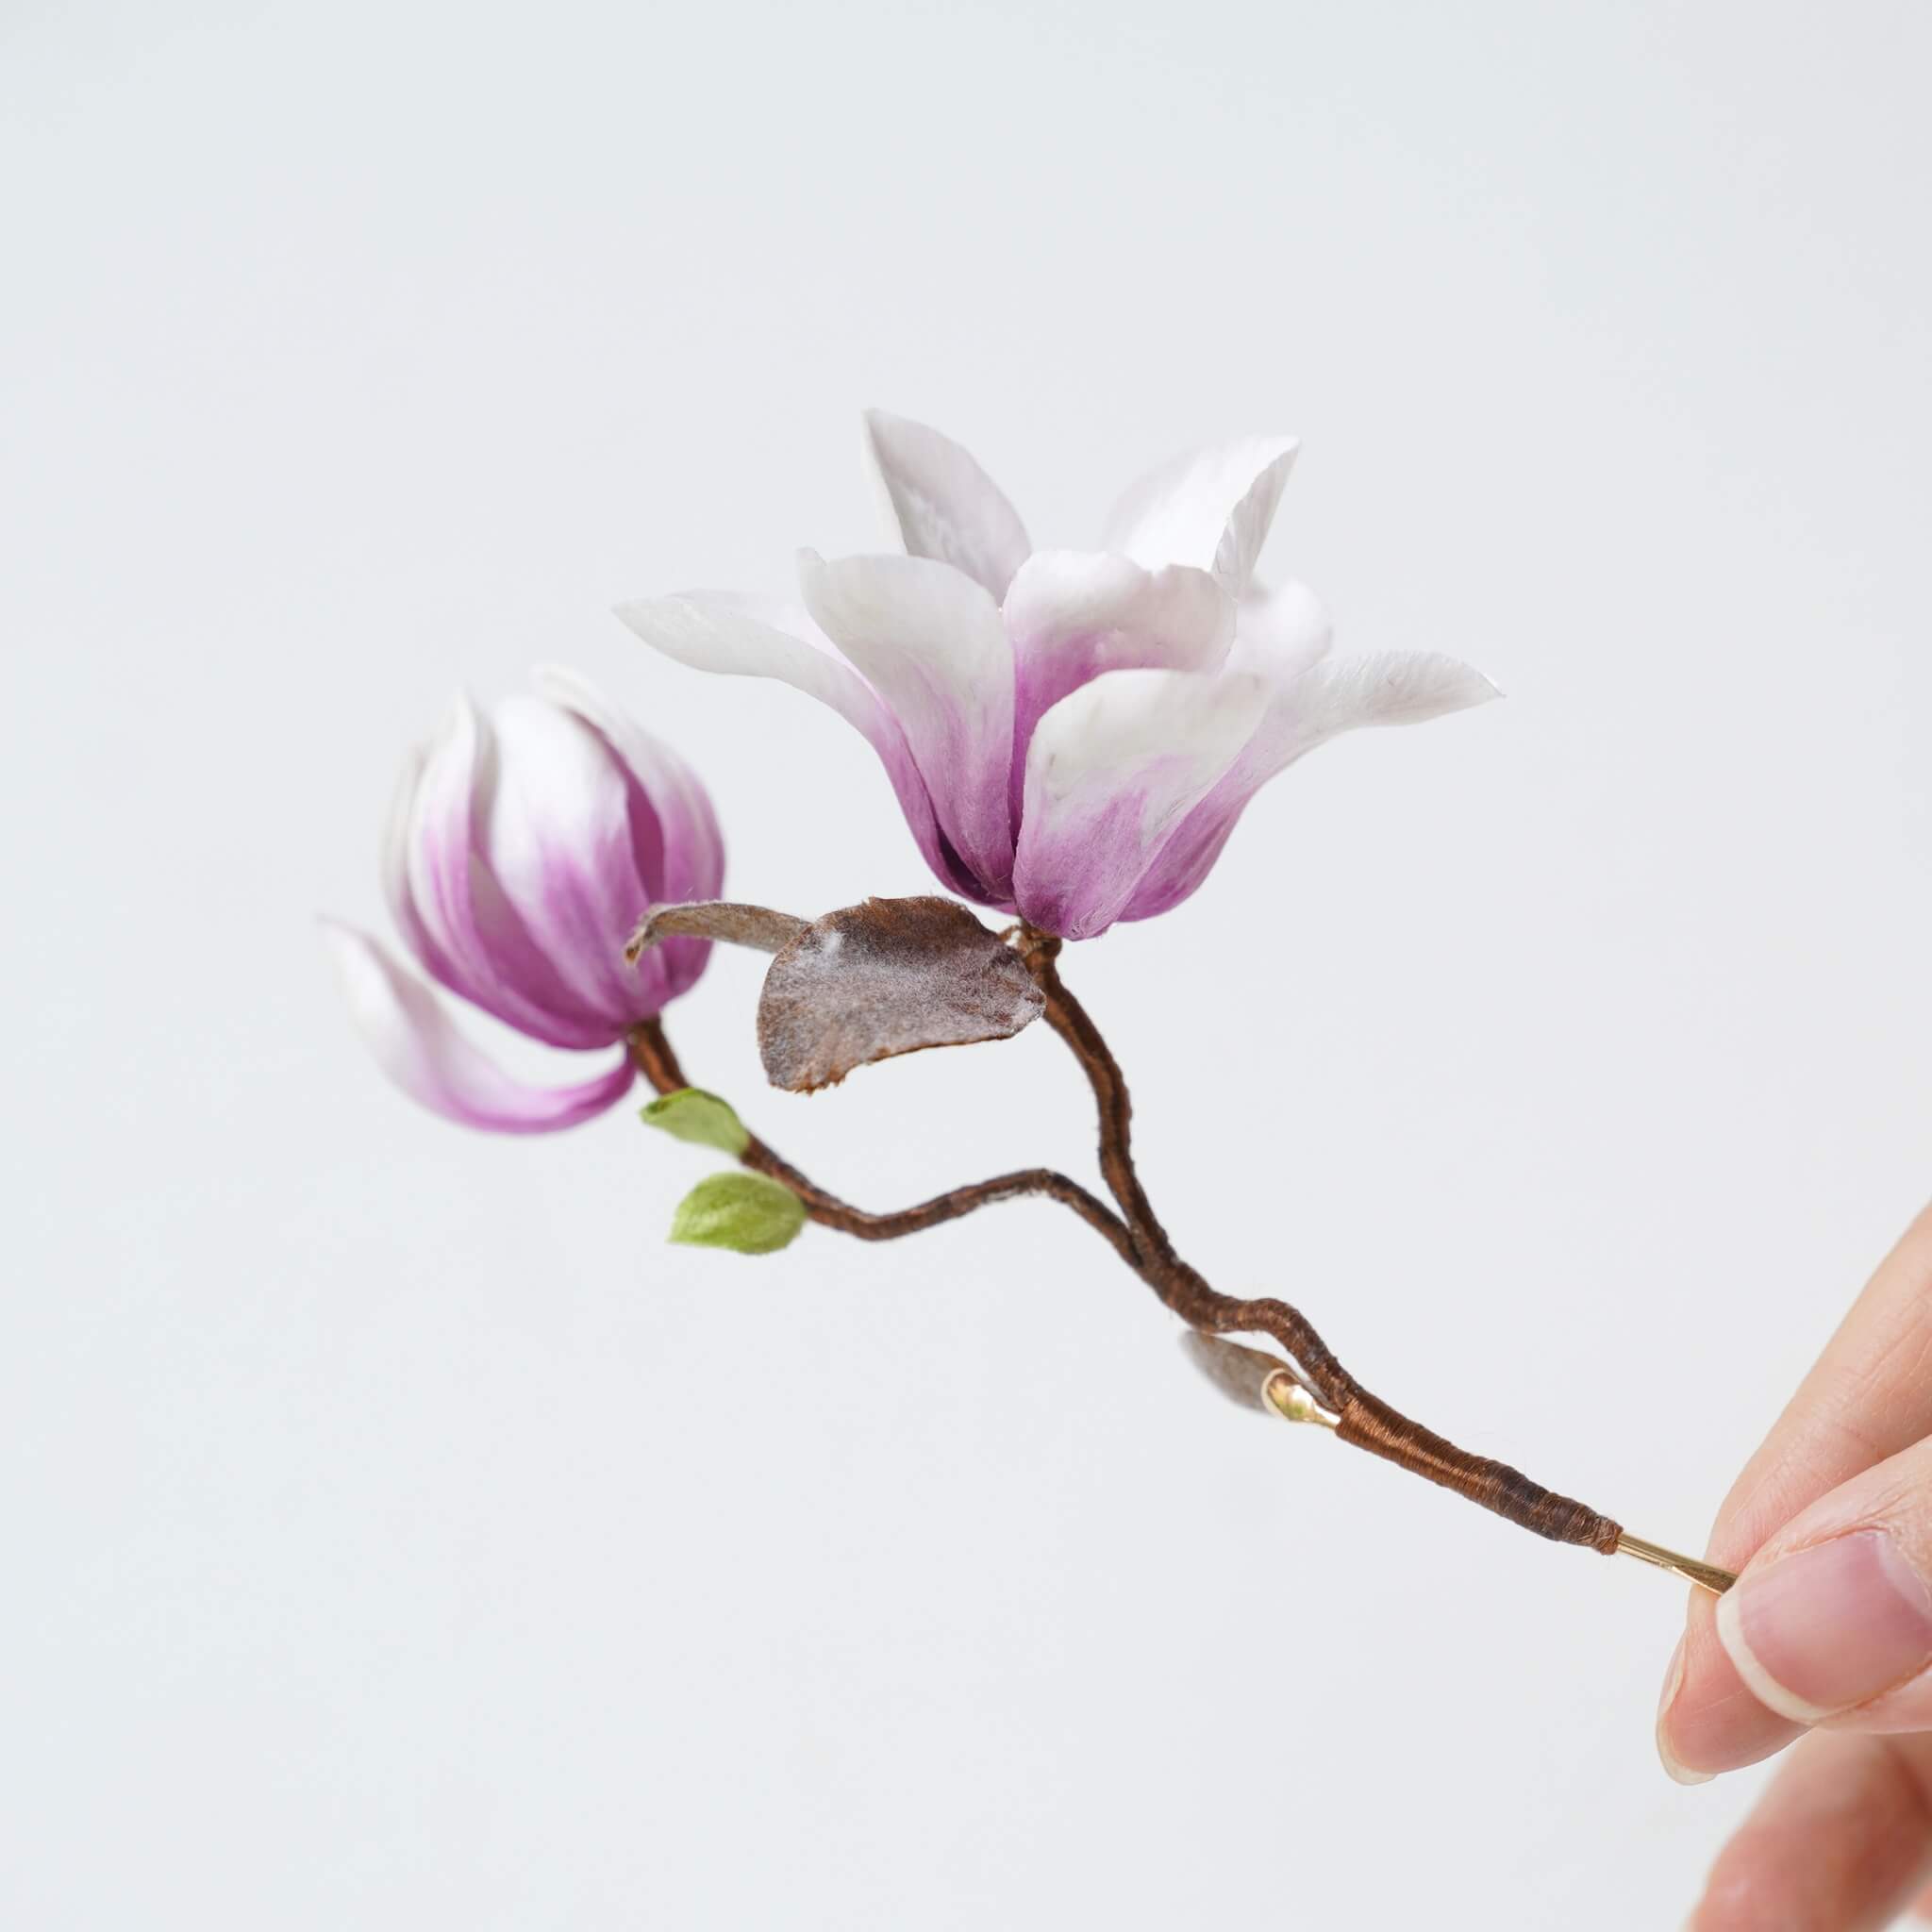
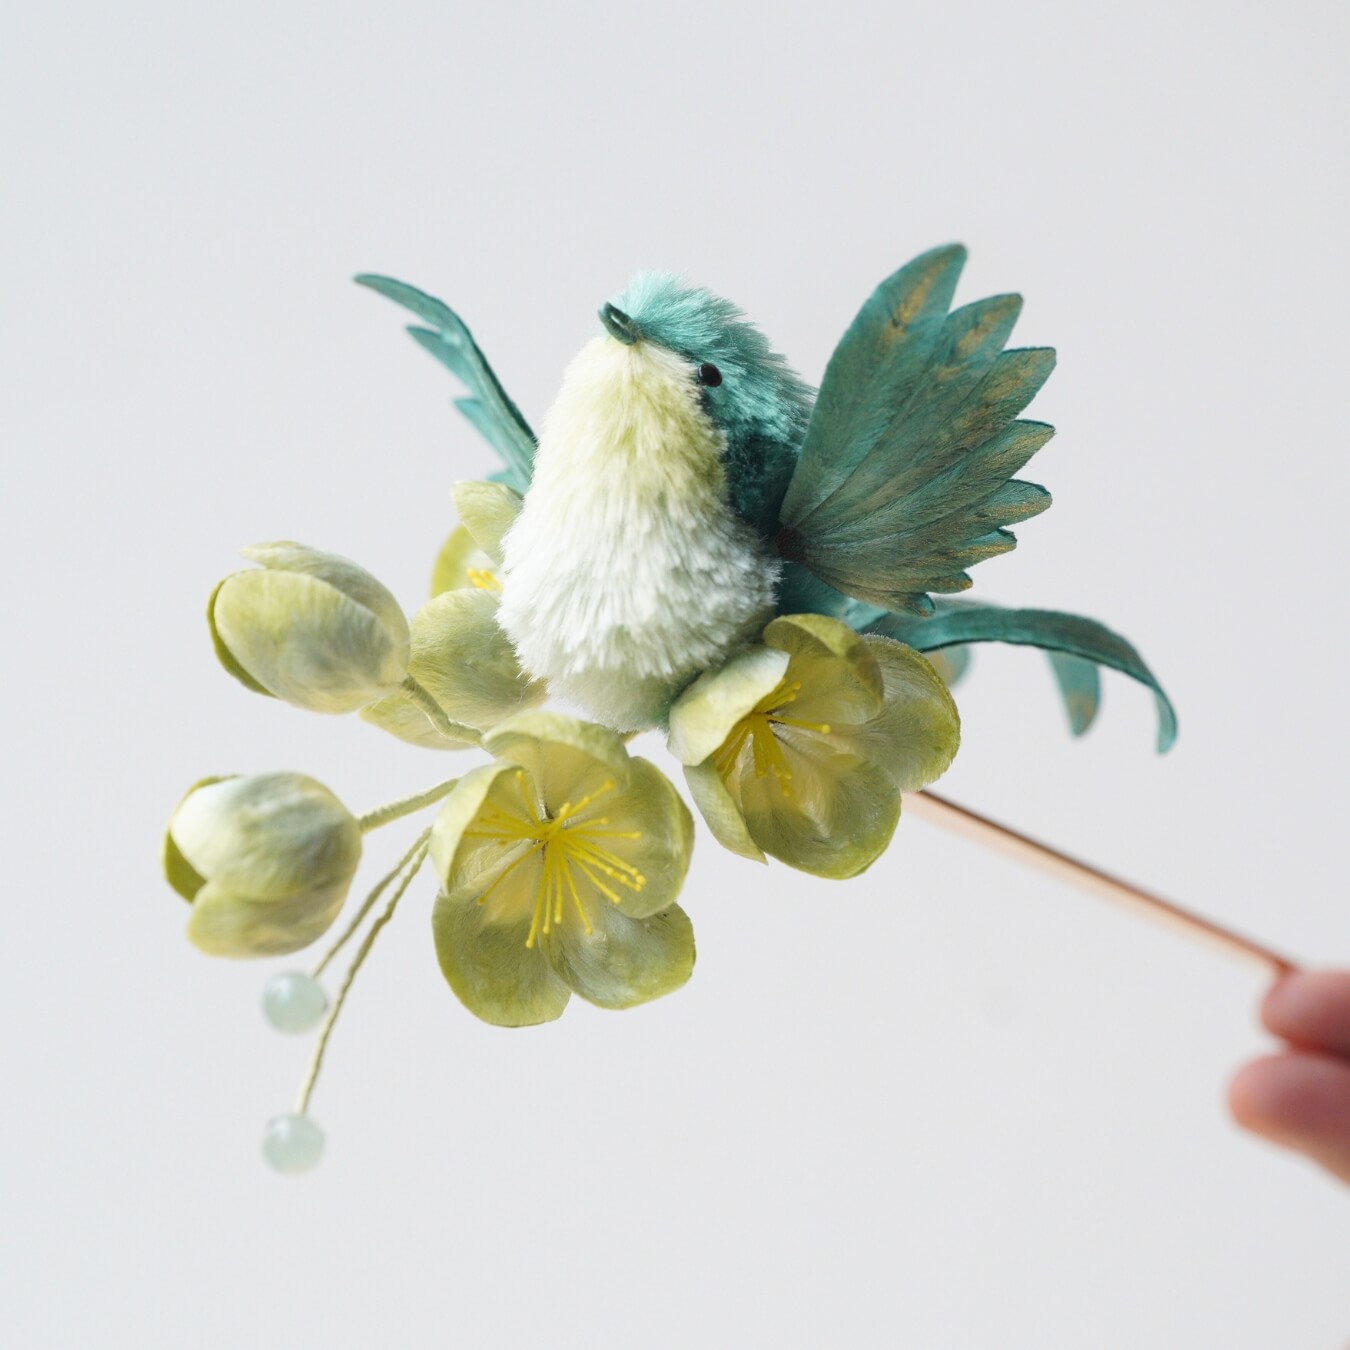
Inspired by the delicate morning glory flower, this elegant hairpin captures the bloom’s distinctive trumpet-like shape, with petals that gently flare outward from a slender, curved base. Fine silk and traditional Ronghua techniques bring the soft, flowing form of the flower to life, complemented by delicate leaves and decorative branches.
Preparation: What You’ll Need
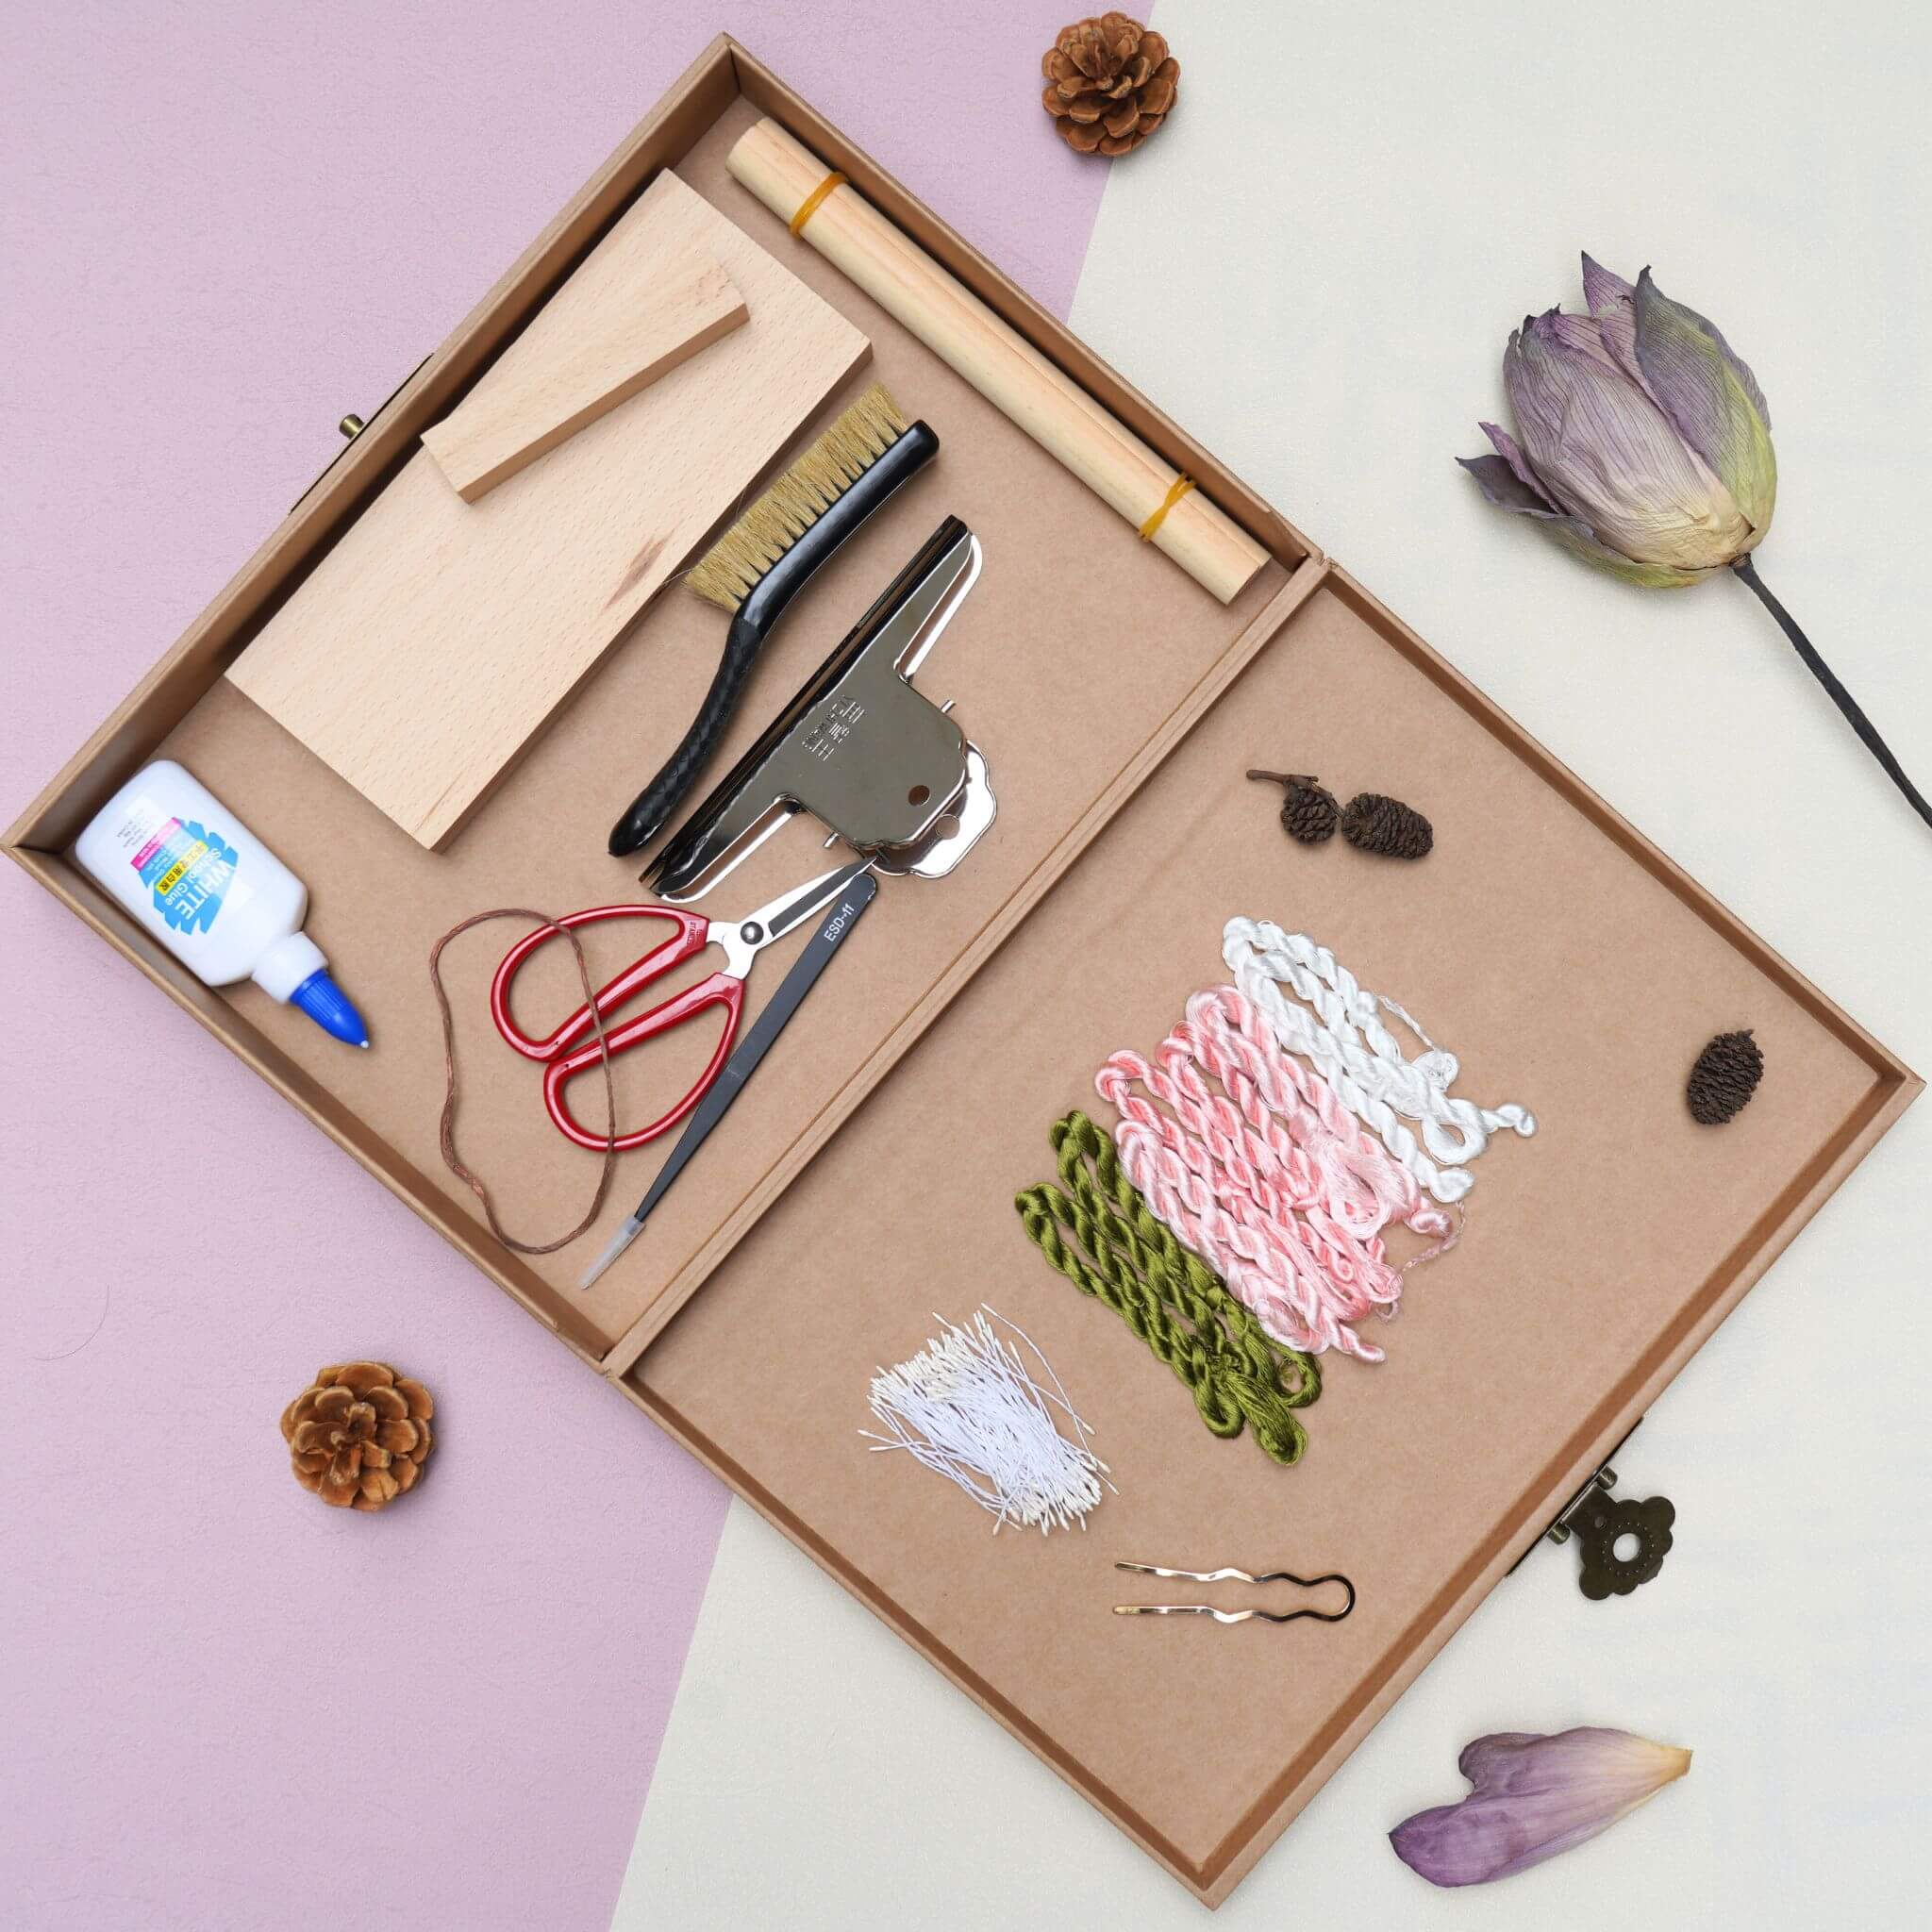
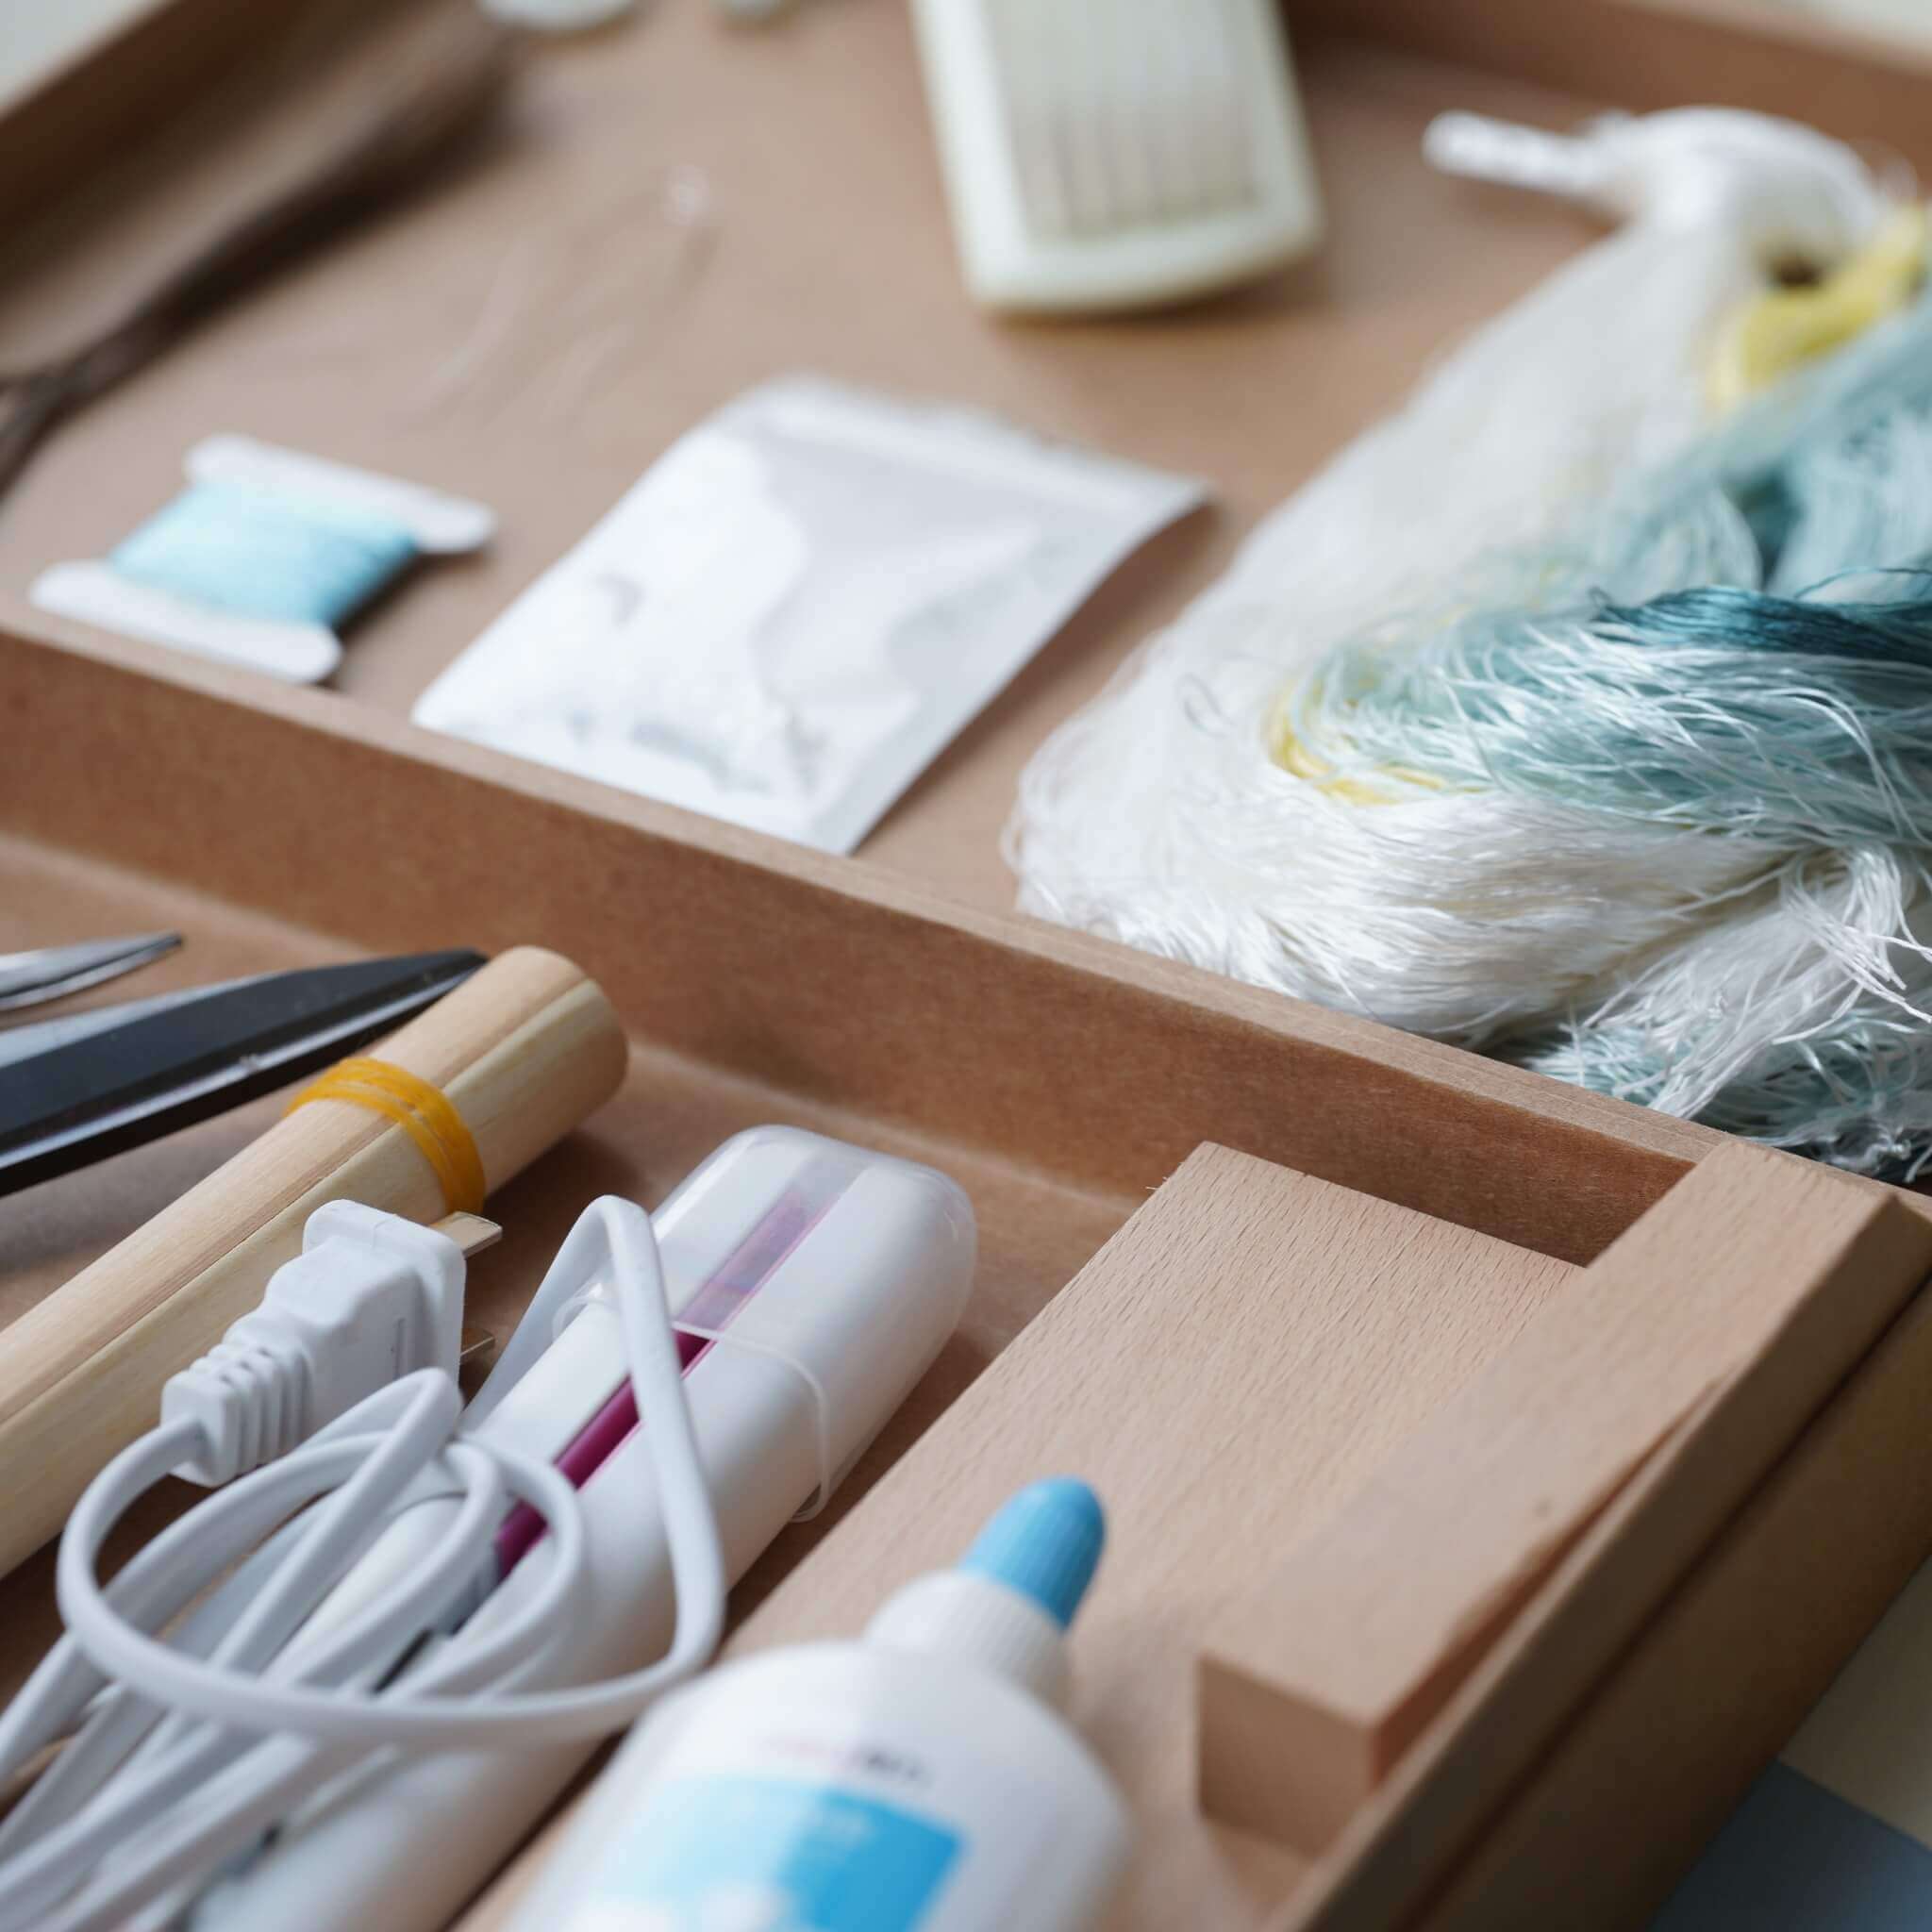
If you’ve purchased our Ronghua Toolkit, you already have everything required!
If not, prepare the following tools:
- Bristle brush (Medium to soft hardness)
- Flat iron (the one you use to straighten your hair)
- Tweezers
- At least 2 pairs of Scissors
- wooden sticks / pencils / chopsticks
- Hair spray or diluted white glue (1:1.15–1:1.2 ratio)
- Big clips (around 15cm)
- Twisting boards and wooden blocks (for even tension)
- Anti-slip powder (optional but helpful)
Full Tutorial Video
Step. 1 Prepare the Silk Strips
Begin by untying your silk threads and locating the knot at one end of each bundle. Carefully cut the knot open and ensure all strands are straightened. Group and separate your silk bundles based on the color palette required for your project layout.

Step. 2 Group and Prepare the Threads
Each silk bundle is composed of many tiny individual strands. Align these strands carefully and tie them around a small stick or pencil, ensuring the ends are perfectly flush. Keeping the lengths even is vital for a consistent texture during the brushing process.

Step. 3 Make Silk Rows
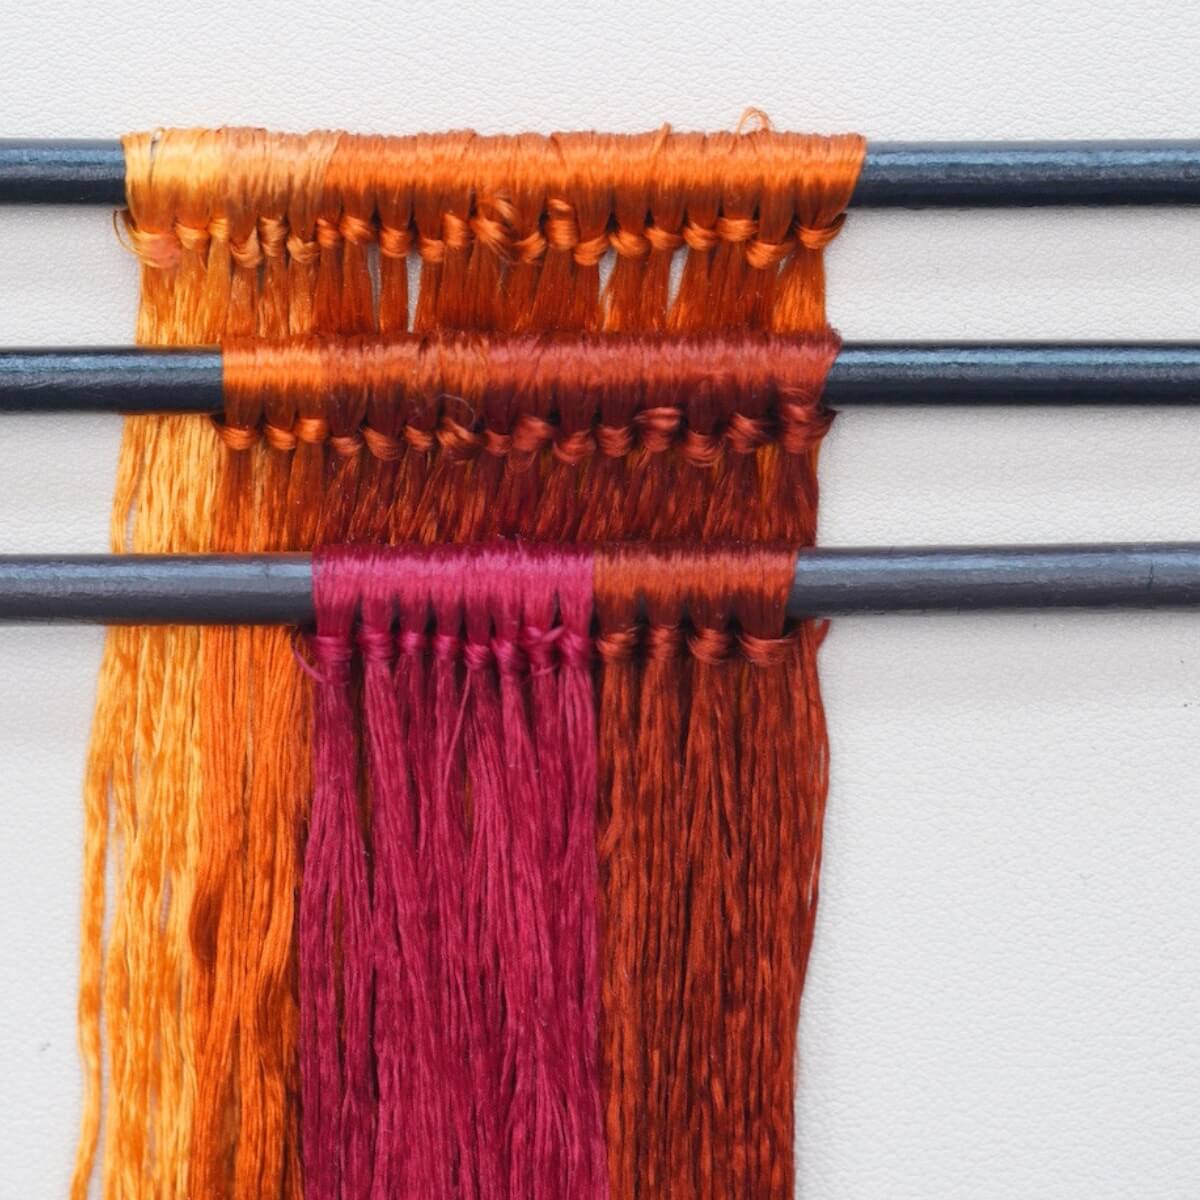
Proceed to group the threads into distinct rows. You will need to prepare separate rows for the petals, leaves, buds, and fine strips. Ensure that each row is organized according to the color gradients and sizes specified in your project layout.
Three rows (see below) are cut in half.

For these 2 rows, you don't need to cut them in half.

Step. 4 Brush the Silk
Attach your silk rows securely to a stand or a flat surface. Using a bristle brush, comb the silk thoroughly from top to bottom. Continue brushing until the silk is completely smooth, fluffy, and free of any tangles. If the silk becomes static, mist the surrounding air lightly with water.

It should look like this when done.

Step. 5 Attach Copper Wires
When you feel that the silk is brushed enough, secure its tail with another big clip to your table or anything that can help stretch it taut. Take out one copper wire from the folded end of the row and straighten it. Twist the folded part into a spiral of about 3 cm. Clamp the silk threads between two copper wires and twist the opposite side tightly. Pull both wires taut and continue twisting until they merge into one.
Remember, the twisting direction for the left and right end are opposite. The spacing should be the same as shown in step 1.
You can watch our video tutorial for this step:)
Step. 6 Cut the Silk Strips
Using a pair of scissors designated for silk, trim away the excess thread from the row ends. Cut through the silk exactly in the middle of each wire twist to separate the row into individual silk strips. Never use these scissors on copper wire, as this will dull the blades and cause the silk edges to fray.

Step. 7 Center and Twist the Strips
Lay each silk strip on a flat surface and ensure the copper wire is perfectly centered.

Twist the wires by hand to tighten the grip on the silk, then place the strip between two twisting boards. Roll the boards firmly to twist the wire until it is tightly embedded and nearly invisible within the silk.

Step. 8 Flatten the Silk Strips
Take three green silk strips and cut each one in half to get six short green silk strips. For the remaining silk strips, remove the copper wire from one side only (including the small green strip and the blue end of the blue-and-white strip), leaving the fine silk strip intact on both sides for later tapering.
Heat your mini iron fully, press each strip flat from back to front until completely flat with no visible layers (excluding the fine strips), and trim the exposed copper wires evenly.

Prepare hairspray or a glue-alcohol mix, immerse each strip completely, use tweezers to remove excess, and hang heavier strips upside down using masking tape along a table edge to dry. Insert the other strips into foam or a bristle brush to dry smooth and flat.

After it's dried, trim it into this shape:

Step. 9 Taper the Strips (for Buds)
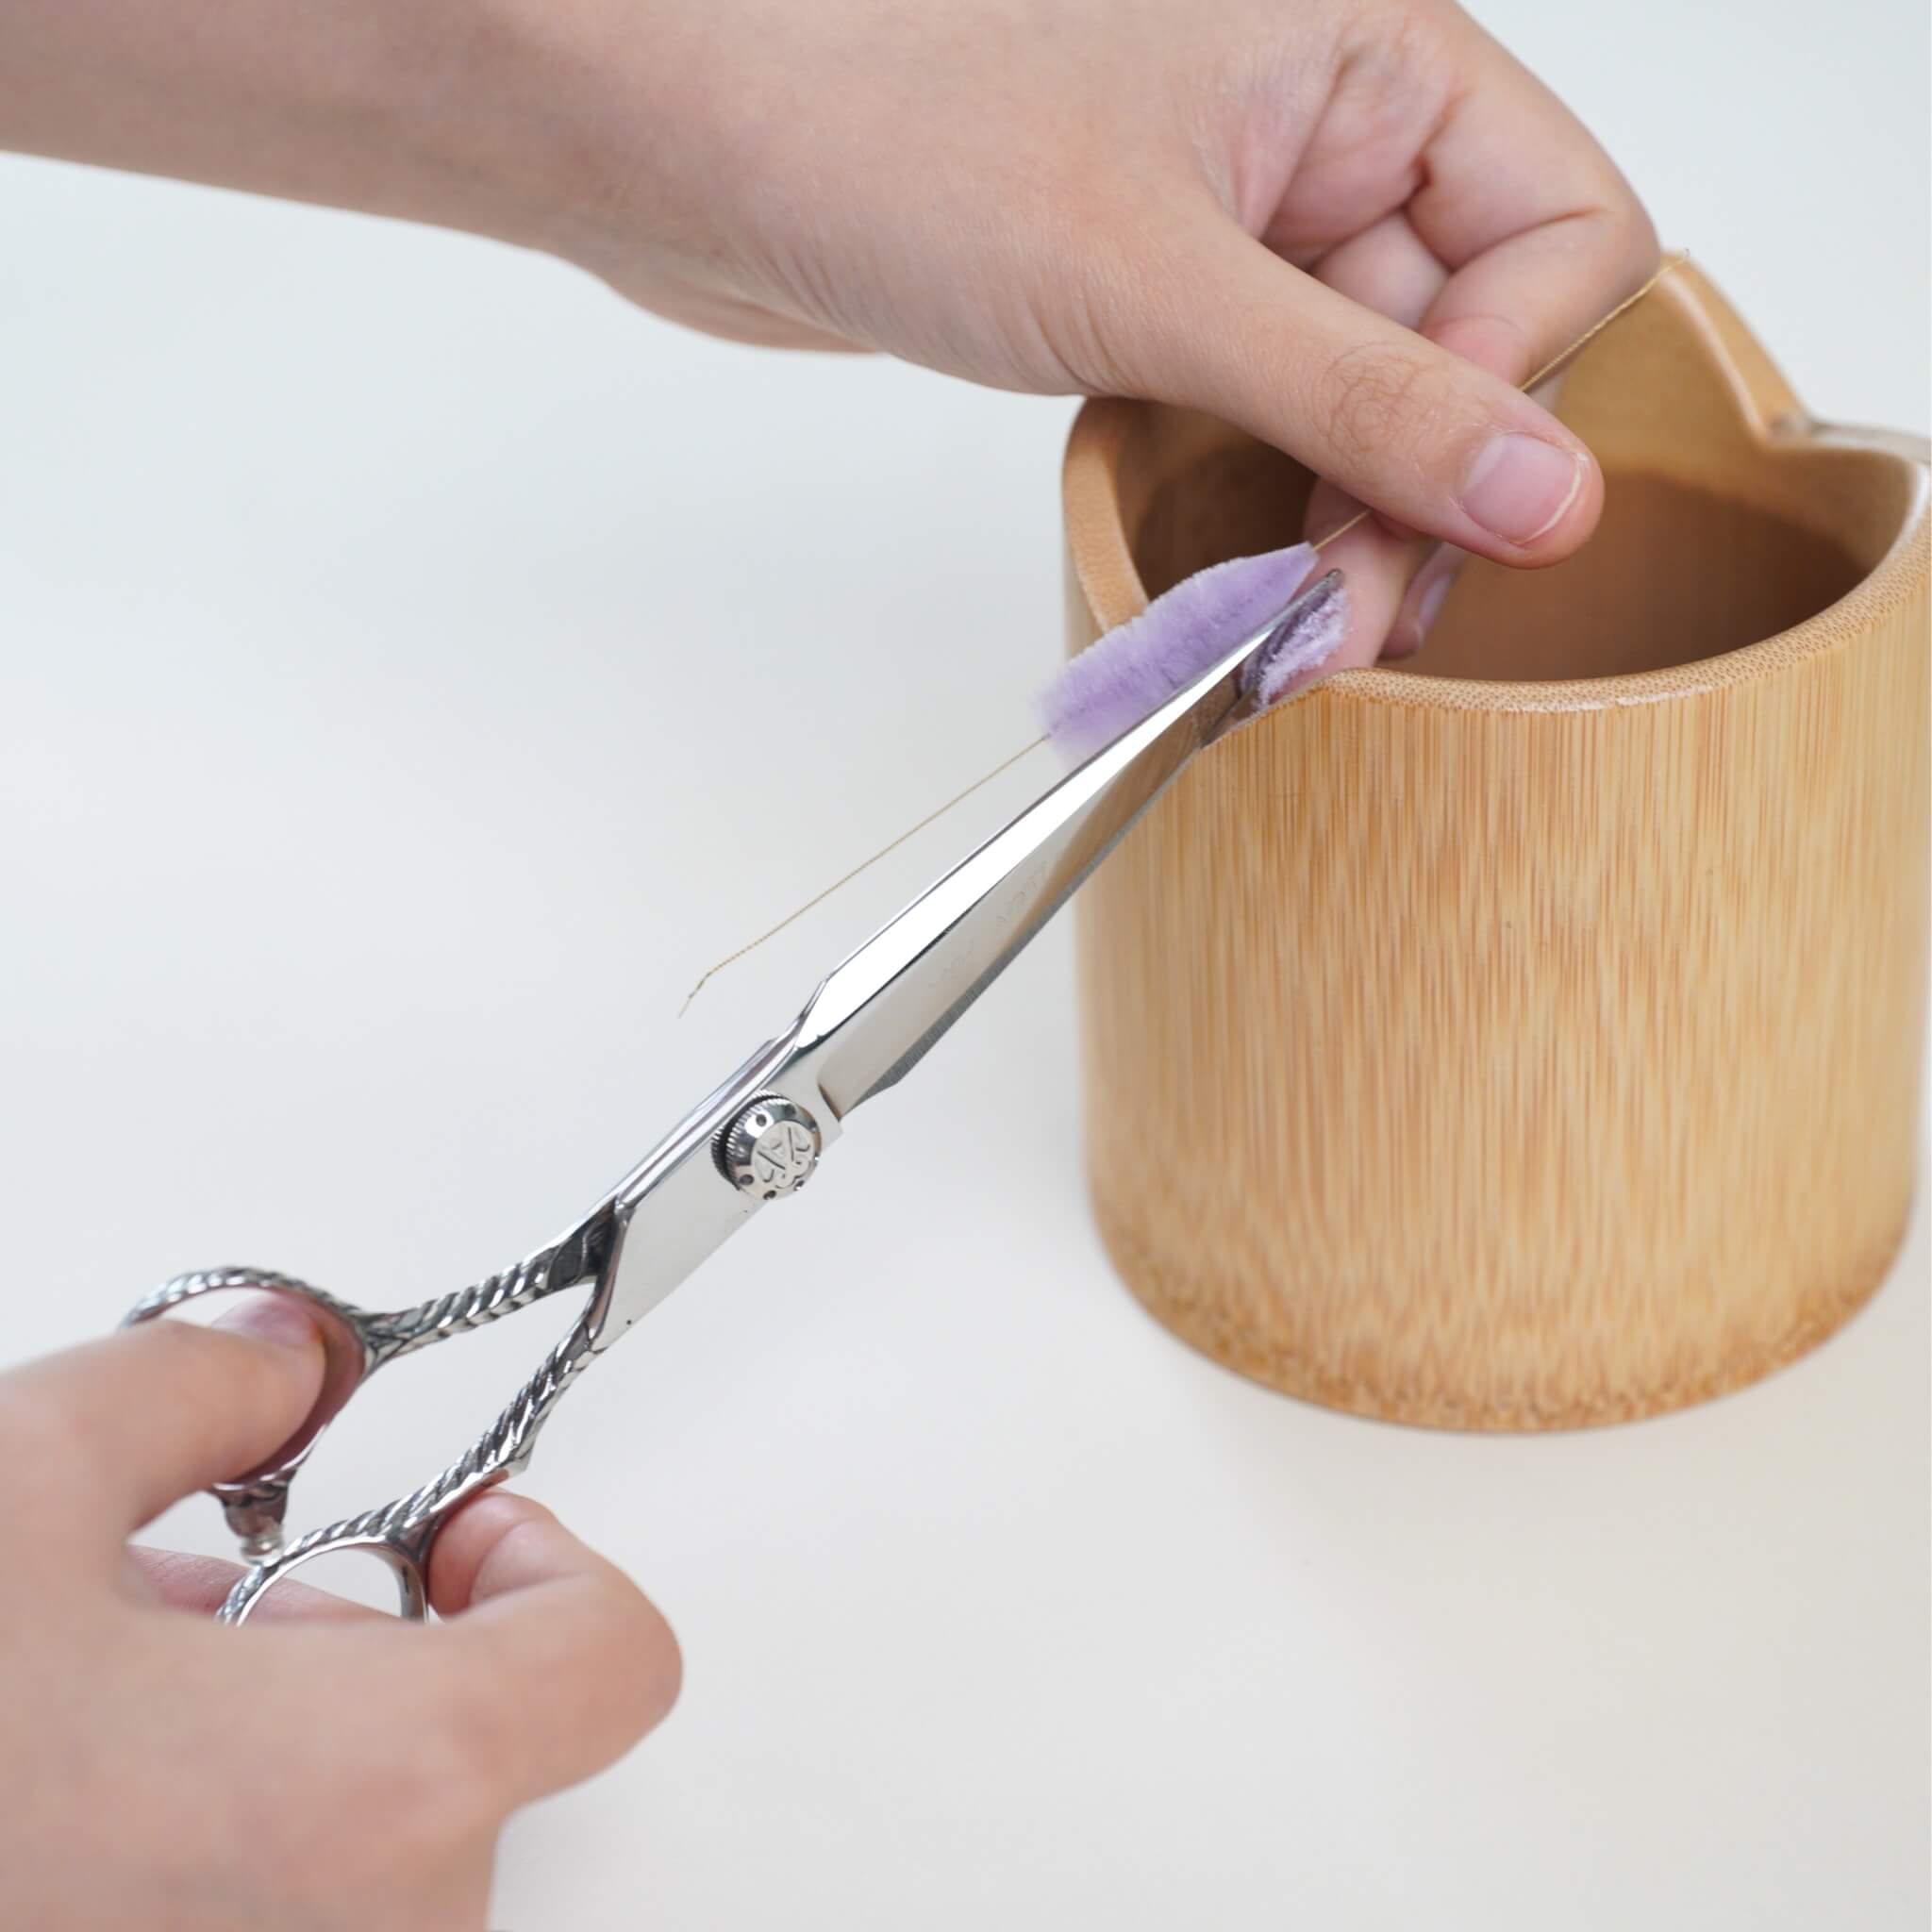
Rest the fine silk strip against the notch of the bamboo trimming base, locating the exact centre with a ruler if needed. Rotate the strip slowly as you trim while keeping the left and right sides symmetrical and scissors resting against the notch.
Hold the copper wire gently without squeezing too tightly and trim the silk into a slimmer, tapered shape turning around the same central point, angling the scissors near the ends so both tips become finer. You will need four tapered silk strips in total.

Once completely dry, press the tapered strips once more with the properly heated mini iron to make them thinner, lighter, and more delicate, then trim the smaller petals into shape.
Step. 10 Shape the Leaves
For the larger petals destined to become leaves, first trim them all to an even length, then shape each one into an inverted triangle.
Check the leaves individually and shorten any that are slightly too long using small curved-tip scissors, trimming the rest so they are wider in the centre and narrower towards both ends.
Apply white glue along the edge of each small leaf section and glue them together, as each large leaf is made from three smaller leaf sections.
Once the set glue allows, twist the three copper-wire stems together and refine the shape with additional trimming. You will need three large leaves and one small leaf in total.

Dip them in glue again and shape the big leaves into soft curves, then leave them to dry.

You also need one leaf that is shaped like this:

For small leaves, after triming, use the mini iron to give each small leaf a gentle curve.

Step. 11 Make the Flower Buds
Fold one fine silk strip in half, cross two folded silk strips together, and securely bind the copper wires at the bottom with green silk thread. Add a short piece of steel wire at the base to strengthen the stem and provide additional support, then continue wrapping the green silk thread all the way down to the bottom. Grip the top of the bud with tweezers and twist it firmly (use pliers if necessary for extra help) to complete the two required flower buds.

Step. 12 Shape the Petals
For the morning glory petals, immerse them fully in the setting liquid, remove excess hairspray, and shape a gentle curve into the upper half while bringing the left and right sides slightly inward, keeping the curvature consistent across the eight to ten petals needed for each flower.

Step. 13 Assemble the Flowers
Take ten stamens and bind them together lightly with silk thread to form the flower centre.

Once the shaped petals are half dry and no longer sticky, begin assembling the flower by applying white glue along the edge of a petal and the adjoining edges of neighbouring petals, working very gently.
Continue adding petals by applying glue to the outer side of one petal and the inner side of the next, ensuring no visible gaps. Place the flower centre inside the partially formed petals and secure it lightly with four or five individual silk strands of thread, adding remaining petals until using eight petals for a larger flower, and close the final seam by applying glue to the edges of both left and right petals.

Make the morning glory in the other color using the exact same method, spray a small amount of hairspray along the outer edges to shape soft waves if desired, and once completely dry, lightly trim and refine the petal edges.
Next, prepare three pieces of steel wire, each 15 cm long. Using four green silk strands, begin wrapping from the middle of each steel wire. Wrap forward three or four turns, then reverse direction and wrap back over the same area.
Fold the copper wire in half and continue wrapping the silk all the way to the bottom. Tie a knot to finish.
You should now have three wrapped steel-wire branches.
Use tweezers to bend the copper wire into a small spiral shape. Shape all three branches in the same way.
Here are the components you should have:

Step. 14 Assemble the Piece
Join the small spiral branch and flower bud together with parallel silk strands, position the second spiral branch slightly higher, attach the small leaf, add one large leaf and the first morning glory flower, position the second morning glory slightly lower, attach the final small spiral branch, and add remaining leaves.

Trim bottom copper wires on a diagonal angle, wrap silk strands backwards along the stem, reverse direction to wrap back towards the top, fold the copper wire in half, cover all wire completely, and tie a knot.
Step 15. Attach the Hairpin
Bind your chosen hairpin and the silk strands together during the first layer of wrapping, wrap back in the opposite direction to fill gaps.

Place a folded silk-thread loop or thin copper wire against the stem to finish neatly, pass the thread end through the loop, pull the loop out from beneath to secure, trim excess thread, and brush a thin layer of hairspray over the silk-wrapped attachment area for extra security before letting it dry completely away from direct sunlight.
You can watch our video tutorial for this step:)
Your Morning Glory Hairpin is complete!


Deja un comentario
Todos los comentarios son moderados antes de ser publicados.
Este sitio está protegido por hCaptcha y se aplican la Política de privacidad de hCaptcha y los Términos del servicio.