

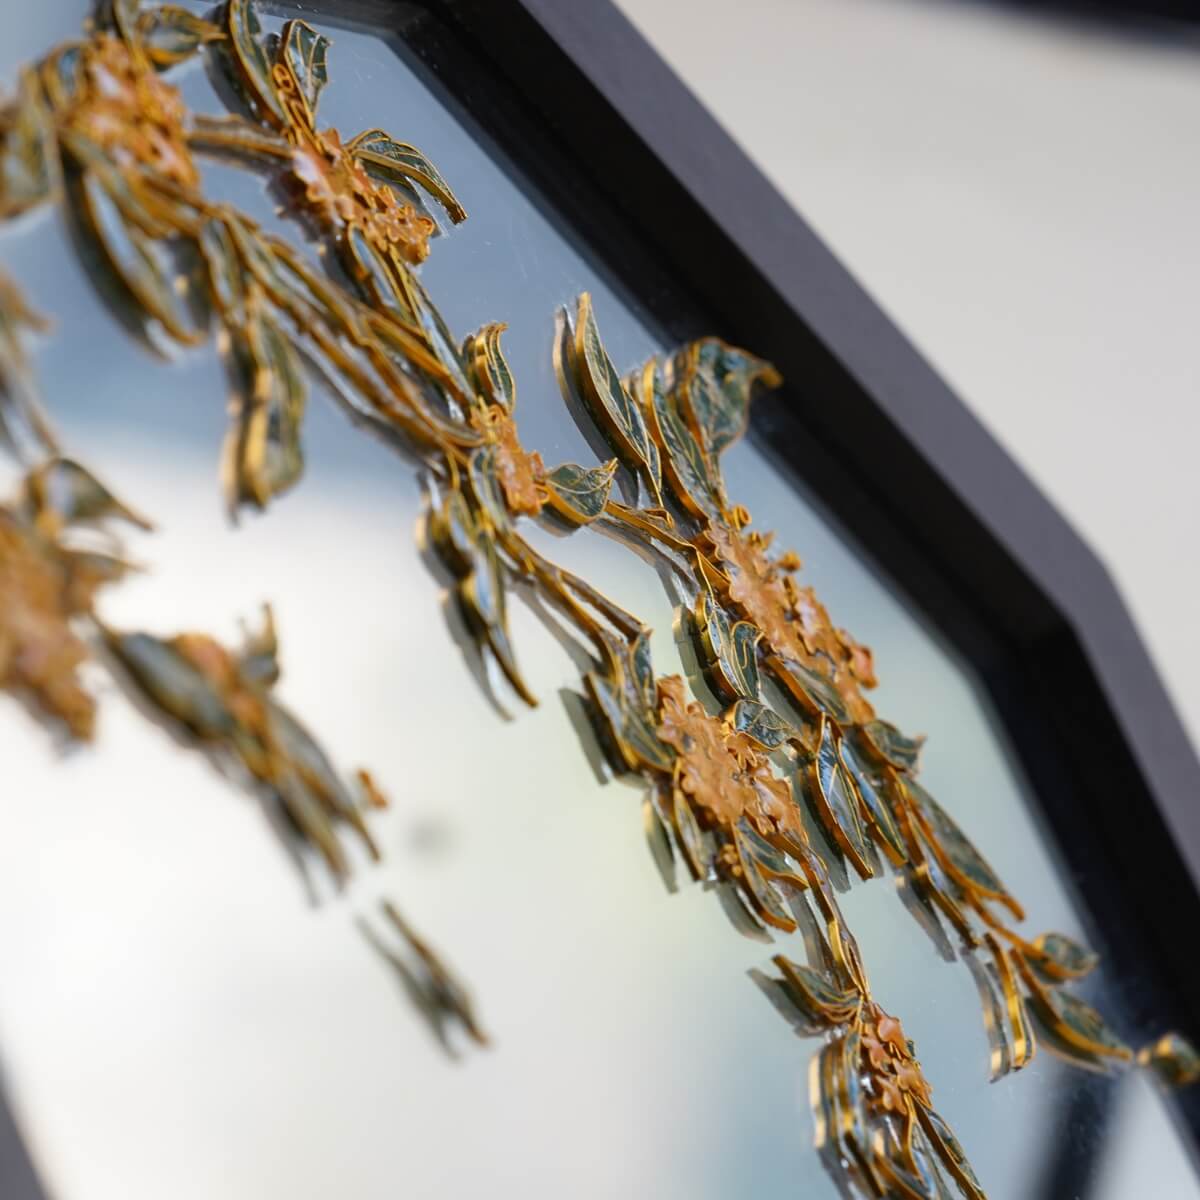
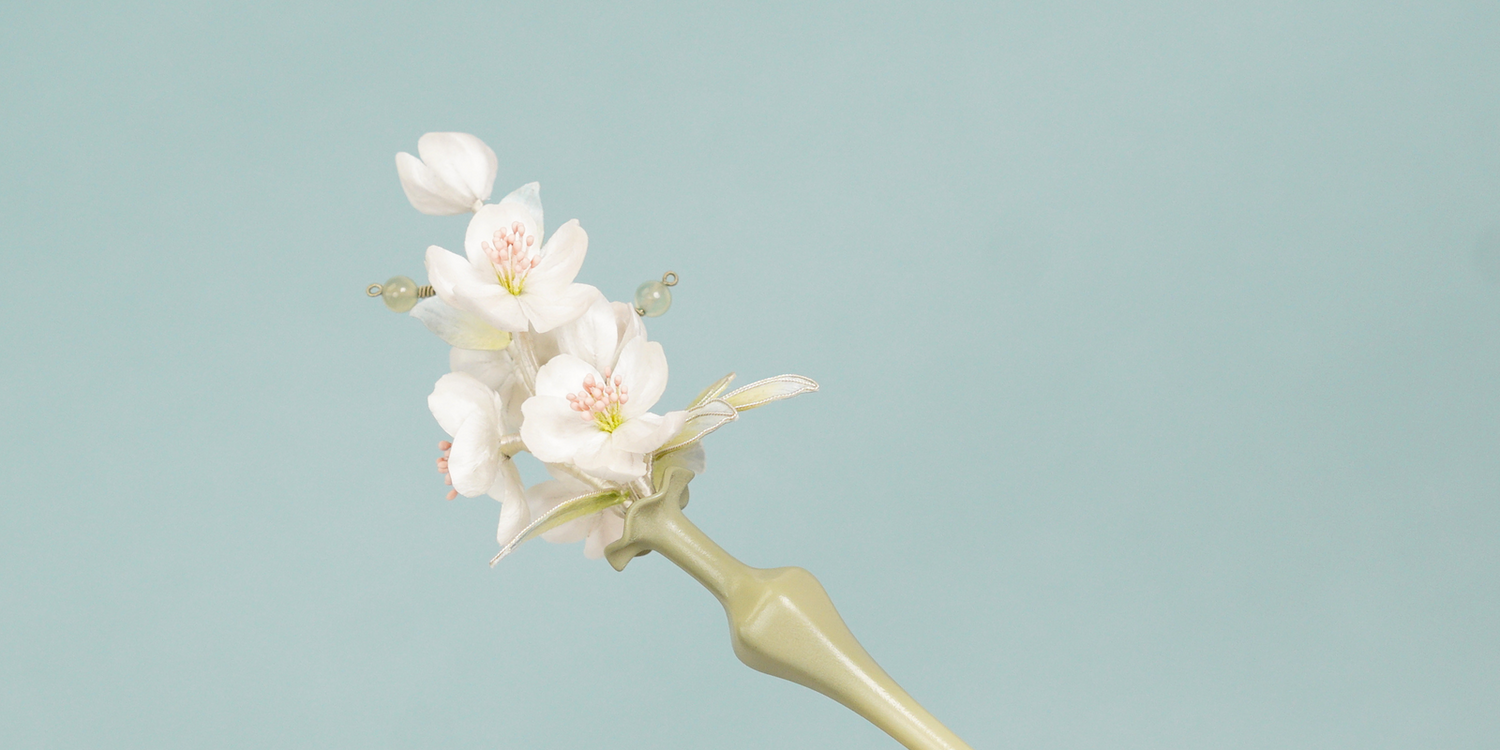
Pear blossoms are known for their soft white petals and clean, understated look—delicate without being overly ornate. As a hairpiece, they bring a light, fresh feeling, like the first bloom after winter, adding a subtle elegance that feels natural and effortless.
Preparations: What You’ll Need
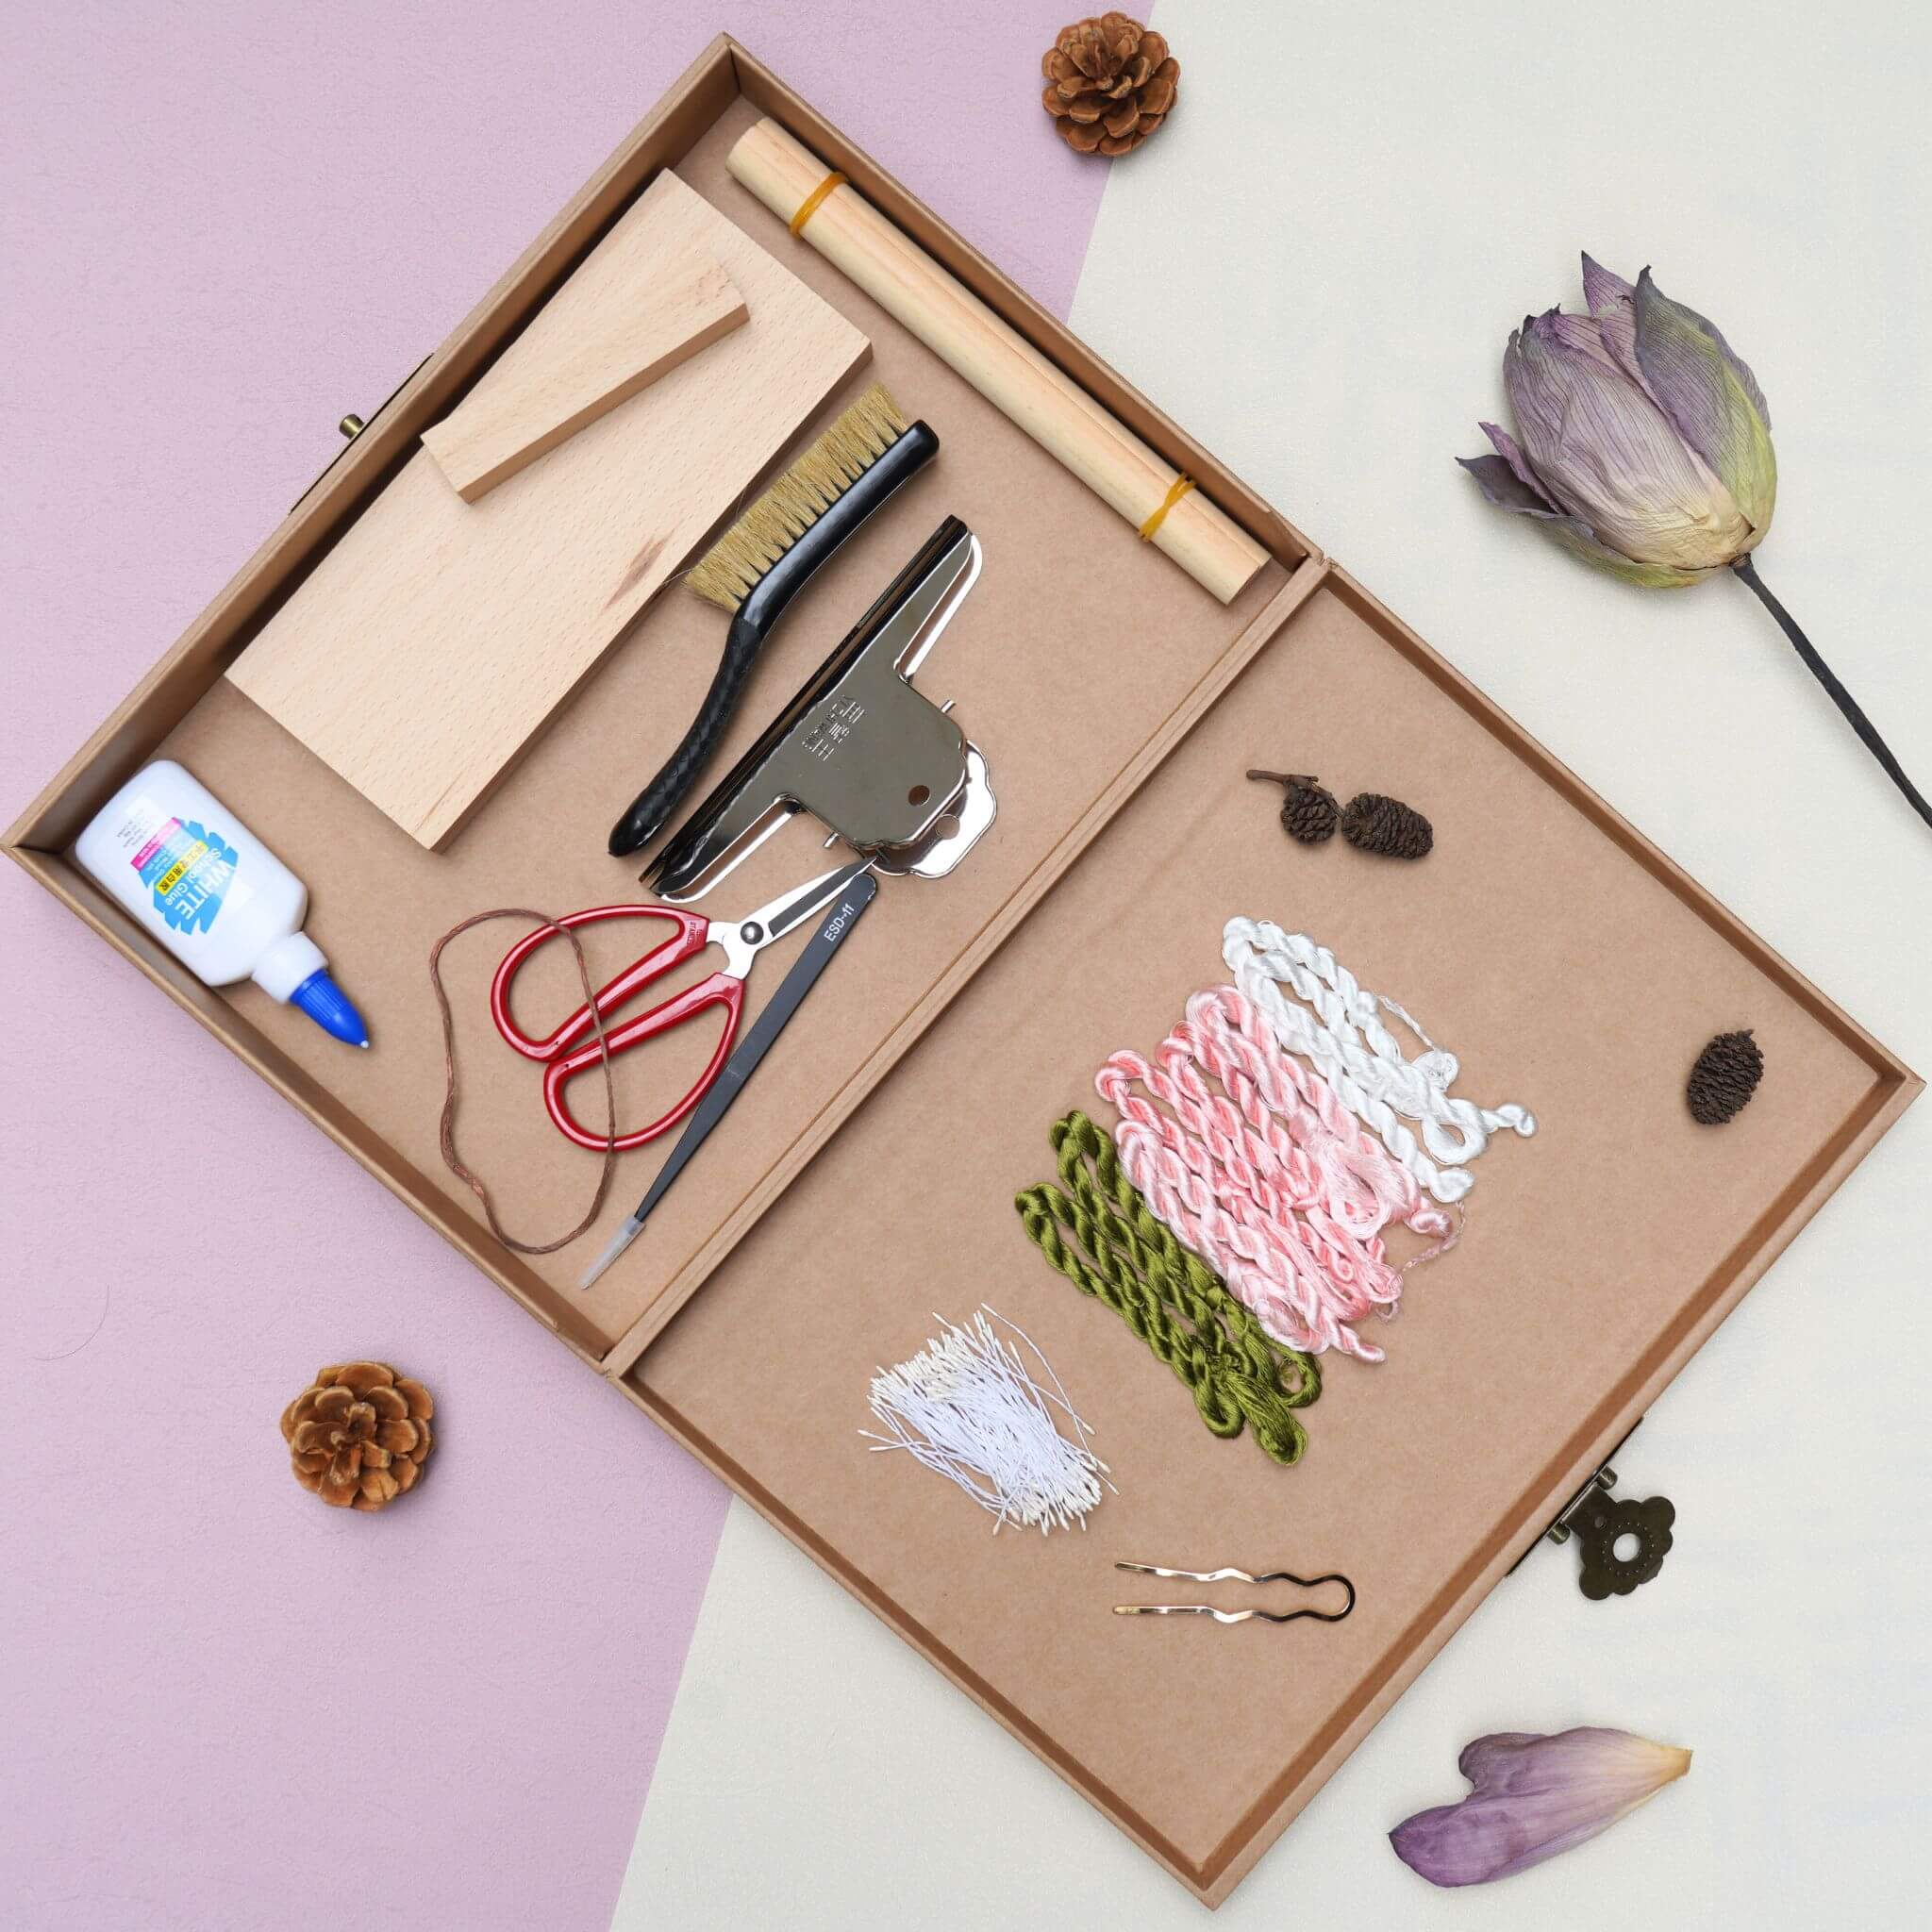
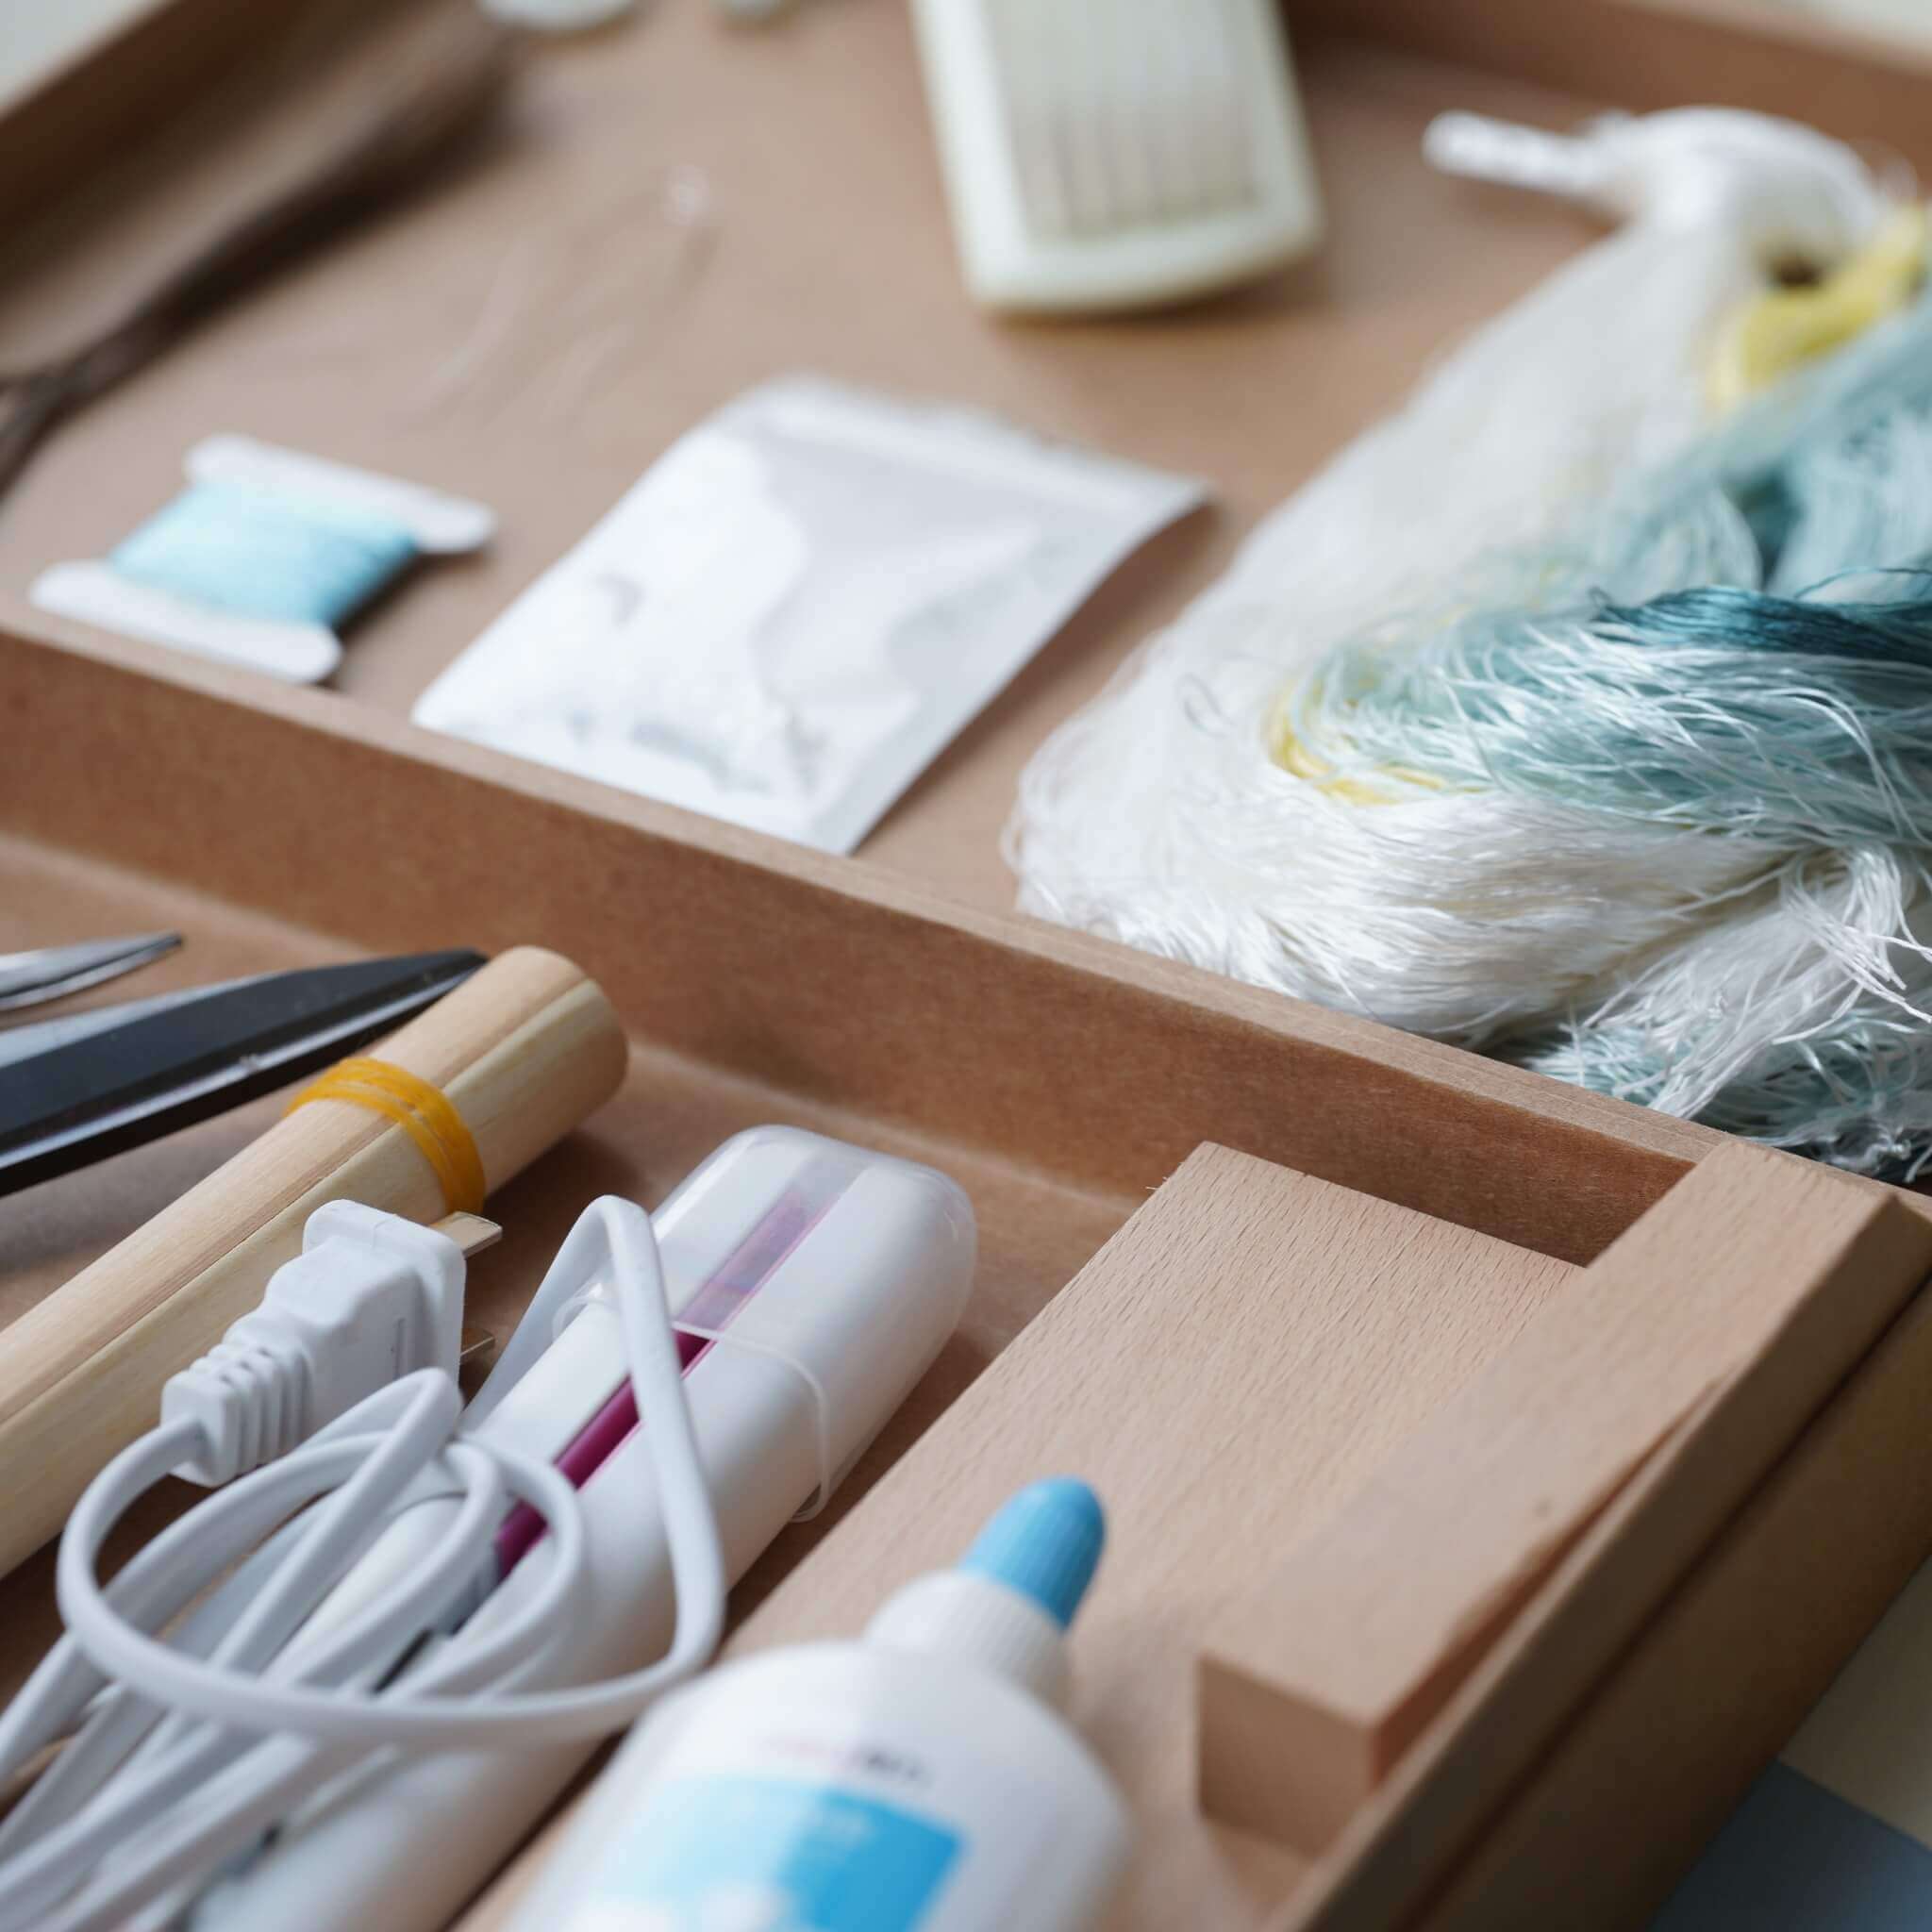
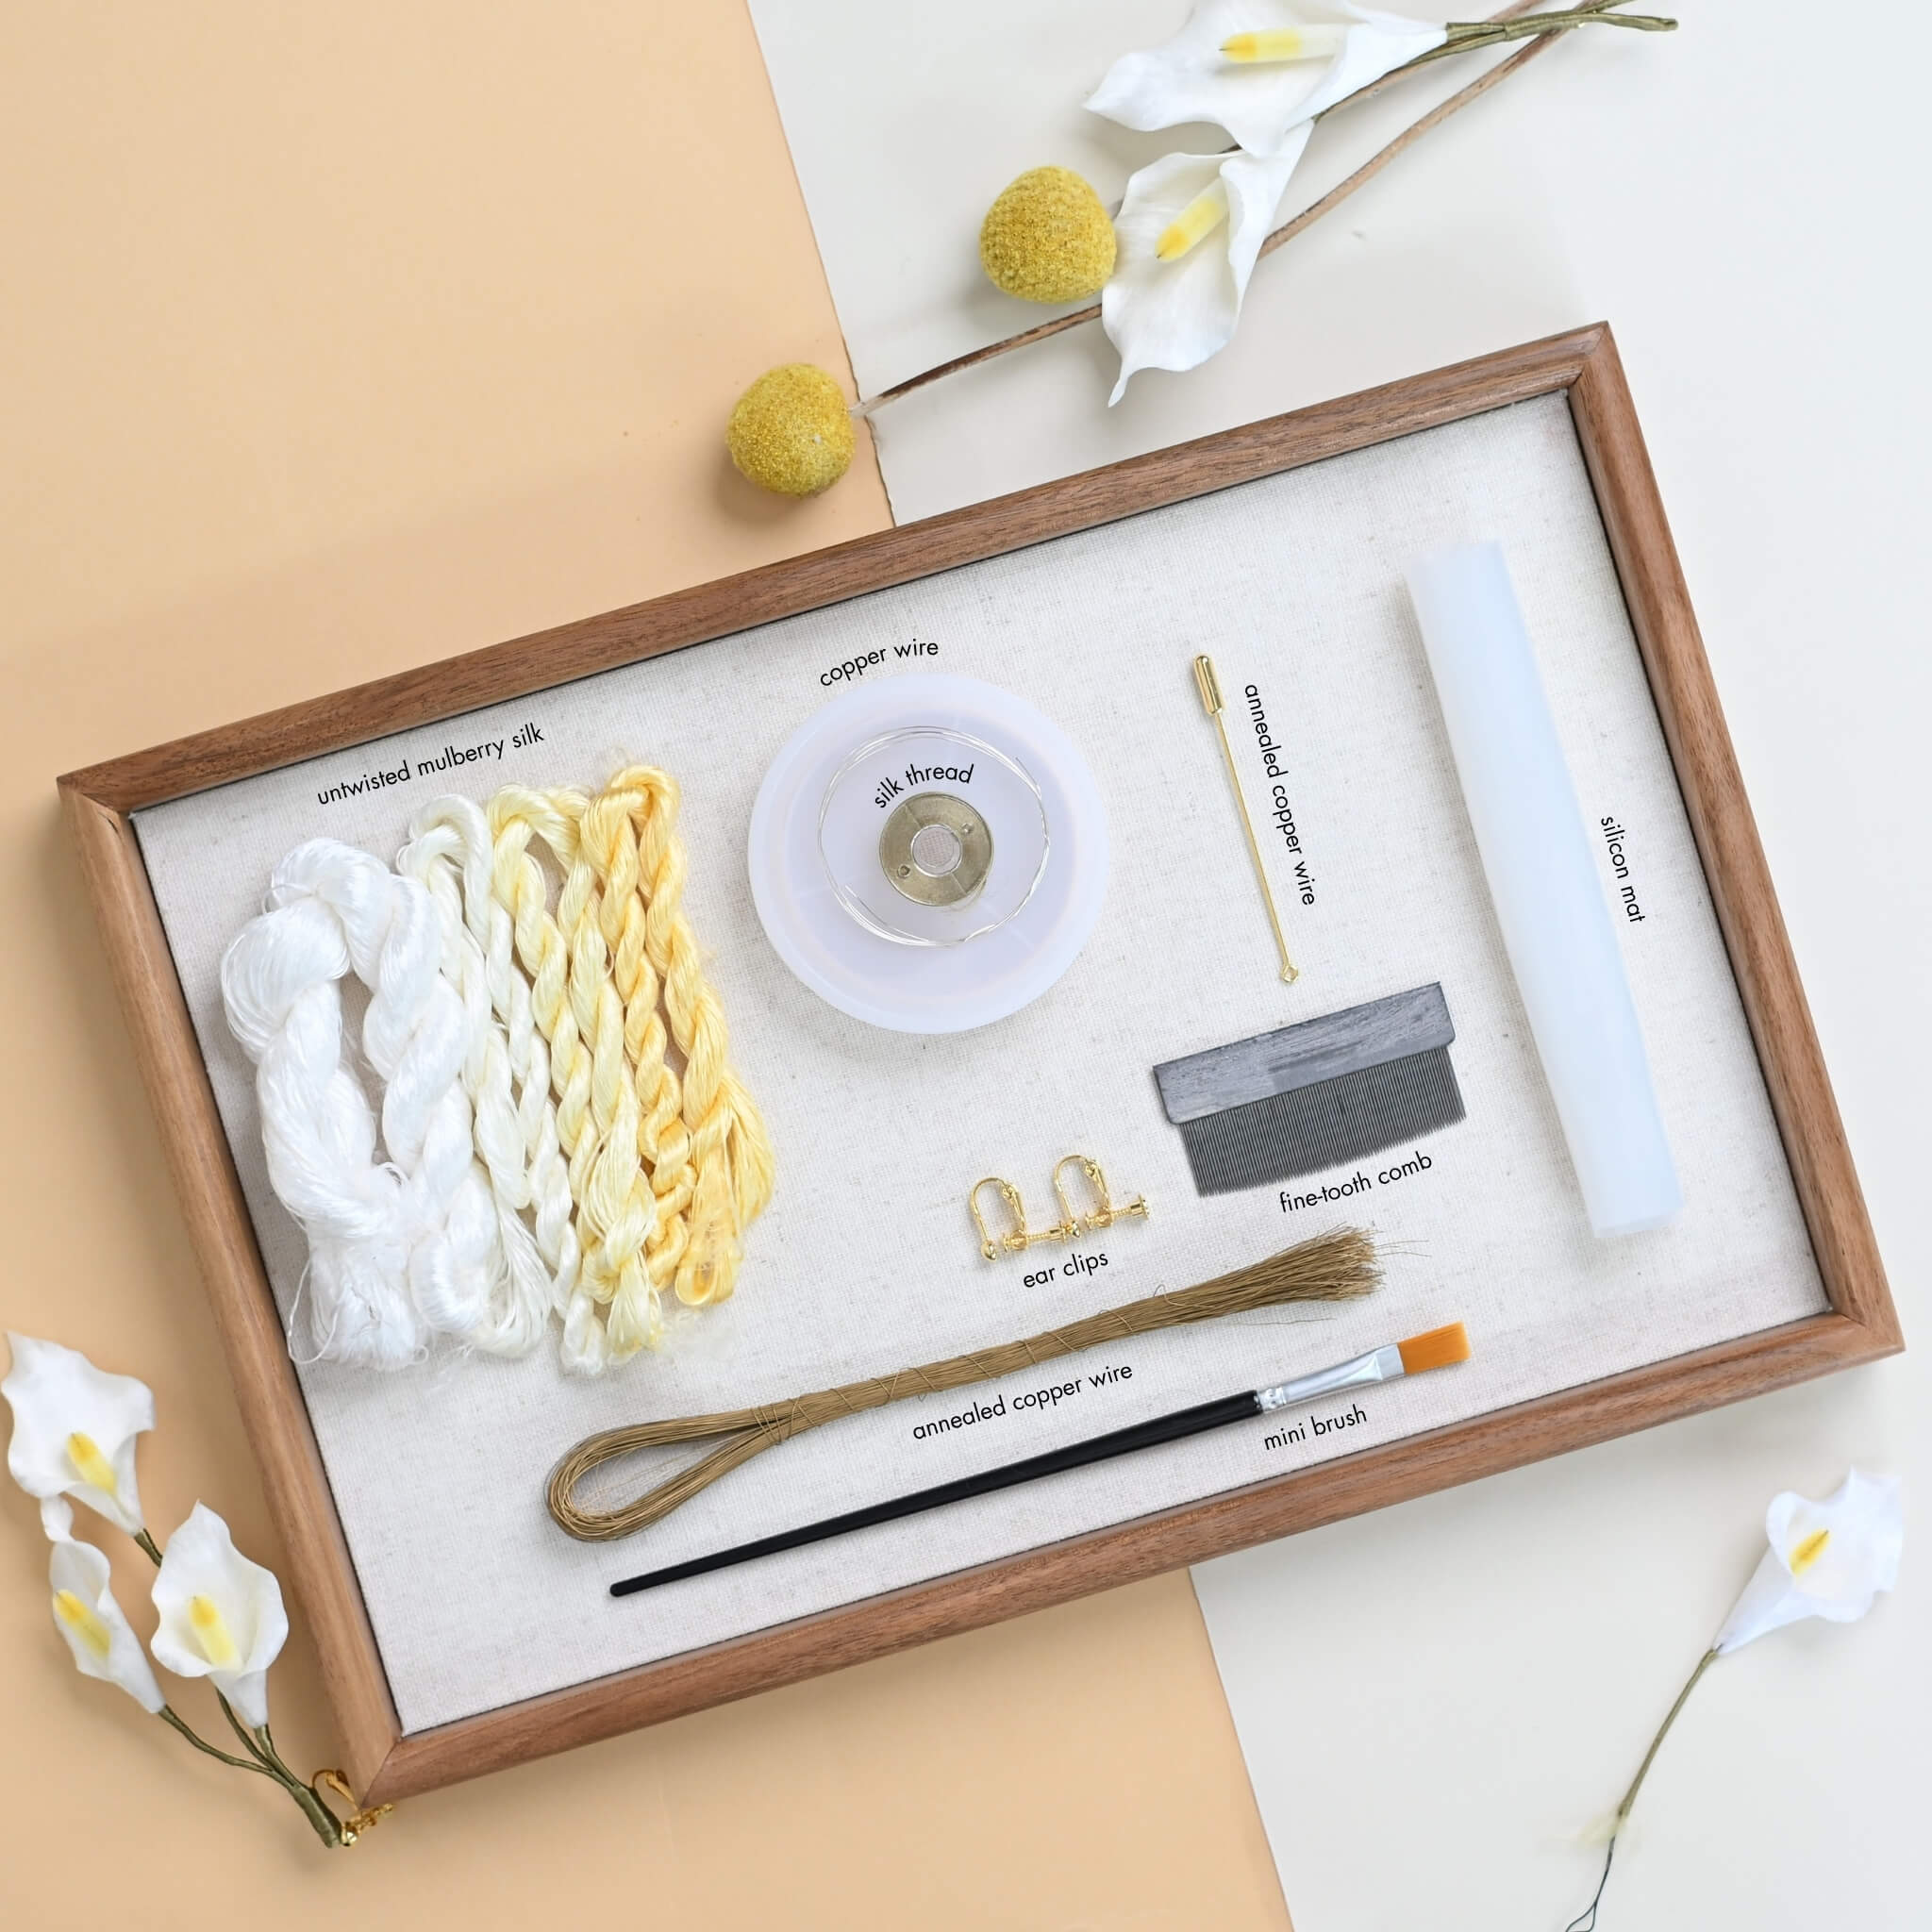
If you’ve purchased our Ronghua Toolkit, you already have everything required!
If not, prepare the following tools:
- Bristle brush (Medium to soft hardness)
- Flat iron (the one you use to straighten your hair)
- Tweezers
- At least 2 pairs of Scissors
- wooden sticks / pencils / chopsticks
- Hair spray or diluted white glue (1:2-1:3 with water or alcohol)
- Big clips (around 15cm)
- Twisting boards and wooden blocks (for even tension)
- Anti-slip powder (optional but helpful)
Full Tutorial Video
Step 1. Align and Arrange the Silk Threads
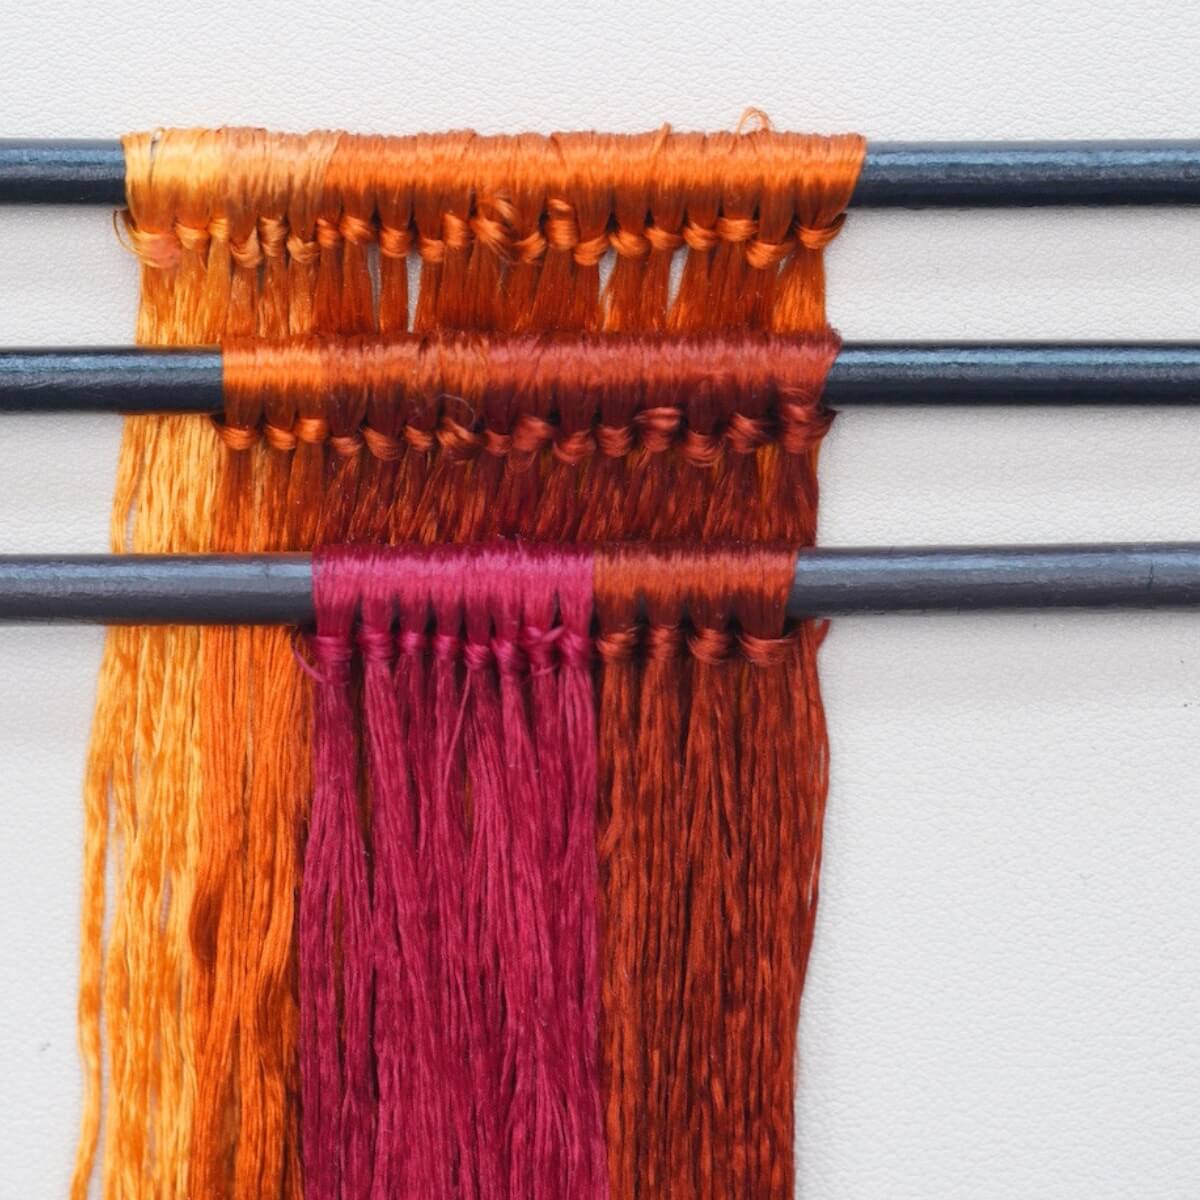
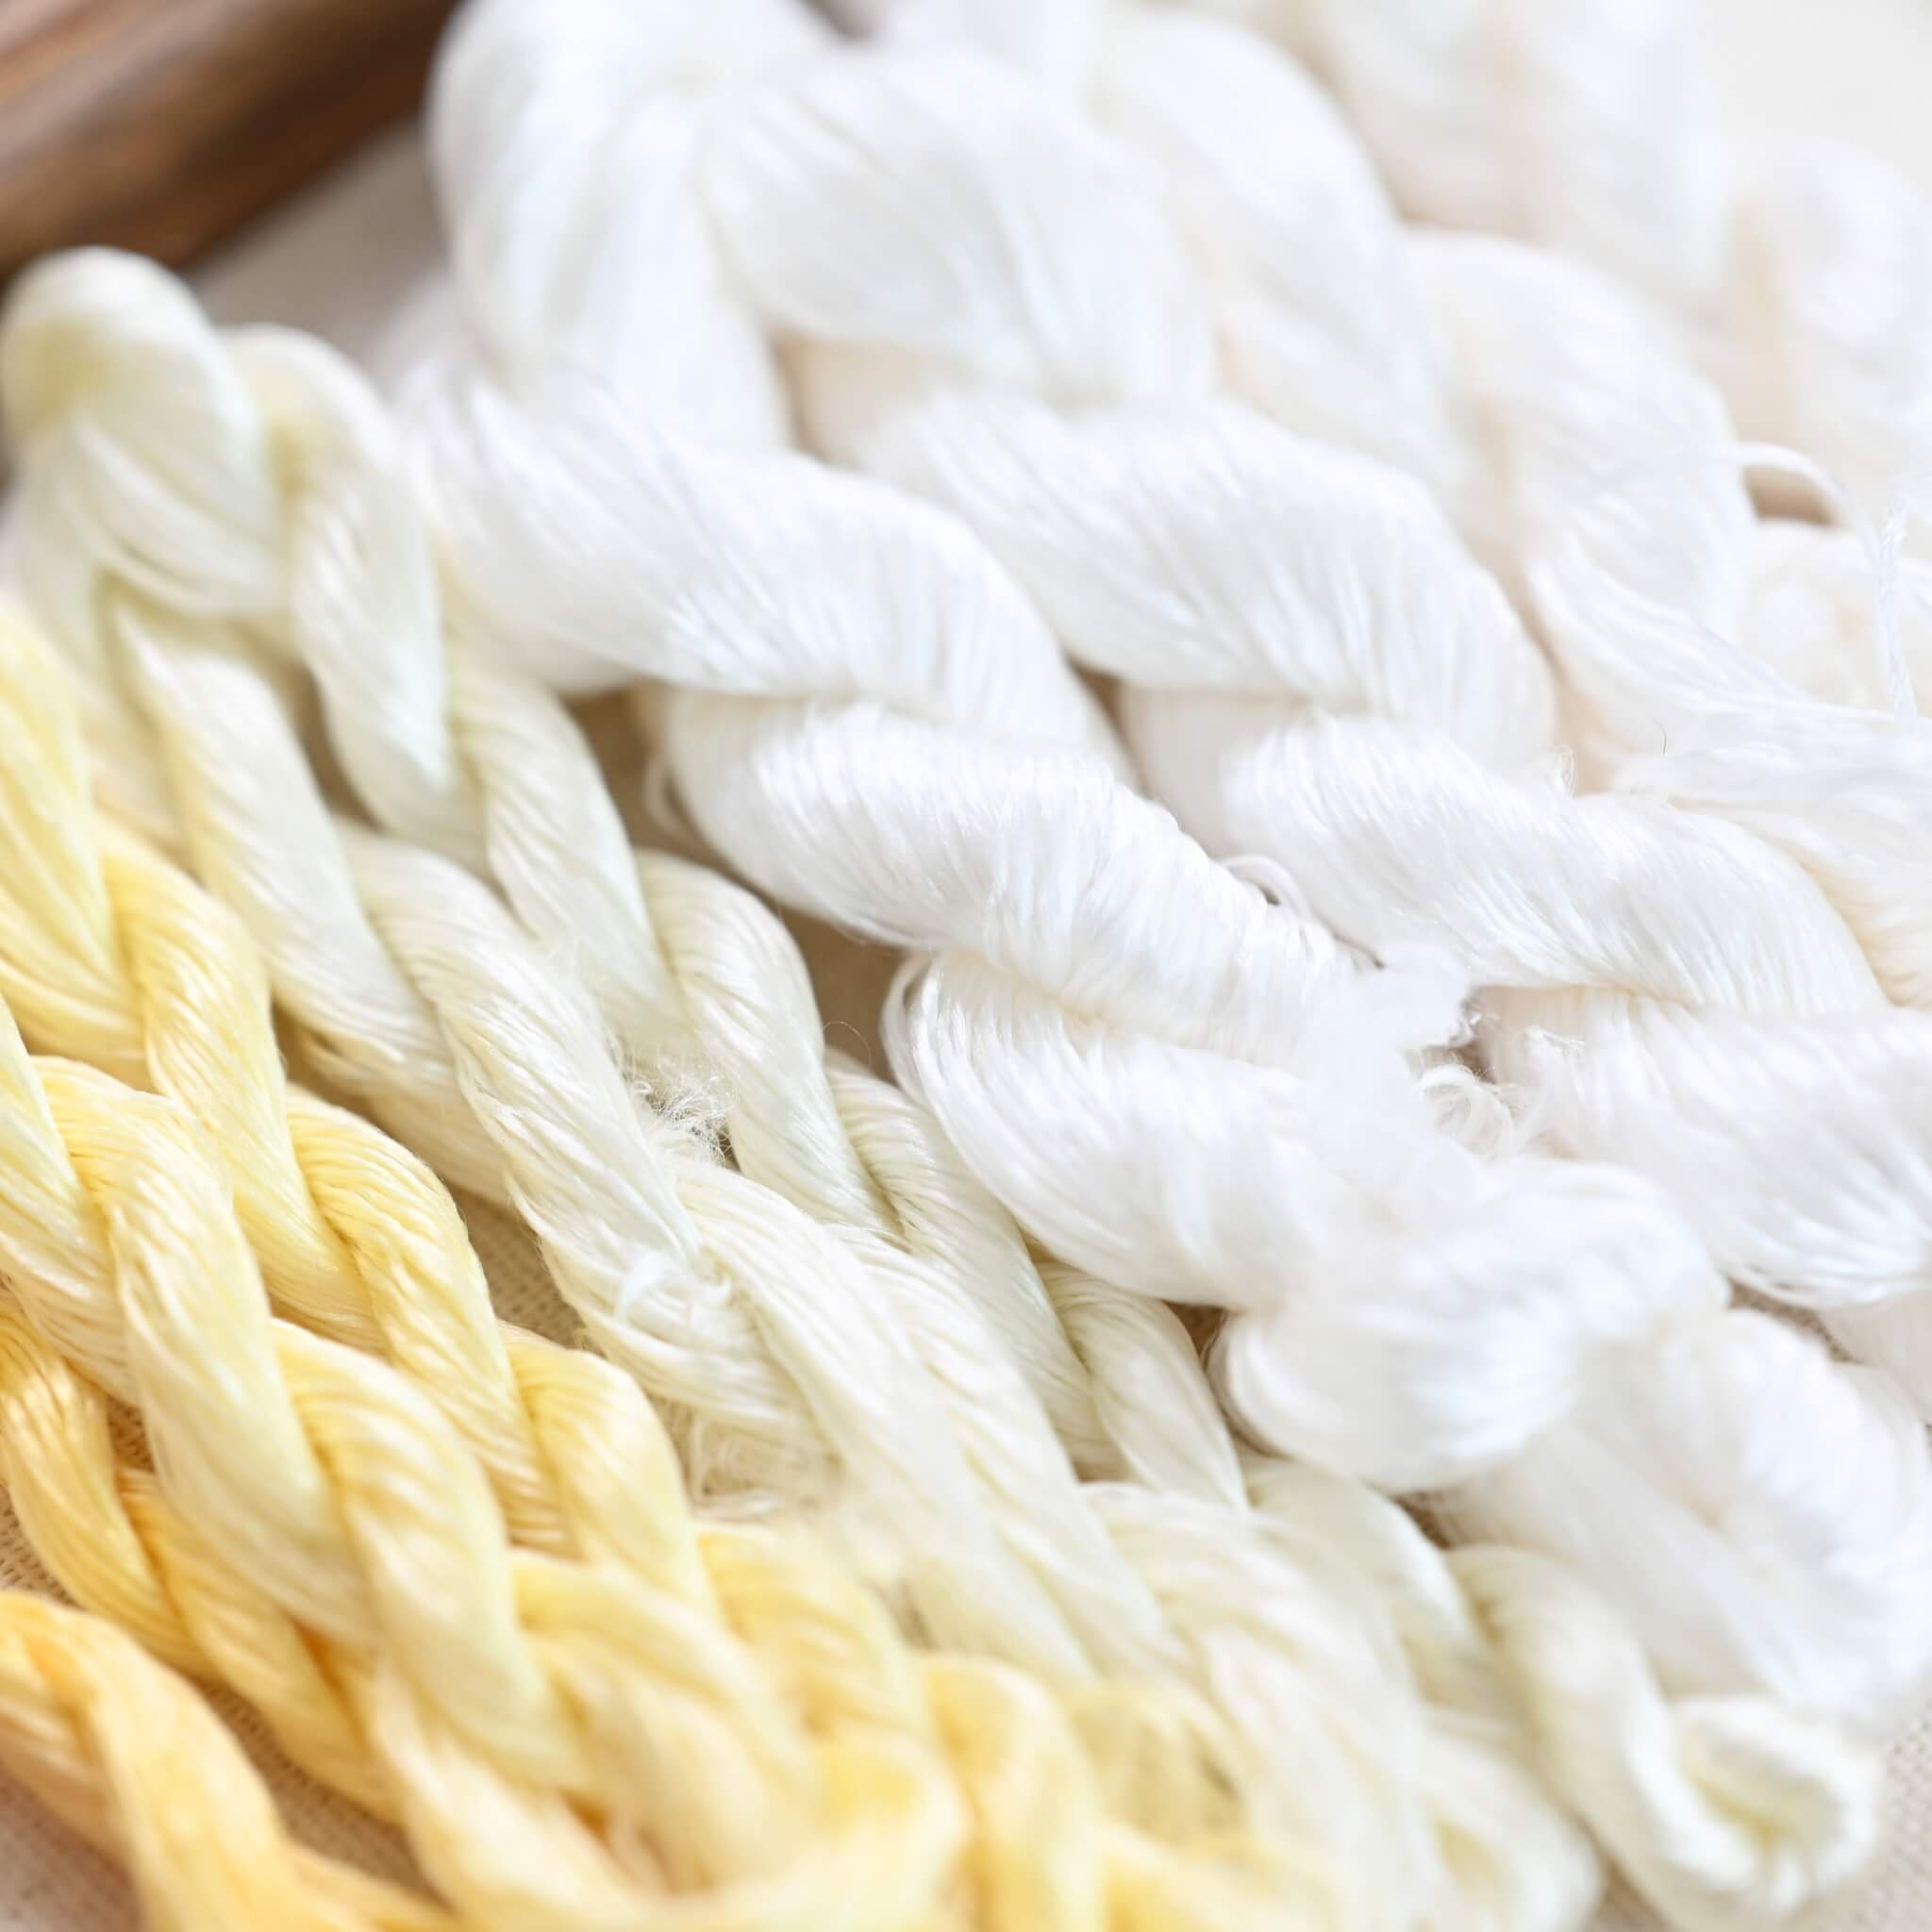
Start by untying your silk threads. Locate the knot at one end of each bundle and cut it open carefully. Refer to the diagram below for color combination details. Note that for the second row, you need to fold the thread and cut it twice.

Step 2. Group and Prepare the Threads
Each silk bundle consists of tiny strand-like structures—these are your individual strands. Align all strands neatly and tie them around a thin stick, keeping the ends even. Avoid uneven lengths—this ensures consistent texture later on.

Step 3. Make Silk Rows
Repeat the above process to create your silk rows. Remember to refer back to the data provided in your specific kit diagram for the following rows, as each will differ slightly in color distribution.


Step 4. Brush the Silk
Use your bristle brush to comb the silk rows. Continue brushing for about 10 minutes until the silk is smooth, fluffy, and free of tangles. If the silk becomes static, use a spray bottle to lightly mist the air (not the silk directly) with water.

After brushing, it should look like this.

Step 5. Attach Copper Wires
When you feel that the silk is brushed enough, secure its tail with another big clip to your table or stand to stretch it taut. Take out one copper wire from the folded end of the row and straighten it. Twist the folded part into a spiral. Clamp the silk threads between two copper wires and twist the opposite side tightly. Pull both wires taut and continue twisting until they merge into one.
The spacing should be the same as shown in step 1.
You can watch our video tutorial for this step:)
Step 6. Cut the Silk Strips
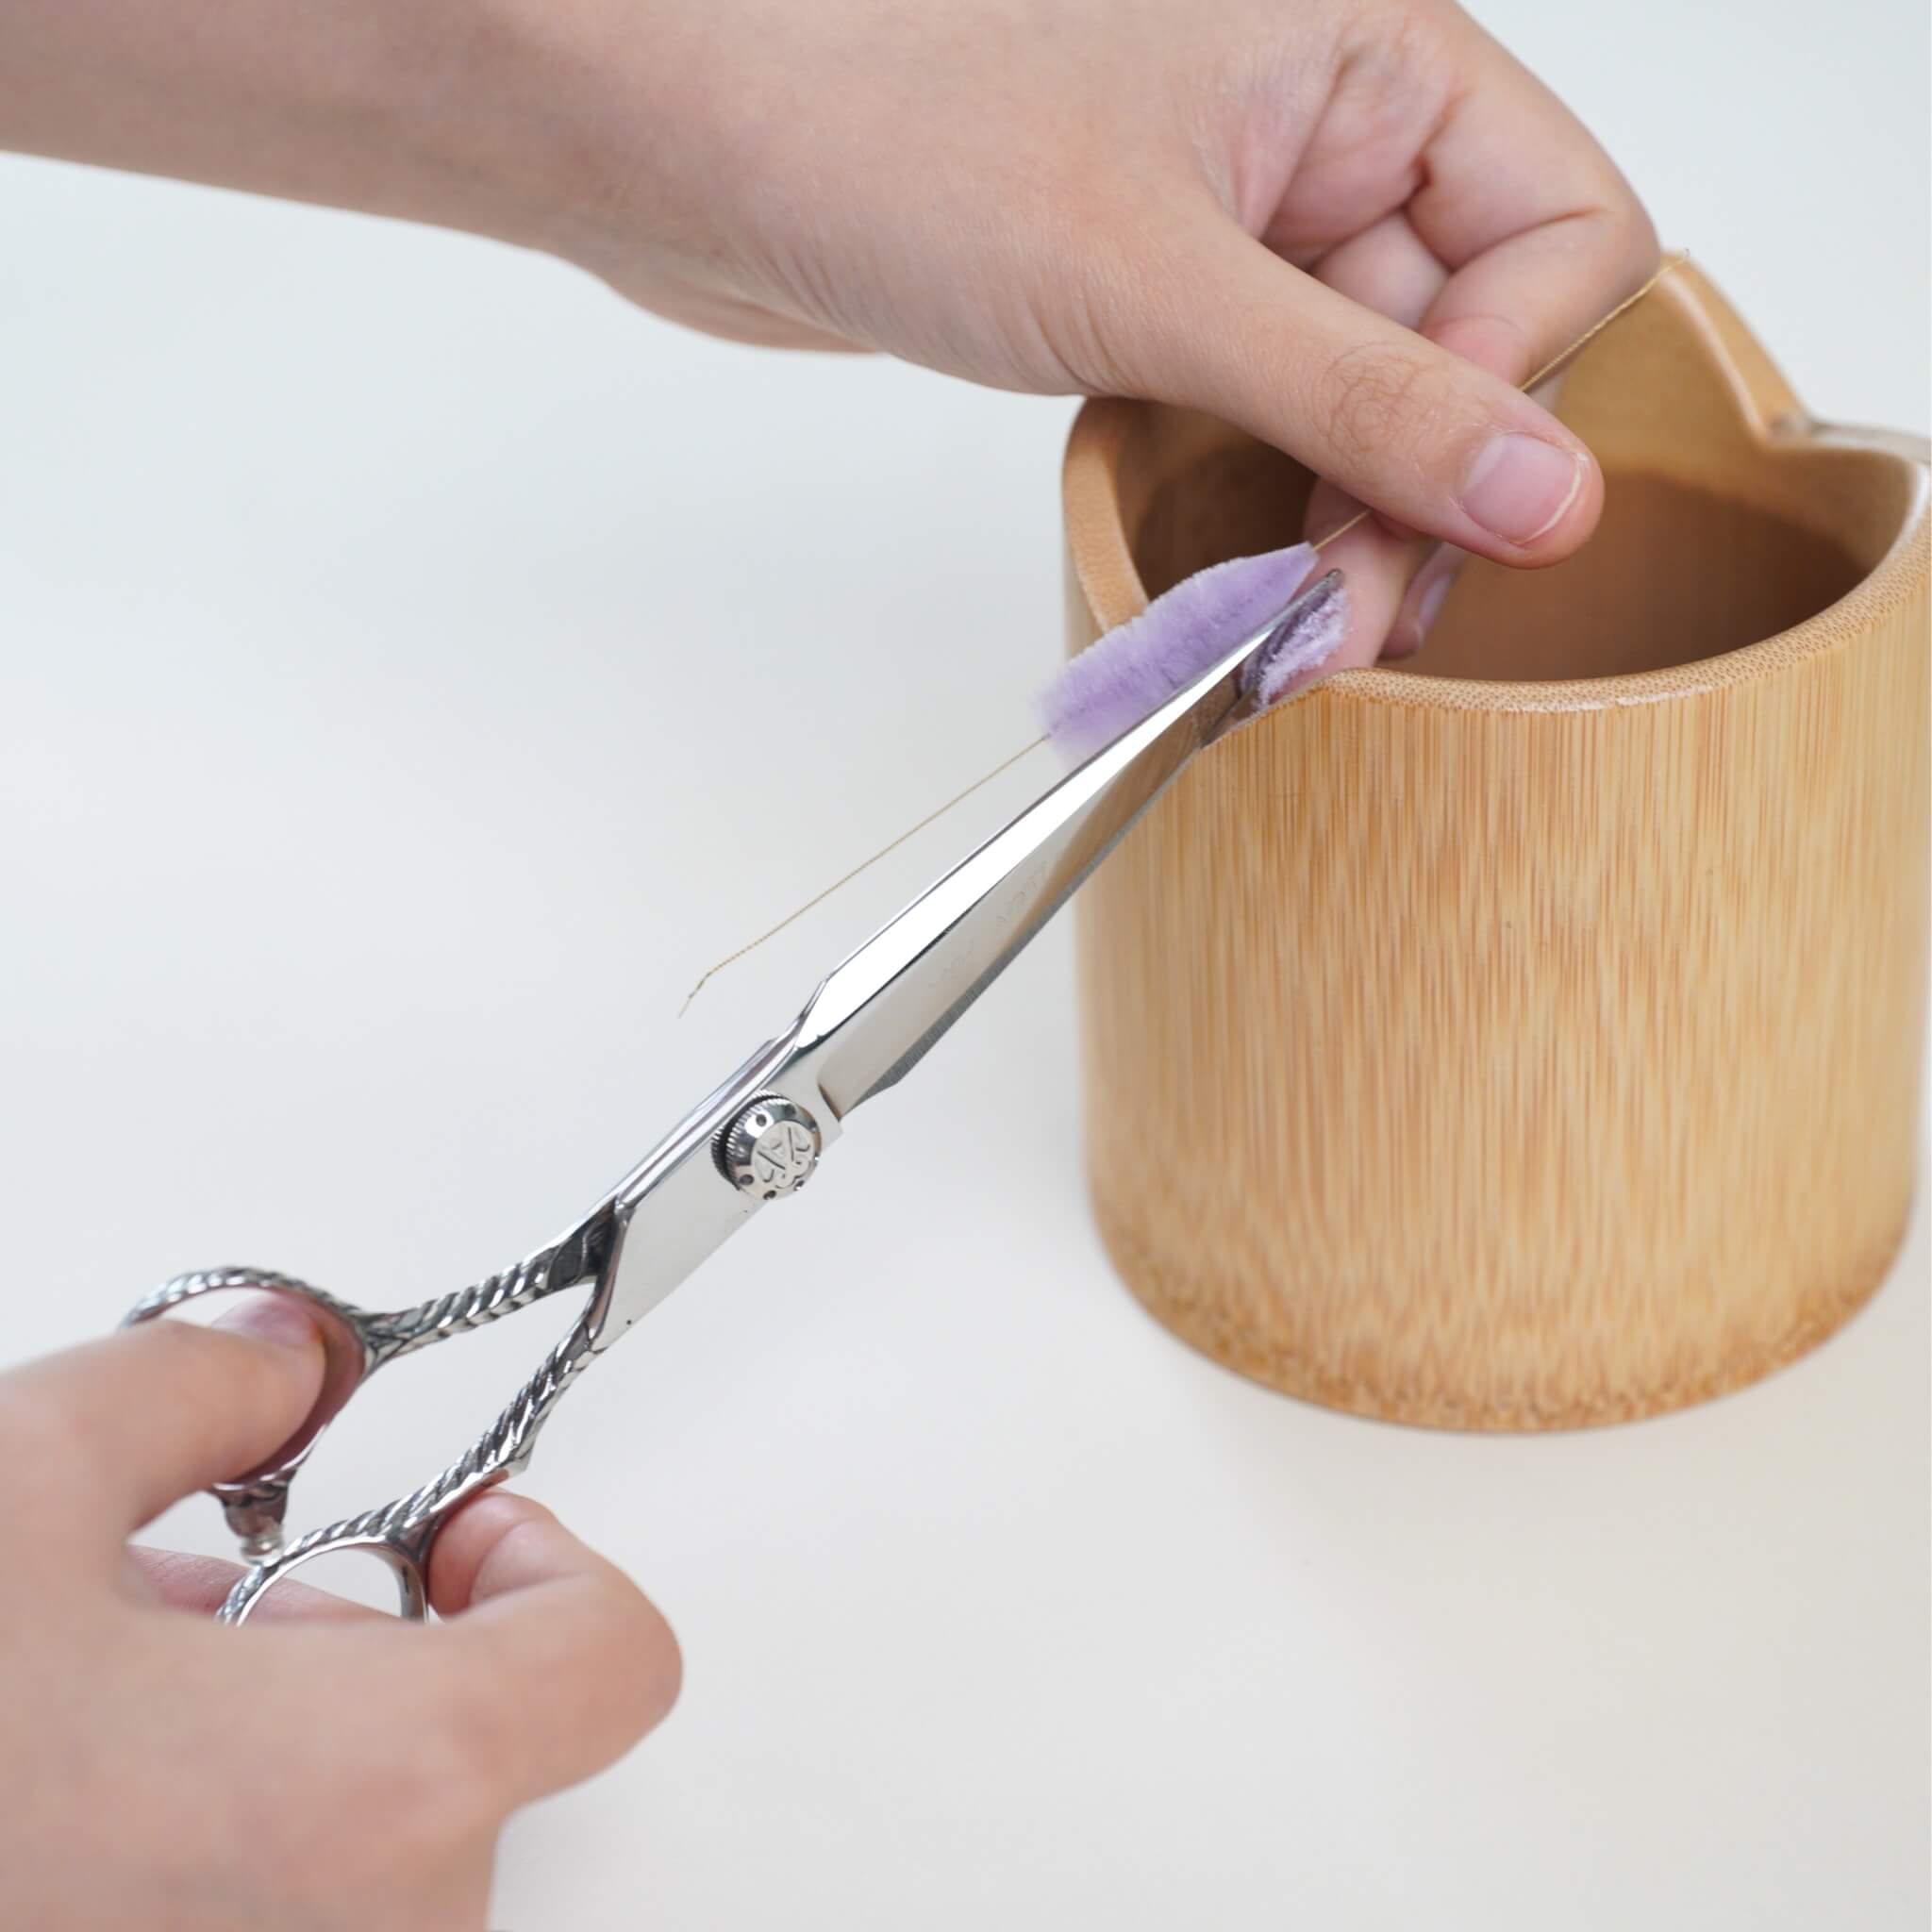
Trim the row’s end neatly, then cut between each pair of copper wires to create even silk strips. When cutting, the scissors must be placed in the middle of two copper wires, otherwise the width of the silk strips will be inconsistent. Cut quickly and cleanly for smooth edges.

Step 7. Center and Twist the Strips
Align the copper wire to the middle of each strip using a flat surface or wooden block. Once centered, twist both hands in opposite directions to tighten.

Next, place the copper part between the twisting boards and continue twisting in the same direction. Stop when the wire feels firm. If tightened properly, the copper wire should only faintly show through the silk.

Step 8. Flatten and Set the Strips
Start by trimming off the wire on the blue end of each strip, cutting as close to the base as possible. (For solid-colored strips, trim either side). Using a heated flat iron, gently press the strips flat, always working from back to front. For thicker areas, hold the pressure slightly longer.

Once flattened, trim any remaining wire ends neatly. Next, prepare a setting solution of hairspray or diluted white glue and alcohol. The ratio should be glue to water/alcohol 1:2/1:3. Soak each strip thoroughly, then remove any excess liquid along the edges. Place them upright to dry—separate different colors to prevent staining, especially on white pieces.

Step 9. Shape the Petals and Buds
Once dry, begin shaping the petals. Fold the base outward, then curve the upper half inward, using your fingers to guide the edges inward to form a soft, natural pear blossom shape. You will need about 25 petals.

For the buds, shape the petals differently: curve the entire piece inward like a small spoon, without any outward folds. Prepare 9 petals in this shape and allow them to dry completely.

Step 10. Create Leaf Frames
Take silver-colored copper wire (about 3 mm thick), fold it in half, and twist the ends together tightly, keeping the wire straight.

Once you have prepared several of these, use leaf molds in different sizes to shape the wire into leaf outlines. Press the wire closely against the mold, leaving about 2–3 cm at the base. Make a total of seven leaf frames.

Step 11. Make the Leaves
When the silk strips are dry, press them again for smoothness. Apply a small amount of glue along the edge of each wire frame, wait a few seconds, then attach the frame to the silk strip. Ensure the wire direction is consistent so leaves of the same size mirror each other.

Add a central vein using another piece of wire shaped with a gentle curve, glue it to the center of the leaf.

Once dry, lightly press the leaf to give it a soft, natural curve. Trim away any excess silk outside the leaf frames and refine the edges of each leaf and petal using sharp scissors.

Step 12. Prepare Stamens
Next, count out ten stamens for each blossom, fold them in half, and cut them. Secure them together with silk thread. (You can lightly color the base if desired).

For the buds, use only three stamens per piece.
Step 13. Assemble Flowers and Buds
Spread the blossom stamens outward and attach five petals, overlapping them slightly and wrapping snugly with green thread.

Trim the base wire at an angle, add a 4 mm support wire, and wrap neatly with silk thread downward. Make five blossoms. For the buds, assemble three spoon-shaped petals around three stamens. Wrap to the base and tie off. Make three buds.

Step 14. Prepare Leaves and Beads
Arrange three medium-sized leaves at different heights for a natural look.

Prepare the bead stems: take a 15 cm wire, wrap thread from the middle forward and back, fold it to create a small loop at the top, and thread on a bead. Wrap the thread-covered wire around the bead and secure at the base. Prepare two of these bead components.

Step 15. Final Assembly
Using four strands of thread, start with a bud and gradually add a small leaf, a bead, another leaf, and a blossom. Build the arrangement from all sides for balance. Continue adding larger leaves and the remaining buds/flowers.

Trim the bottom wire at an angle and extend the branch by adding two more wires if needed. Wrap carefully to cover connections. For a clean finish, use a folded wire loop to pull the silk thread through the wrapping and trim. A small amount of hairspray can be applied to the wrapped area to prevent slipping.
You can watch our video tutorial to see how to finish:)
Once everything is dry and adjusted, your pear blossom piece is complete!
You can then put it in the vase. A narrow opening will hold it nicely in place. If it feels loose, you can add a bit of tissue or wrap the stem slightly thicker with silk.







Deja un comentario
Todos los comentarios son moderados antes de ser publicados.
Este sitio está protegido por hCaptcha y se aplican la Política de privacidad de hCaptcha y los Términos del servicio.