

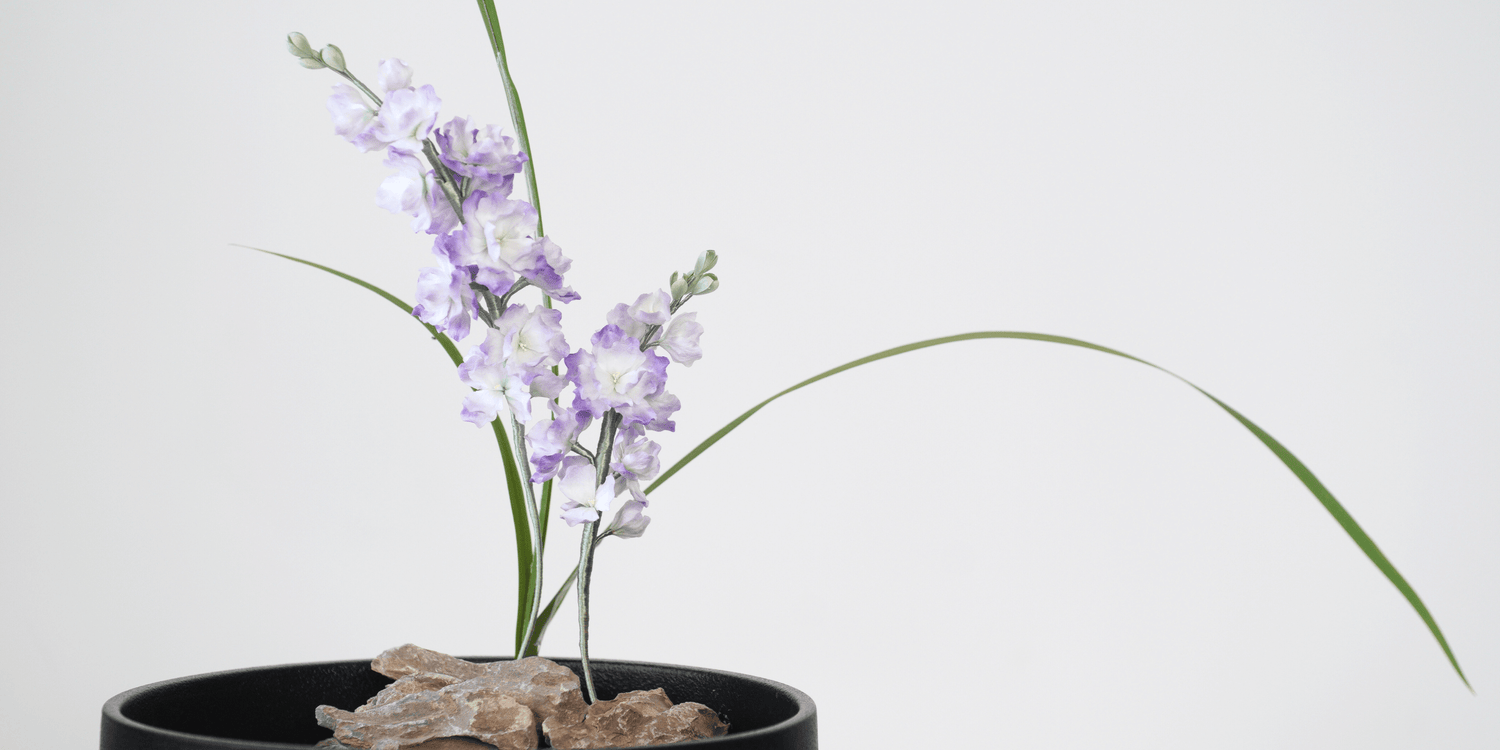
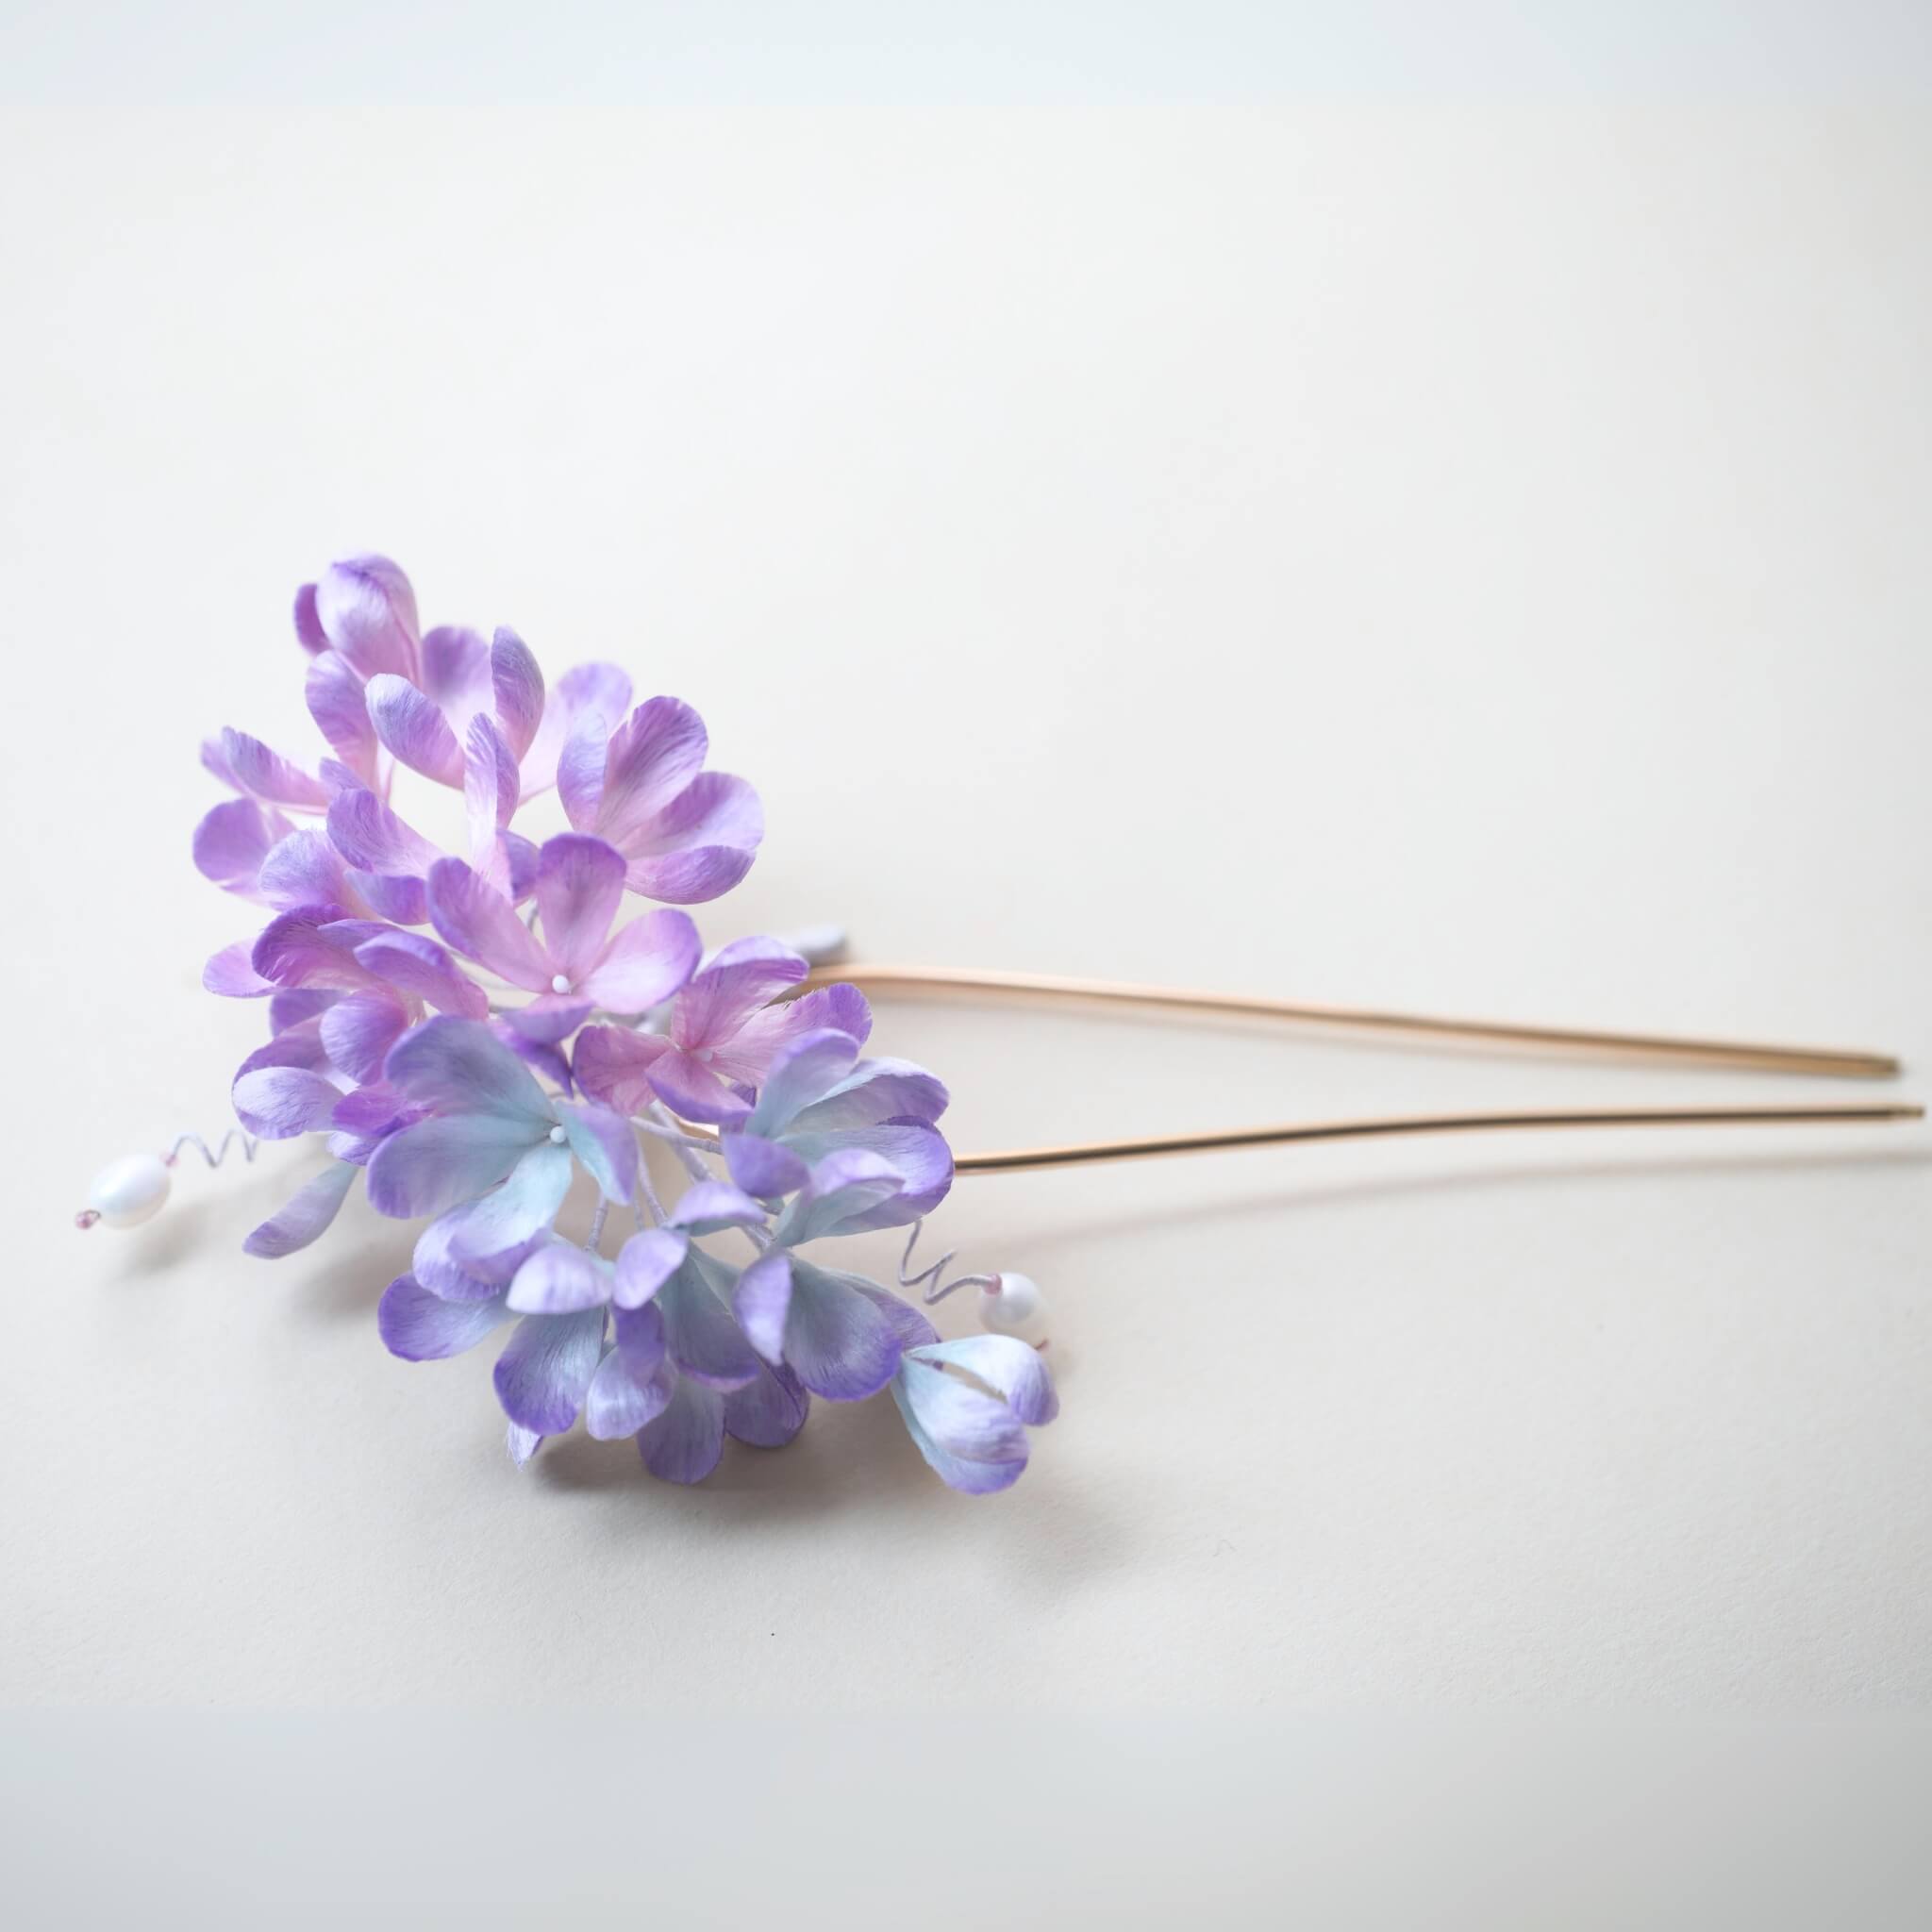
Suave, silencioso y lleno de gracia — el broche Violet Garden es un recordatorio para desacelerar y respirar. Cada pétalo, con su delicado tono púrpura, transmite una sensación de calma y belleza modesta, como una pequeña pausa en medio de un día ocupado.
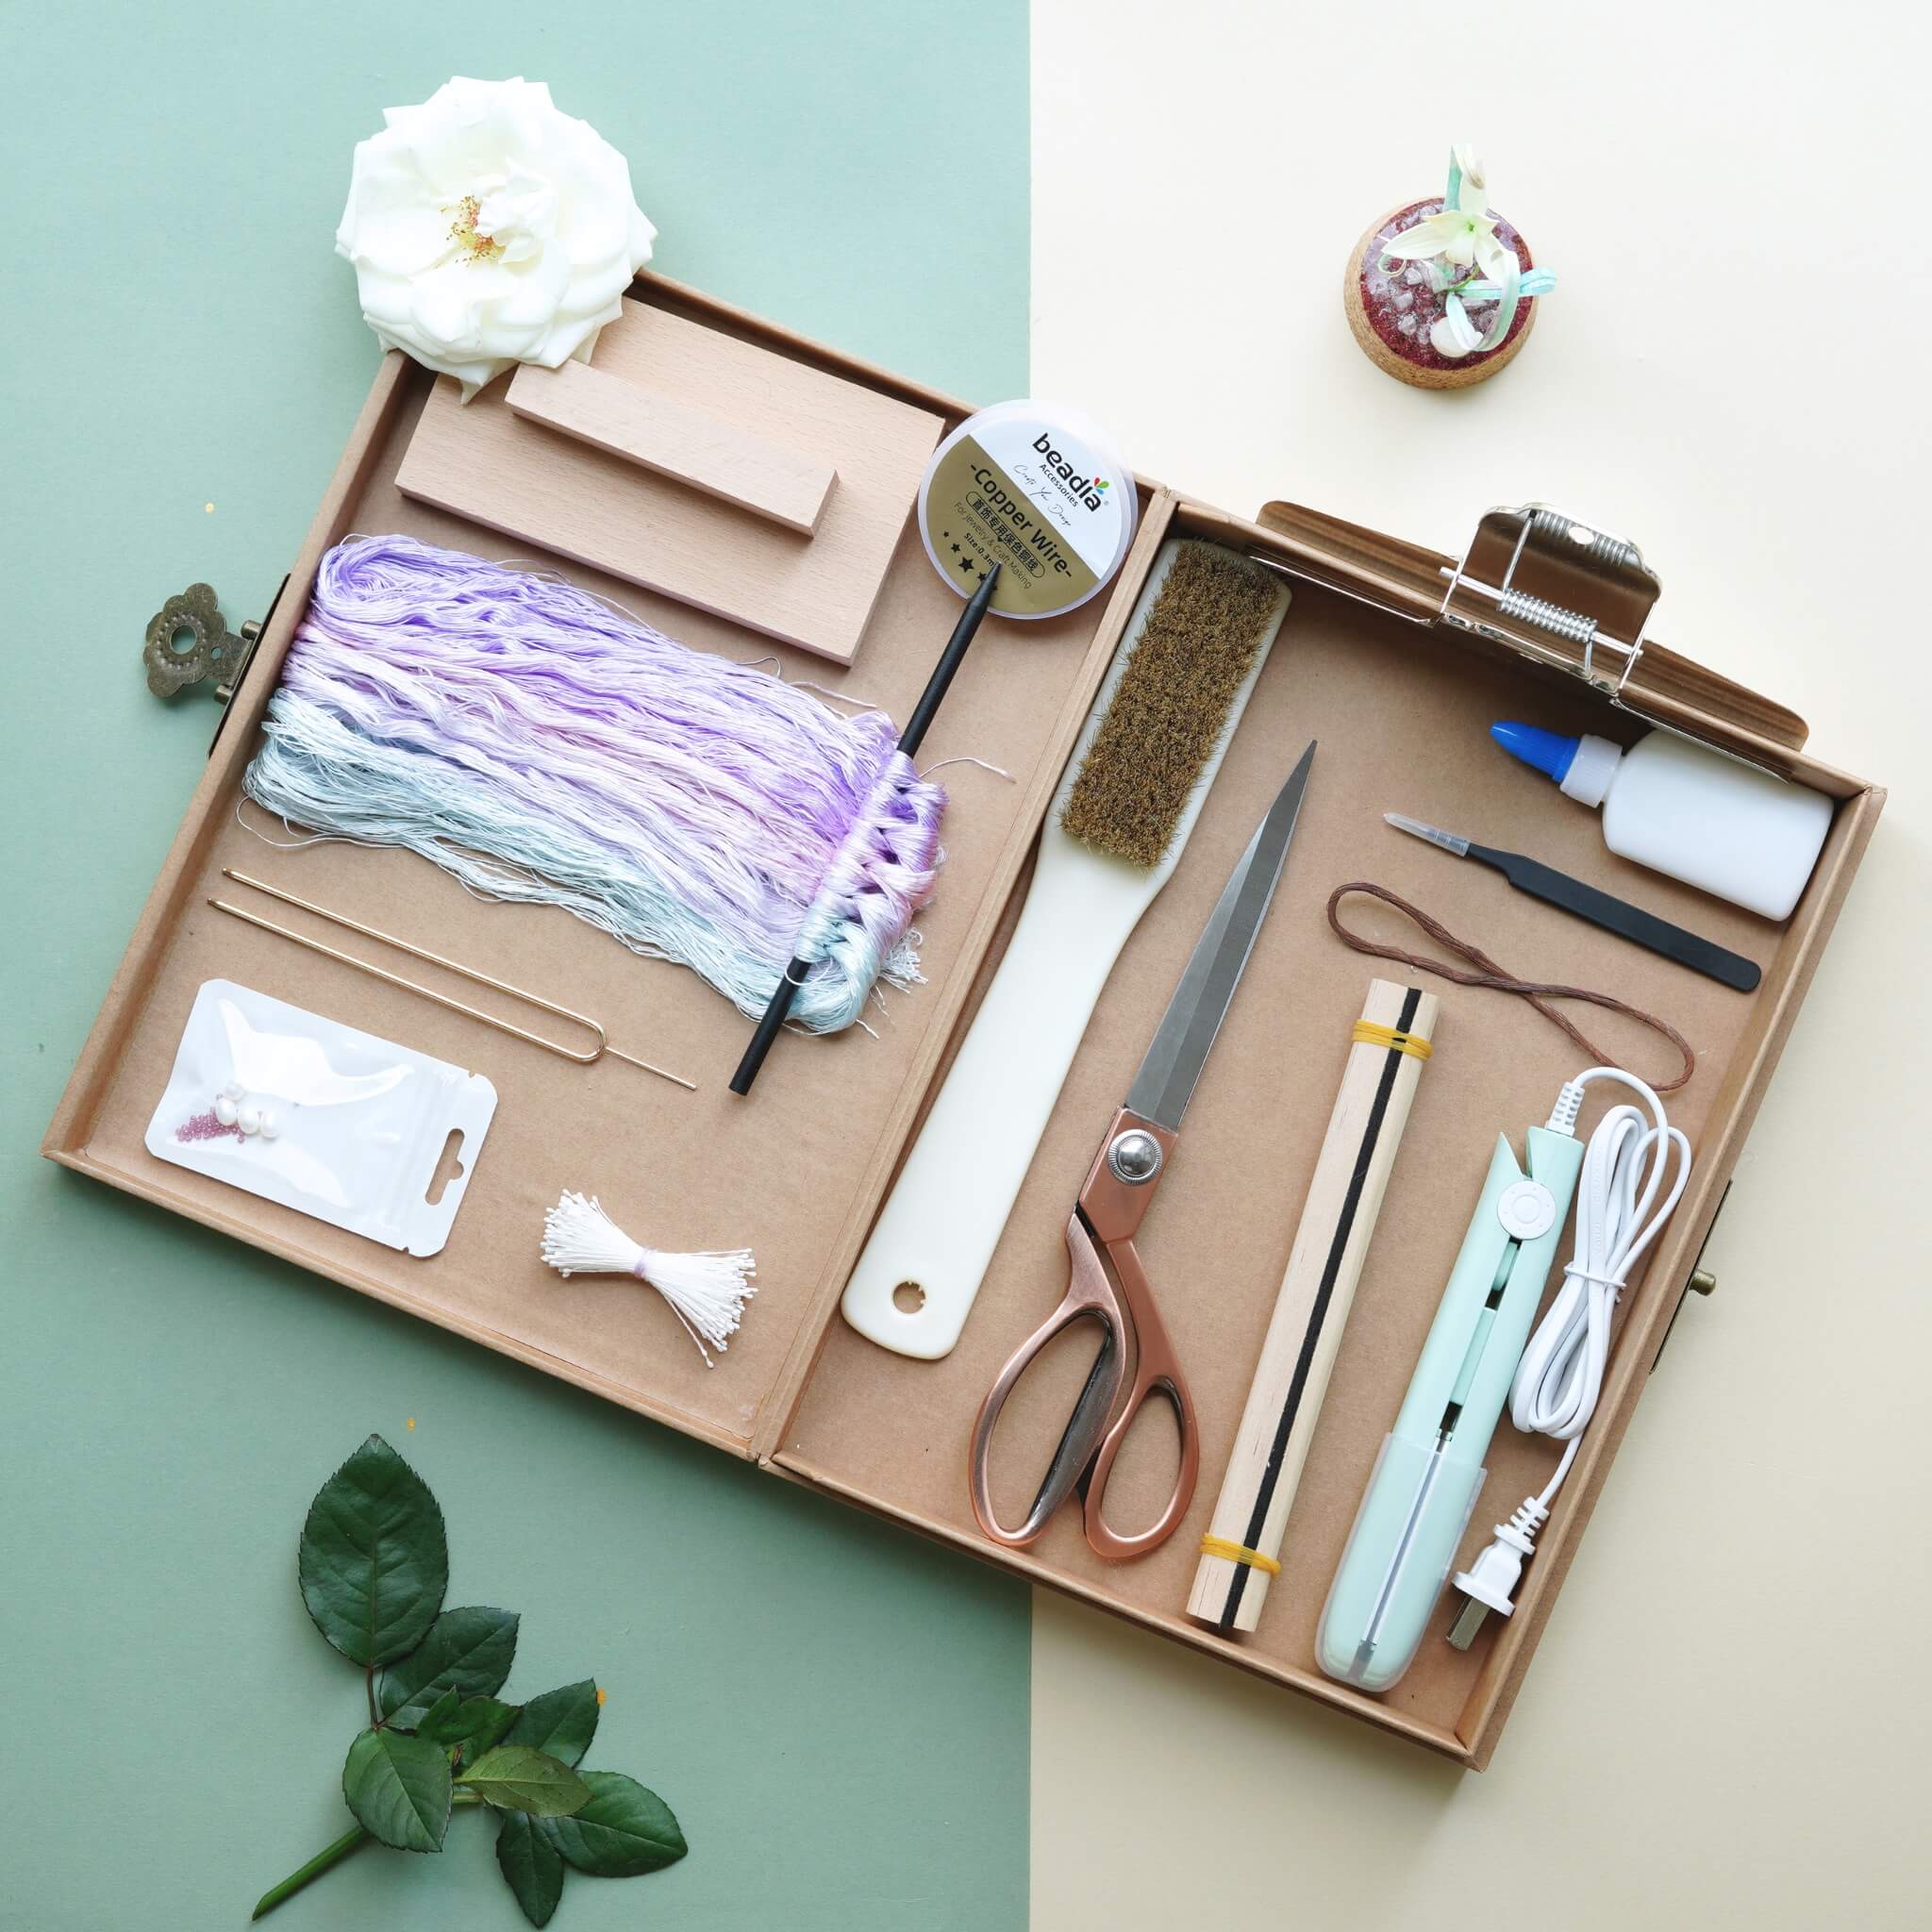
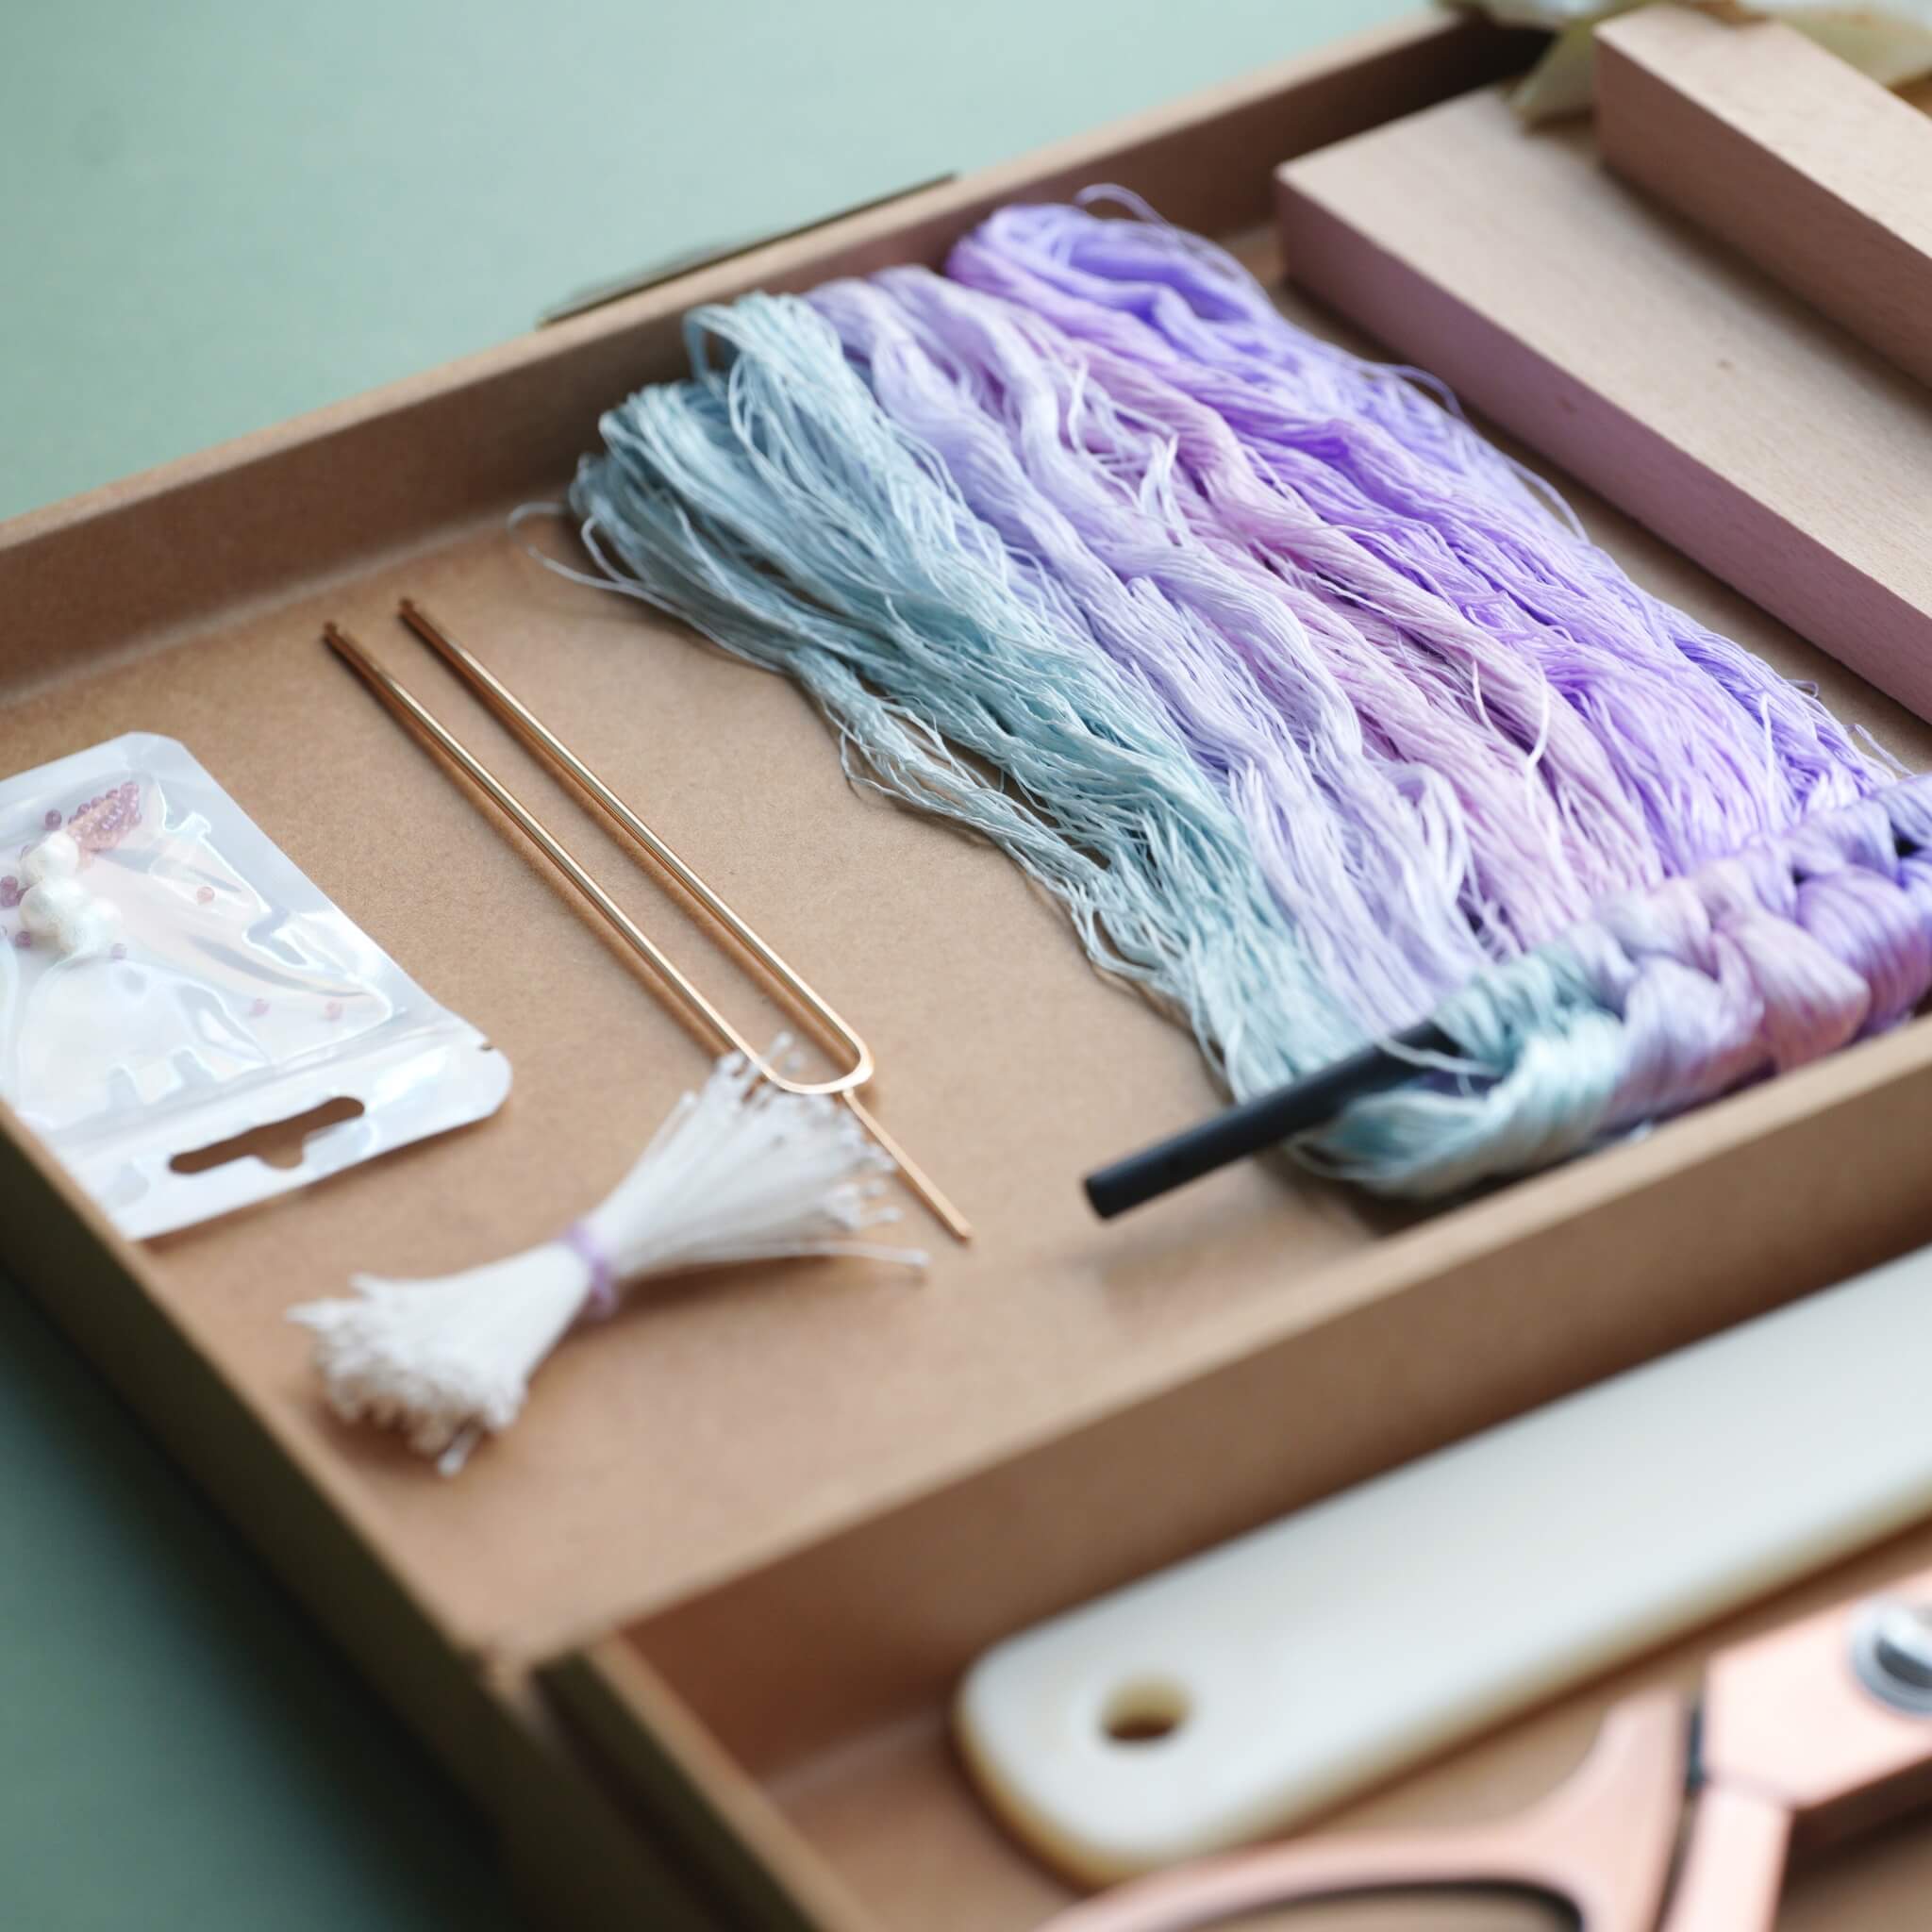
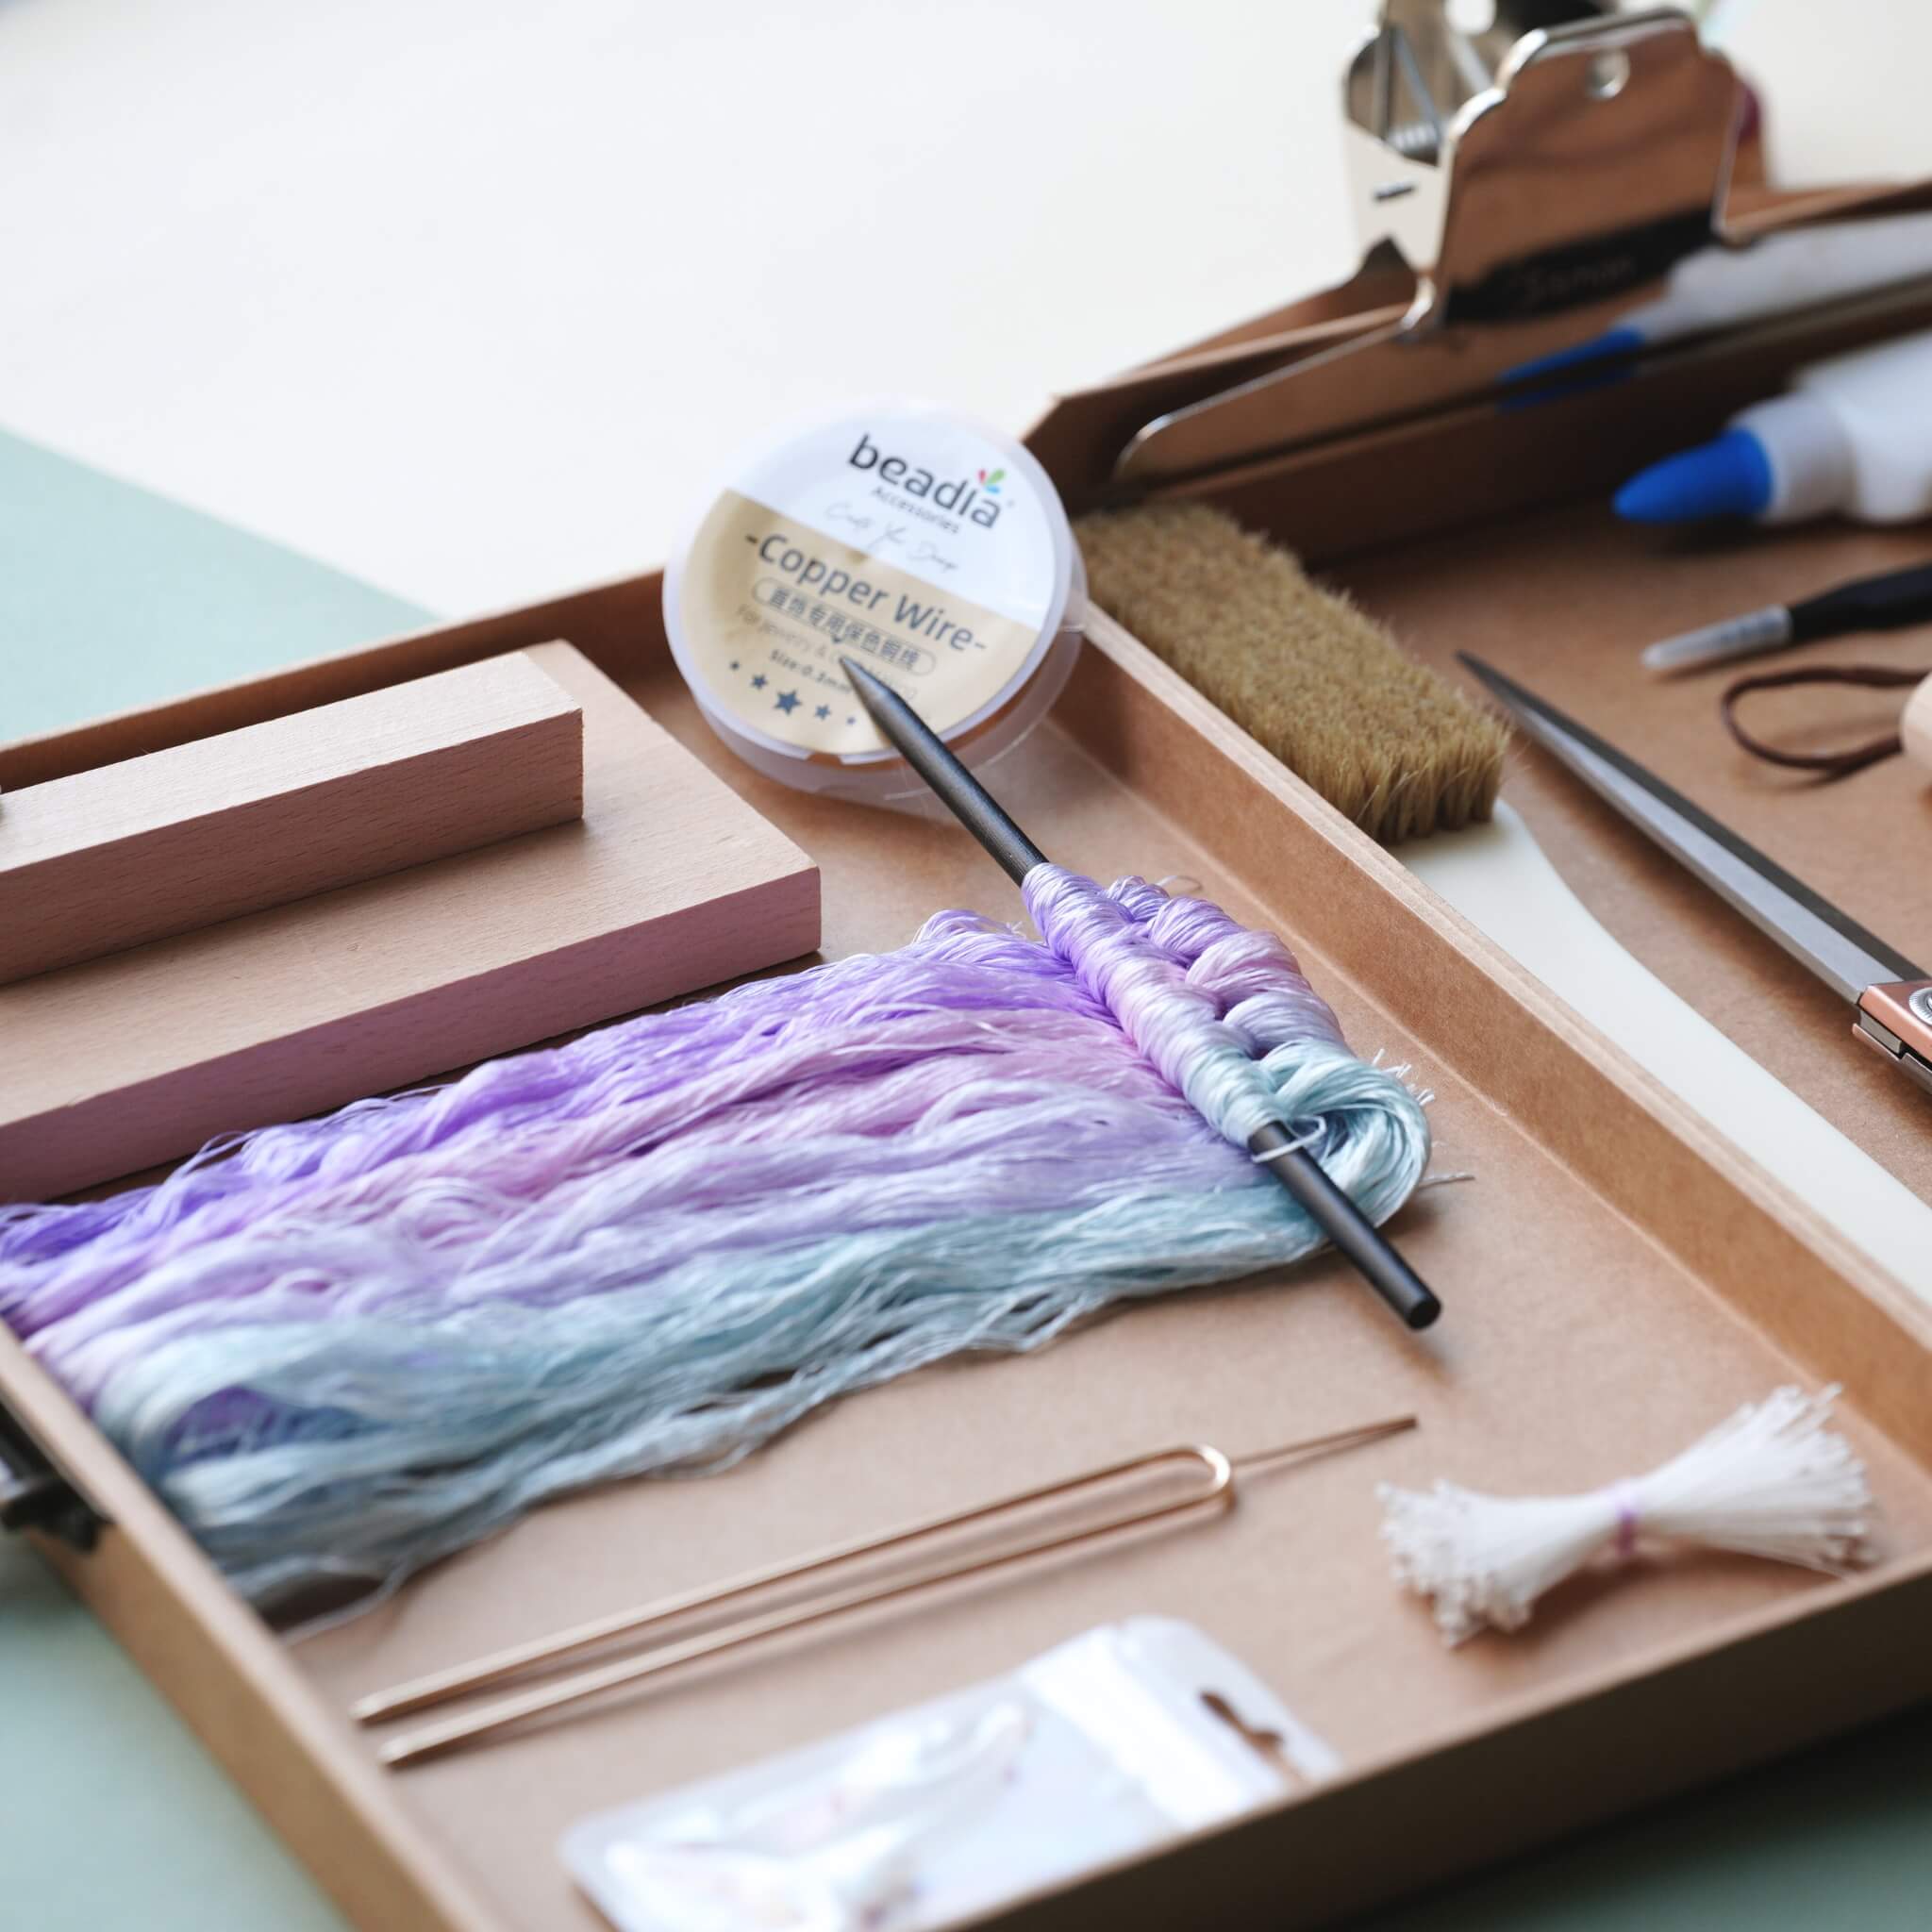
Preparación: Lo que necesitarás
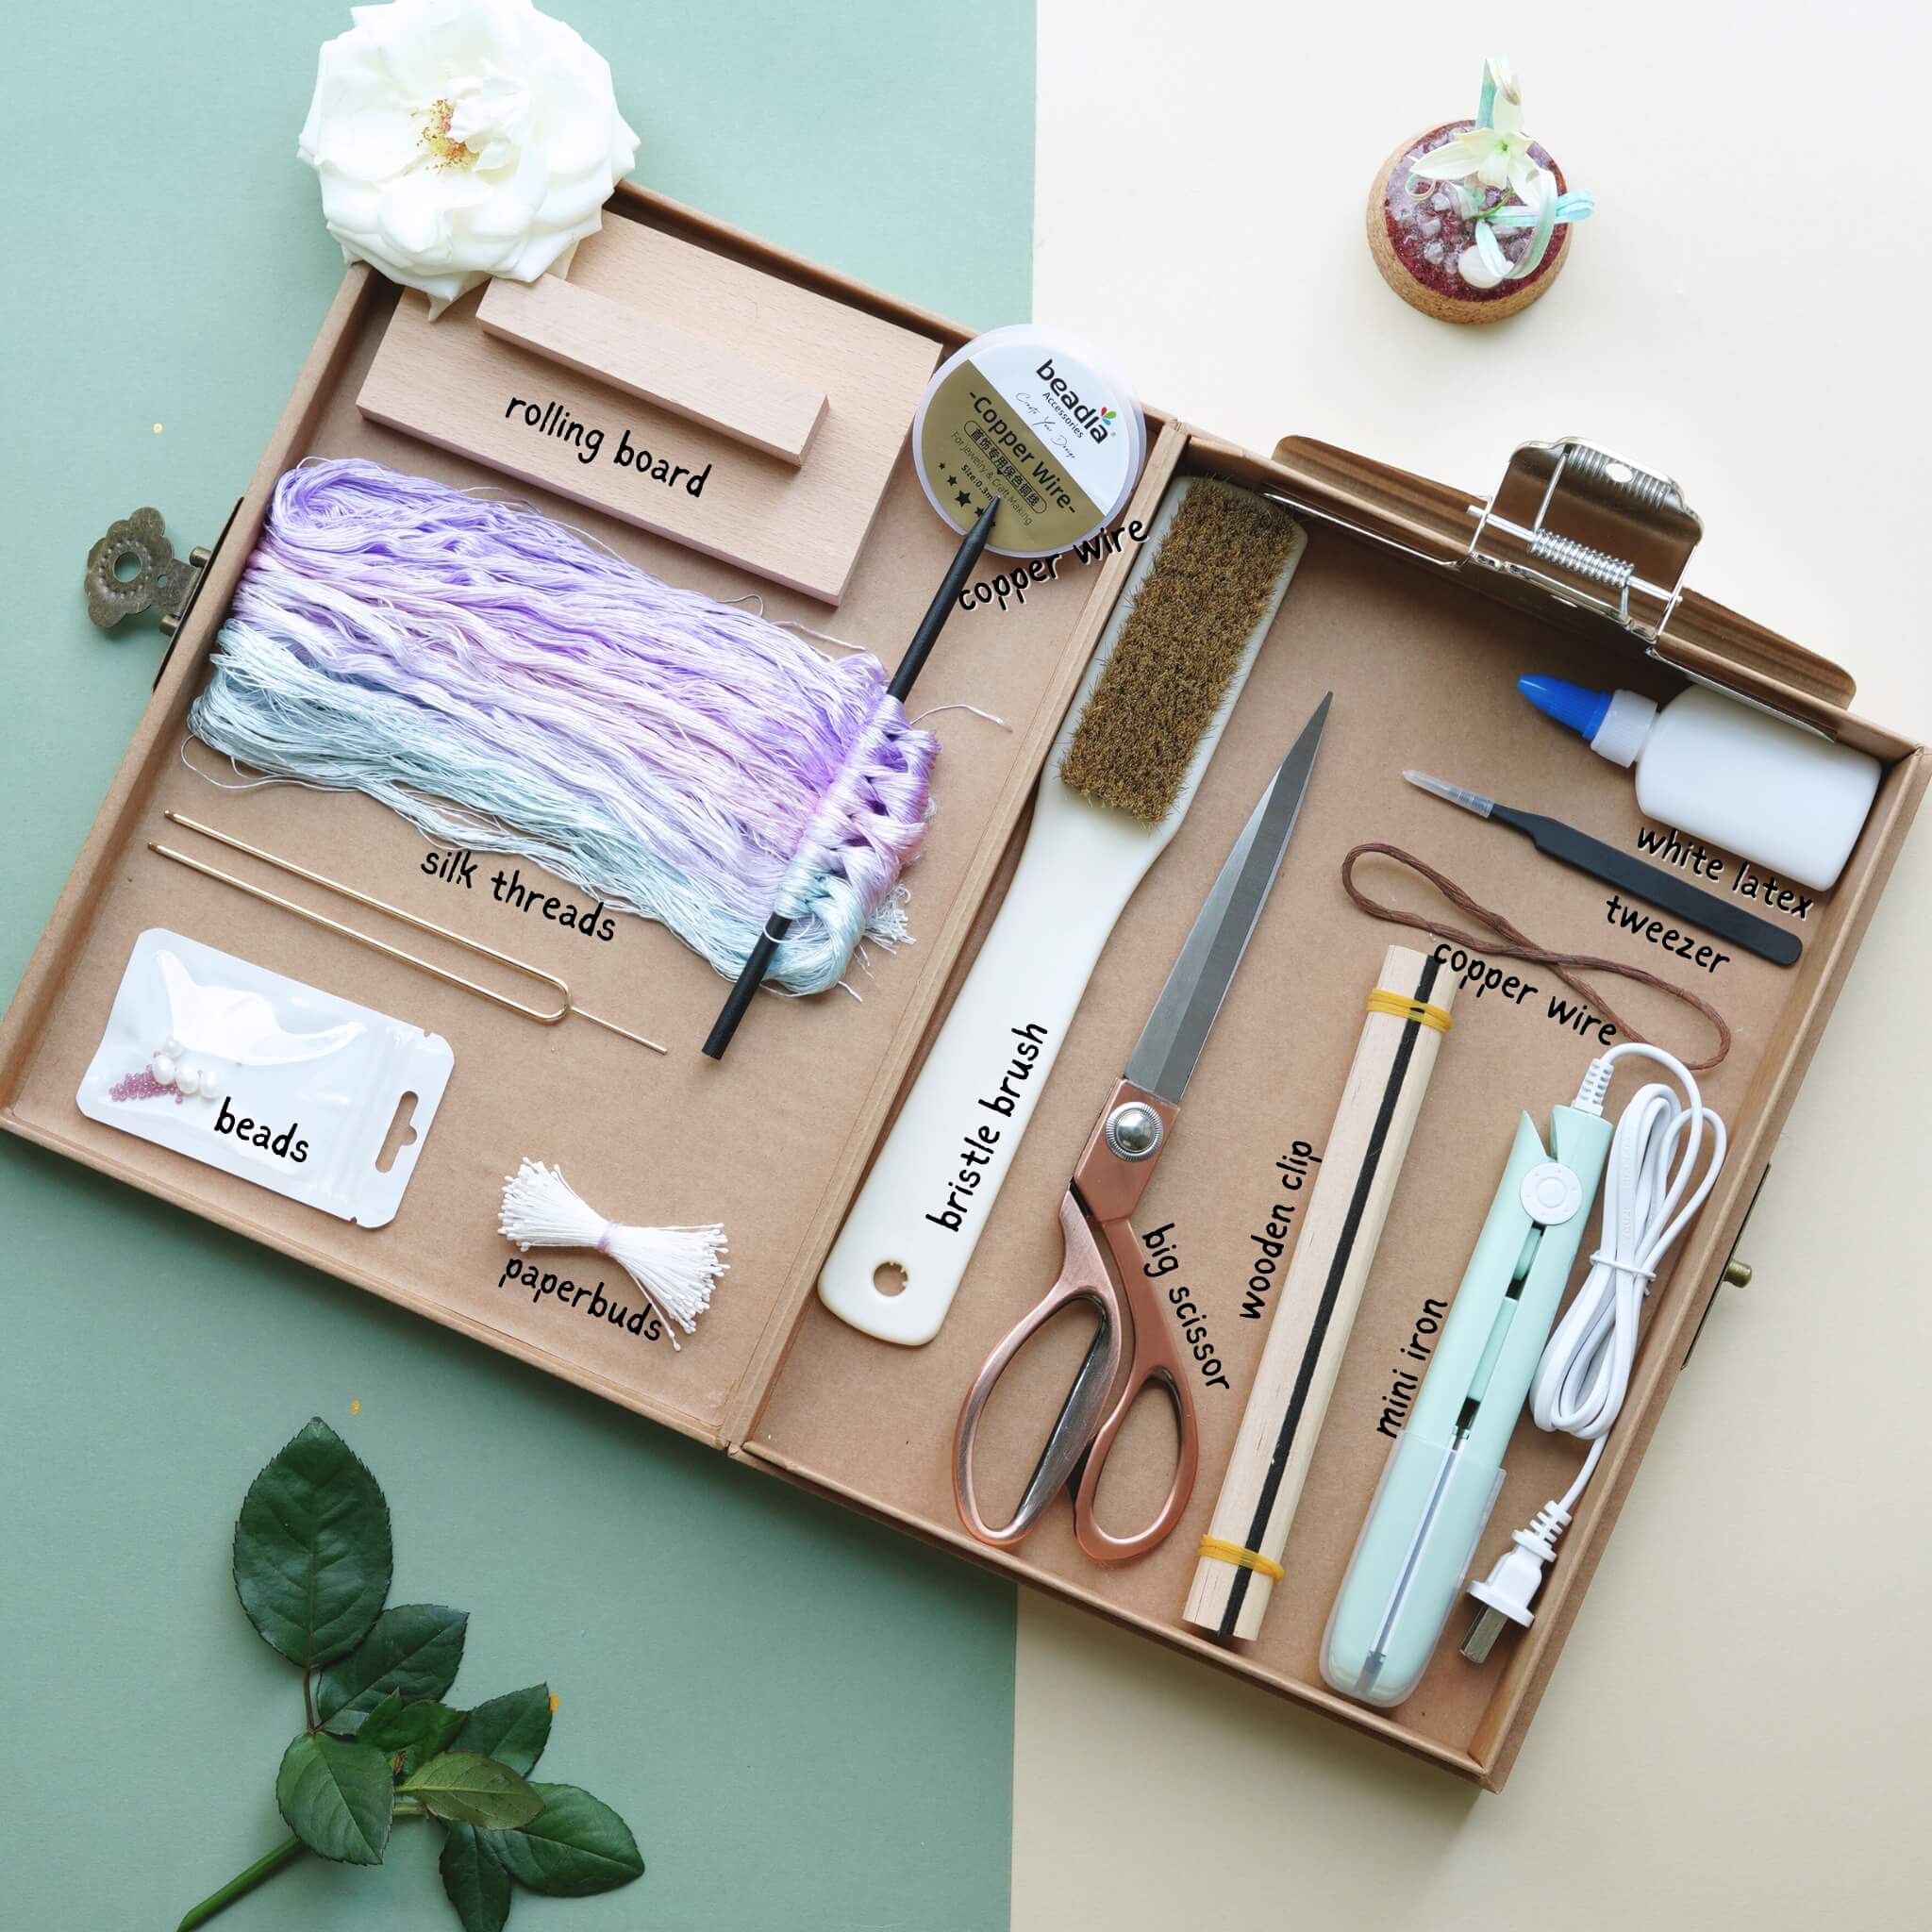
Si has comprado nuestro Kit de Herramientas Ronghua, ¡ya tienes todo lo necesario!
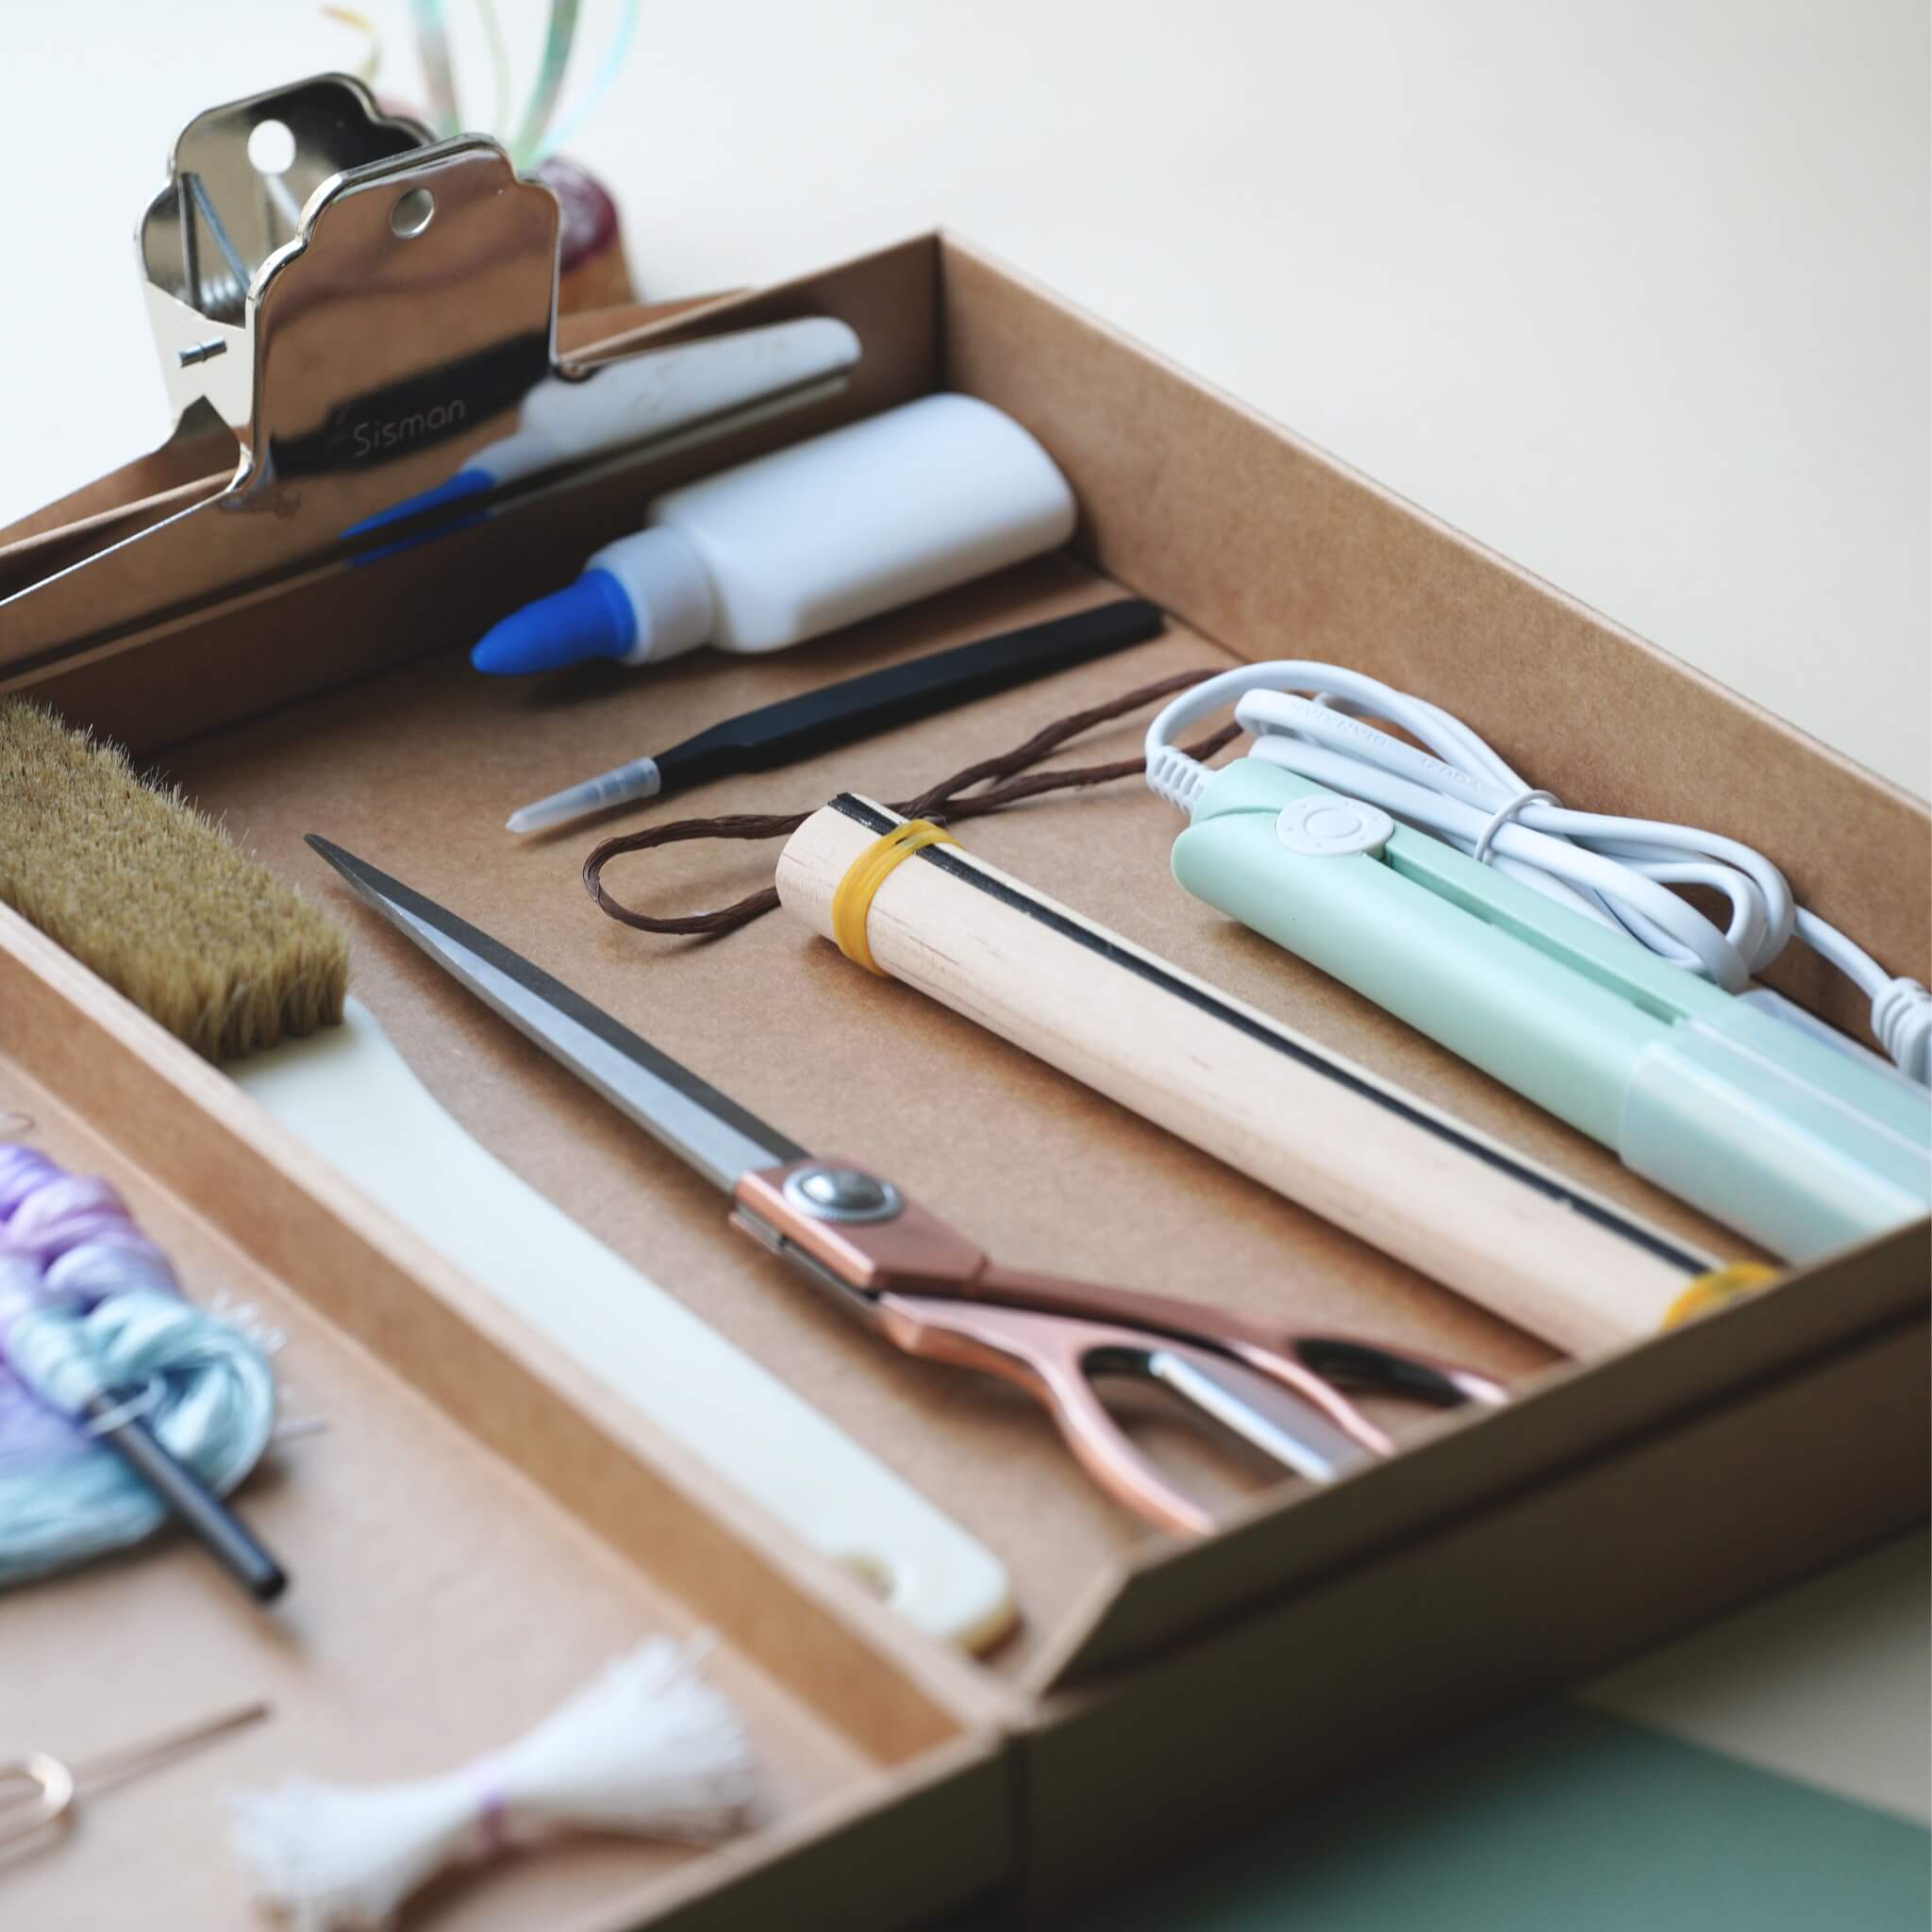
Si no, prepara las siguientes herramientas:
- Cepillo de cerdas (dureza media a suave)
- Plancha para el cabello (la que usas para alisar tu cabello)
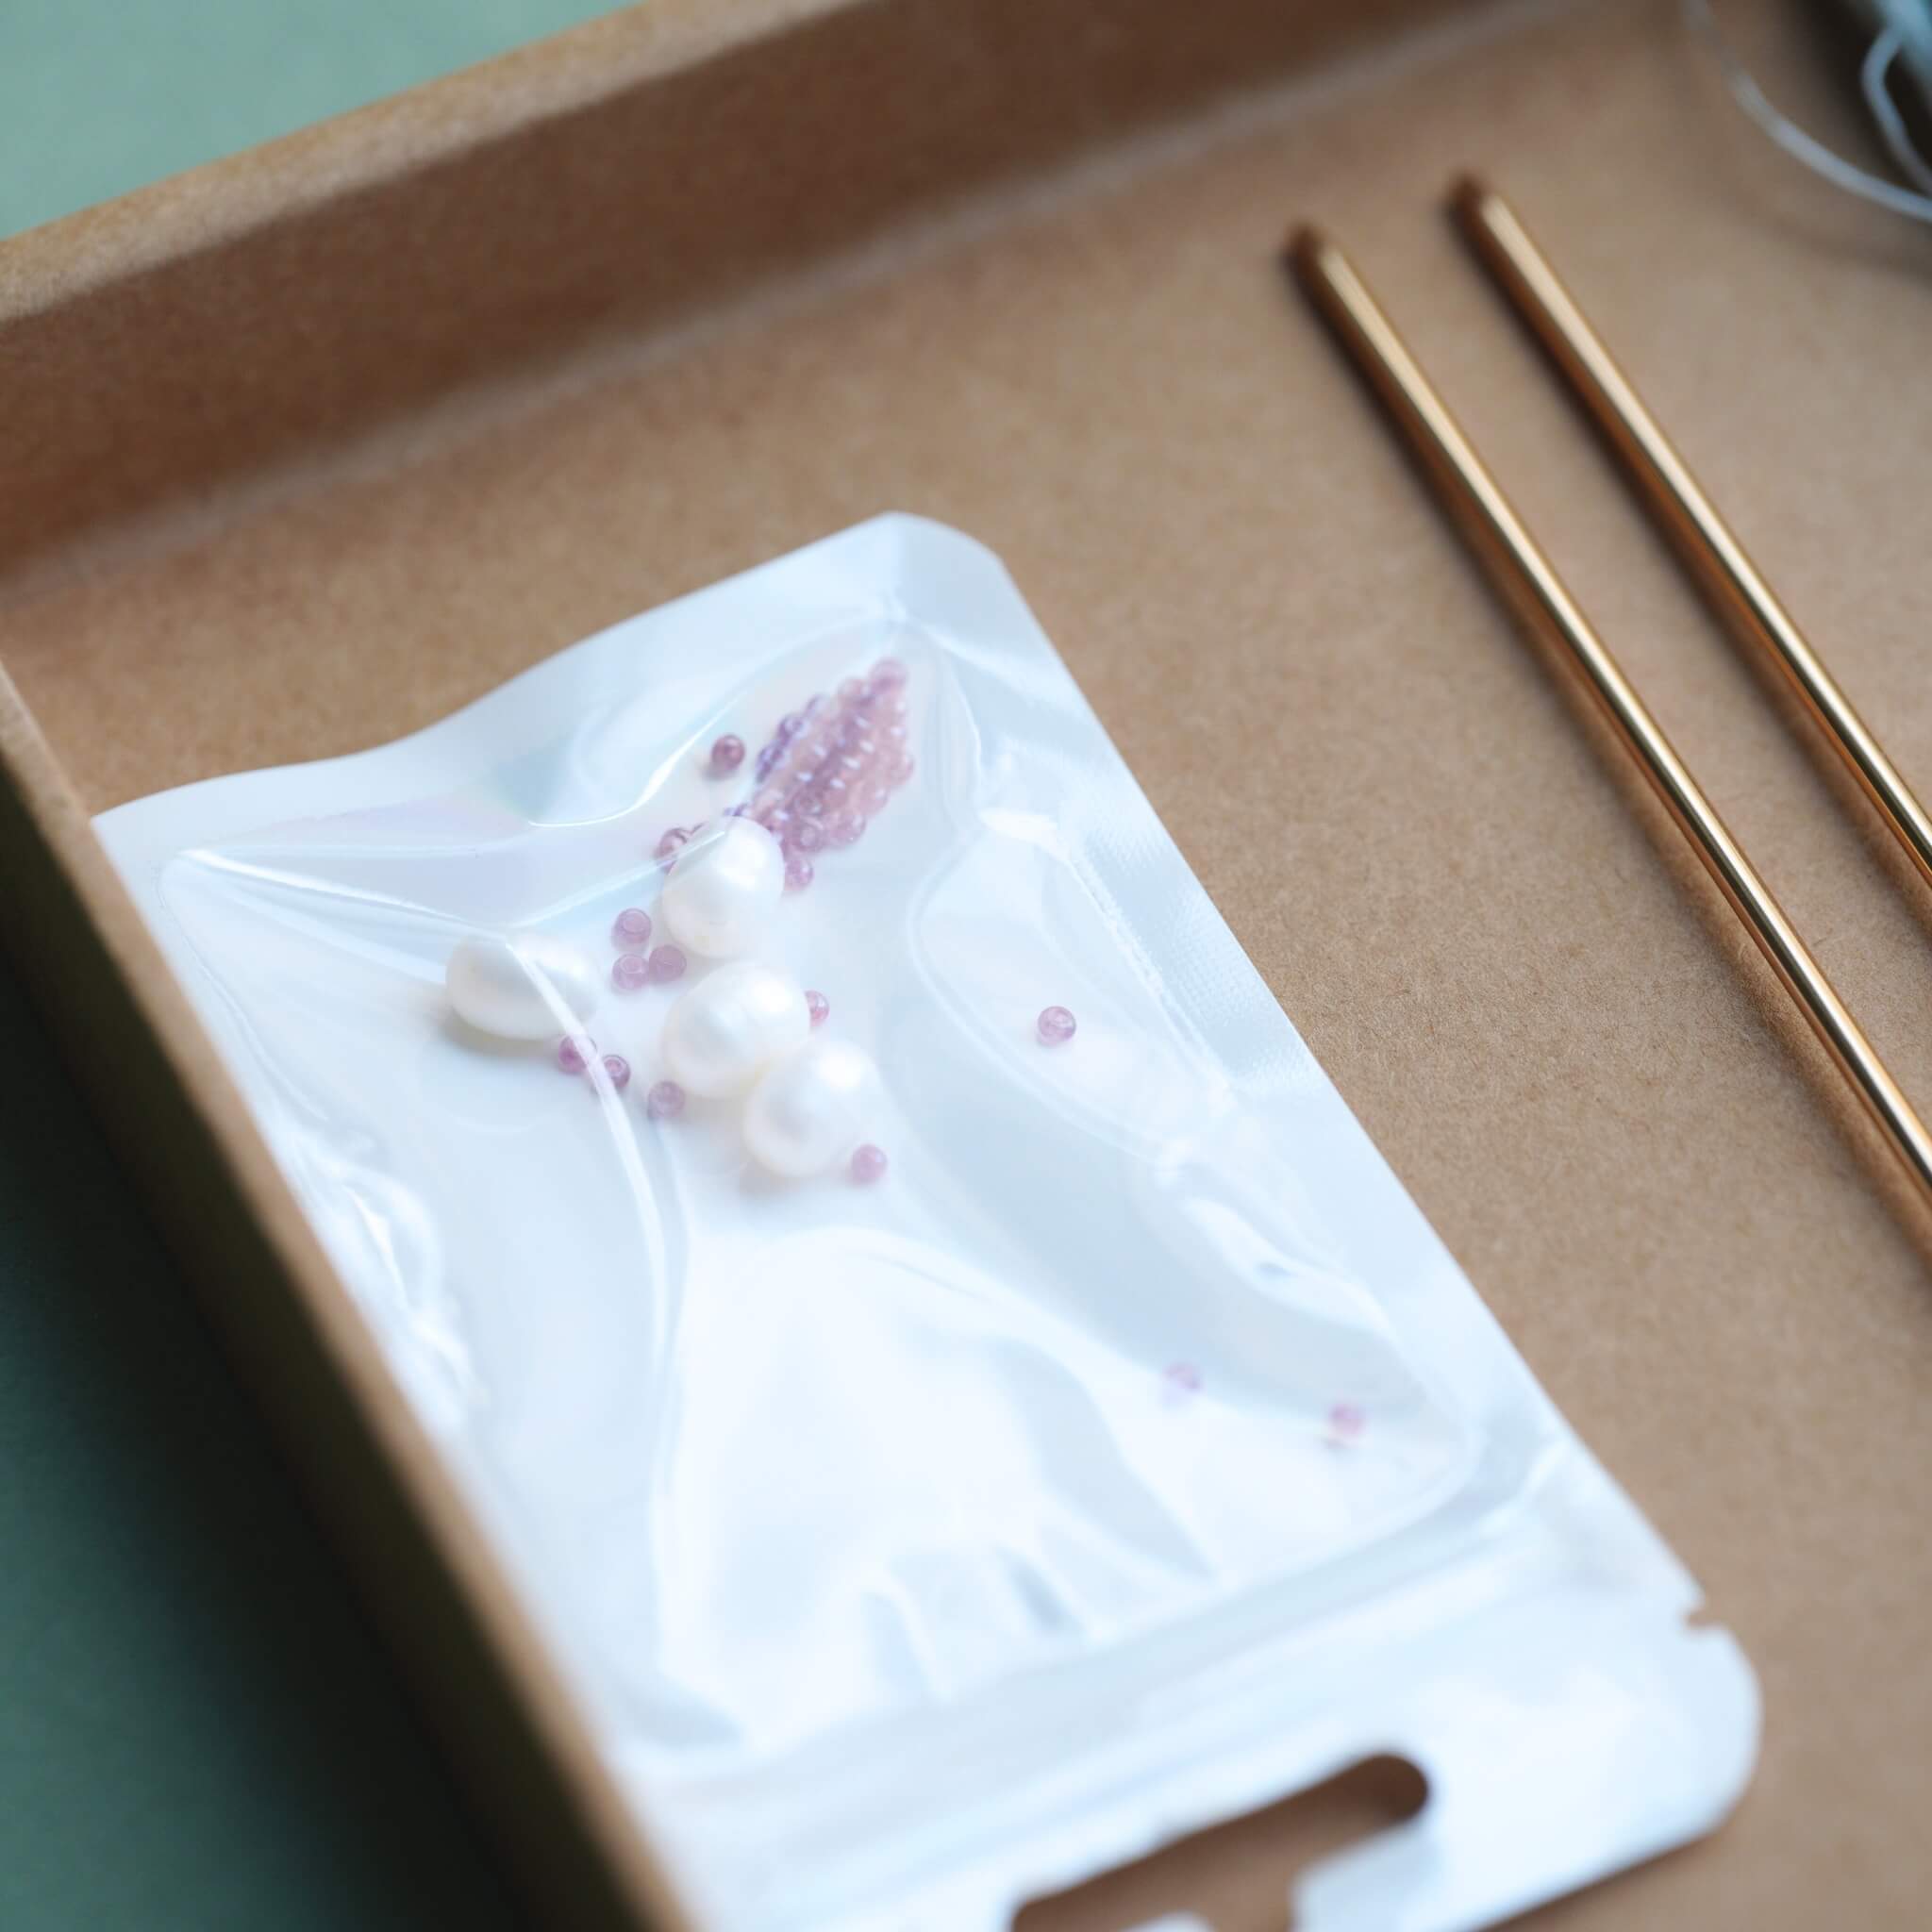
- Pinzas
- Al menos 2 pares de tijeras
- palitos de madera / lápices / palillos chinos
- Laca para el cabello o pegamento blanco diluido (proporción 1:1.15–1:1.2)
- Clips grandes (alrededor de 15cm)
- Tableros para torcer y bloques de madera (para tensión uniforme)
- Polvo antideslizante (opcional pero útil)
Video Tutorial Completo
Paso 1. Alinea y Organiza los Hilos de Seda
Comienza desatando tus hilos de seda. Localiza el nudo en un extremo de cada manojo y córtalo cuidadosamente.
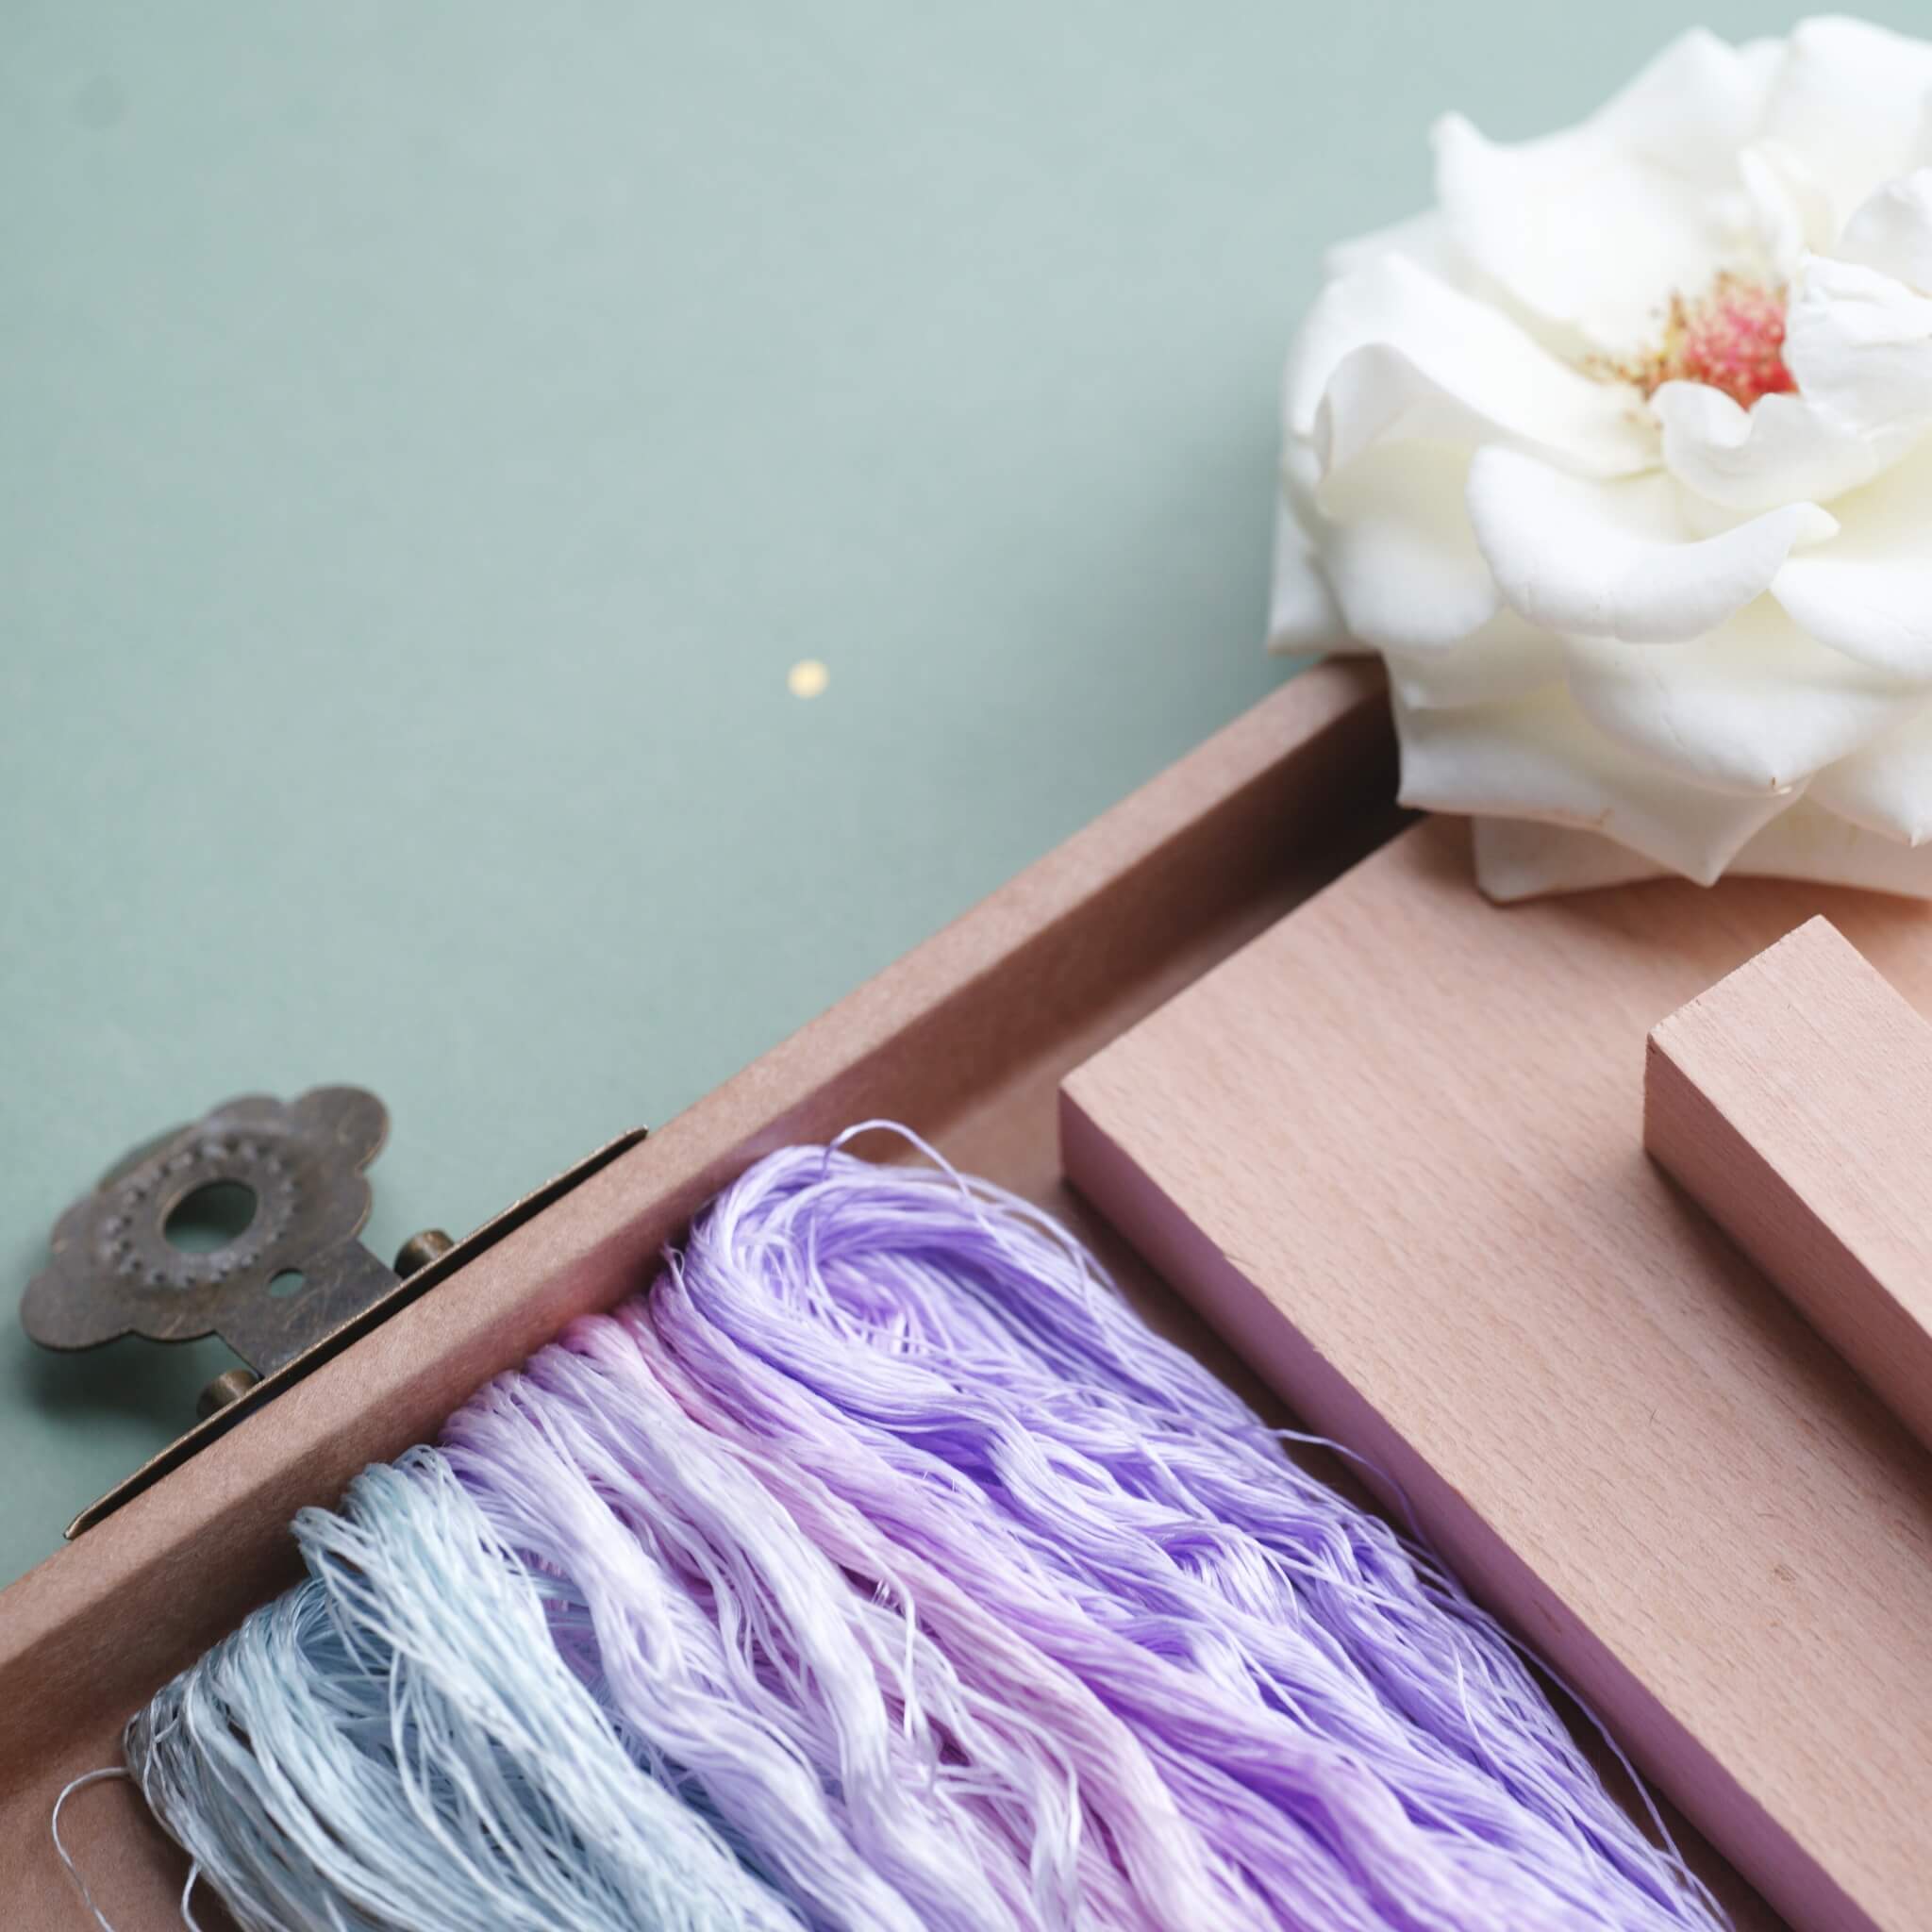
Este proyecto utiliza 7 colores de seda para crear cuatro filas de seda. El hilo verde oscuro se usa para hacer capullos de flores. No se necesita mucho hilo para hacer capullos, así que primero cortamos el hilo verde oscuro por la mitad antes de hacer pequeños grupos. La seda púrpura se maneja de la misma manera, pero recuerda, si estás haciendo la versión penjing/bonsái, no cortes el hilo de seda por la mitad, porque necesitas más material para ello.
Consulta el diagrama de colores a continuación para detalles sobre la combinación de hilos.

Paso 2. Agrupa y Prepara los Hilos
Cada manojo de seda consiste en pequeñas estructuras similares a hebras — estas son tus hebras individuales. Para los hilos verde oscuro, primero se cortan por la mitad, luego se organizan en grupos de 5 hebras, para un total de 12 grupos. Otros colores vienen pegados juntos; cada pequeño manojo cuenta como un grupo.
Alinea todas las hebras ordenadamente y átelas alrededor de un palo delgado, manteniendo los extremos parejos. Evita longitudes desiguales — esto asegura una textura consistente en los pétalos más adelante.

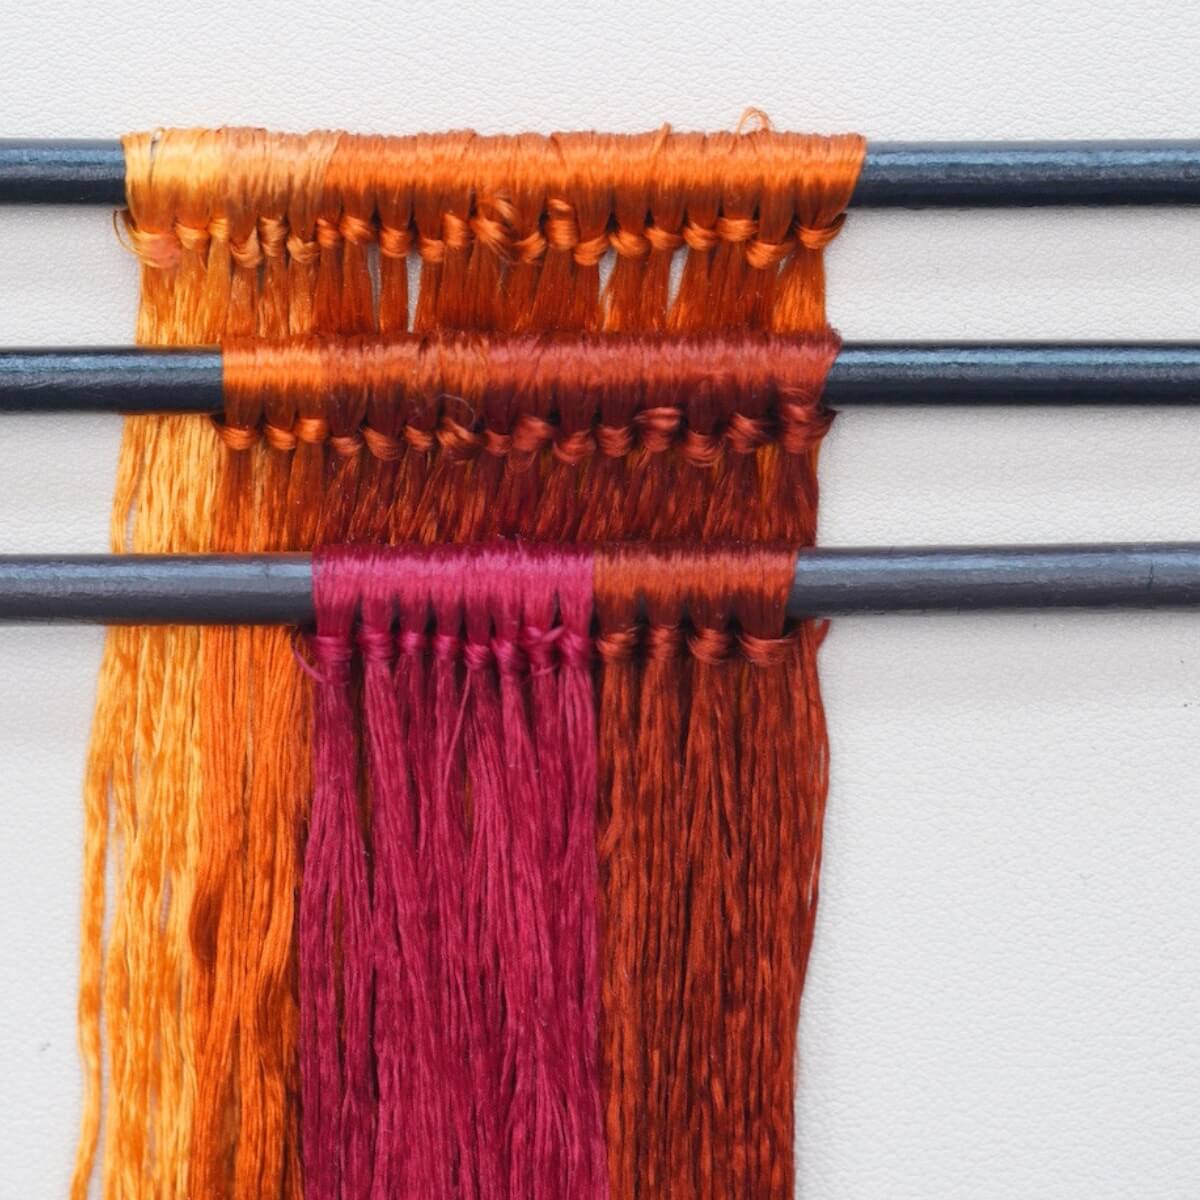
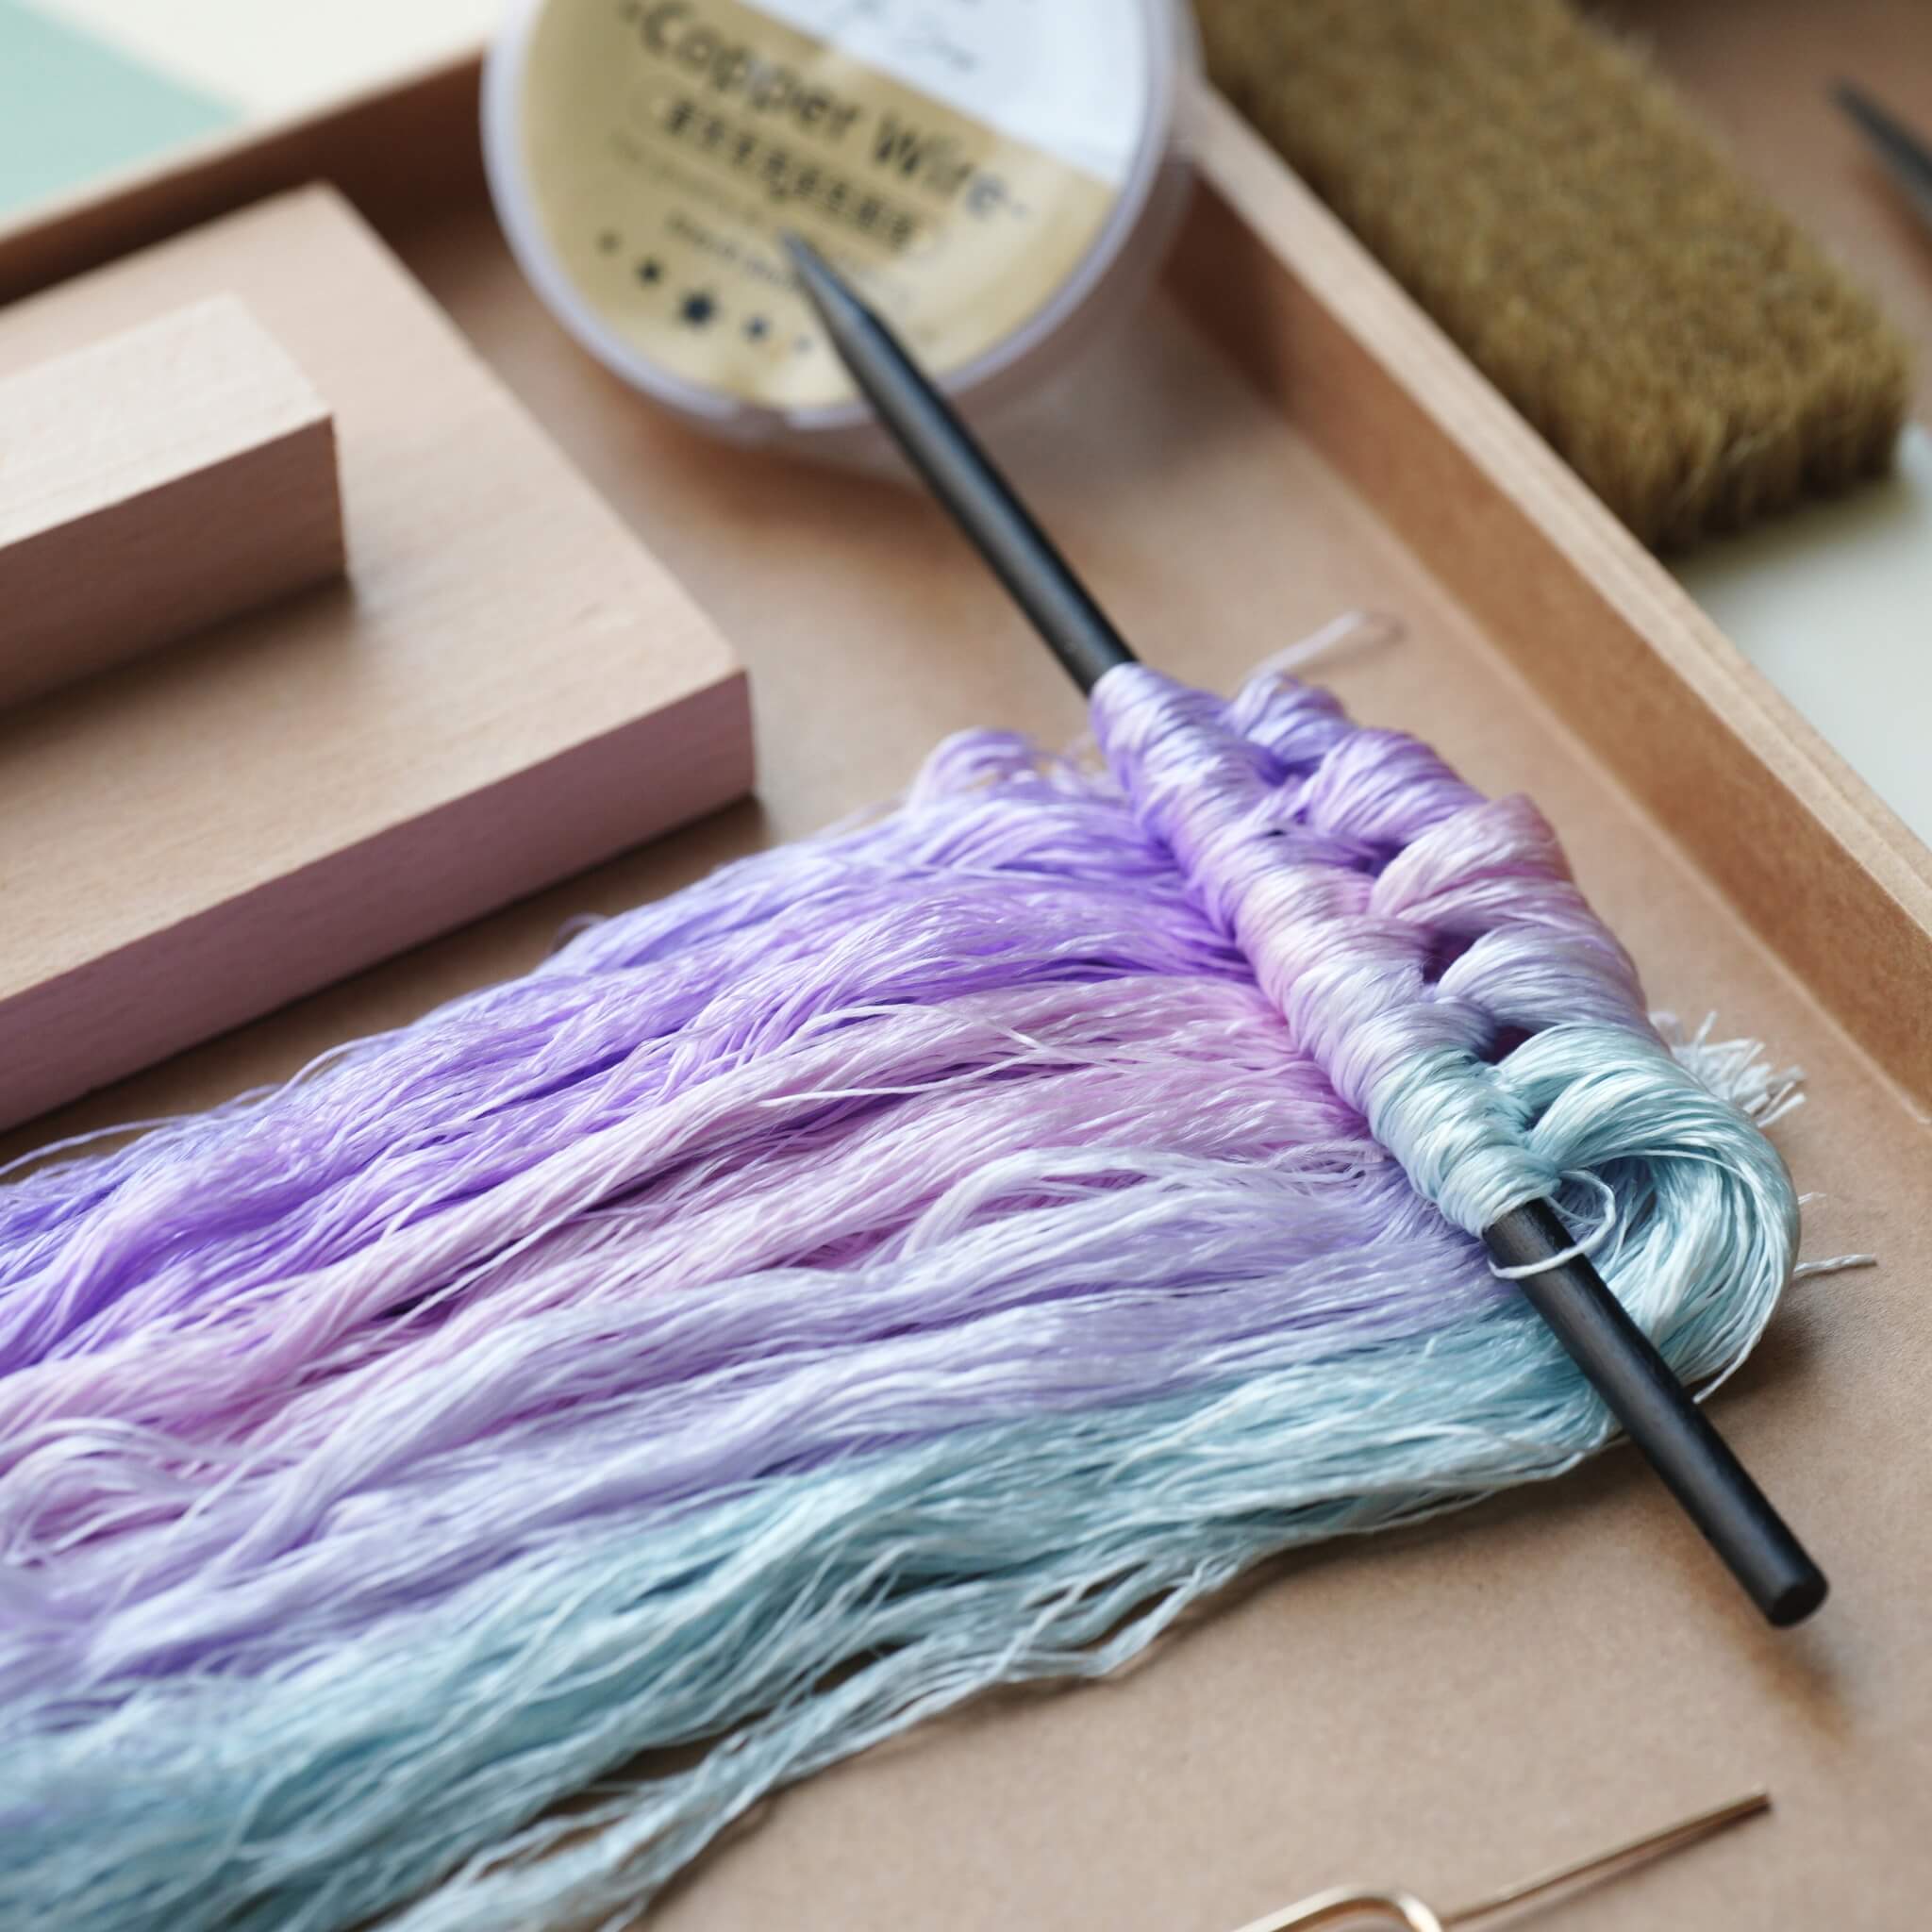
Paso 3. Haz filas de seda
Repite el proceso anterior para crear cuatro filas de seda en total. Recuerda consultar los datos proporcionados en el diagrama para las filas siguientes, ya que cada una será ligeramente diferente. A continuación, se muestran las filas de seda terminadas que hicimos.

Paso 4. Cepilla las filas de seda
Fija una fila de seda en tu soporte usando clips metálicos grandes - si no tienes el soporte de madera ronghua, ¡no hay problema! Puedes consultar nuestro video sobre soluciones alternativas para el soporte.
Sujeta los extremos de los hilos con una mano y cepilla suavemente pero con firmeza de arriba hacia abajo. No levantes el cepillo a mitad de camino. Una ligera niebla de agua evitará la estática. Puedes aplicar algo de presión — ¡los hilos de seda son más fuertes de lo que parecen! Asegúrate de cepillar ambos lados, el frontal y el trasero, hasta que la fila se vea suave y esponjosa.

Cada persona usa un cepillo y velocidad de mano diferente, por lo que el tiempo que toma completar este paso también varía. Tomando mi situación como referencia, me tomó unos 10 minutos cepillar esta fila de seda. Cuando sientas que el cabello está suave y esponjoso, puedes detenerte y revisar. Cuando no hay una distinción lineal completa entre los hilos y comienzan a pegarse entre sí, está listo :)
Así es como se siente el hilo de seda cepillado:

Paso 5. Coloca los cables de cobre
Cuando sientas que la seda está suficientemente cepillada, asegura su cola con otro clip grande a tu mesa o a cualquier cosa que pueda ayudar a estirarla tensa. Saca un alambre de cobre recocido del extremo doblado de la fila y enderézalo. Gira la parte doblada en una espiral de aproximadamente 3 cm. Sujeta los hilos de seda entre dos alambres de cobre y tuerce el lado opuesto firmemente. Tira de ambos alambres para tensarlos y continúa torciendo hasta que se fusionen en uno solo. Recuerda, la dirección de torsión para el extremo izquierdo y derecho es opuesta.

El espacio entre los alambres de cobre para los capullos debe ser de 1 cm. Para el resto, el espacio debe ser de 1.3 cm.
Si tienes polvo antideslizante, será mucho más fácil sumergir tus dedos en él y torcerlo. (Recomendamos mucho que veas el tutorial en video para este paso:)
Una vez terminado, retira la fila de seda del soporte y colócala plana.
Paso 6. Corta las tiras de seda
Recorta el extremo de la fila limpiamente, luego corta entre cada par de alambres de cobre para crear tiras de seda uniformes. Al cortar, las tijeras deben colocarse en el medio de dos alambres de cobre, de lo contrario el ancho de las tiras de seda será inconsistente. Si los hilos se pegan a tus tijeras, límpialas — usualmente es causado por estática o residuos. Corta rápido y limpio para bordes suaves. No toques el alambre o puede desplazarse.

Paso 7. Centra y tuerce las tiras
Alinea el alambre de cobre al centro de cada tira usando una superficie plana o un bloque de madera.
Una vez centrado, tuerce ambas manos en direcciones opuestas para apretar.

Luego, coloca la parte de cobre entre las tablas para torcer y continúa torciendo en la misma dirección. Detente cuando el alambre se sienta firme — torcer demasiado puede hacer que se rompa. ¿Cómo sabes si está lo suficientemente apretado? Si está bien apretado, el alambre de cobre solo debería verse ligeramente. Si el alambre de cobre es muy visible, no está lo suficientemente apretado.

Paso 8. Prepara las tiras
Ahora tenemos dos tipos de tiras: las tiras verdes son para los capullos, y las otras son para los pétalos.
Primero, usa pinzas para alisar las tiras verdes hacia adelante y hacia atrás. Luego corta todas las tiras verdes por la mitad. No se necesita estrechamiento adicional para las tiras verdes.

Para las tiras moradas, se necesita un estrechamiento. Recorta las puntas gradualmente para hacer las tiras un poco más delgadas en ambos extremos y más anchas en el centro. Sostén el alambre de cobre con una mano y gíralo a velocidad constante. Usa la otra mano para manejar las tijeras. Pero no recortes demasiado los extremos. Los extremos deben ser solo un poco más estrechos que el centro.

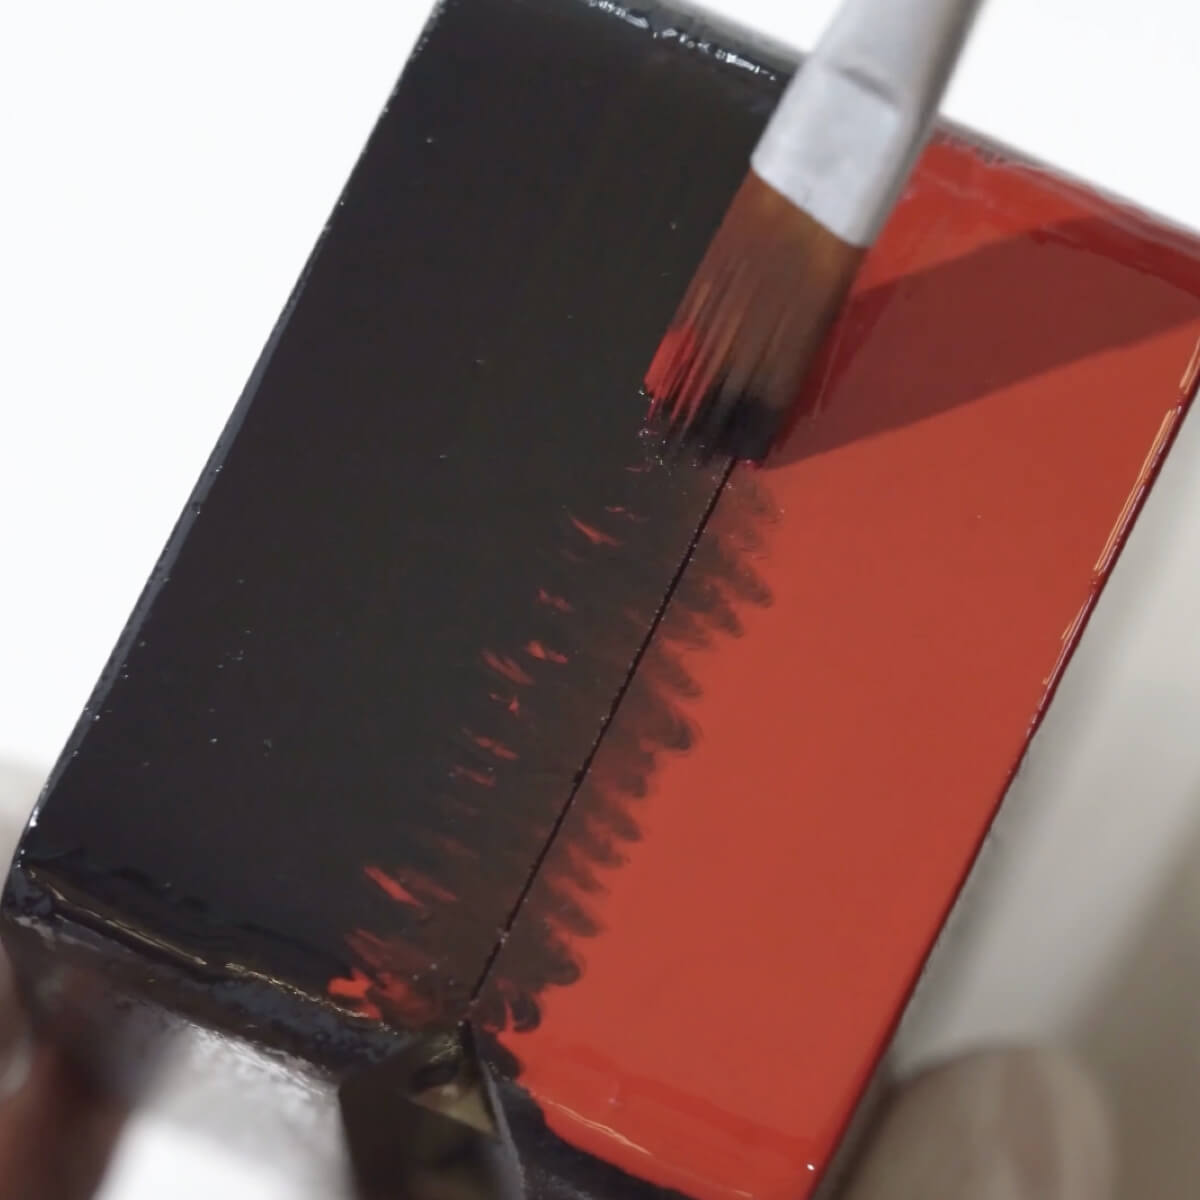
Paso 9. Aplana las tiras
Todas las tiras de seda deben estar aplanadas. Corta un extremo del alambre de cobre. Calienta tu plancha y presiona la tira suavemente de abajo hacia arriba. Muévete despacio y de manera uniforme. Recorta cualquier fibra suelta de seda para un aspecto limpio.

Luego necesitamos fortalecer las tiras aplanadas.
Prepara tu solución fijadora:
- Usa ya sea laca para el cabello, o
- Pegamento blanco diluido con agua o alcohol (proporción 1:1.15 o 1:1.2)
Remoja las tiras de seda aplanadas, deja que absorban la solución, luego raspa el exceso.

Paso 10. Da forma a los pétalos
Mientras aún están húmedas, da forma a las tiras usando el método “cóncavo húmedo”:
- Presiona el exceso de solución con pinzas.
- Forma curvas naturales a lo largo de los bordes de los pétalos mientras están húmedos. Déjalos secar de pie.
Para los pétalos, Sujeta un poco debajo de la tira para hacer que se enrolle hacia afuera. Dobla la parte superior hacia adentro para formar una forma de S. Finalmente, usa pinzas para pellizcar ondas a lo largo de los bordes. Si hay espacios en los pétalos, aprieta el alambre con pinzas para tensarlo hacia adentro.


(Recomendamos mucho que veas el tutorial en video para este paso:)
Una vez que todas las tiras estén secas y firmes, recorta sus formas. Las tiras verdes deben recortarse en esta forma


Paso 11. Hacer las flores
Una vez que todos los pétalos estén formados y secos, ¡es hora de ensamblar!
Empezamos con los capullos. Toma 3 pétalos verdes. Ata los pétalos juntos con hilo. Envuelve unos 2–3 cm y luego termina.

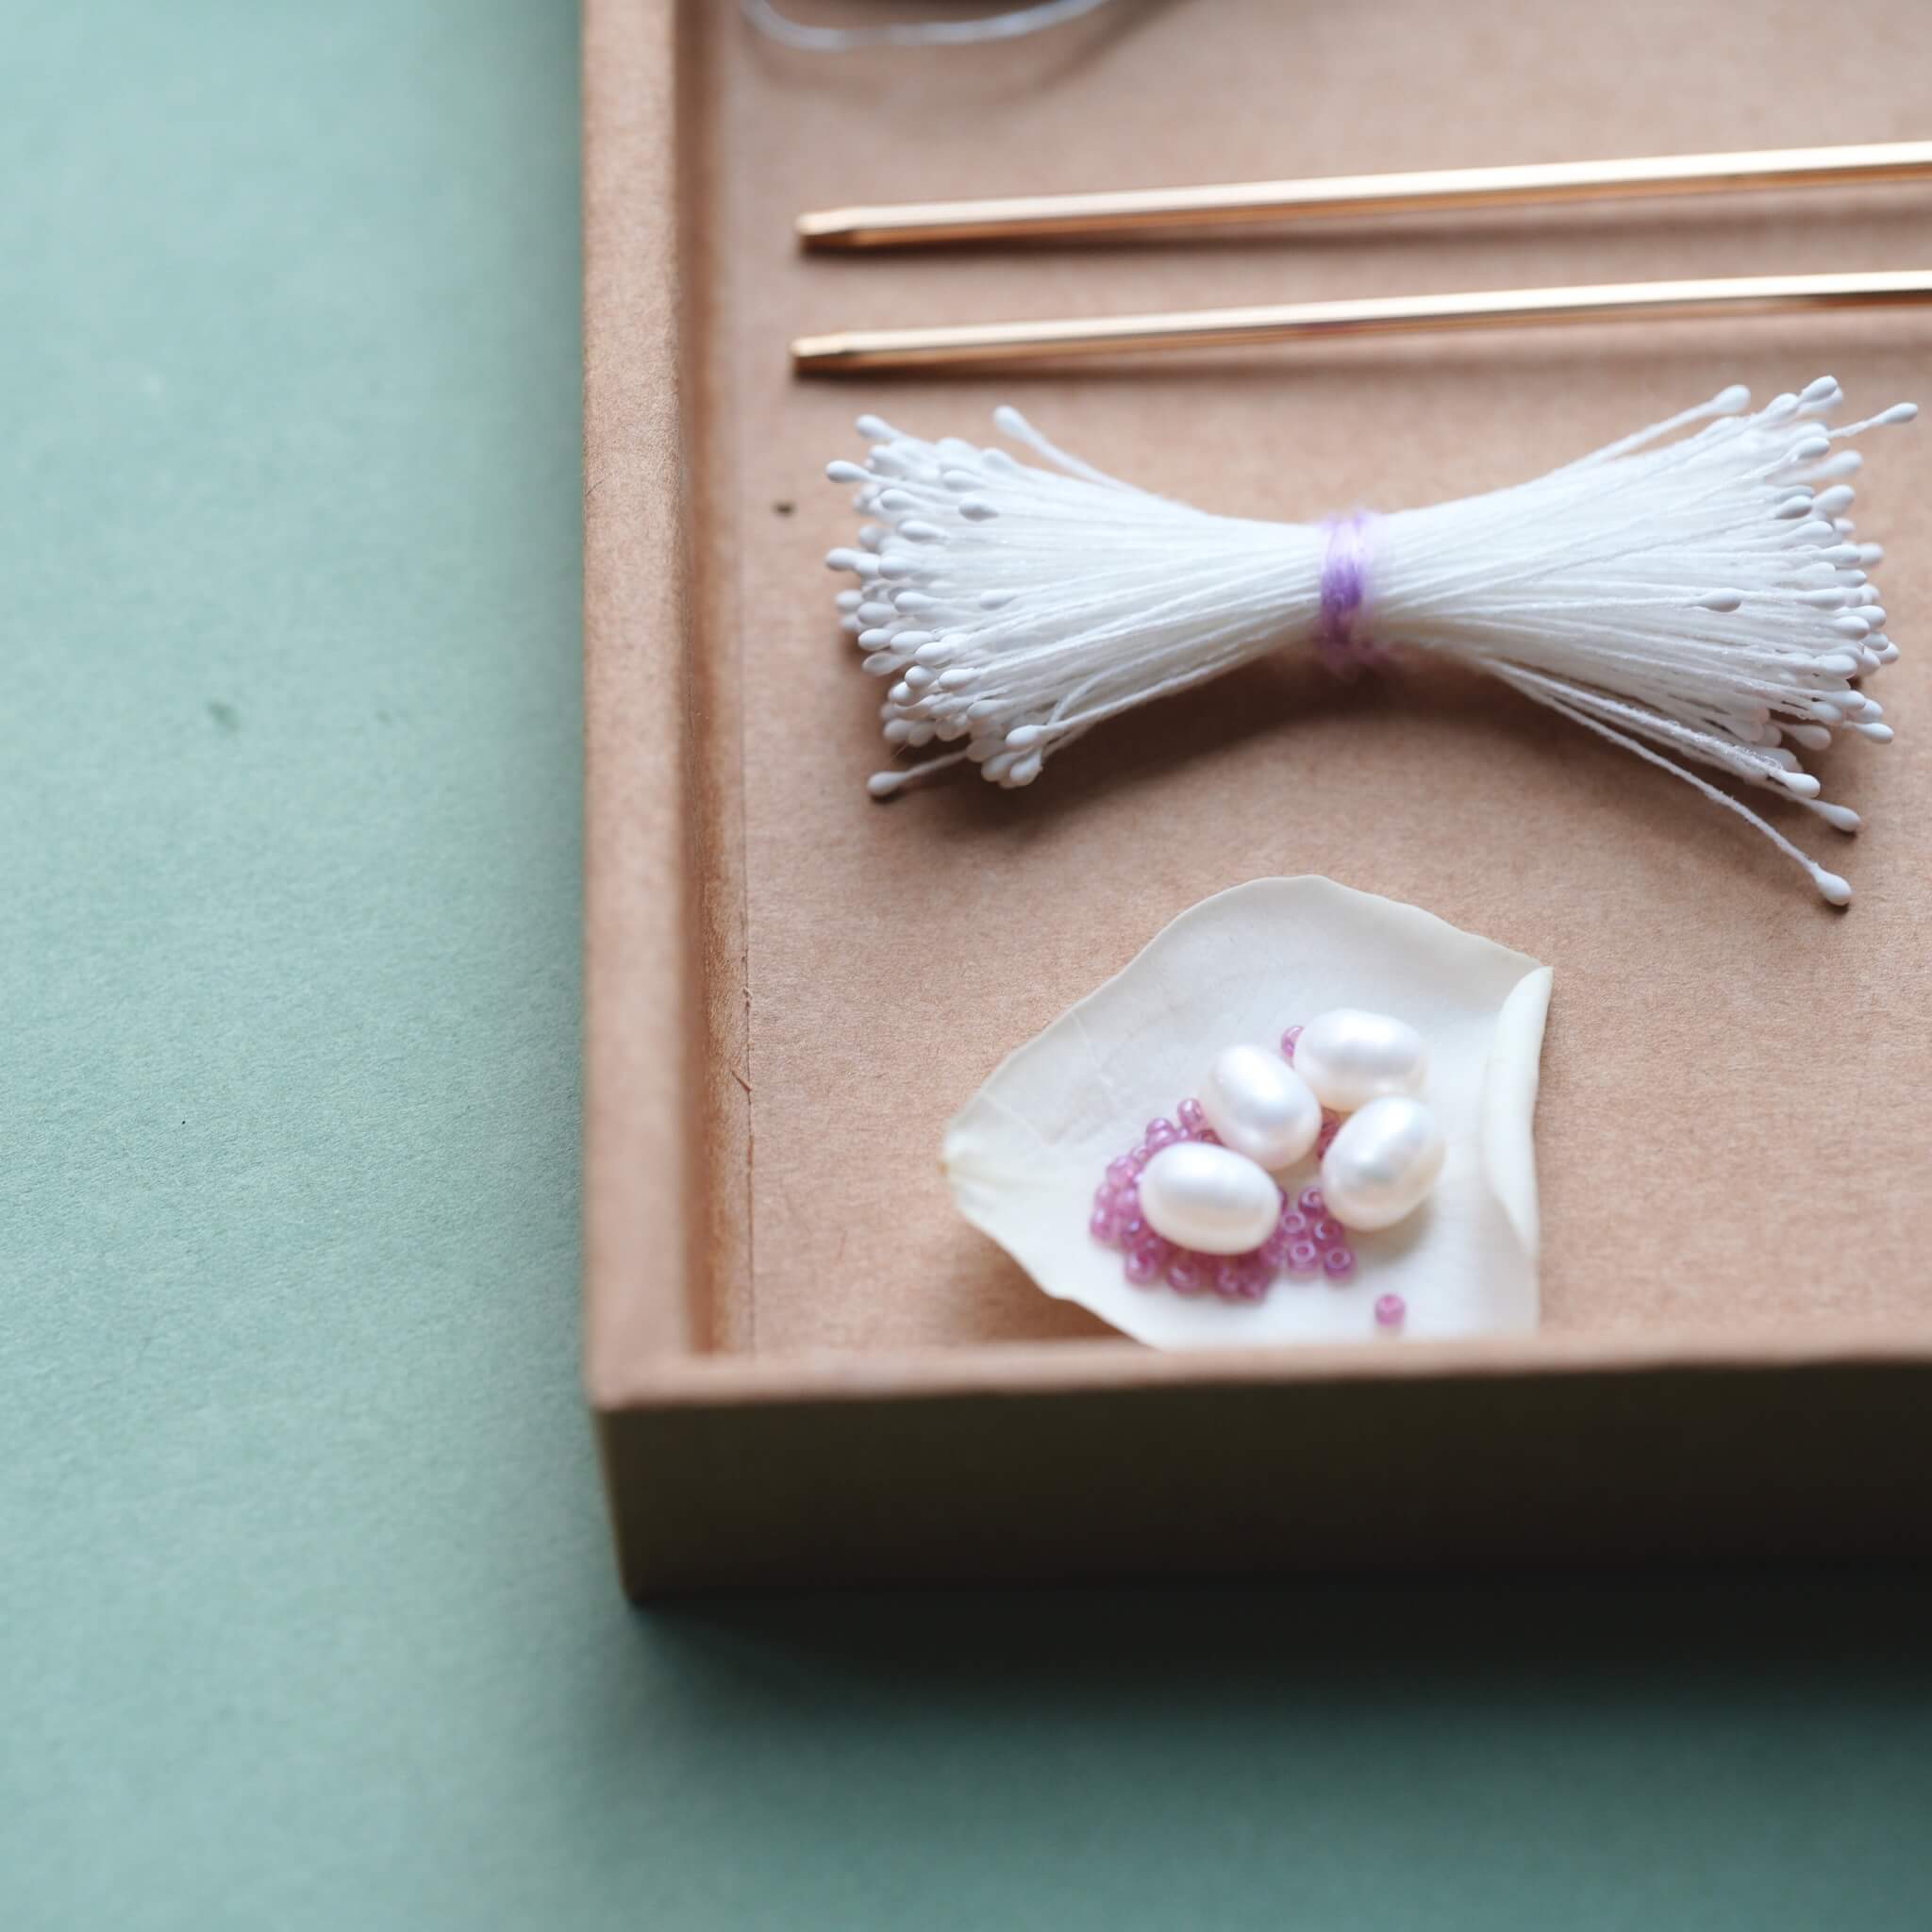
Para la flor, saca el estambre, dóblalo por la mitad y córtalo. Luego envuelve los pétalos alrededor del estambre capa por capa.

Ajusta ligeramente la posición de los pétalos—¡no los dejes amontonarse! Ahora has completado la flor grande.
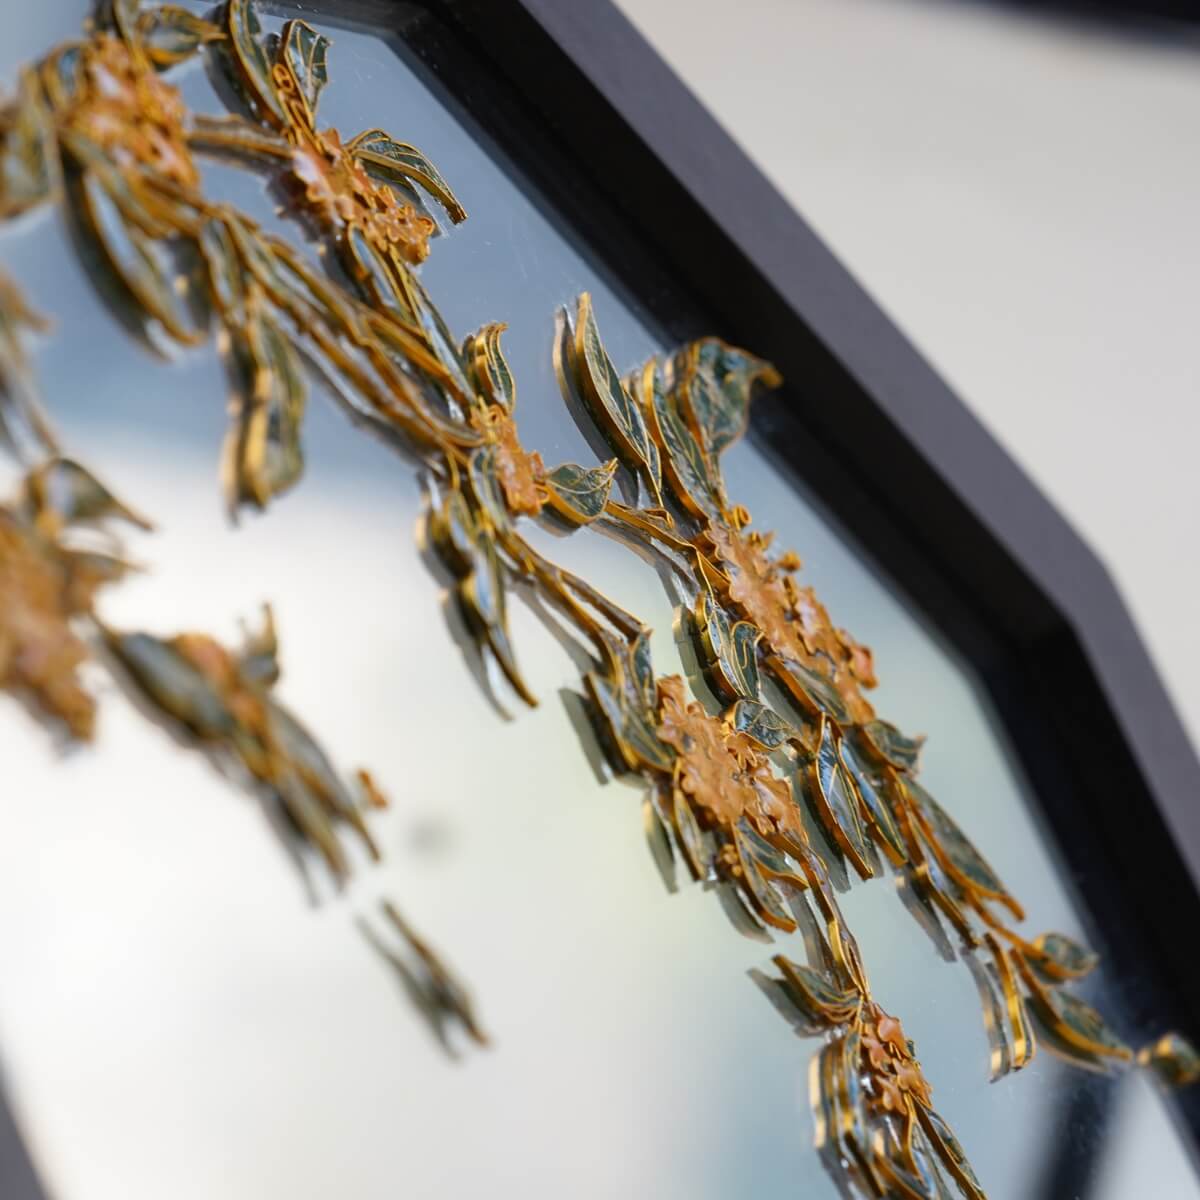
Paso 11. Ensamblar las flores

Paso 12. Fija las flores a la base.
Para el broche:
Coloca la base del broche en la posición mostrada aquí.

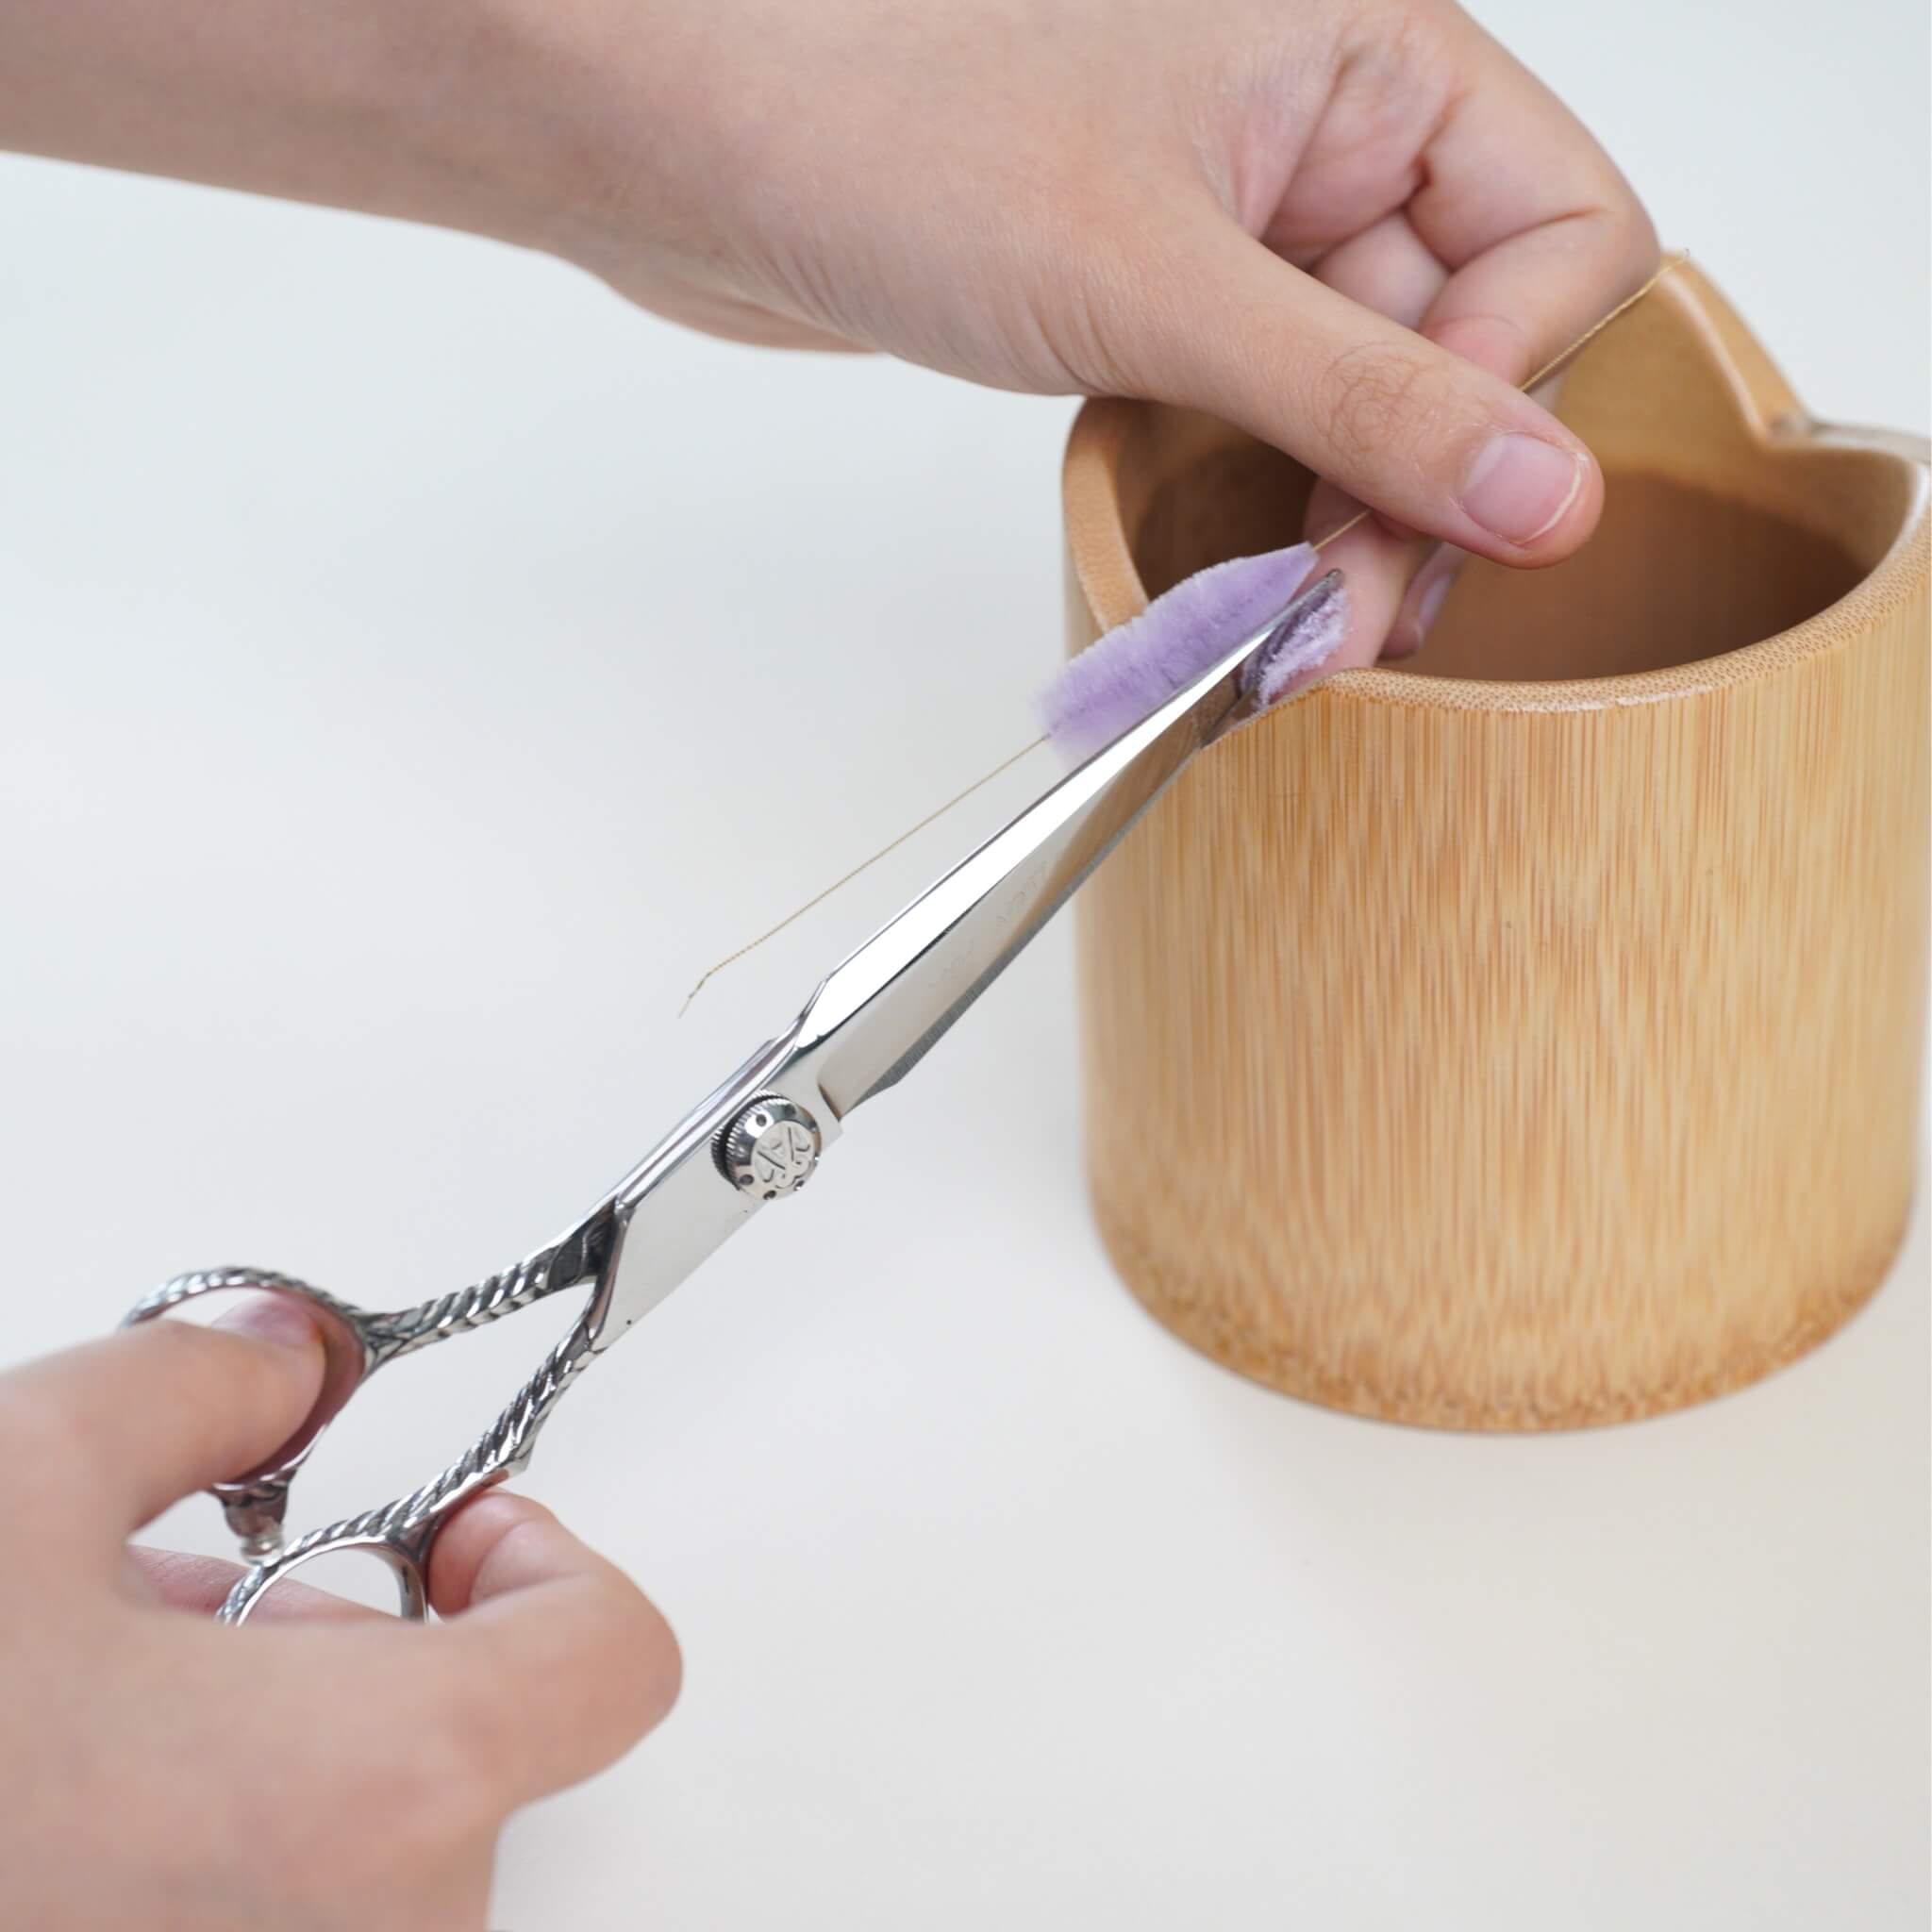
Usa hilos de seda para atar la base del broche y el tallo de la flor juntos. Asegúrate de tirar los hilos con fuerza y recorta el exceso. Termina metiendo el hilo dentro del alambre de cobre. Usamos una técnica especial para atar el hilo sin dejar rastro. Para esto, necesitarás tomar un pequeño trozo de alambre de cobre o hilo y doblarlo por la mitad. Cubre el alambre de cobre / hilo cuando continúes envolviendo. Al terminar, pasa el hilo restante por el pequeño lazo del alambre de cobre. Luego, saca rápidamente el alambre de cobre desde la cola. Los extremos del hilo quedan dentro de los hilos de seda envueltos. Puedes cortar con seguridad el hilo de seda expuesto y recortar cualquier exceso.
(Recomendamos mucho que veas el tutorial en video para este paso:)
Para Penjing/bonsái, se hace de manera similar al broche. La única diferencia es que el penjing usa más flores. El broche solo tiene flores en la parte frontal, mientras que el penjing tiene flores por todos lados. La versión penjing necesita 4 pequeños capullos en la parte superior, Las flores también deben fijarse a los lados y la parte trasera. Las flores en la parte superior son de color más claro; las inferiores son más oscuras y grandes.

Paso 15. Ajustes Finales
Usa pinzas para girar y posicionar suavemente las flores para que miren en la dirección correcta. Ajusta ligeramente los pétalos.
Y eso es todo — ¡tu Violet Garden está completo! 🌸


Deja un comentario
Todos los comentarios son moderados antes de ser publicados.
Este sitio está protegido por hCaptcha y se aplican la Política de privacidad de hCaptcha y los Términos del servicio.