

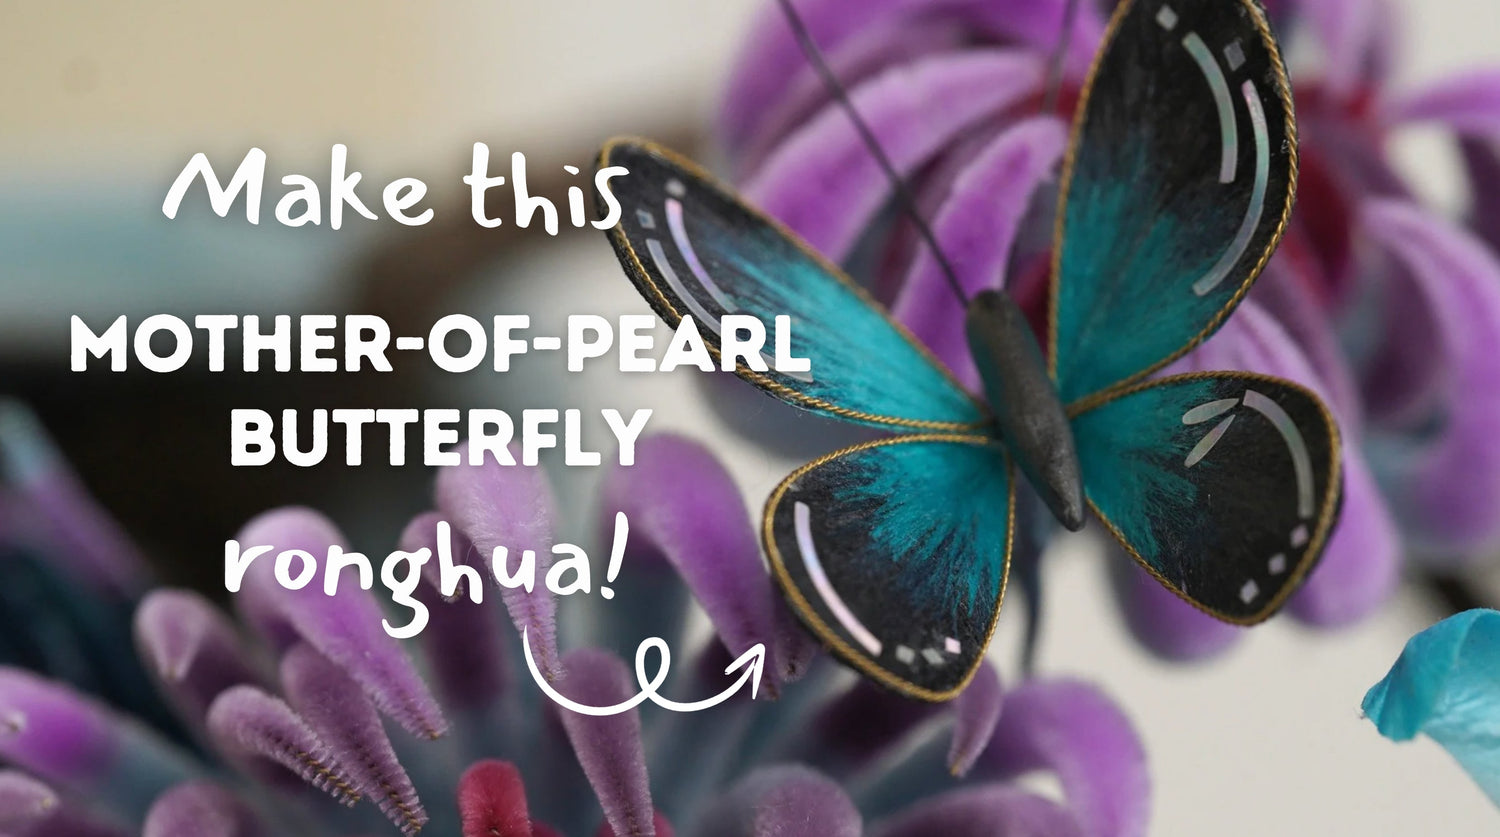
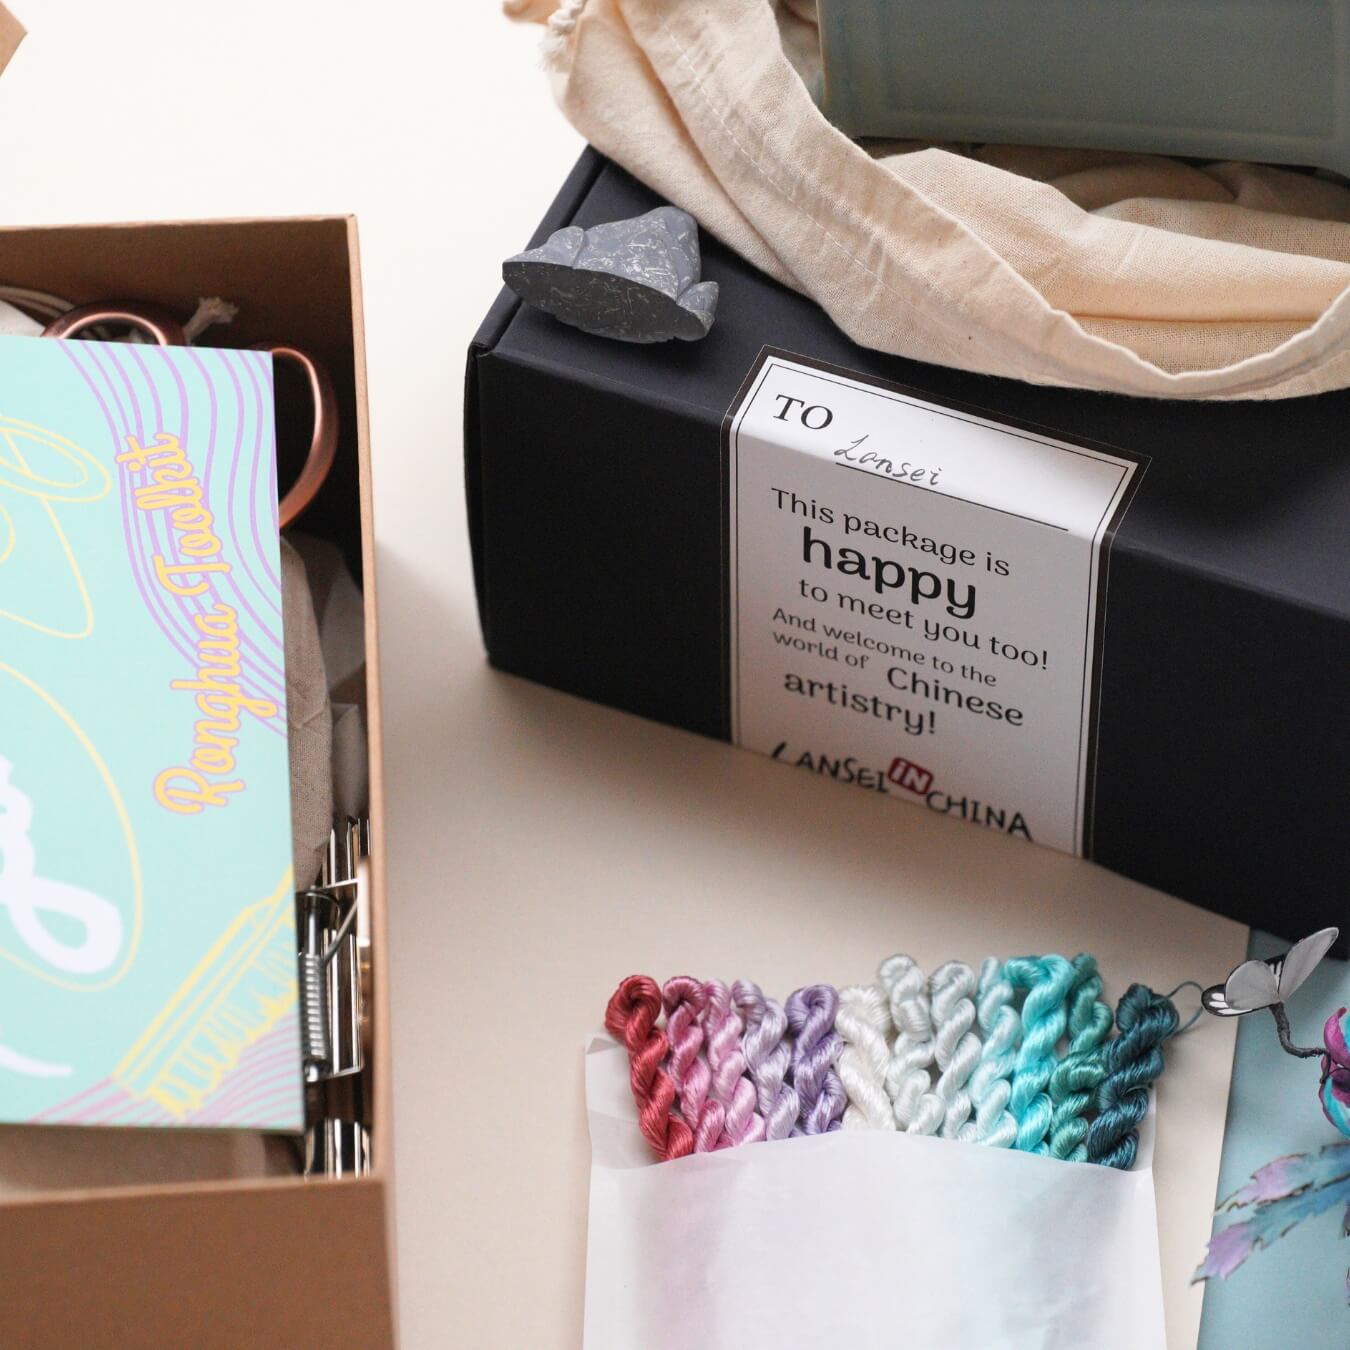
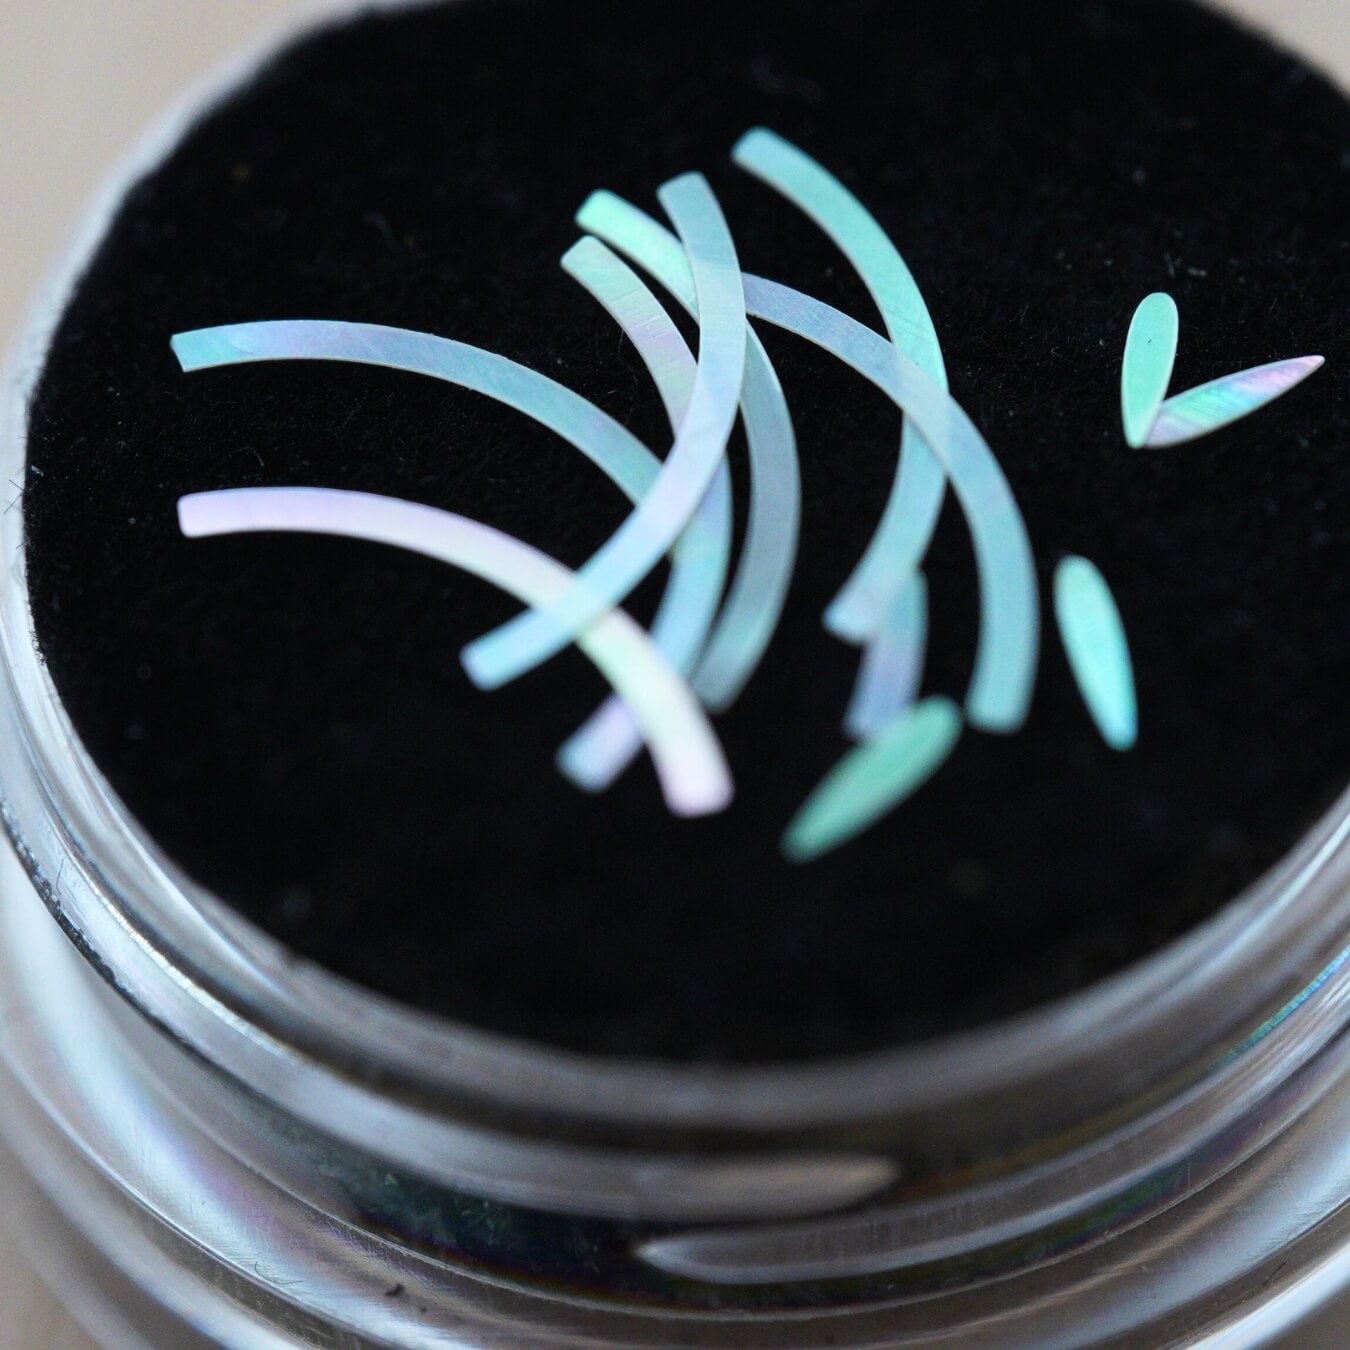
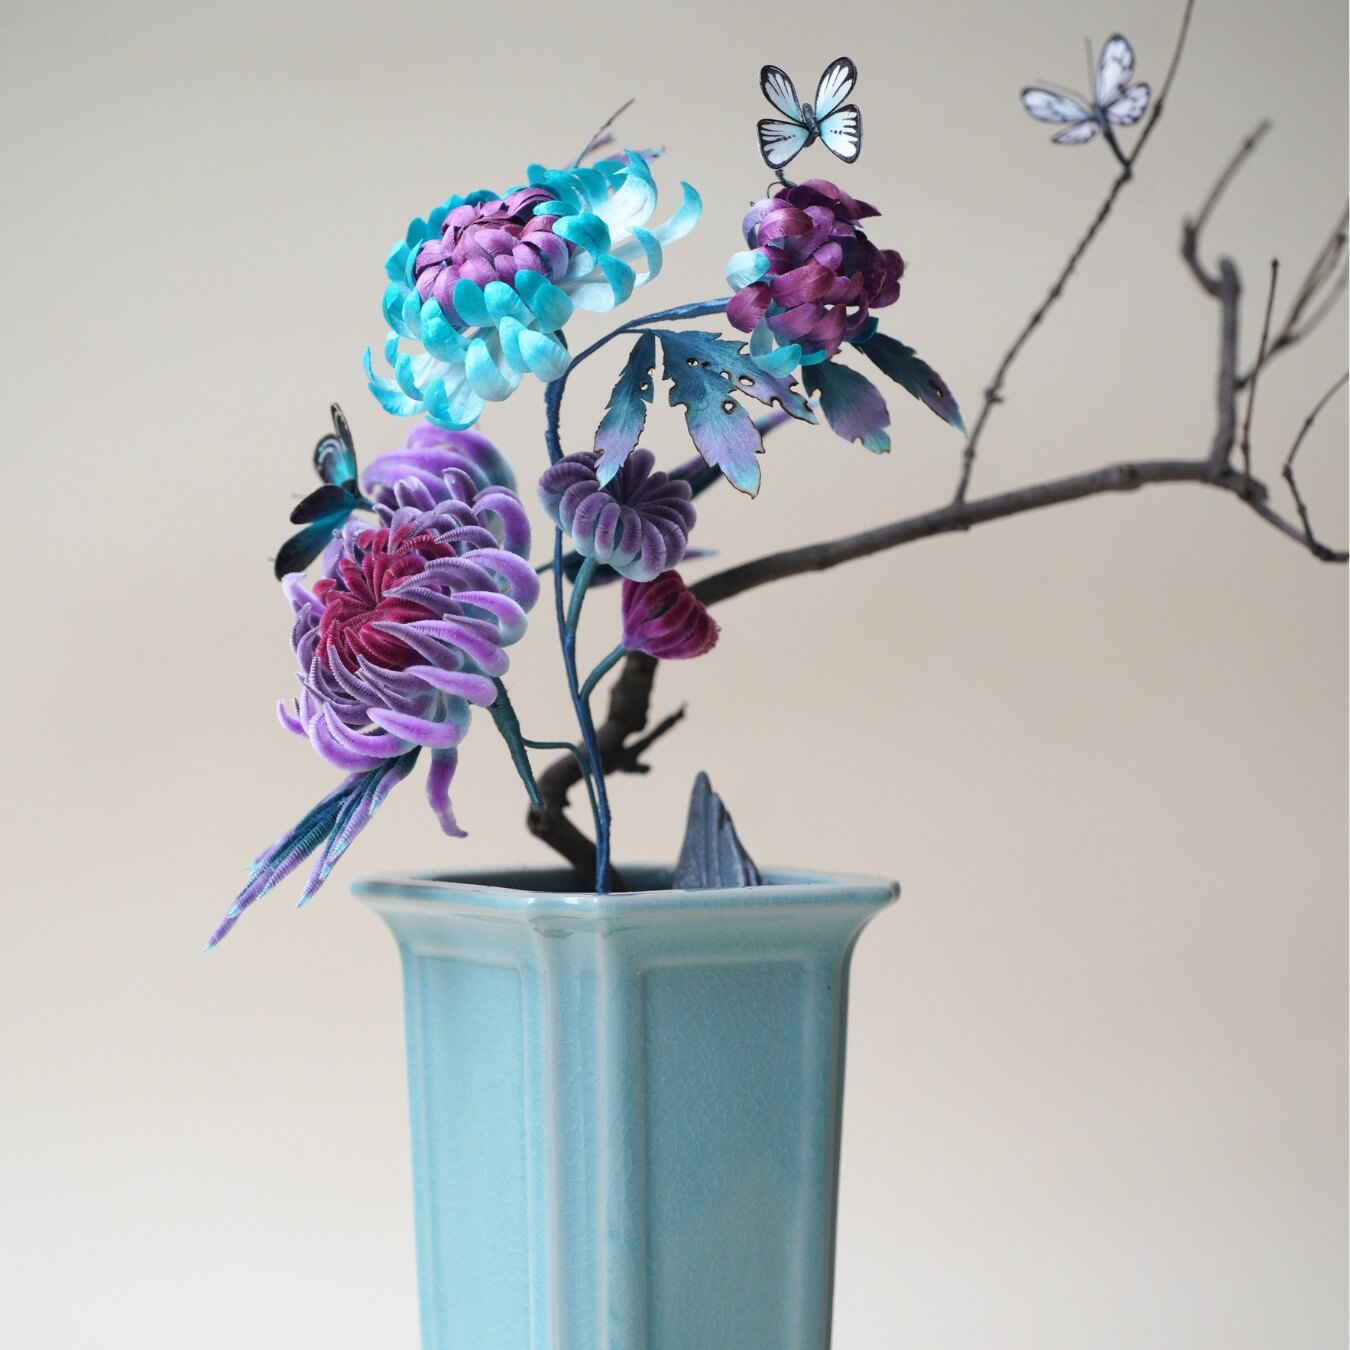
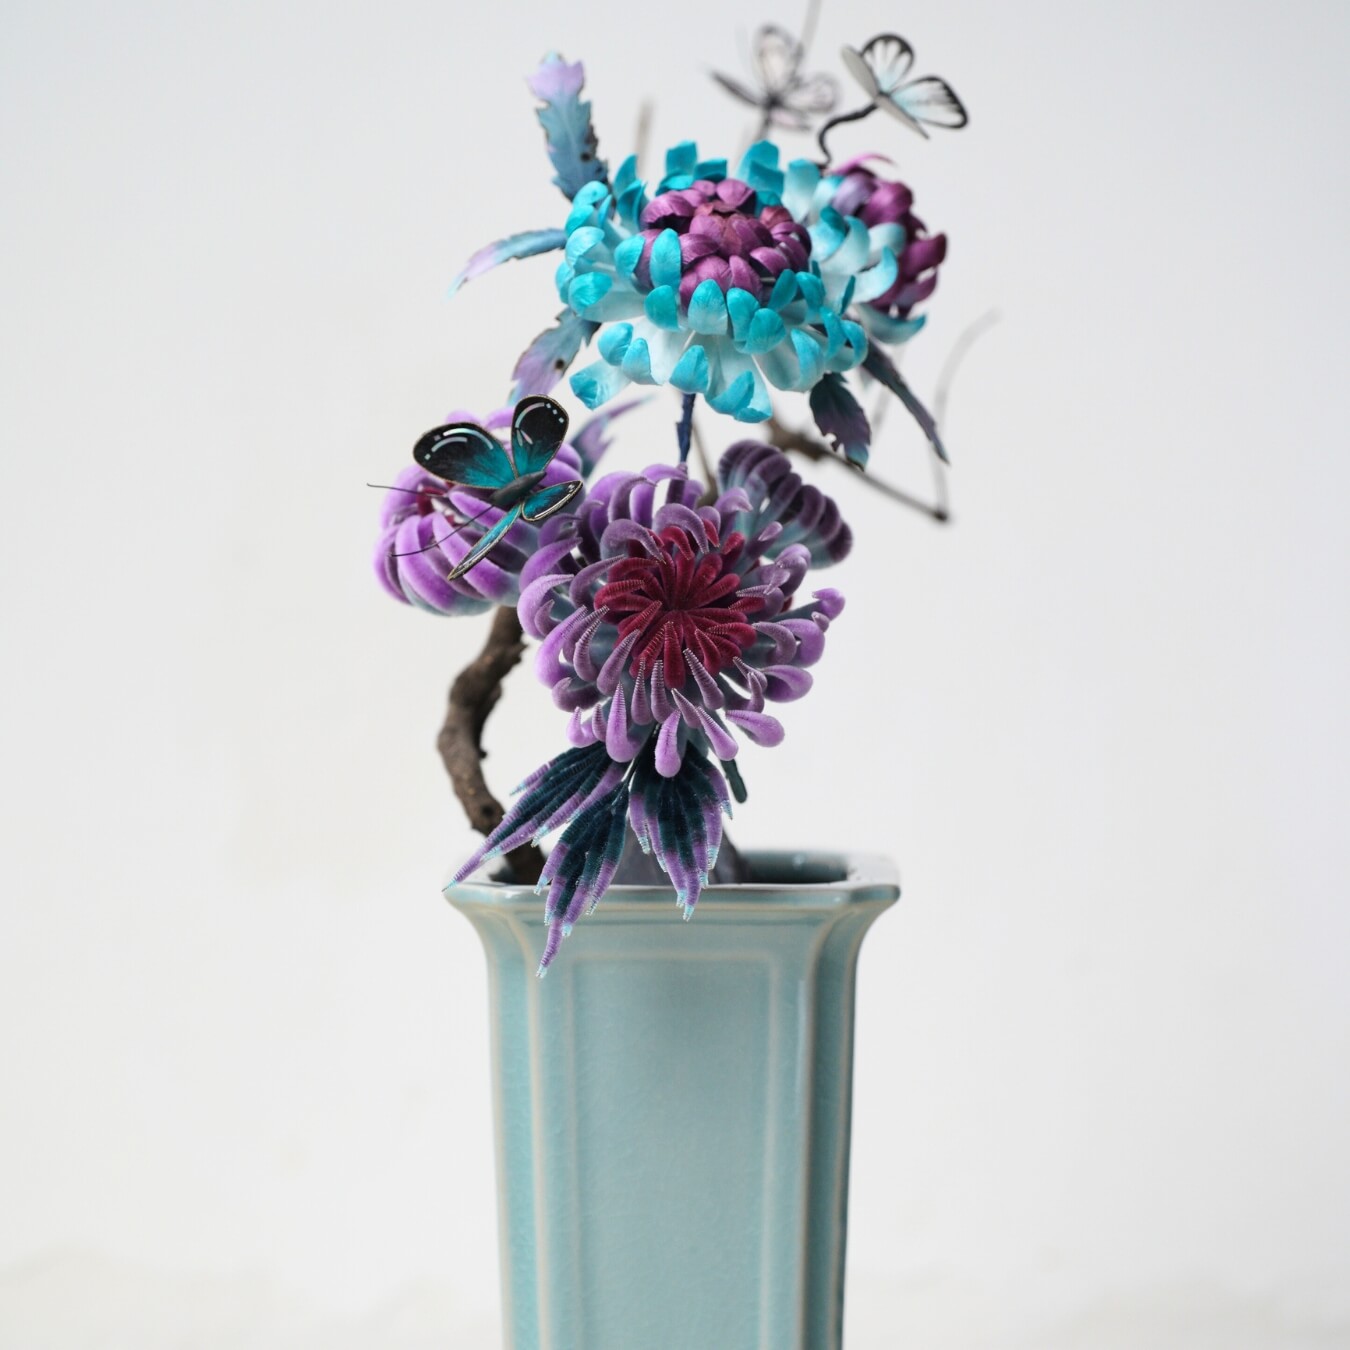
Esta mariposa de nácar está incluida en nuestro diseño de Bonsái/Penjing de Crisantemo Ronghua.En este tutorial paso a paso, te guiaremos para preparar las tiras de seda, cepillar, dar forma y ensamblar esta mariposa única.
Paso 1: Haciendo las Tiras de Seda 00:00~00:29
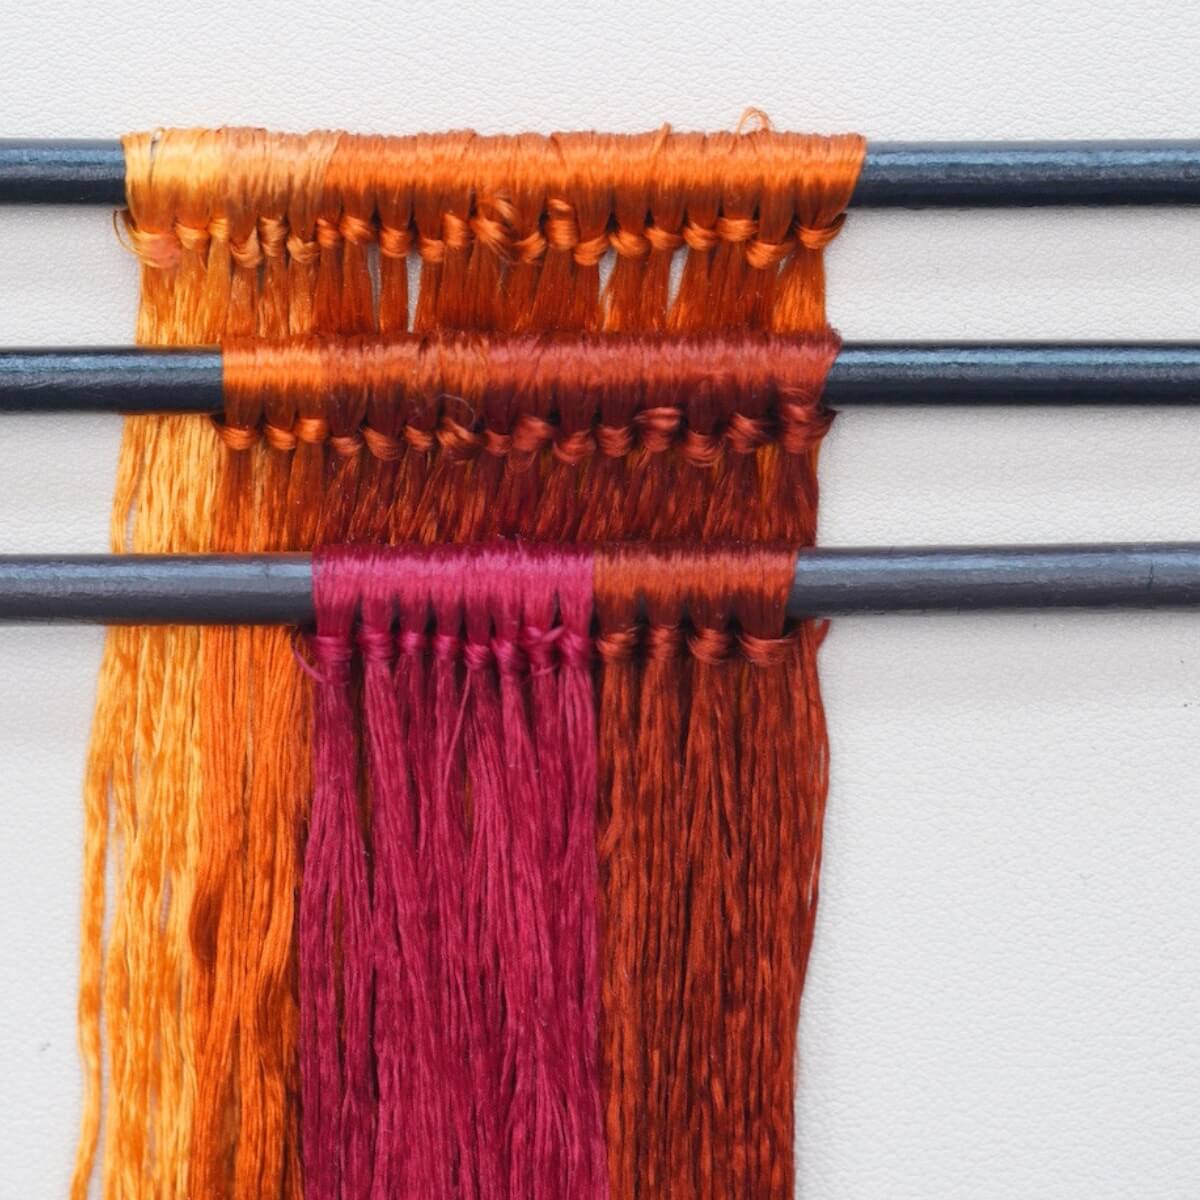
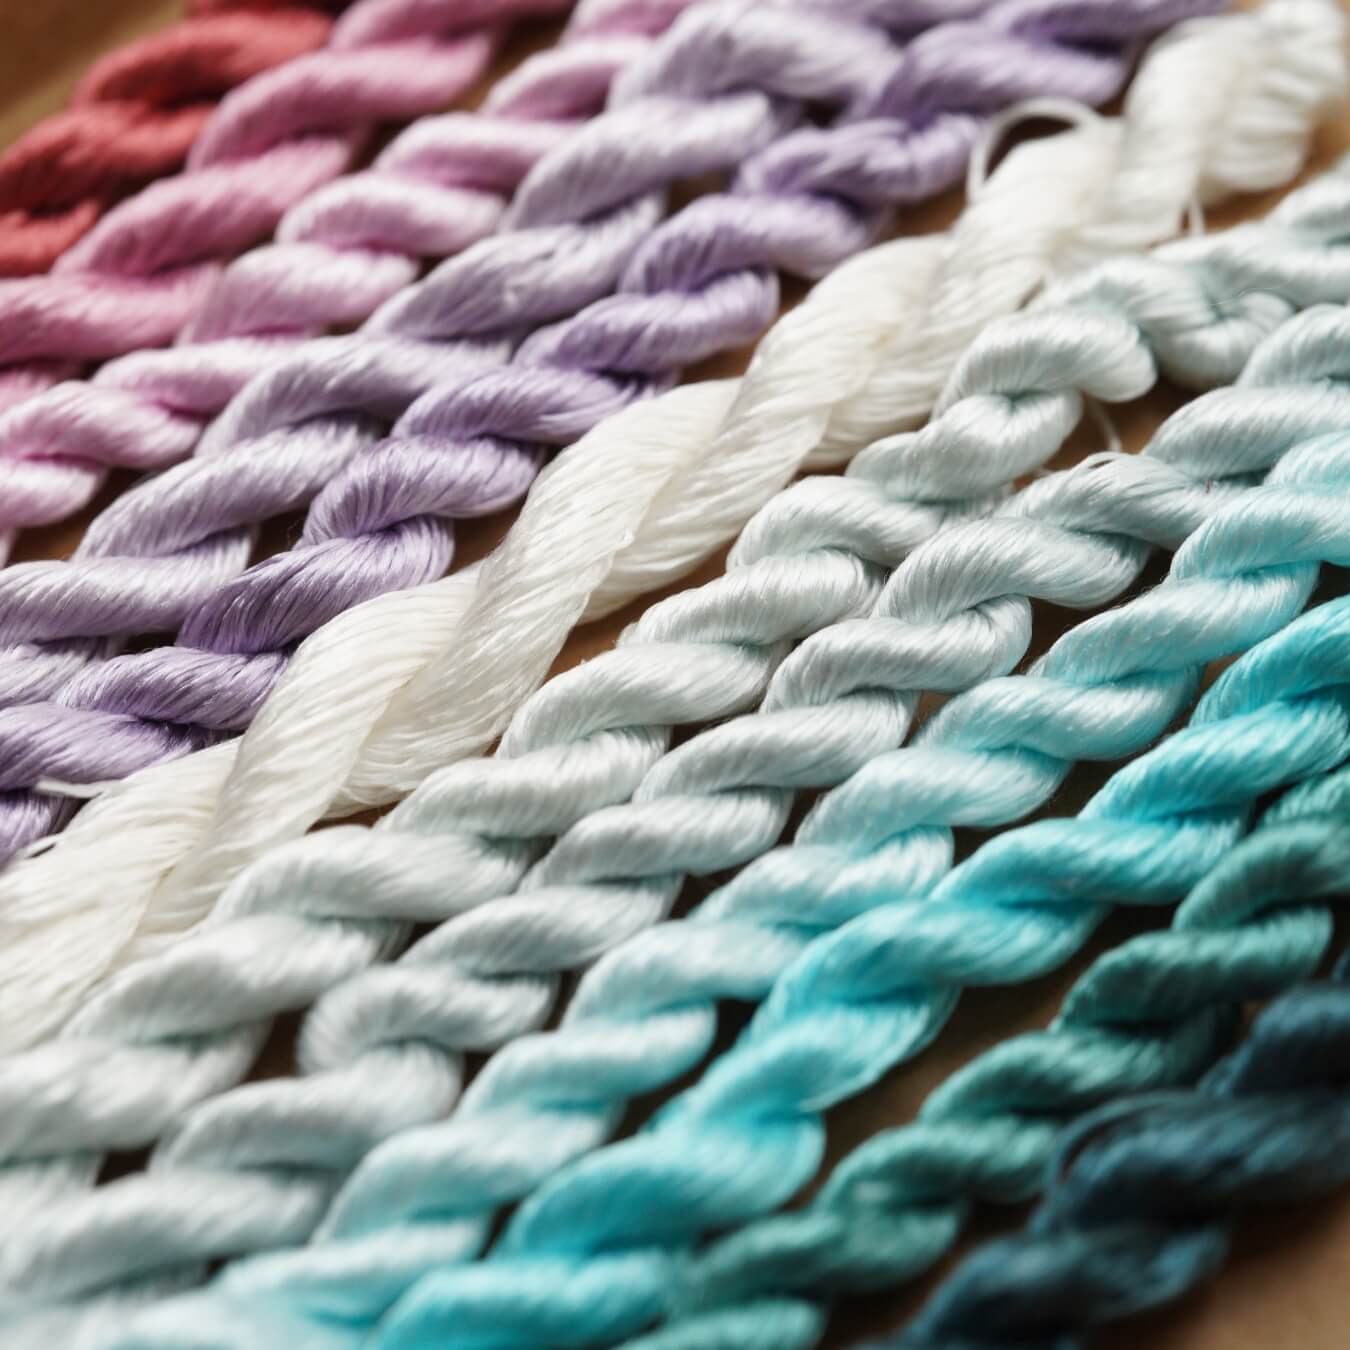
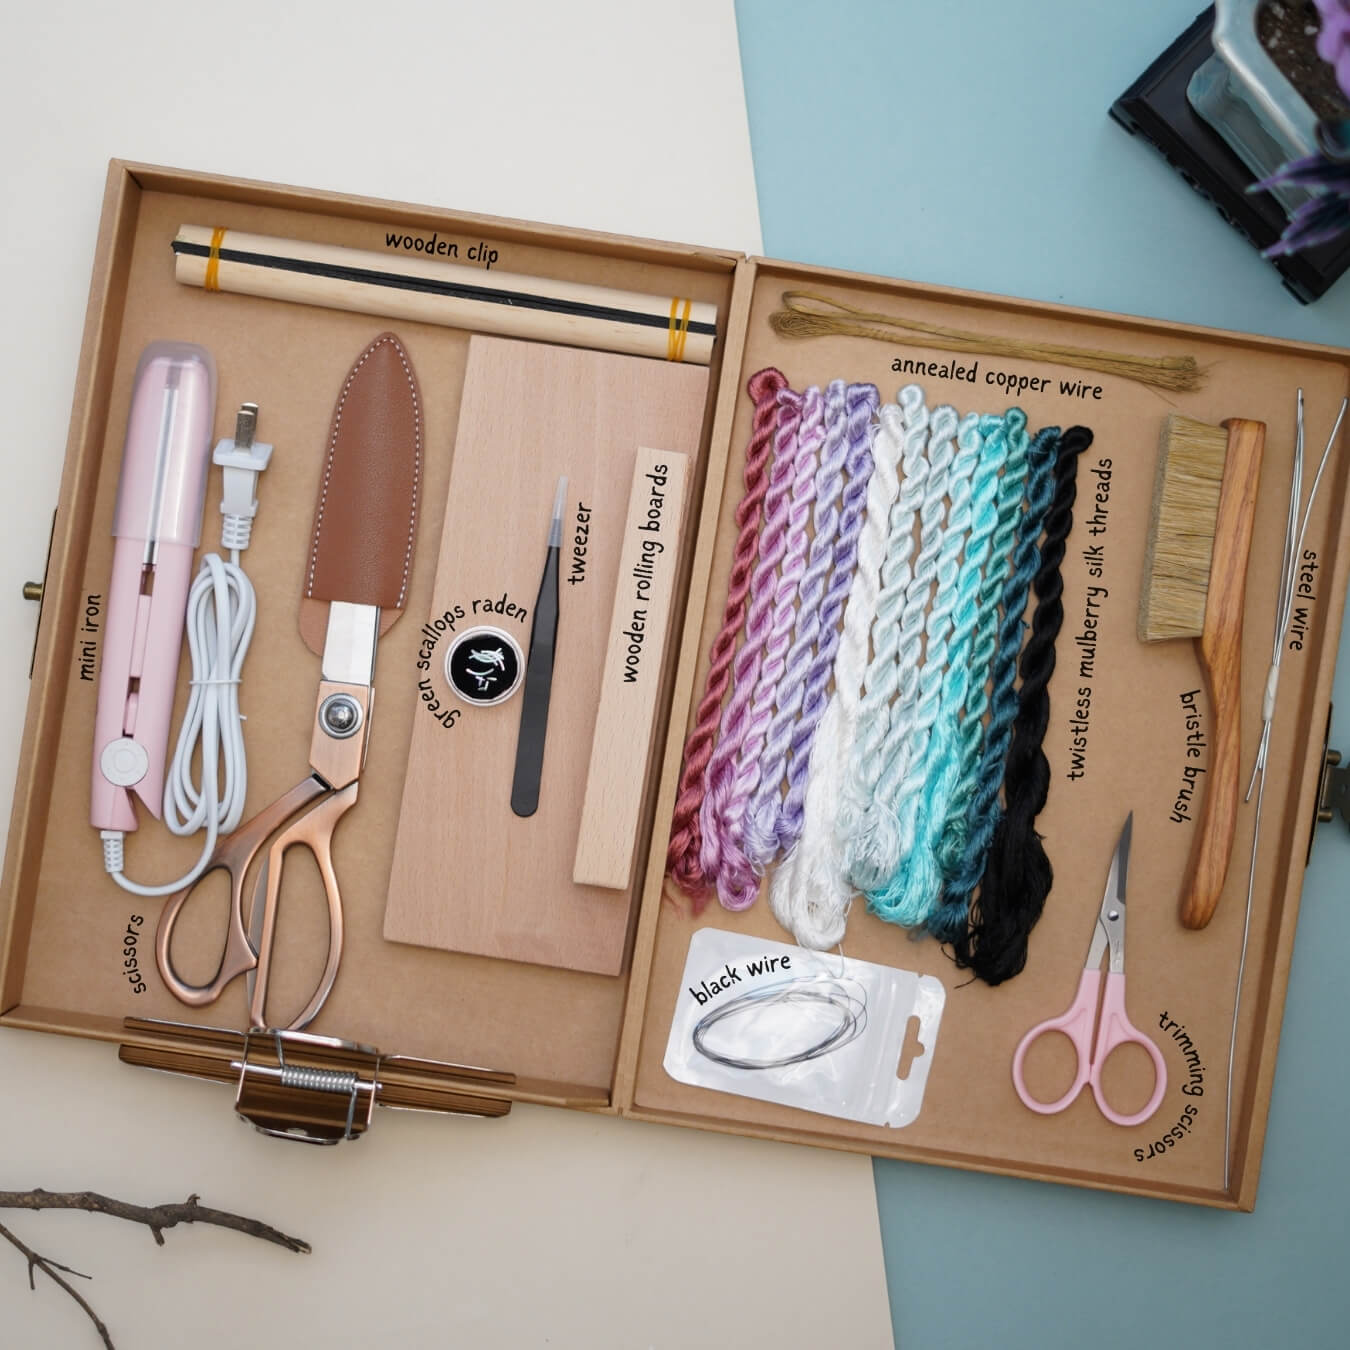
Cinco hilos forman un grupo. De izquierda a derecha, hay seis grupos de negro, dos grupos de gris-azul en el medio y dos grupos de azul cielo en el extremo derecho. También puedes usar tus colores preferidos para hacer esta mariposa incrustada, pero evita usar demasiados colores brillantes. Una gran área de negro es esencial para resaltar la incrustación de nácar, por lo que dos o tres grupos de hilos de colores brillantes deberían ser suficientes.

Al cepillar los hilos de seda, comienza desde la parte superior y cepilla hasta la parte inferior. Si te detienes a mitad de camino, puede provocar fácilmente enredos. La clave es cepillar los hilos hasta que estén esponjosos y brillantes.

Paso 2: Haciendo las Alas de la Mariposa 00:29~06:39
Antes de atar el alambre de cobre, asegúrate de enderezar el alambre de cobre. Gira dos alambres de cobre juntos, luego estira el alambre recto. Gira el alambre de cobre firmemente en direcciones opuestas con ambas manos. La distancia entre los alambres de cobre debe ser de 2–2.5 cm.

Al cortar las tiras de seda, asegúrate de que las tijeras corten directamente en el medio de los dos alambres de cobre. Después de alinear los bordes de las tiras de seda, aprieta el alambre de cobre. Al torcer las tiras de seda, sujeta el extremo de la cola con una mano y tuerce con la otra. Gira 3–4 veces. Si se tuerce demasiado, el alambre de cobre puede romperse. Corta el alambre de cobre en el extremo negro a lo largo de la base de las tiras de seda.
Al planchar, necesitas presionar dos veces. La primera pasada debe ser ligera; no presiones demasiado fuerte. En la segunda pasada, presiona las tiras de seda para que queden planas.

Después de aplanar las tiras de seda, aplica un spray fijador. También puedes usar laca para el cabello o diluir pegamento blanco con agua en una proporción de 1:1.5 como sustituto. Después de fijar, coloca las tiras de seda sobre una estera de esponja para que se sequen.

Ahora, hagamos la parte de la incrustación de alambre. Para la incrustación de alambre, puedes usar alambre de cobre que conserve el color. El grosor recomendado es de 0.3–0.5 mm. Dobla el alambre de cobre por la mitad y tuerce firmemente el extremo de la cola. Luego, usa una tabla para peinar para torcer el alambre de cobre firmemente, creando un efecto texturizado.
 Puedes imprimir un patrón de mariposa o dibujarlo a mano en papel. Traza el alambre de cobre a lo largo de los bordes del patrón de mariposa, luego tuerce el alambre de cobre en la parte inferior para asegurarlo.

Aplica pegamento en el reverso del alambre de cobre. Cuando el pegamento esté medio seco, presiona las tiras de seda y el alambre de cobre juntos, sosteniéndolos firmemente durante unos segundos.

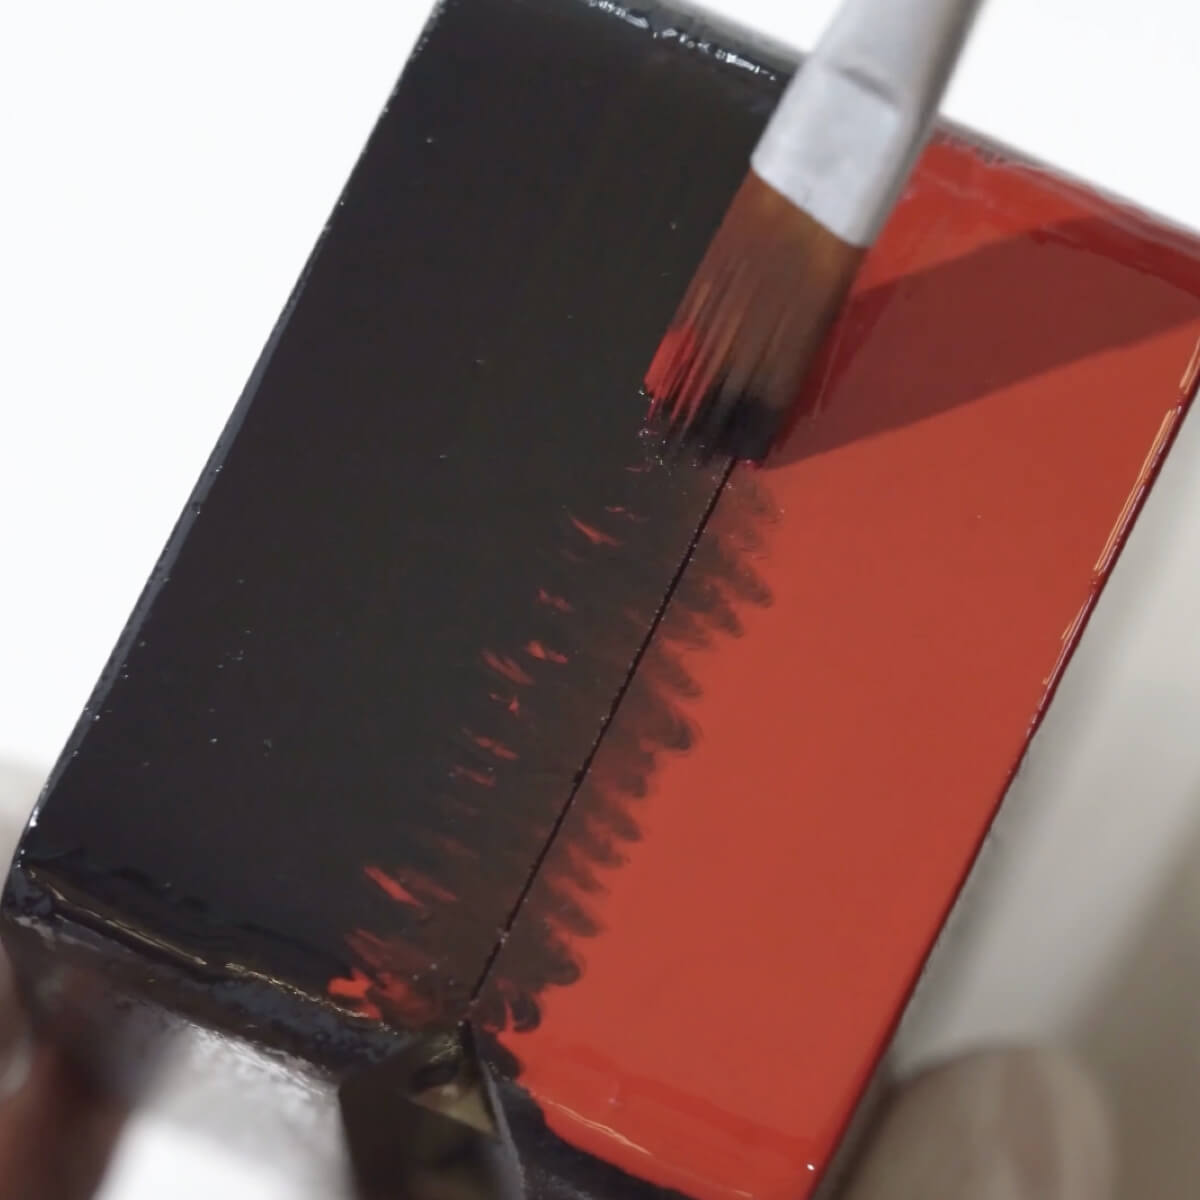
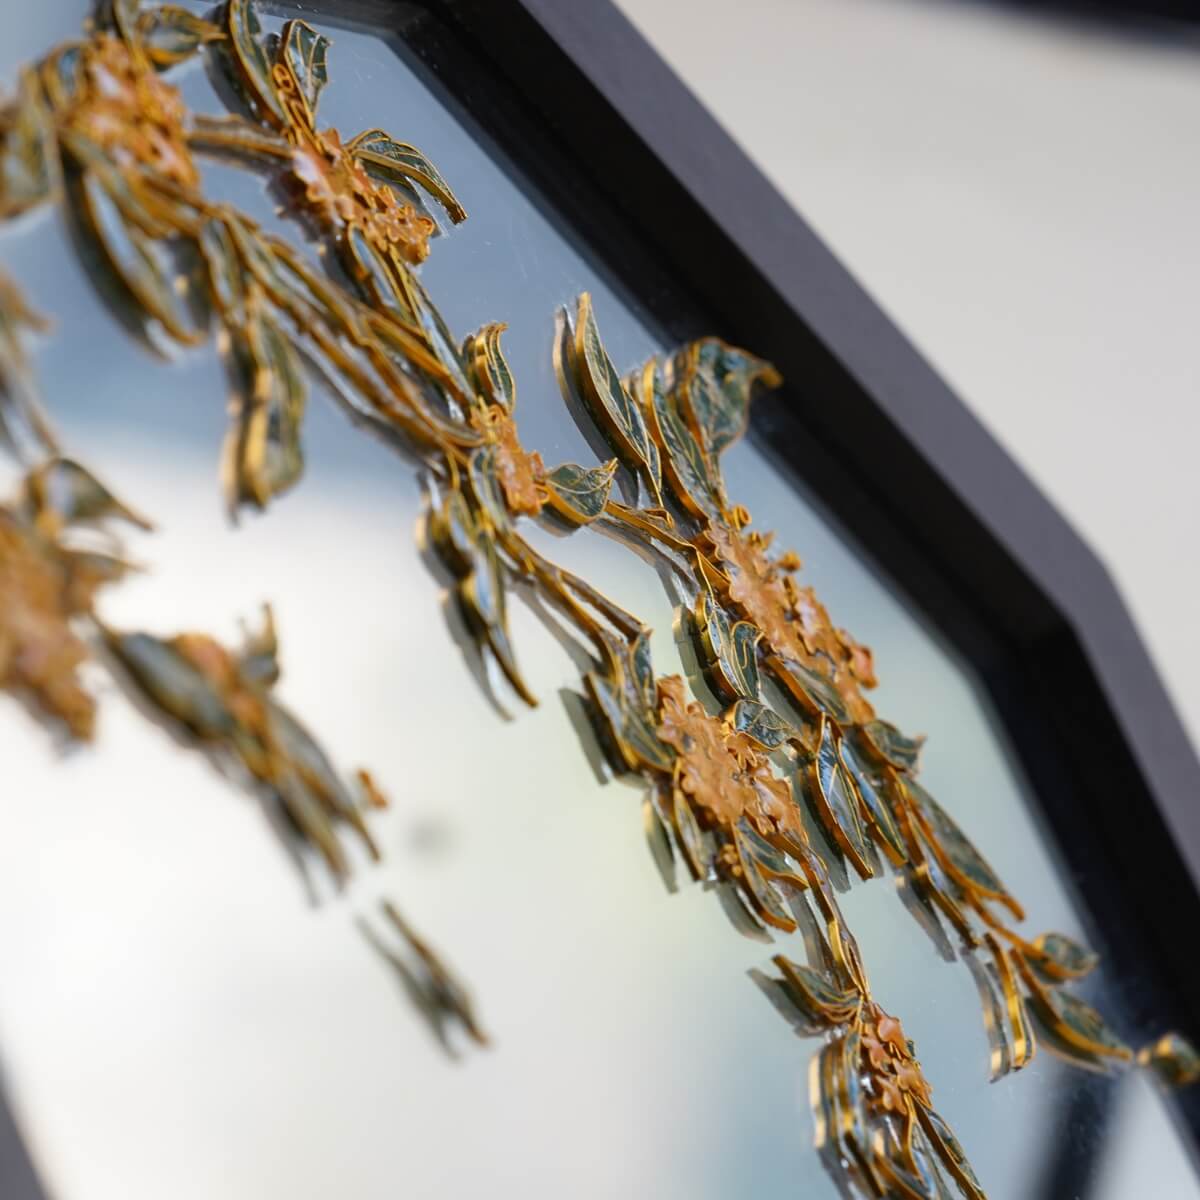
A continuación, aplica la incrustación de nácar. Sumerge el nácar en pegamento blanco y pégalo sobre las tiras de seda. No te preocupes si hay exceso de pegamento; una vez que el pegamento blanco se seca, se vuelve semitransparente y no será visible. La incrustación de nácar es brillante, por lo que es mejor colocarla en las áreas negras para resaltar su belleza. Una vez aplicada la incrustación, puedes recortar las tiras de seda sobrantes.

Luego, usa hilo para unir las alas superior e inferior. Solo asegúrate de que queden firmes y no se separen.
Paso 3: Fabricación del cuerpo de la mariposa 06:39~08:54
Toma un pequeño trozo de arcilla y enróllalo en forma de lágrima gruesa. Inserta dos alambres de cobre en la arcilla para crear las antenas de la mariposa. El alambre de cobre en la parte inferior se usa para asegurar el cuerpo a las alas. Luego, pinta toda la sección blanca de negro. También puedes usar pequeñas cuentas que te gusten para hacer el cuerpo de la mariposa.

Paso 4: Montaje de las alas y el cuerpo de la mariposa 08:54~fin
Es mejor dejar el alambre de cobre en la parte inferior de la mariposa un poco más largo, ya que esto facilitará combinar la mariposa con otras flores de seda. Al terminar, haz un nudo y recorta el exceso de alambre.

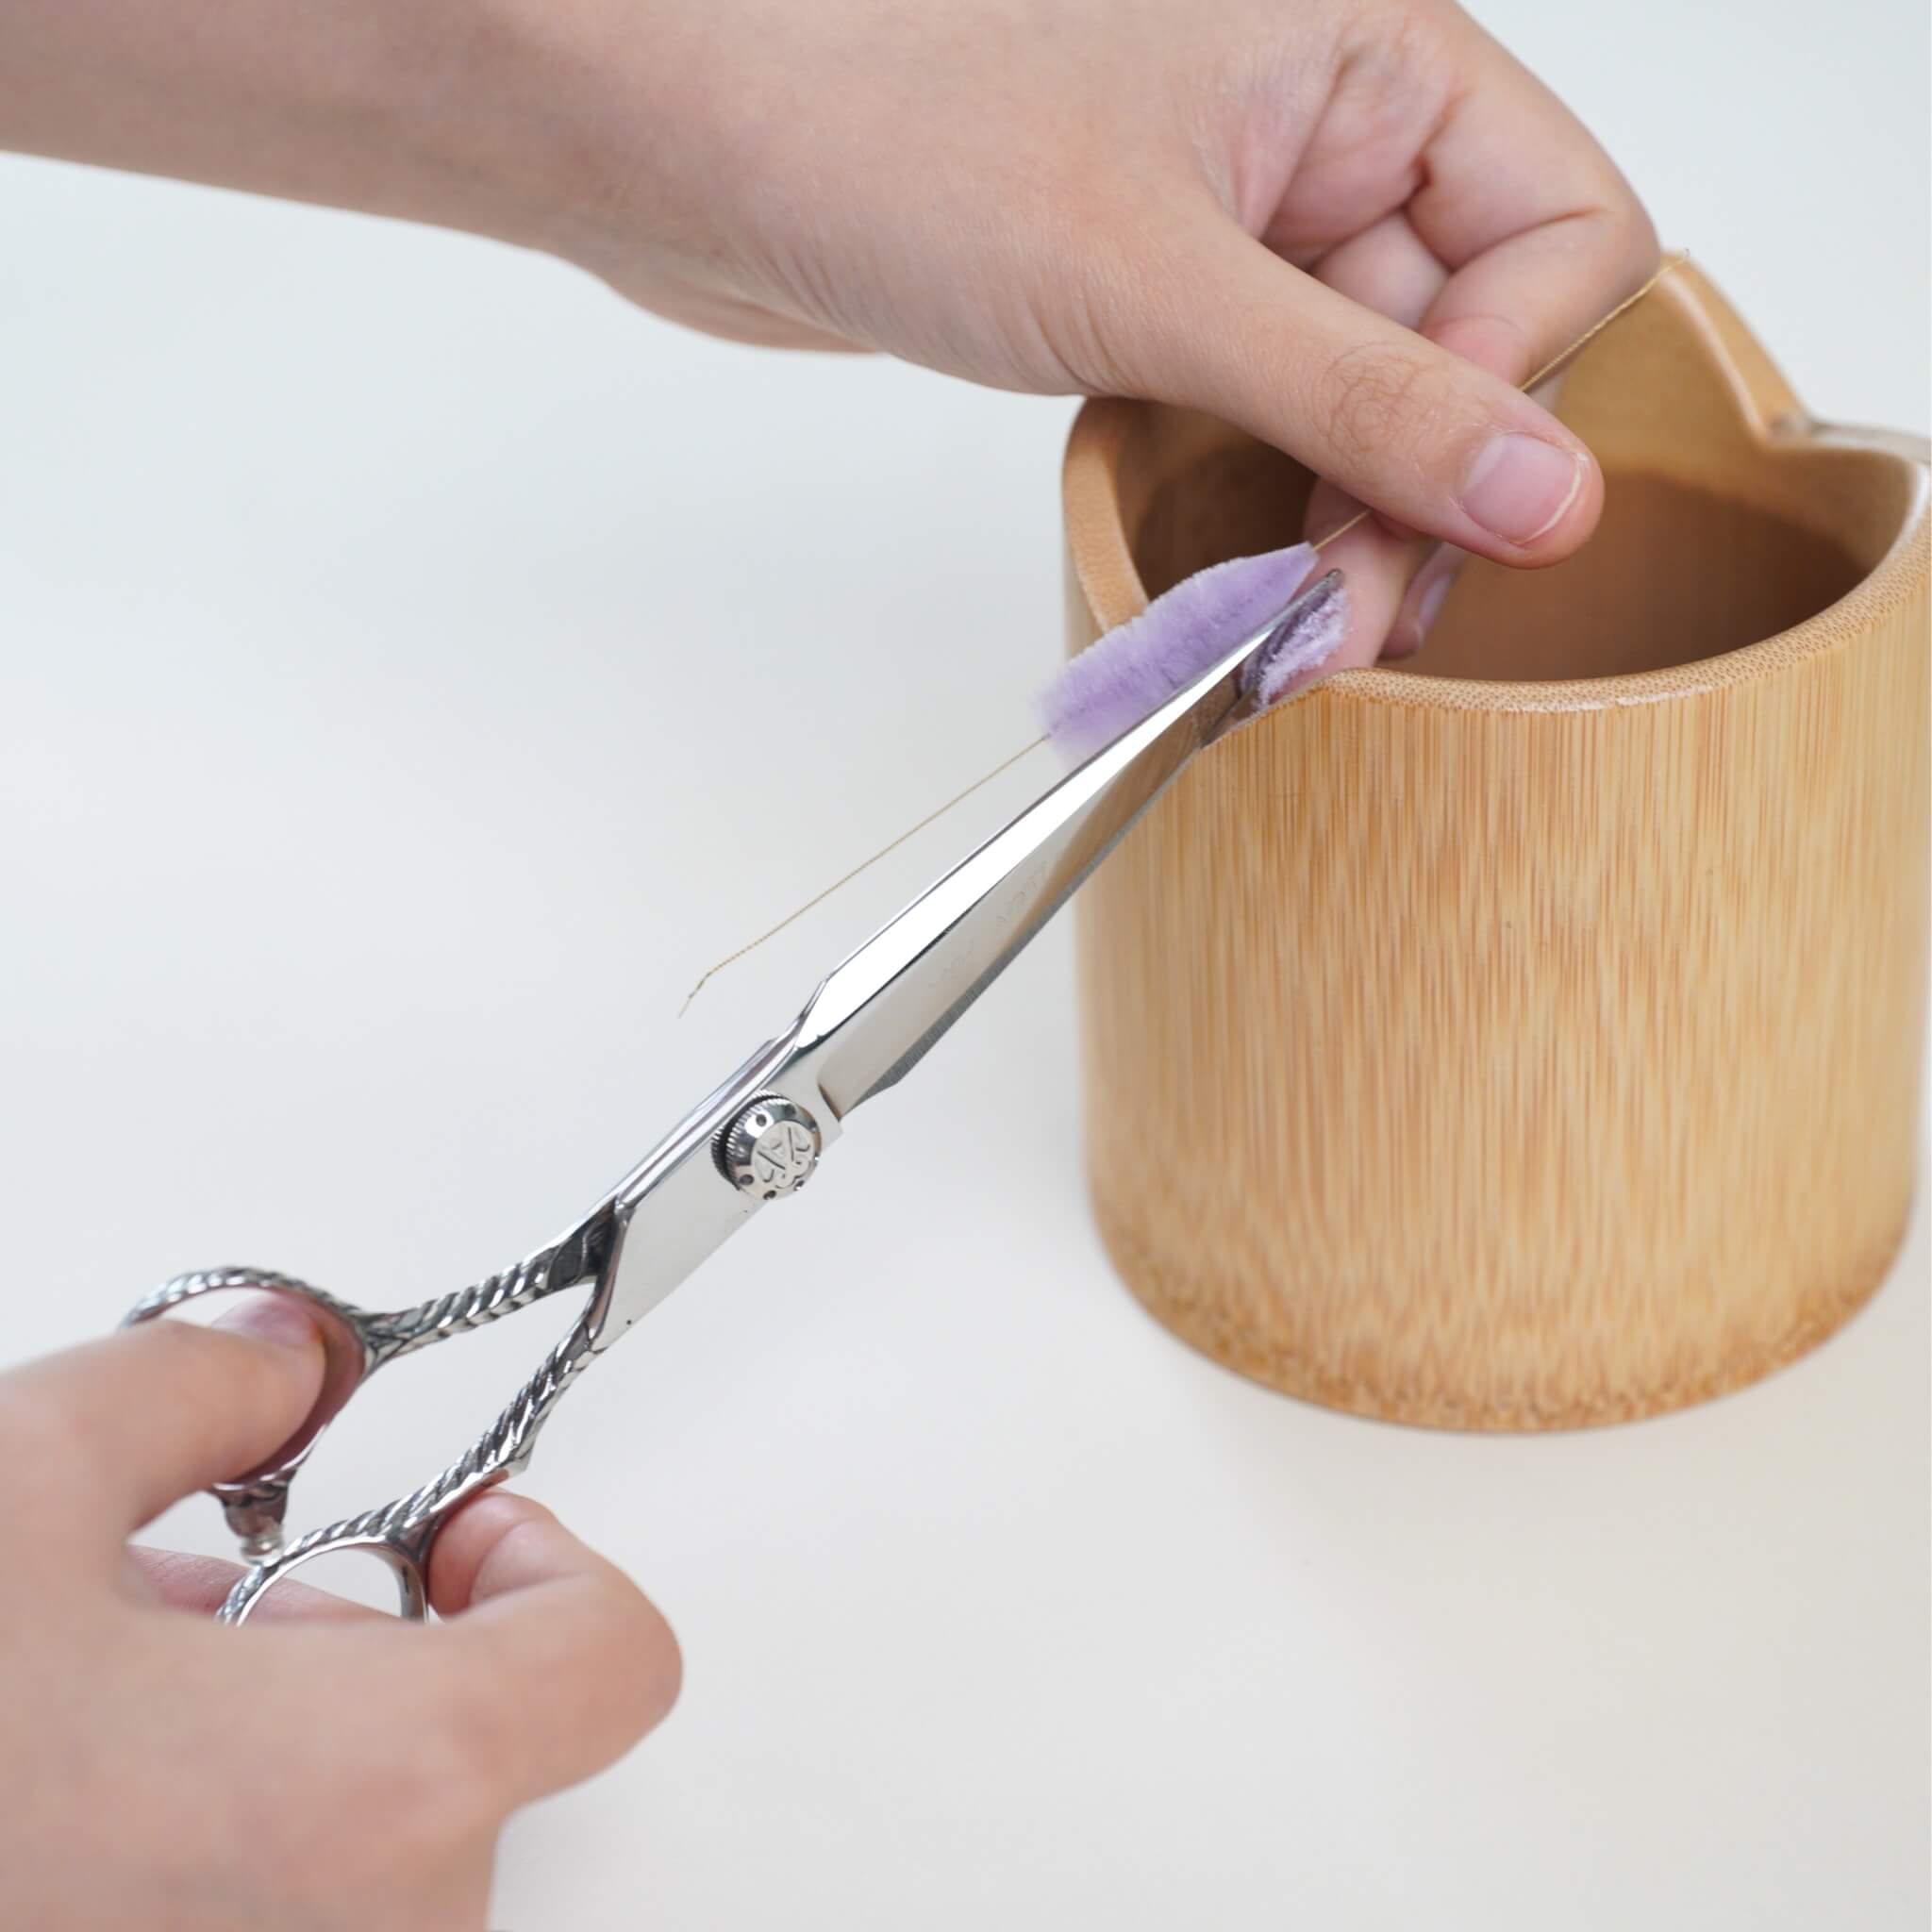
Puedes aplicar un poco de pegamento blanco en el punto final para evitar que se deslice. Ajusta el encendedor a la llama más baja y quémalo suavemente para eliminar cualquier fibra desigual. La mariposa incrustada con nácar ya está completa.

Si terminaste tu producto DIY, te invitamos a mostrar tu increíble trabajo y obtener cupones para el resto de nuestros kits DIY!
INS@lanseichina
Pinterest@lanseichina


Deja un comentario
Todos los comentarios son moderados antes de ser publicados.
Este sitio está protegido por hCaptcha y se aplican la Política de privacidad de hCaptcha y los Términos del servicio.