


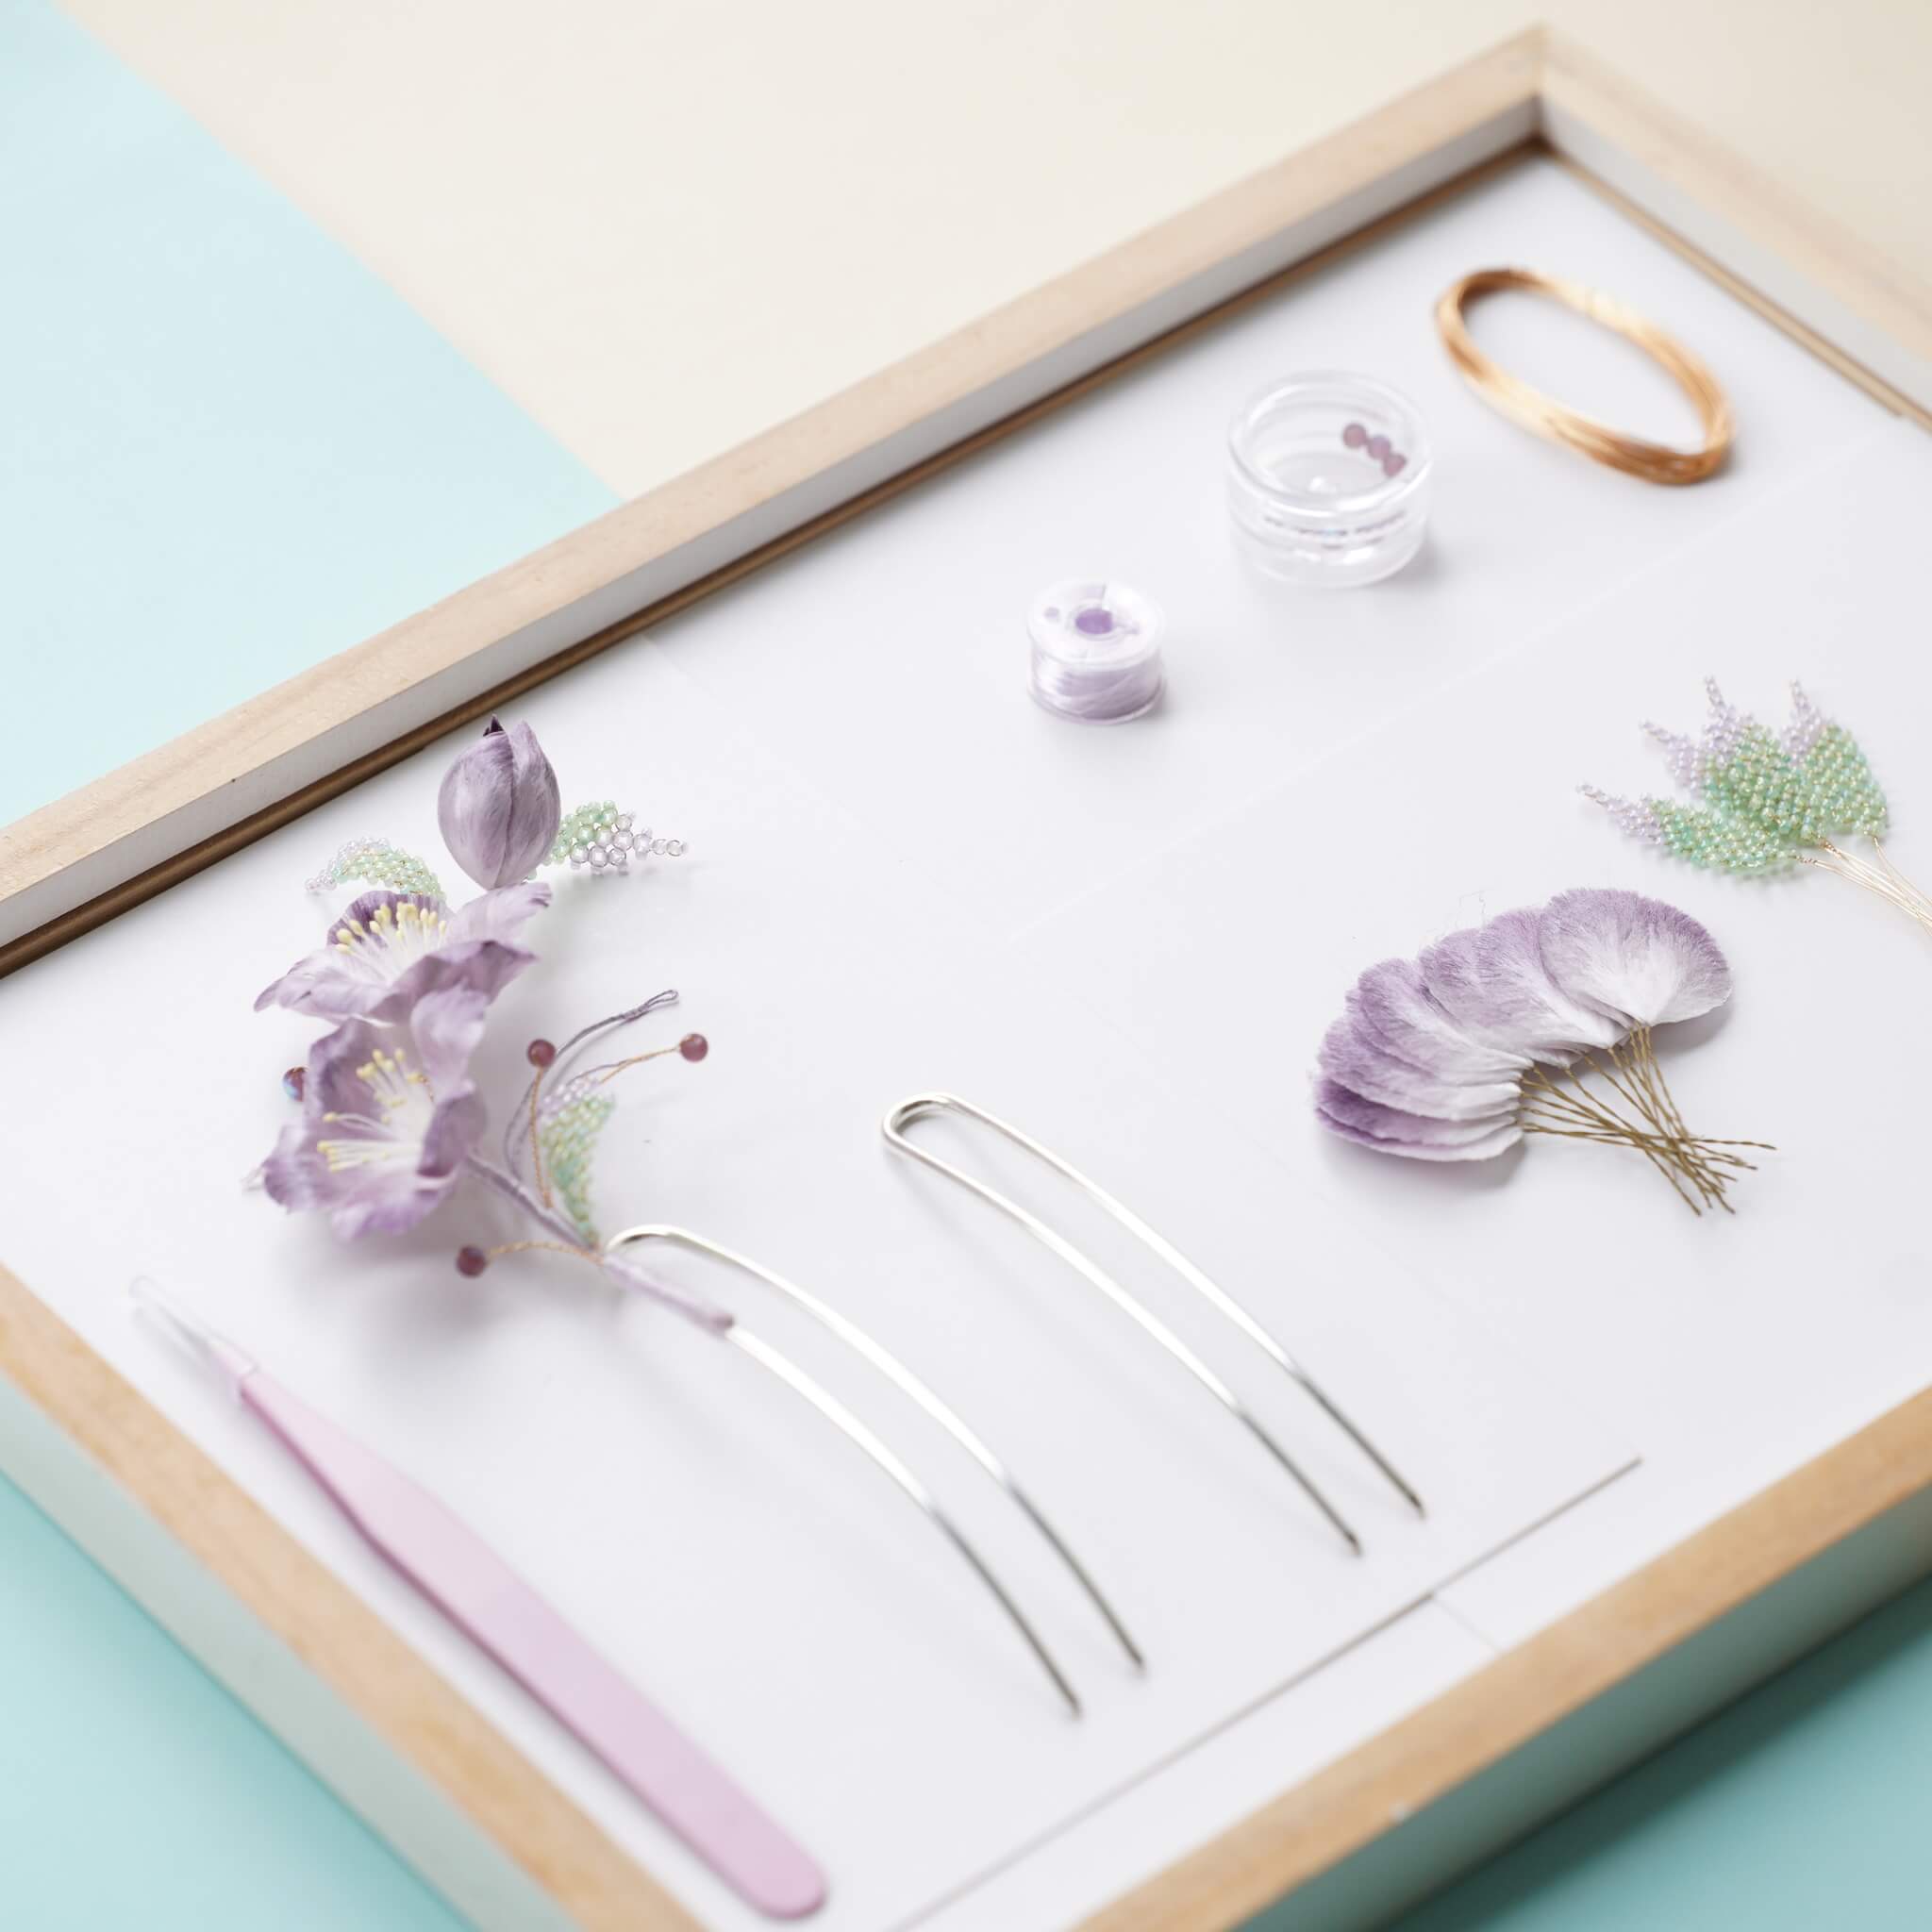
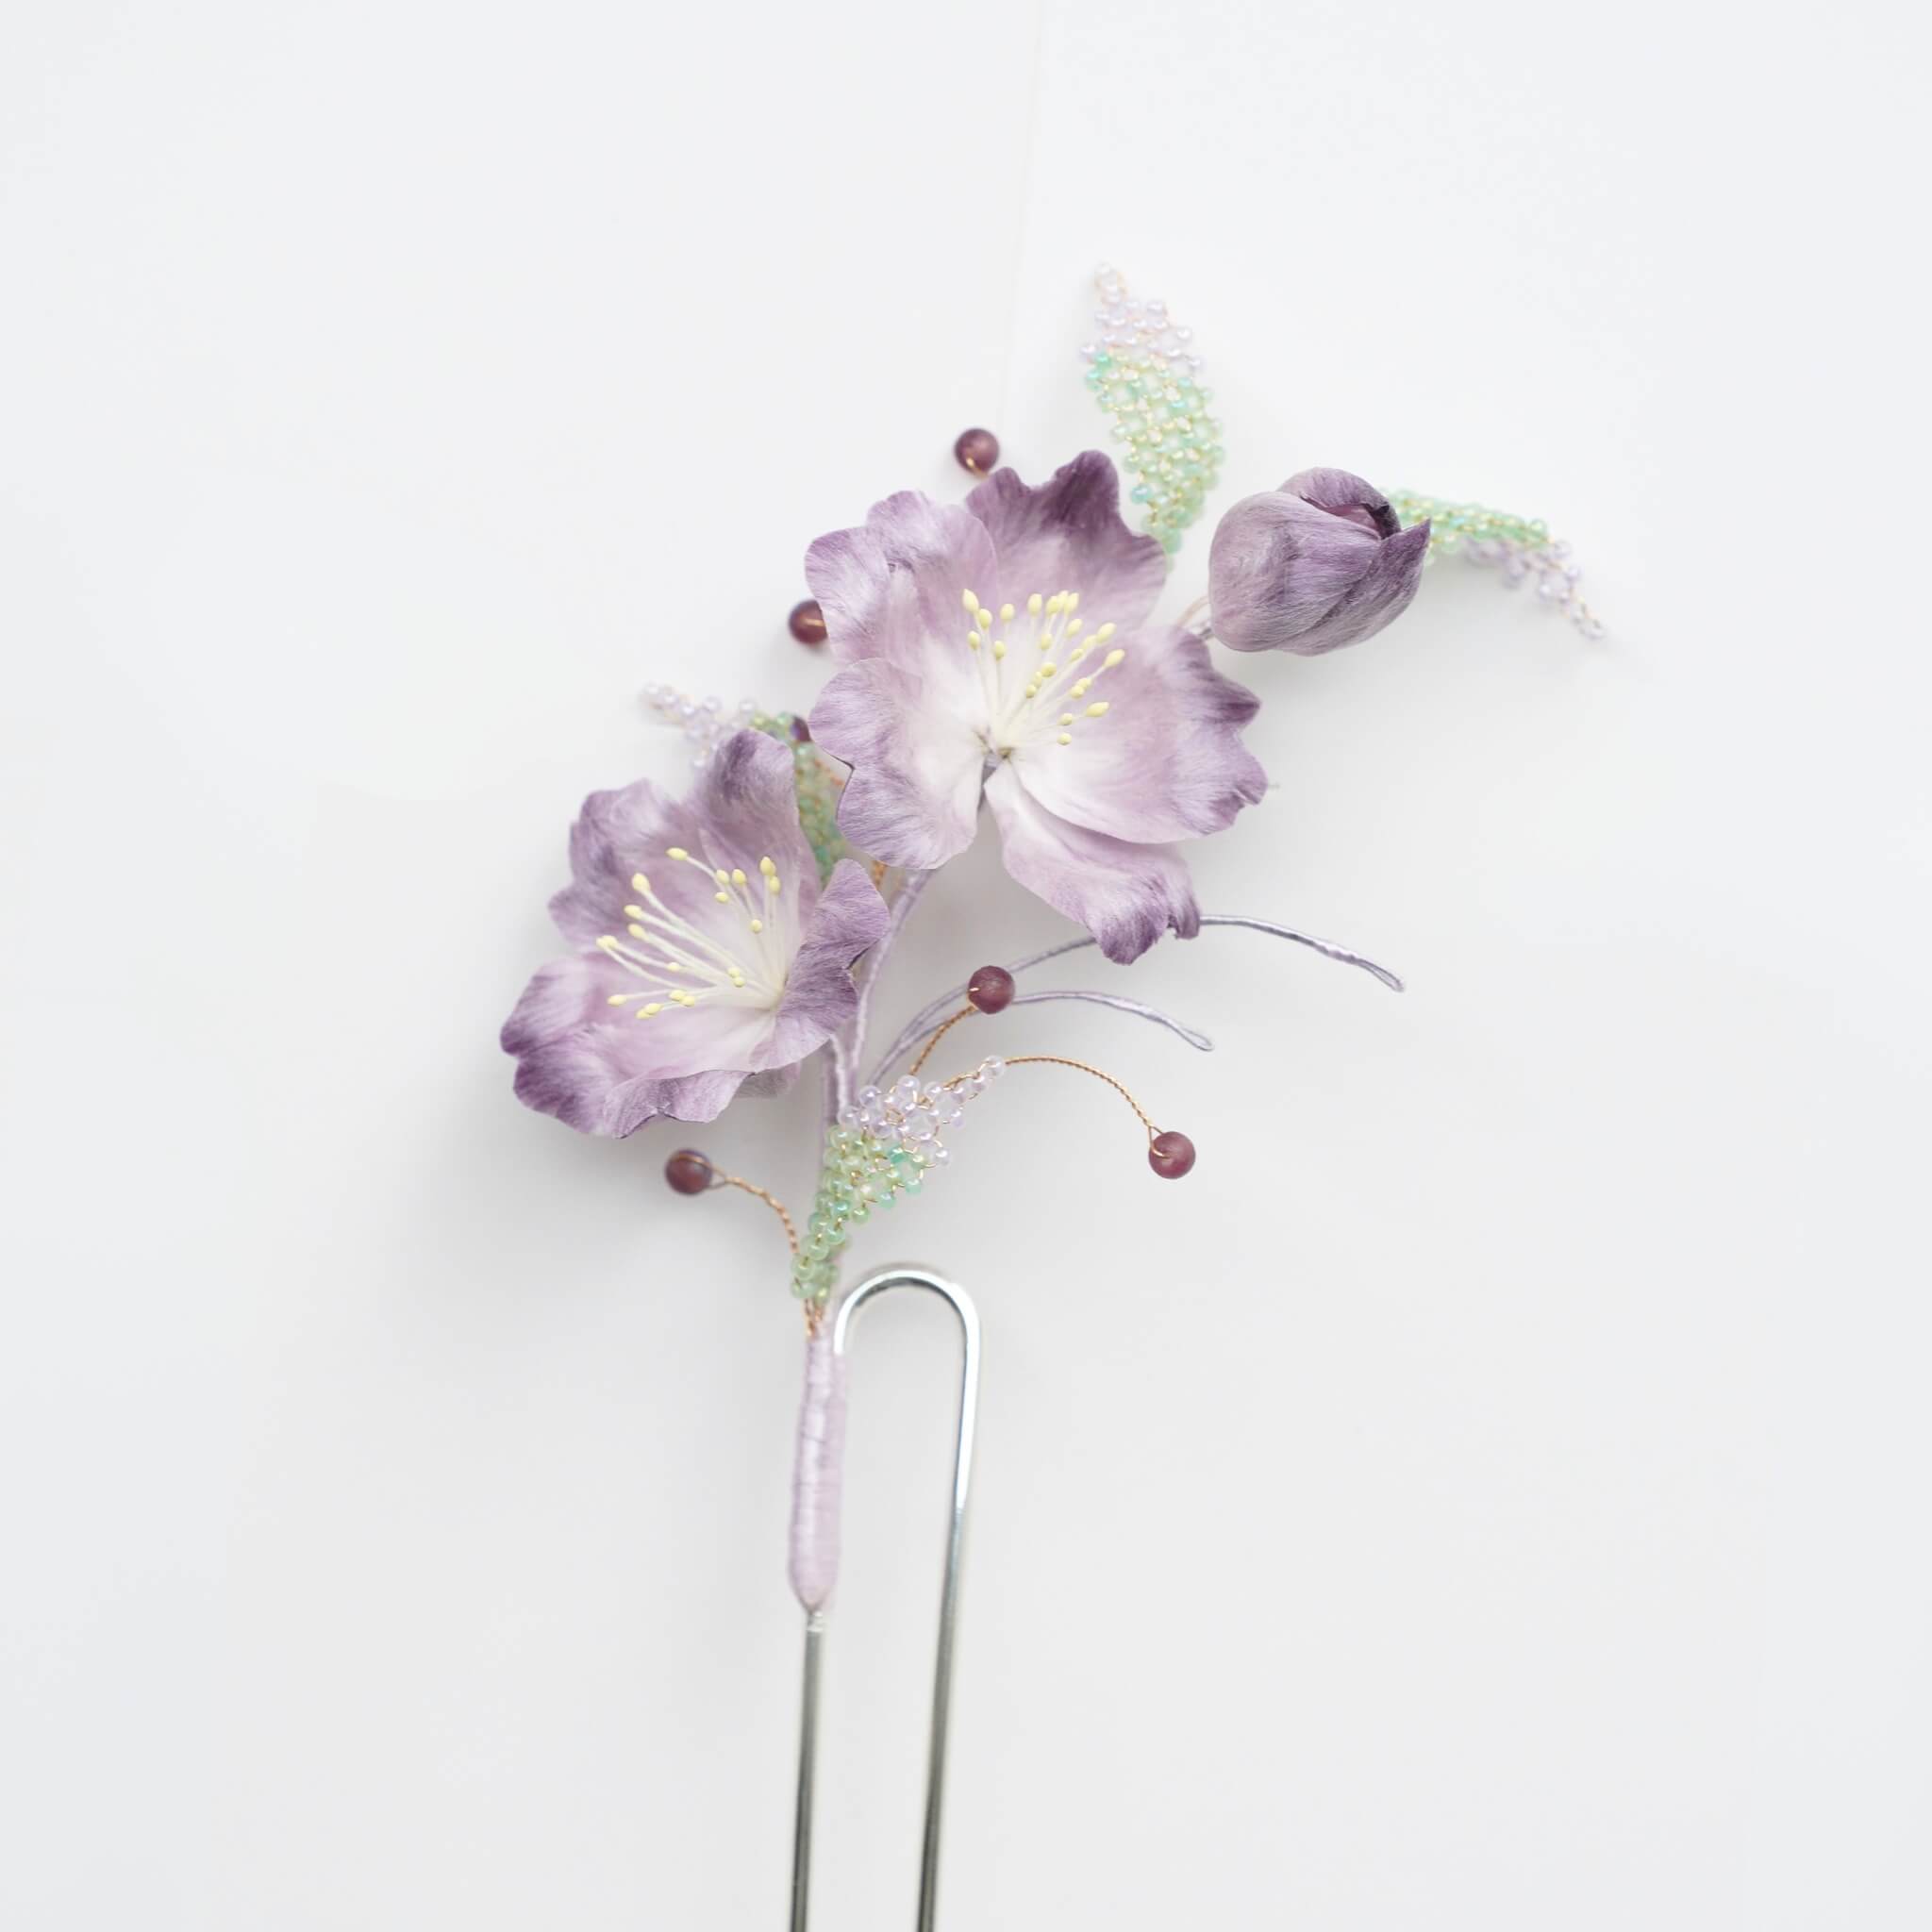
En este sencillo tutorial de bricolaje, te mostraremos cómo usar tiras de seda preformadas para crear delicados pétalos de flores, dar forma a un capullo de flor realista y ensamblar todo en una impresionante flor hecha a mano.
Paso 1: Haciendo los Pétalos Envuelto en Seda 00:00~09:03
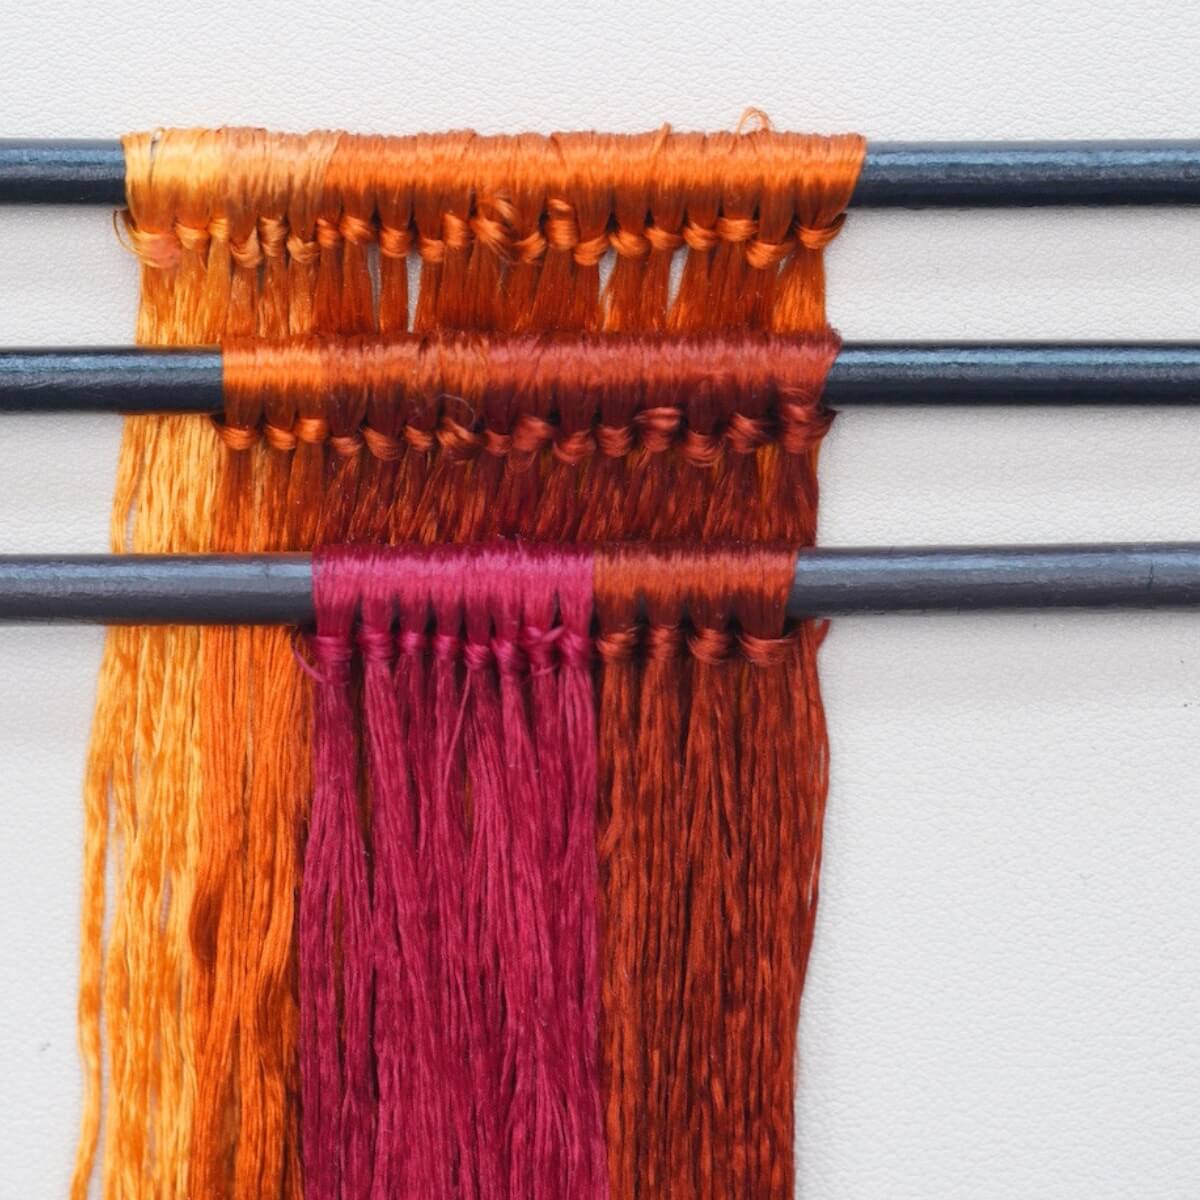
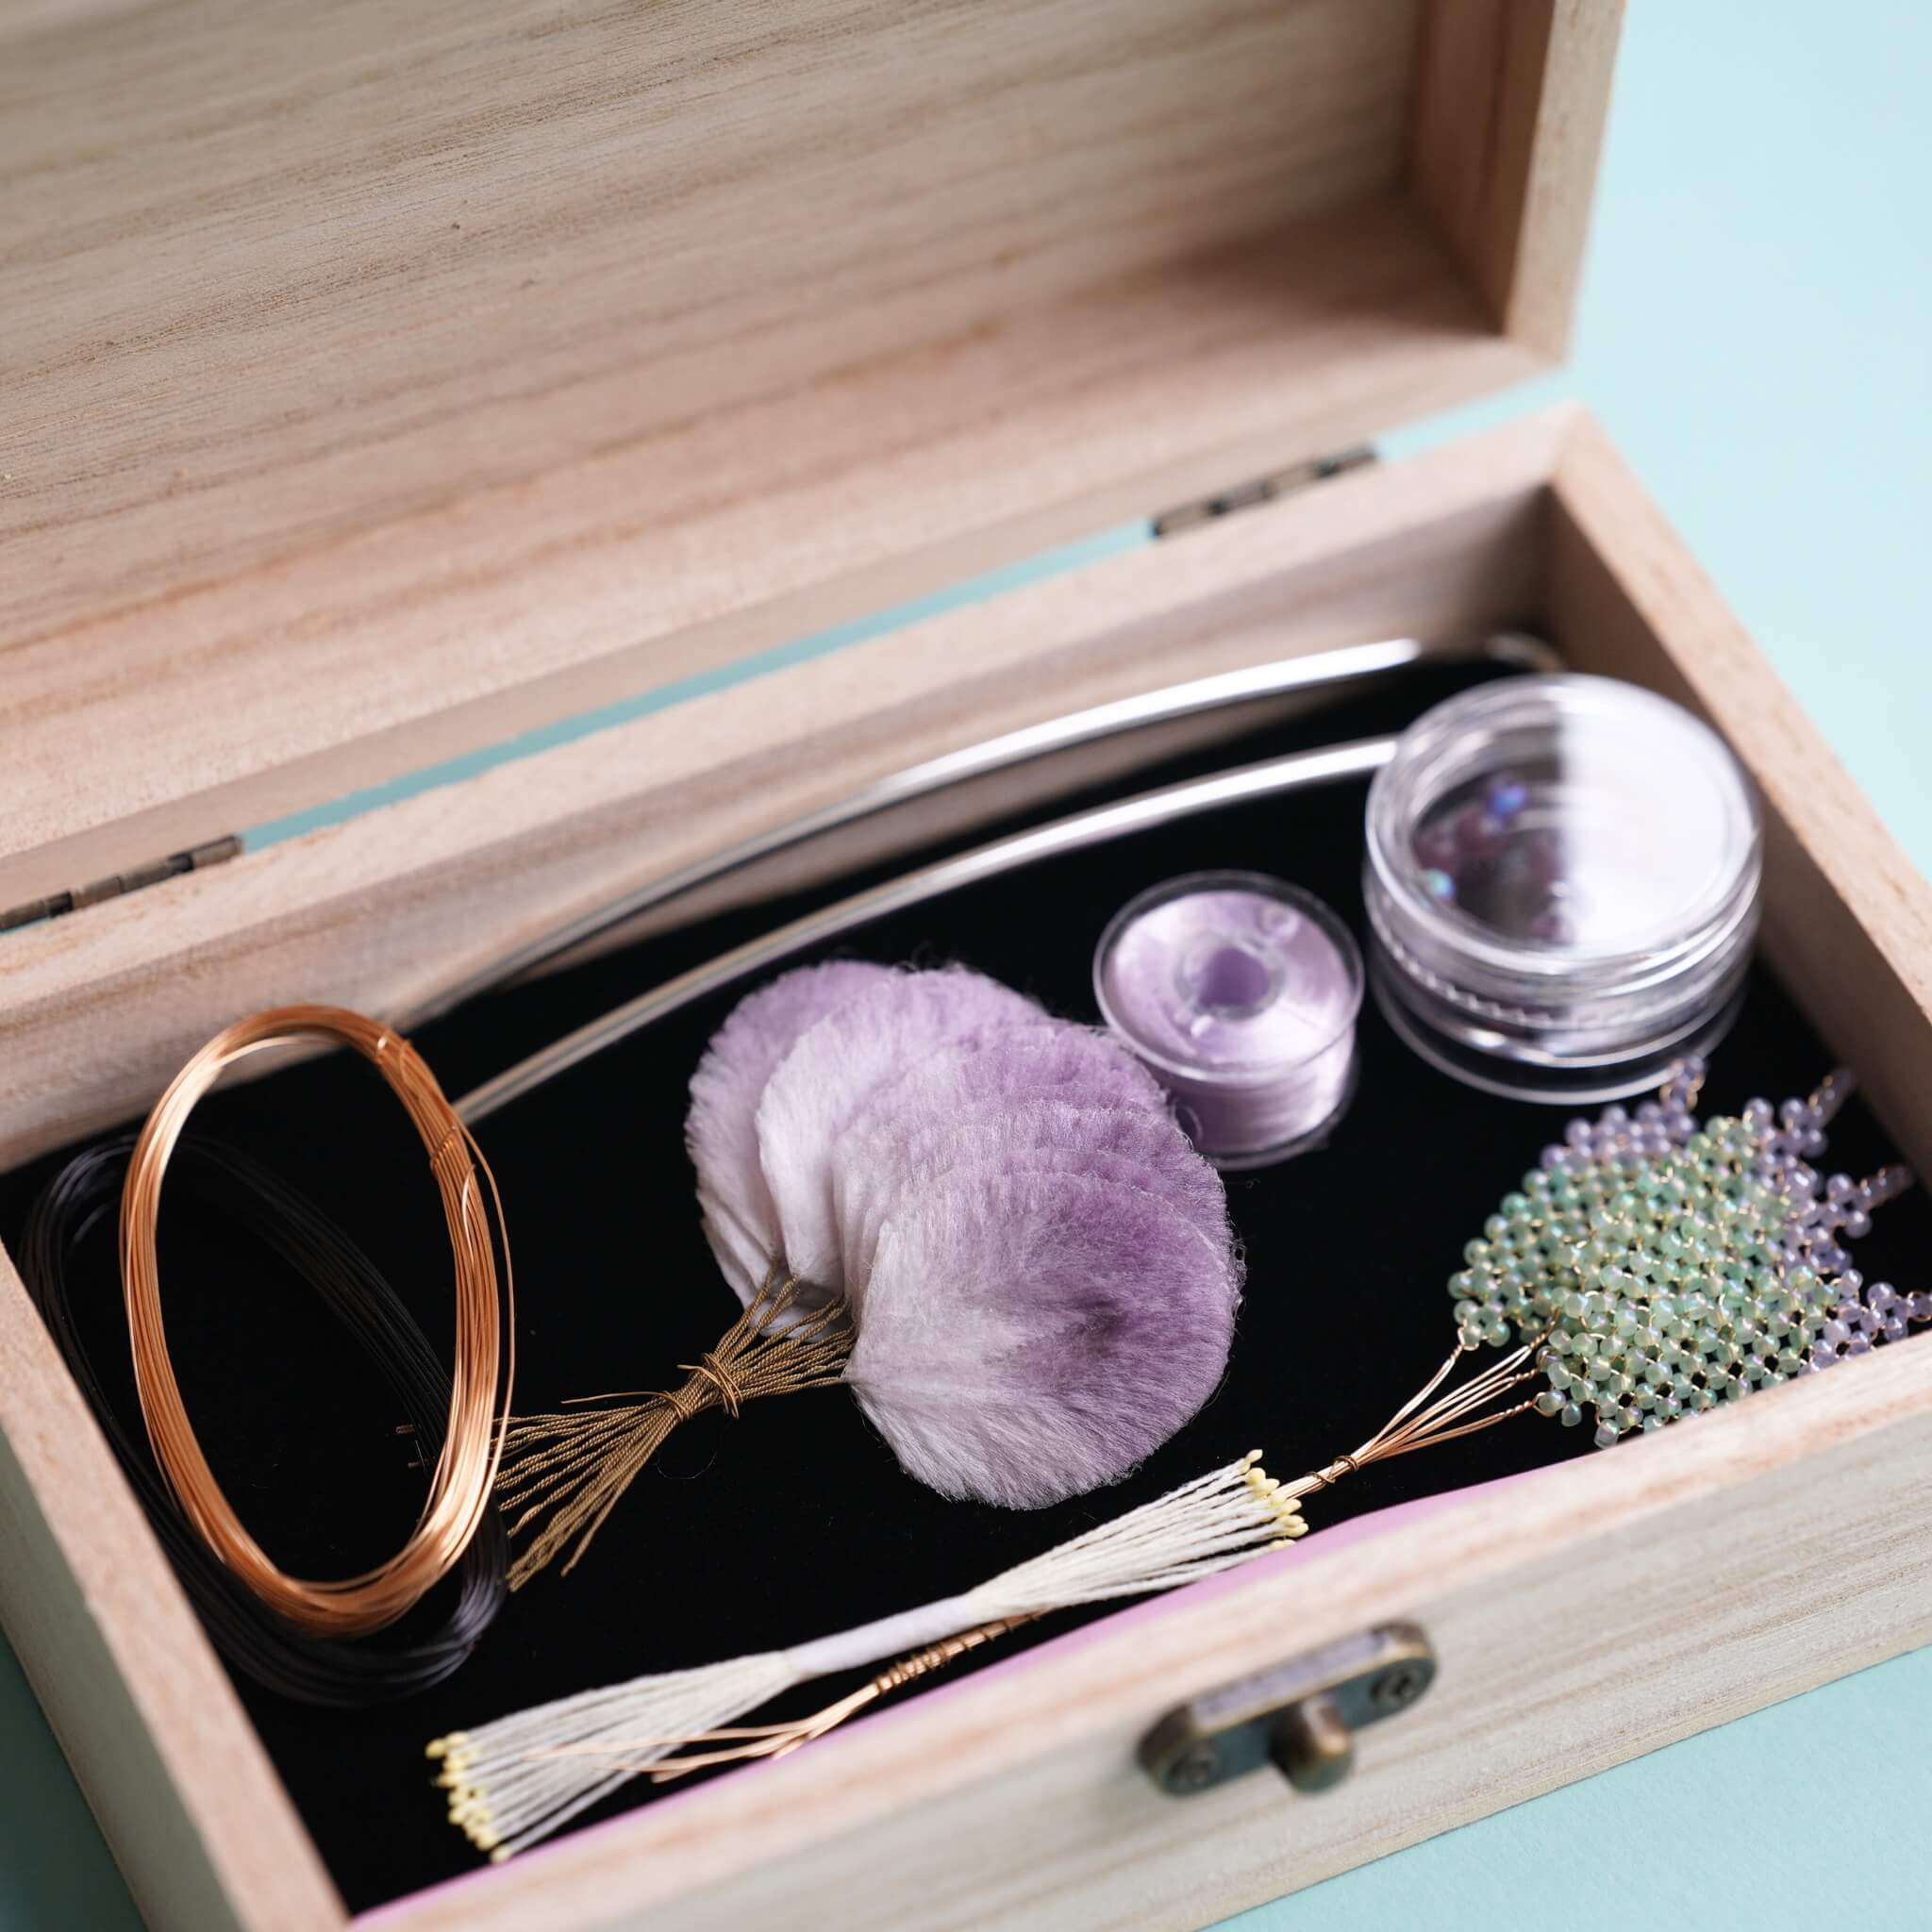
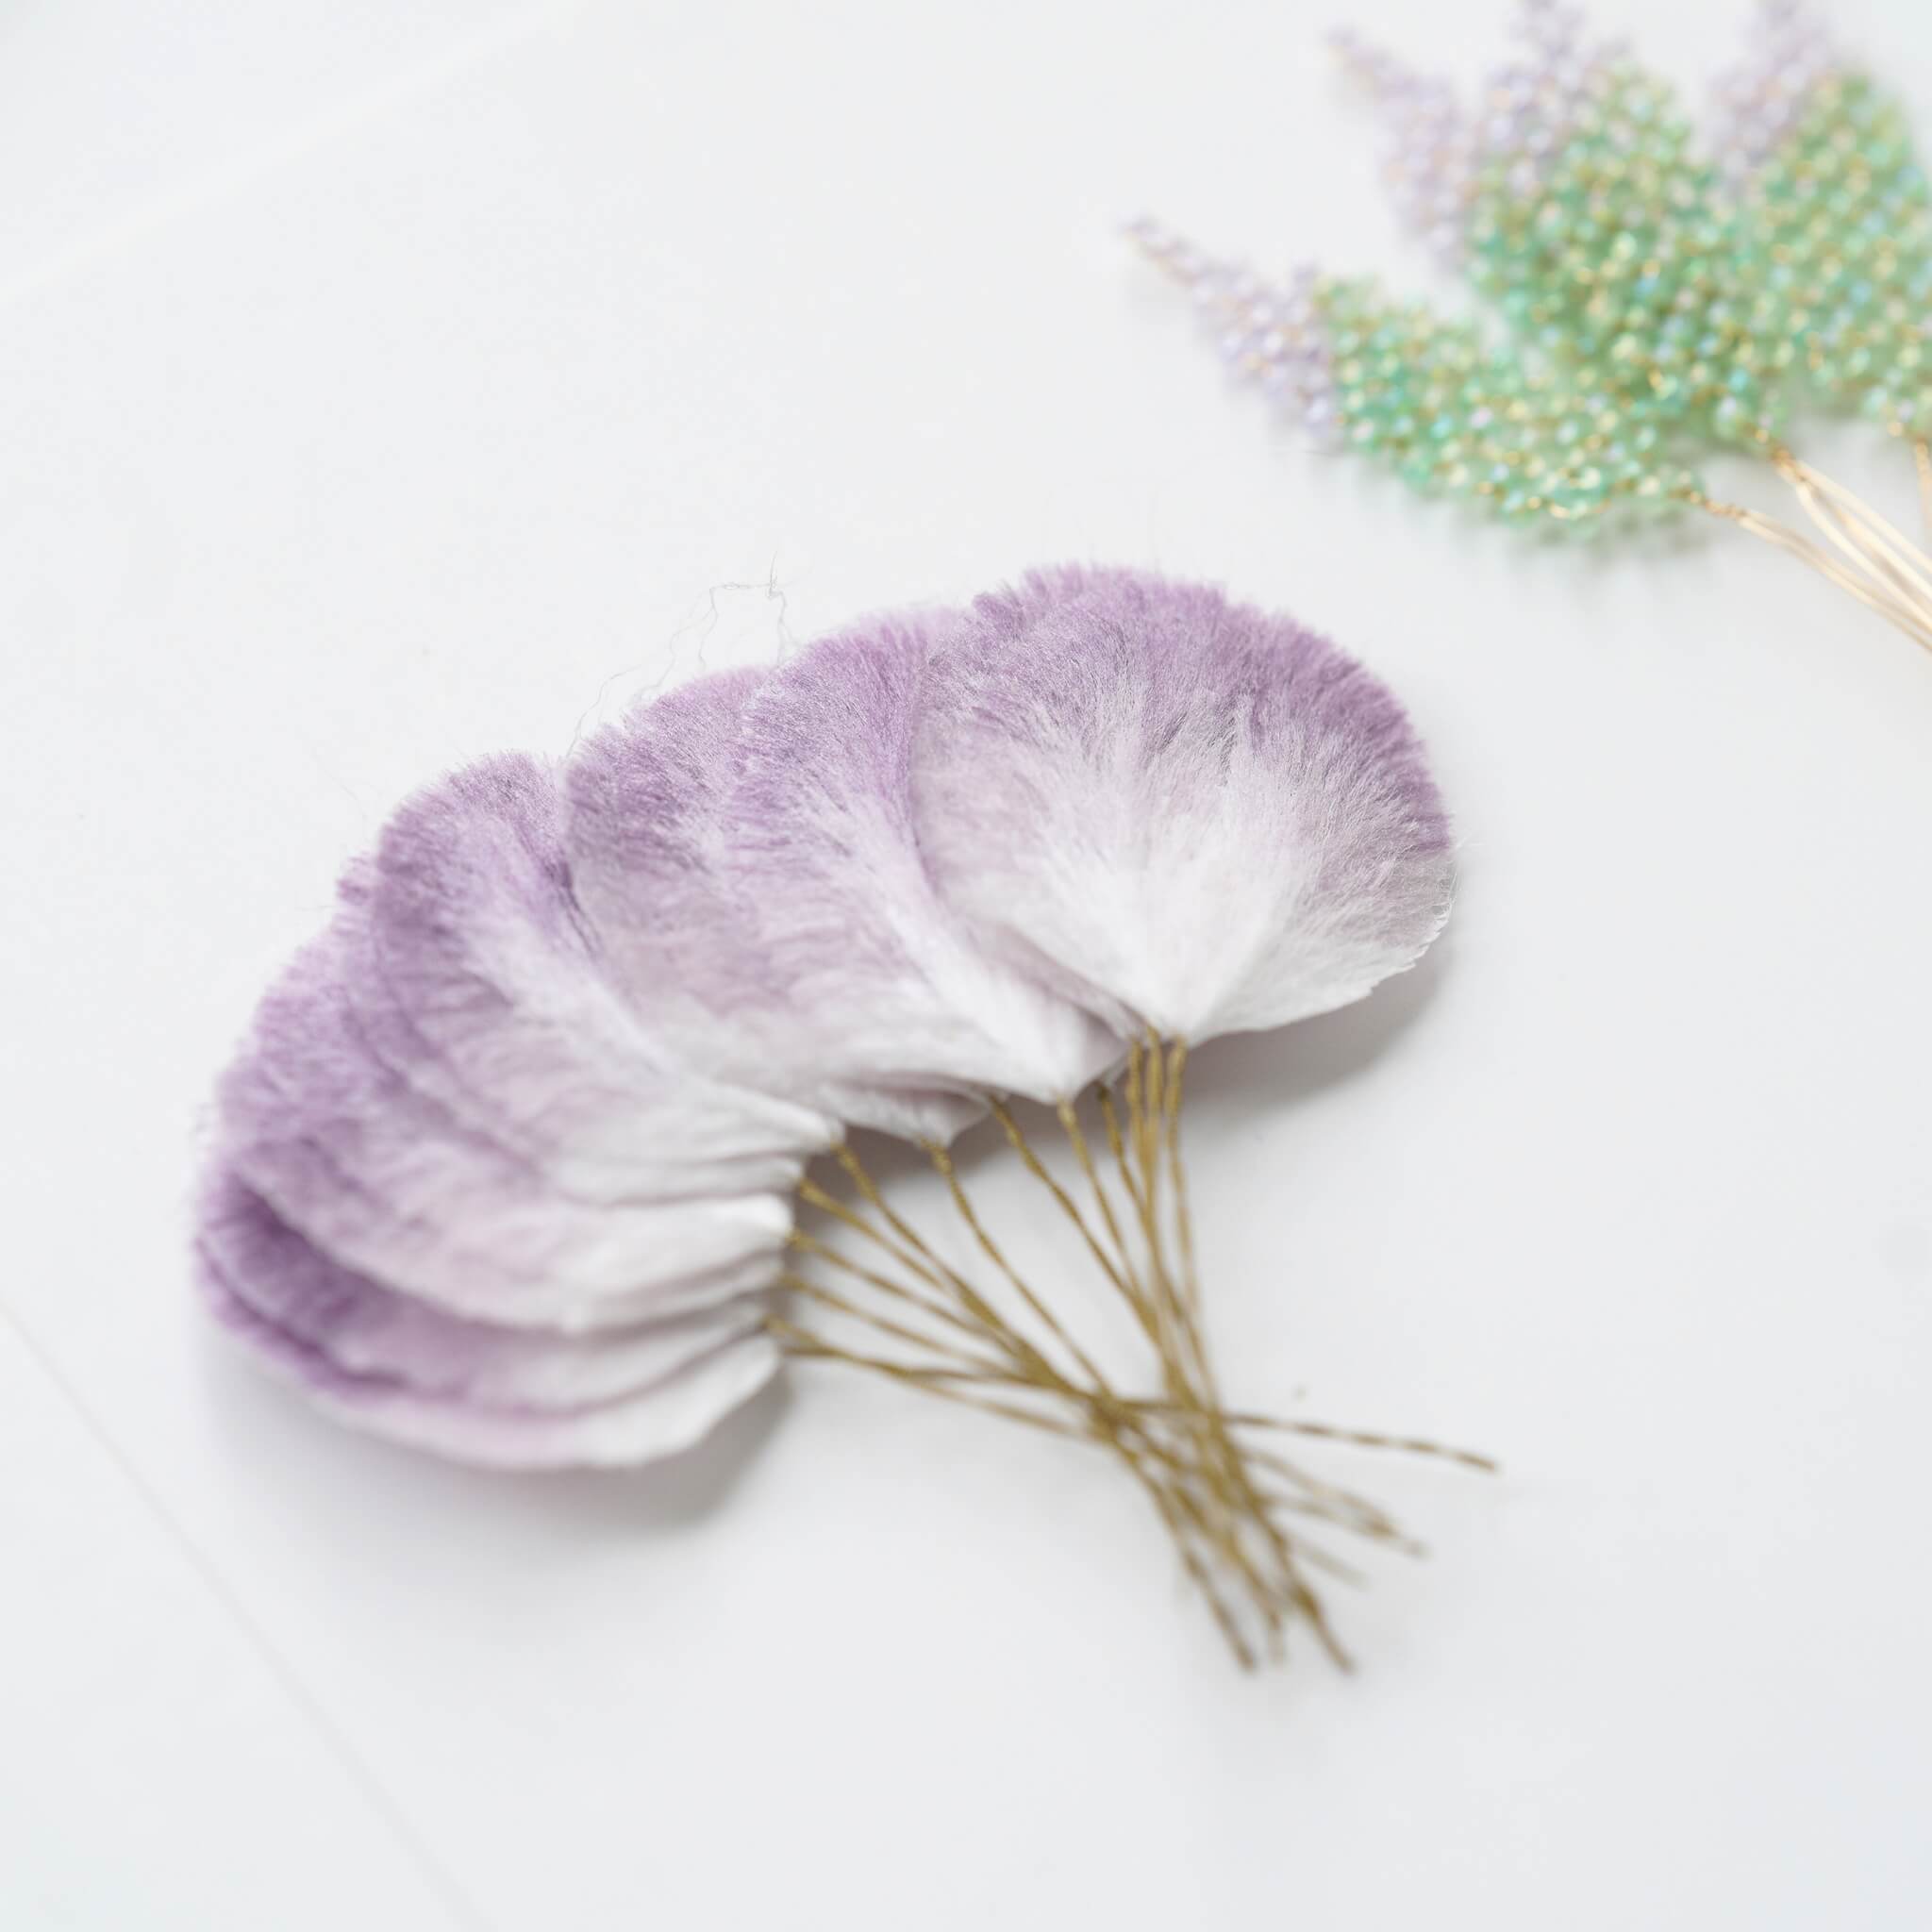
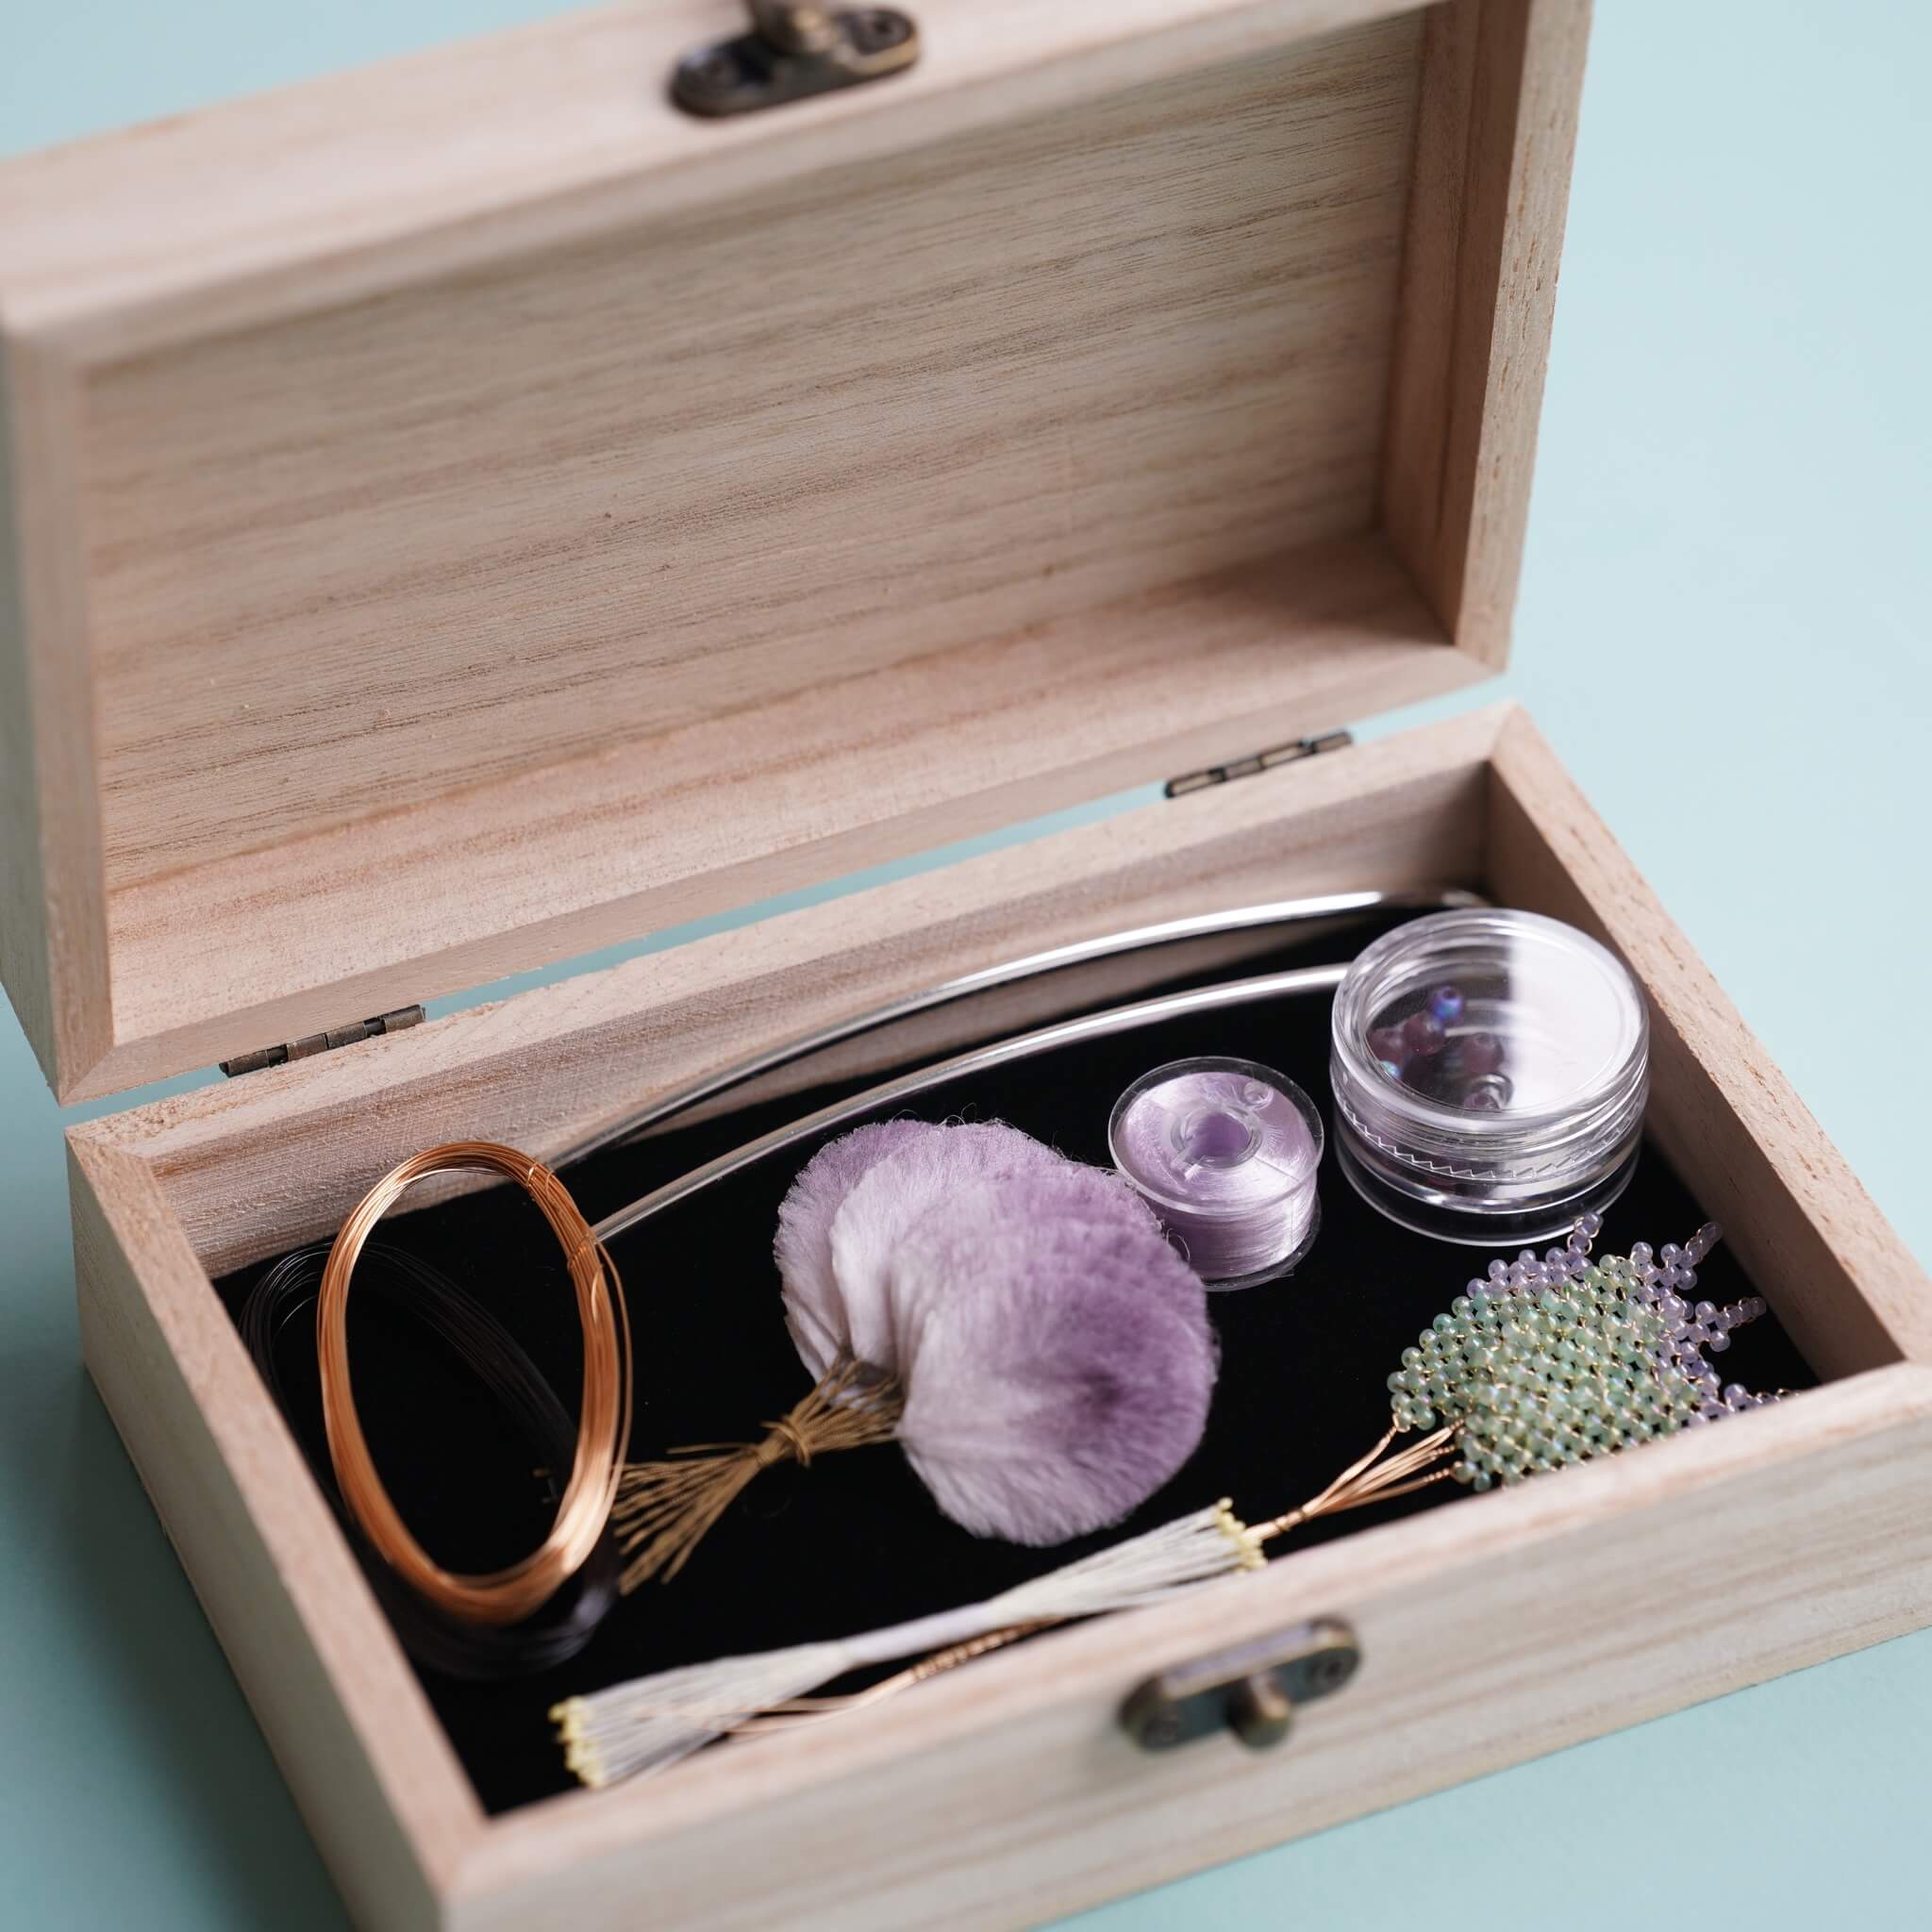
Usa una plancha para presionar las tiras de seda pre-hechas hasta que estén lisas. Corta un trozo de alambre de cobre, de unos diez a quince centímetros de largo, dóblalo por la mitad y tuerce los extremos firmemente juntos. Usa una tabla para torcer alambre para torcer el alambre lo más apretado posible. Luego presiona el alambre en forma usando un molde. Ajusta el alambre con pinzas para asegurarte de que no haya espacios entre el alambre y el molde. Una vez que esté formado, retíralo del molde. Repite este proceso para el resto de las formas de pétalos. Necesitamos hacer un total de dos flores, lo que significa 14 pétalos.

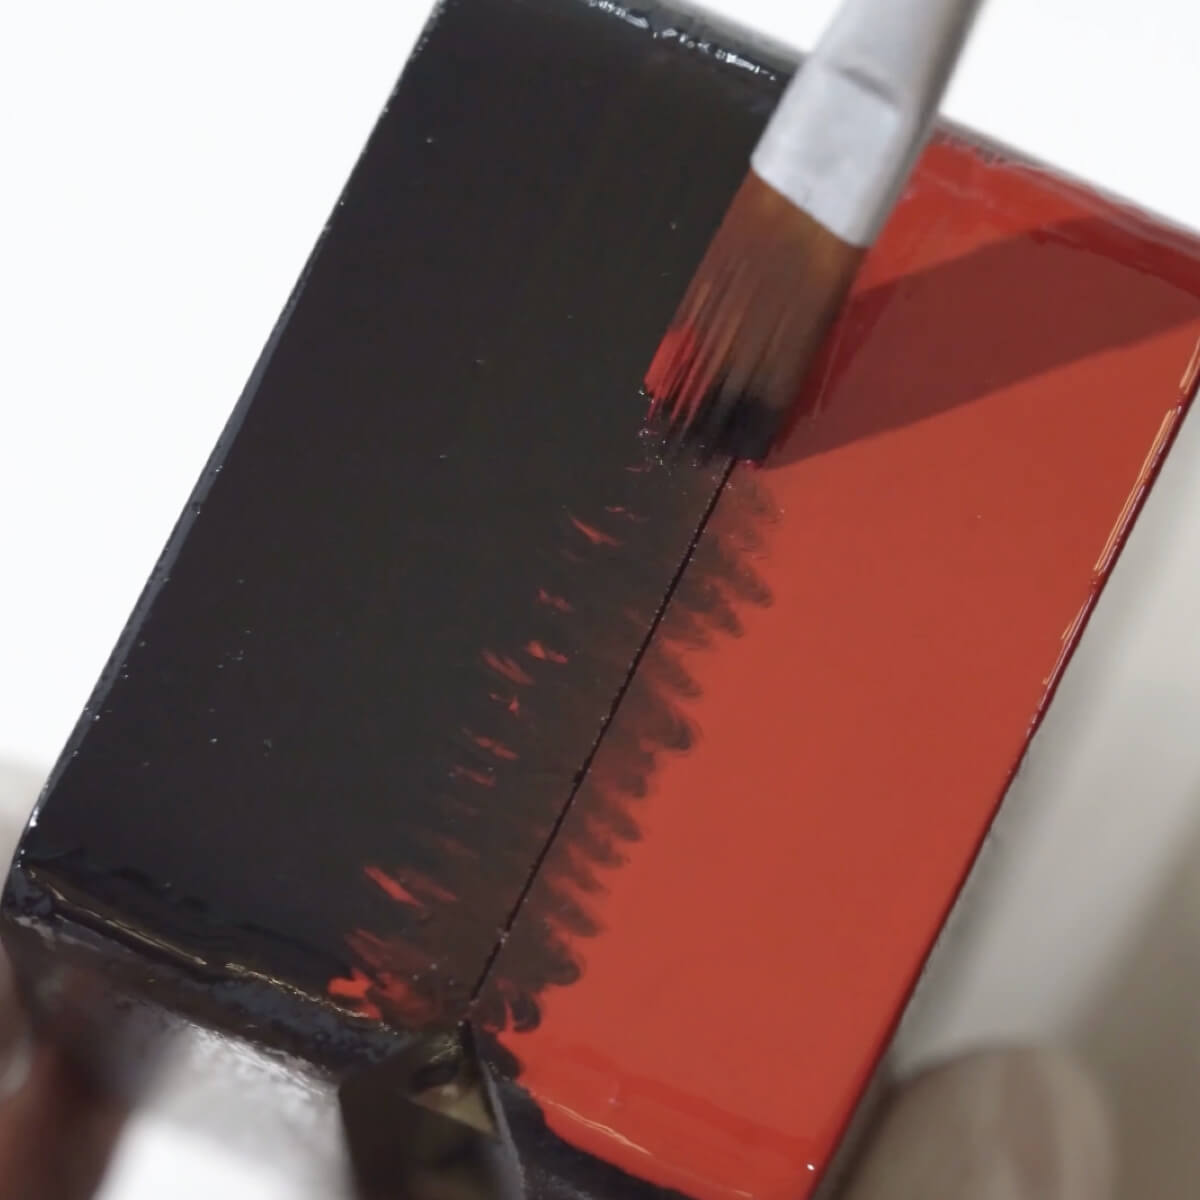
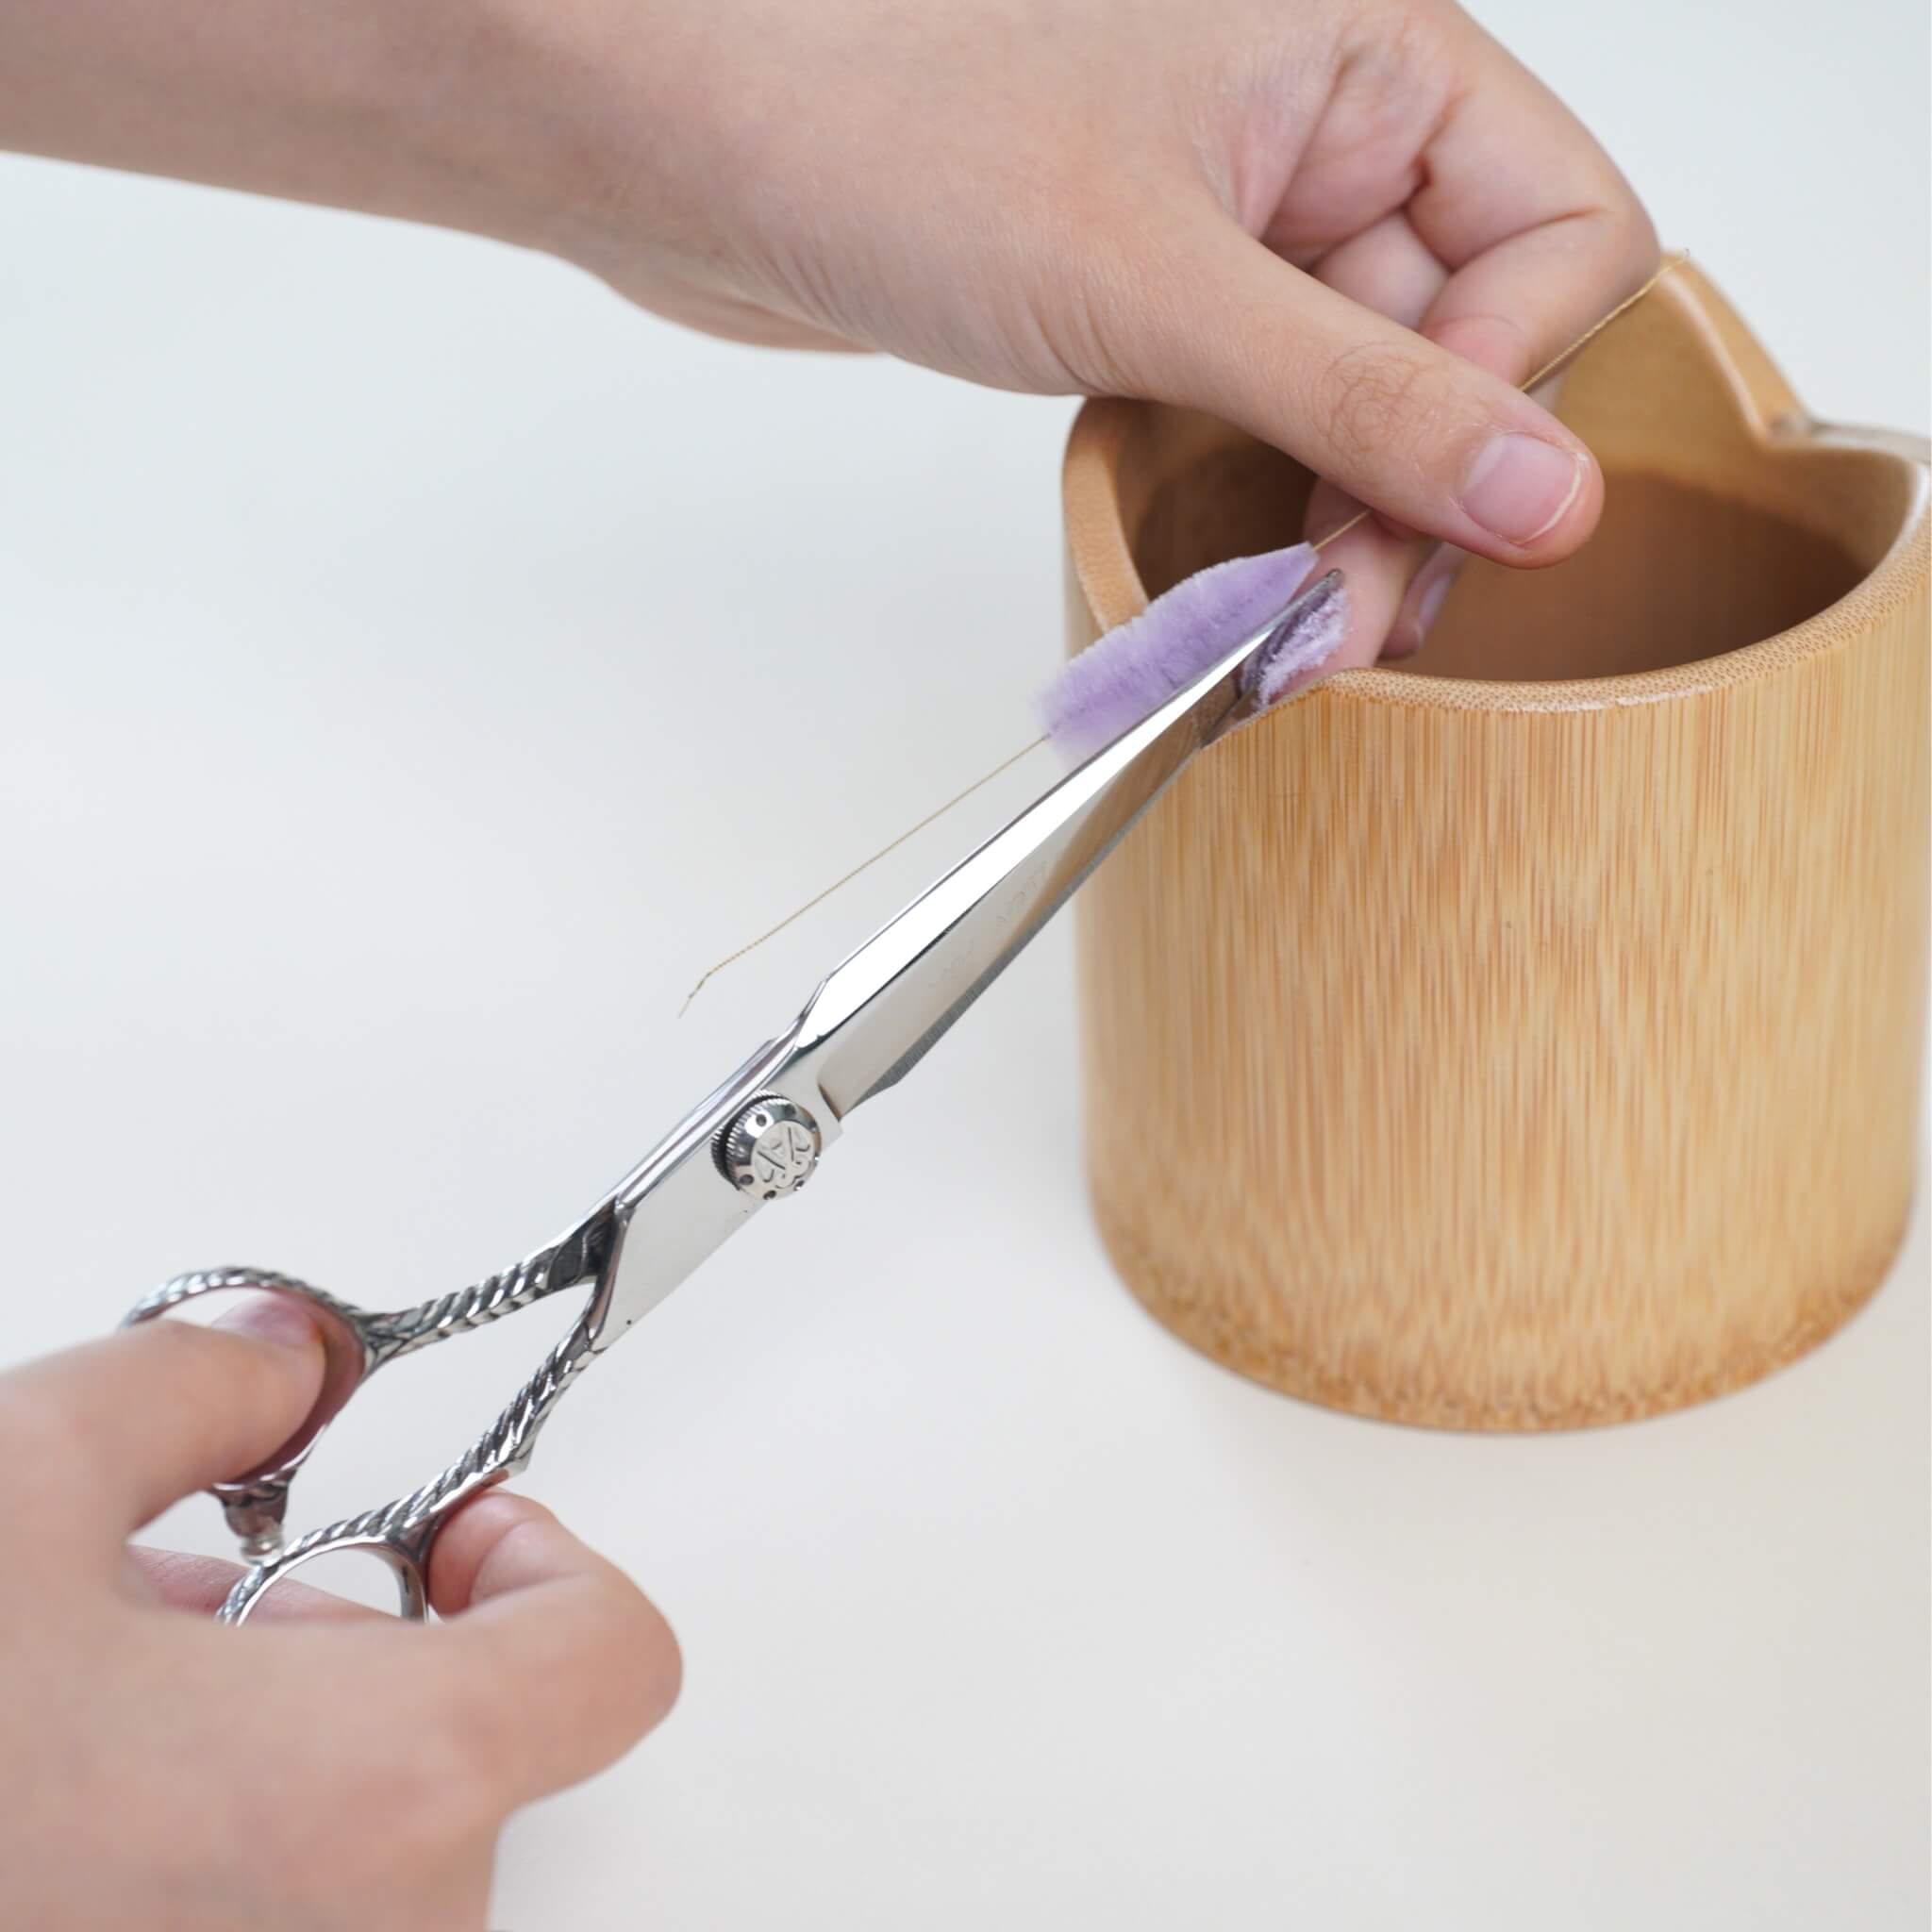
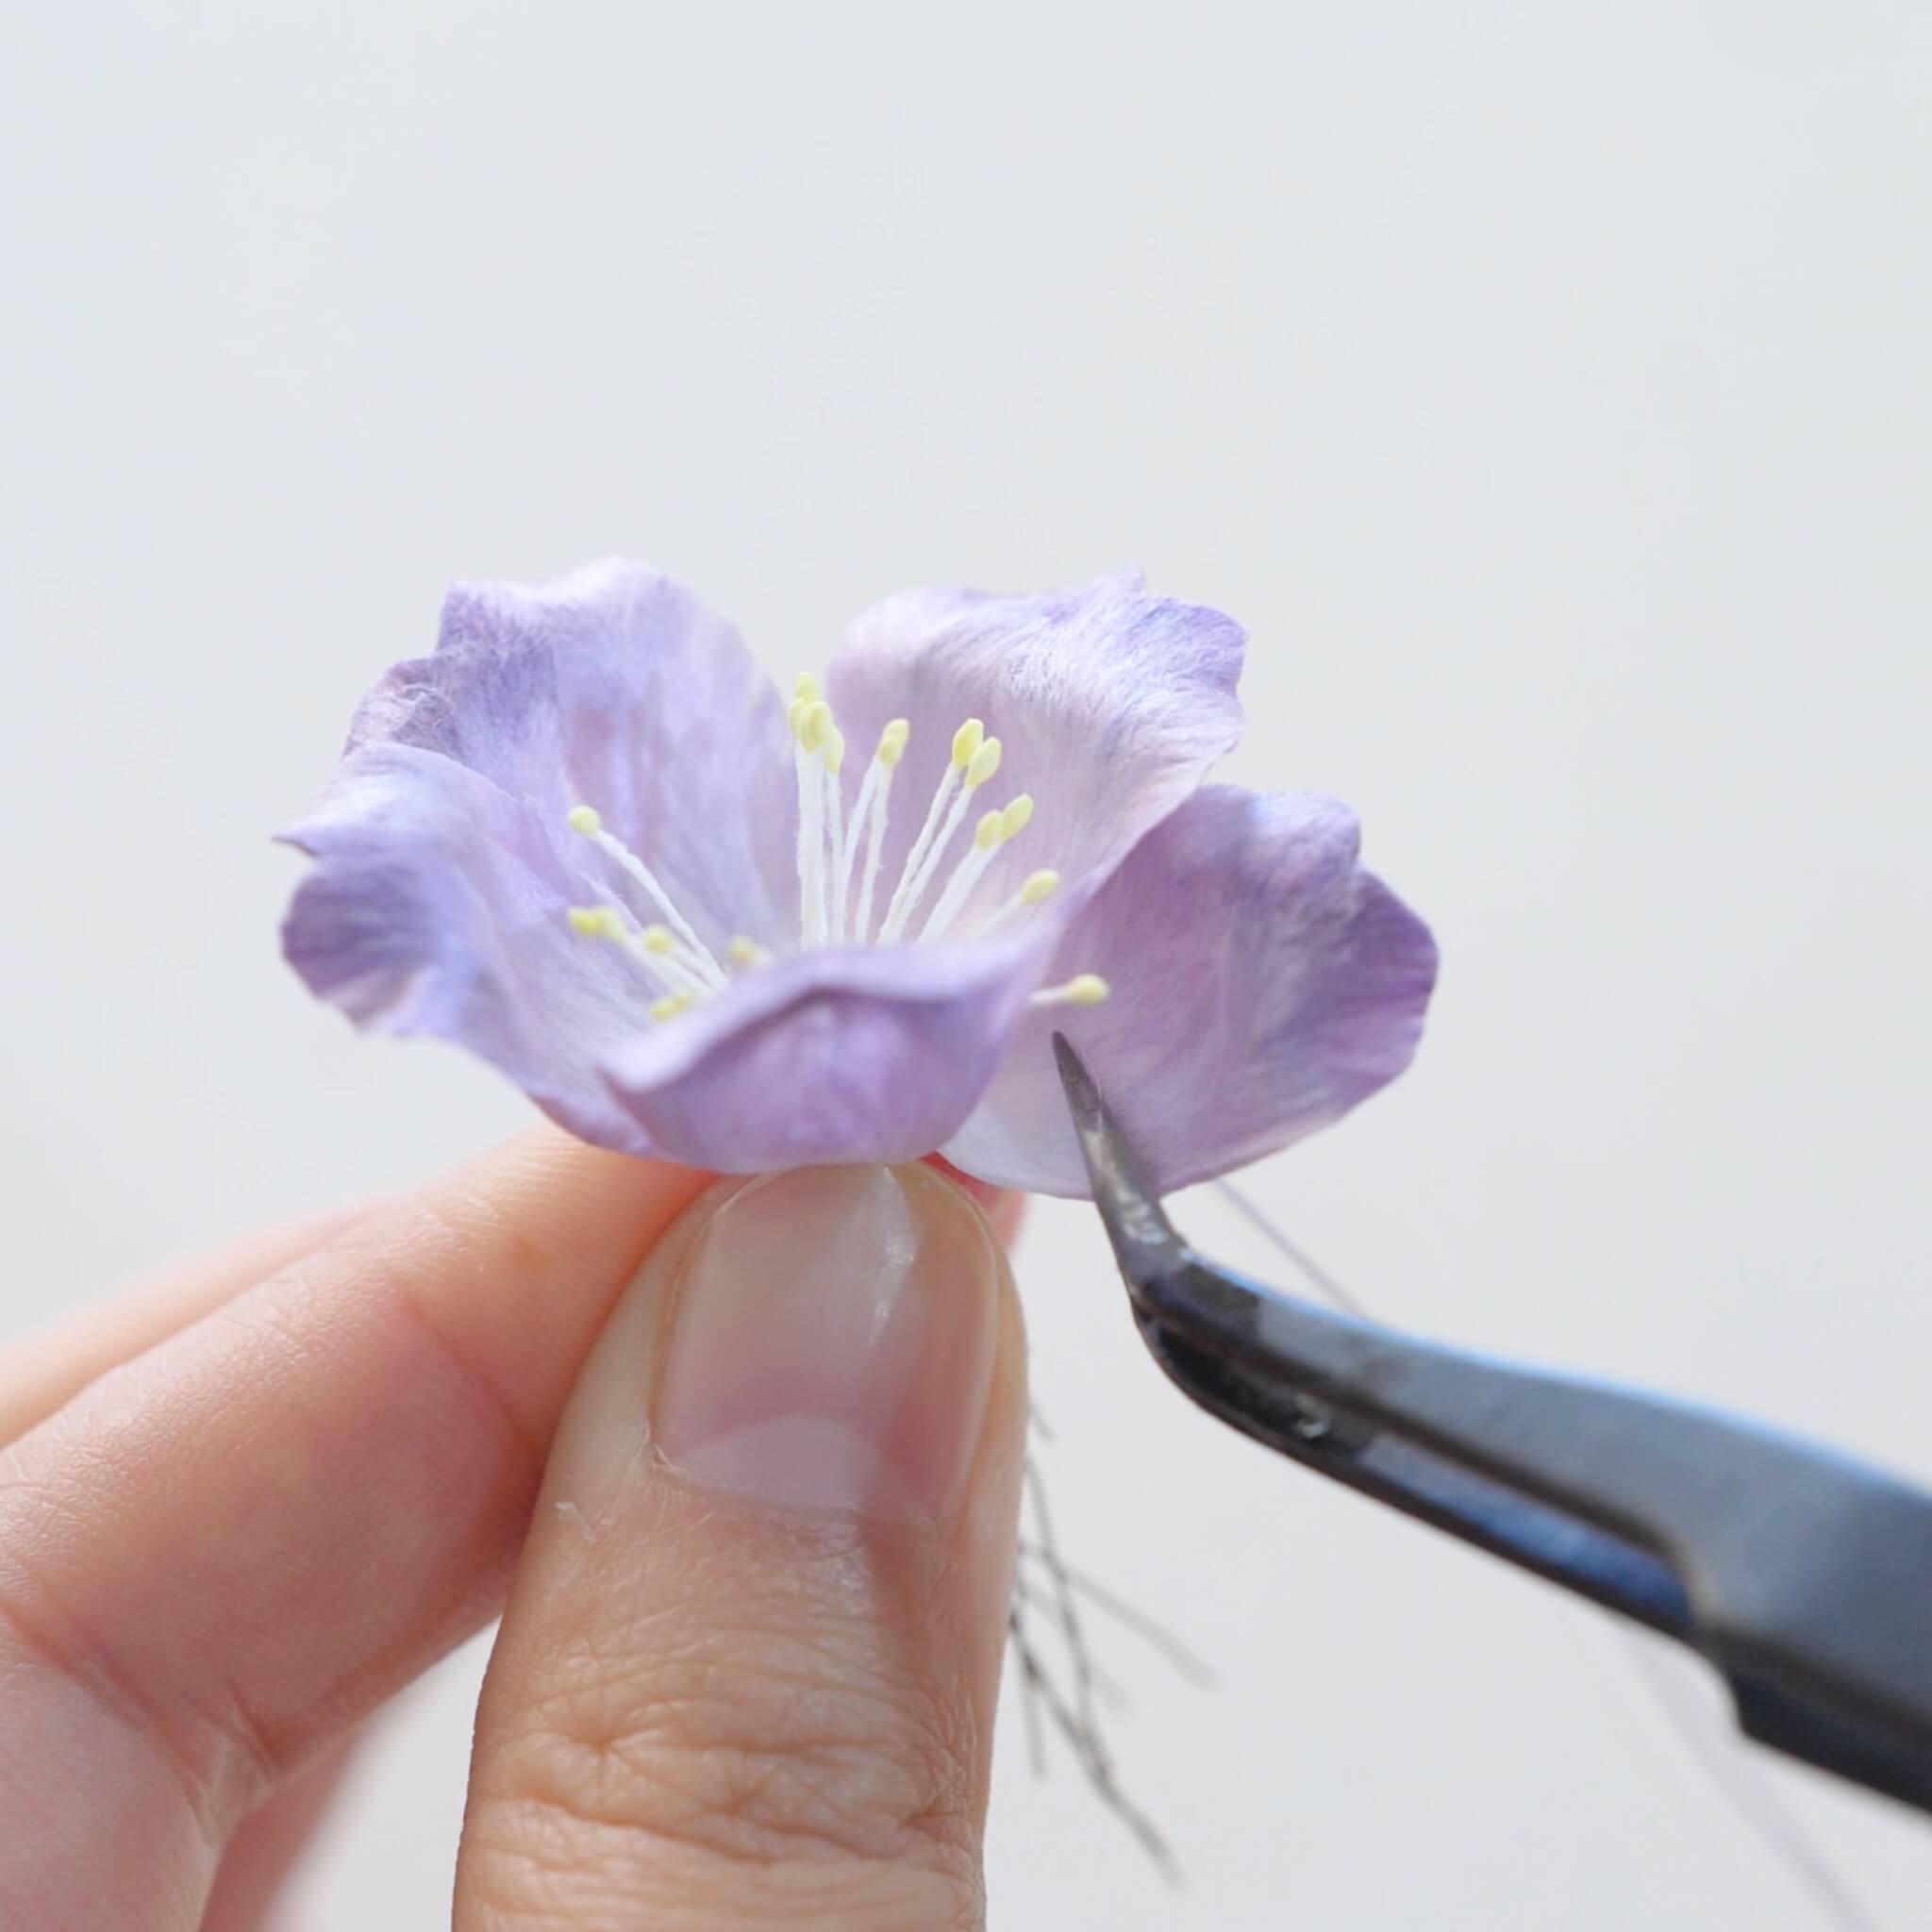
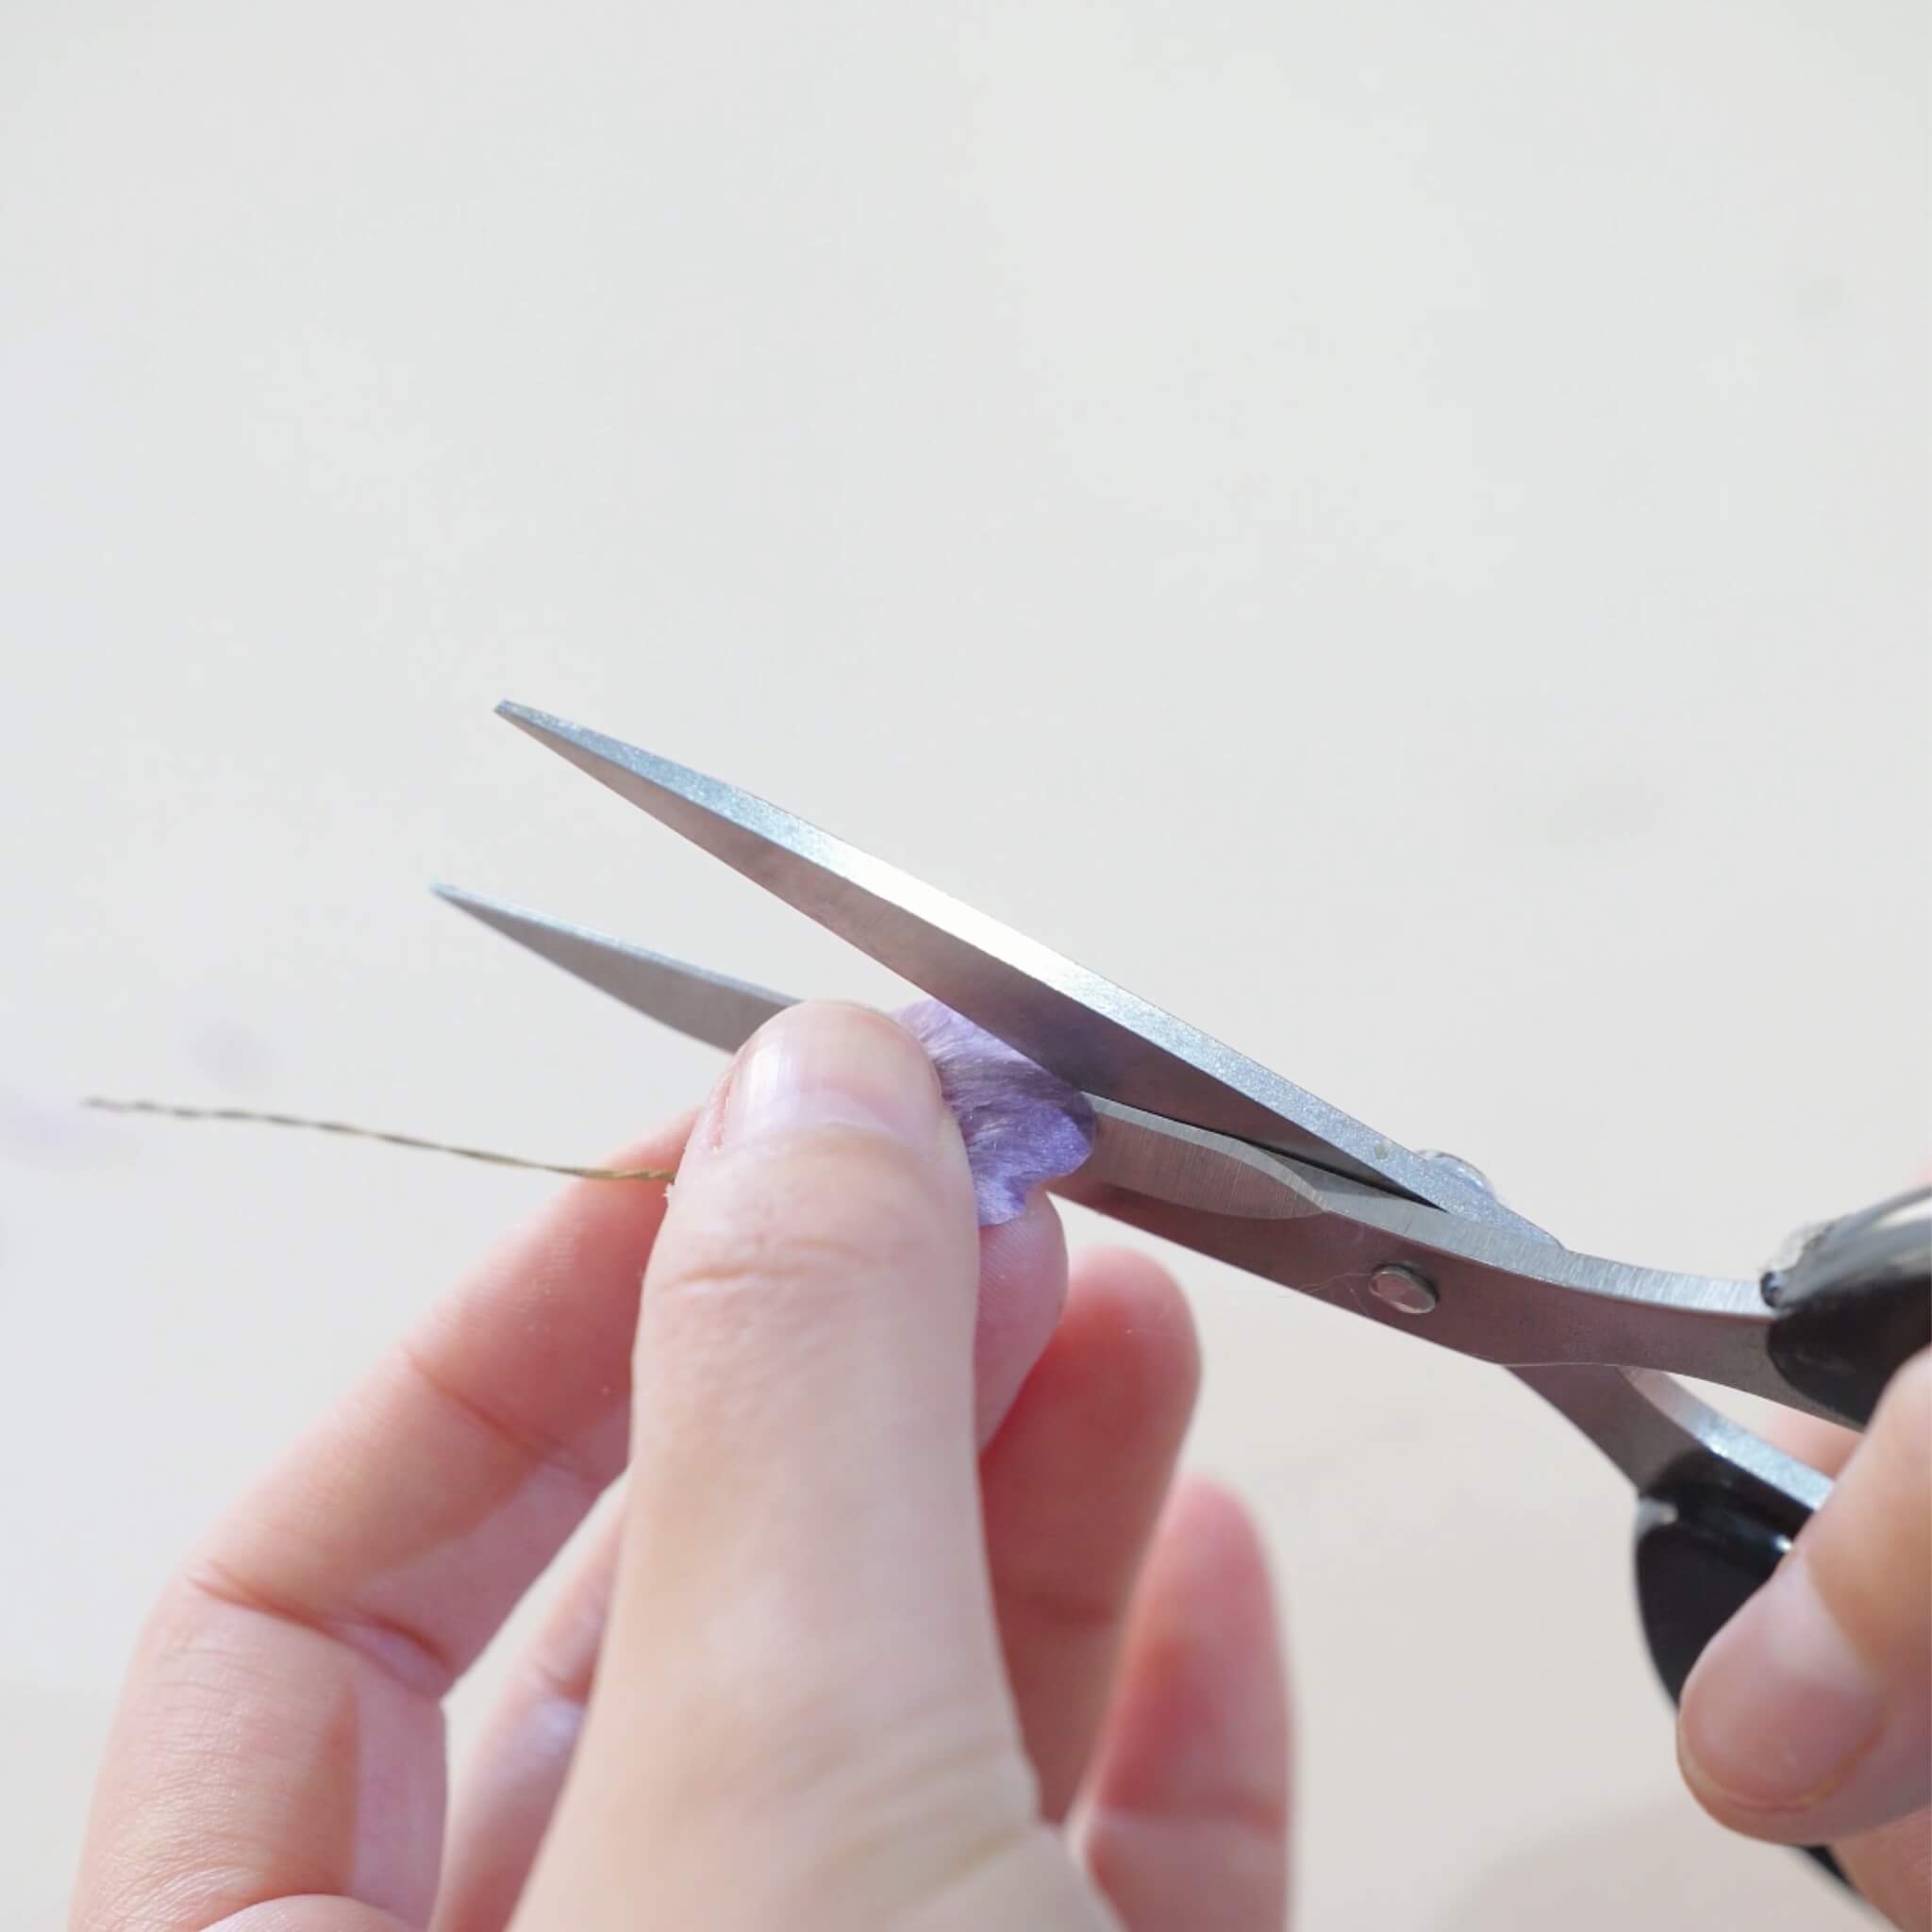
Aplica pegamento para joyería en el alambre, asegurándote de que el pegamento no sobrepase el borde del alambre. Presiona el alambre sobre la tira de seda y usa la plancha para aplanar y unirlos, asegurando que no haya espacios entre el alambre y la seda. Para formas de pétalos más pequeñas, puedes pegar dos piezas en una sola tira. Recorta el exceso de tira de seda que sobresalga del alambre. Para áreas donde las tijeras no lleguen, usa un cuchillo de manualidades. Si los bordes están deshilachados, puedes usar un encendedor para quemarlos ligeramente. Sin embargo, la llama puede dejar algunas marcas negras—evita este método si eso es un problema. Necesitarás 14 pétalos en total para hacer las dos flores. Cada tira de seda debe ser prensada con una plancha para crear una ligera curva.


Paso 2: Hacer las borlas y ensamblar los pétalos 09:04~fin
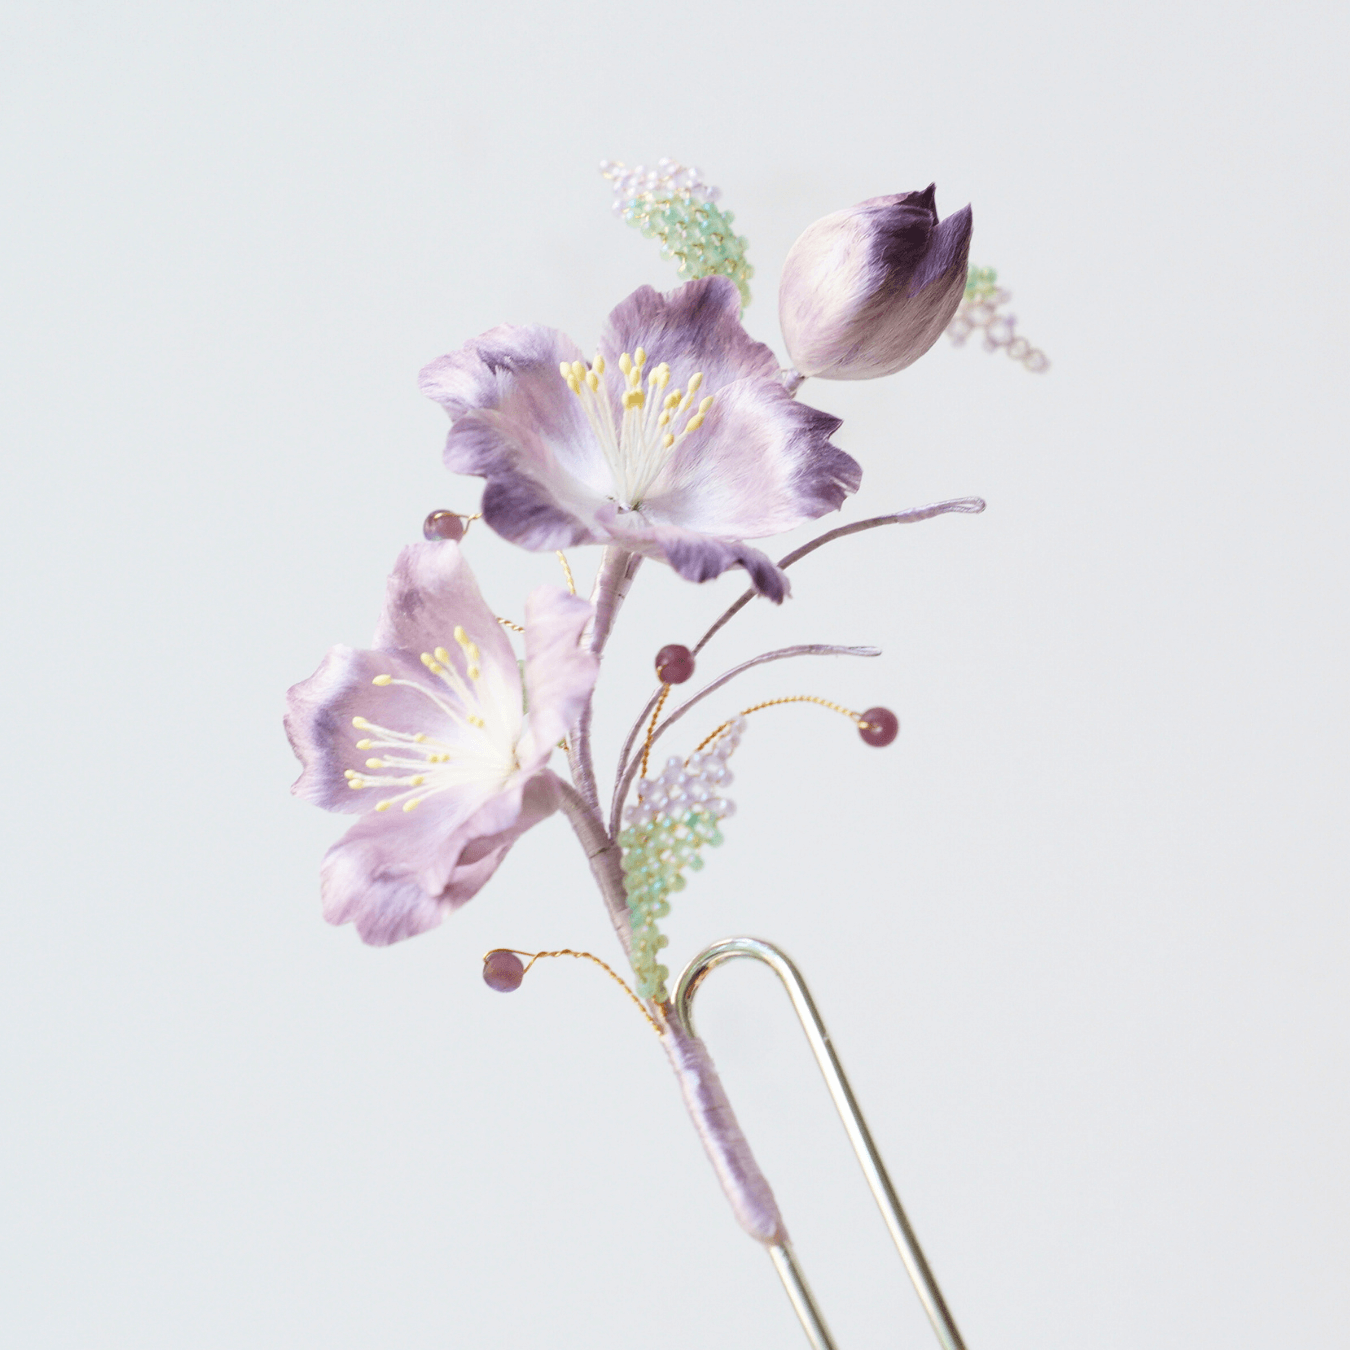
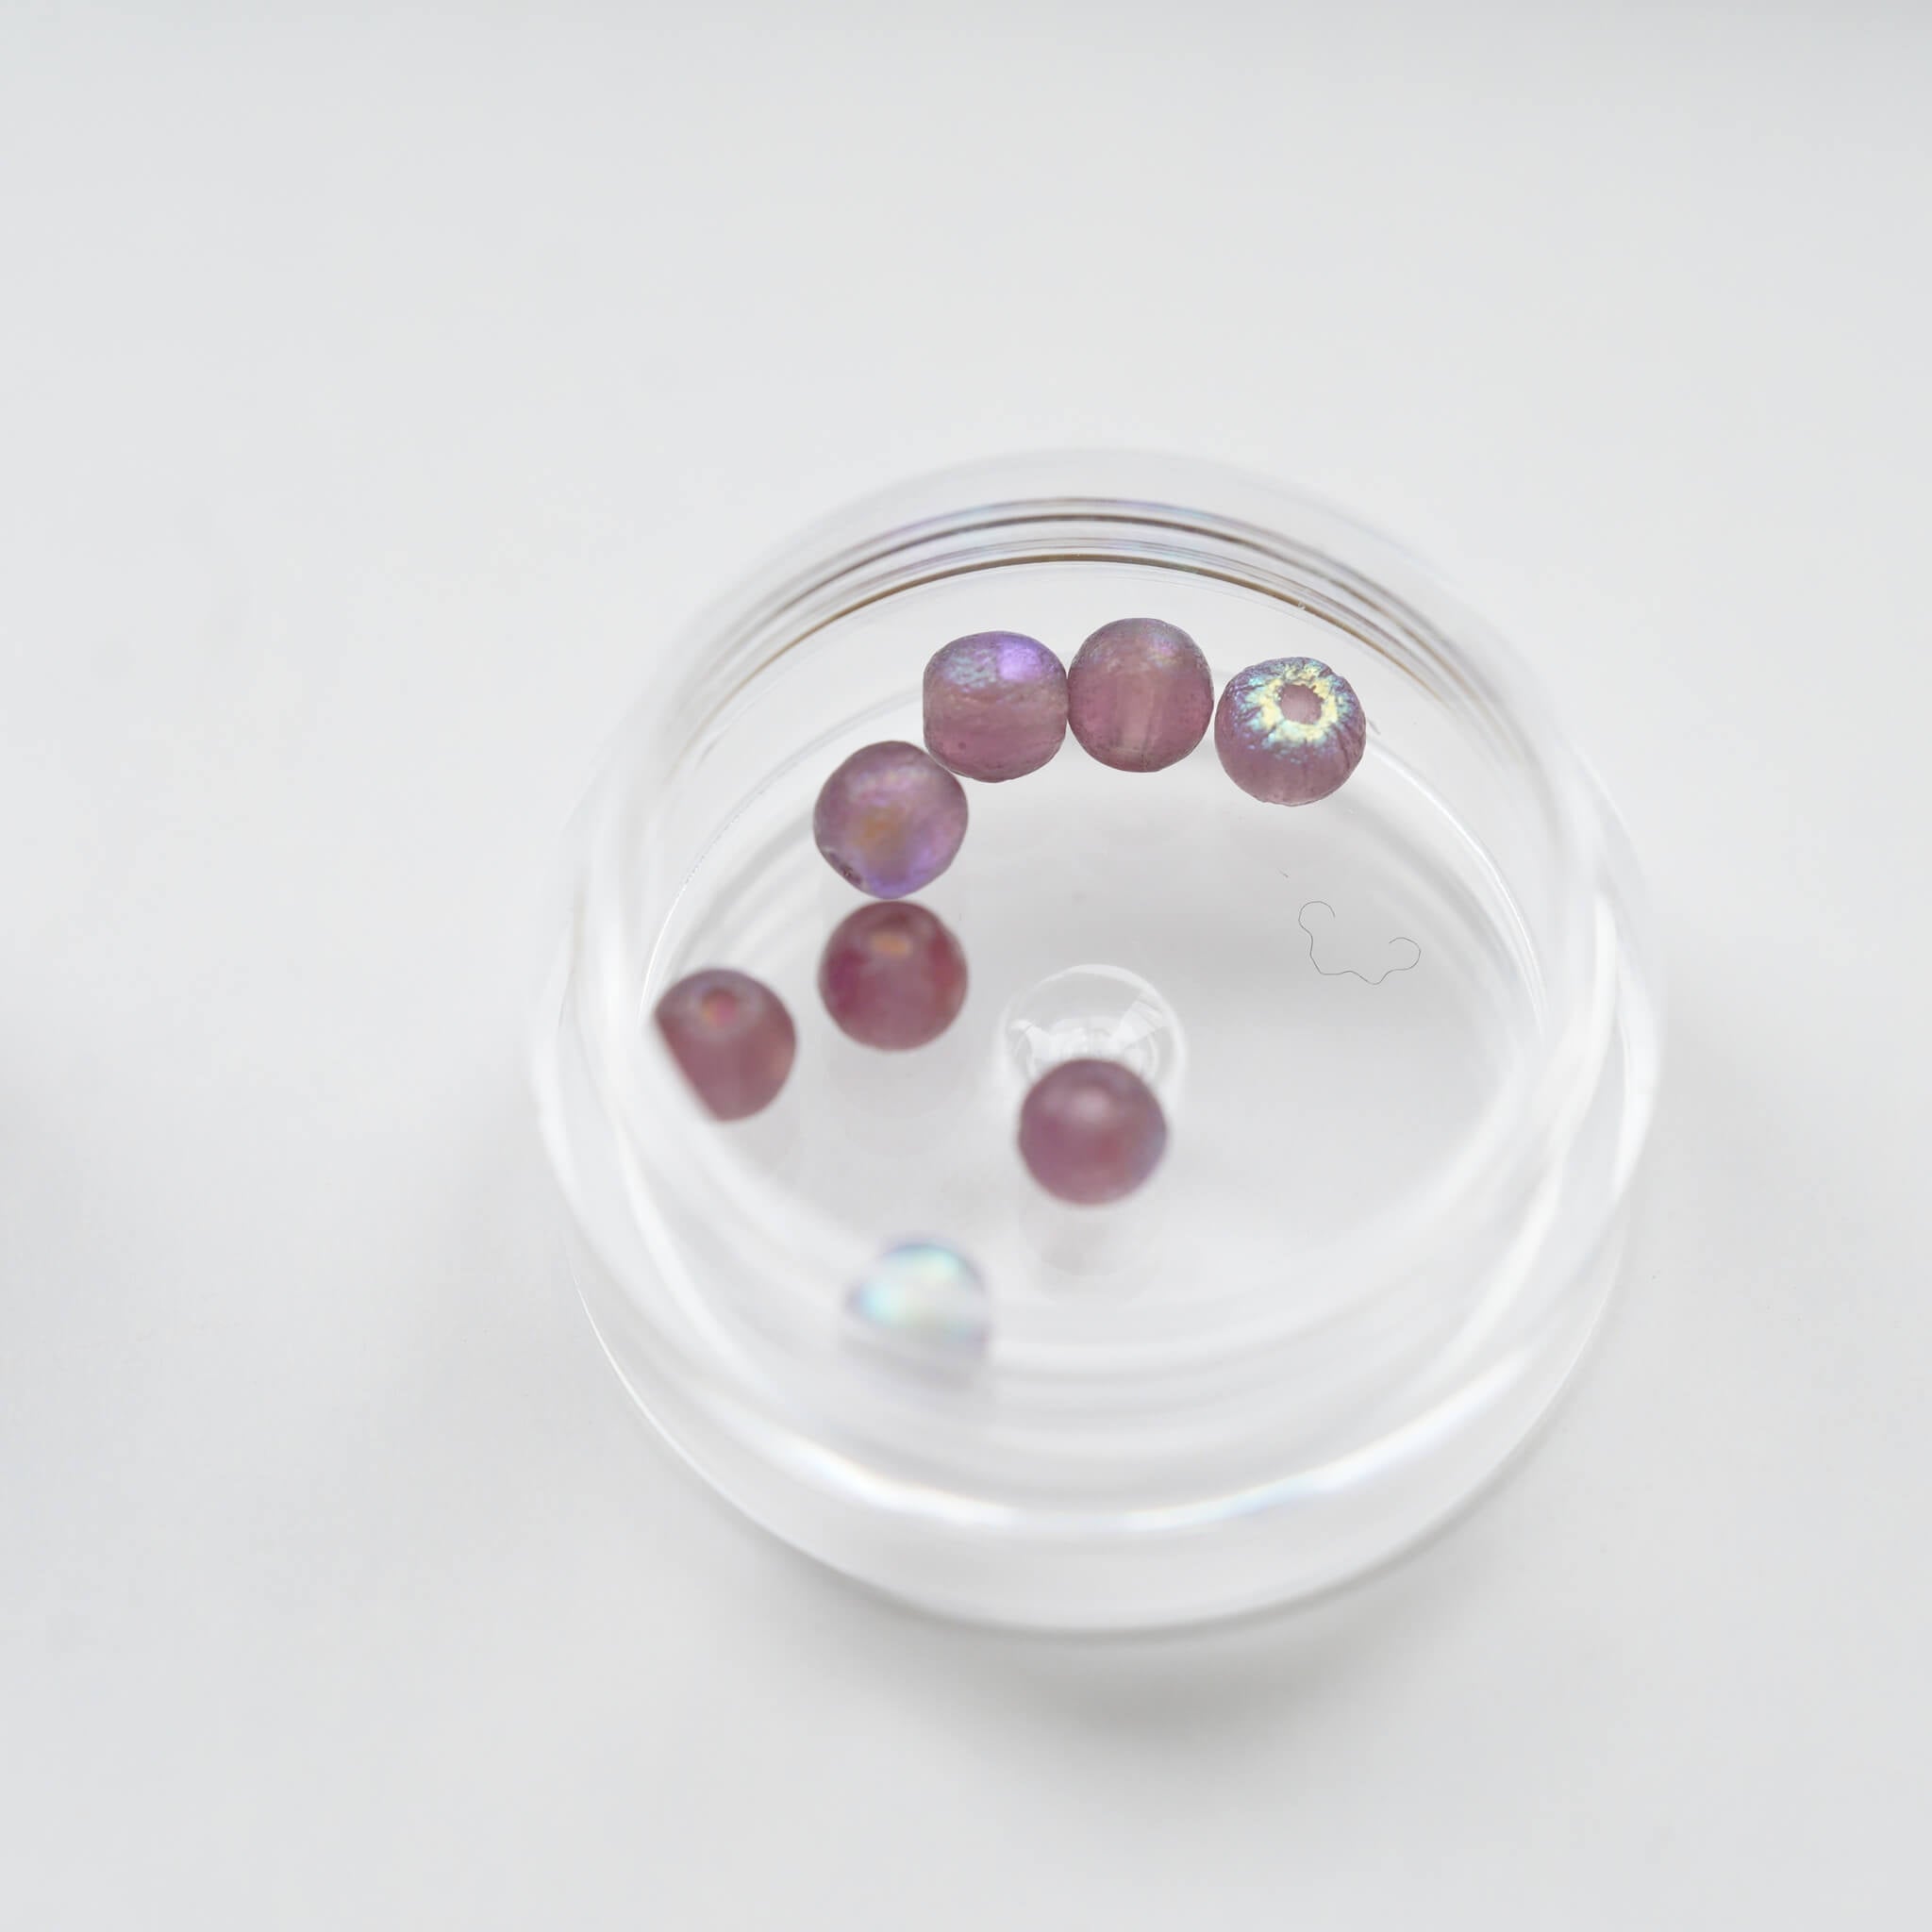
Toma una perla y enhebrala en un trozo de alambre de cobre, luego tuerce el alambre firmemente para asegurar la perla. A continuación, comienza a ensamblar la primera flor. Empieza asegurando juntos el hilo de seda y el alambre de cobre. Para la primera capa, fija dos pétalos de tamaño mediano. Para la segunda capa, fija dos de los pétalos más grandes. Detrás de los pétalos grandes, añade un pétalo número 2. El pétalo más pequeño debe ir en la parte inferior. Los pétalos de la izquierda y la derecha deben ser simétricos—ajusta sus posiciones conforme avances. Envuelve todo el alambre de cobre con hilo de seda, asegurándote de que no haya espacios mientras envuelves. Una vez que hayas envuelto hasta la base, haz un nudo para terminar y corta el hilo sobrante.


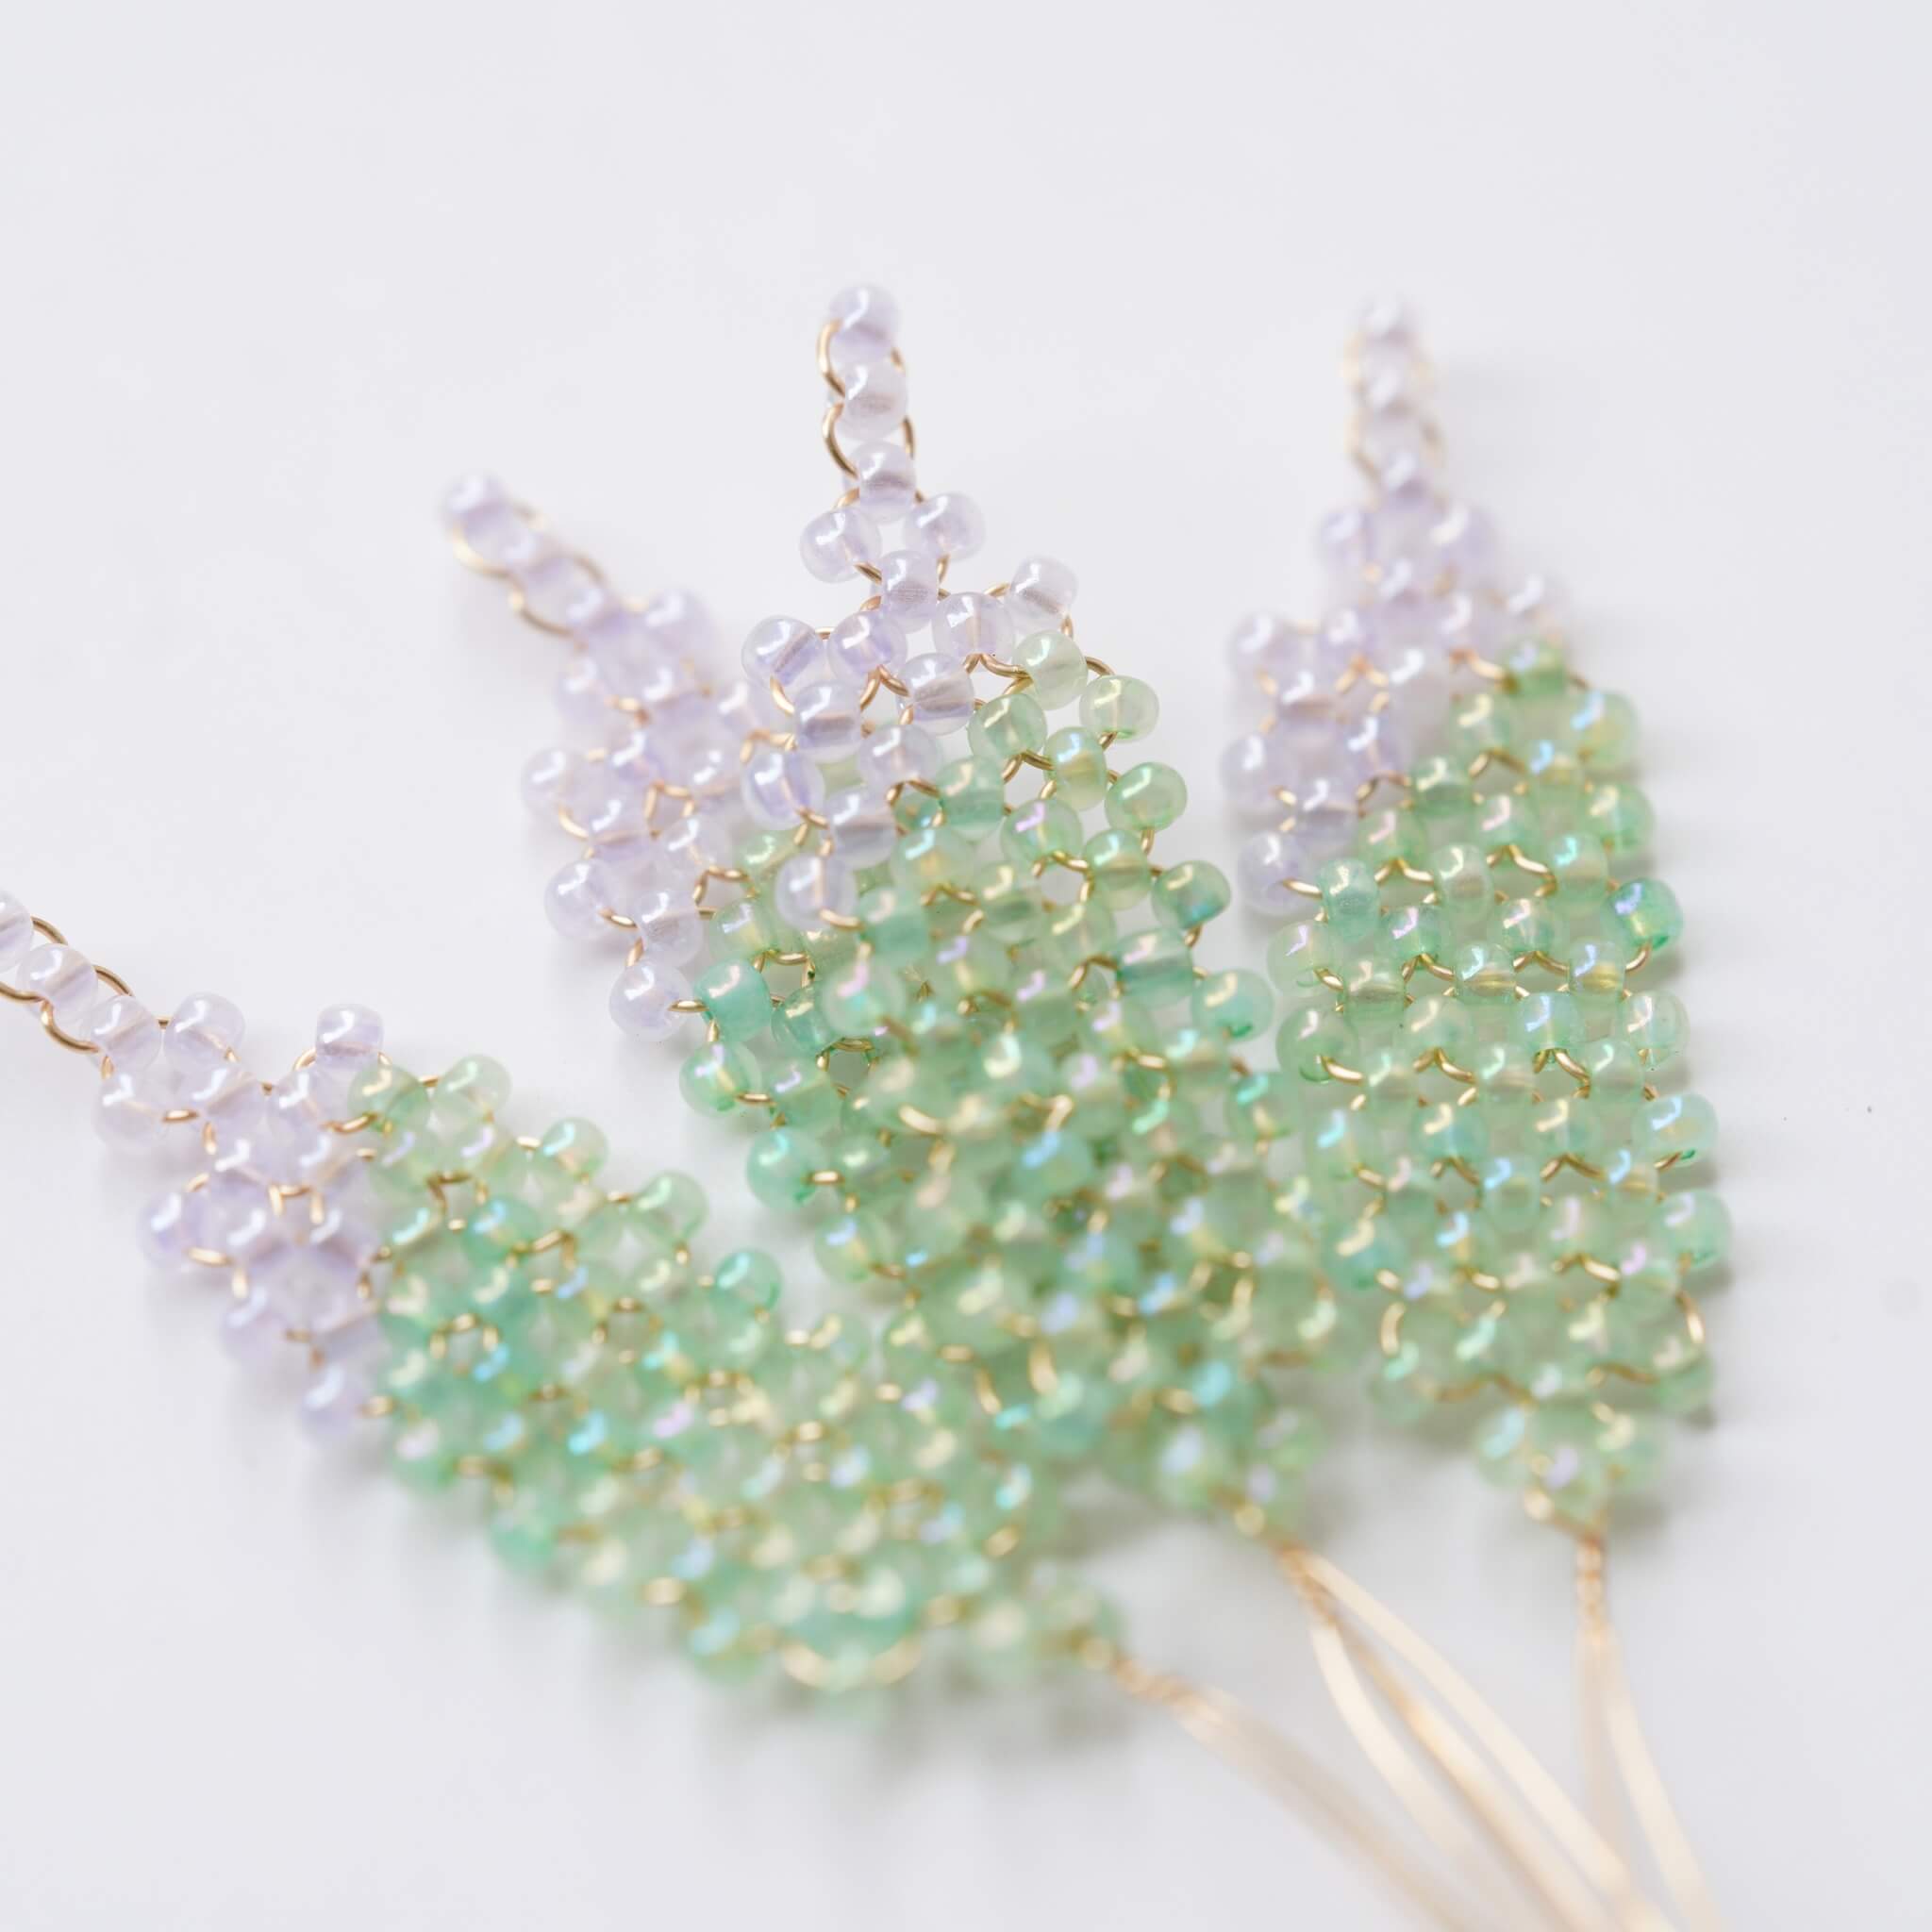
Prepara cuatro cuentas verde claro. Enhebra cada una en un alfiler de cabeza, seguido de tres cuentas pequeñas transparentes. Usa alicates para formar un lazo con el alambre restante del alfiler para evitar que las cuentas se caigan. Necesitarás un total de cuatro colgantes de borla. Prepara cuatro piezas de alambre de cobre, cada una de aproximadamente 8–10 cm de largo. Dobla cada una por la mitad y tuércelas firmemente, dejando un pequeño lazo en la parte superior. Necesitarás cuatro de estos.

Ahora ensambla la flor y las piezas de alambre de cobre. Esconde el alambre detrás de la flor—no dejes que se vea demasiado. Envuelve todo el alambre de cobre con hilo de seda. Inserta el colgante a través del pequeño lazo, luego fija una herramienta de anillo al alambre de cobre en la parte trasera de la flor. Usa la abertura en la herramienta para girar el anillo de salto hasta cerrarlo firmemente. Asegúrate de que el anillo de salto esté cerrado sin espacios, o el colgante podría caerse.

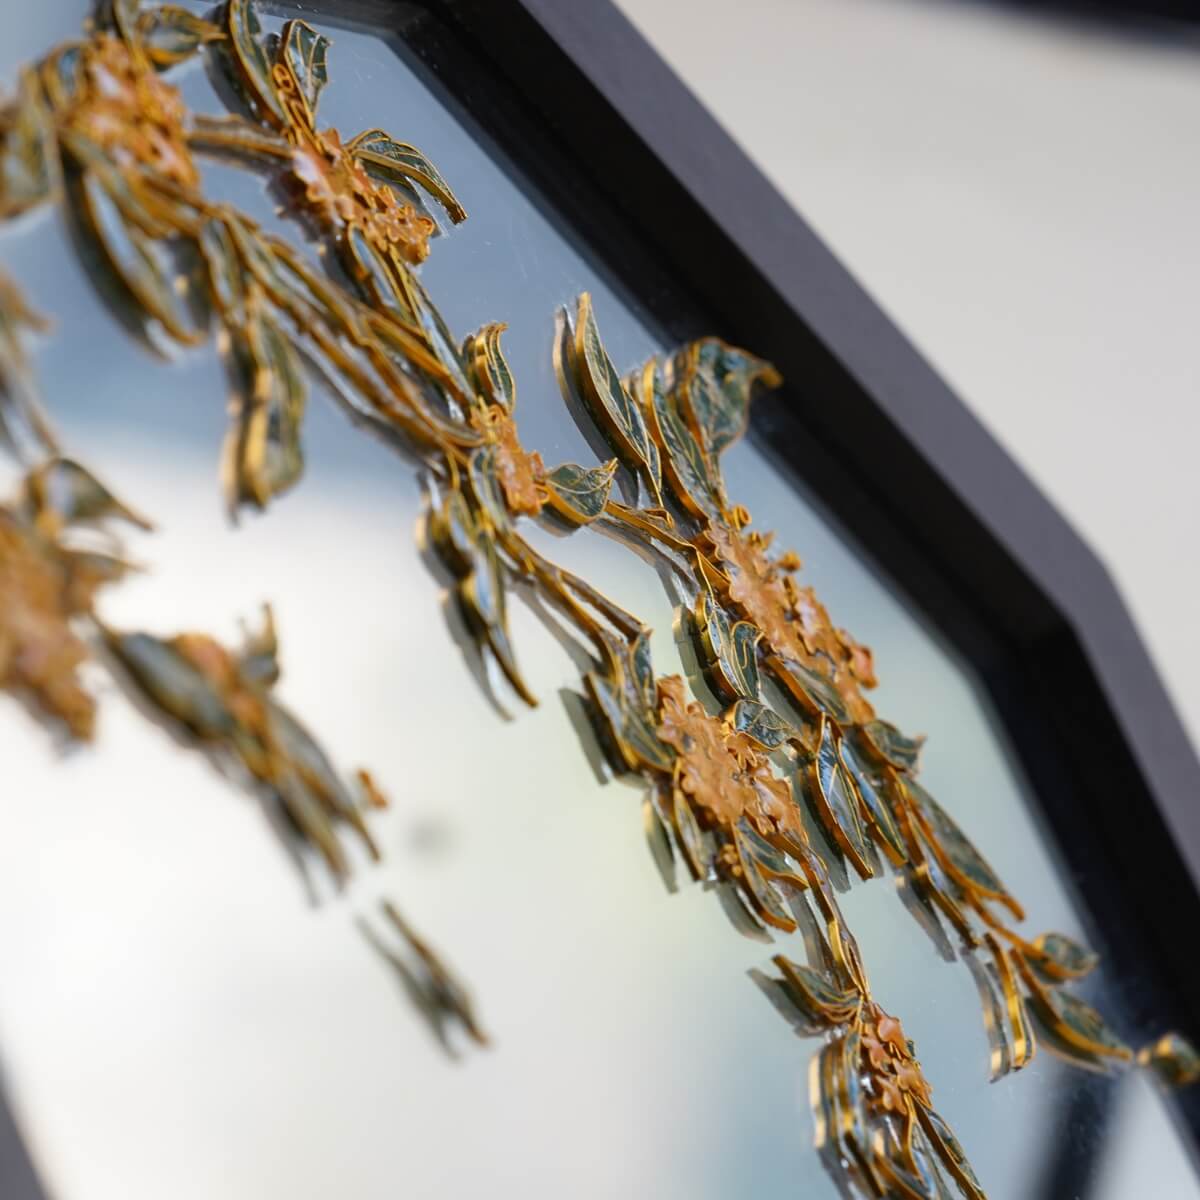
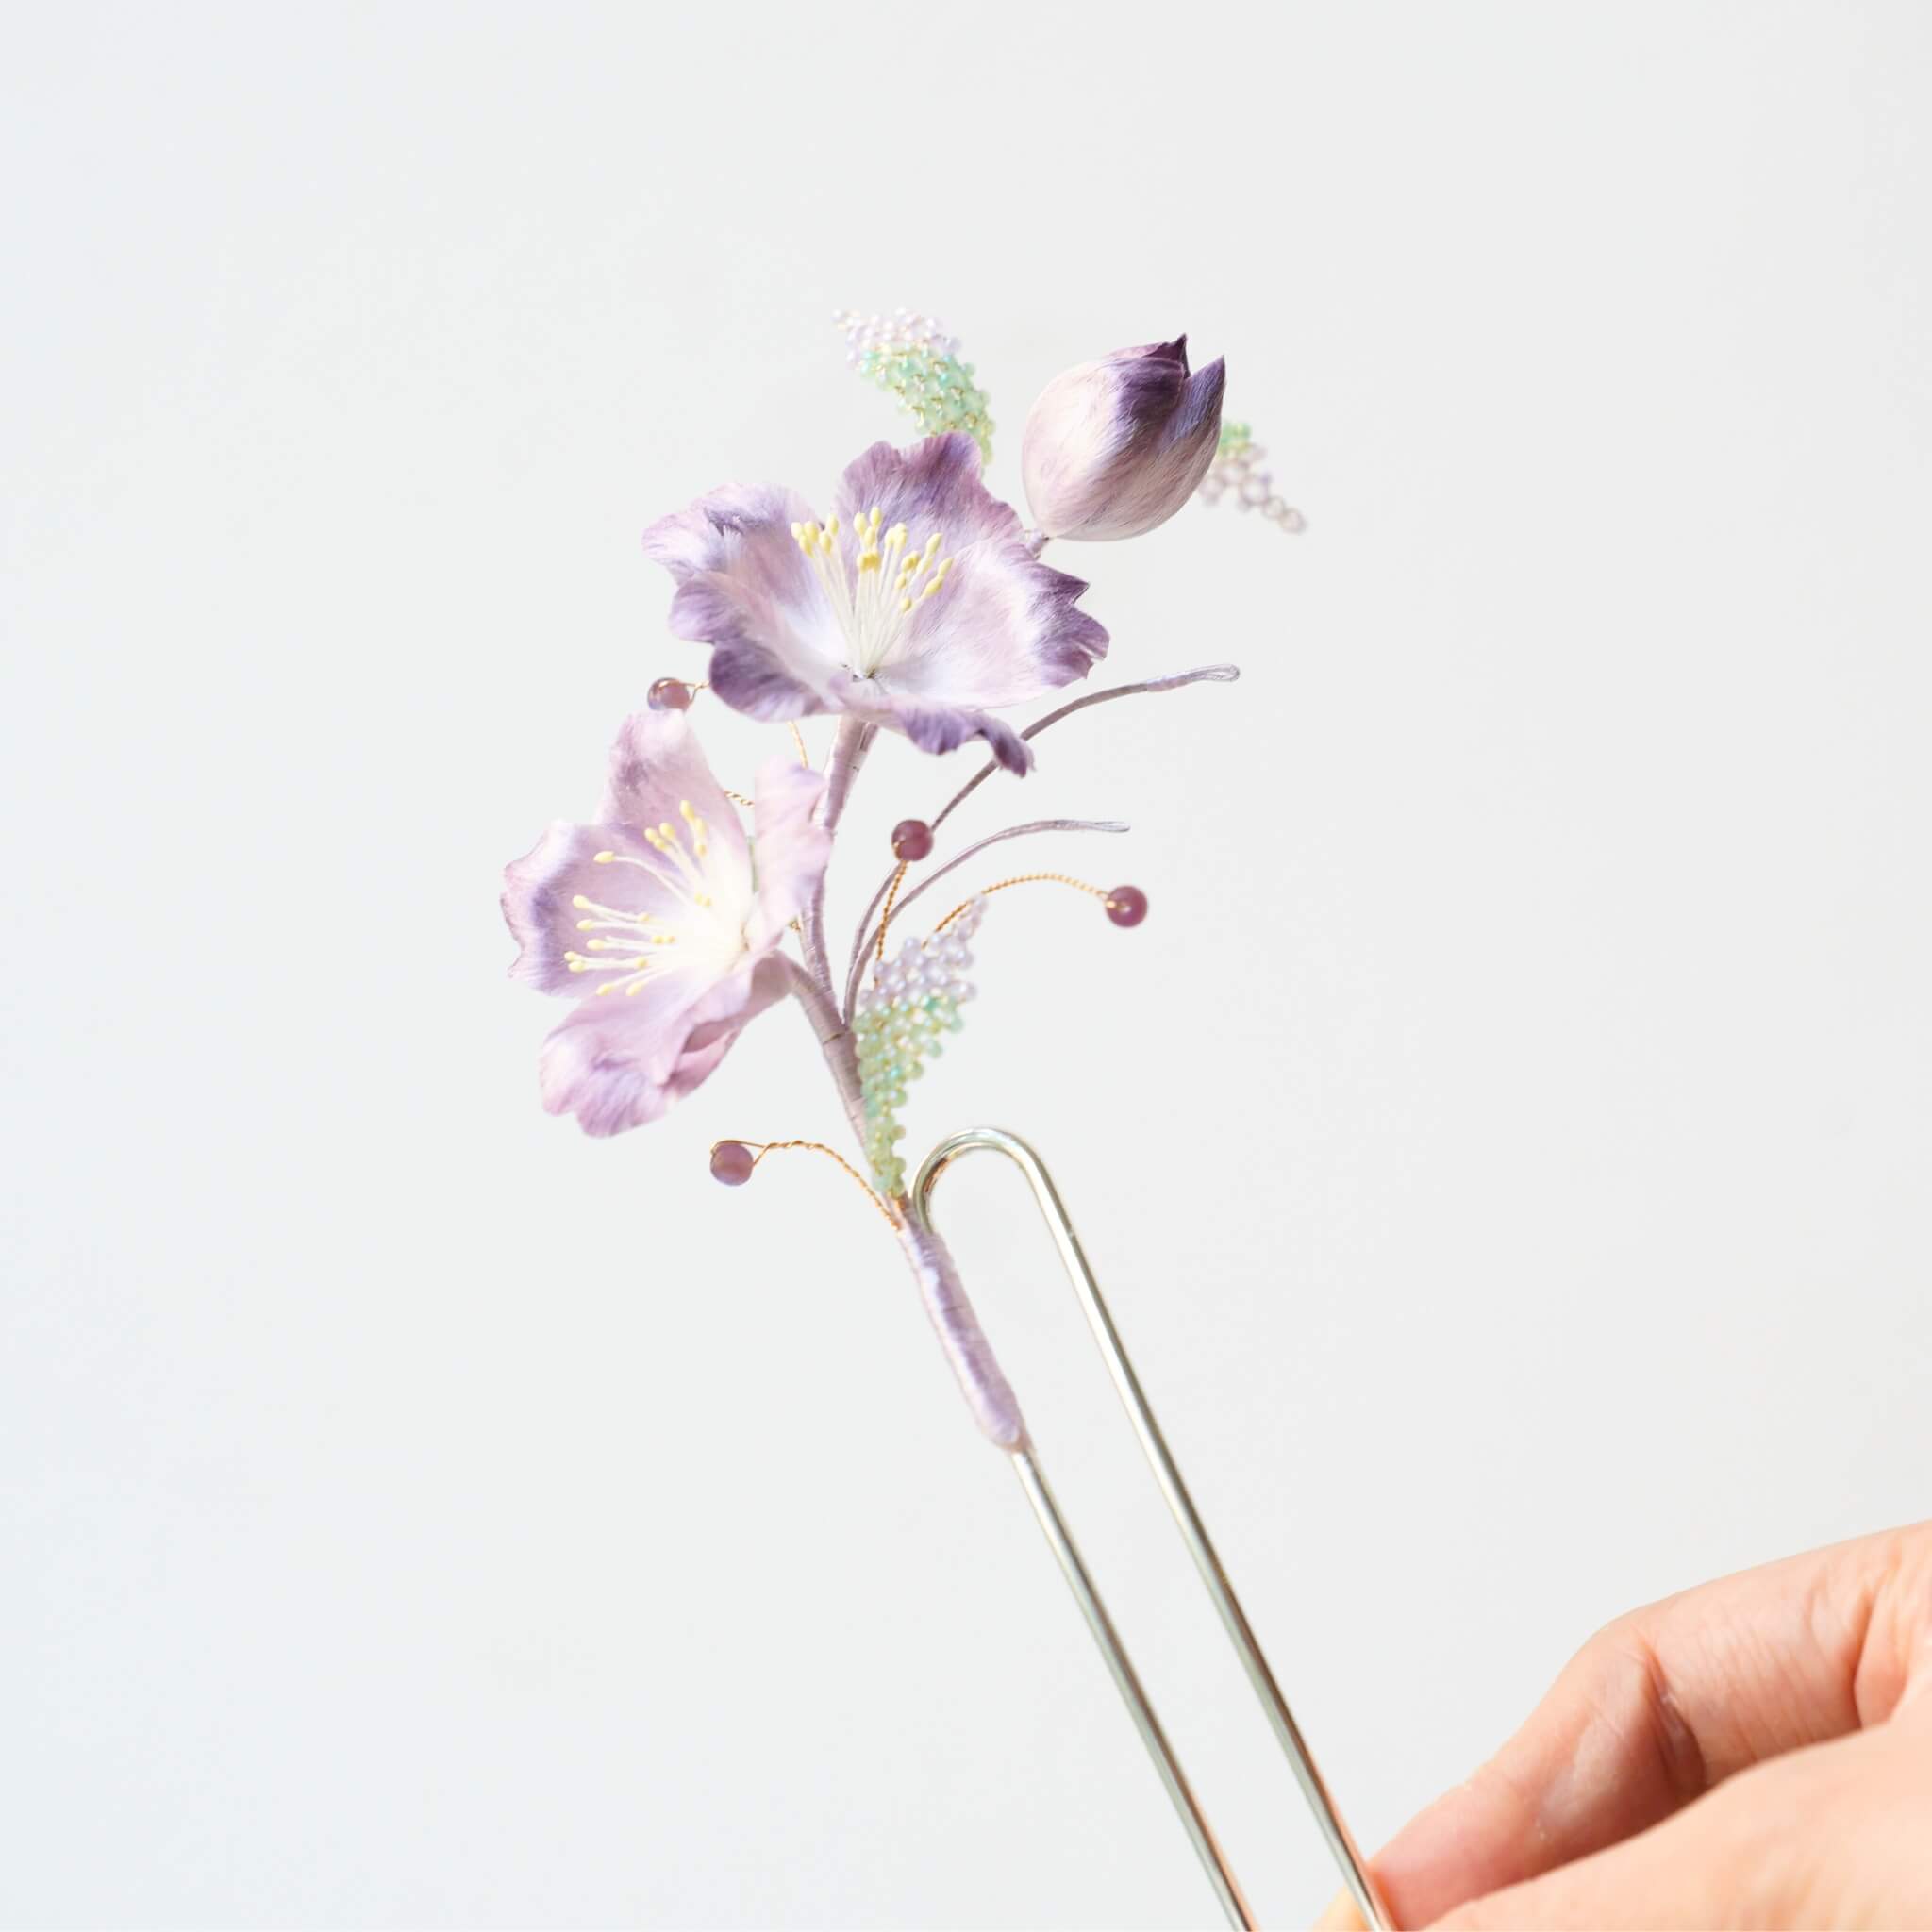
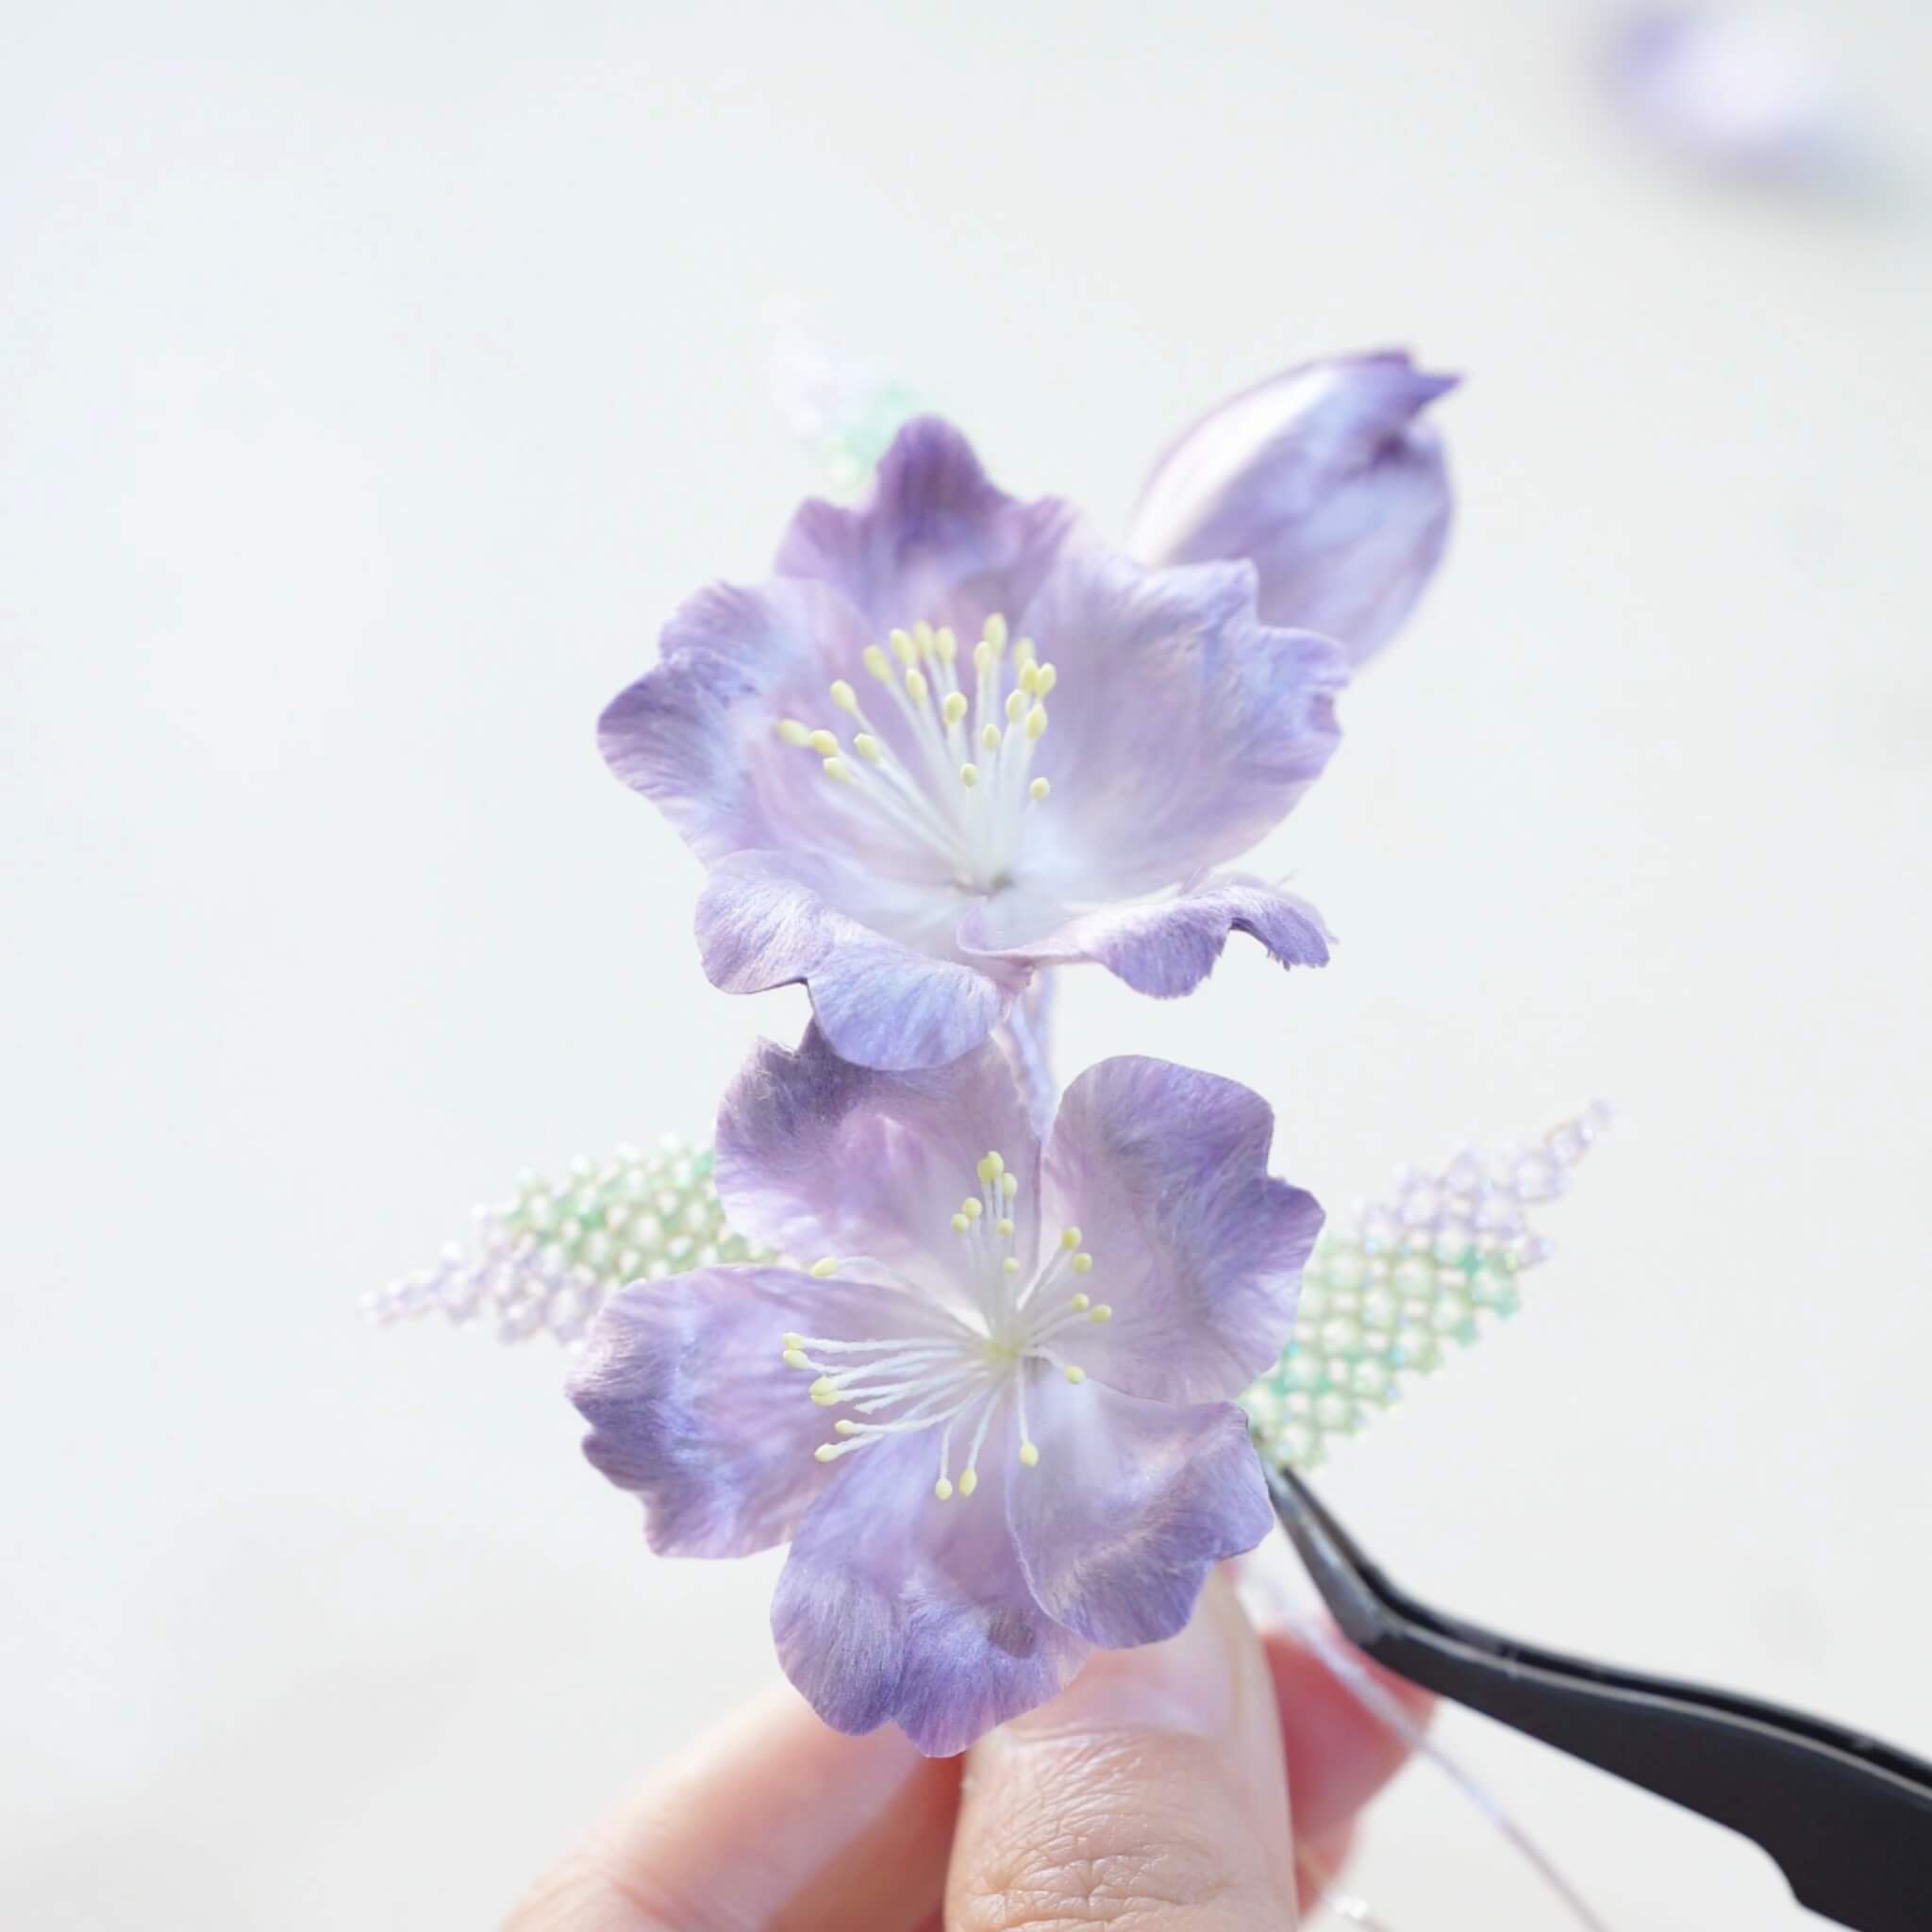
Harás dos flores en total. La segunda flor no necesita un colgante. Dobla el alambre de cobre en la parte trasera de la flor de seda en un ángulo de 90 grados. Ahora ensambla las dos flores de seda juntas. Recorta cualquier exceso de alambre y dobla el alambre al final. Continúa enrollando hilo de seda sobre el alambre doblado hasta cubrirlo completamente.

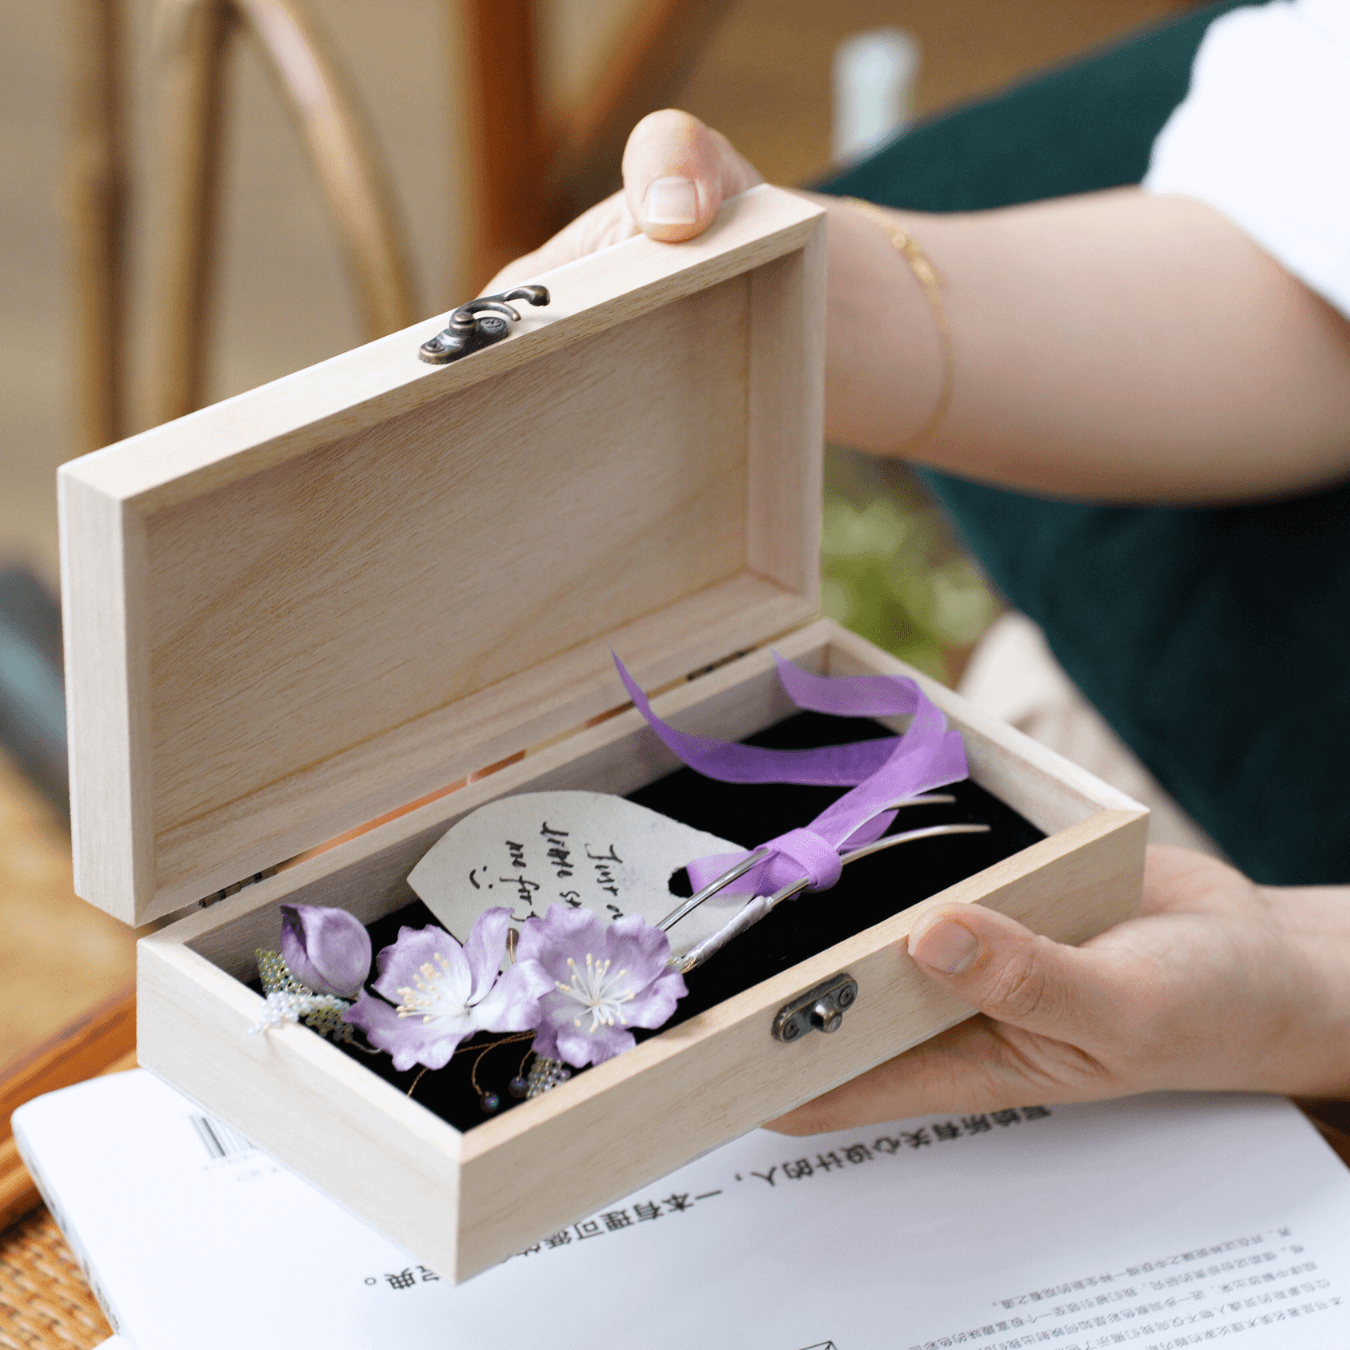
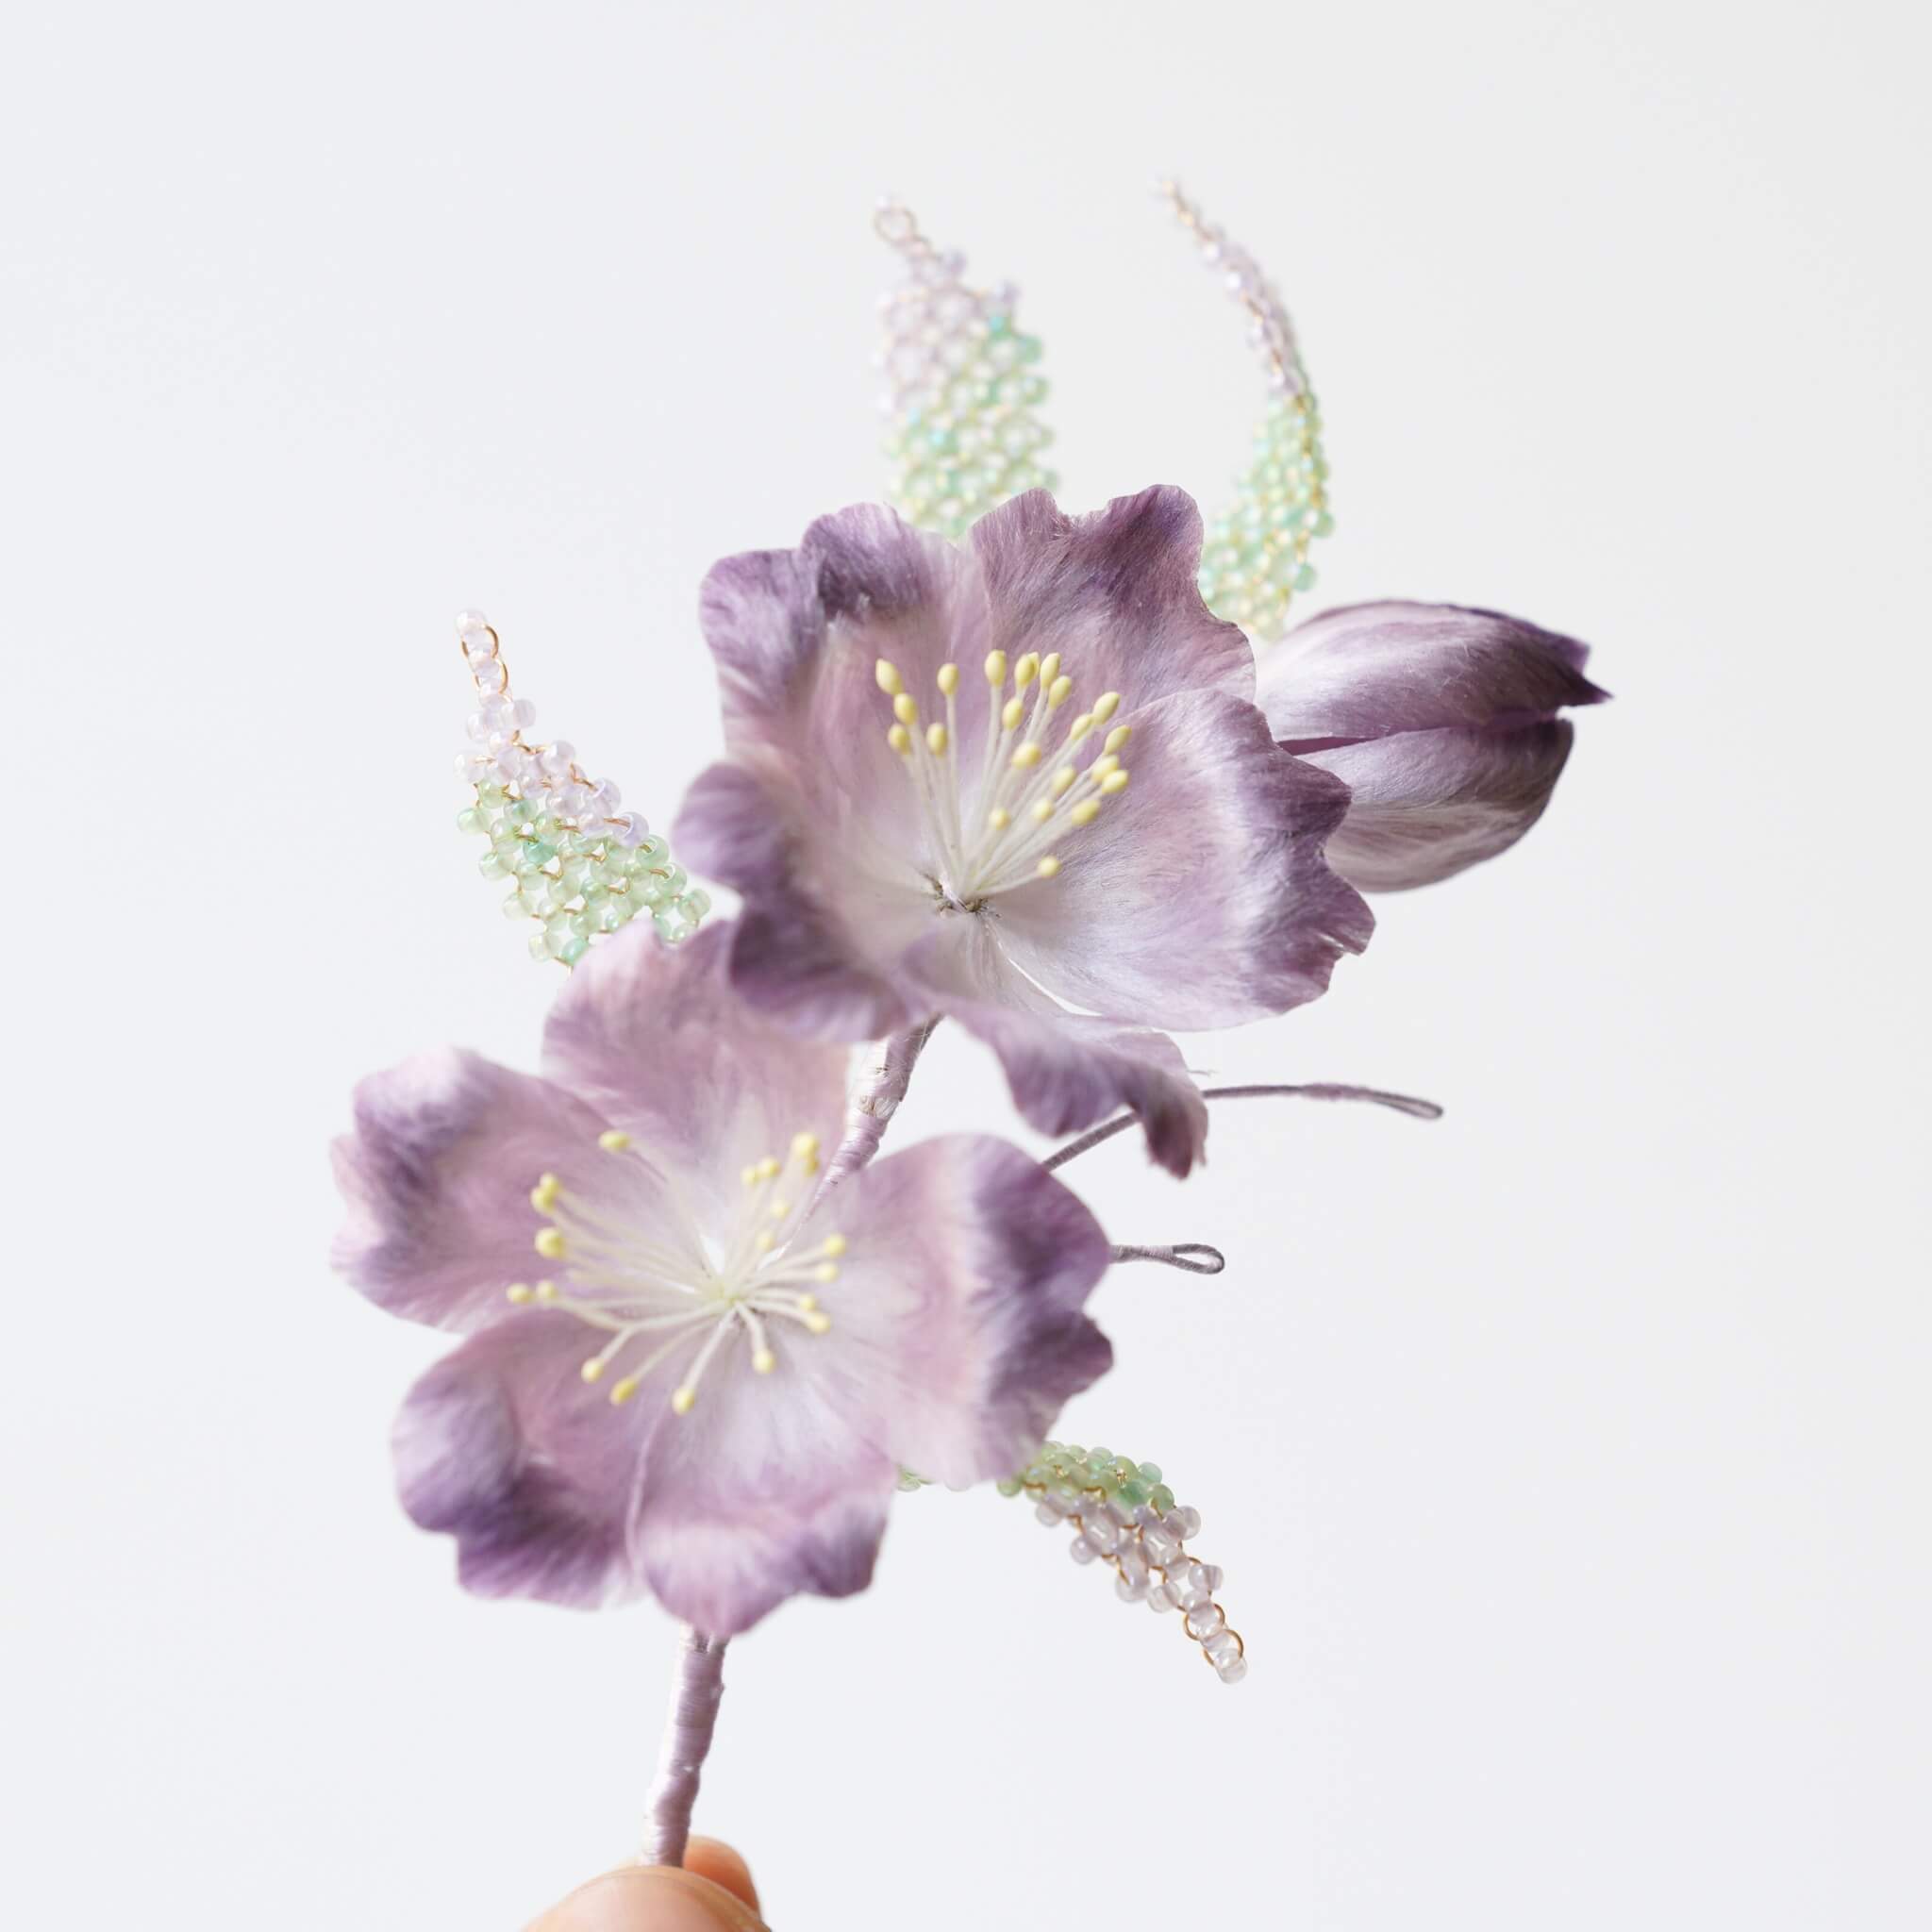
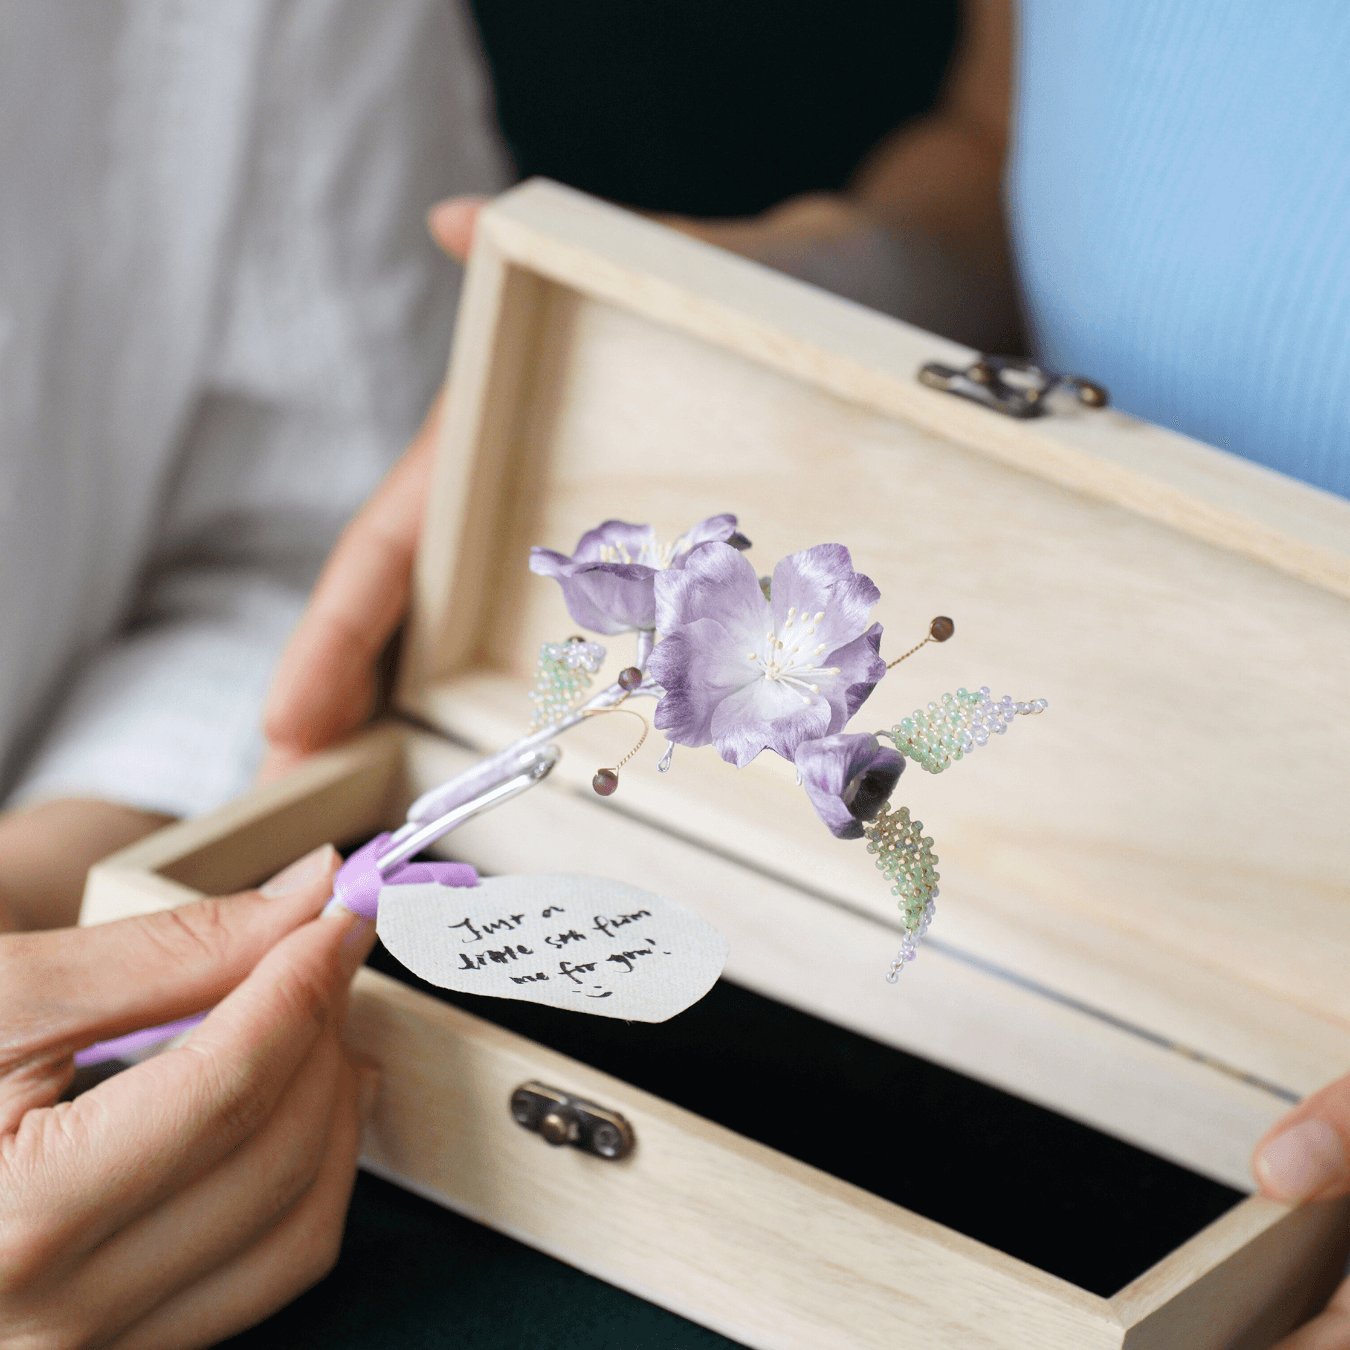
Toma un trozo doblado de hilo de seda y continúa enrollándolo alrededor. Pasa el extremo de la seda a través del lazo y luego tira para asegurar. Corta cualquier hilo sobrante. Ajusta la llama de un encendedor al nivel más bajo y quema suavemente los bordes para limpiarlos. Finalmente, fija la flor terminada a la base que prefieras. ¡Una vez que todo esté asegurado, tu broche de orquídea mariposa de seda estará completo!
Si terminaste tu producto DIY, te invitamos a mostrar tu increíble trabajo y obtener cupones para el resto de nuestros kits DIY!
INS@lanseichina
Pinterest@lanseichina


Deja un comentario
Todos los comentarios son moderados antes de ser publicados.
Este sitio está protegido por hCaptcha y se aplican la Política de privacidad de hCaptcha y los Términos del servicio.