

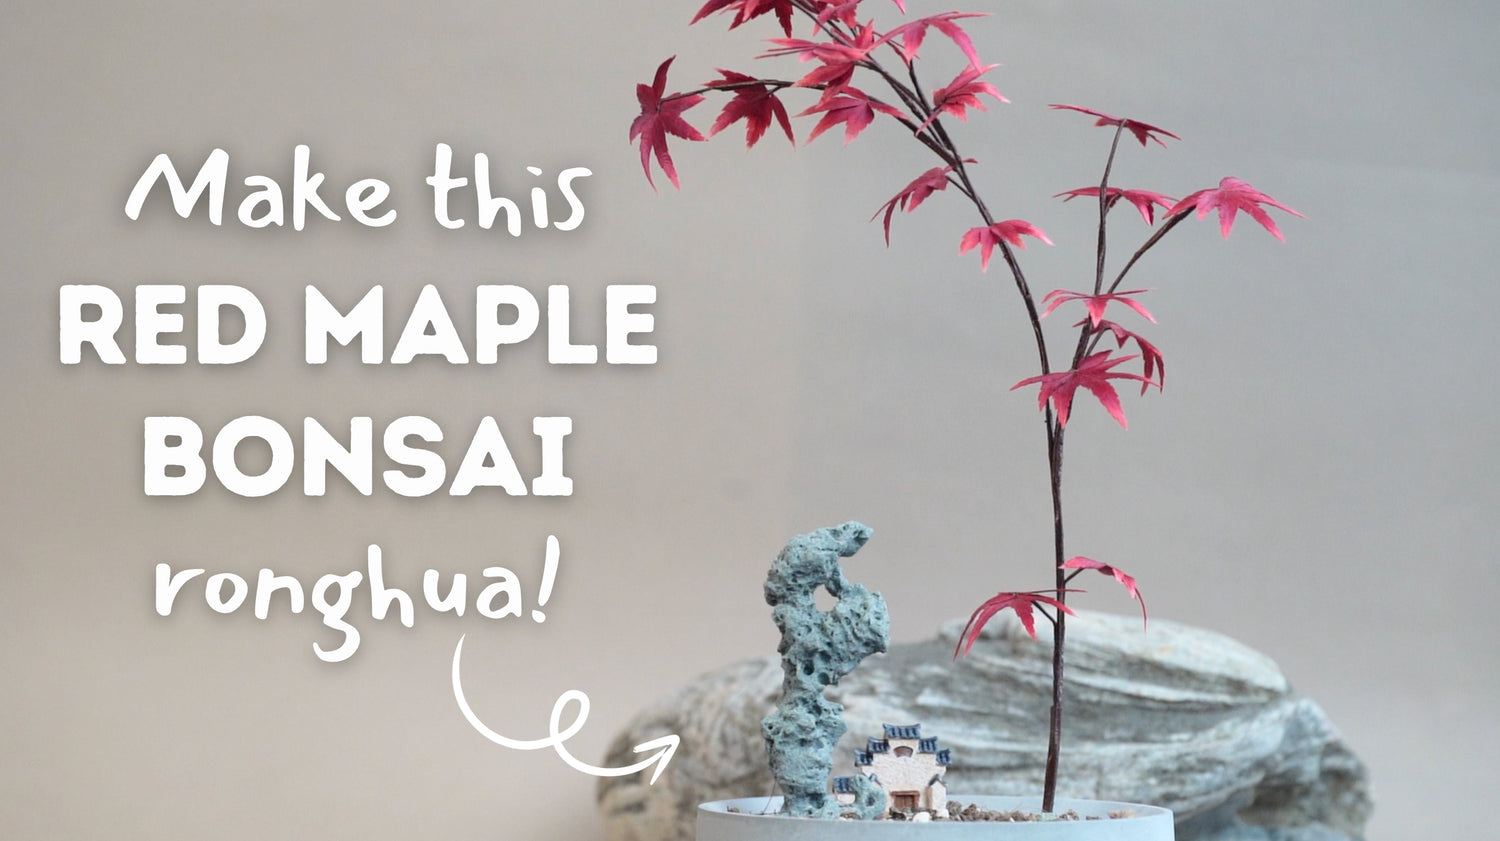
Este tutorial paso a paso para crear un penjing/bonsái de arce rojo cubre todo, desde la formación de las hojas del arce hasta el ensamblaje de las ramas.
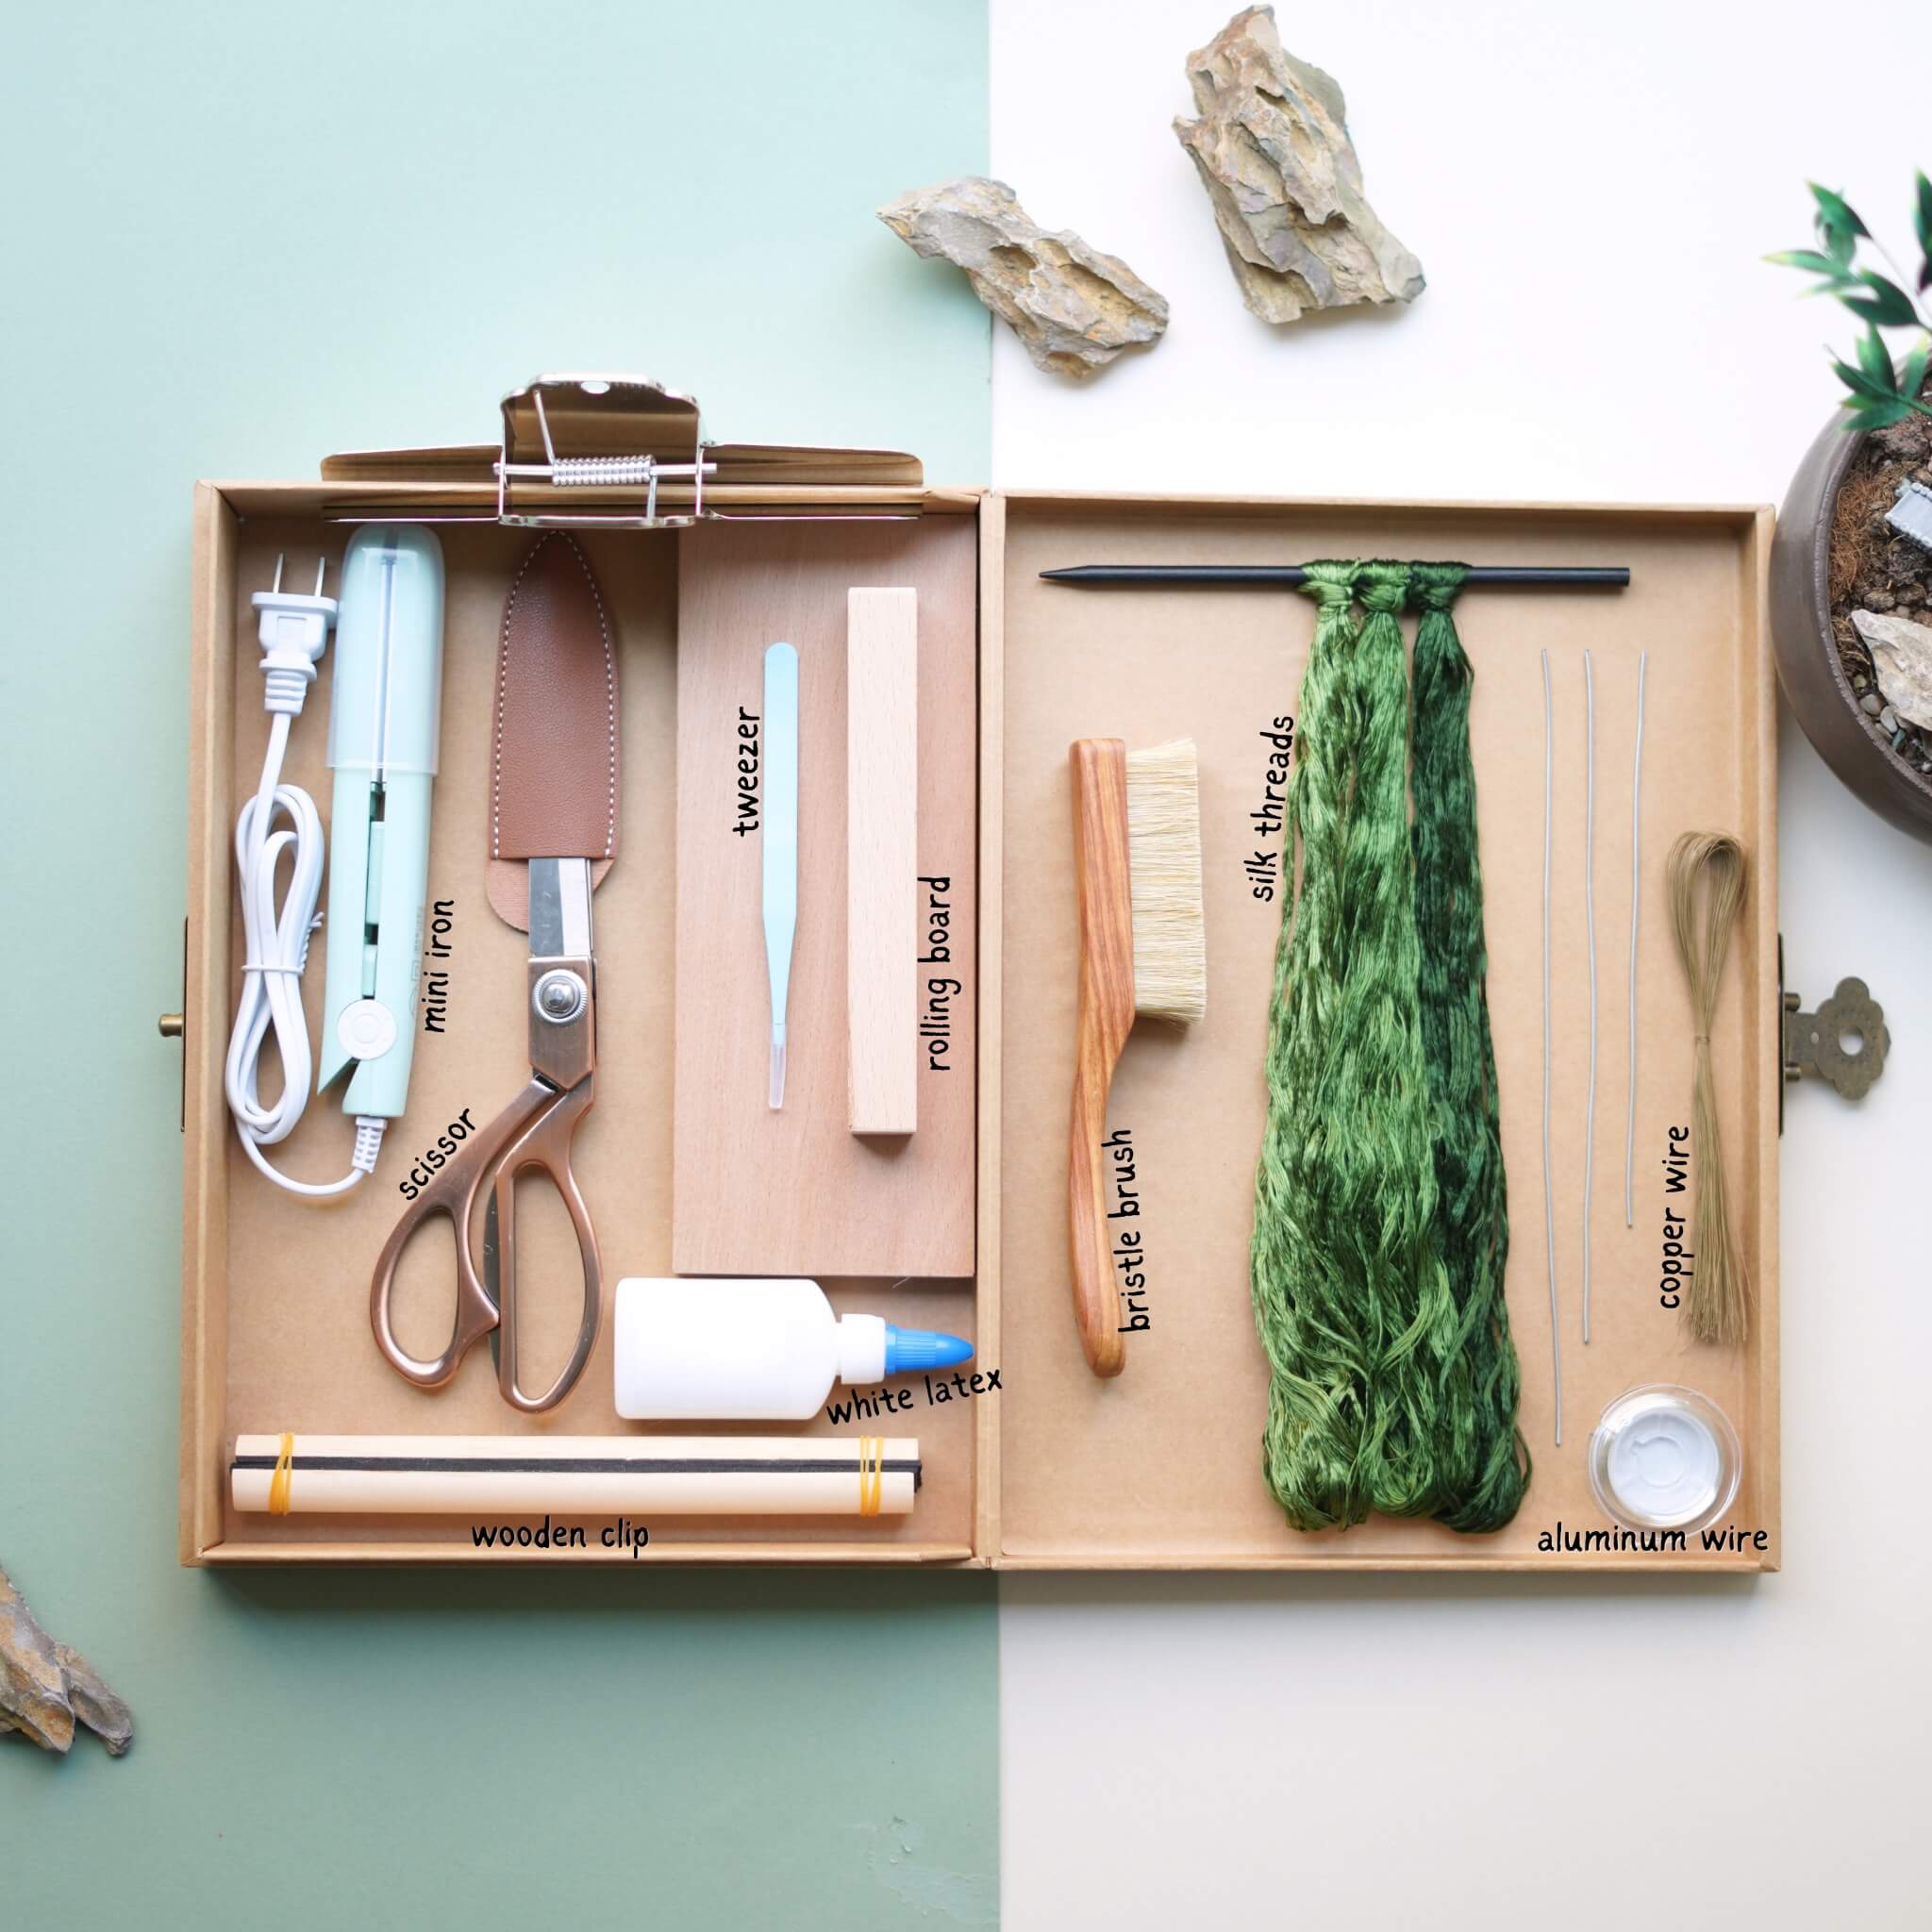
Paso 1: Organiza los hilos de seda y cepilla la seda 00:00~01:52
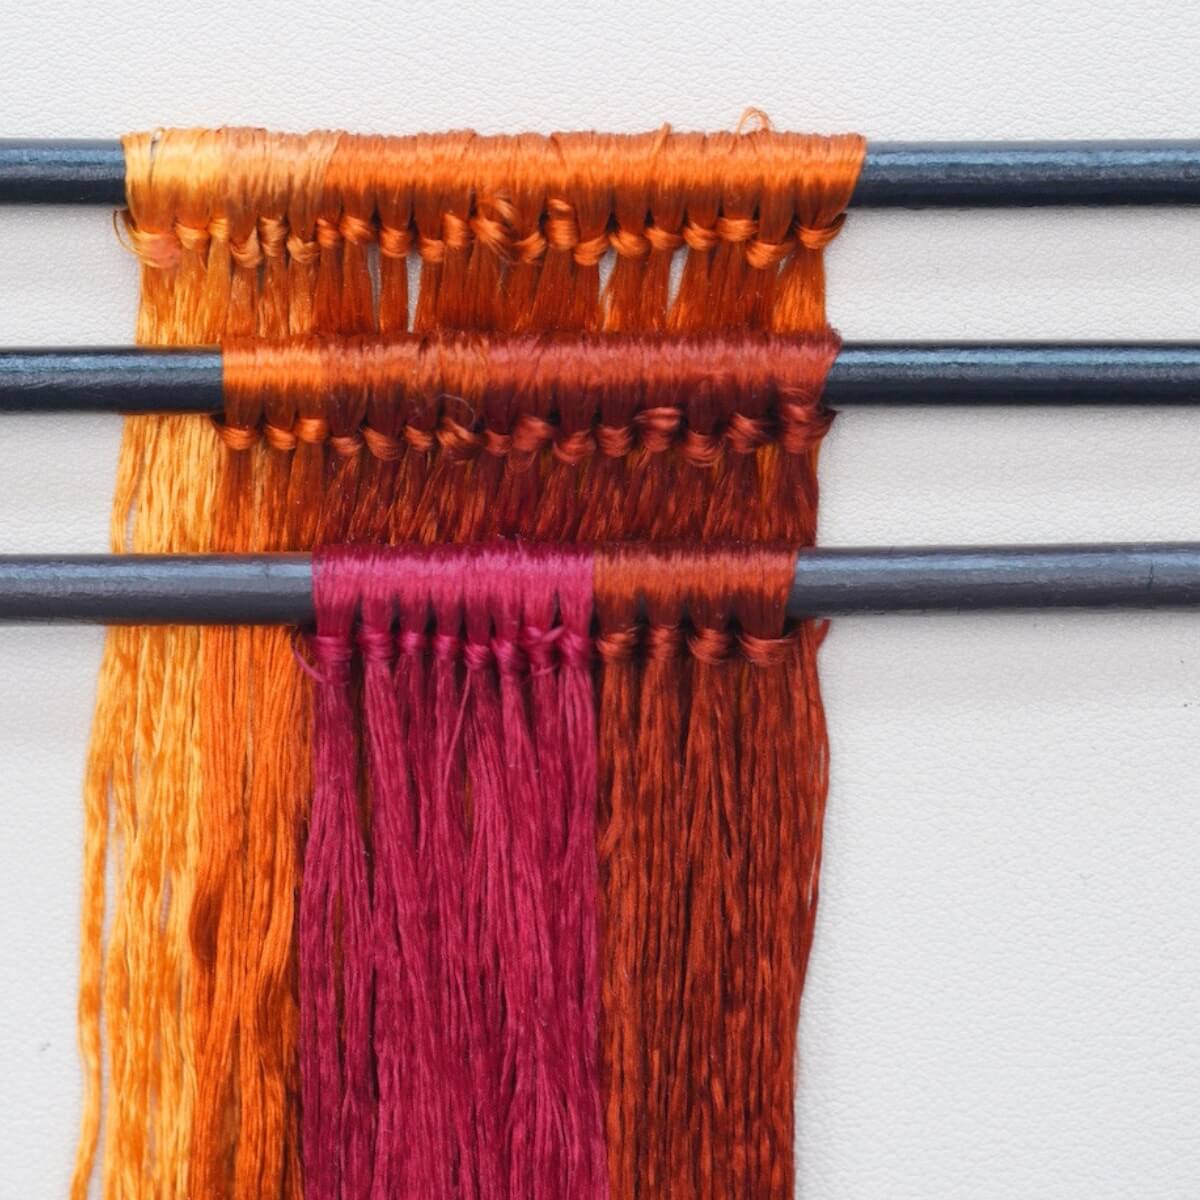
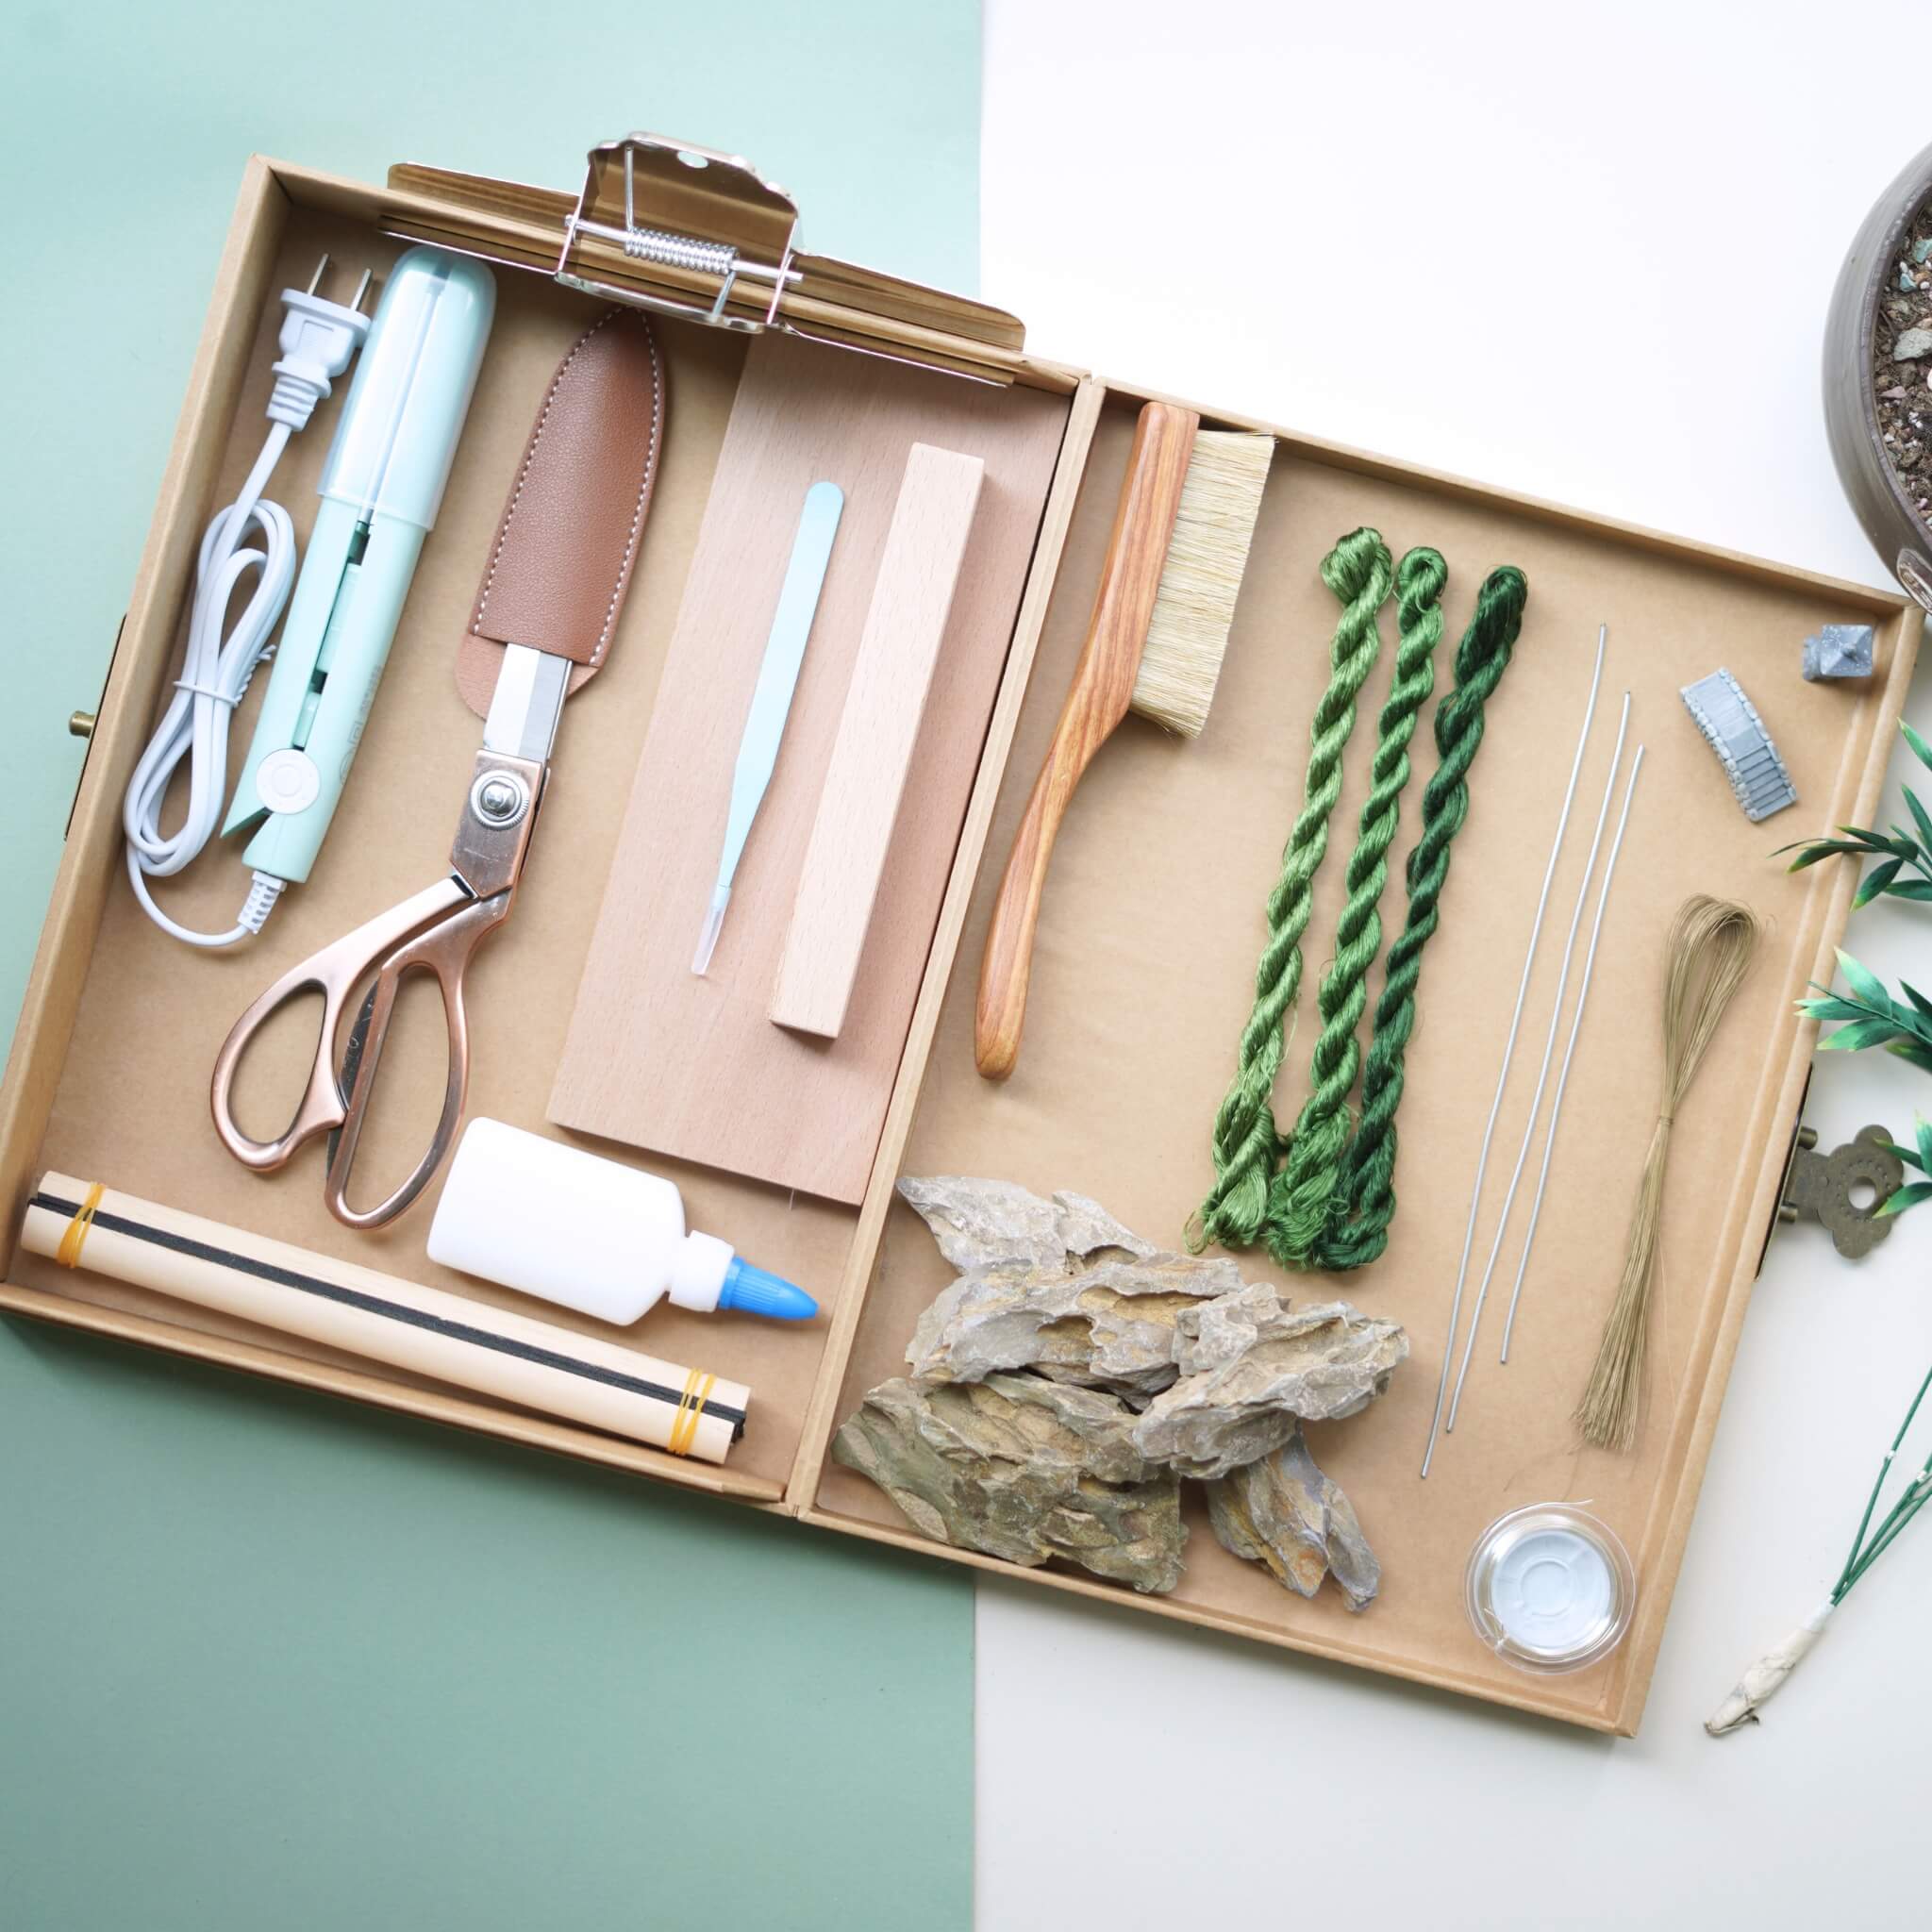
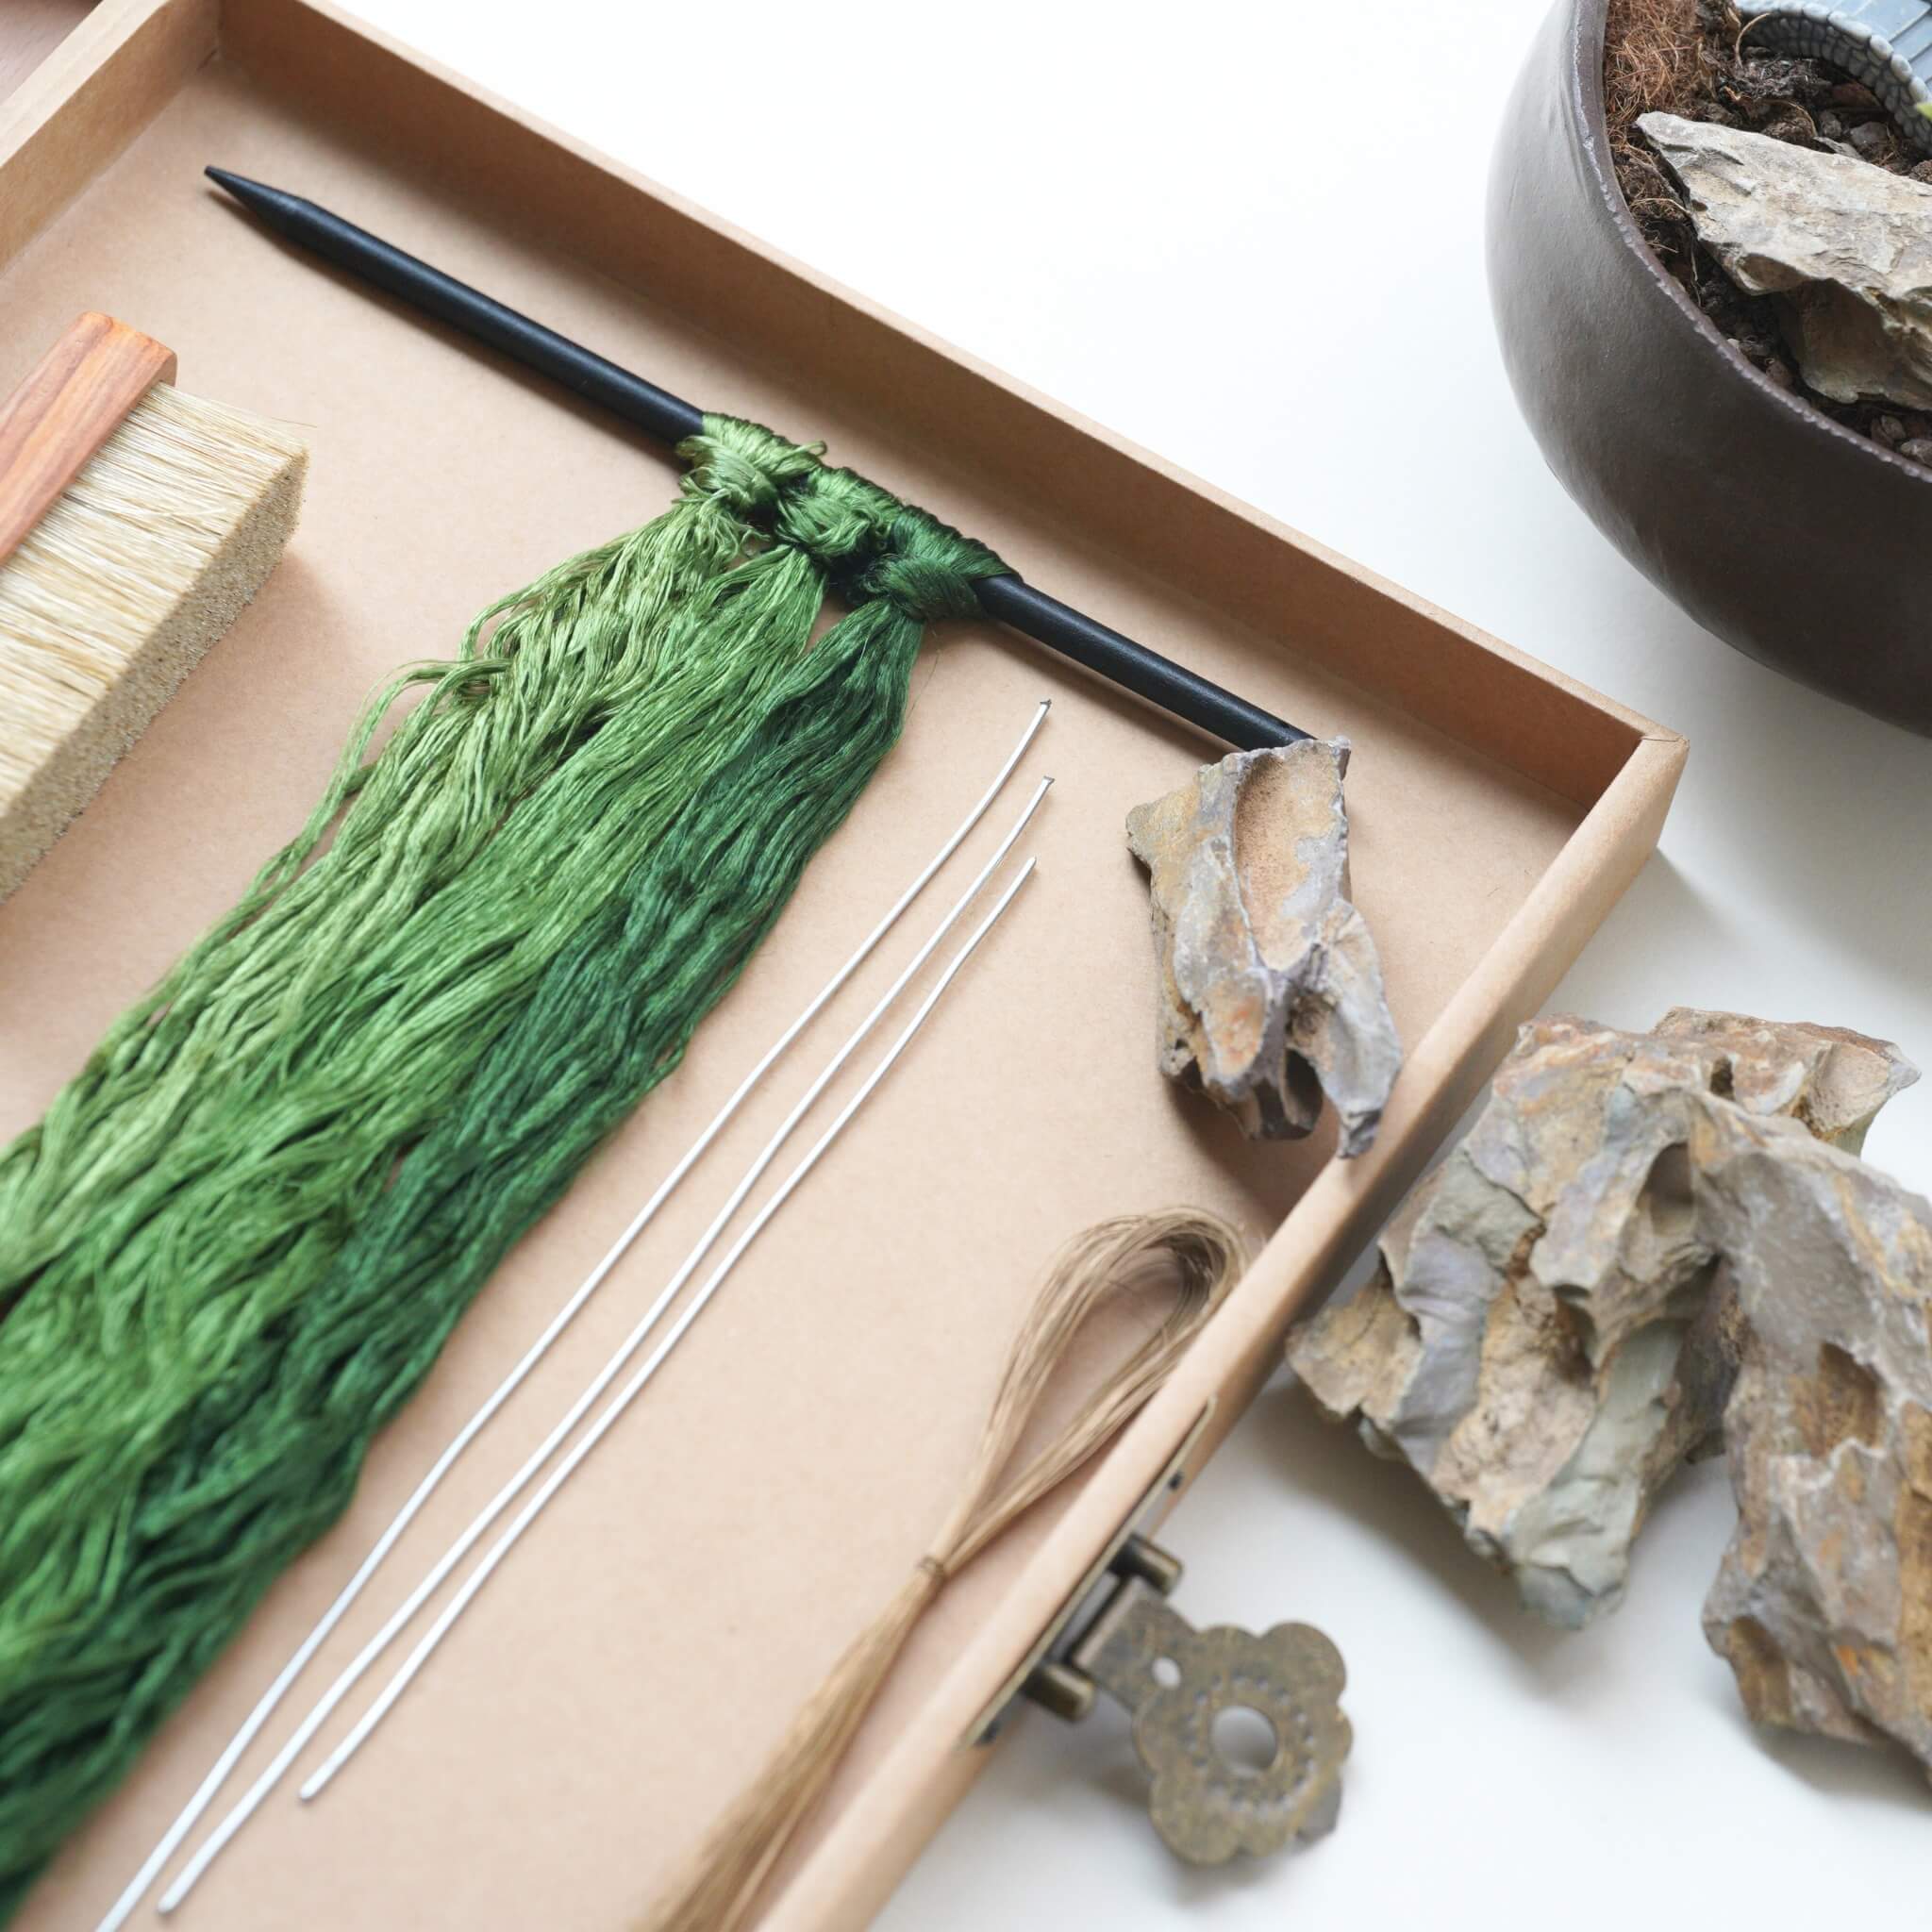
Para el arce rojo, solo se necesitan tres tonos diferentes de rojo, con un total de tres filas de seda que deben ser organizadas (como se muestra en la imagen a continuación). La única diferencia entre las tres filas de seda es su tamaño, pero la diferencia de tamaño no debe ser muy grande. Antes de cepillar la seda, primero organiza los hilos de seda para asegurarte de que no haya nudos. Rocía un poco de agua para evitar la estática, con unas 3 a 4 pulverizaciones debería ser suficiente.

A continuación, comienza a cepillar la seda. Aplica algo de fuerza al cepillar para asegurar que el cepillo penetre los hilos de seda, de lo contrario, los nudos se formarán fácilmente. Asegúrate de desenredar cualquier nudo tan pronto como aparezca. Si no puedes desenredar un nudo, simplemente córtalo con tijeras. Usa una pinza para asegurar la tira de seda en su lugar y ajusta el ancho de arriba hacia abajo. Asegúrate de que el ancho sea consistente de arriba hacia abajo. Después de tensar la tira de seda, usa una pinza en forma de montaña para asegurarla.

Paso 2: Hacer las tiras de seda 01:53~03:23
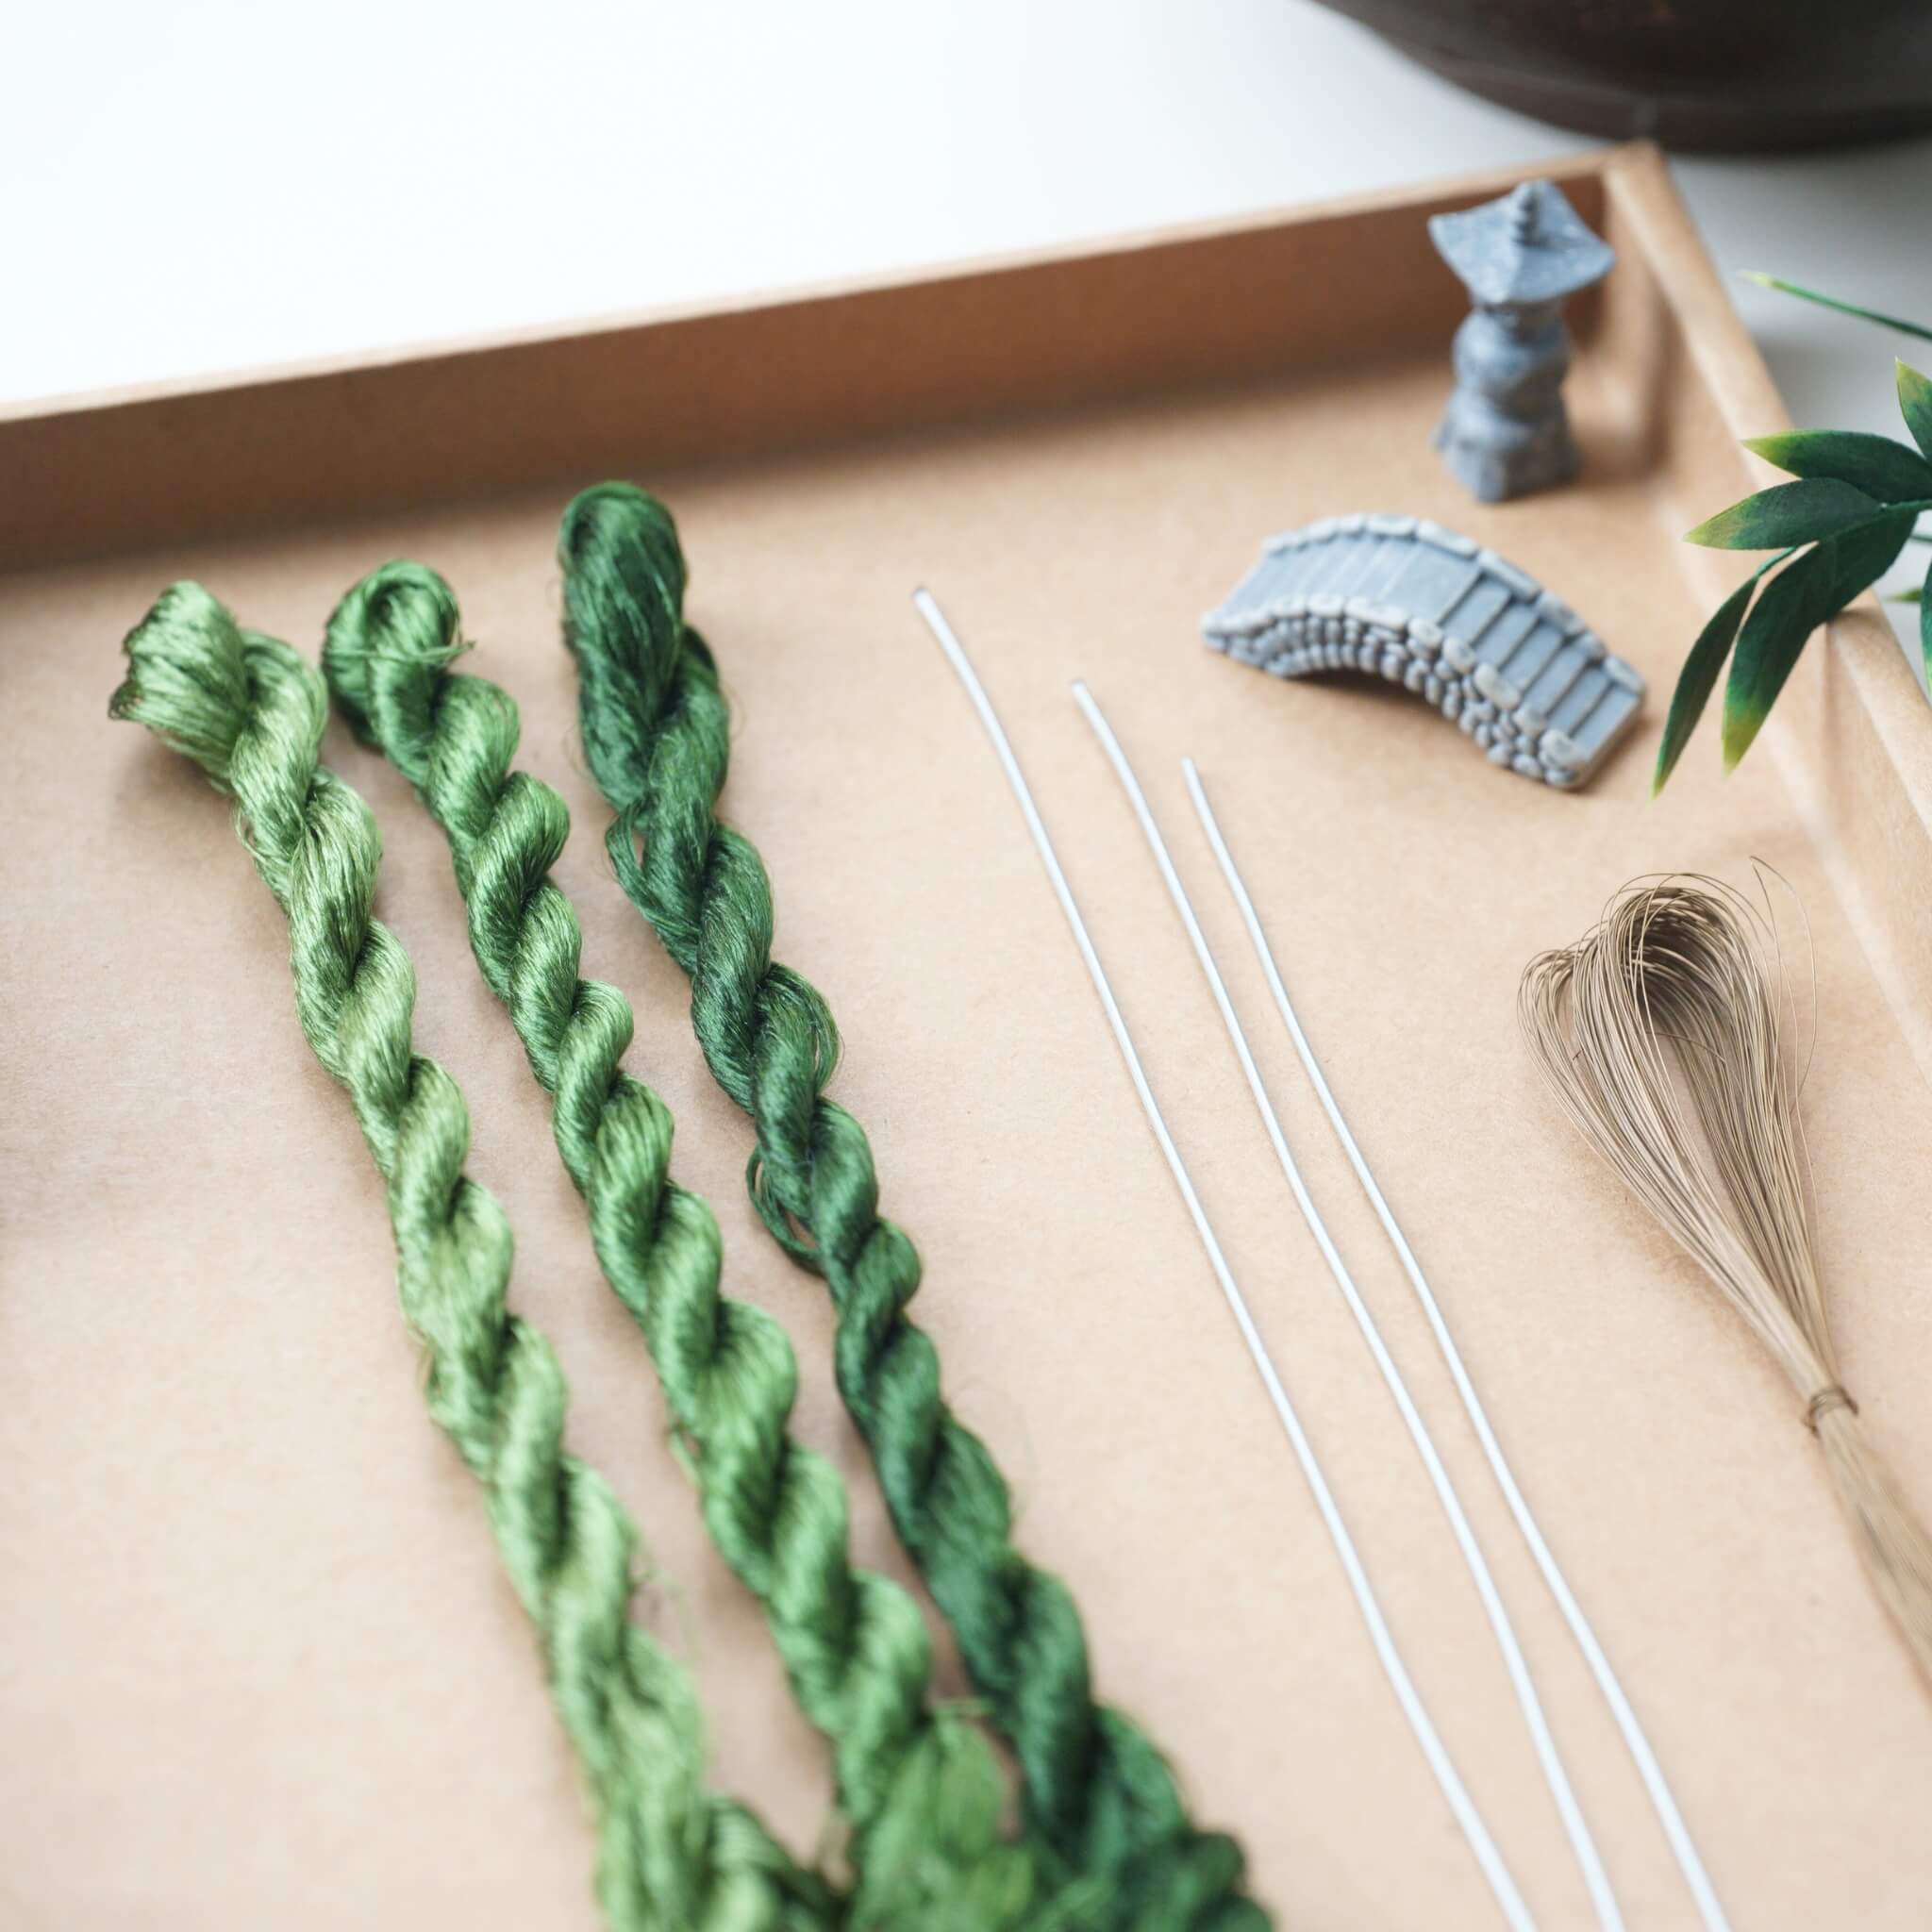
Primero, enderece el alambre de cobre. Gire una pequeña sección del extremo abierto del alambre de cobre, luego gire el alambre firmemente en la dirección opuesta con los dedos. La distancia entre los alambres de cobre debe ser de 1 cm.

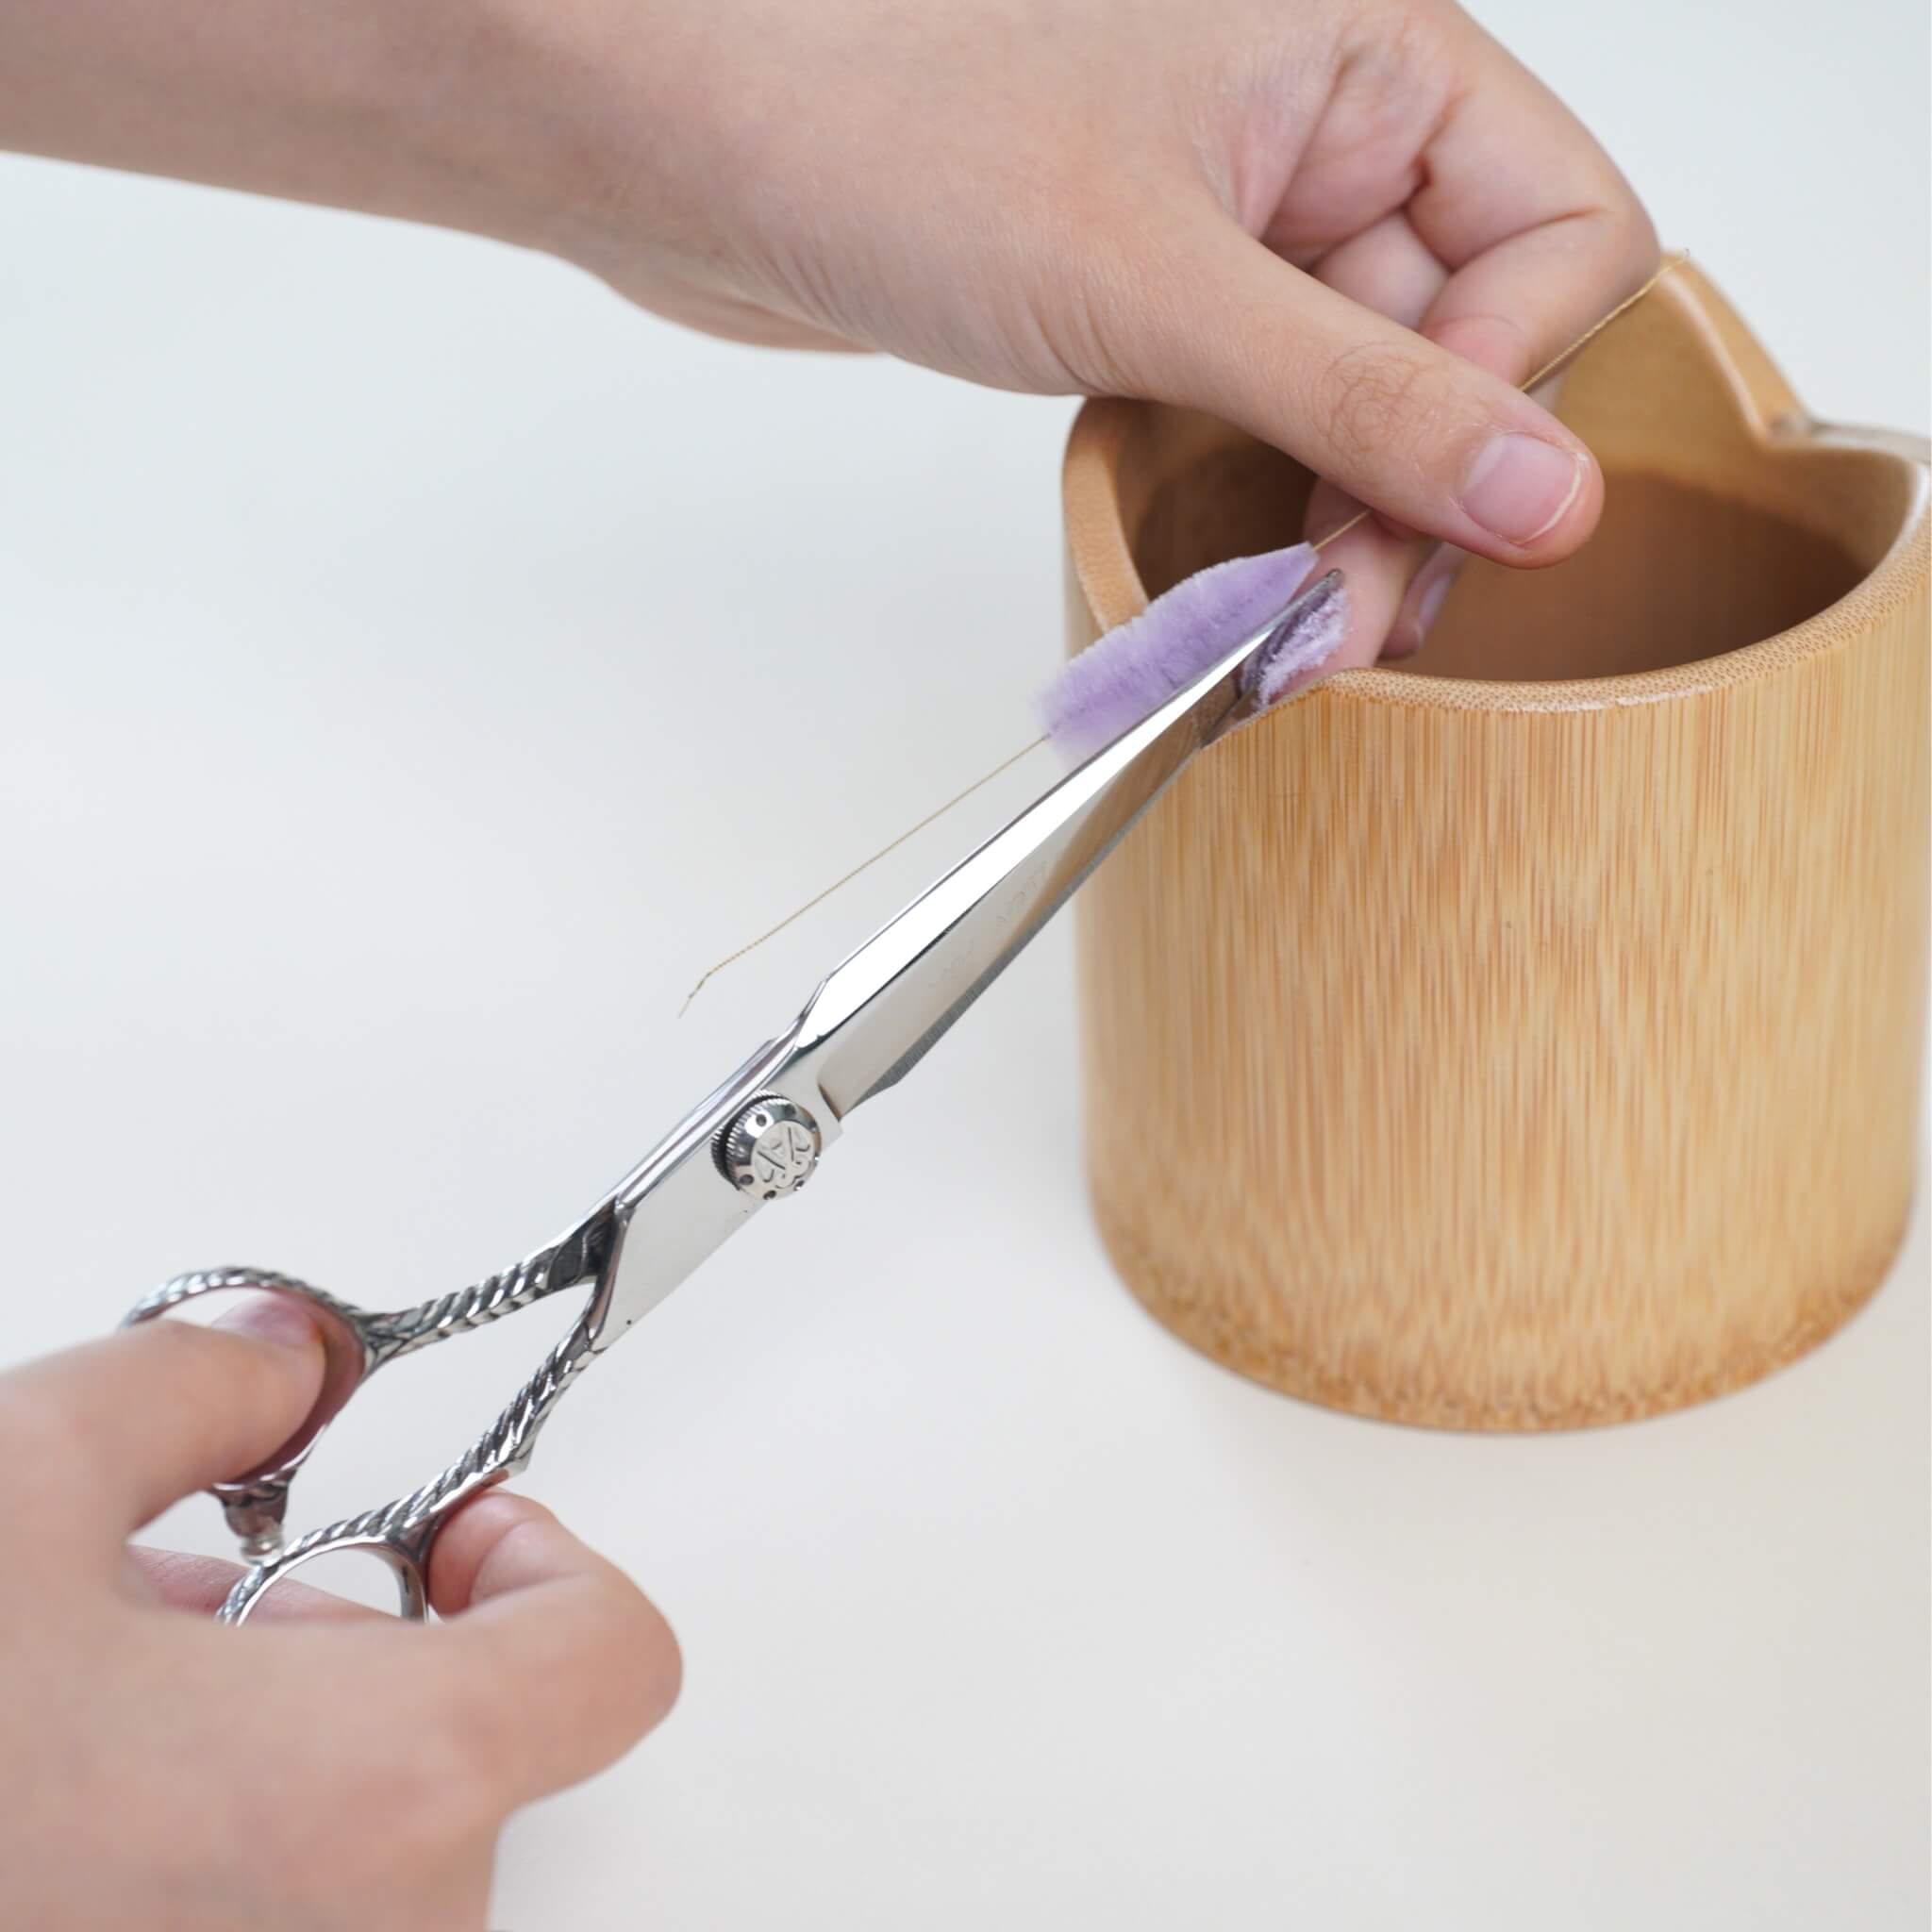
Después de atar el alambre de cobre, corta la tira de seda por la mitad desde el centro. Sostén la tira de seda con una mano y usa la otra mano con unas tijeras para cortar la seda desde el medio del alambre de cobre. Una vez que la tira de seda esté cortada, usa ambas manos para estirar el alambre de cobre. Alinea ambos lados de la tira de seda, asegurándote de que el alambre de cobre esté exactamente en el centro de la tira de seda. Luego, gira suavemente la seda. Usa una tabla para torcer para apretar la tira de seda. Gira de 3 a 4 veces. Si giras más, el alambre de cobre puede romperse; si giras menos, la tira de seda carecerá de una textura aterciopelada.


Paso 3: Hacer las hojas de arce rojas 03:24~06:14
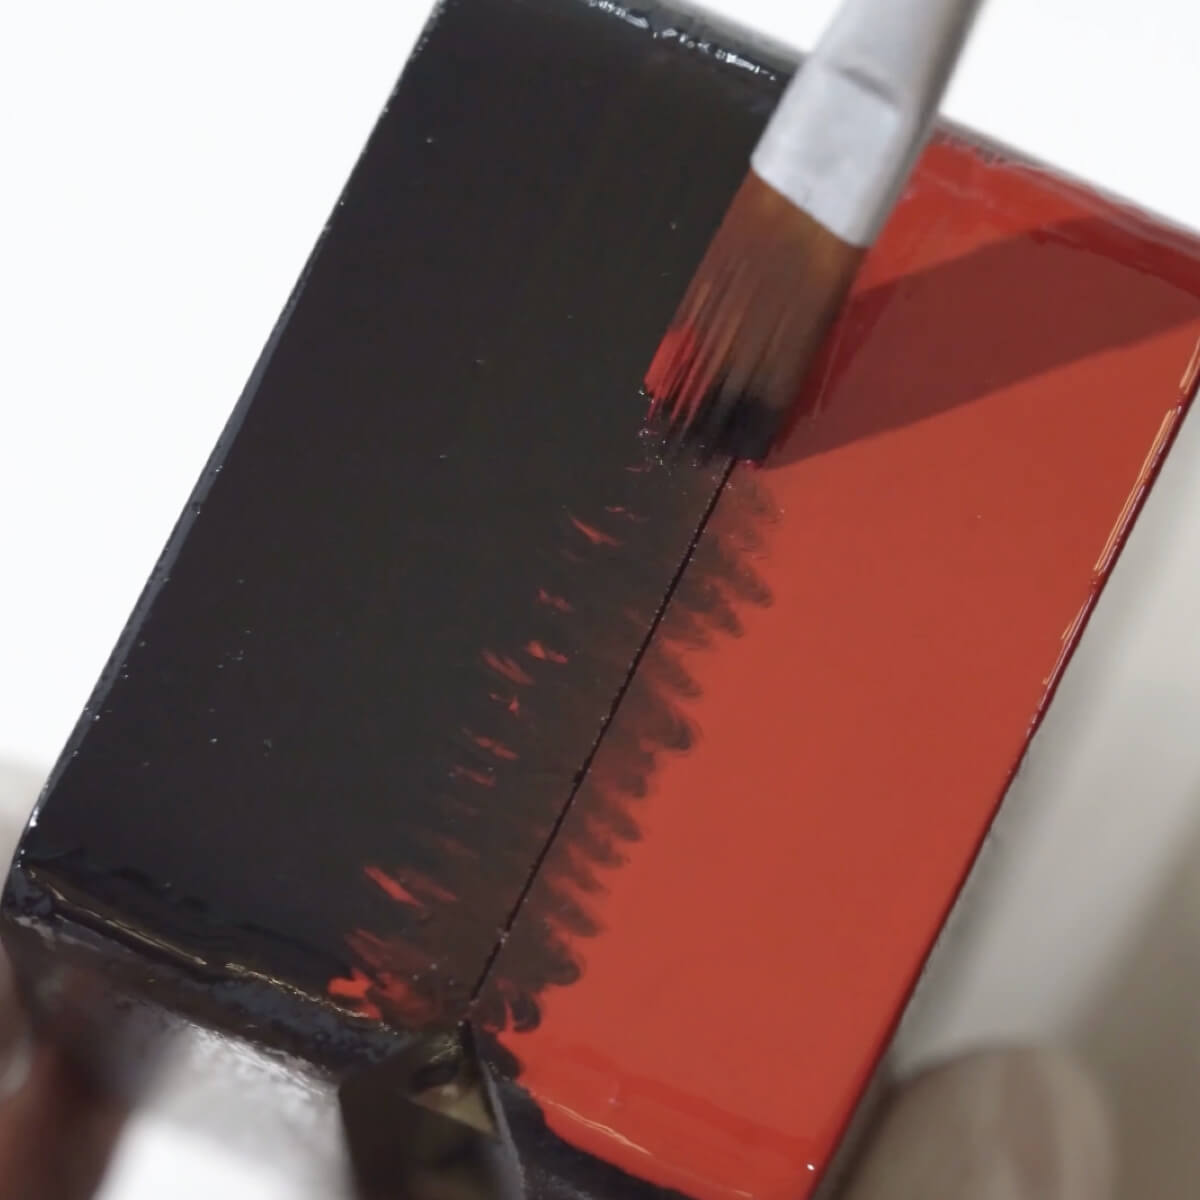
Use pinzas para enderezar la tira de seda. Corte la tira de seda por la mitad desde el centro con tijeras. Use una mini plancha calentada para aplanar la tira de seda. Tome el líquido para dar forma; si no lo tiene, puede usar laca para el cabello o pegamento blanco diluido con agua como sustituto. Sumerja la tira de seda en el líquido para dar forma, o puede sumergir toda la tira de seda en el líquido. Alternativamente, use un pincel pequeño para aplicar el líquido para dar forma sobre la tira de seda.

Inserte la tira de seda, ahora cubierta con líquido para dar forma, en una almohadilla de esponja y déjela secar. Una vez que la tira de seda esté completamente seca, recórtela con la forma de hojas de arce. Los bordes de las hojas de arce son dentados, por lo que deben cortarse muy finamente. Se recomienda usar tijeras pequeñas para recortar los bordes. Después de recortar las hojas, use la mini plancha para crear una ligera curva en las hojas. Separe las hojas por tamaño y déjelas a un lado.

Paso 4: Ensamblar las hojas de arce 06:14~fin
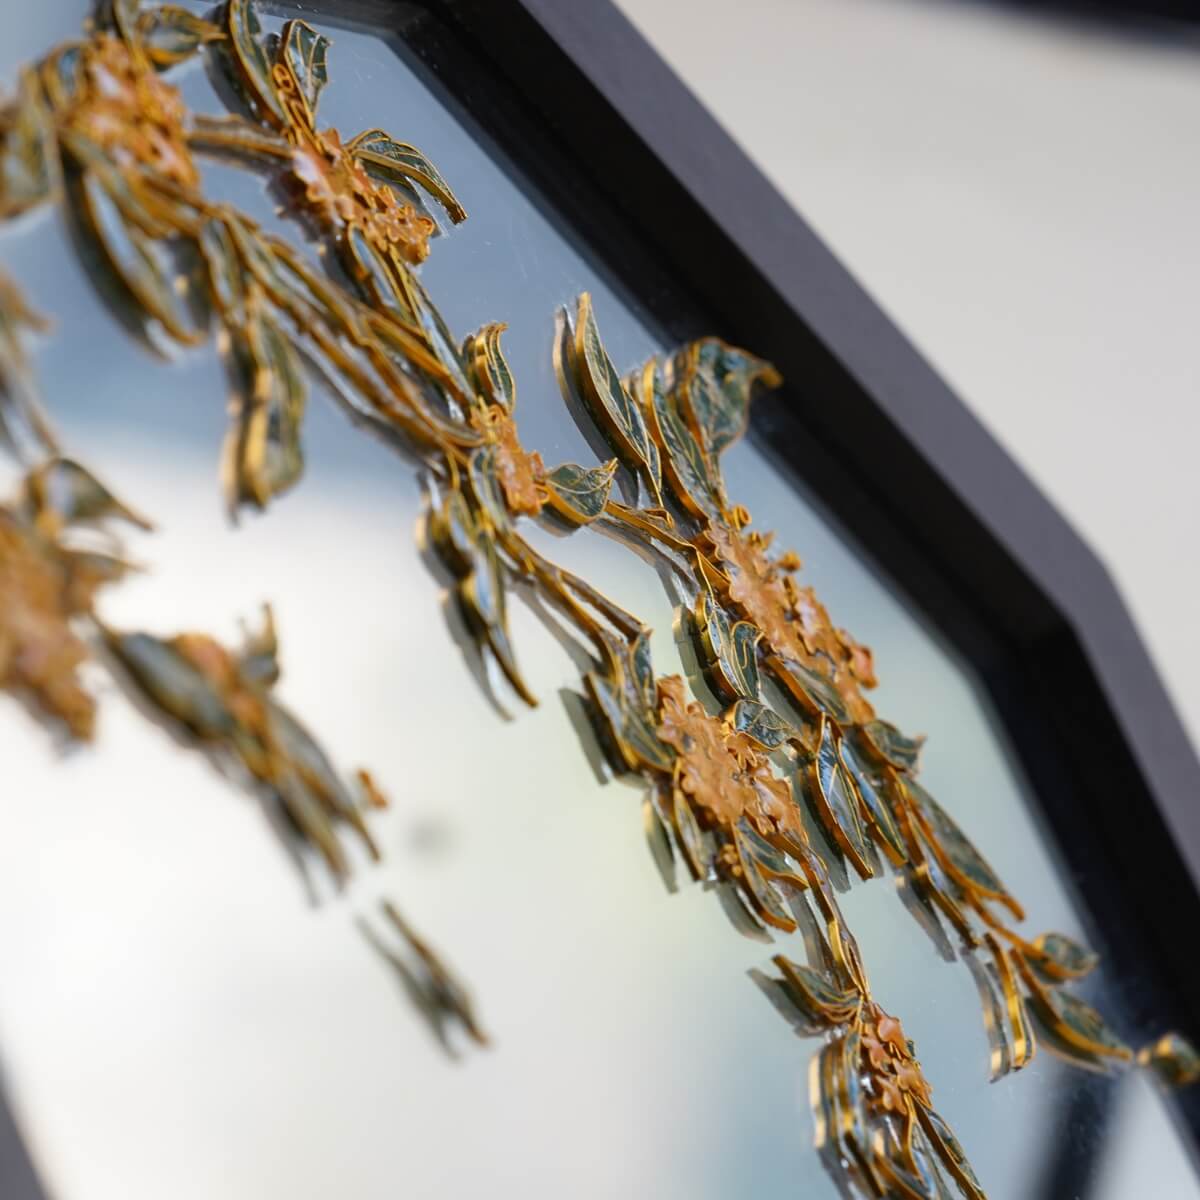
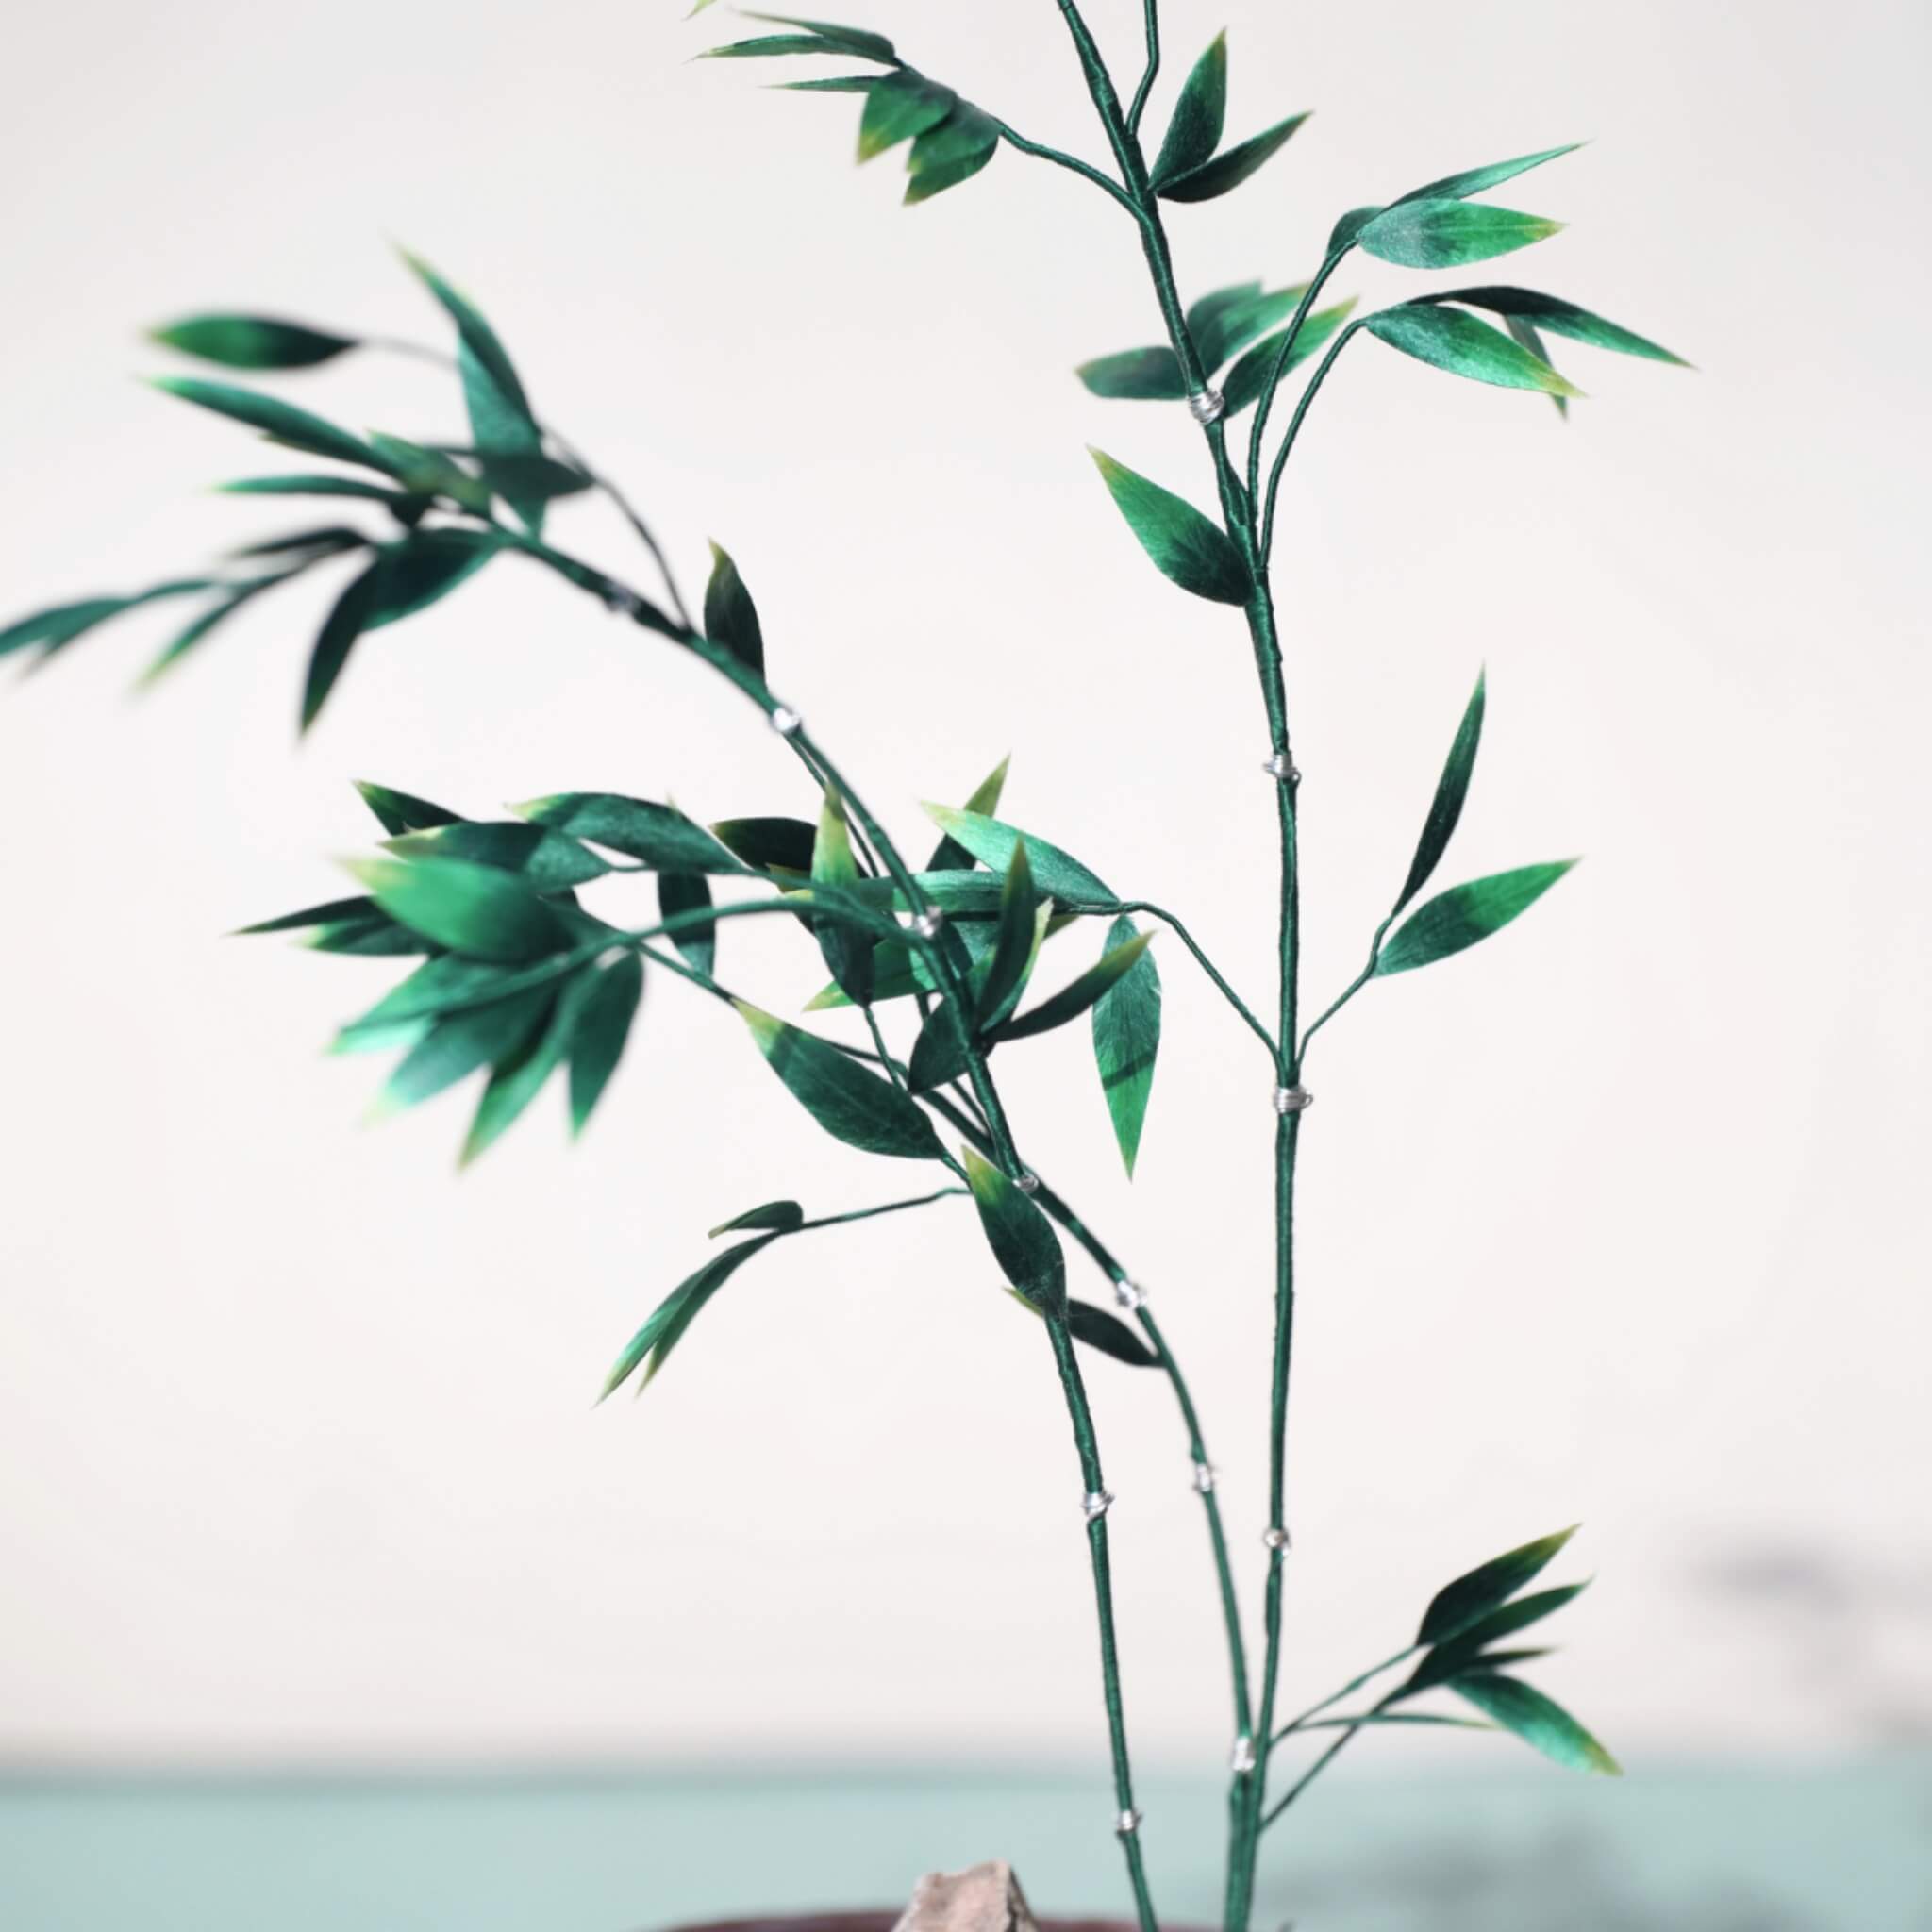
A continuación, puede comenzar a ensamblar las hojas. La hoja más grande va en el centro, y las hojas se hacen gradualmente más pequeñas hacia los lados. Siete hojas pequeñas forman una hoja de arce completa. Al envolver el alambre, asegúrese de que las vueltas estén apretadas y juntas. Cuando termine de envolver hasta el fondo, haga un nudo y corte el exceso de alambre. Esto completa una hoja de arce.

Sujete el alambre grueso a la hoja de arce para que sirva como rama. Luego, arme las hojas de arce en la forma deseada. También puede primero hacer ramas pequeñas más cortas y luego combinar estas ramas pequeñas en la rama central principal. Los árboles suelen ser más delgados en la parte superior y más gruesos en la parte inferior, por lo que al trabajar hacia abajo, debe aumentar el número de alambres de cobre. En este paso, aproximadamente el 80% del trabajo está completado.
Use pinzas para doblar las hojas de arce hacia adentro. Esto hará que la forma general sea más tridimensional. Después de doblar todas las hojas hacia adentro, ajuste nuevamente la forma general.
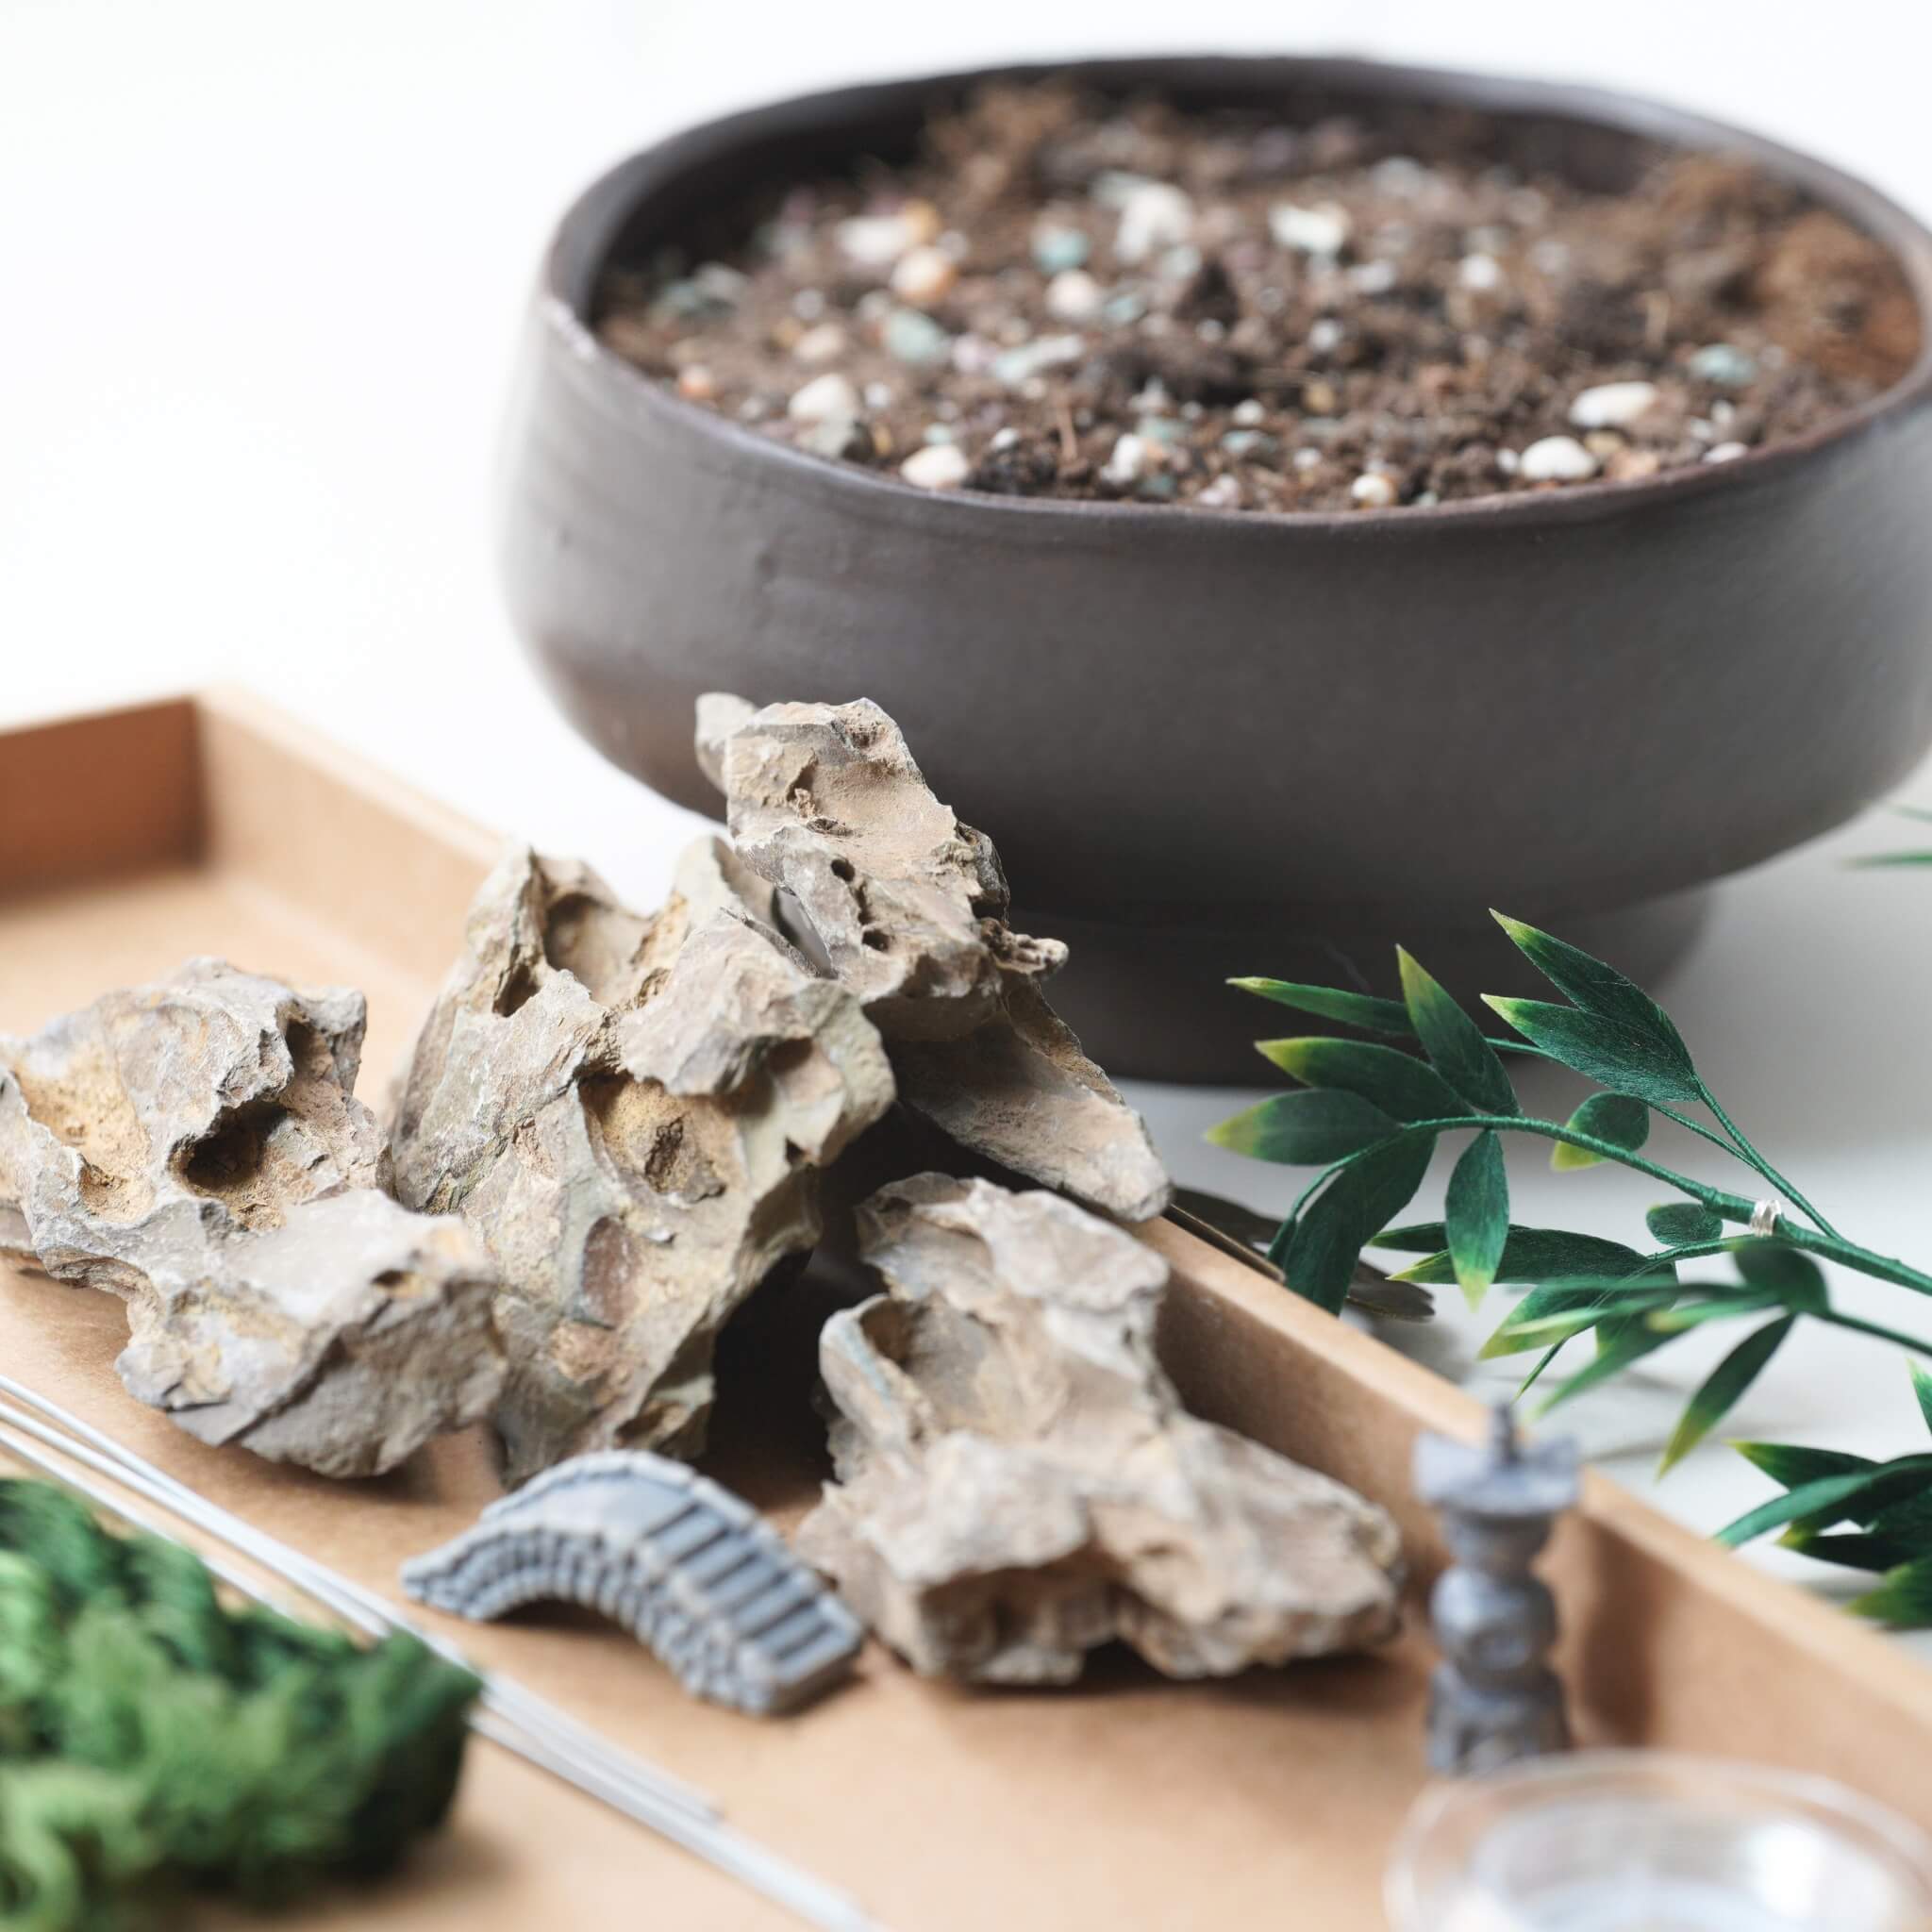
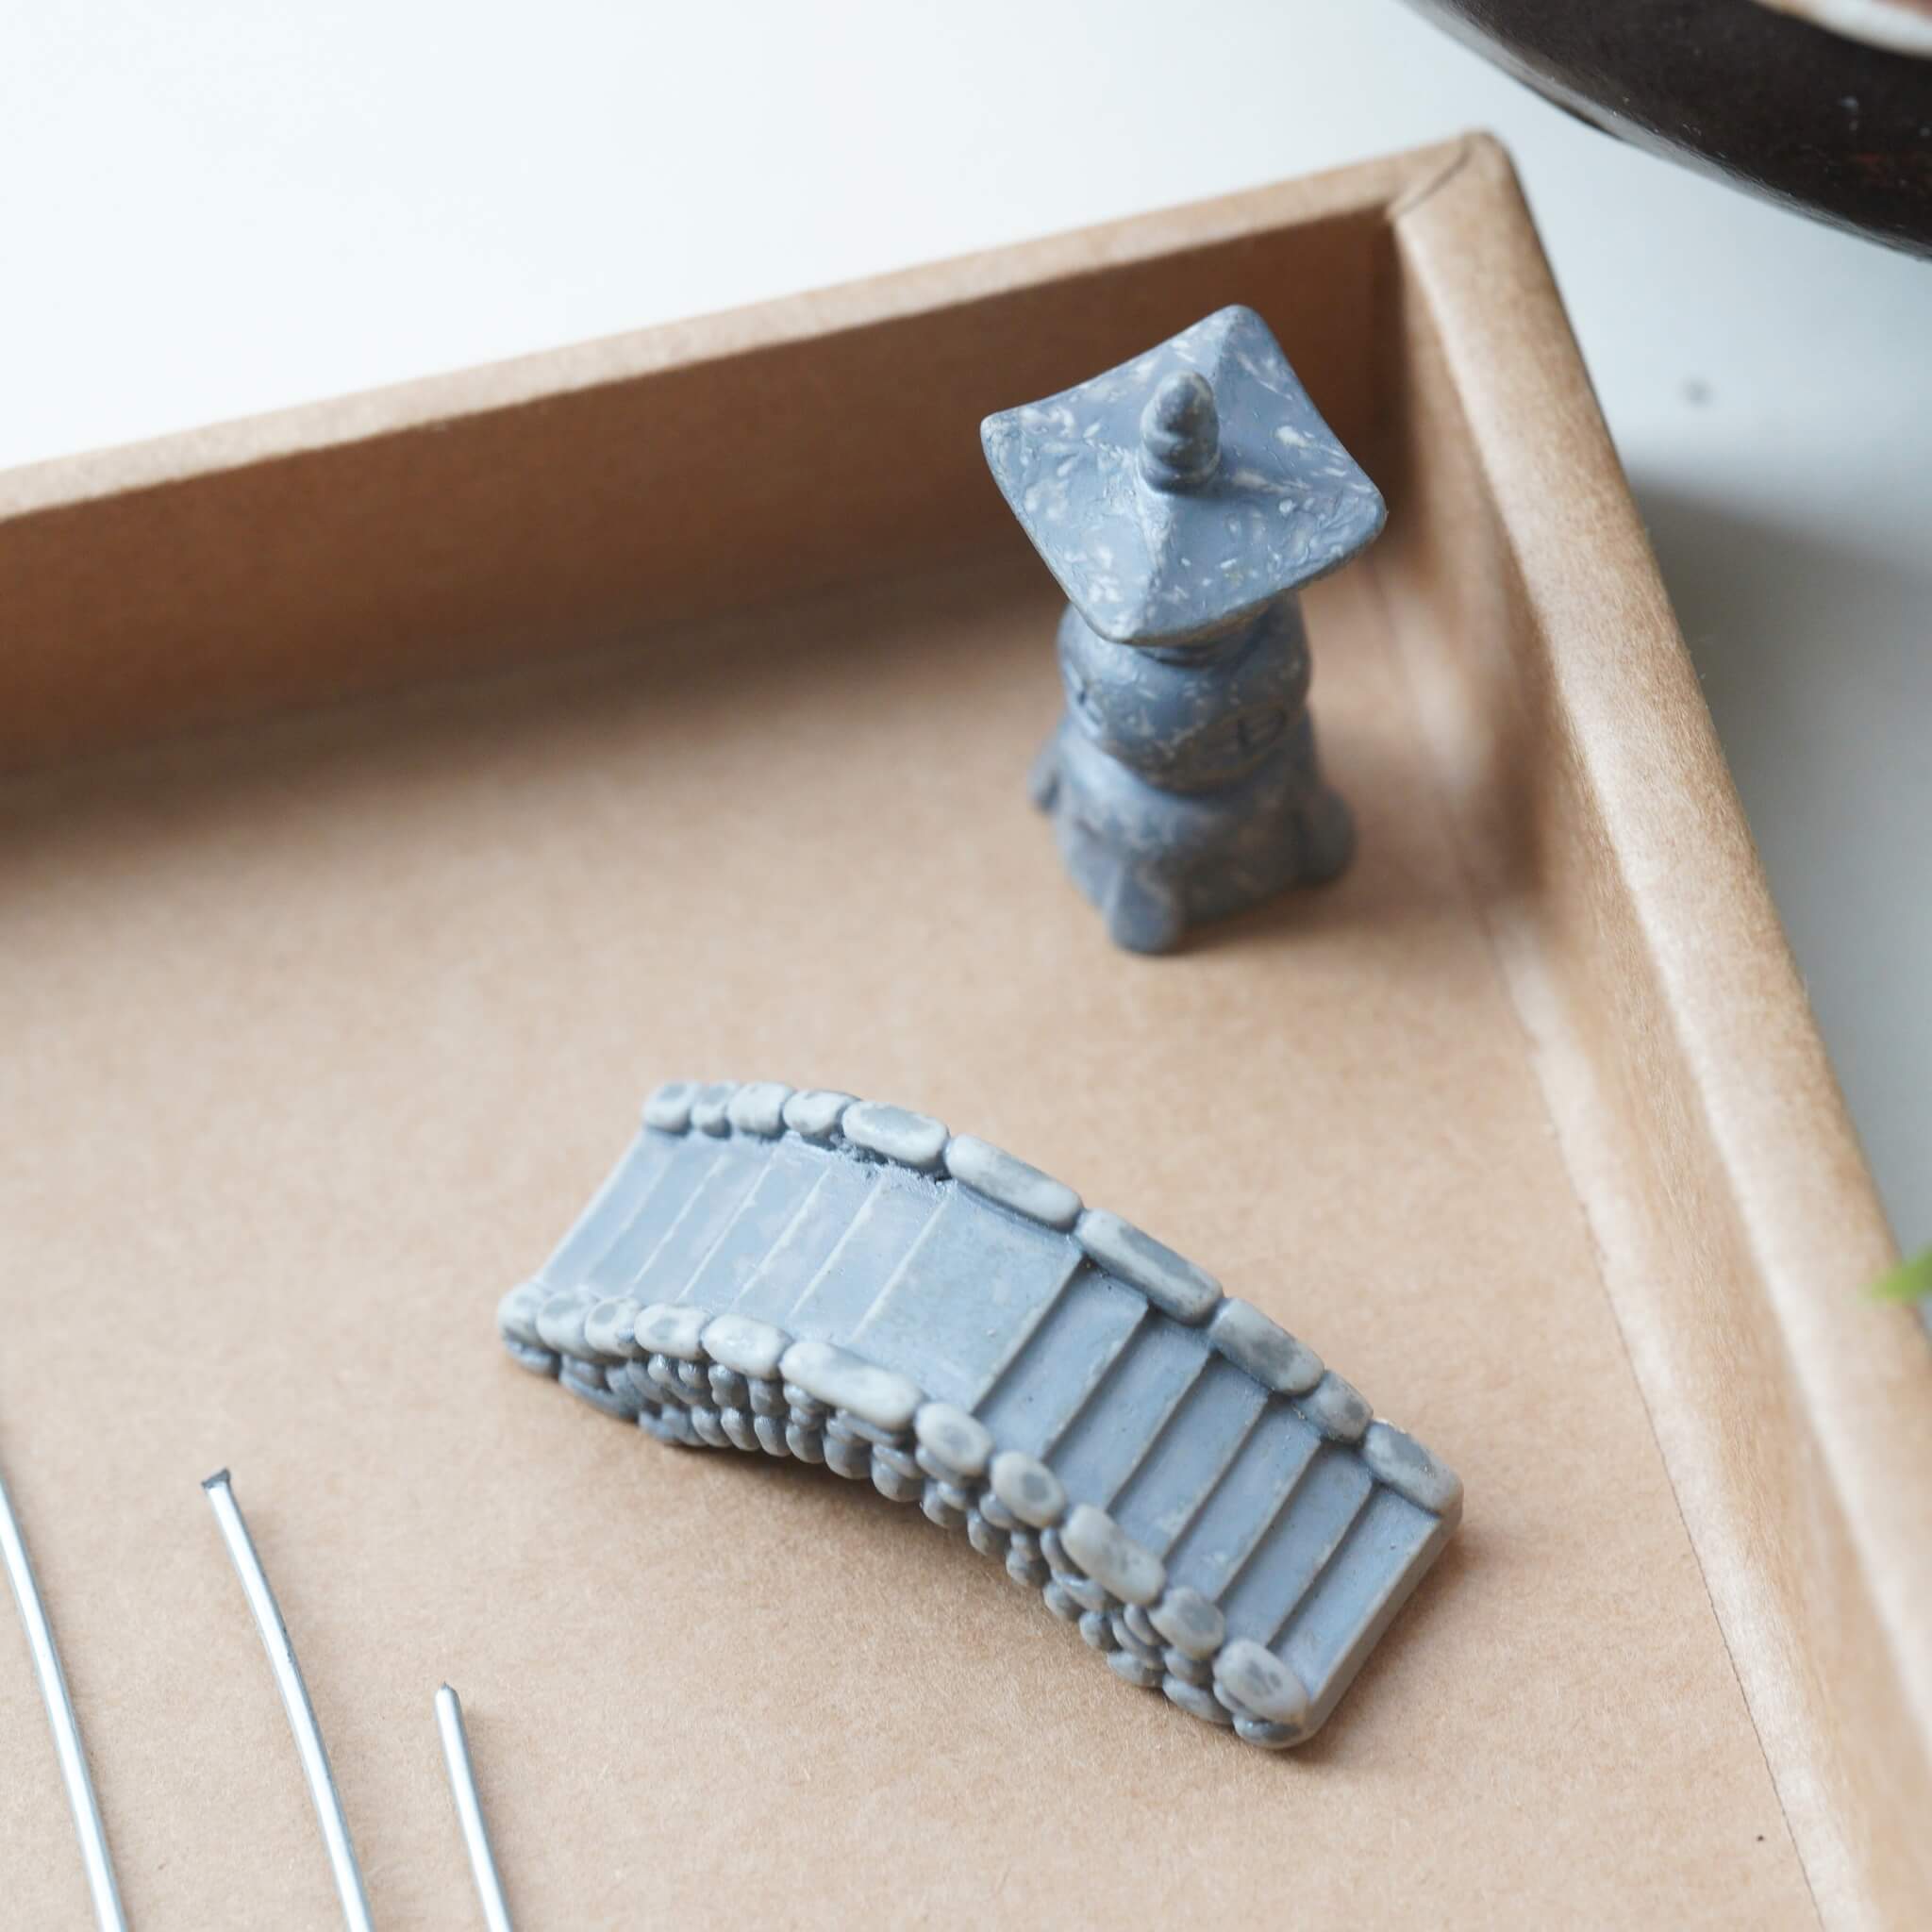
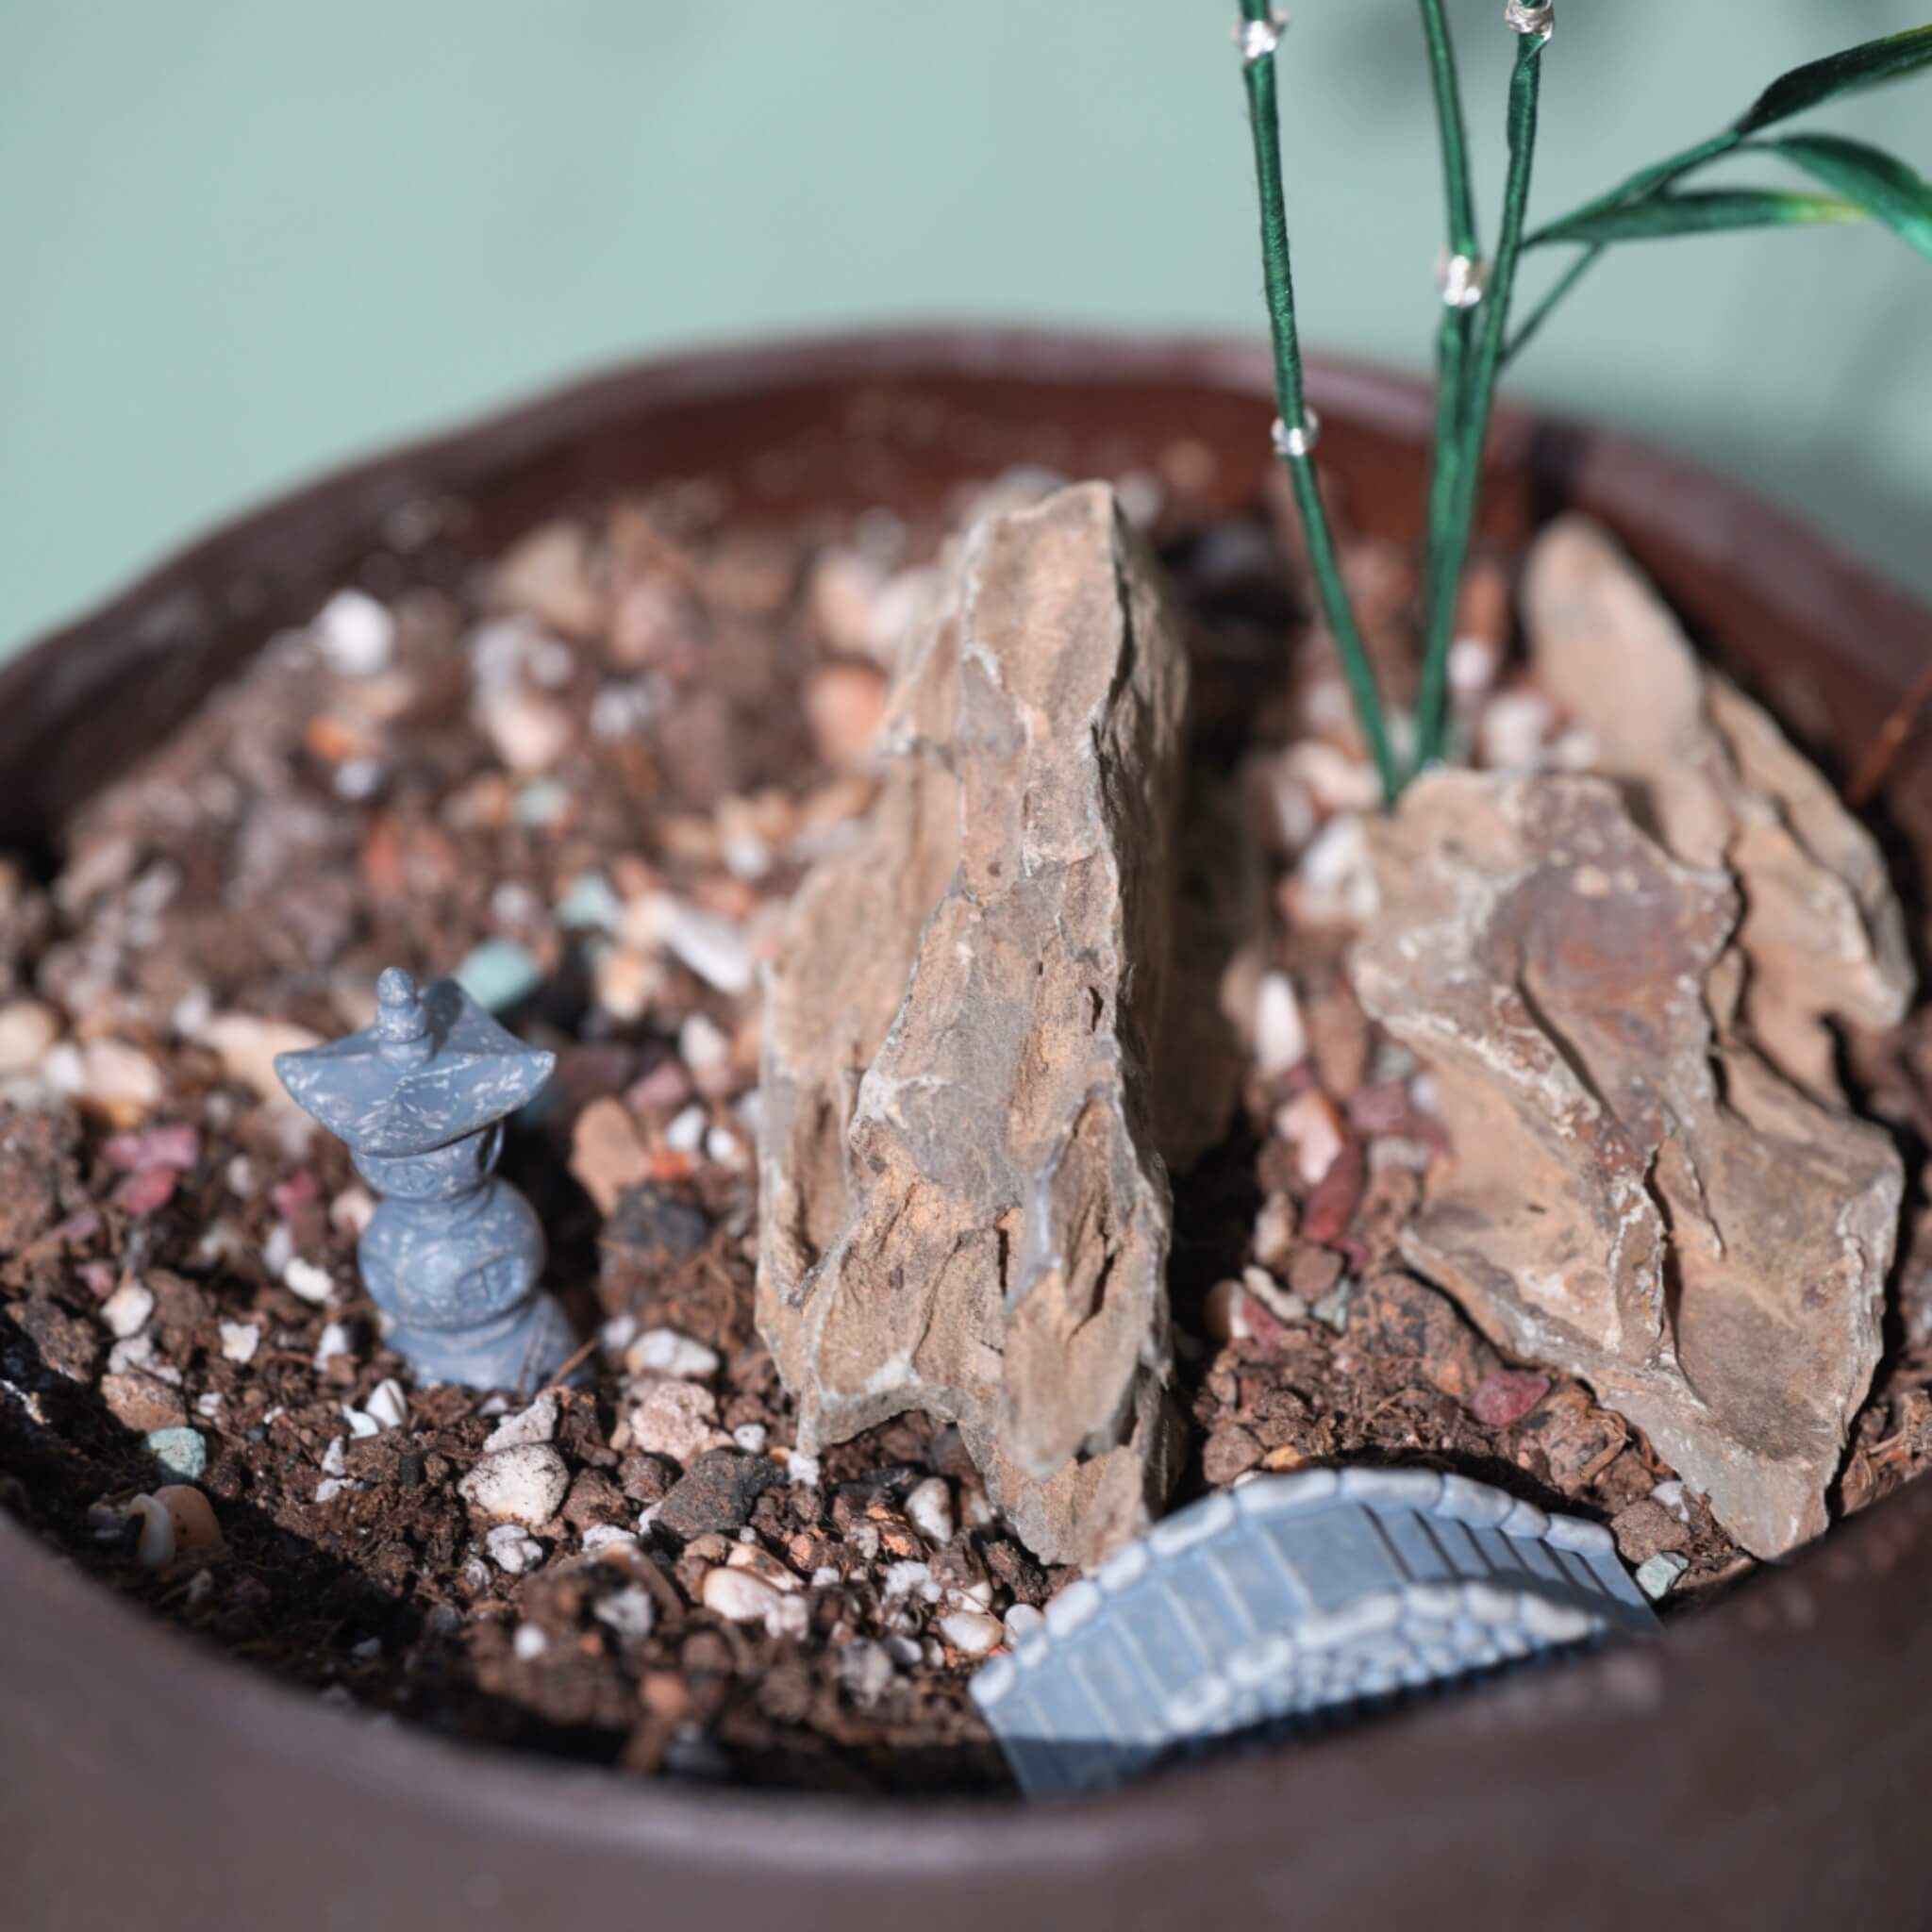
Ahora, inserte el árbol de arce completado en una maceta. Agregue un poco de tierra, luego añada pequeñas decoraciones en la maceta. El árbol de arce rojo ya está terminado.

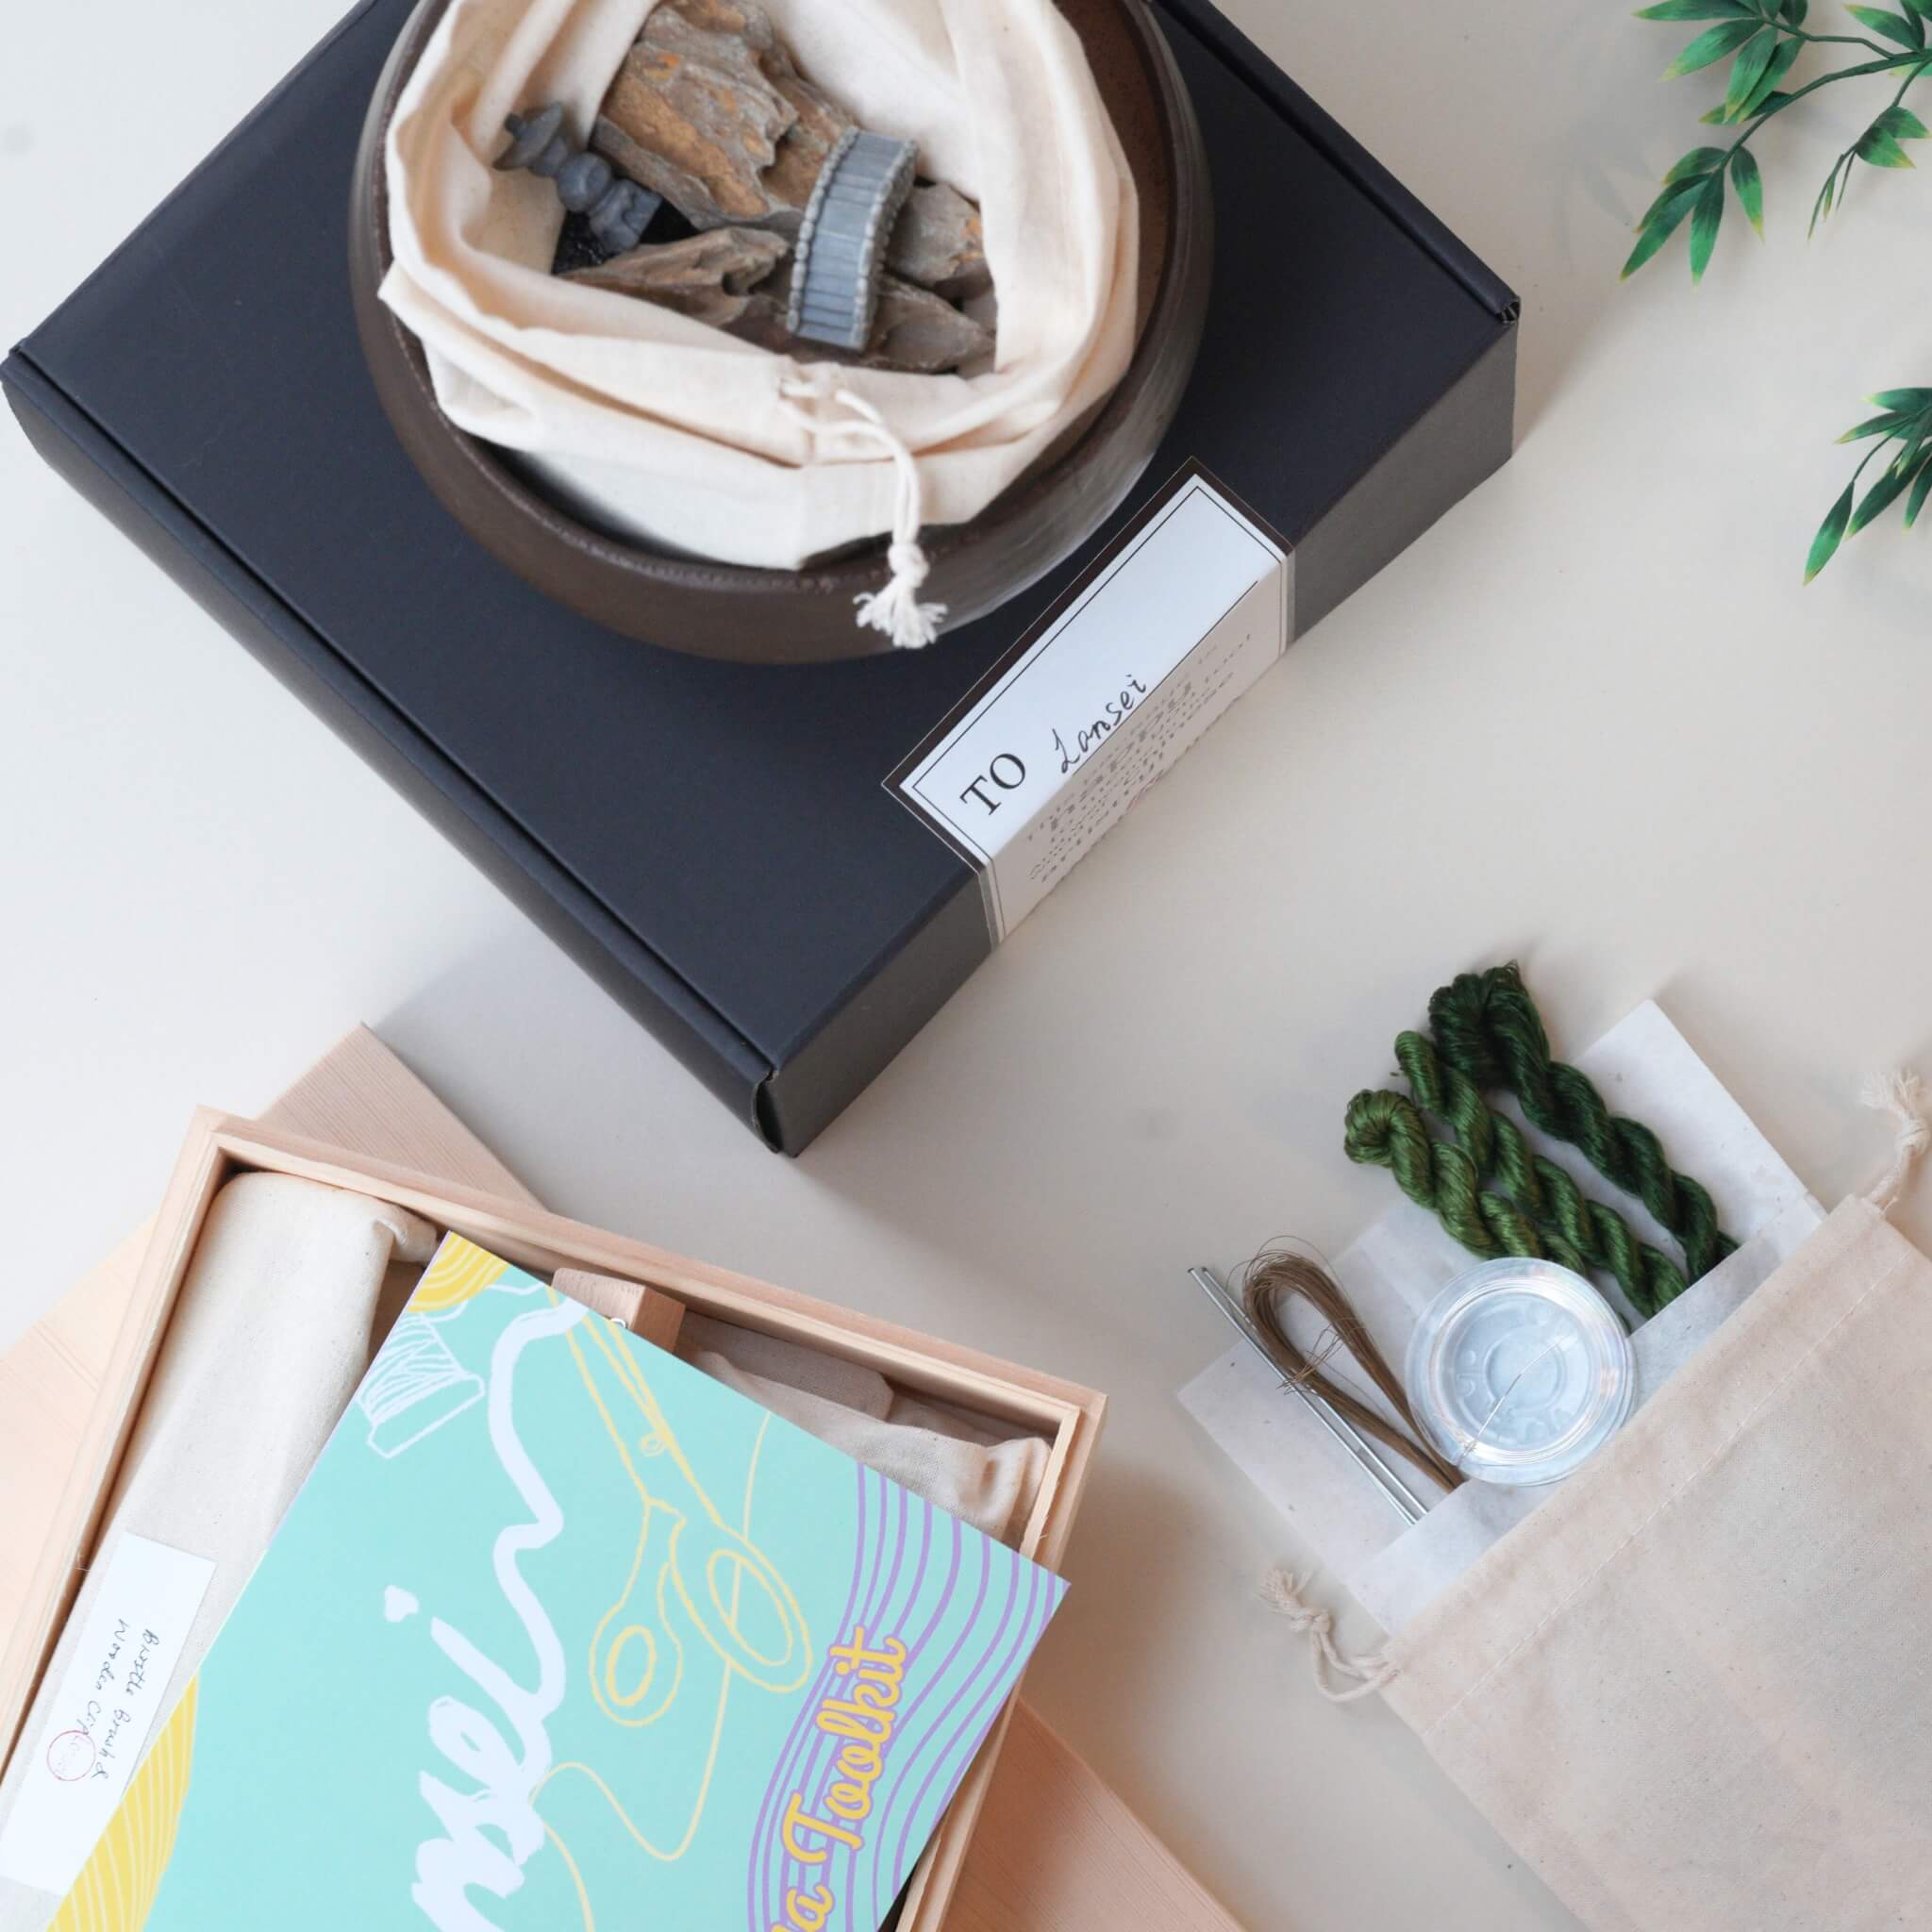
Si terminaste tu producto DIY, te invitamos a mostrar tu increíble trabajo y obtener cupones para el resto de nuestros kits DIY!
INS@lanseichina
Pinterest@lanseichina


Deja un comentario
Todos los comentarios son moderados antes de ser publicados.
Este sitio está protegido por hCaptcha y se aplican la Política de privacidad de hCaptcha y los Términos del servicio.