Make Your Craft Party Shine with Floating Lacquer Art!

Planning a craft party is the perfect way to combine fun, creativity, and socializing in one memorable gathering. Whether you're celebrating a birthday, bridal shower, or just want to enjoy a laid-back weekend with friends, the right DIY project will take your party from ordinary to unforgettable.

So, what’s the best craft to impress your guests? We’ve got the answer: our Floating Urushi Lacquer DIY Kit!

What is Urushi Lacquer?

Urushi lacquer is an ancient art form with deep roots in Asian culture. Made from the sap of the urushi tree, this lacquer creates beautifully glossy, durable pieces with vibrant colors and a smooth finish. It’s the perfect blend of art, tradition, and craftsmanship—resulting in mesmerizing textures and patterns.

Our Floating Urushi Lacquer Kit makes this exquisite art form accessible to all, whether you're a seasoned crafter or just getting started.

How to Get Started with Floating Lacquer Art

Excited to explore the domain of floating lacquer art? We've outlined the key 5 steps for making floating lacquer art below. Take a peek!

01

Prep the Water

Fill a basin with clean water. The height of the water will determine the size of your floating lacquer surface.

02

Mix Your Colors

Blend the lacquer with orange oil using the provided cups. The goal is a smooth, flowy mixture that will float on the water.

03

Add the Lacquer

Pick your favorite color combinations and drip them into the water. Use a stick to swirl the colors around, creating mesmerizing patterns.

04

Dip Your Object

Dip your chosen object into the floating lacquer. You can protect parts of the object by wetting them or covering them with tape. Experiment with different dipping techniques like straight down, diagonal, or rotating.

05

Lift and Dry

Use oil-absorbing paper to clean up any remaining lacquer, then gently pat off excess water from your object and allow it to dry.

Tips for Hosting the Perfect Floating Urushi Lacquer Craft Party

Prepare Fun Items to Dip: Half the fun is seeing what objects can be transformed with lacquer! Start with safe options like heavy paper for bookmarks or greeting cards. But for adventurous souls, the possibilities are endless—white phone cases, vases, canvas bags, lampshades, and more. You can even ask your guests to bring their own white objects to dip! Just make sure whatever they bring has a surface that can handle the lacquer.

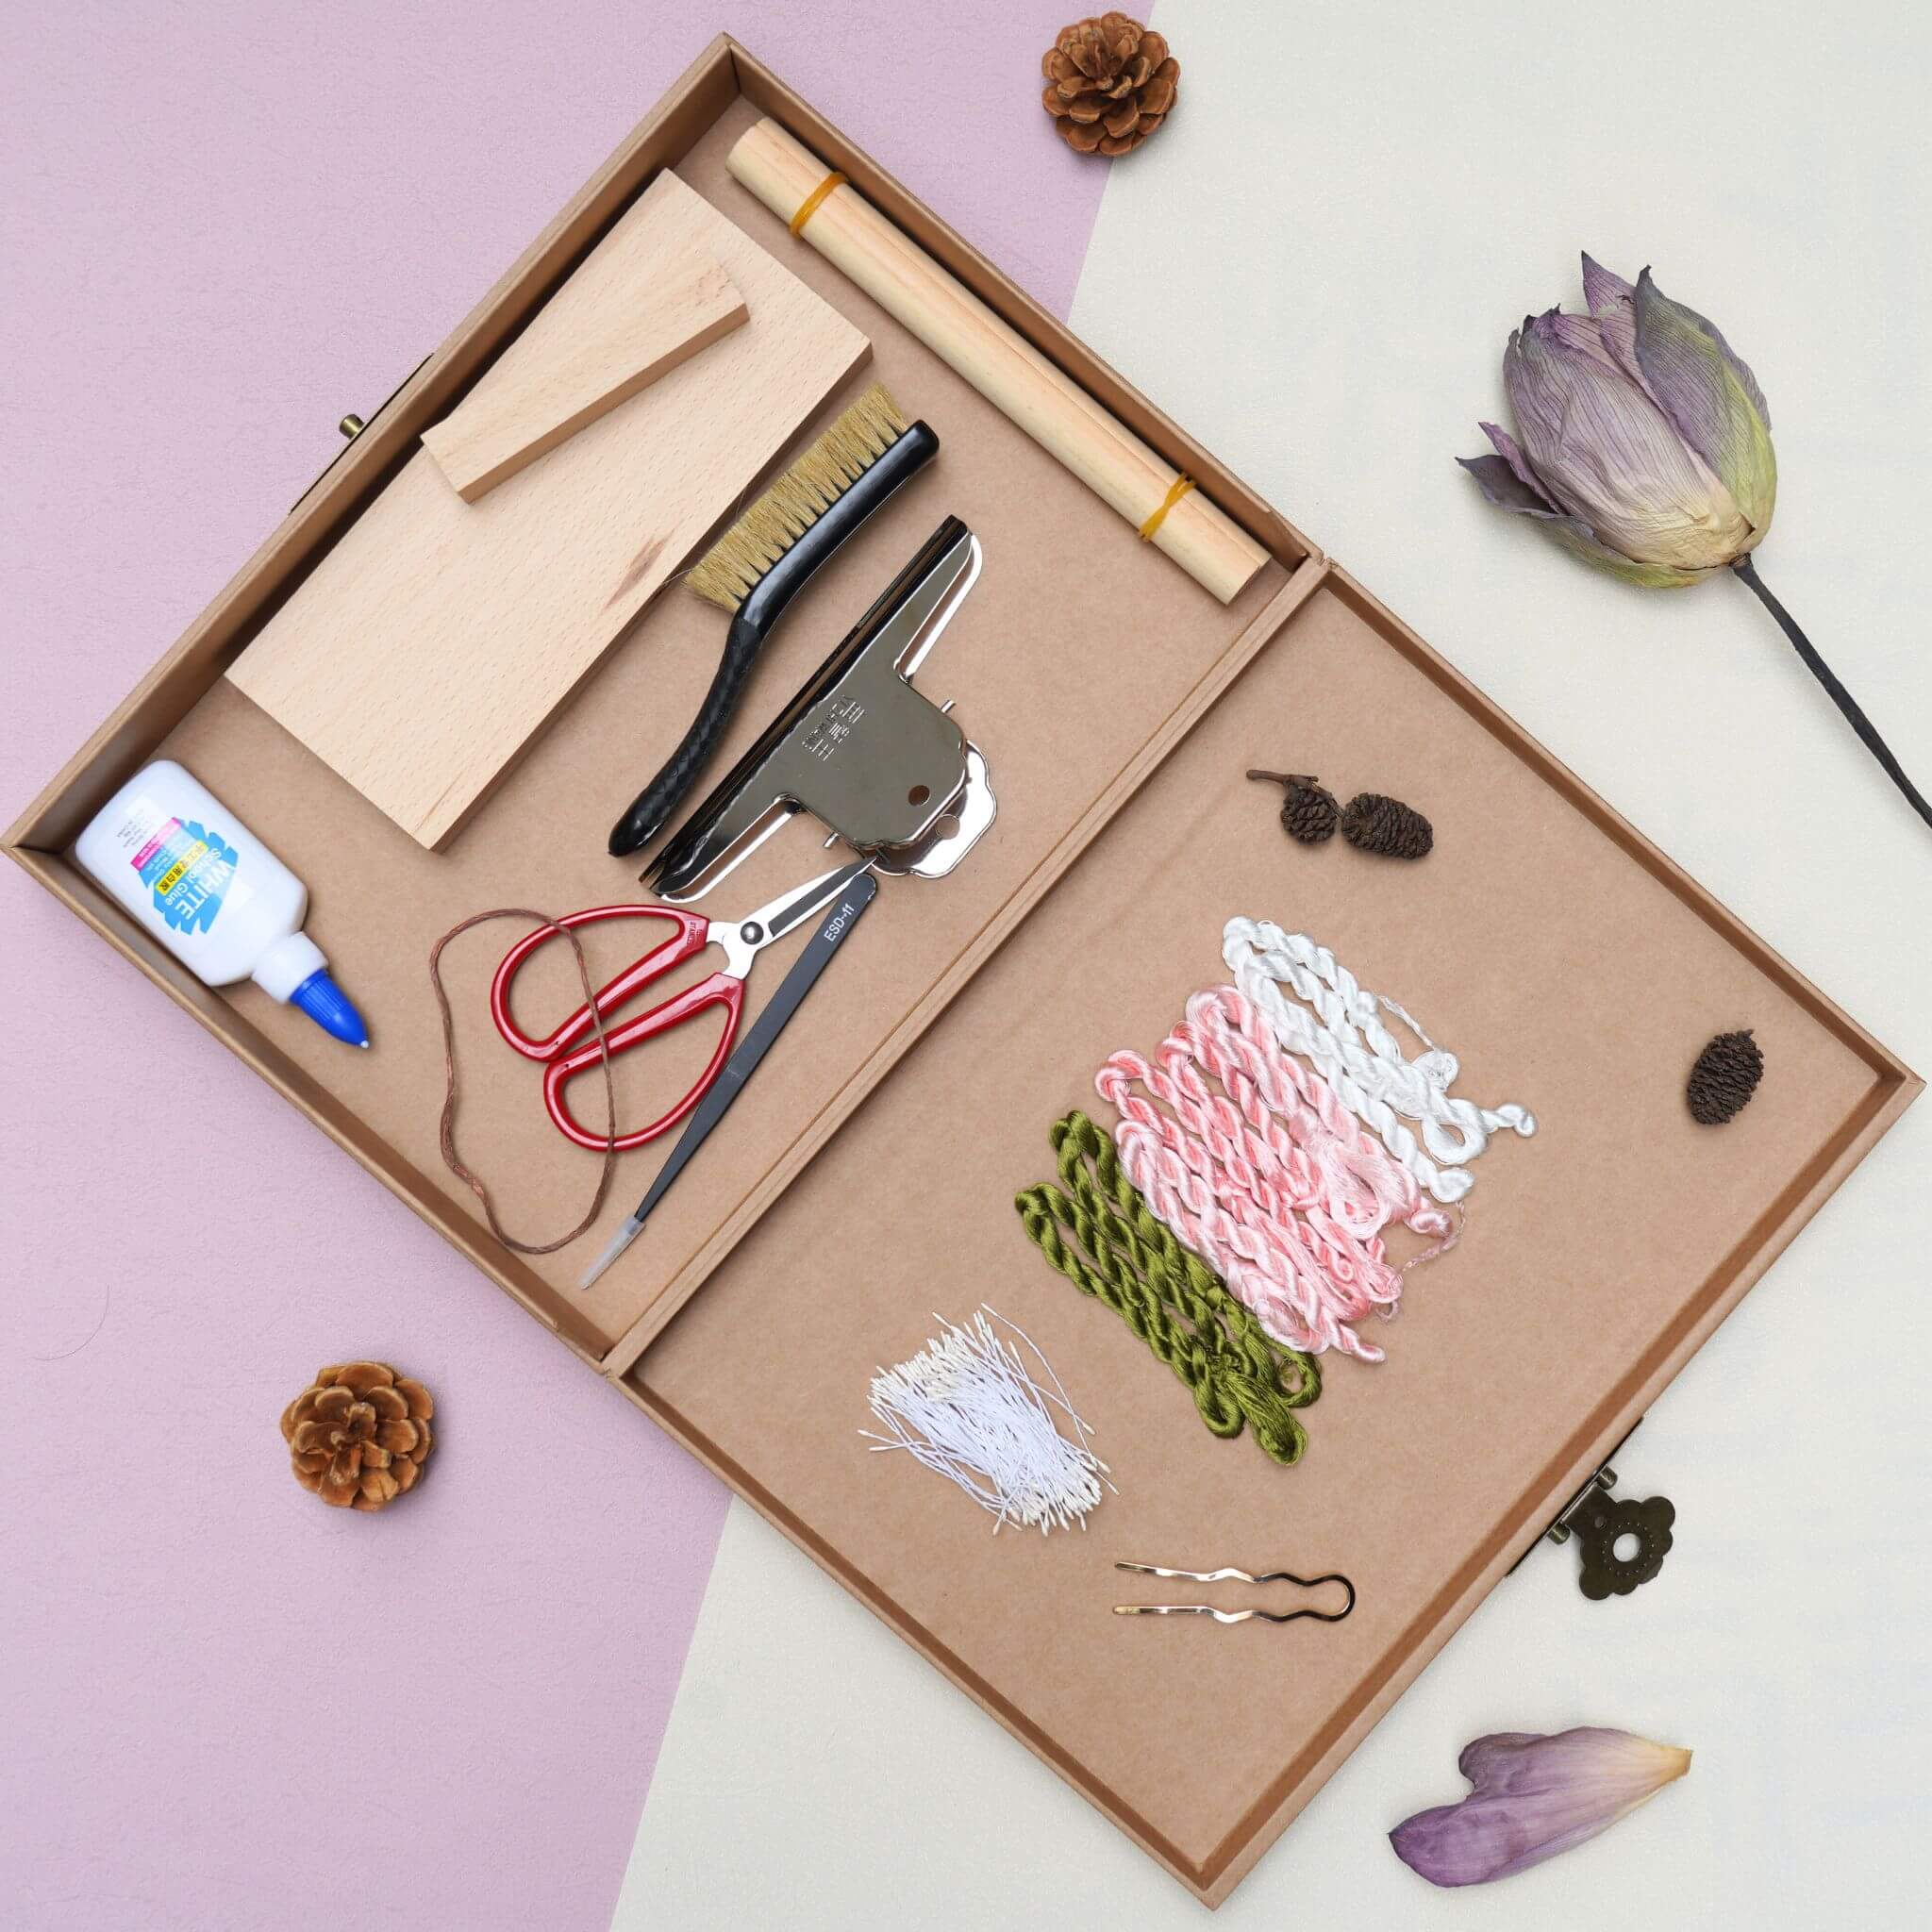
Bigger Basins, More Supplies: While our DIY kit includes a portable water basin, you might want a larger container for group crafting. Any large basin or tank will work, just remember the water’s height limits the floating surface. To keep your basin clean, line it with cling wrap. The standard kit (with 10g x 8 colors + 100ml orange oil) is perfect for 3-5 people for 2-3 hours of fun. Plan ahead to ensure you have enough supplies, especially lacquer and oil, so the fun doesn’t stop mid-party. And don’t forget the gloves! Prepare extra pairs since they can get messy quickly.

Snacks & Drinks: Keep your guests energized with light snacks and drinks. And hey, a little creativity might flow better with a cocktail in hand—why not?

Add a Personal Touch: Make your craft party even more special by adding a theme. You could match the lacquer colors to your event’s theme, or hand out prizes for the most creative designs. Want a challenge? Give a prize to the guest who recreates a specific pattern first—like a mountain landscape using different lacquer techniques!
Ready to Host an Unforgettable Party?

Create lasting memories with a craft party that’s as unique as your guests. Let the crafting begin!