


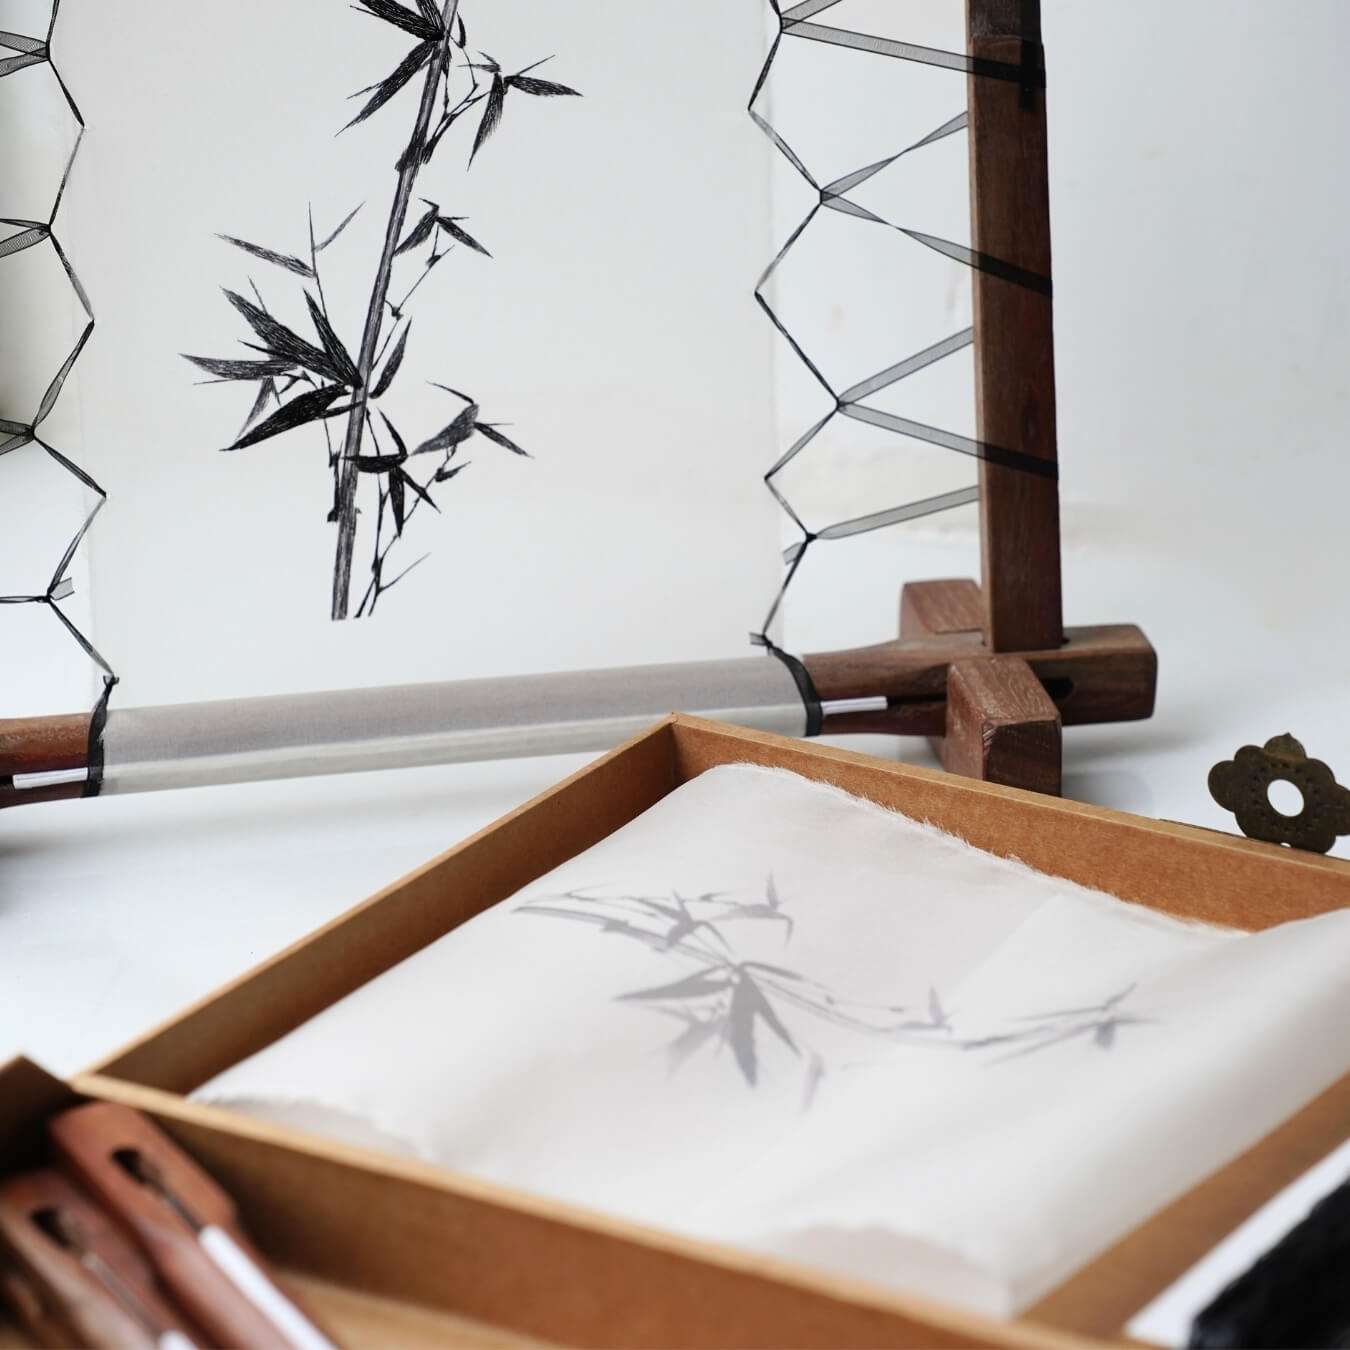
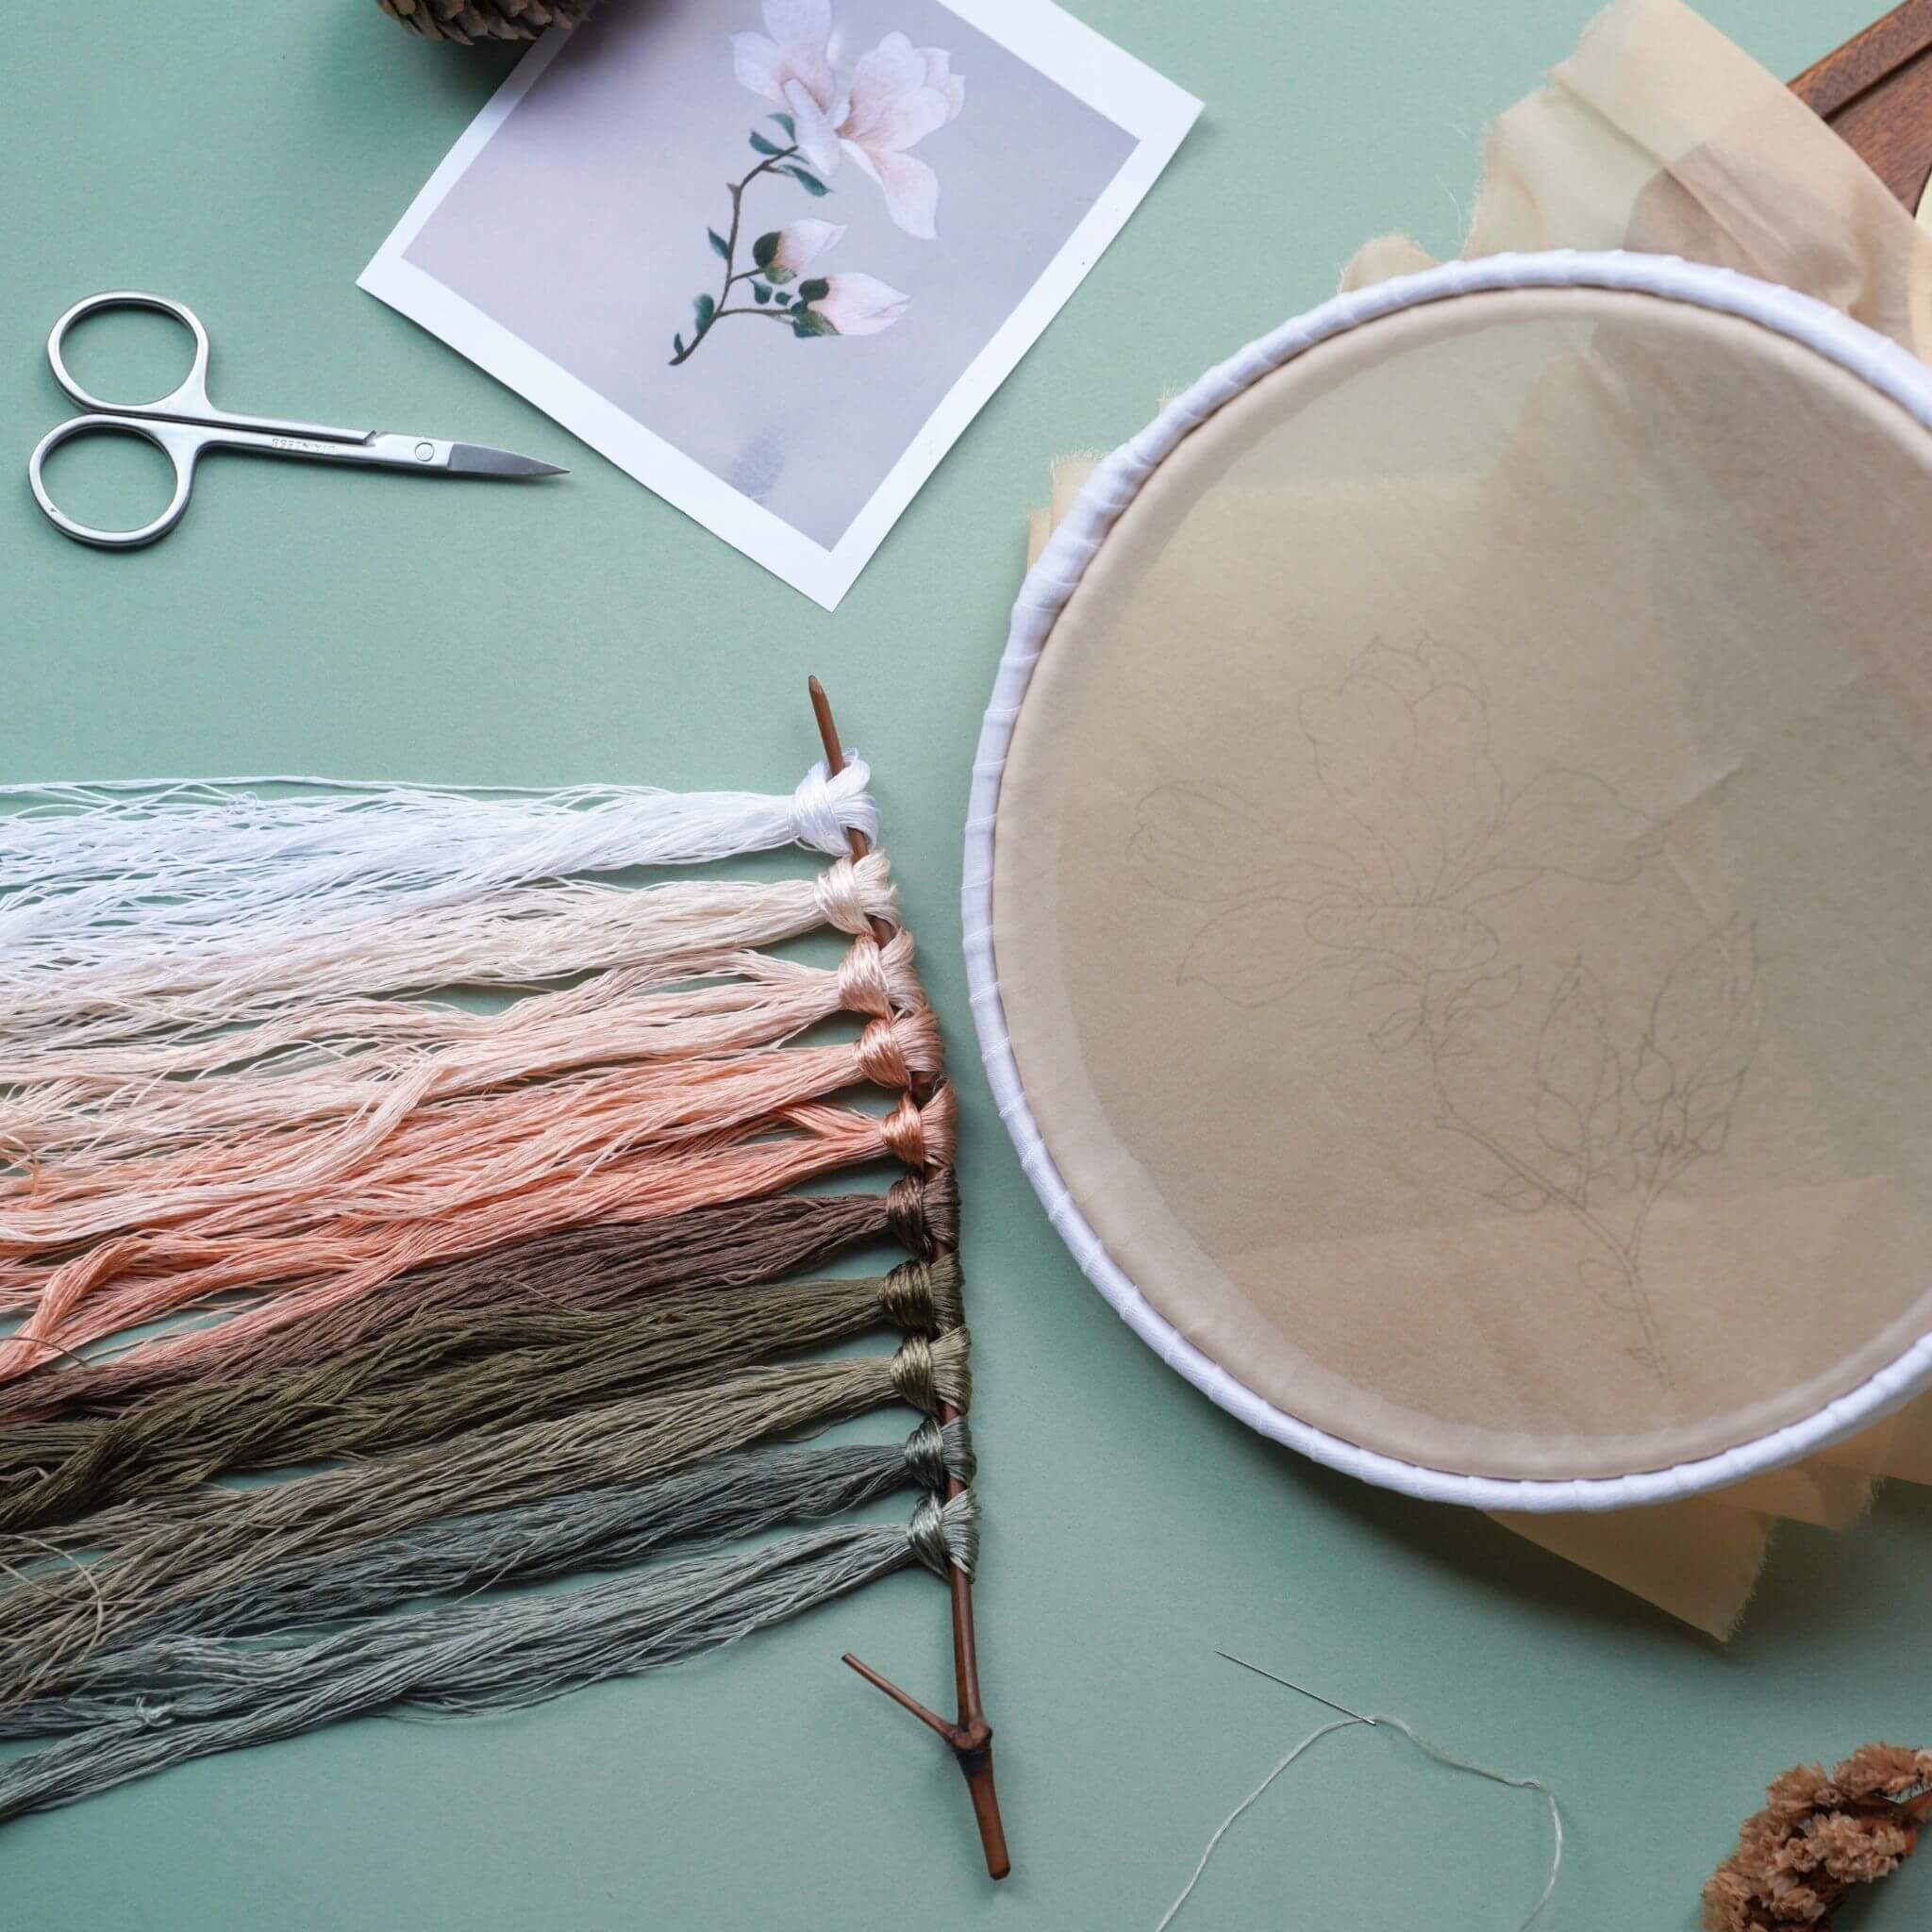

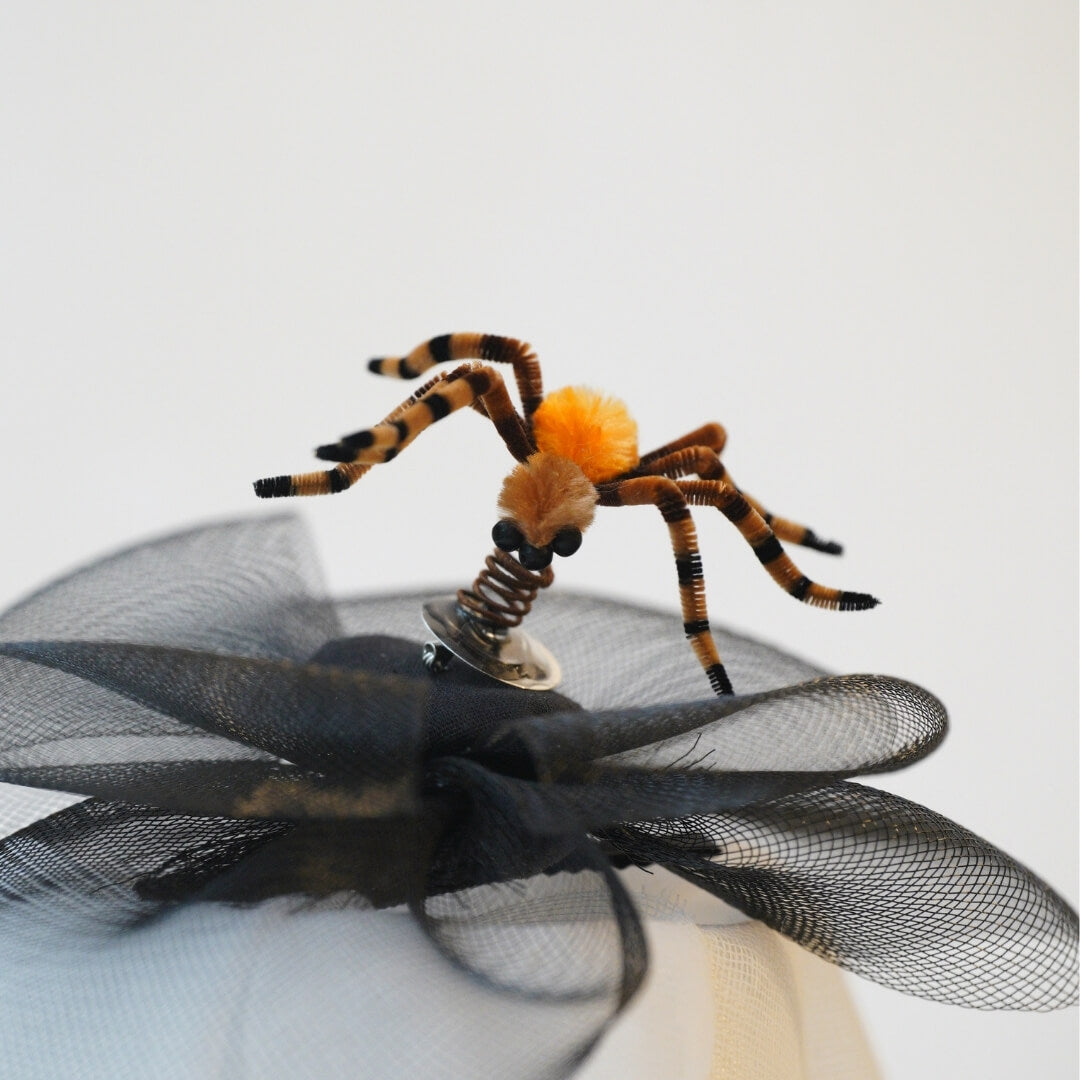
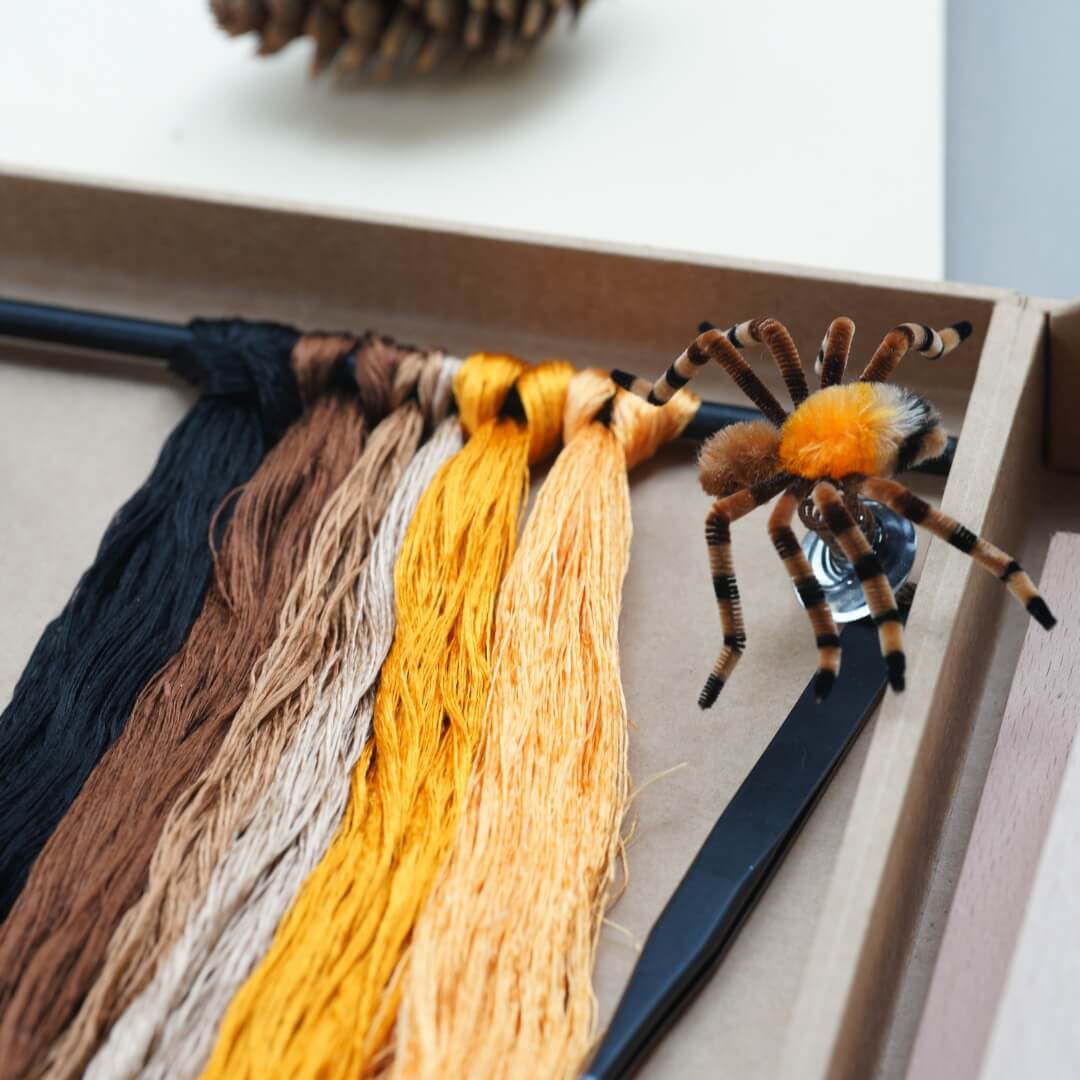
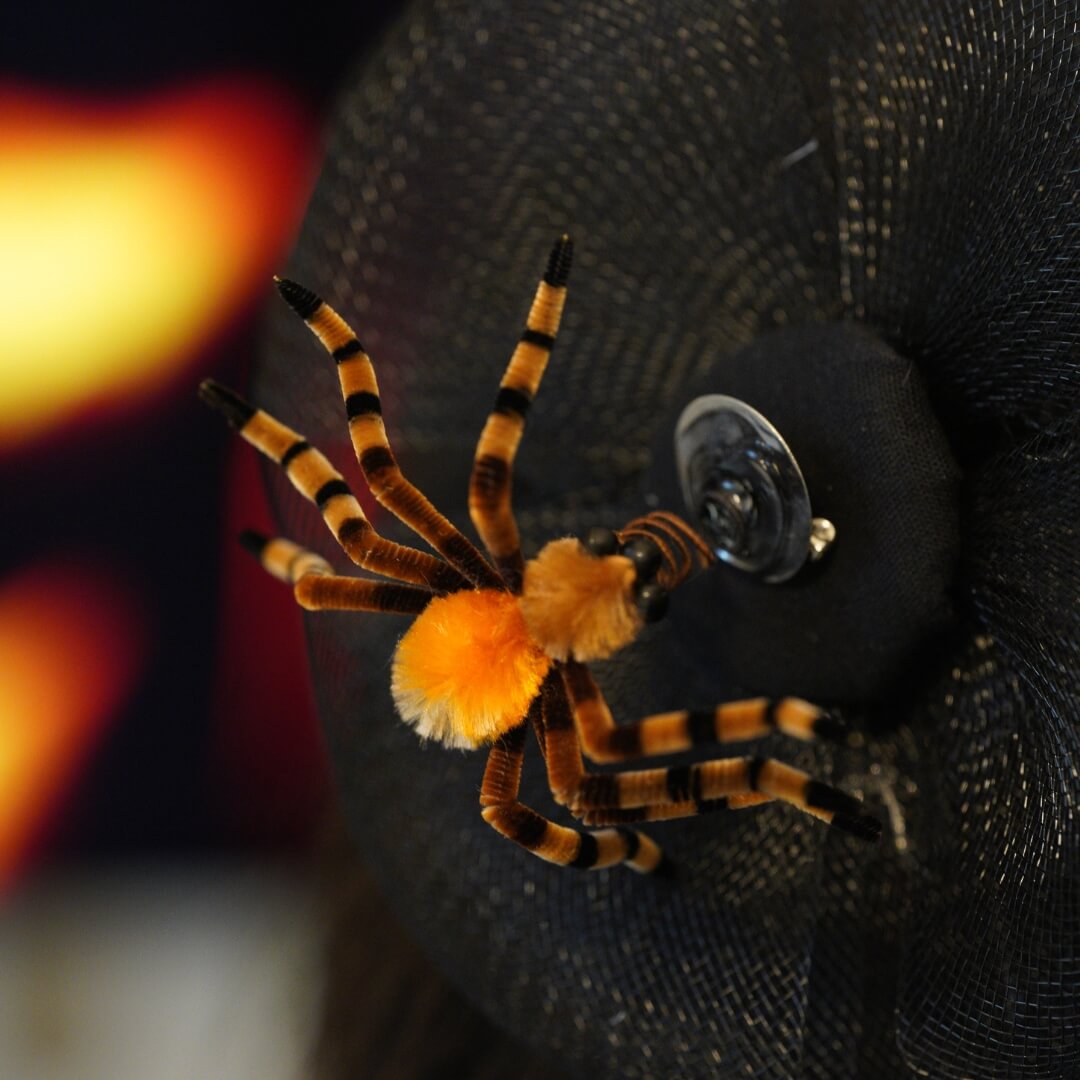
Who says ronghua is only for making beautiful flowers? It can also be used to craft fun little creatures that’ll either make you smile or give you the chills! Our studio’s Halloween spider is a fan favorite—fluffy, cute, and perfect for adding a spooky touch to your October festivities. You can wear it as a brooch, perch it on your shoulder, or use it to decorate a hat for that extra Halloween vibe!
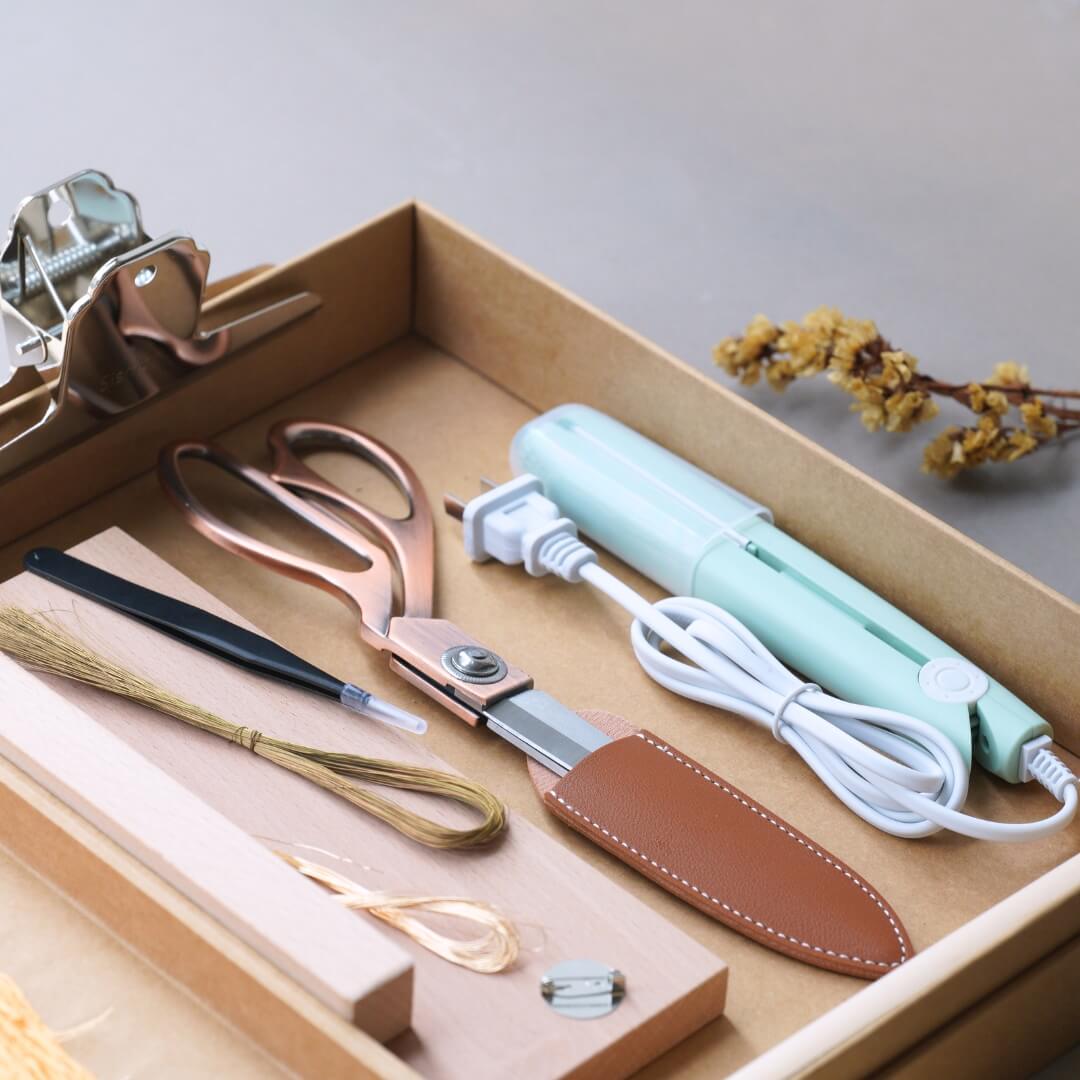
Step 1: Prepare the Thread 0:00~1:14
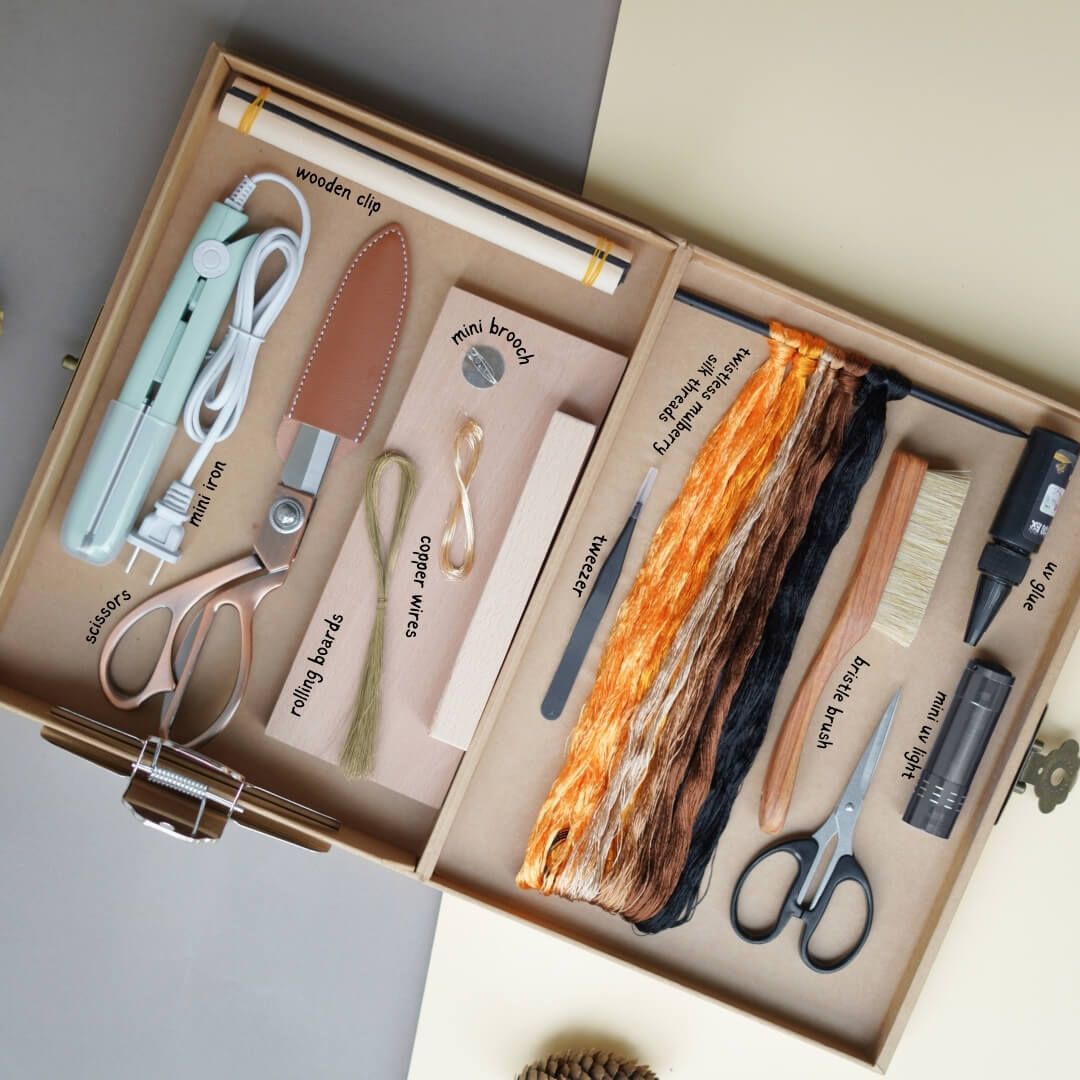
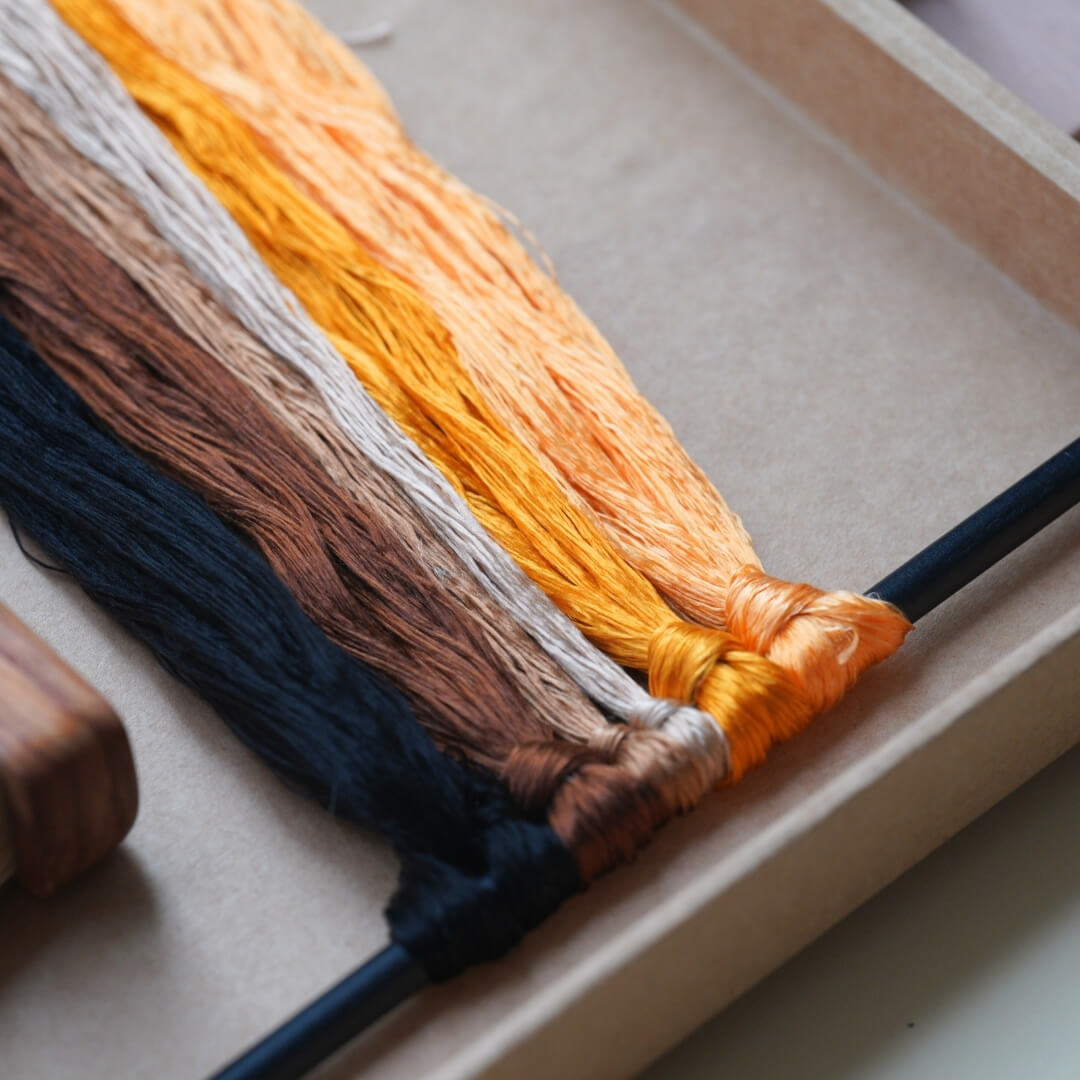
Cut the thread in half (only use half the normal length). Fold in half and tie the threads tightly around a wooden stick. Group 10 threads together per row, placing them tightly side by side. Make 21 rows of dark color, and 16 rows of light color.

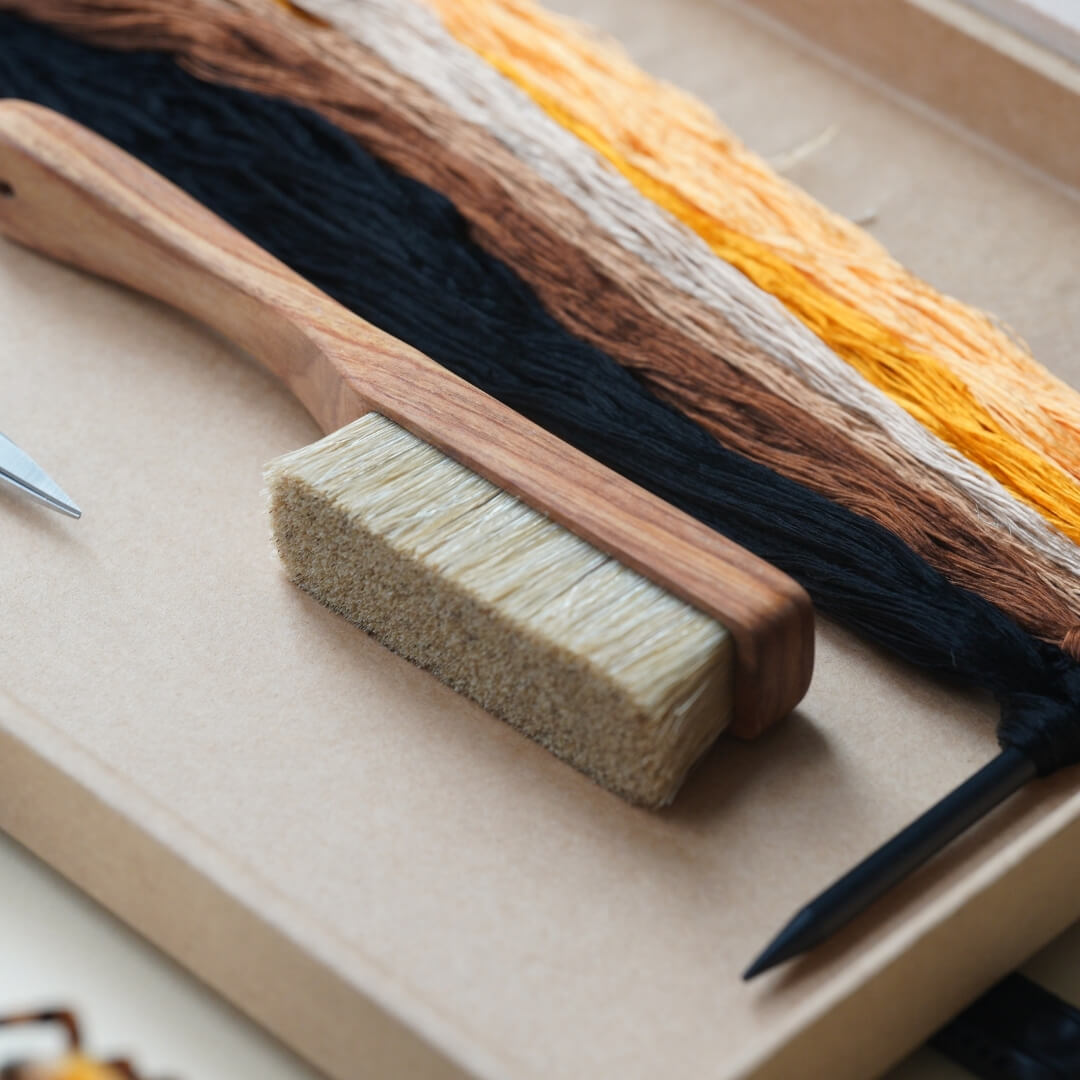
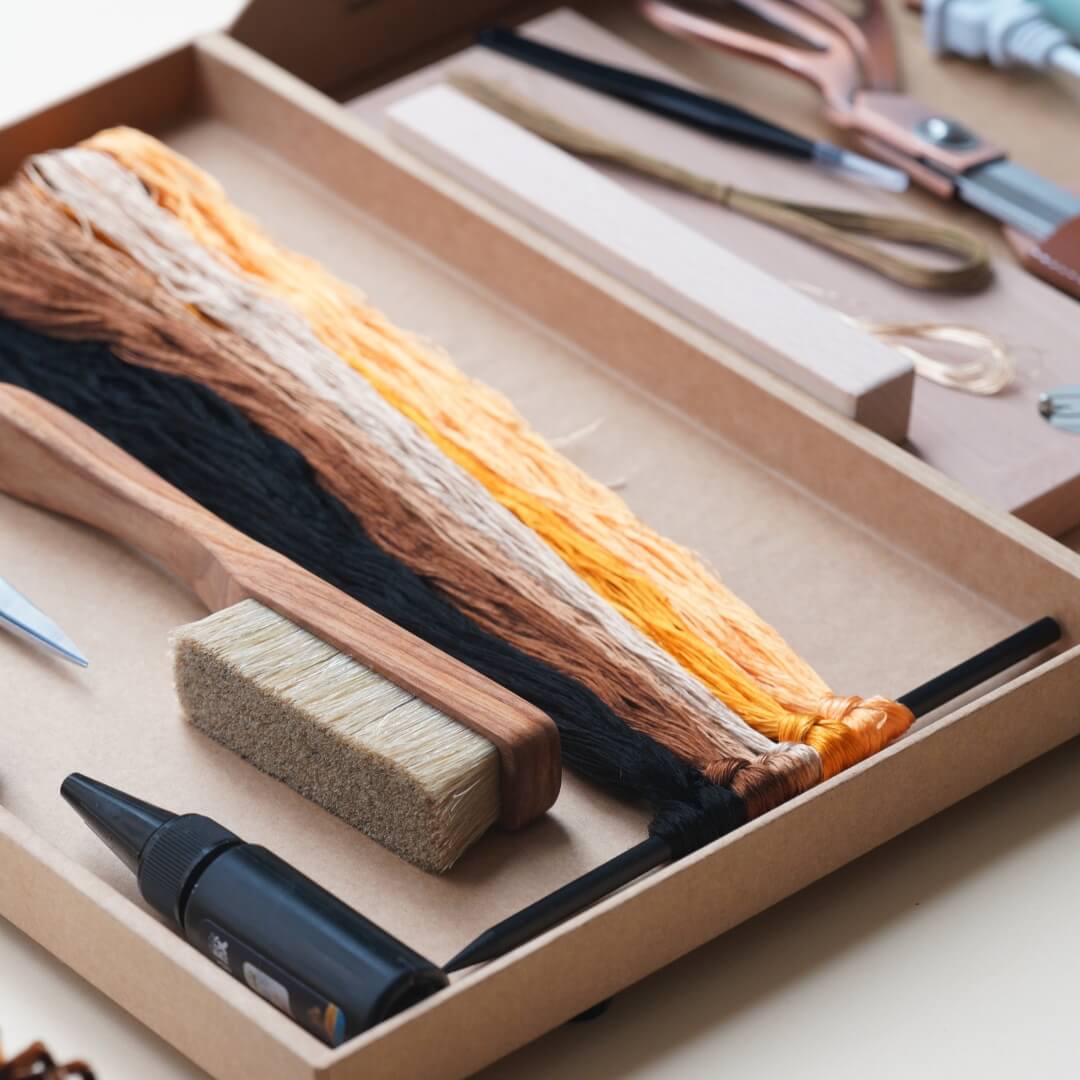
Step 2: Brush and Fluff the Thread 1:15~2:45
Lightly spray water to reduce static. Brush the threads thoroughly — the brush should pass through completely. Brush both sides and remove any tangles with tweezers. Stop brushing once the threads are smooth, fluffy, and shiny.

Step 3: Make the Fluffy Strips (Rong Tiao) 2:46~6:10
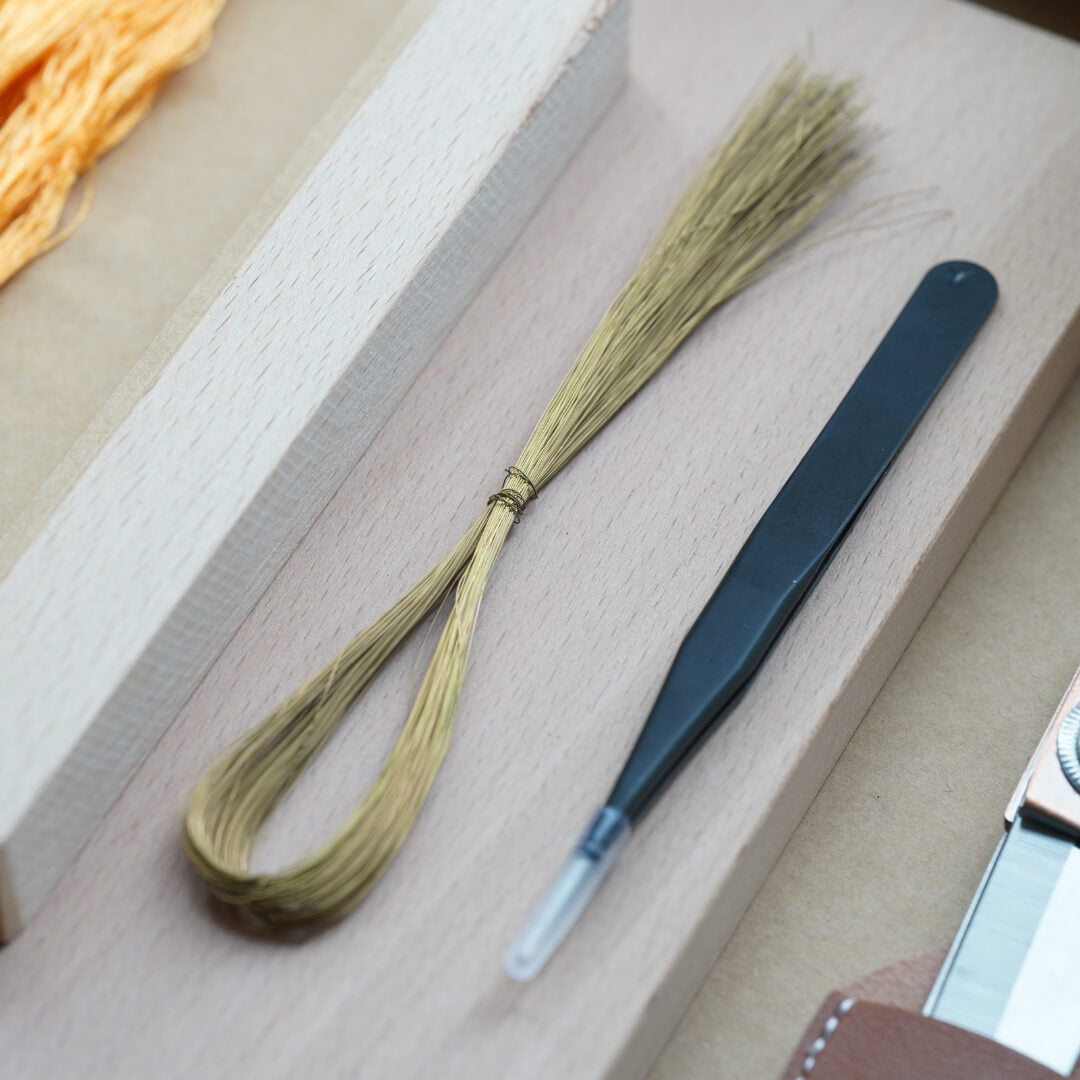
Take a length of copper wire, straighten and fold it in half. Twist one end tightly (about 2–3 cm). Lay the brushed threads between the wires and twist the other end, stretching the wire tightly. For the spider body: space between wires ~ 1.5 cm. For the spider legs: space between wires ~ 0.5 cm. Cut the strips carefully — you can cut them wide first and trim them narrower later.

Step 4: Trim and Shape the Strips 6:11~8:20
Align the cut ends so the copper wire is in the center. If not aligned, the final spider will look uneven. Trim both ends to make them tapered and neat — this is called "da jian" (tip-shaping). Twist and rotate the strip as you trim for best results.

Step 5: Shape the Spider Body 8:21~12:58
Choose a few strips in a different color for demonstration. Trim the head round and soft. Shape the lower half of the body into an oval. Done carefully, this creates the full body shape of the spider.

Step 6: Make and Attach the Legs 12:59~19:07
Use 8 strips per spider for the legs. Bind them in the center using thread. Divide into two sets of 4 strips. Spread the legs out so they don’t stick together. Cut off excess wire. Apply white glue in the middle of the leg bundle and bottom of the body. Stick the legs and body together — use tweezers for precise placement.

Step 7: Bend and Shape the Legs 19:08~20:45
Use tweezers to bend the strip upward at the midpoint. Fold the end of the strip upward again to form a spider leg shape.

Step 8: Add the Eyes 20:46~21:32
Apply small dots of white glue to the spider head. Glue on 3 small eyes (due to size limitation). Once dry, the glue becomes clear and invisible.

Step 9: Create the Spring Base 21:33~23:12
Add two extra wires to the underside, wrap with silk thread. This creates a spring-like support structure. Tie a knot to finish and cut off excess thread. Use a lighter to slightly burn frayed ends — be gentle.

Step 10: Form the Spring & Attach to Brooch 23:13~end
Wrap the wire around a small round stick to form a spring. With remaining wire, coil it into a mosquito coil shape. Drop UV resin onto the brooch base. Place the spring base of the spider onto the resin. Cure under UV light for 5–6 minutes until hardened.


Done! You’ve now created a fluffy, springy, and totally charming silk spider — ready to wear or gift!
If you finished your DIY product, welcome to show your awesome work to us and get coupons for the rest of our DIY kits!
INS@lanseichina
Pinterest@lanseichina


