


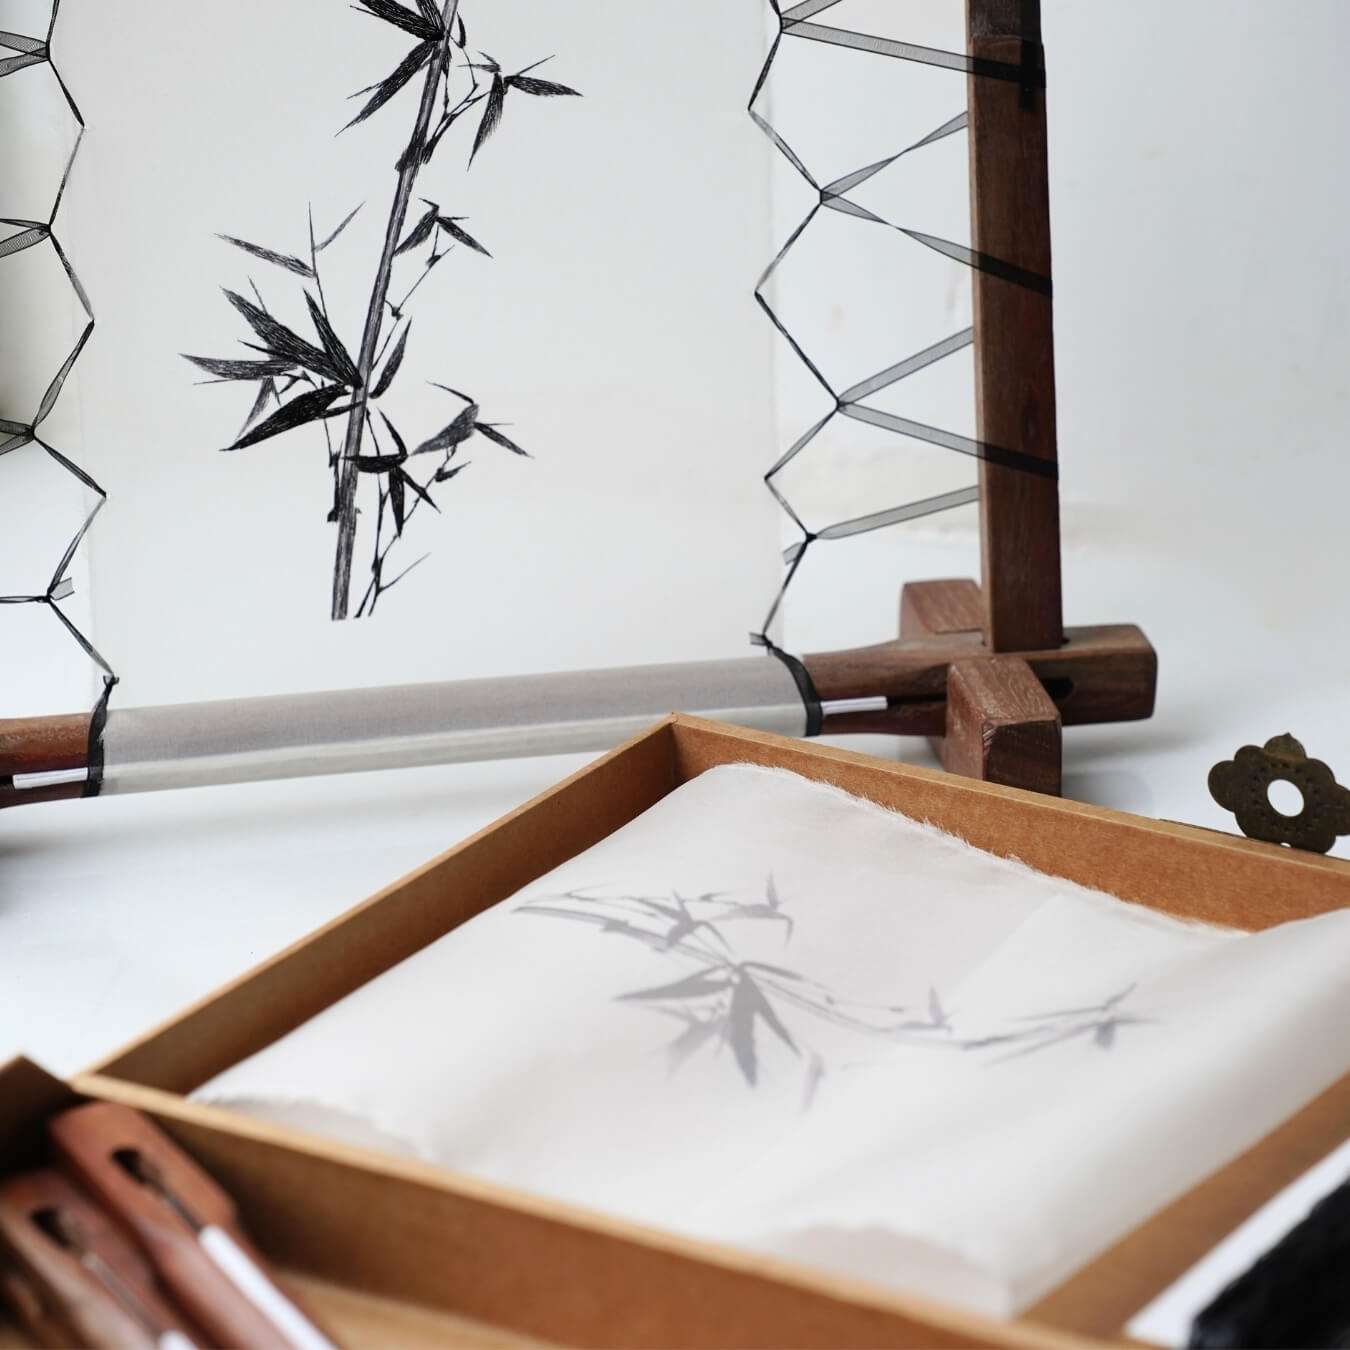

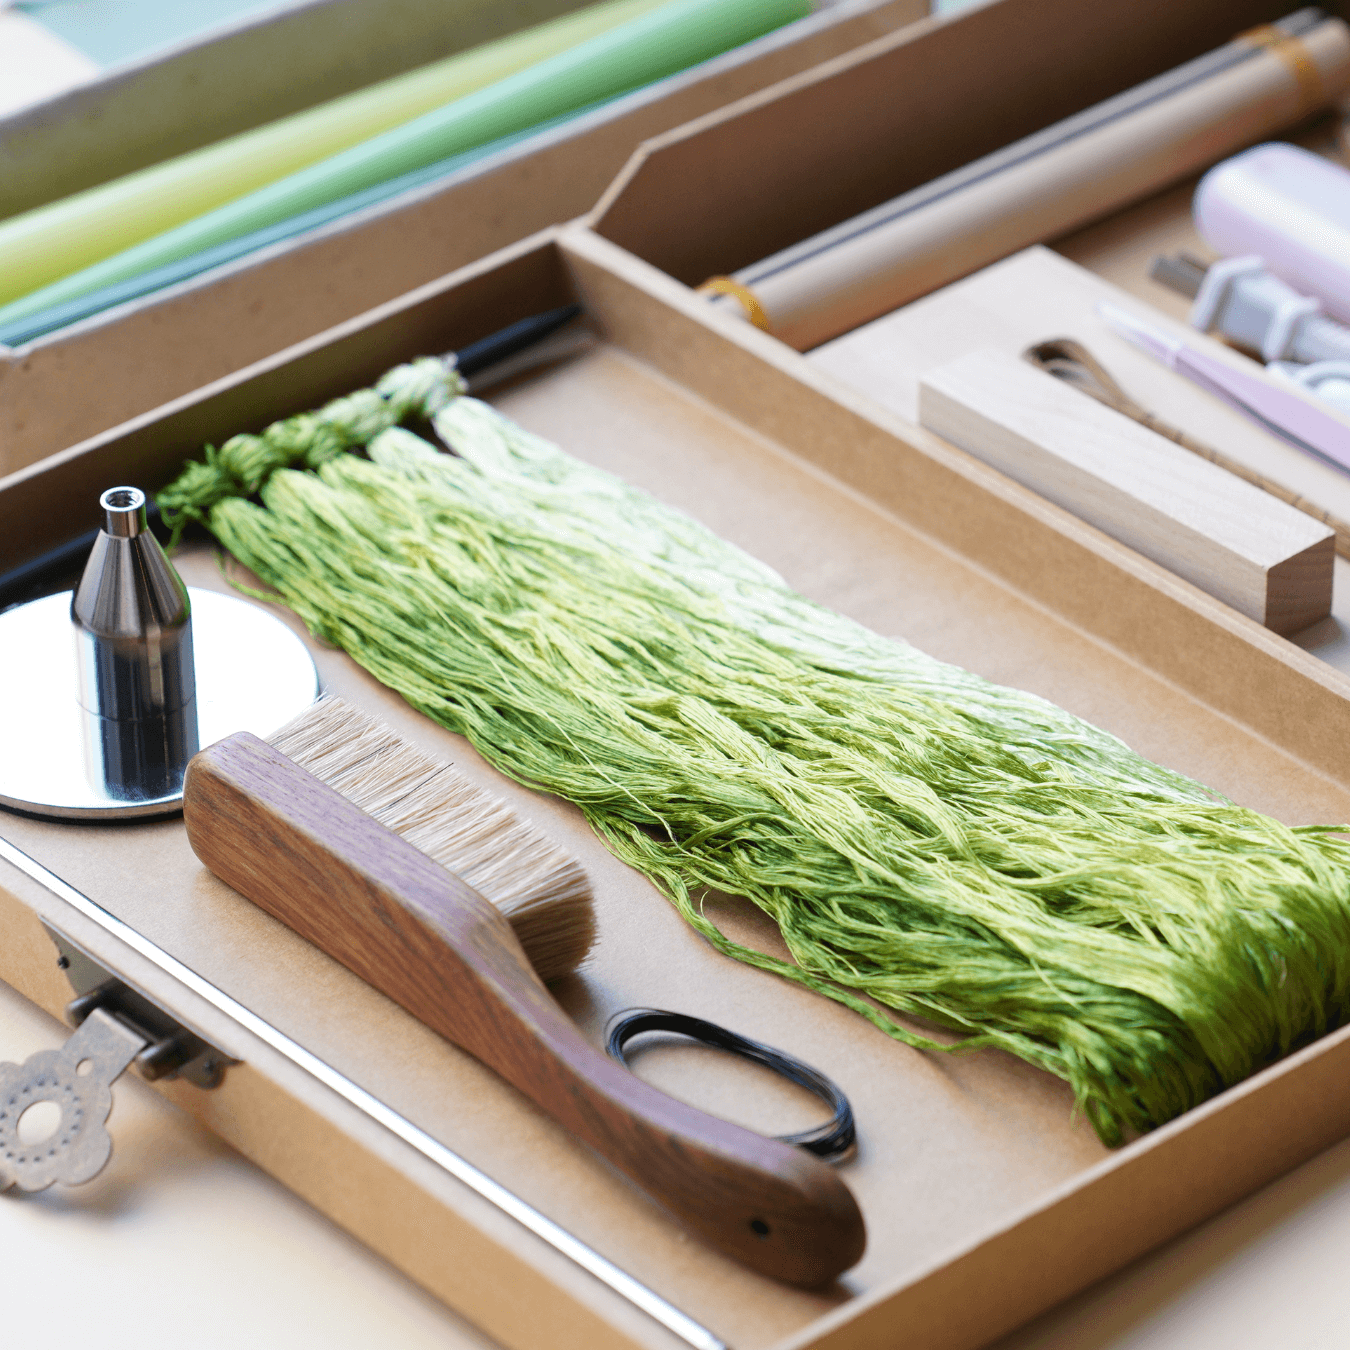
Today we’re going to walk through how to prepare, brush, and shape silk thread into beautiful Ronghua willow branches. This tutorial covers every step — from preparing the silk to final assembly.
Step 1: Prepare the Silk Threads 0:00~1:35
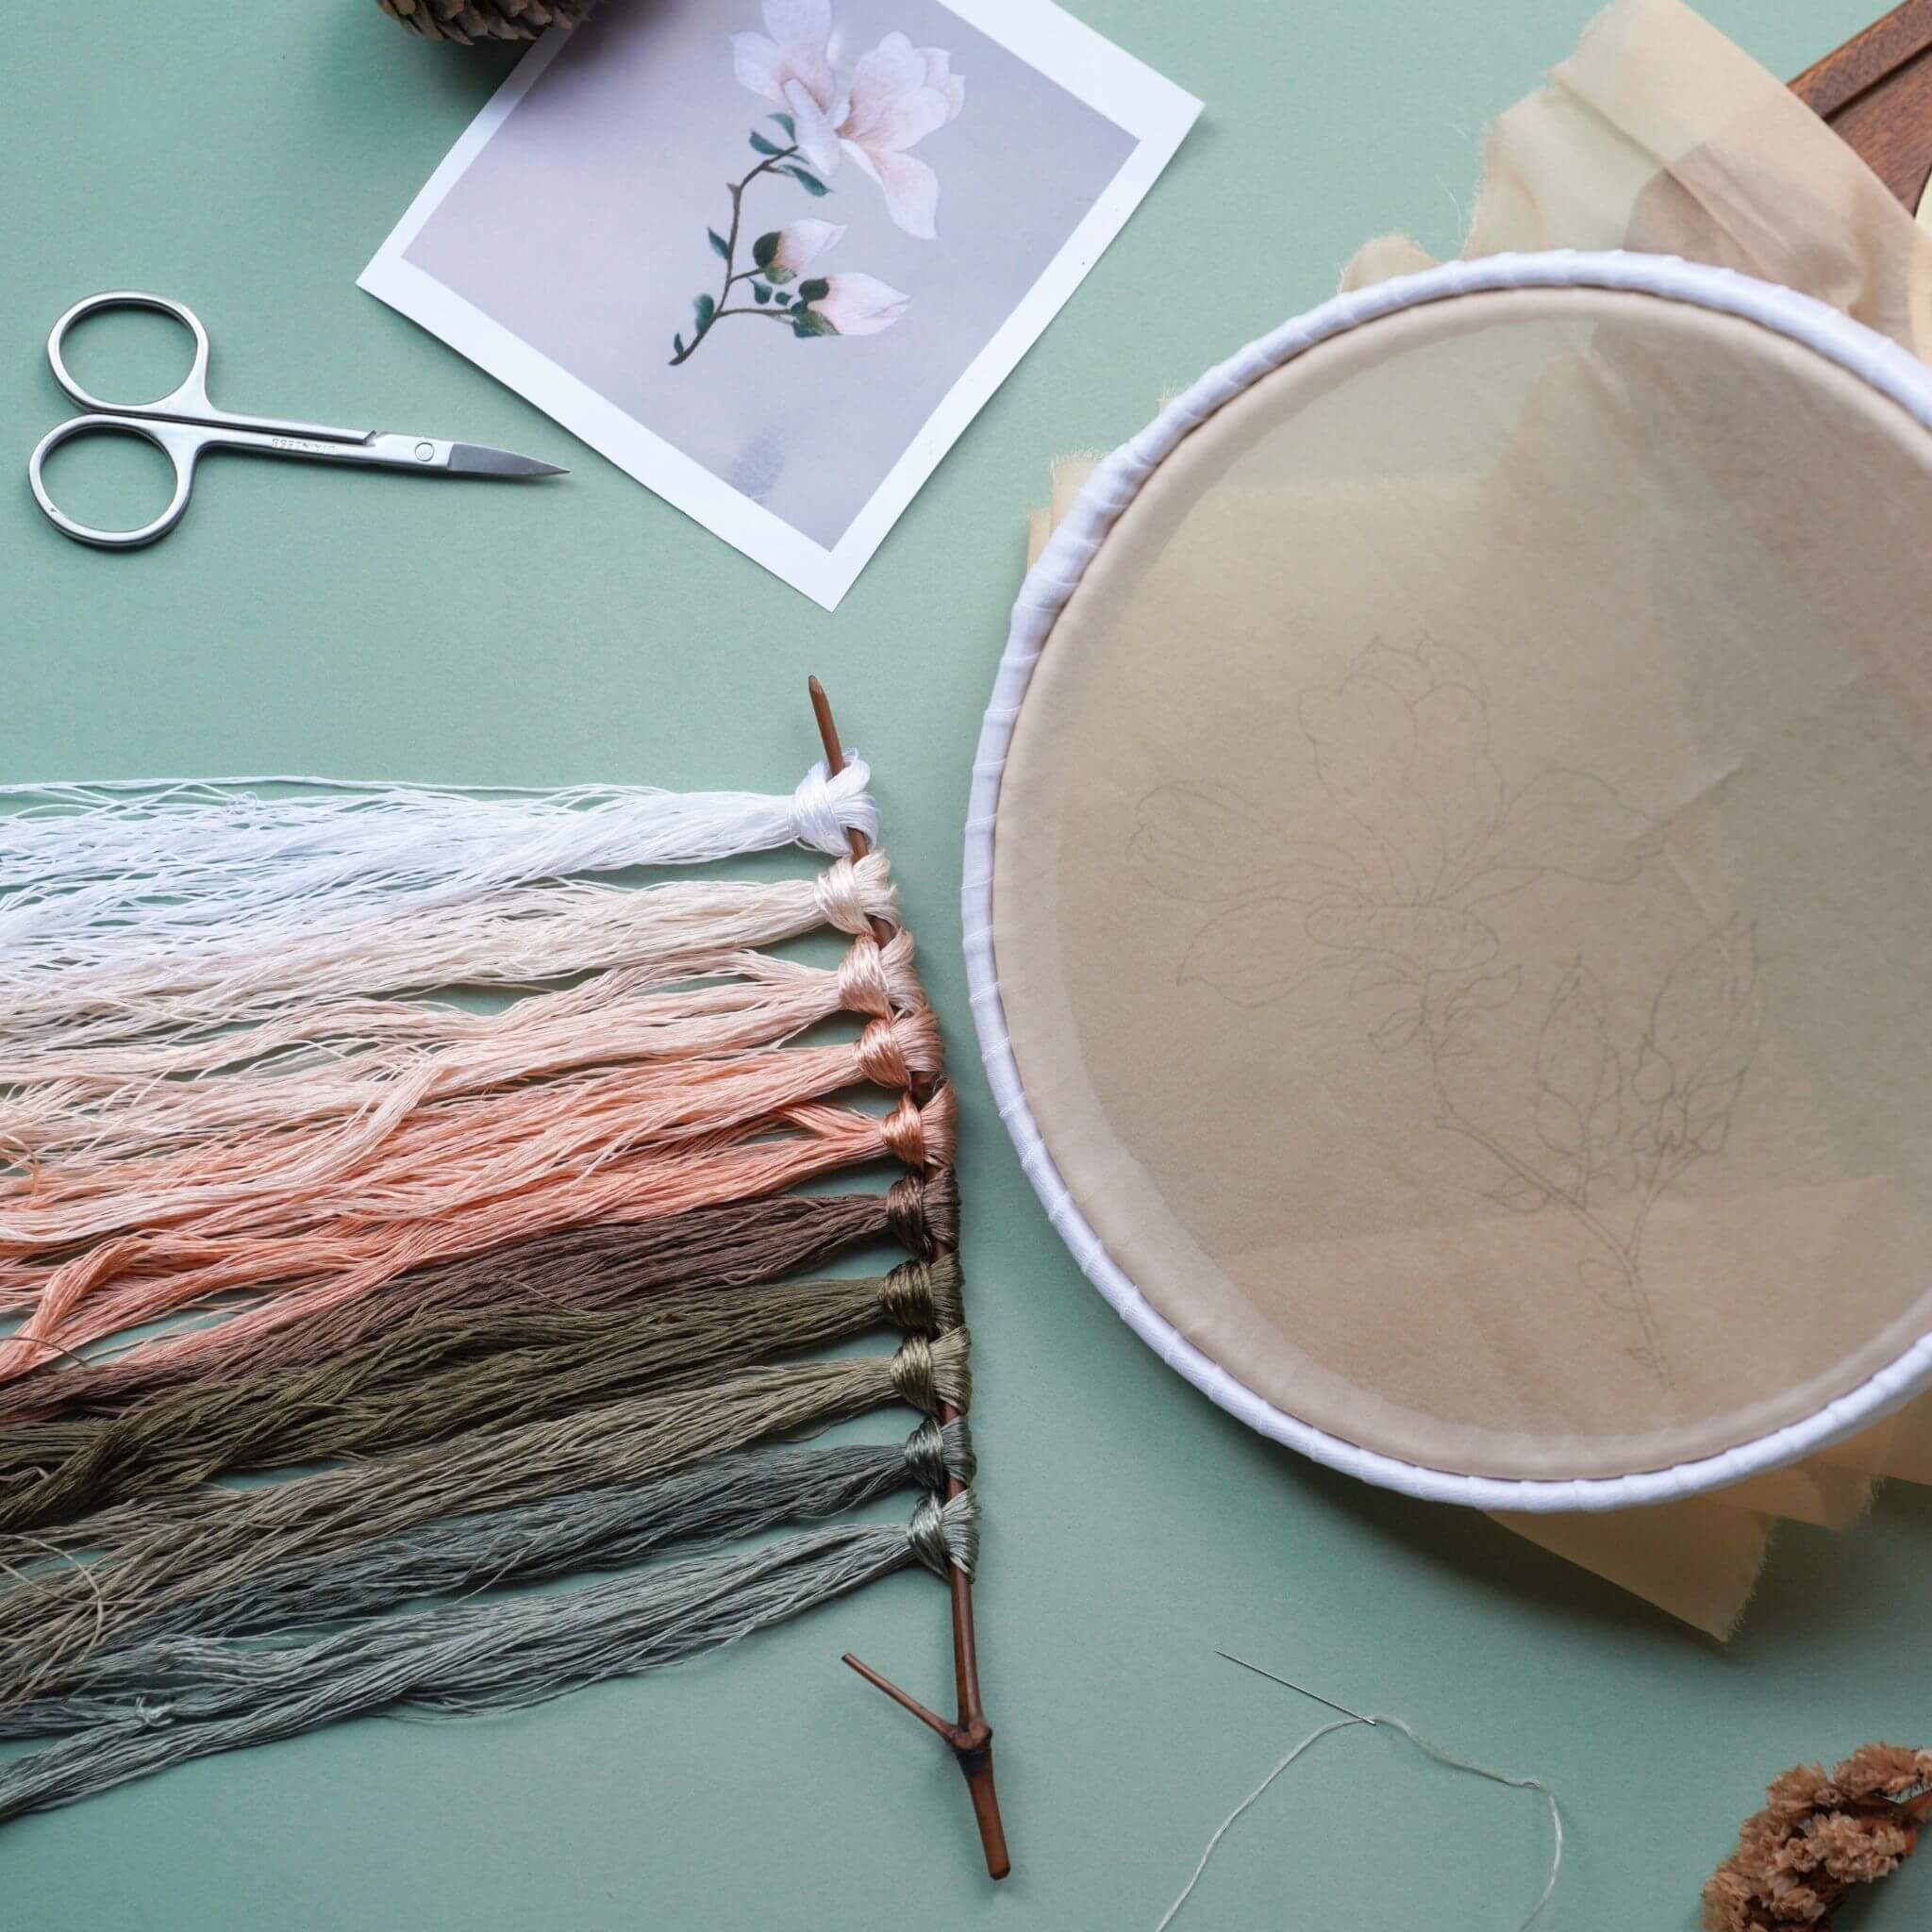
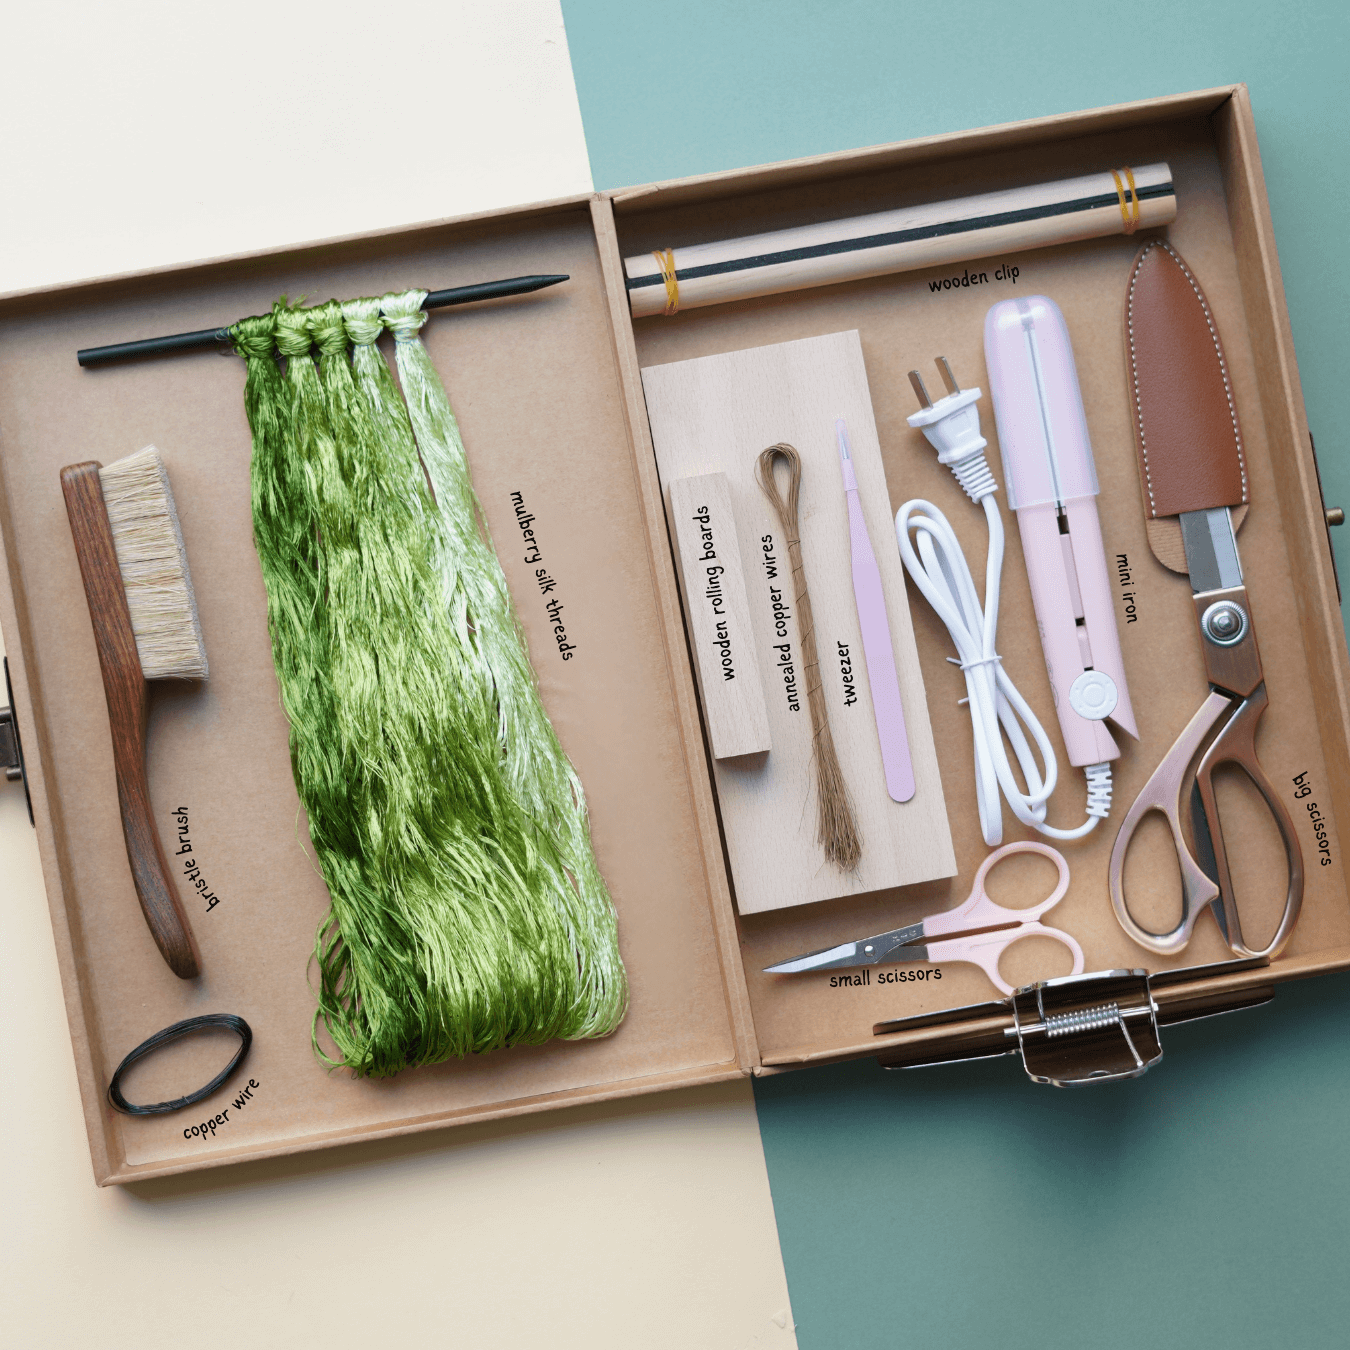
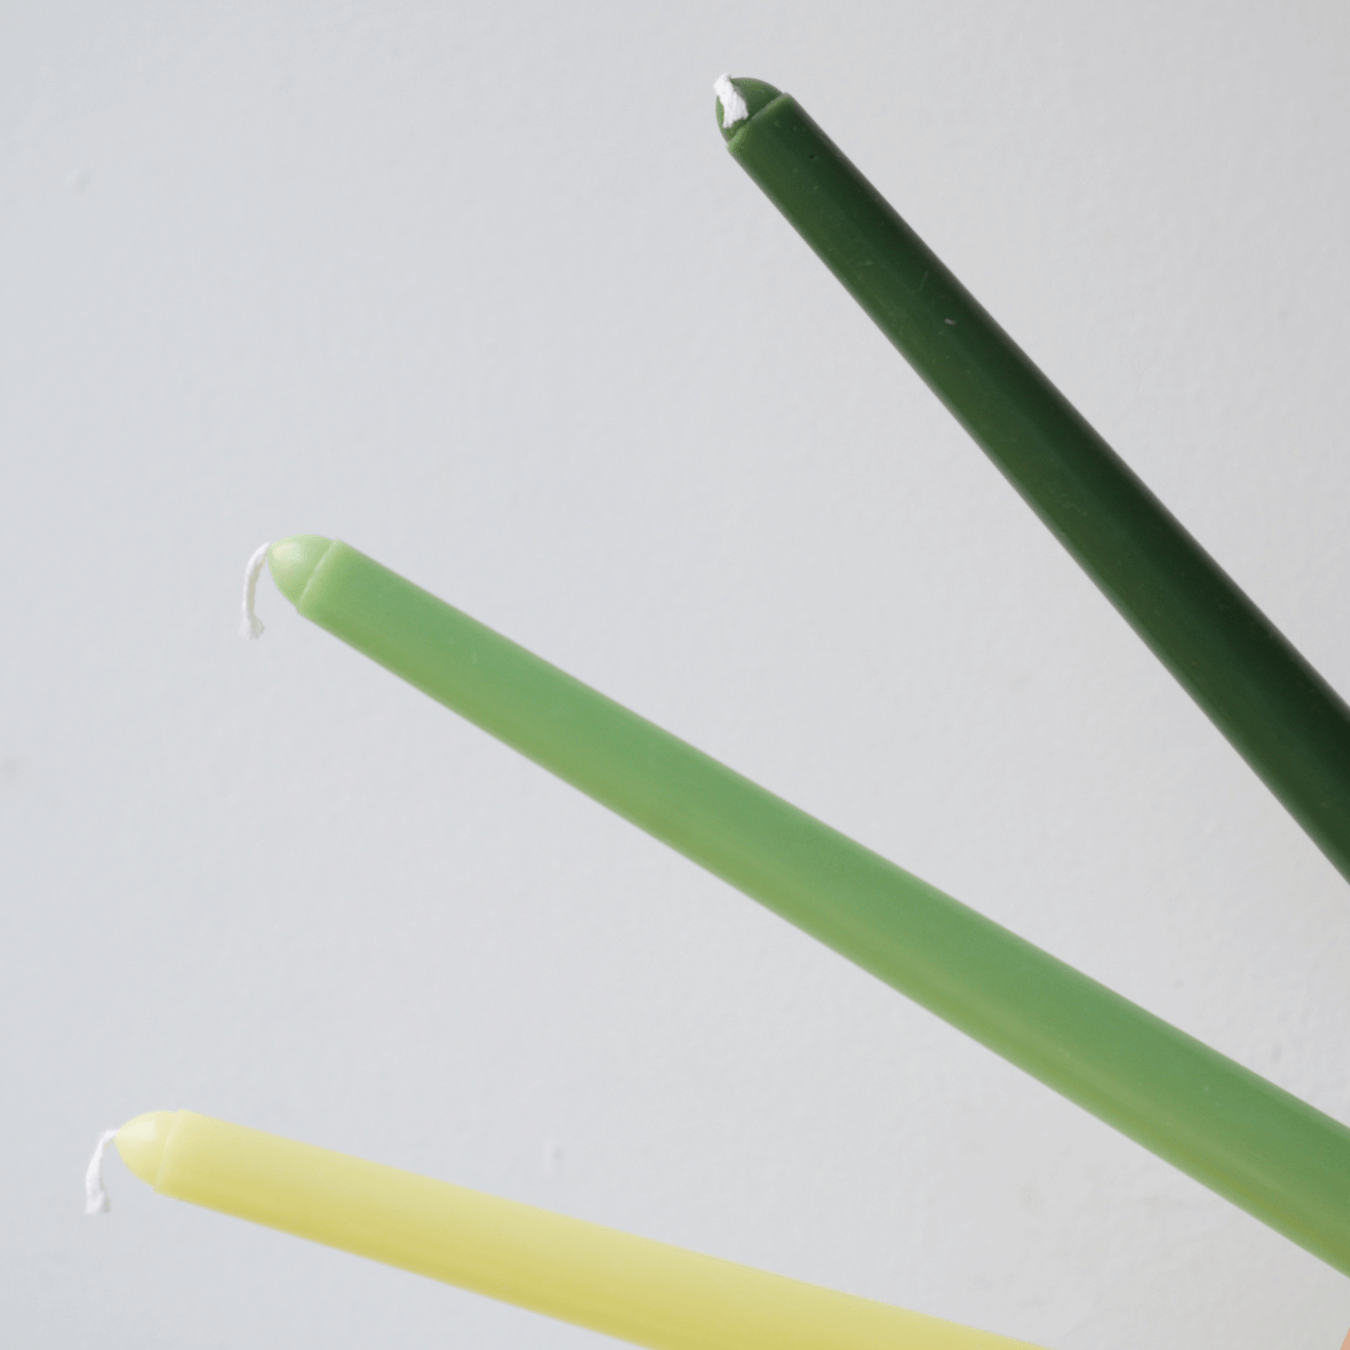
We’re using four shades of green silk thread. Untie the bundles and locate the knotted ends. Cut open the knots and tie the threads to a wooden stick. Divide the threads into four separate "rong pai" (silk rows): Group 1: Lightest green, 7 threads x 12 sets, width 2.5cm. Group 2: Third darkest green, 7 threads x 16 sets, width 3.7cm. Group 3: Mixed greens (5+7+7+3), 22 sets, width 5.2cm. Group 4: No darkest green (4+5+6+10+3), 28 sets, width 5.2cm.

Step 2: Brush and Flatten the Silk Rows 1:36~5:01
Secure each silk row on a supporting stand. Smooth out knots and spray lightly with water to prevent static. Hold the bottom of the threads tight and brush from top to bottom in one motion. If a row is wide, divide it into two parts to brush. Important: If you see any knots, stop and untangle by hand. If it’s too tangled, trim the knot off.
 👉 Before and after brushing: Brushed silk should look smooth and soft.
Use a wooden clip to press the silk in the middle and pull it to the bottom. Adjust top and bottom width to be even, then clamp the base with a mountain-shaped clip. Make sure the rows are tight and evenly tensioned.

Step 3: Twist Copper Wires for Structure 5:02~8:52
Take a piece of copper wire, fold it in half, and straighten it. Twist the ends together tightly — you can use magnesium powder to help grip. Only twist about 3–4 cm. Do the same on the other side — twist in opposite directions until it holds firm. Keep a maximum gap of 0.7cm between the wires.
 ⚠️ Don’t twist past the red guideline. If wires catch too many threads, twist in reverse and redo.
Once wires are done, smooth the silk edge using clean water if needed. When all copper wires are attached, remove the silk rows from the stand.
Step 4: Cut and Shape the Silk Strips 8:53~13:44
Lay the rows flat on a smooth board. Cut between the two copper wires to make individual silk strips. Align the copper wire at the center and trim the edges evenly. Twist the copper ends tightly — mind the direction to avoid unraveling. For the light green strip, cut it in the middle into one long and one short strip. For others, just trim one copper end. Flatten all strips with a pressing board — this step adds a beautiful shine.

Step 5: Stiffen and Shape the Strips 13:45~17:09
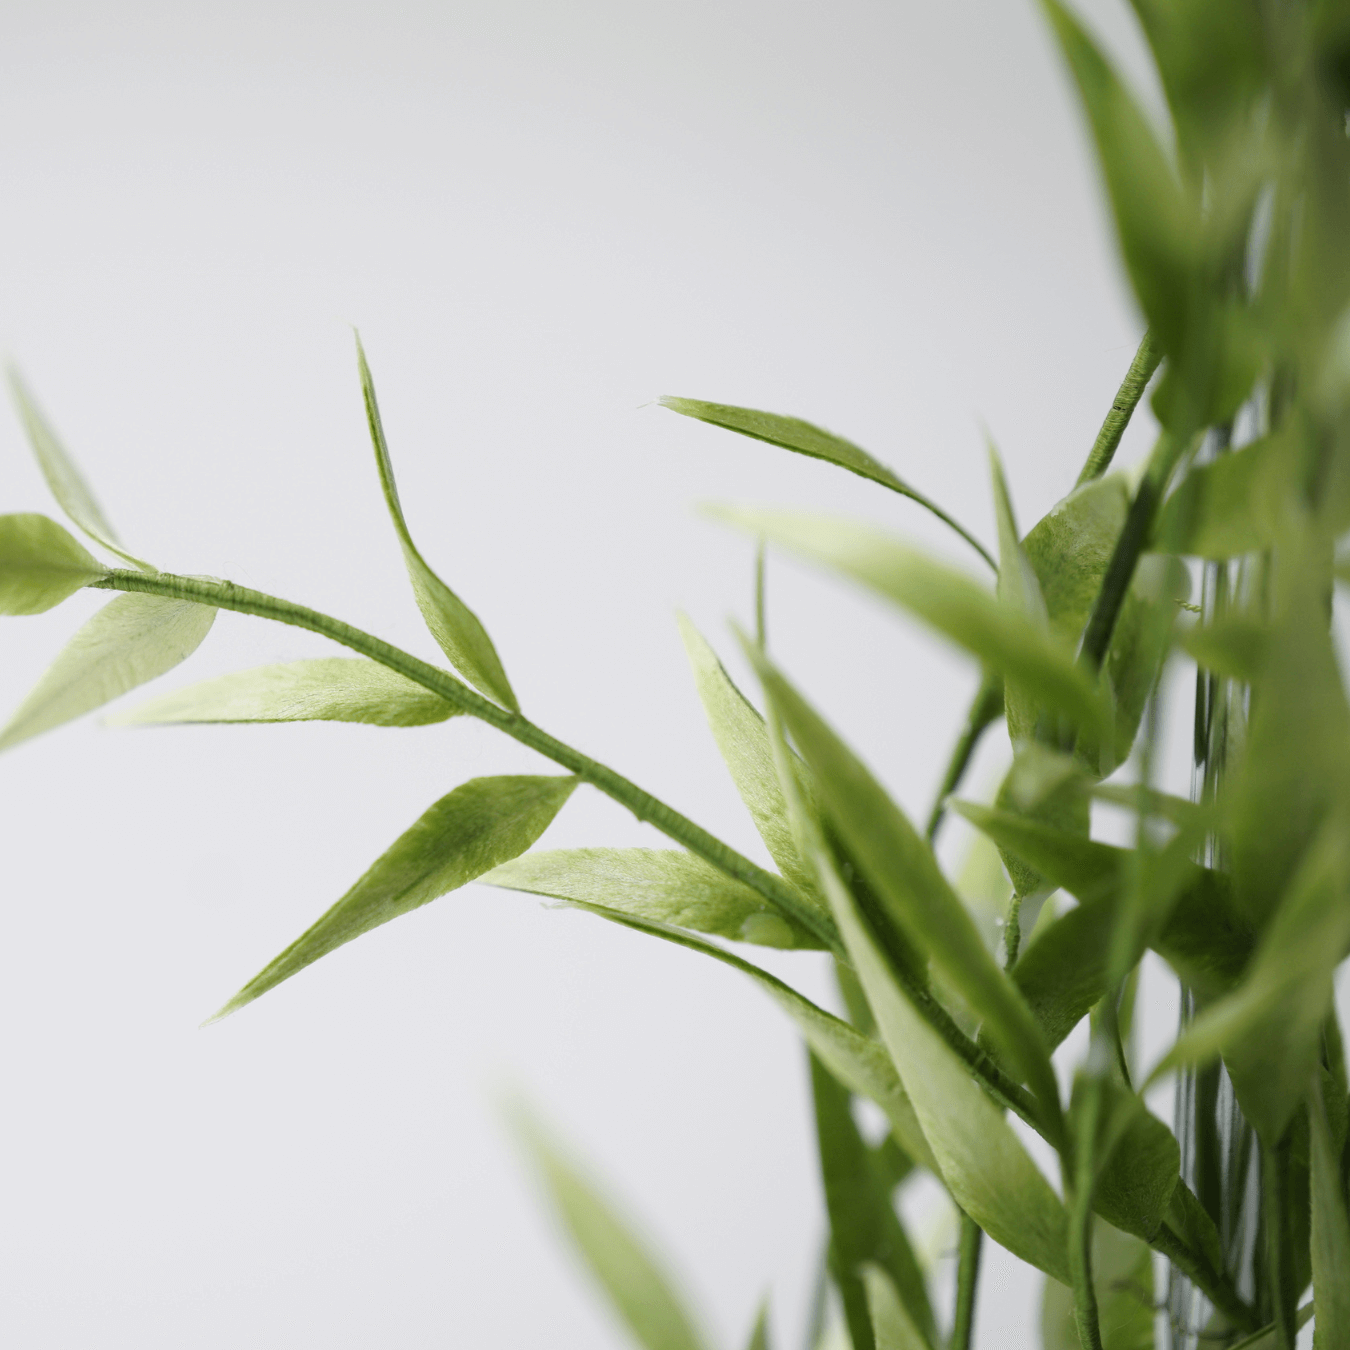
Apply setting liquid to each strip. Use tweezers to remove excess liquid. Stick the strips upright to dry completely. Once dry, trim the shape — one end sharp, the other rounded.✂️ Now they’re ready for shaping: Use a heat press to curve each strip: For small leaves, just a gentle curve is enough. For others, curve first, then twist gently. There are five leaf types — keep them separated.

Step 6: Assemble the Willow Branches 17:10~21:48
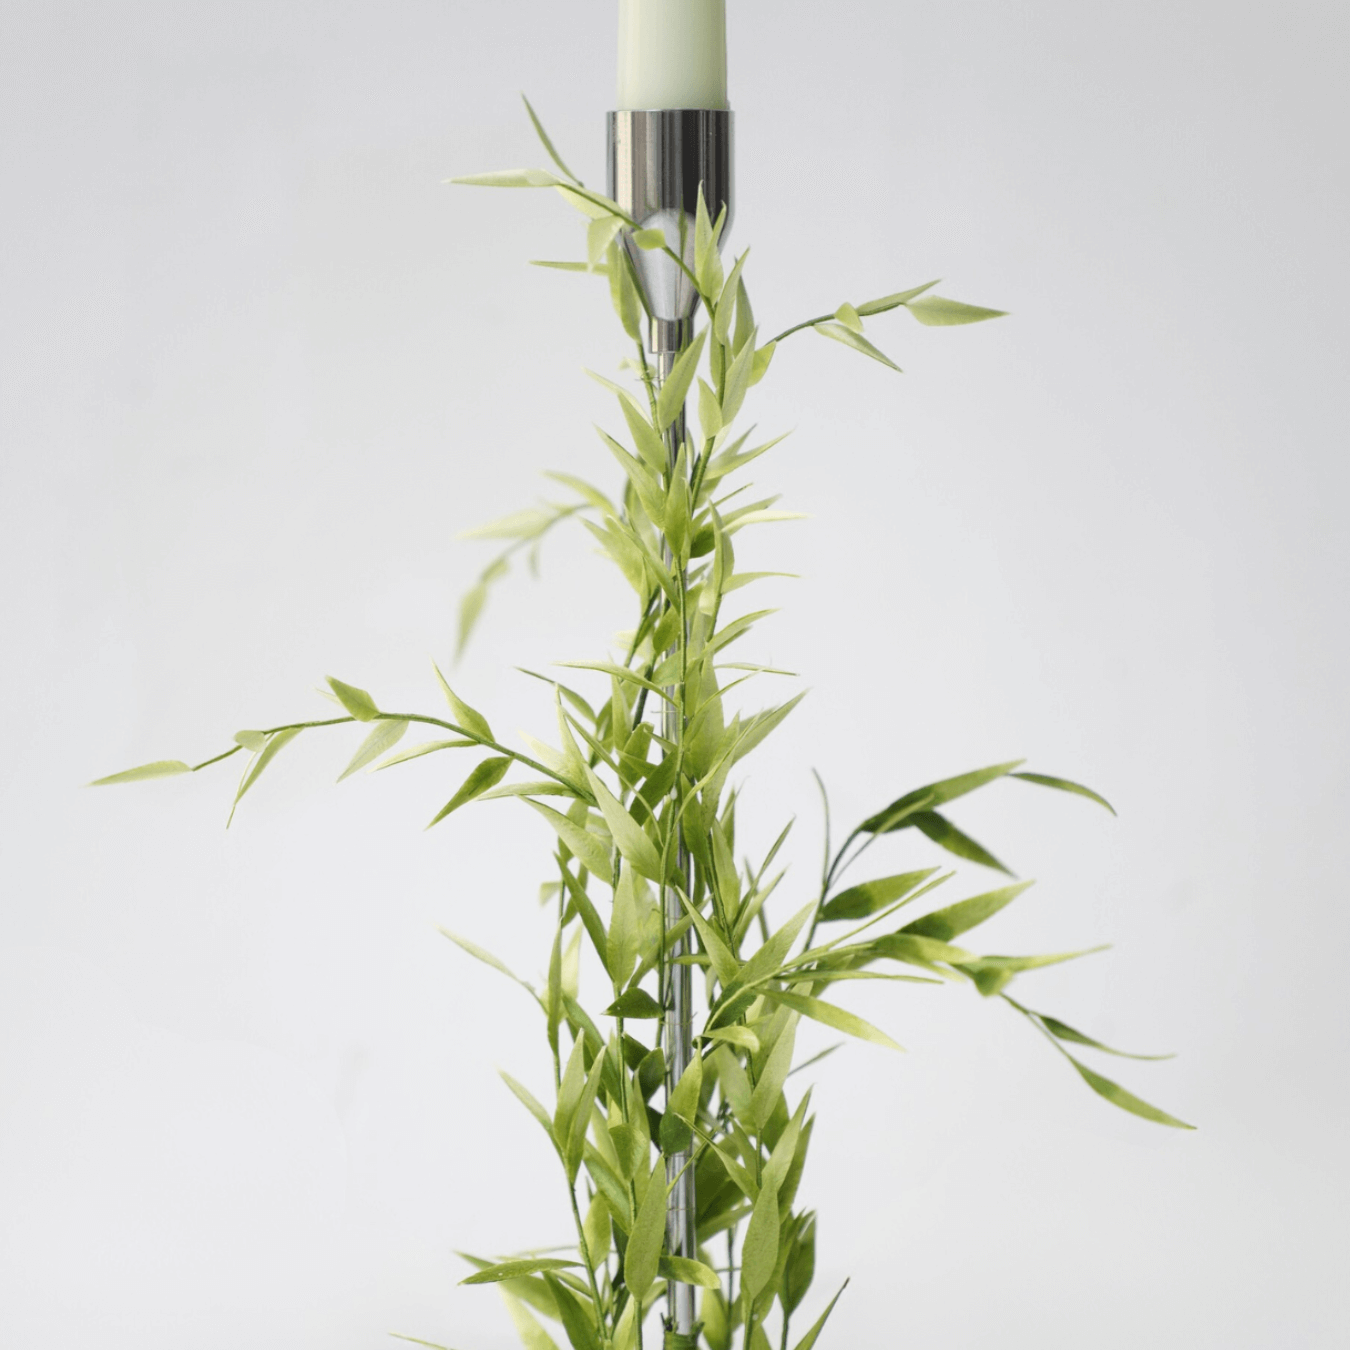
Cut 8 copper wires (minimum 20cm). Vary the length of each one. Use leftover silk threads to start assembling. Start with the lightest leaves and space them out gradually. Leaves on the left and right are staggered, not on the exact same line. As you move up, leaves get darker and larger. Leave some copper wire at the bottom for wrapping. Once done, knot the thread and apply white glue to seal the end. You’ll now have 8 willow branches, each slightly different in length.

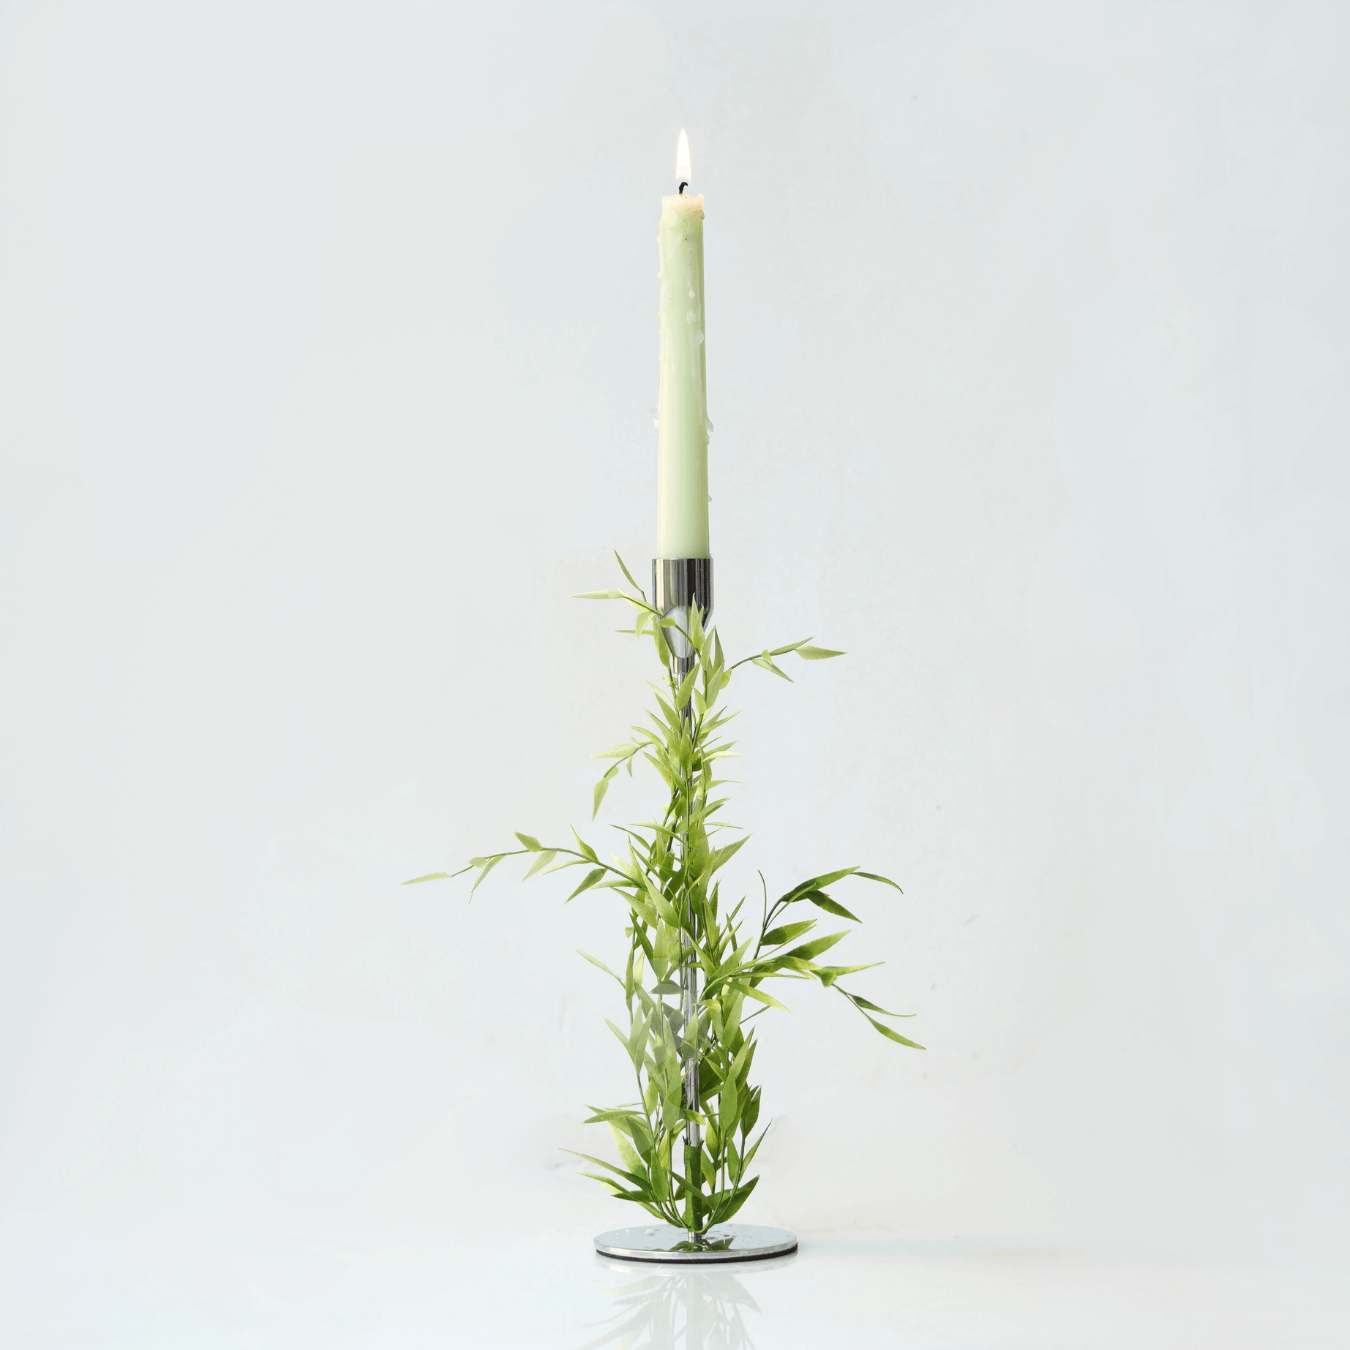
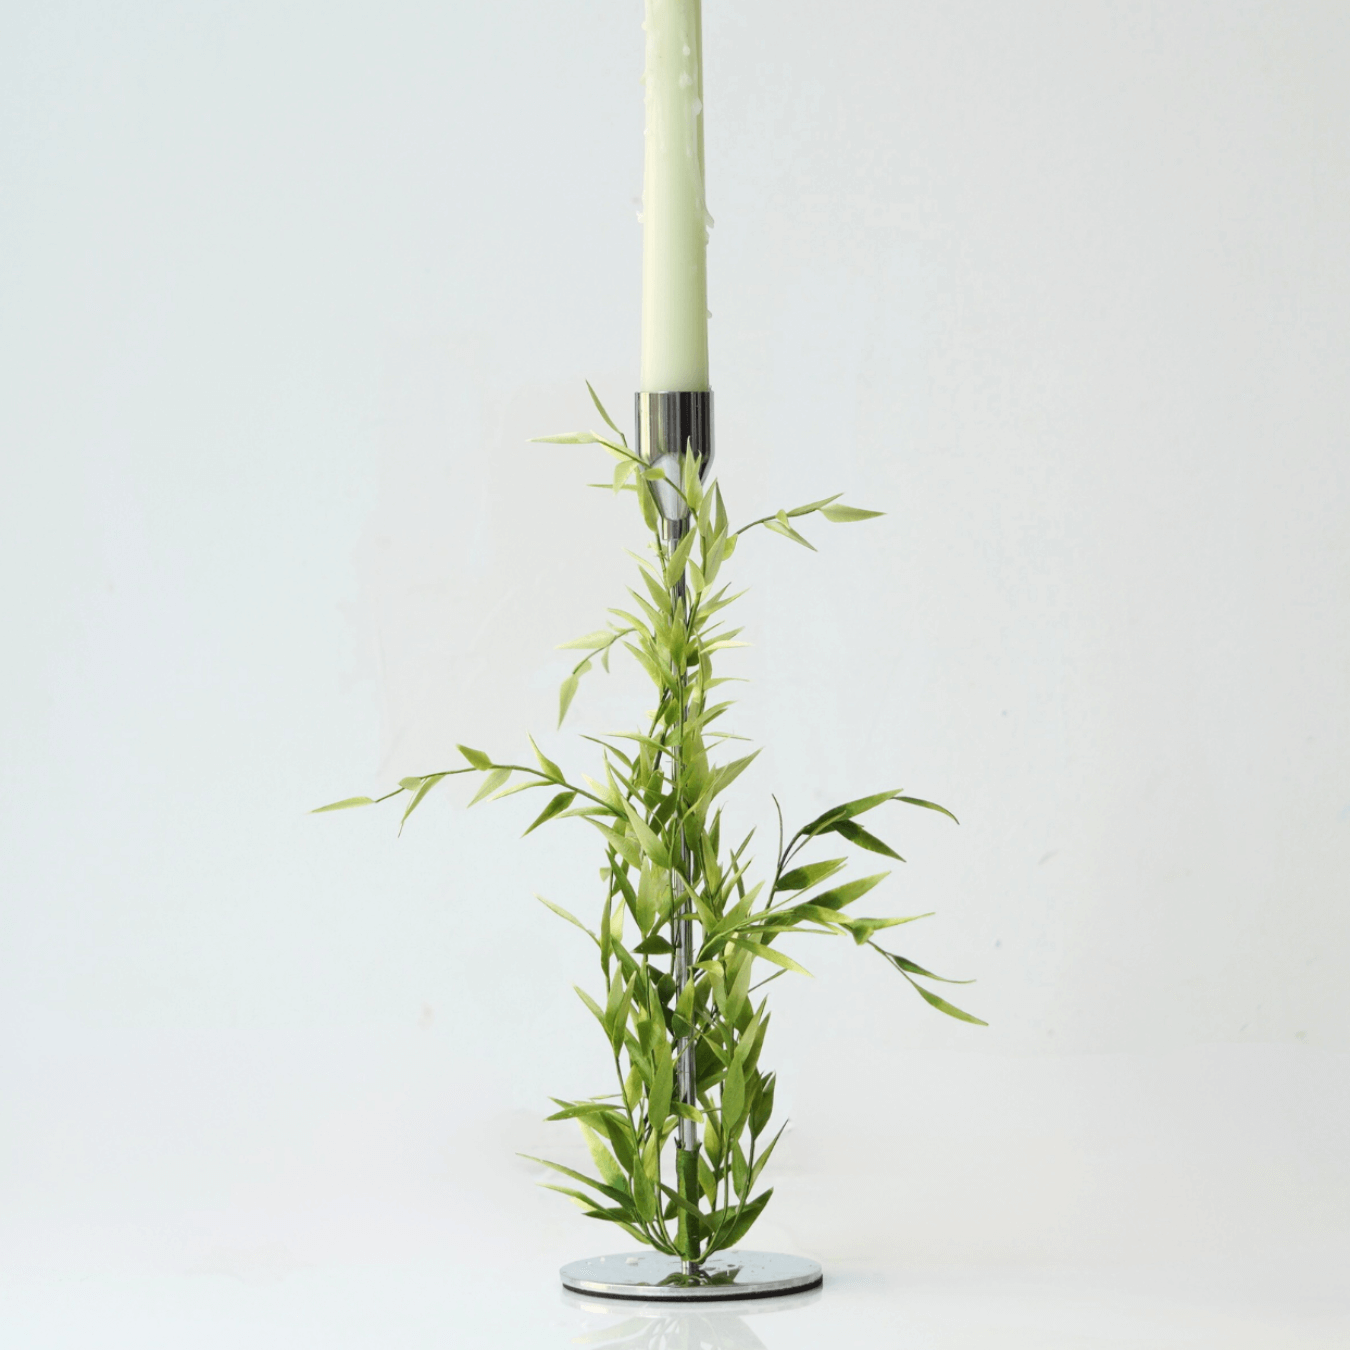
Step 7: Final Assembly with the Candlestick Base 21:49~end
Prepare your candlestick base parts. Tie the willow branches to the base using silk thread. Evenly wrap the 8 branches around the central rod (about 4cm is enough). Finish with a knot, trim off excess thread and wire, and seal with white glue. Use annealed copper wire to fix shorter willow branches to the bottom. Adjust branch positions — the longer branches go higher up.

 Your silk Ronghua willow branch candlestick is now complete! Take your time, especially when brushing silk and twisting wire — these are key to beautiful results.
If you finished your DIY product, welcome to show your awesome work to us and get coupons for the rest of our DIY kits!
INS@lanseichina
Pinterest@lanseichina


