


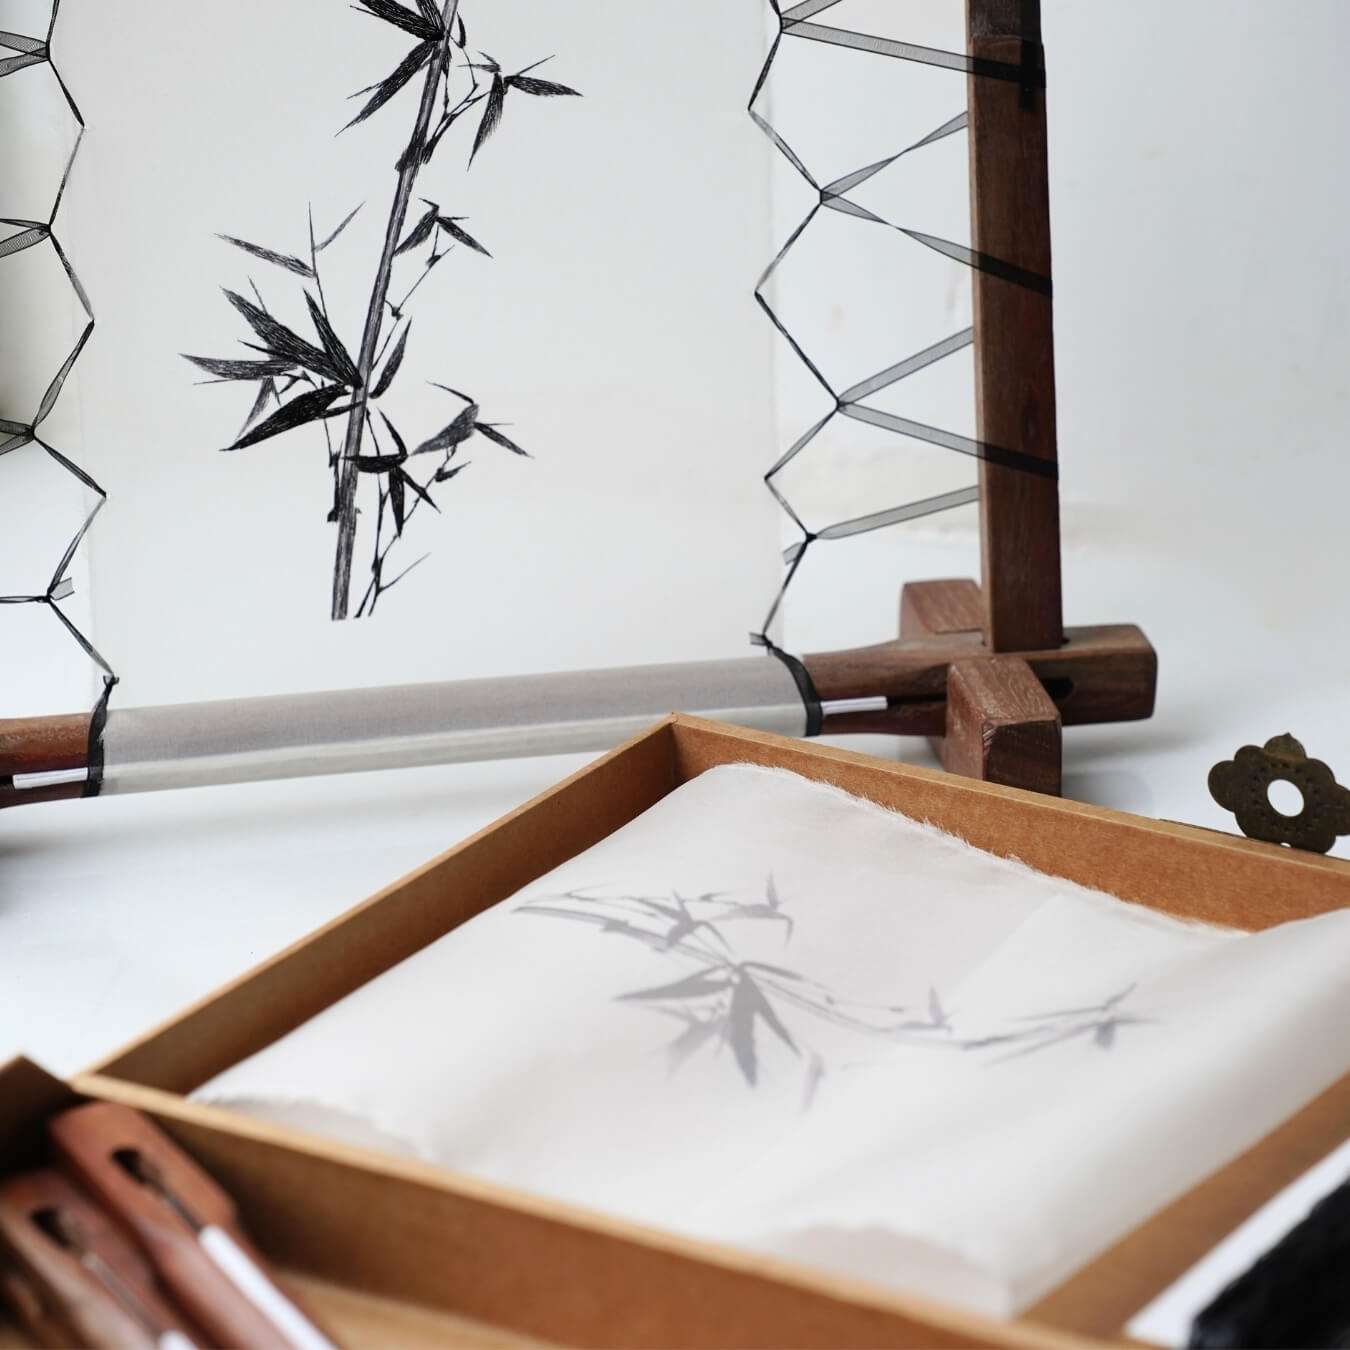
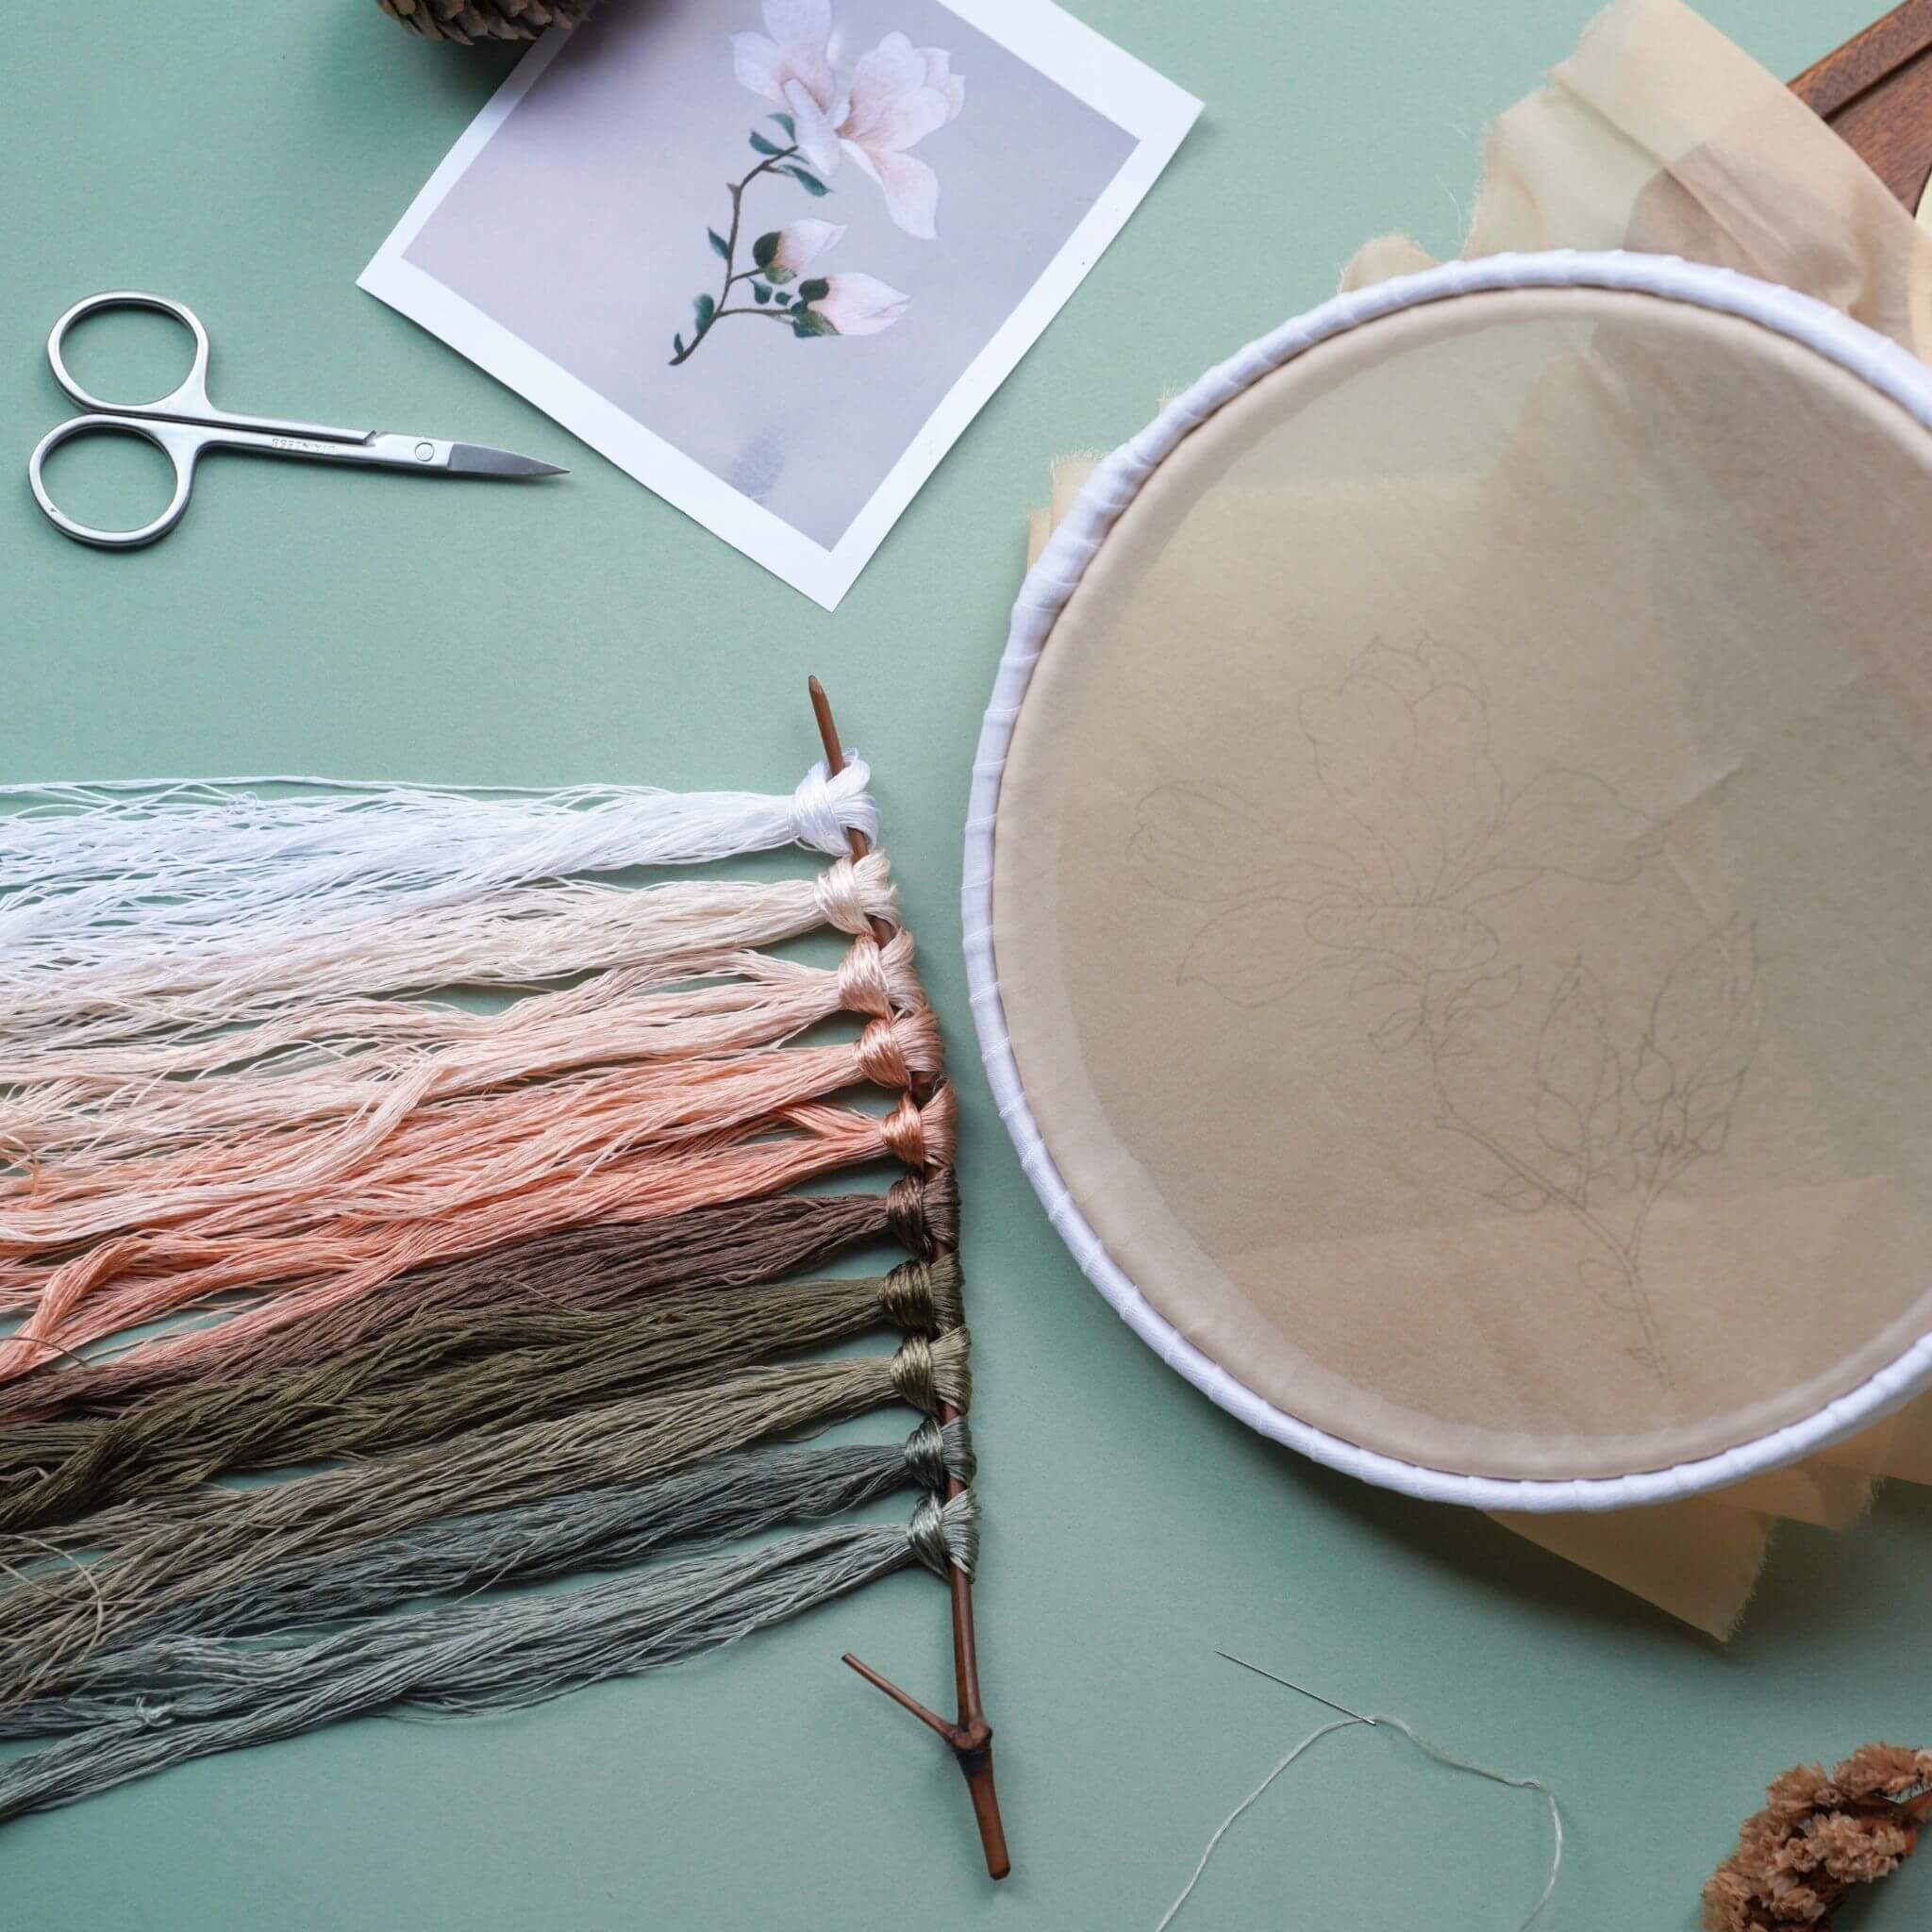

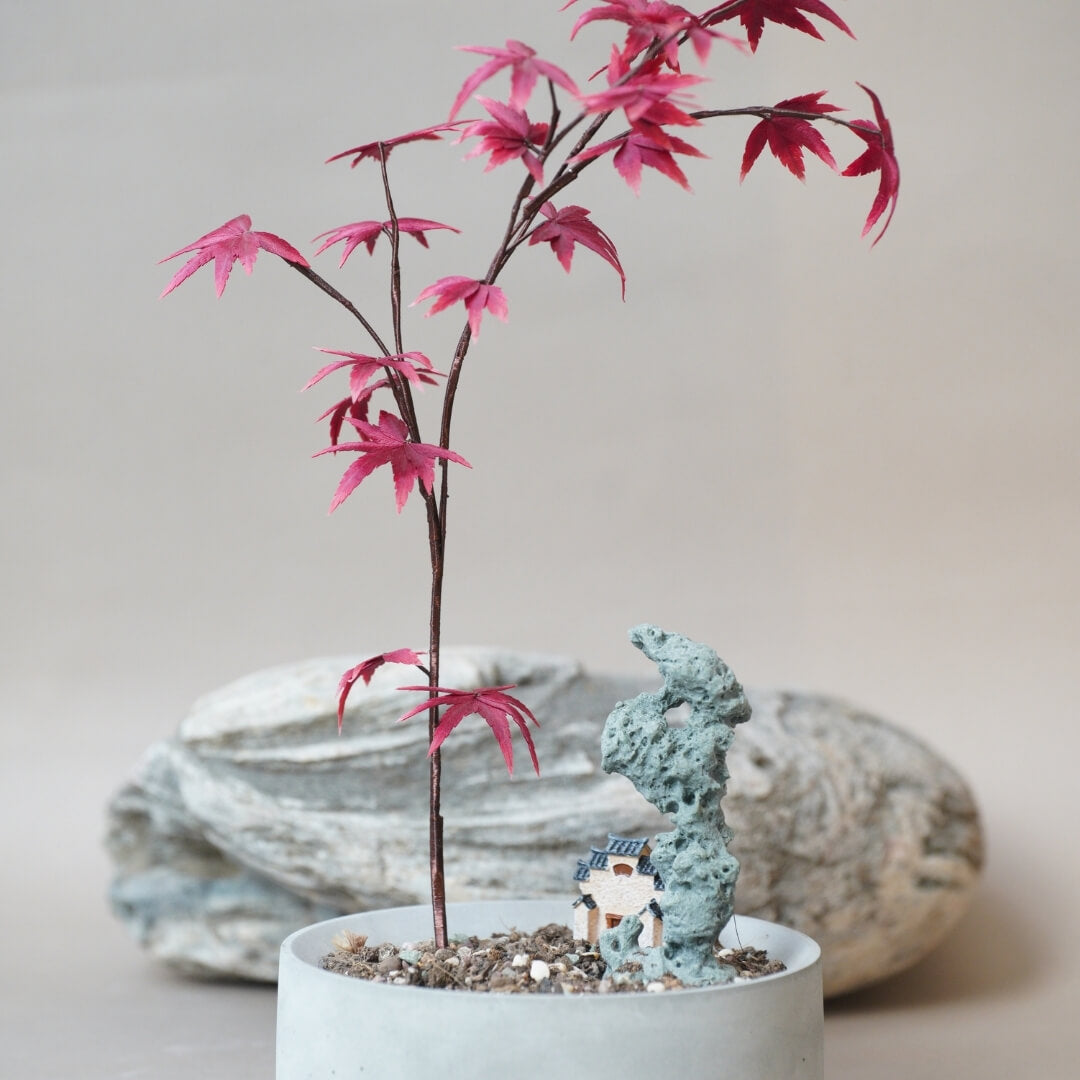
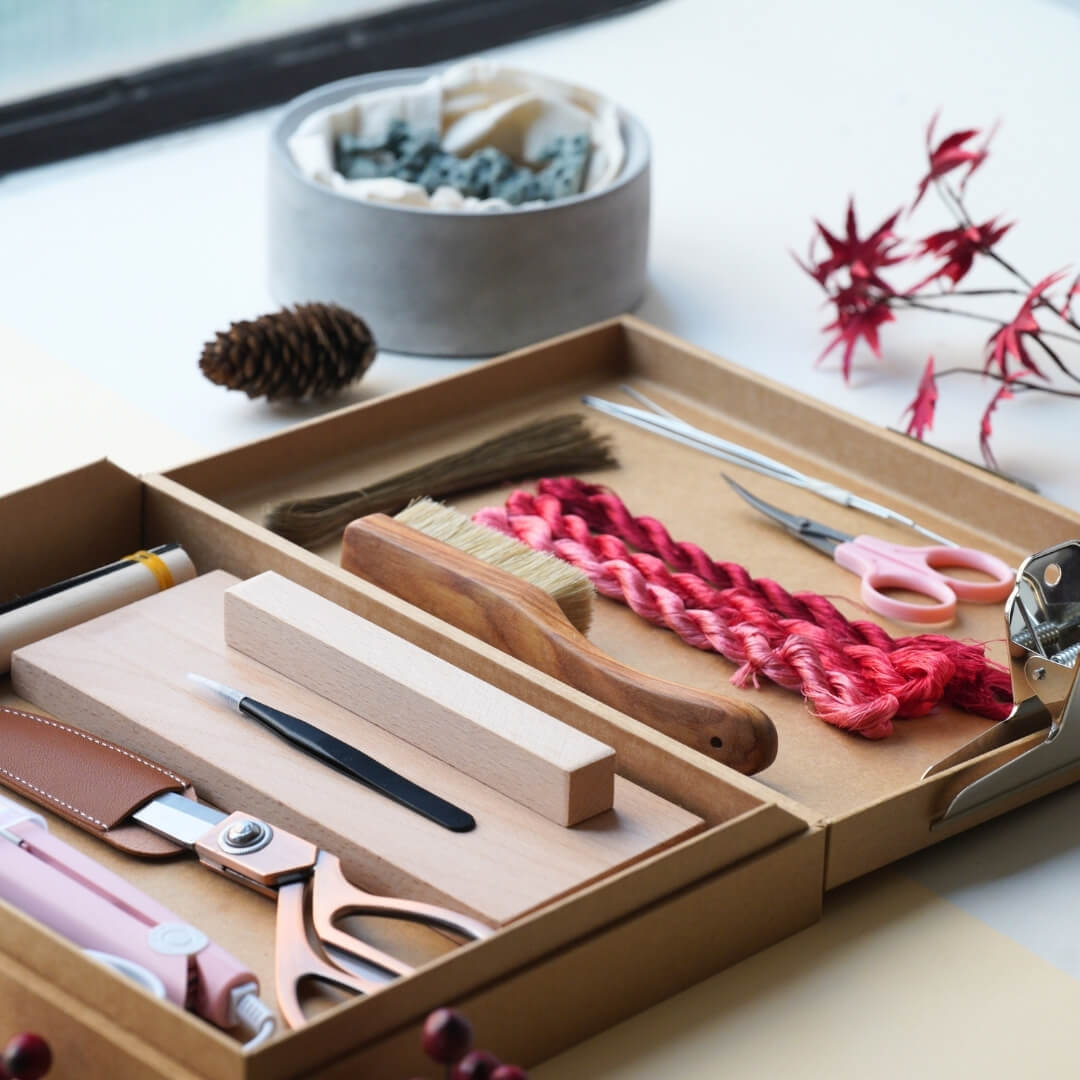
This step-by-step tutorial of crafting a red maple penjing/bonsai covers everything from shaping maple tree leaves to assembling the branches.
Step 1: Organize the silk threads and brush the silk 00:00~01:52
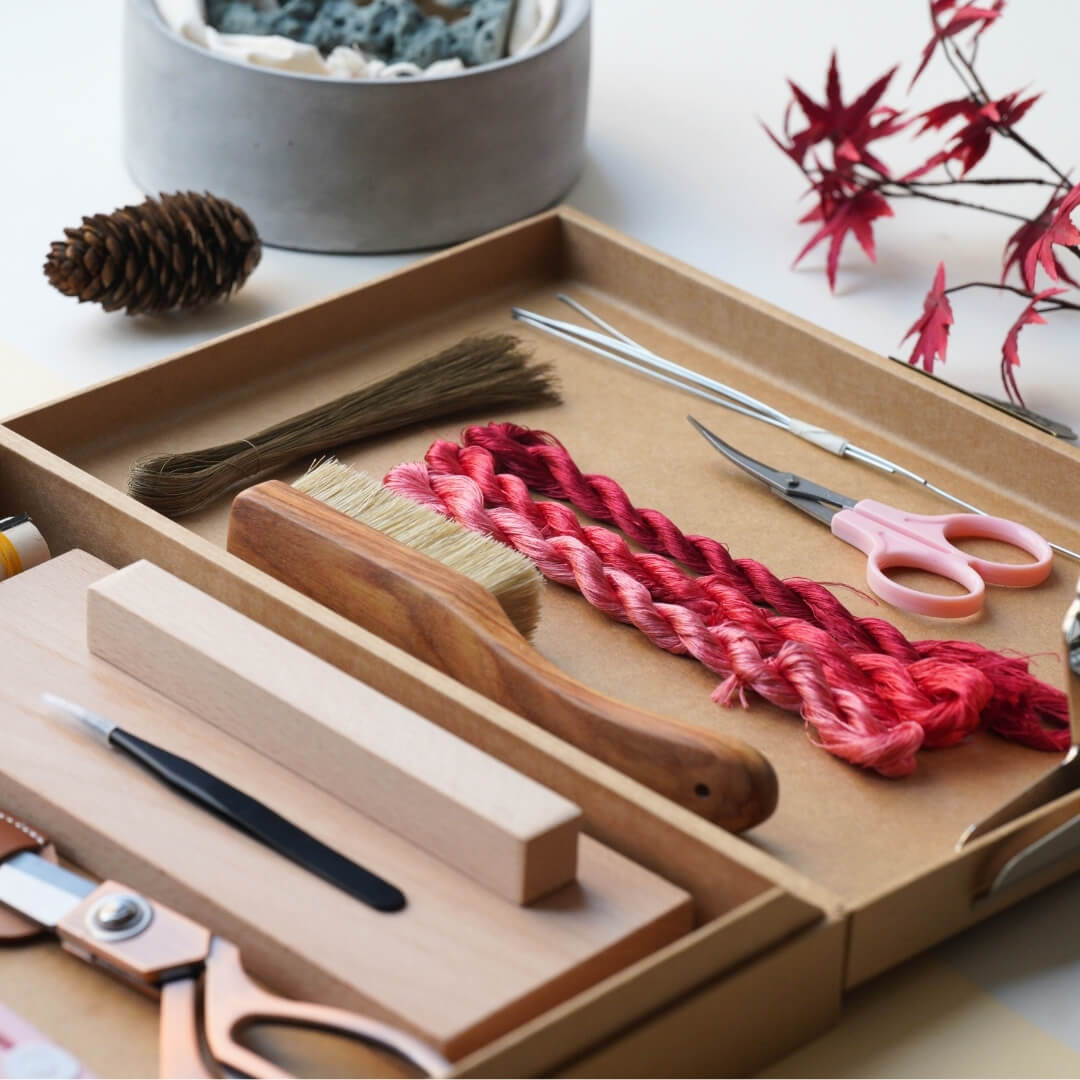
For the red maple, only three different shades of red are needed, with a total of three silk rows needed to be arranged (as shown in the picture below). The only difference between the three silk rows is their size, but the size difference shouldn’t be too large. Before brushing the silk, first organize the silk threads to ensure there are no knots. Spray a little water to prevent static, about 3 to 4 sprays should suffice.

Next, start brushing the silk. Apply some force when brushing to ensure the brush penetrates the silk threads, otherwise, knots will easily form. Be sure to untangle any knots as soon as they appear. If you can’t untangle a knot, simply cut it off with scissors. Use a clip to secure the silk strip in place and adjust the width from top to bottom. Make sure the width is consistent from top to bottom. After tightening the silk strip, use a mountain-shaped clip to secure it.

Step 2: Make the silk strips 01:53~03:23
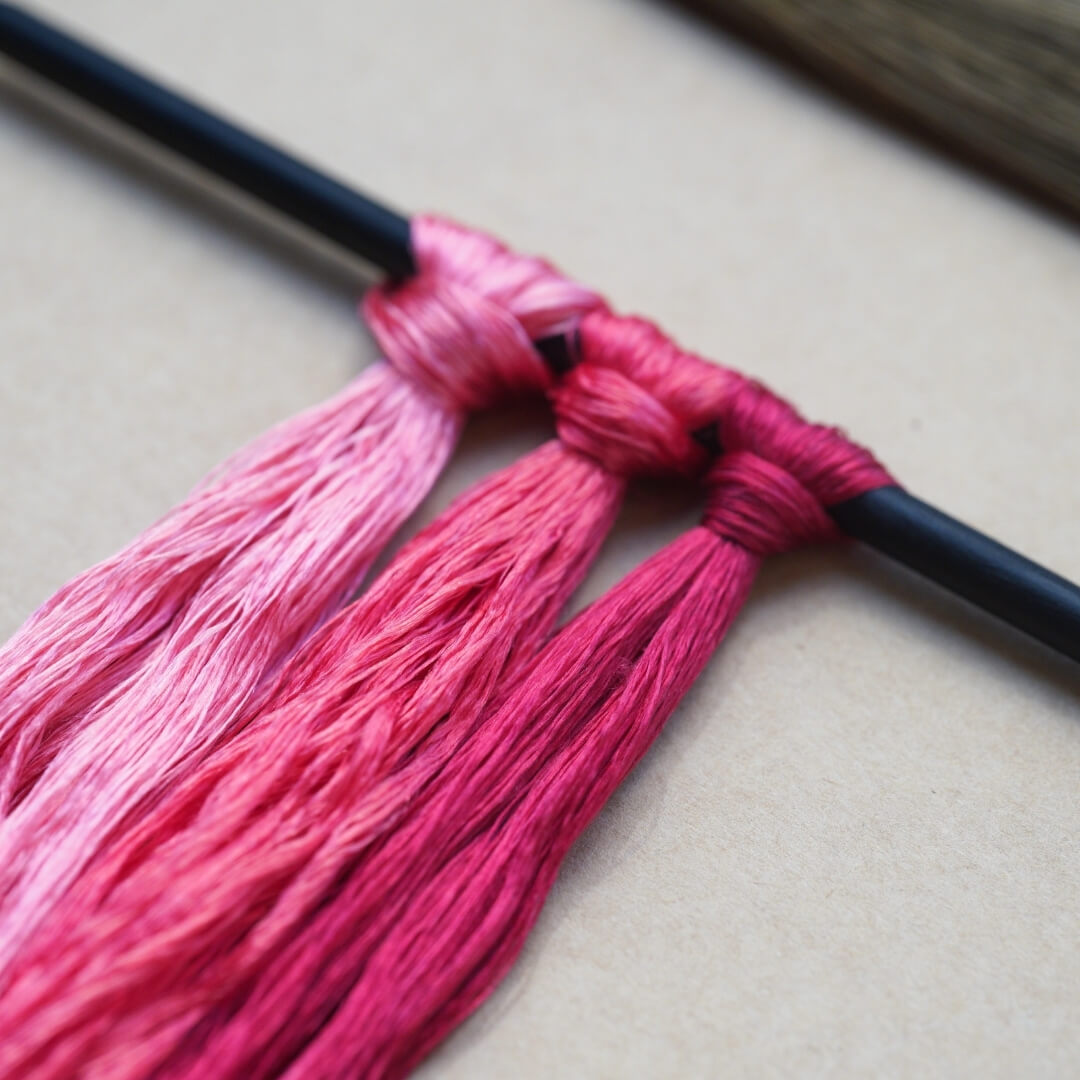
First, straighten the copper wire. Twist a small section of the open end of the copper wire, then twist the wire tightly in the opposite direction with your fingers. The distance between the copper wires should be 1 cm.

After tying the copper wire, cut the silk strip in half from the center. Hold the silk strip with one hand and use the other hand with scissors to cut the silk from the middle of the copper wire. Once the silk strip is cut, use both hands to stretch the copper wire. Align both sides of the silk strip, ensuring the copper wire is in the exact center of the silk strip. Then gently twist the silk. Use a twisting board to tighten the silk strip. Twist 3 to 4 times. If you twist more, the copper wire may break; if you twist less, the silk strip will lack a plush texture.


Step 3: Make the red maple leaves 03:24~06:14
Use tweezers to straighten the silk strip. Cut the silk strip in half from the center with scissors. Use a heated mini iron to flatten the silk strip. Take the shaping liquid; if you don’t have it, hair spray or white glue diluted with water can be used as a substitute. Dip the silk strip into the shaping liquid, or you can submerge the entire silk strip in the liquid. Alternatively, use a small brush to apply the shaping liquid onto the silk strip.

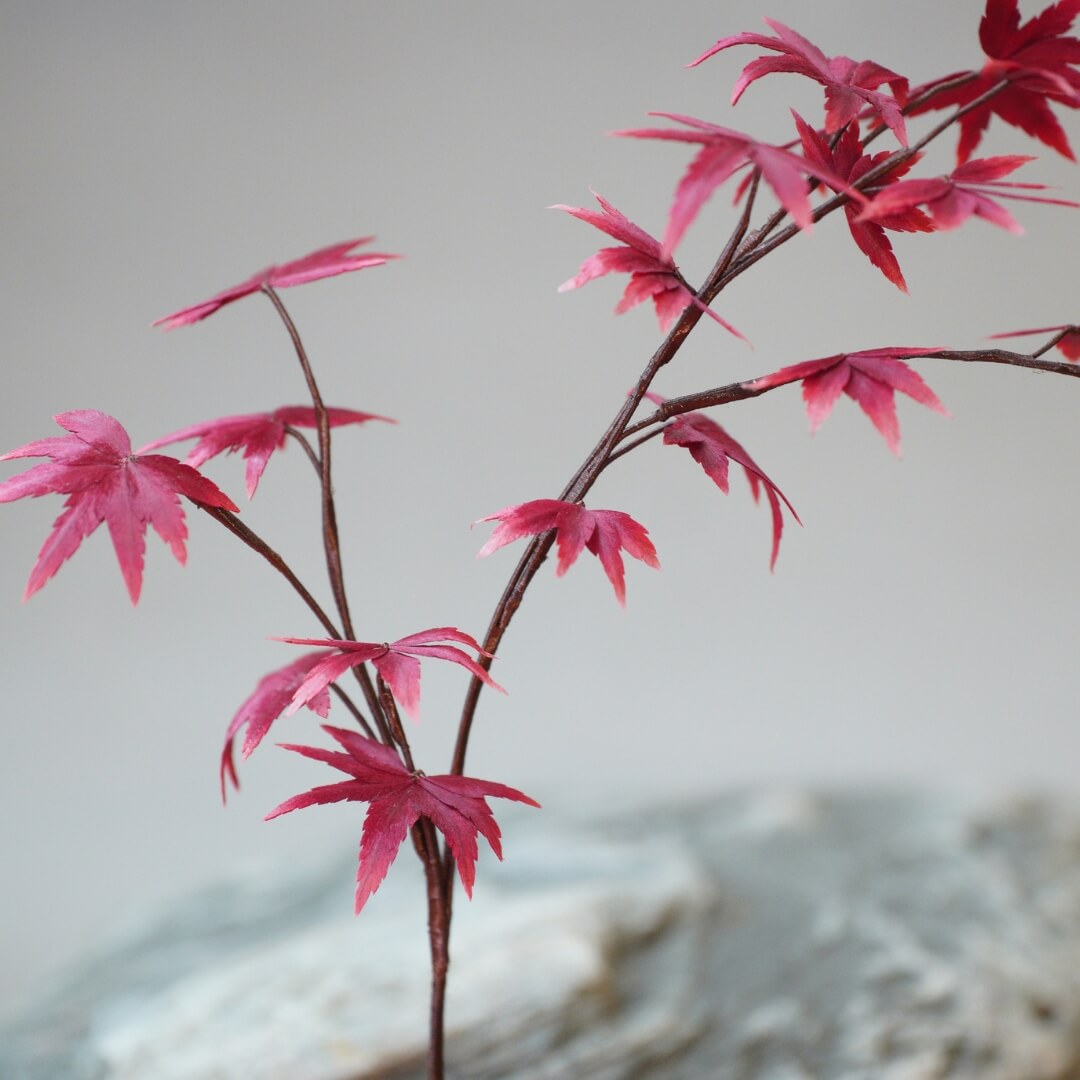
Insert the silk strip, now covered in shaping liquid, into a sponge pad and let it dry. Once the silk strip is fully dried, trim it into the shape of maple leaves. The edges of the maple leaves are jagged, so they need to be cut very finely. It is recommended to use small scissors for trimming the edges. After the leaves are trimmed, use the mini iron to create a slight curve on the leaves. Separate the leaves by size and set them aside.

Step 4: Assemble the maple leaves 06:14~end
Next, you can start assembling the leaves. The largest leaf goes in the center, and the leaves gradually get smaller toward the sides. Seven small leaves make up one complete maple leaf. When wrapping the wire, make sure the wraps are tight and close together. When you finish wrapping to the bottom, tie a knot and cut off the excess wire. This completes one maple leaf.

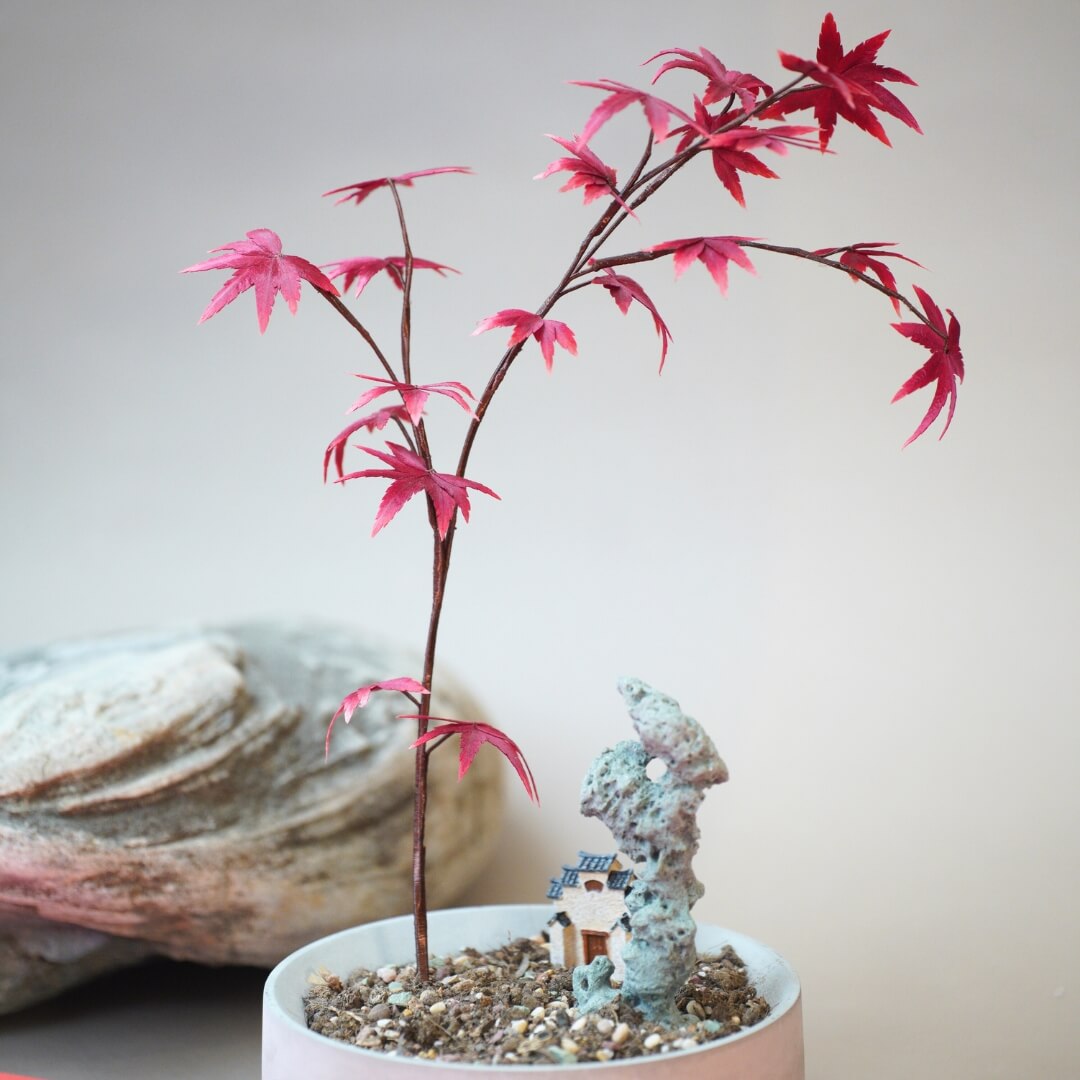
Attach the thick wire to the maple leaf to serve as the branch. Then, assemble the maple leaves into your desired shape. You can also first make shorter small branches, then combine these smaller branches onto the main central branch. Trees are usually thinner at the top and thicker at the bottom, so as you work downward, you should increase the number of copper wires. At this step, about 80% of the work is completed.
Use tweezers to fold the maple leaves inward. This will make the overall shape more three-dimensional. After folding all the leaves inward, adjust the overall shape again.
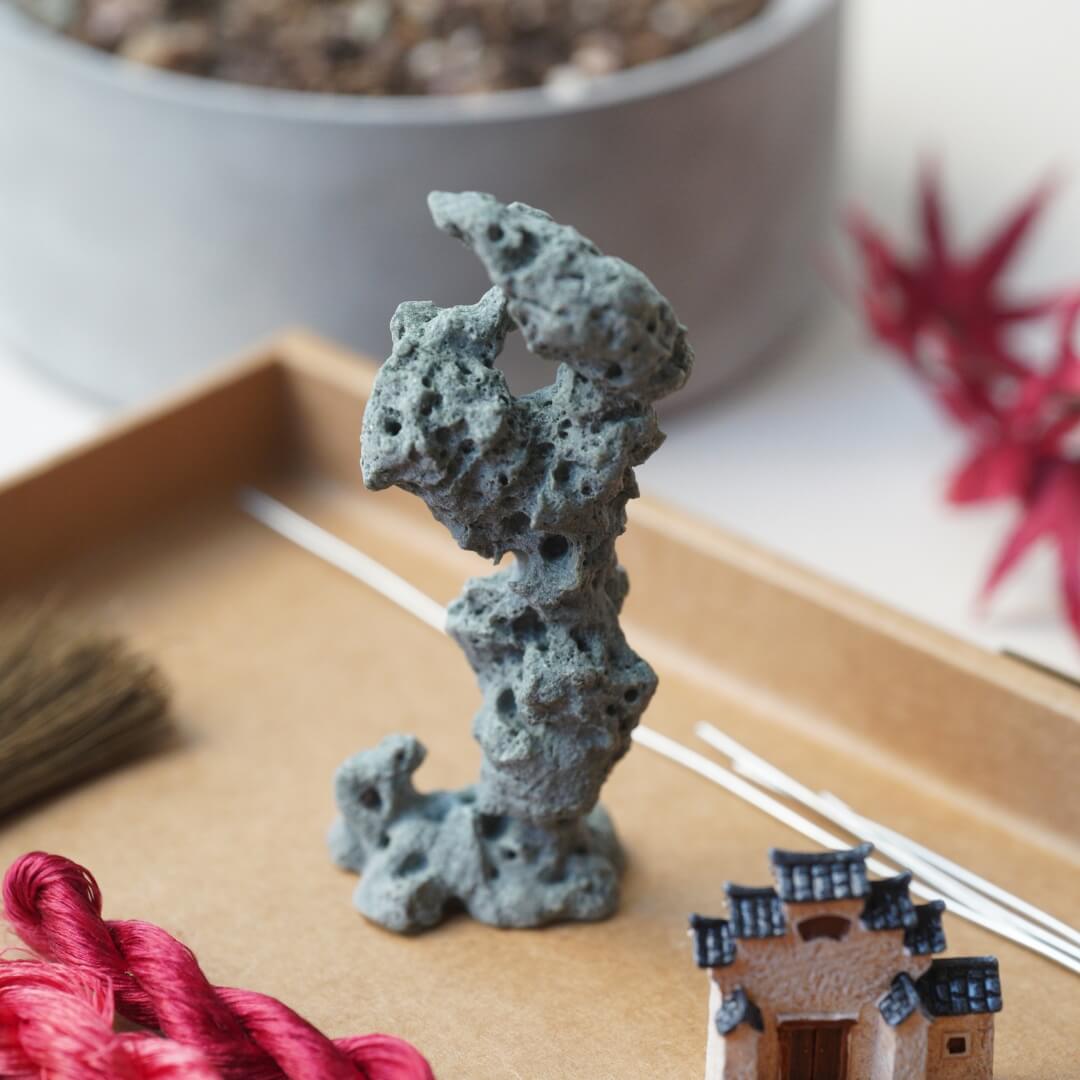
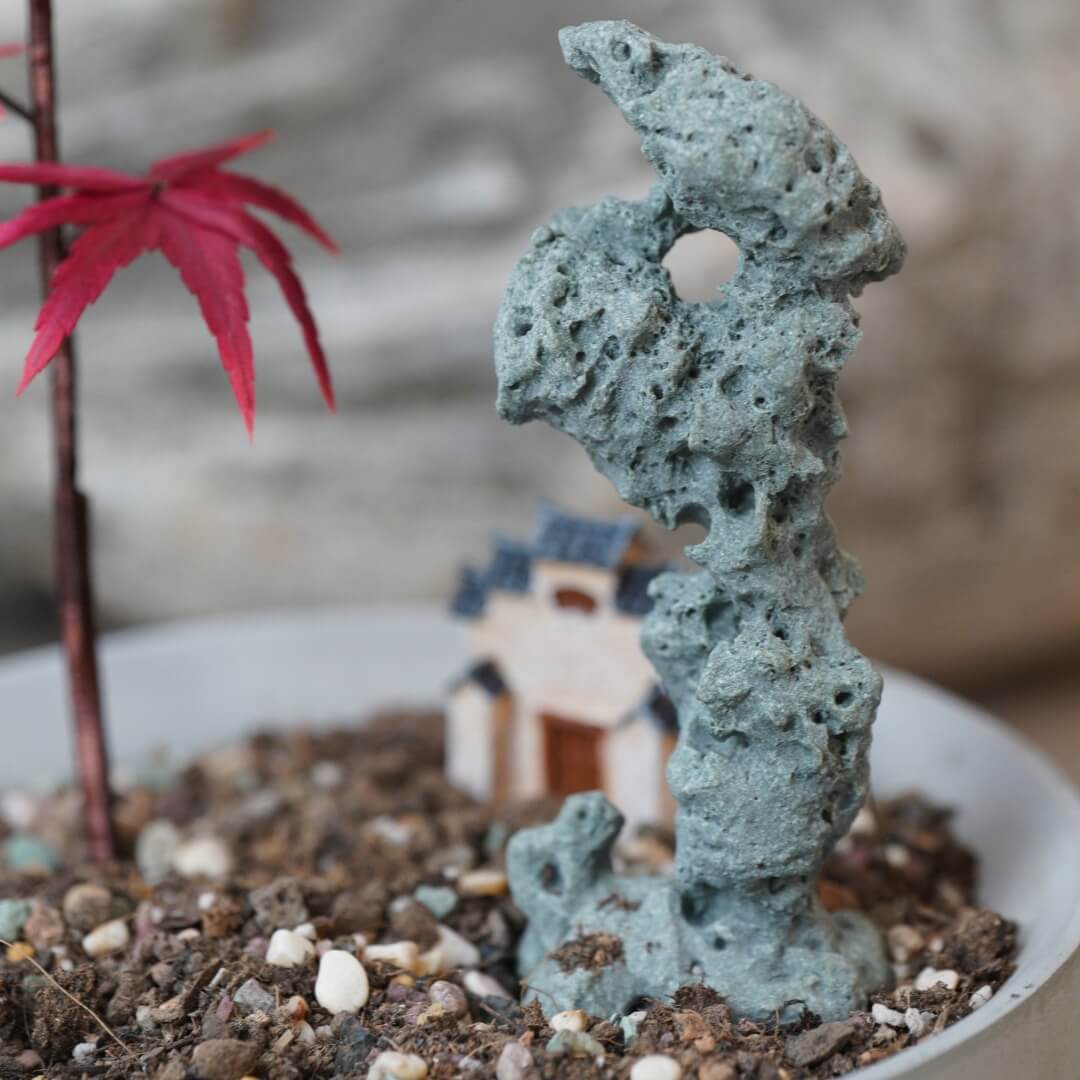
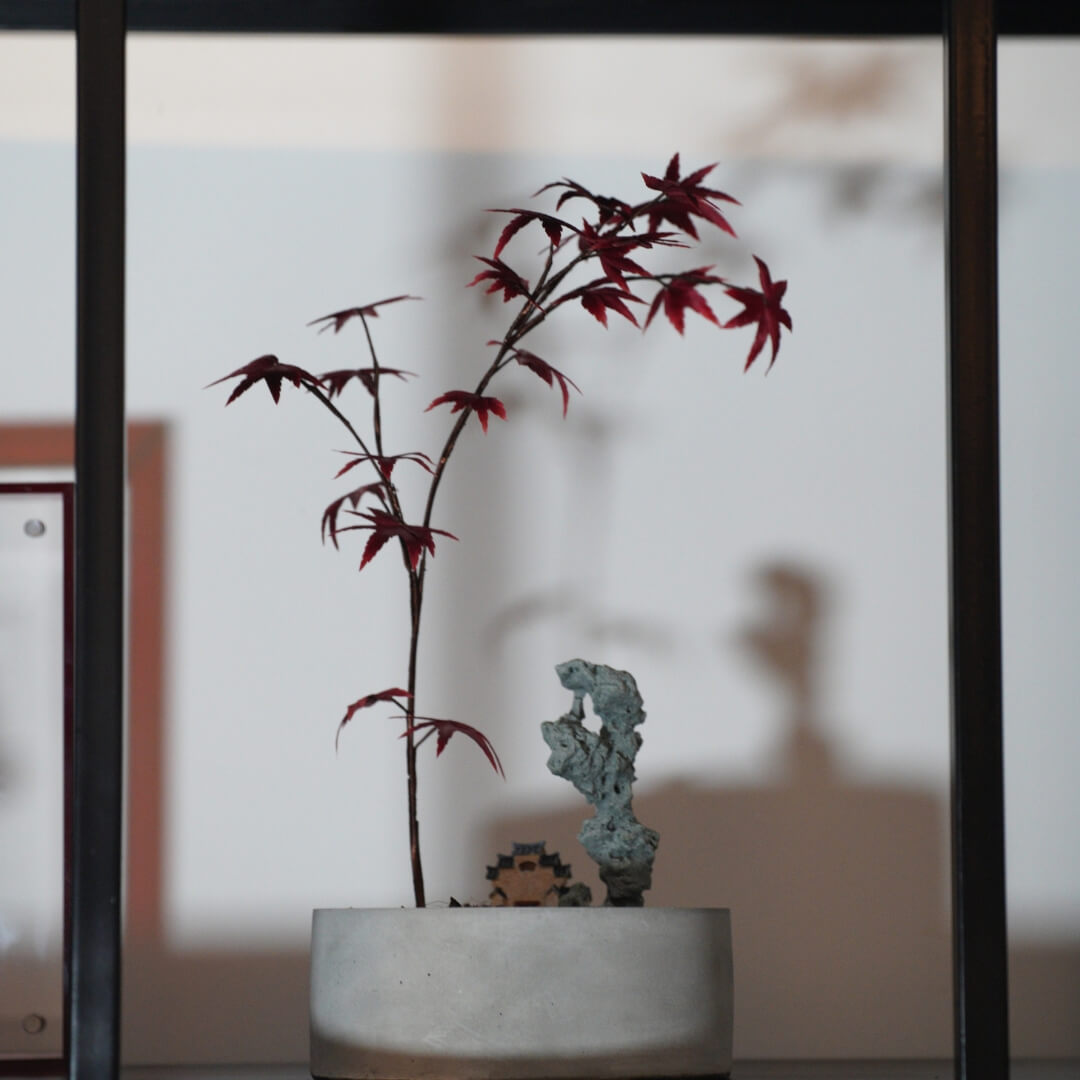
Now, insert the completed maple tree into a flowerpot. Add some soil, then add small decorations into the pot. The red maple tree is now finished.

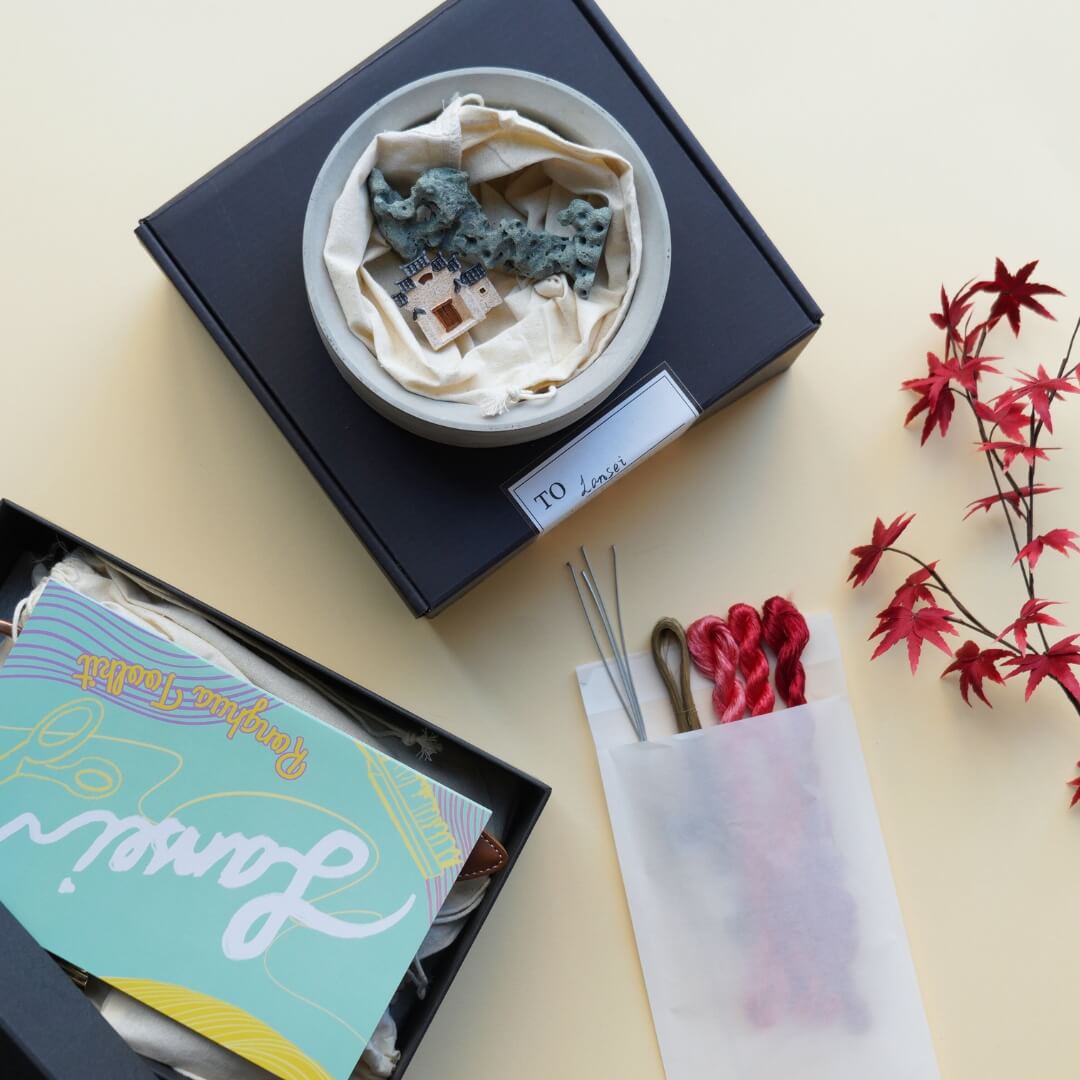
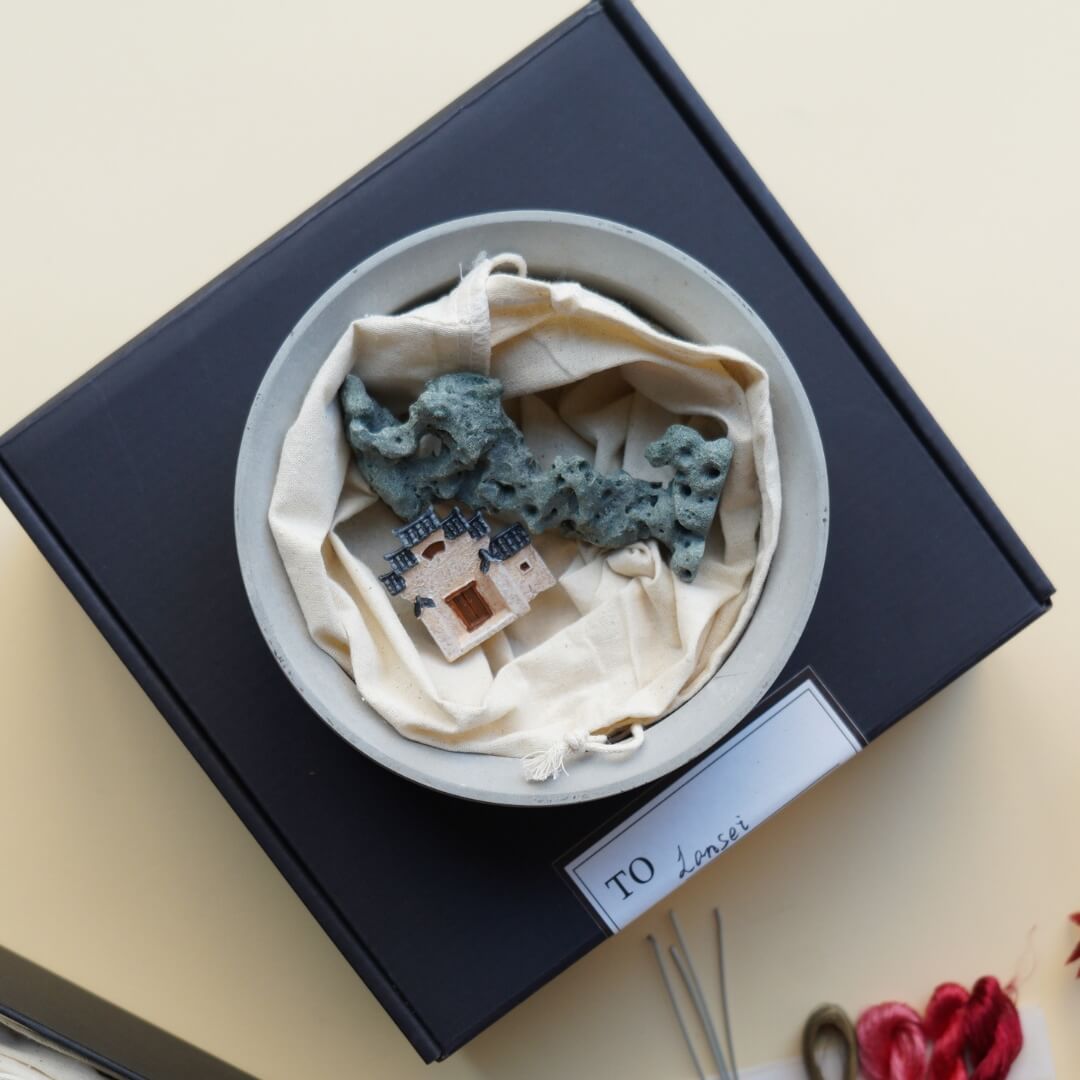
If you finished your DIY product, welcome to show your awesome work to us and get coupons for the rest of our DIY kits!
INS@lanseichina
Pinterest@lanseichina


