

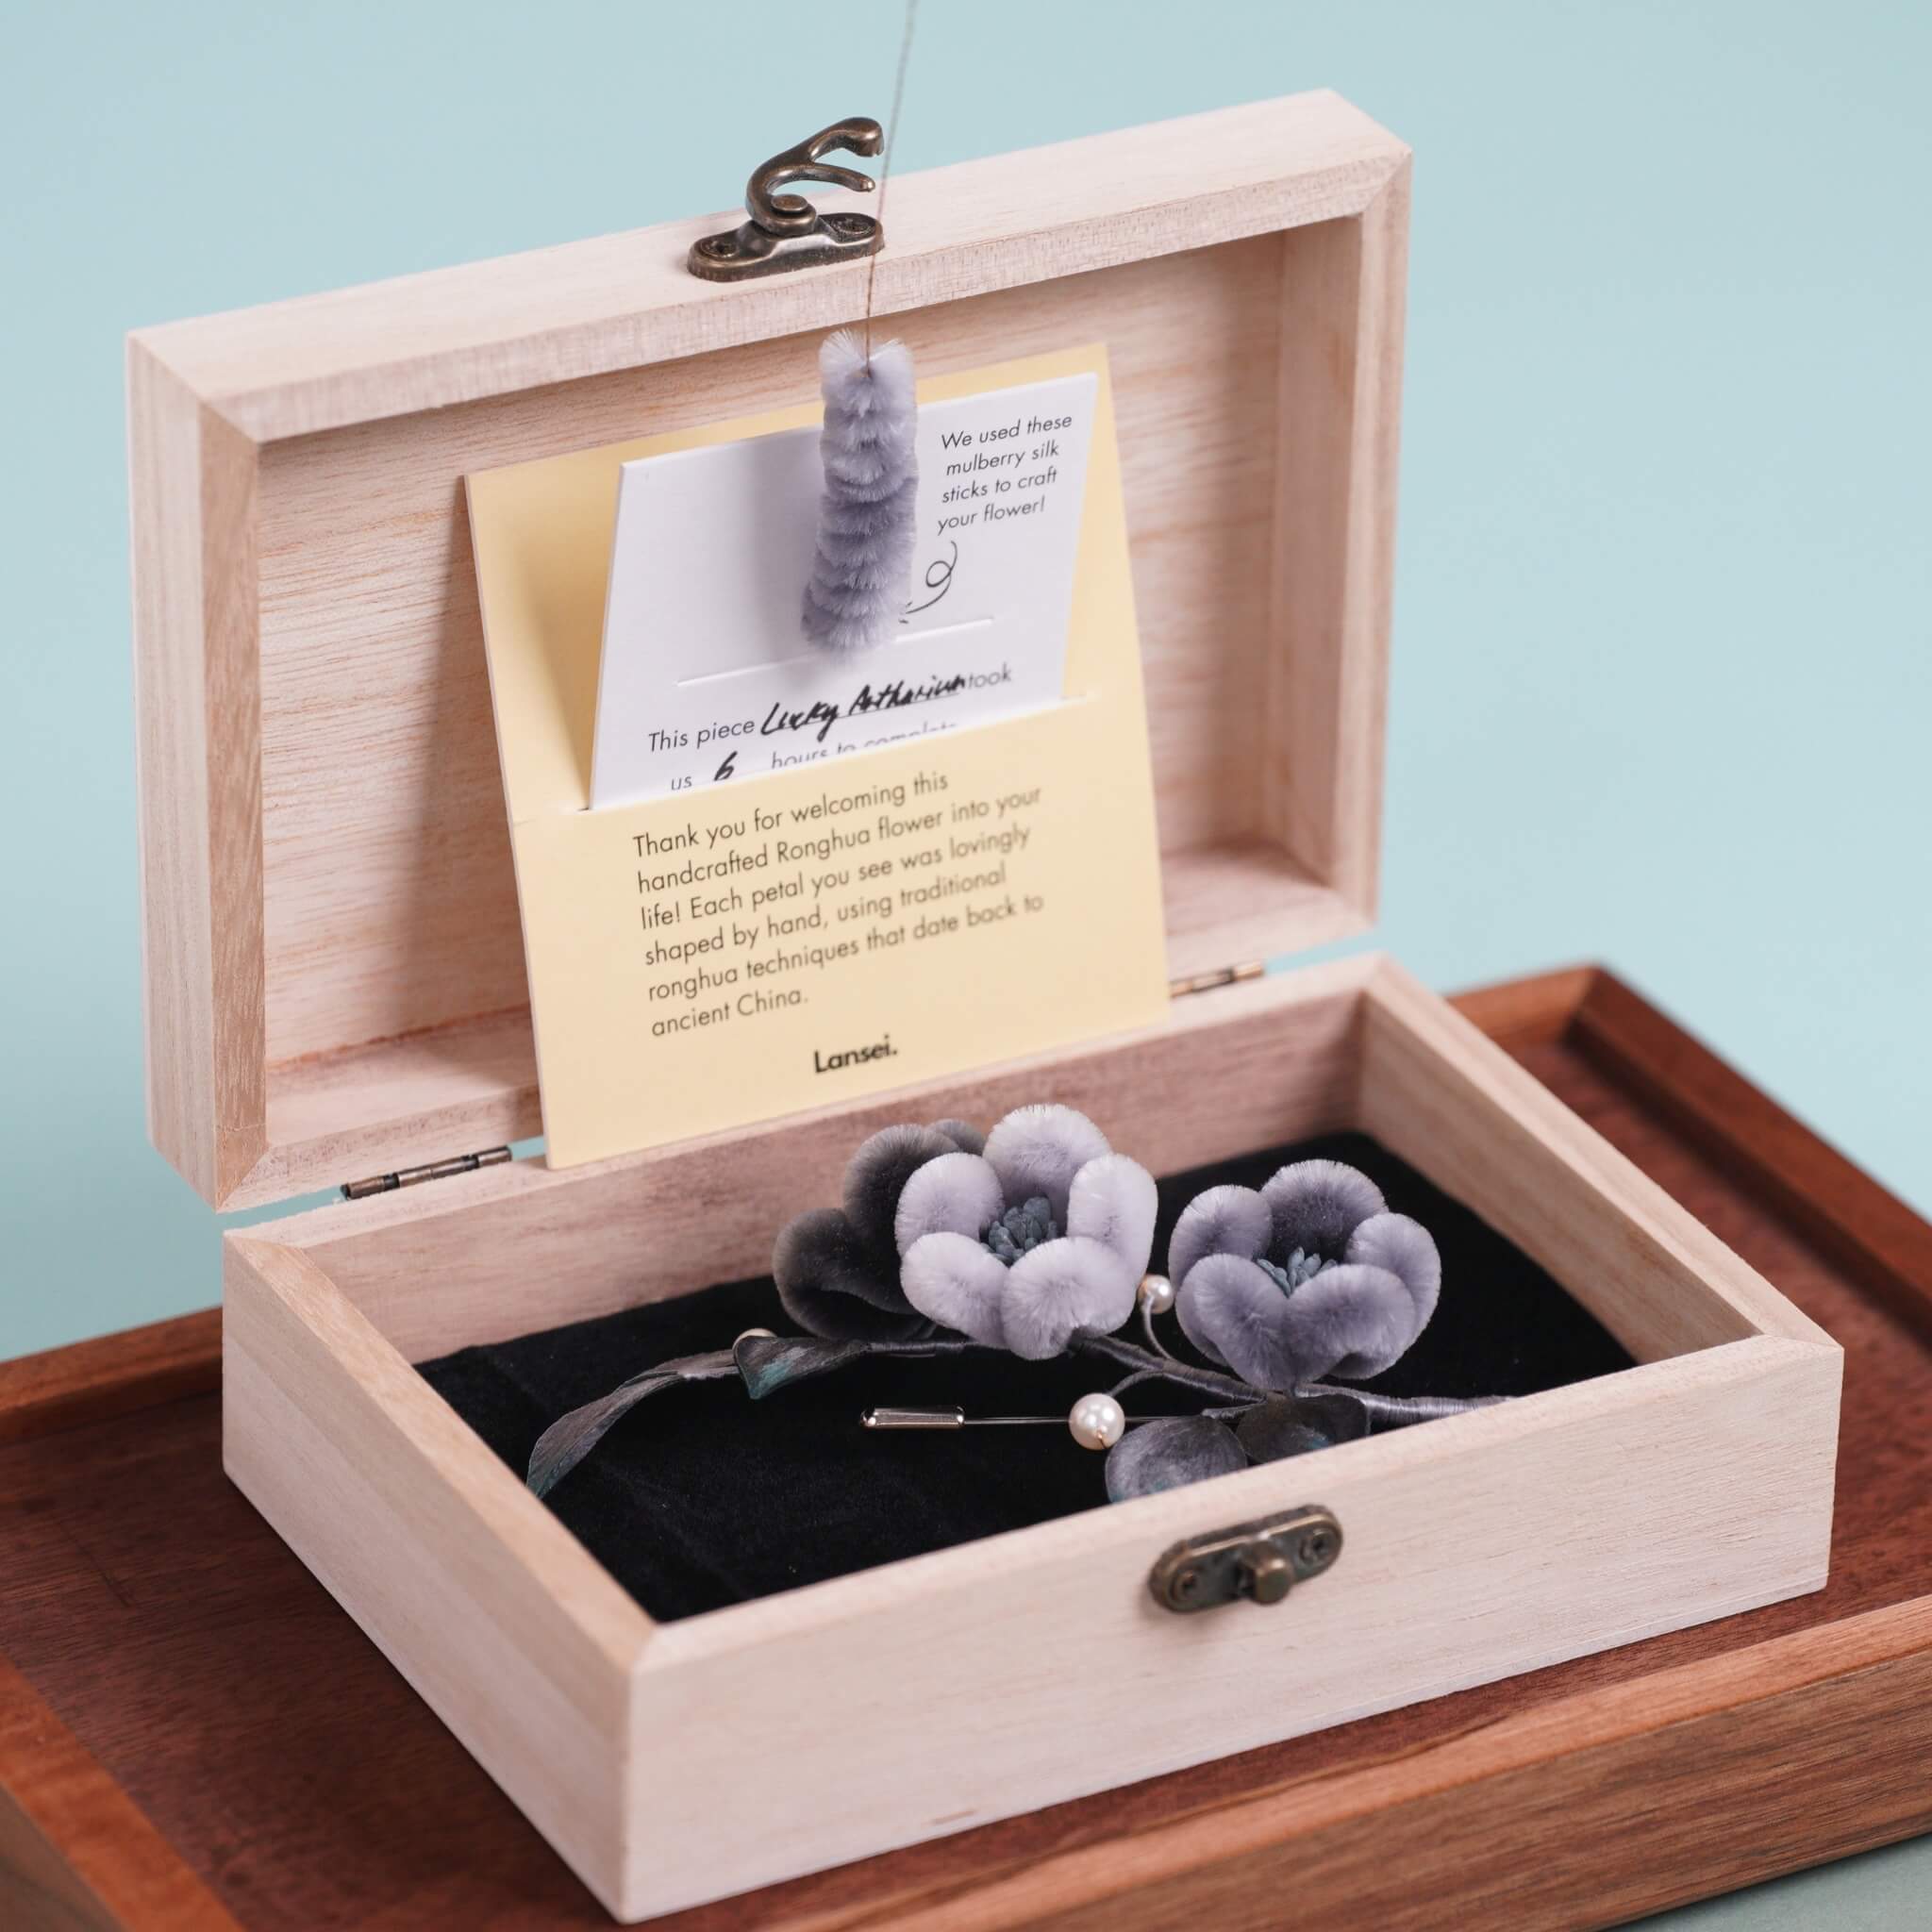
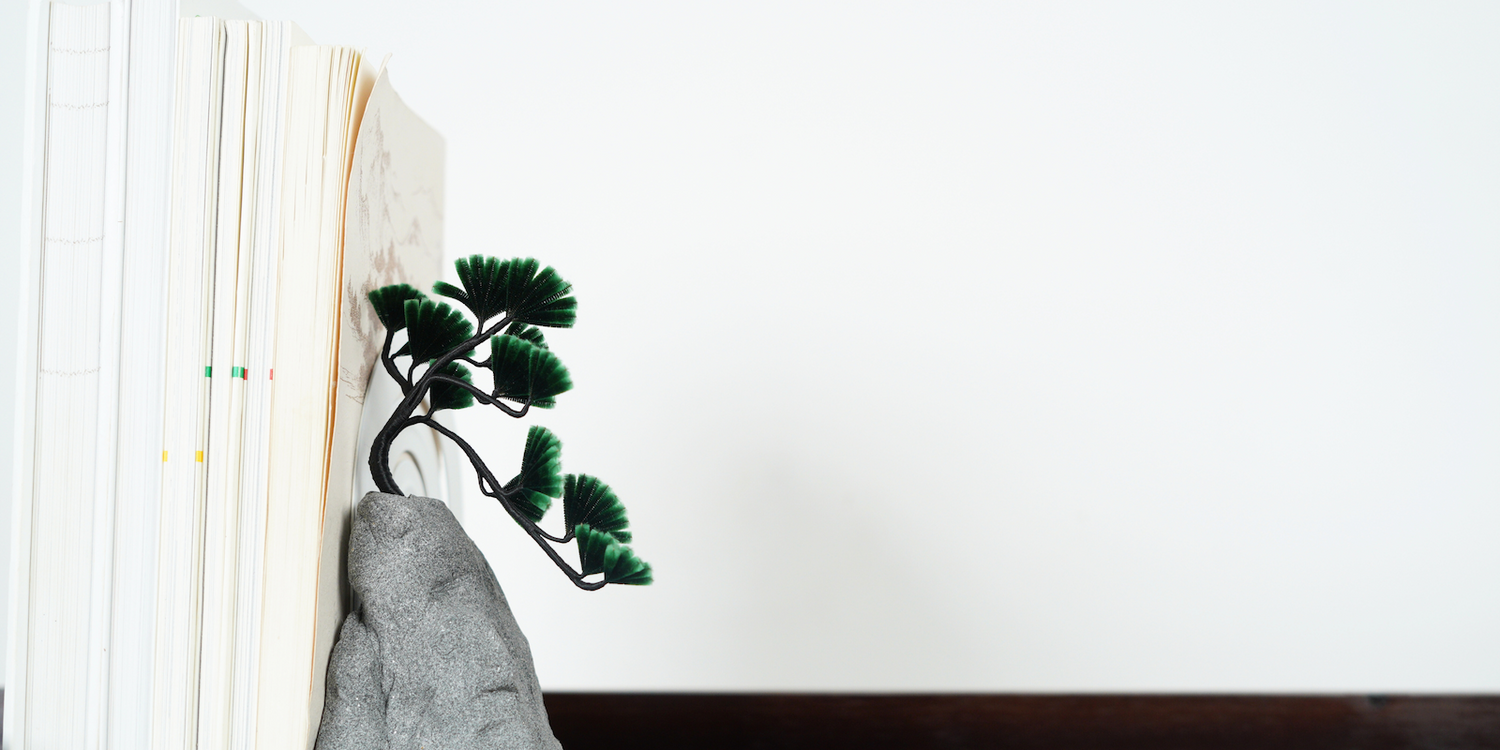
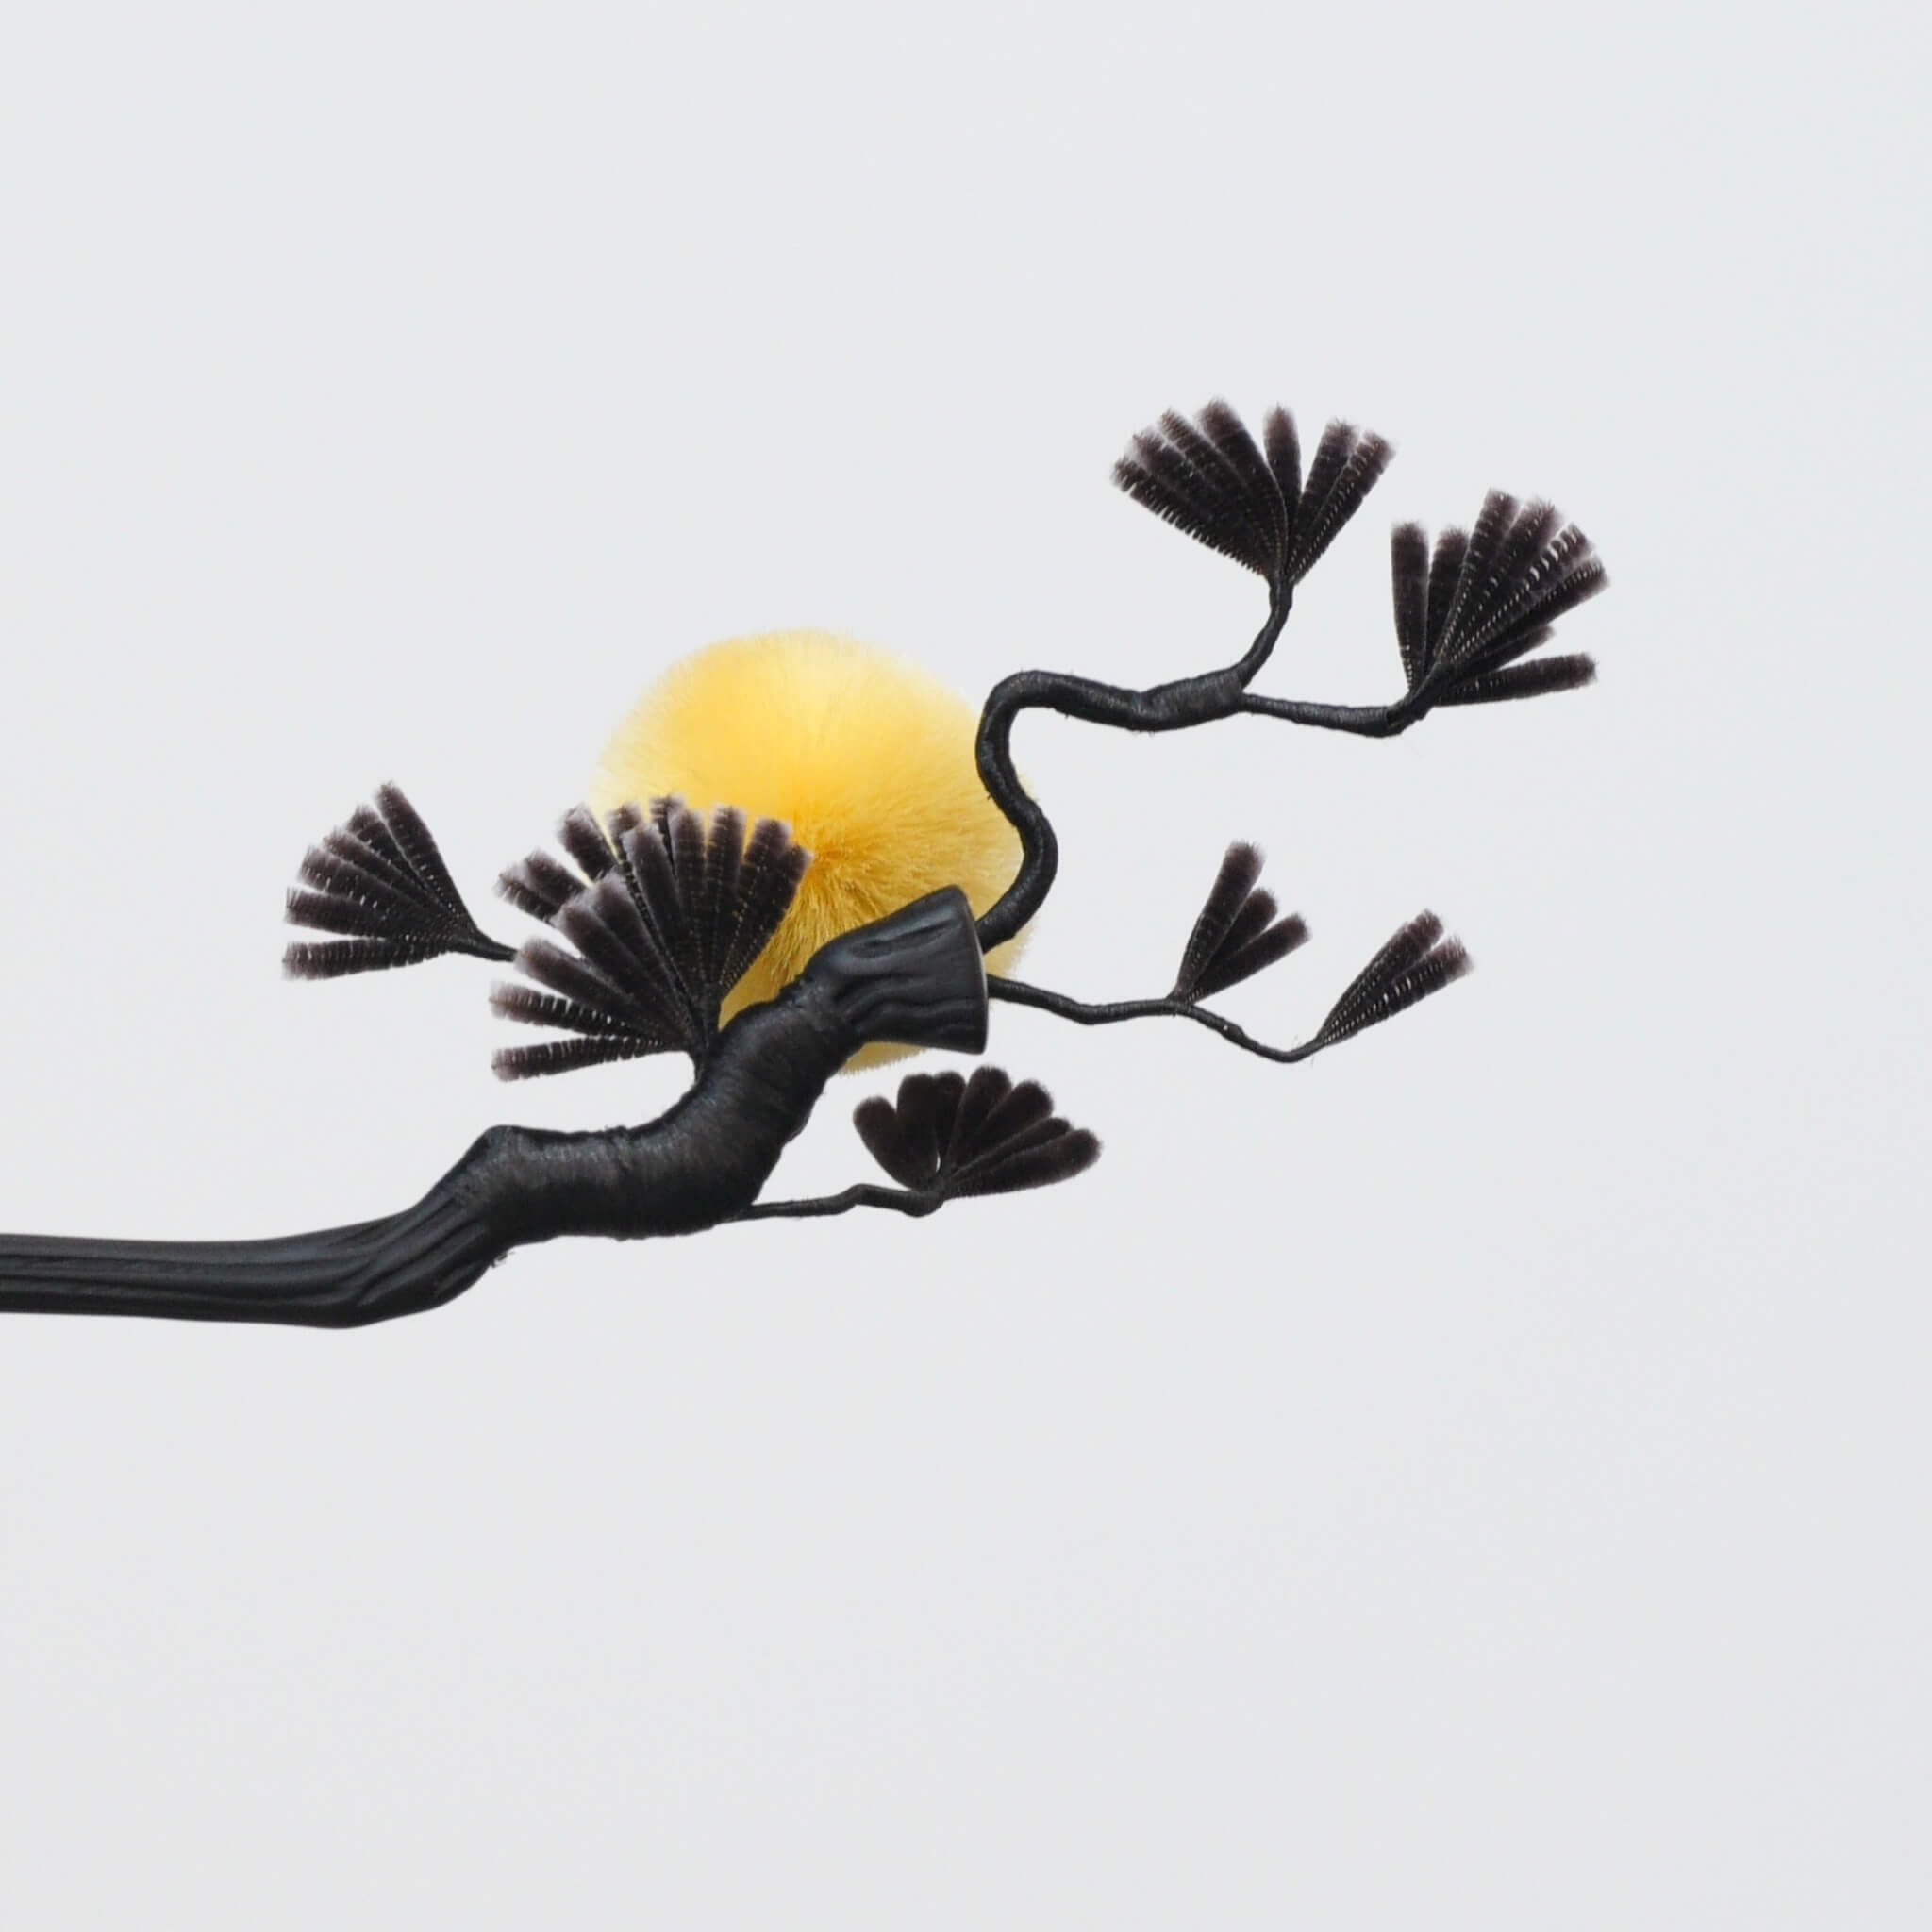
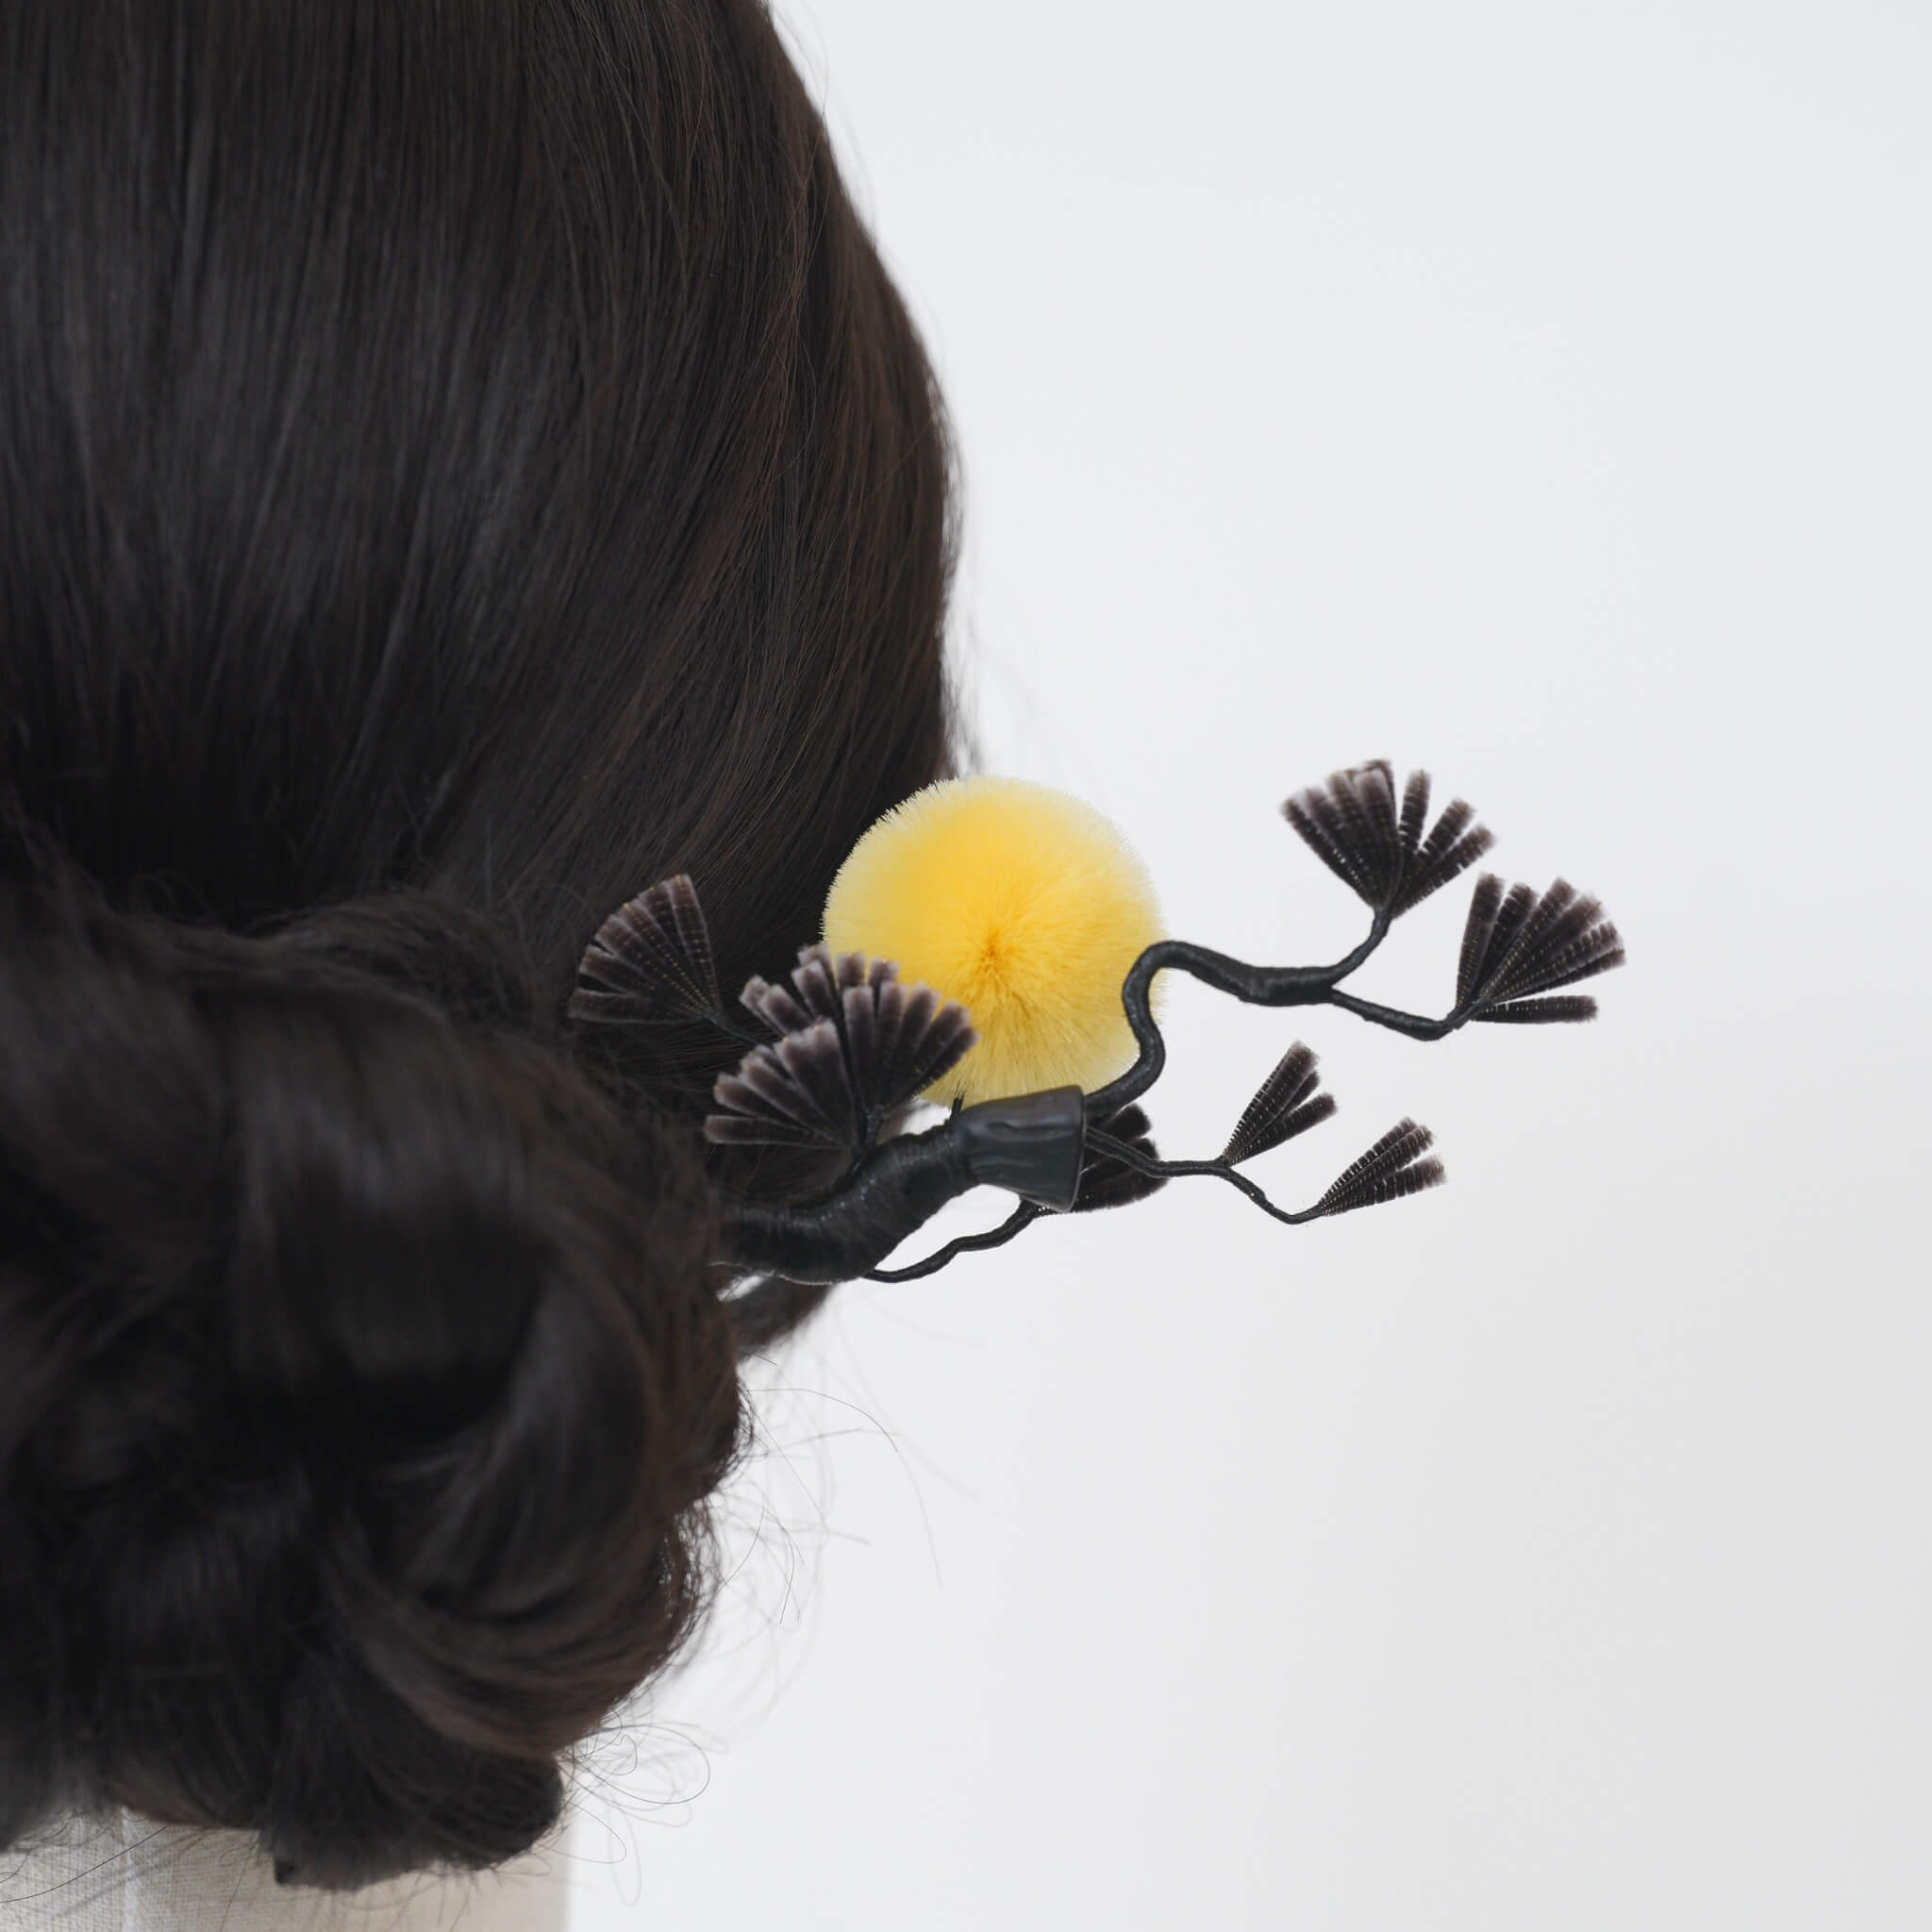
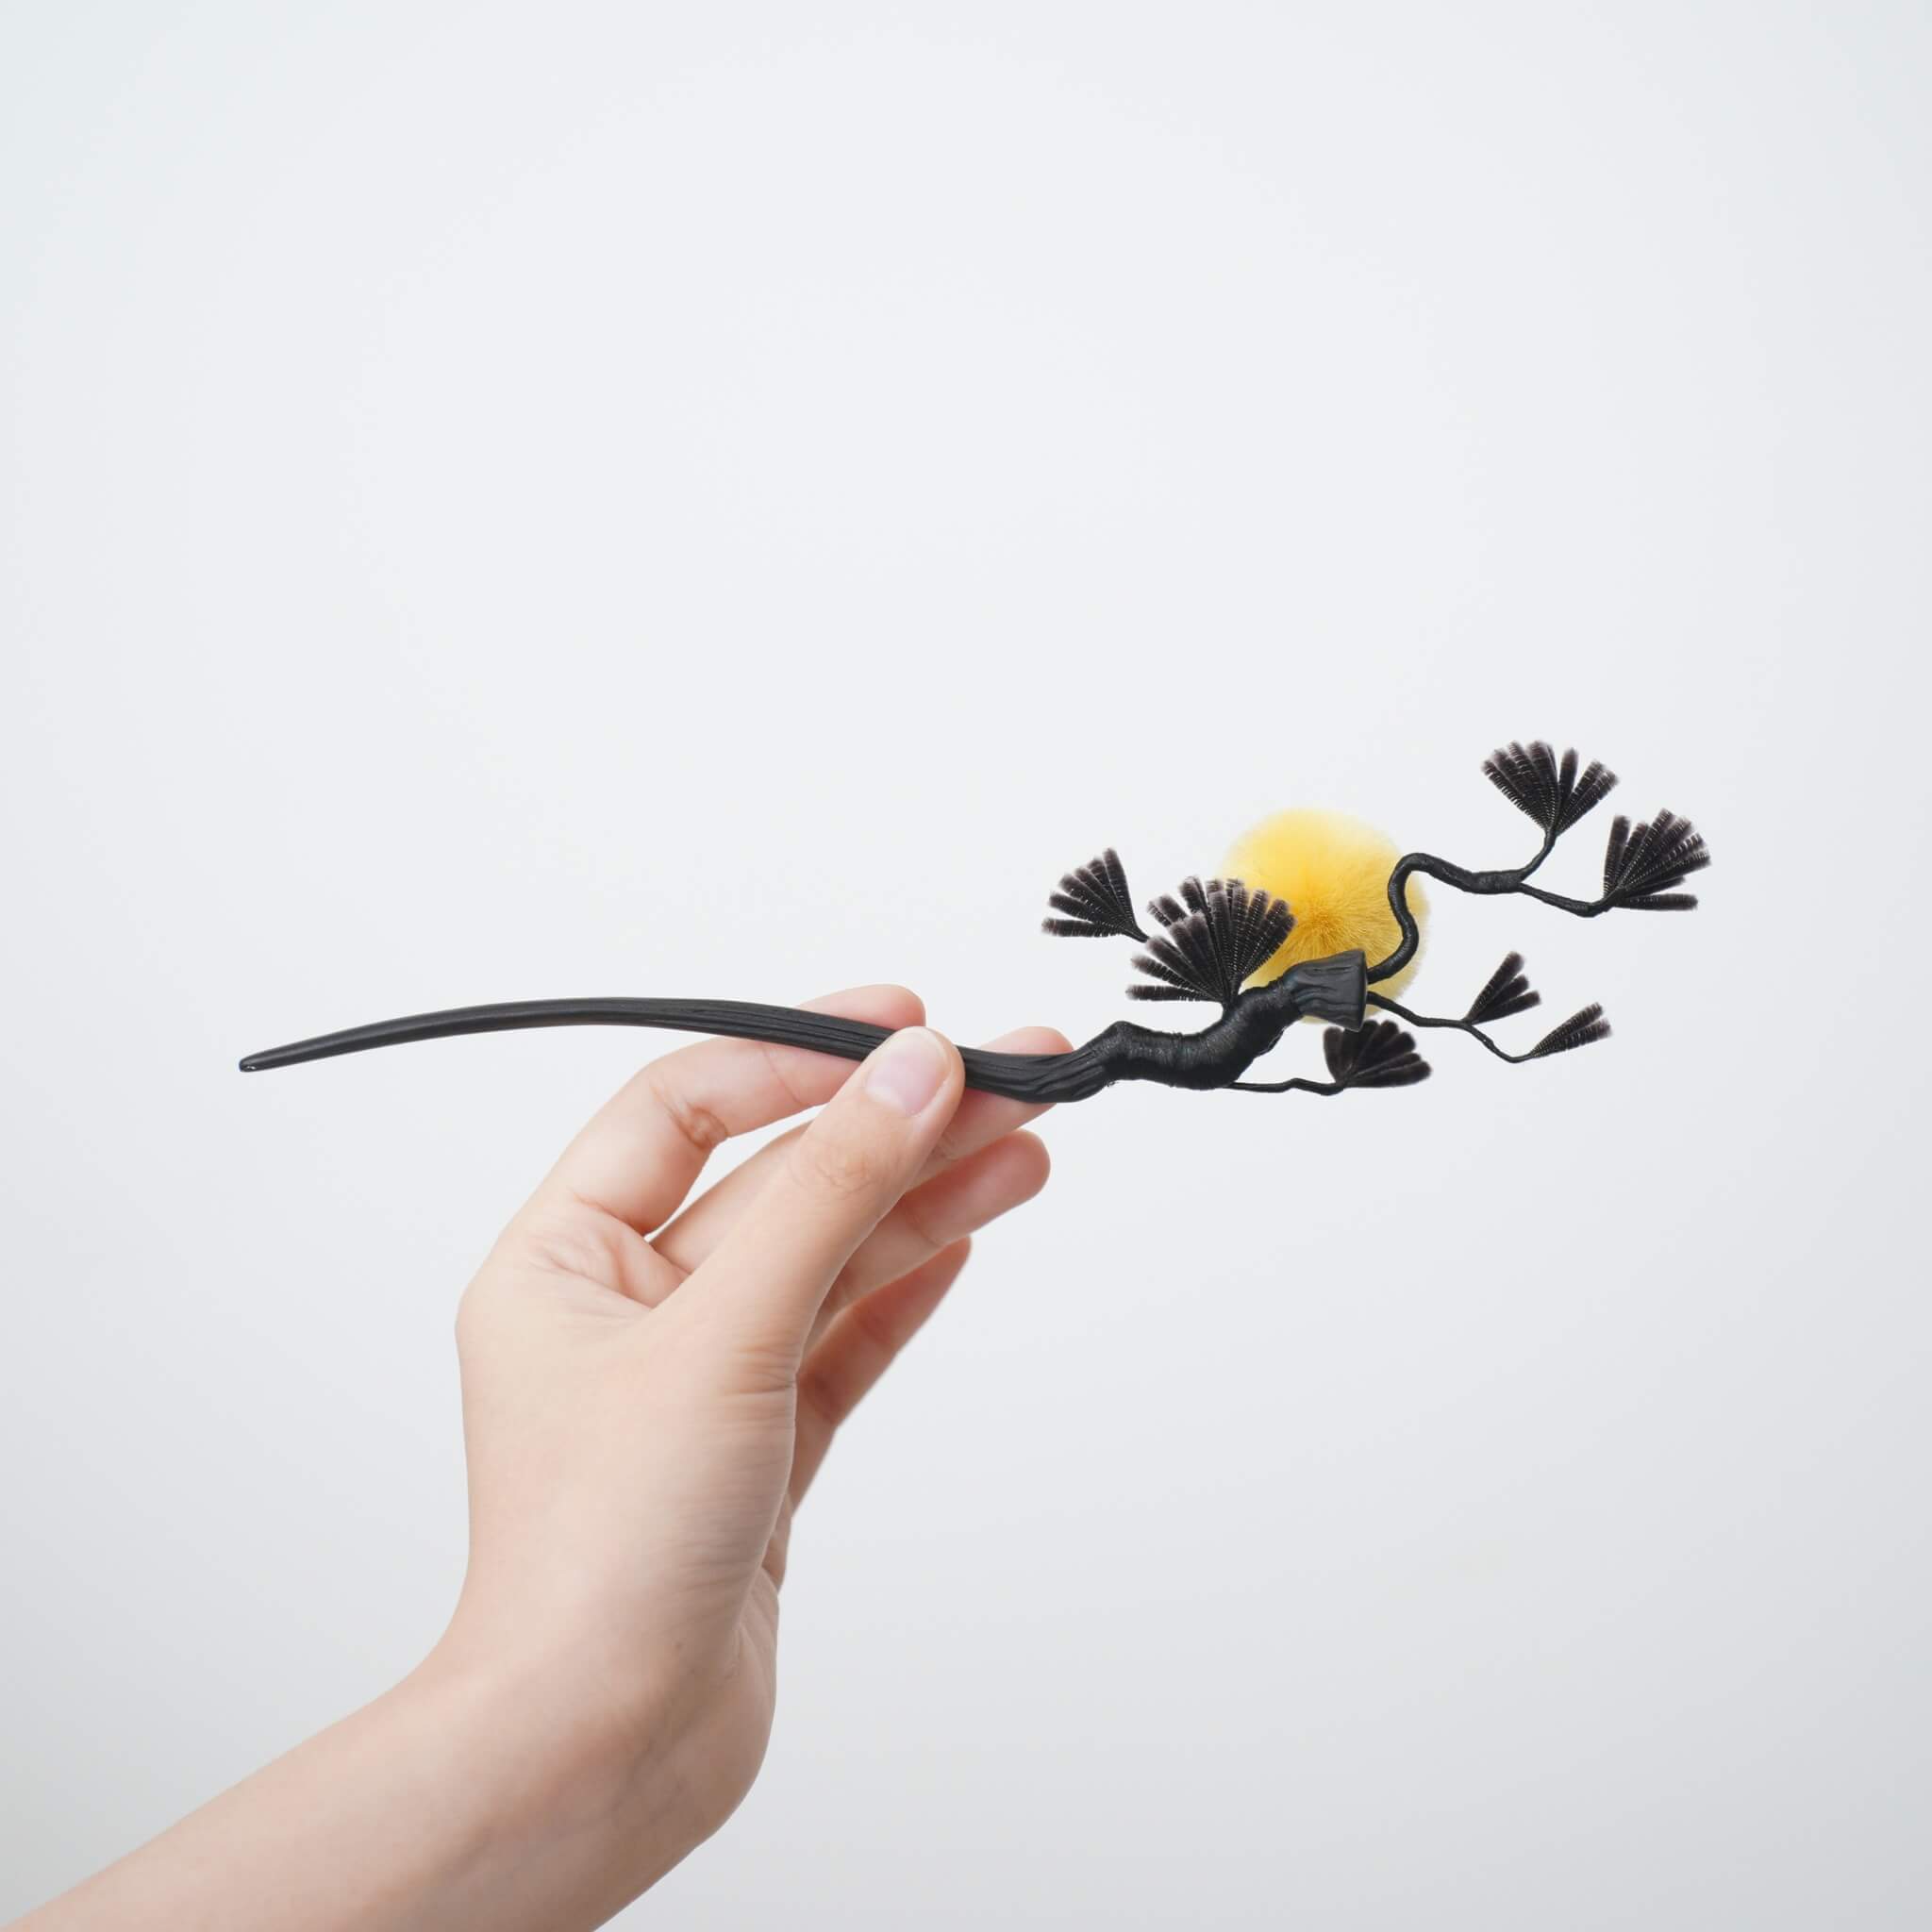
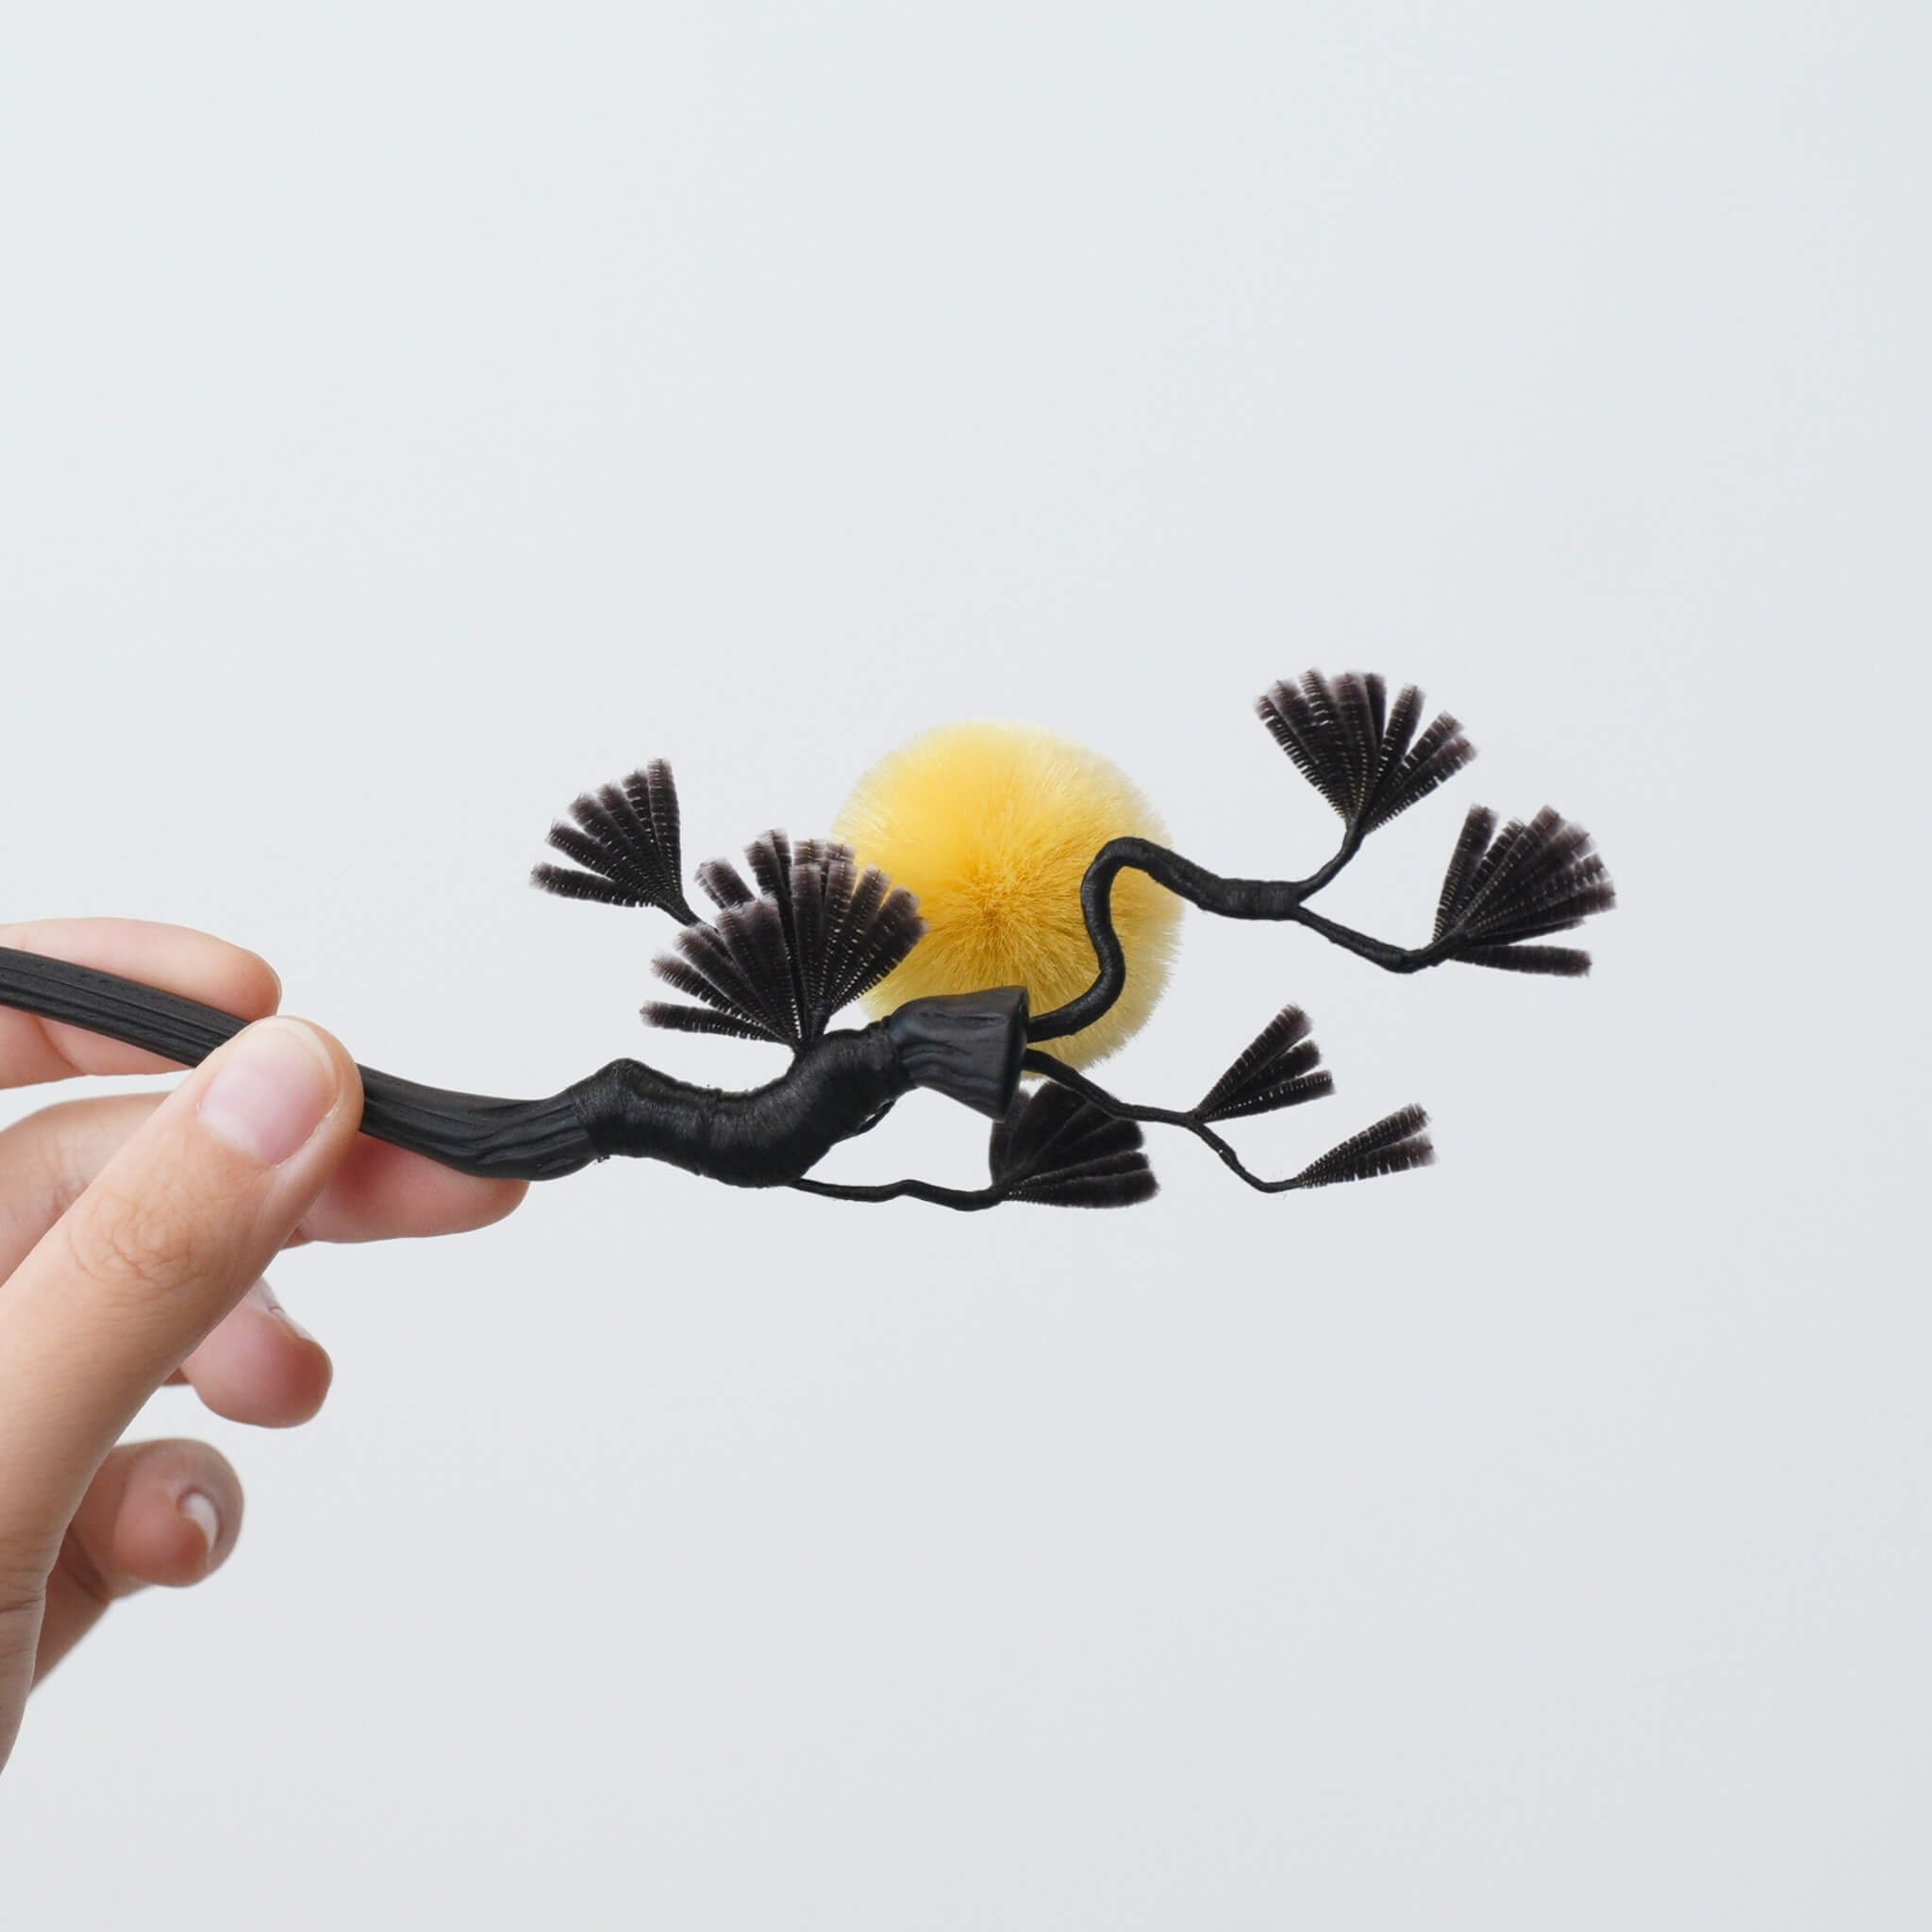
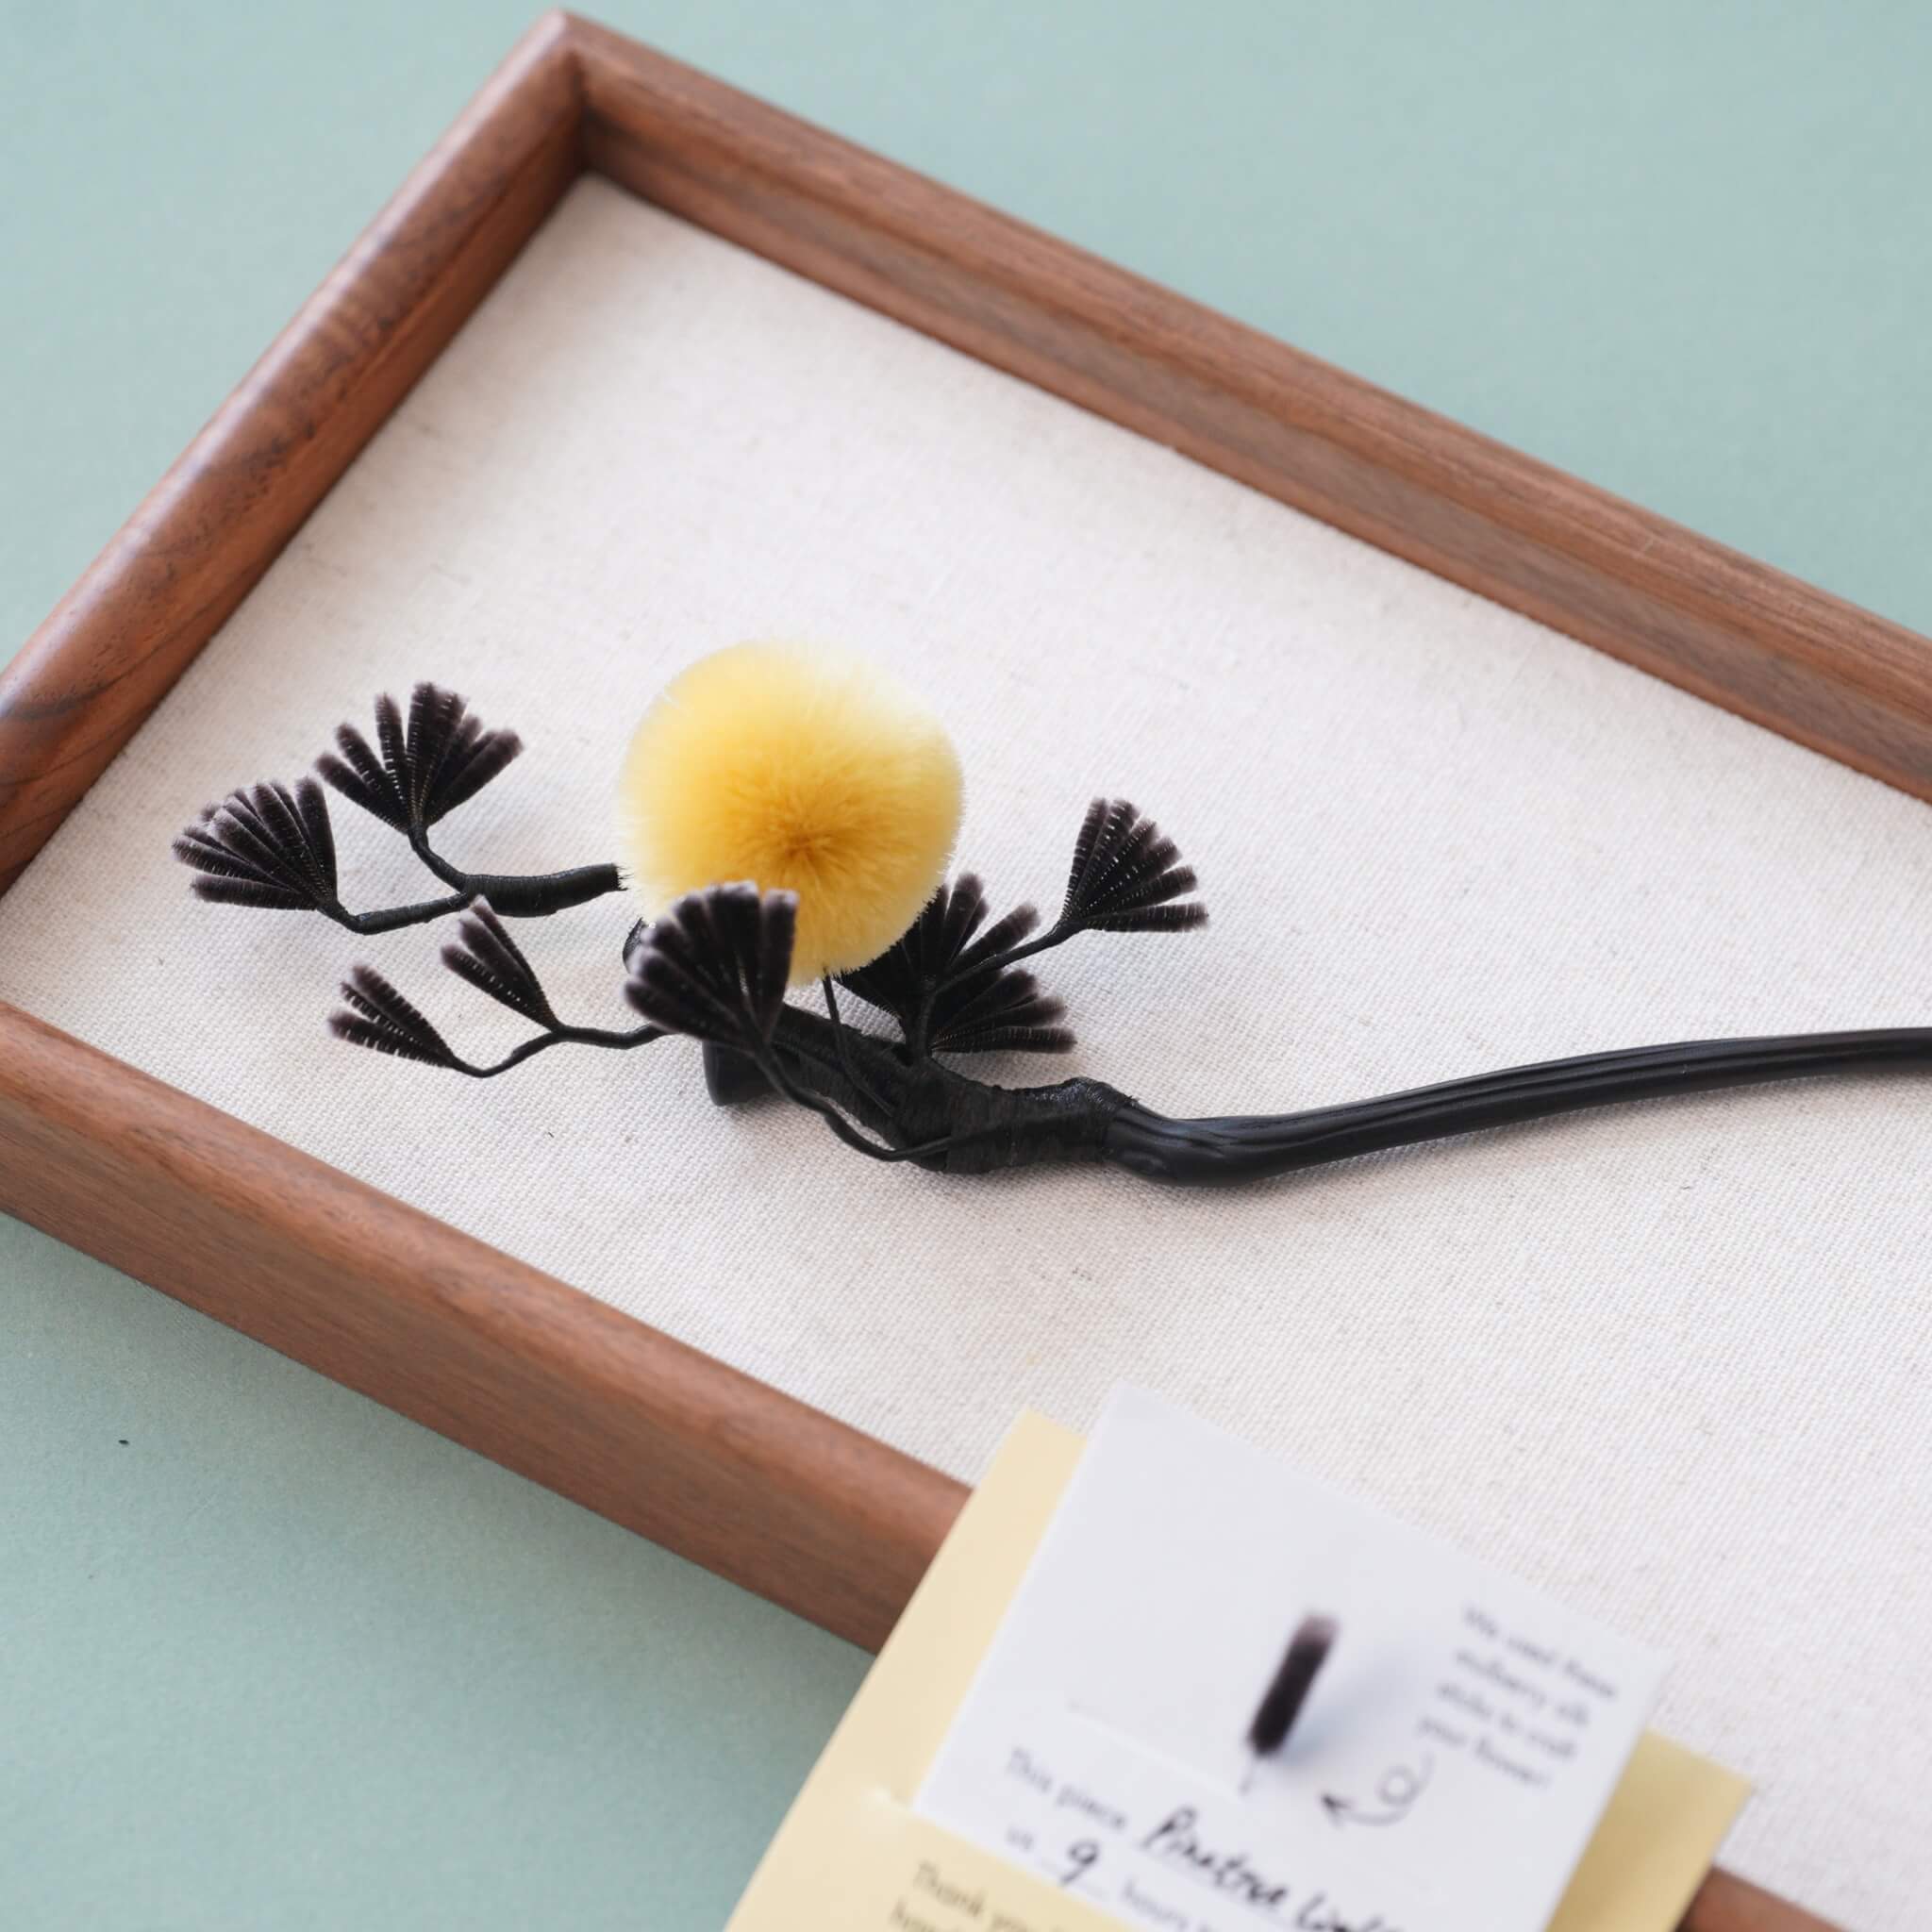
Silk pine trees are elegant, sculptural forms characterized by their fine, needle-like foliage and gently curved trunks. Often associated with resilience, longevity, and quiet strength, pine trees hold deep symbolic meaning in East Asian art and culture. As a handcrafted object, the silk pine tree bookend combines delicacy with structure, transforming natural motifs into a refined decorative piece that is both functional and expressive.
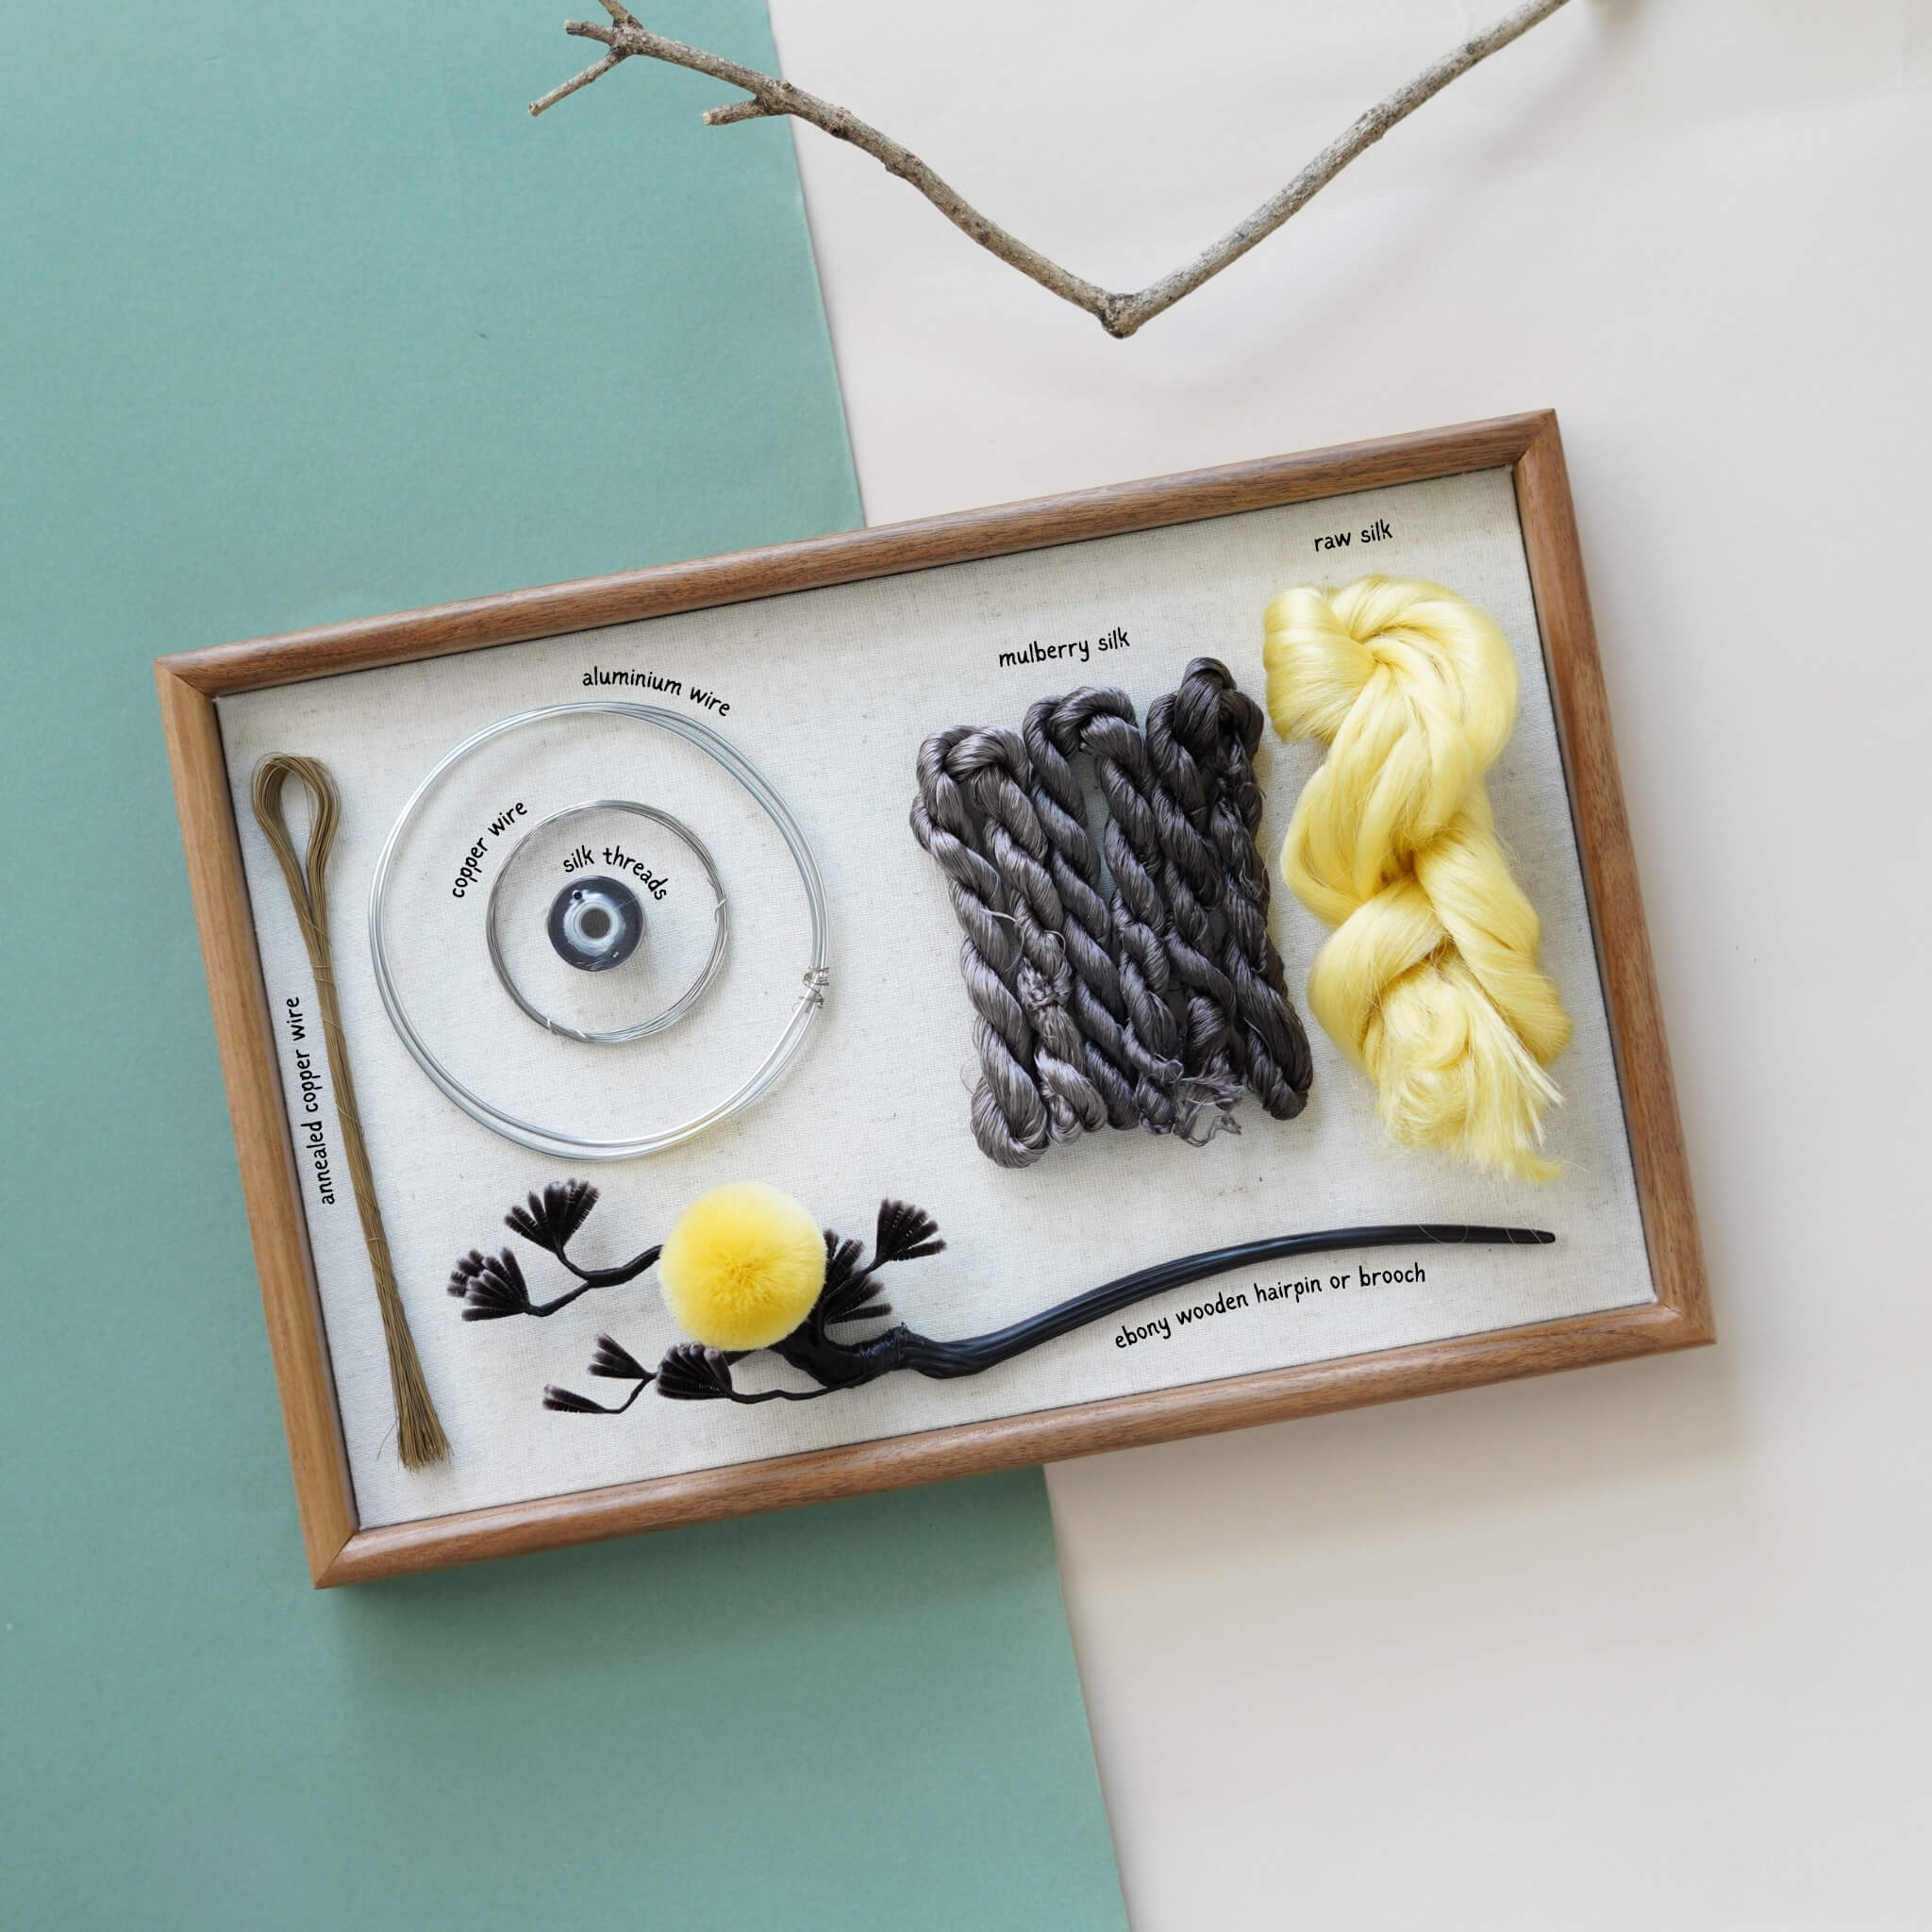
Preparation: What You’ll Need
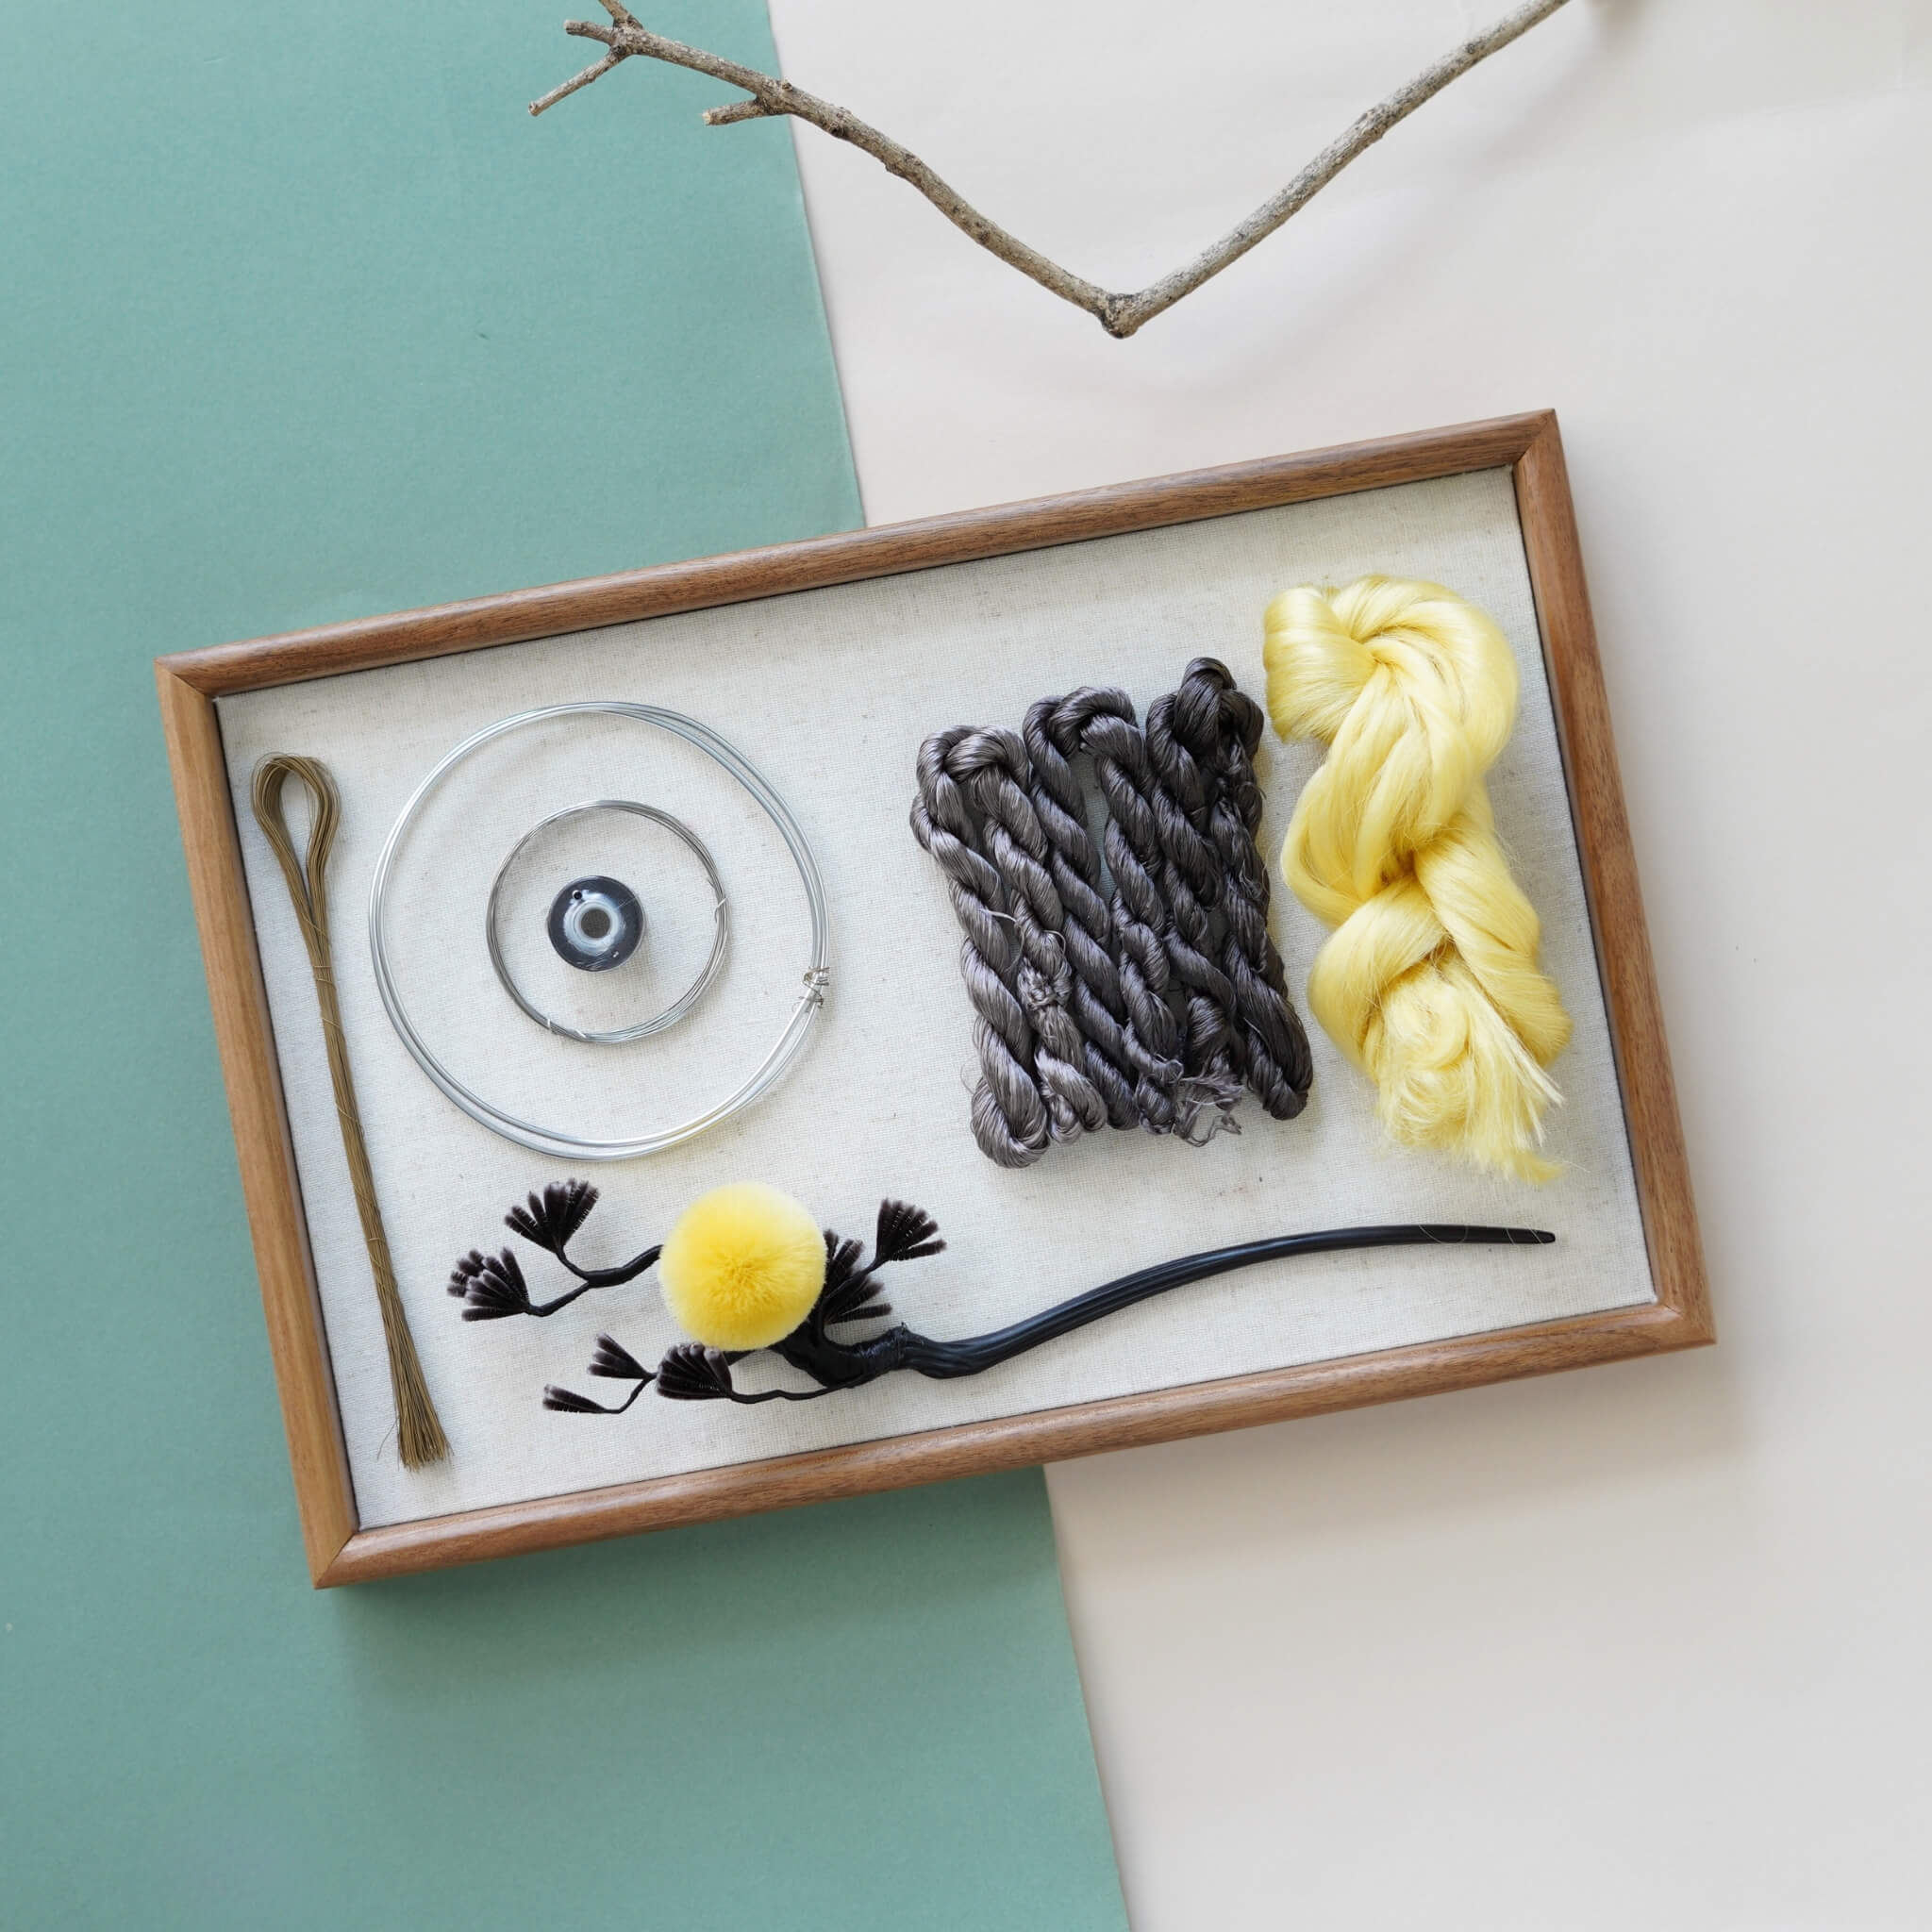
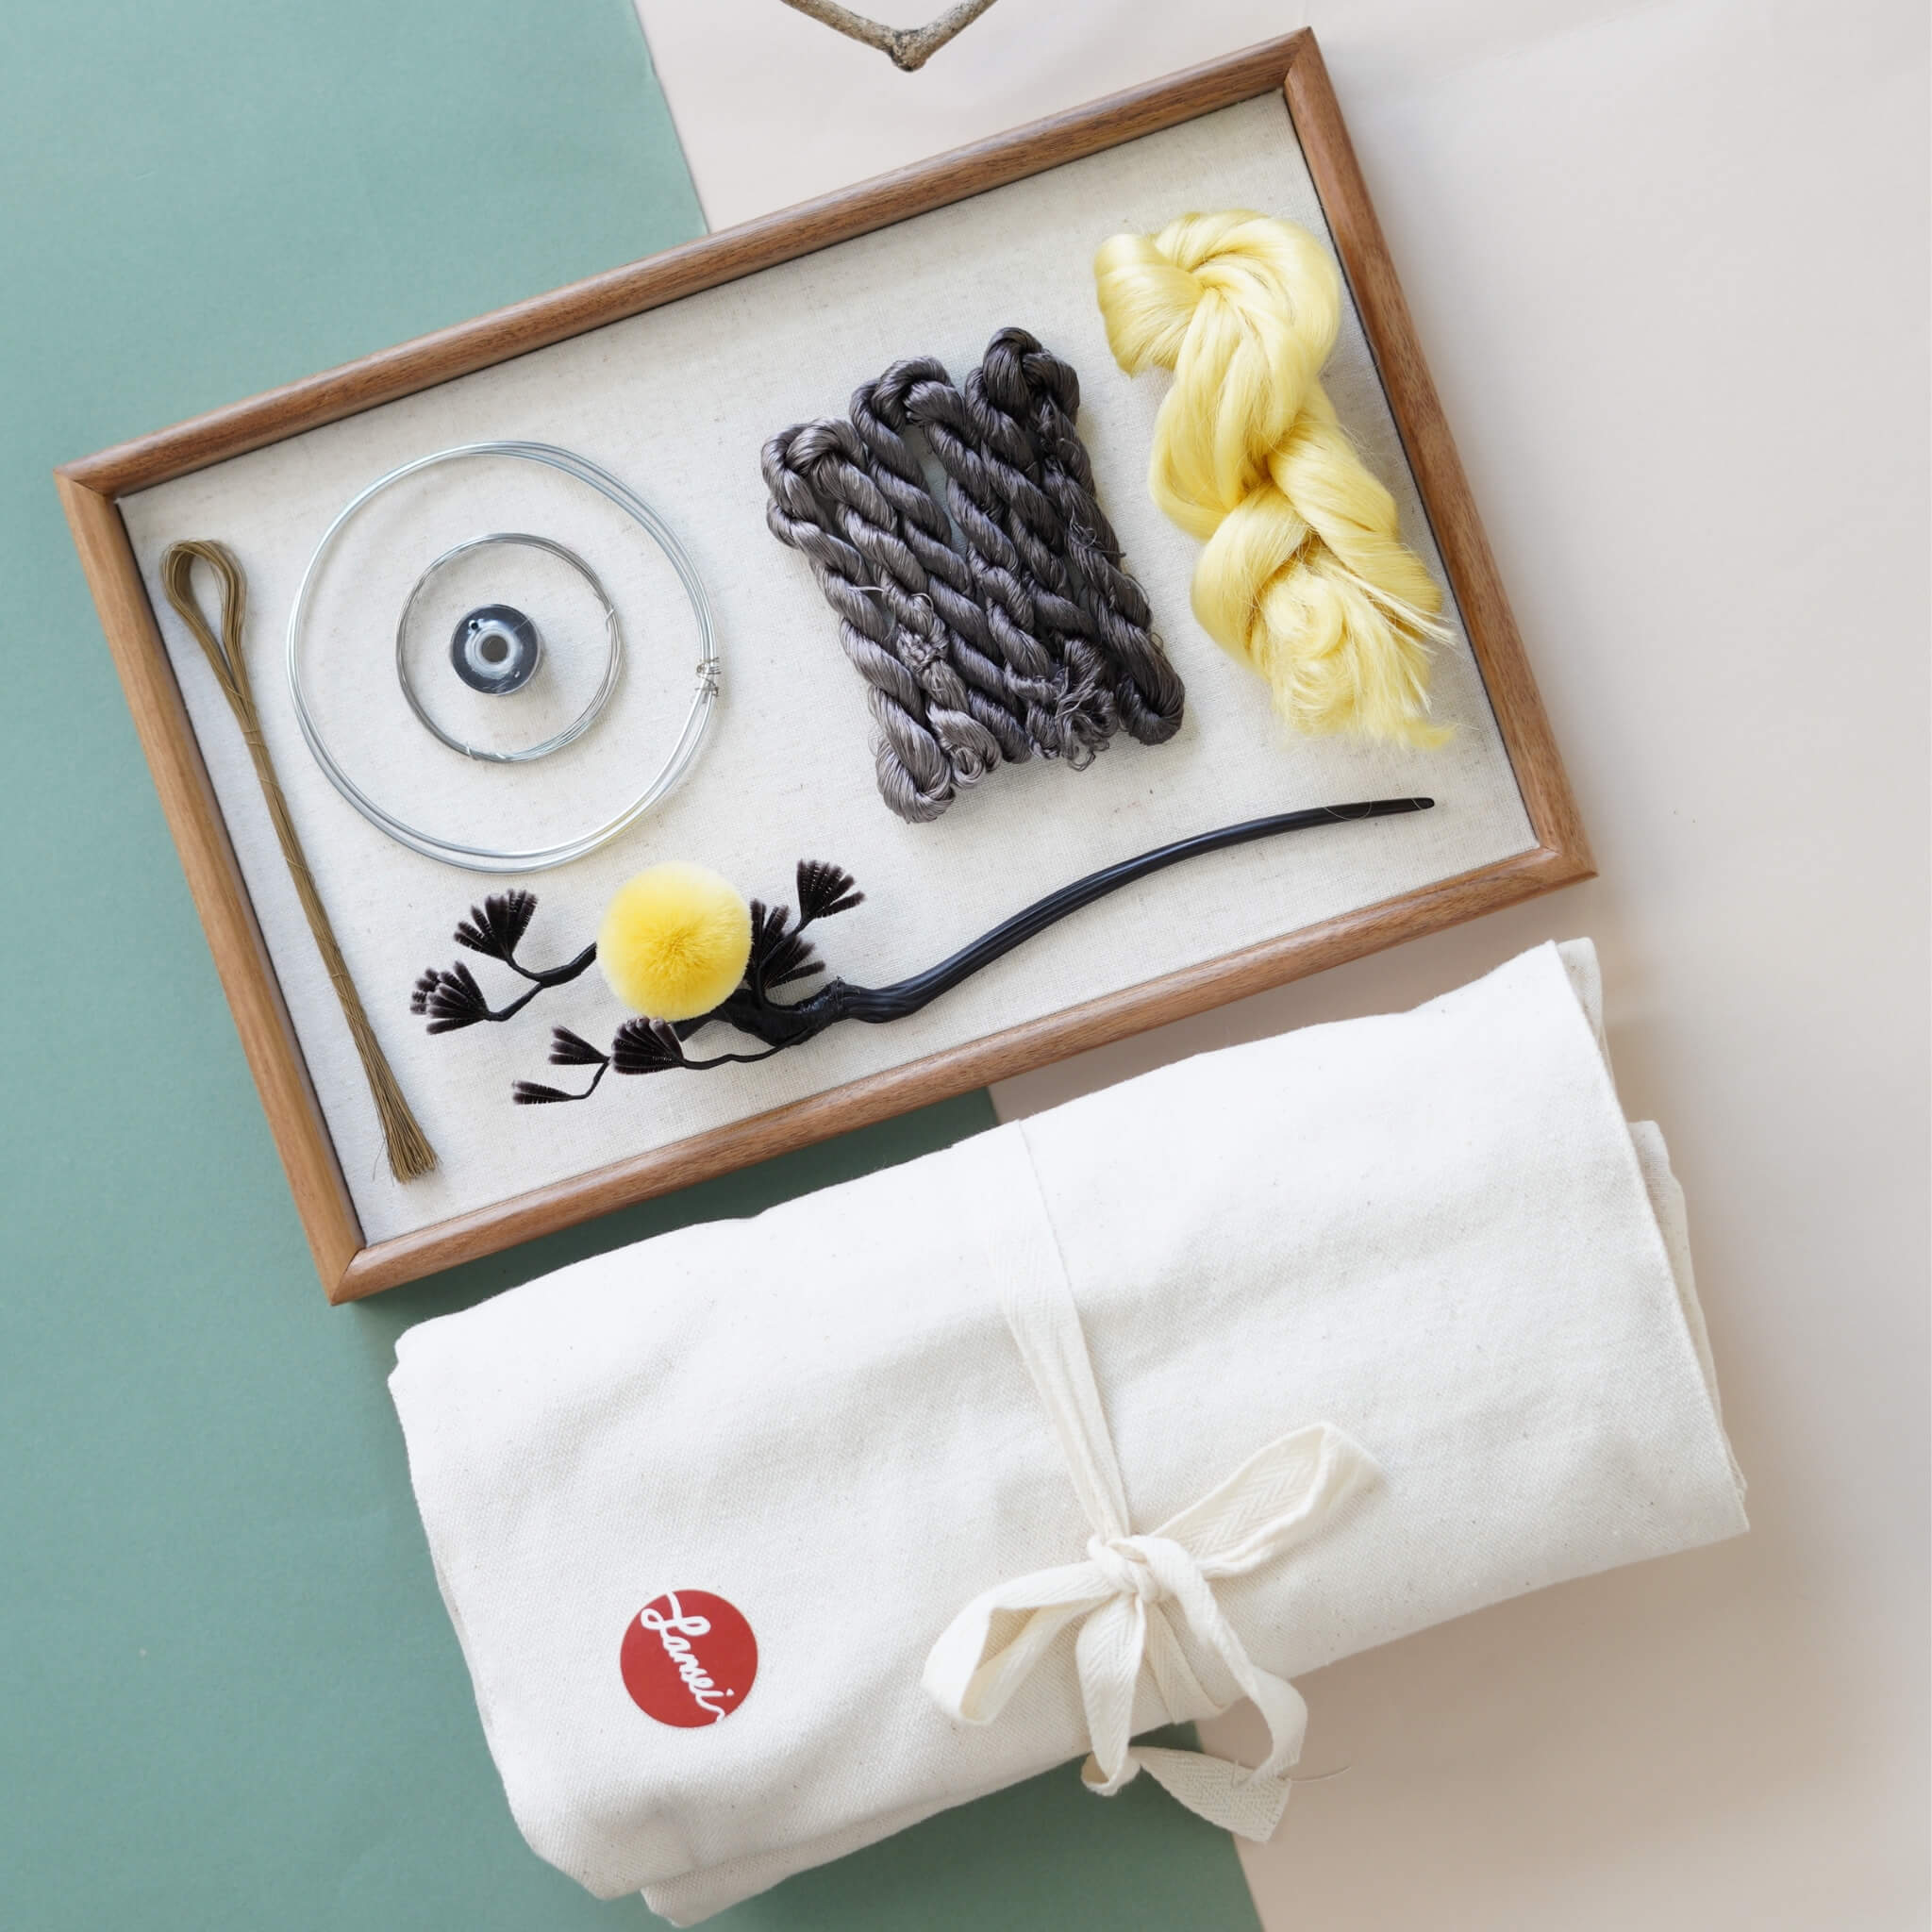
If you’ve purchased our Ronghua Toolkit, you already have everything required!
If not, prepare the following tools:
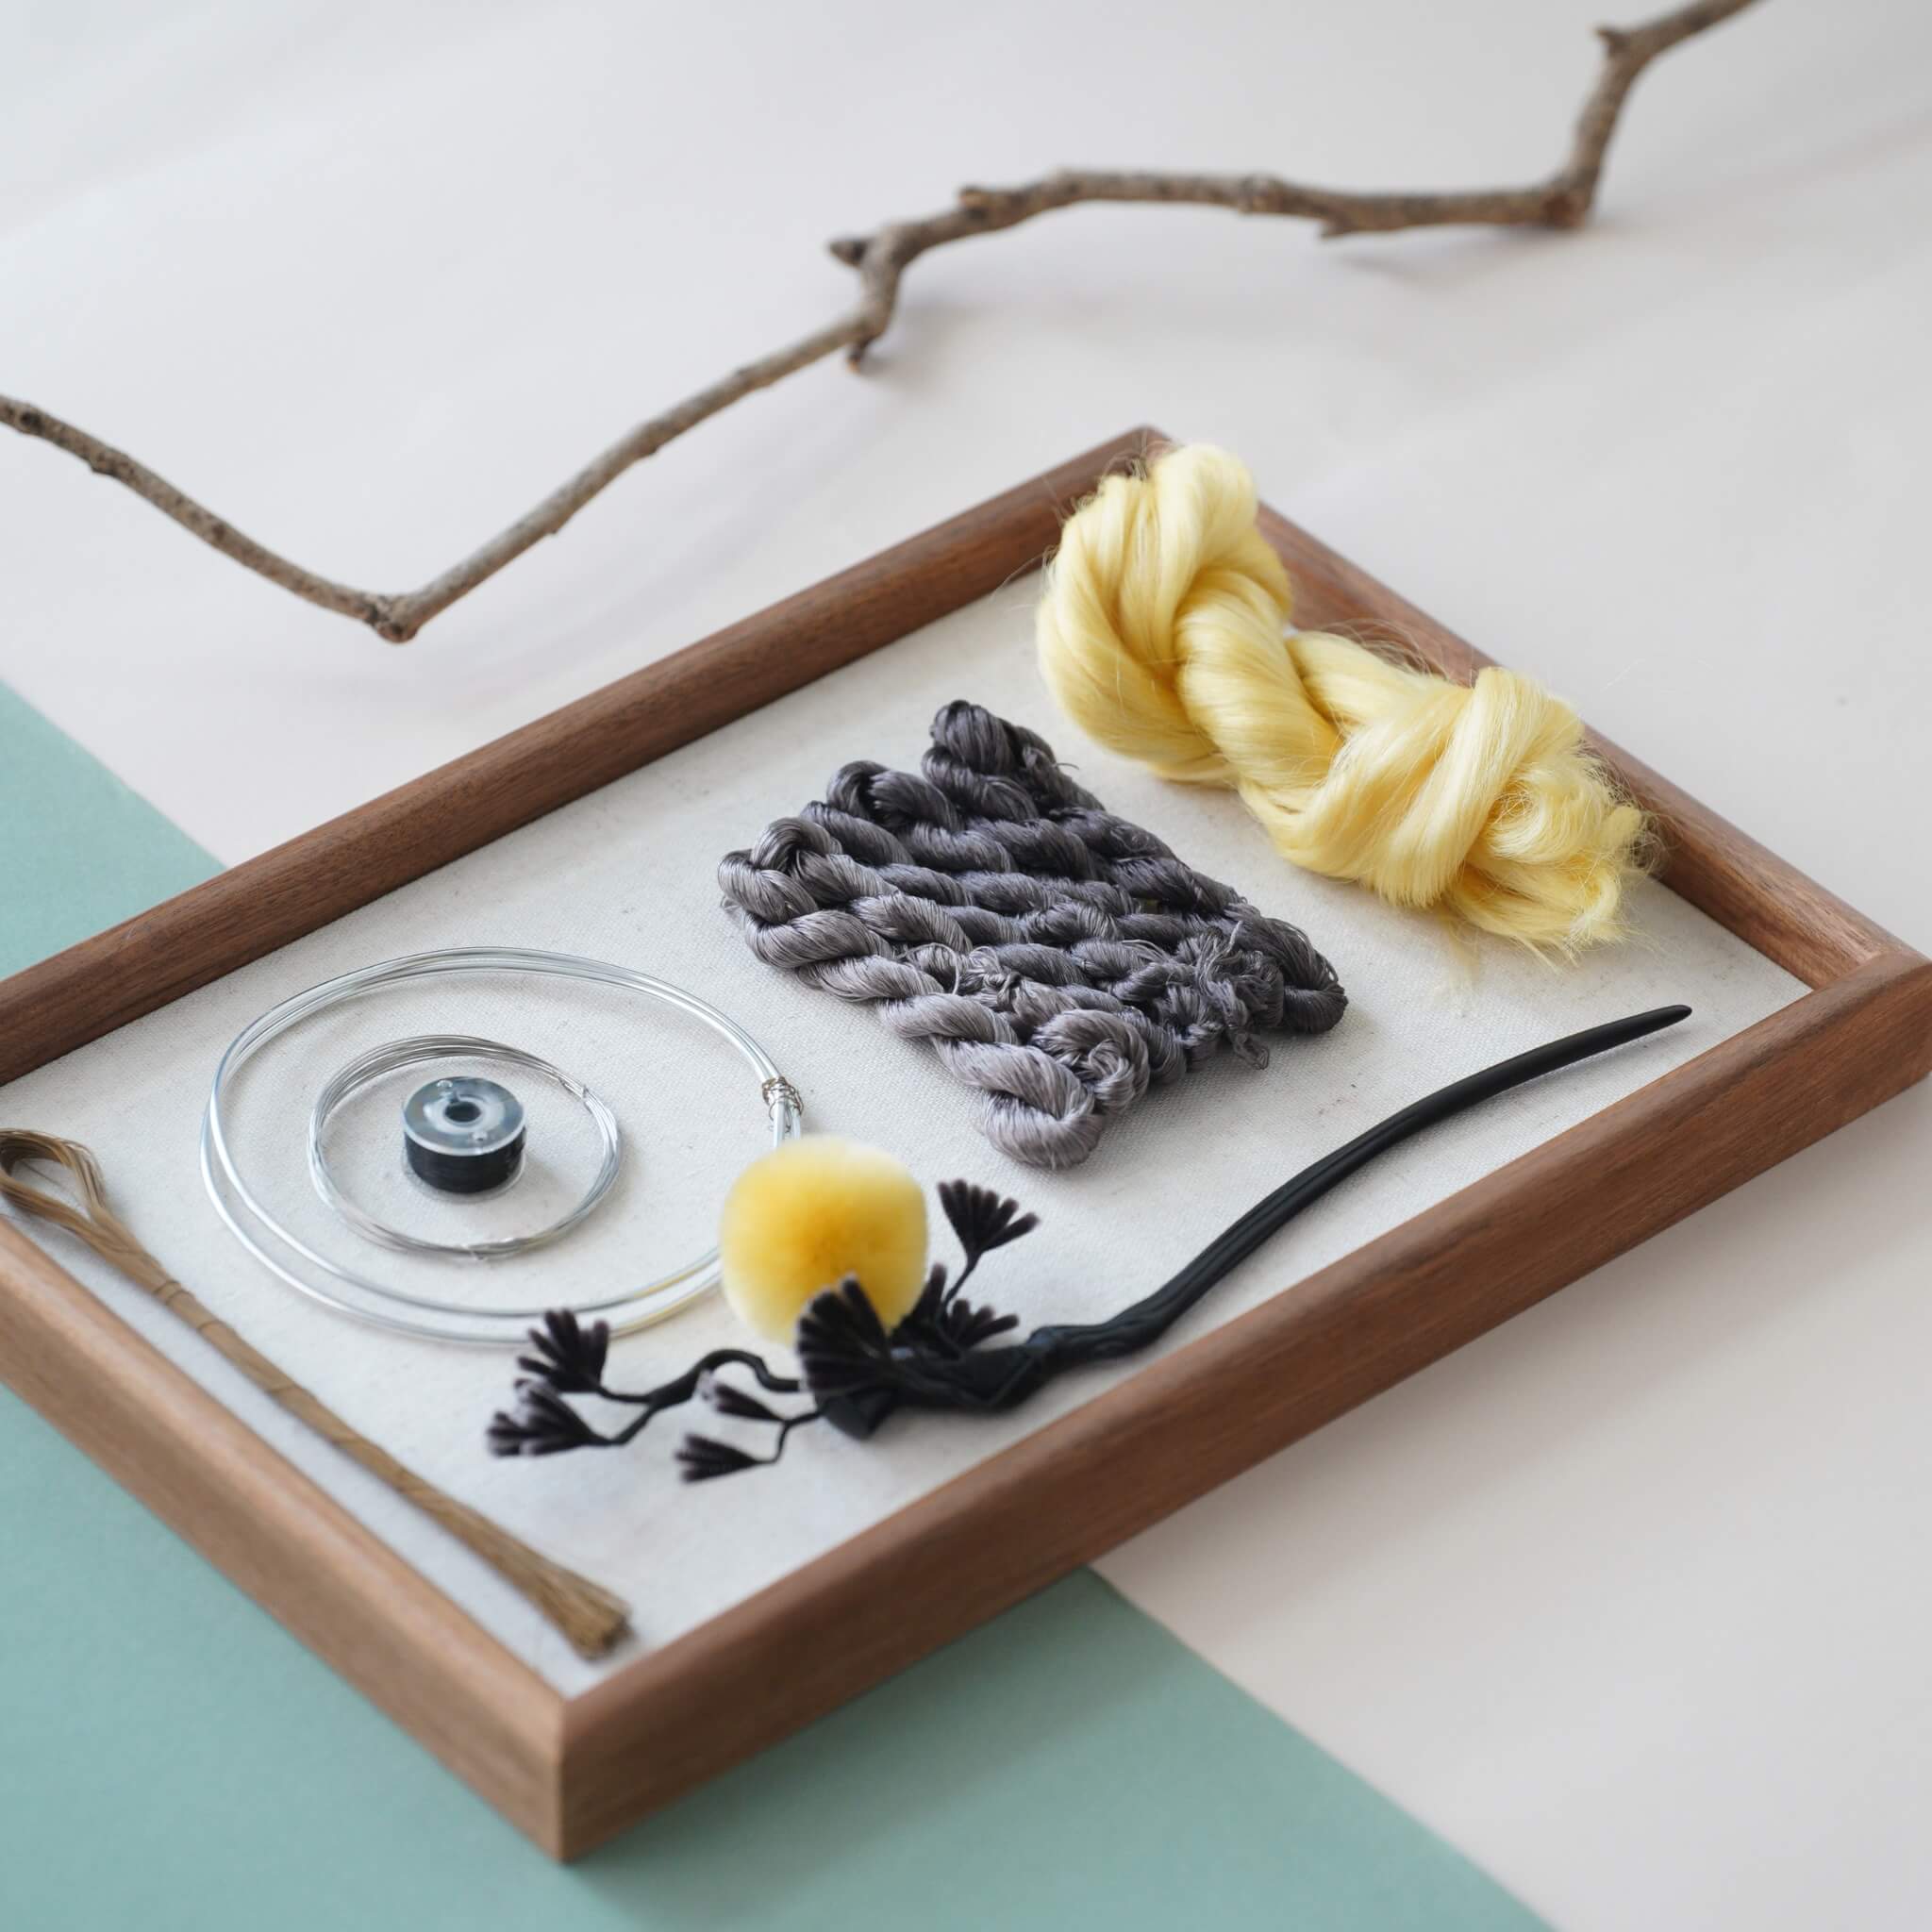
- Bristle brush (Medium to soft hardness)
- Flat iron (the one you use to straighten your hair)
- Tweezers
- At least 2 pairs of Scissors
- wooden sticks / pencils / chopsticks
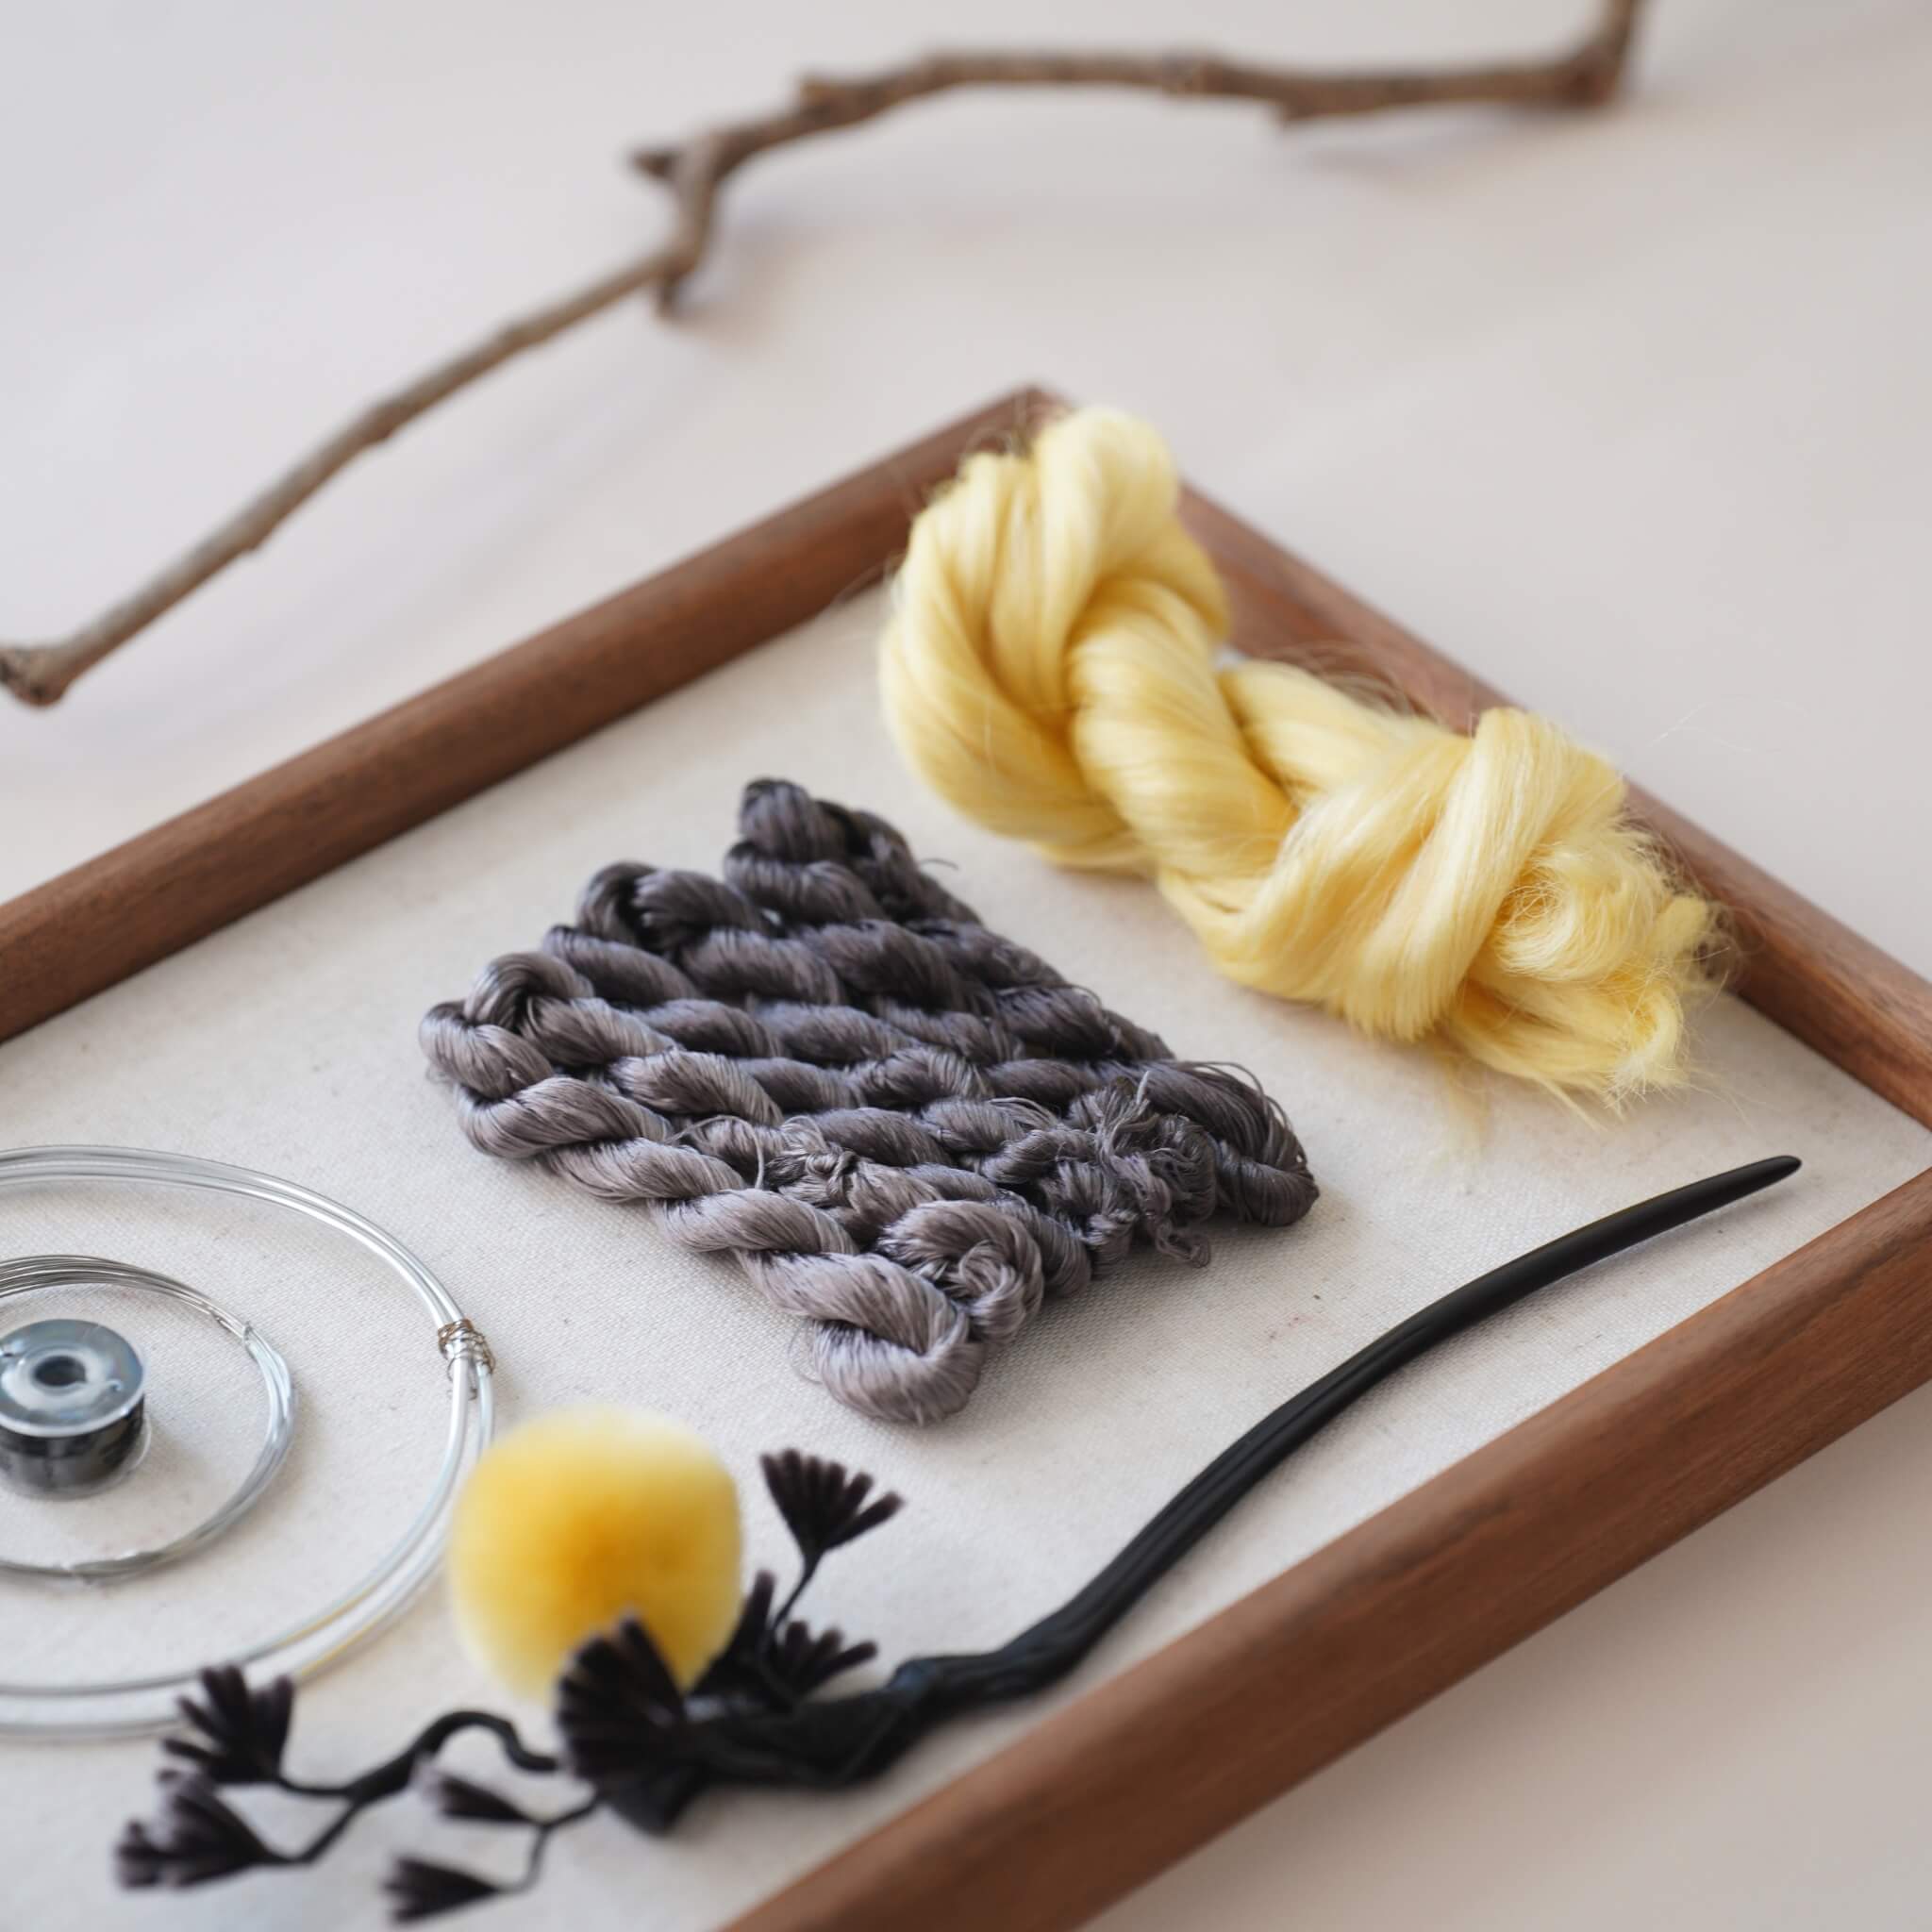
- Hair spray or diluted white glue (1:1.15–1:1.2 ratio)
- Big clips (around 15cm)
- Twisting boards and wooden blocks (for even tension)
- Anti-slip powder (optional but helpful)
Full Tutorial Video
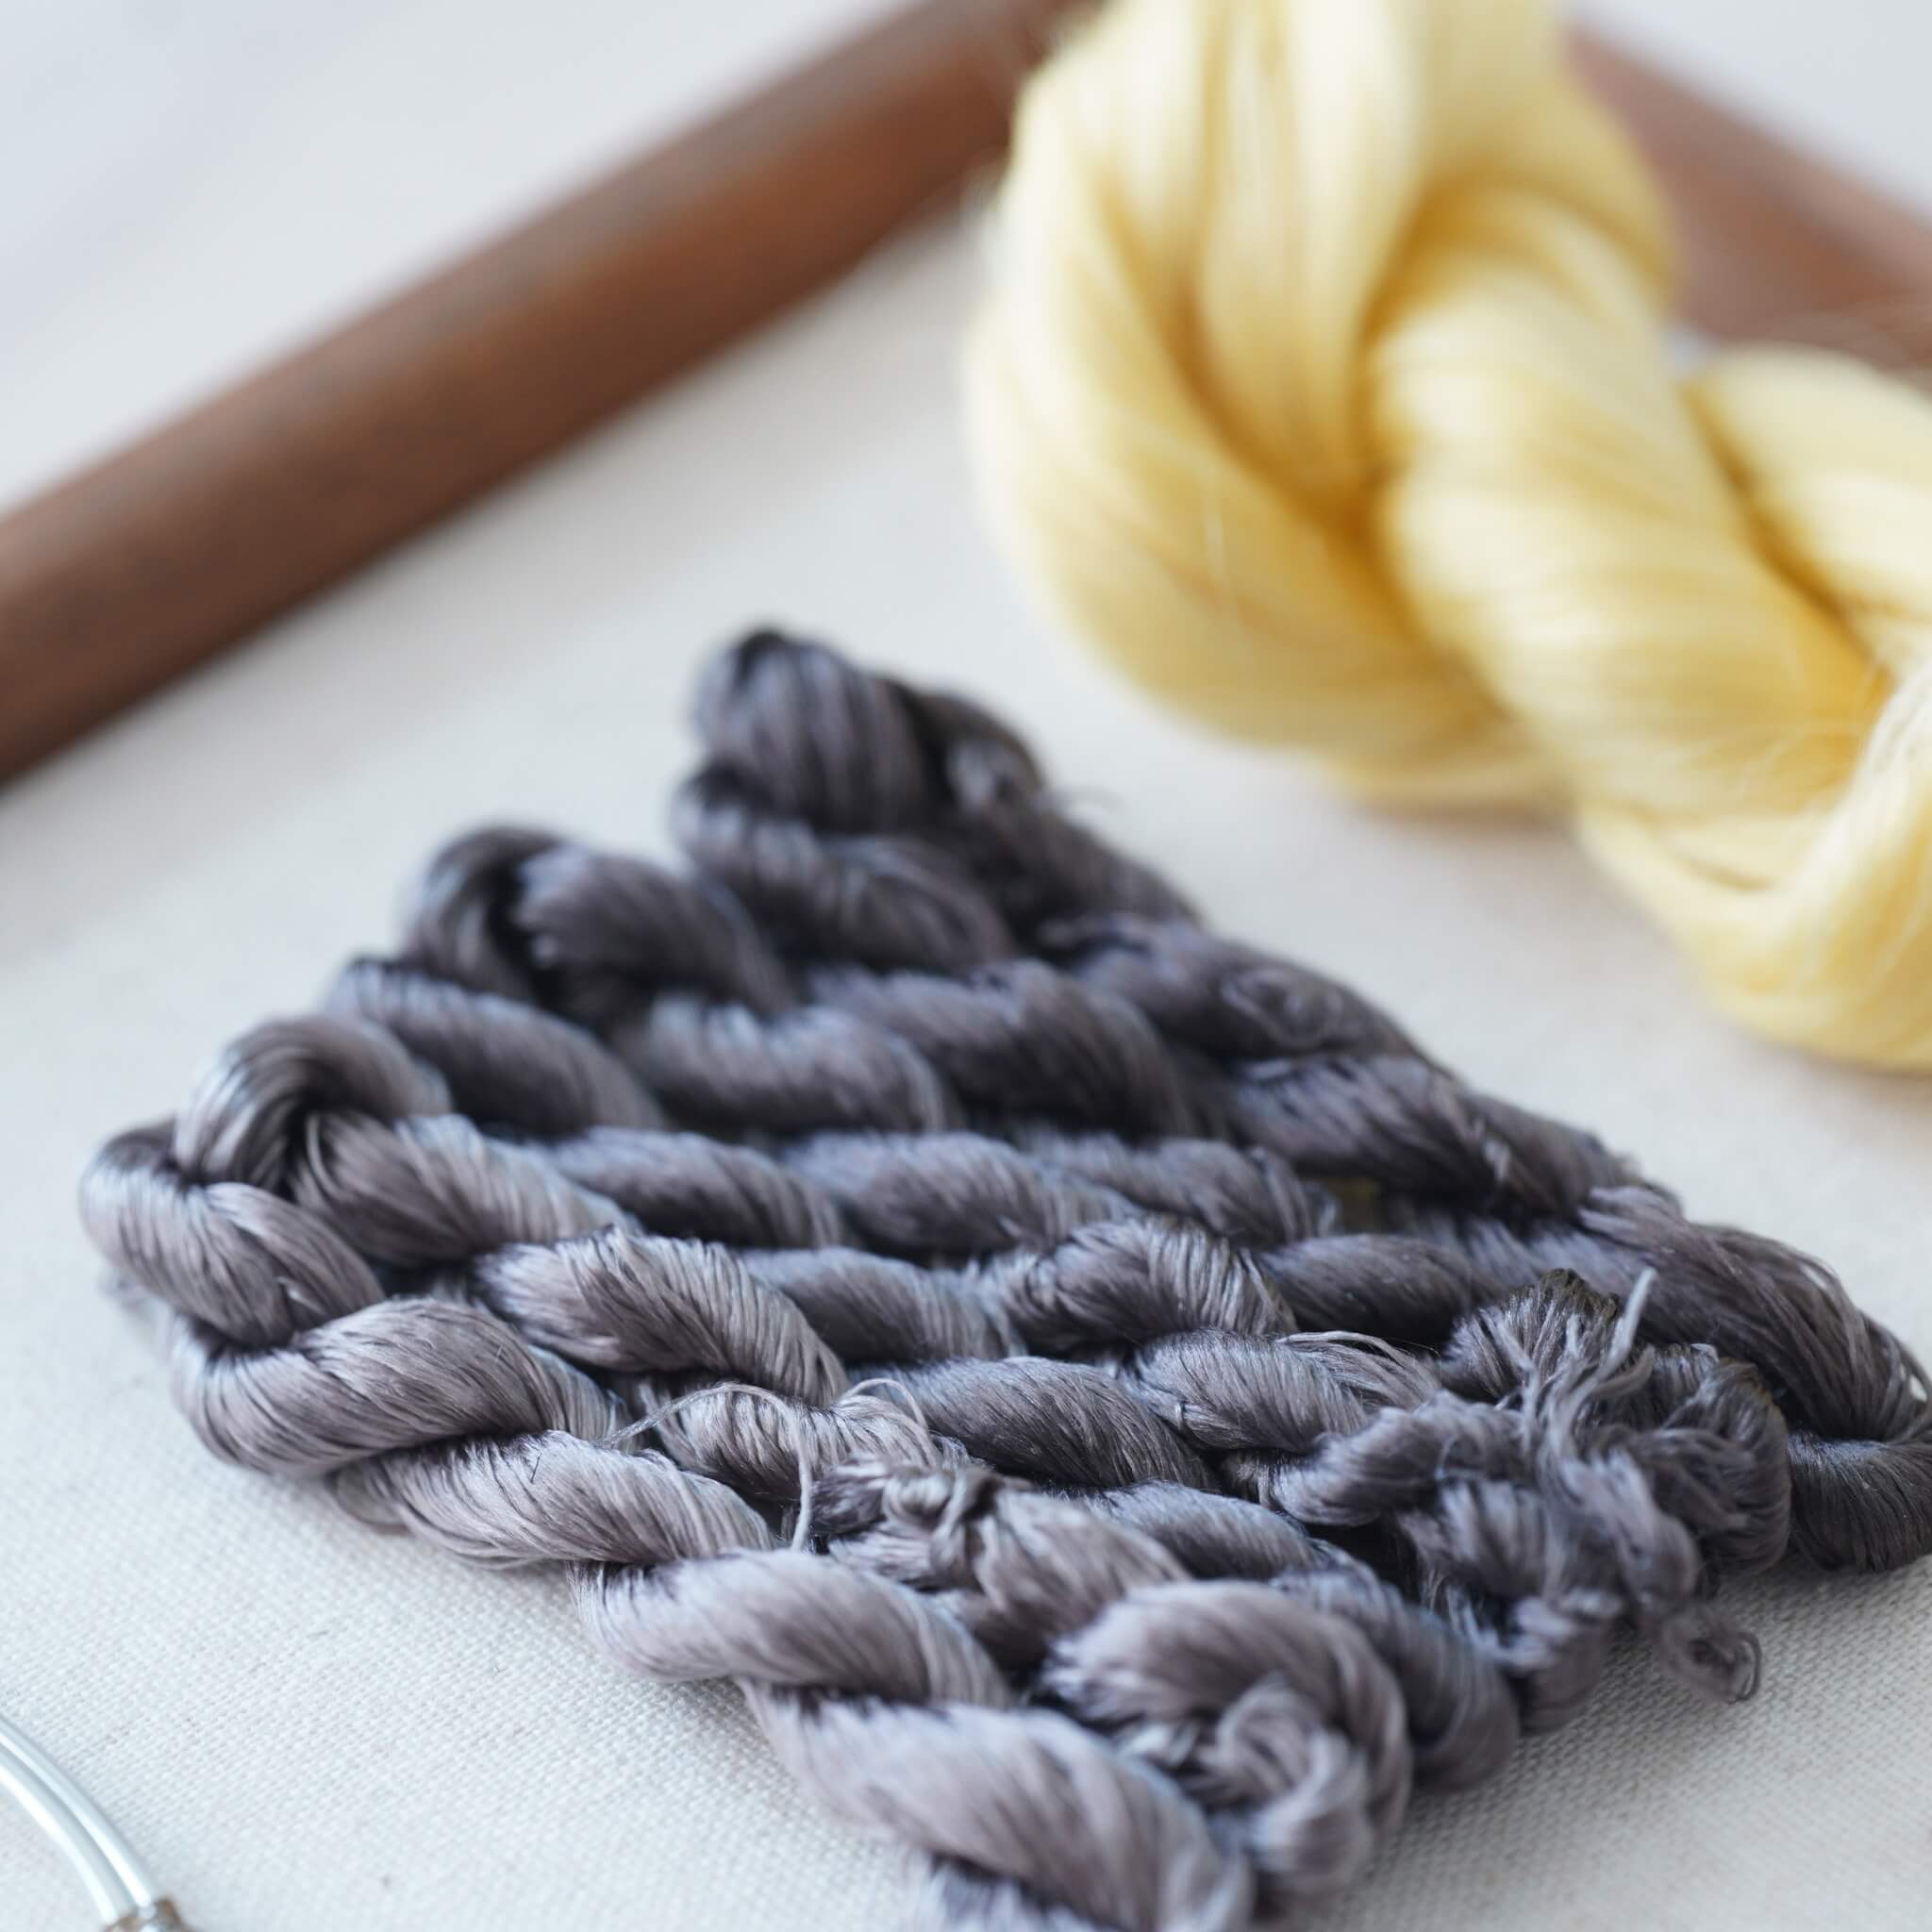
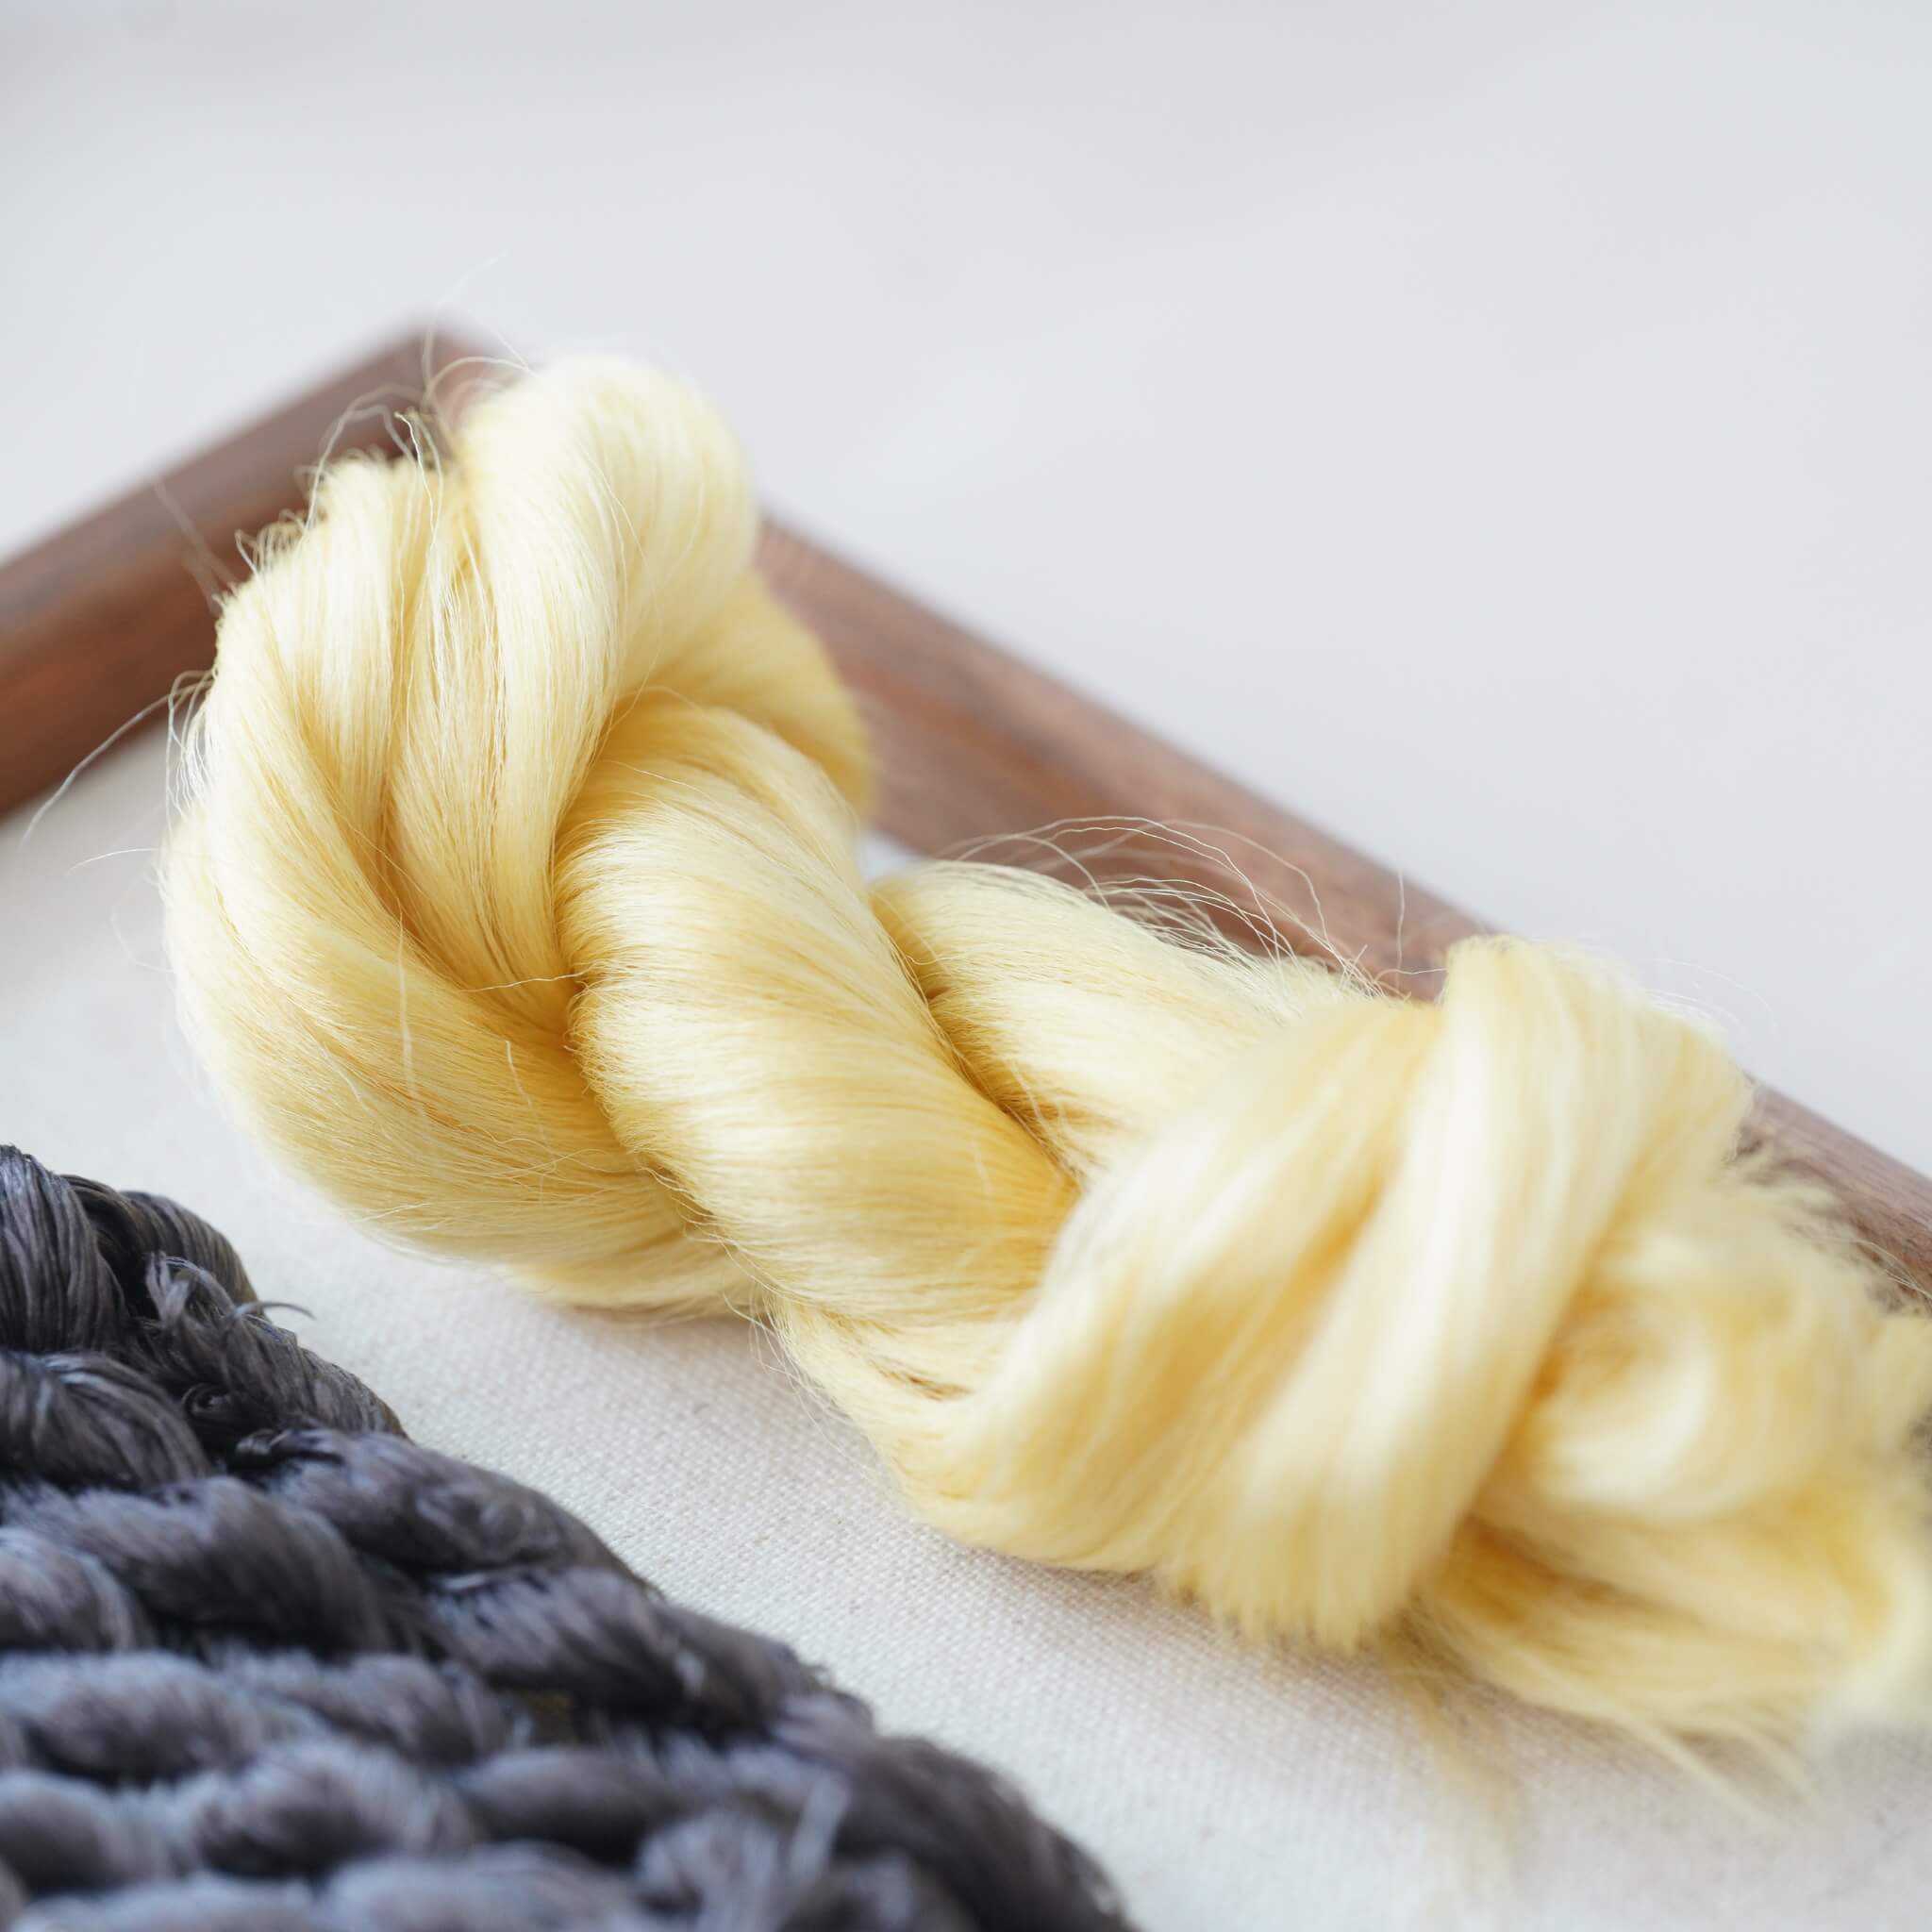
Step 1. Align and Arrange the Silk Threads
Start by untying your silk threads. Locate the knot at one end of each bundle and cut it open carefully.

Step 2. Group and Prepare the Threads
Each silk bundle consists of tiny strand-like structures — these are your individual strands. Align all strands neatly and tie them around a thin stick, keeping the ends even. Avoid uneven lengths — this ensures consistent texture later on.

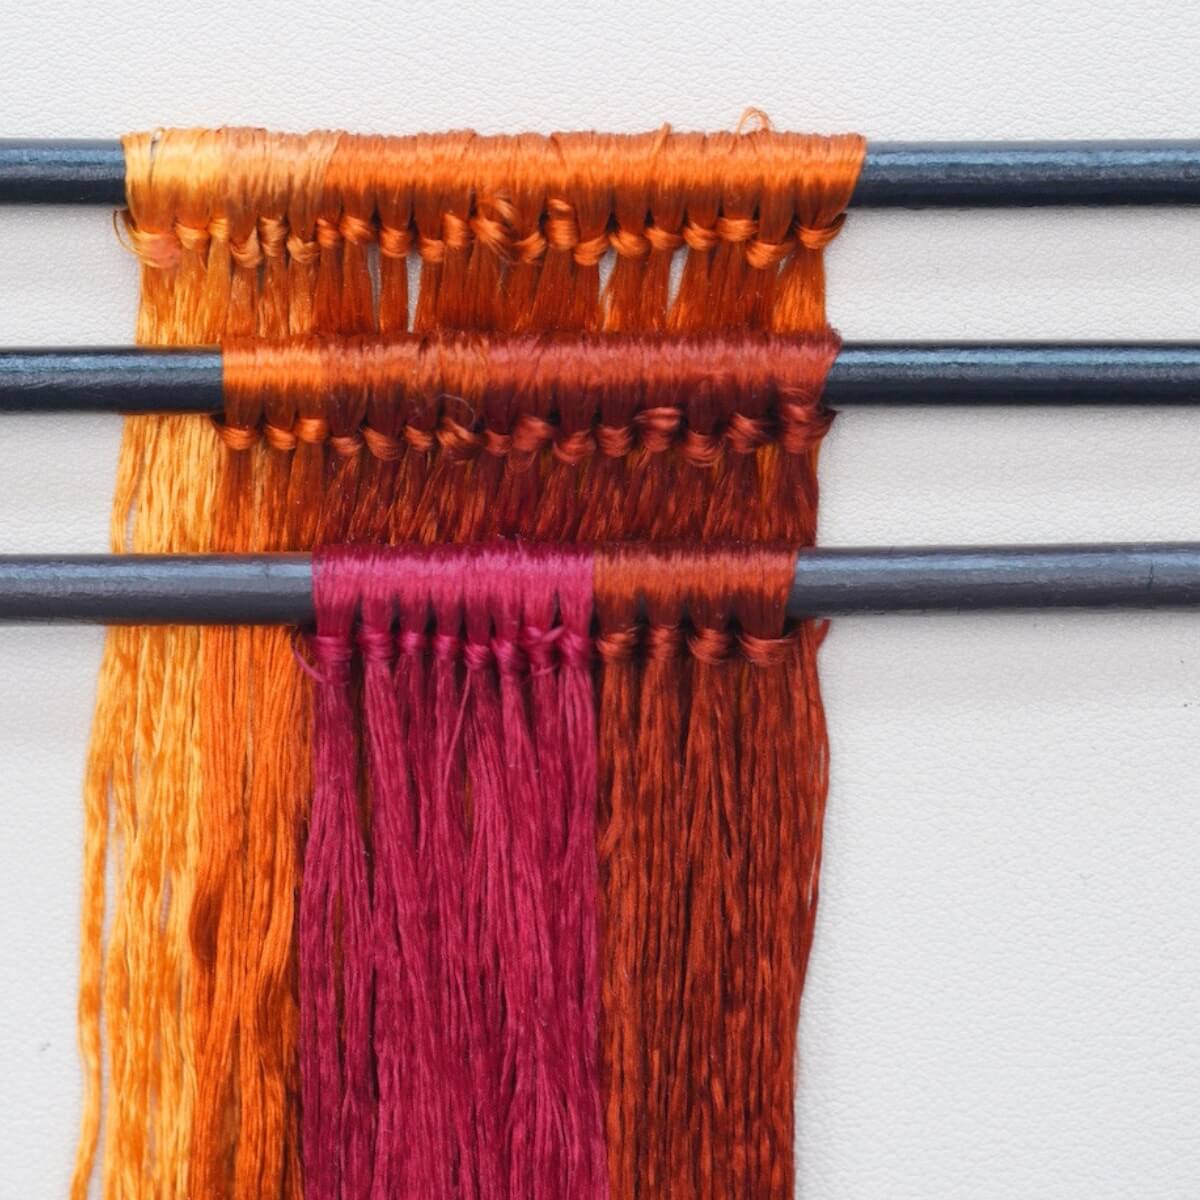
Step 3. Make Silk Rows
Repeat the above process to create your silk rows. Remember to refer back to the data provided in the diagram for the following rows, as each will differ slightly. Below are the finished silk rows we made.


Step 4. Brush the Silk
Use your bristle brush to comb the silk rows. Continue brushing for about 10 minutes until the silk is smooth, fluffy, and free of tangles. If the silk becomes static, use a spray bottle to lightly mist the air (not the silk directly) with water.

When it looks like this, it's ready.

Step 5. Attach Copper Wires
When you feel that the silk is brushed enough, secure its tail with another big clip to your table or anything that can help stretch it taut. Take out one copper wire from the folded end of the row and straighten it. Twist the folded part into a spiral of about 3 cm. Clamp the silk threads between two copper wires and twist the opposite side tightly. Pull both wires taut and continue twisting until they merge into one. Remember, the twisting direction for the left and right end are opposite.
The spacing should be as shown in step 1.
If you have anti-slip powder, it will be much easier to dip your fingers in it and twist it. We highly recommend you watch the video tutorial for this step:)
Once done, remove the silk row from the stand and lay it flat.
Step 6. Cut the Silk Strips
Trim the row’s end neatly, then cut between each pair of copper wires to create even silk strips. When cutting, the scissors must be placed in the middle of two copper wires, otherwise the width of the silk strips will be inconsistent. If threads stick to your scissors, clean them — it’s usually caused by static or residue. Cut quickly and cleanly for smooth edges. Don't touch the wire or it may get displaced.

Step 7. Center and Twist the Strips
Align the copper wire to the middle of each strip using a flat surface or wooden block. Once centered, twist both hands in opposite directions to tighten.

Next, place the copper part between the twisting boards and continue twisting in the same direction. Stop when the wire feels firm — twisting too far may cause it to break. How do you know if it is tightened enough? If tightened properly, the copper wire should only faintly show. If the copper wire is very visible, it’s not tight enough.
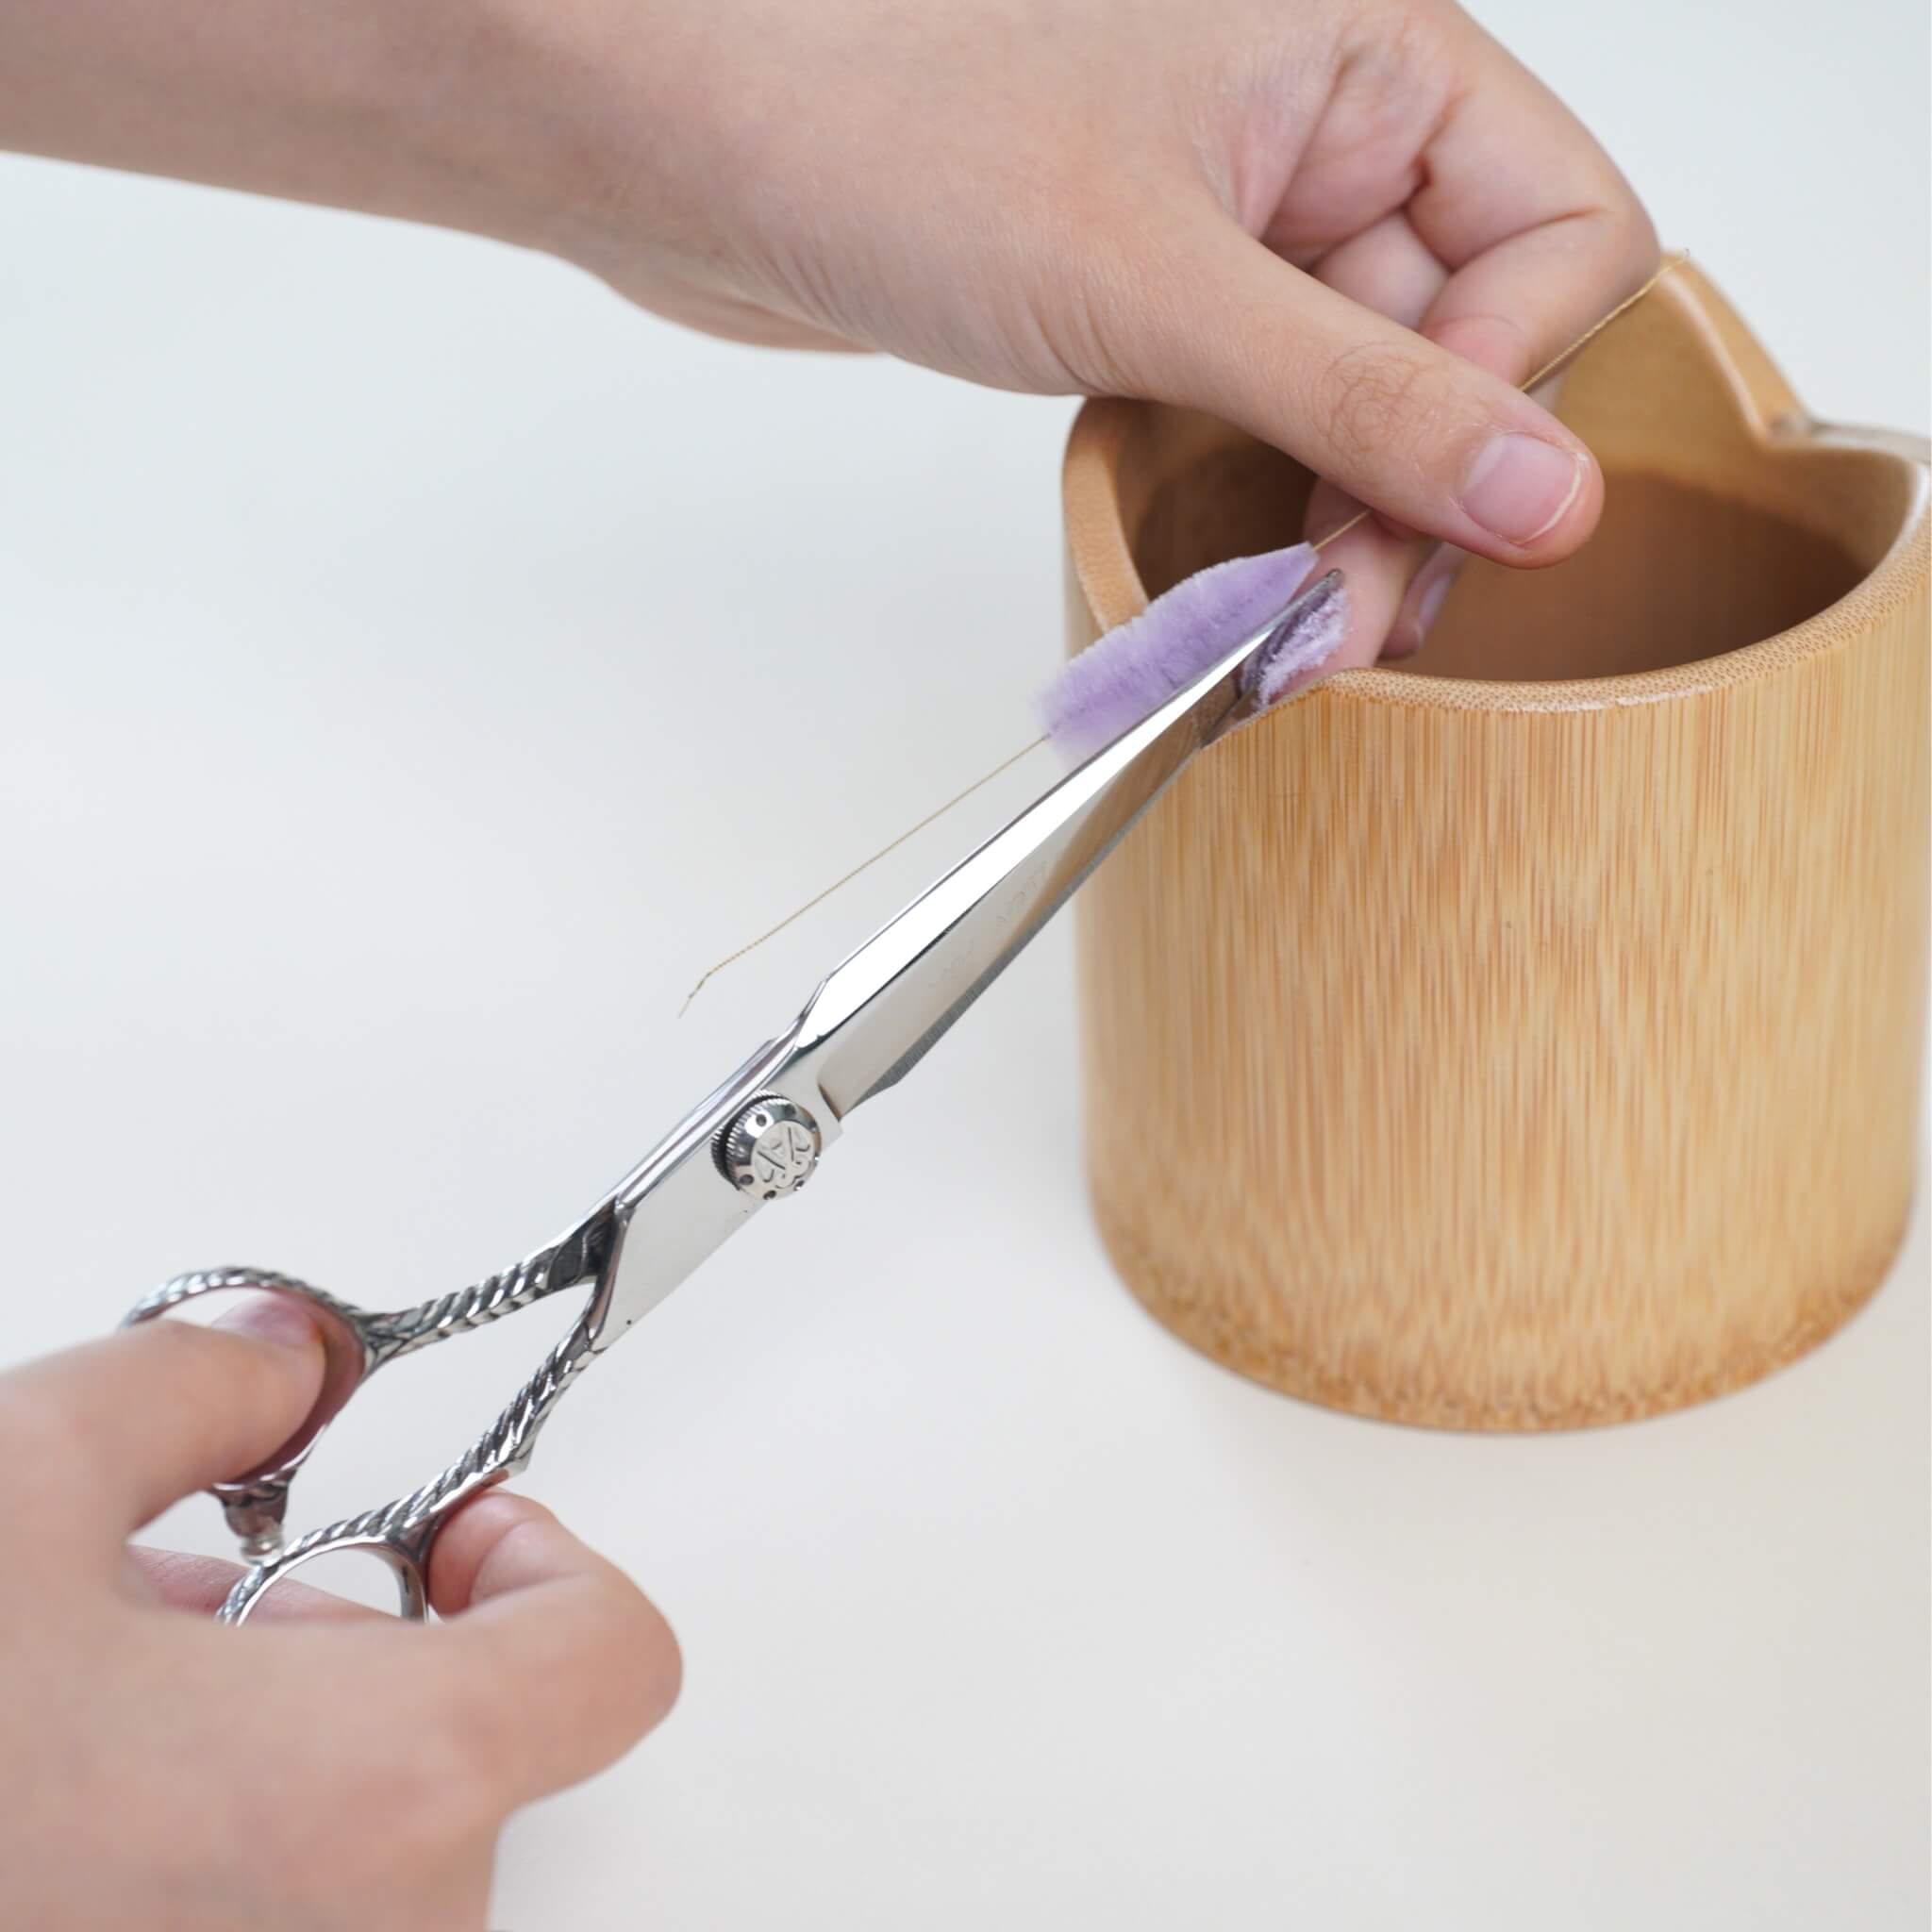
 Step 8. Taper the Pine Needle Strips
Begin by trimming the strips into shape and tapering the ends. It’s best to use a sharp pair of scissors. Place the strip against the notch of the bamboo holder and rotate it as you trim, gradually making it thinner. Once both ends are evenly trimmed, start tapering the tip by slightly tilting the scissors and shaping the strip into a cone.

The darker ends are pointed. You’ll need around 100 of these strips in total.

Since sharpening the tips can take time and strain your hands, remember to take breaks when needed. Once completed, the strips should have a clean, tapered appearance.
Step 9. Assemble the Pine Needles
Next, take a piece of silk thread and begin assembling the pine needles. Align the bases of the strips carefully and tie them together with the thread. For each bundle, use 7–9 larger strips or 5–7 smaller ones, making sure all the bases are level. Add a 4 mm copper or steel wire at the base and wrap it with silk thread to conceal it, continuing downward for about 2 cm. In total, prepare around 14 pine branches in different sizes.

Trim the bottom wire and cut off any excess wire at the top. All branches should look consistent at this stage. One important note: do not use your sharpening scissors to cut copper wire, as this will damage them.
Step 10. Assemble the Branches
Prepare steel wire by cutting it into 10 cm lengths and set aside several pieces. Then prepare four silk threads, or alternatively fold one long thread twice. To assemble the pine branches, first secure the silk thread to a steel wire, then tie the wire to a pine branch.
Keep the threads smooth and untangled as you work. Attach the branches in sequence, adding two additional steel wires along the way. Rather than attaching all the wires at once, add them gradually so the connections appear more natural.

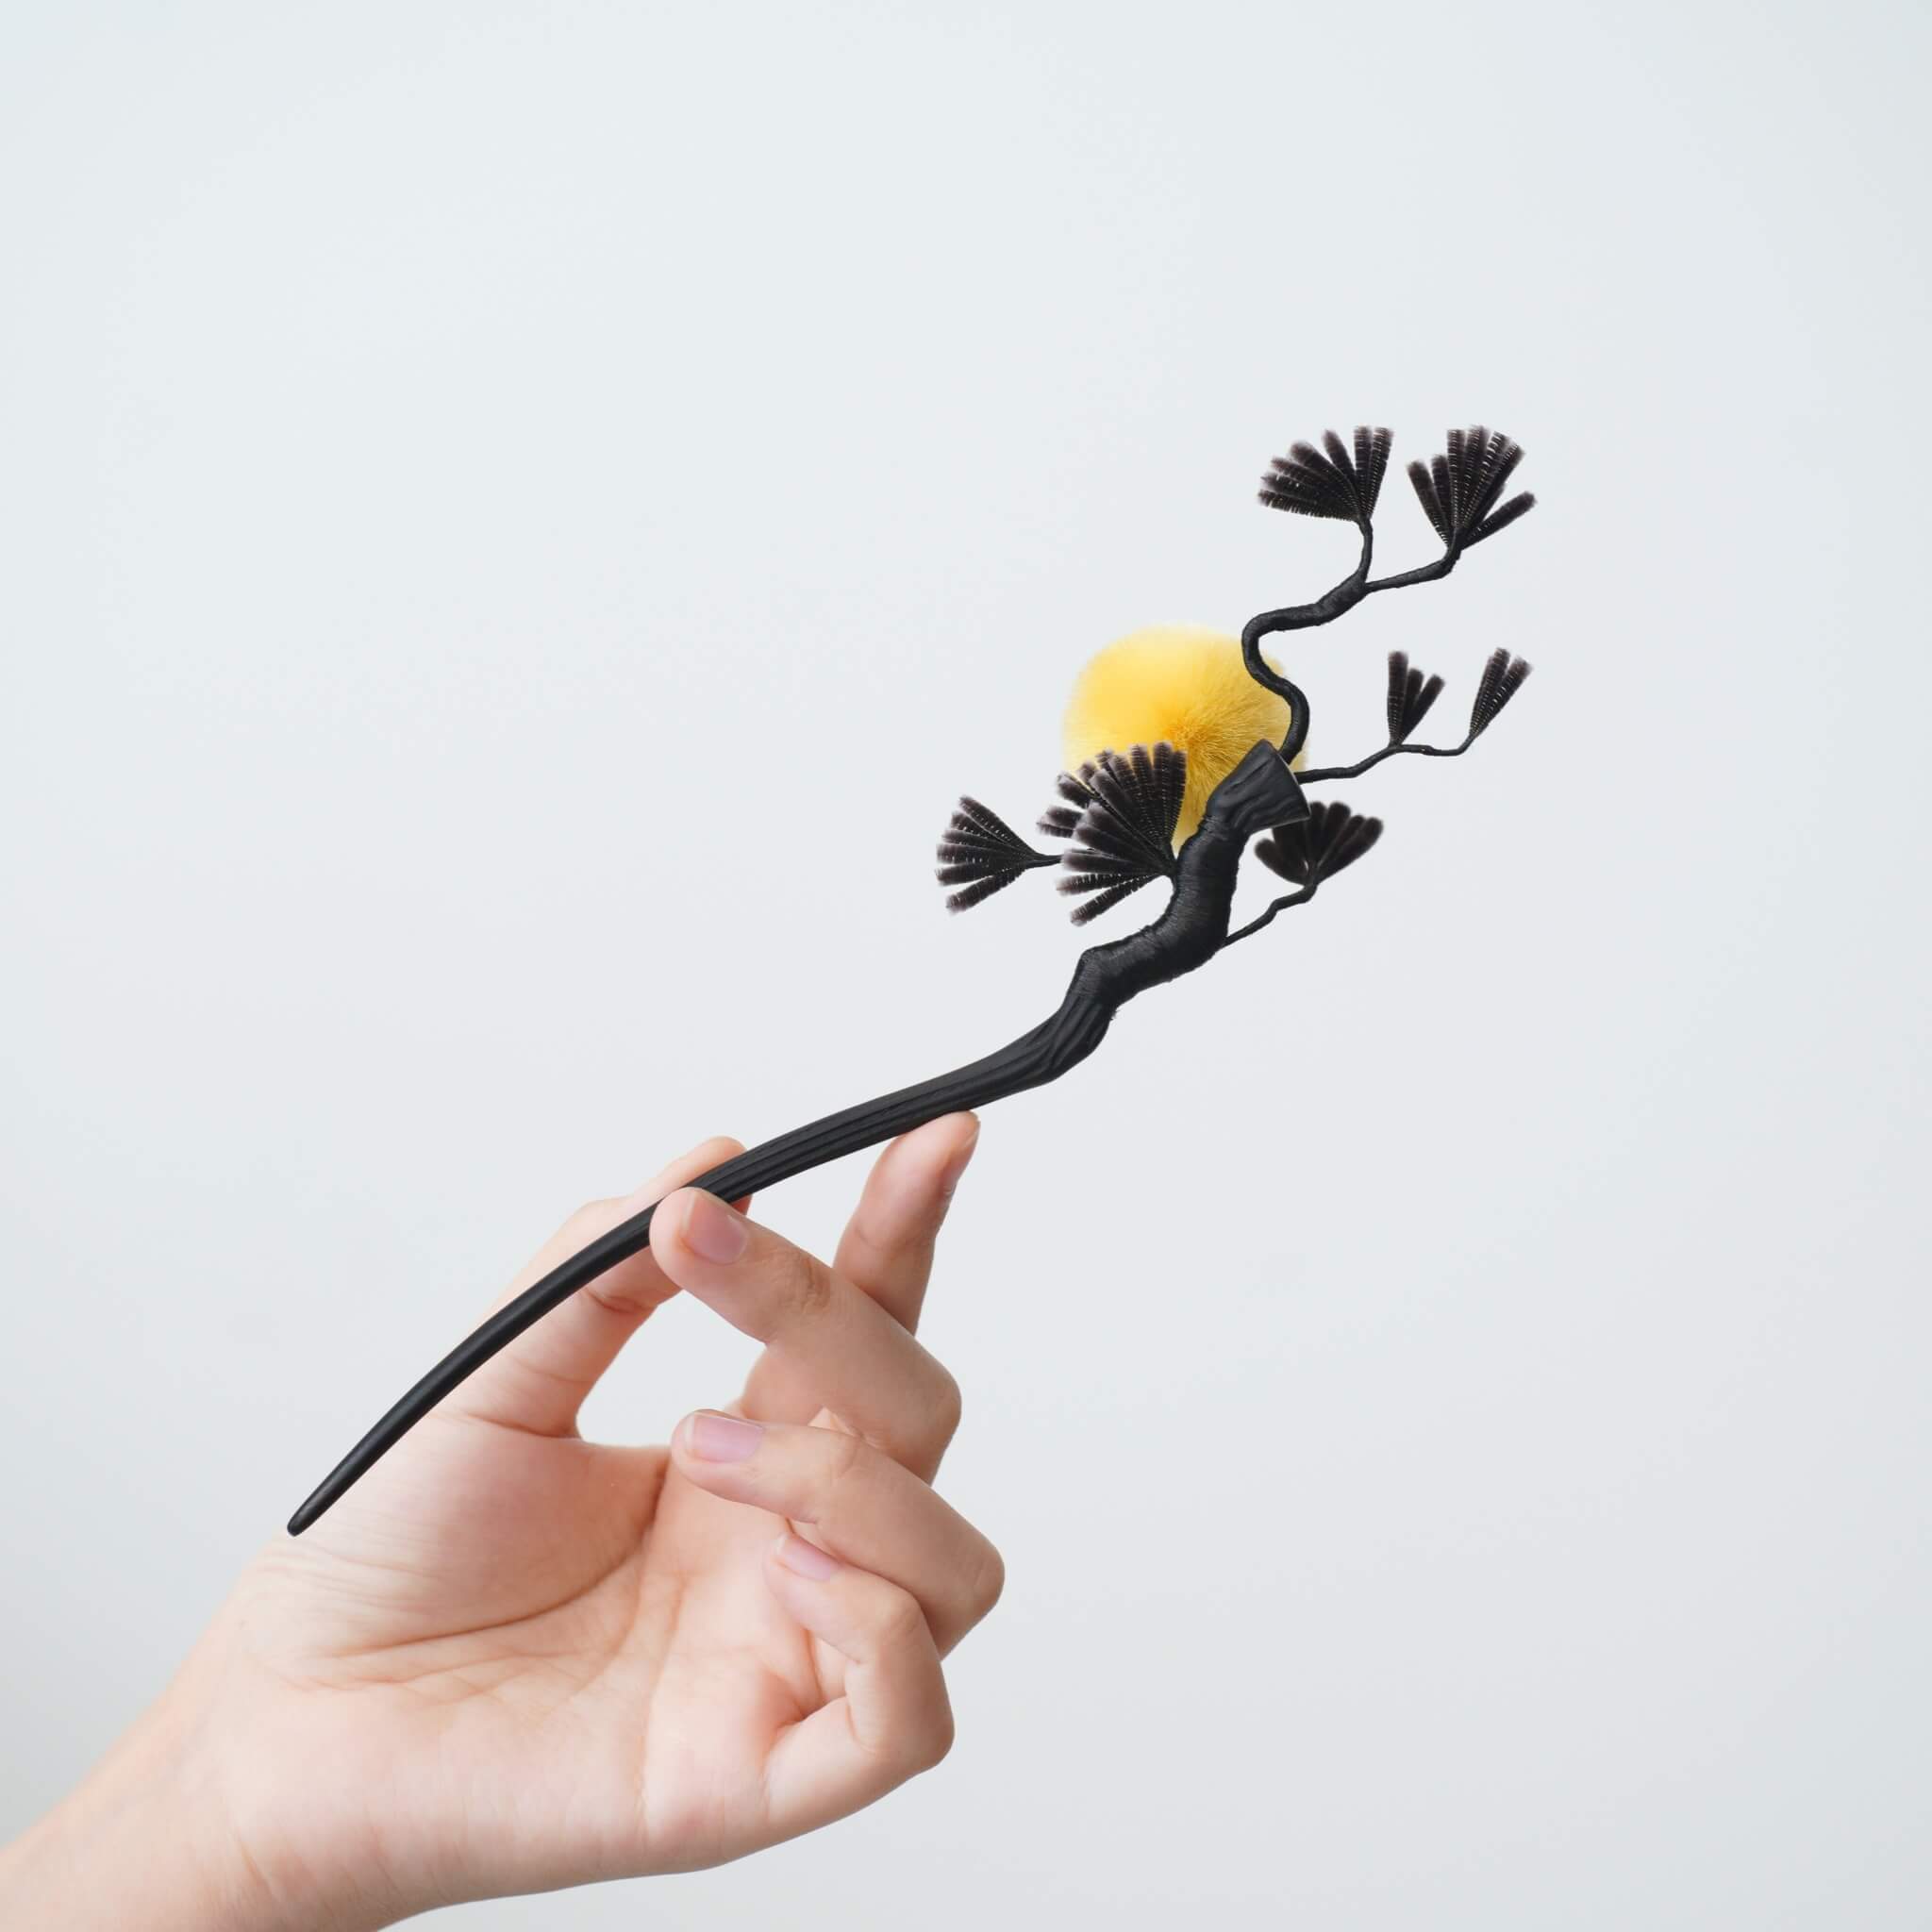
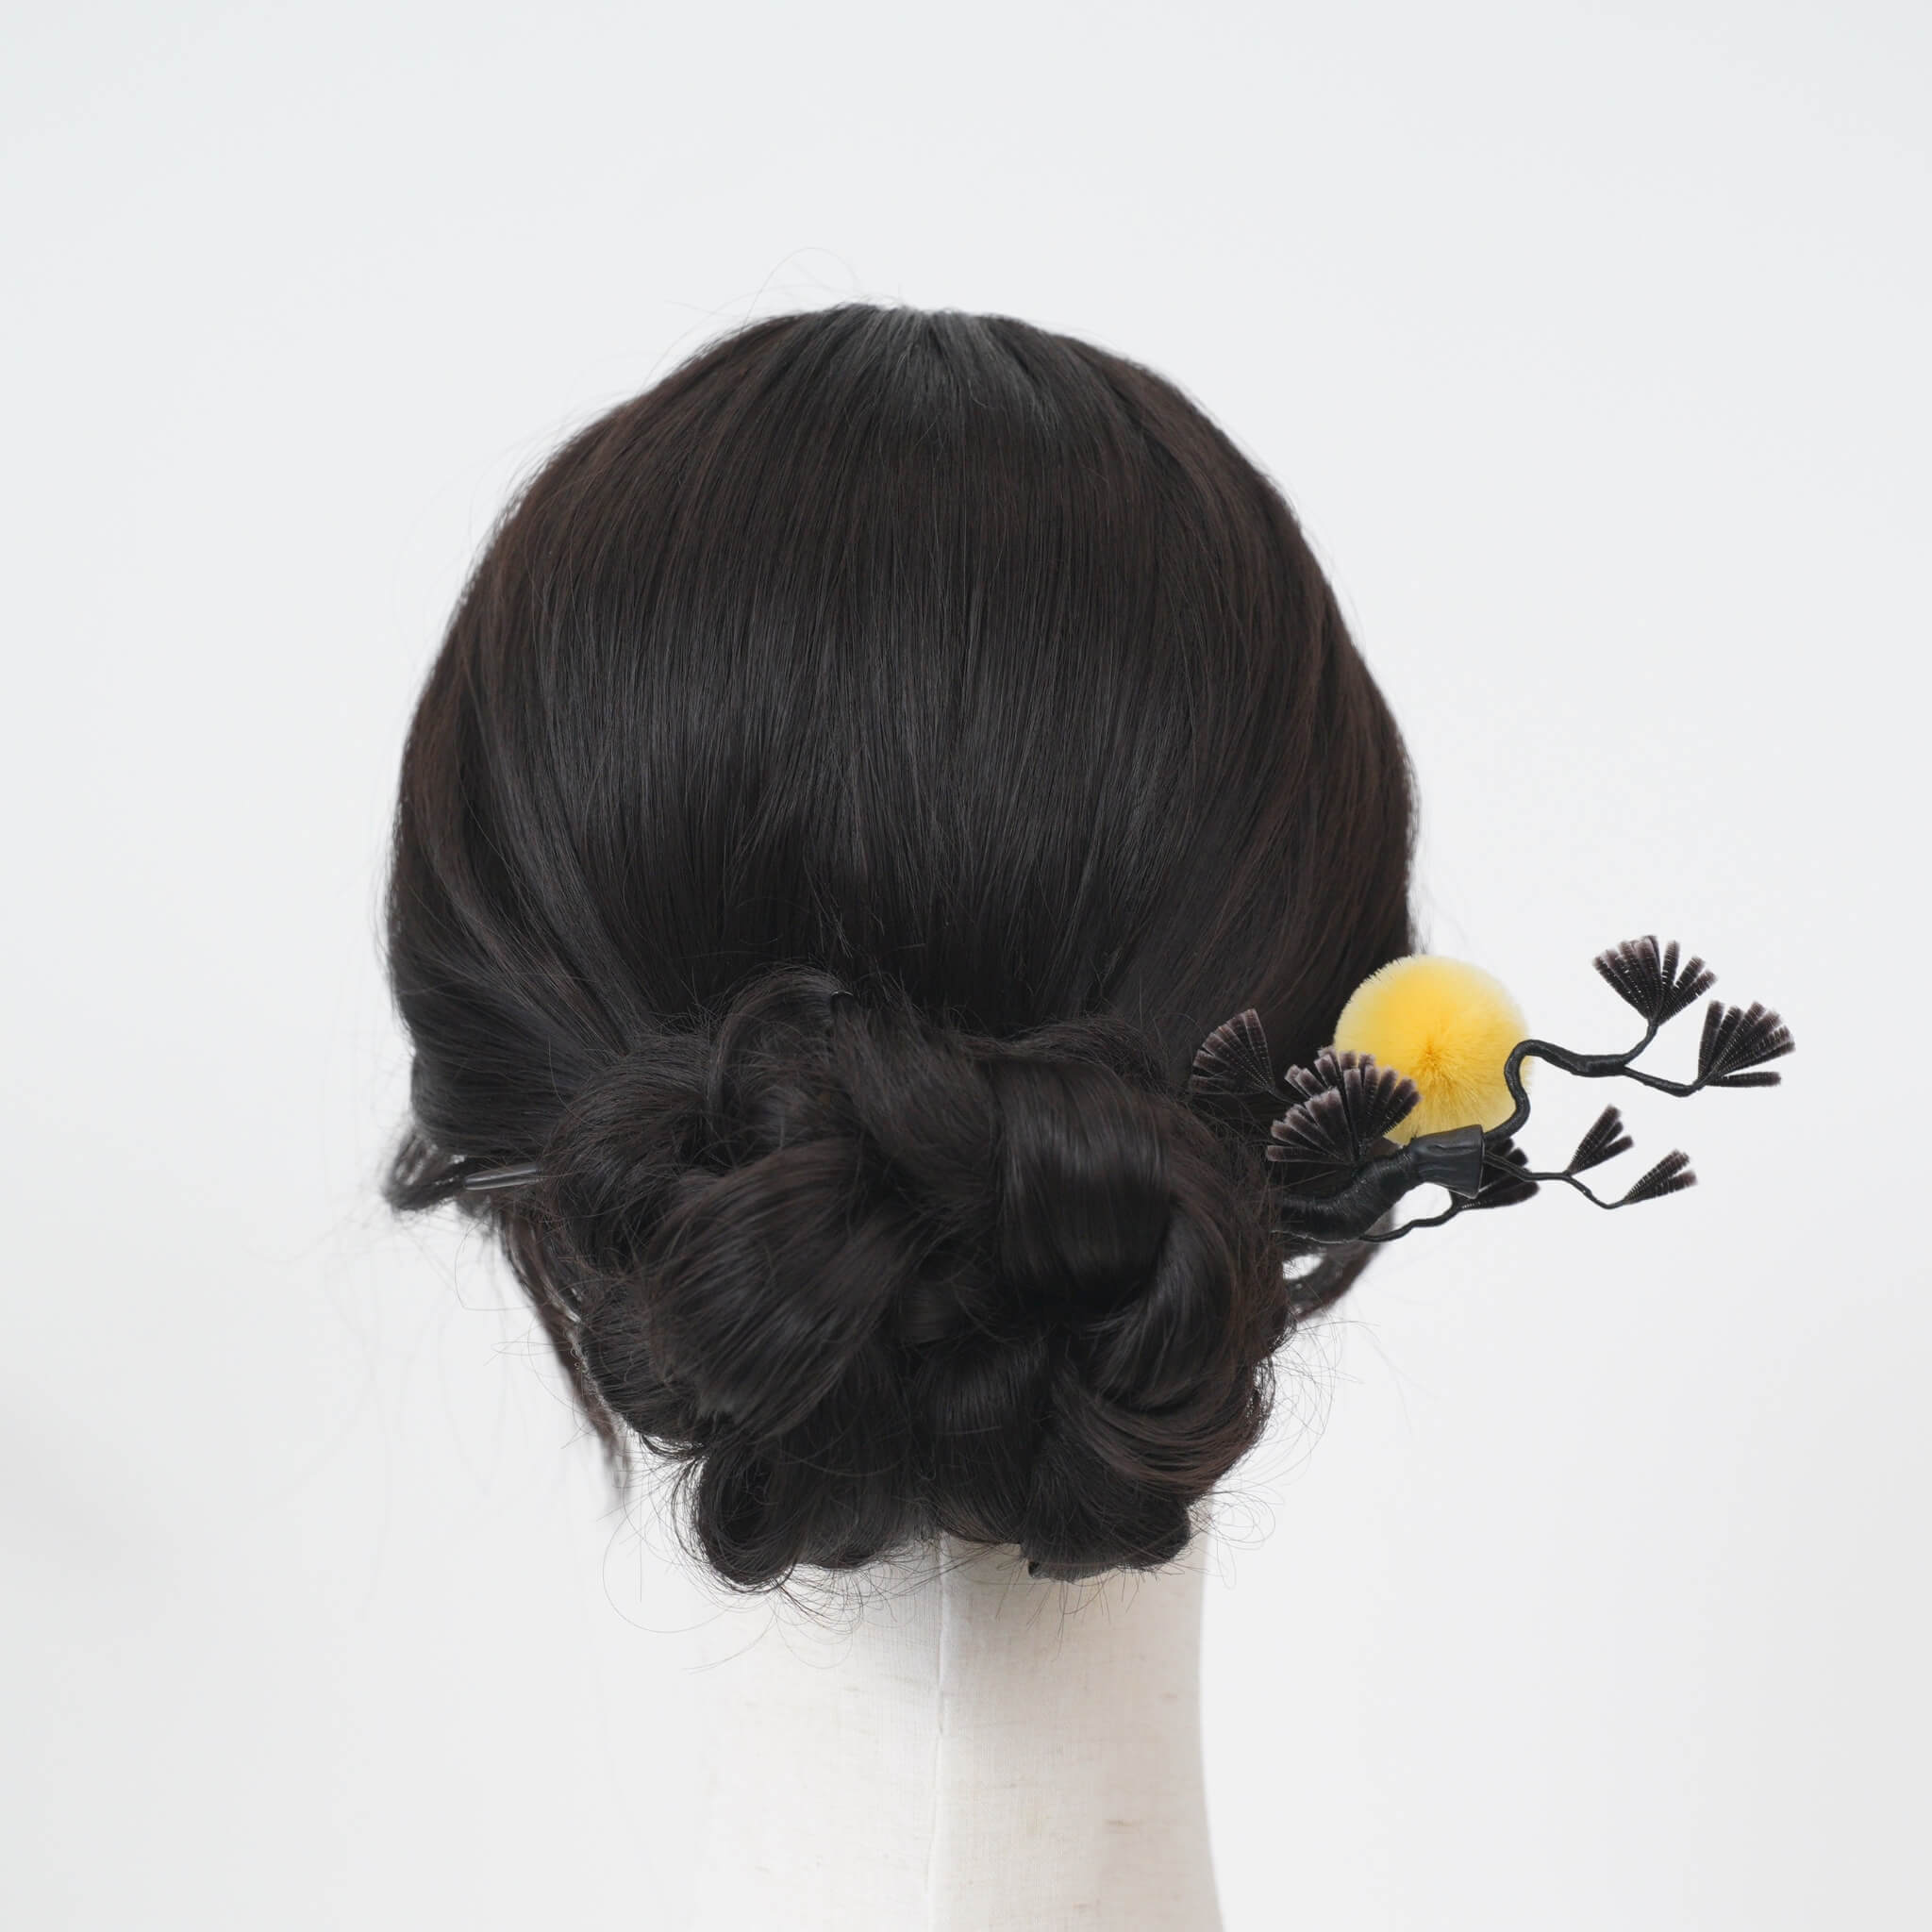
Step 11. Shape the Trunk
Once assembled, adjust the overall shape. Create four branches that follow the form shown in the reference, and continue building the structure.

Shape the pine branches as you go and tie them together with silk thread. Bend each branch gently to form a natural curve.

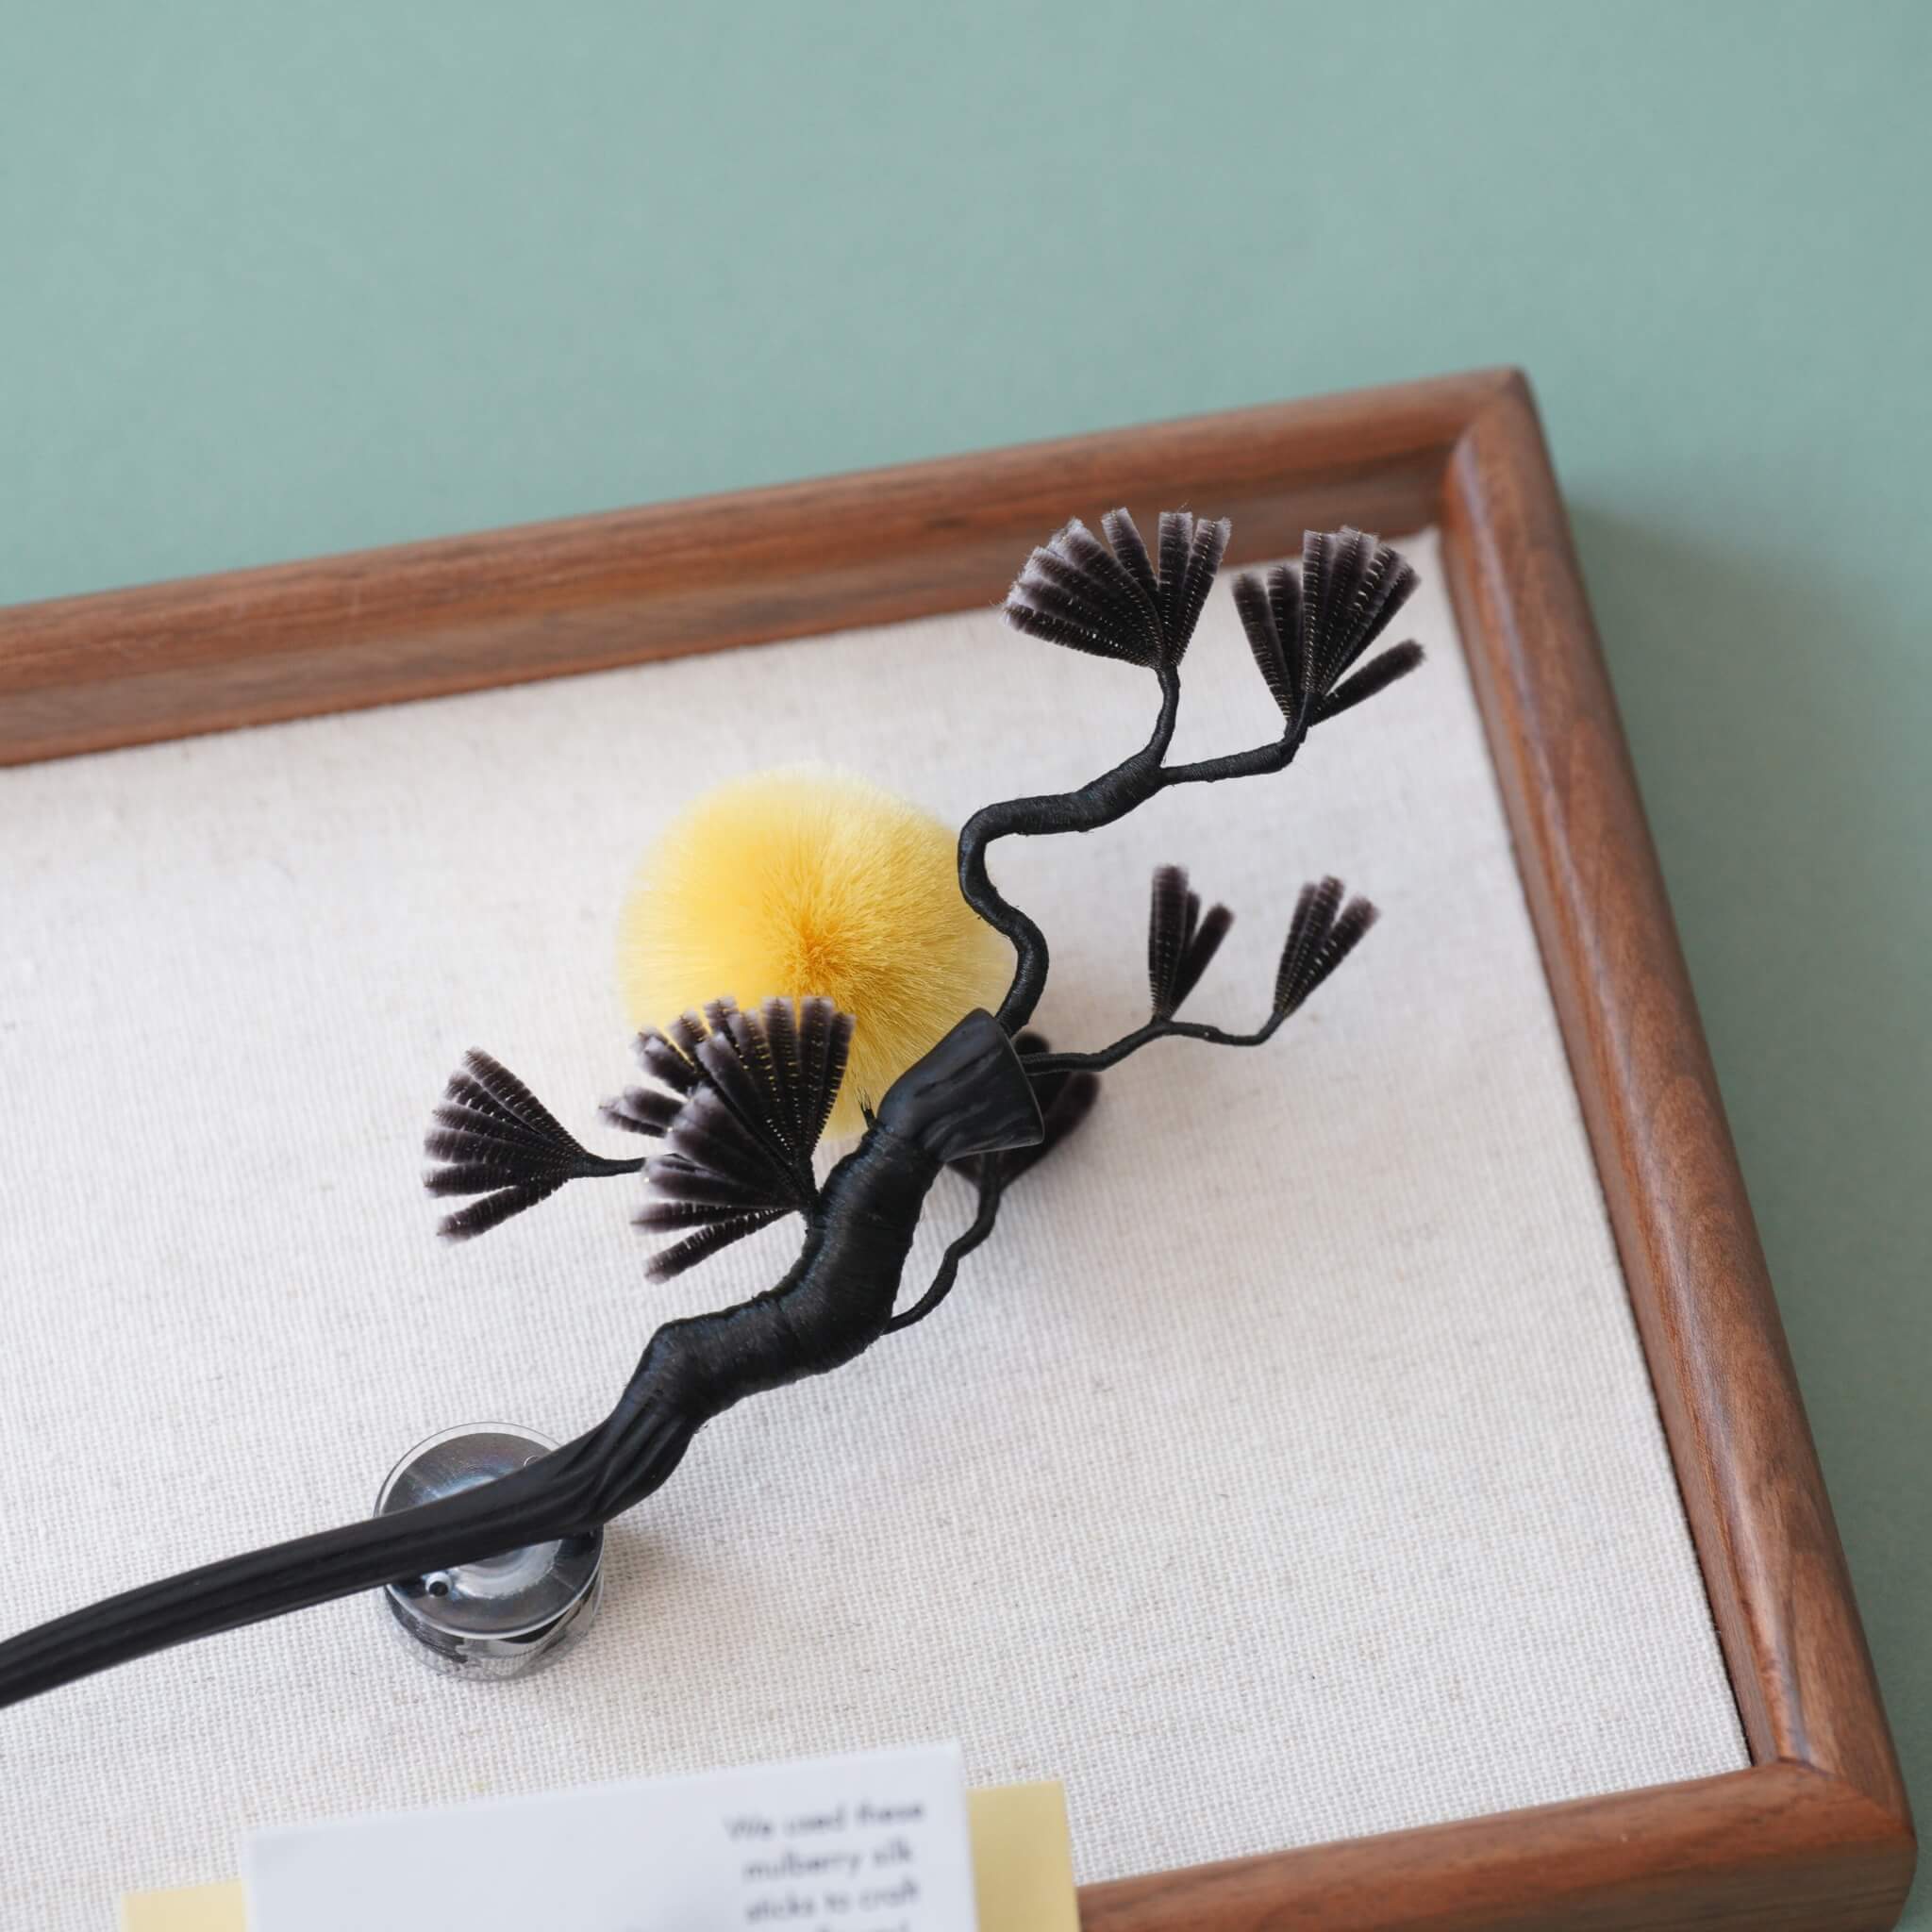
To thicken the base, add an aluminum wire, tucking it between the copper wires where possible. Because the base is now thicker, wrap the thread back and forth several more times to secure everything. Aim for a trunk thickness similar to the reference, then tie a knot to finish. Lightly seal any frayed thread ends with a lighter, and refine the curve of the trunk. Arrange the pine branches so they extend upward, and bend the main trunk into a soft S-shape. At this point, the pine branch structure is nearly complete.

Step 12. Create the Stone Base
Next, create the stone base. Place a mat on your table to protect the surface, and consider wearing gloves when handling the clay. Take out the clay, fold it in half, and begin shaping it freely with your hands. You don’t need to replicate the exact form shown—feel free to follow your own preferred rock shape. However, avoid making it too round; adding a few edges will make it look more natural. Ensure that one side is flat so it can rest securely against books or other surfaces. You can use tweezers to add texture if desired.

Step 13. Assemble the Tree and Stone
Finally, trim any excess aluminum wire and insert the pine branch into the clay. Let the clay dry completely, which usually takes 1–2 days. Once it has hardened, reinsert the pine branch and make any final adjustments to the shape.


Leave a comment
All comments are moderated before being published.
This site is protected by hCaptcha and the hCaptcha Privacy Policy and Terms of Service apply.