

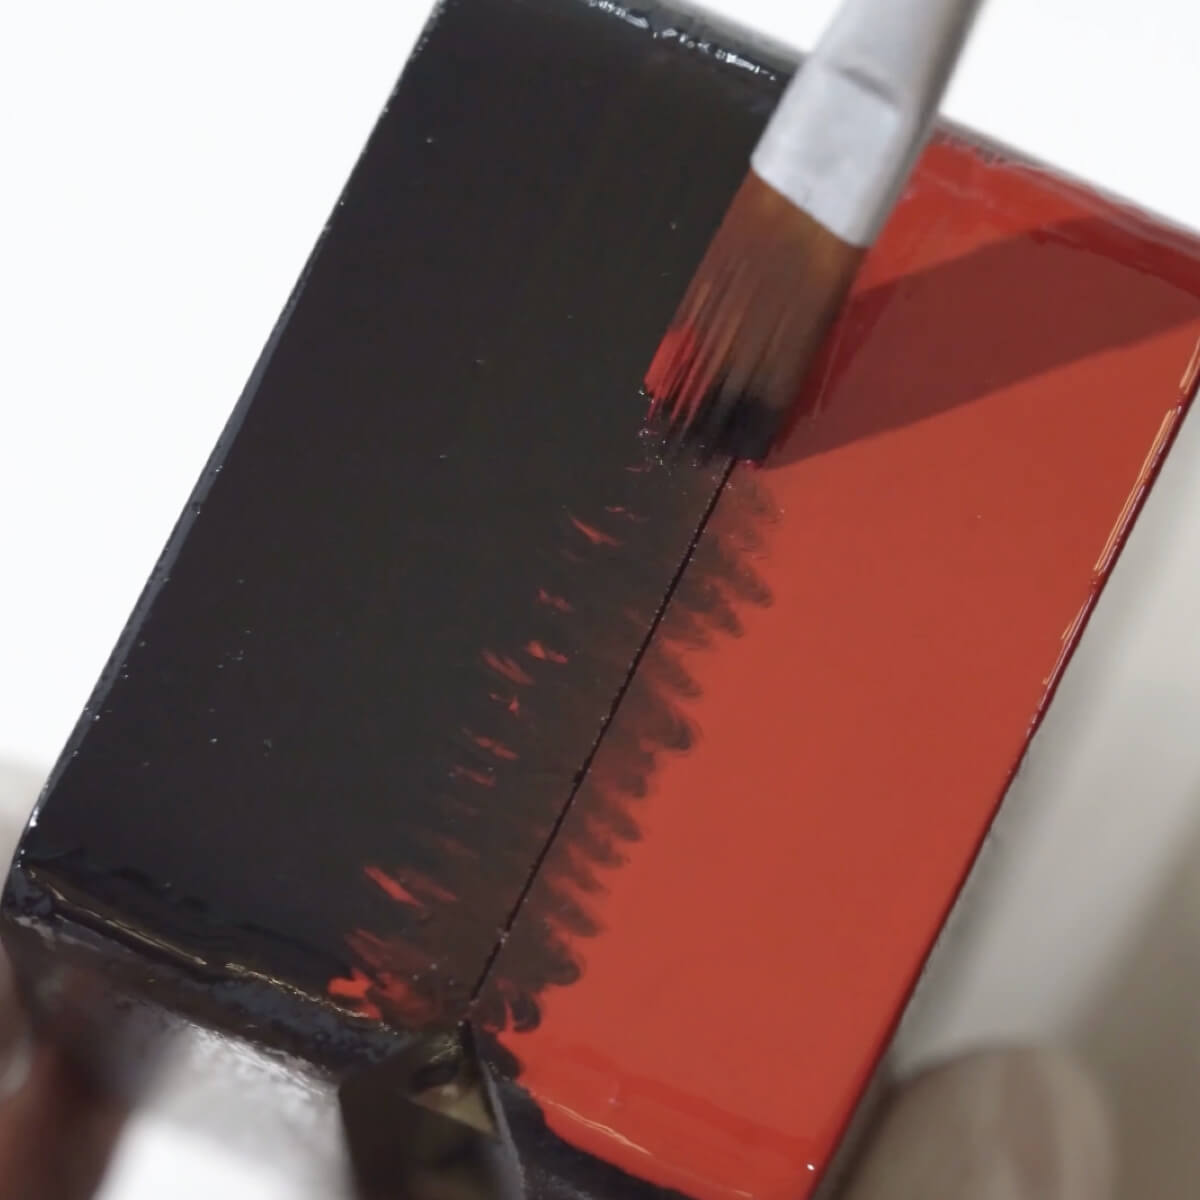
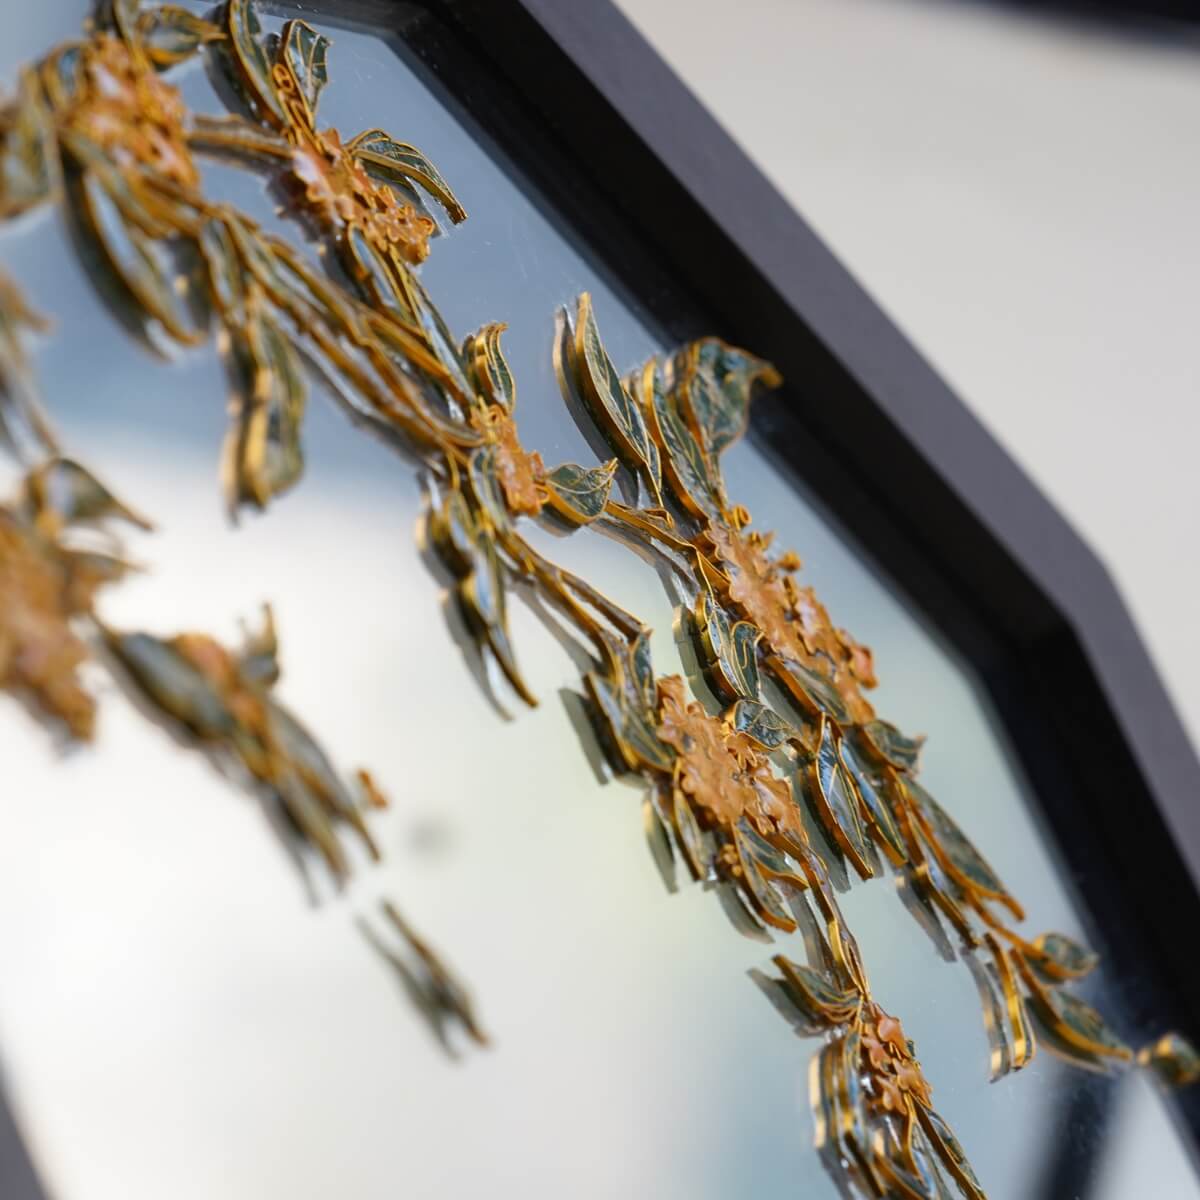

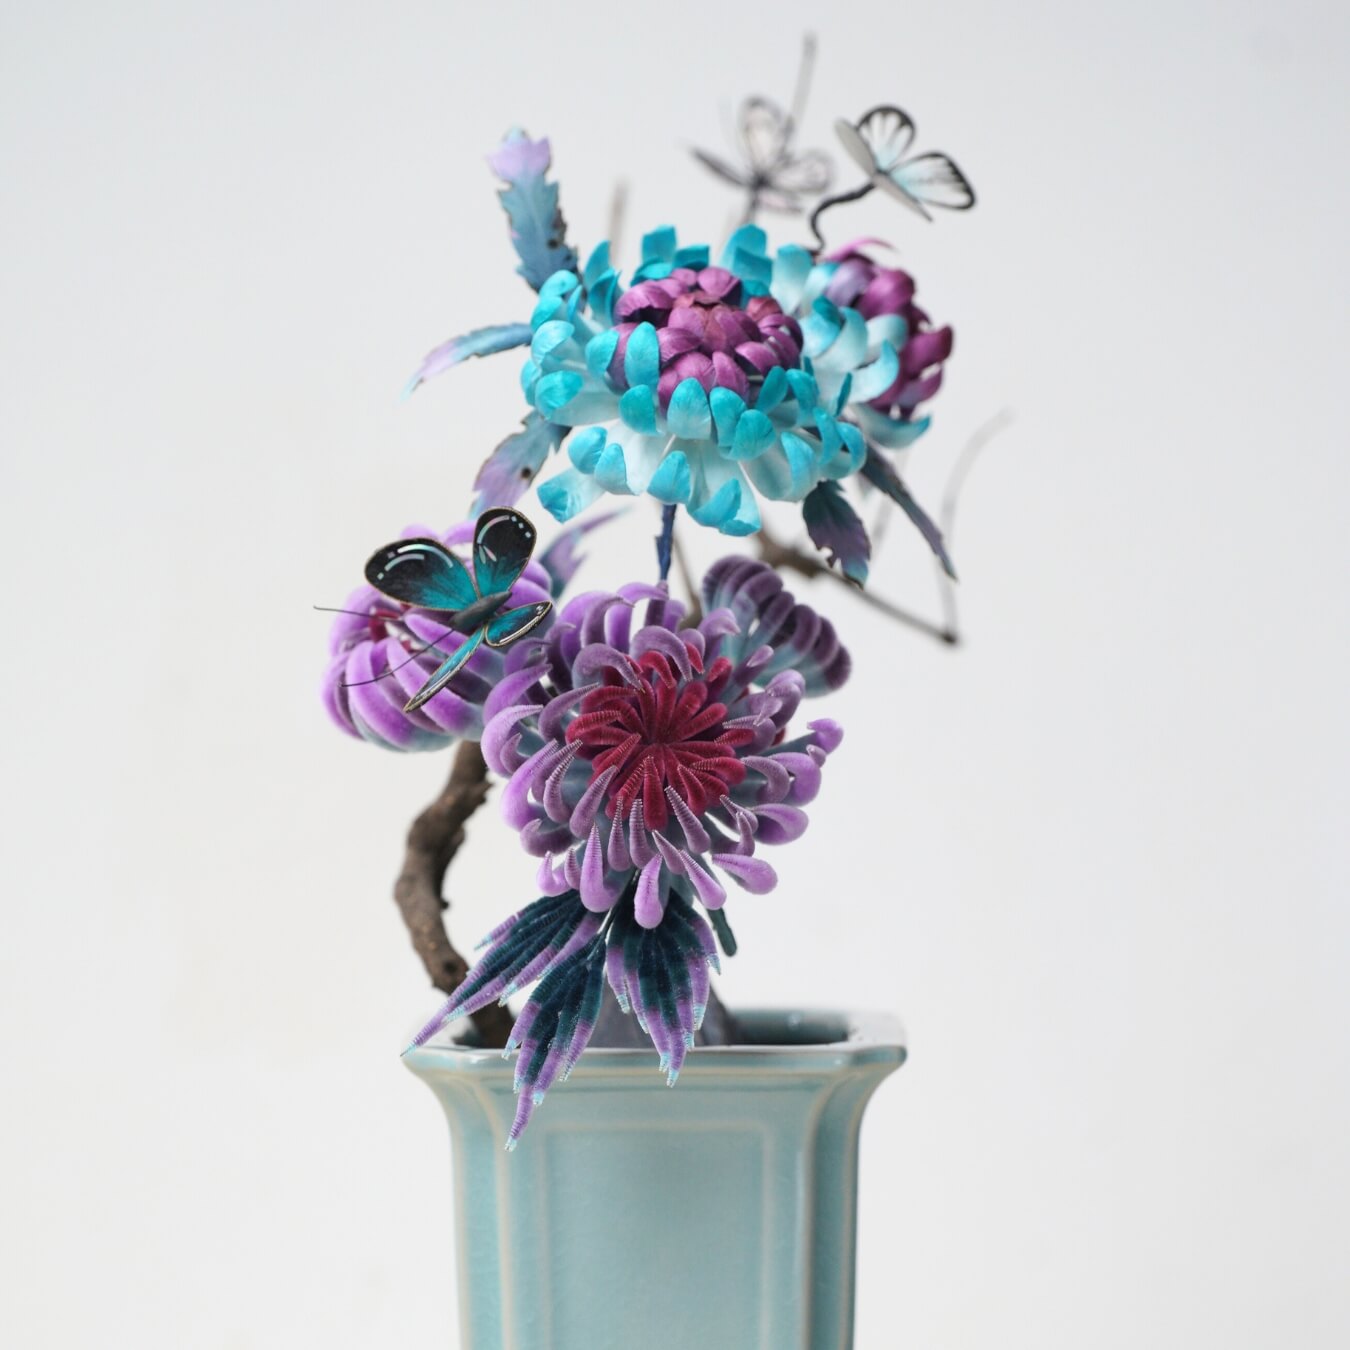
Chrysanthemums are the perfect flowers for fall, but those crafted from silk using the ronghua technique can last for many seasons! May these vibrant, lively chrysanthemums bring you prosperity and good fortune!
Preparations: What You’ll Need
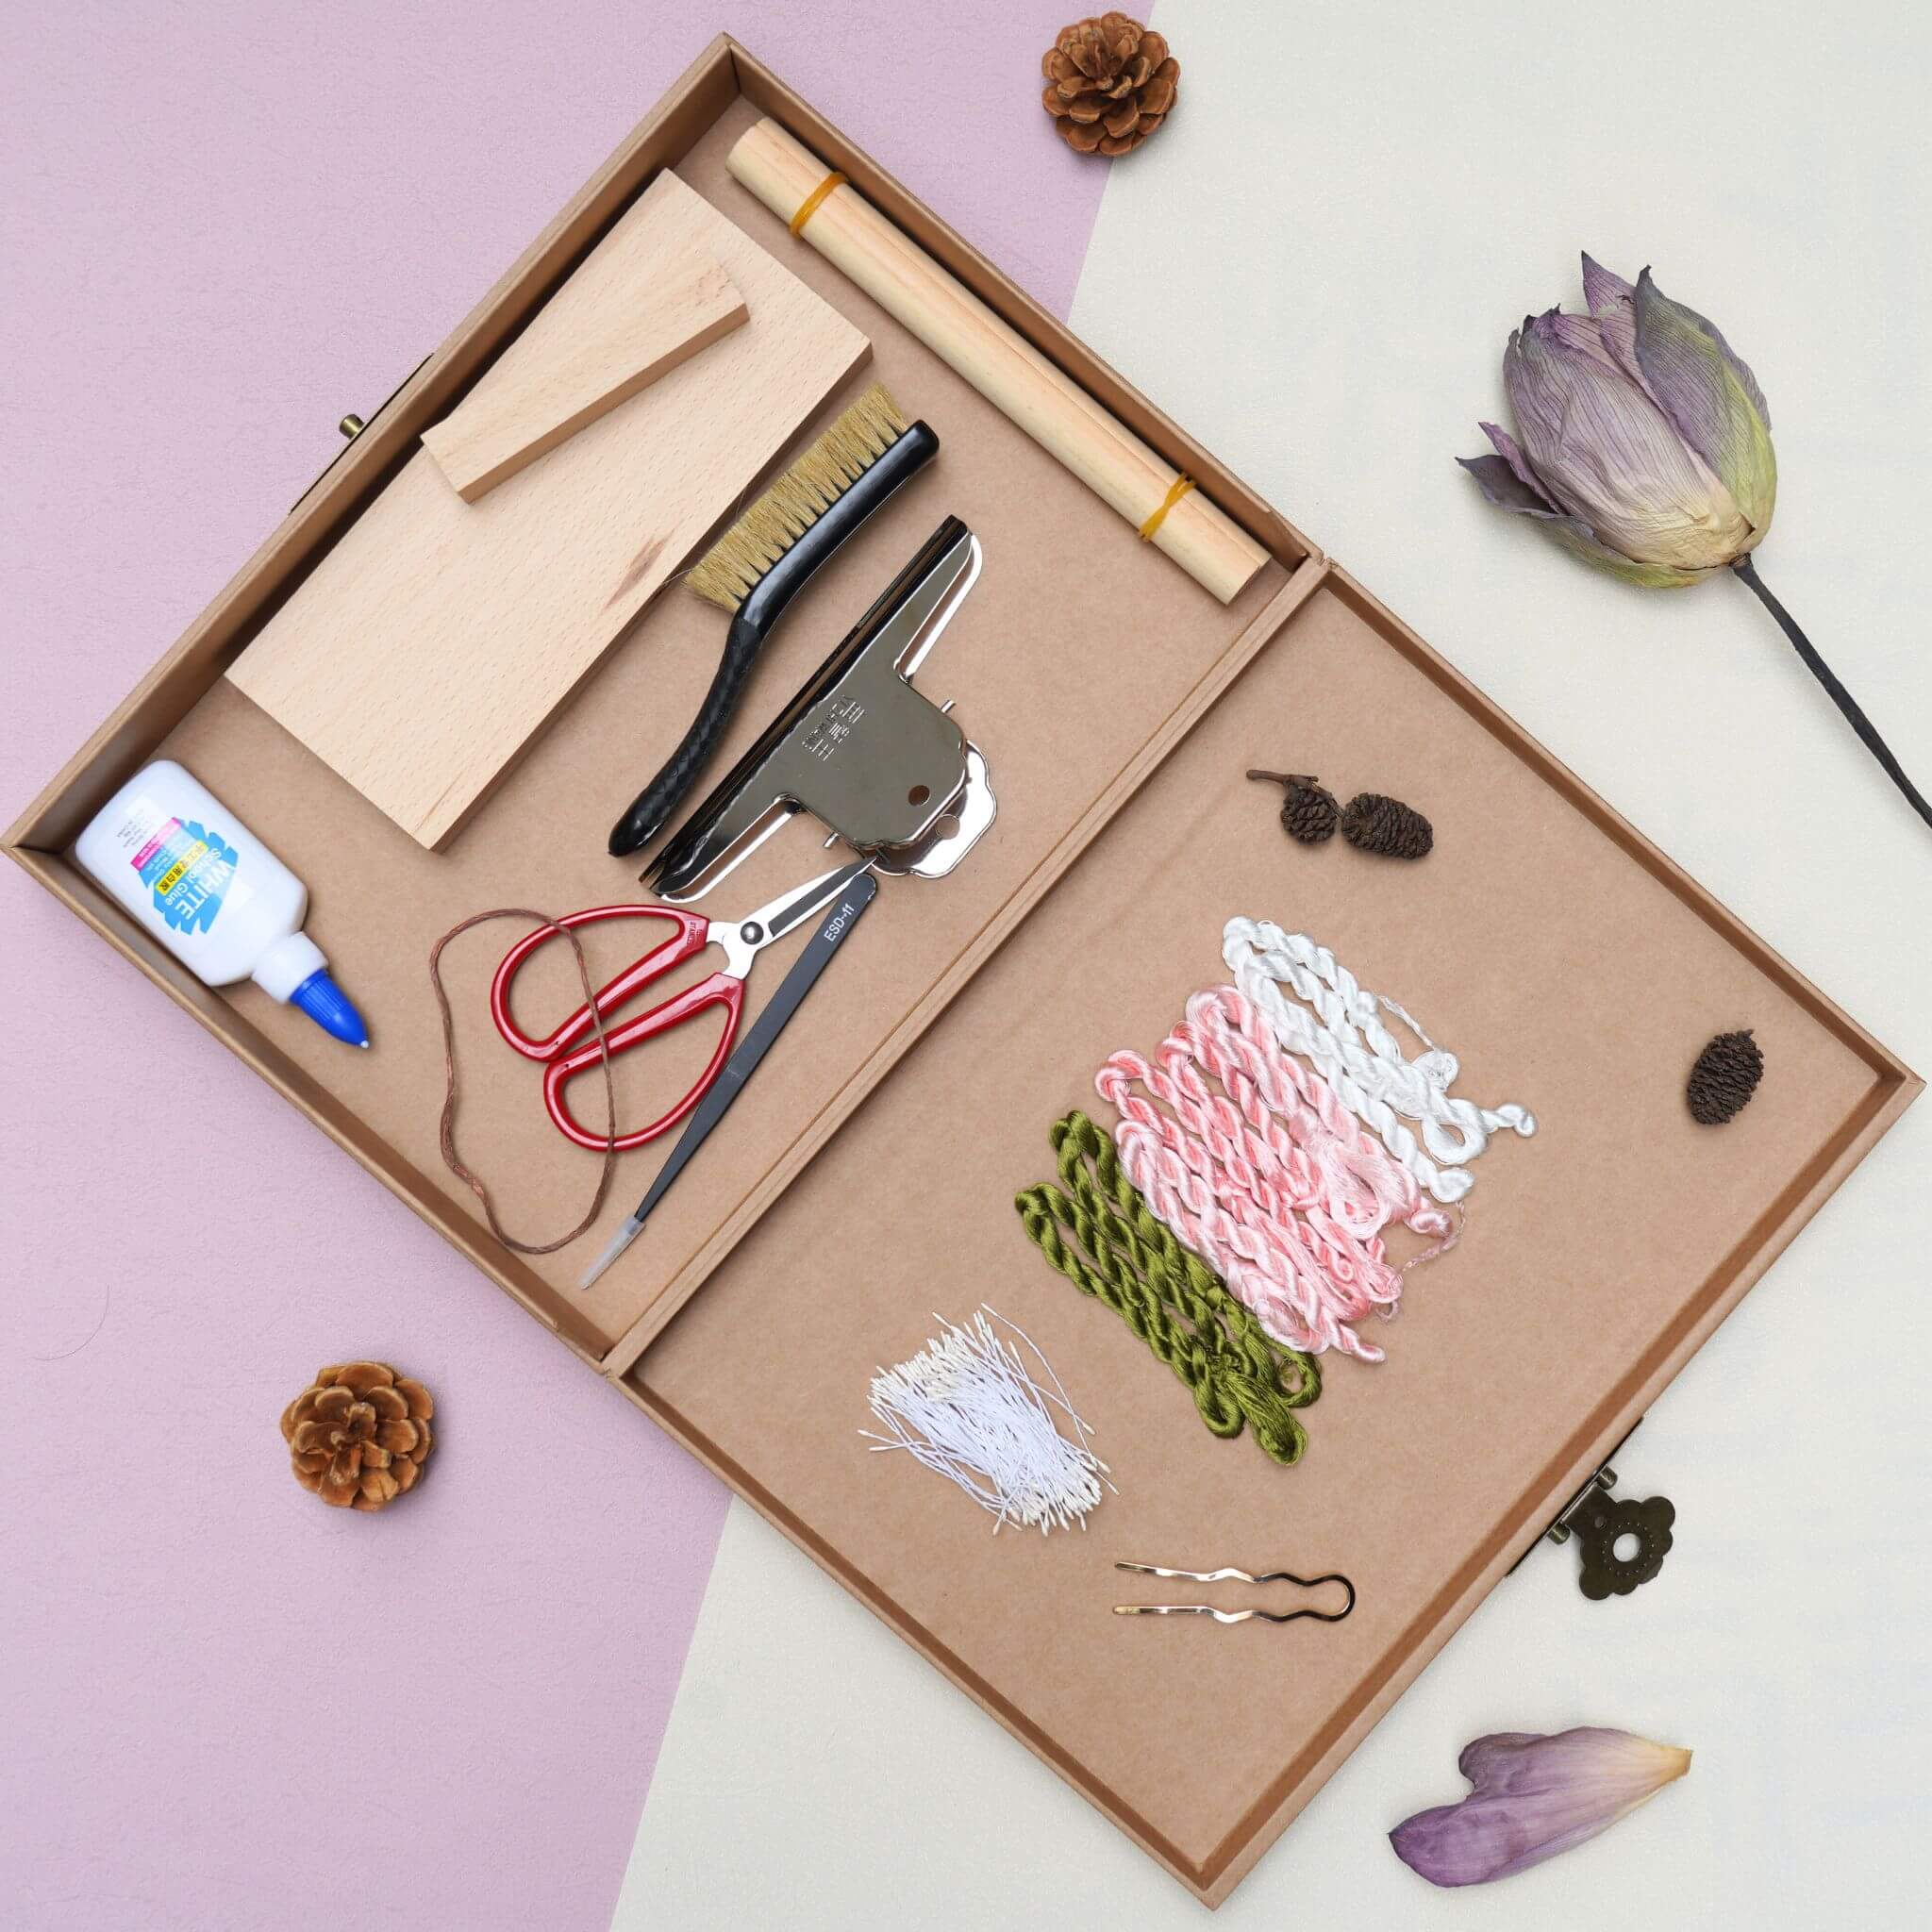
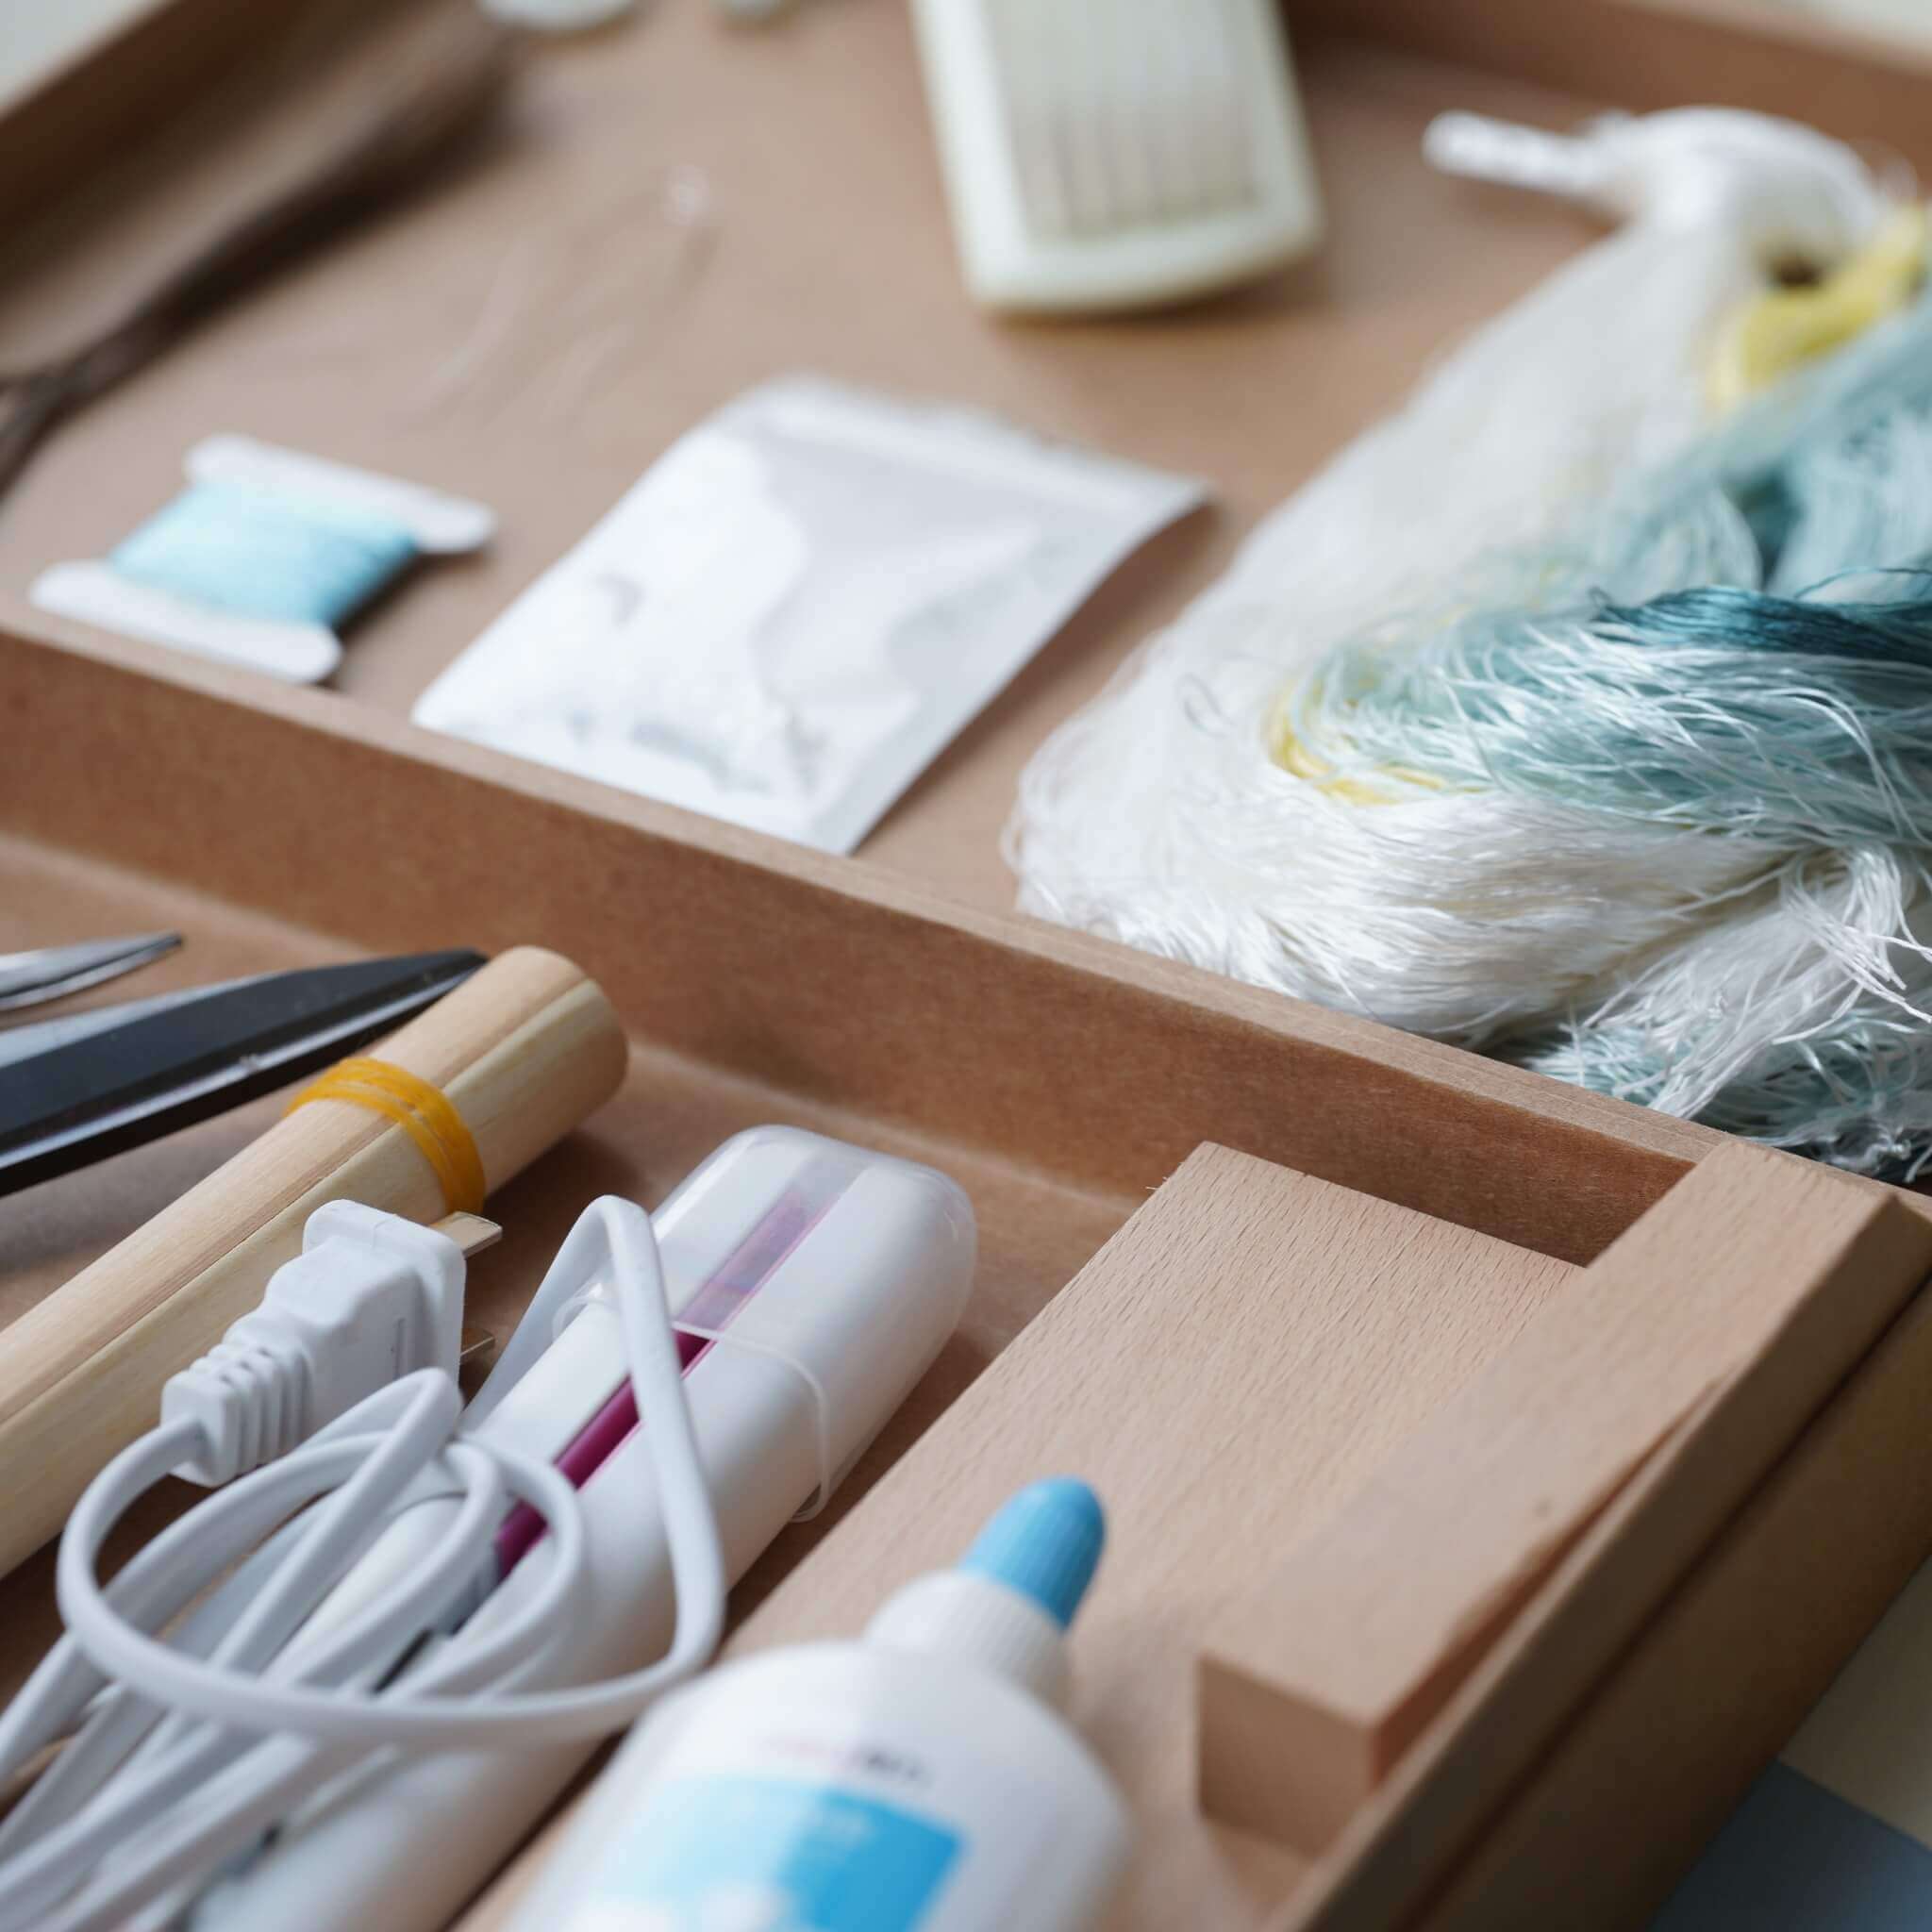
If you’ve purchased our Ronghua Toolkit, you already have everything required!
If not, prepare the following tools:
- Bristle brush (Medium to soft hardness)
- Flat iron (the one you use to straighten your hair)
- Tweezers
- At least 2 pairs of Scissors
- wooden sticks / pencils / chopsticks
- Hair spray or diluted white glue (1:2-1:3 with water or alcohol)
- Big clips (around 15cm)
- Twisting boards and wooden blocks (for even tension)
- Anti-slip powder (optional but helpful)
Full Tutorial Video
Step. 1 Align and Arrange the Silk Threads
Begin by untying your silk threads and locating the knot at one end of each bundle. Carefully cut the knot open and ensure all strands are straightened. Prepare your silk bundles according to the color requirements needed for the multi-toned gradient layers of your chrysanthemum project.


Step. 2 Group and Prepare the Threads
Each silk bundle is composed of many tiny individual strands. Align these strands carefully and tie them around a small stick or pencil, ensuring the ends are perfectly flush. Keeping the lengths even is vital for a consistent texture during the brushing process.

Step. 3 Make Silk Rows
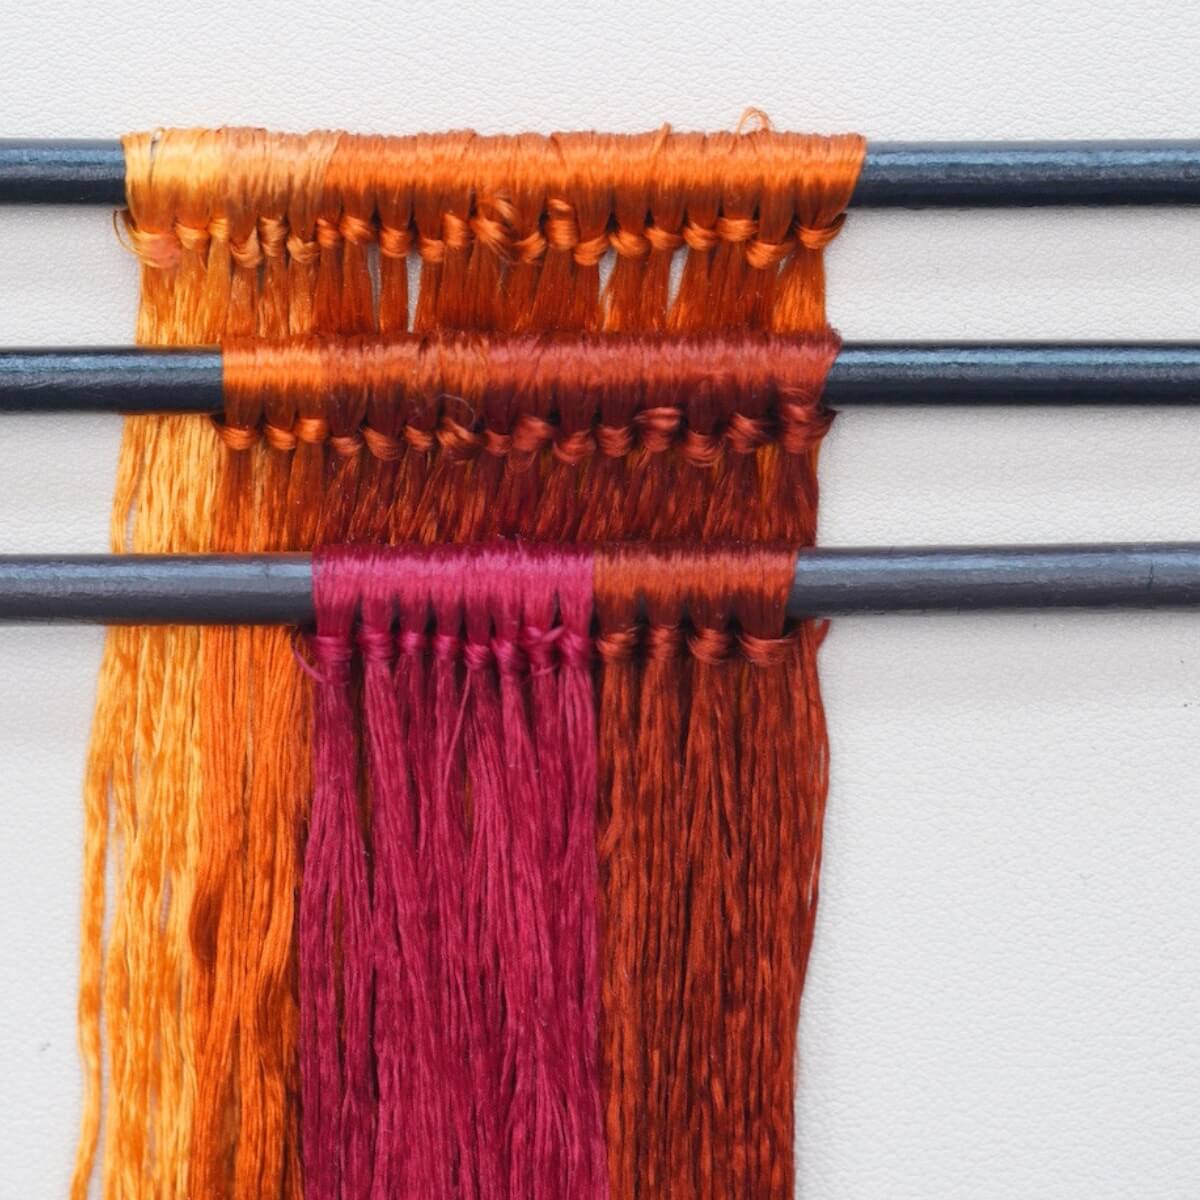
Proceed to group the threads into distinct rows. You will need to prepare separate rows for the multi-layered petals and the serrated leaves. Ensure that each row is organized according to the color gradients and sizes specified in your project layout.
Below are the rows we made.


Step. 4 Brush the Silk
Attach your silk rows securely to a stand or a flat surface. Using a bristle brush, comb the silk thoroughly from top to bottom. Continue brushing until the silk is completely smooth, fluffy, and free of any tangles. If the silk becomes static, mist the surrounding air lightly with water.

Here is how it should look after brushing.

Step. 5 Attach Copper Wires
When you feel that the silk is brushed enough, secure its tail with another big clip to your table or anything that can help stretch it taut. Take out one copper wire from the folded end of the row and straighten it. Twist the folded part into a spiral of about 3 cm. Clamp the silk threads between two copper wires and twist the opposite side tightly.
Pull both wires taut and continue twisting until they merge into one. Remember, the twisting direction for the left and right end are opposite. The spacing should be the same as shown in step 1.
You can watch our video tutorial for this step:)
Step. 6 Cut the Silk Strips
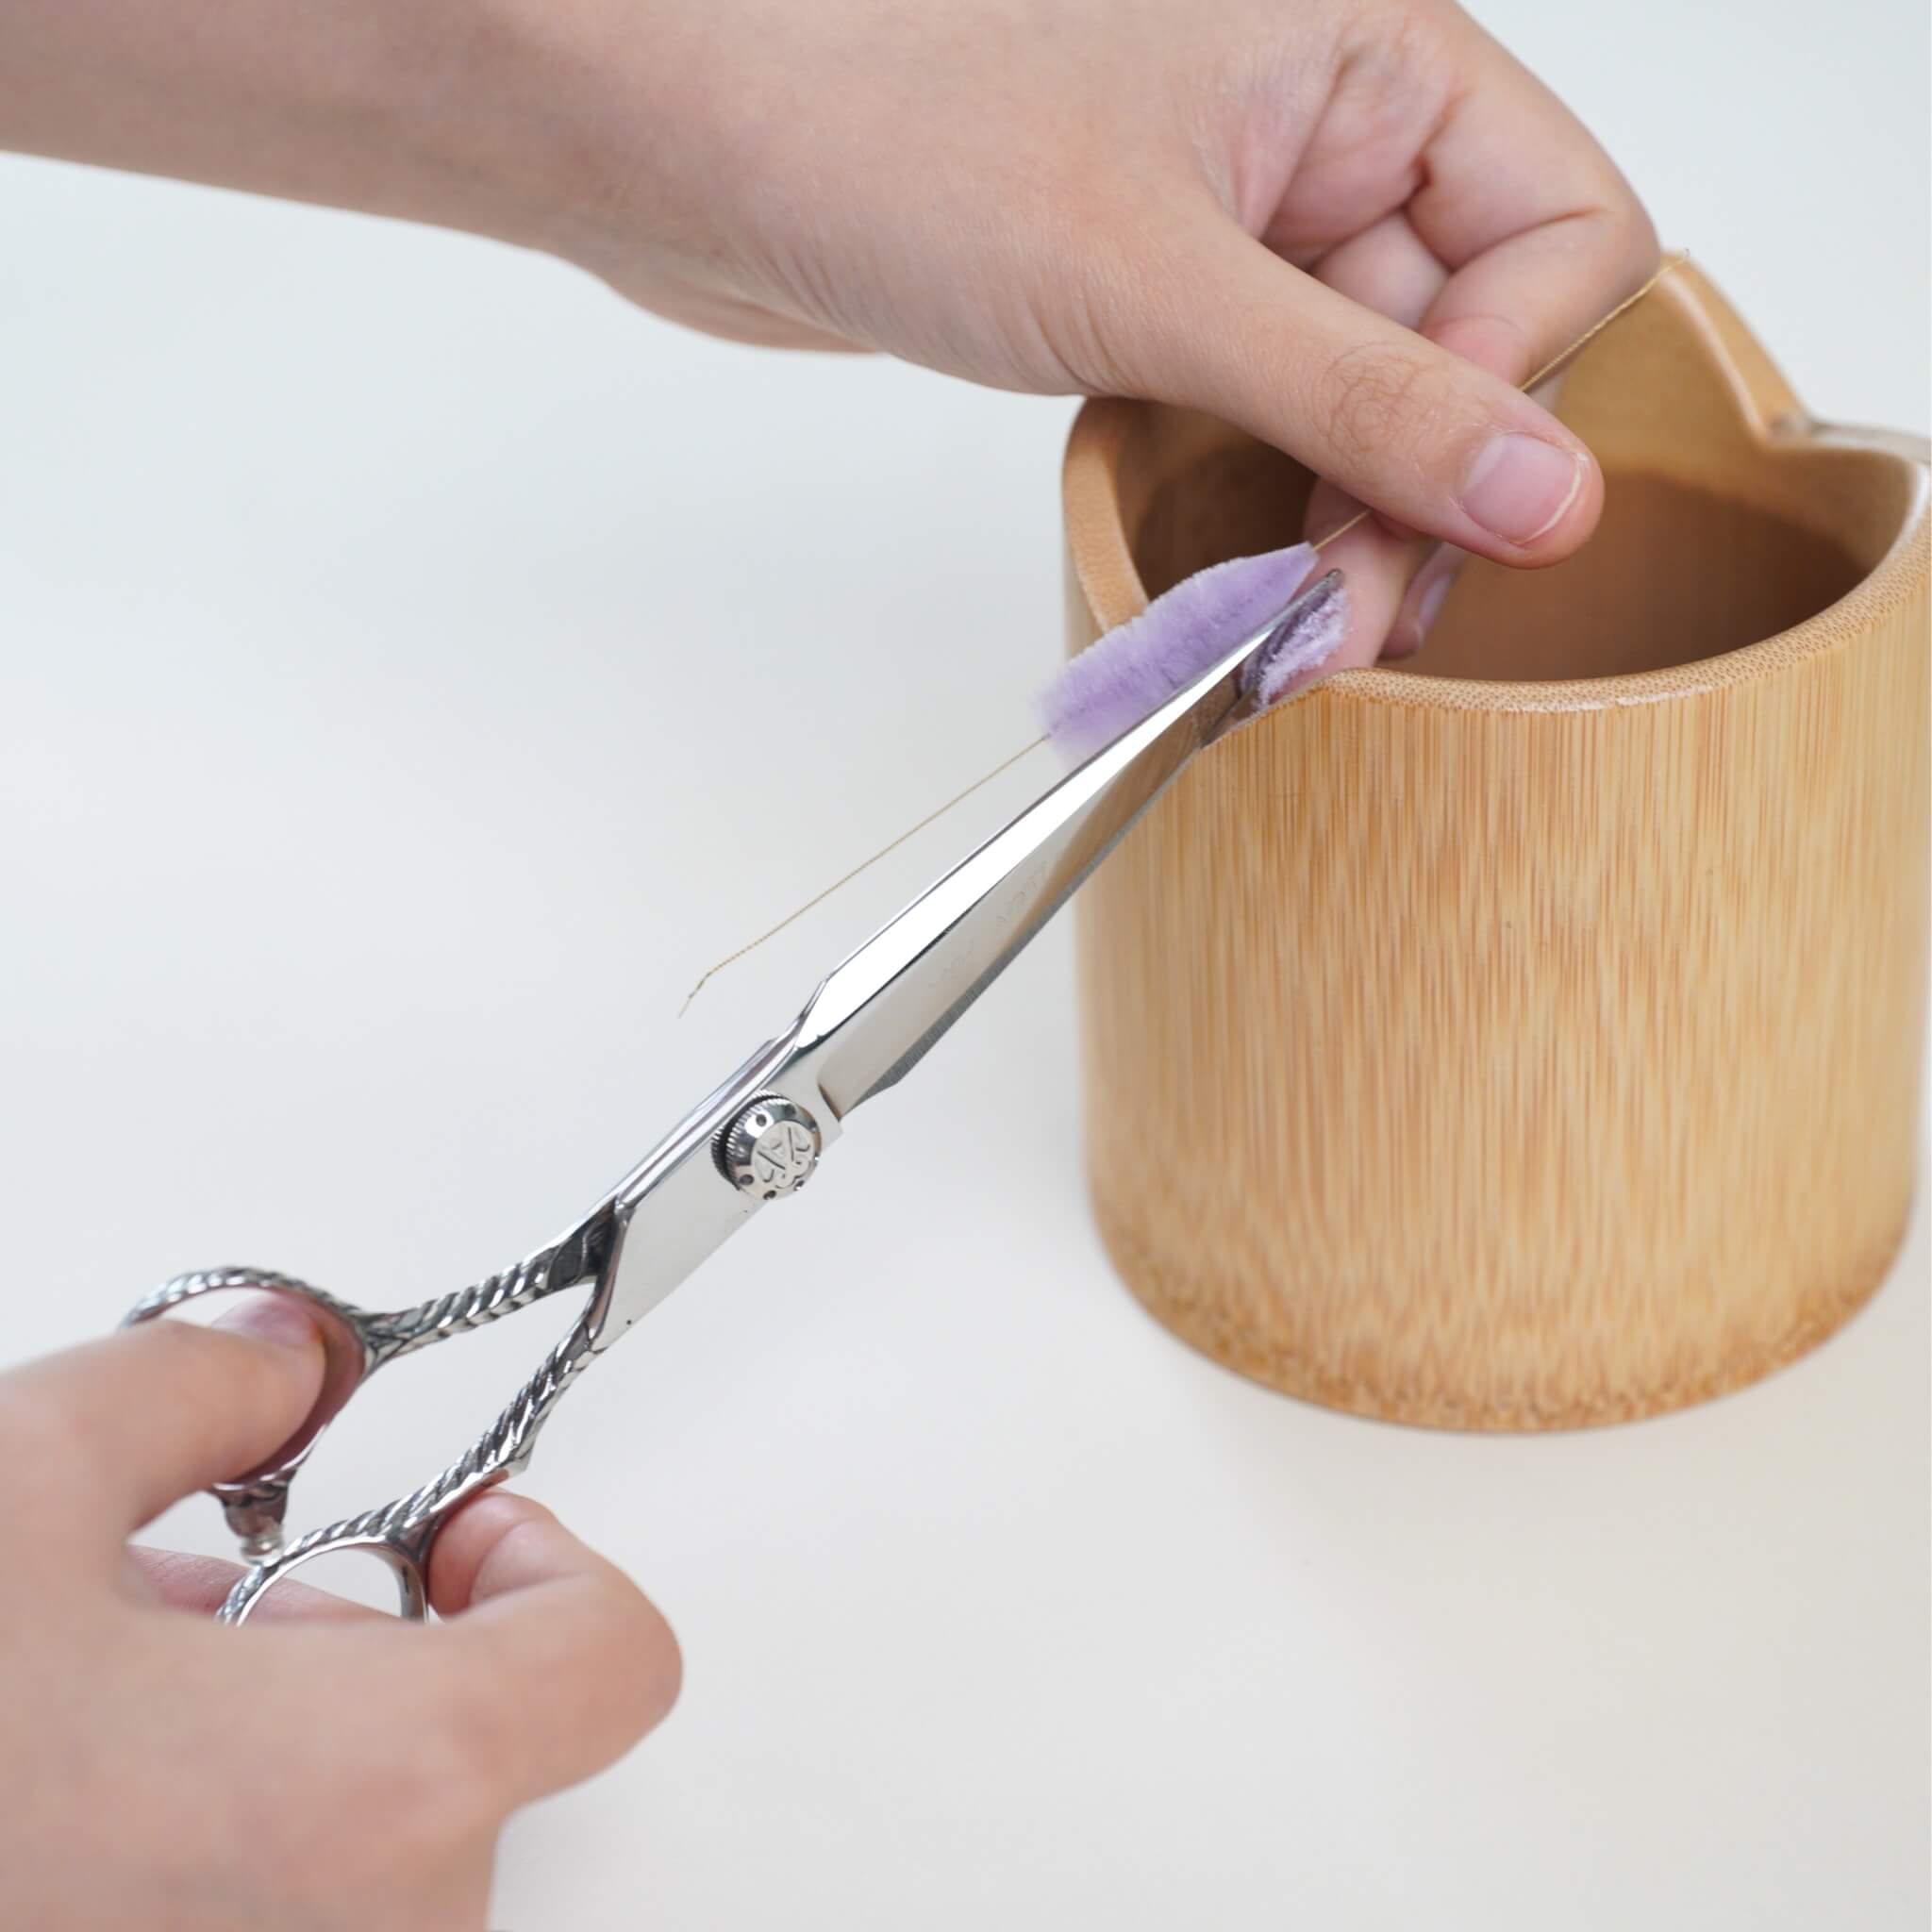
Using a pair of scissors designated for silk, trim away the excess thread from the row ends. Cut through the silk exactly in the middle of each wire twist to separate the row into individual silk strips. Never use these scissors on copper wire, as this will dull the blades and cause the silk edges to fray.

Step. 7 Center and Twist the Strips
Lay each silk strip on a flat surface and ensure the copper wire is perfectly centered. Twist the wires by hand to tighten the grip on the silk, then place the strip between two twisting boards.

Roll the boards firmly to twist the wire until it is tightly embedded and nearly invisible within the silk.

Step. 8 Trim the Silk Strips
Start by cutting away all the copper wire from the lighter-colored ends of the silk strips. For the remaining strips, separate them where the dark and light colors meet. Each strip should be divided into one longer piece and one shorter piece, following the positions shown in the video. Once everything is cut, compare the different lengths to make sure they match the intended sizes. These strips will form the various layers of the chrysanthemum petals.

Step. 9 Flatten the Silk Strips
Using a heated flat iron, press each silk strip flat from back to front.

Avoid pressing straight up and down, as this can affect the texture. The goal is to create a smooth, even surface with no visible gaps when viewed from the side. After all the strips have been flattened, prepare a small amount of clear, fragrance-free hair gel. If hair gel isn't available, you can substitute it with a mixture of white glue and alcohol adjusted to a similar consistency (glue to alcohol/water: 1:2/1:3).
Step. 10 Shape the Chrysanthemum Petals
Begin with the lightest-colored silk strips. Thoroughly coat each strip with hair gel, then use tweezers to remove any excess. Too much gel will make the petals appear bulky. Curve the tail end of the strip into a gentle arc and carefully push the edge threads inward. You can use tweezers or simply shape them with your fingers if that feels more comfortable.

Once shaped, place the petals upright to dry by inserting them into a brush, foam board, or even a cat scratching board. All petal sizes follow the same basic shape. The main difference is the degree of curvature, with longer petals having a more pronounced curve toward the back half. Make sure all edge threads are tucked inward neatly.
Silk strips for leaves requires no shaping at all. After shaping, remove any remaining excess gel and allow all the pieces to dry completely.
Once dry, trim the petals into their final shape. The tops should be softly rounded, gradually narrowing toward the base. Although there are four different petal sizes, they all share the same overall silhouette.
After trimming, you'll have four completed sizes of chrysanthemum petals ready for assembly.

Step. 11 Make the Leaves
Press the leaf pieces once more with the flat iron. This helps thin them out and creates a cleaner finish. Trim each leaf so that it is widest in the center and tapers toward both ends.
 Add small serrations along the edges to create a more natural appearance. In this tutorial, approximately eleven leaves are used. For added texture, lightly singe the edges with a lighter. Then use an incense stick or small wooden stick to burn a few tiny holes into the leaves.

This step is optional but can create a more aged, natural look. Finally, use the flat iron to add gentle curves to the leaves. Once shaped, the leaves are complete.
Fold a piece of silk thread in half and secure it together with two copper wires. Begin attaching the leaves one by one, keeping the silk thread smooth and untwisted as you wrap. Leave small gaps between leaves for a natural arrangement, and allow the branch stem to remain fairly long. If you have fewer leaves available, that's perfectly fine, but try to create at least three leaf clusters for balance.

Step. 12 Extend the Outer Petals
Set aside the six longest petals. These will form the outermost layer of the chrysanthemum. Attach a copper wire to the base of each petal to slightly extend its length. Wrap silk thread around the wire and petal base, covering approximately 3–4 cm. Once all six petals have been extended, set them aside for later assembly.

Step. 13 Make the Chrysanthemum Flower
Begin assembling the flower using the smallest petals. Wrap them tightly together to form the center bud, making sure the petal bases align neatly.

Continue adding more small petals to fill any gaps until you have a compact flower center about the size shown in the video. Once the center is complete, begin building outward with the next layer. Arrange the next set of petals side by side until they form a complete circle around the center. Once the second layer is finished, repeat the process with another ring of petals to create the third layer. Continue adjusting the petals as you work to maintain a full, balanced shape.

Switch to the longer petals for the fourth layer. The chrysanthemum should transition from darker colors at the center to lighter colors toward the outer edges. Continue adding petals layer by layer, forming the fourth and fifth layers while maintaining a smooth color gradient and even spacing. Take the six extended petals prepared earlier and attach them around the outer edge of the flower. These petals can be positioned freely rather than attached directly from the base. Gently pull them outward to create a more open, natural bloom. The farther from the center, the longer the petals should appear. Once all six are attached, the flower head is complete.

Trim the copper wires diagonally, using wire cutters rather than your petal scissors. Prepare a piece of aluminum wire and insert it into the flower base. Secure it firmly with silk thread, then tie off the thread to finish. Spend some time adjusting the petals. Not every petal needs to point upward—allow some to tilt outward or to the sides for a more natural appearance. Wrap all exposed copper wires with four-ply silk thread to create a clean stem.
Step. 14 Assemble the Piece
Attach the prepared leaves along the stem following the arrangement shown in the video. Try not to let the flower hide the leaves completely, and balance the foliage on both sides. Continue wrapping the stem neatly with silk thread, then tuck the thread securely into the copper wire to finish.

Step. 15 Make a Small Bonus Chrysanthemum
If you have leftover petals, you can use them to create a smaller chrysanthemum. Assemble it using the same method as the main flower, then attach the final remaining leaf. Wrap the stem all the way to the end and secure the thread neatly.

The flat-style chrysanthemum is now complete. Take a final look at the overall shape and make any last adjustments to the petals and leaves.


Leave a comment
All comments are moderated before being published.
This site is protected by hCaptcha and the hCaptcha Privacy Policy and Terms of Service apply.