


Named after the Greek Goddess who traveled on rainbows, the Blue Iris is a timeless symbol of hope. In the language of flowers, the blue petals represent royalty, making it a beautiful and strong statement. This tutorial will show you how to capture the iris's delicate beauty in a permanent form.
Preparation: What You’ll Need
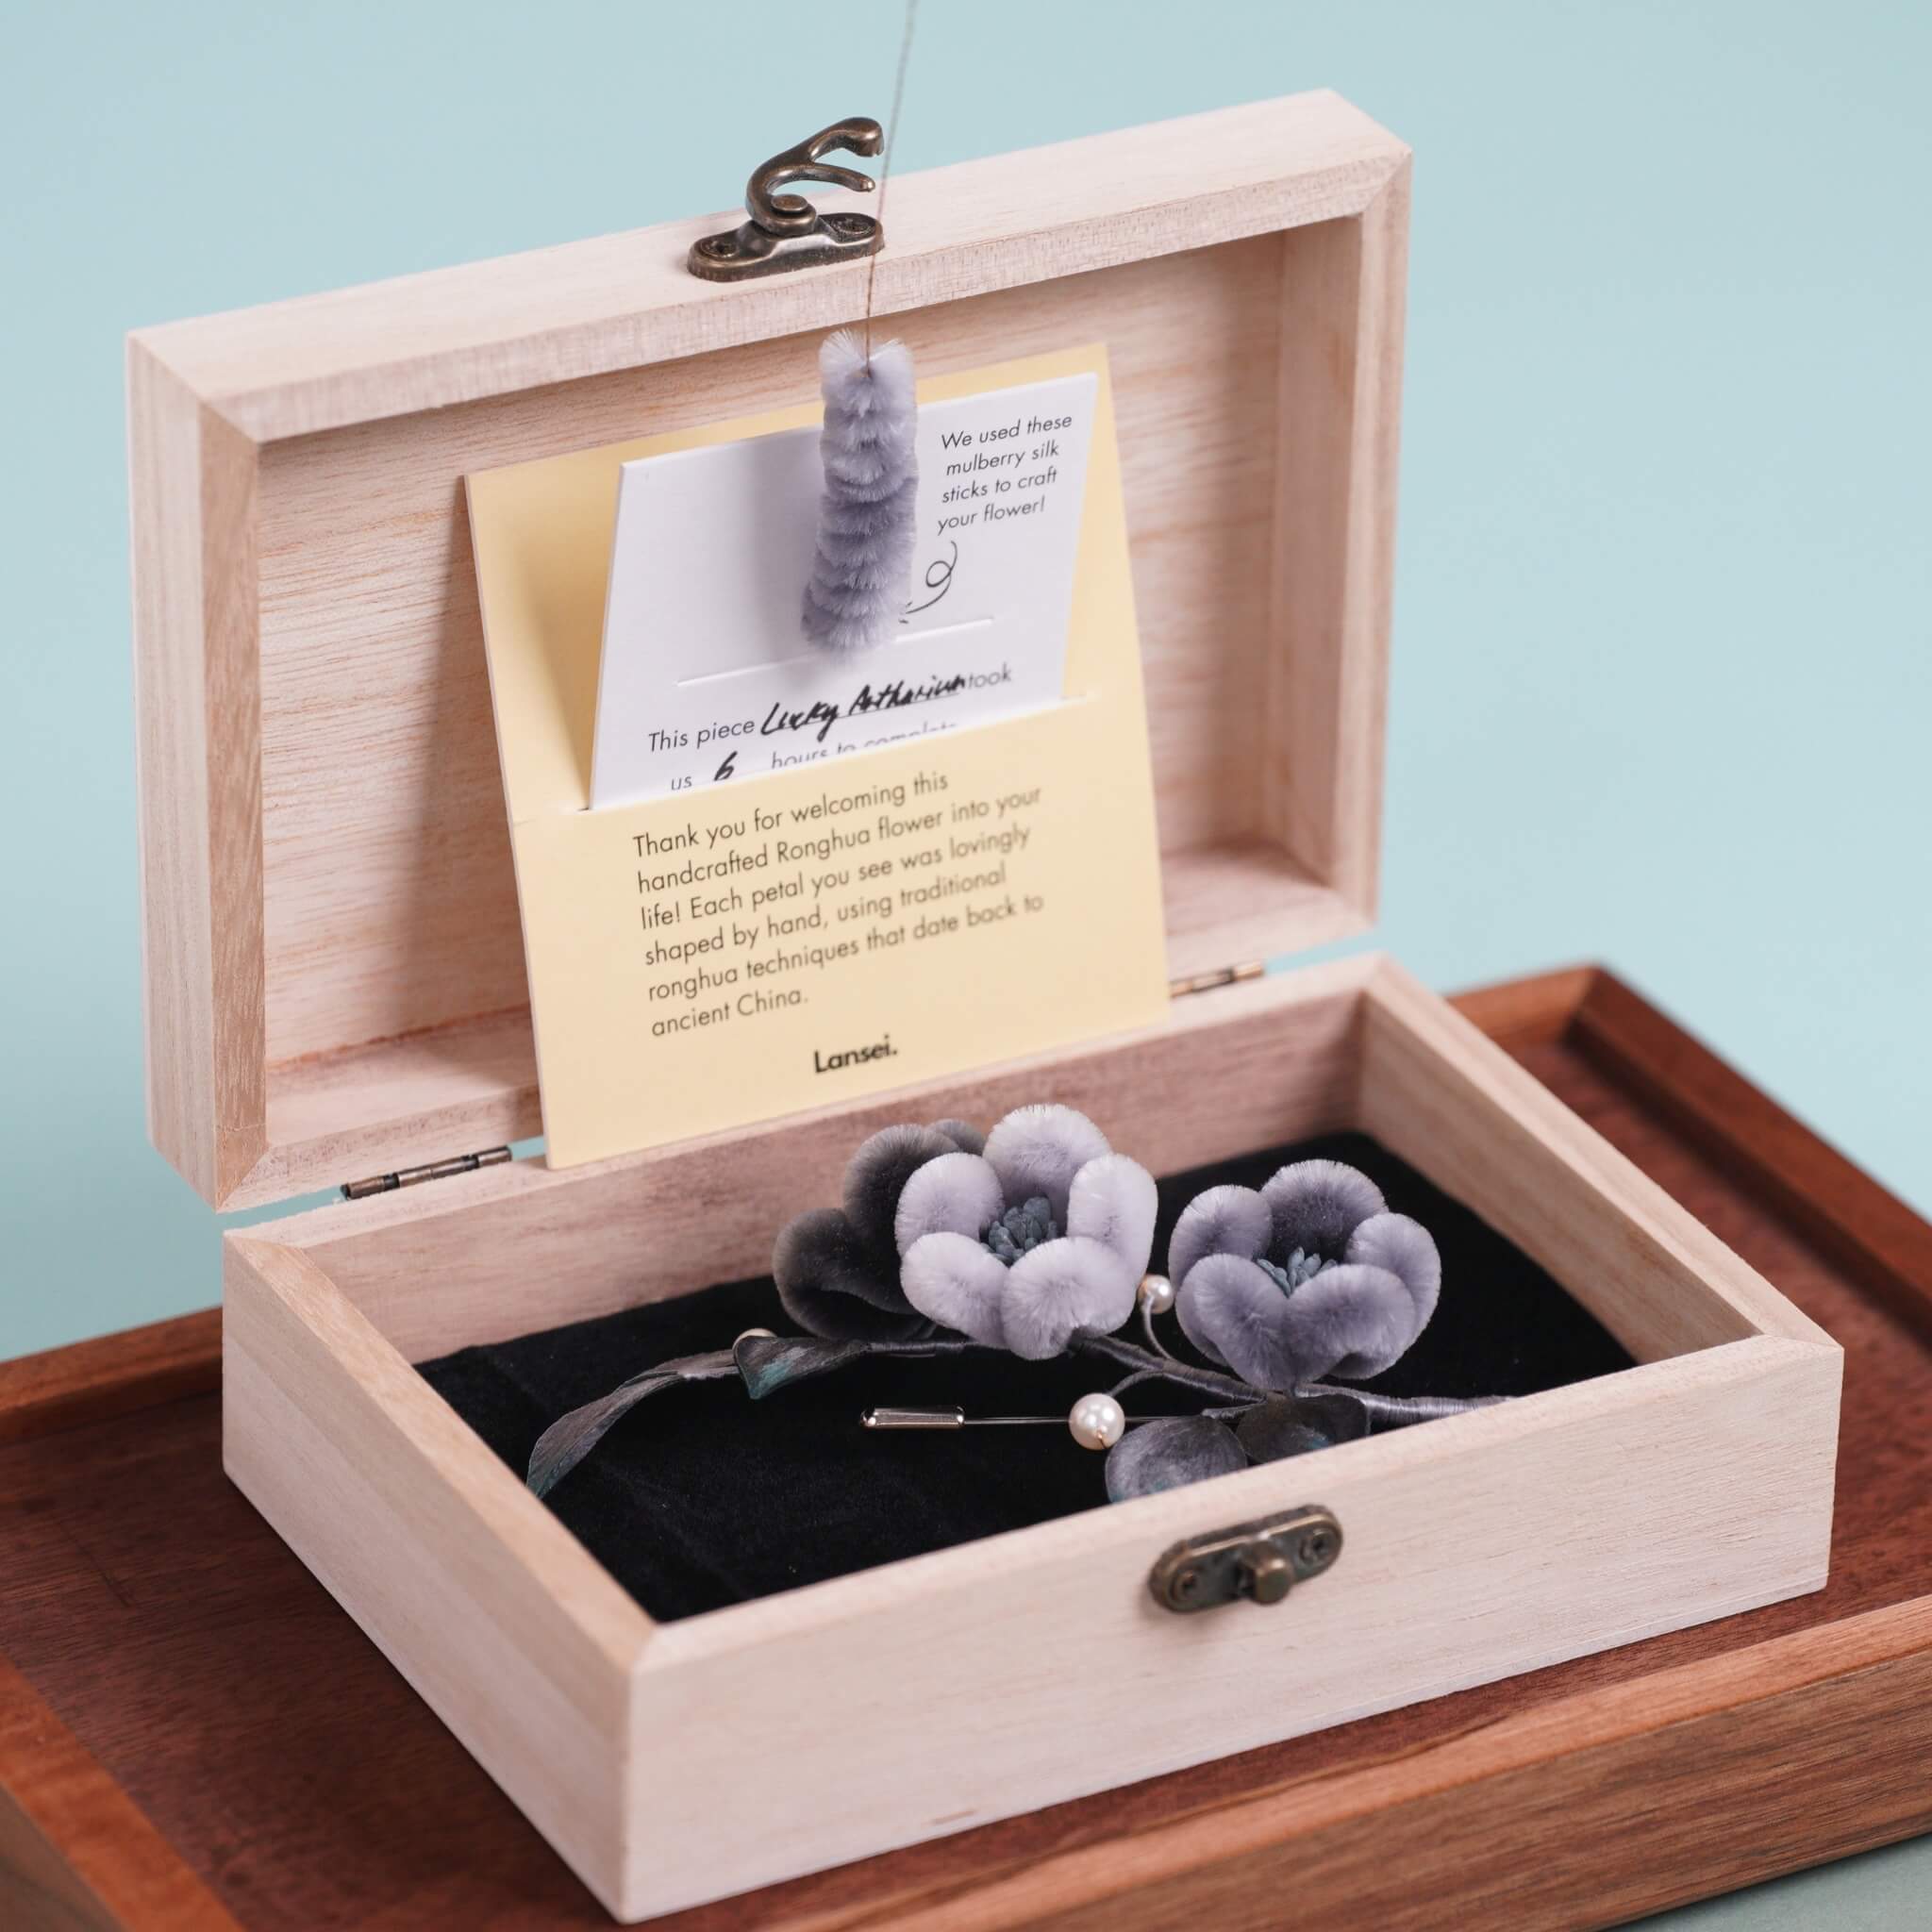
If you’ve purchased our Ronghua Toolkit, you already have everything required!
If not, prepare the following tools:
- Bristle brush (Medium to soft hardness)
- Flat iron (the one you use to straighten your hair)
- Tweezers
- At least 2 pairs of Scissors
- wooden sticks / pencils / chopsticks
- Hair spray or diluted white glue (1:1.15–1:1.2 ratio)
- Big clips (around 15cm)
- Twisting boards and wooden blocks (for even tension)
- Anti-slip powder (optional but helpful)
Full Tutorial Video
Step 1. Align and Arrange the Silk Threads
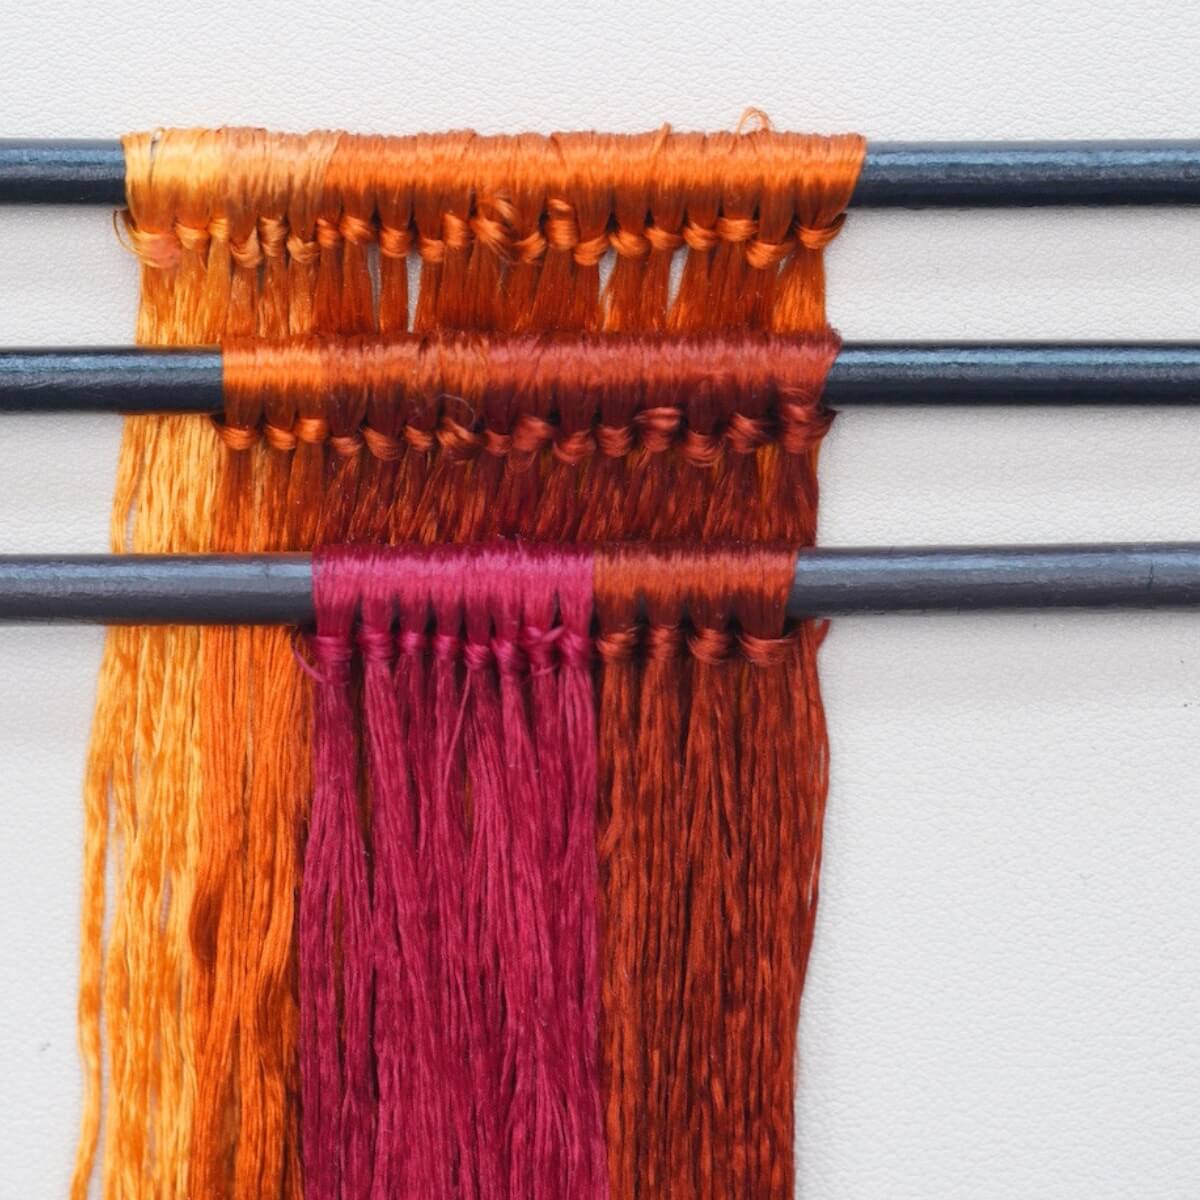
Start by untying your silk threads. Locate the knot at one end of each bundle and cut it open carefully. This project uses 3 silk rows.

Step 2. Group and Prepare the Threads
Each silk bundle consists of tiny strand-like structures — these are your individual strands. Fold the silk thread in half and cut it: this much of silk can make 2 flowers, which is enough for a brooch.

Align all strands neatly and tie them around a thin stick, keeping the ends even. Avoid uneven lengths — this ensures consistent texture later on.
Step 3. Make Silk Rows
Repeat the above process to create 3 silk row in total. Remember to refer back to the data provided in the diagram for the following rows, as each will differ slightly. Below are the finished silk rows we made.

Step 4. Brush the Silk Rows
Fix one silk row onto your stand using big metal clips - if you don't have the wooden ronghua stand, that's totally fine! You can refer to our video about alternative solutions to the stand.
Hold the ends of the threads with one hand and brush gently but firmly from top to bottom. Don’t lift the brush midway. A light mist of water will prevent static. You can apply some pressure — silk threads are stronger than they look! Make sure to brush both the front and back sides until the row looks smooth and fluffy.

Everyone uses a different brush and hand speed, so the time it takes to complete this step is also different. Taking my situation as a reference, it took me about 10 minutes to brush this silk row. When you feel the hair is soft and fluffy, you can stop and check. When there is no complete linear distinction between the threads, it's ready:)

Step 5. Attach Copper Wires
When you feel that the silk is brushed enough, secure its tail with another big clip to your table or anything that can help stretch it taut. Take out one copper wire from the folded end of the row and straighten it. Twist the folded part into a spiral of about 3 cm. Clamp the silk threads between two copper wires and twist the opposite side tightly. Pull both wires taut and continue twisting until they merge into one. Remember, the twisting direction for the left and right end are opposite.
The spacing should be as shown in step 1.
If you have anti-slip powder, it will be much easier to dip your fingers in it and twist it.
We highly recommend you watch the video tutorial for this step:)
Once done, remove the silk row from the stand and lay it flat.
Step 6. Cut the Silk Strips
Trim the row’s end neatly, then cut between each pair of copper wires to create even silk strips. When cutting, the scissors must be placed in the middle of two copper wires, otherwise the width of the silk strips will be inconsistent.
If threads stick to your scissors, clean them — it’s usually caused by static or residue. Cut quickly and cleanly for smooth edges. Don't touch the wire or it may get displaced.

Step 7. Center and Twist the Strips
Align the copper wire to the middle of each strip using a flat surface or wooden block.
Once centered, twist both hands in opposite directions to tighten.

Next, place the copper part between the twisting boards and continue twisting in the same direction. Stop when the wire feels firm — twisting too far may cause it to break. How do you know if it is tightened enough? If tightened properly, the copper wire should only faintly show. If the copper wire is very visible, it’s not tight enough.

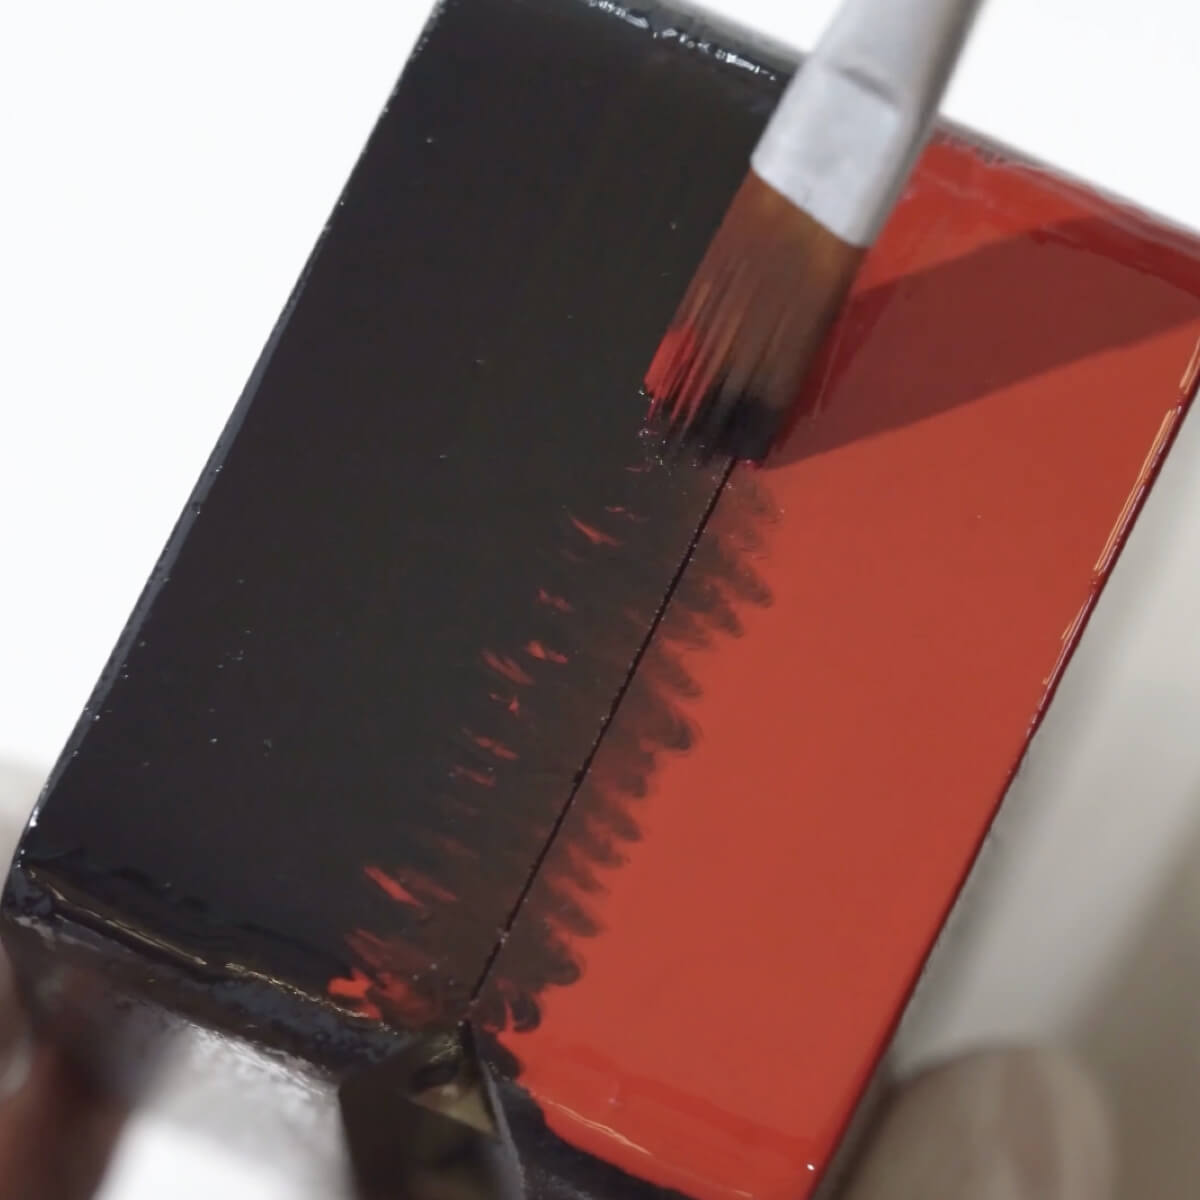
Step 8. Flatten the Strips
Fold the silk strips made with first and third rows in half, then twist the copper wire to secure it. For strips made with the second row, they are for leaves so you don't need to fold them. Cut off the wire on the lighter-colored end. Use a mini iron to flatten the prepared strips.

Once flattened, soak them in shaping liquid, or gently brush the liquid on if you’re worried about shrinkage.
Prepare your setting solution:
- Use either hair spray, or
- Diluted white glue with water or alcohol (1:1.15 or 1:1.2 ratio)
Soak the flattened silk strips, let them absorb the solution, then scrape off the excess.

Step 9. Shape the Strips
First, create a large arc on the petals, then use the tip of the tweezers to touch the edges of the petals, creating natural waves and a pointed tip. Use a little bit of light yellow paint to embellish the petals, but make sure that it is watered down.

Stick the strips up to dry.
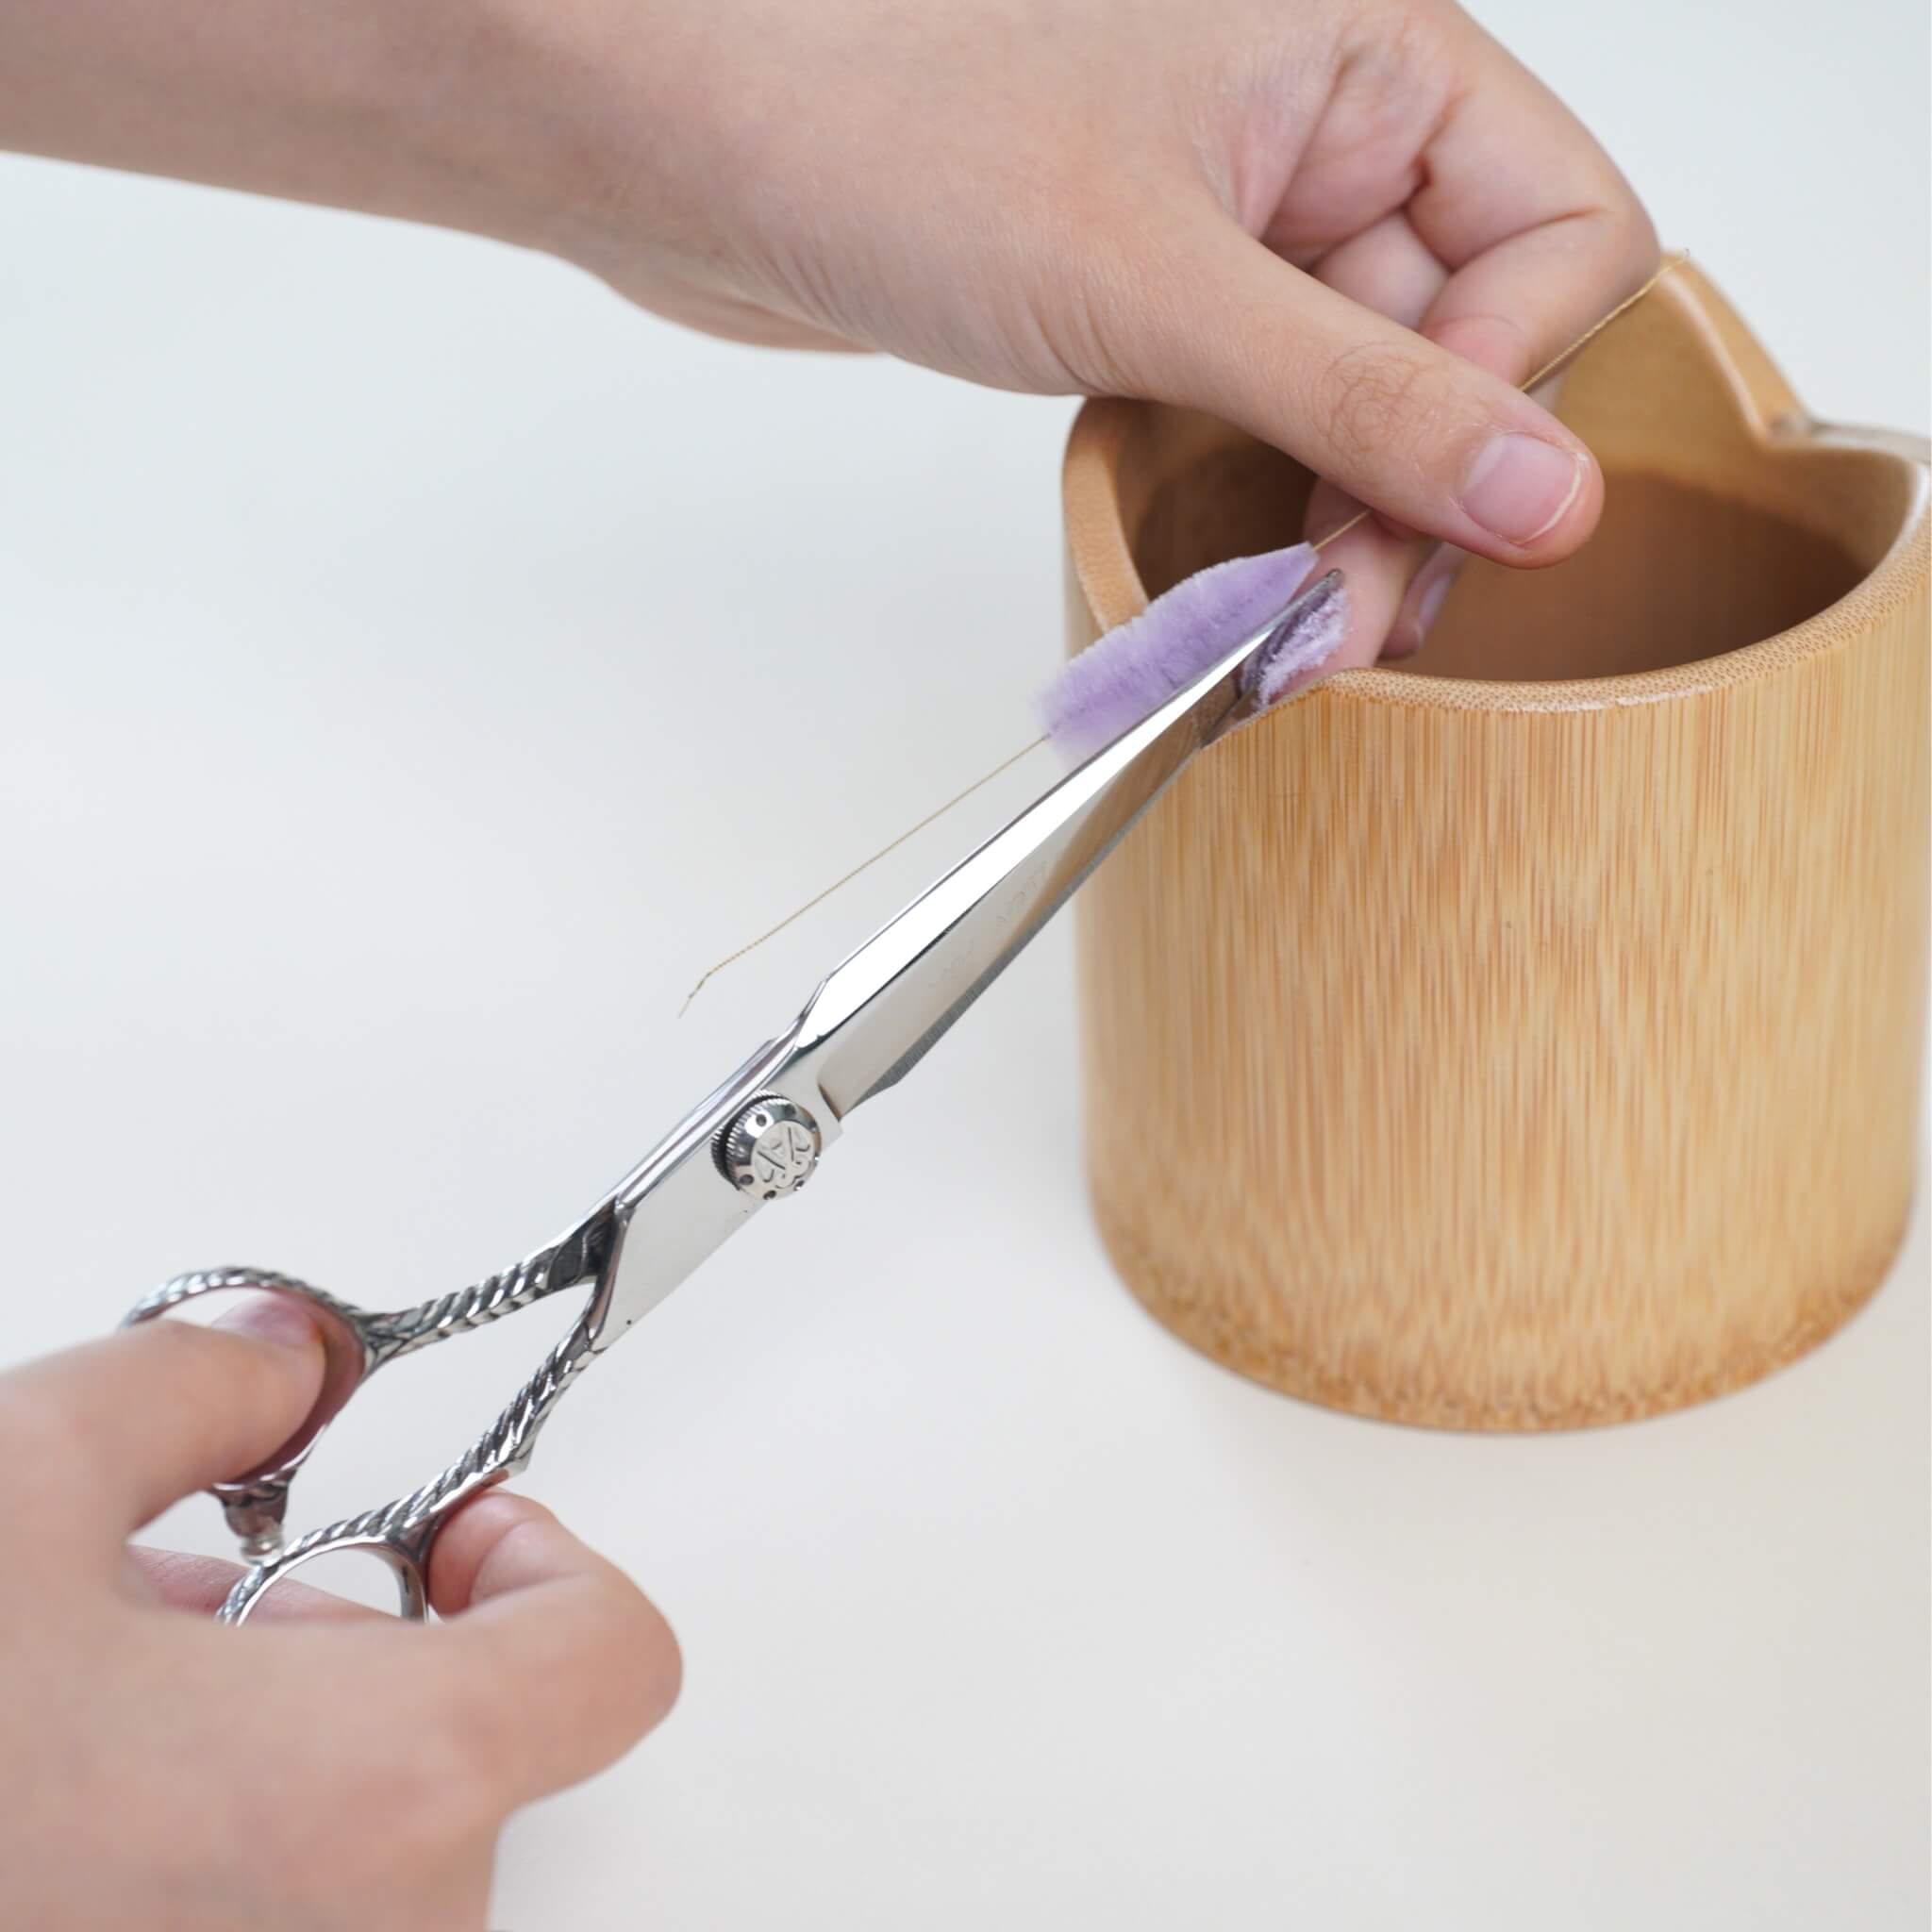
Trim the frizzy edges after they are dried.
For the leaves, trim them so they are wider in the middle but pointed on both ends. Curve the leaves with the mini iron to give them a natural curve.

Step 10. Make the Flowers
First we need to make the flower centers. Take out the stamens and cut the bottom of the stamens open, then wrap them up with silk threads to secure them.

Now attach petals to the stamens one by one. The first layer needs three petals, enclosing the stamens.

The petals of the second layer flare outwards. Be sure to put the petals on the second layer in the gaps of the first layer. Wrap all the way down with silk thread to cover the copper wires at the bottom.
Fix one leaf and the flower together, then wrap silk thread to cover the stem. You need two sets of these.

Step 11. Assemble the Piece
Attach the two flowers together, one on the top and one on the bottom. Secure them with silk thread. Add two more leaves. Trim off any excess copper wire—there’s no need to leave it long. Wrap the silk thread back upward, fold the wrapped copper wire in half, and continue wrapping until the wire is completely covered.
Tie a knot to fix the silk thread.

Step 11. Attach the Piece to the Brooch
Wrap the piece and the brooch base together with silk thread in a similar manner.

For finishing, use a folded piece of annealed copper wire. Continue wrapping silk thread around it, then thread the silk into the copper wire loop and pull the wire out. Set your lighter to the lowest flame and gently burn off any frayed edges.
You can watch our video tutorial for this step:)
Apply some white glue to keep the silk thread in place.
Put drops of UV glue on the tips of the petals to create dewdrops. Use a UV light to solidify the glue.
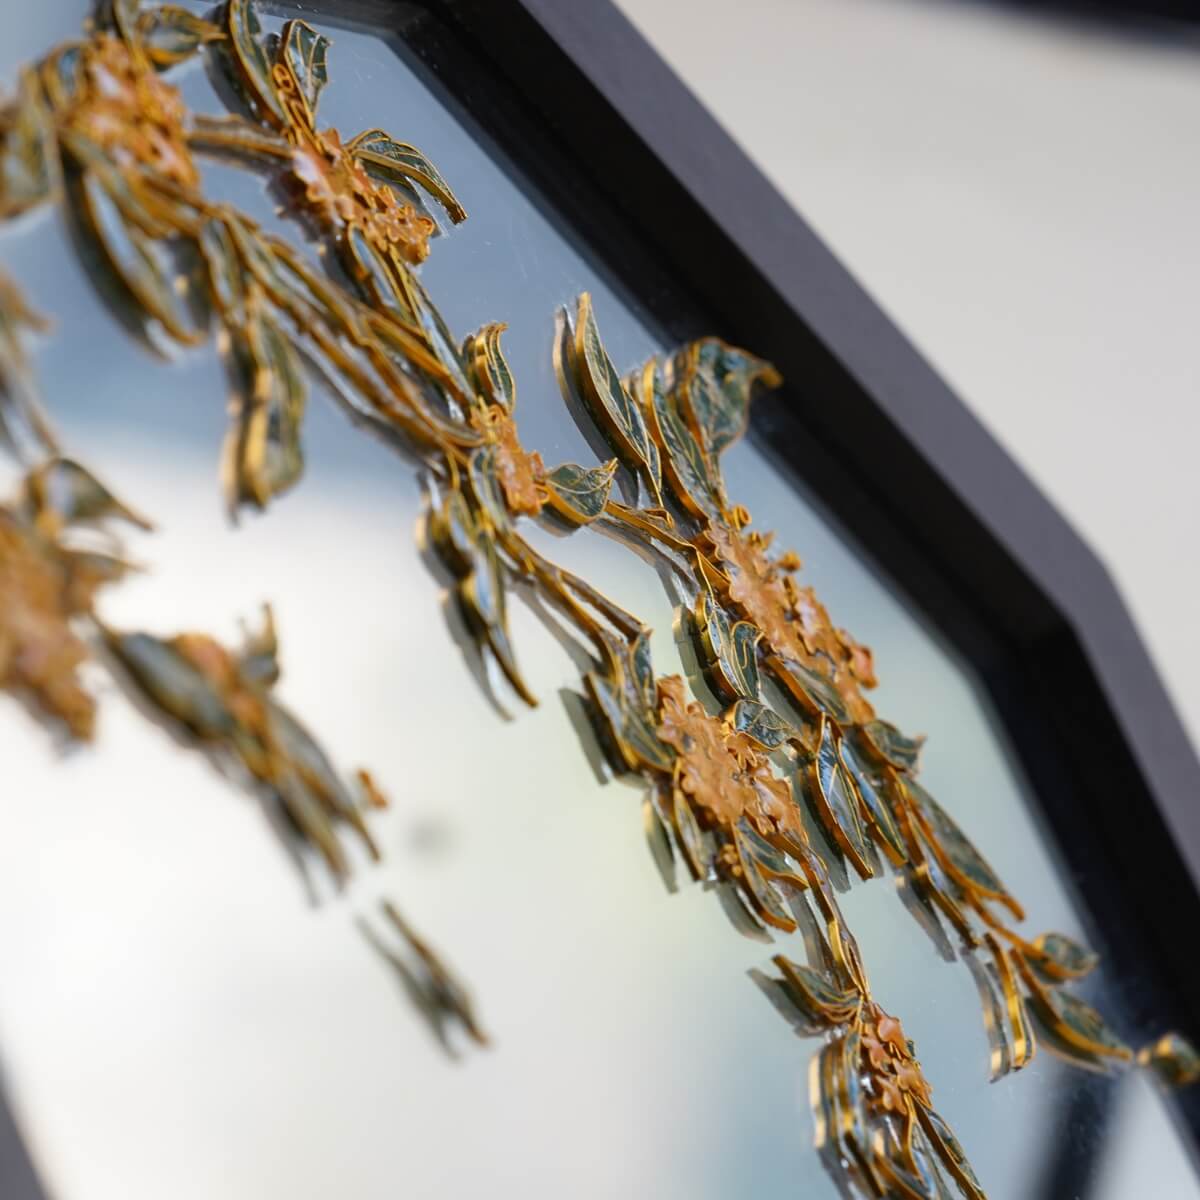
Your Blue Iris Brooch is now complete!


Leave a comment
All comments are moderated before being published.
This site is protected by hCaptcha and the hCaptcha Privacy Policy and Terms of Service apply.