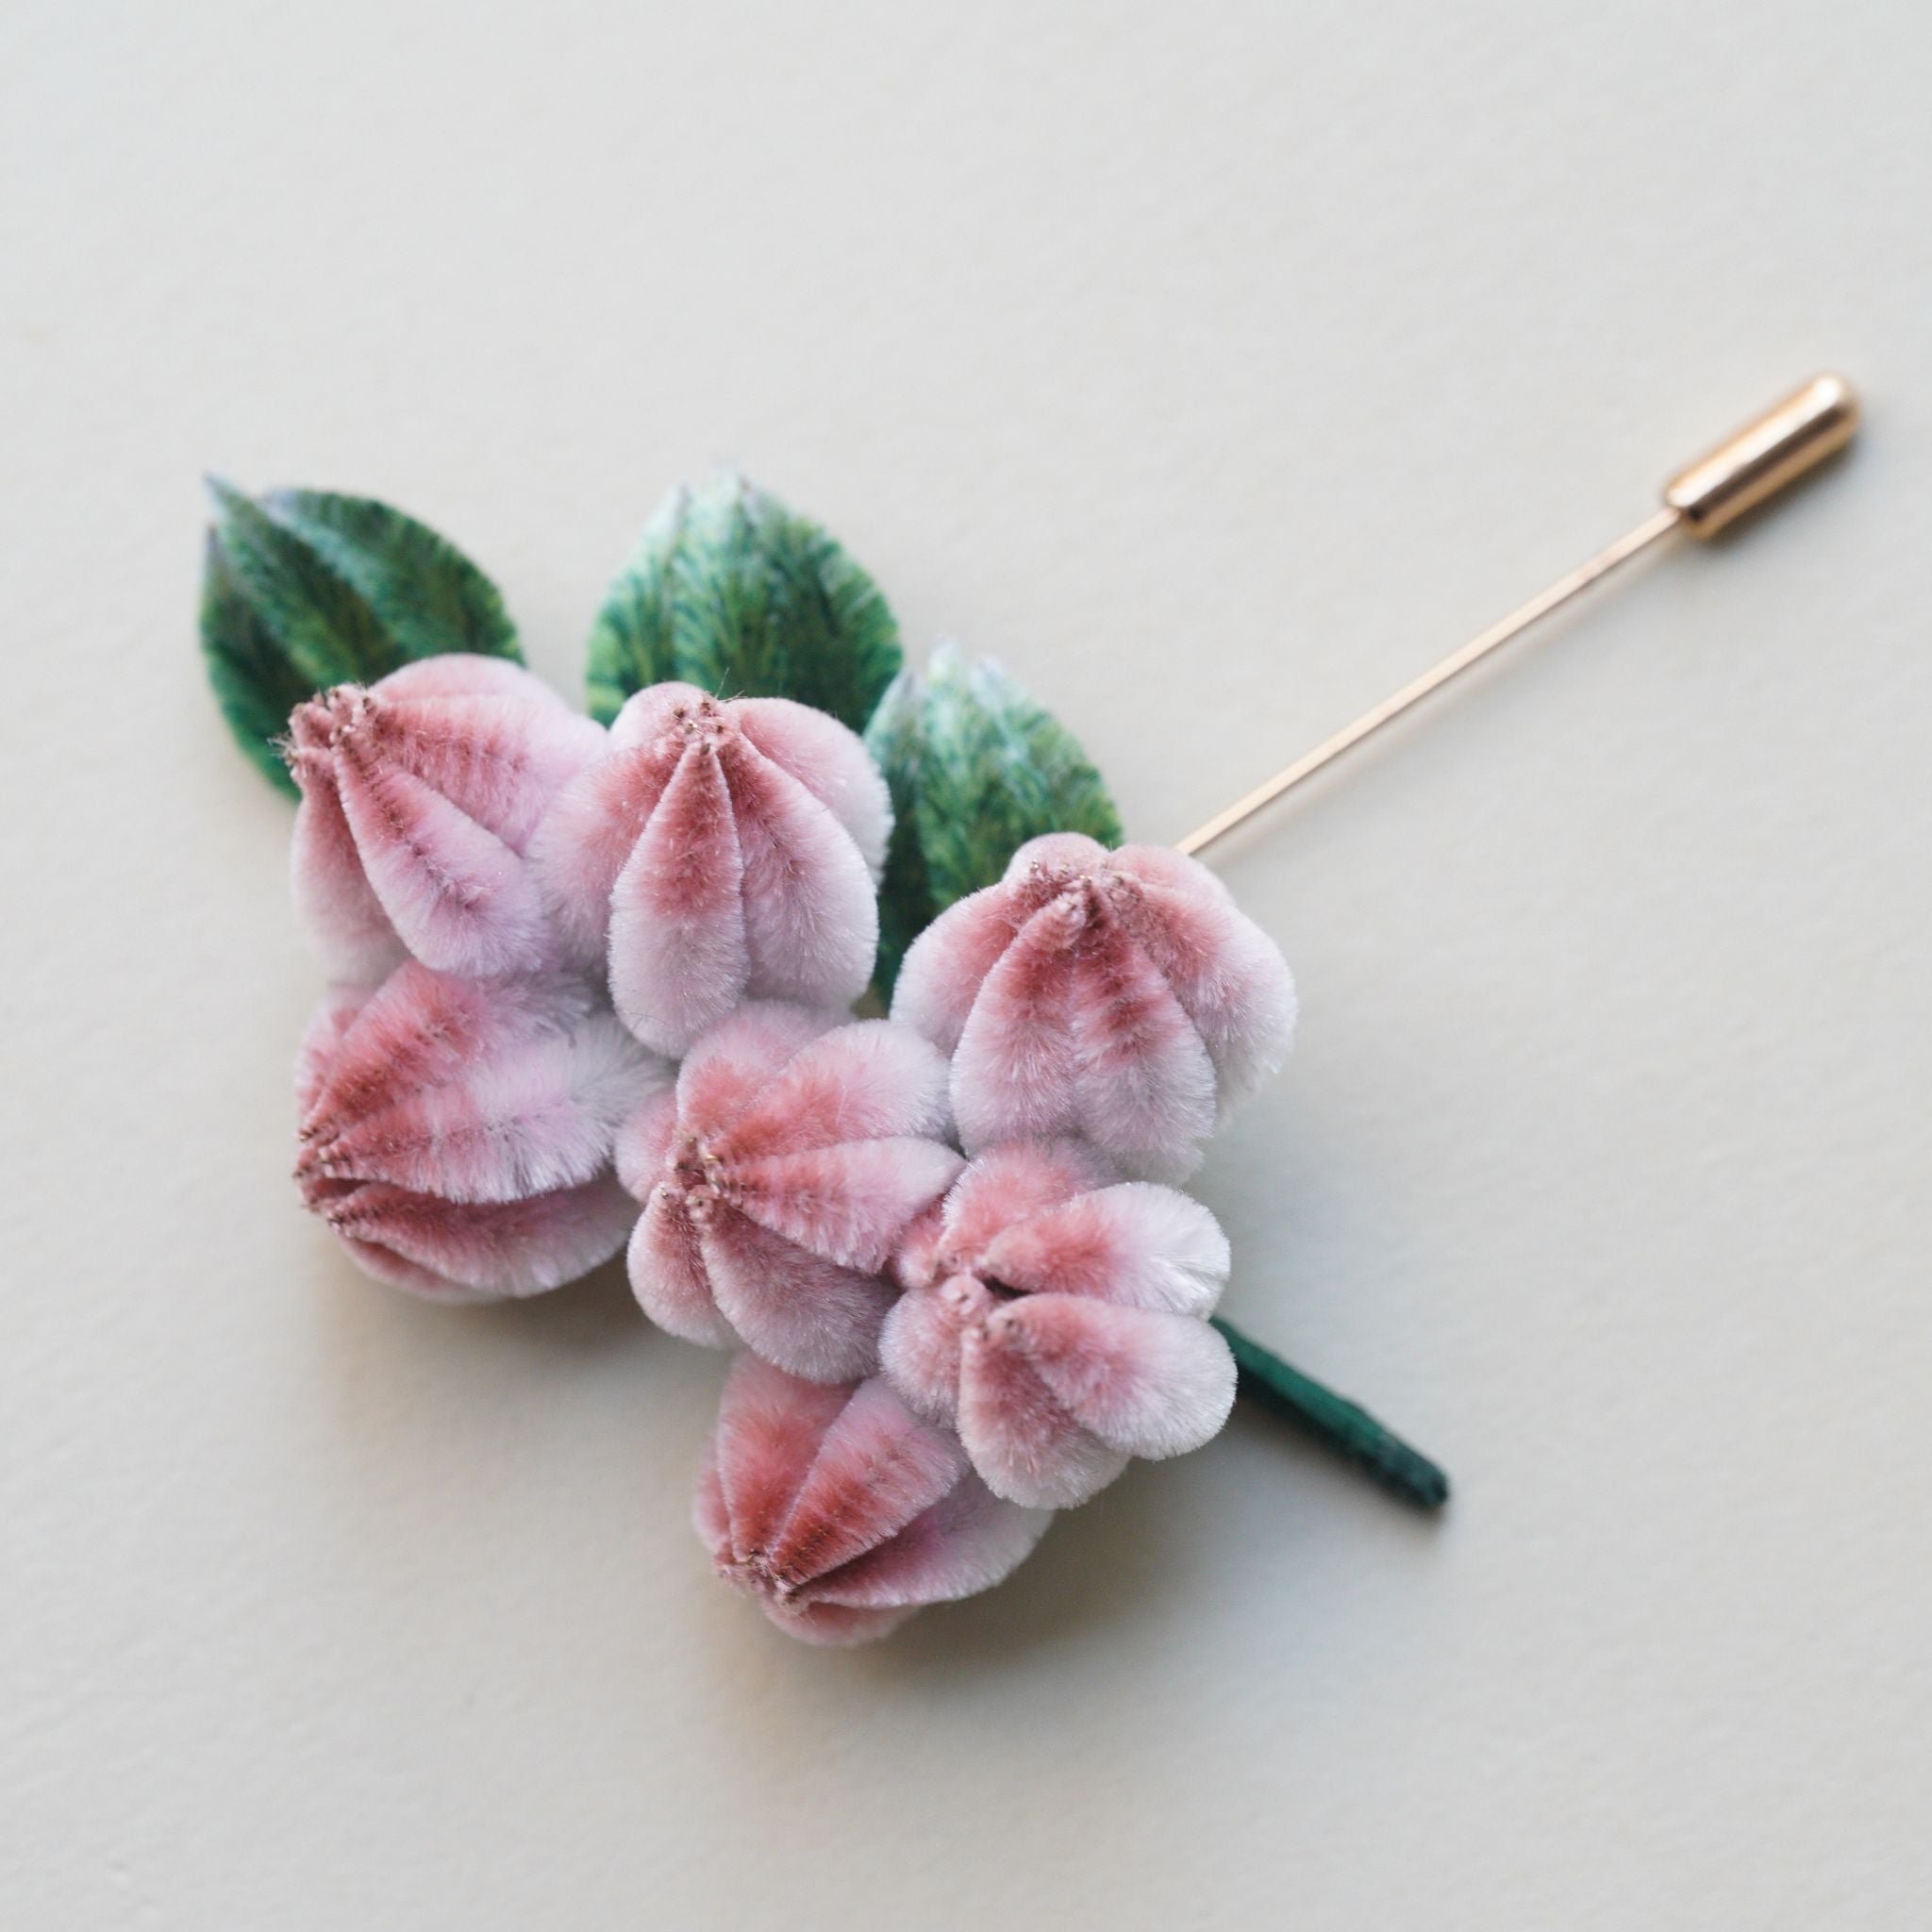
Learn how to create gardenia flowers earrings using the traditional Ronghua (silk velvet flower) crafting technique! In this step-by-step tutorial, we’ll guide you through preparing the velvet strips, brushing, shaping, and assembling your very own vibrant gardenia flowers. Perfect for adding a handmade touch to your festive decor!
Step 1: Prepare the Silk Threads and Build the Velvet Base 0:00~1:58
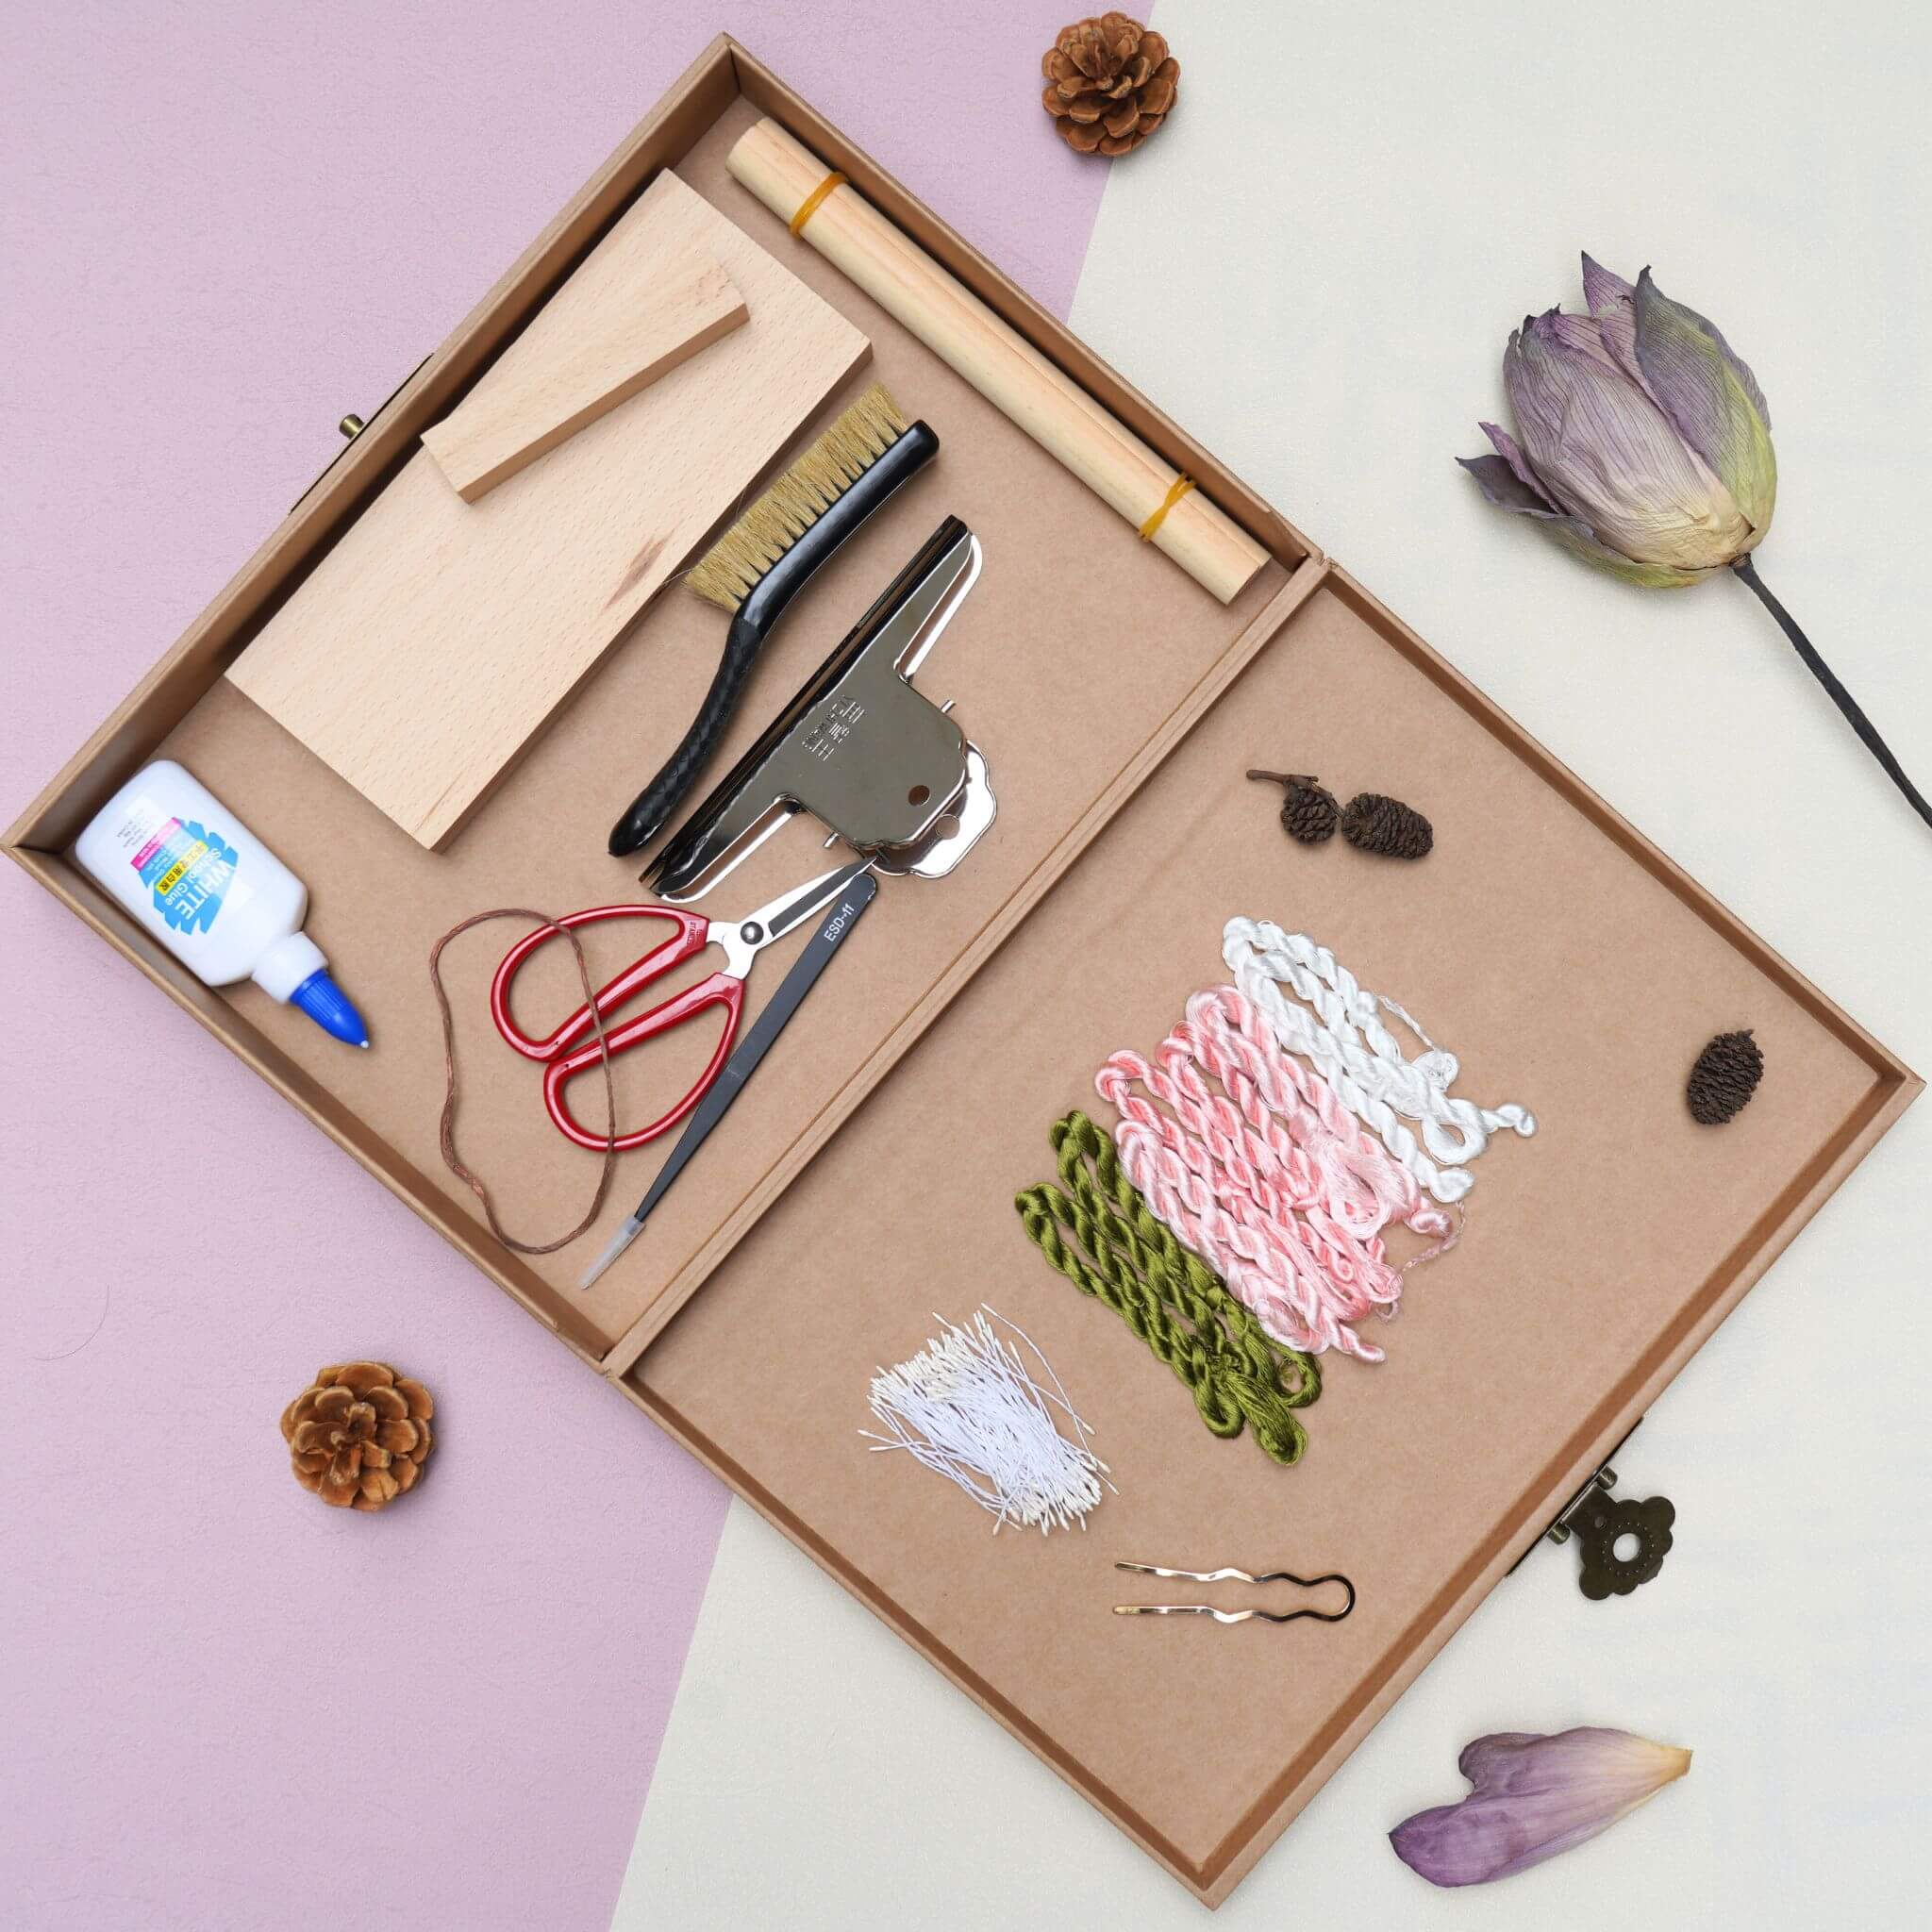
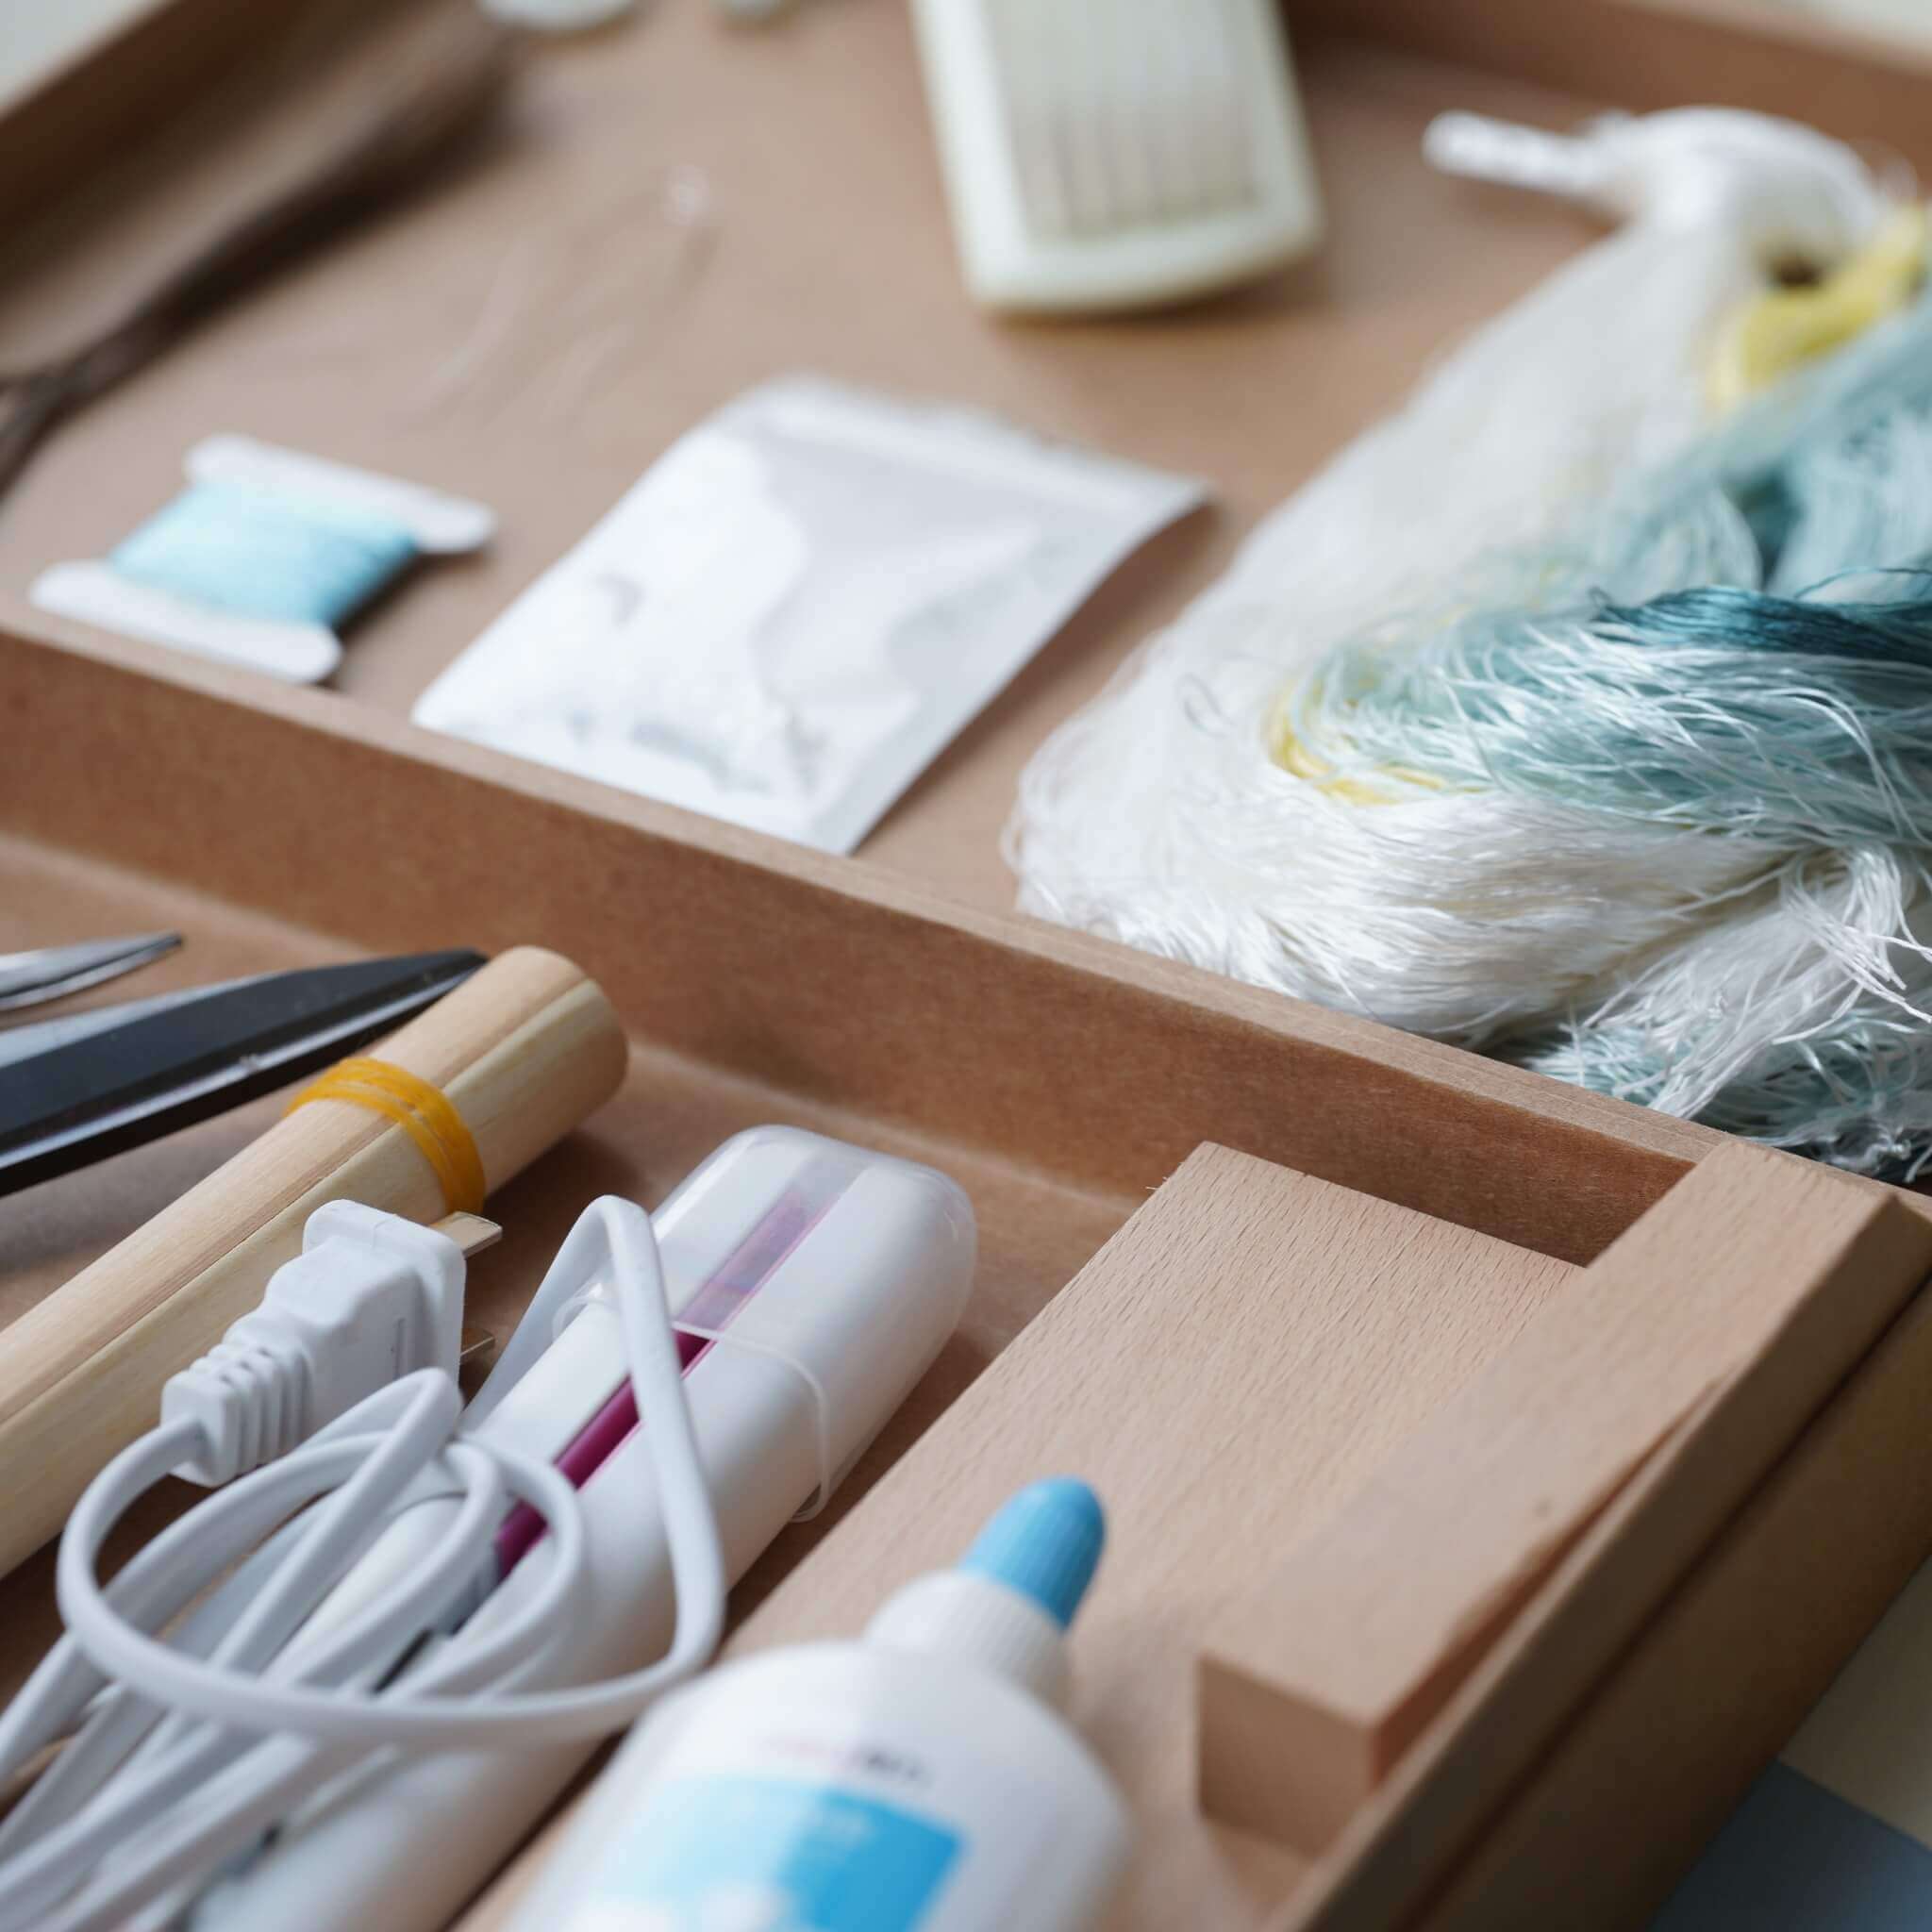
Today we’re making these beautiful gardenia flowers earrings. You’ll need five colors of mulberry silk threads. Open up the thread bundles and smooth them out. Locate the knot in the threads and cut it off. Divide the threads into groups of 6 strands each, making sure the bottom ends are neatly aligned. Tie each group onto a wooden stick. You’ll need a total of 3 silk ranks (see image for detailed measurements). Use a mountain-shaped clamp to secure the threads to your ronghua stand/frame. Lightly spray with water or fabric softener to reduce static electricity.

Step 2: Brush the Silk Threads 1:59~4:31
Start brushing the threads. Hold the bottom of the thread bundle firmly with one hand. Always brush down to the very ends before releasing your grip—this helps prevent tangling. If the threads do get tangled, gently separate and smooth them out right away. Be sure to brush both sides of the threads. On the left: unbrushed threads; on the right: fully brushed. You can clearly see the difference. Once the threads are brushed, clamp them with the wooden velvet clip and slide the clip down to the bottom. Secure both ends of the clip with rubber bands. Use a ruler to measure the width at the bottom, and make sure it matches the top. Secure the bottom with another mountain clip. Most importantly, keep the velvet base pulled tight—no sagging allowed.

Step 3: Prepare the Copper Wire and Attach It to the Threads 4:32~8:52
When twisting copper wires, always use magnesium powder for grip. If you don’t have magnesium powder, baby powder or anything slightly gritty also works. Straighten out the copper wires. Twist the second half of each wire into a single tight strand. Hold the wire firmly at one point while twisting the other end. You’ll need to prepare around 60–70 wires like this. This velvet base is for the outer petals of the gardenia. Make sure the wires are perfectly straight. Clamp the silk threads in the middle of two copper wires, and pull them tight. Twist the other side of the copper wire into a single strand by twisting your hands in opposite directions. Adjust the wires so that the spacing is about 1.5 cm for the outer petals. For the inner petals, use a narrower velvet base with wire spacing of about 1.1 cm. For the leaves, the spacing should be about 1.6 cm, and you’ll need 4 in total. If you bind too many wires, you’ll have leftovers—just save them for another project.

Step 4: Cut and Twist the Silk Strips 8:52~13:36
After wiring is done, slide the wooden clip to the bottom to free up space for more wire. Once finished, remove the wooden clip. When cutting the silk strips, place your scissors exactly between two wires. After cutting, align the edges of each strip neatly. Make sure the copper wire runs exactly down the center of the silk. Adjust the thread position, then twist the wire gently to hold it in place. If it’s hard to move, use your hand or tweezers to help position it. The key here is: clean edges and perfectly centered wire. When twisting the silk strip, hold the end of the copper wire to keep it still. Use a twisting board to tighten the wire. Stop when it feels firm and doesn’t move anymore. The final twisted wire should be perfectly straight. If your strip looks flat, brush it with a dense comb to fluff it up. If fibers fall out, it means the wire wasn’t twisted tight enough. If the strip edges are uneven, trim them with scissors.

Step 5: Shaping the Silk Strips 13:37~19:45
Fold the silk strips in half with the edges lined up, then twist the wire tight. Use tweezers to neaten the surface. For leaf strips: cut off the copper wire from the lighter-colored end. Use an iron to flatten all silk strips. Dip the strips into setting spray (like hair spray) and remove excess glue with tweezers. Lightly shape the strip with tweezers to give it a gentle curve. Tuck in the fuzzy edges toward the center. Clamp vertically along the center line to fold the strip slightly inward. This forms the small inner petals of the flower. Repeat this shaping process for all petals. Stick them onto a foam pad to dry—do not leave them under direct sunlight. For outer petals: Fold outward at the yellow-white boundary. Clamp a curve inward at the top third of the petal. Gently fold the edges inward to tighten the shape. Once dry, trim the petal edges for a clean look.

Step 6: Assemble the Flower 19:46~27:59
You only need 4 leaves. Use the clamp to flatten and shape the leaves: First, press them flat. Then clamp the center line vertically. Push the opposite side inward. Optionally, flip the leaf edges outward for fullness. Trim all flower petals neatly. Large petals are split into two groups: One with inward and outward curves. One with just inward-curved edges. Compare them closely—you’ll see the difference in edge shaping. Get all the shaped petals ready. Take a flower center and wrap thread around the base to secure it. Trim the bottom at an angle for a smoother transition. Now begin assembling: Start with the small inner petals—place them tightly together (you’ll need about 9–10). Secure each one with thread before adding the next. Use 5 inward-curved large petals for the middle layer. Use 5 outward-curved large petals for the outer layer. In total, each flower uses about 20 petals.

Step 7: Finish the Stem and Assemble the Earring 28:00~end
Add a 0.4 mm copper wire to the flower stem to make it stronger and shapeable. Trim excess annealed wire at an angle to create a tapered, natural transition. Wrap the stem tightly with thread—no exposed wire. Tie off the thread at the bottom to secure everything. Make two complete flowers. Take two leaves and attach them to the flowers. The leaf stems should already be wrapped in thread. Fold the wrapped wire in half, leaving a small loop. Continue wrapping thread over the folded stem. Trim off the extra copper, leaving just a little tip. After fully wrapping the wire, take a new short silk thread. Fold it in half and place it on the stem. Wrap a few turns, then pull the ends through the loop and tighten. Cut off the excess and lightly seal the thread ends with a lighter. Use pliers to open a jump ring. Slide it through the hole left in the flower. Add the earring hook or base. Close the jump ring tightly—make sure it’s secure.


🎉 And that’s it—your handmade gardenia flower earrings are complete! Try them on and enjoy!
If you finished your DIY product, welcome to show your awesome work to us and get coupons for the rest of our DIY kits!
INS@lanseichina
Pinterest@lanseichina


