


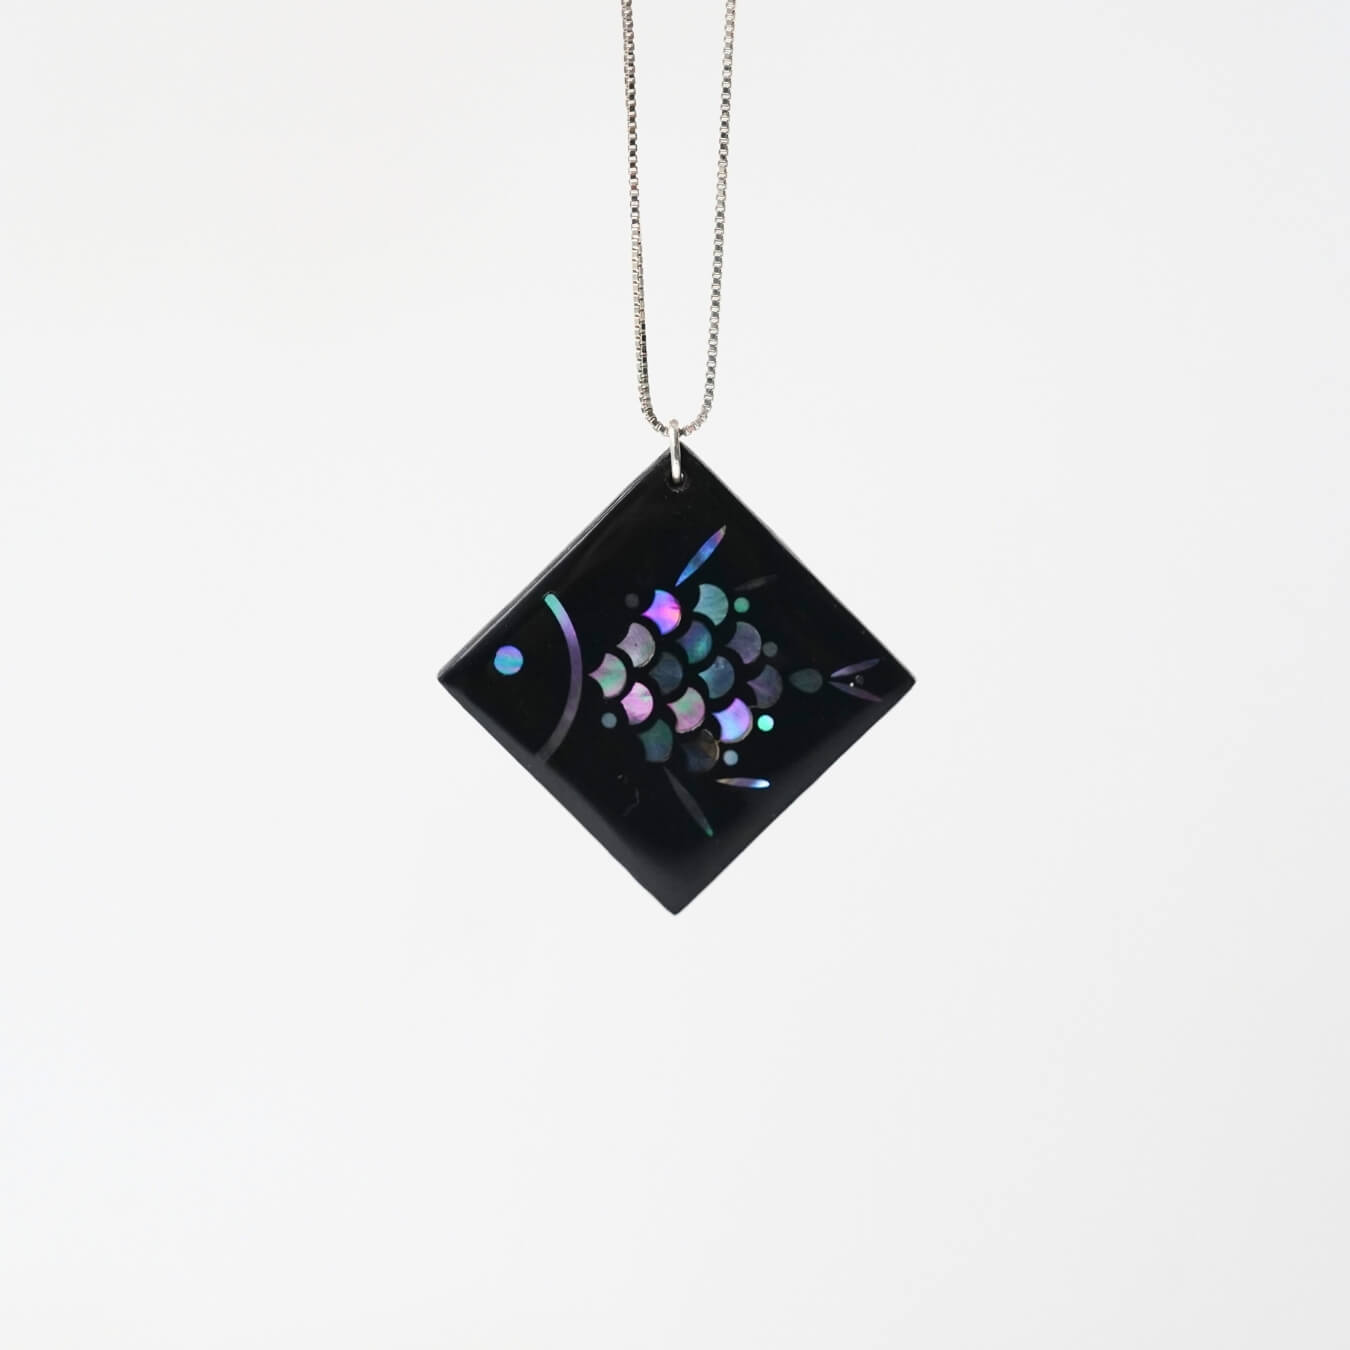
Learn how to create a stunning lacquer pendant with traditional mother-of-pearl (螺钿 luódiàn) inlay techniques! In this step-by-step tutorial, we walk you through surface preparation, black lacquer application, inlay placement, sanding, and final polishing. Whether you're a beginner or a craft lover curious about Asian lacquerware, this guide will show you how it’s done using both modern and traditional materials.
Step 1: Applying Black Lacquer
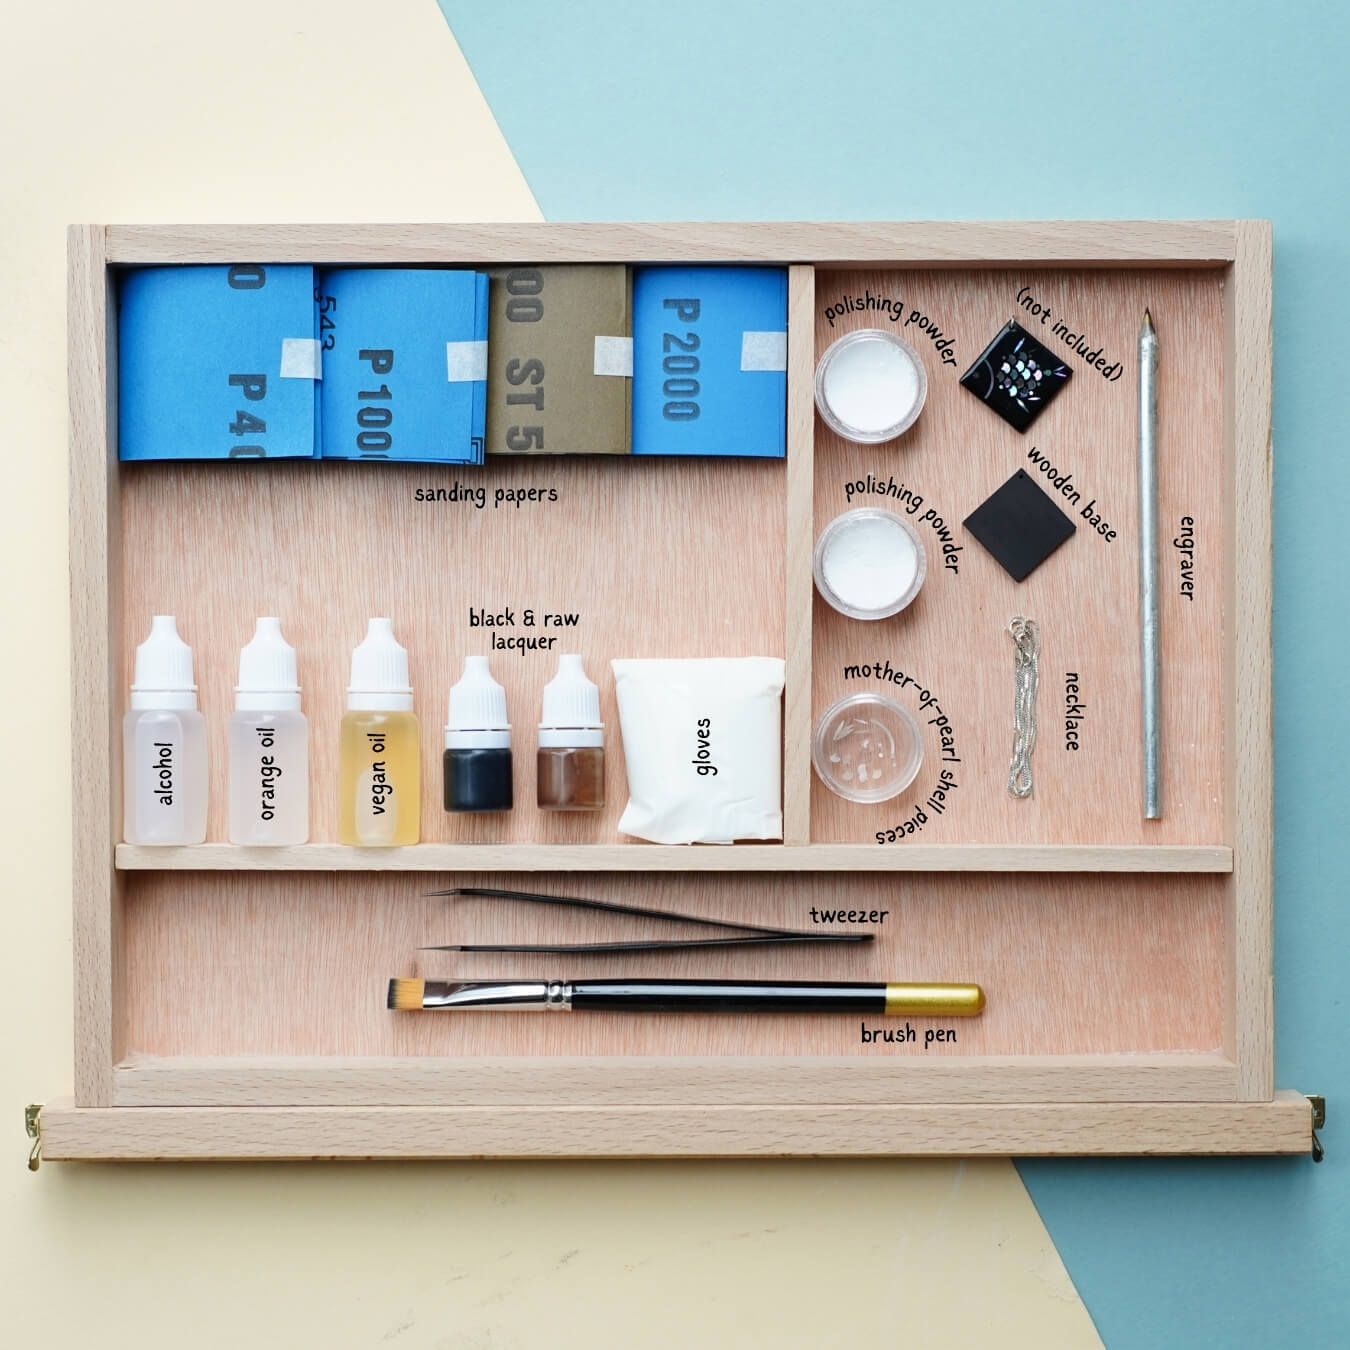
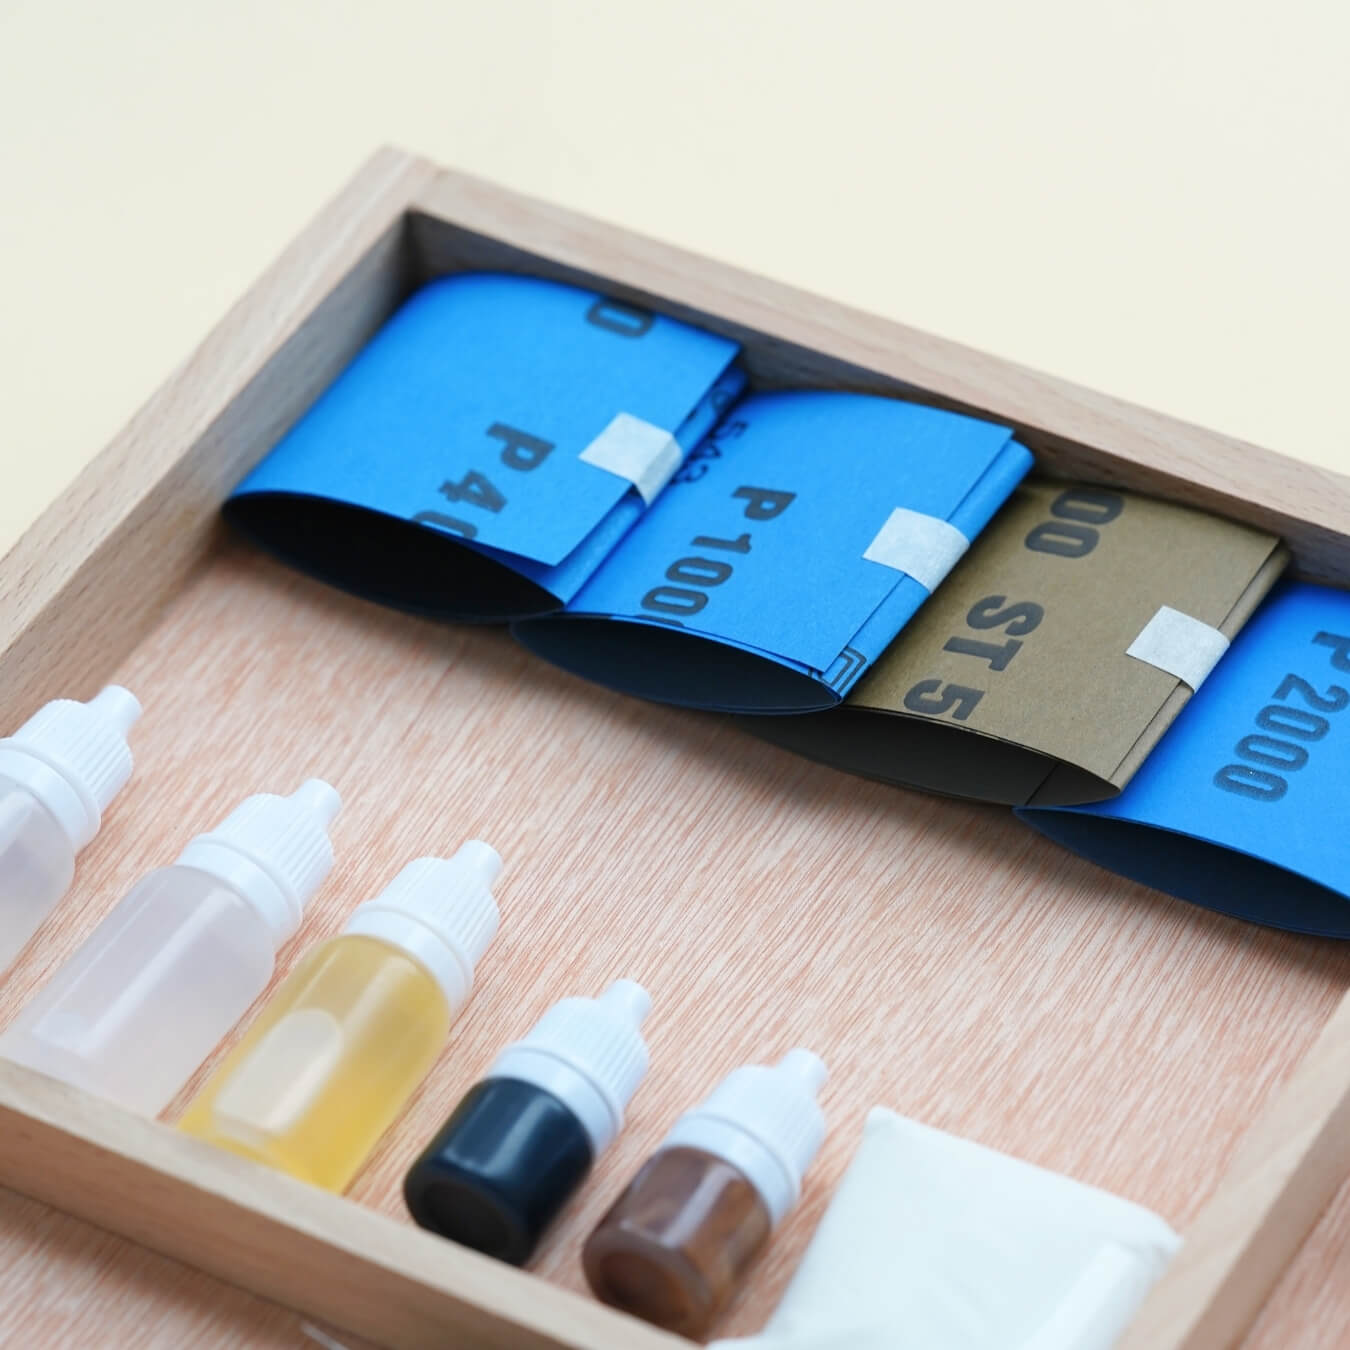
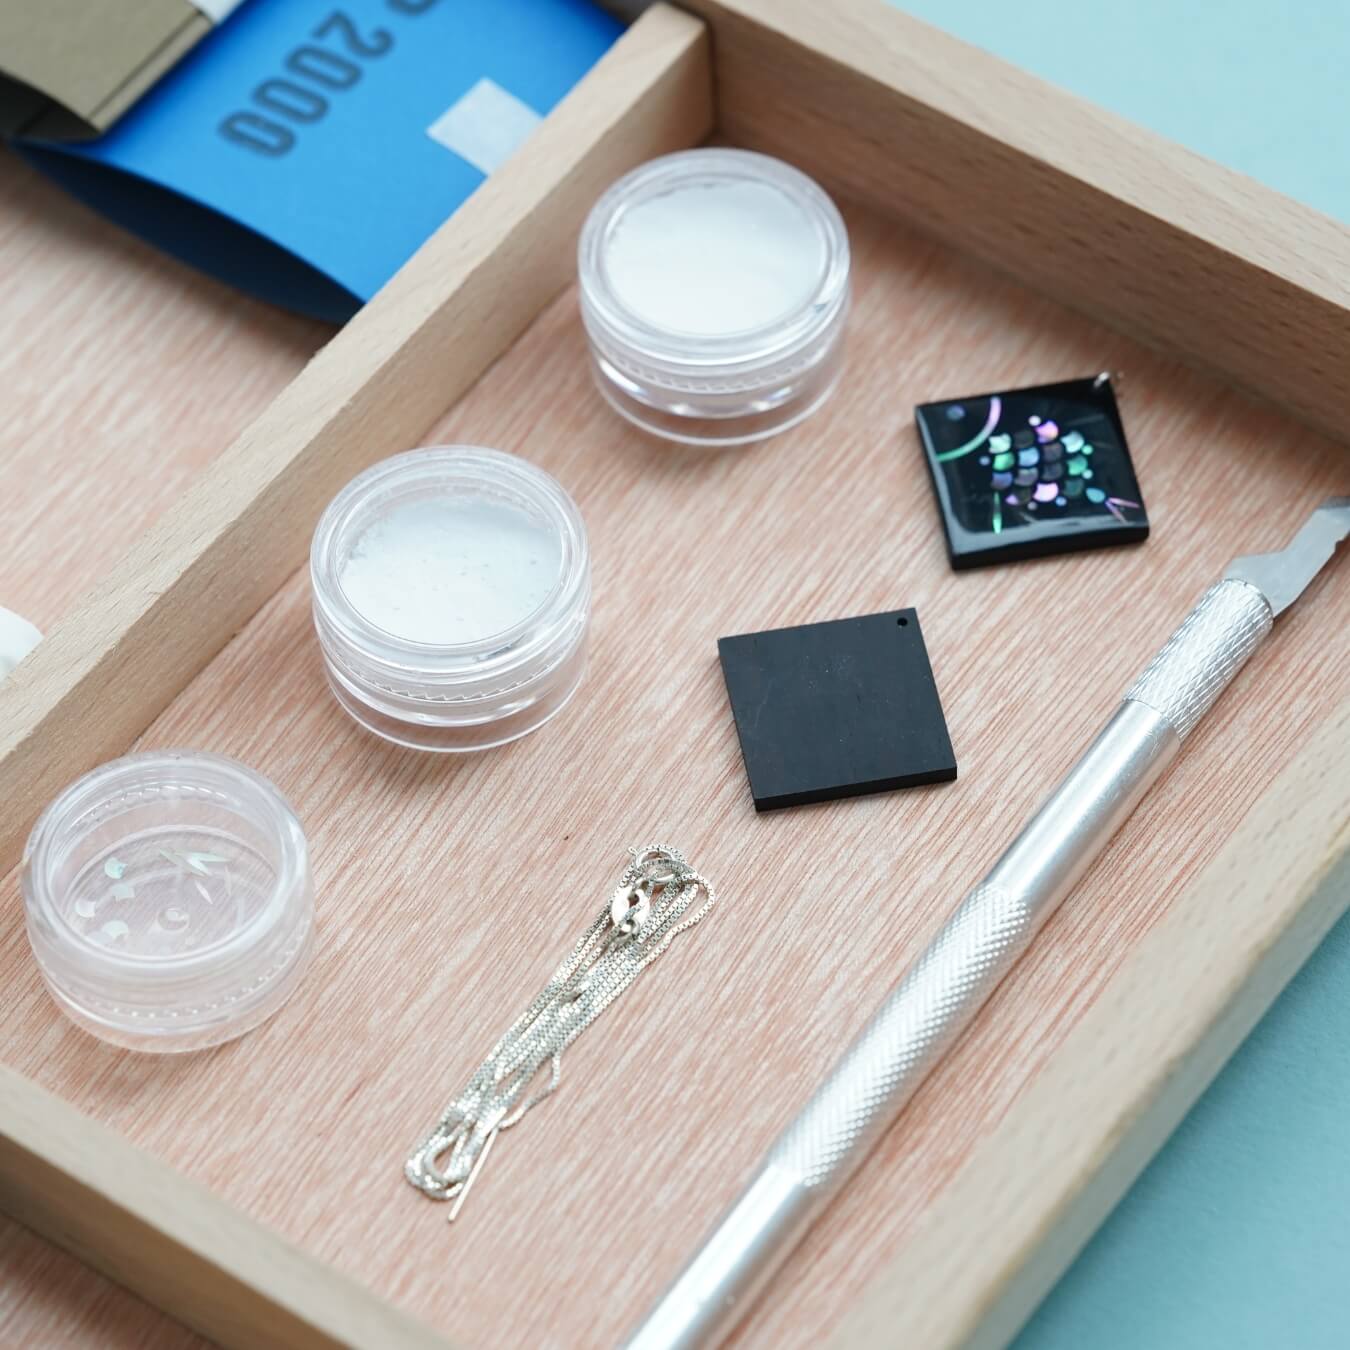
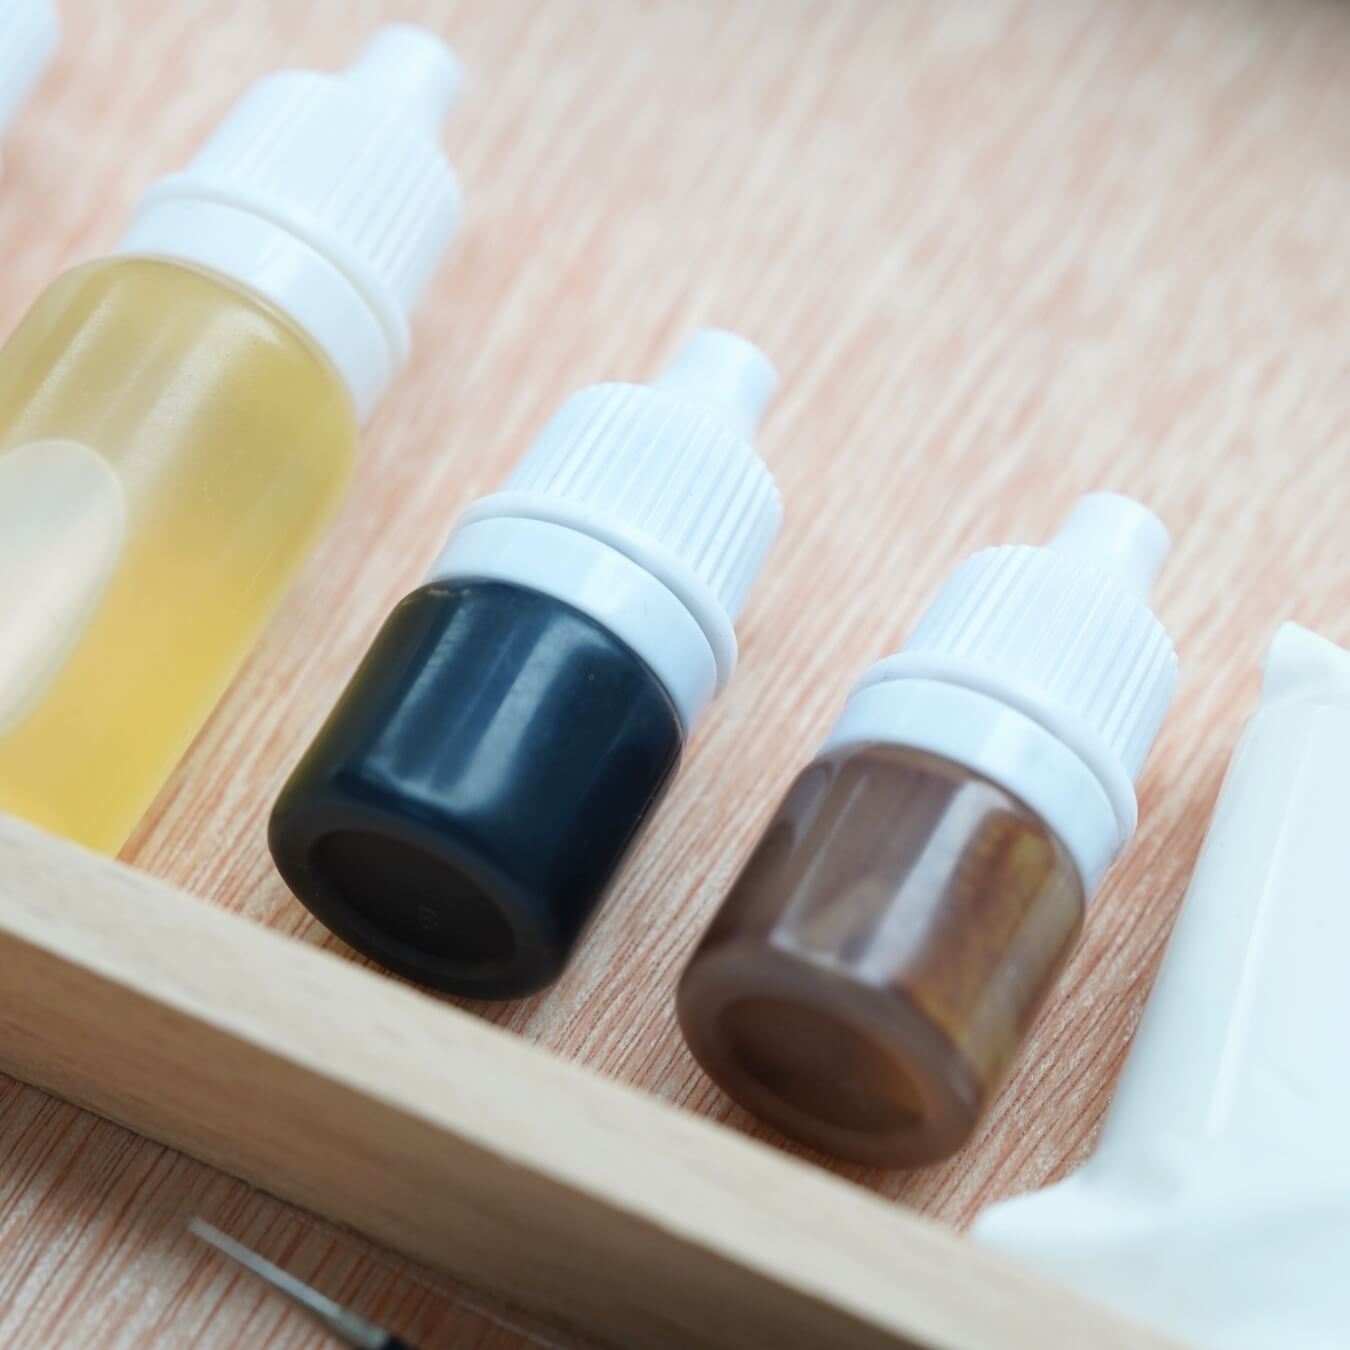
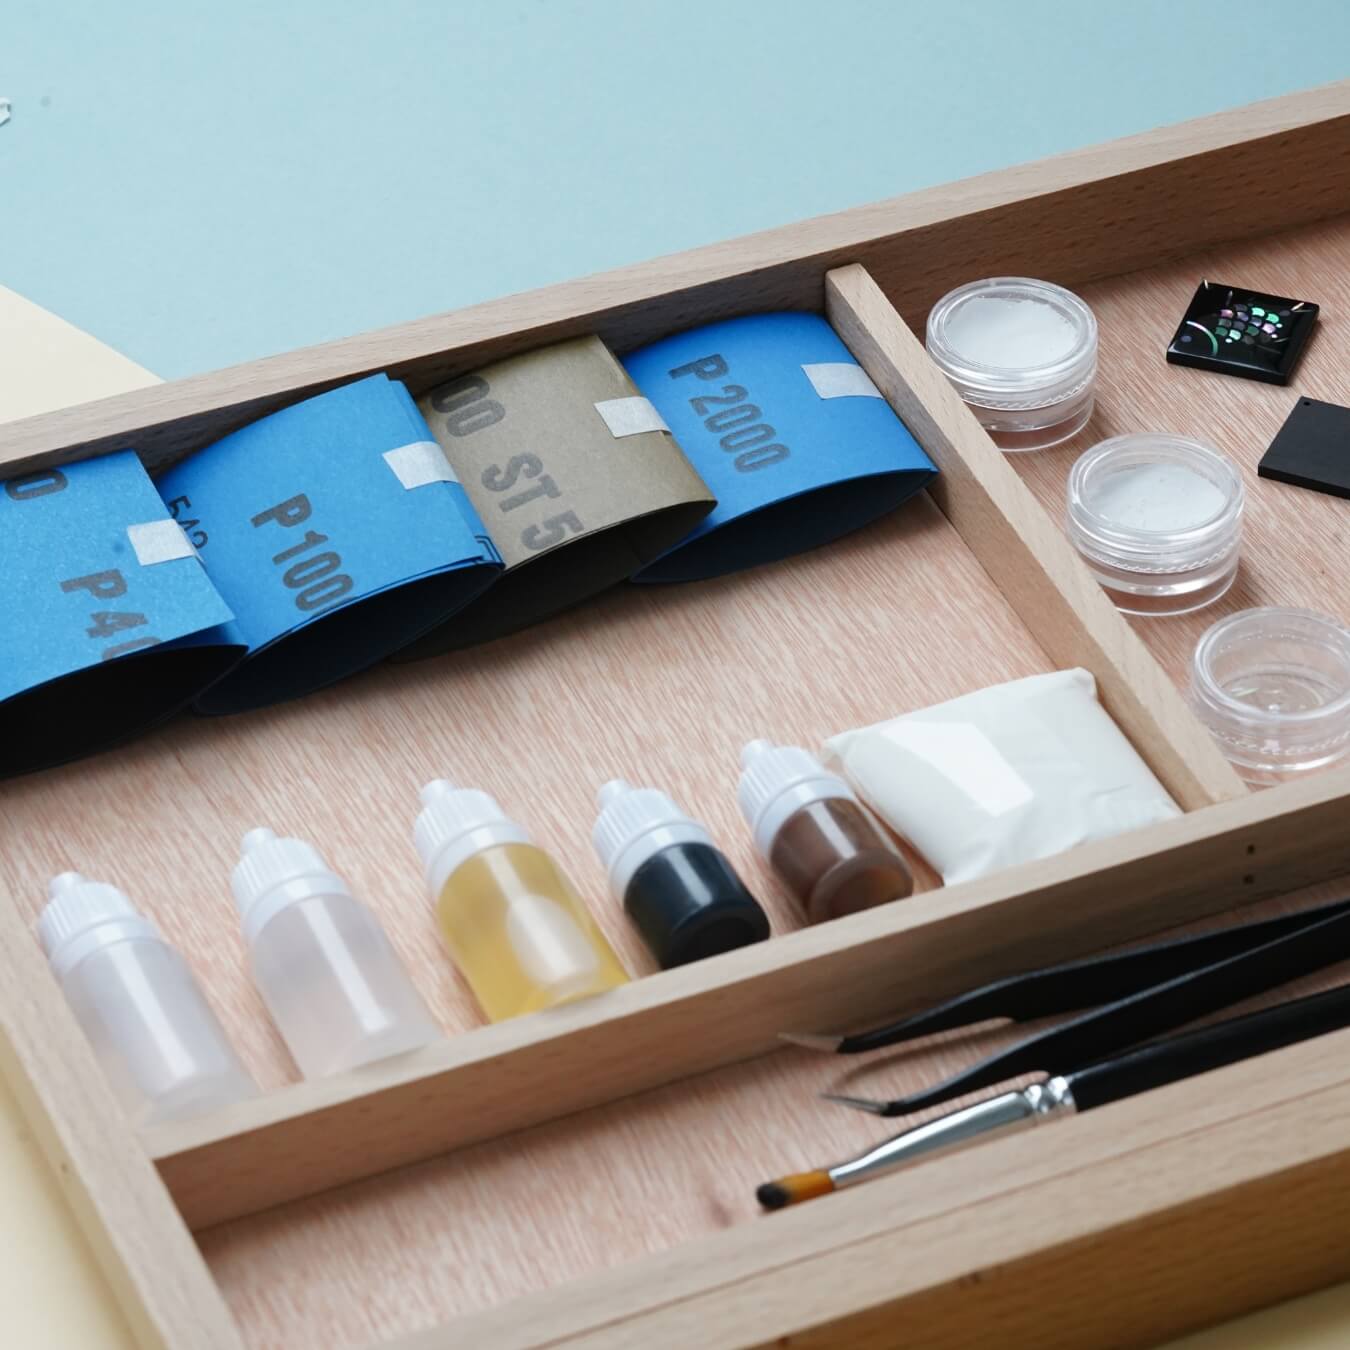
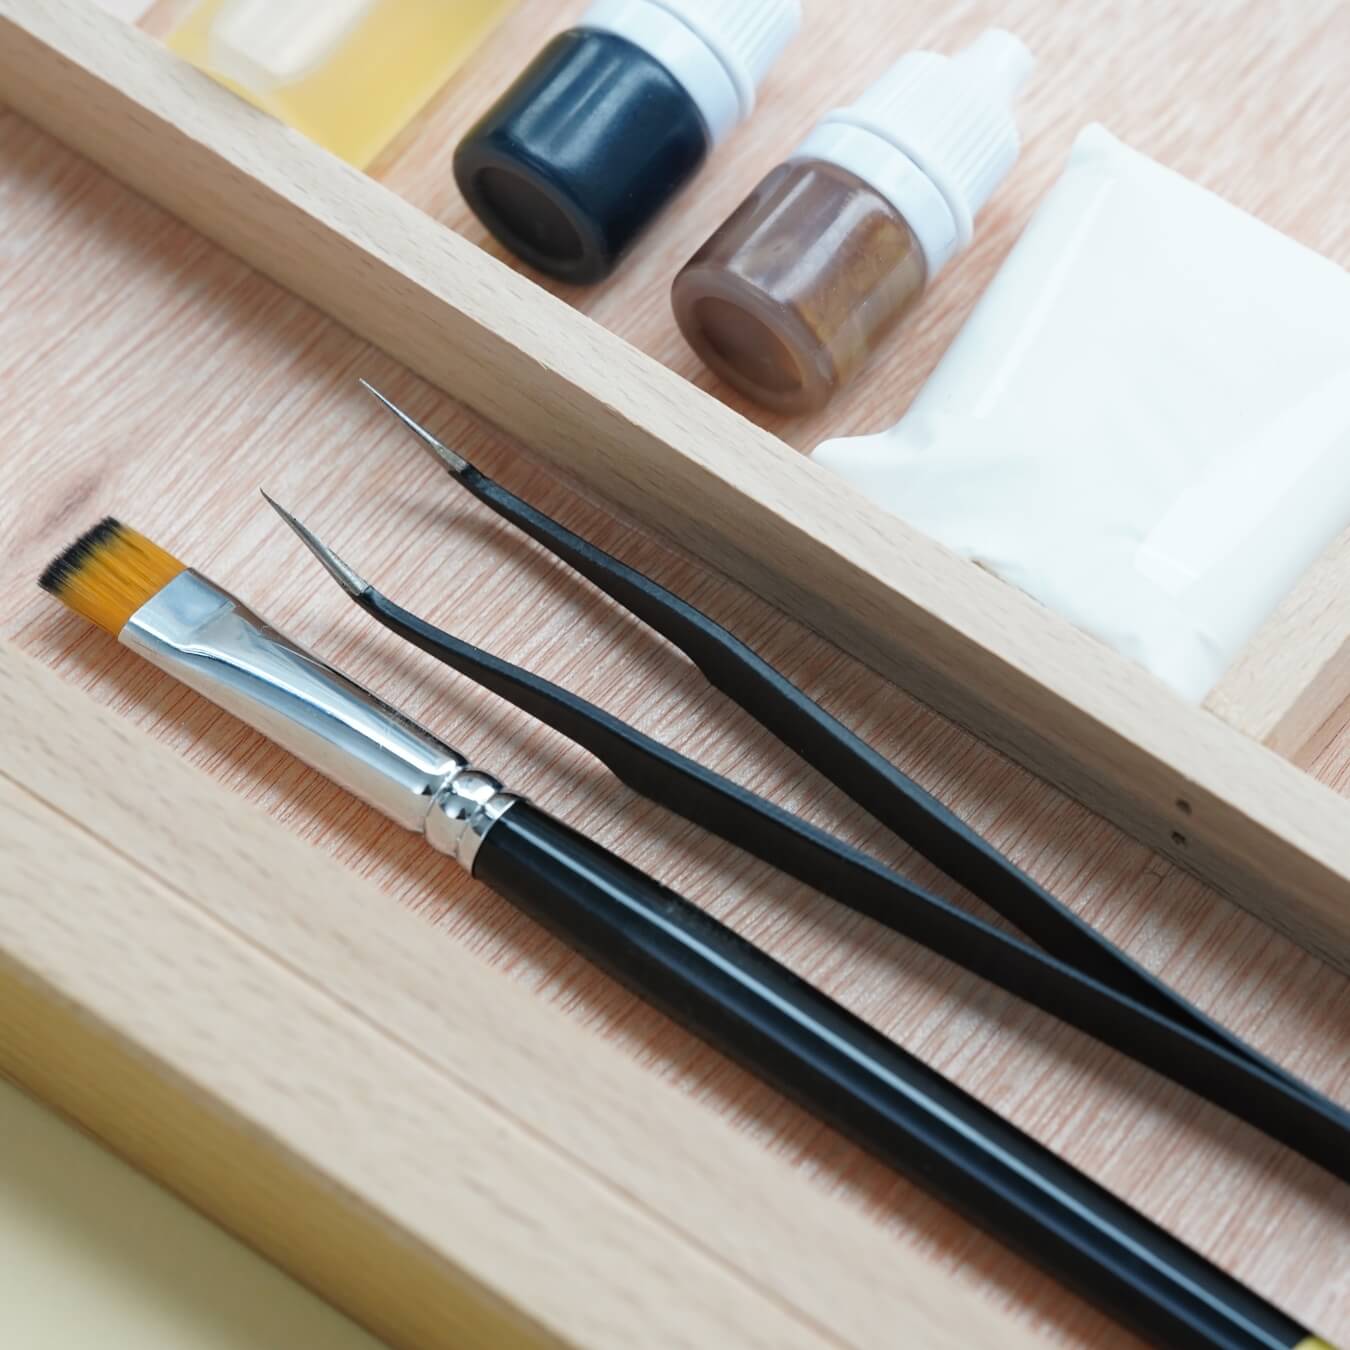
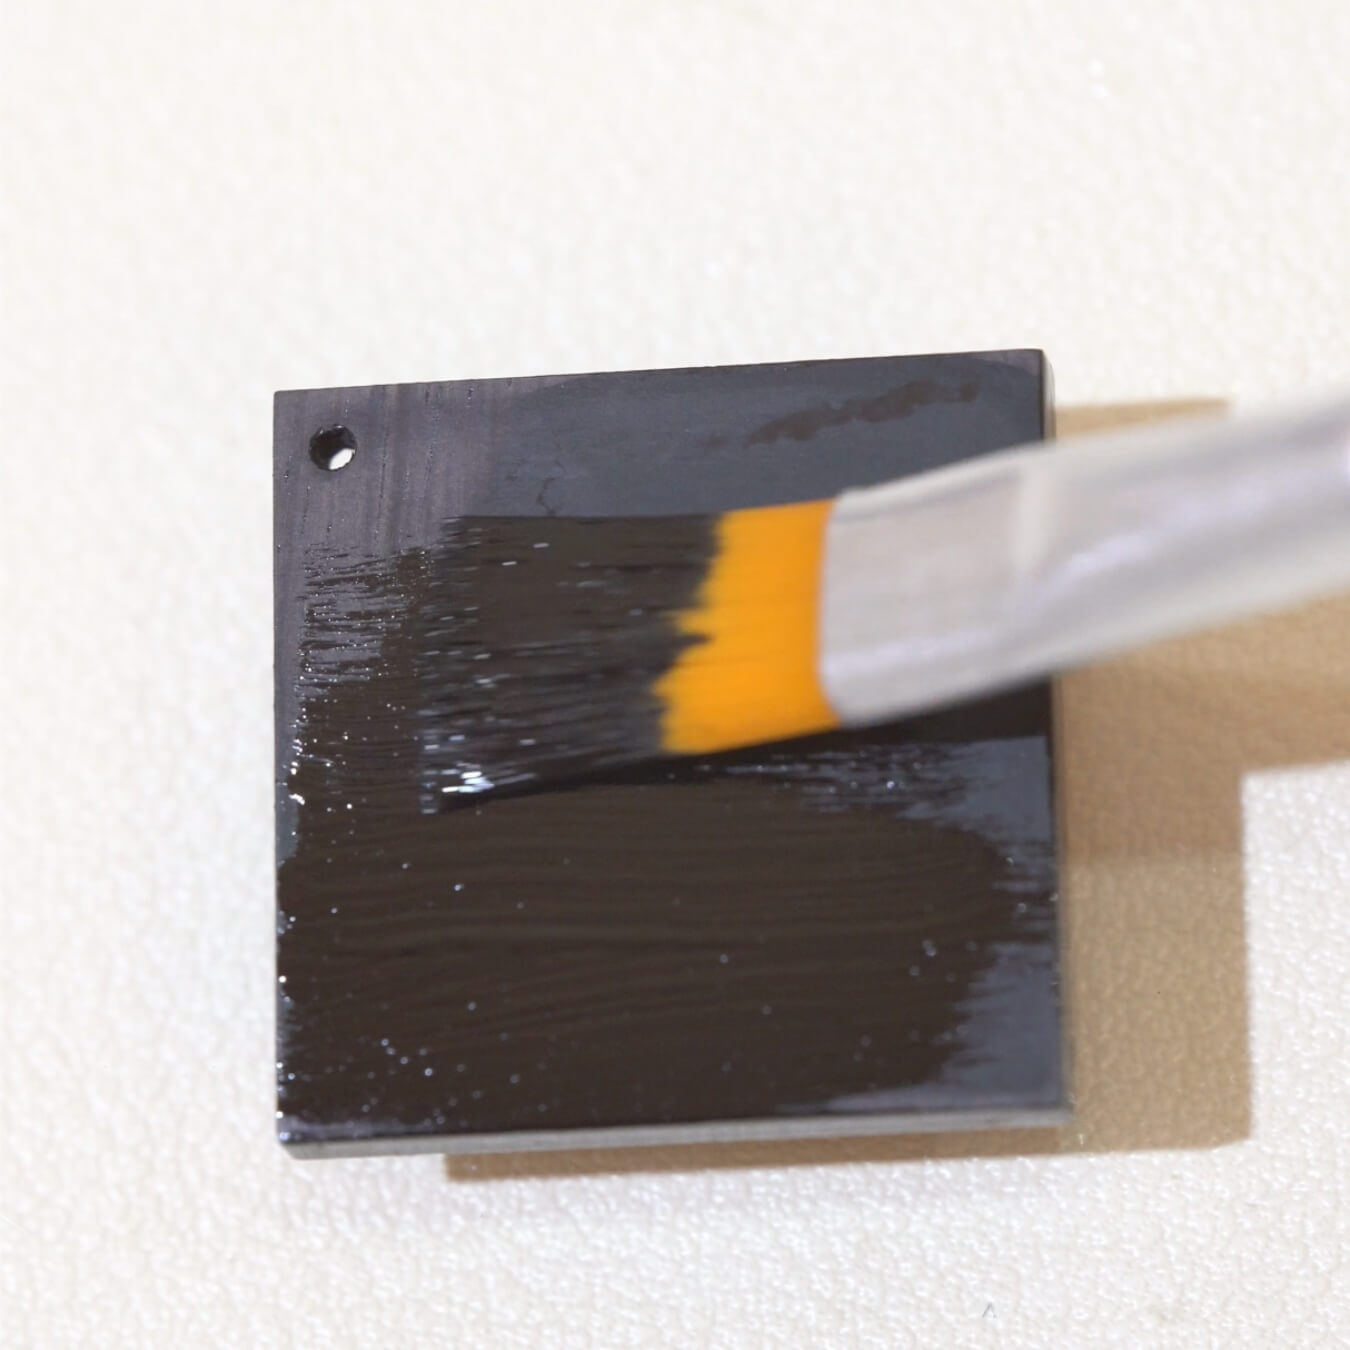
First, sand the surface of the pendant using 400-grit sandpaper. Be sure to sand the edges thoroughly as well. If the black lacquer feels too thick, you can add a drop of orange oil and stir well to thin it out. Dip a brush into the lacquer and apply an even coat across the surface of the pendant. The lacquer should be applied thinly and evenly—avoid brushing on a thick layer all at once.
Repeat this process three times, allowing each layer to air dry before applying the next. After you've finished painting, the brush needs to be cleaned properly. Start by rinsing it with vegetable oil or orange oil, then wipe off any remaining lacquer with tissues. Do a second round of cleaning, and finally coat the bristles with a small amount of edible oil to prevent them from drying out or getting damaged. The brush is now clean and ready for next time. Before using it again, make sure to clean off the oil with alcohol, or the lacquer might not dry properly.

Step 2: Inlaying Shell Pieces and Sanding the Pendant
Lightly sand the surface with 800-grit sandpaper, followed by 1000-grit to remove any burrs or uneven areas. Repeat the three-step lacquer application process, but this time, after each coat, lightly sand the surface again with 1000-grit paper before applying the next layer. Make sure each layer of lacquer is fully dry before sanding; sanding when the lacquer is not completely dry will cause smudging or tearing of the surface.
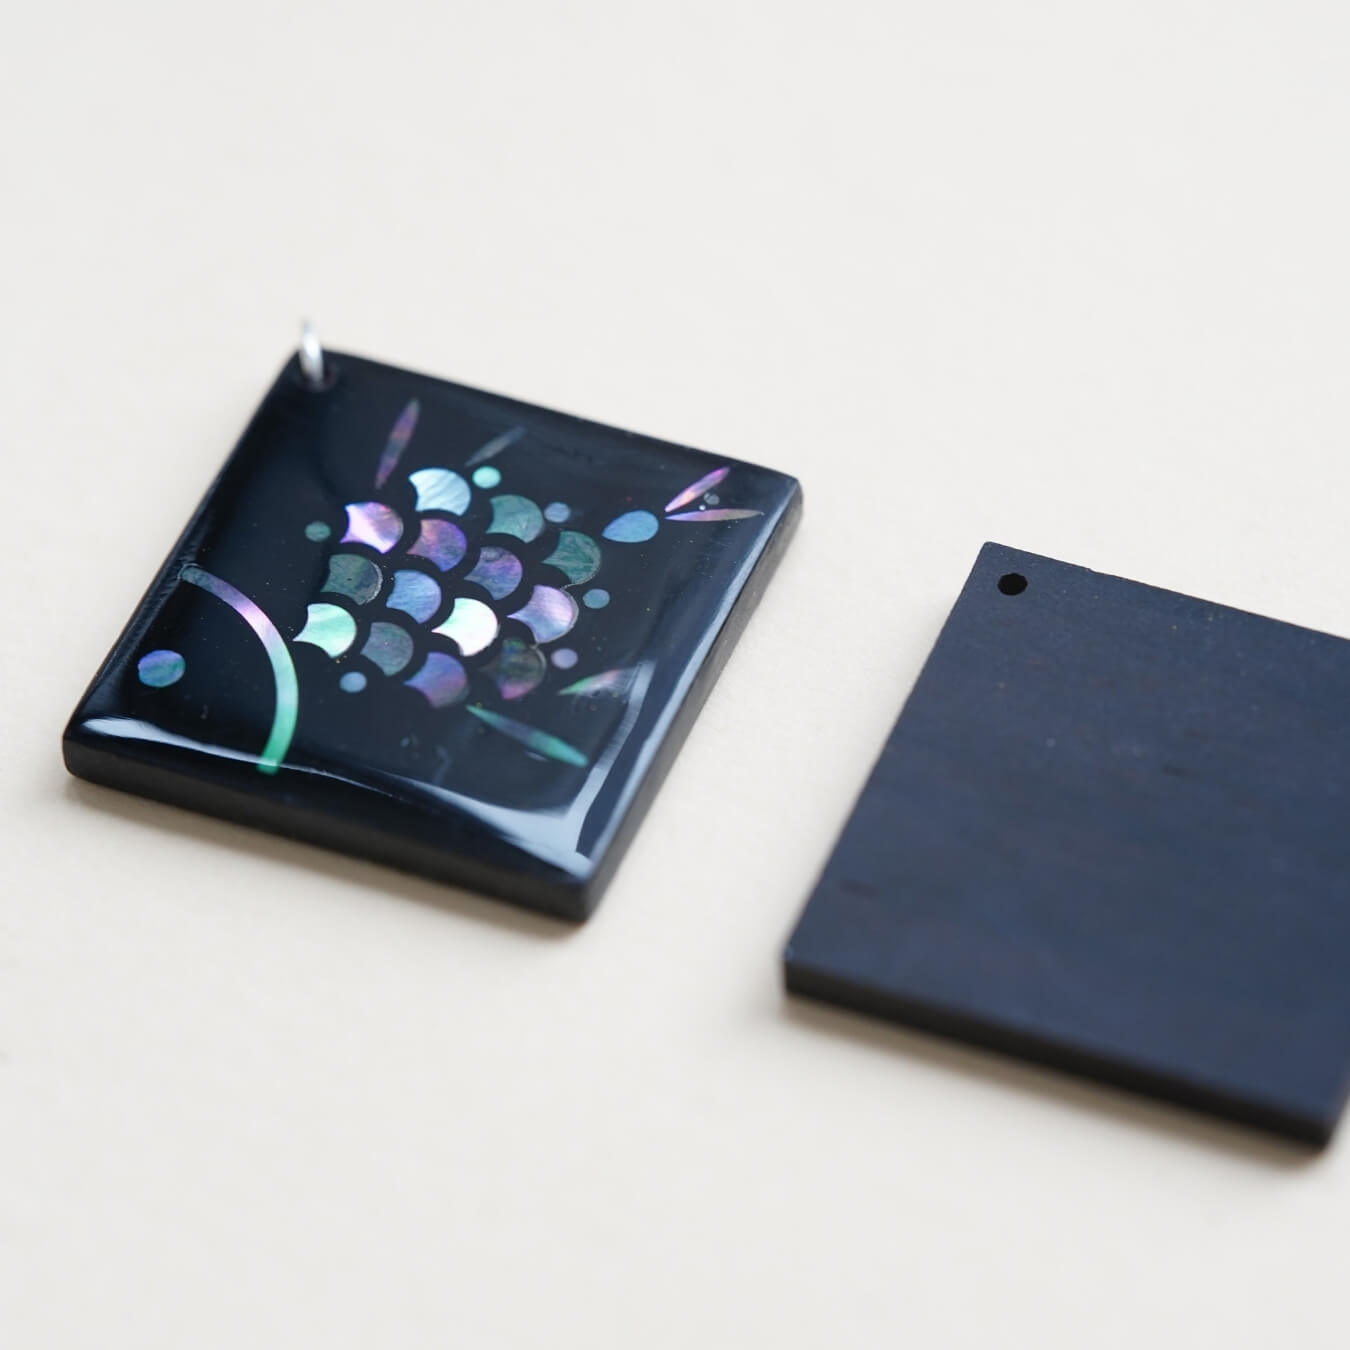
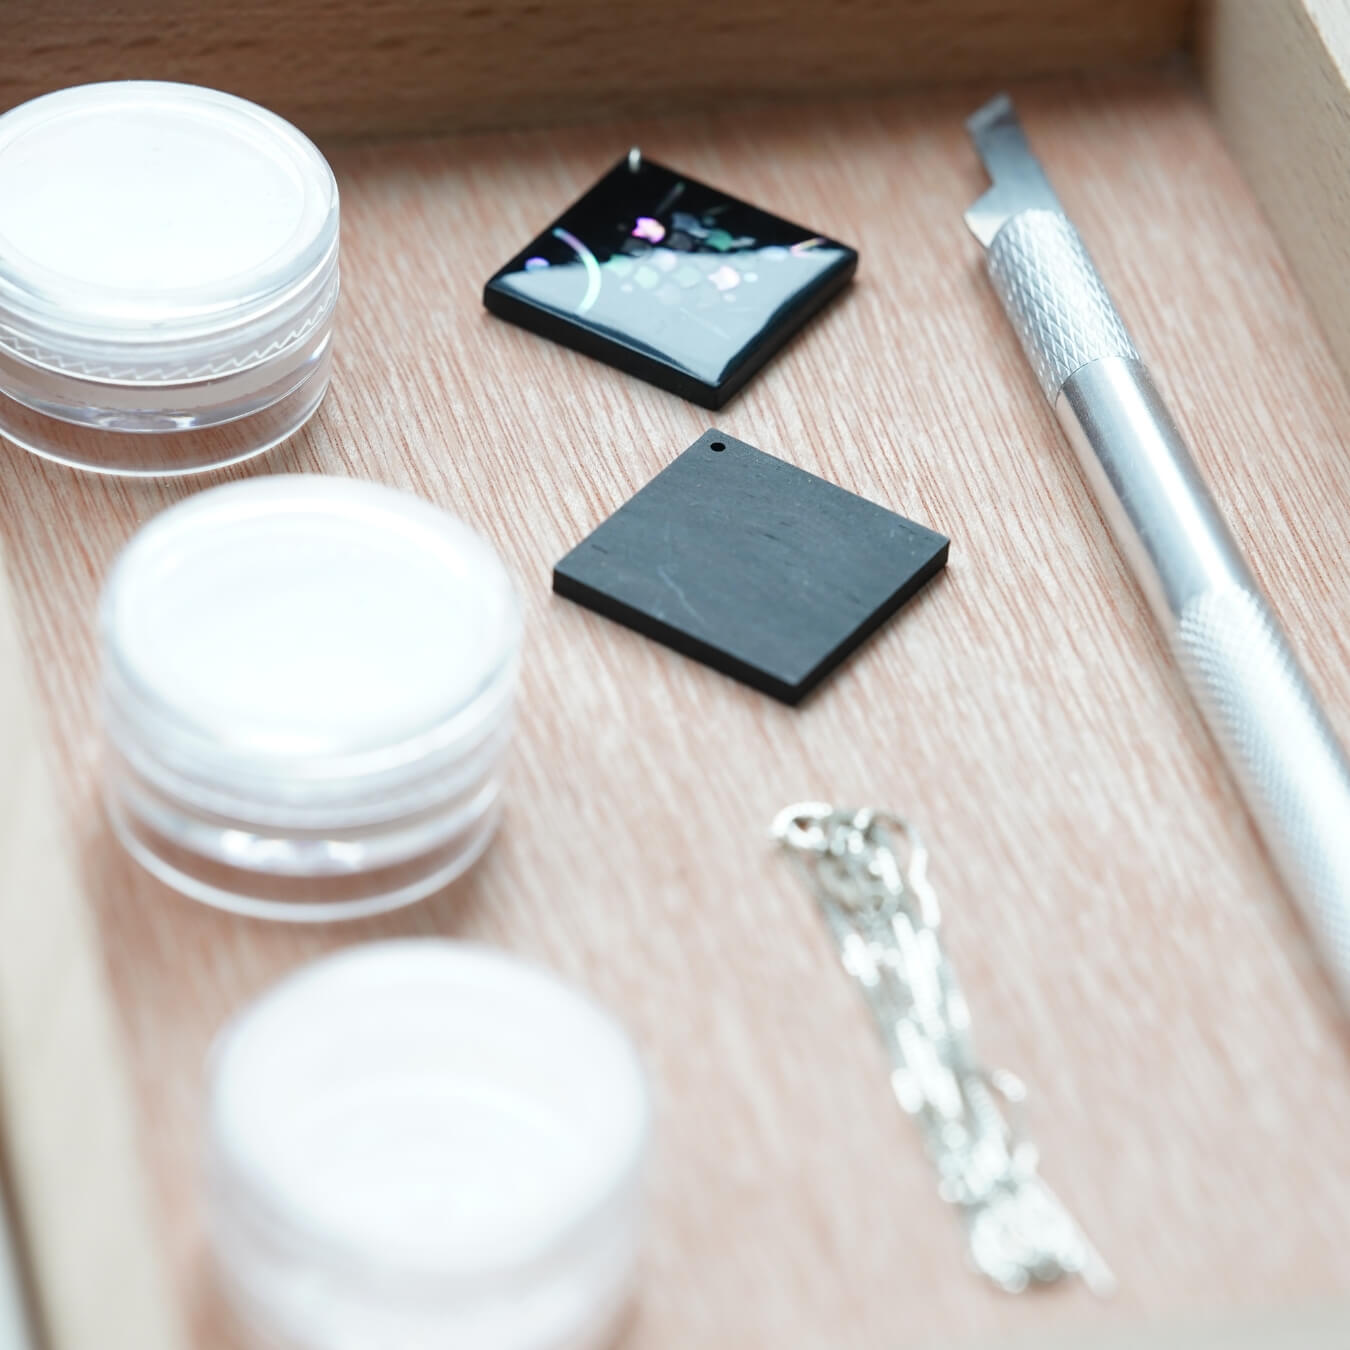
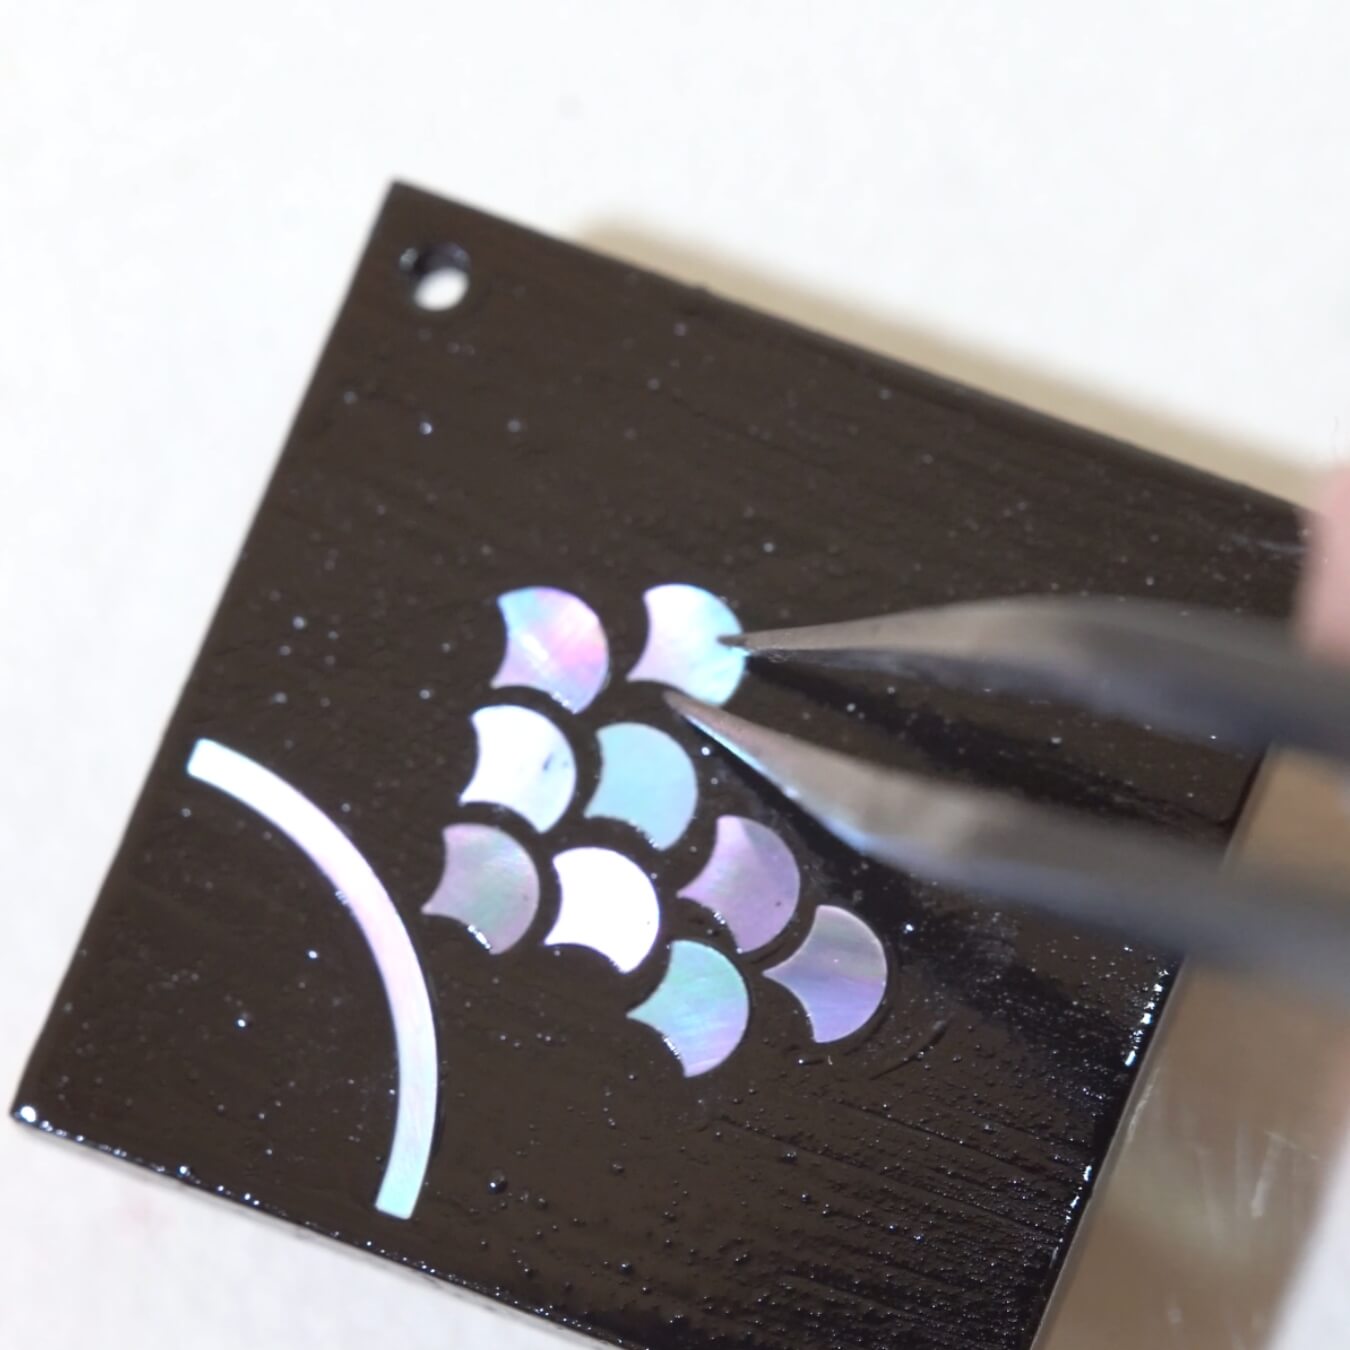
Carefully sand the edges without applying too much pressure, as it’s easy to over-sand them. Prepare your shell inlays (raden). Apply a thin layer of black lacquer, then place the shell pieces according to the design. You can make slight position adjustments before the lacquer dries. Lightly press down and air-dry. Since the first coat may not hold the shell pieces firmly, repeat the process three times to secure them.
To bring out the shine of the shell, gently polish with 1000-grit sandpaper, then gradually move up to 2000, 5000, and finally 7000 grit. Be very gentle—after just a few passes, check the shell’s appearance. If it starts to look dull, you may have sanded off too much. Use a craft knife to carefully scrape away areas that haven’t yet been revealed, but do so lightly to avoid removing the shell.
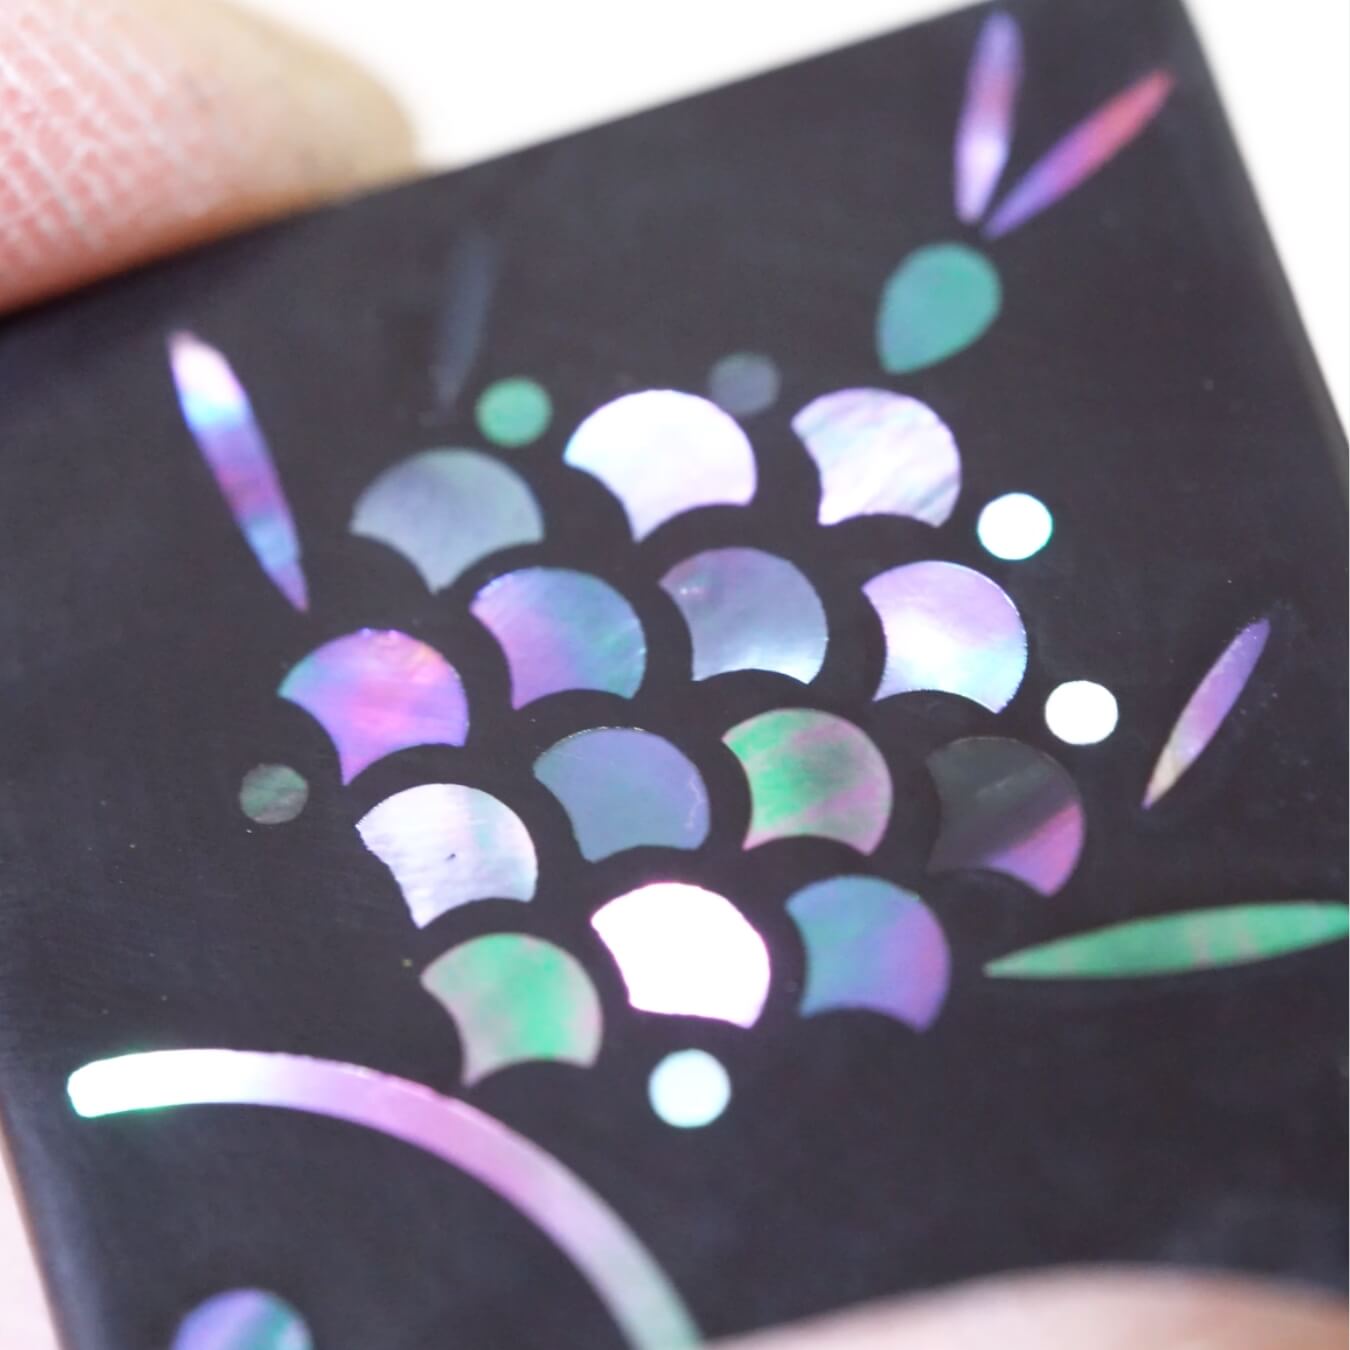
After the shell design is fully revealed, apply another layer of black lacquer to even out the surface. Repeat this step at least three times until the shell and lacquer are perfectly flush.
Step 3: Polishing
After completing the inlay, apply a thin layer of raw lacquer and let it sit for about 30 seconds. Wipe it clean with tissue paper and check for any glossiness. Apply a few drops of vegetable oil to the pendant and spread it evenly, then wipe it off with a tissue. Evenly dust on polishing powder and begin polishing by hand.
Use your palms and fingers to rub and polish every part of the pendant repeatedly. After polishing, clean the pendant thoroughly with dish soap to remove any residue from the vegetable oil. The first round of polishing will usually leave a matte finish. To achieve a glossier look, polish again—first with 4500-grit, then with 8000-grit polishing powder.
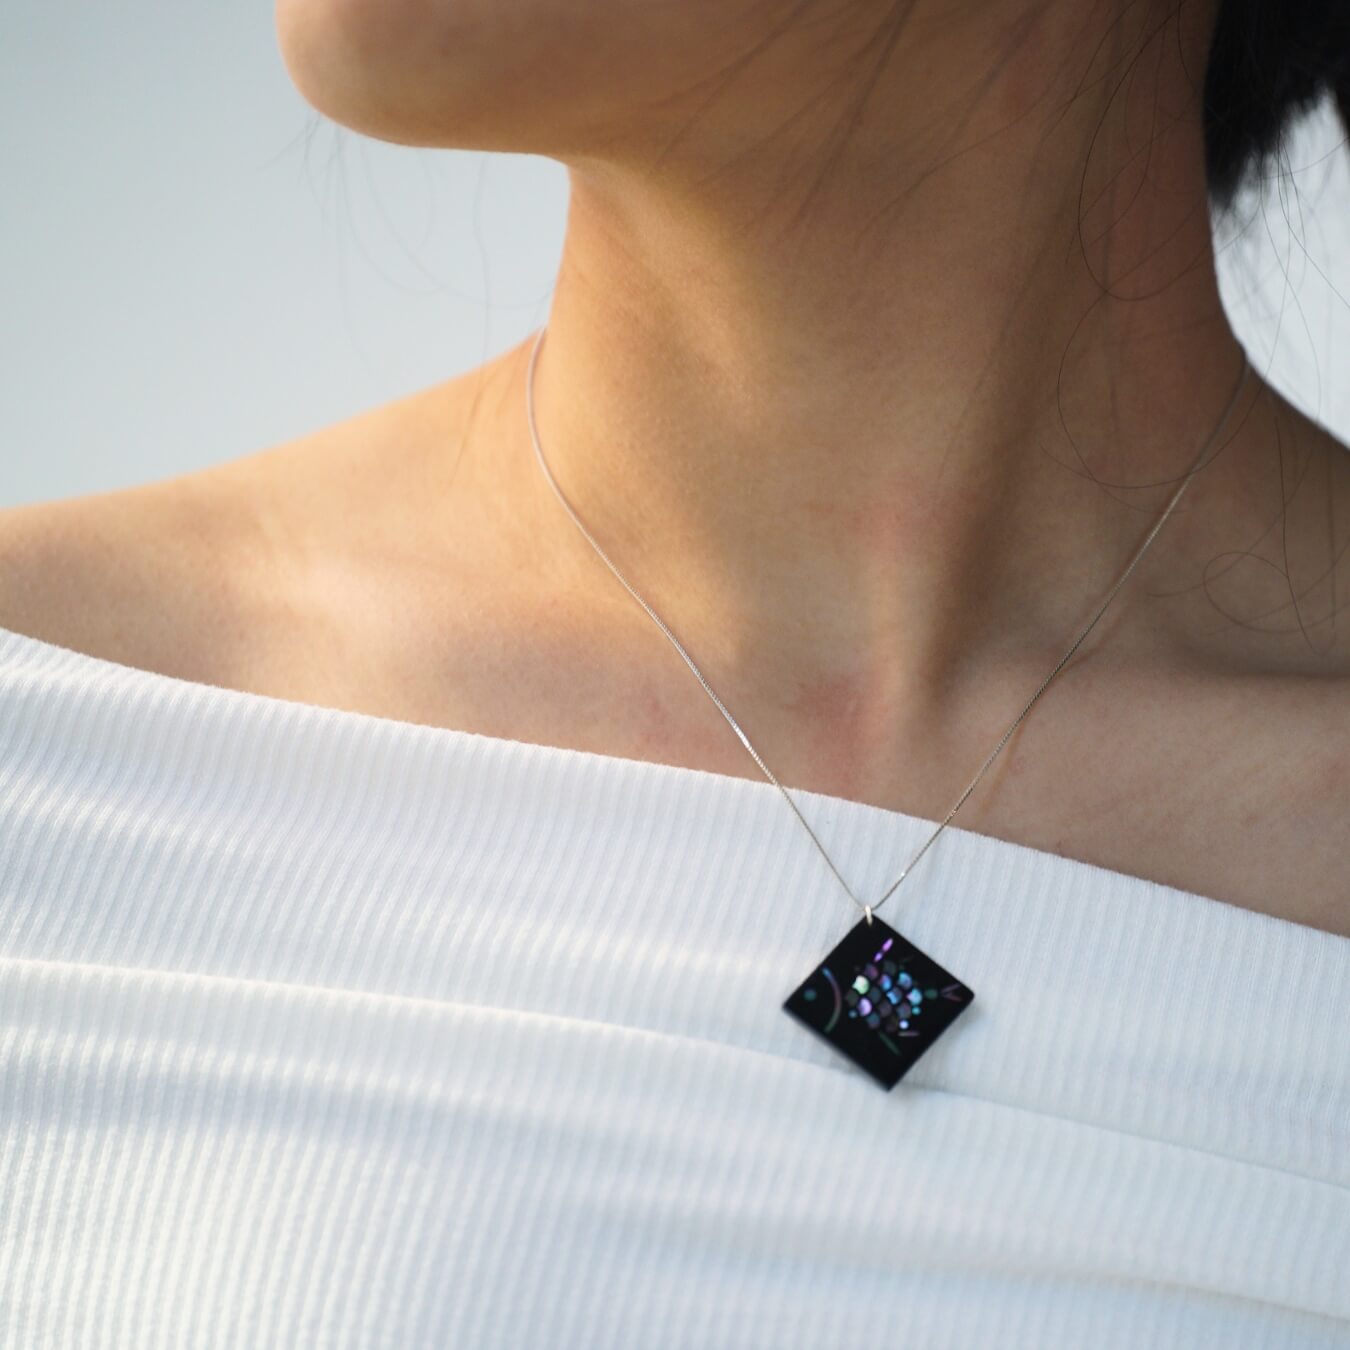
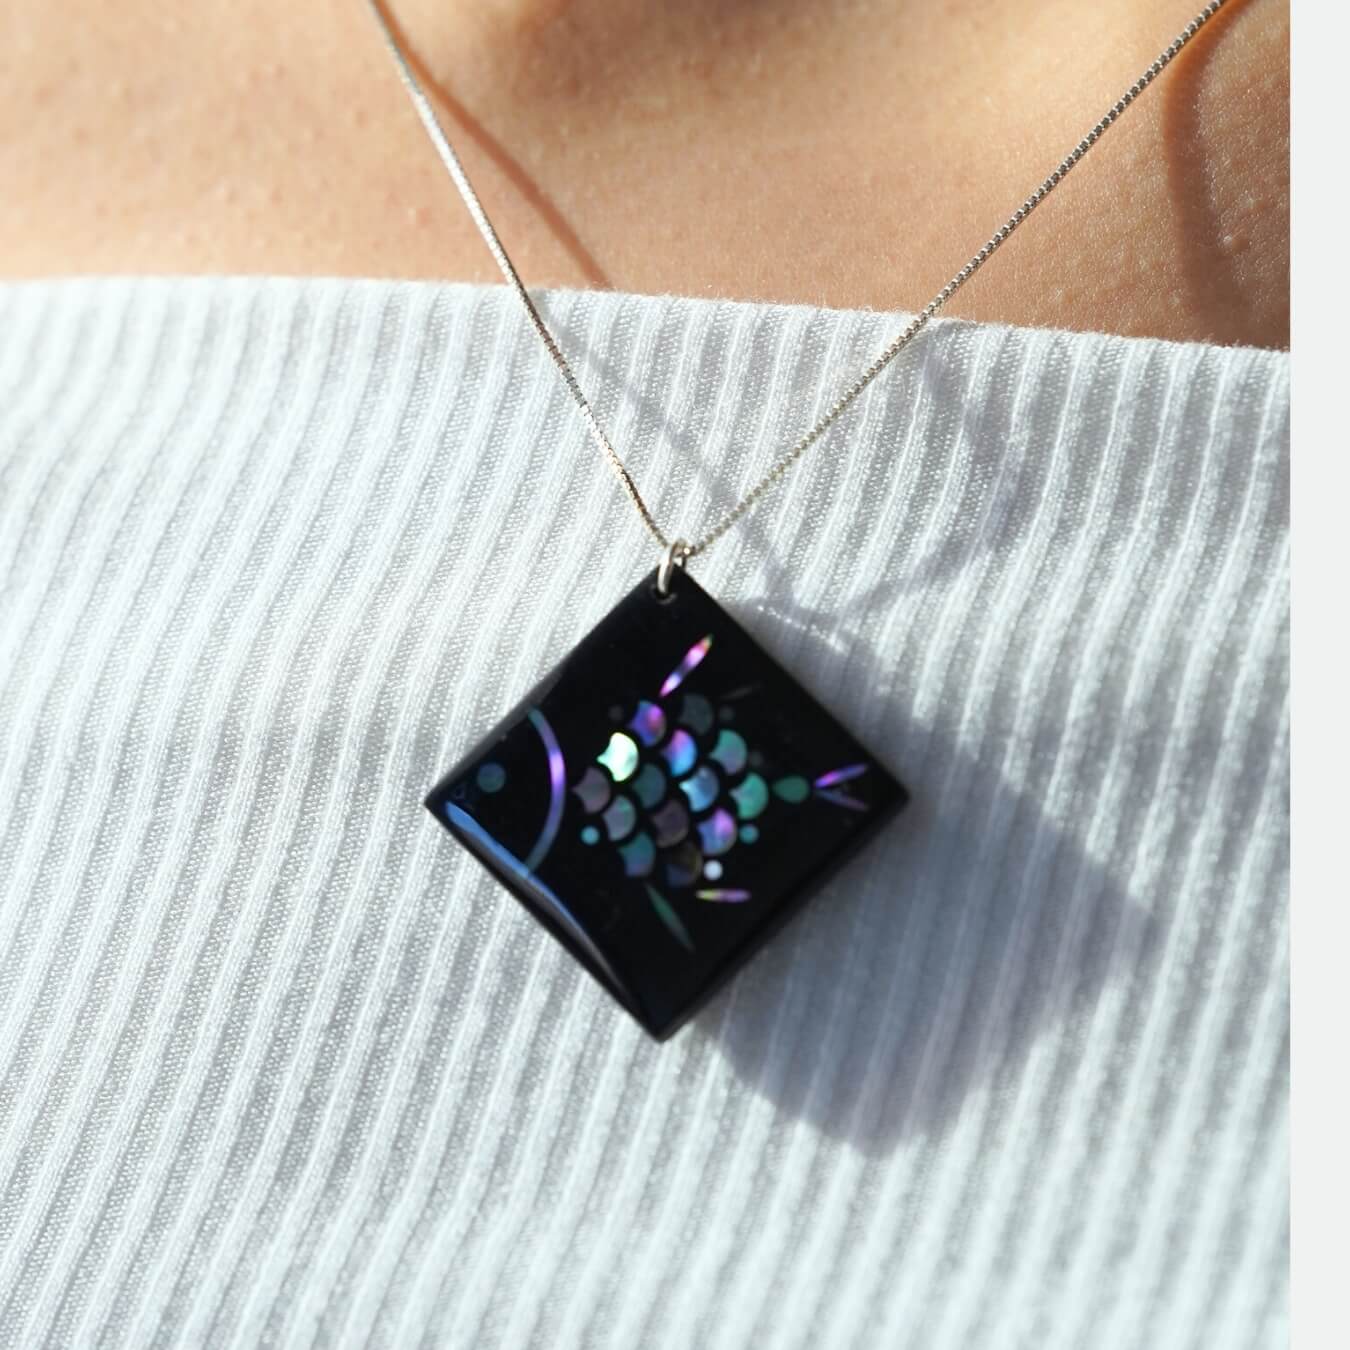
Finally, add the decorative findings or jewelry hardware, and your raden (shell inlay) pendant is complete!
If you finished your DIY product, welcome to show your awesome work to us and get coupons for the rest of our DIY kits!
INS@lanseichina
Pinterest@lanseichina


