Let's relax and create a silk flower bonsai by ourselves on the weekends!
Step 1: Prepare the Silk Threads 0:00~0:26
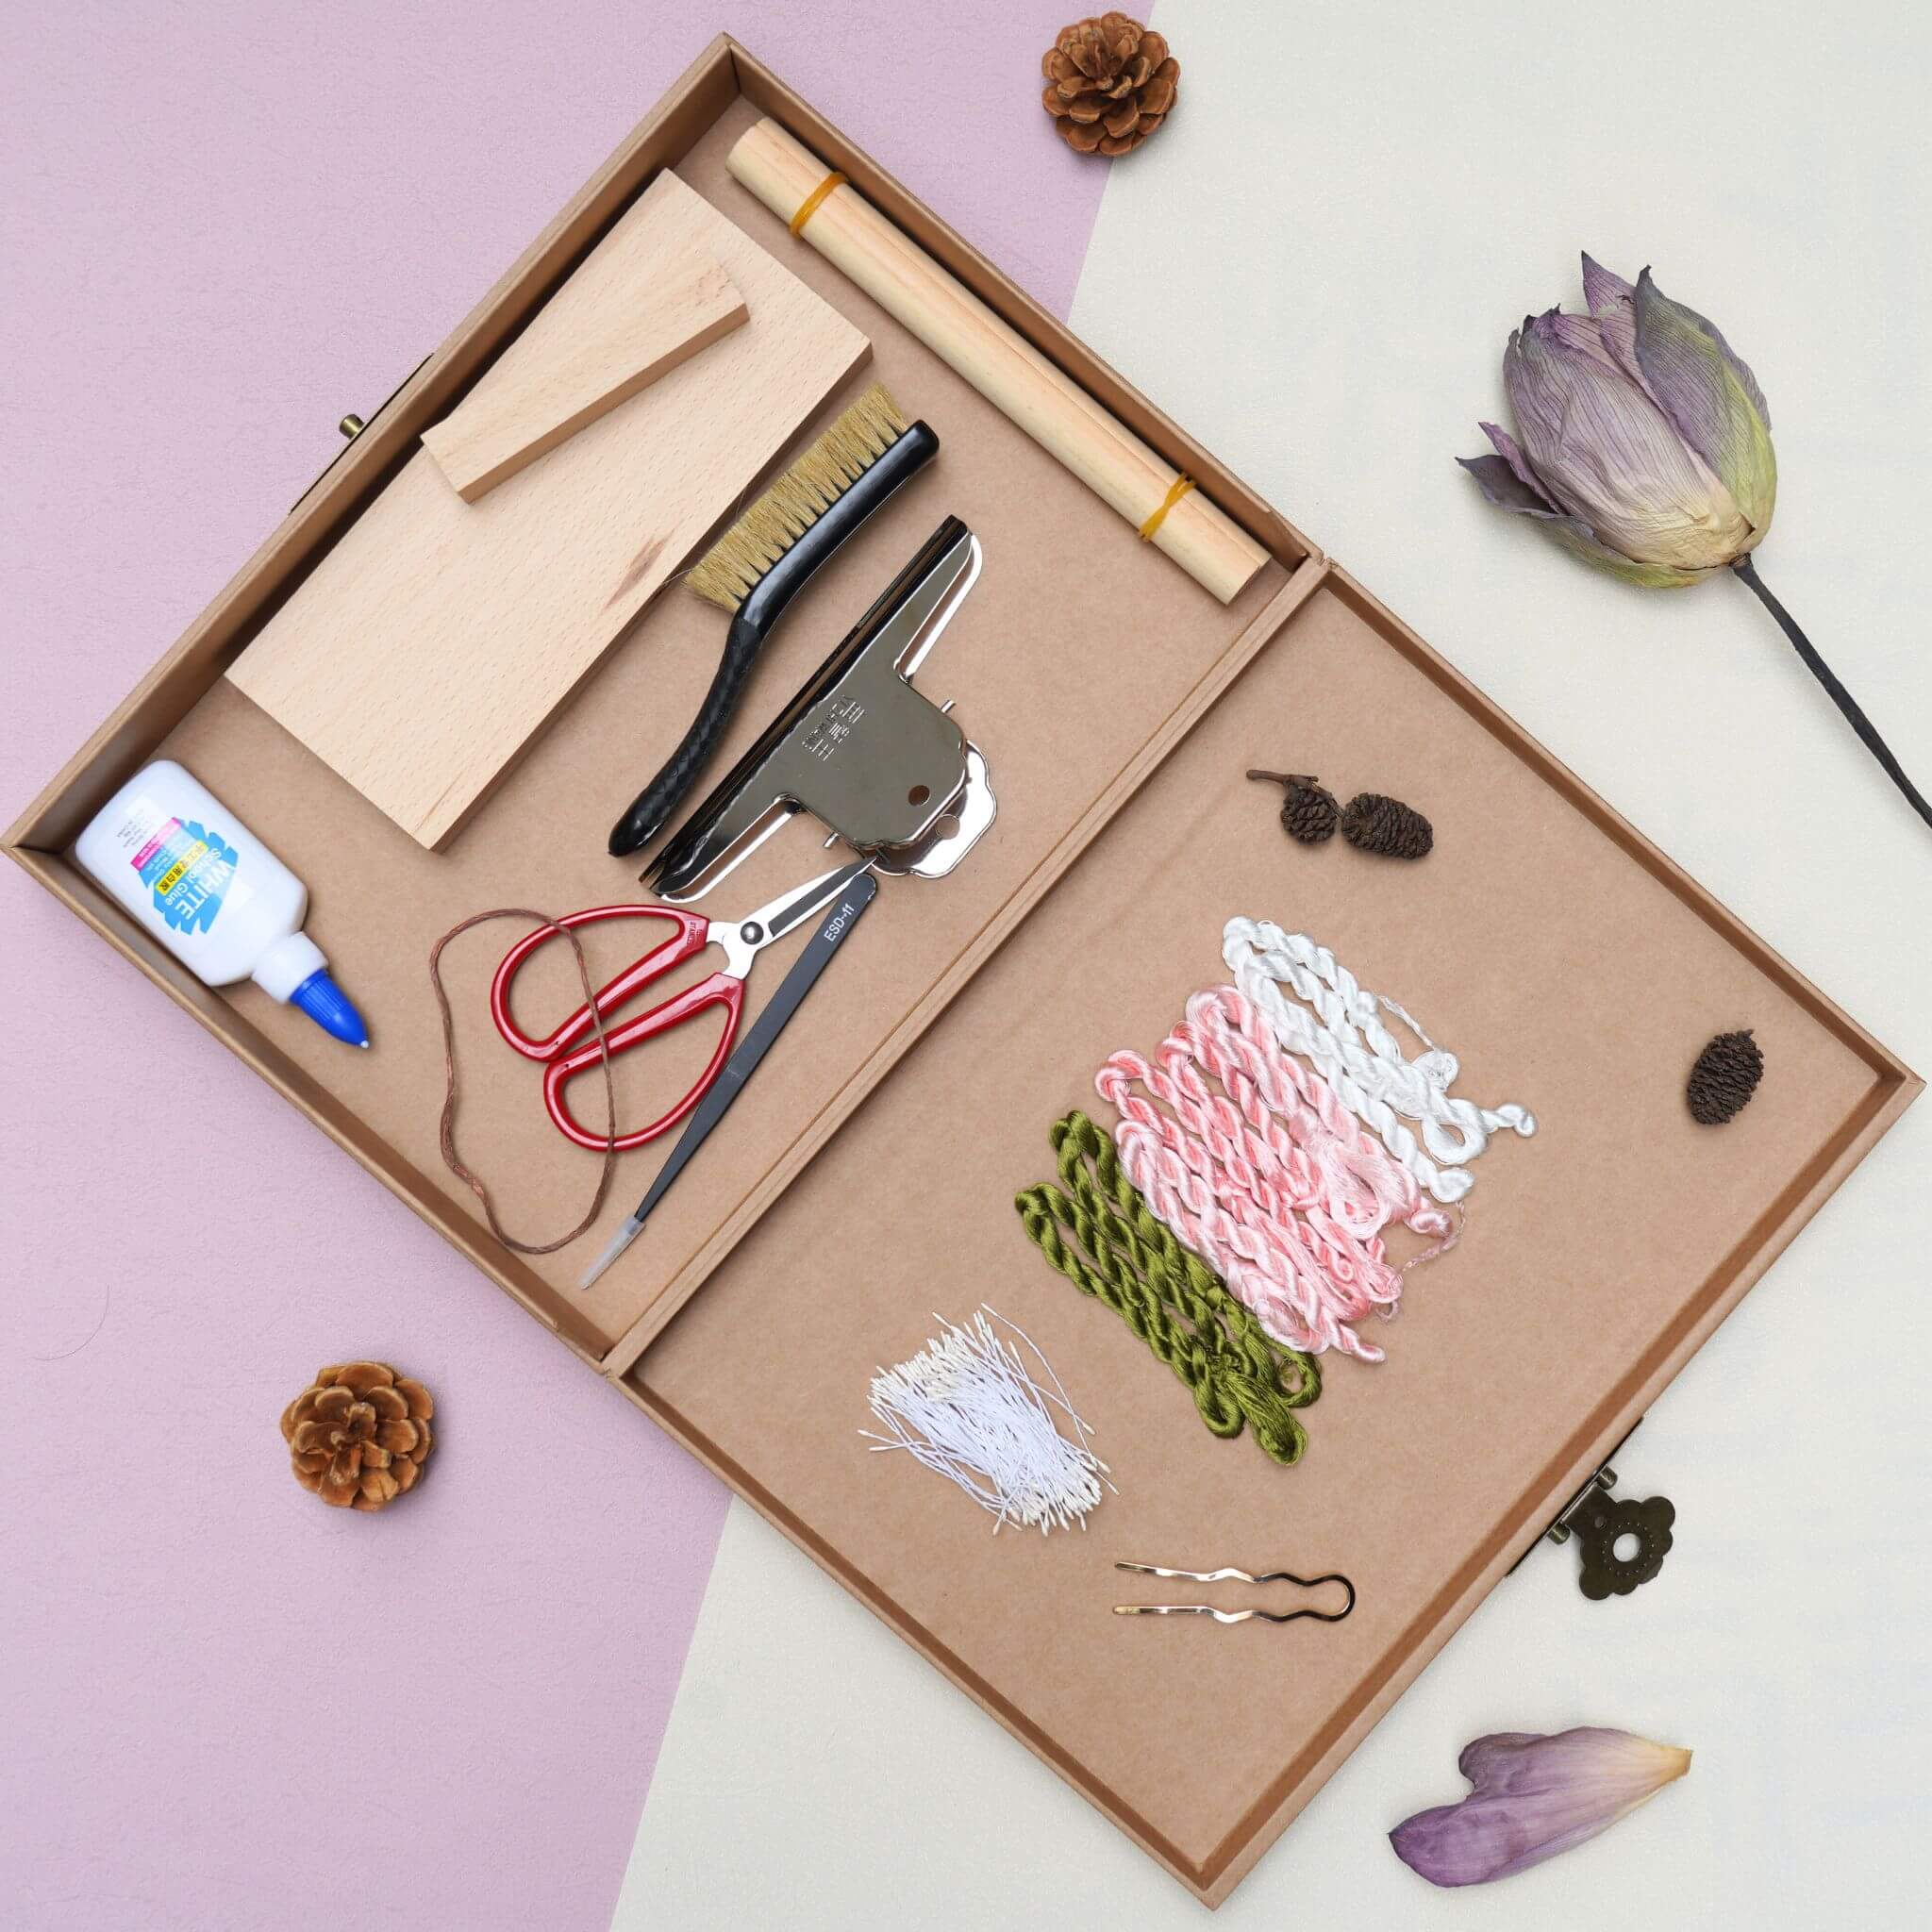
We’ll be using 8 colors of silk thread: 4 pinks, 1 white, 2 blues, and 1 green. Some of the threads have different textures (thicker). For those, group them into 6 threads per bundle. For the rest, use 12 threads per bundle. Tie the silk threads onto a wooden stick. You can also use chopsticks, pens, or hairpins instead. Align the threads neatly. You’ll be making two color variations of butterfly orchids. Here’s how to group the threads: For the first color (pink/white/blue): 16 bundles (59cm wide): dark pink + 2x light pink + 2x white + 2x light blue + 1x dark blue. 9 bundles (3cm wide) 6 bundles (24cm wide). For the second color (blue/green/pink): 12 bundles (38cm wide): dark blue + light green + white + light pink + dark pink. 7 bundles (25cm wide): white + 2x light pink + light green + light blue + 2x dark blue. 7 bundles (3cm wide): 4x light blue + 3x dark blue.

Step 2: Brush the Threads 0:27~1:28
Secure the threads to a holder or wooden frame. Spray water or fabric softener to reduce static. Hold the bottom of the threads with one hand and brush from top to bottom without letting go. Brush both sides for a smooth finish. The silk should now look fluffy and glossy. Use wooden clips to clamp the ends. Secure the clips with rubber bands and attach the whole thing to the edge of a table with mountain clips. If your table is too thick, use a heavy object to weigh the frame down. The key is to keep the threads straight.

Step 3: Attach the Copper Wires 1:29~3:50
Take a piece of copper wire, fold it in half, and straighten it. Rub magnesium powder on your fingers to prevent slipping. Twist the tail about 2–3 cm. You’ll need around 100 pieces like this. Clamp the silk between two copper wires, then twist the wires in opposite directions until they merge tightly. The wires must hug the threads with no gaps. Use different spacing depending on the part: 24cm, 18cm, 15cm, 12cm, or 1cm spacing between the wires
Once the wires are attached, remove the clips and frame.

Step 4: Cut and Twist the Silk Strips 3:51~5:06
Cut between the copper wires with scissors. The edges must be even, and the wire should sit in the center. Gently twist the wires to secure the threads. Use a twisting board to roll and tighten the wires. Make sure the wire is straight, and don’t twist too hard or it might break. You can also brush the strips with a small fine comb to make them fluffier. Trim uneven edges by rotating the strip and snipping along the edge with scissors held flat.

Step 5: Fold and Separate the Strips 5:07~6:19
For symmetrical strips, fold them in half and twist the copper wire at the bottom. Smooth out the threads with tweezers. Only two color groups need folding—others don’t. For the rest, cut off one end of the wire and lay the strips flat. Trim based on the wire direction shown in your reference video. Keep the different types separated.

Step 6: Shape the Silk Petals 6:20~10:46
Dip the strips in shaping liquid. Remove excess with tweezers. Shape the first kind into a concave arc, pushing the edges outward. Let them dry. A second type has a similar color—use the same shaping method. Next, shape another kind: Bend the strip. Push the bottom edge outward. Push the top edge inward. Repeat for similar blue-colored strips. Folded strips only need shaping liquid—no shaping needed yet. Let all strips dry upright. Once dry, trim them: Some should be wide at the top, narrow at the bottom. Petals used at the bottom of the flower should be slightly shorter. Use a straightening iron or wood board to press petals into an arc. Gently iron the edges inward.

Step 7: Make Buds 10:47~11:02
Save some petals to make buds. Each bud uses 3 petals. Soak them again in shaping liquid—let them sit longer this time to absorb fully. Use a pill stick or your fingers to press them into shape. Let dry. Assemble into buds by adjusting the position of each petal.

Step 8: Make Flower Centers 11:03~11:20
Use annealed copper wire to thread beads and twist tightly. Prepare around 10 of these.

Step 9: Assemble Each Butterfly Orchid 11:21~12:52
Follow your reference layout. Wrap the base of the copper wire several times to secure it. Start with the large curved petals (3 pieces), then add the large symmetrical petals. Adjust petal positions so the curved side faces forward. The lower petals should be shorter than the upper ones. Wrap silk thread at the bottom and tie off. Repeat this process for the second orchid with the other color scheme.

Step 10: Make and Attach the Leaves 12:53~13:46
Use twist sticks (pipe cleaners) to make the leaves. Take 4 and fold them in half. Thread one stick through the other 3 and twist to fix. Wrap one stick around the bottom and cut off the excess, leaving only one stick. Bend the leaves into shape. You’ll need 7 total: 4 light green and 3 dark green.

Step 11: Assemble the Full Flower Stem 13:47~17:11
Take a piece of iron or aluminum wire and attach buds first. Then attach the blue orchids one by one. Space them slightly apart toward the front. If your thread runs out, tie a new piece over the original and continue. This keeps the base from unraveling. Flowers should alternate left and right—not in a straight line. Place blue orchids in the front, pink ones in the back. Each branch has: 1 bud. 4 blue orchids. 3 large pink orchids. Make two branches like this. Wrap more wire at the bottom to thicken the stem. The lower part (no flowers) should be about twice as long as the upper (with flowers). Wrap thread tightly and knot it. Trim the excess wire. Apply white glue to the base to prevent unraveling (other glues are okay too). Adjust the flower positions. Bend the branches naturally. Use a lighter on low heat to clean frayed thread ends.
 Step 12: Final Assembly 17:12~end
Put the two finished flower stems together. The flowers shown here include some pre-made substitutes, but the materials we listed are enough to make two full stems. Secure the two stems together—no need to wrap all the way to the bottom. Hide all copper wires and tie off. Attach the leaves at the bottom using floral tape or more wire ( First layer: 4 light-colored leaves; Second layer: 3 dark-colored leaves). Trim off any excess twist stick. Wrap the stem with floral tape to hide wires and neaten it. Adjust the leaf positions.


Place the finished arrangement into a flowerpot and you’re done!
If you finished your DIY product, welcome to show your awesome work to us and get coupons for the rest of our DIY kits!
INS@lanseichina
Pinterest@lanseichina


