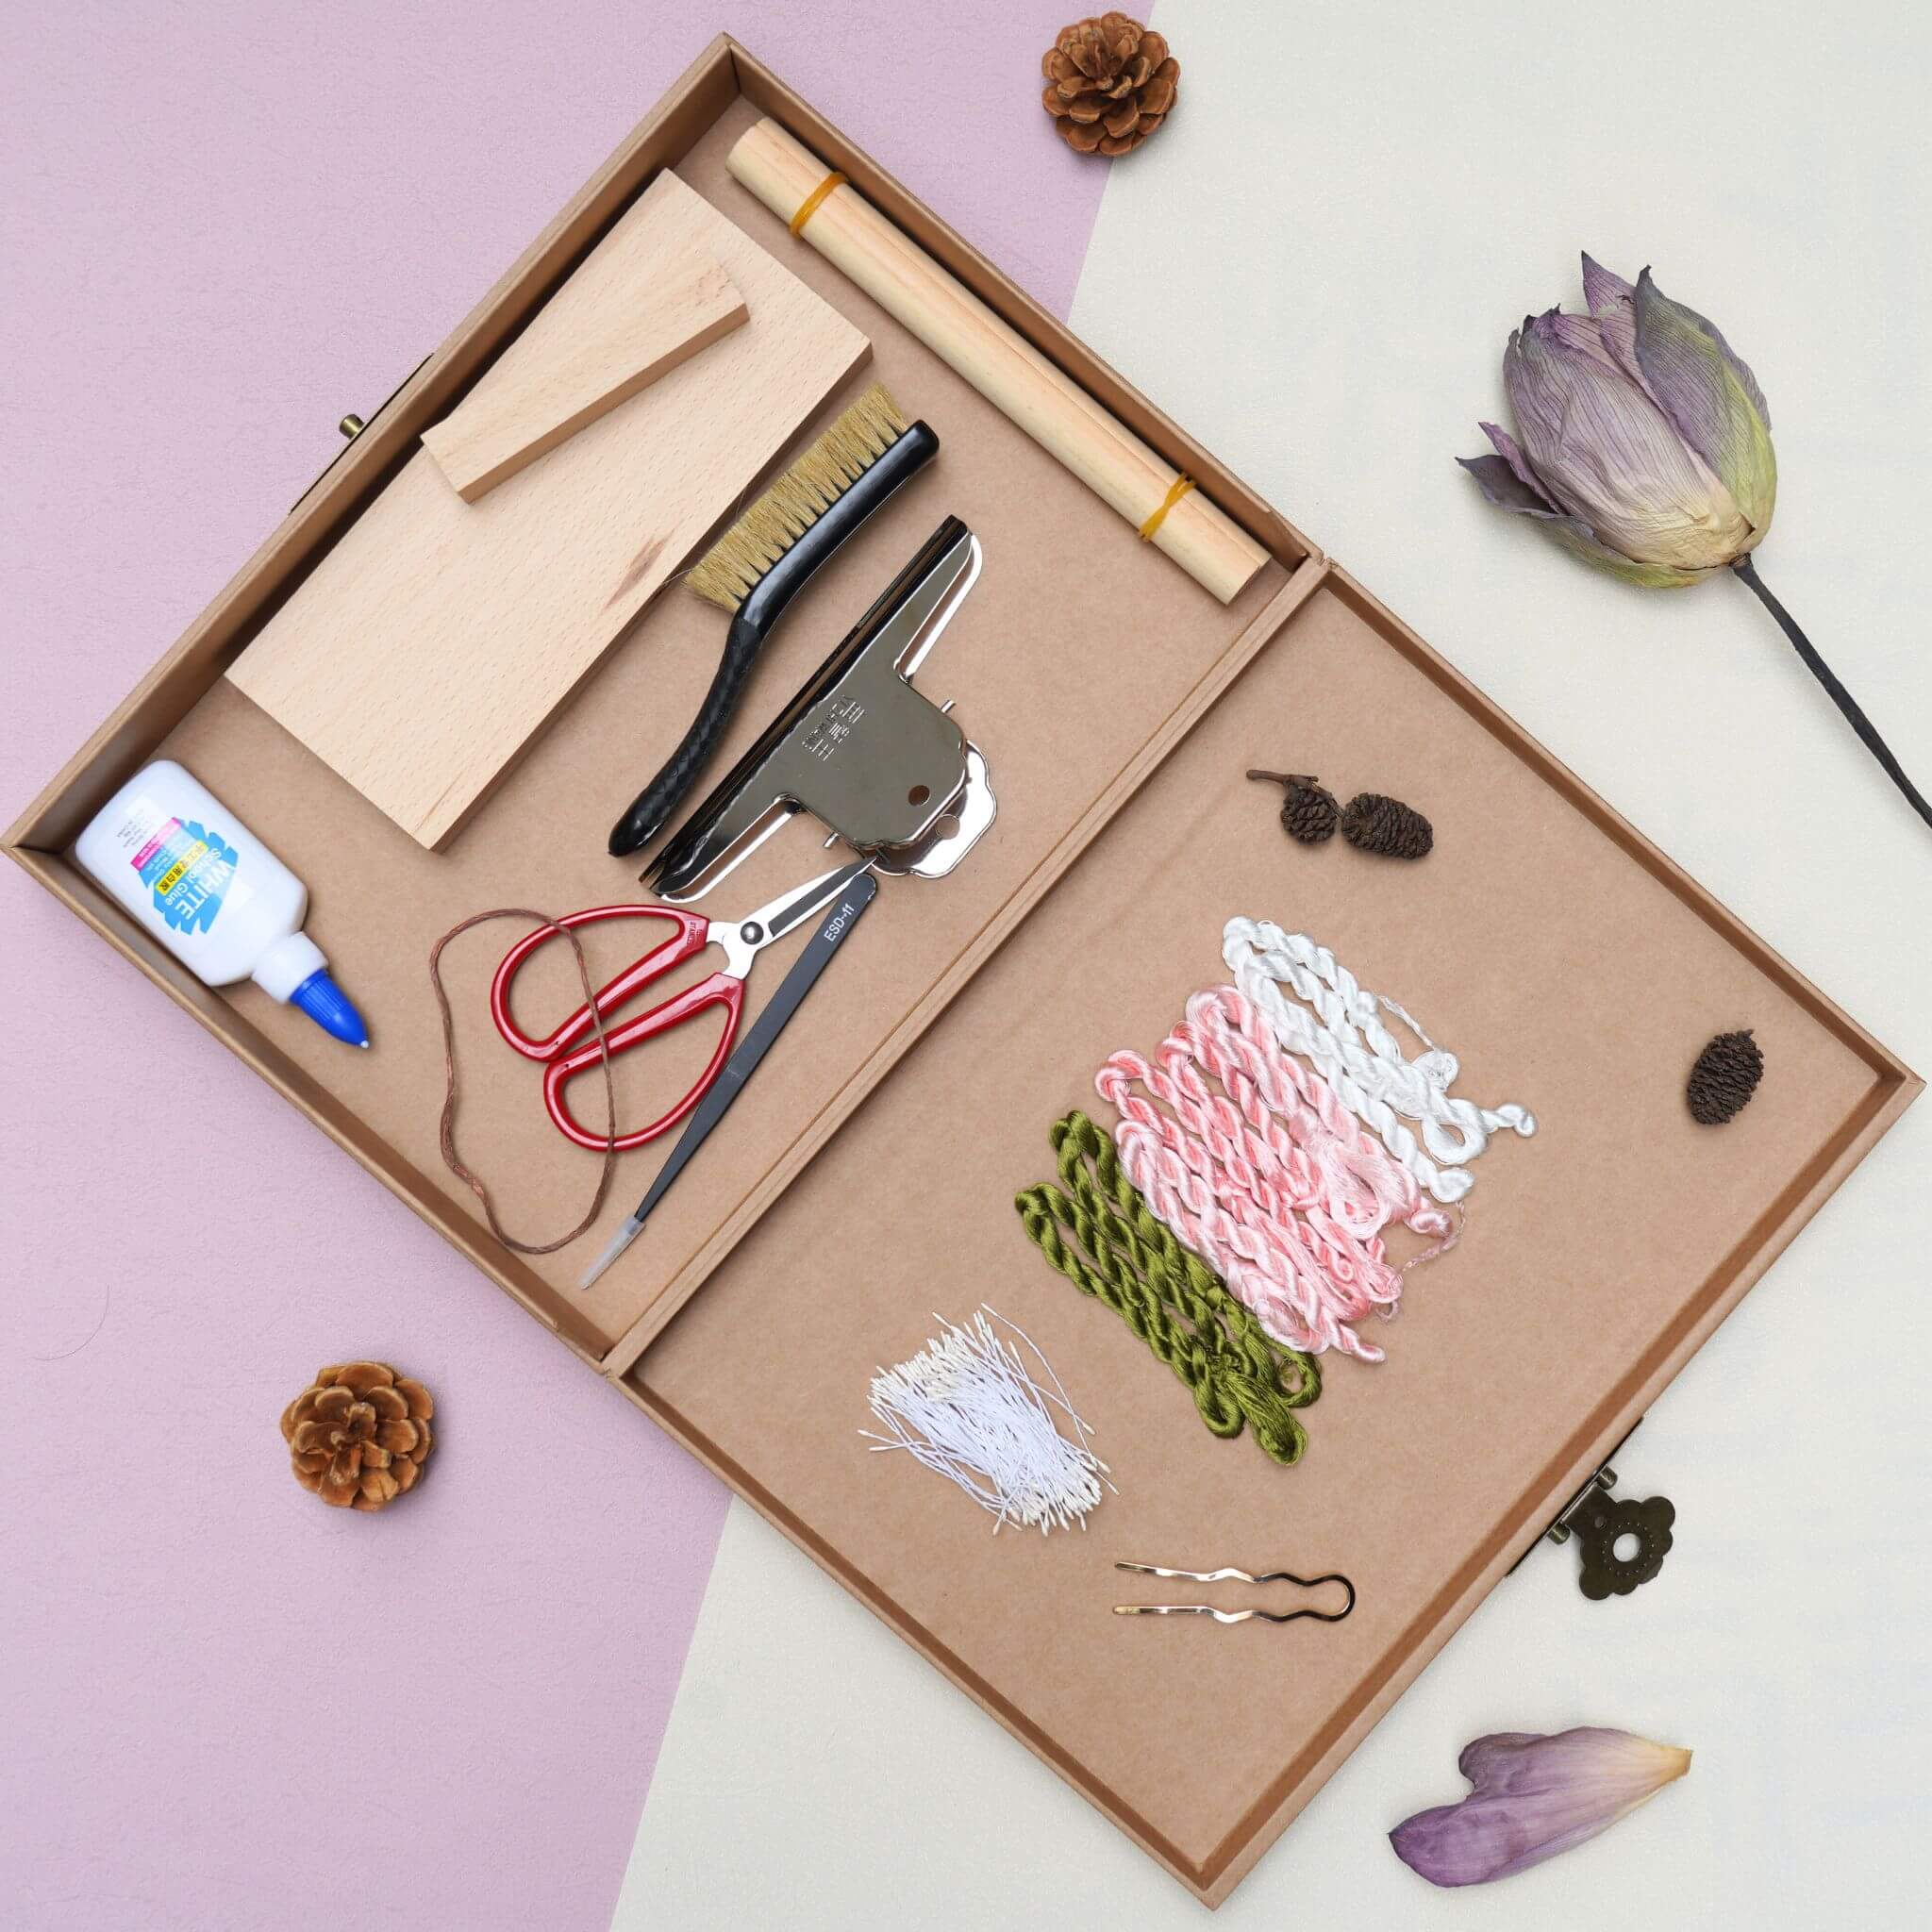
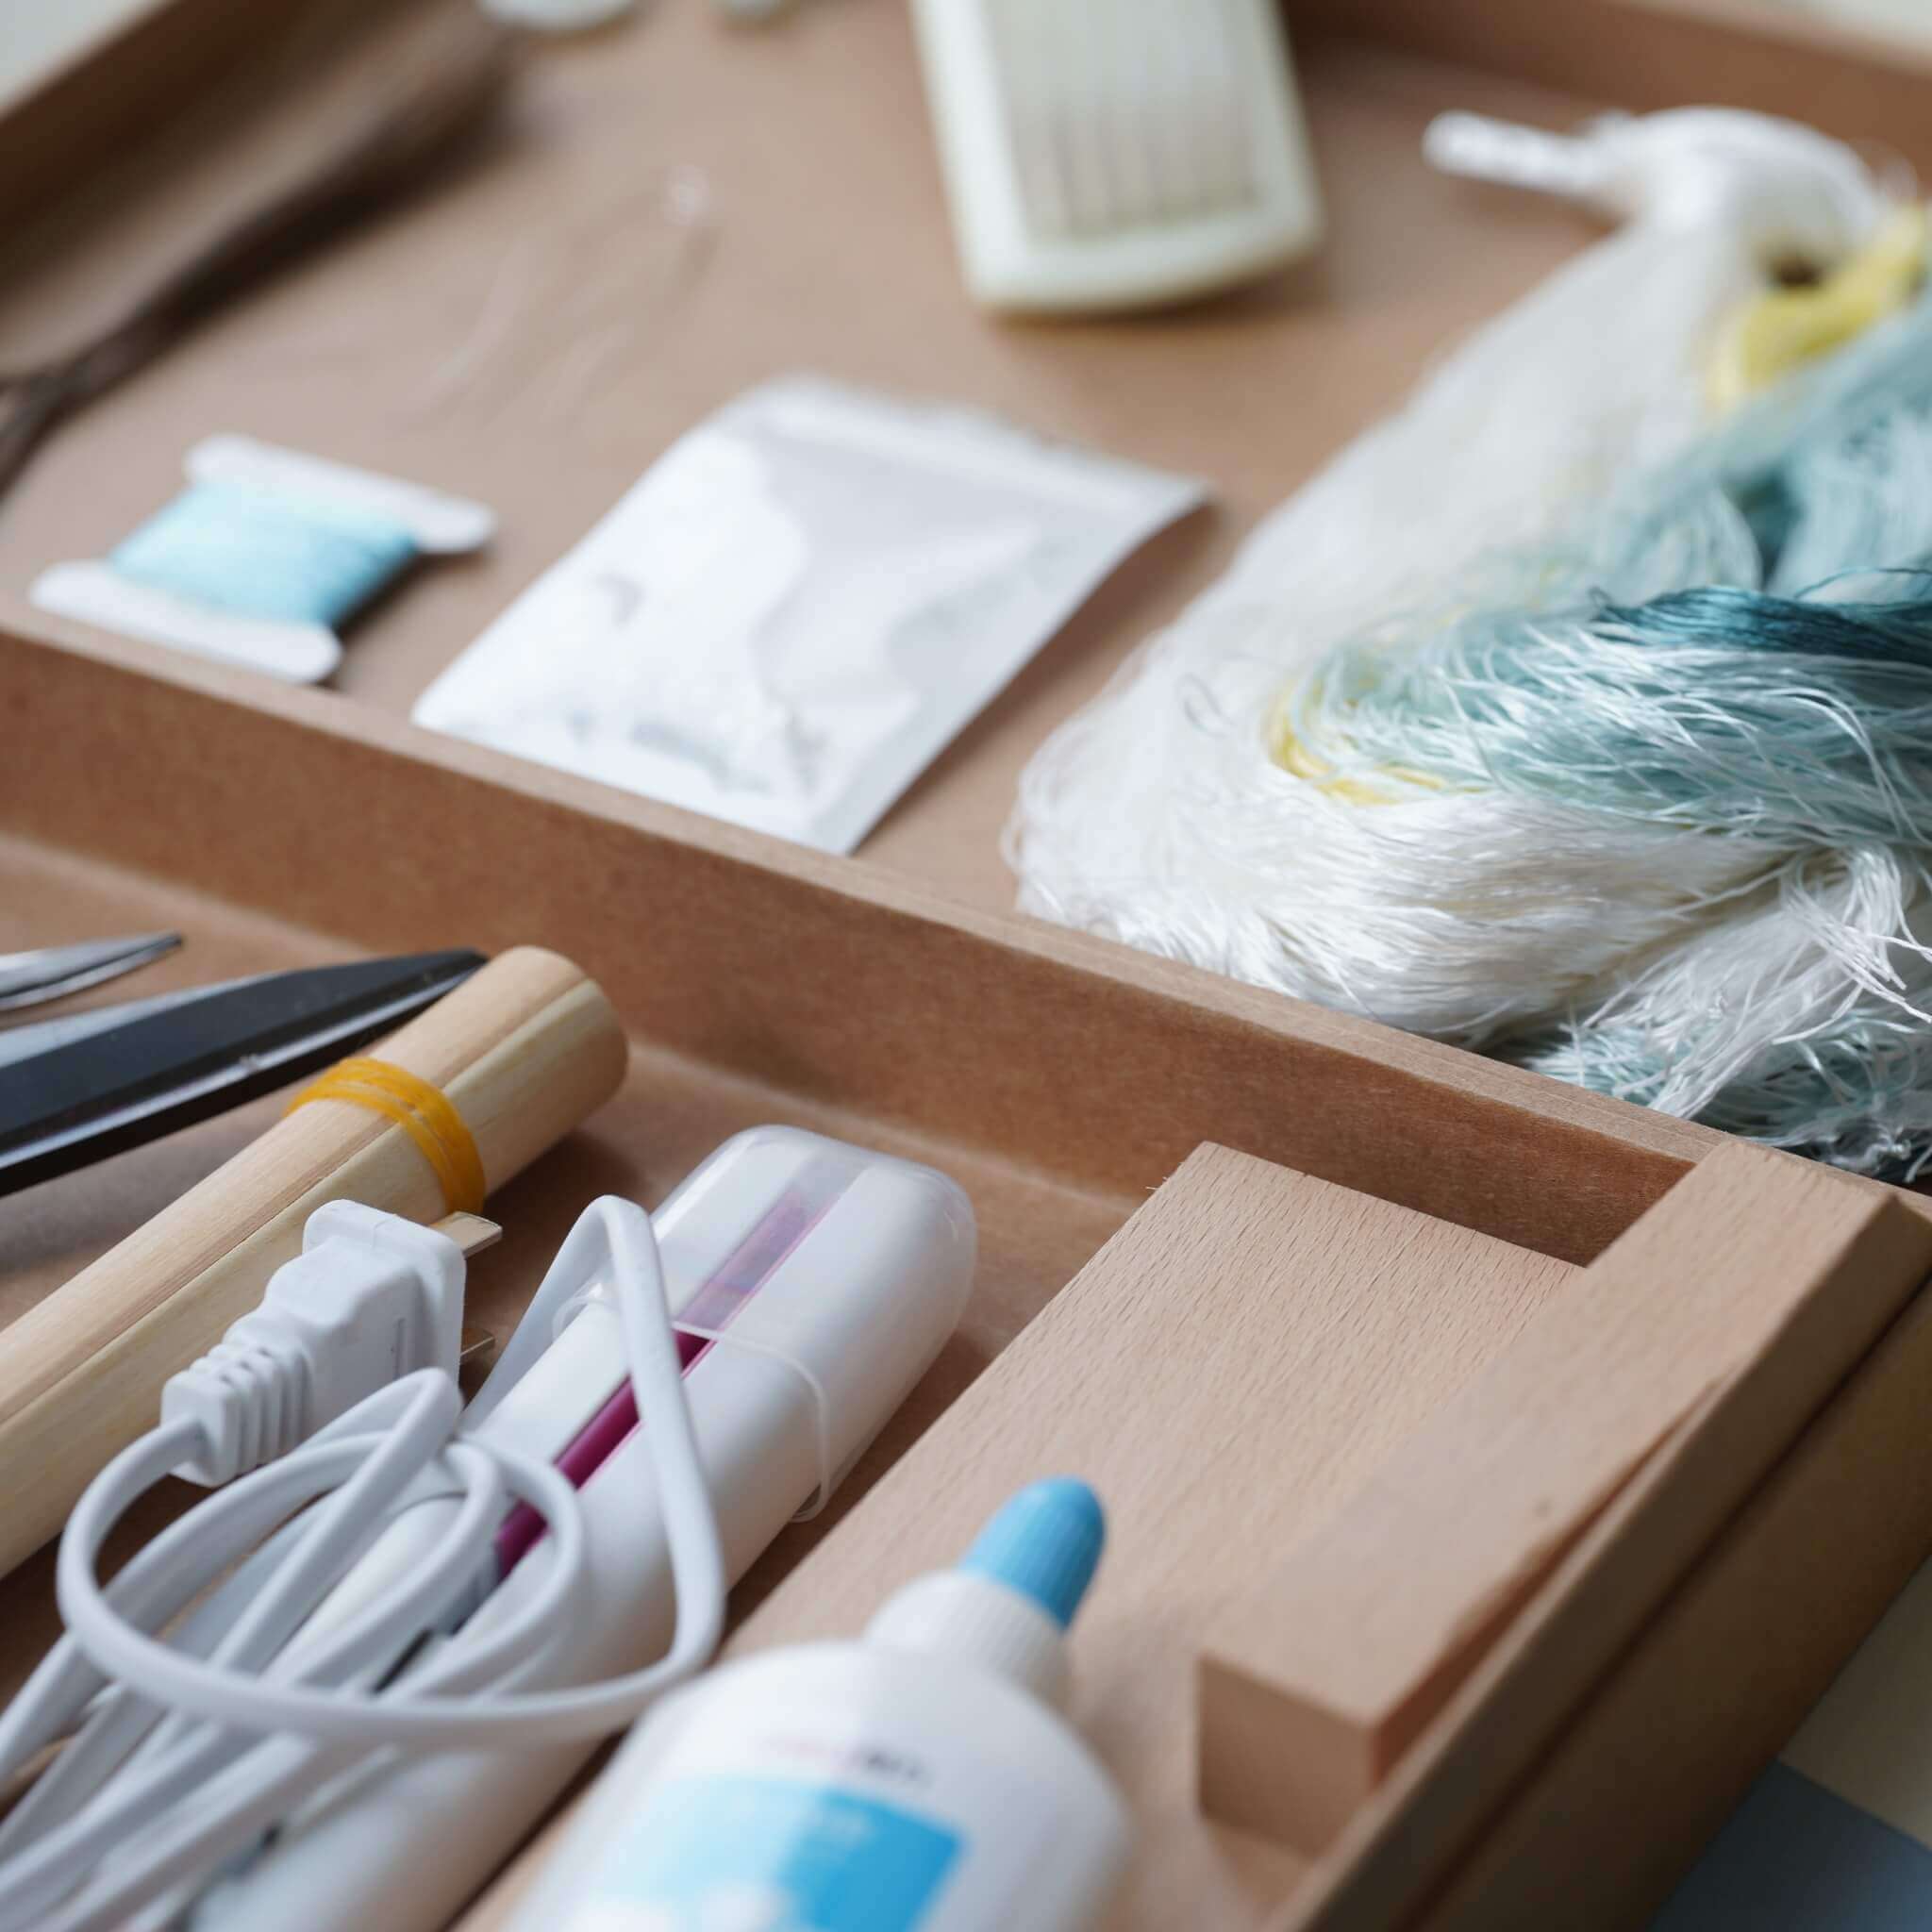
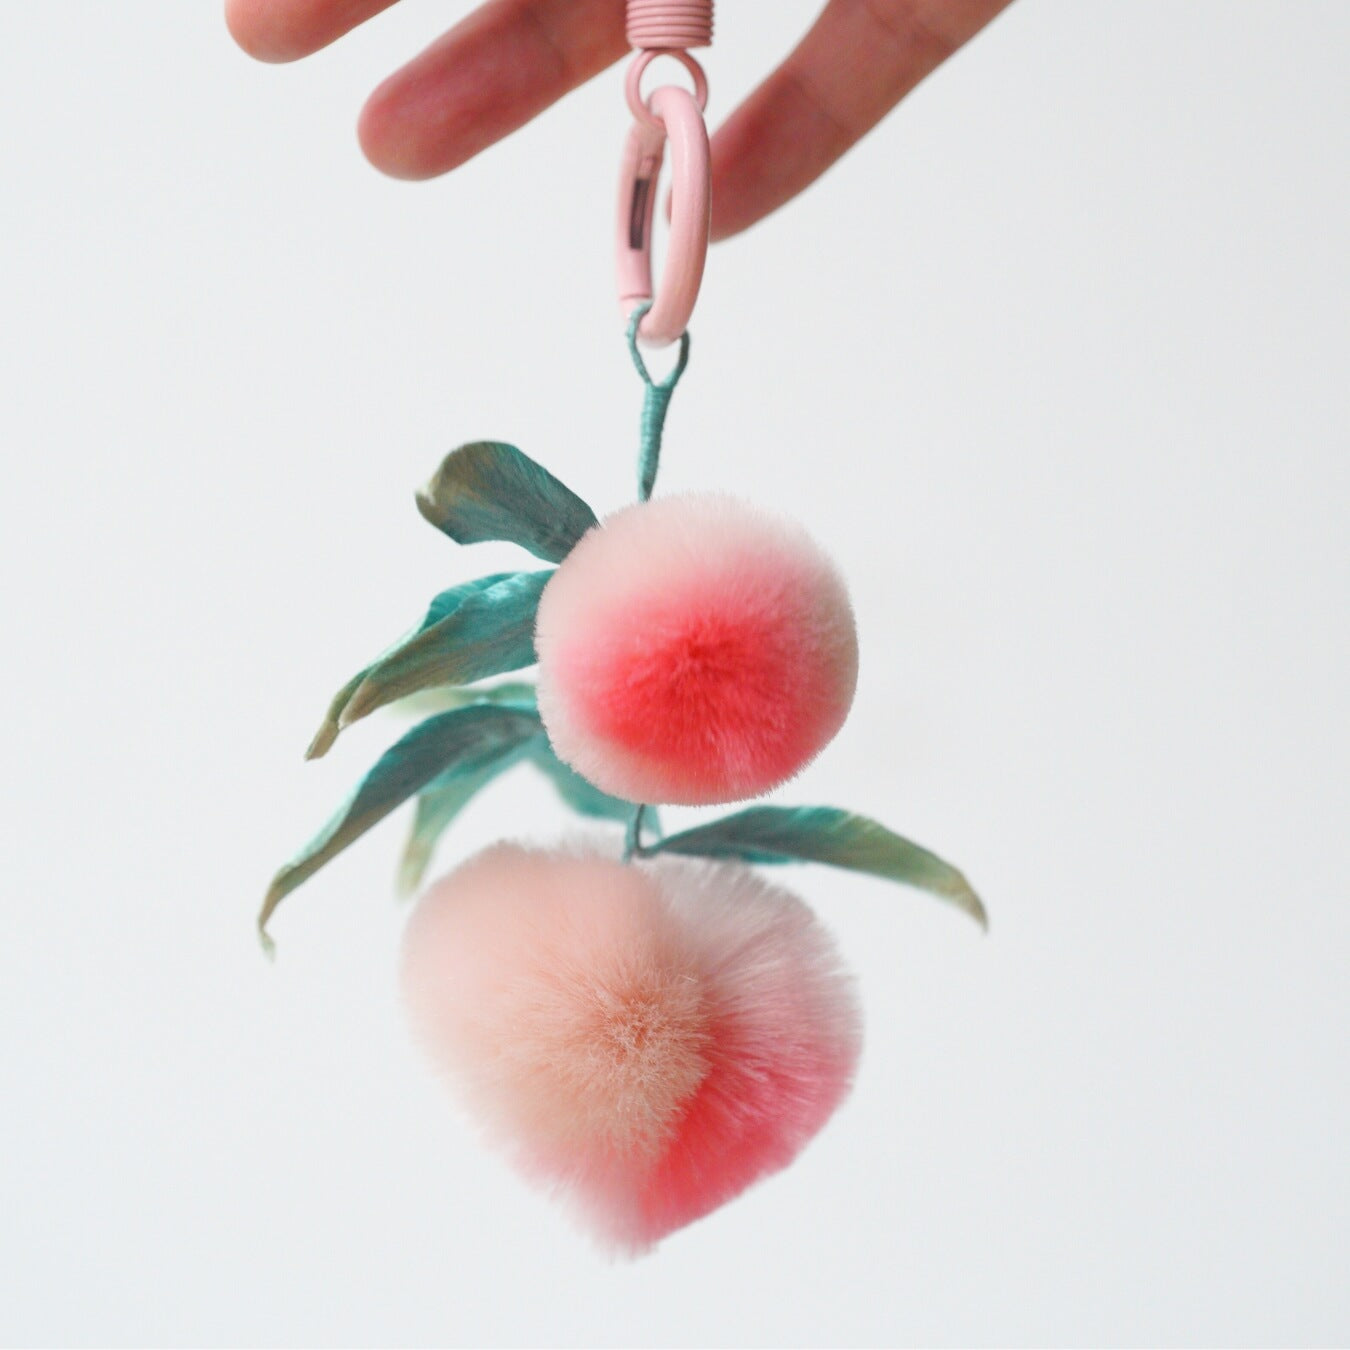
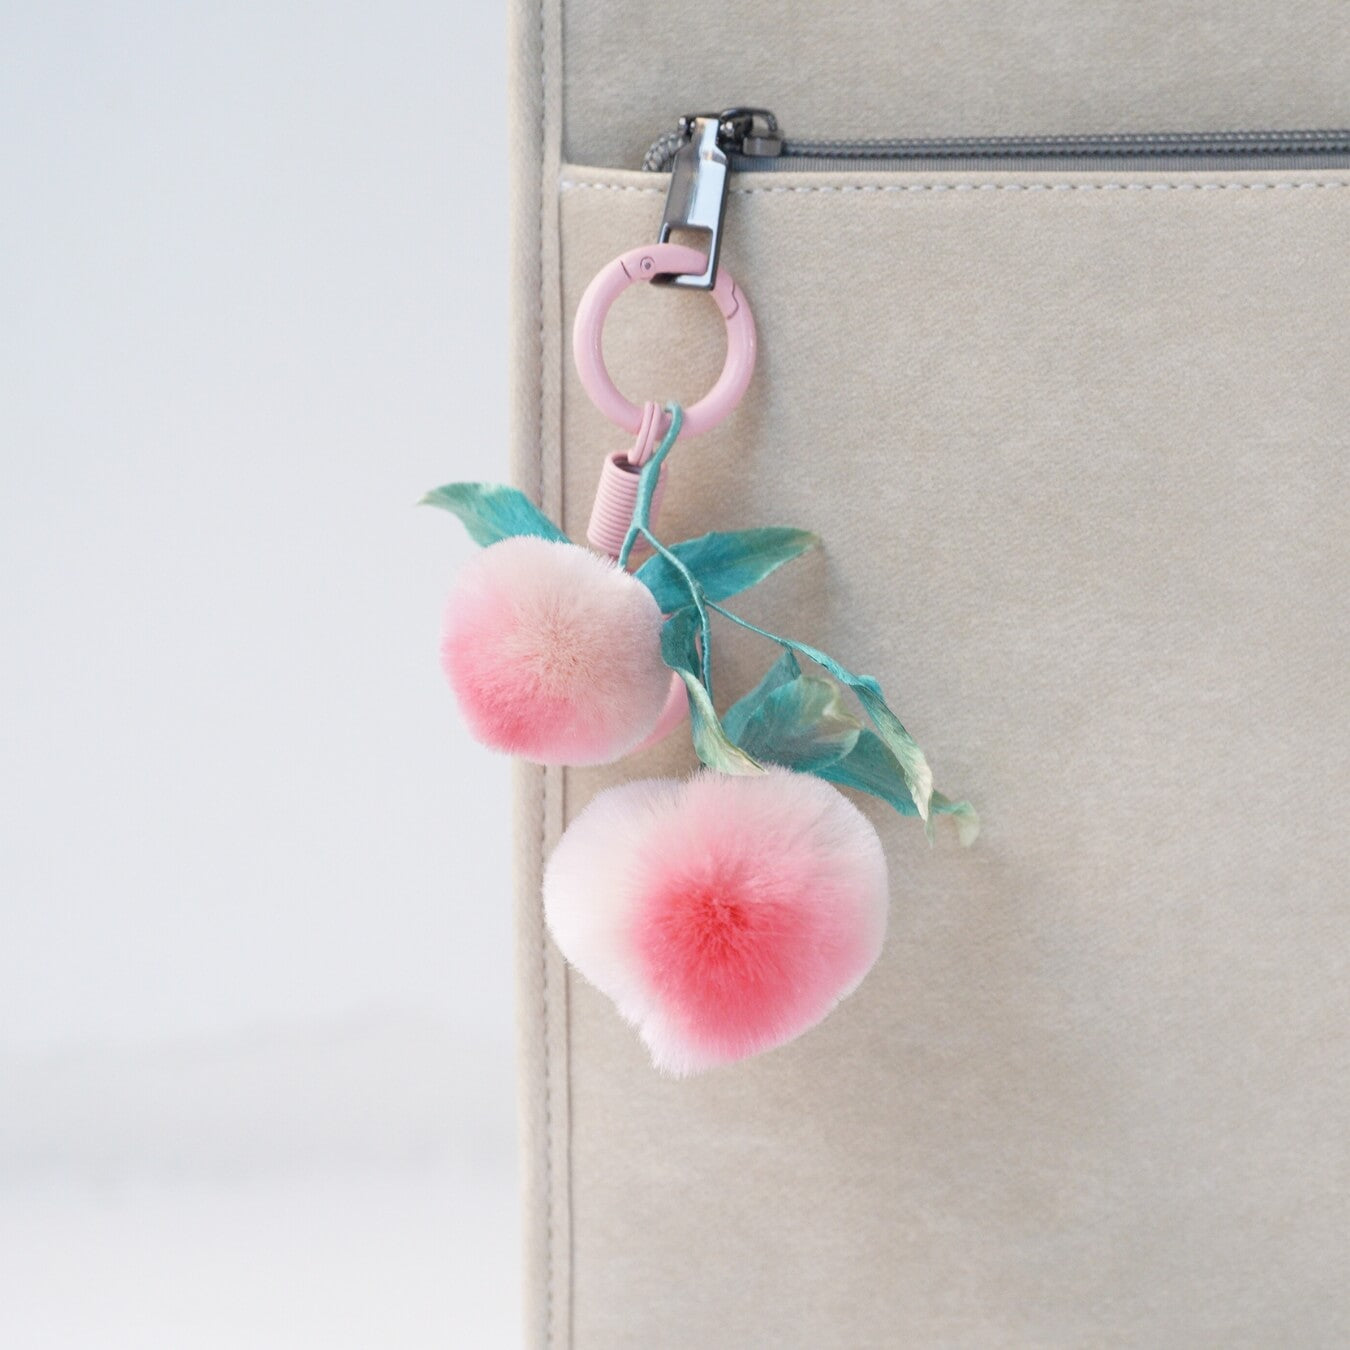
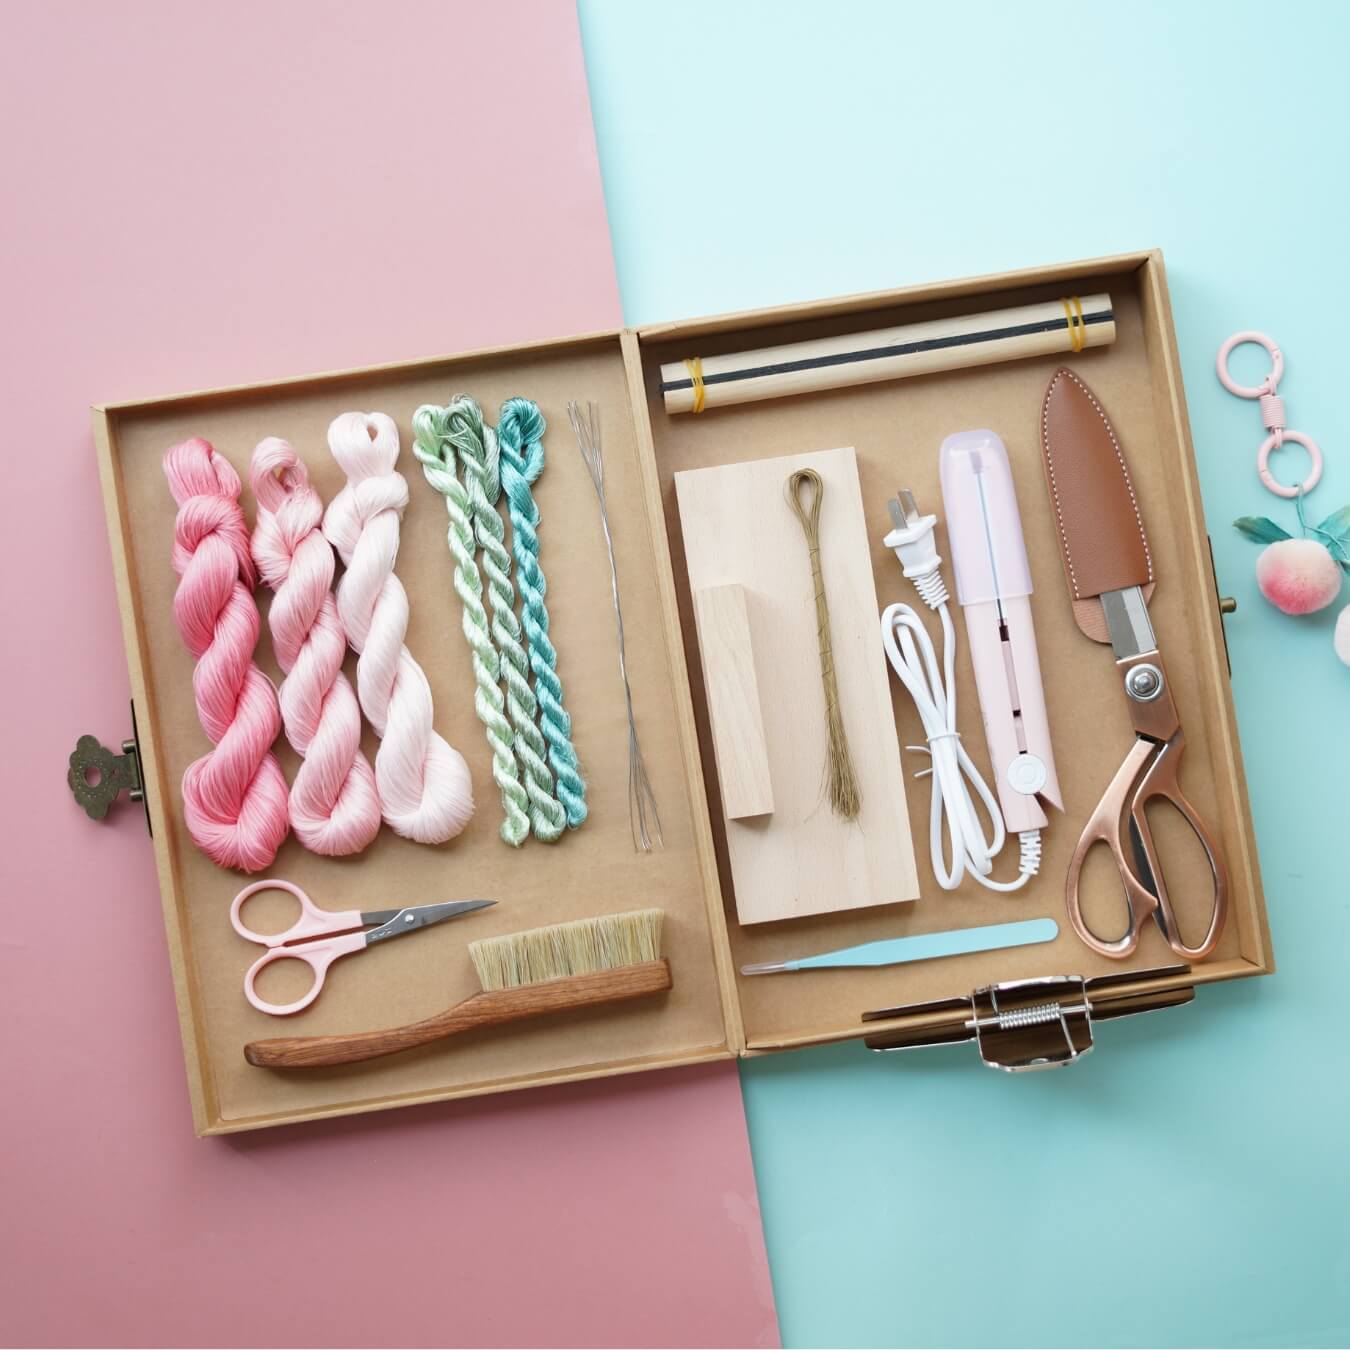
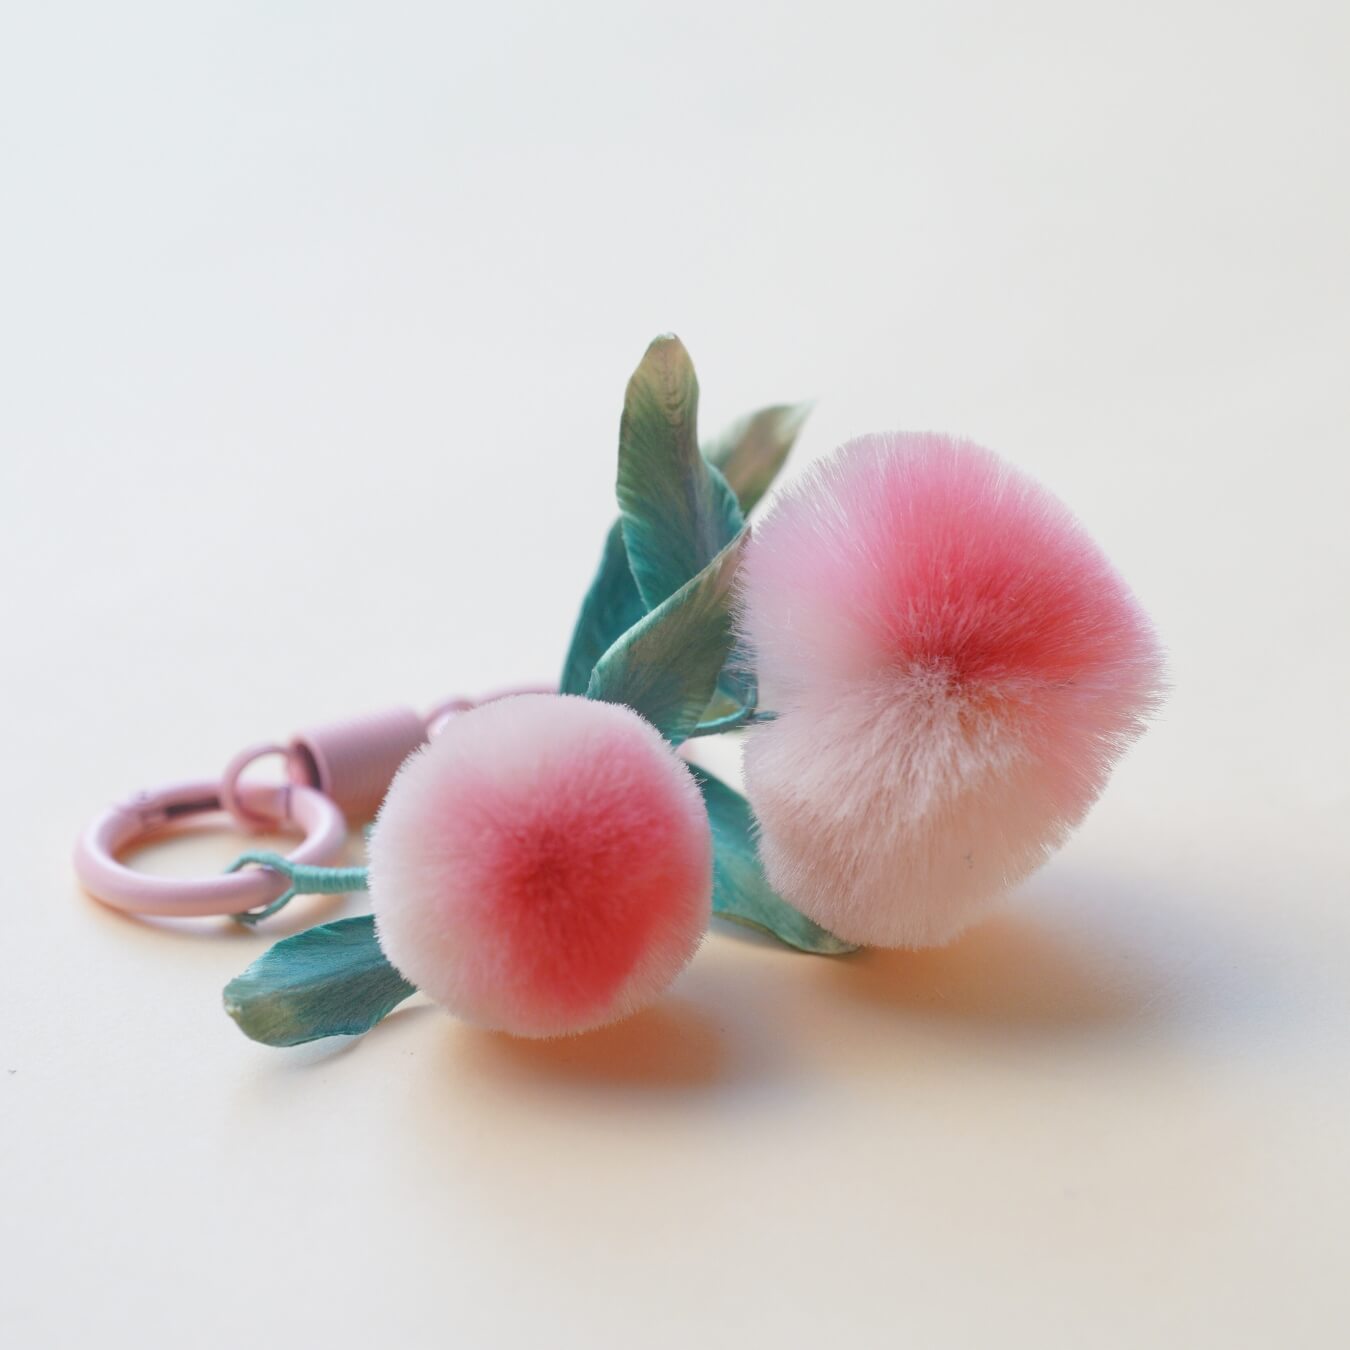
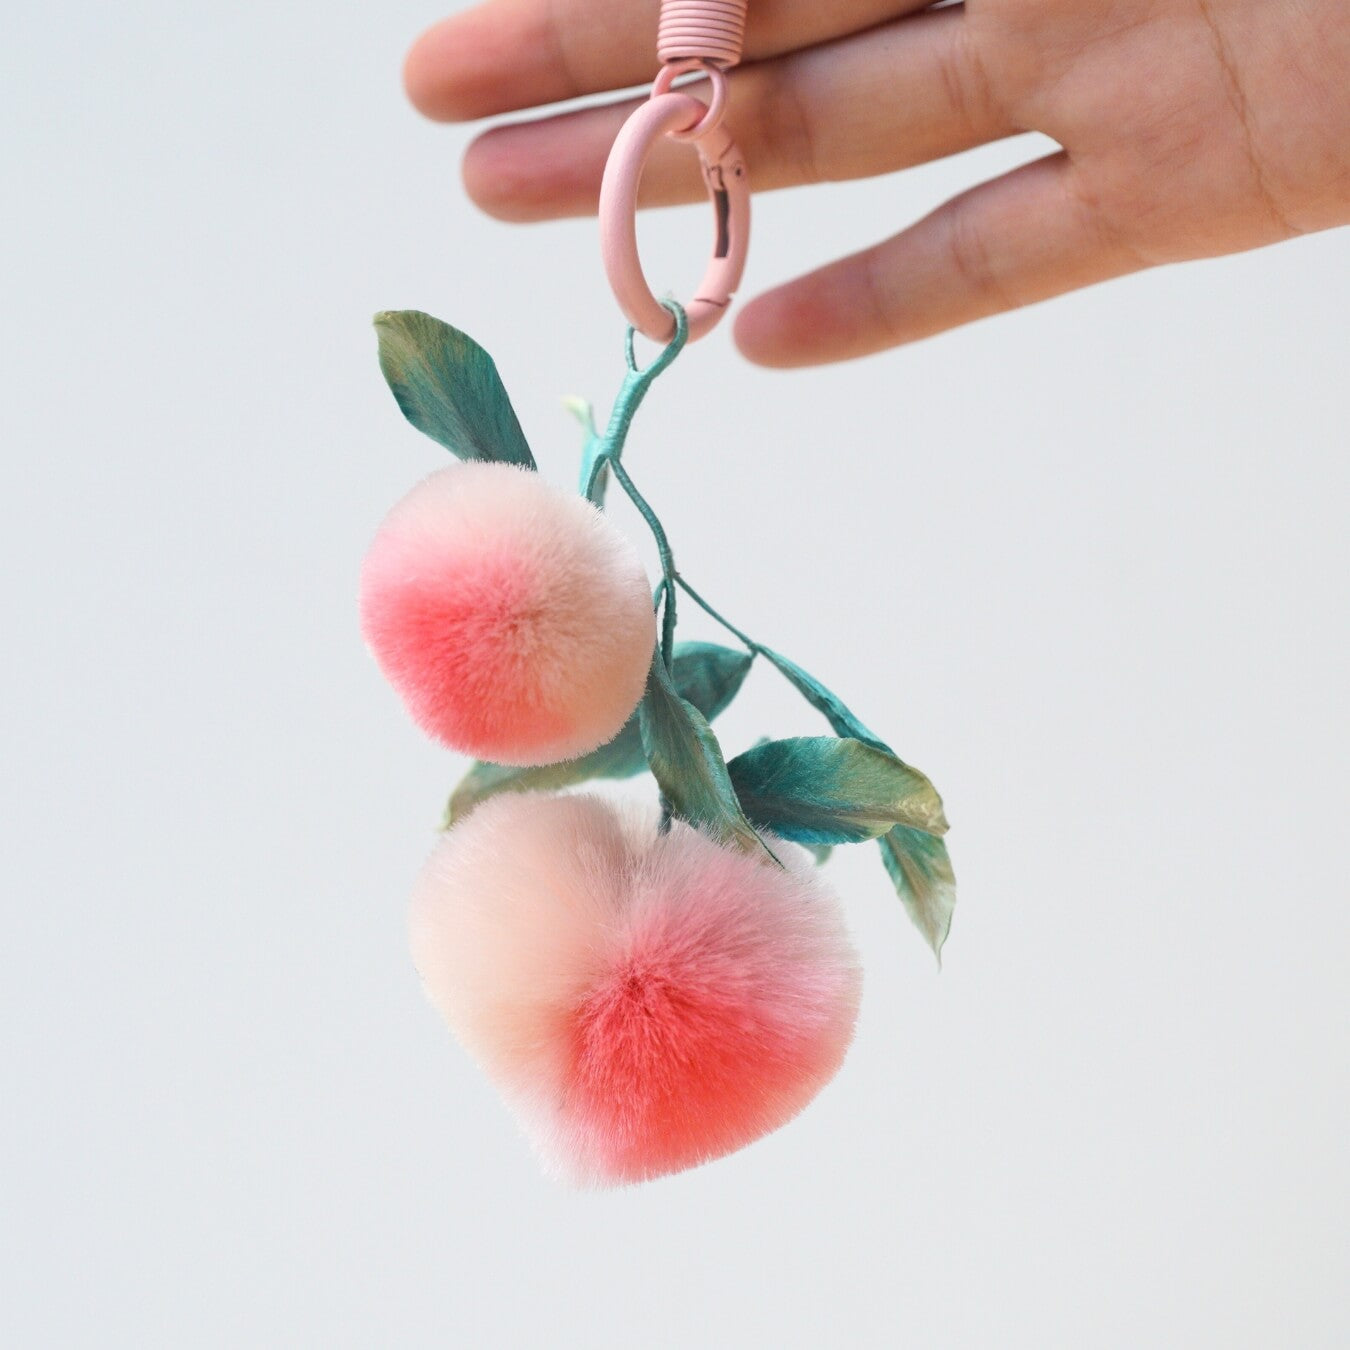
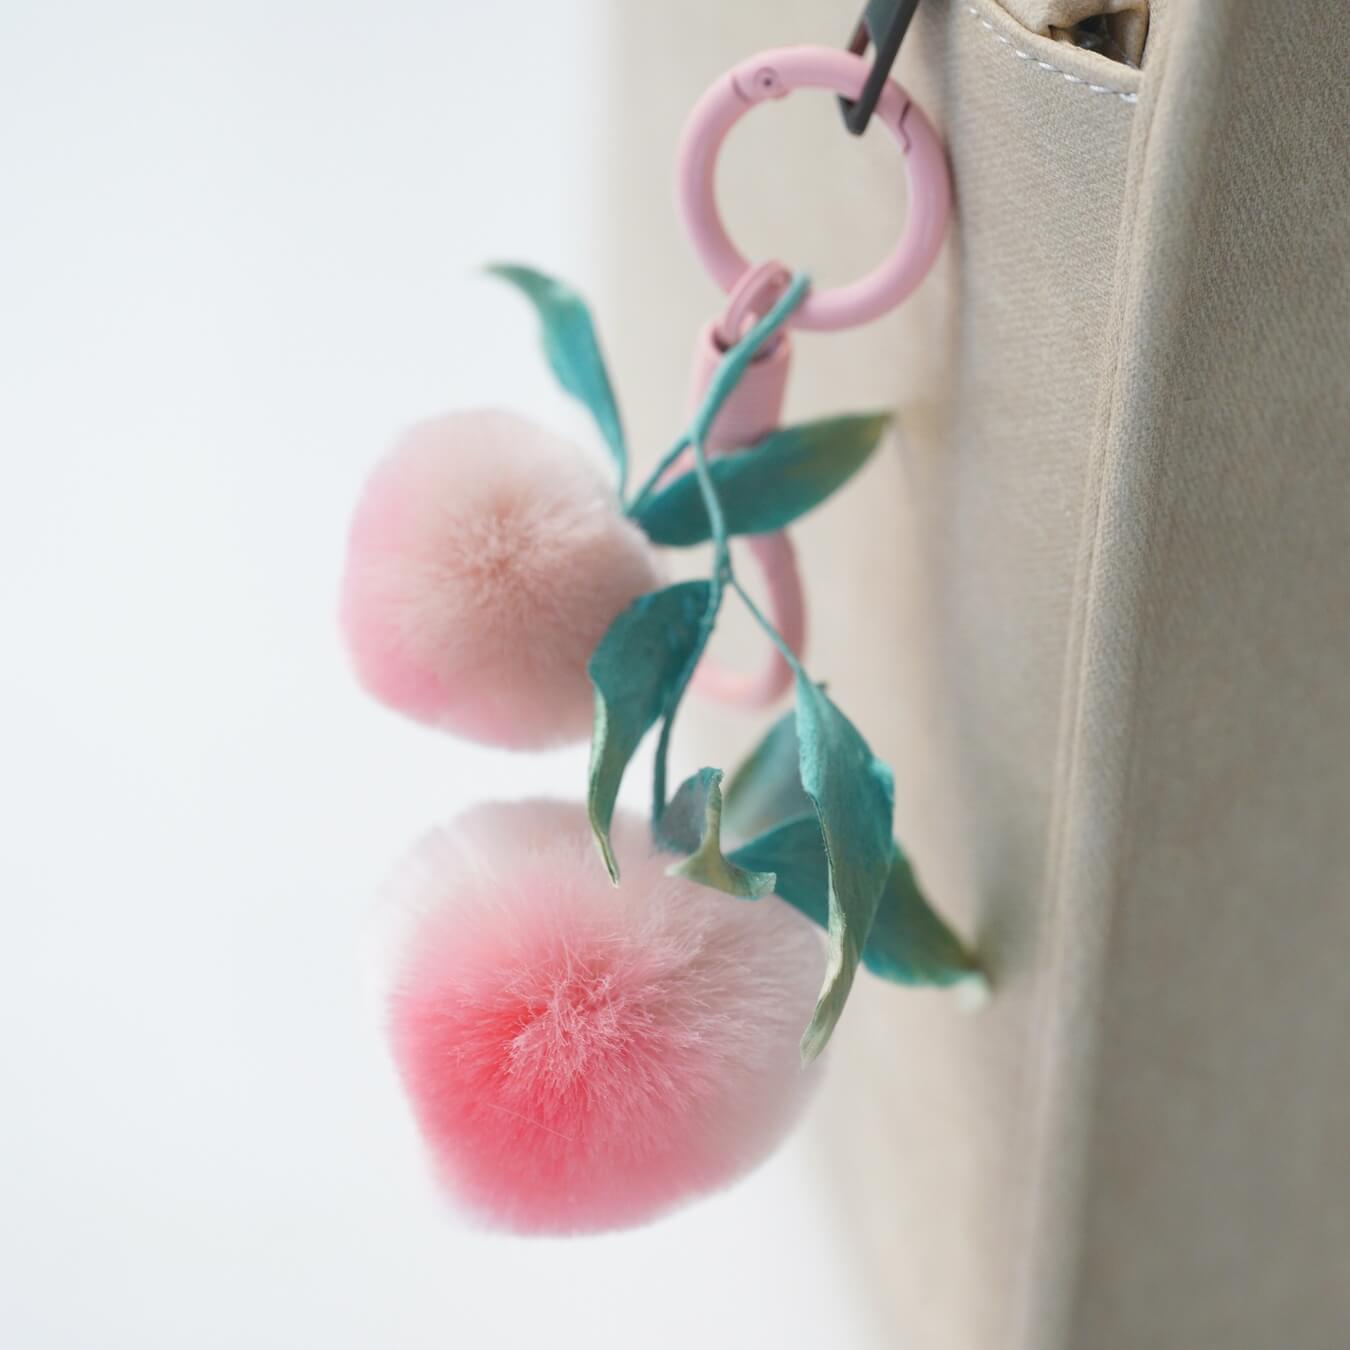
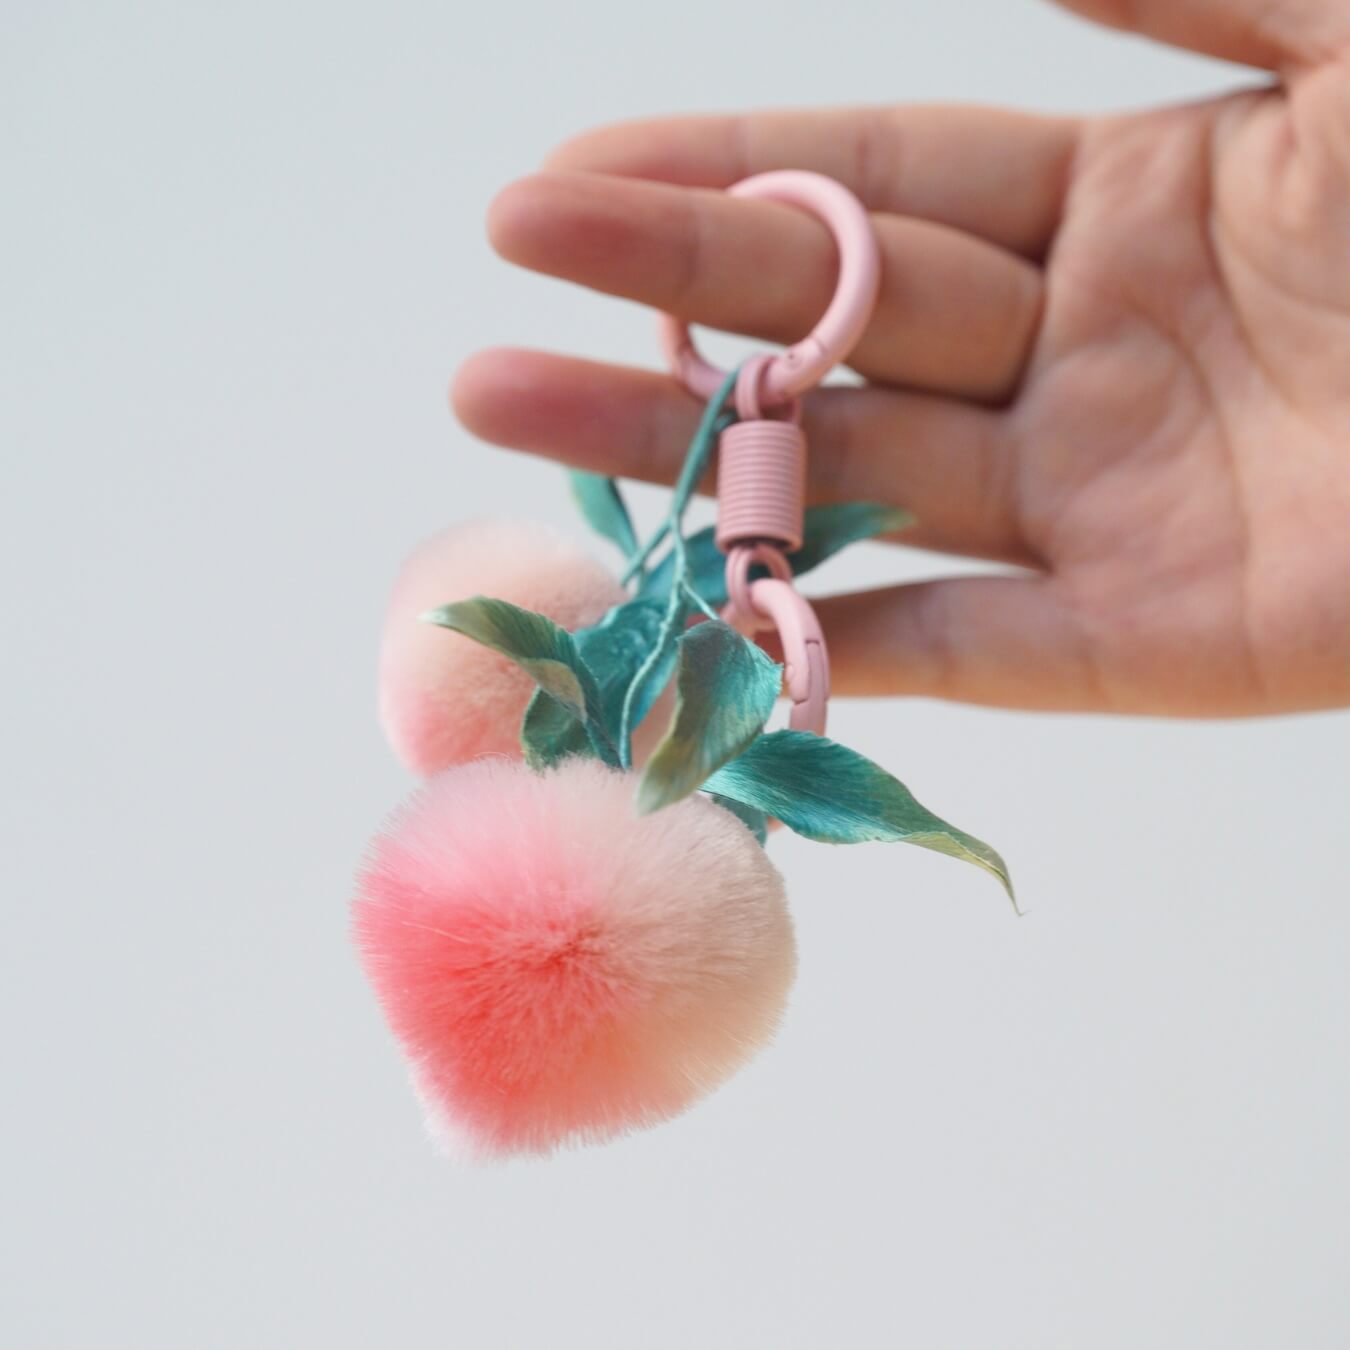
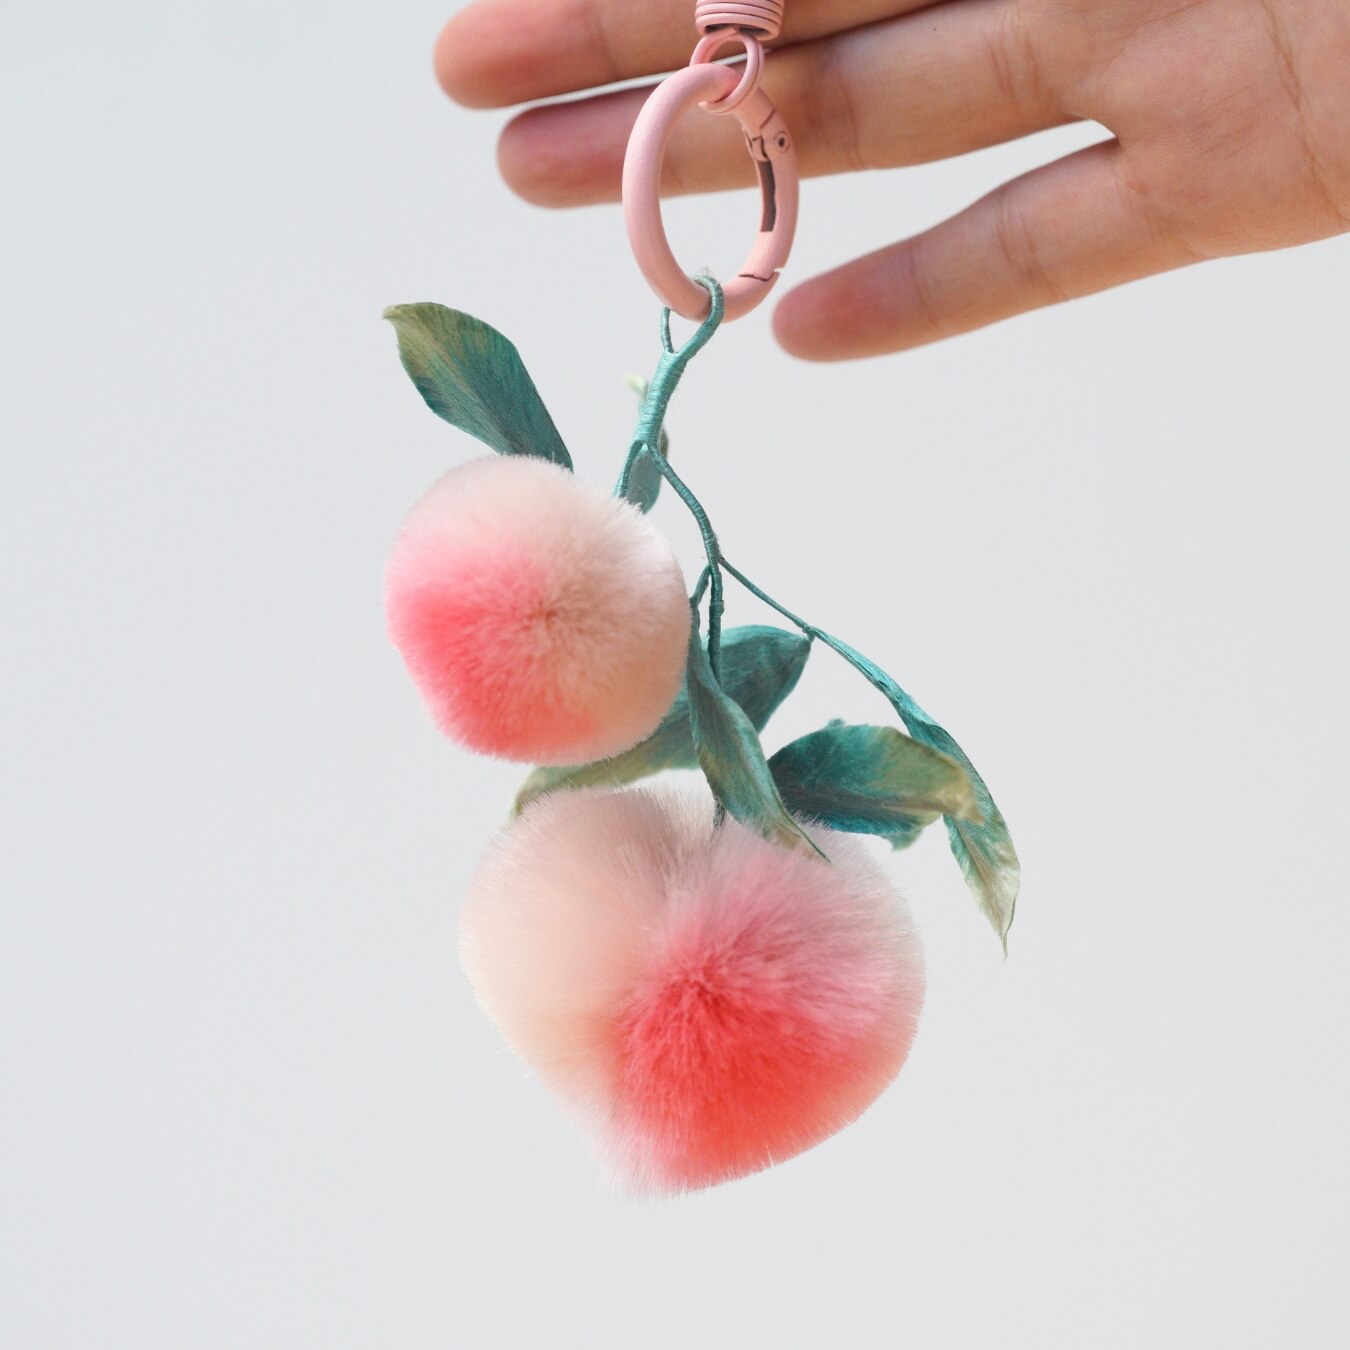
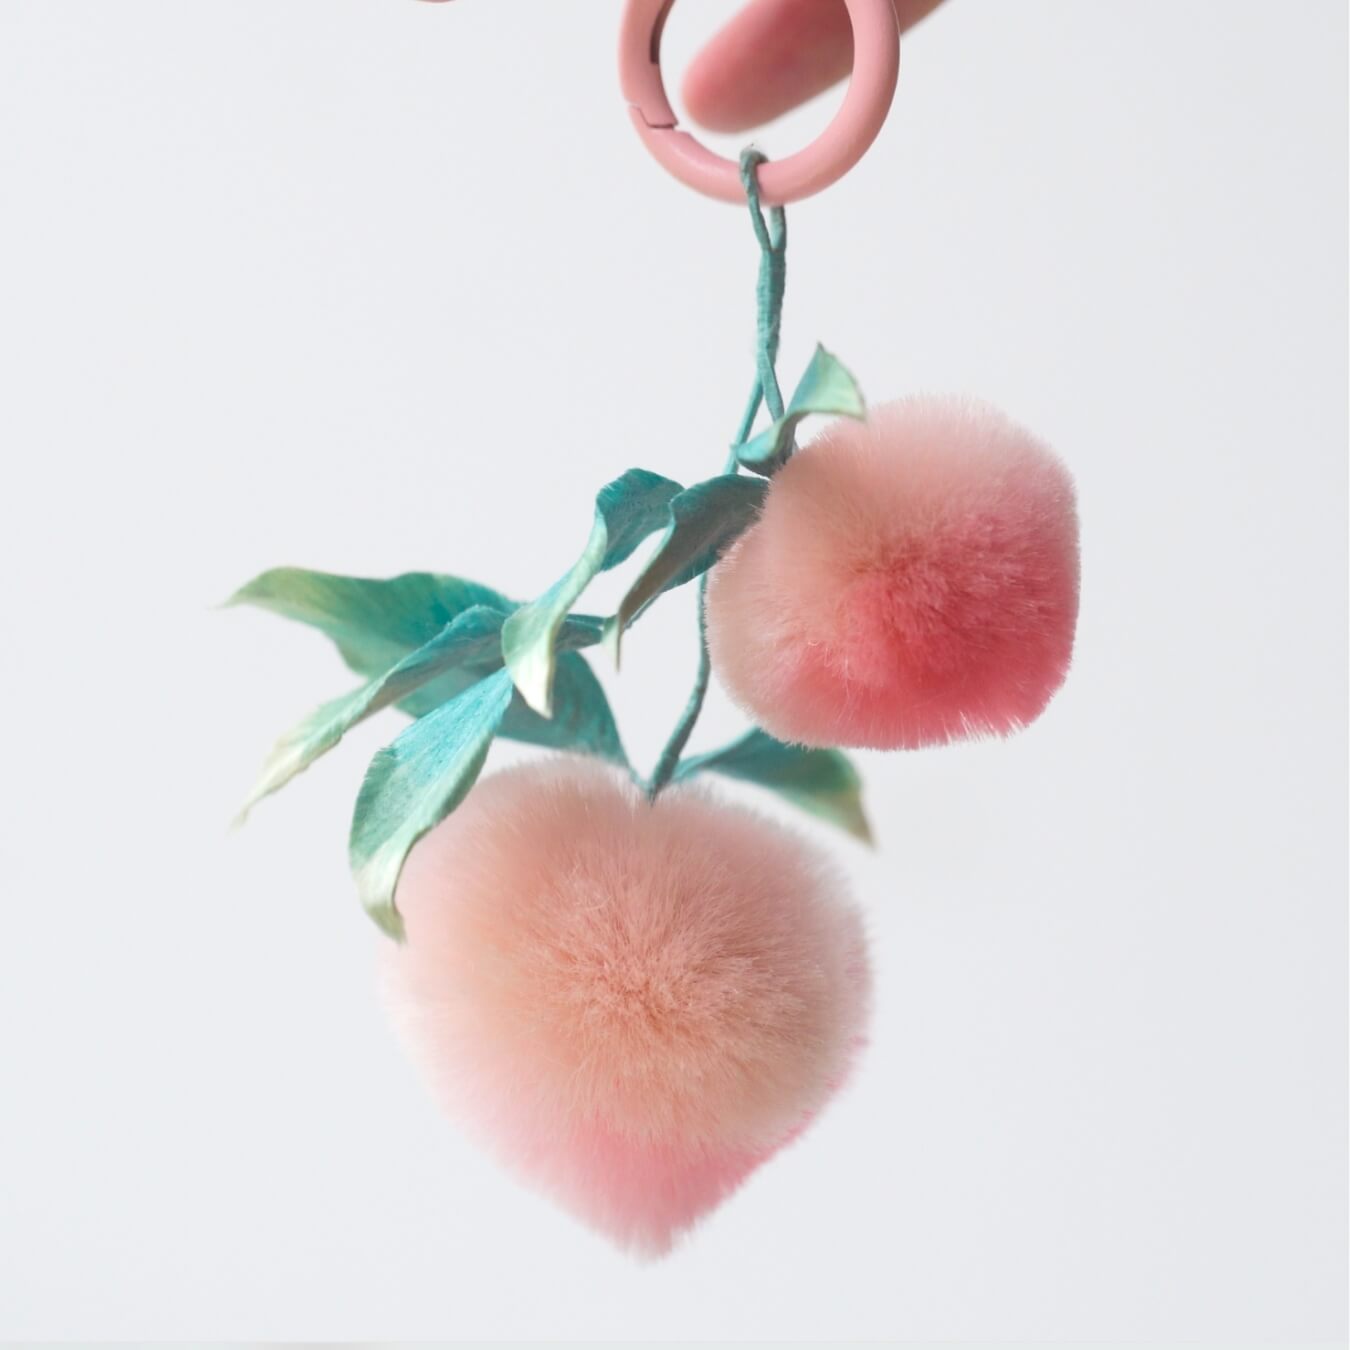
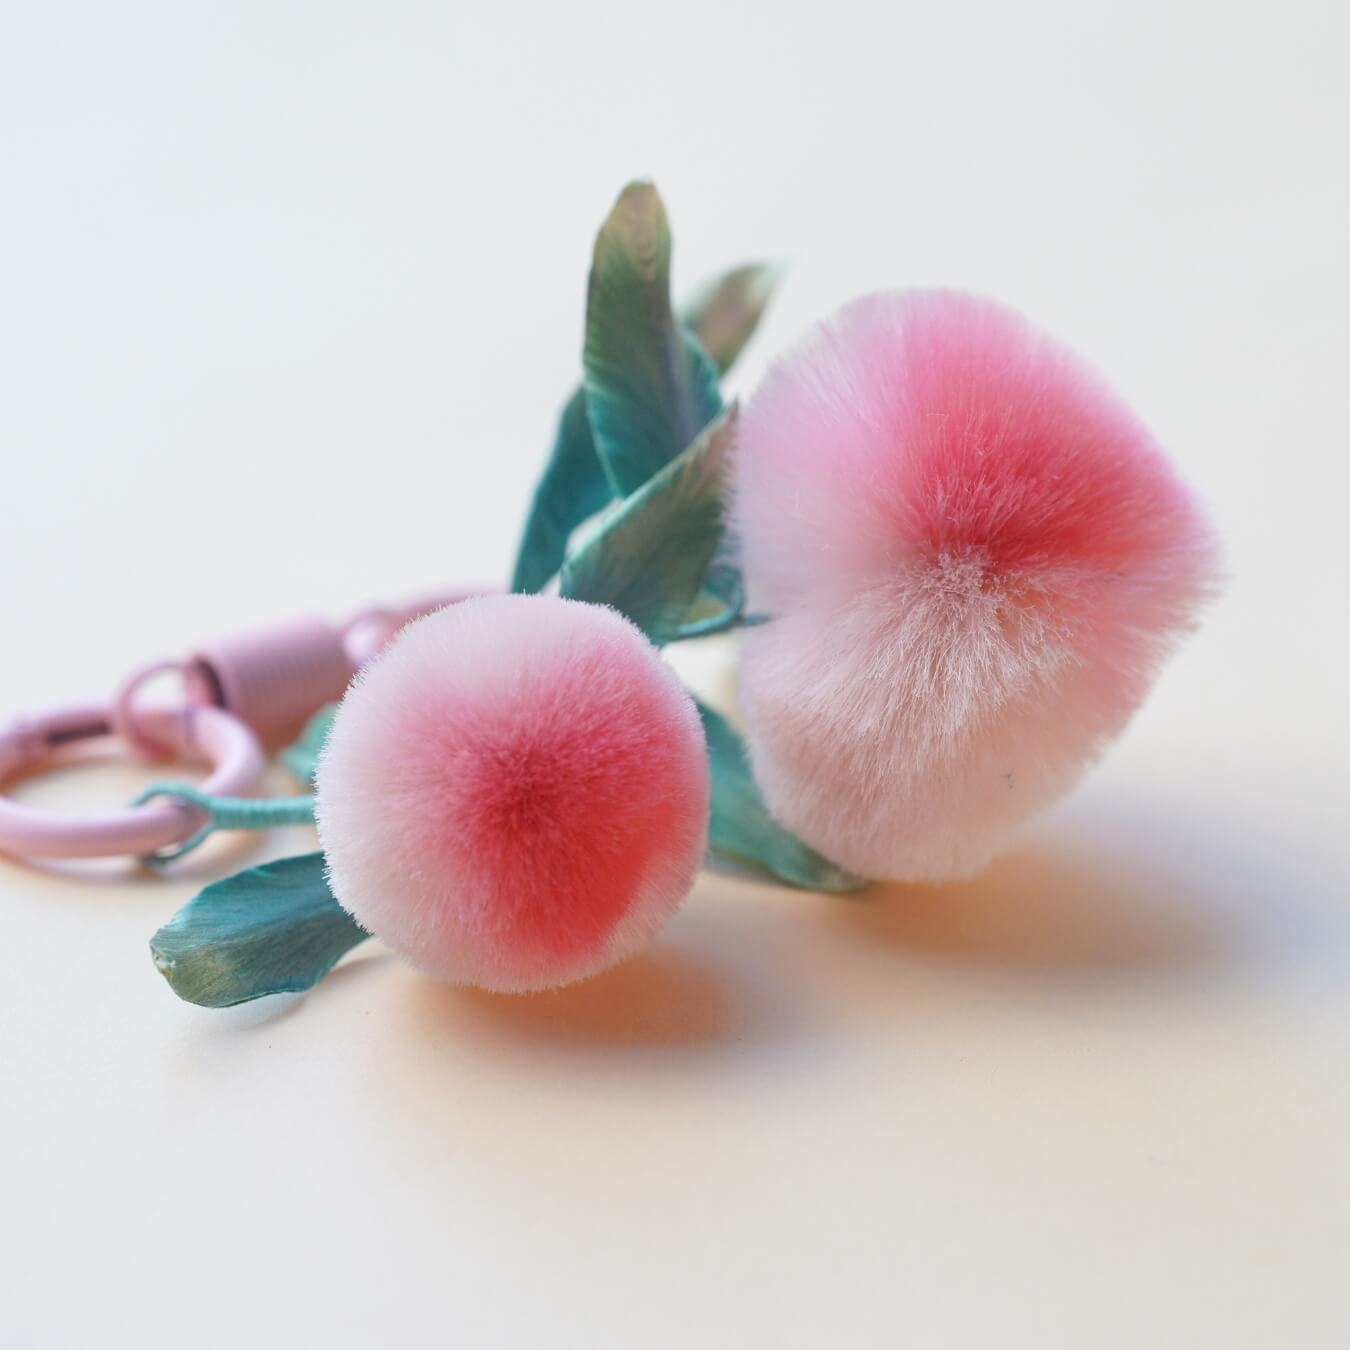
Learn how to create adorable peach using the traditional Ronghua crafting technique! In this step-by-step tutorial, we’ll guide you through preparing the velvet strips, brushing, shaping, and assembling your very own Peach Keychain.
Step 1: Arranging the Silk Threads 00:00~04:09
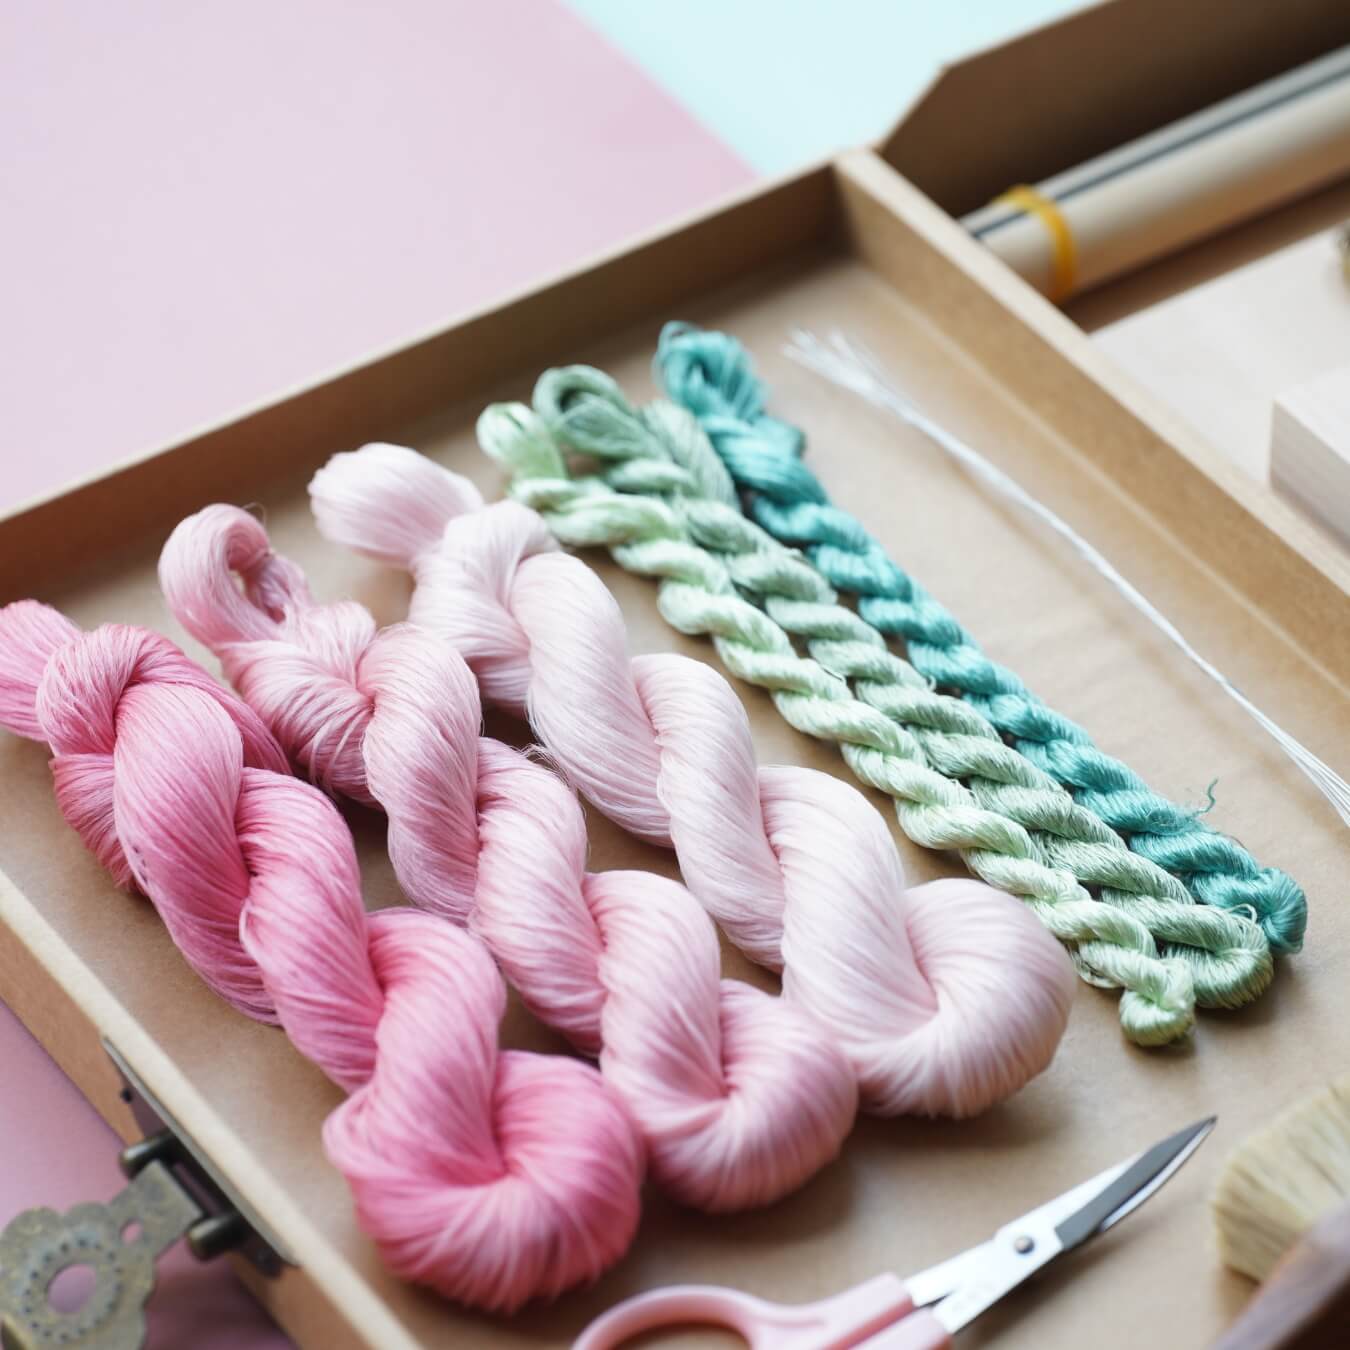
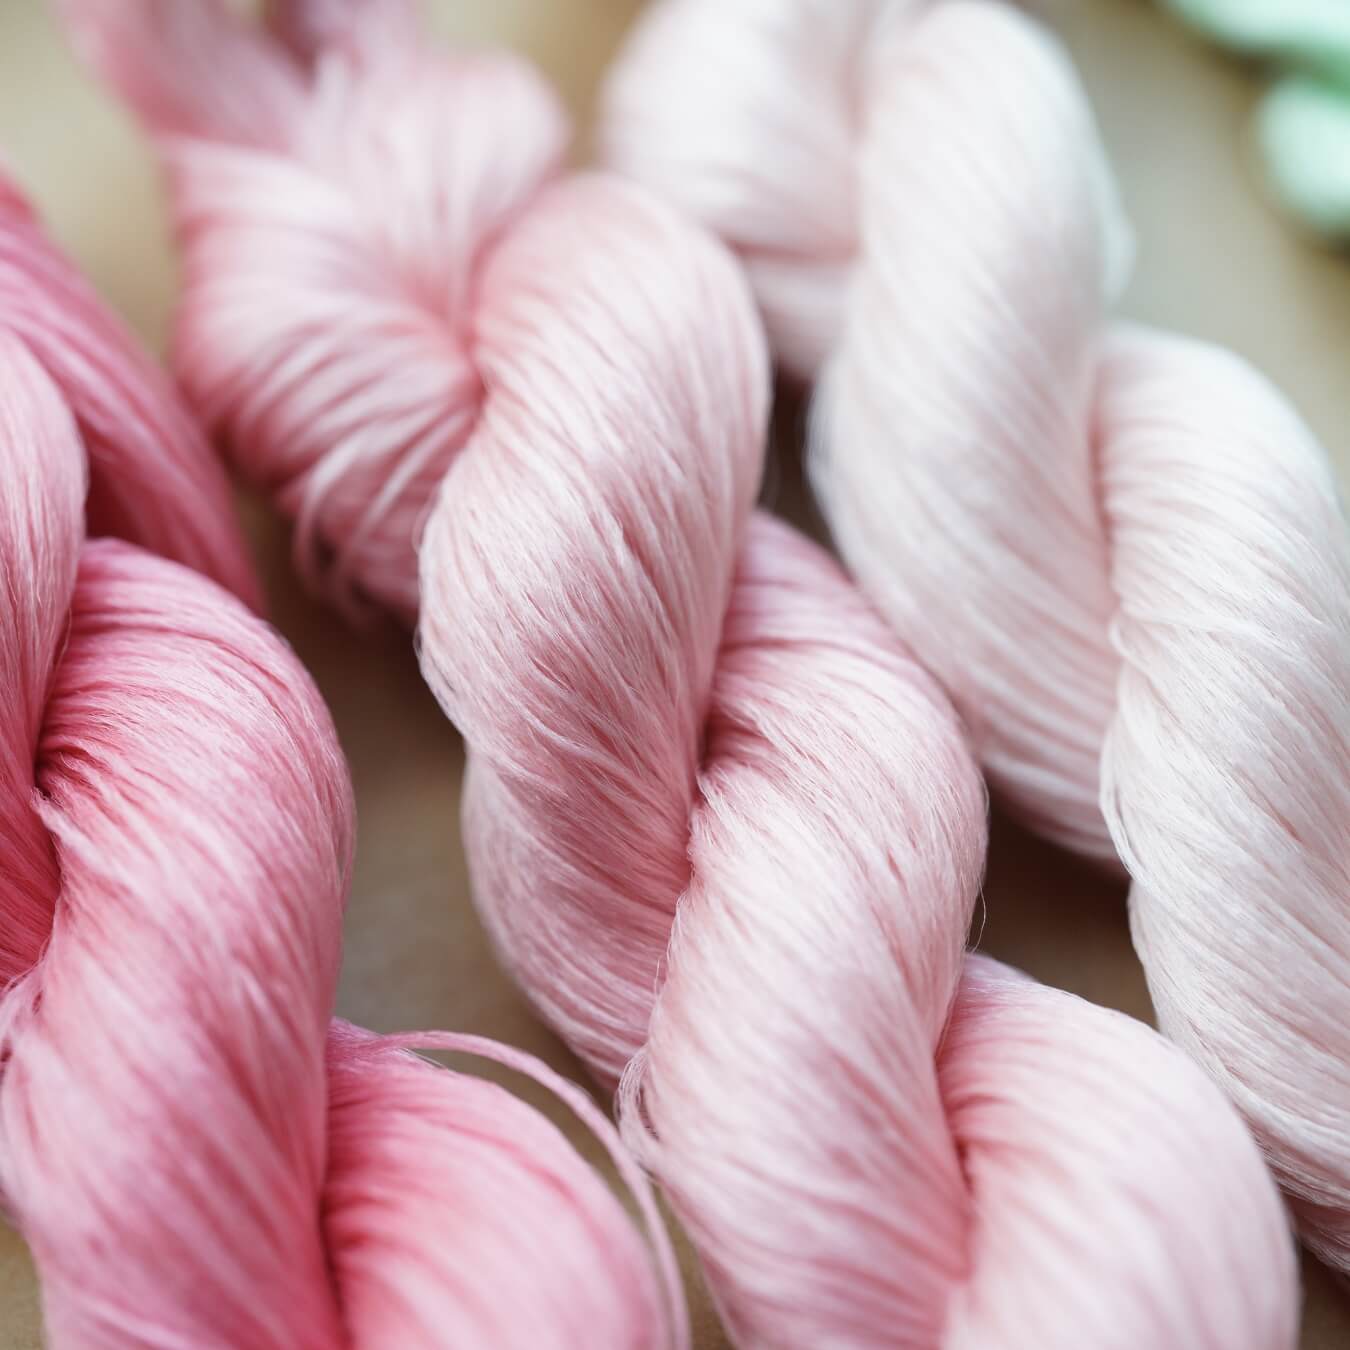
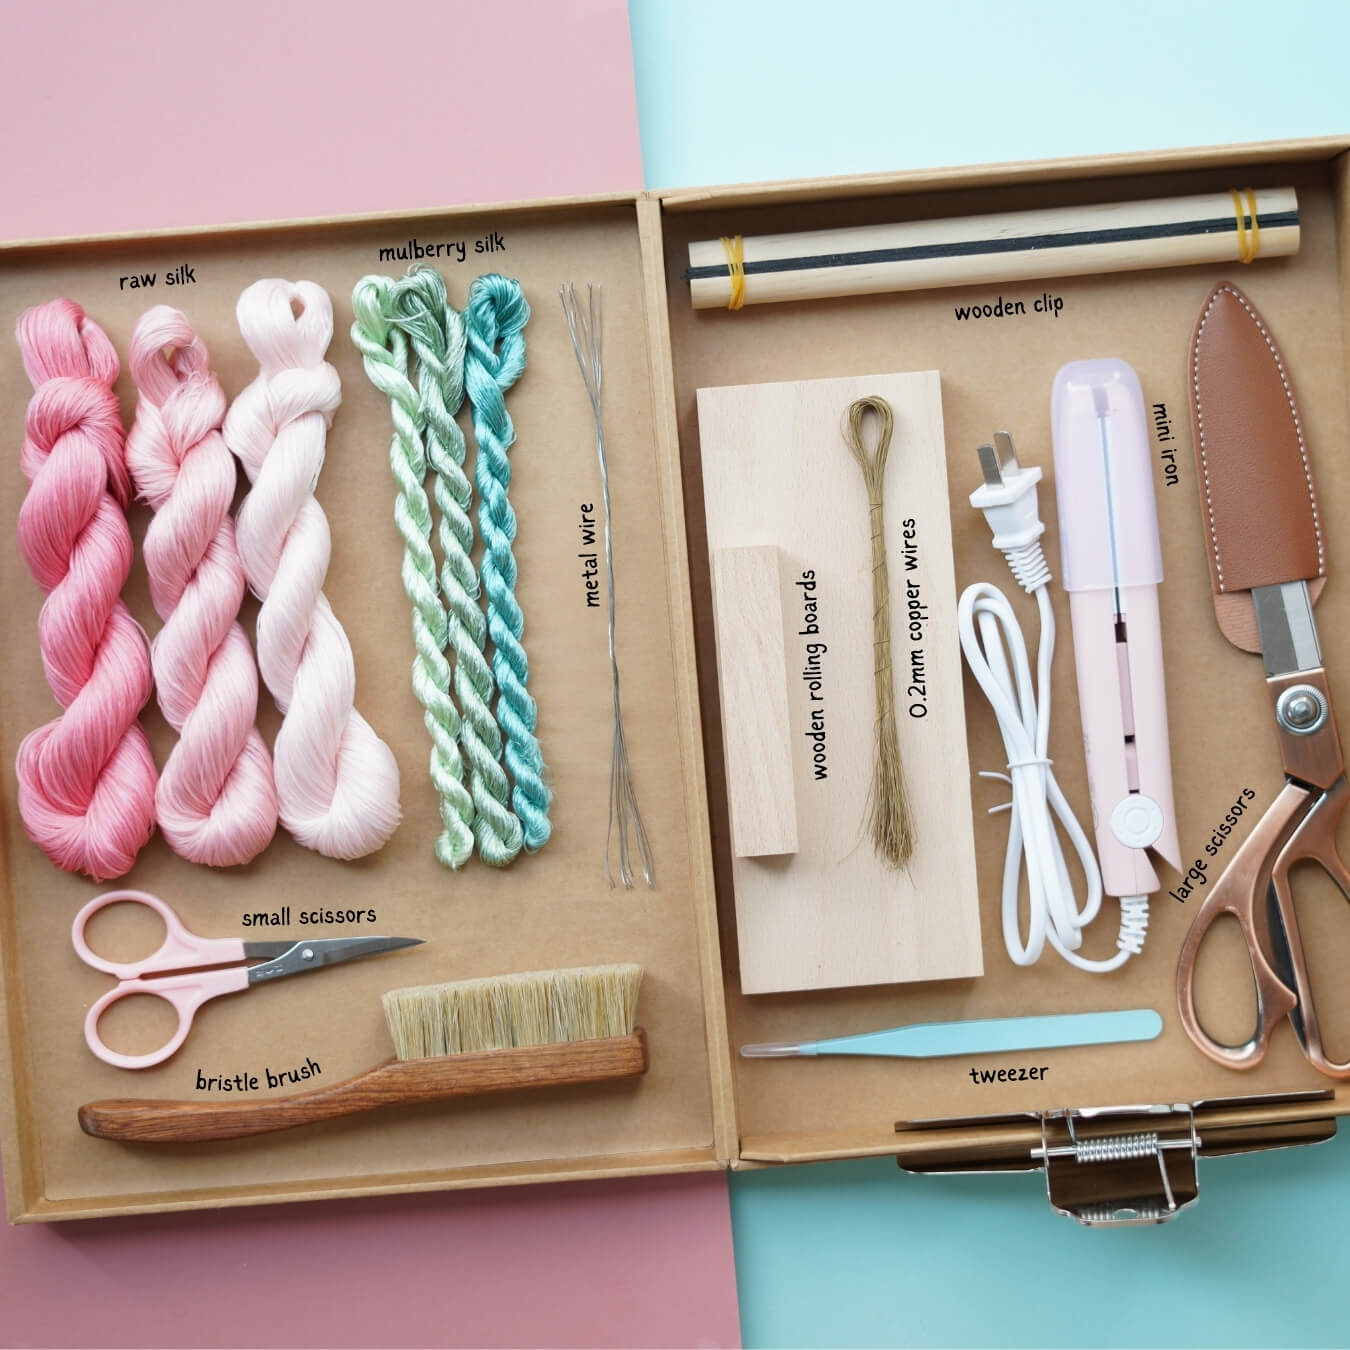
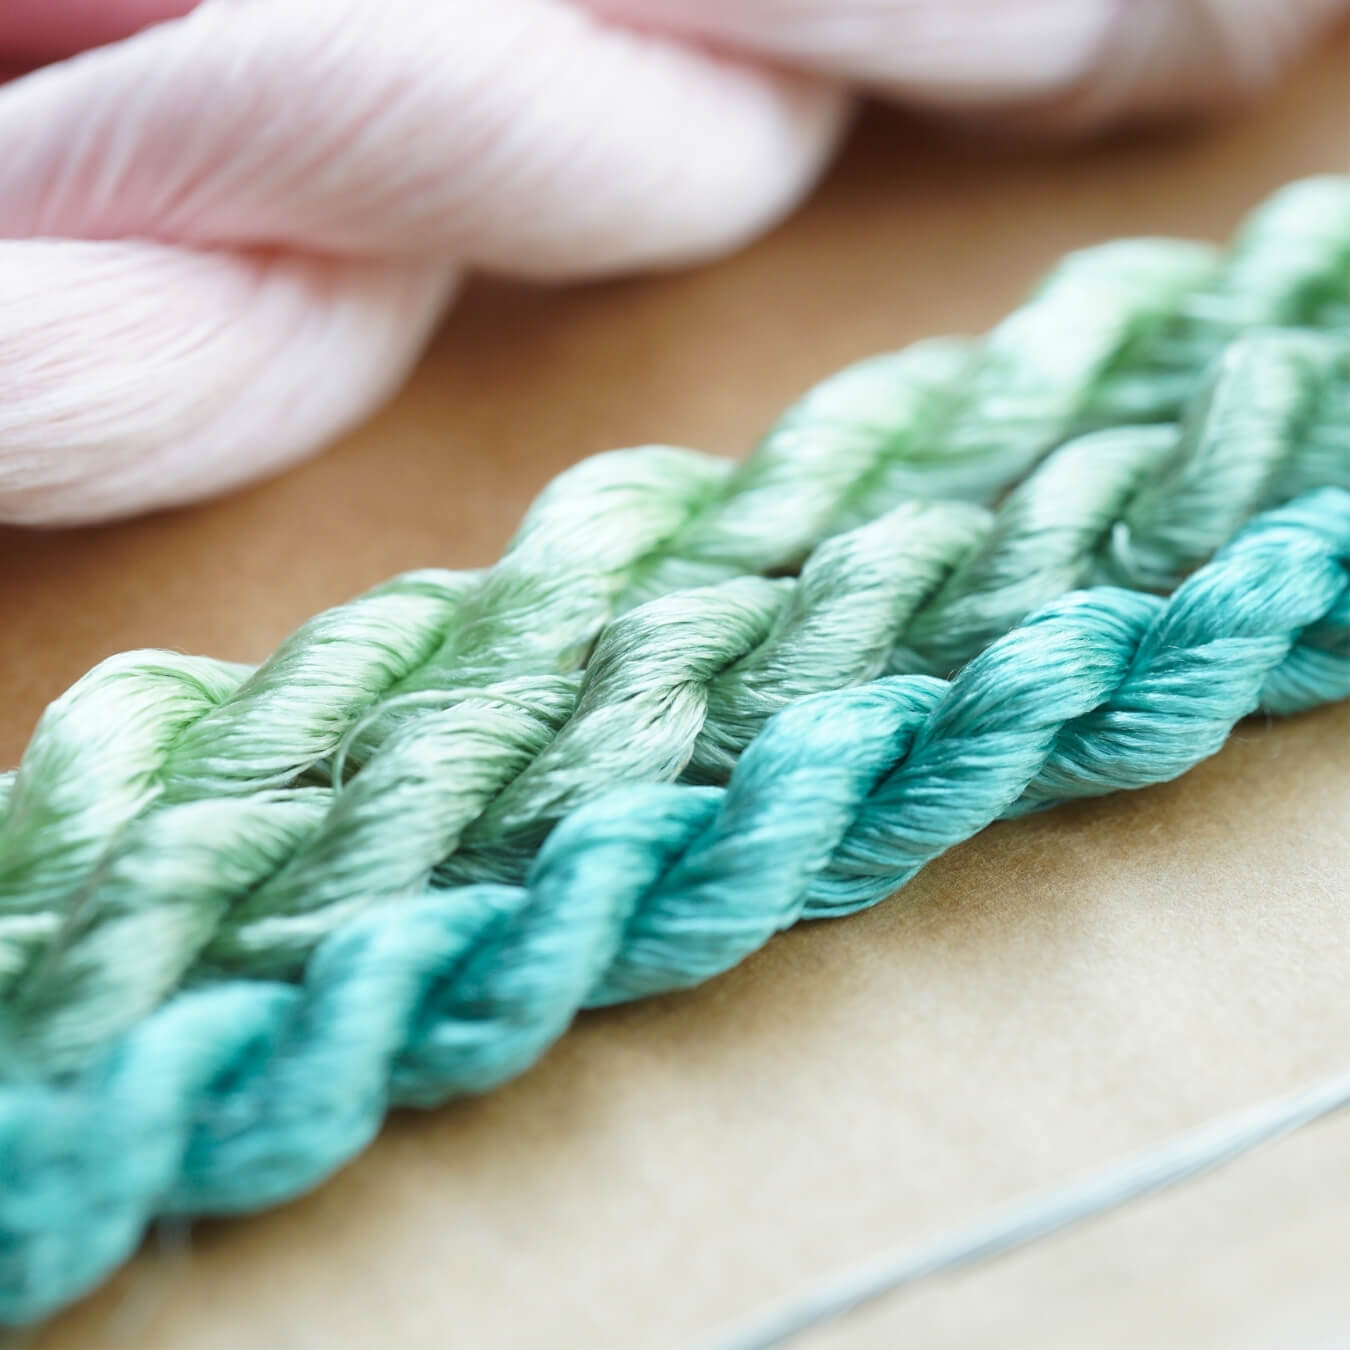
Find the spot where the raw silk is knotted. Cut open the raw silk and separate about 1/3 or 1/4 of the darkest pink, 1/3 of the second darkest pink, and use all of the light pink. Place the raw silk from light to dark onto a wooden stick. At this stage, just slide the raw silk onto the stick without worrying about the amount of each color being perfectly even.
Then, clamp the raw silk onto the stand. The untreated raw silk may be a little curled, so divide it into small portions and use clips to straighten it. Be careful not to spray any water on the silk threads during this step. The straighter you clamp them, the better. Afterward, spray some water onto the silk to prevent static and curling.

Step 2: Brushing the silk Threads 04:10~06:06
Each strand of silk should be brushed about 10 times. If the silk becomes tangled, spray a little water and continue brushing until it straightens out. Finally, gather all the raw silk together and give it one last brushing.

Step 3: Cutting the Silk Threads 06:07~16:12
Tie all the silk threads tightly with rubber bands. The width between the rubber bands determines the size of the peach: the wider the distance, the larger the peach; the narrower the distance, the smaller the peach. You can adjust this based on your needs.
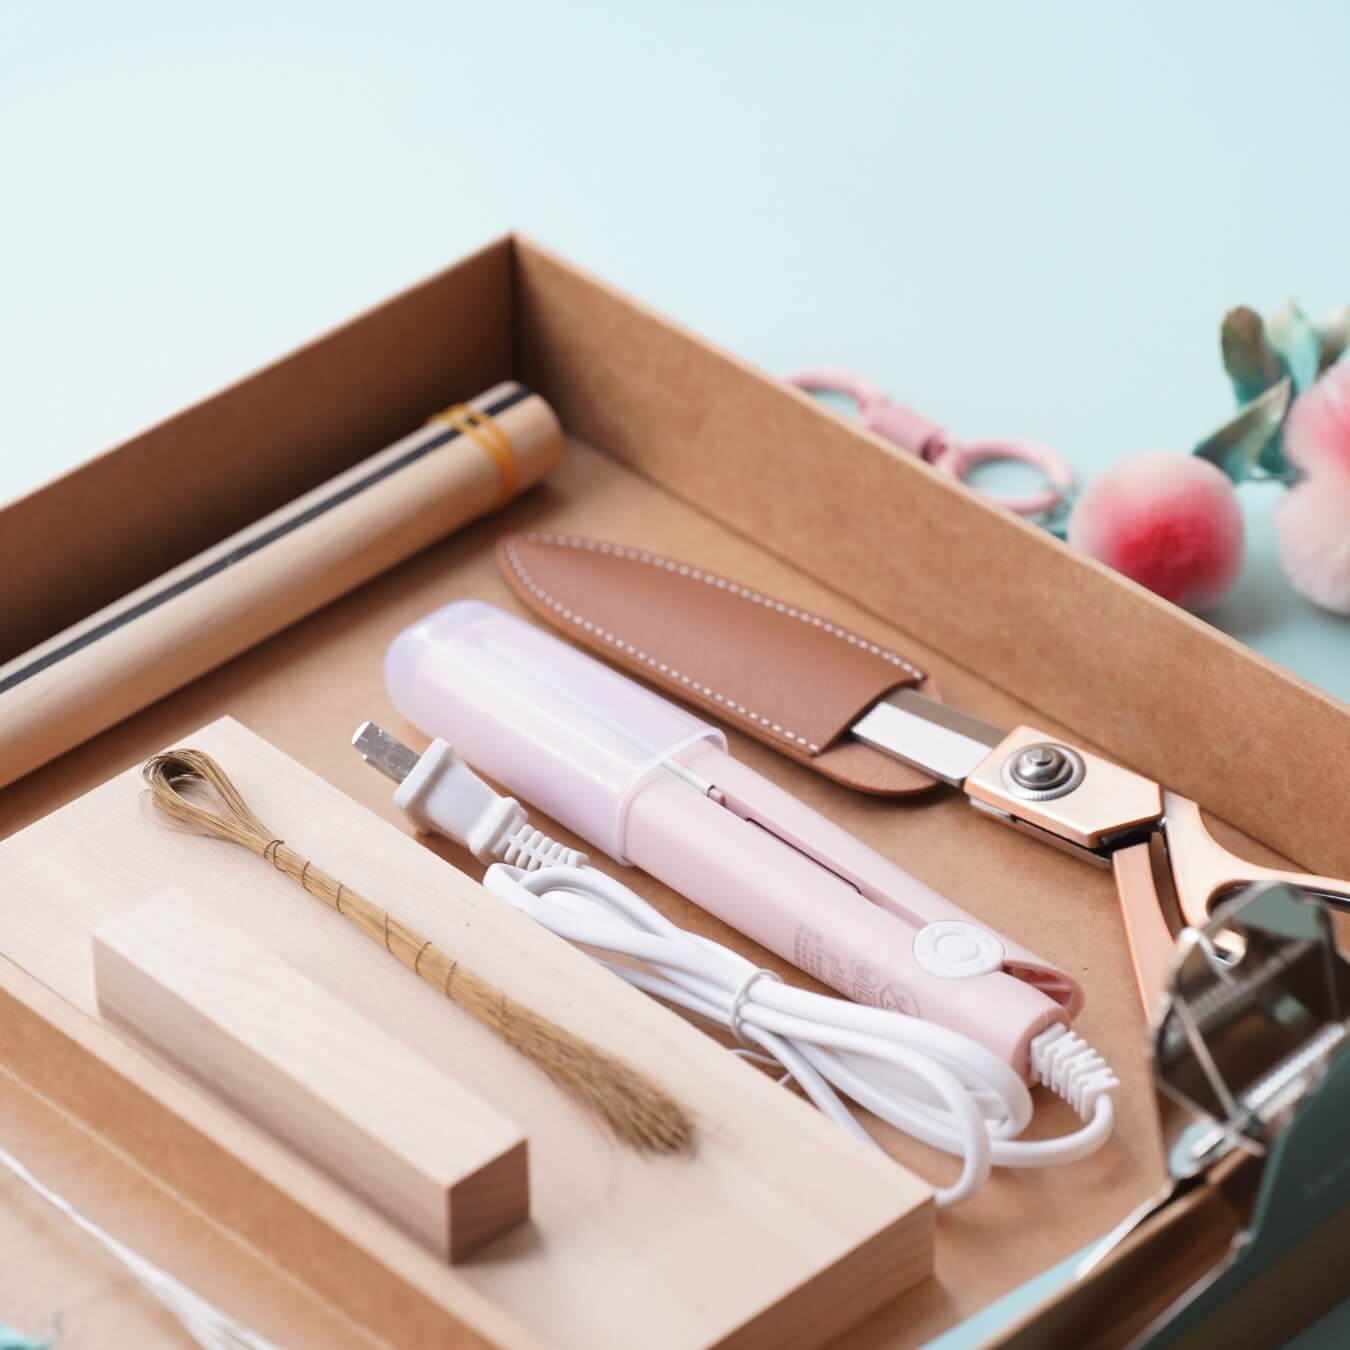
Trim the raw silk at the bottom. Since the raw silk is quite stiff, it may damage your scissors, so it’s recommended to use a pair of old scissors that you don’t often use. Cut all the raw silk, making sure to cut right between the two rubber bands.

 Then, prepare a piece of 0.4 copper wire or steel wire (do not use annealed copper wire, as it is too soft and may break). Fold the steel wire in half to about 10 cm in length. Wrap the steel wire around the raw silk once, twist it to temporarily secure it, and then remove the rubber bands.

Adjust the steel wire to the center of the raw silk and use pliers to twist it tightly. The tighter you twist it, the better. There should be no gaps between the steel wire and the raw silk. After twisting, gently pull on the raw silk with tweezers or your fingers to check if it loosens. If the raw silk comes off, the steel wire has not been twisted tightly enough.
Spray a little water on both sides of the steel wire, making sure not to get any on the raw silk. Find the center of the two sides of the raw silk and press it flat with your fingers.
This will give you a round silk piece.
Step 4: Making the Body of the Peach 16:13~20:39
Gently adjust the position of the raw silk. Use a heated flat iron to press the silk and hold it firmly for a few seconds. Since we sprayed water on the silk earlier, the heat will activate the natural adhesive in the silk, causing the damp areas to stick together.
Be sure to press from every angle until no gaps can be seen in the center. Next, use a compass to measure the distance from the center to the inner edge and draw a circle on paper. Cut out the paper circle and align its center with the center of the silk circle. Trim off the excess silk along the edge of the paper guide.
 After shaping, lightly spray a bit of water onto the center of both sides. Use tweezers to gently pinch and gather the silk. Be patient during this step and adjust slowly to ensure an even distribution. You can also use a comb, like shown in the below section of the tutorial video, to gently brush it out. If you don’t have a suitable brush, a pet grooming brush for cats can work just as well.
After shaping, use curved scissors to trim along the direction of the body of the peach, cutting off any raw silk that’s longer than the peach form. This step helps refine the overall roundness of the peach. Rotate and inspect the body of the peach from multiple angles—it must appear smooth and round from every direction.
 Once the shape is rounded, trim the top into a pointed tip. Rotate while cutting to ensure every side is evenly shaped. Keep the curved side of the scissors facing inward. Next, on the side of the peach, trim a gentle inward curve along its form—just like shown in the below section of the tutorial video.
Finally, create a small indentation at the bottom of the peach. With that, the peach is complete!

Step 5: Making the Leaves 20:39~32:30
Cut open the three colors of silk threads at the knotted end. Group the threads in sets of 5, and arrange each group from darkest to lightest on a wooden stick—20 groups in total. Use a mountain-shaped clip to secure the threads to the frame. Before brushing, lightly spray some water on the threads.Now start brushing the silk. Use one hand to hold the bottom of the threads in place. Brush all the way to the bottom, then you can release with the other hand. When the silk becomes fluffy, it means it’s ready. Clamp the threads tightly with a wooden clip and fix both sides with rubber bands. Slide the wooden clip to the bottom of the threads.
Use a ruler to check the width of the top and bottom of the silk strip—they must be consistent. The silk should be evenly distributed, with no gaps in the middle. Next, use a mountain-shaped clip to secure the silk to the edge of the table. If the silk strip is too loose, push the frame back slightly to tighten it.

Prepare around 20 copper wires. Fold each one in half and twist the ends together—about 3 to 4 cm of twisting is enough. Straighten the wires, clamp the silk between them, and twist both ends in opposite directions to secure. The spacing between each wire should be 2 cm. Soak the silk strips in setting liquid. Use tweezers to remove any excess liquid. Stick the strips into a foam pad to dry.

 Once dry, trim the strips into the shape of a leaf: wider in the center, tapering at both ends. Use a flat iron to press the silk strip for smoothness.Hold the iron vertically and press down the center of the leaf. Heating the strip makes it soft—gently press the leaf inward to form an angle. Then curl both ends of the leaf slightly by heating them. Finally, use the edge of the iron to lightly touch the leaf edges to create a natural curled effect.
 And that’s one finished leaf!
Step 6: Assembling the Leaves and Peach 32:31~end
Take the remaining silk threads to assemble the leaves. Group 2 to 3 leaves together and tie a knot to secure them. Then, take your body of peach and begin wrapping silk thread from the bottom of the peach. While wrapping, be careful not to catch the fibers of the peach in the thread.Next, bring in the leaves and attach them to the peach. Wrap the thread around about 3 cm to secure. Add the second leaf and continue wrapping for another 1–2 cm. Then, take a second, smaller body of peach and assemble it with the others.

This pendant uses two bodies of peach of different sizes and a total of 7 leaves. Cut off the excess steel wire, leaving just one or two pieces. After wrapping a certain length, bend the copper wire slightly with tweezers and trim off any overly long steel wire. Leave a small loop opening here.Continue wrapping in the opposite direction, joining the remaining wire with the earlier section to create a seamless coil. Once the wires are fully covered, you can tie off the end.
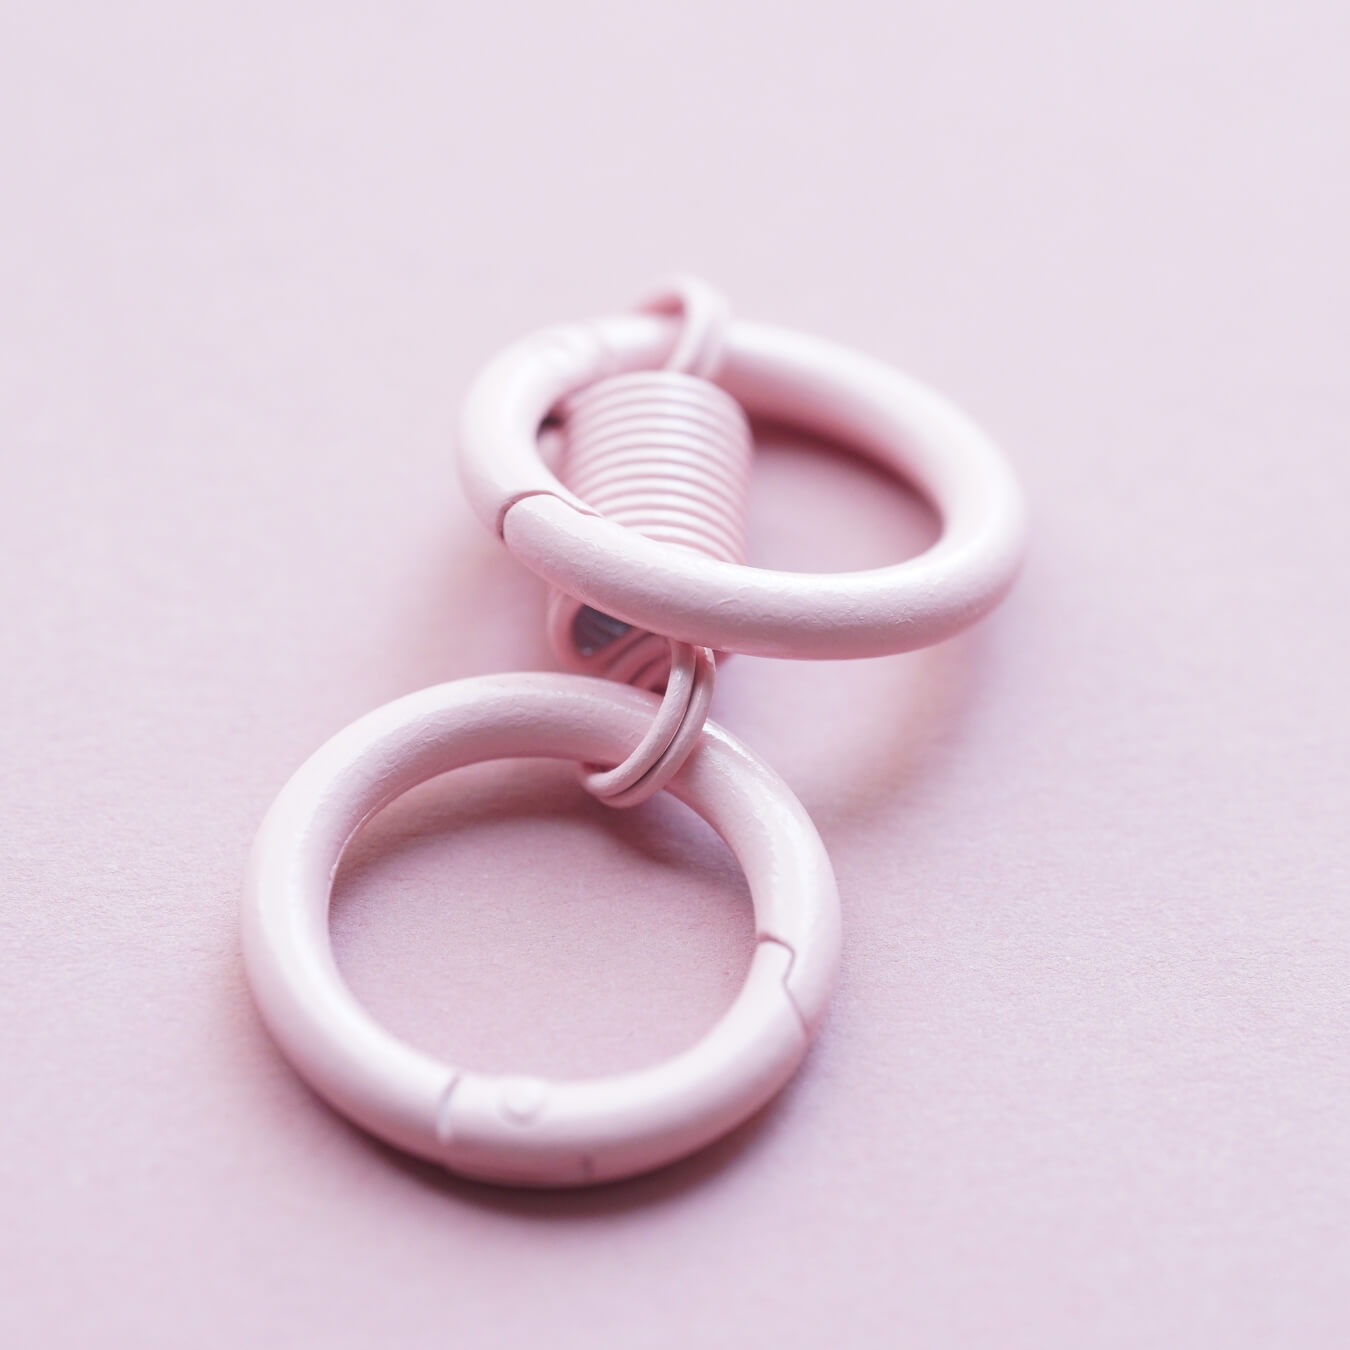
If the finish looks a little frizzy, you can dab on a bit of white glue to tidy it up. Finally, use pliers or tweezers to adjust the shape of the loop. Take out your keyring in a color you like, attach it to the pendant—and your silk peach is complete!
If you finished your DIY product, welcome to show your awesome work to us and get coupons for the rest of our DIY kits!
INS@lanseichina
Pinterest@lanseichina


