

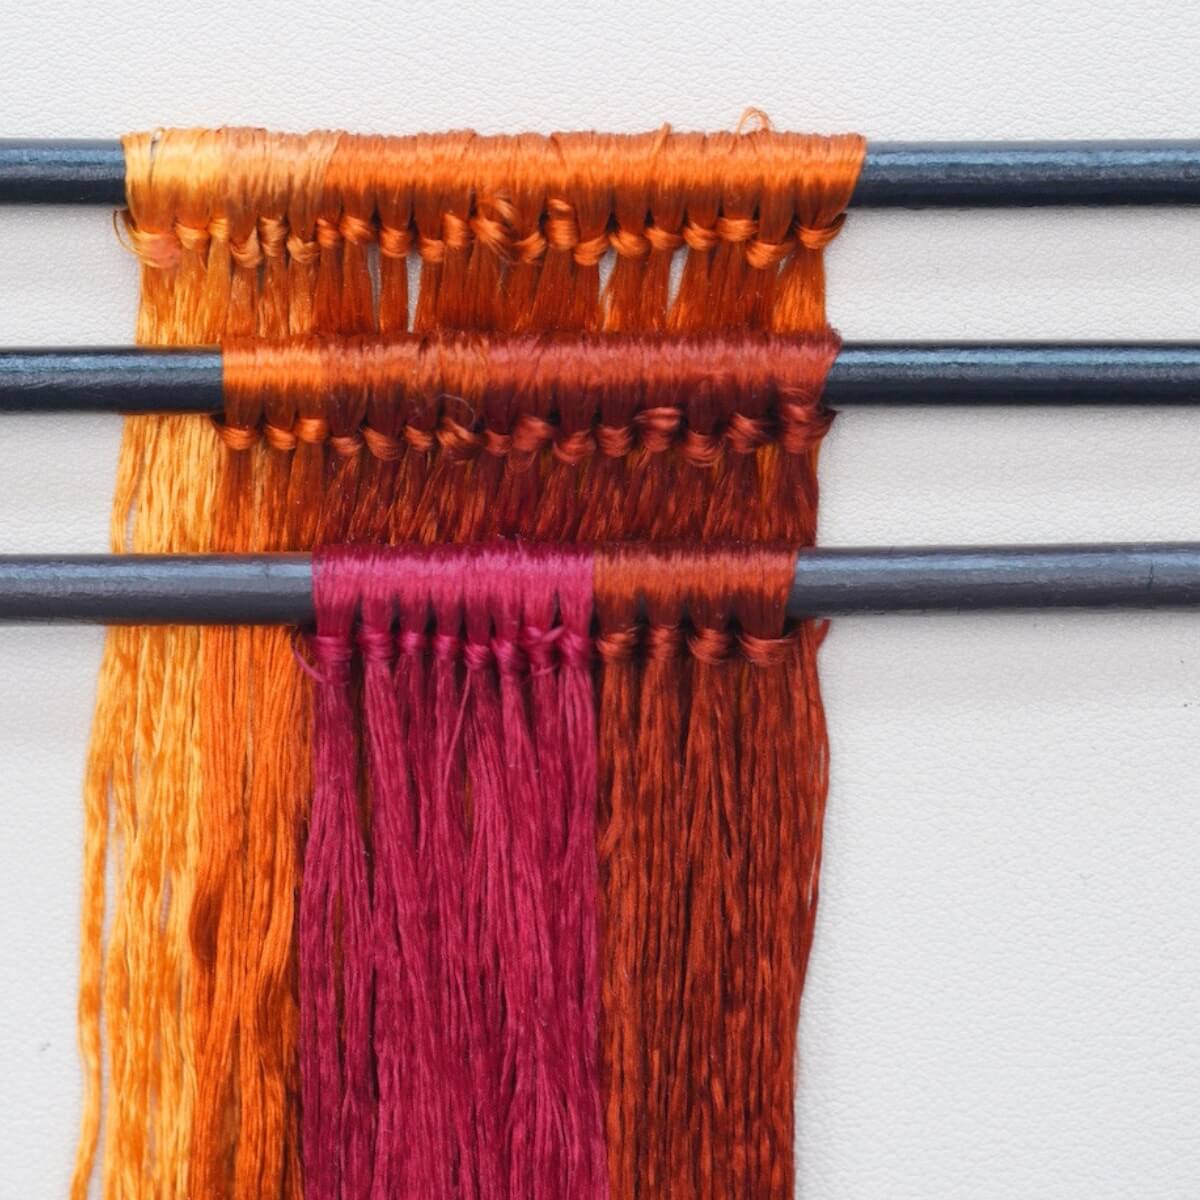
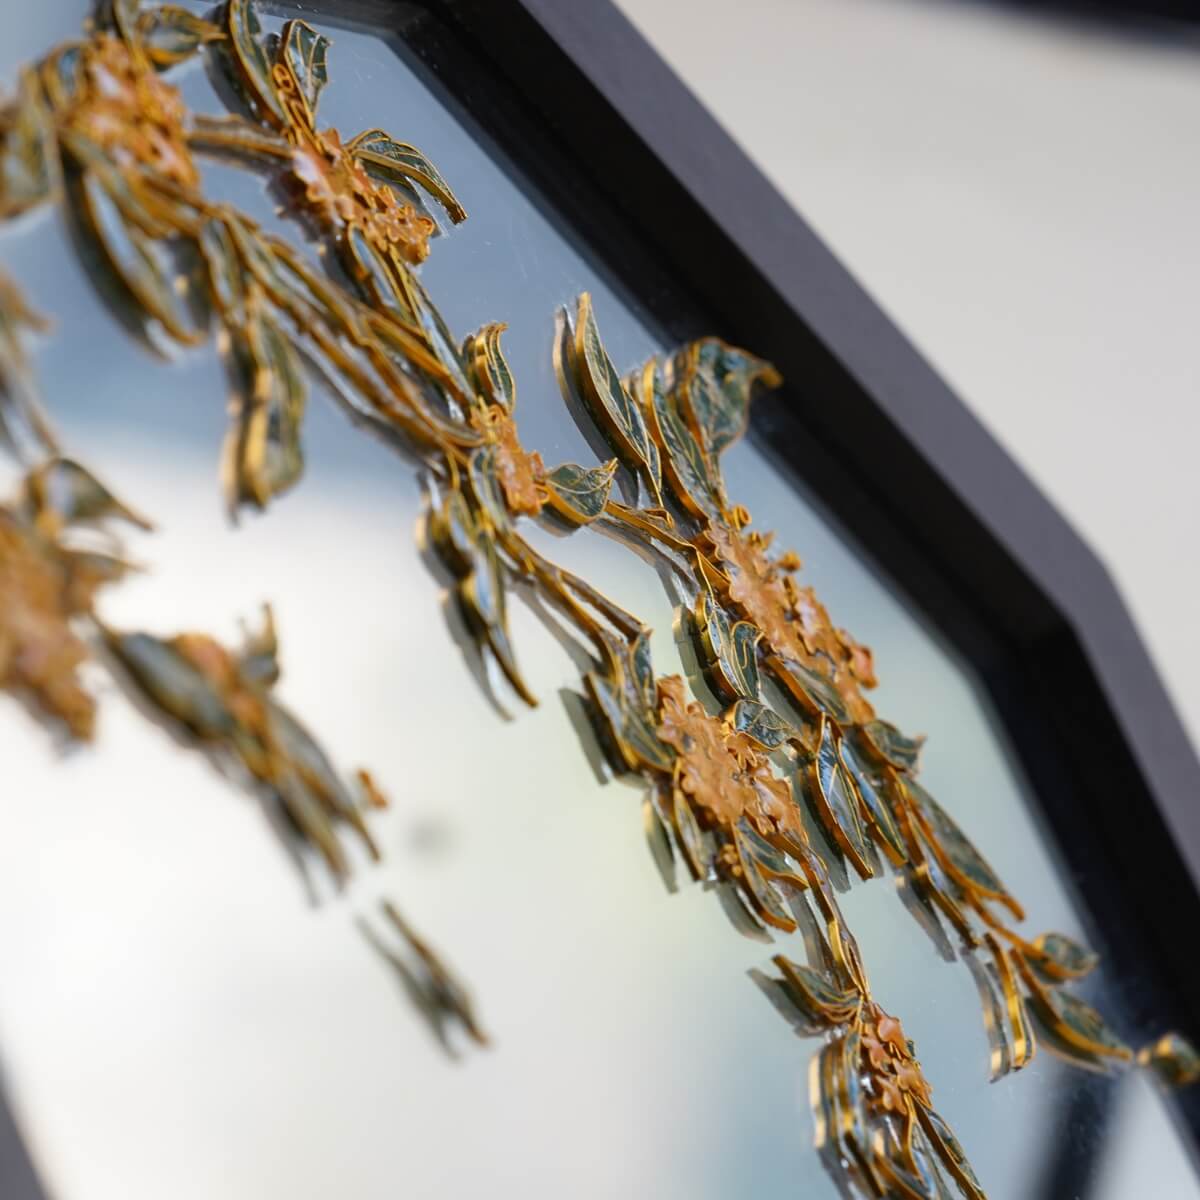
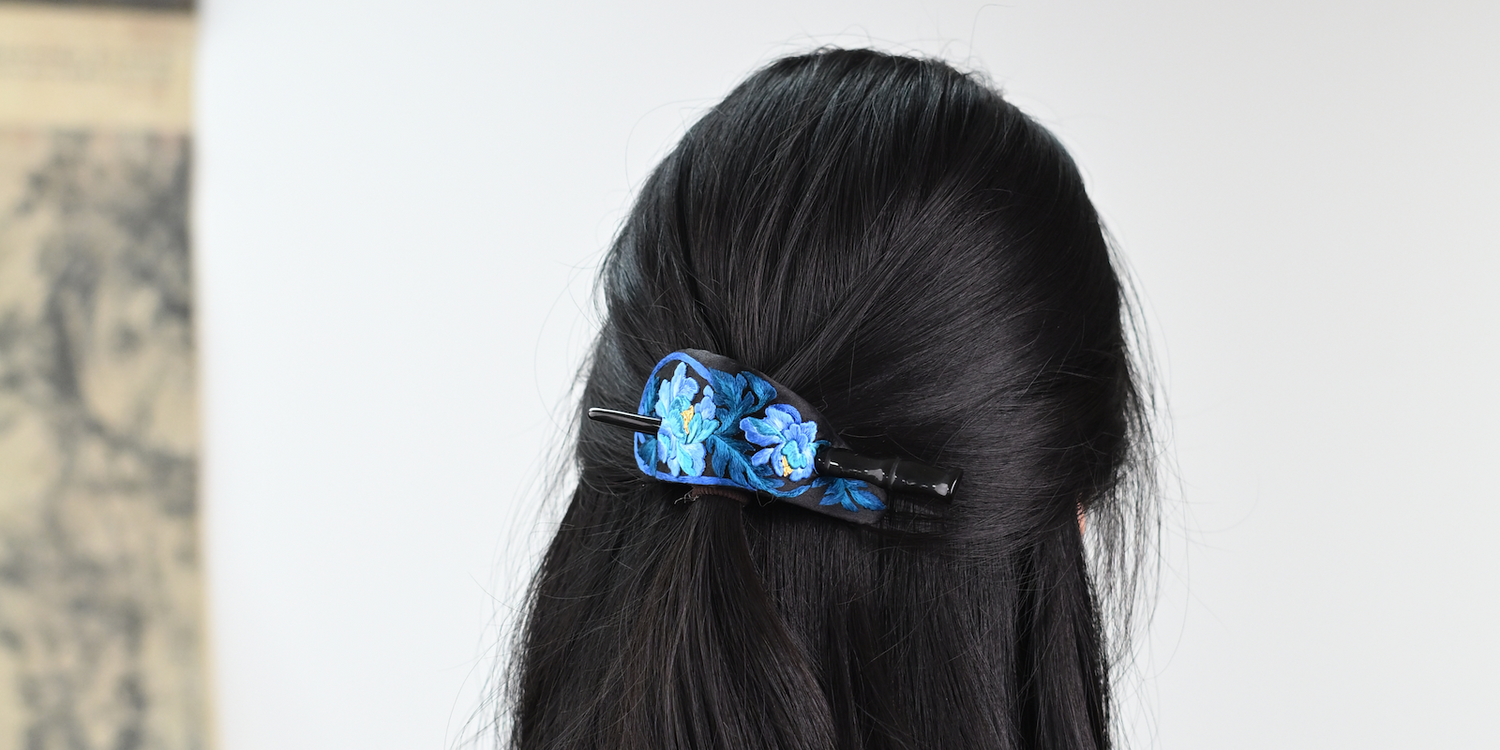
Diese Haarspange mit Pfingstrosenmotiv verbindet zarte Seidenstickerei mit plastisch gearbeiteten, übereinanderliegenden Blütenblättern und schimmernden Golddetails. Mit ihren kräftigen Blautönen und den kunstvollen Blumenmotiven ist sie ein wunderschönes Schmuckstück, das Ihrer Frisur einen Hauch traditioneller Handwerkskunst verleiht.
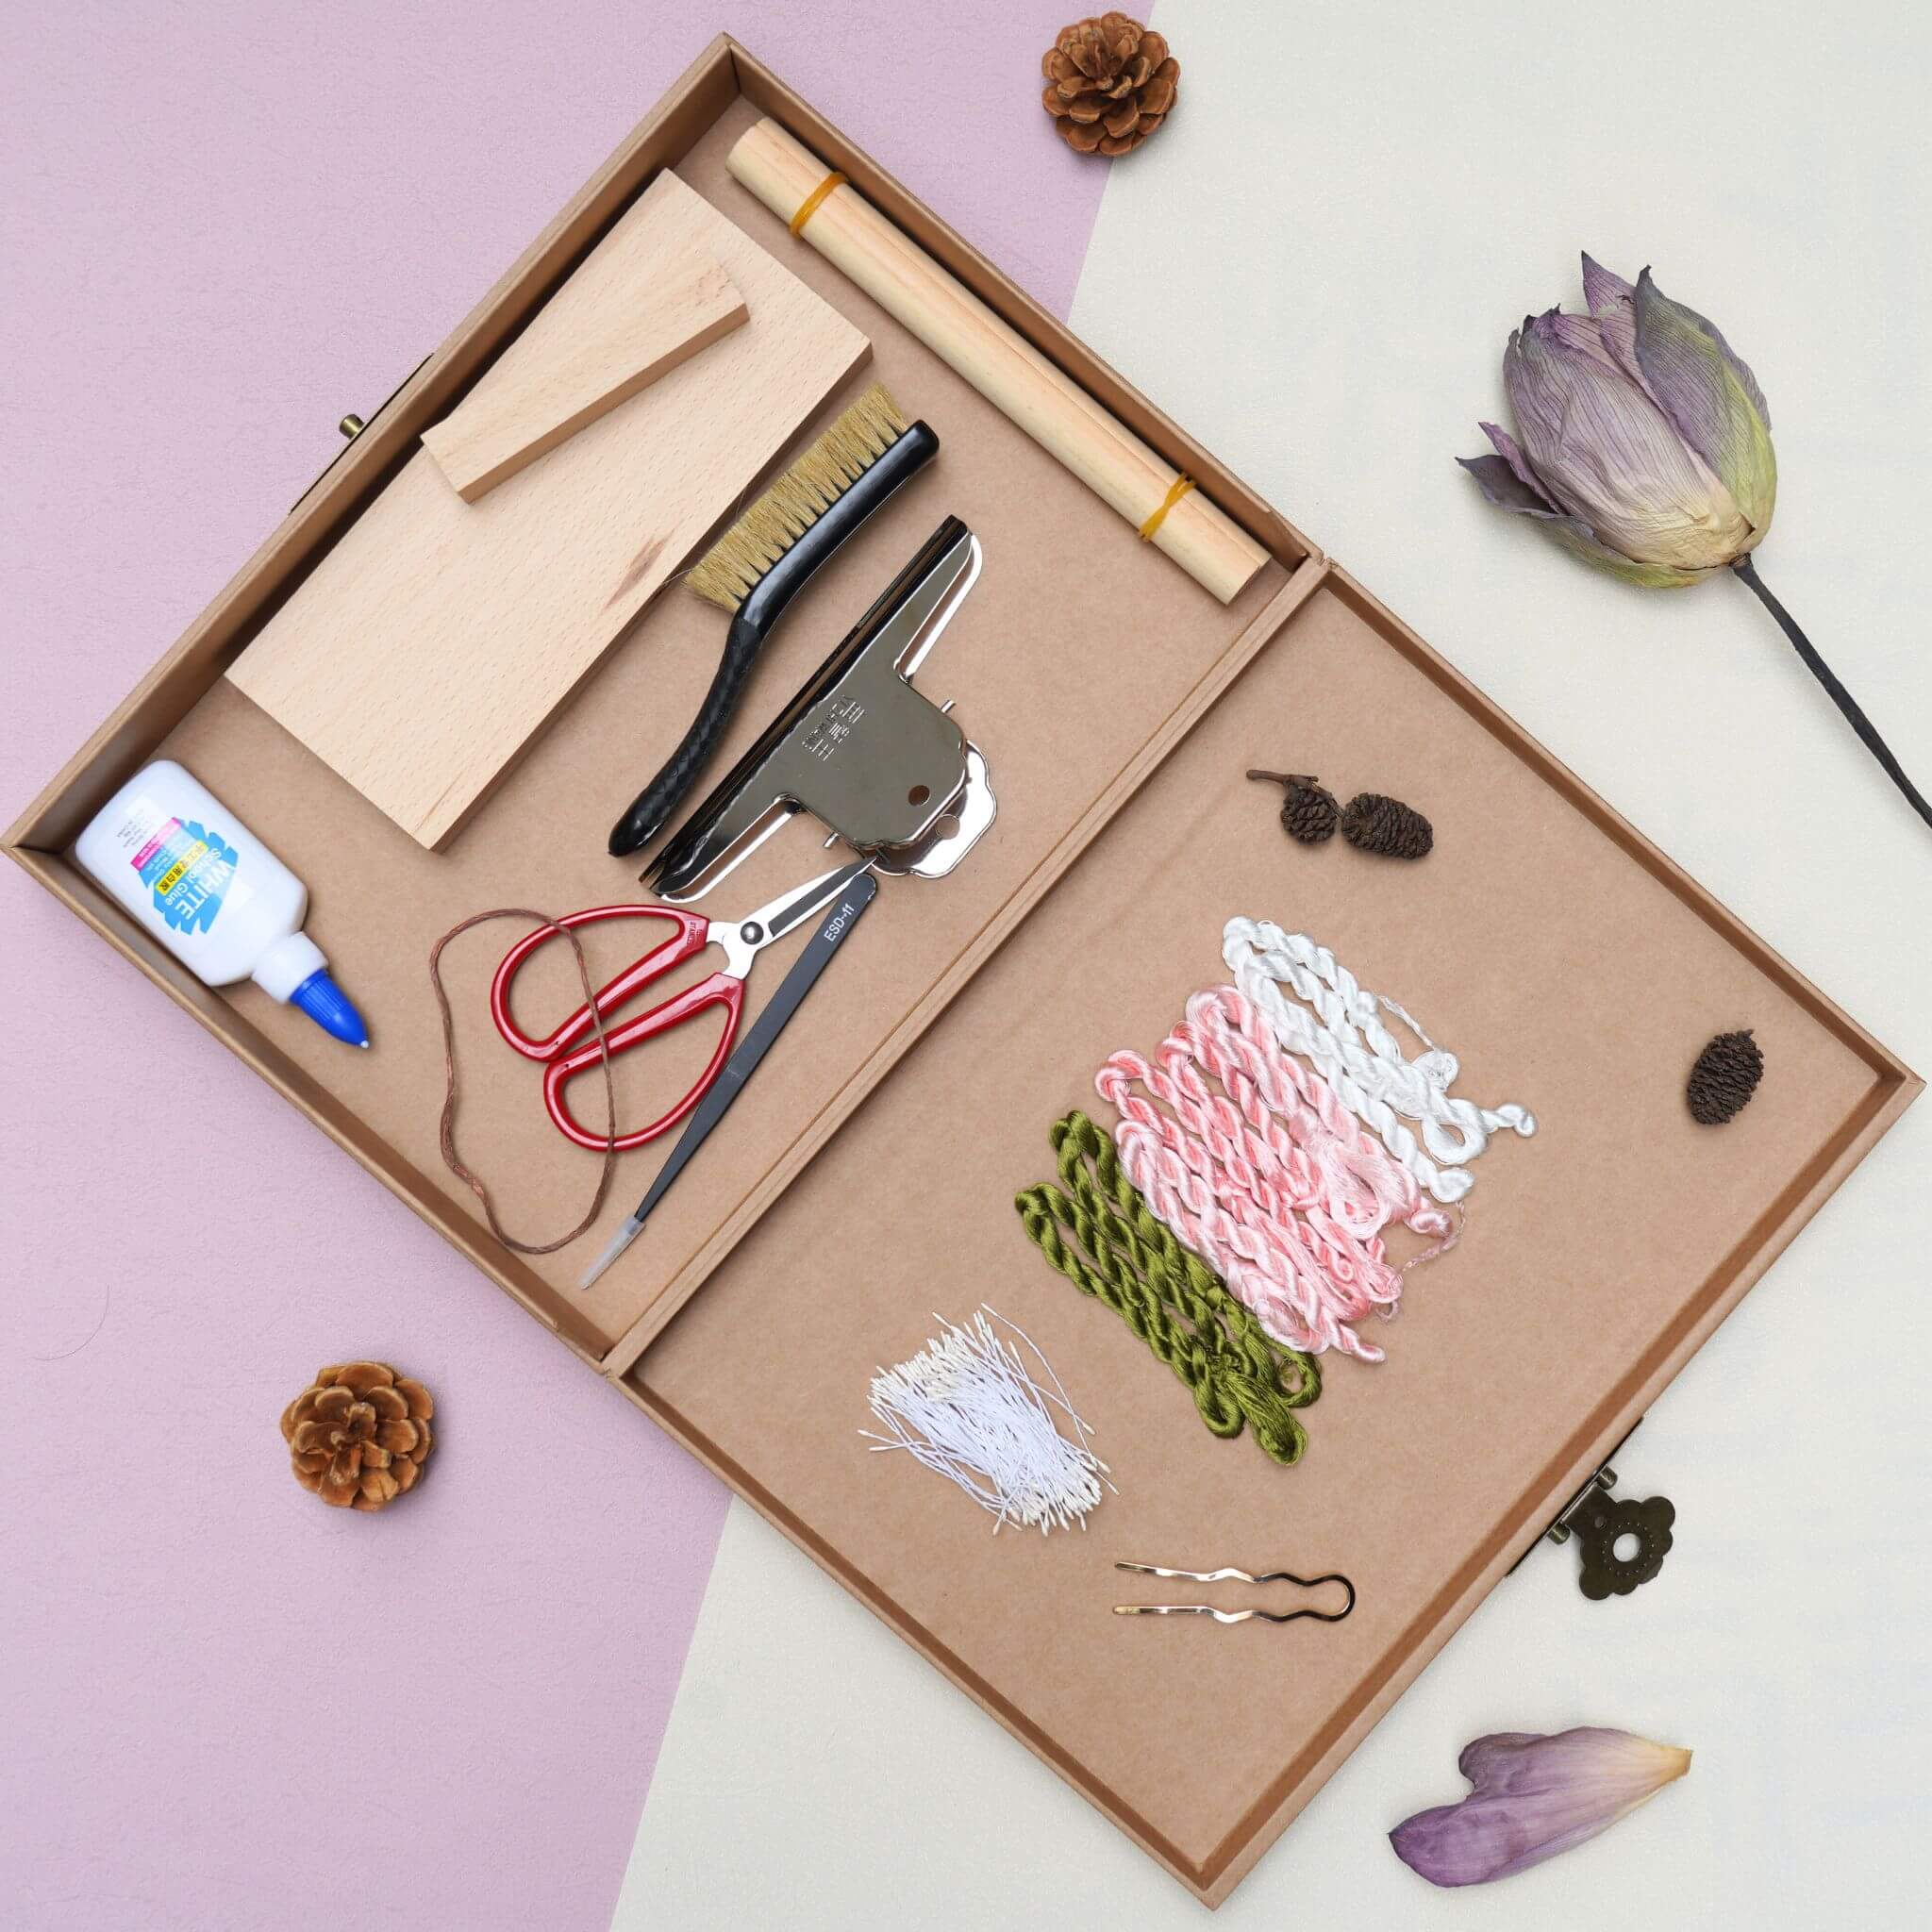
Übersicht über das Materialset
Dieses Projekt ist ein Stickset der Stufe 2, geeignet für Anfänger, die bereits über grundlegende Stickerfahrung verfügen und traditionelle Shu-Sticktechniken wie Rollstich (滚针), Drei-Drei-Stich (二三针), Wendestich (车拧针), Verblendstich (晕针) und Knötchenstich (打籽绣) erlernen möchten.
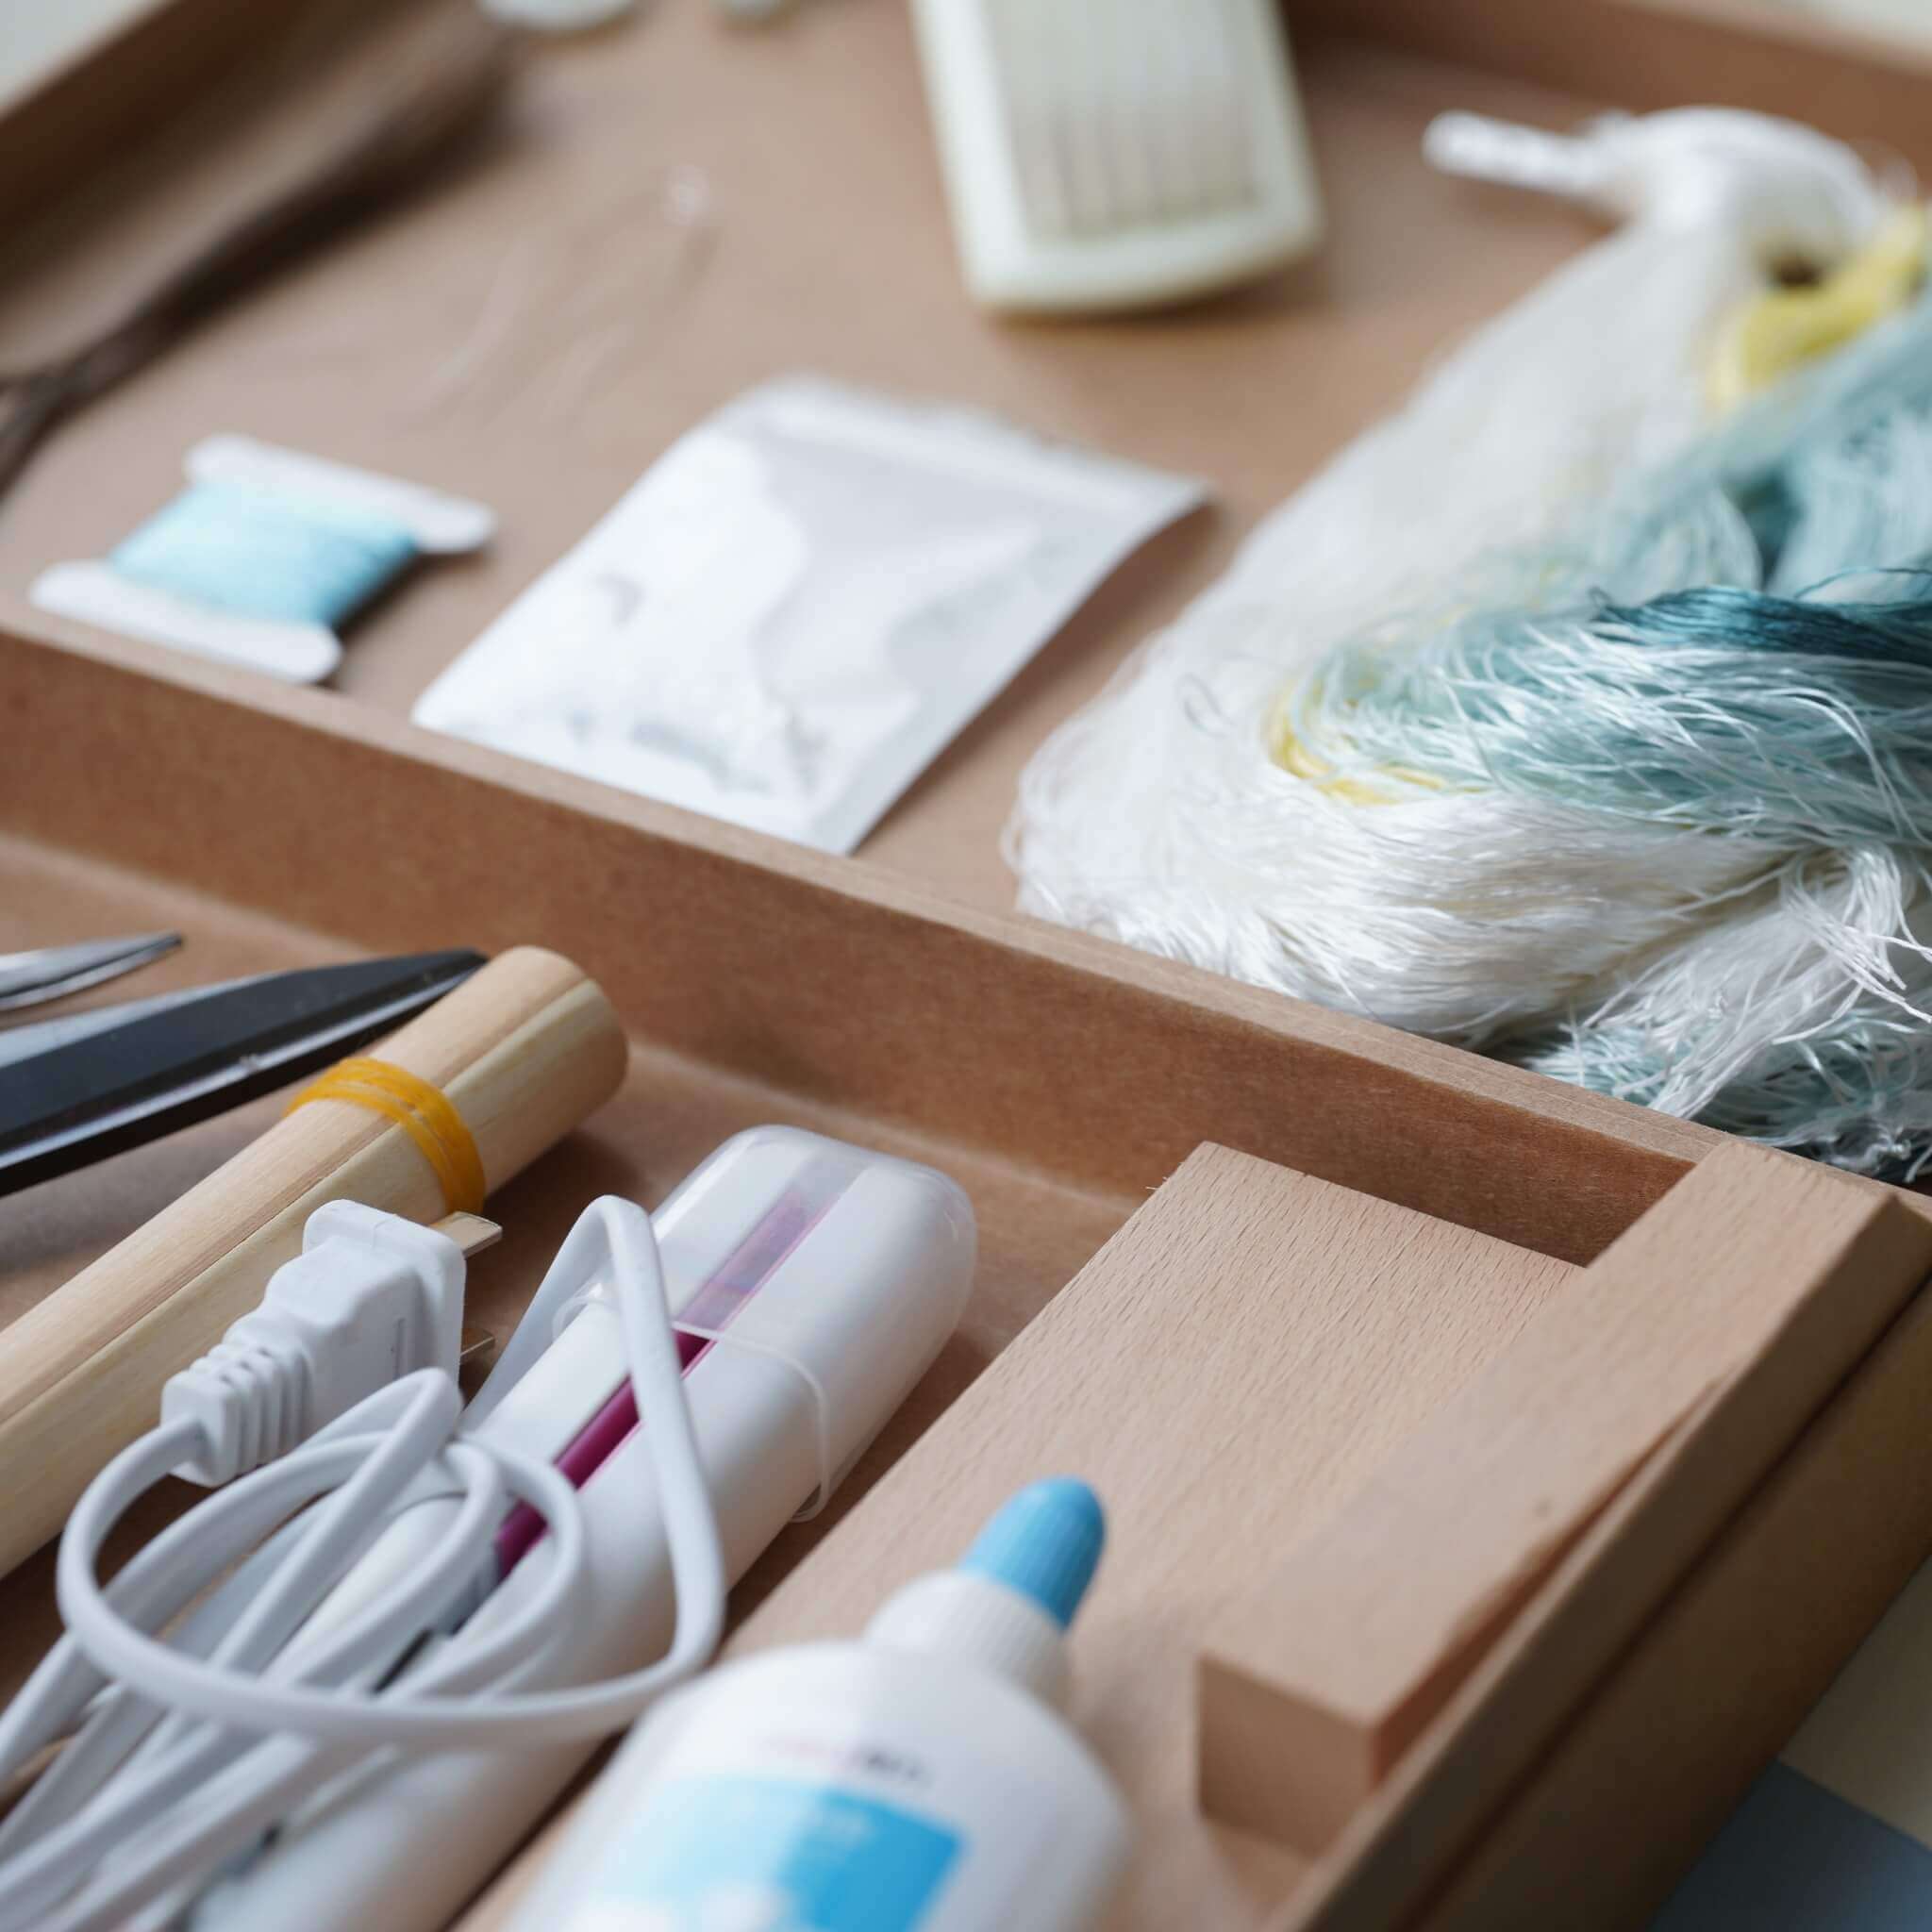
Das Set enthält:
- Stickrahmen
- Stickstoff
- Verbindungsstoff
- Vorlage mit Umrisszeichnung
- Trägerplatte zur Befestigung
- Trägerstoff zum Befestigen
- Dickes Baumwollgarn
- Dünnes Baumwollgarn
- Nano-Klebesticker
- Doppelseitiges Stoffklebeband
- Stickgarne aus Maulbeerseide
- Sticknadeln, Nähnadeln und Stecknadeln
- Reißzwecken
- Fadenorganizer aus Holz
- Wärmeradierbarer Stift
Vollständiges Video-Tutorial
Wir empfehlen Ihnen dringend, sich unser Video-Tutorial anzusehen, wenn Sie auf Techniken stoßen, mit denen Sie nicht vertraut sind:)
Farbkombination
Beziehen Sie sich auf die folgende Abbildung für die von uns verwendeten Farben.

Schritt 1. Den Stoff auf dem Stickrahmen befestigen
Stickstoff vorbereiten
Den Stickstoff und den Verbindungsstoff herausnehmen.
Ein Stück Verbindungsstoff am Stickstoff ausrichten und beide mit dünnem Baumwollgarn und einer Nähnadel zusammennähen. Einfache Heftstiche reichen aus, solange die Verbindung sicher ist.
Die Stiche sauber, fein und gleichmäßig verteilt halten. Am Ende einige Rückstiche nähen, damit sie sich nicht lockern. Den gleichen Vorgang mit dem zweiten Stück Verbindungsstoff wiederholen.
Sobald beide Seiten befestigt sind, den Stoff glatt bügeln. Die Nahtzugaben falten und bügeln, um die Kanten zu verstärken und ein Einreißen zu verhindern, wenn der Stoff später gespannt wird.

Auf dem Rahmen befestigen
Den überschüssigen Verbindungsstoff nach unten falten und um eine lange Seite des Stickrahmens legen. Glattziehen und beide Enden mit Reißzwecken befestigen.

Auf der gegenüberliegenden Seite wiederholen und kräftig ziehen, bis der Stoff gespannt ist, bevor Sie ihn befestigen.
Bei Bedarf weiter straffen und anpassen. Von vorne betrachtet sind vertikale Falten in diesem Stadium akzeptabel, horizontale Falten weisen jedoch auf eine unzureichende Spannung hin und sollten korrigiert werden.
Spannfäden hinzufügen
Schneide ein Stück dicken Baumwollfadens ab, das etwa zweieinhalbmal so lang wie die Rahmenbreite ist.
Nähe mit einer Sticknadel Spannungsschlaufen entlang einer Stoffseite. Führe die Nadel von unten nach oben ein und setze die Schlaufen in Abständen von etwa 4 cm. Stich nahe der vorherigen Einstichstelle zurück, um eine Schlaufe zu bilden.
Befestige den Faden am Ende und schneide den überschüssigen Faden ab. Wiederhole den Vorgang auf der gegenüberliegenden Seite.
Setze entlang der Rahmenkante alle 4 cm eine Reißzwecke ein.
Binde ein 1 Meter langes Stück dicken Baumwollfadens an die erste Reißzwecke. Führe ihn durch jede Spannungsschlaufe und hänge ihn der Reihe nach um die Reißzwecken. Befestige das Ende vorübergehend und wiederhole den Vorgang auf der gegenüberliegenden Seite.
Ziehe nach und nach alle Spannfäden an, bis der Stoff gleichmäßig und straff gespannt ist.

Schritt 2. Übertragen des Schnittmusters
Lege das Kohlepapier mit der beschichteten Seite nach unten auf den gespannten Seidenstickstoff und achte darauf, dass die richtige Seite am Stoff anliegt. Lege das Papierschnittmuster auf das Kohlepapier und richte es an der gewünschten mittigen Position aus.

Zeichne die Hauptlinien des Entwurfs vorsichtig mit dem weißen Markierstift nach. Teste ihn zuerst an einer kleinen Stelle am Rand, um die Sichtbarkeit zu prüfen. Entferne das Papierschnittmuster und das Kohlepapier. Zeichne schwache Linien direkt auf dem Seidenstoff mit dem weißen Markierstift erneut nach.
Hinweis: Zeichne die äußerste einzelne Konstruktionslinie nicht nach, da weiße Markierstiftlinien auf dunkler Seide dauerhaft sind. Markiere die vorgesehenen Positionen der Haarnadellöcher vorab auf dem Papierschnittmuster, wobei du um jede Öffnung zusätzlich 2 mm einplanst, und lasse diese markierten Bereiche während des gesamten Vorgangs unbestickt.
Schritt 3. Stickvorgang (绣制顺序)
3.1 Unterer Blütenzweig
-
Technik: Gleichmäßiger Spannstich
-
Garnfarbe: 1/2 Faden königsblaue Seide (Nr. 1 - dunkelster Farbton)
Beginne an einem Ende des unteren Zweigs. Befestige den Faden mit zwei winzigen Befestigungsstichen statt mit einem Knoten. Lege die Stiche gleichmäßig und dicht nebeneinander, wobei du eine einheitliche Richtung beibehältst (von innen nach außen oder von außen nach innen), um den natürlichen Glanz der Seide hervorzuheben. Versetze die Stichenden leicht, damit die folgenden Abschnitte nahtlos ineinander übergehen.

3.2 Blätter der unteren Lage
-
Technik: Fächerförmiger Spannstich, Mischstich und Rollstich (滚针)
-
Garnfarben: 1/2 Faden Lake-Blue-Seide (Nr. 1 & Nr. 2), 1 ganzer Faden blaue Seide
Markiere den Zielblattabschnitt. Beginne an der äußeren Spitze des Blatts der unteren Lage mit 1/2 Faden Lake Blue Nr. 1, der mit zwei winzigen Stichen befestigt wird. Stiche über die Blattspitze fächerförmig und drehe dabei die Stichrichtung allmählich.
Wechseln Sie für den unteren Blattbereich zu 1/2 Strang See-Blau Nr. 2 und setzen Sie die Stiche versetzt in die vorherige Farbe, um einen weichen Verlauf zu erzielen. Verwenden Sie entlang der Blattüberlappungen 1 ganzen Strang blaue Seide mit einem Rollstich (滚针), um eine erhabene Strukturkontur zu erzeugen.
3.3 Obere Blätter und Blattadern
-
Technik: Strukturabdeckstich und Rollstich (滚针)
-
Fadenfarben: 1/2 Strang See-Blau-Seide (Nr. 1 & Nr. 2)
Arbeiten Sie bei den oberen Blättern von der Spitze zur Basis mit 1/2 Strang See-Blau Nr. 1. Wechseln Sie zu See-Blau Nr. 2 und achten Sie darauf, dass die helleren Stiche die darunterliegenden Strukturkonturen des Rollstichs glatt und gleichmäßig vollständig bedecken.

Erzeugen Sie für die Blattadern entlang der Mittelader eine erhabene Strukturkontur mit einem Rollstich aus einer Mischung von See-Blau Nr. 1 und Nr. 2. Bedecken Sie zunächst eine Seite und füllen Sie dann die verbleibende Seite mit See-Blau Nr. 2, wobei Sie die Übergänge versetzen, um ein nahtloses Ergebnis zu erzielen.

3.4 Erhabene Blütenblattkonturen (Auflegen von Baumwollkordel)
-
Technik: Aufgelegter Ankerstich
-
Materialien: Dicke Baumwollkordel, 1/2 Strang weiße Seide, Nähnadel
Fädeln Sie die dicke Baumwollkordel mit einer Nähnadel von der Rückseite des Stoffes nach vorne.

Verwenden Sie 1/2 Strang weiße Seide, um die dicke Kordel entlang der markierten Blütenblattkonturen sicher aufzulegen. Führen Sie die Kordel gleichmäßig um die Kurven und ziehen Sie sie am Ende jeder Linie auf die Rückseite, bevor Sie mit dem nächsten Blütenblatt beginnen.

3.5 Pfingstrosenblütenblätter der unteren Schicht
-
Technik: Strukturabdeckstich und gemischter Lang- und-Kurz-Stich
-
Fadenfarben: 1/2 Strang Königsblau-Seide (Nr. 2 & Nr. 3)
Beginnen Sie mit 1/2 Strang Königsblau Nr. 2 und stechen Sie die Außenkanten der Blütenblätter, wobei Sie die aufgelegten Strukturkonturen aus Baumwollkordel vollständig mit glatten, gleichmäßigen Stichen bedecken. Lassen Sie Platz für den inneren Farbübergang.

Wechseln Sie zu 1/2 Strang Königsblau Nr. 3 und setzen Sie die Stiche natürlich versetzt in den dunkleren Rand, um einen weichen radialen Verlauf zu erzeugen. Wiederholen Sie diesen Vorgang für die Blütenblätter der unteren Schicht an den Pfingstrosen rechts und links und lassen Sie die markierten Haarnadellochbereiche auf beiden Seiten 2 mm frei.

3.6 Mehrschichtige und nach hinten gerichtete Pfingstrosenblütenblätter
-
Technik: Mehrschichtiges Struktur-Kordelauflegen und Mischstich
-
Fadenfarben: 1/2 Strang See-Blau-Seide (Nr. 3 & Nr. 4)
Fügen Sie für die oberen Blütenschichten sekundäre Strukturkonturen aus dicker Baumwollkordel hinzu. Um die nach hinten gerichteten oberen Blütenblätter zu besticken, verwenden Sie 1/2 Strang See-Blau Nr. 3 entlang der Außenkanten, um die Kordel vollständig zu verdecken.

Füllen Sie die inneren Blütenblatträume mit 1/2 Strang See-Blau Nr. 4 und versetzen Sie die Stiche entlang der Farbgrenze für einen glatten, kontrastreichen Diancui-Verlaufseffekt.

3.7 Pfingstrosenblütenmitten
-
Technik: Cluster-Legestich
-
Fadenfarbe: 1/2 Strang gelbe Seide
Zeichnen Sie dezente radiale Hilfslinien in die Blütenmitten. Sticken Sie mit 1/2 Faden gelber Seide kleine, glatte Büschel entlang der Hilfslinien, um die strukturierte Basis der Blütenmitten zu bilden, statt sie als geschlossene Fläche auszufüllen.

3.8 Akzente aus Goldkordel zum Aufnähen
-
Technik: Aufnähen von Goldkordeln
-
Materialien: Goldkordel zum Aufnähen, 1/2 Faden gelbe Seide, Perlnadel, Nähnadel
Bilden Sie mit einer Nähnadel eine kleine Fadenschlaufe, um das Ende der Goldkordel zum Aufnähen sauber durch den Stoff auf die Rückseite zu ziehen.
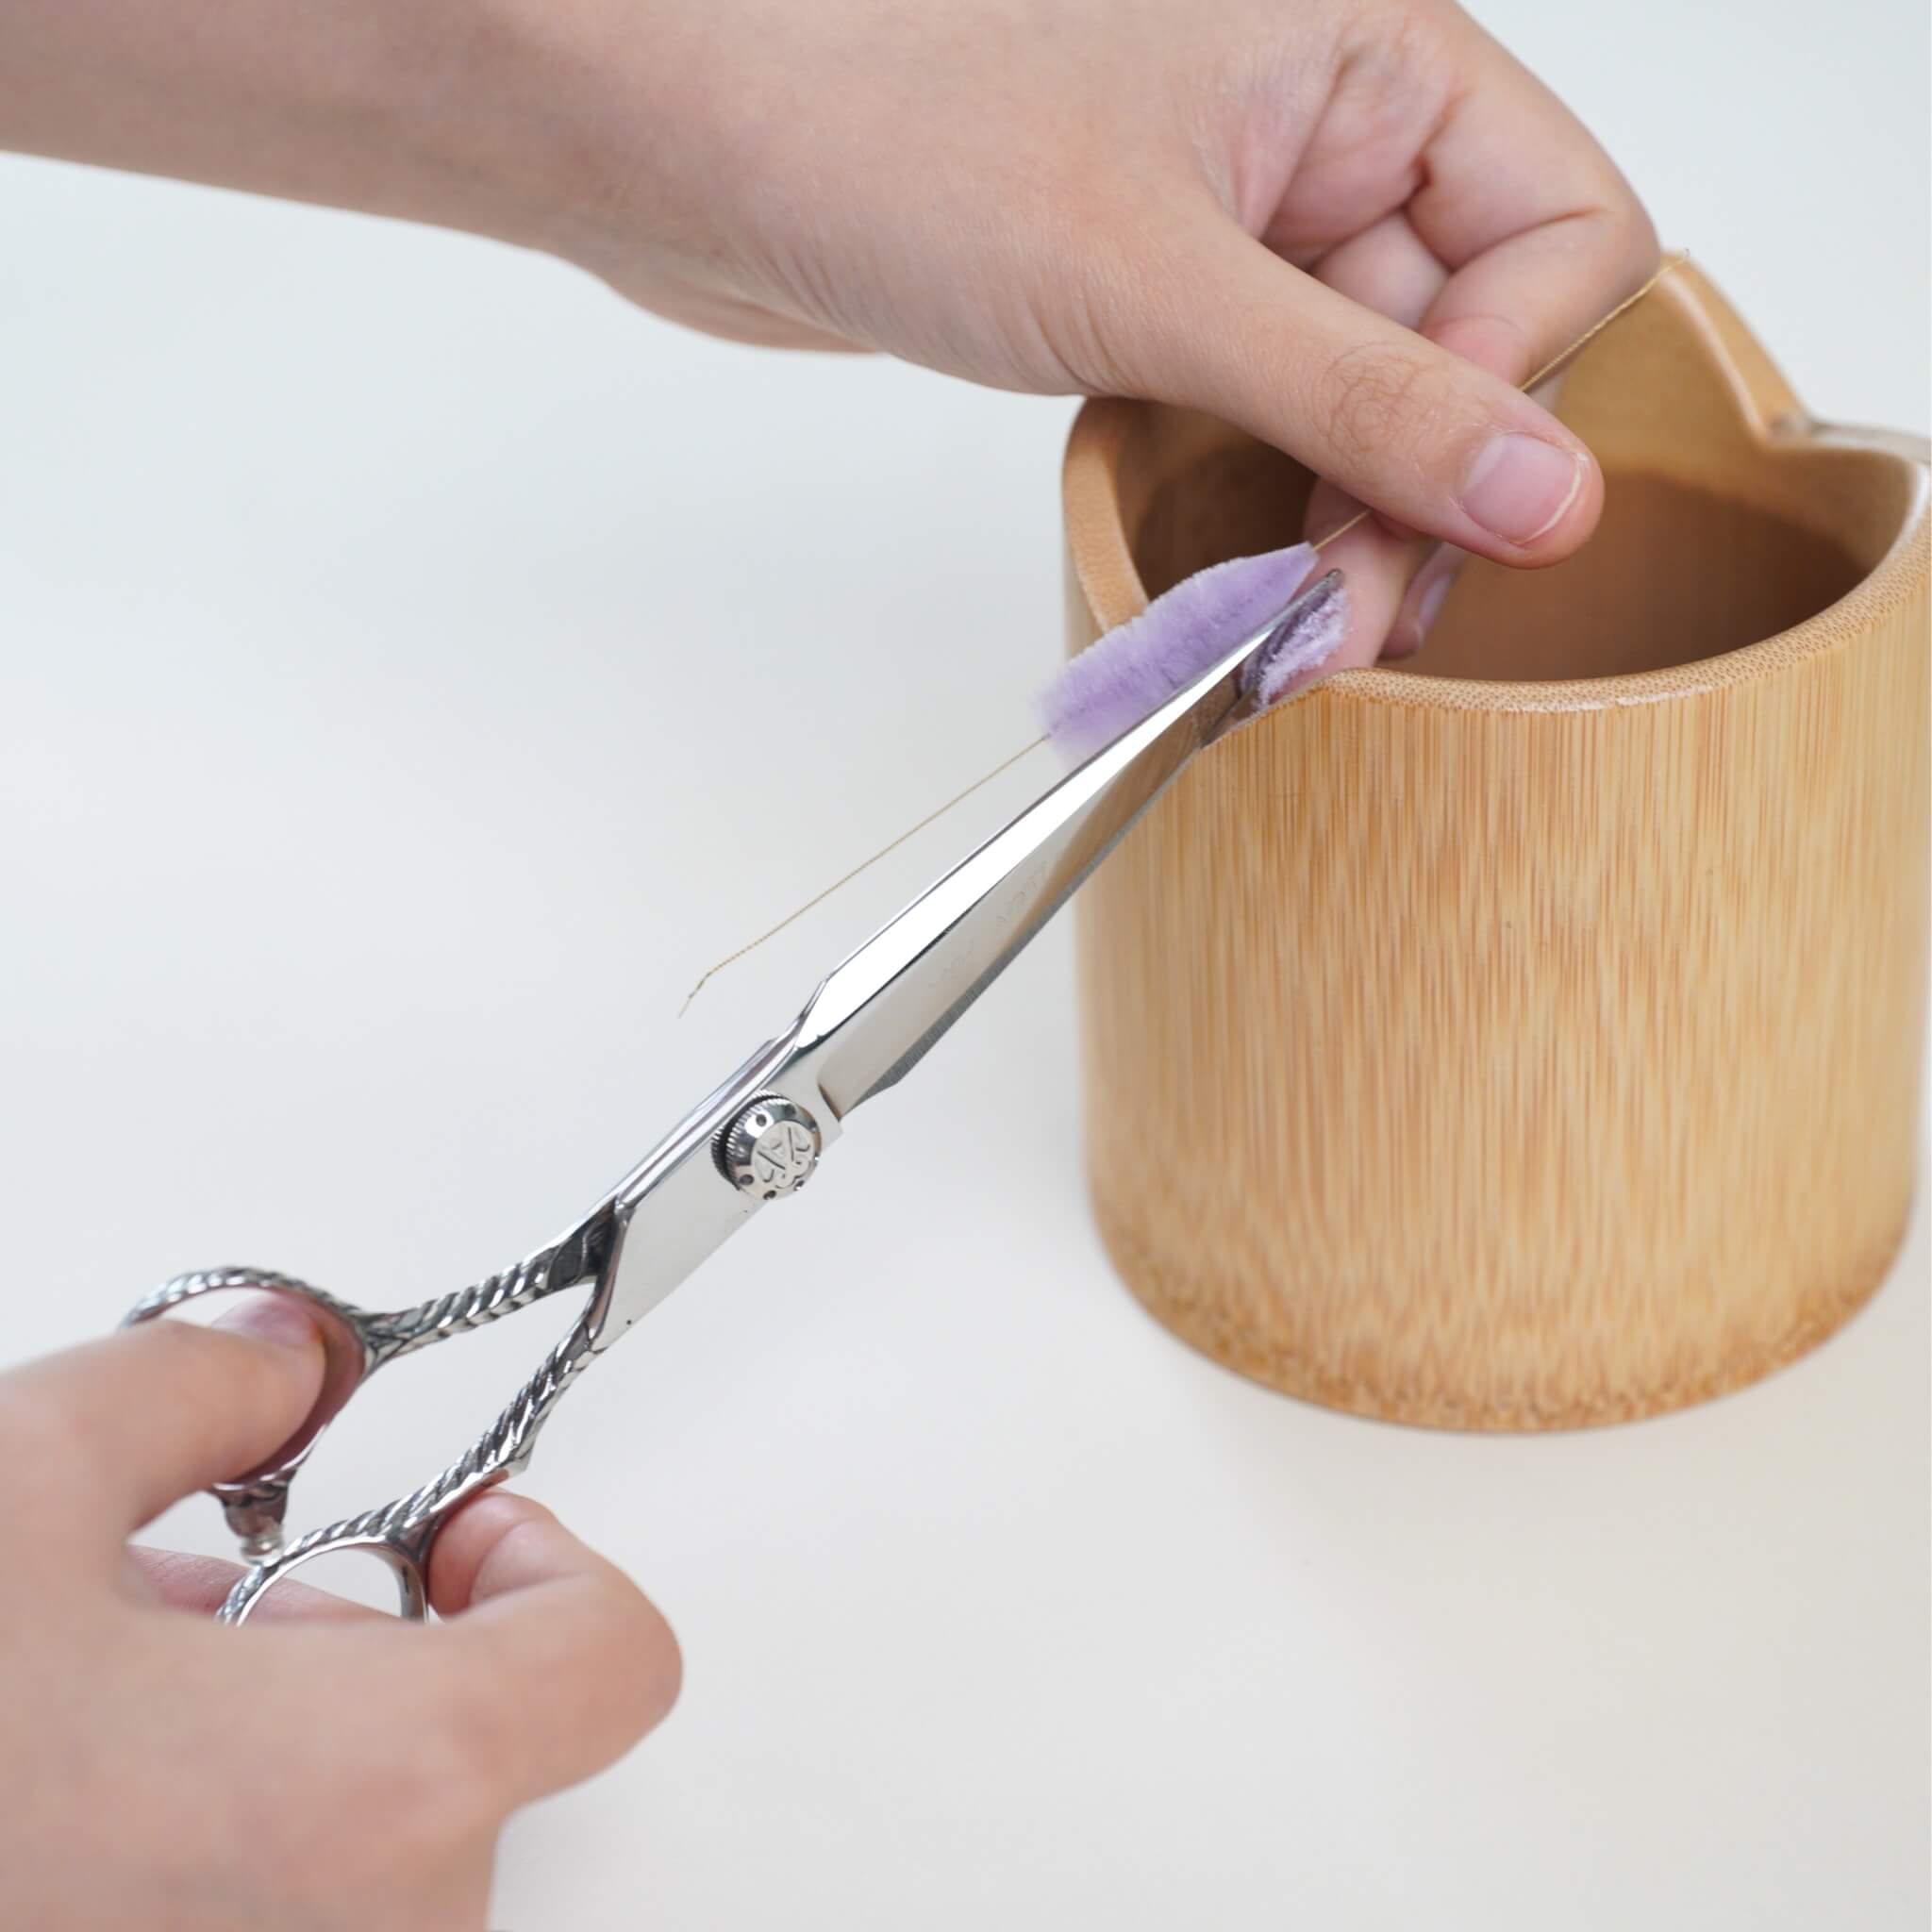
Führen Sie die Goldkordel mit der Spitze einer Perlnadel um die zarten Kurven der gelben mittleren Büschel. Nähen Sie die Goldkordel mit 1/2 Faden gelber Seide fest und führen Sie die Kordelenden nach jedem umrandeten Büschelabschnitt auf die Rückseite.

Schritt 4. Aus dem Rahmen nehmen und befestigen
Bügeln Sie die fertige Stickerei leicht mit einem auf niedrige Temperatur eingestellten Bügeleisen ("Seide"-Einstellung), solange sie noch im Stickrahmen eingespannt ist.
Übertragen Sie den Musterumriss auf die Filzpolsterung und schneiden Sie ihn aus. Glätten und runden Sie die Vorderkanten des Filzkerns ab. Schneiden Sie ein Stück doppelseitigen Gewebeklebstoff etwas größer als die Filzschablone zu.
Nehmen Sie den Seidenstoff aus dem Stickrahmen und ziehen Sie den befestigten Verlängerungsstoff vom Rand ab. Legen Sie die Stickerei mit der Vorderseite nach unten, bringen Sie den doppelseitigen Klebstoff auf der Rückseite an und positionieren Sie den Filzkern darauf (mit der Vorderseite nach unten). Bügeln Sie vorsichtig über die Schichten, um sie sicher miteinander zu verbinden.

Schneiden Sie den überschüssigen Stickstoff ab und lassen Sie rund um den Filzkern einen Rand von 1 cm stehen. Nähen Sie mit feinem Baumwollgarn eine Reihe gleichmäßig verteilter Heftstiche entlang des Randes. Ziehen Sie vorsichtig an den Fadenenden, um den Stoff sauber über die Rückseite der Filzschablone zu raffen.
Machen Sie kleine Entlastungsschnitte in die unteren Innenkurven, damit die Kante flach anliegt, drücken Sie sie mit einem Bügeleisen an, um sie zu fixieren, und vernähen Sie den Faden.
Übertragen Sie die Ornamentform mit einer Perlnadel auf die Velourslederunterlage und schneiden Sie sie aus. Ziehen Sie die Schutzfolie vom Kleber ab, drücken Sie das Veloursleder auf die Rückseite des befestigten Schmuckstücks und glätten Sie die Kanten.

Richten Sie zum Schluss Ihren Lochstanzer präzise an den ausgesparten, nicht bestickten Lochpositionen aus und drücken Sie ihn mit einer einzigen entschlossenen Bewegung fest nach unten, um die sauberen Befestigungsschlitze für die Haarnadel zu schaffen.

Fertiges Schmuckstück
Ihre von Diancui inspirierte Pfingstrosen-Haarspange ist nun fertig!
Dieses Schmuckstück verbindet lebendige Seidenfarbverläufe mit plastischen Kordelstrukturen und aufliegenden Goldakzenten, um den klassischen Schmuck aus Eisvogelfedern nachzuahmen. Schieben Sie die Haarnadelhalterung durch die sauber gearbeiteten Schlitze, um dieses handgefertigte Meisterstück zu tragen, oder verschenken Sie es als außergewöhnliches Geschenk.

Kommentar hinterlassen
Alle Kommentare werden vor der Veröffentlichung moderiert.
Diese Website ist durch hCaptcha geschützt und es gelten die allgemeinen Geschäftsbedingungen und Datenschutzbestimmungen von hCaptcha.