

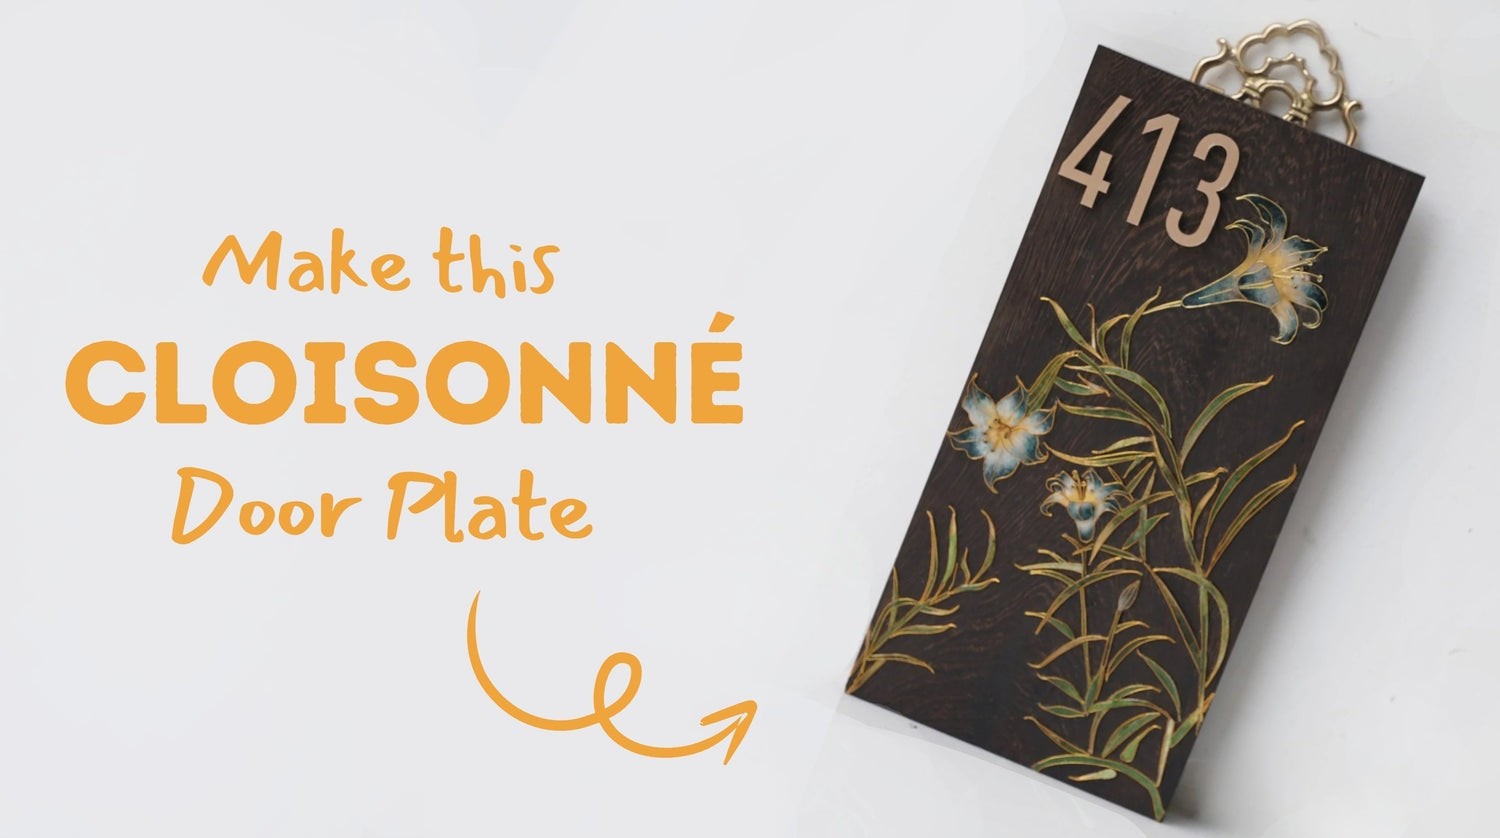
En este tutorial detallado, te guiaremos a través de cada paso para crear tu propia placa de puerta exquisita utilizando técnicas tradicionales de cloisonné—formando alambres delicados y superponiendo arena de colores vibrantes.
Paso 1: Transferencia del patrón y aplicación de pegamento 00:00~00:30
Utilice papel de transferencia para copiar el patrón sobre la base. El lado entintado debe quedar hacia abajo y el lado seco hacia arriba. Asegure el papel en su lugar con cinta adhesiva para evitar que se desplace durante la transferencia. Asegúrese de que el papel de transferencia esté en la dirección correcta—si está al revés, el patrón no se transferirá correctamente. Coloque el boceto sobre el papel de transferencia y trace las líneas originales con un bolígrafo. Tenga cuidado de no frotar la superficie con demasiada fuerza al trazar, ya que esto podría manchar o borrar el patrón transferido.

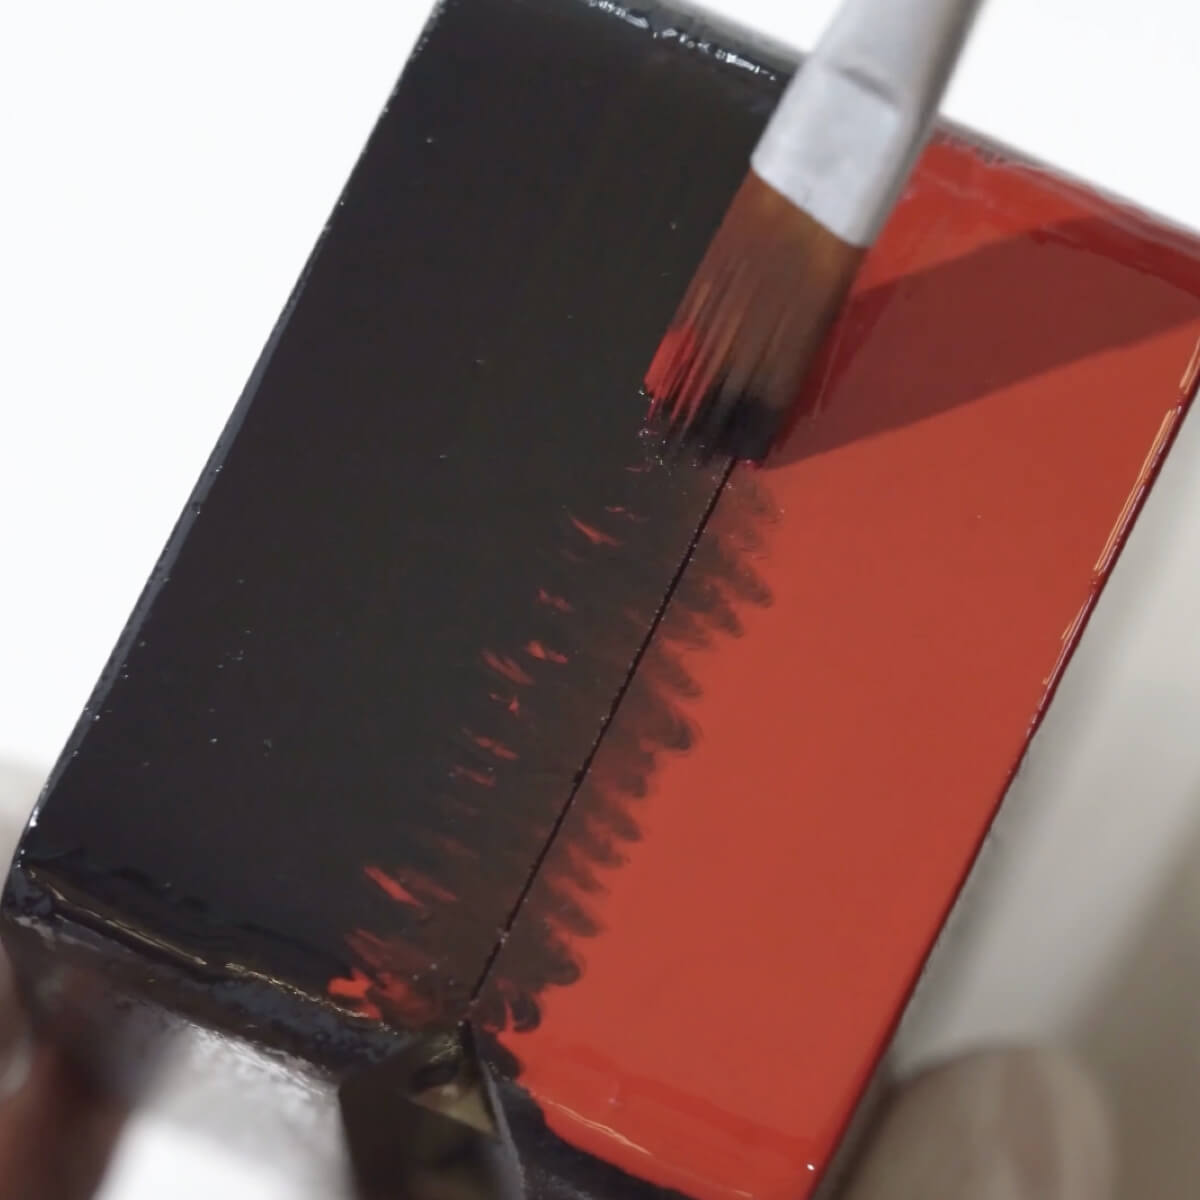
Aplica pegamento de manera uniforme a lo largo de las líneas del patrón. El ancho de la línea de pegamento debe ser un poco más ancho que el diámetro del alambre metálico. Evita usar demasiado pegamento, ya que esto puede hacer que el alambre se deslice o cause una superposición desigual de la arena coloreada más adelante. Aplica el pegamento en pequeñas cantidades y por etapas para asegurar una distribución uniforme en cada área.

Paso 2: Fabricación de la placa de puerta Orquídea Azul Cloisonné 00:30~fin
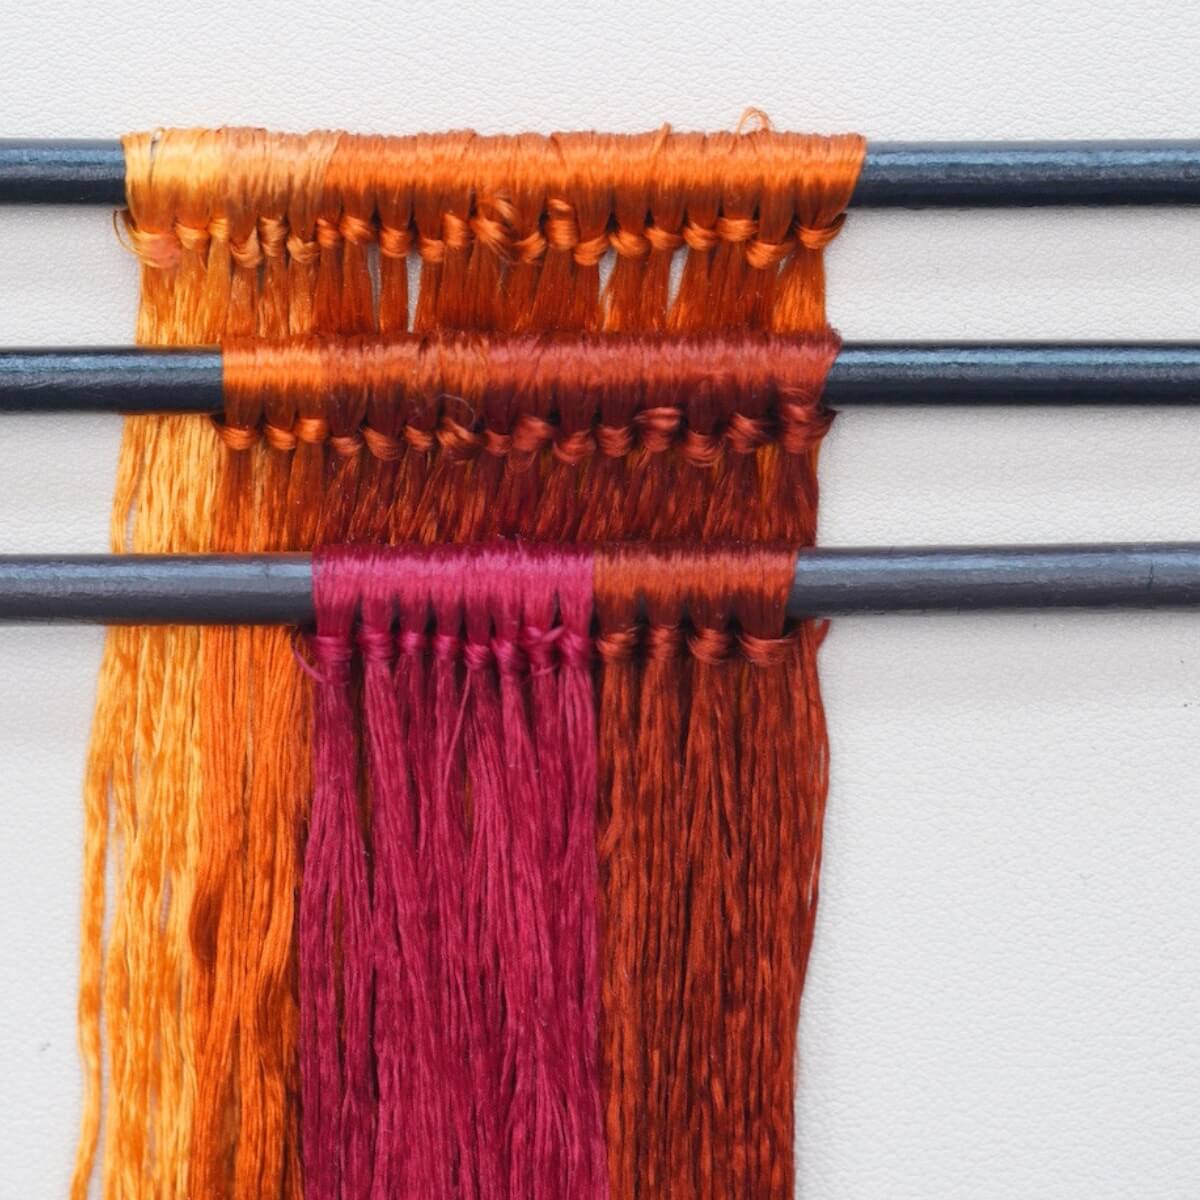
Saca el alambre dorado y córtalo a longitudes apropiadas según el patrón. Luego, da forma al alambre siguiendo las líneas del diseño. Si el alambre se dobla accidentalmente, simplemente enderézalo y continúa usándolo. Puedes usar una tabla para alisar alambre para tirar suavemente de ambos extremos y eliminar dobleces o torceduras visibles. Enderezar el alambre ayuda a que encaje más precisamente en las líneas, lo que asegura que la arena coloreada se distribuya uniformemente y que la pieza final luzca pulida. También puedes enderezar el alambre a mano.
Una vez aplicado el pegamento y fijado el alambre en su lugar, aún puedes hacer pequeños ajustes a la forma para asegurar líneas más suaves y limpias. Sella cualquier pegamento sobrante adecuadamente para evitar que se seque.


Si no puedes terminar el proyecto en una sola sesión, puedes mezclar la arena coloreada por separado. En un recipiente pequeño, añade el pegamento aglutinante, solo lo suficiente para cubrir completamente la arena. La proporción recomendada de pegamento a arena es 1:1. Mezcla bien hasta que la mezcla esté completamente combinada. Antes de aplicar la arena, rocía ligeramente con agua el área pegada para mejorar la adhesión y la textura general.

Usa una espátula para esparcir la arena de manera uniforme en las áreas pegadas. Si la arena se desborda, seca suavemente el exceso con un pañuelo. Limpia cualquier grano suelto con un pañuelo limpio. Comienza con una capa de arena verde claro, luego añade arena verde más oscura en áreas específicas para dar profundidad. Antes de cambiar de color, limpia tu espátula, el recipiente y otras herramientas para evitar contaminación de colores.

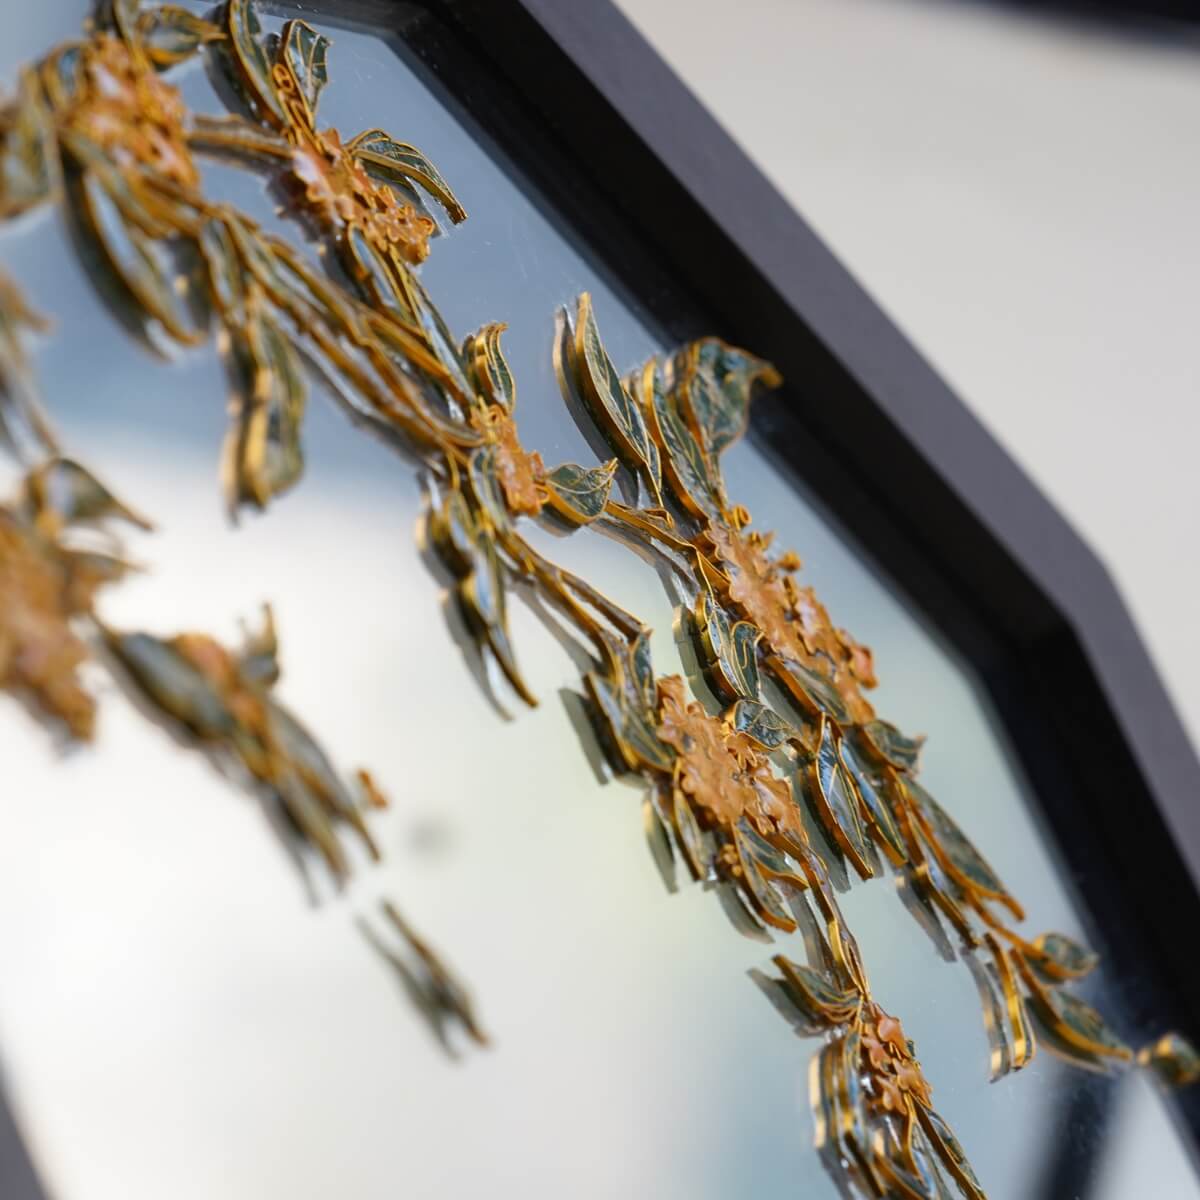
Aplica arena amarilla en el centro de la flor primero, luego mezcla gradualmente blanco y azul para crear un degradado suave. Mezcla suavemente las secciones superpuestas con tu espátula para ayudar a que los colores se fundan de manera uniforme. Después de llenar con arena, da ligeros golpecitos en la base para ayudar a que los granos se asienten en cualquier espacio y crear una superficie uniforme.

La superposición del degradado de color crea una transición más natural. Finalmente, añade cualquier adorno metálico y los números o letras que hayas elegido para completar el letrero.
Si terminaste tu producto DIY, te invitamos a mostrar tu increíble trabajo y obtener cupones para el resto de nuestros kits DIY!
INS@lanseichina
Pinterest@lanseichina


Deja un comentario
Todos los comentarios son moderados antes de ser publicados.
Este sitio está protegido por hCaptcha y se aplican la Política de privacidad de hCaptcha y los Términos del servicio.