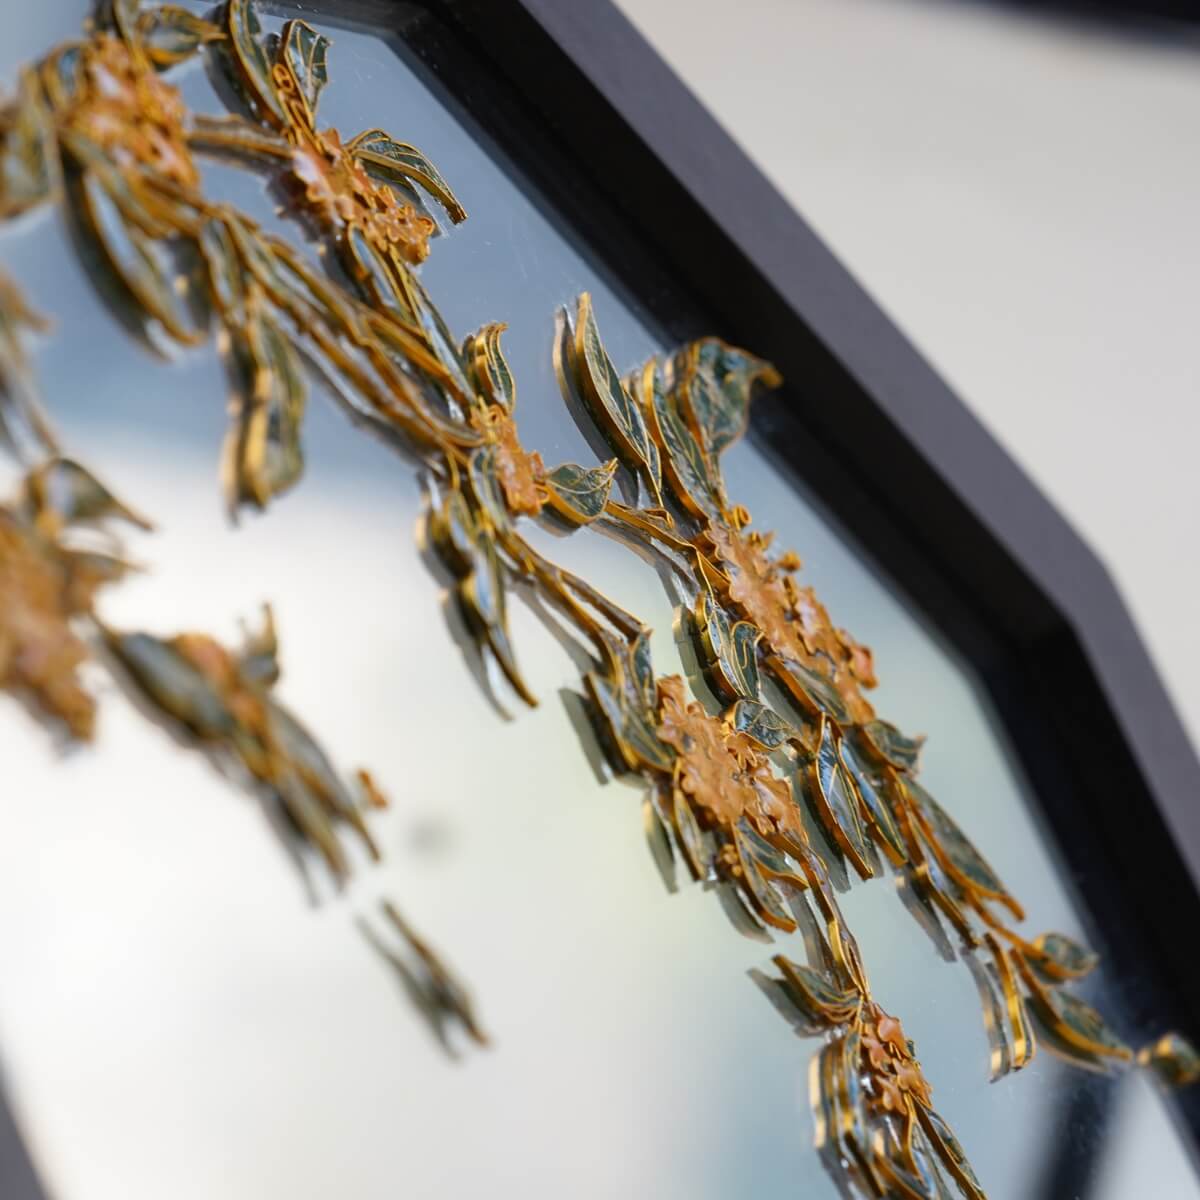


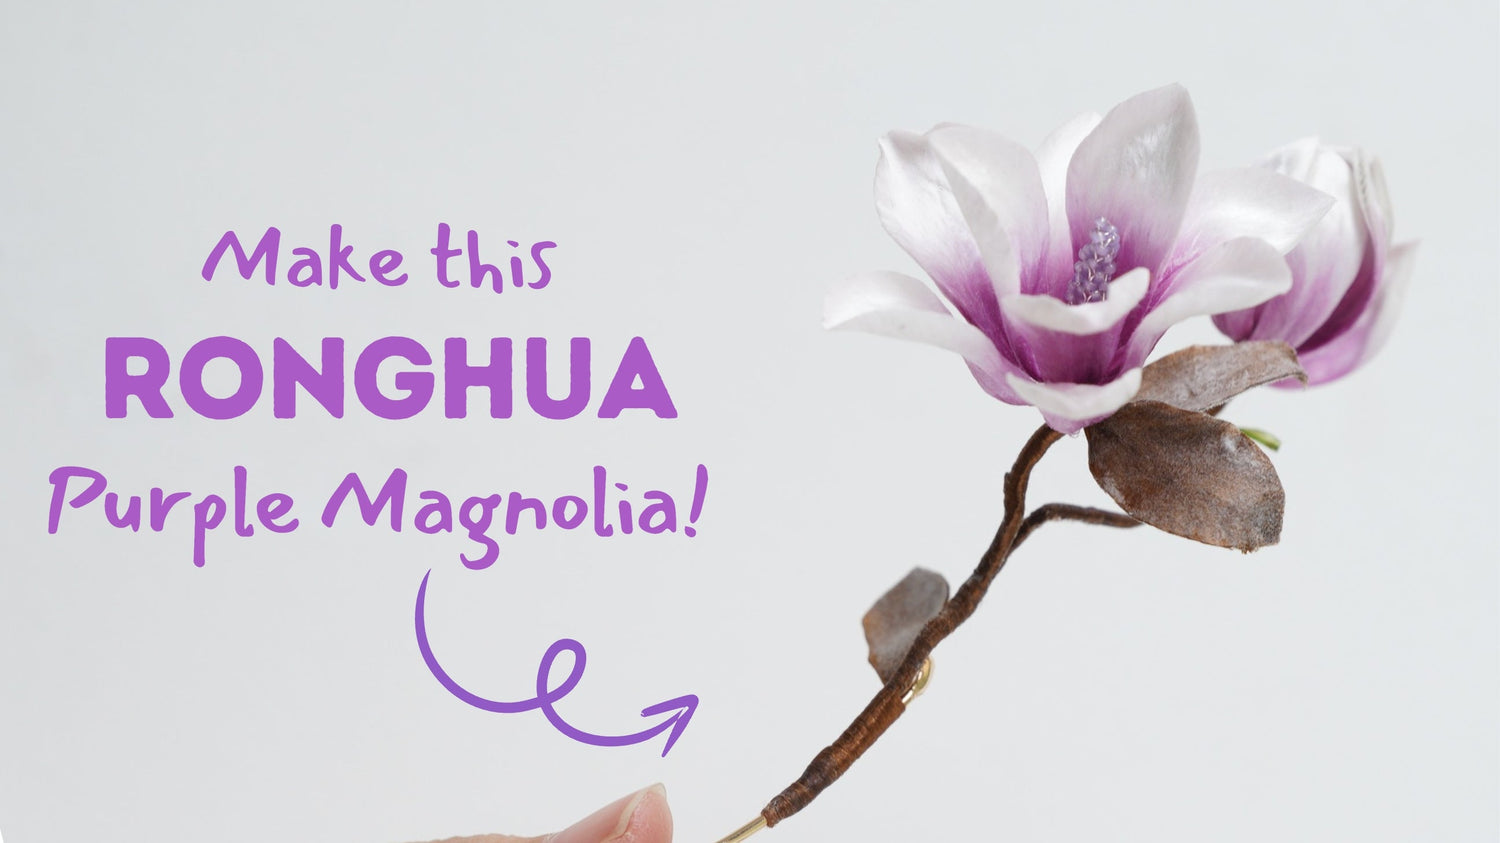
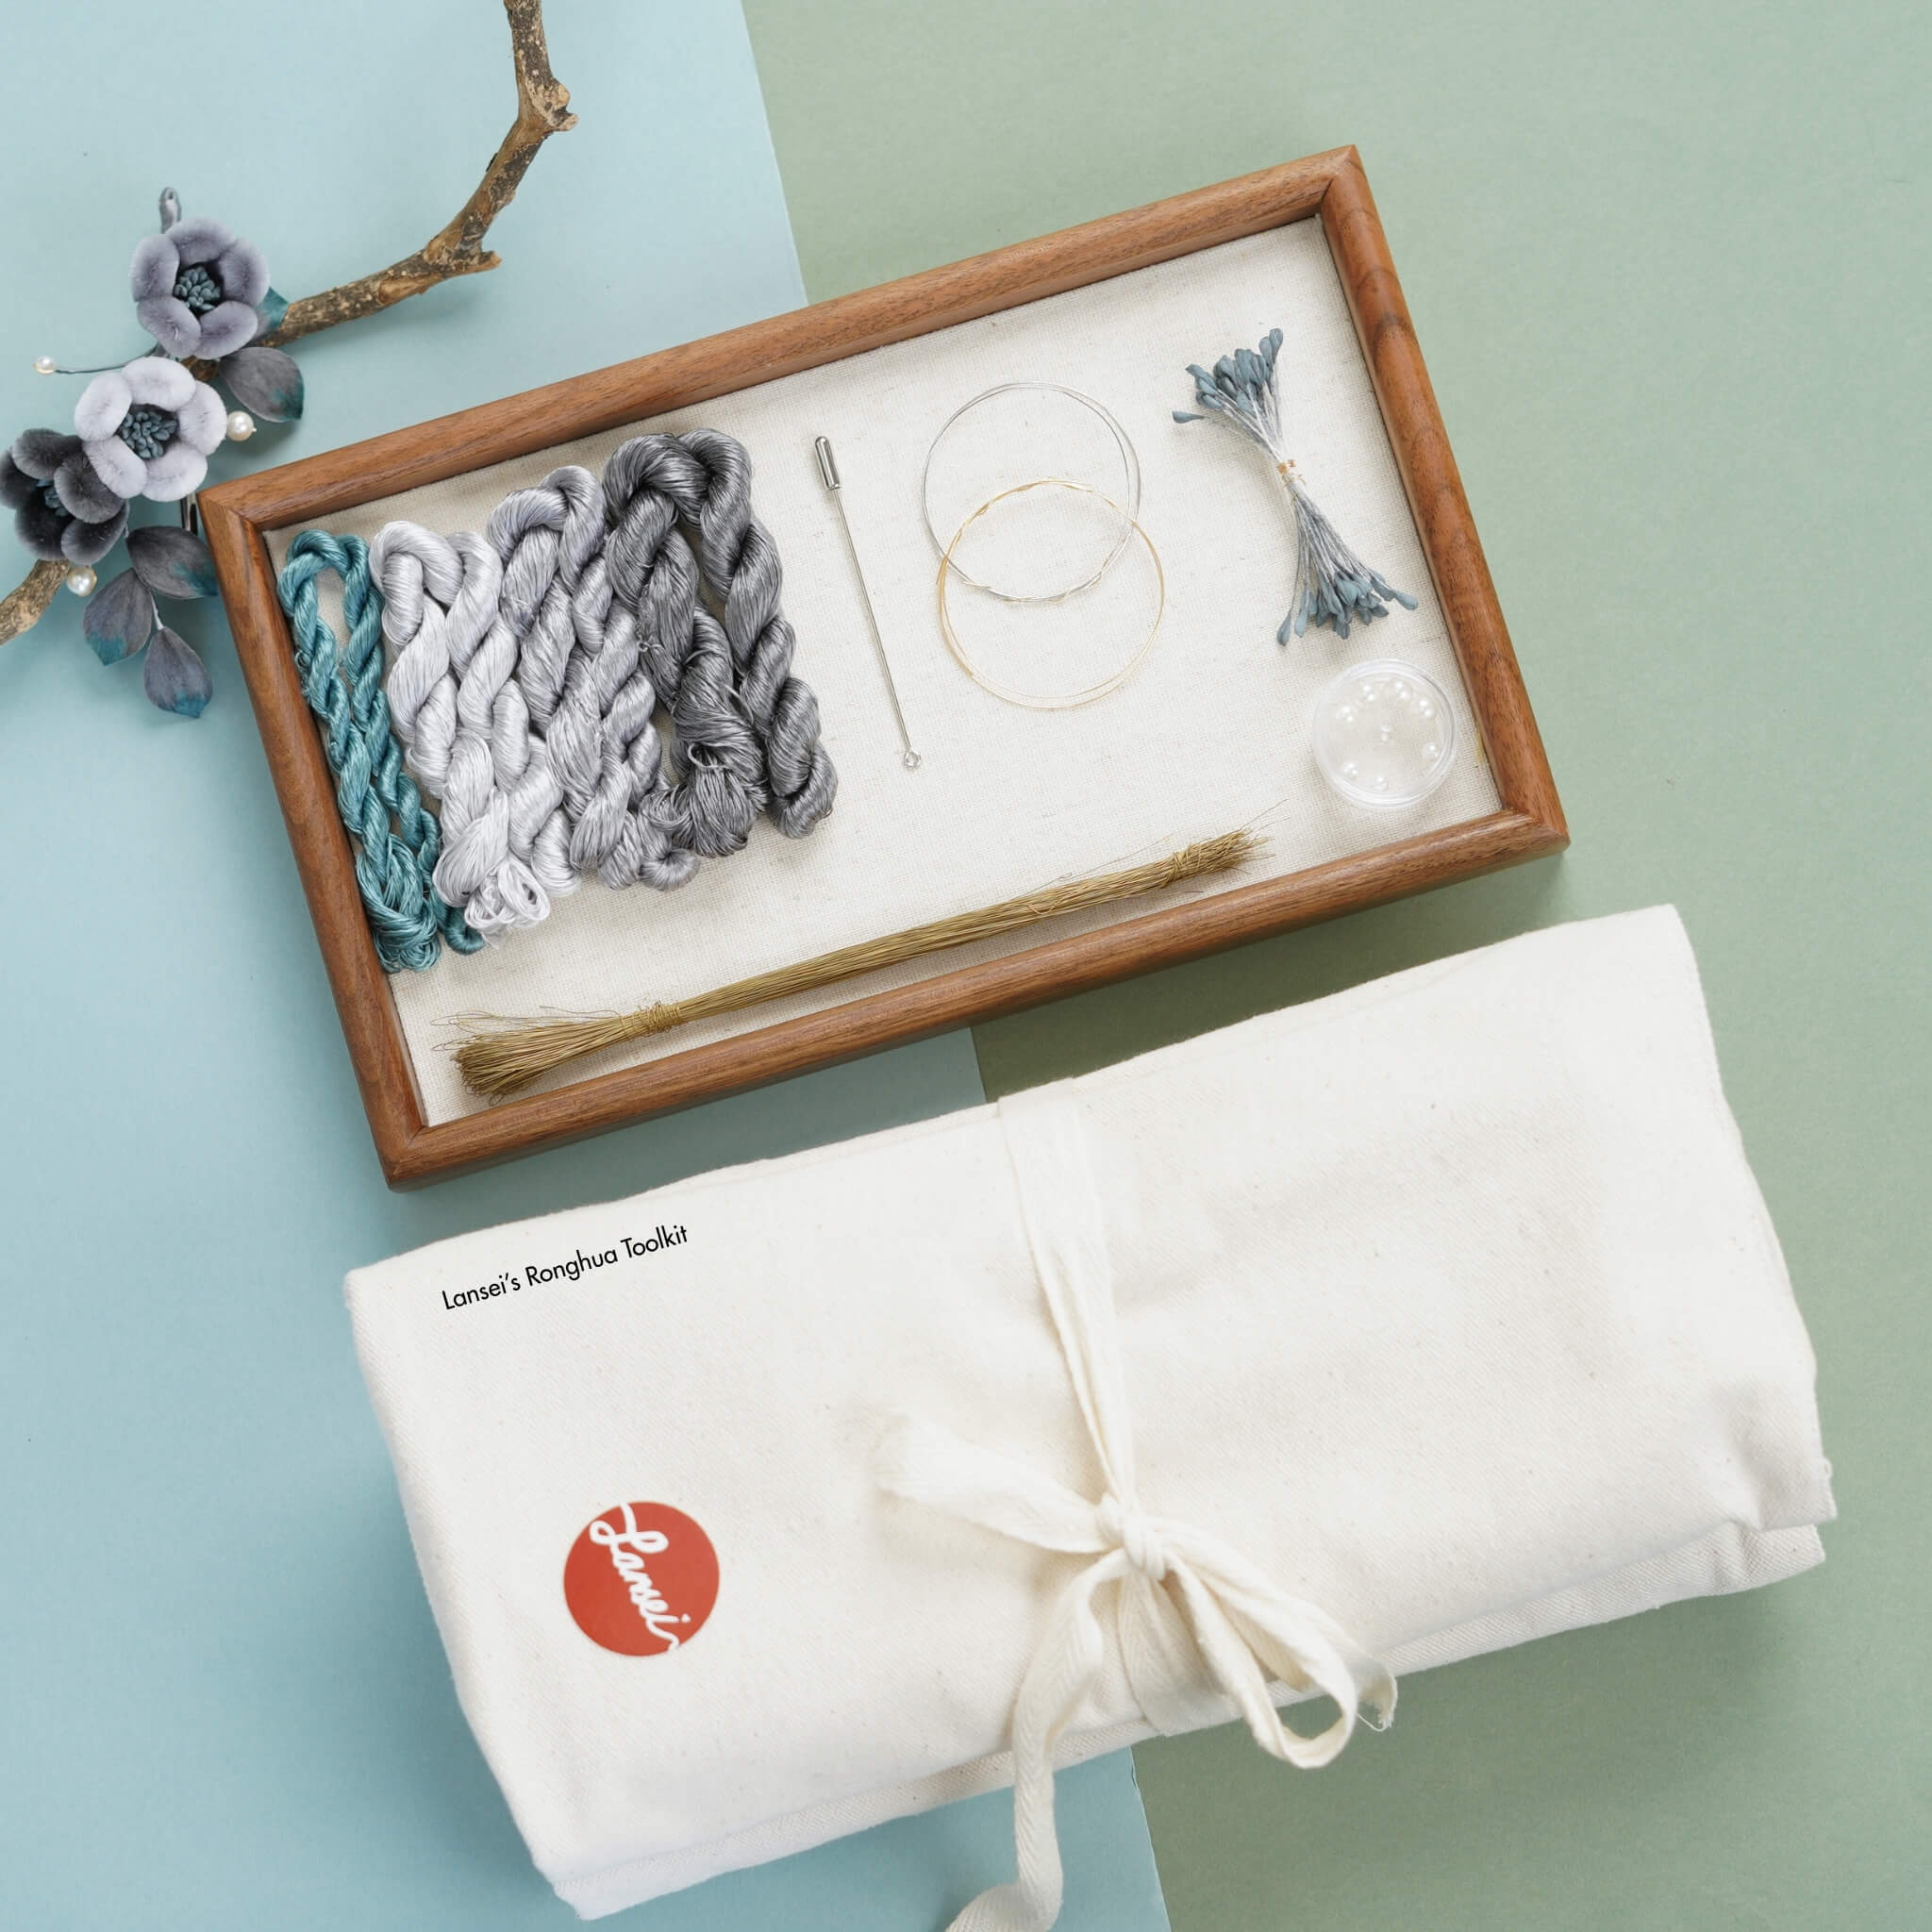
Apprenez à créer des fleurs de magnolia en utilisant la technique traditionnelle Ronghua (fleur en velours de soie) ! Dans ce tutoriel pas à pas, nous vous guiderons pour préparer les bandes de velours, brosser, façonner et assembler vos propres fleurs de magnolia éclatantes.
Étape 1 : Préparer les bandes de pétales et de feuilles en soie 00:00~02:39
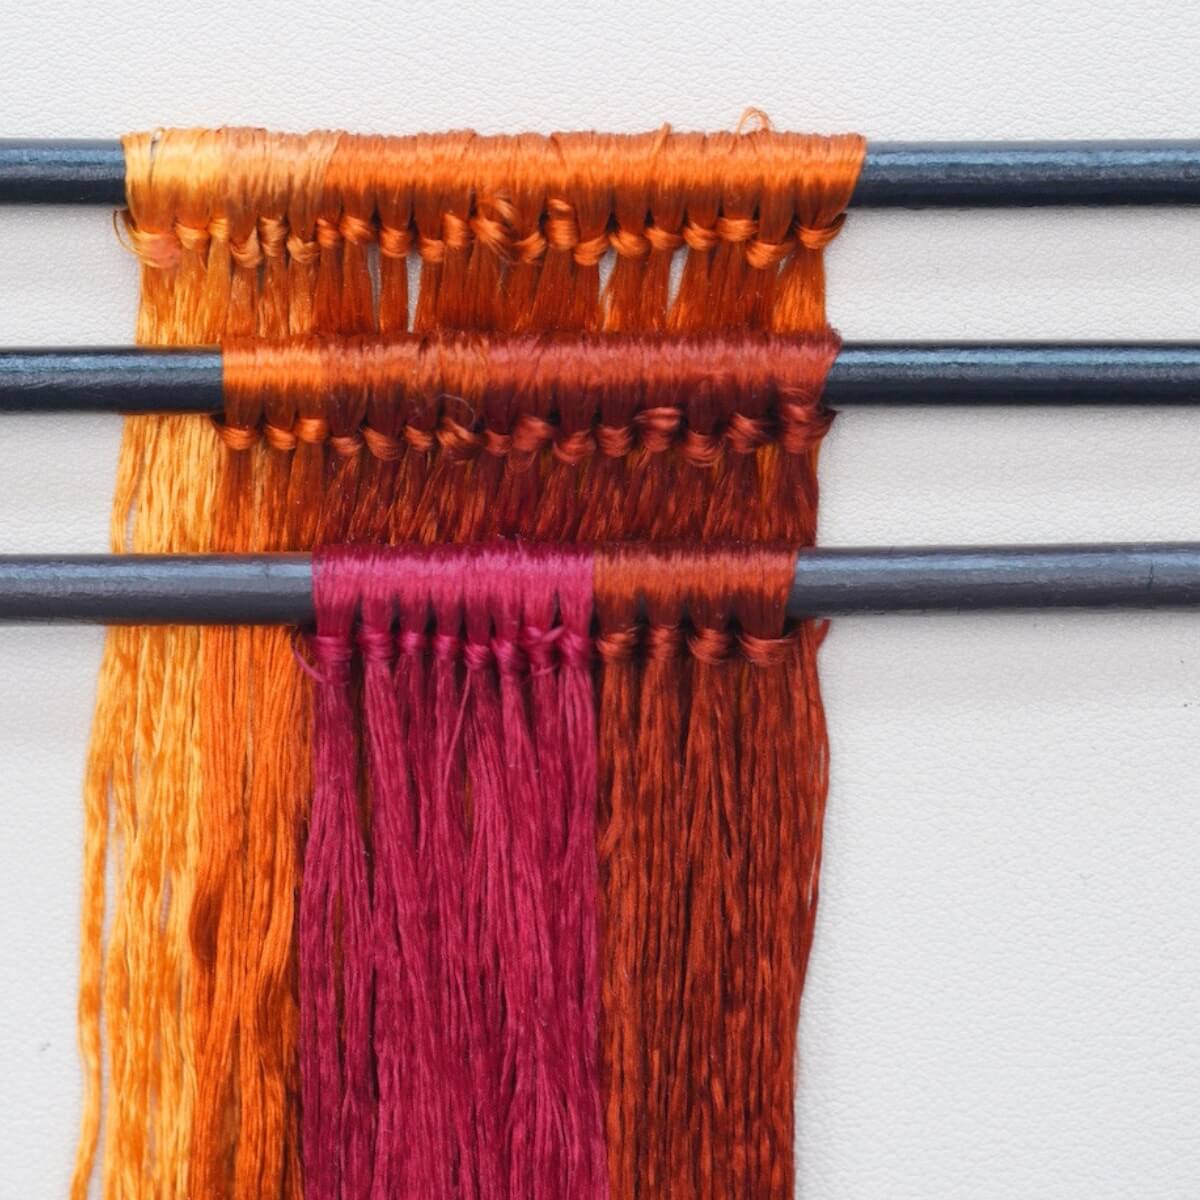
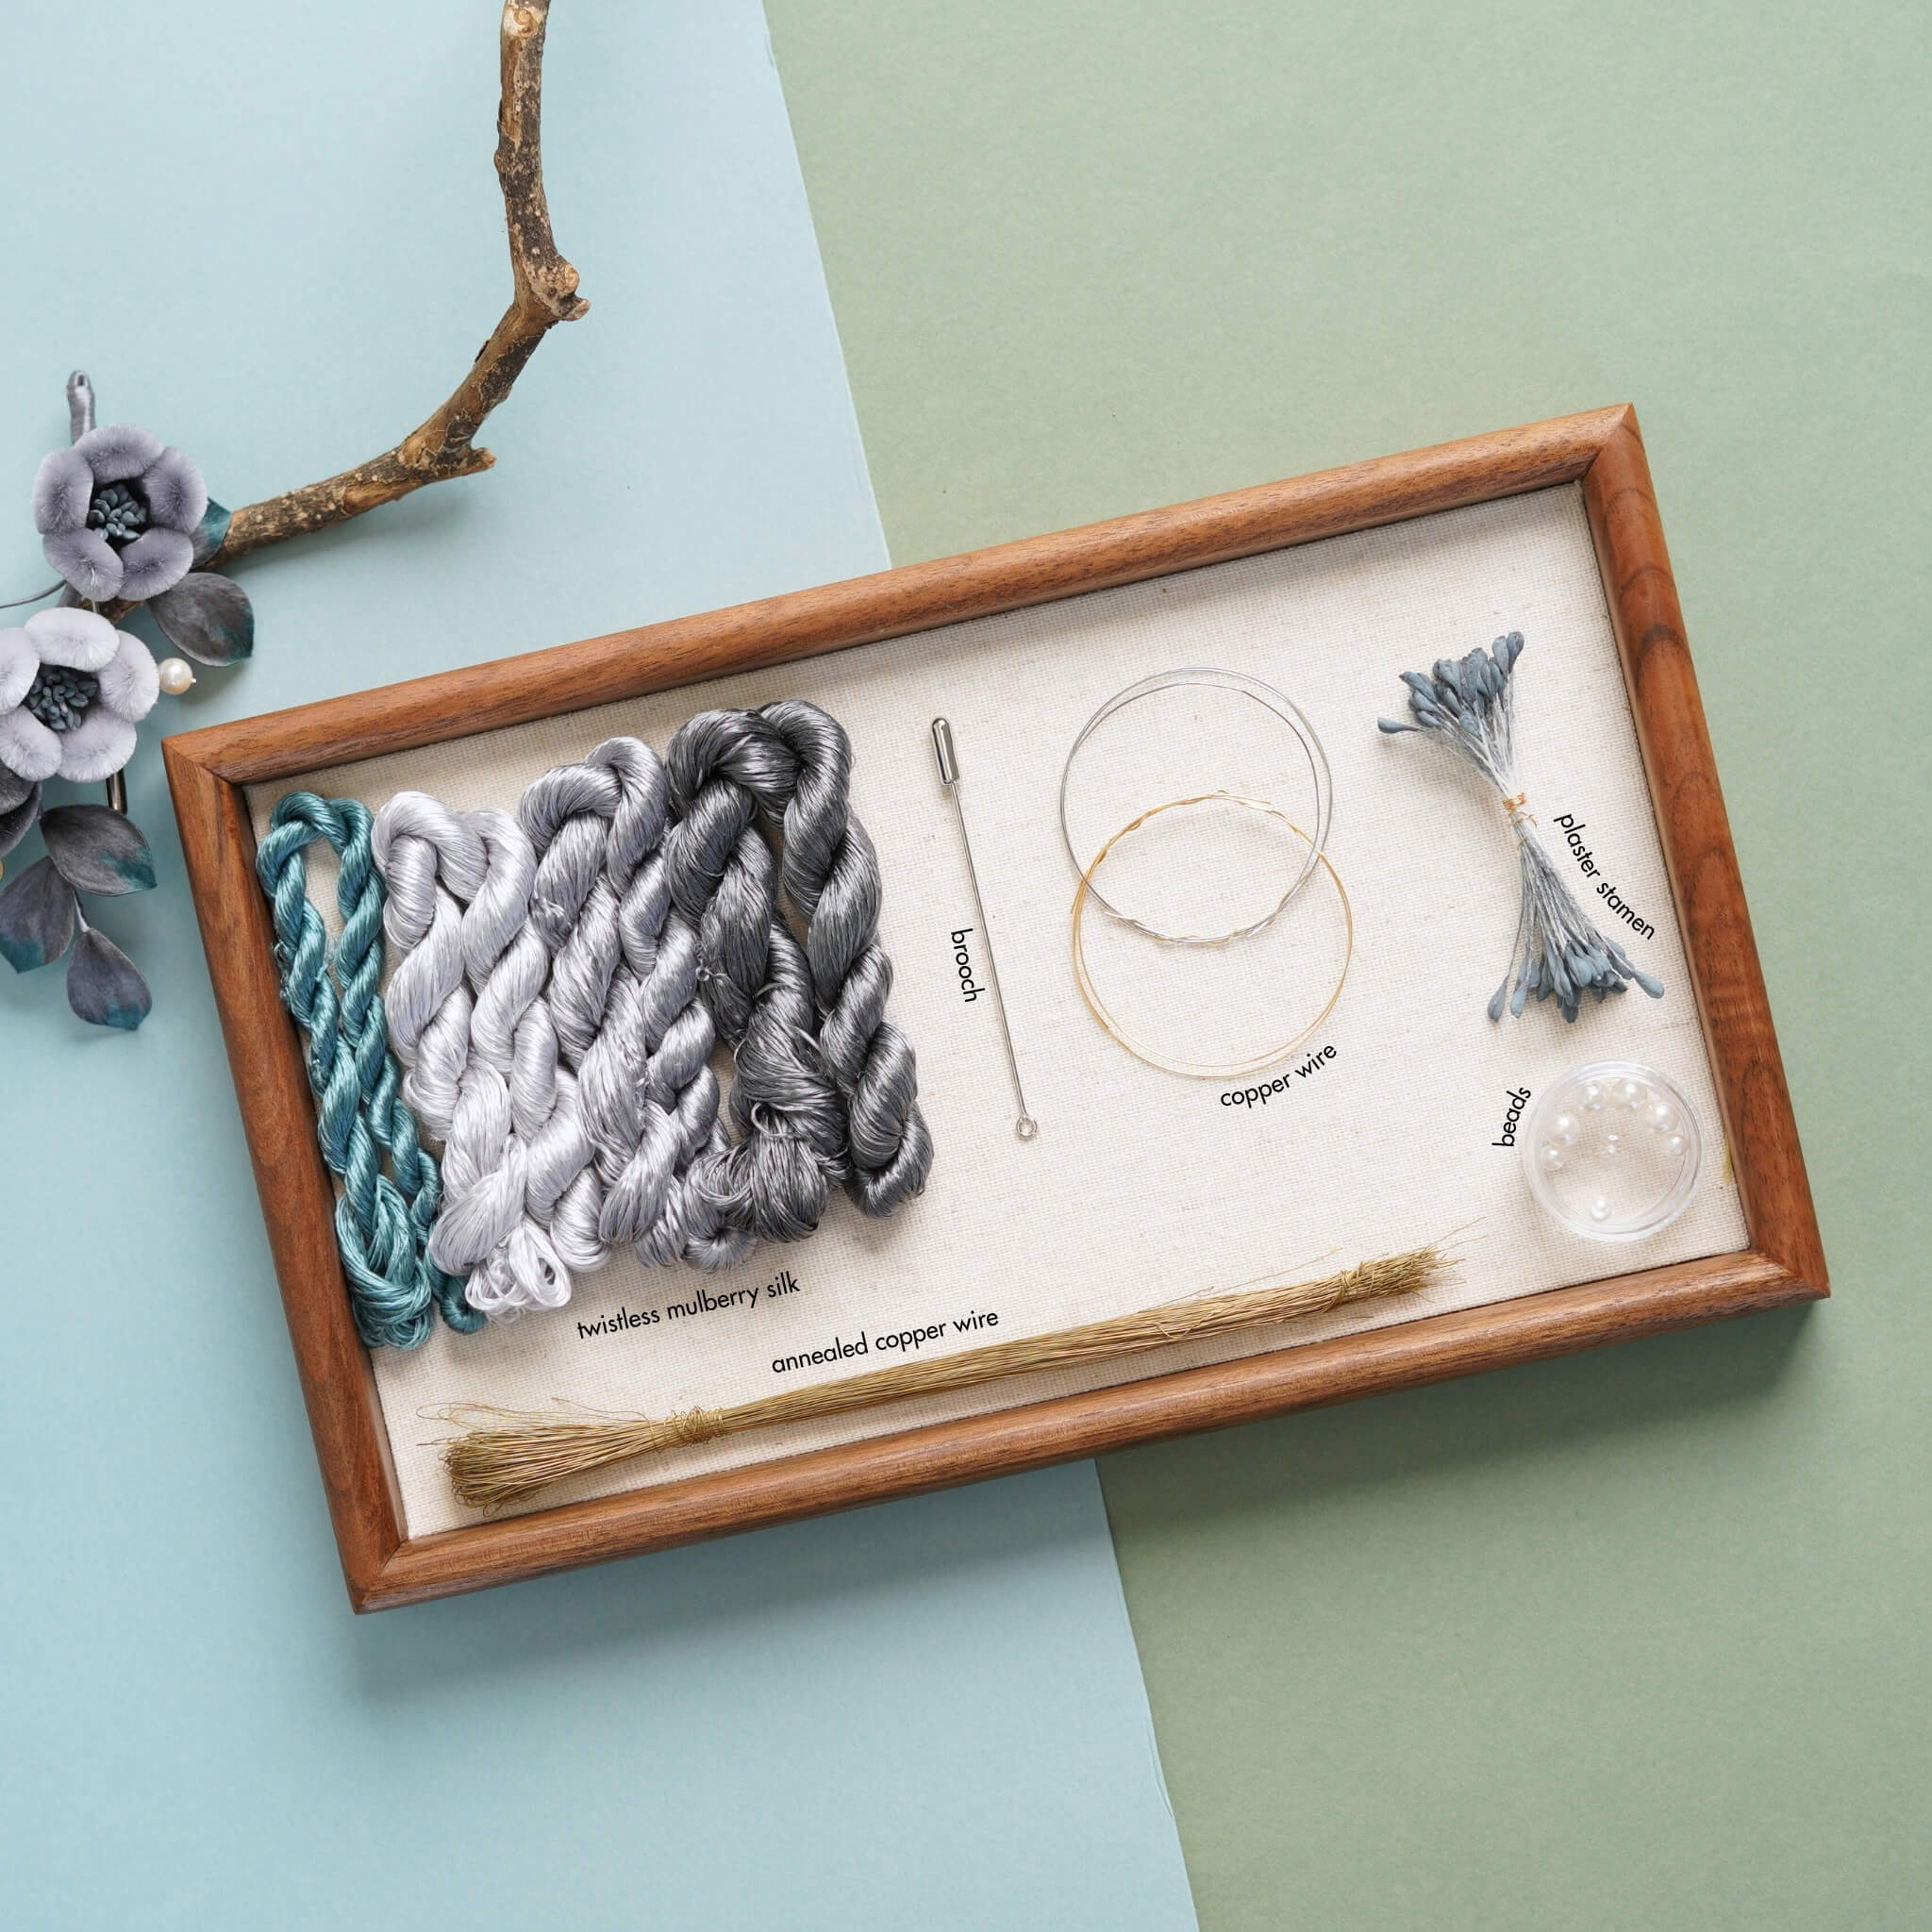
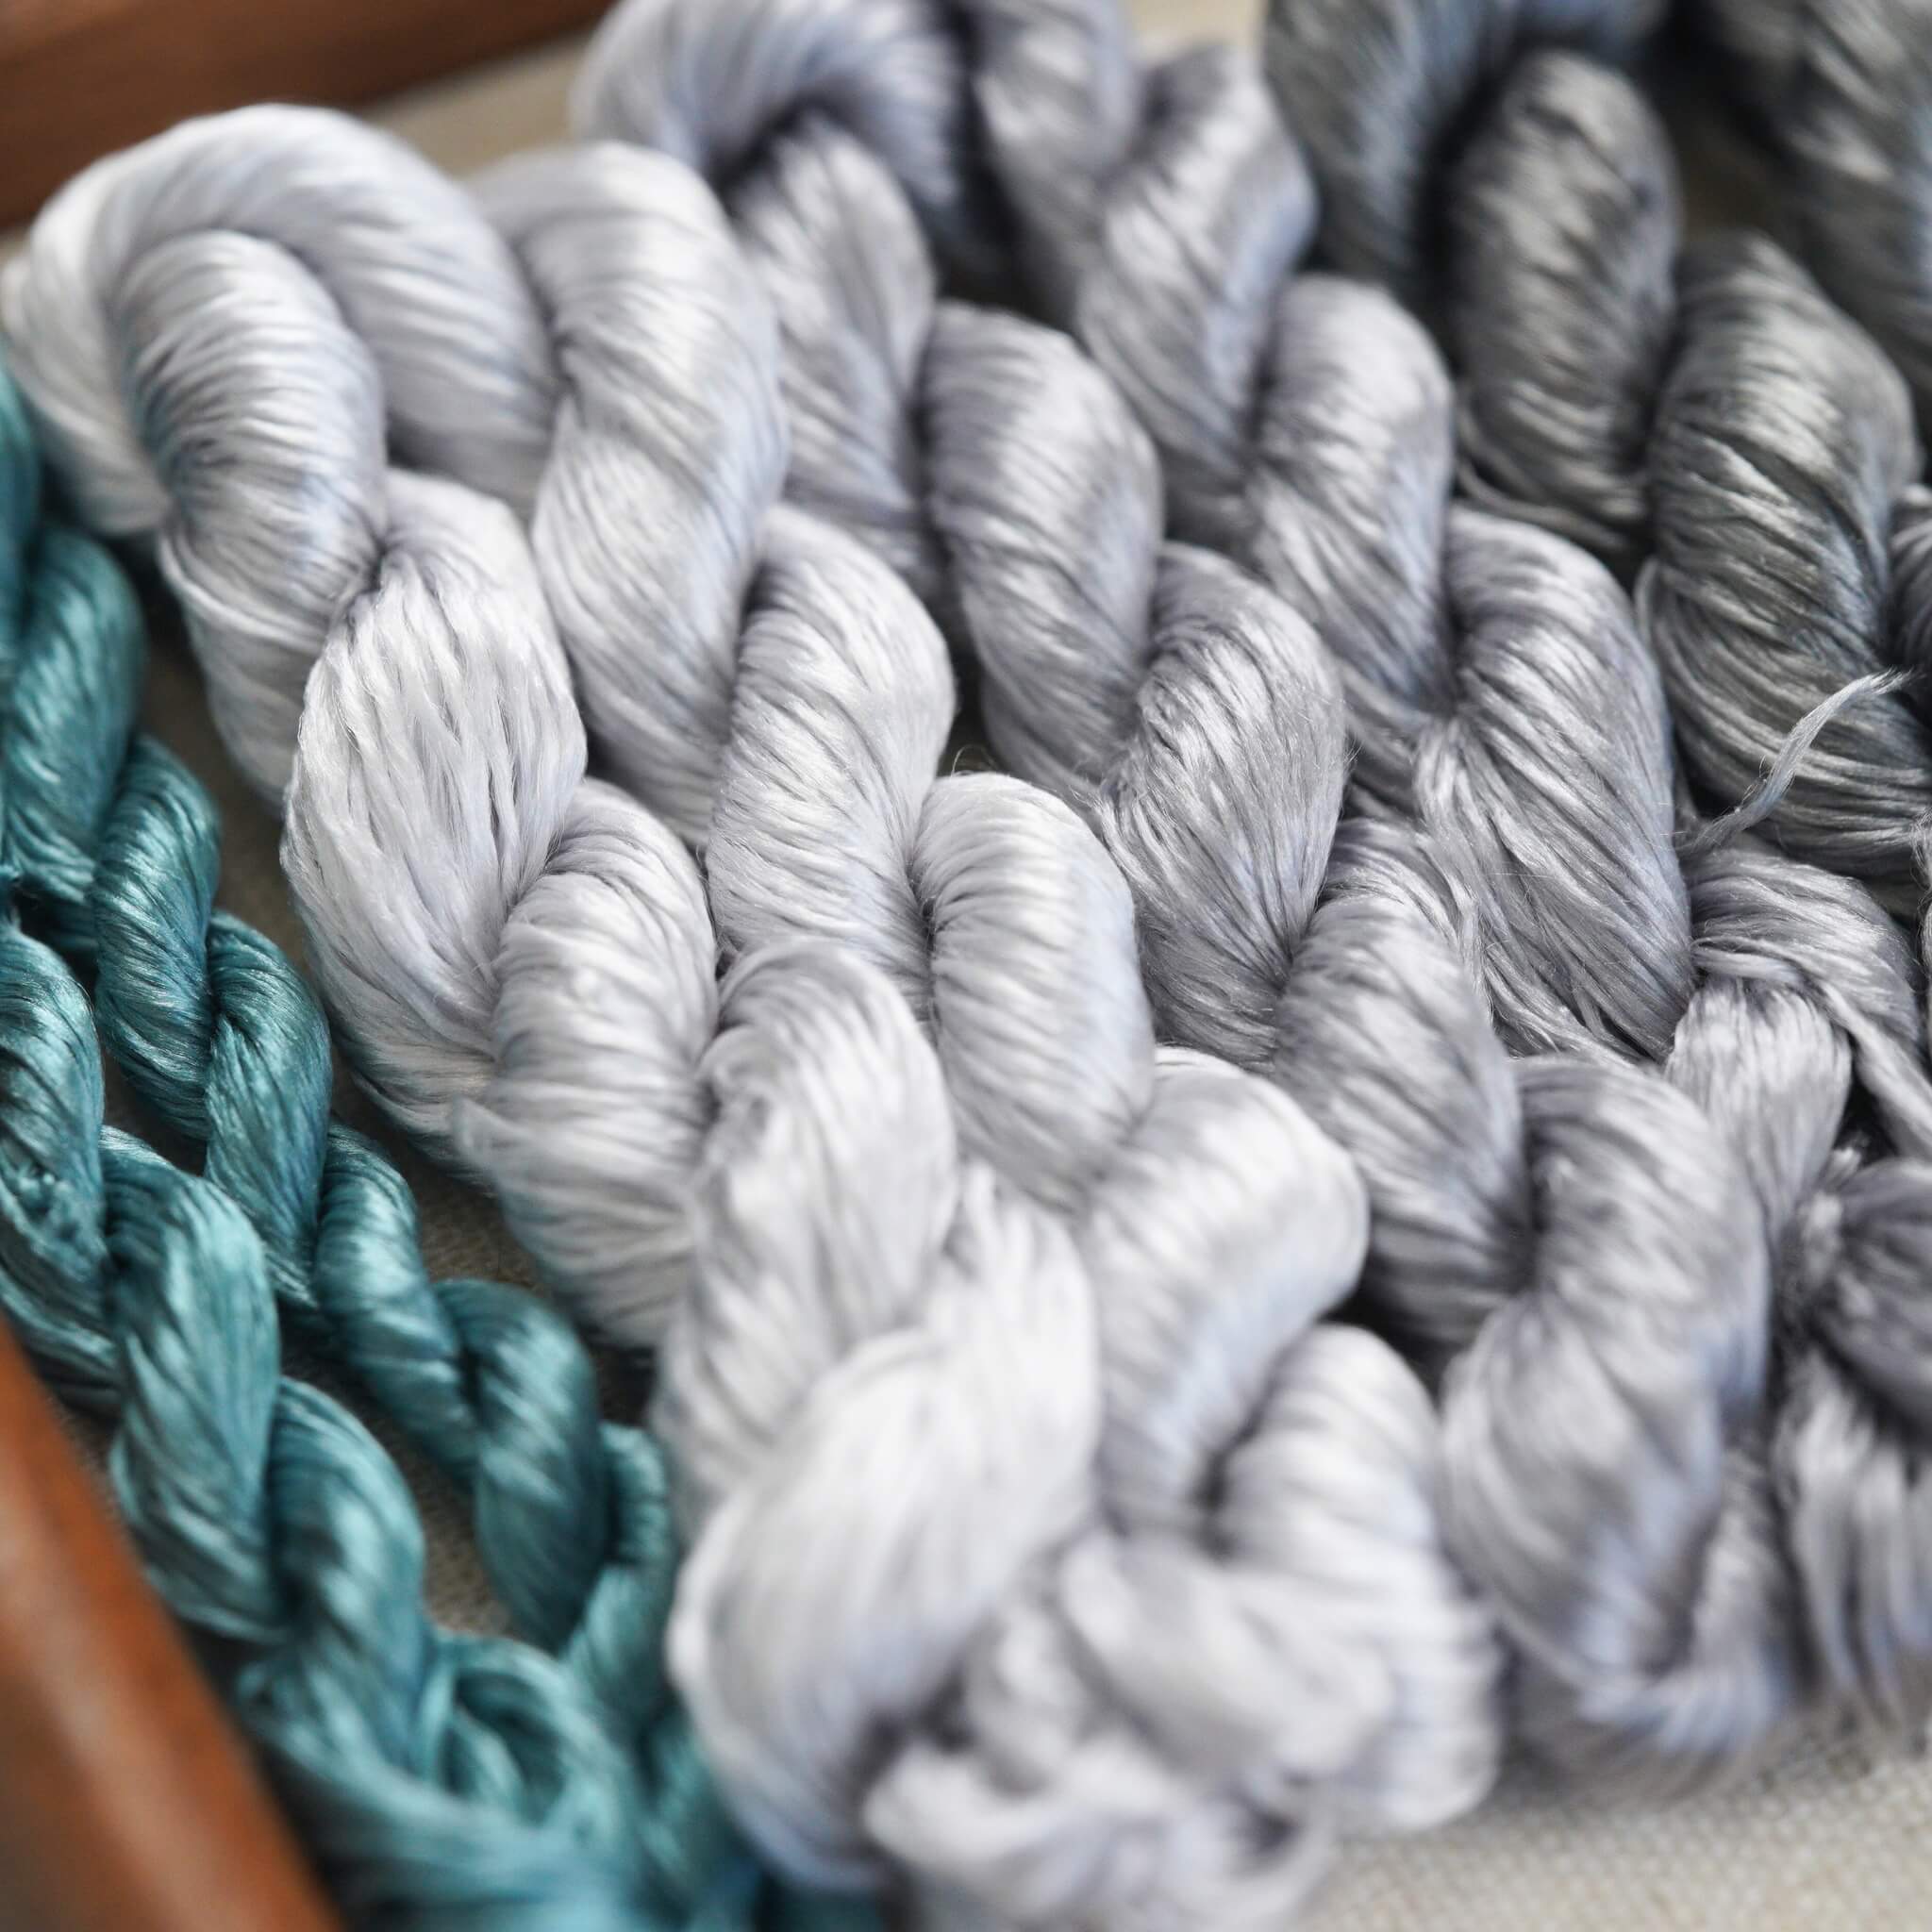
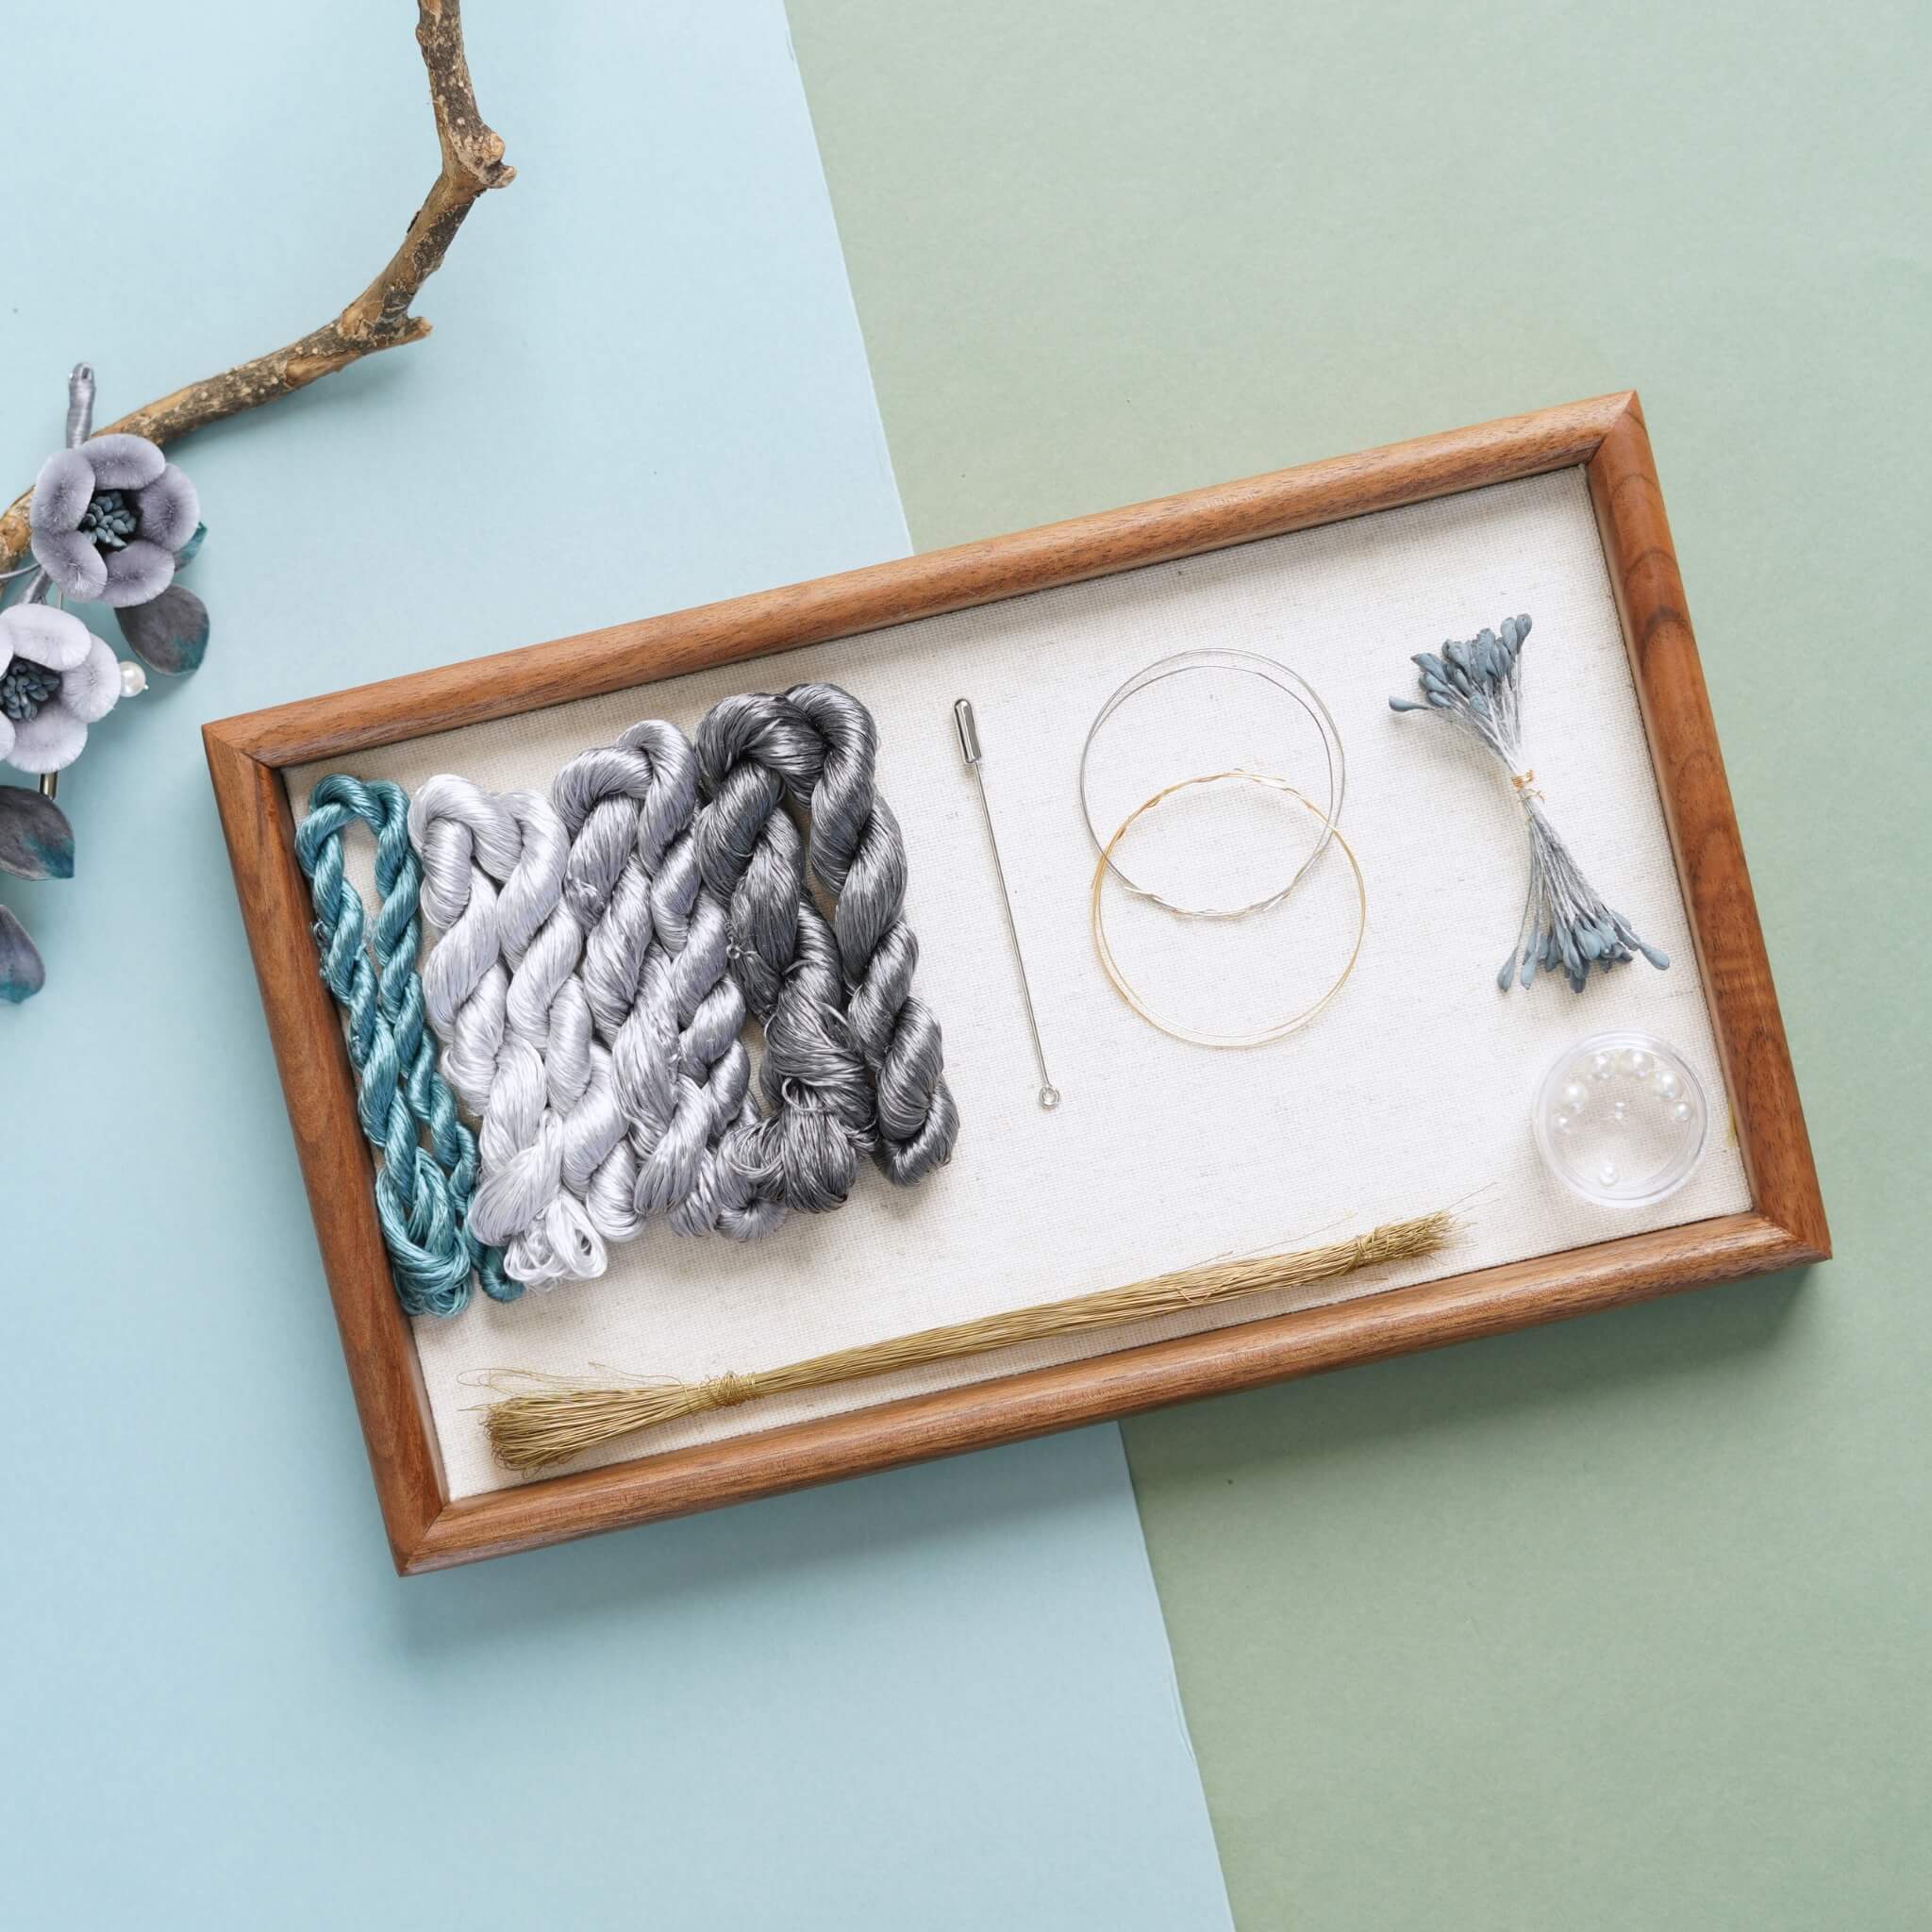
Les fils verts et bruns du paquet de matériel sont utilisés pour les feuilles, tandis que les fils restants servent pour les pétales.
Commencez par couper les fils, en les regroupant par lots de cinq, puis en les enroulant autour d’un bâtonnet en bois noir pour créer les bandes destinées aux pétales. Il y aura 23 lots de bandes pour les pétales. Le dégradé de couleur des bandes doit être plus foncé à l’extérieur et plus clair à l’intérieur. La couleur doit passer du violet foncé au blanc. La largeur des bandes doit être contrôlée à moins de 8 cm (mesurée avec une règle). La largeur des bandes vertes et brunes pour les feuilles doit être limitée à 3,5 cm.

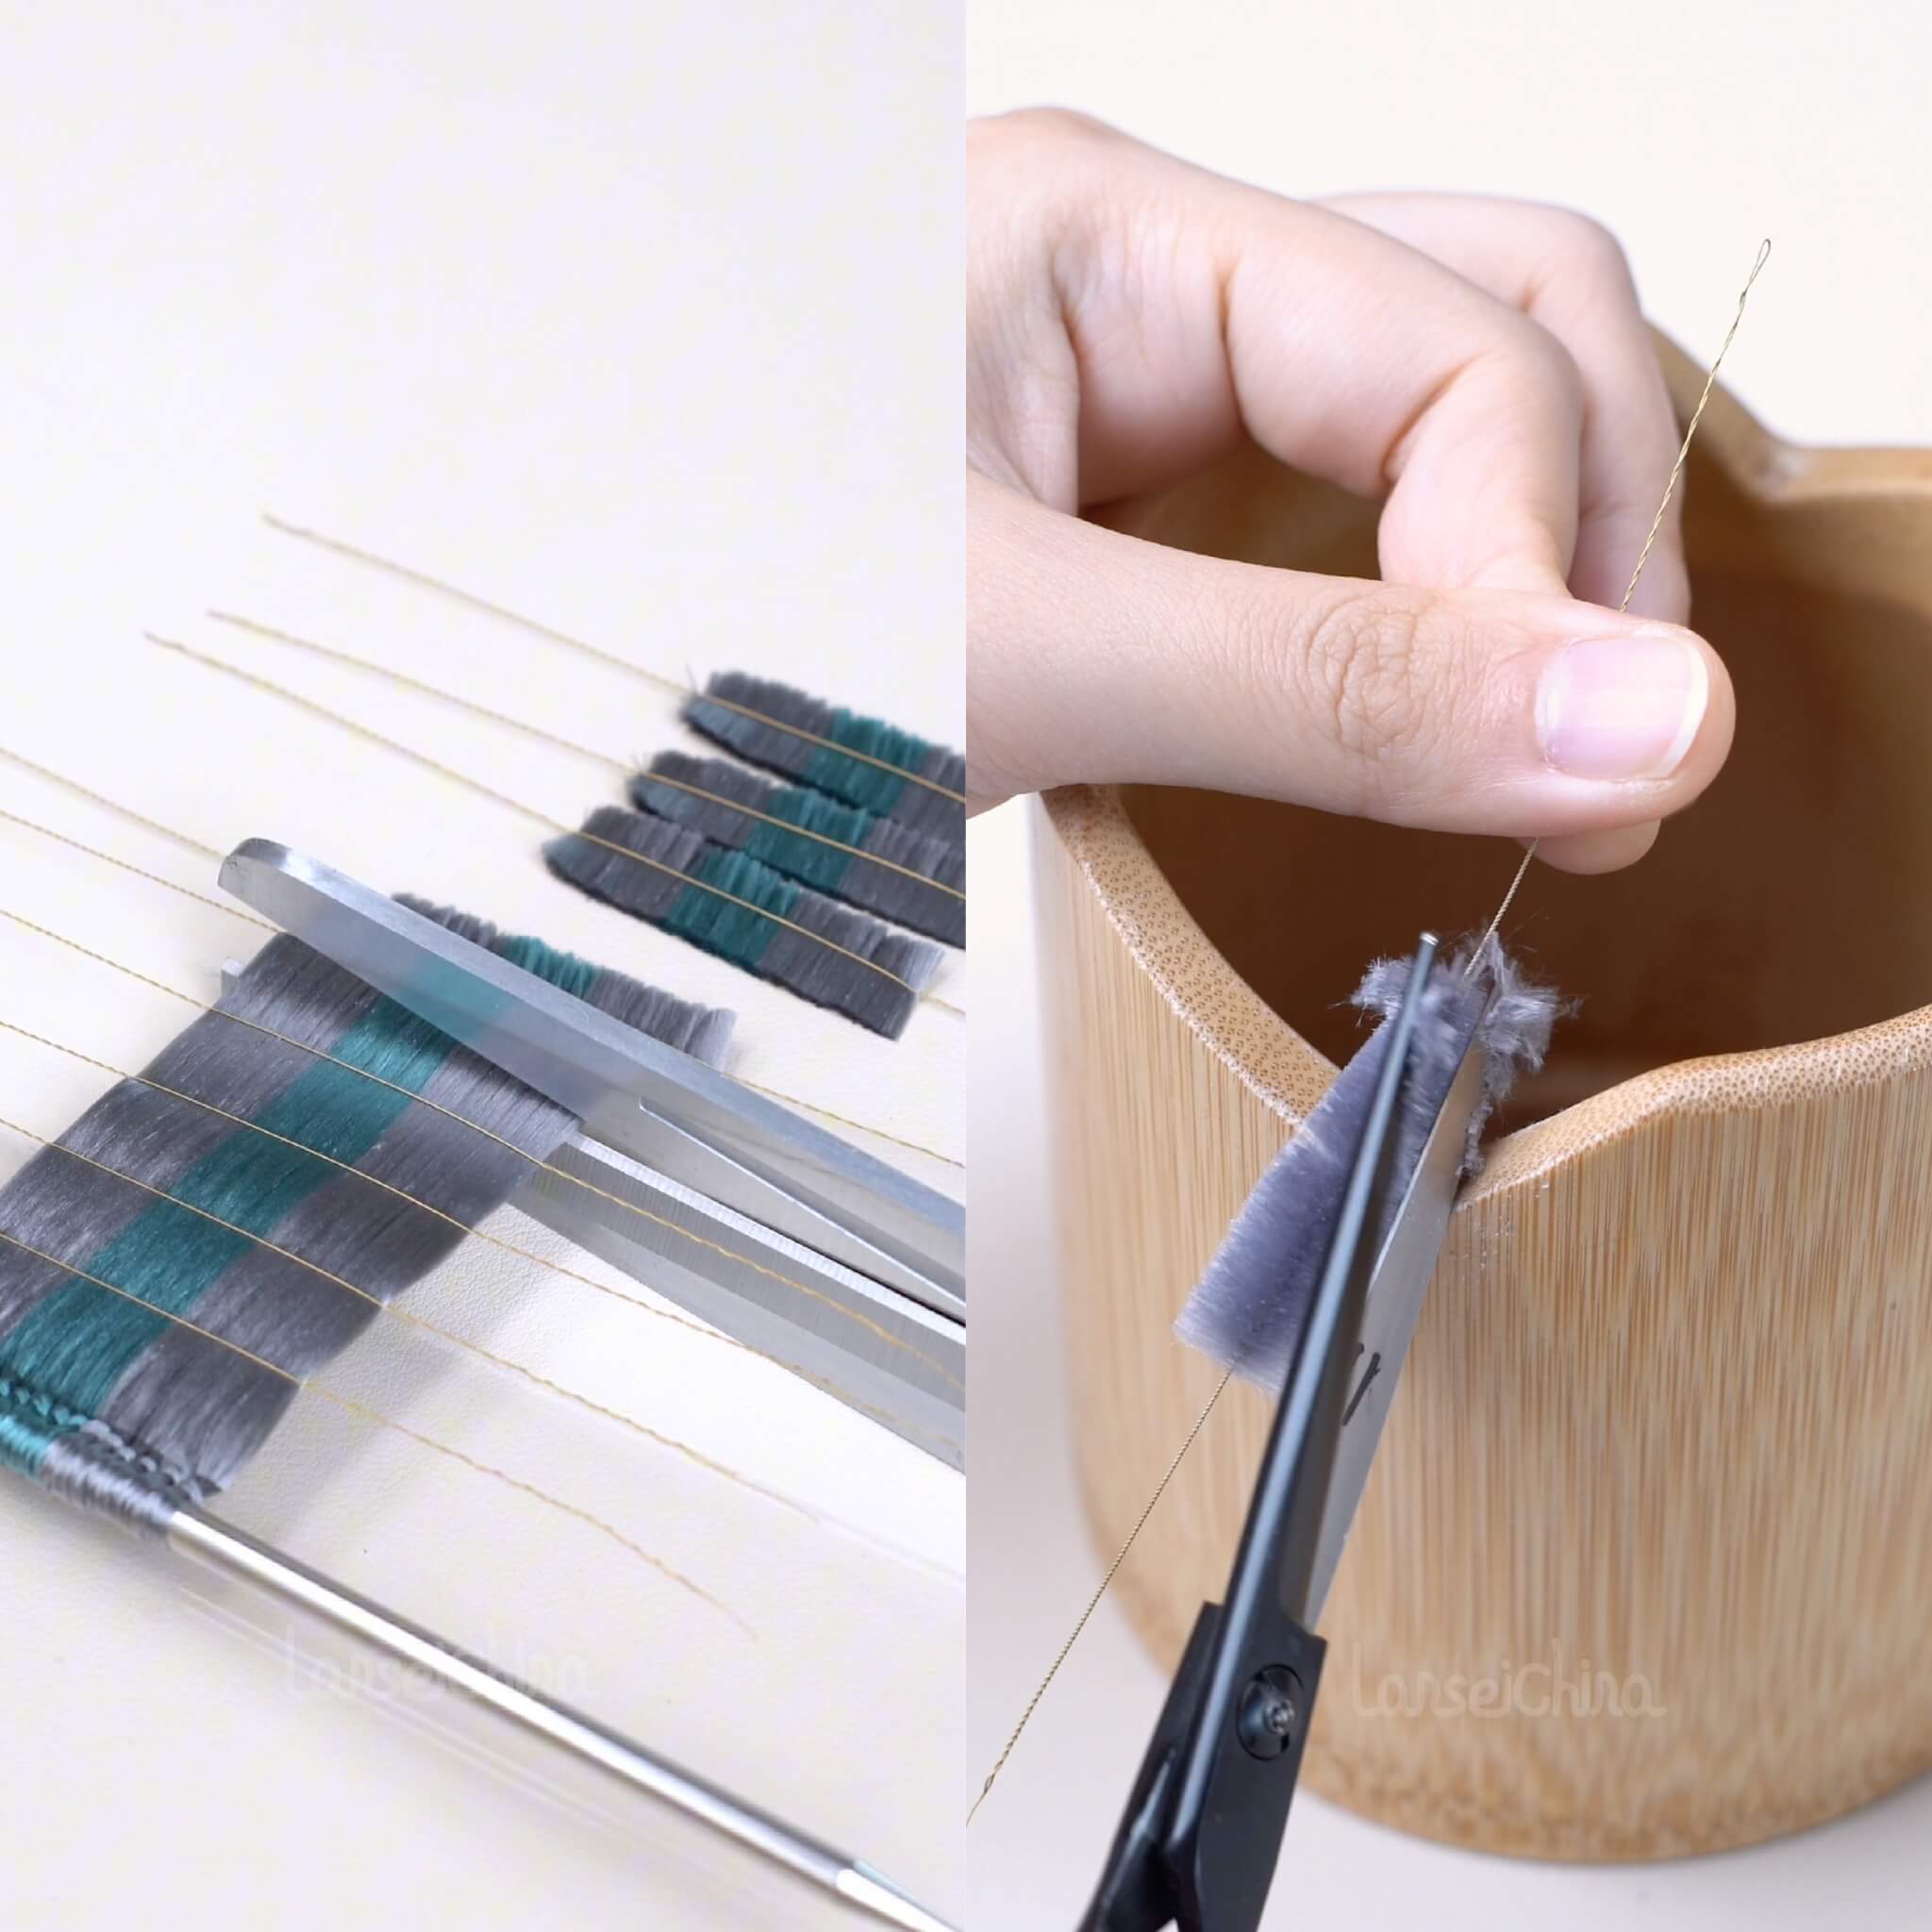
Étape 2 : Brosser les bandes 02:40~03:52
Fixez les bandes sur le support avec une pince en forme de montagne. Utilisez une brosse pour peigner les fils, en veillant à peigner jusqu’à la base avant de lâcher l’autre main. Cela évitera que les fils ne s’emmêlent. Il suffit de rendre les bandes de soie lisses et duveteuses.

Étape 3 : Tordre le fil de cuivre 03:53~08:58
Avant de tordre le fil de cuivre, assurez-vous que les fils sont bien tendus et que la largeur de la bande est uniforme. Si la bande est lâche, vous pouvez pousser le cadre vers l’arrière. Une fois la bande bien ajustée, pliez le fil de cuivre en deux et redressez-le. Tordez les deux fils de cuivre fermement ensemble sur environ 2-3 cm. Utilisez le fil de cuivre pour serrer les fils, puis tordez l’autre extrémité des deux fils ensemble. Tenez les bords du fil de cuivre avec les deux mains et tordez-les dans des directions opposées. Le fil de cuivre doit bien maintenir le bord de la bande. L’espacement entre les fils de cuivre pour les bandes de pétales doit être d’environ 1,8 cm, tandis que pour les feuilles vertes, il doit être entre 0,7 et 0,8 cm, et pour les feuilles brunes, il doit être inférieur à 2 cm.
(Tout au long de ce processus, veillez à ce que la bande et le fil de cuivre restent droits. Lors de la fixation du fil de cuivre, faites attention à la largeur de la bande pour éviter qu’elle ne devienne plus étroite.)

Étape 4 : Enrouler les bandes 08:59~15:04
Retirez les bandes de la pince. Lors de la coupe des bandes, utilisez des ciseaux pour couper juste au centre des deux fils de cuivre. Utilisez une pince à épiler pour aligner proprement les bords des bandes coupées. Après ajustement, tordez doucement le fil de cuivre et serrez-le sur la planche à rouler. Faites attention à la direction du fil de cuivre — ne le tordez pas dans le mauvais sens, sinon les fils se détacheront. Vous n’avez besoin que de trois bandes brunes ; les bandes restantes peuvent être conservées pour d’autres projets floraux. Les bandes vertes doivent être pliées en deux, avec les deux extrémités alignées. Tordez fermement les deux fils de cuivre ensemble. Les bandes violettes doivent avoir leurs extrémités légèrement effilées, pliez-les et tordez le fil de cuivre à la base. Utilisez une pince à épiler pour pincer le point de jonction entre les parties rose et blanche et serrez le fil de cuivre vers l’intérieur.
(Lors de l’enroulement des bandes, assurez-vous que le fil de cuivre est placé au centre du fil. Si le fil de cuivre n’est pas centré, le duvet sur la bande sera inégal.)

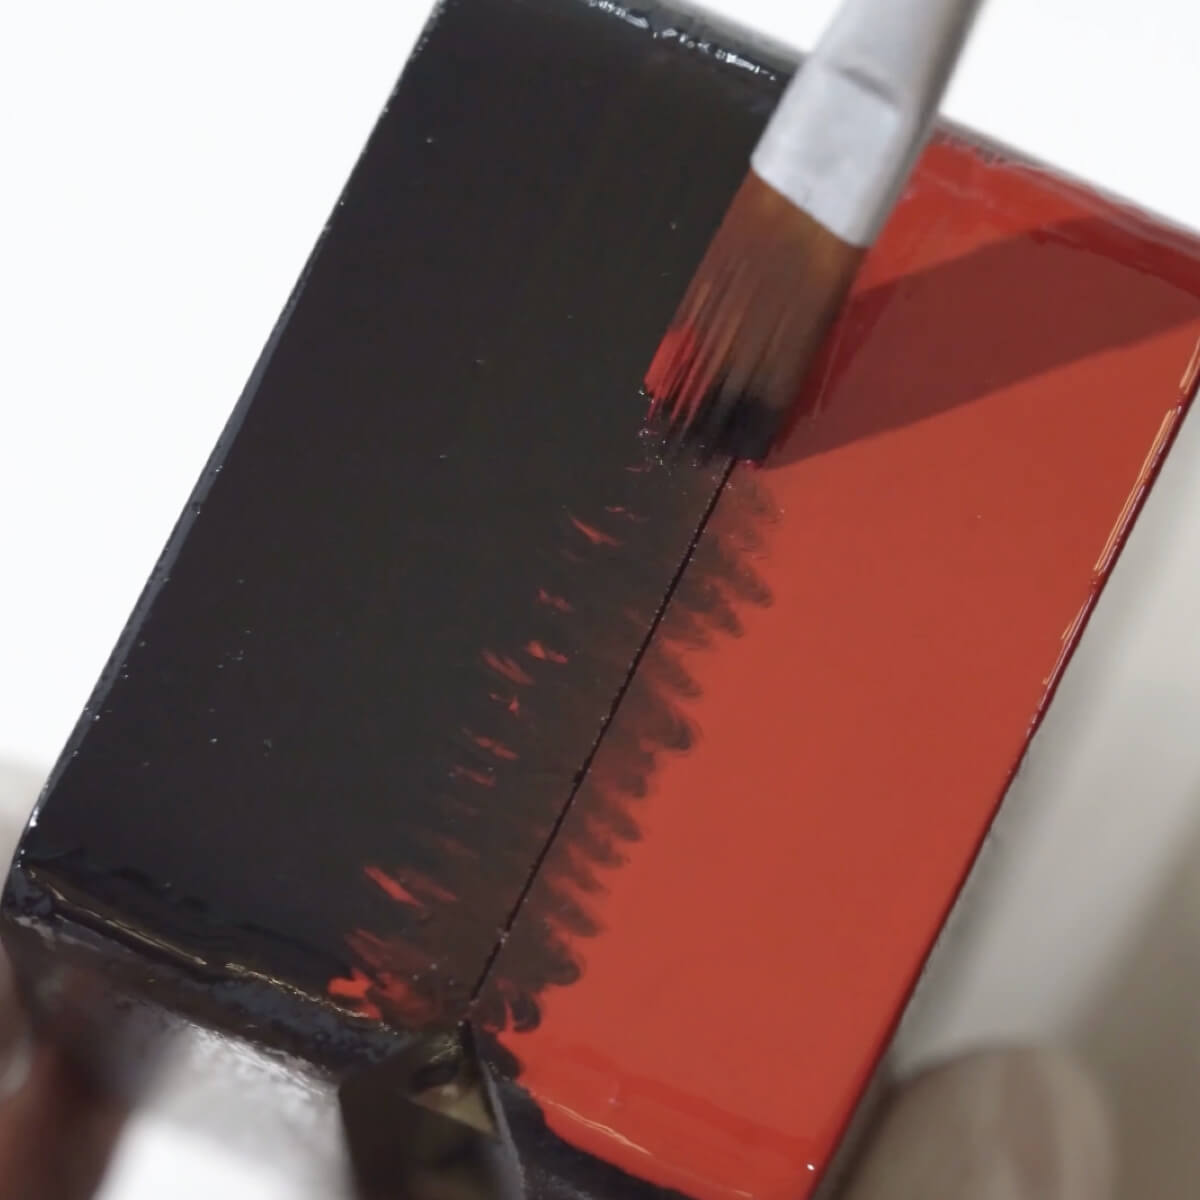
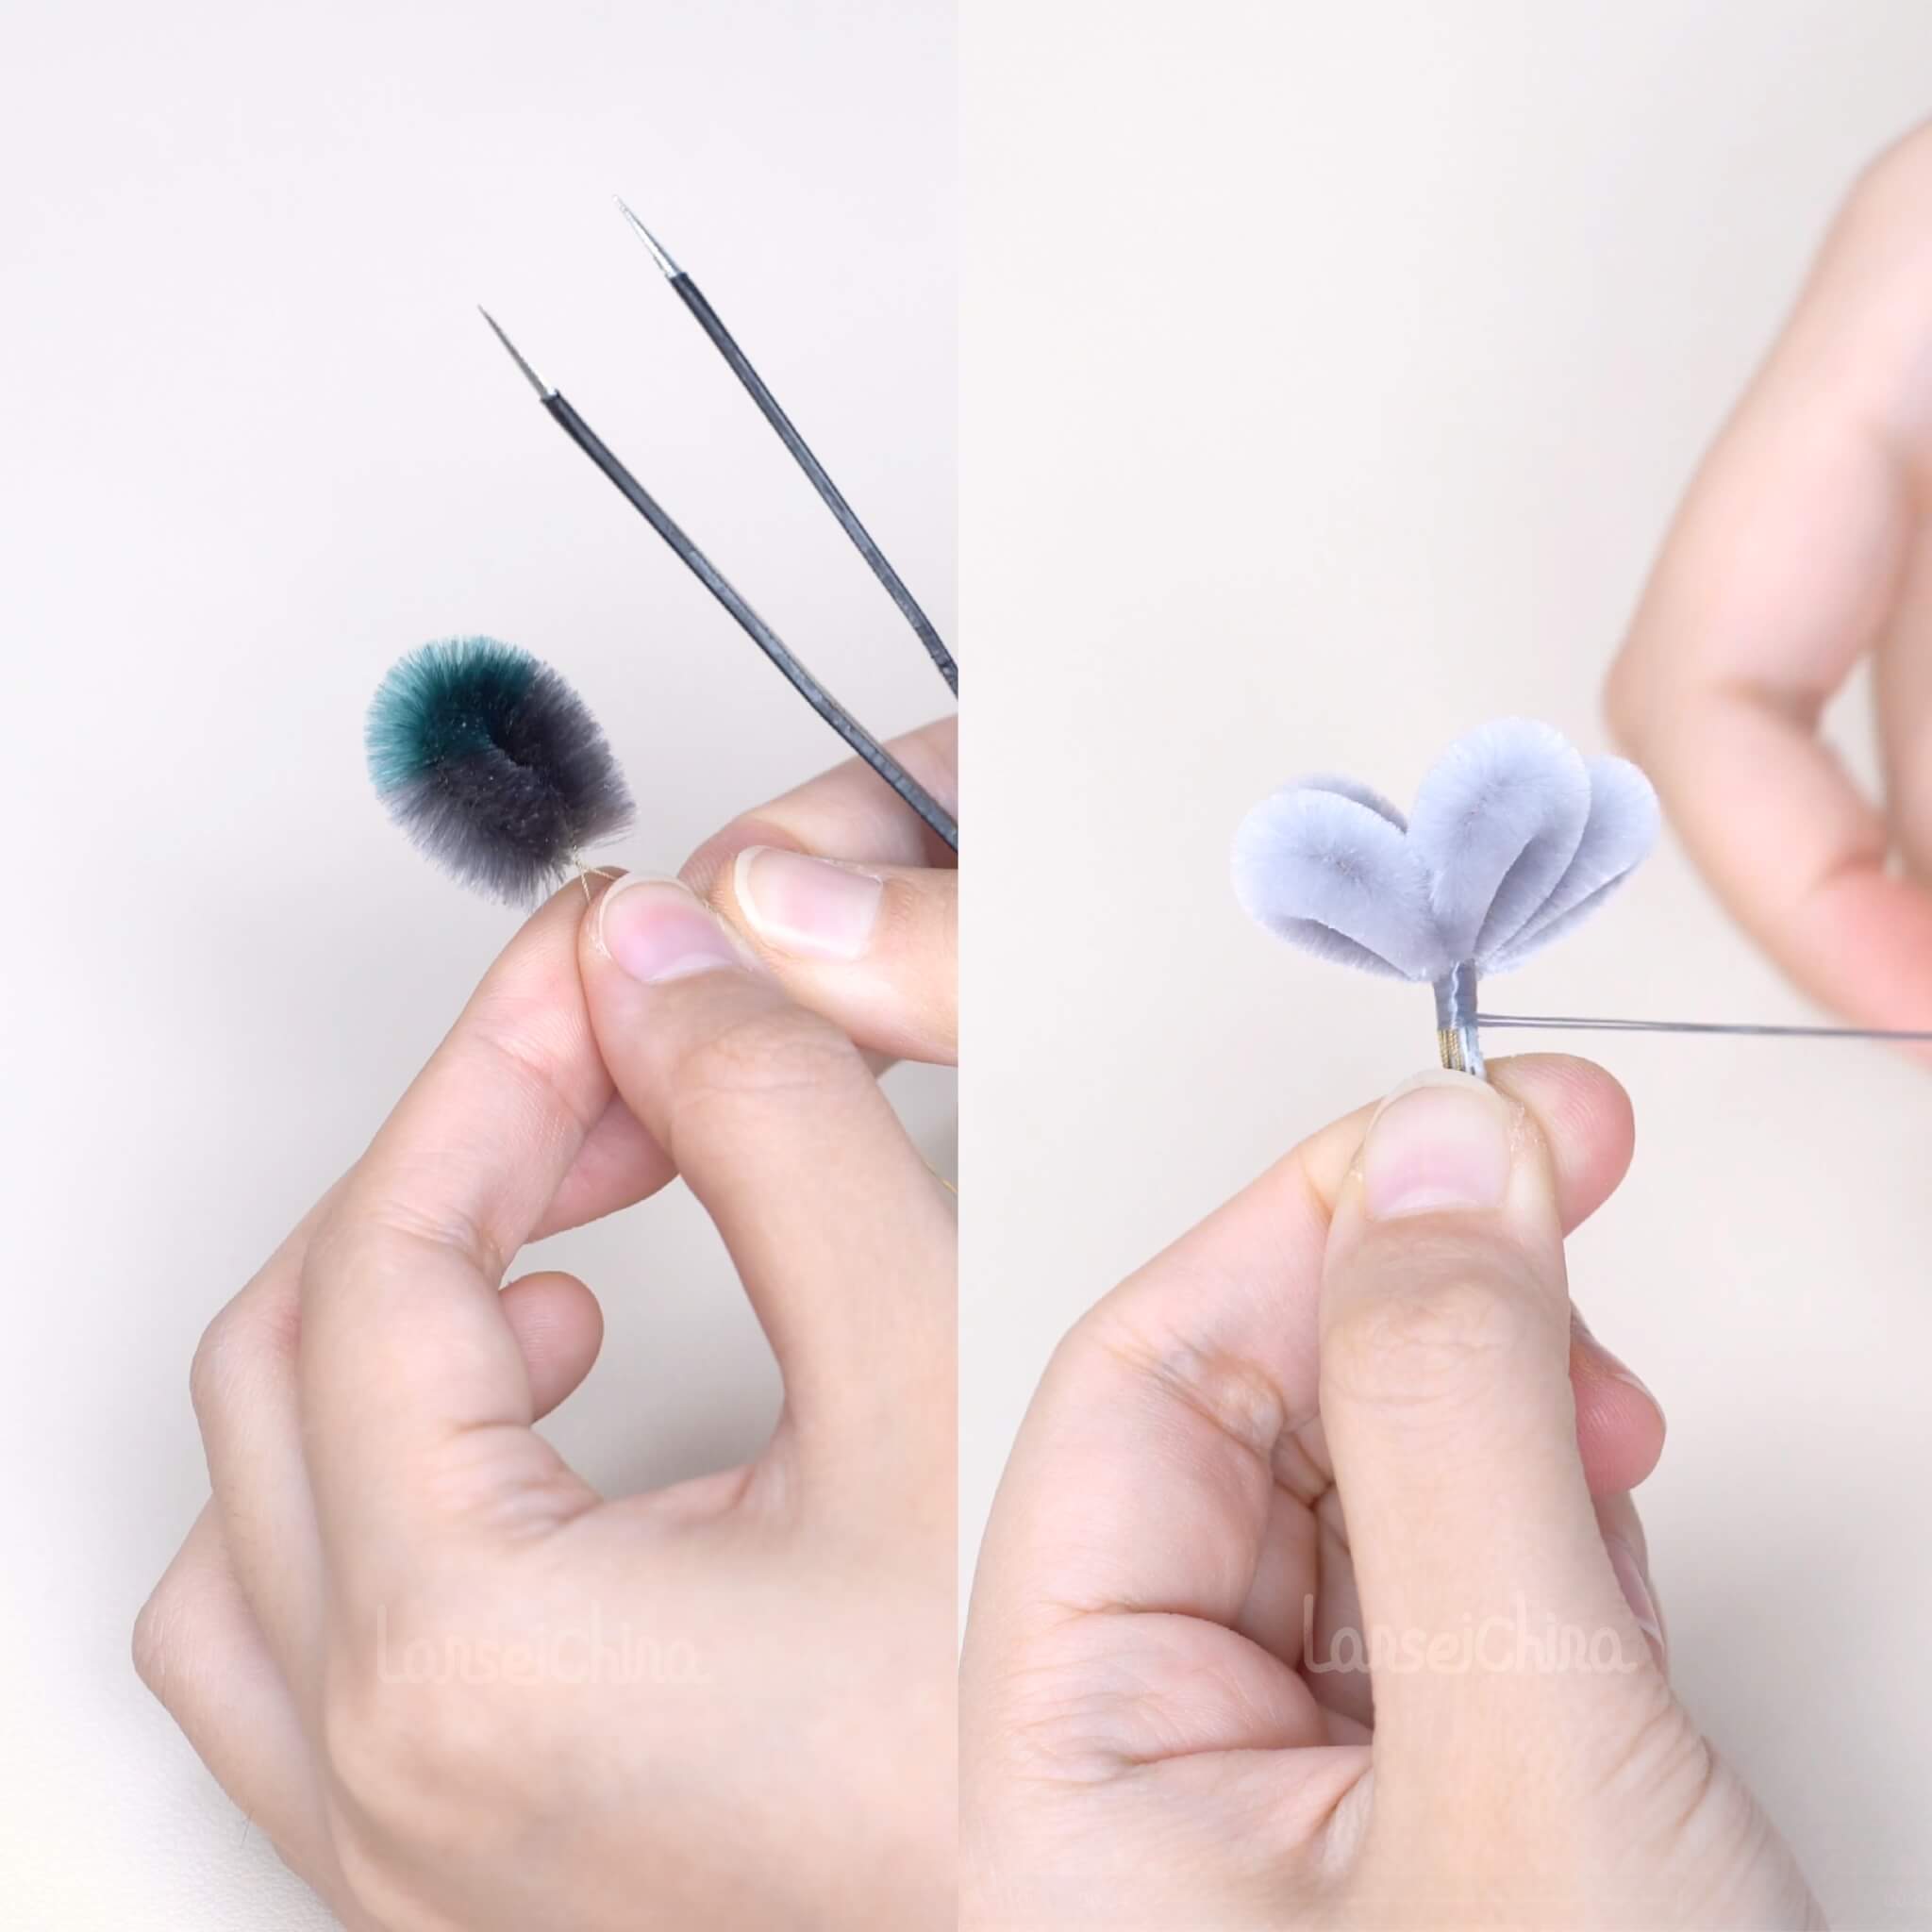
Étape 5 : Façonner les pétales et les feuilles 15:05~26:12
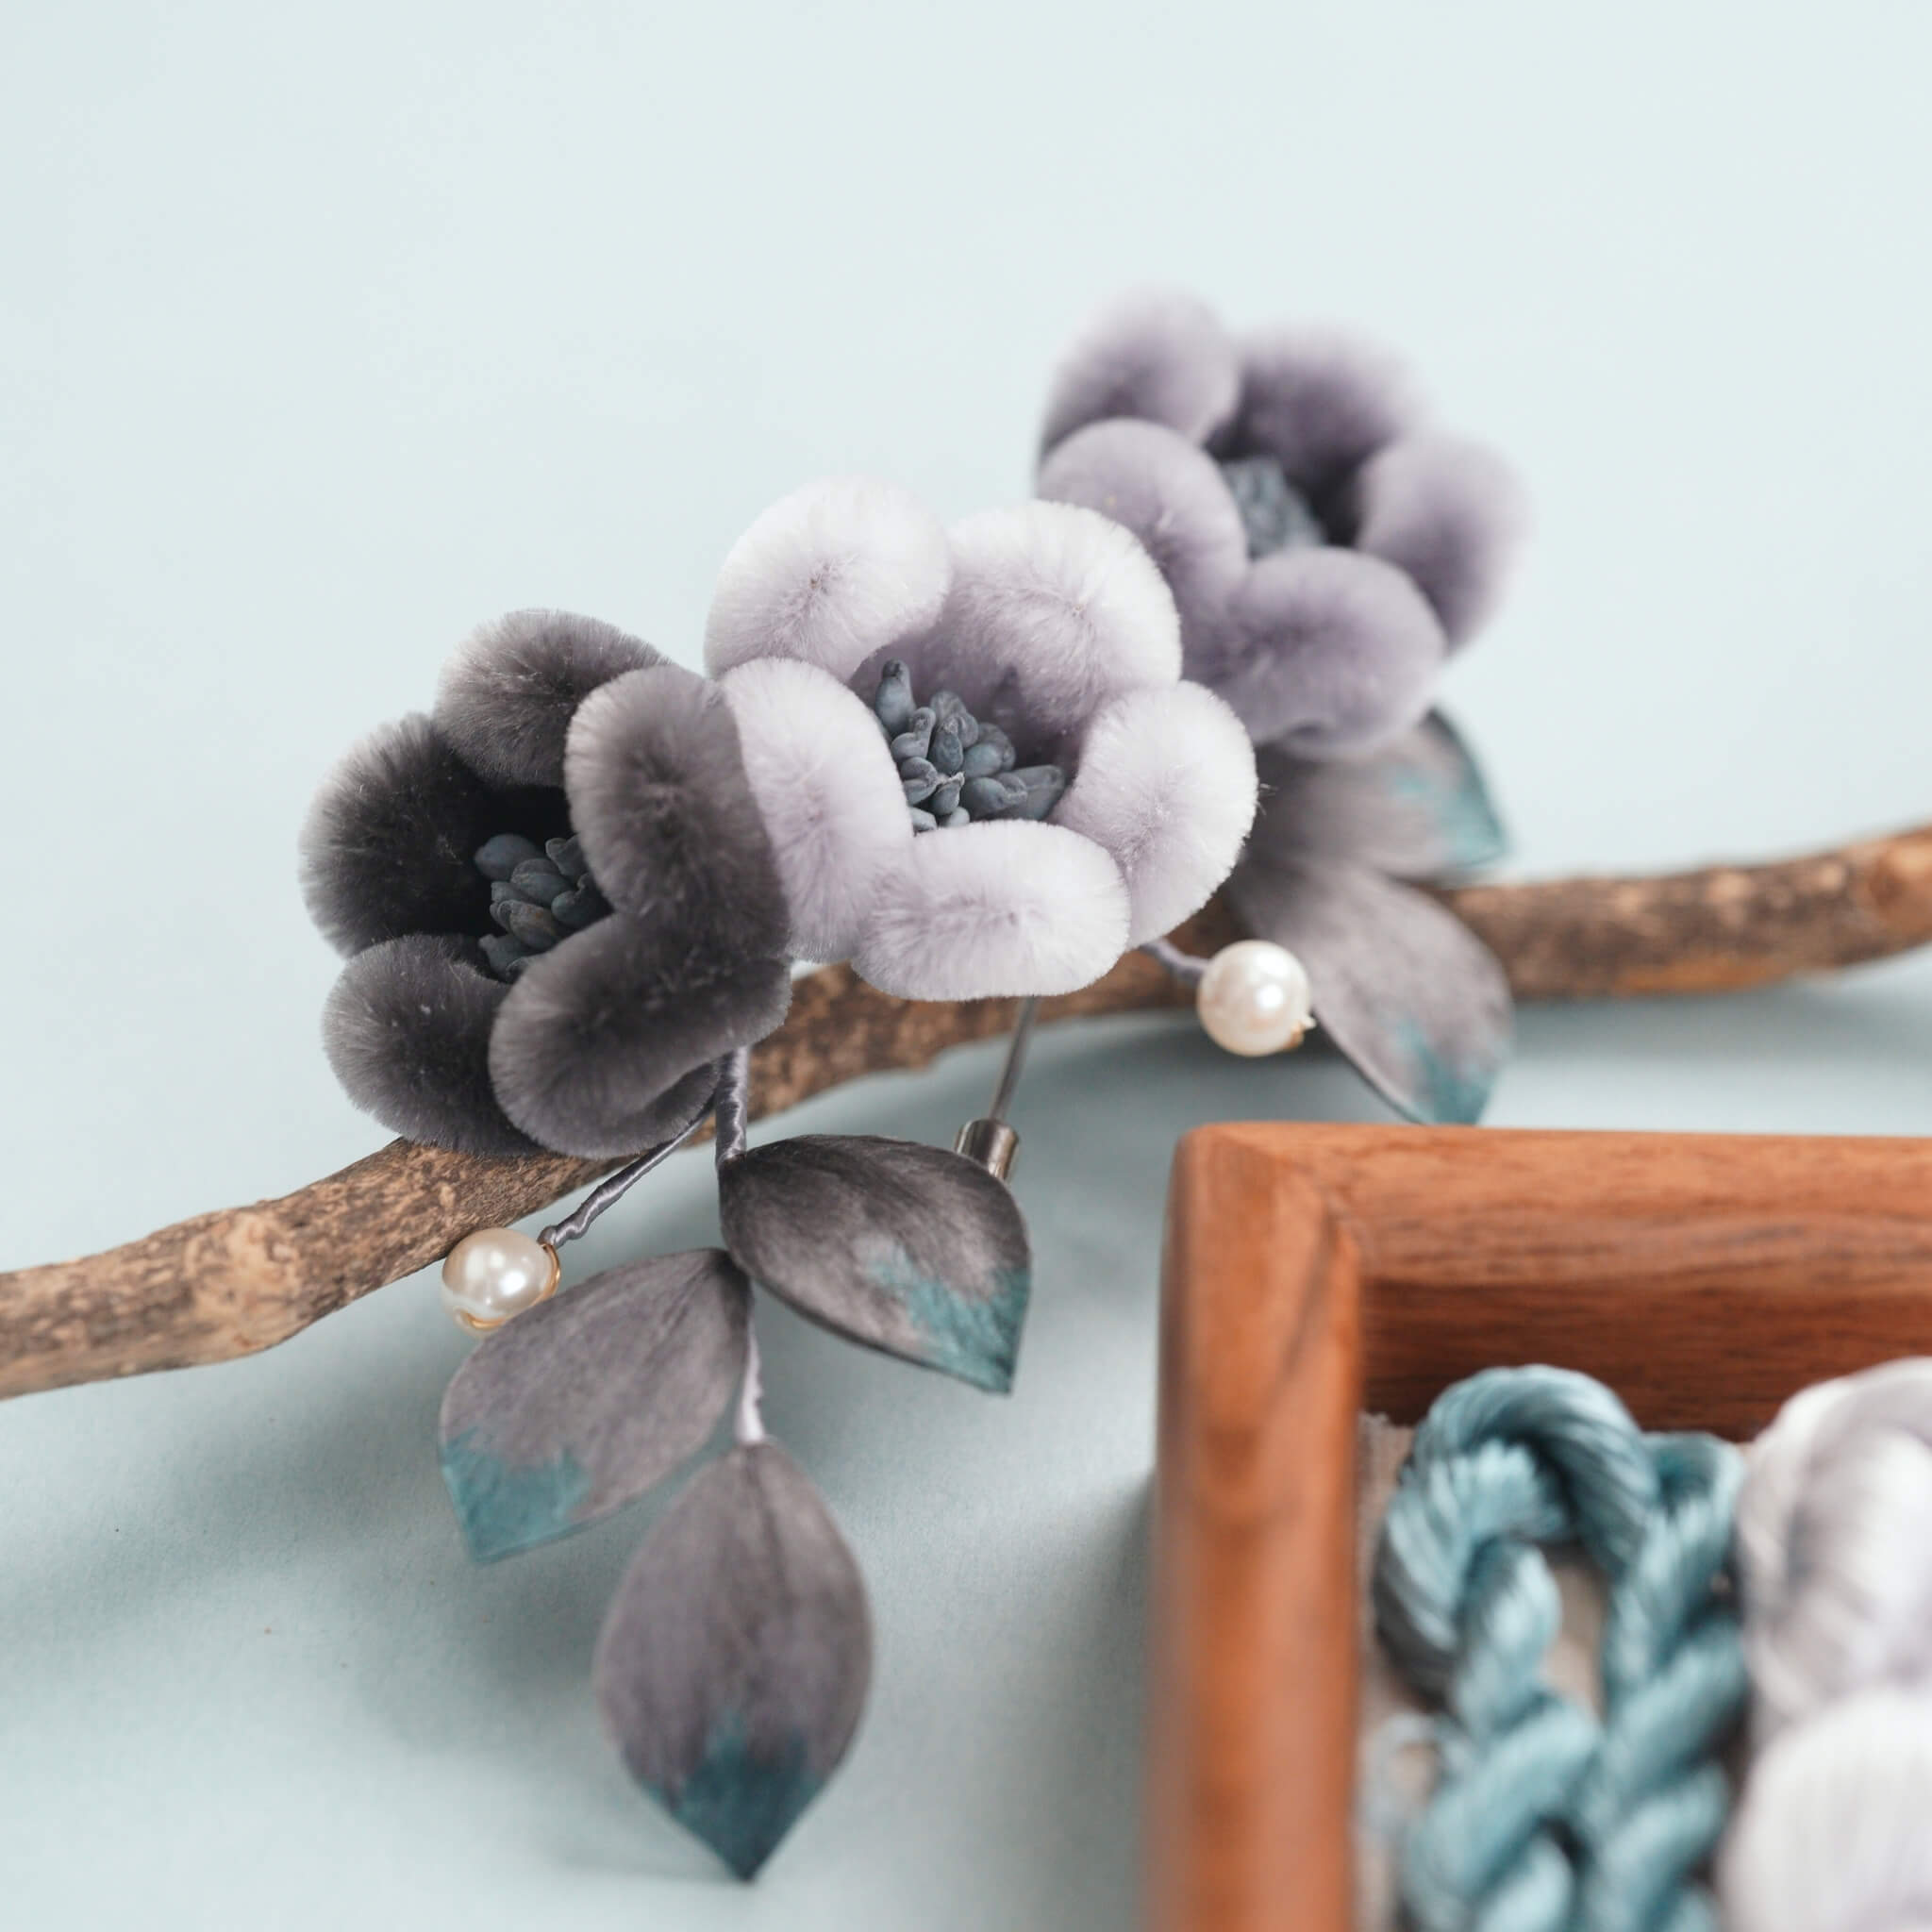
Chauffez la pince et utilisez-la pour aplatir la bande. Versez un peu de liquide de mise en forme des fleurs (la laque peut aussi être utilisée). Laissez le liquide imprégner complètement la bande, puis utilisez une pince à épiler pour enlever l’excès d’humidité. Pincez la partie la plus creuse de la bande avec la pince à épiler pour créer une courbure vers l’intérieur. Au point de transition entre le rose et le blanc, tournez la bande vers l’extérieur, puis poussez le bord vers l’intérieur avec la pince. Pour les pétales du bouton floral, pincez simplement la bande avec la pince pour former une courbure vers l’intérieur. Une fois les pétales façonnés, insérez-les dans une éponge pour qu’ils gardent leur forme pendant le séchage. Appliquez le liquide de mise en forme sur les feuilles, enlevez l’excès avec la pince à épiler, et façonnez les feuilles pour créer des courbes. Pour les feuilles vertes, pressez-les avec un bâtonnet rond pour former la courbe. Si vous n’avez pas de bâtonnet rond, vous pouvez utiliser un autre objet rond en remplacement. Une fois les pétales secs, coupez les bords irréguliers pour correspondre à la forme des pétales. Les pétales du bouton de magnolia sont plus petits, environ deux tiers de la taille des pétales ordinaires, donc ils doivent être coupés avec plus de soin. Vous aurez besoin de 5 à 6 petits pétales. Les feuilles doivent être plus larges au milieu et plus étroites aux deux extrémités. La taille des feuilles ne doit pas dépasser celle des pétales.


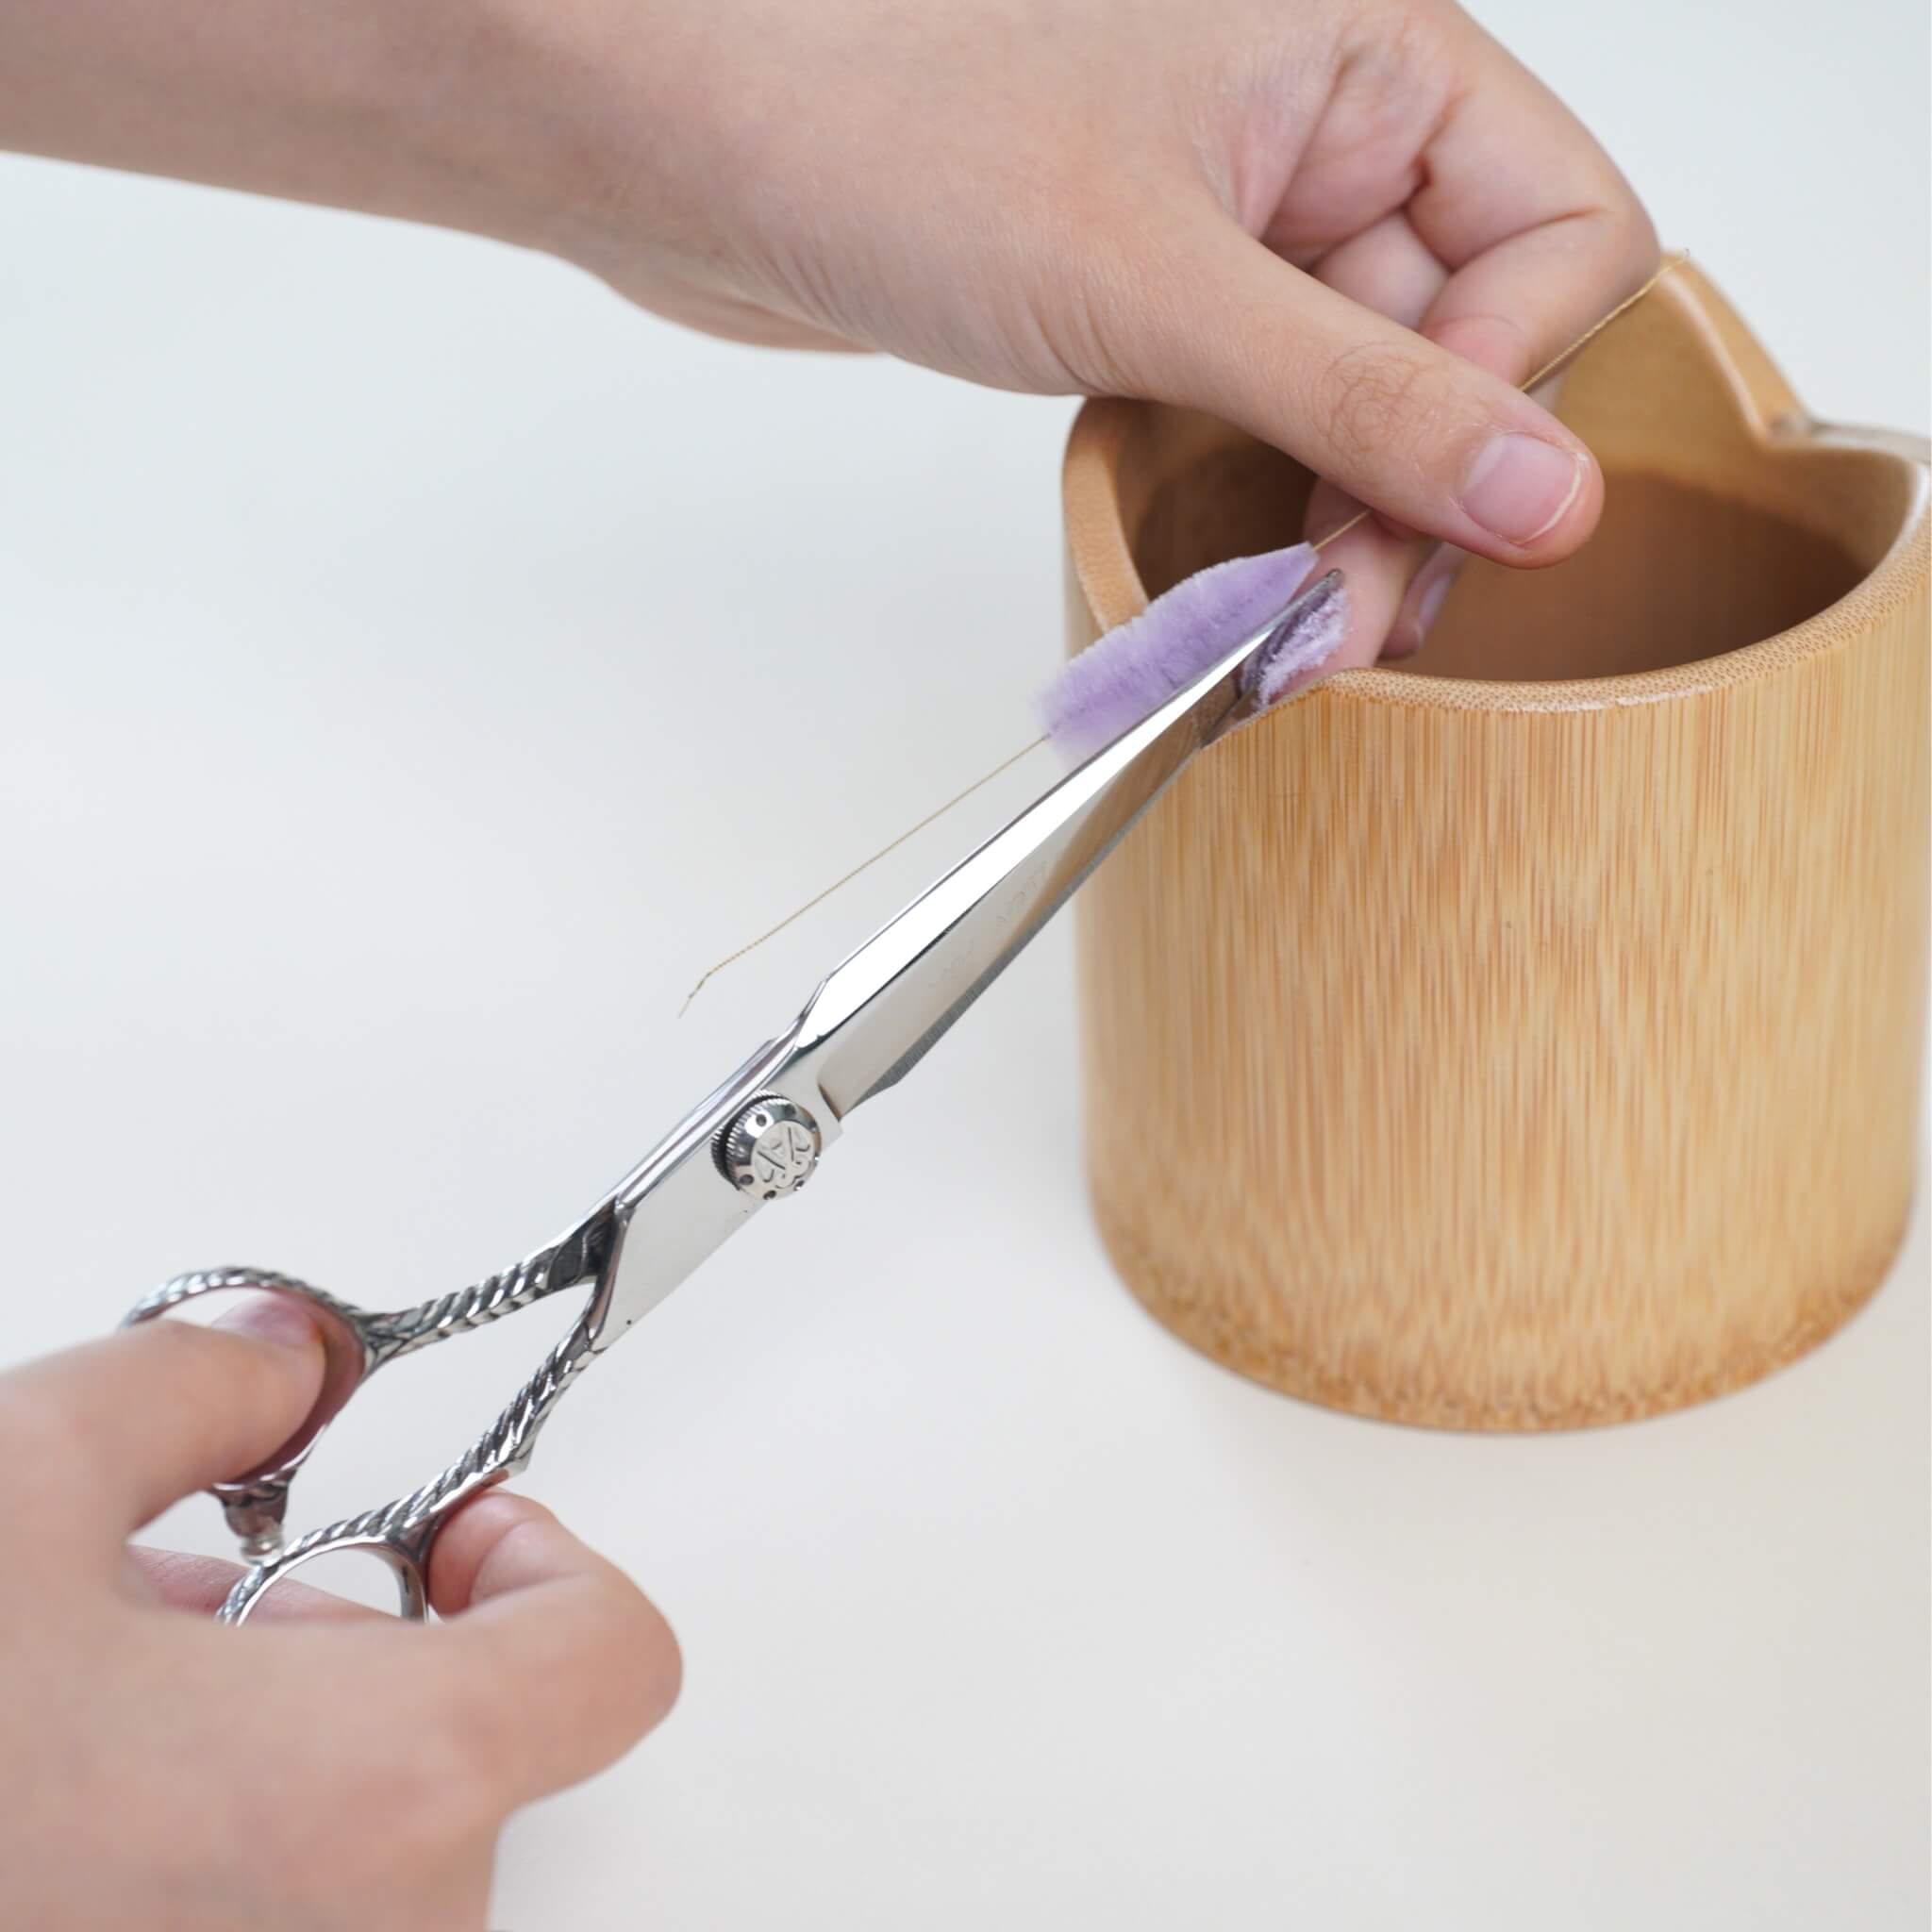
Étape 6 : Assemblage des feuilles et de la fleur 26:12~fin
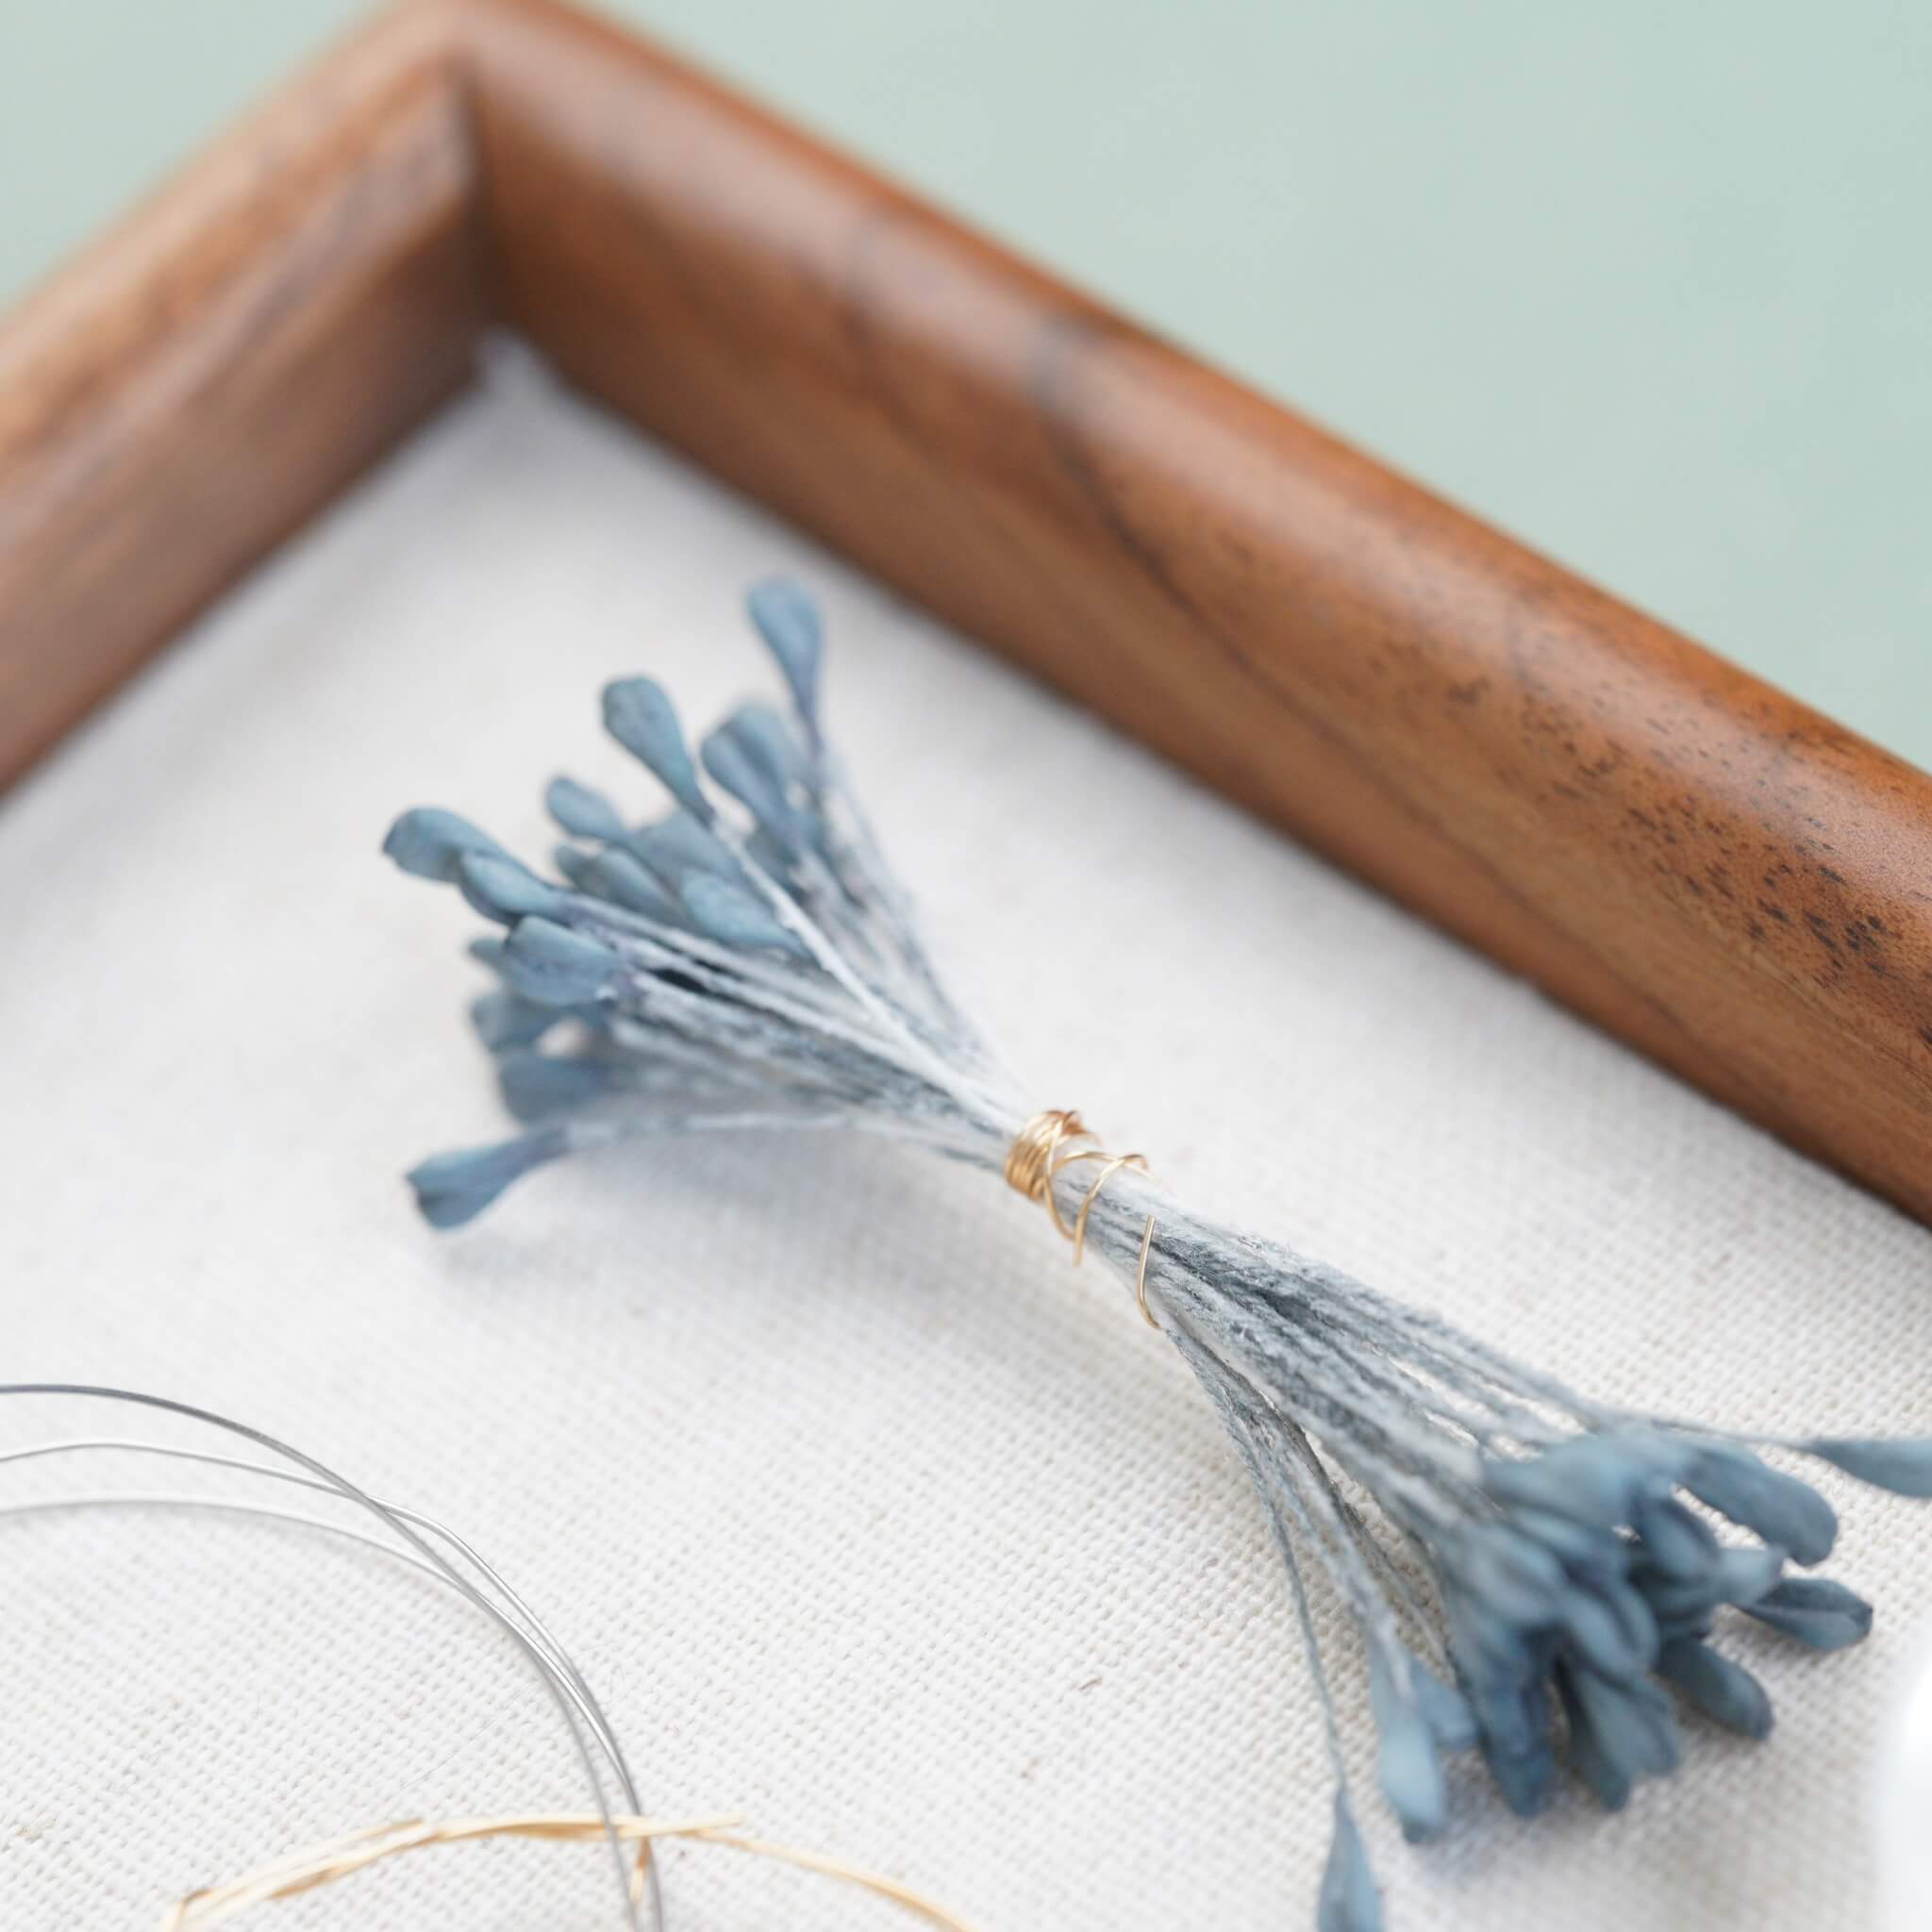
Comme montré dans la partie inférieure de la vidéo tutoriel, utilisez un fil de cuivre pour enfiler les perles.
Utilisez le fil brun restant pour l’assemblage. Fixez trois pétales par couche, pour un total de trois couches (9 pétales). Pendant l’assemblage, ajustez la position des pétales. La deuxième couche de pétales doit s’insérer dans les interstices de la première couche. Après avoir assemblé la forme de la fleur, passez à la fixation des deux feuilles brunes. Préparez deux fils de fer, chacun d’environ 7 cm de long. Fixez les fils à la base de la fleur pour prolonger la tige. Enroulez les fils sur environ 4-5 cm, puis faites un nœud pour les fixer.
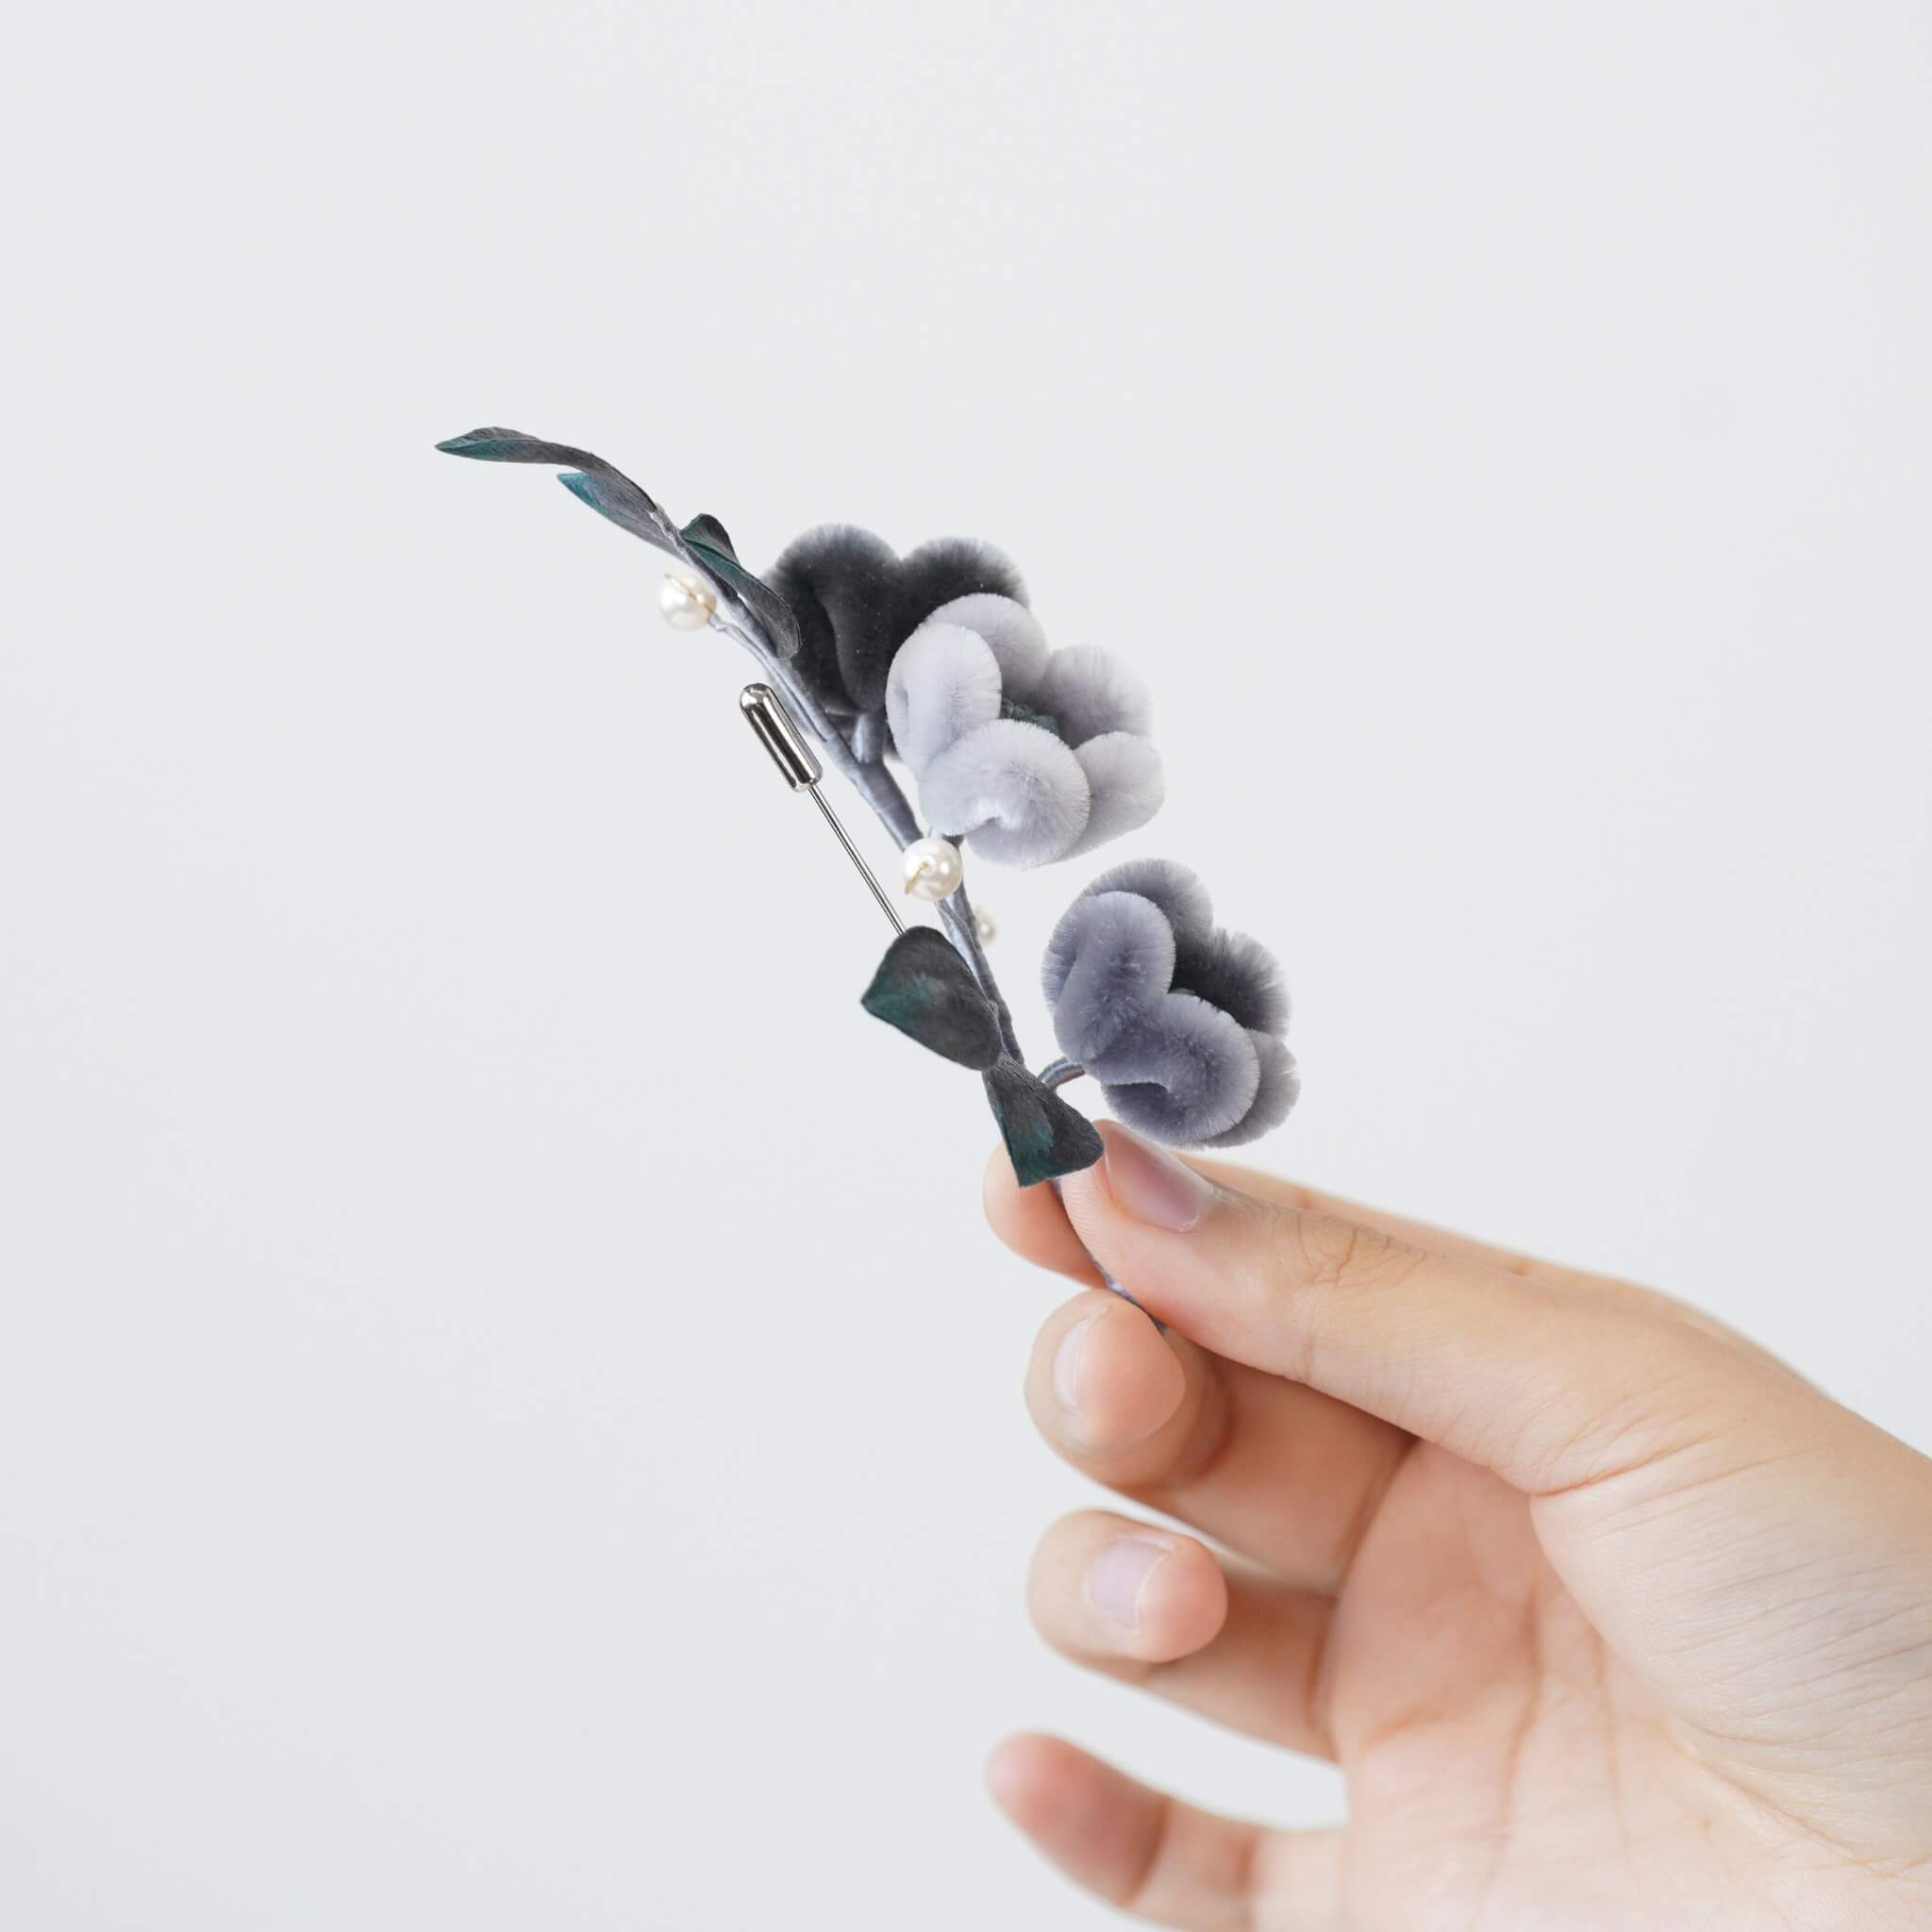
Ensuite, assemblez le bouton floral. Le bouton n’a pas besoin de centre floral ; rassemblez simplement tous les pétales. Coupez le fil de cuivre en biais pour créer une transition douce du plus épais au plus fin. Ajoutez un fil de fer, qui n’a pas besoin d’être trop long. Assemblez les petits pétales verts et le bouton floral ensemble. Vous aurez besoin de deux fils de fer pour cela : un de chaque côté de la tige, avec un pétale de chaque côté. Joignez les deux fleurs, et utilisez une pince pour ajuster la forme de la tige. Le fil doit être enroulé serré sans espaces. Coupez l’excédent de fil et utilisez la pince pour plier la tige, créant des courbes et des angles. Si vous craignez que le fil glisse, vous pouvez appliquer un peu de colle blanche le long du fil. L’épingle à cheveux est souple, vous pouvez donc la modeler comme vous le souhaitez. Fixez la fleur et les feuilles ensemble avec du fil au niveau de la jonction. Attachez une feuille au point de connexion entre la fleur et les feuilles. Une fois le fil enroulé, faites un nœud et coupez tout excédent de fil, et votre épingle à cheveux est prête !


Si vous avez terminé votre création, nous vous invitons à montrer votre superbe travail et obtenir des bons de réduction pour le reste de nos kits de bricolage !
INS@lanseichina
Pinterest@lanseichina


Laisser un commentaire
Tous les commentaires sont modérés avant d'être publiés.
Ce site est protégé par hCaptcha, et la Politique de confidentialité et les Conditions de service de hCaptcha s’appliquent.