

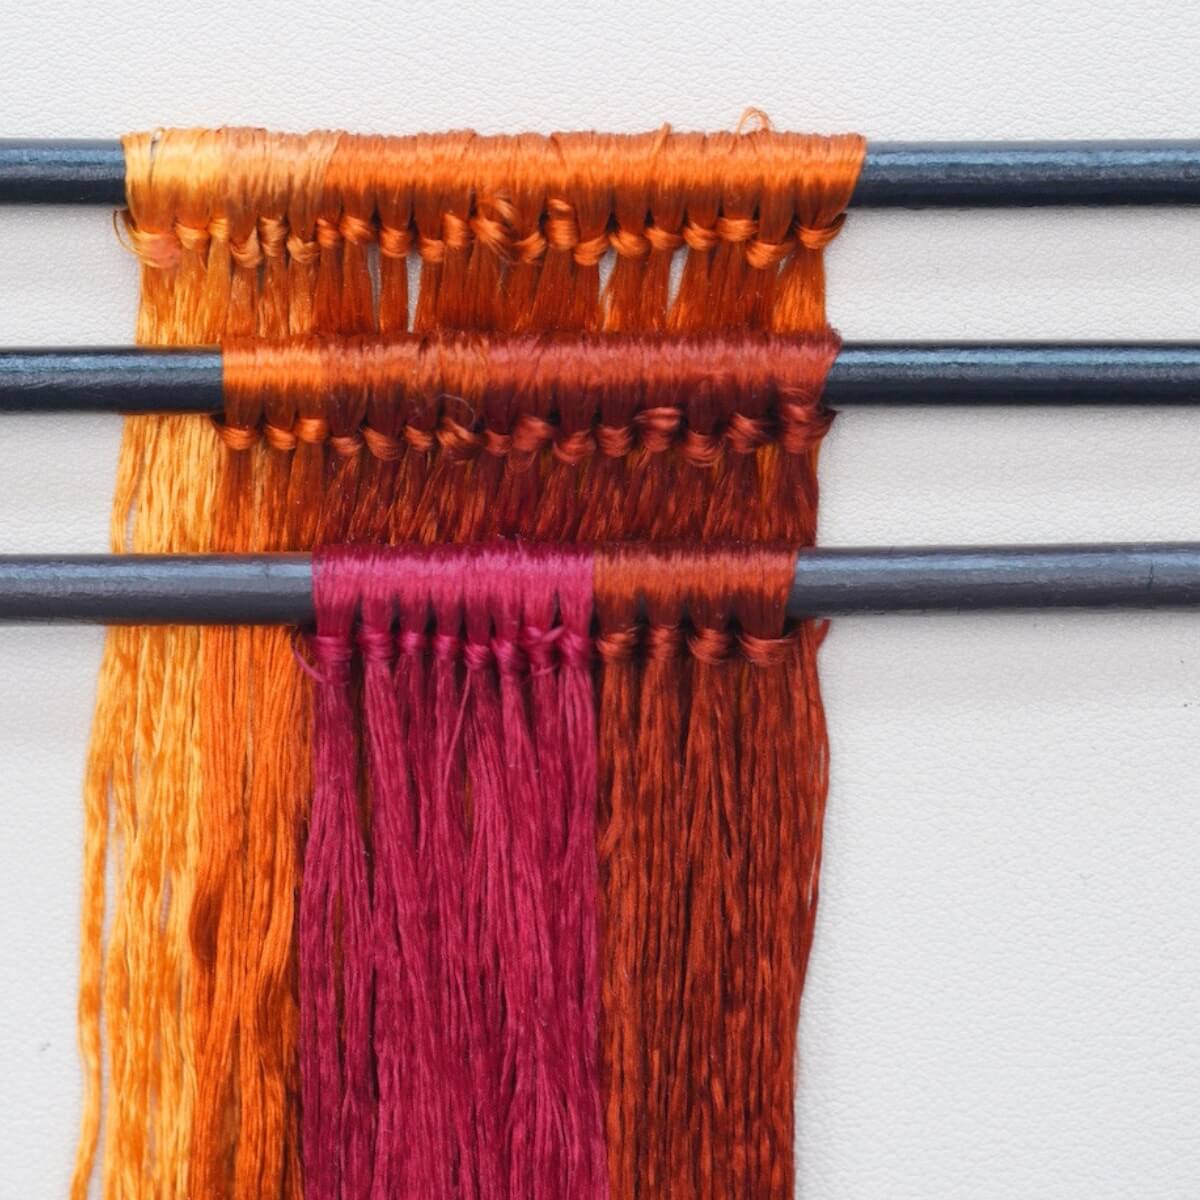
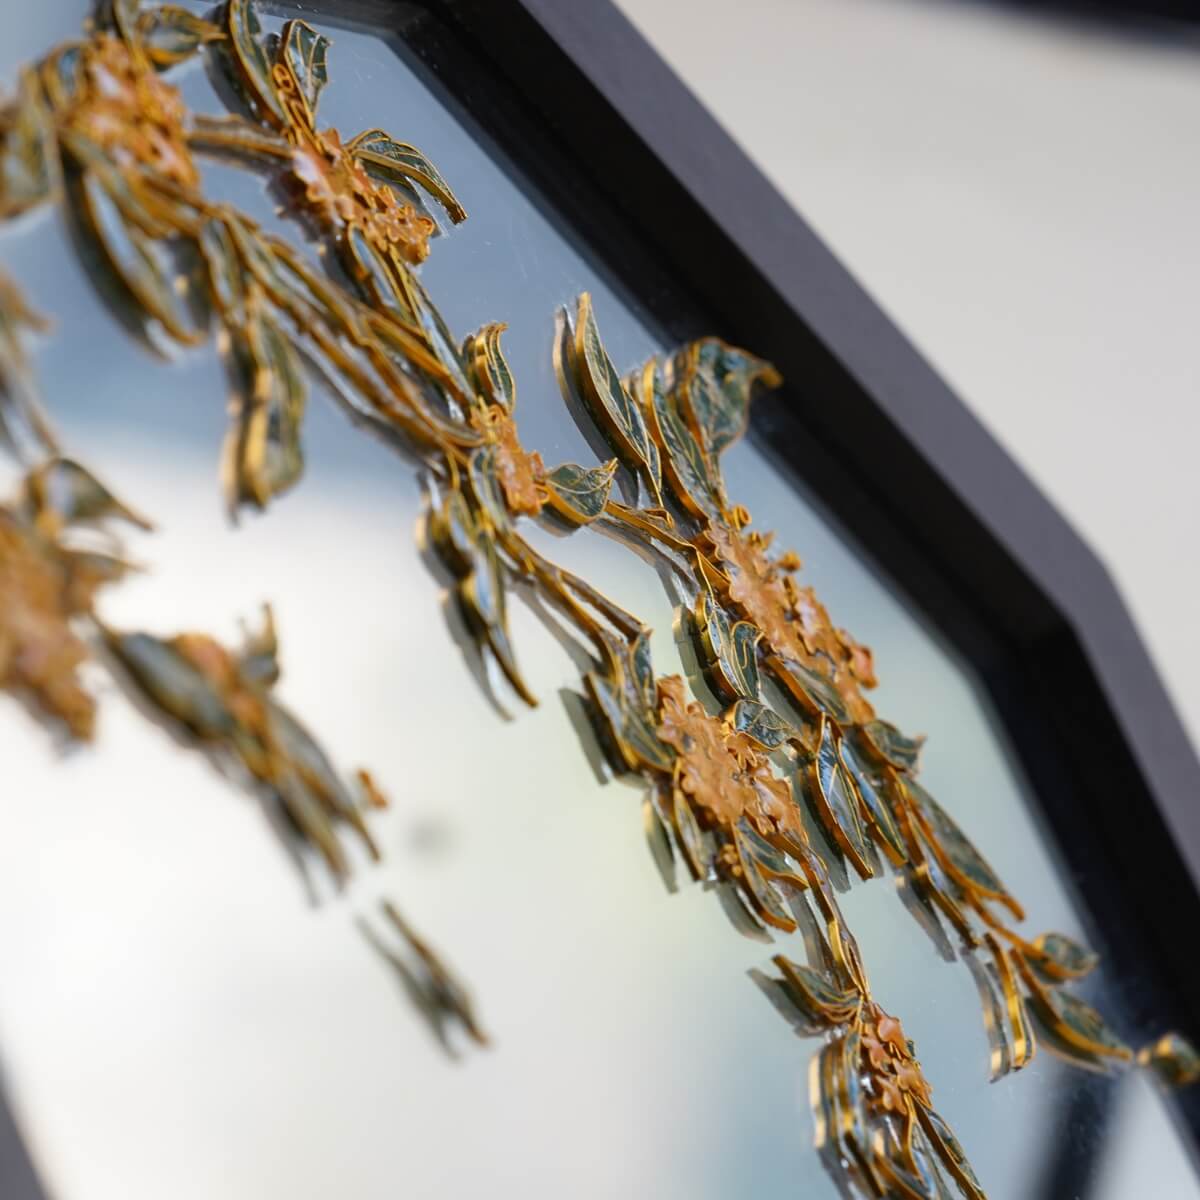
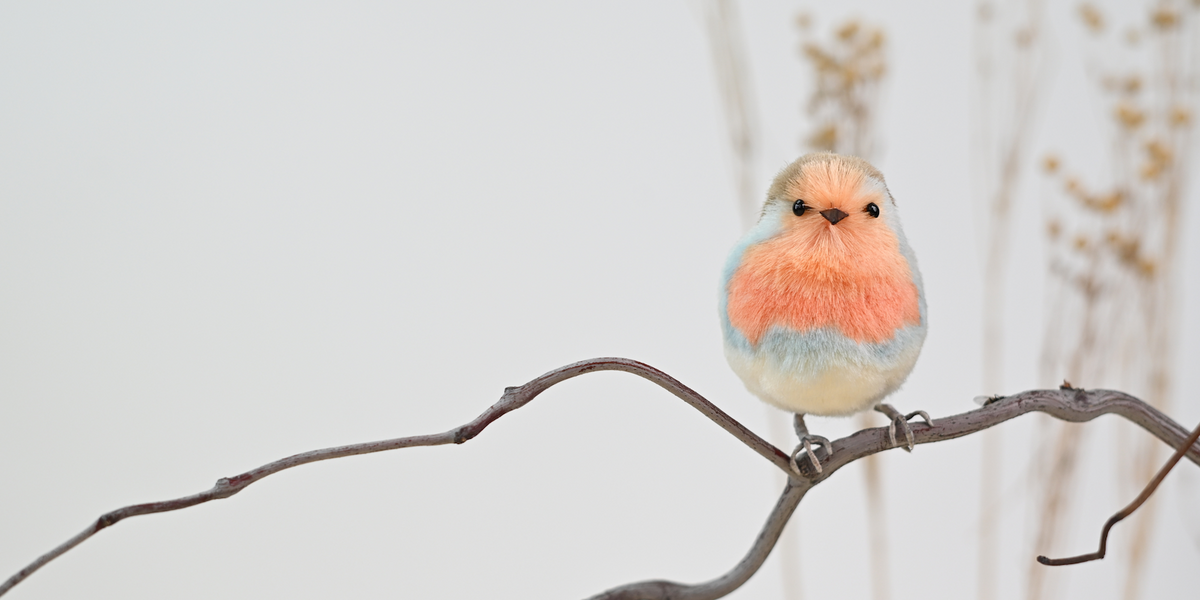
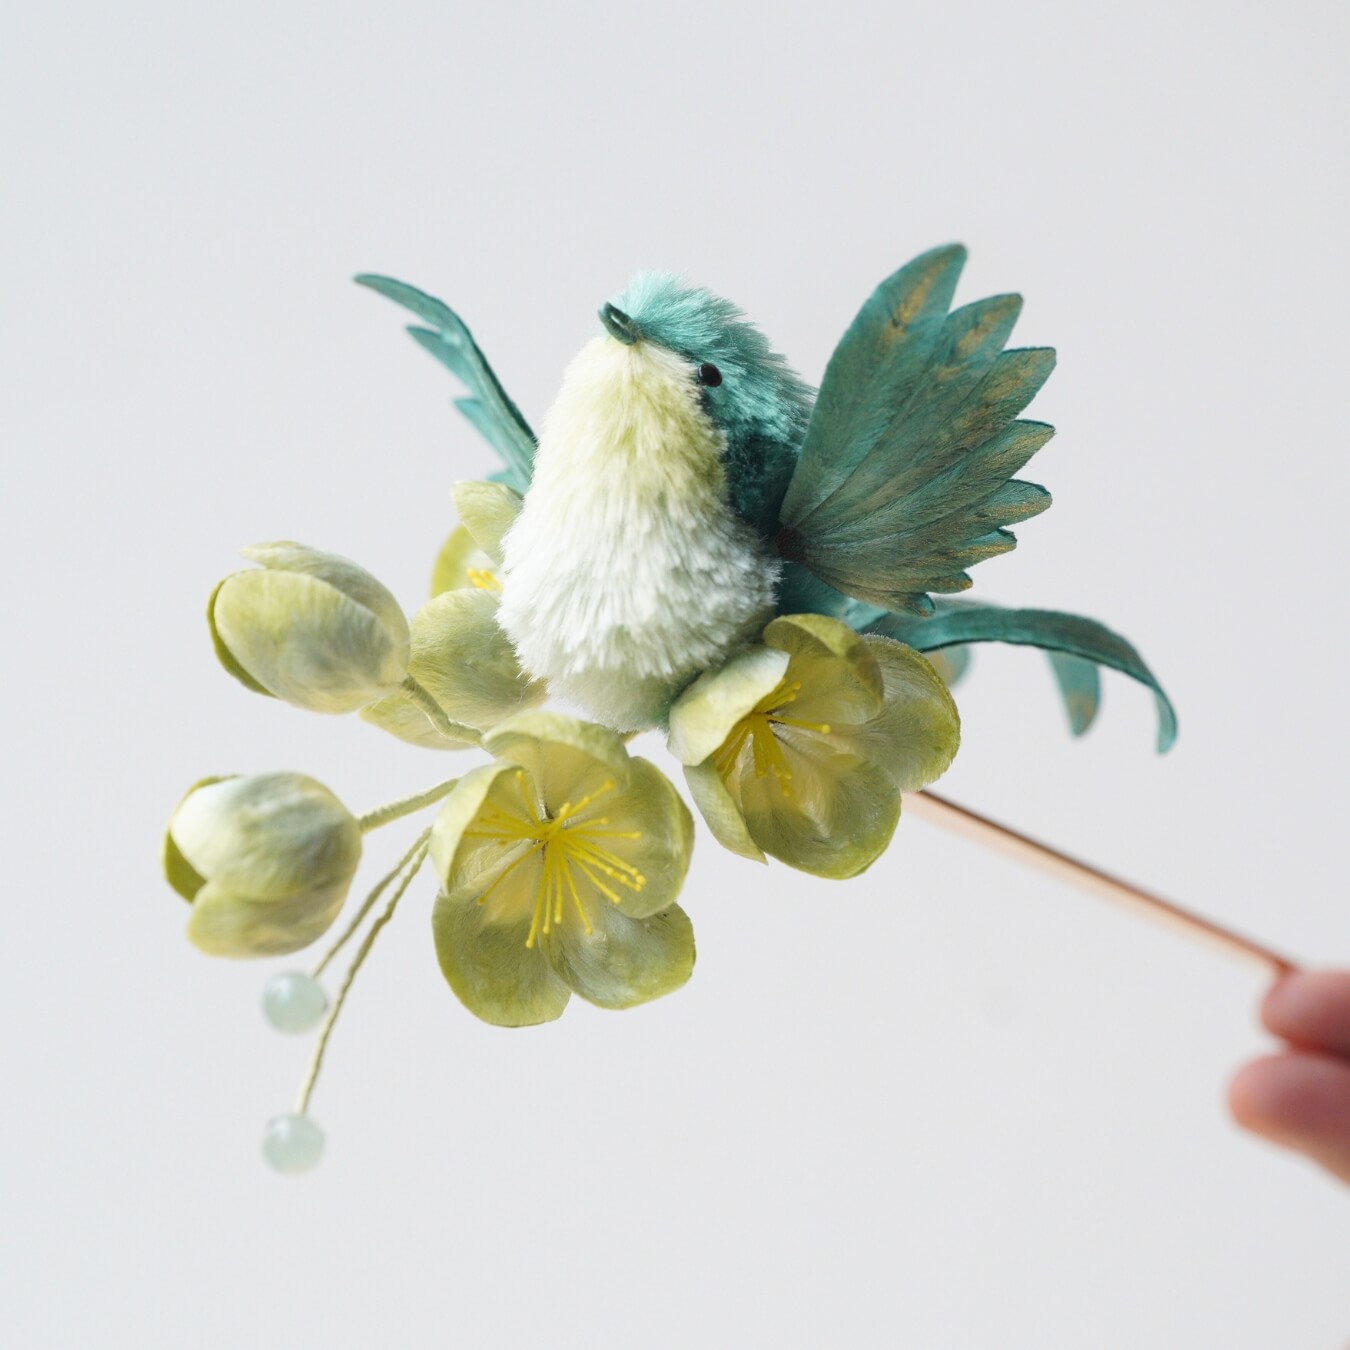
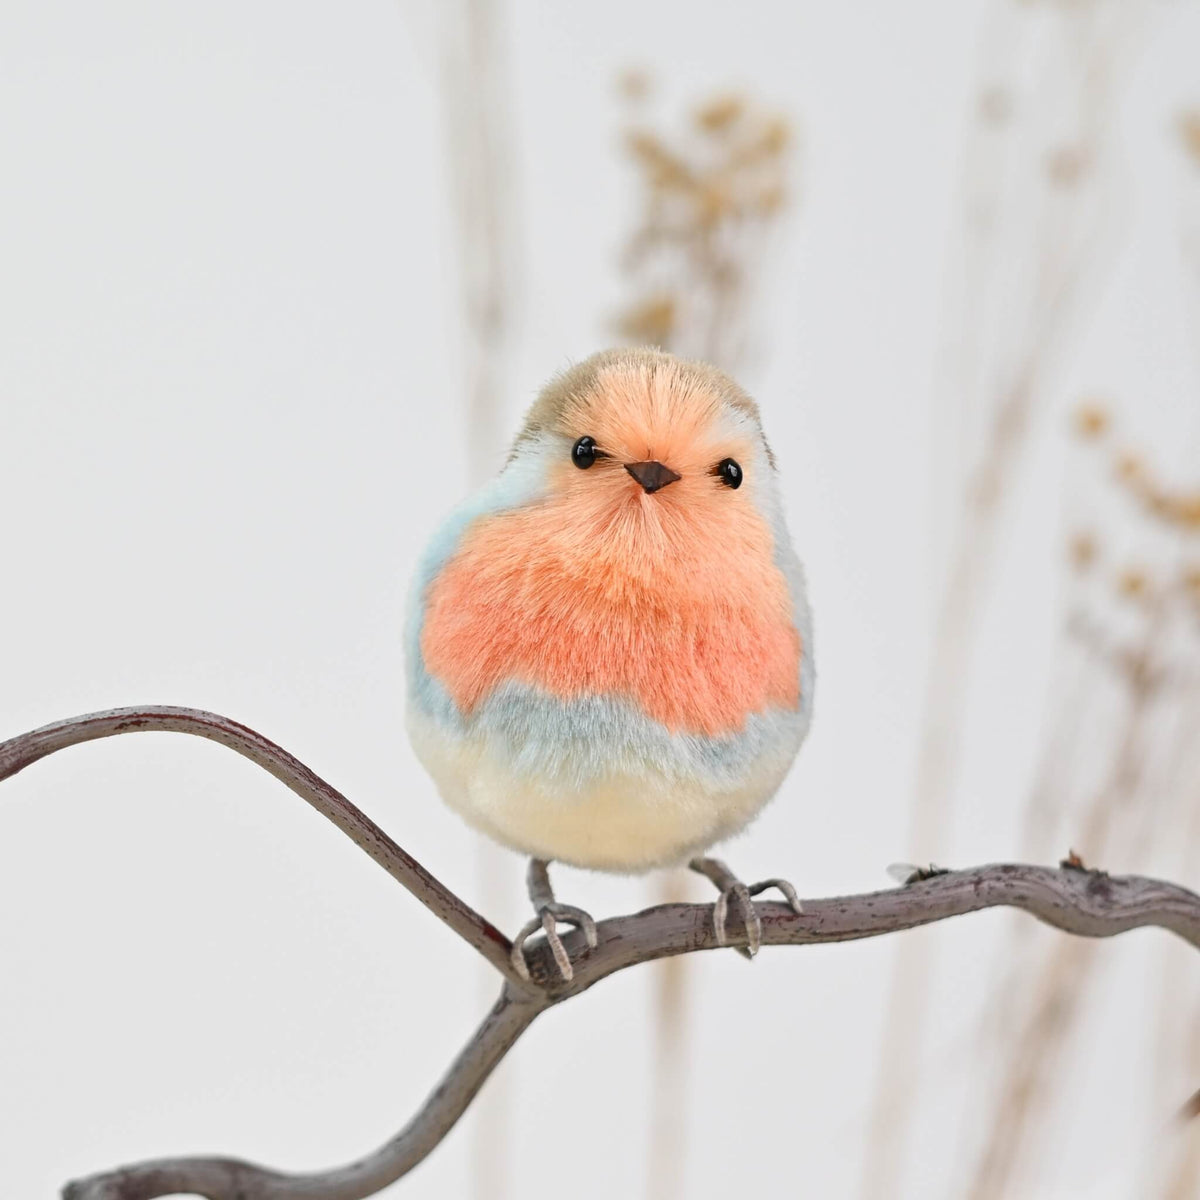
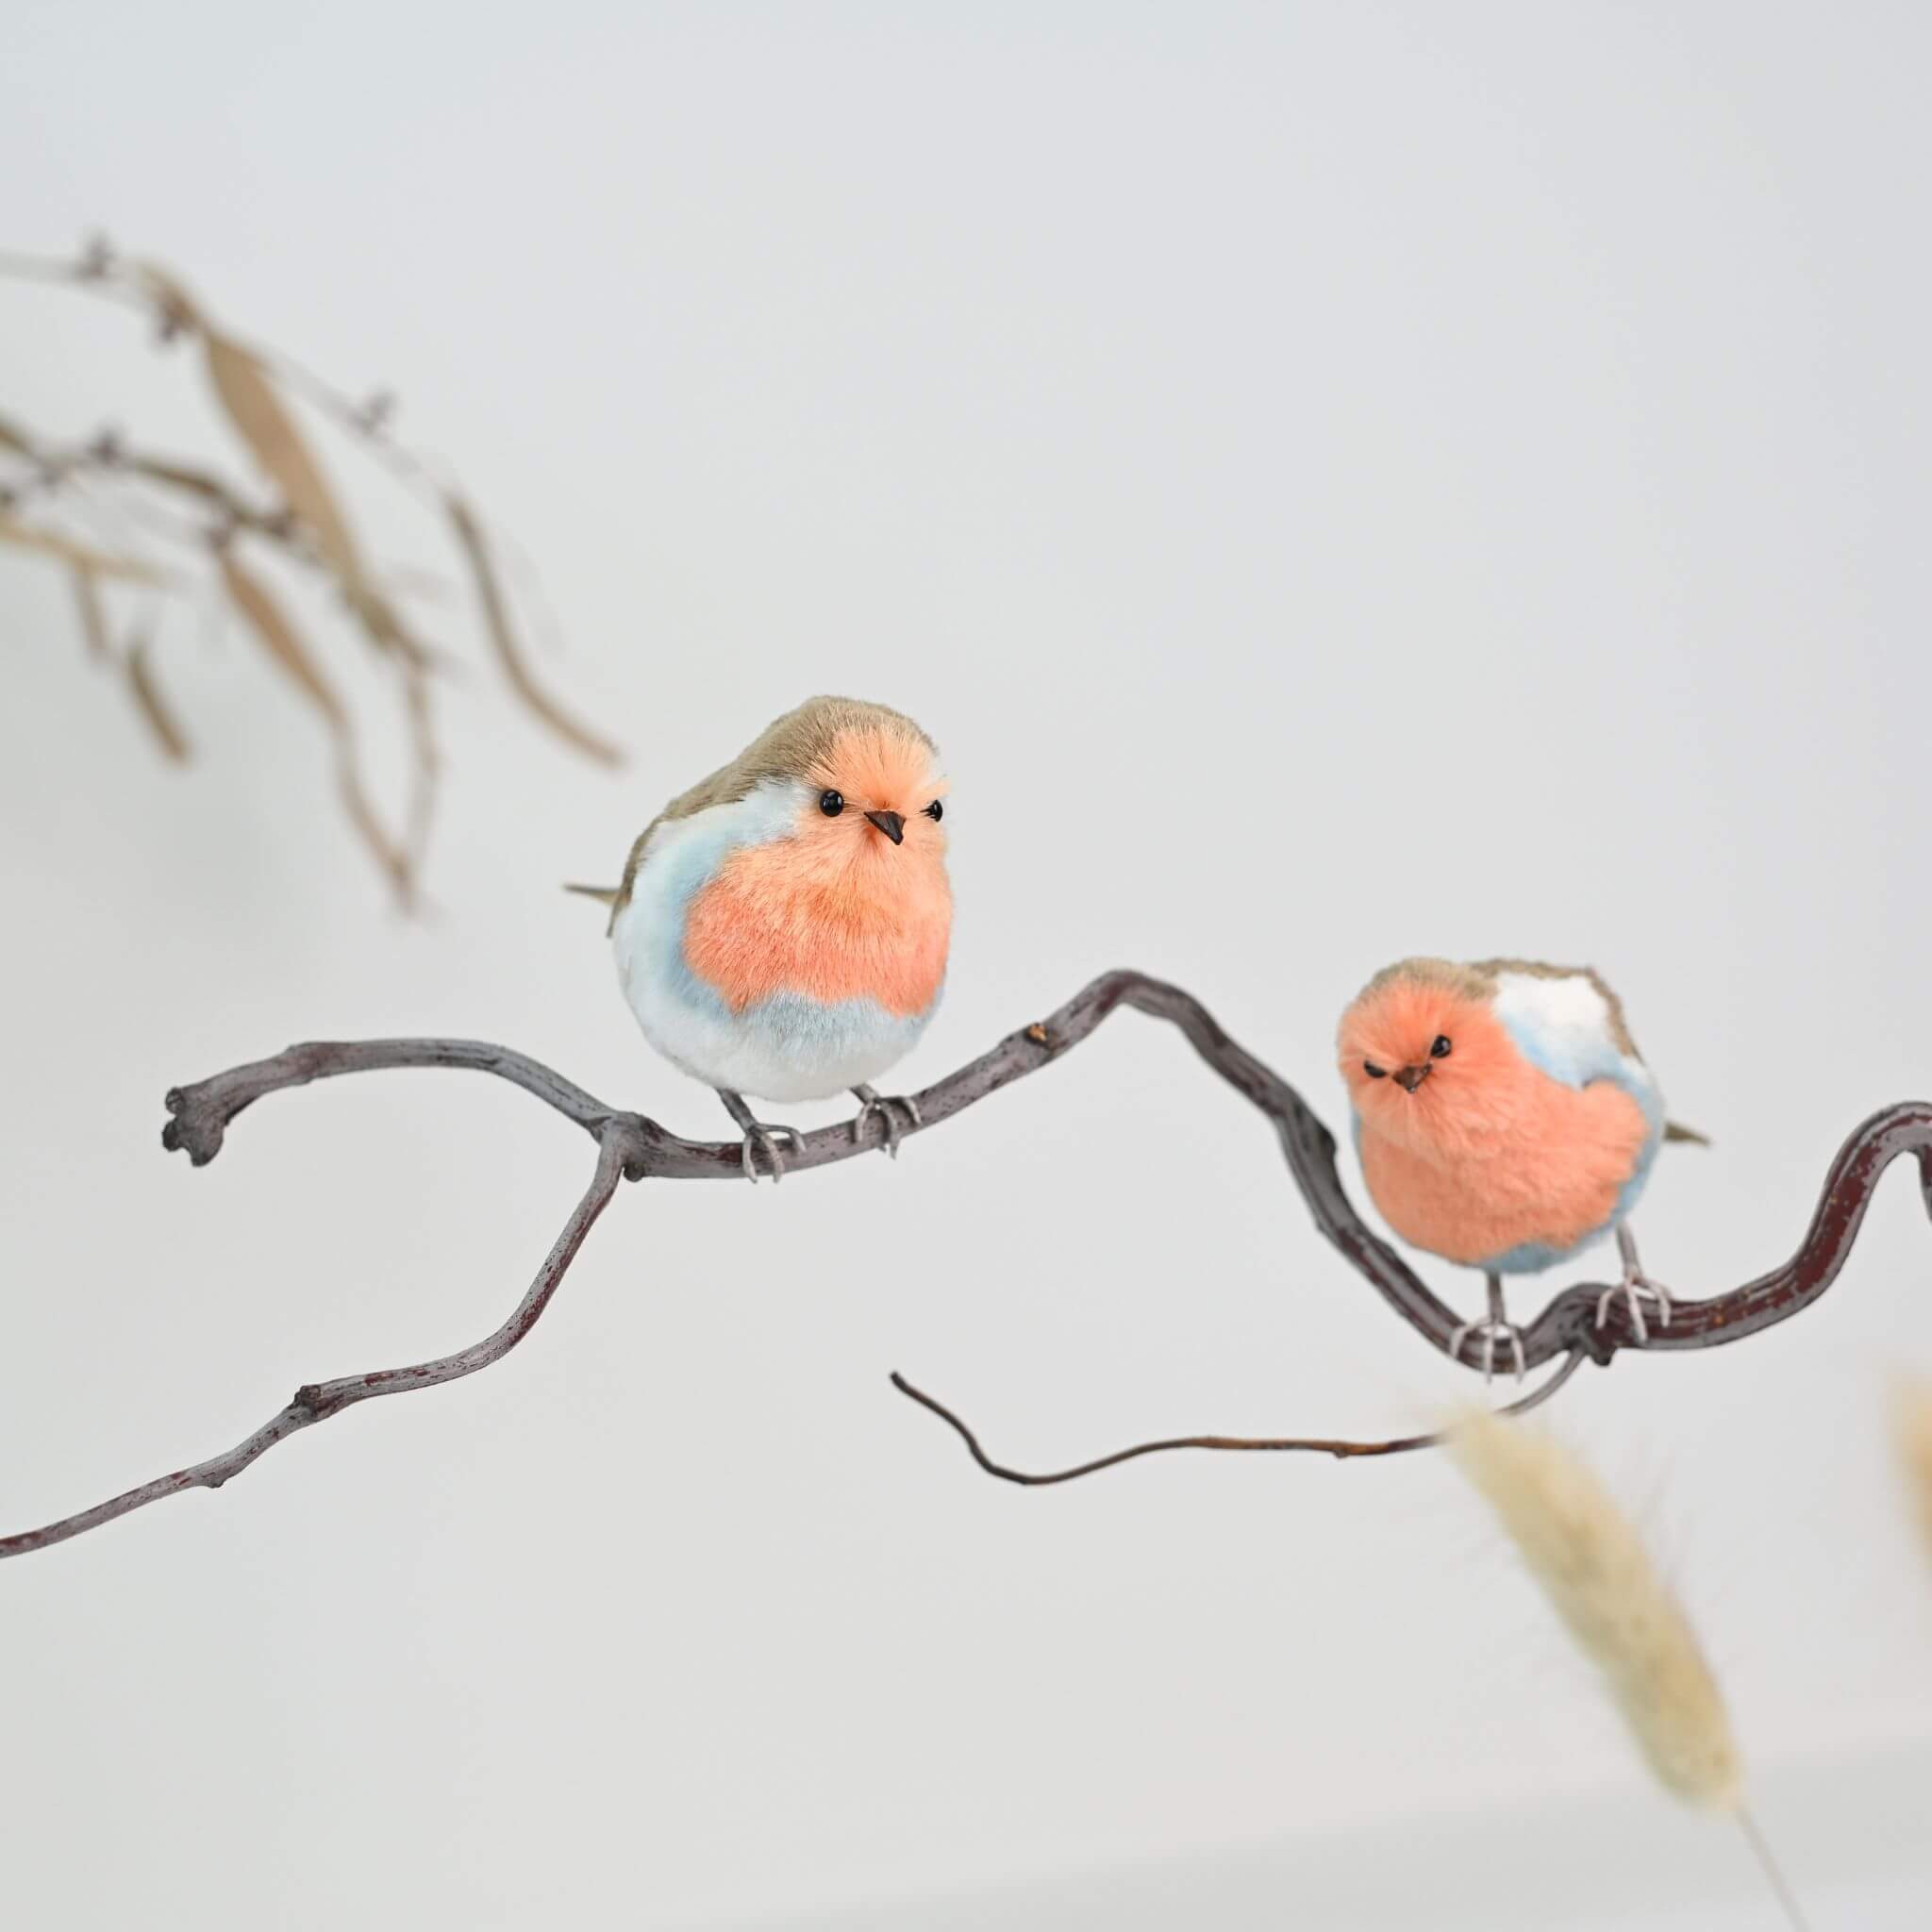
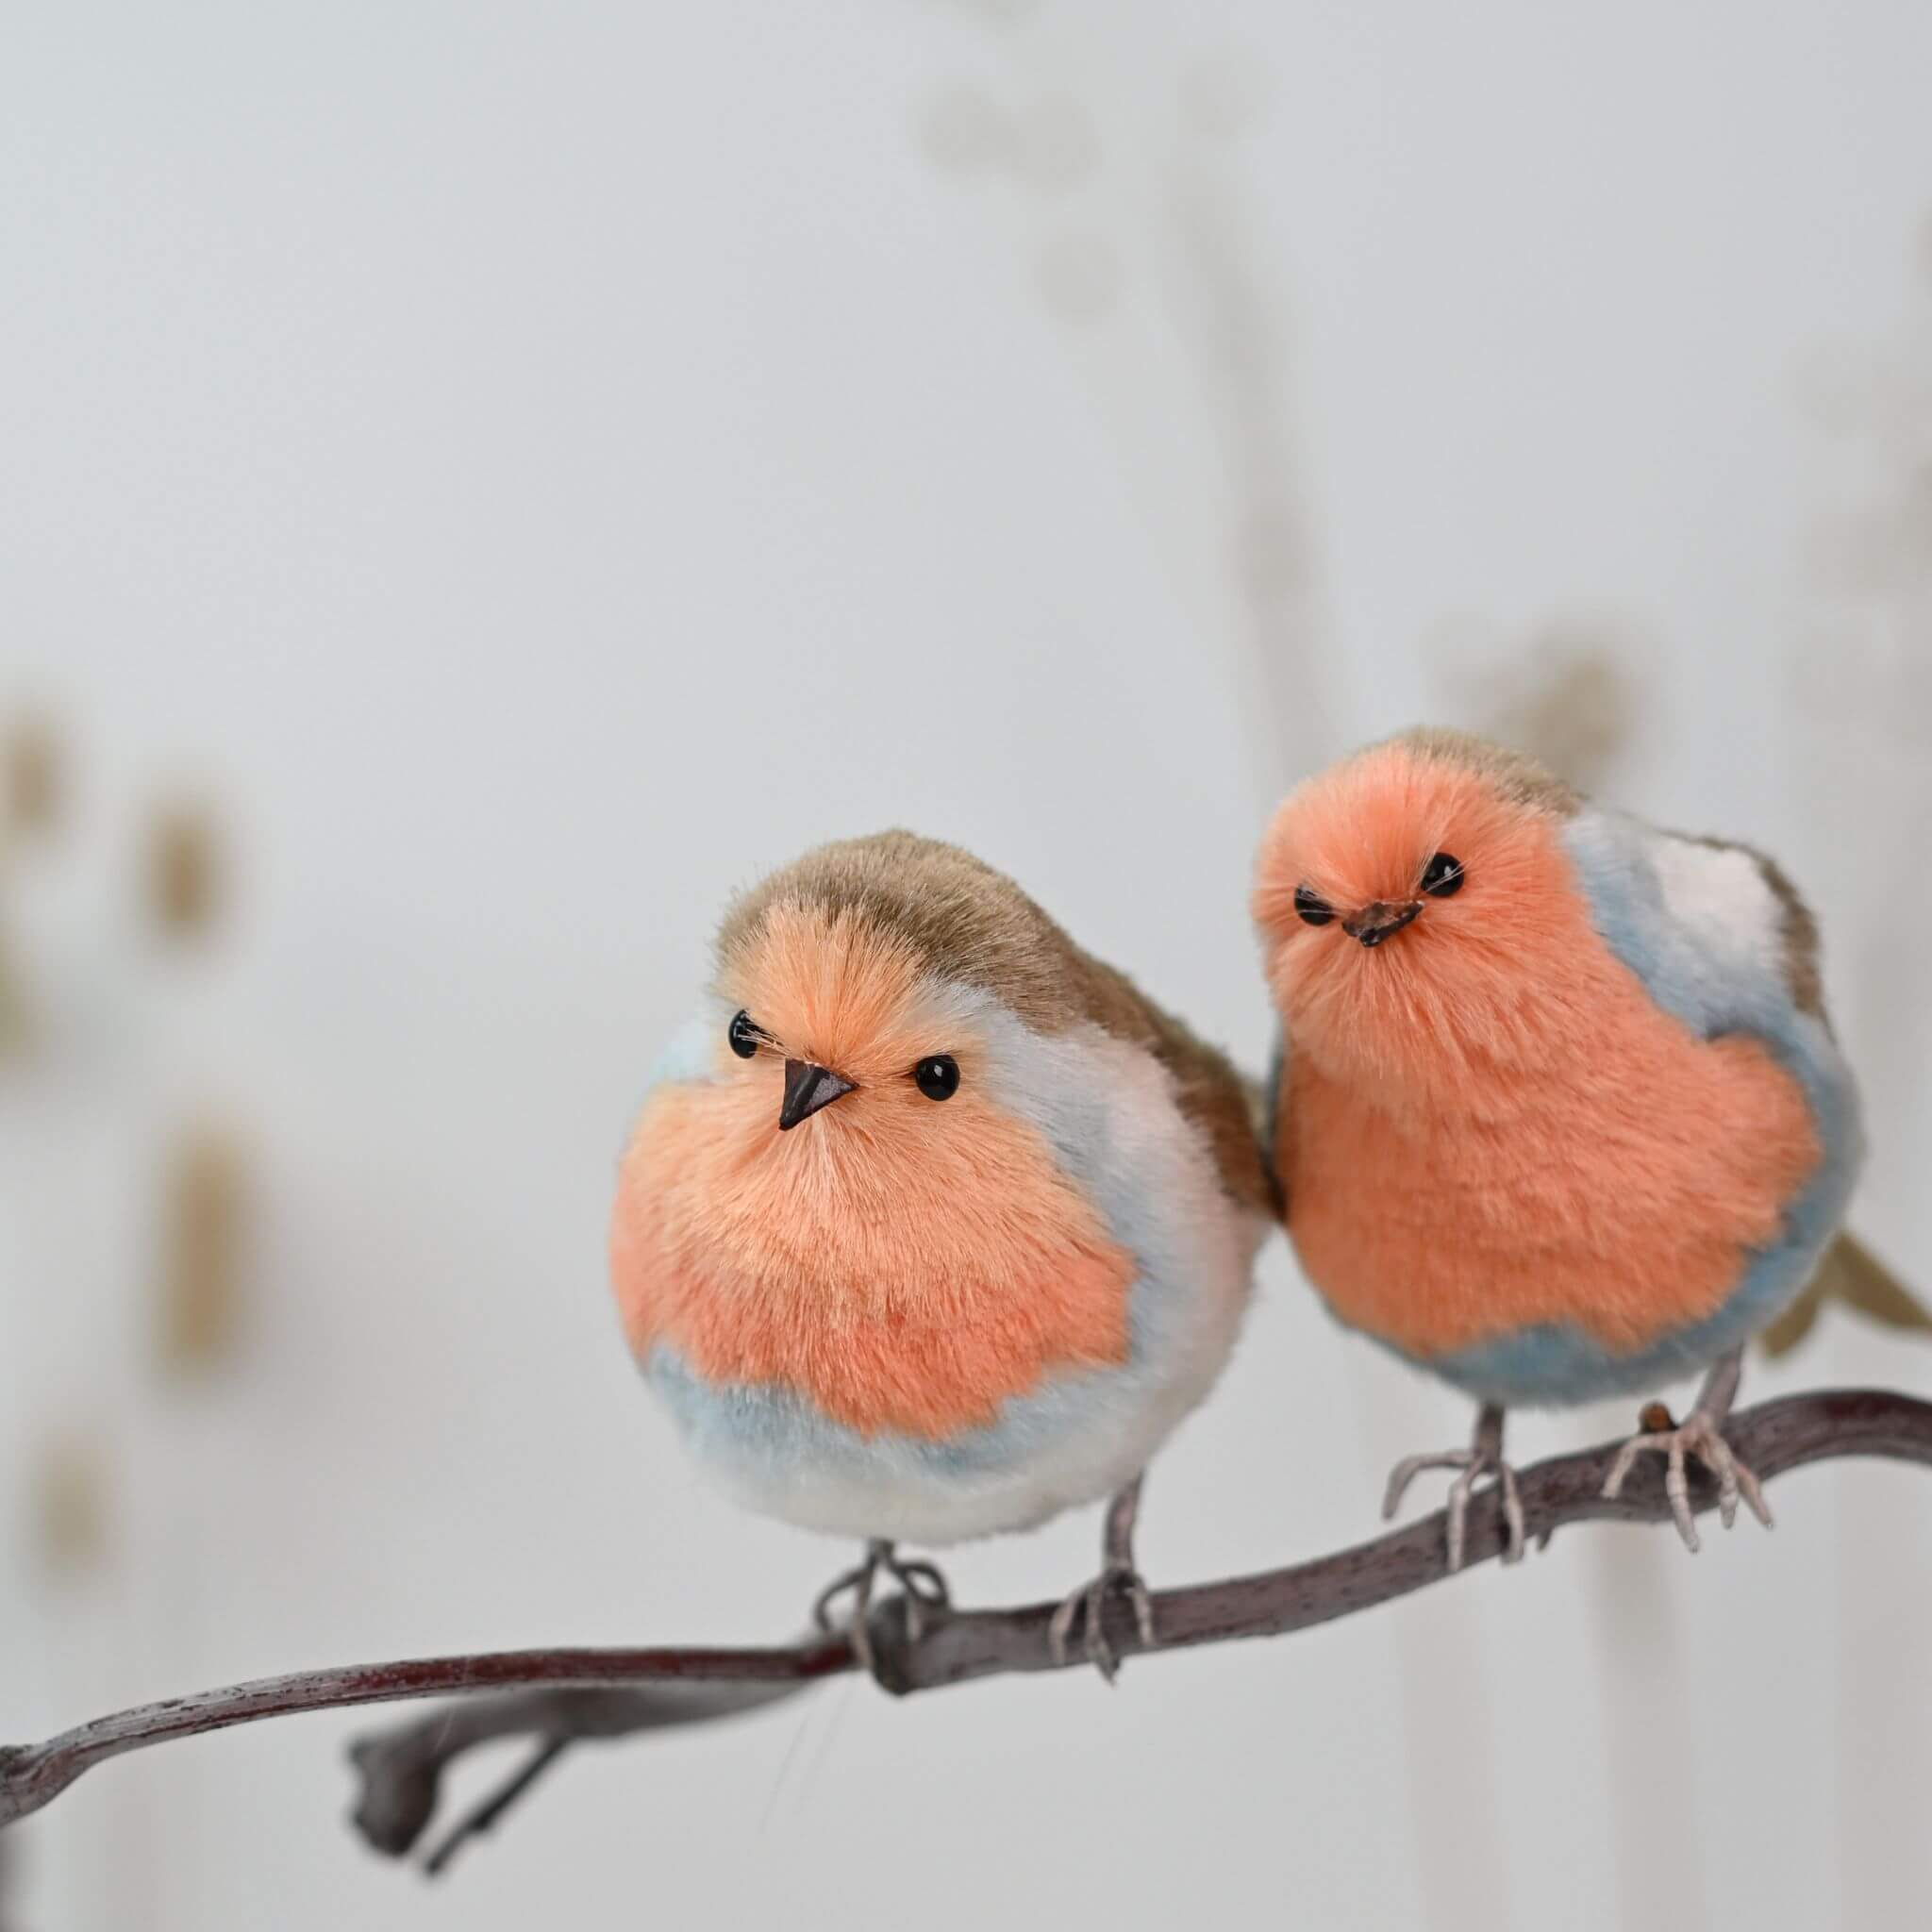
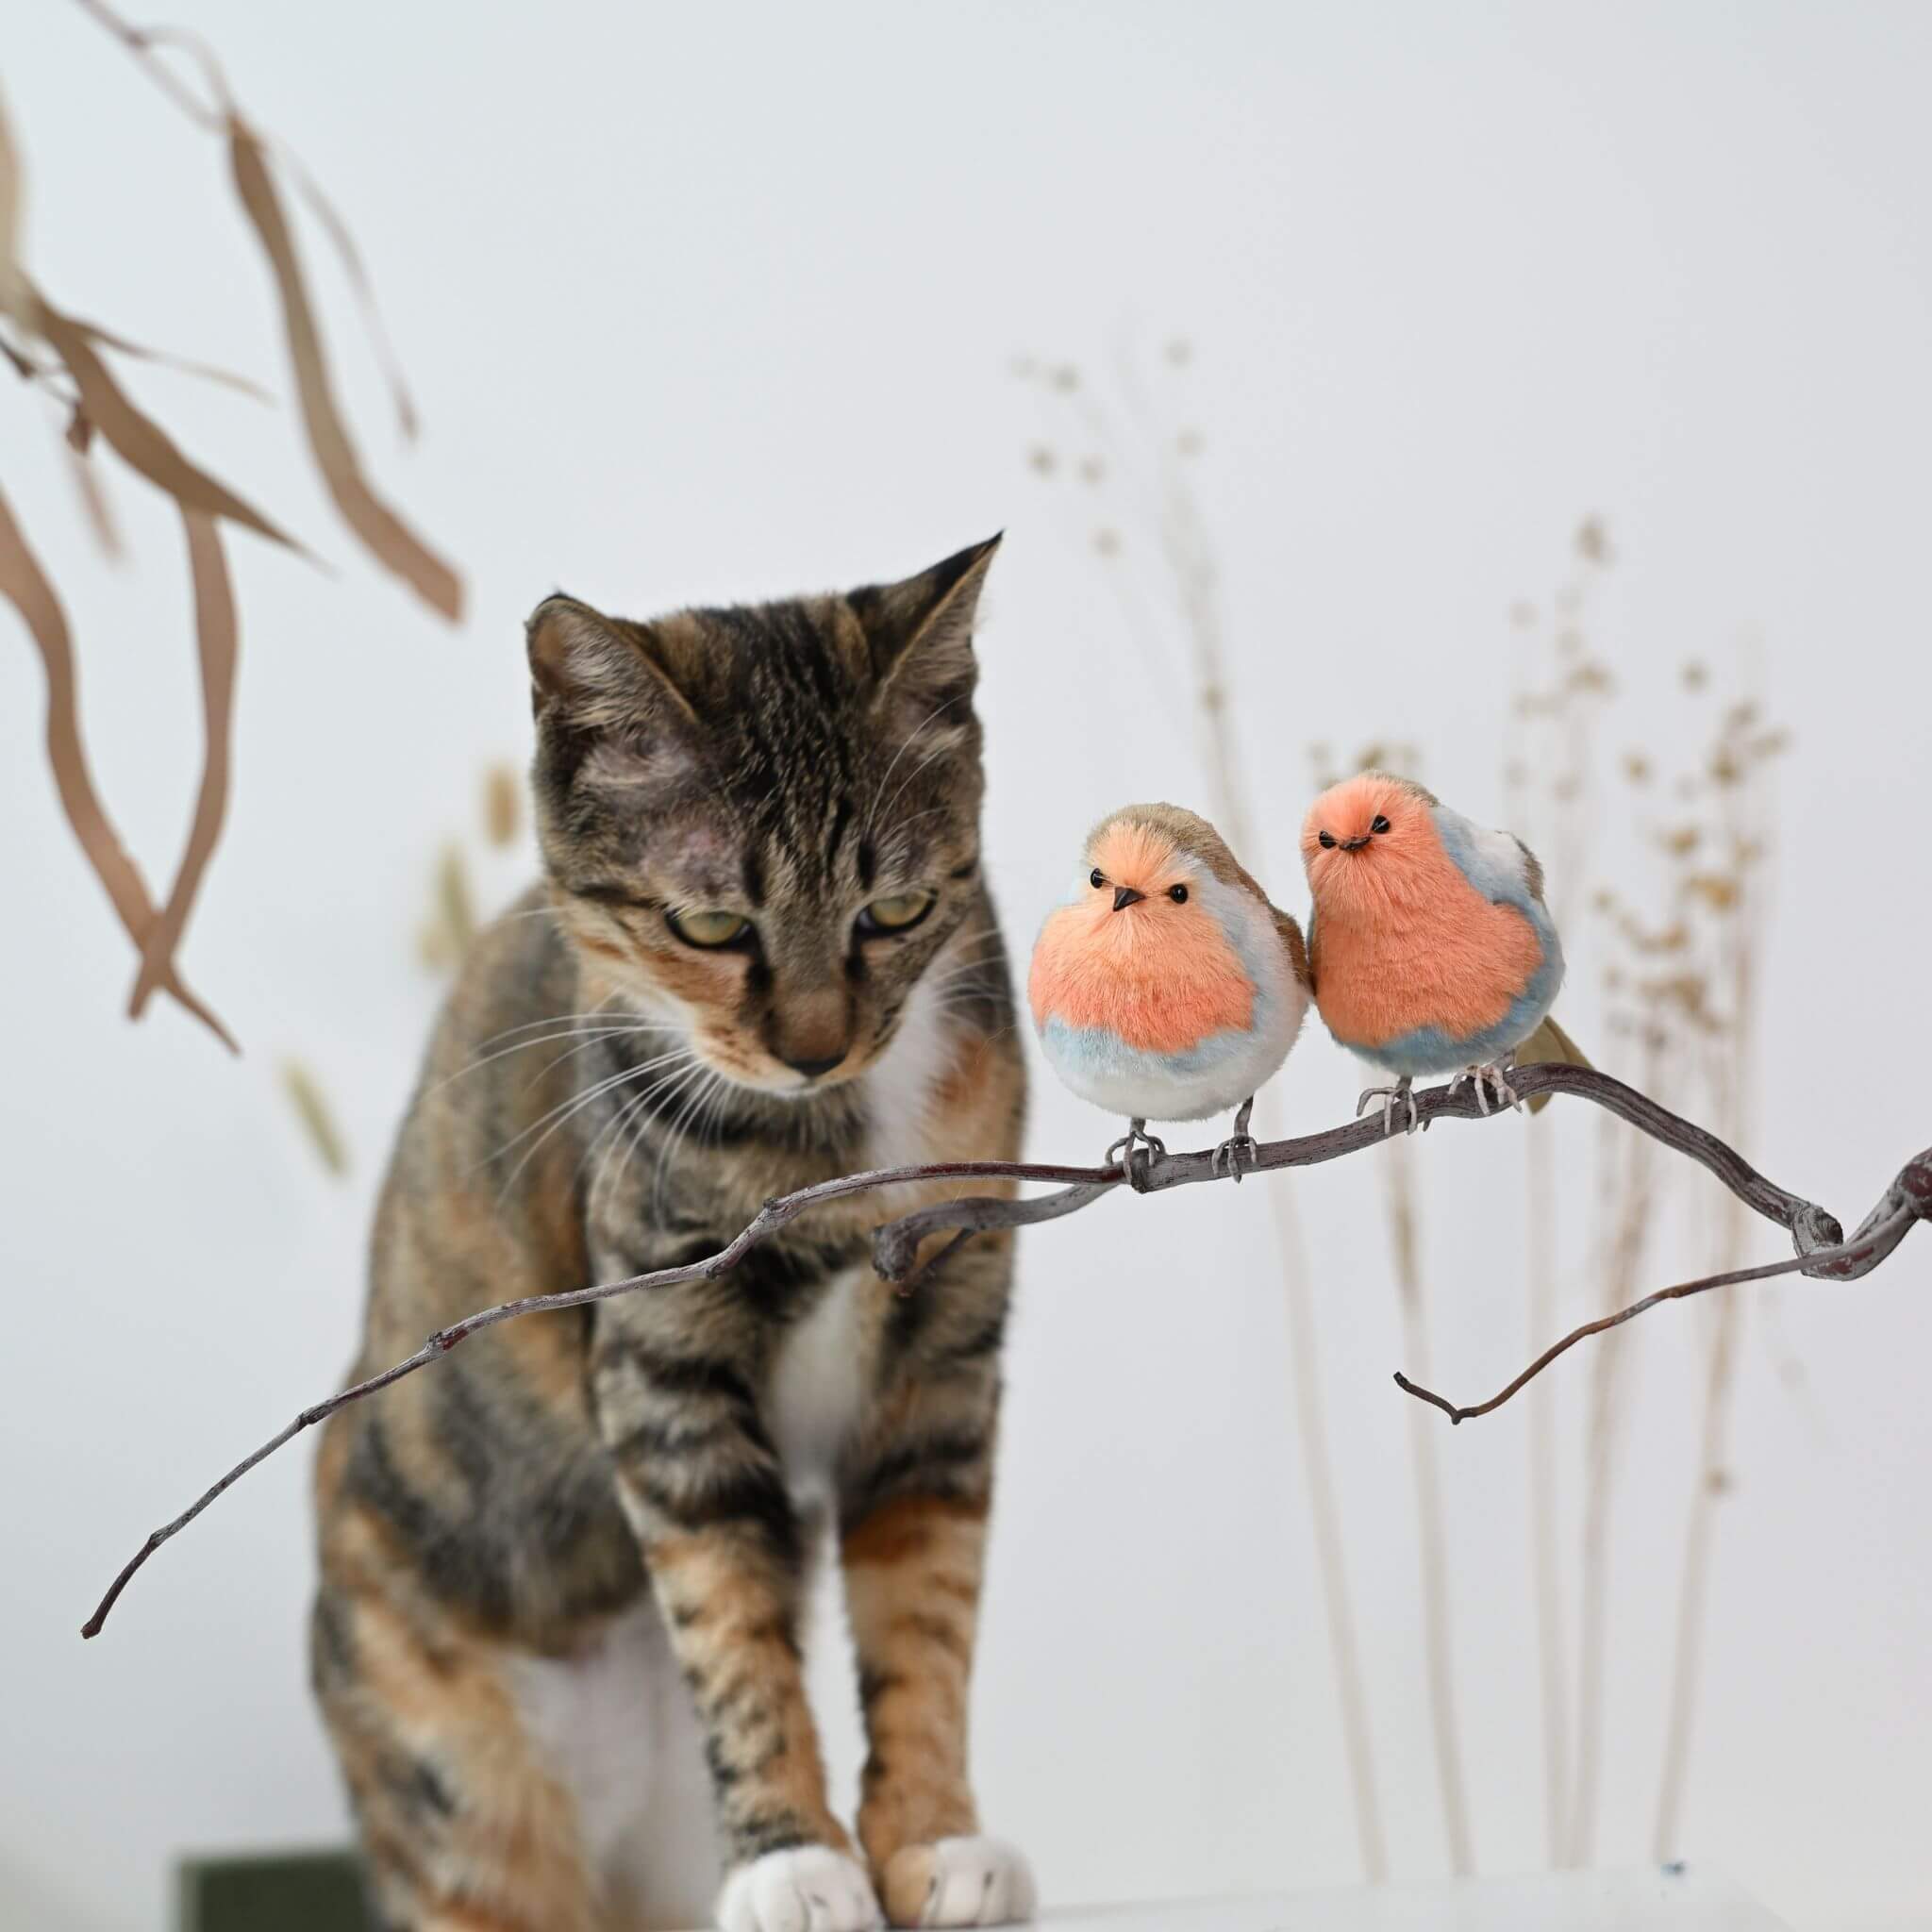
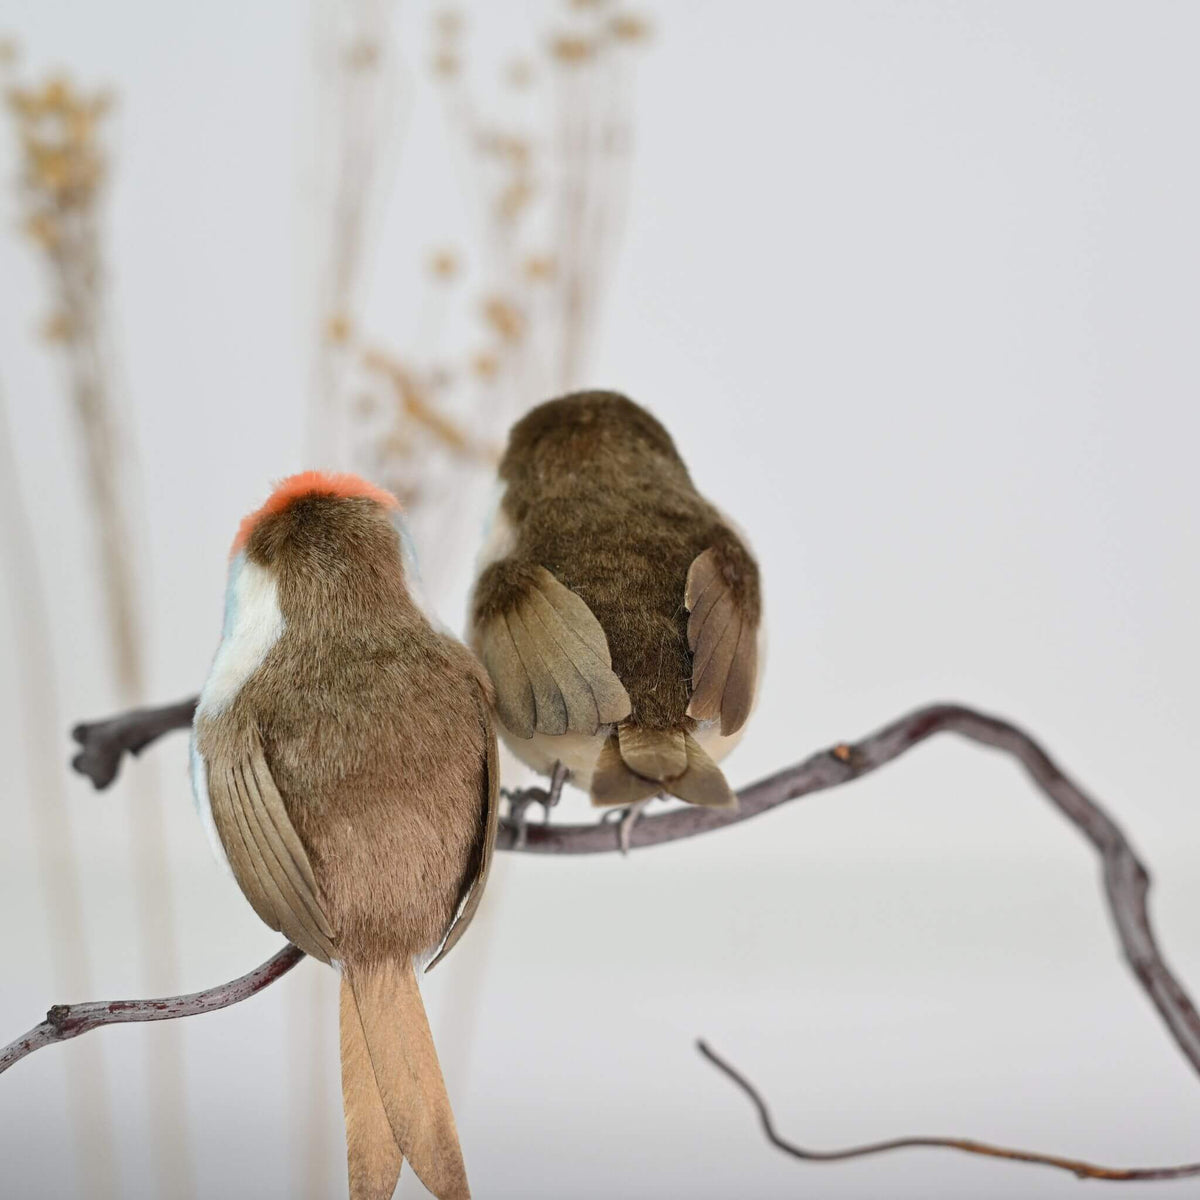
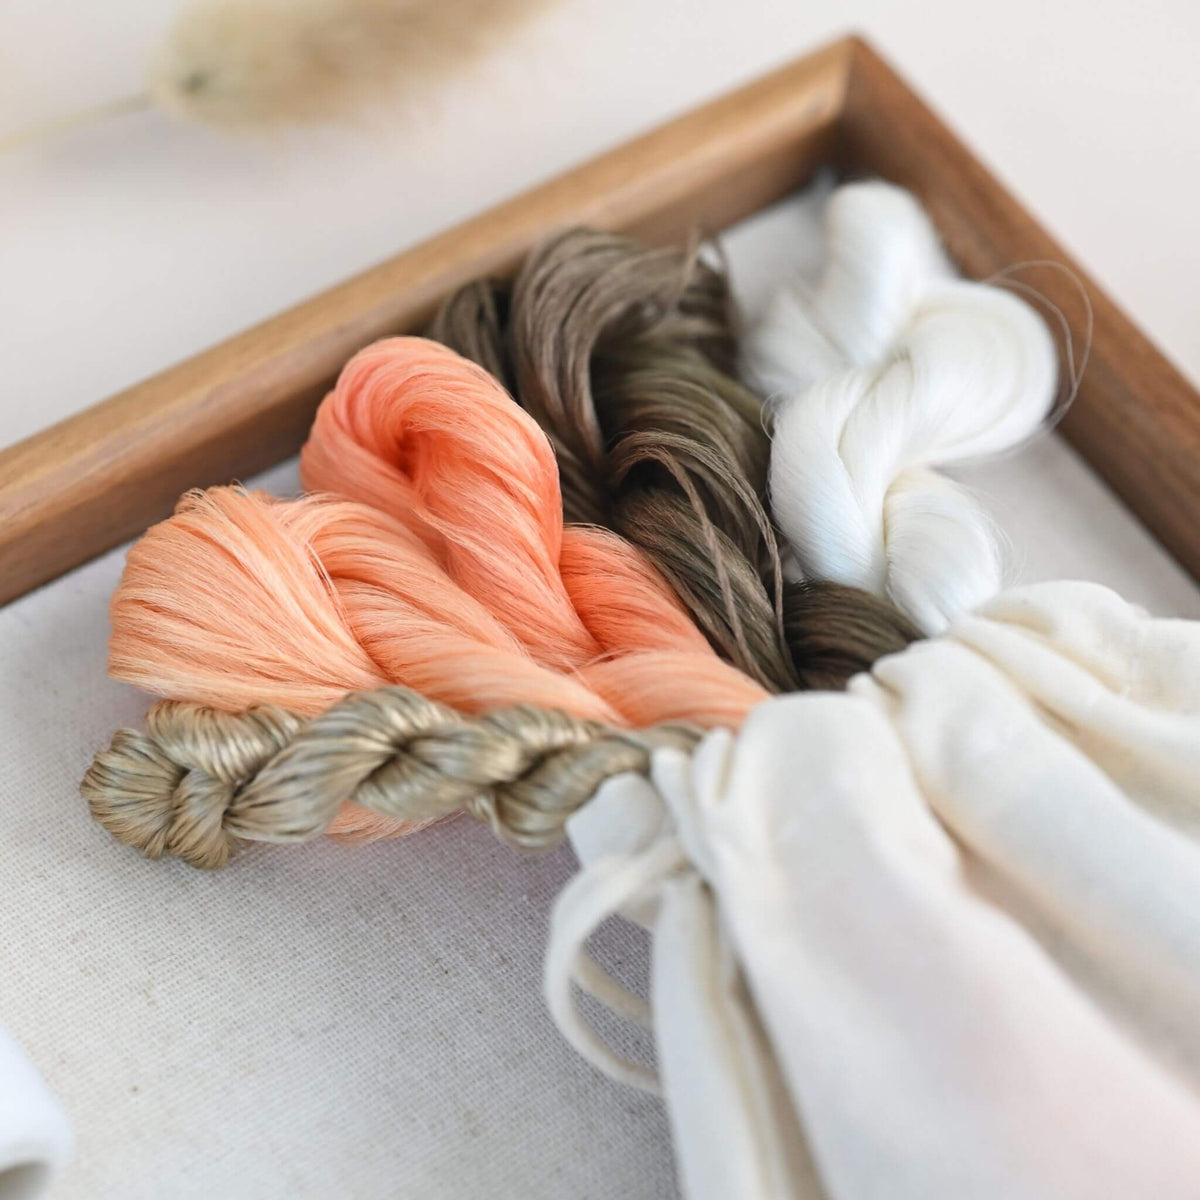
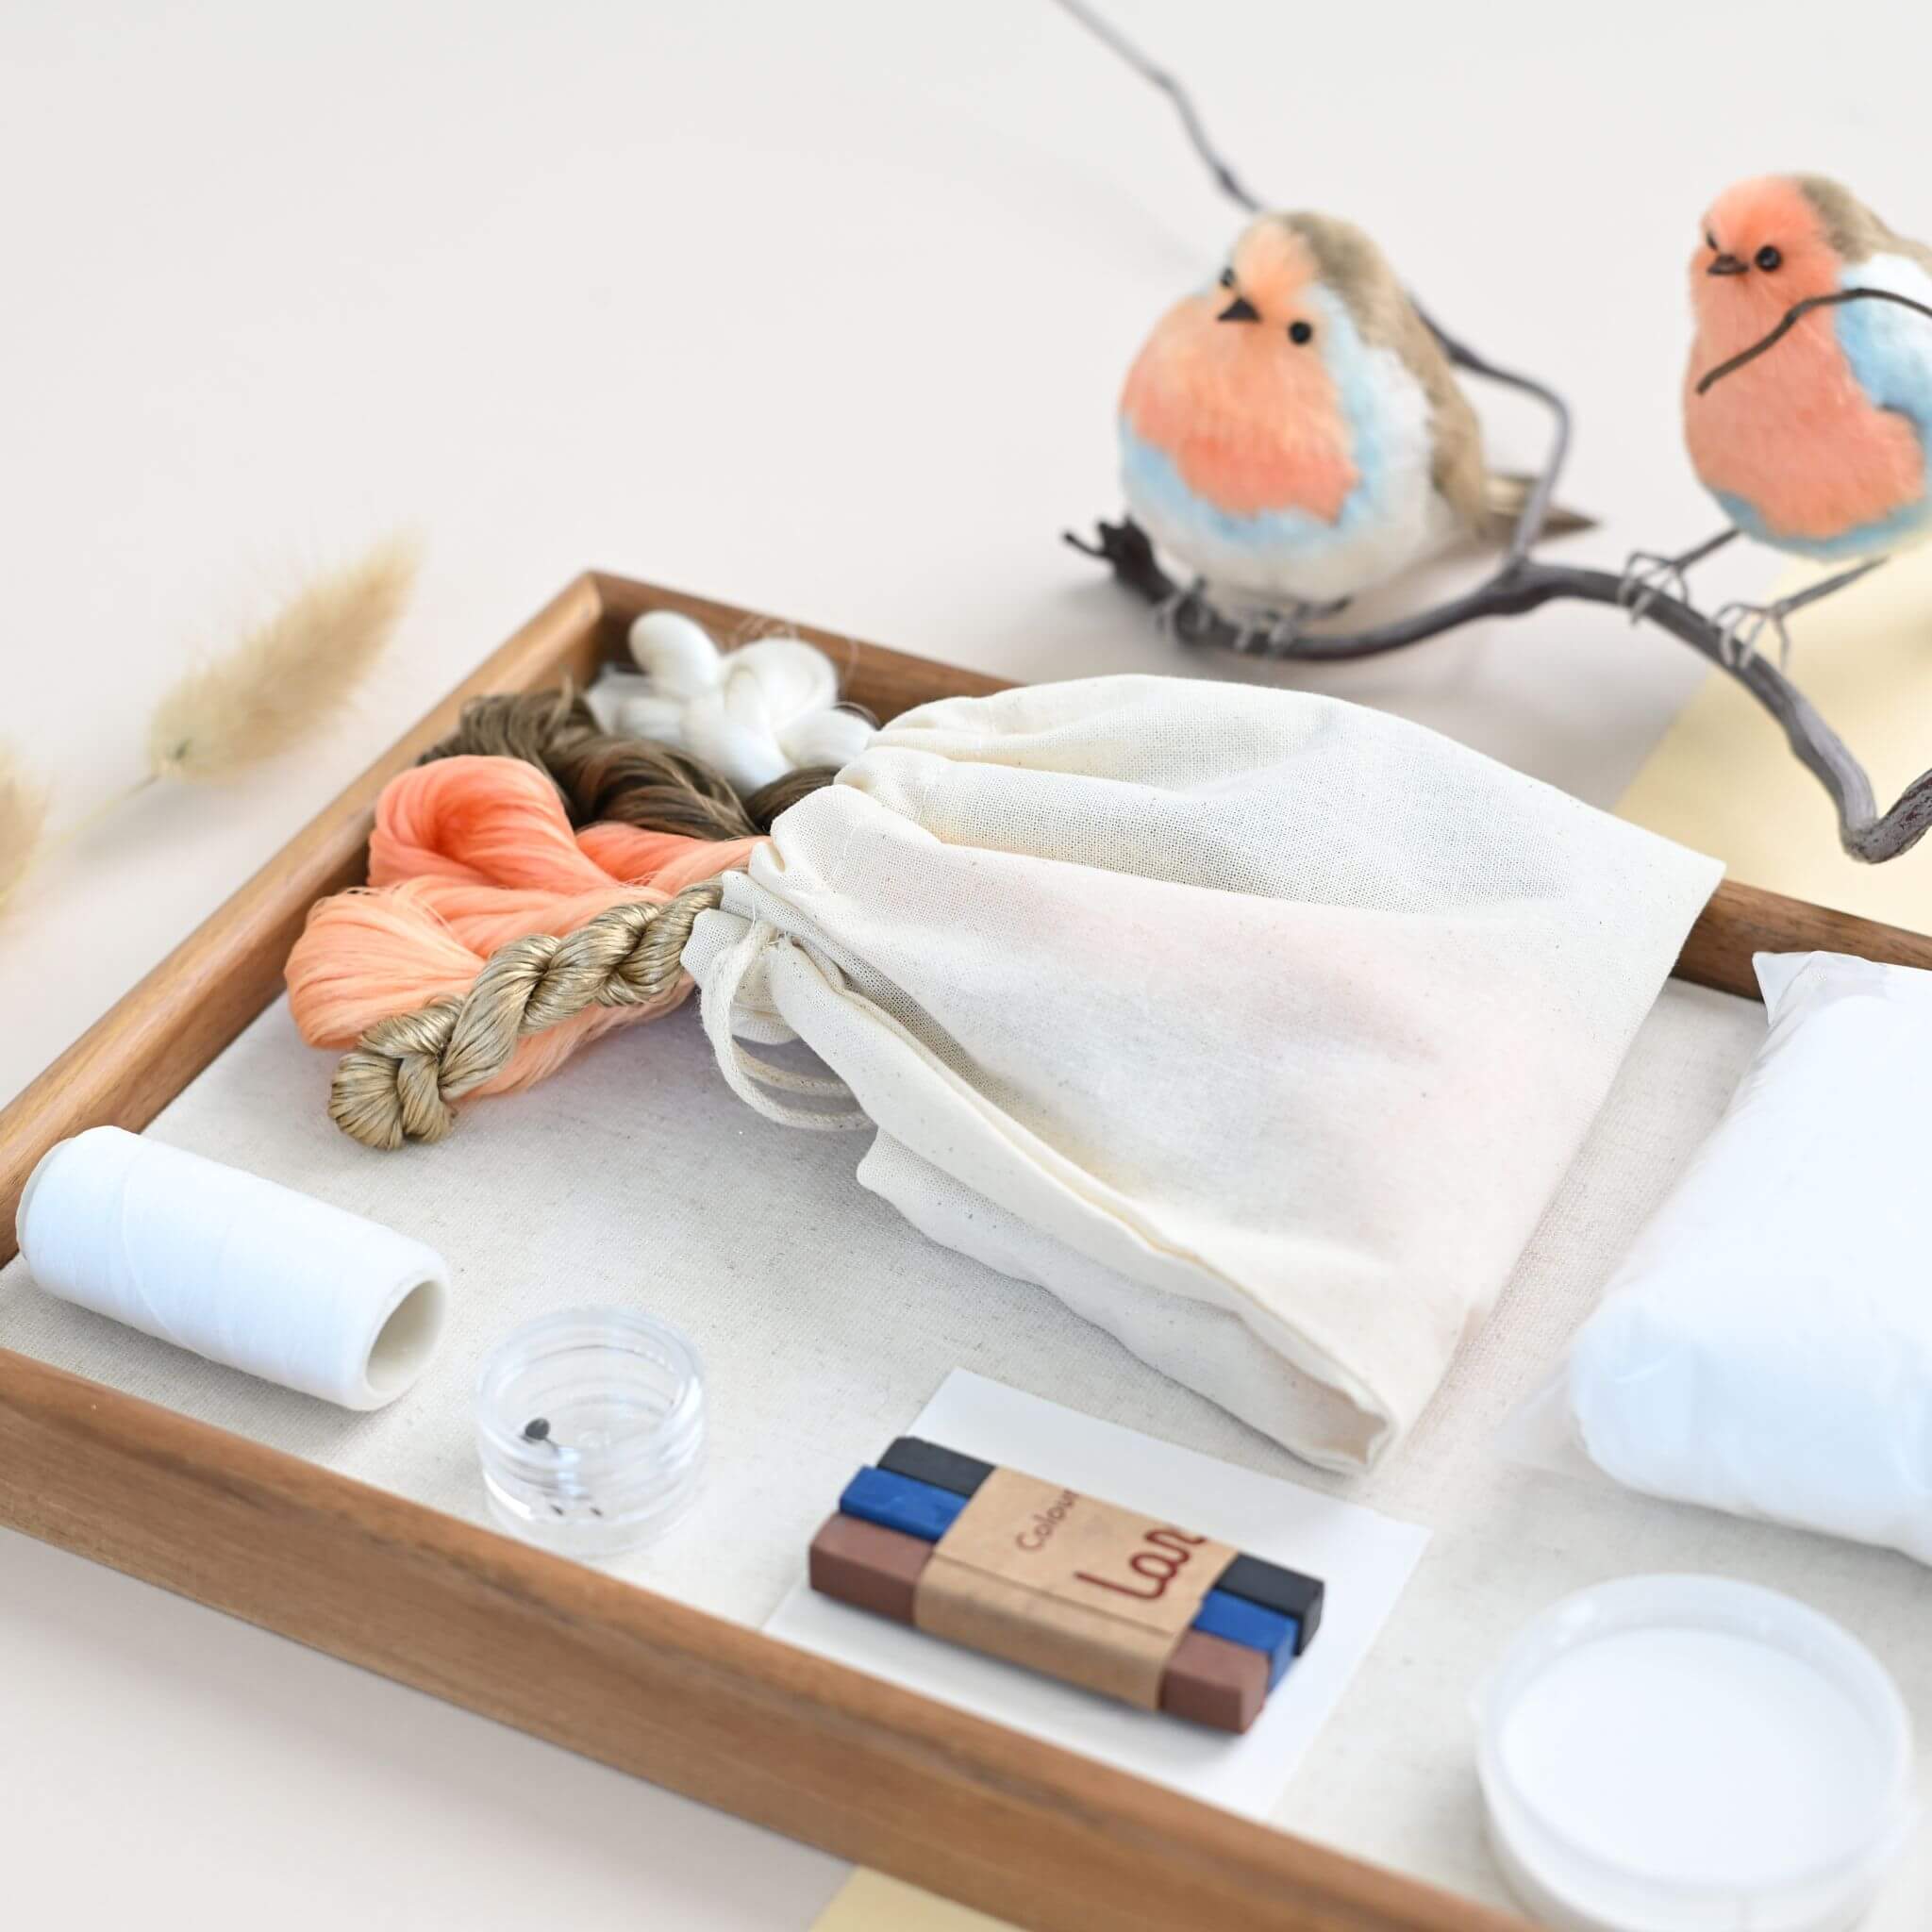
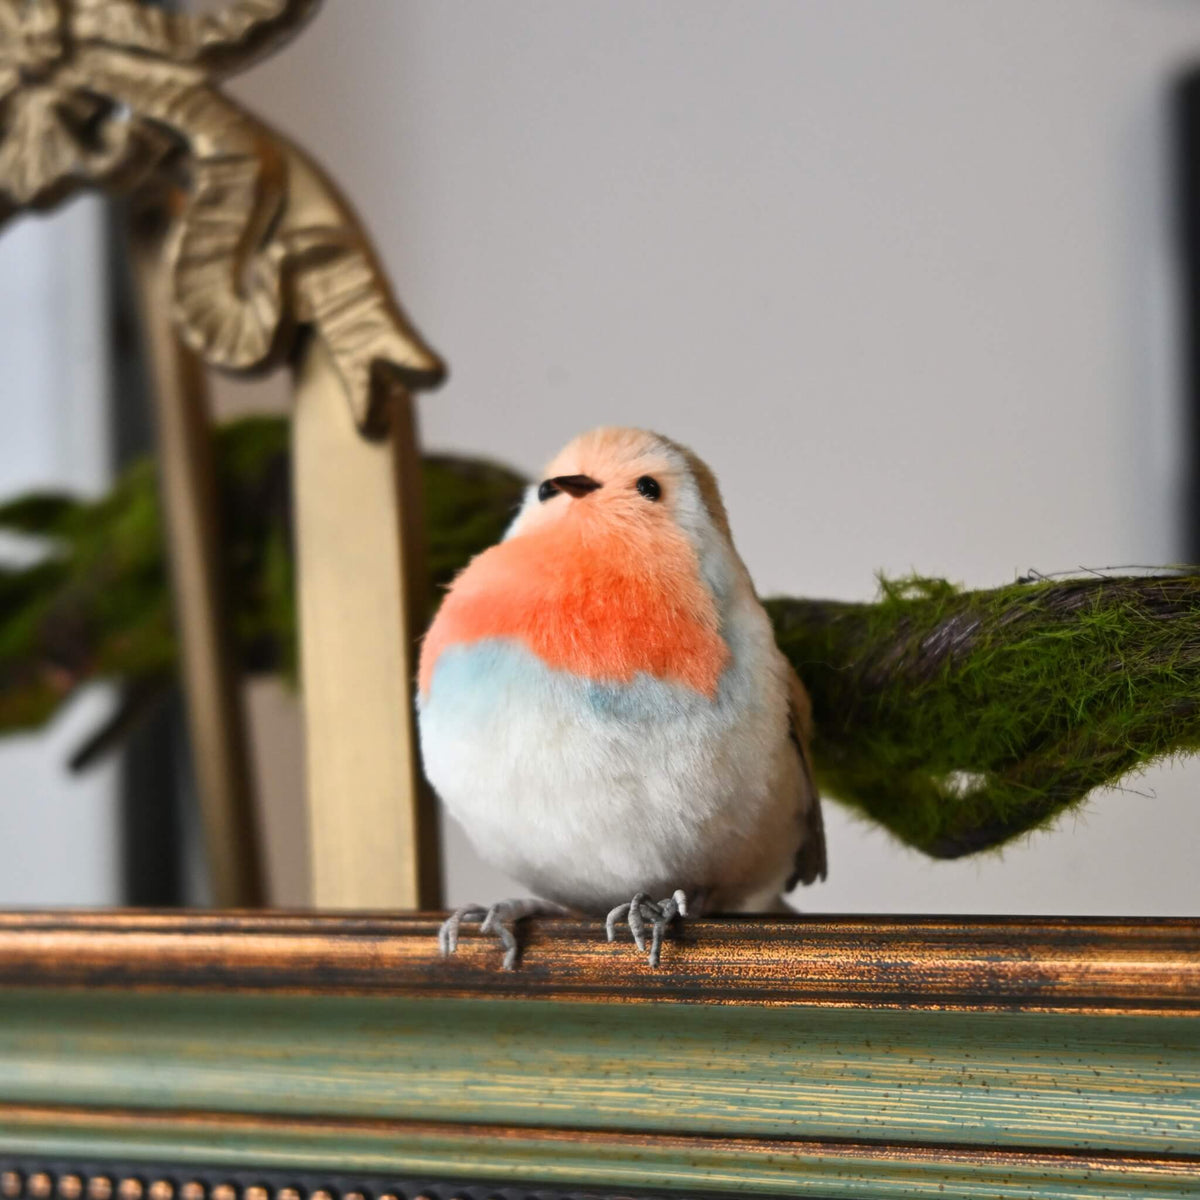
This charming silk robin is handmade with delicate raw silk, carefully shaped and layered to create soft, feather-like plumage. With its warm brown, off-white, and orange tones, the little bird has a gentle, lifelike appearance while still keeping the character of a handmade piece. Each one has its own subtle details and personality.
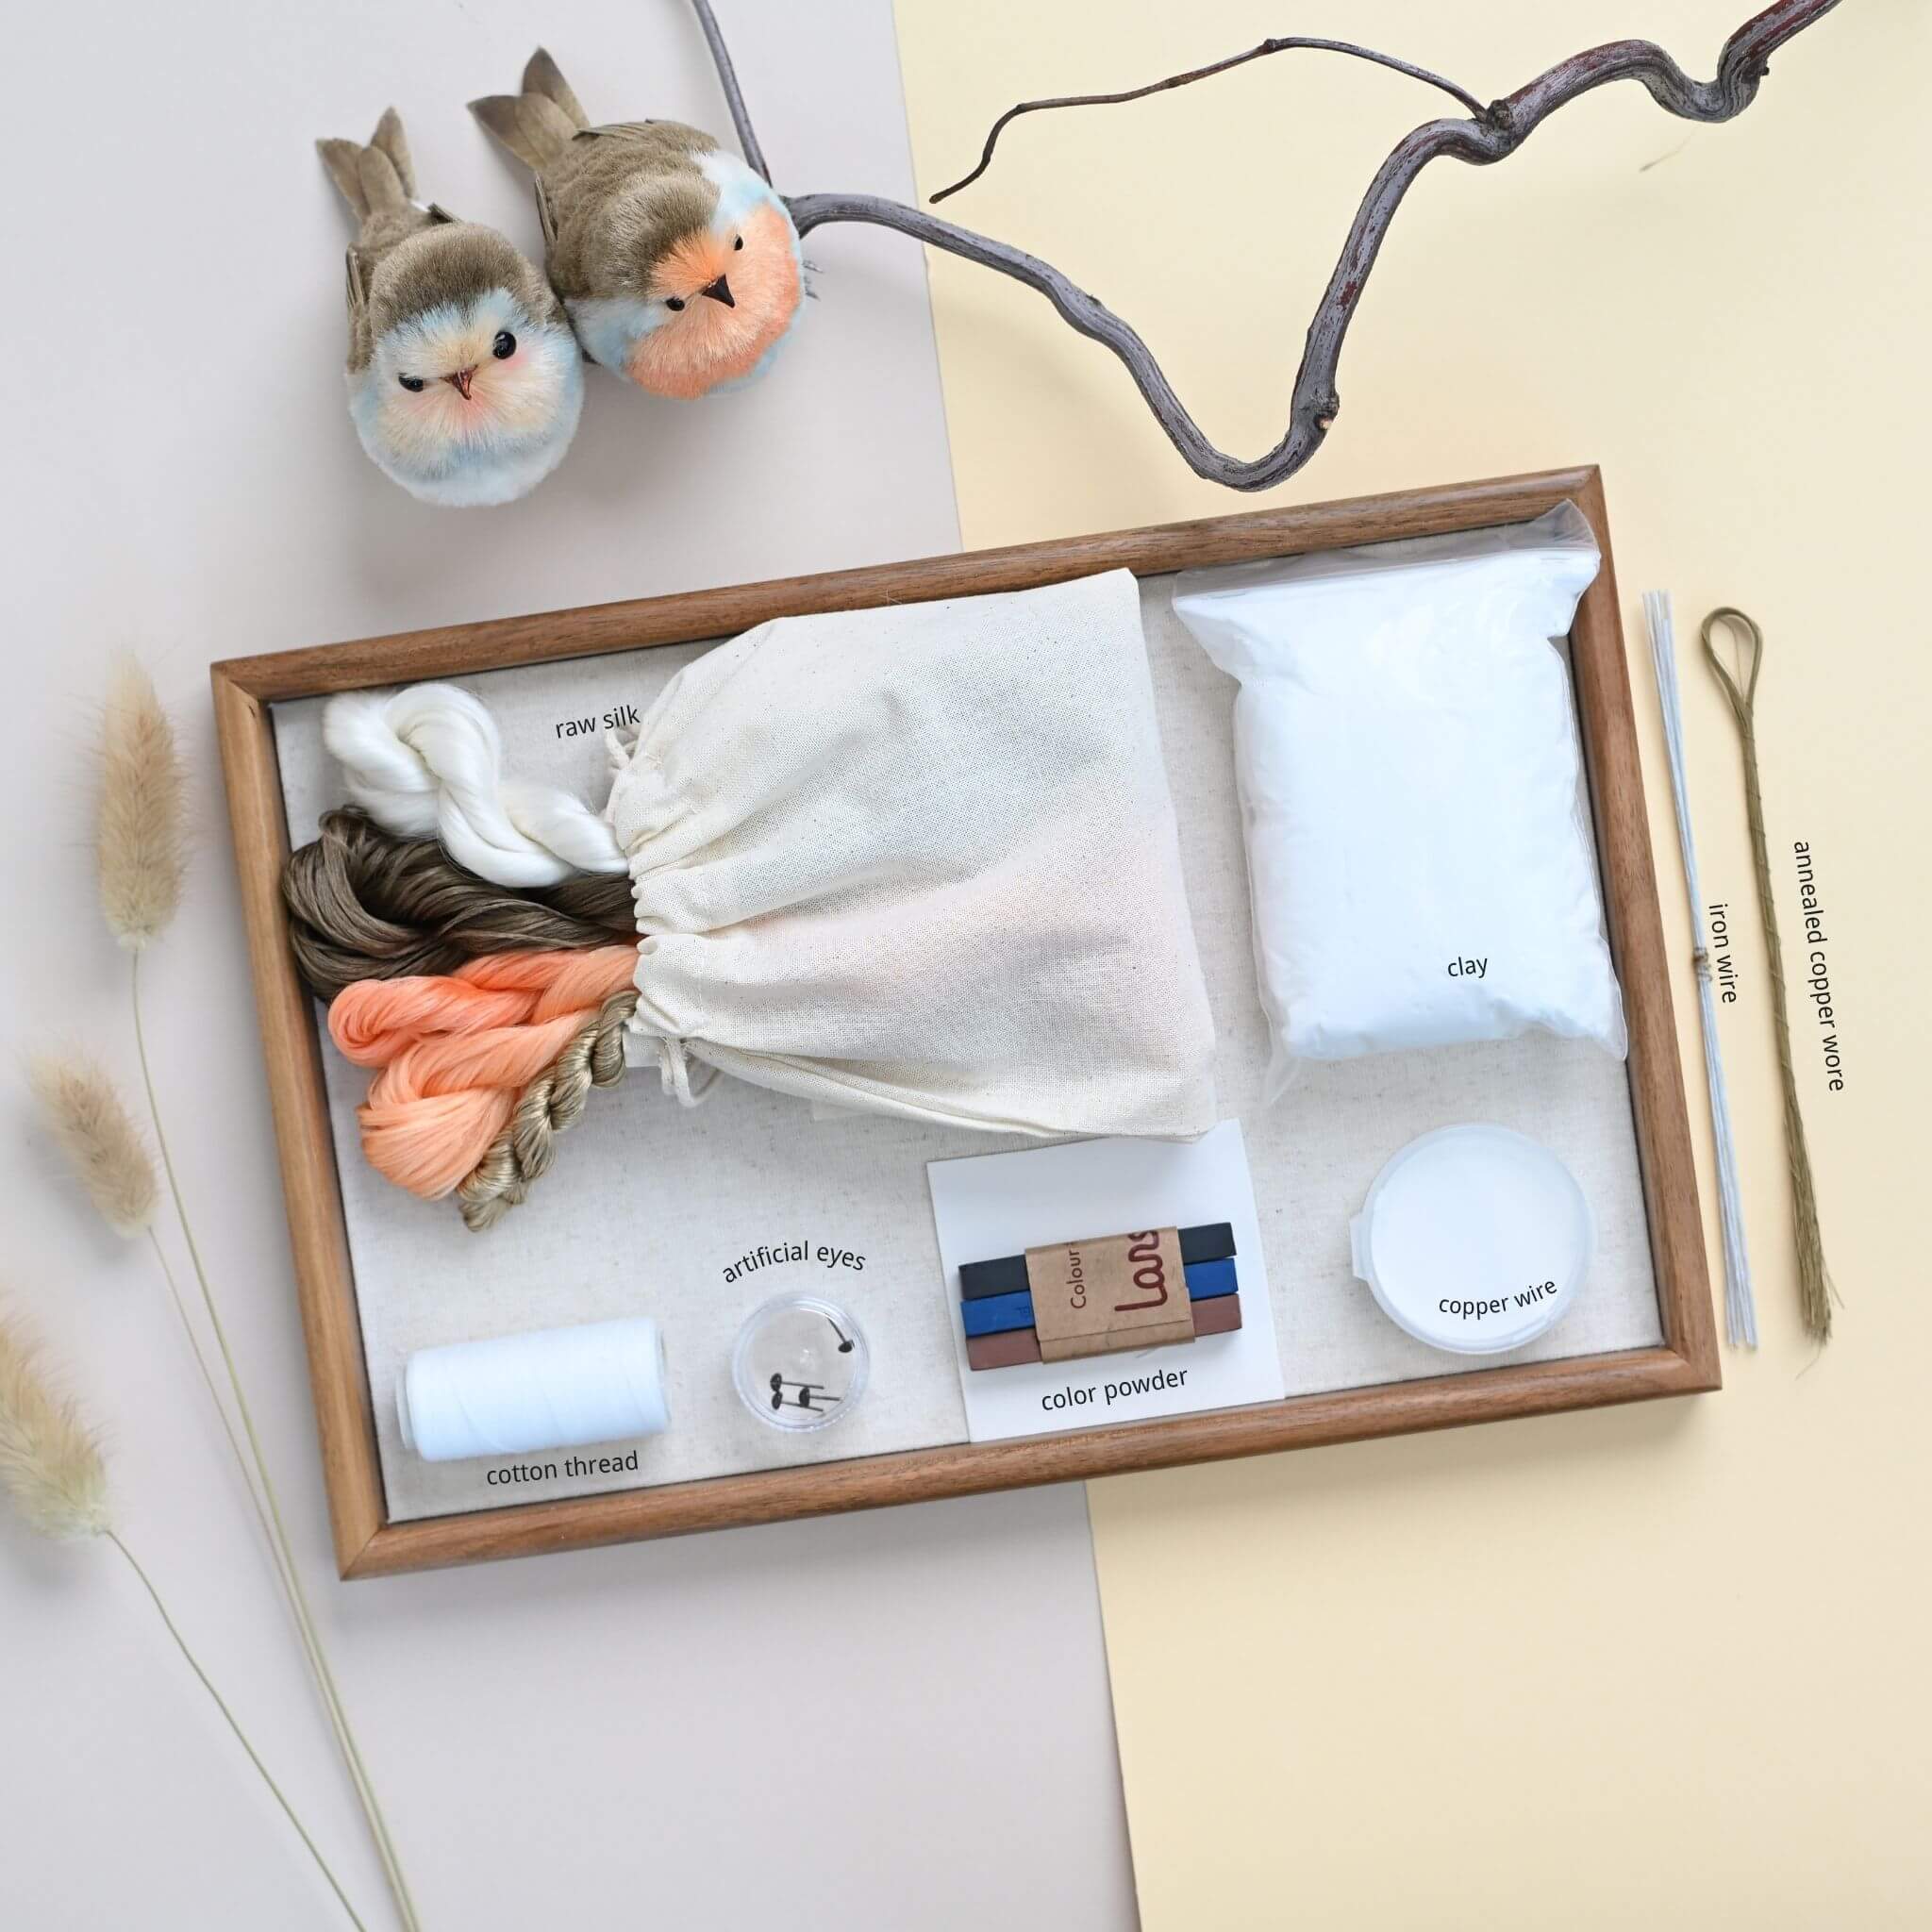
Preparations: What You’ll Need
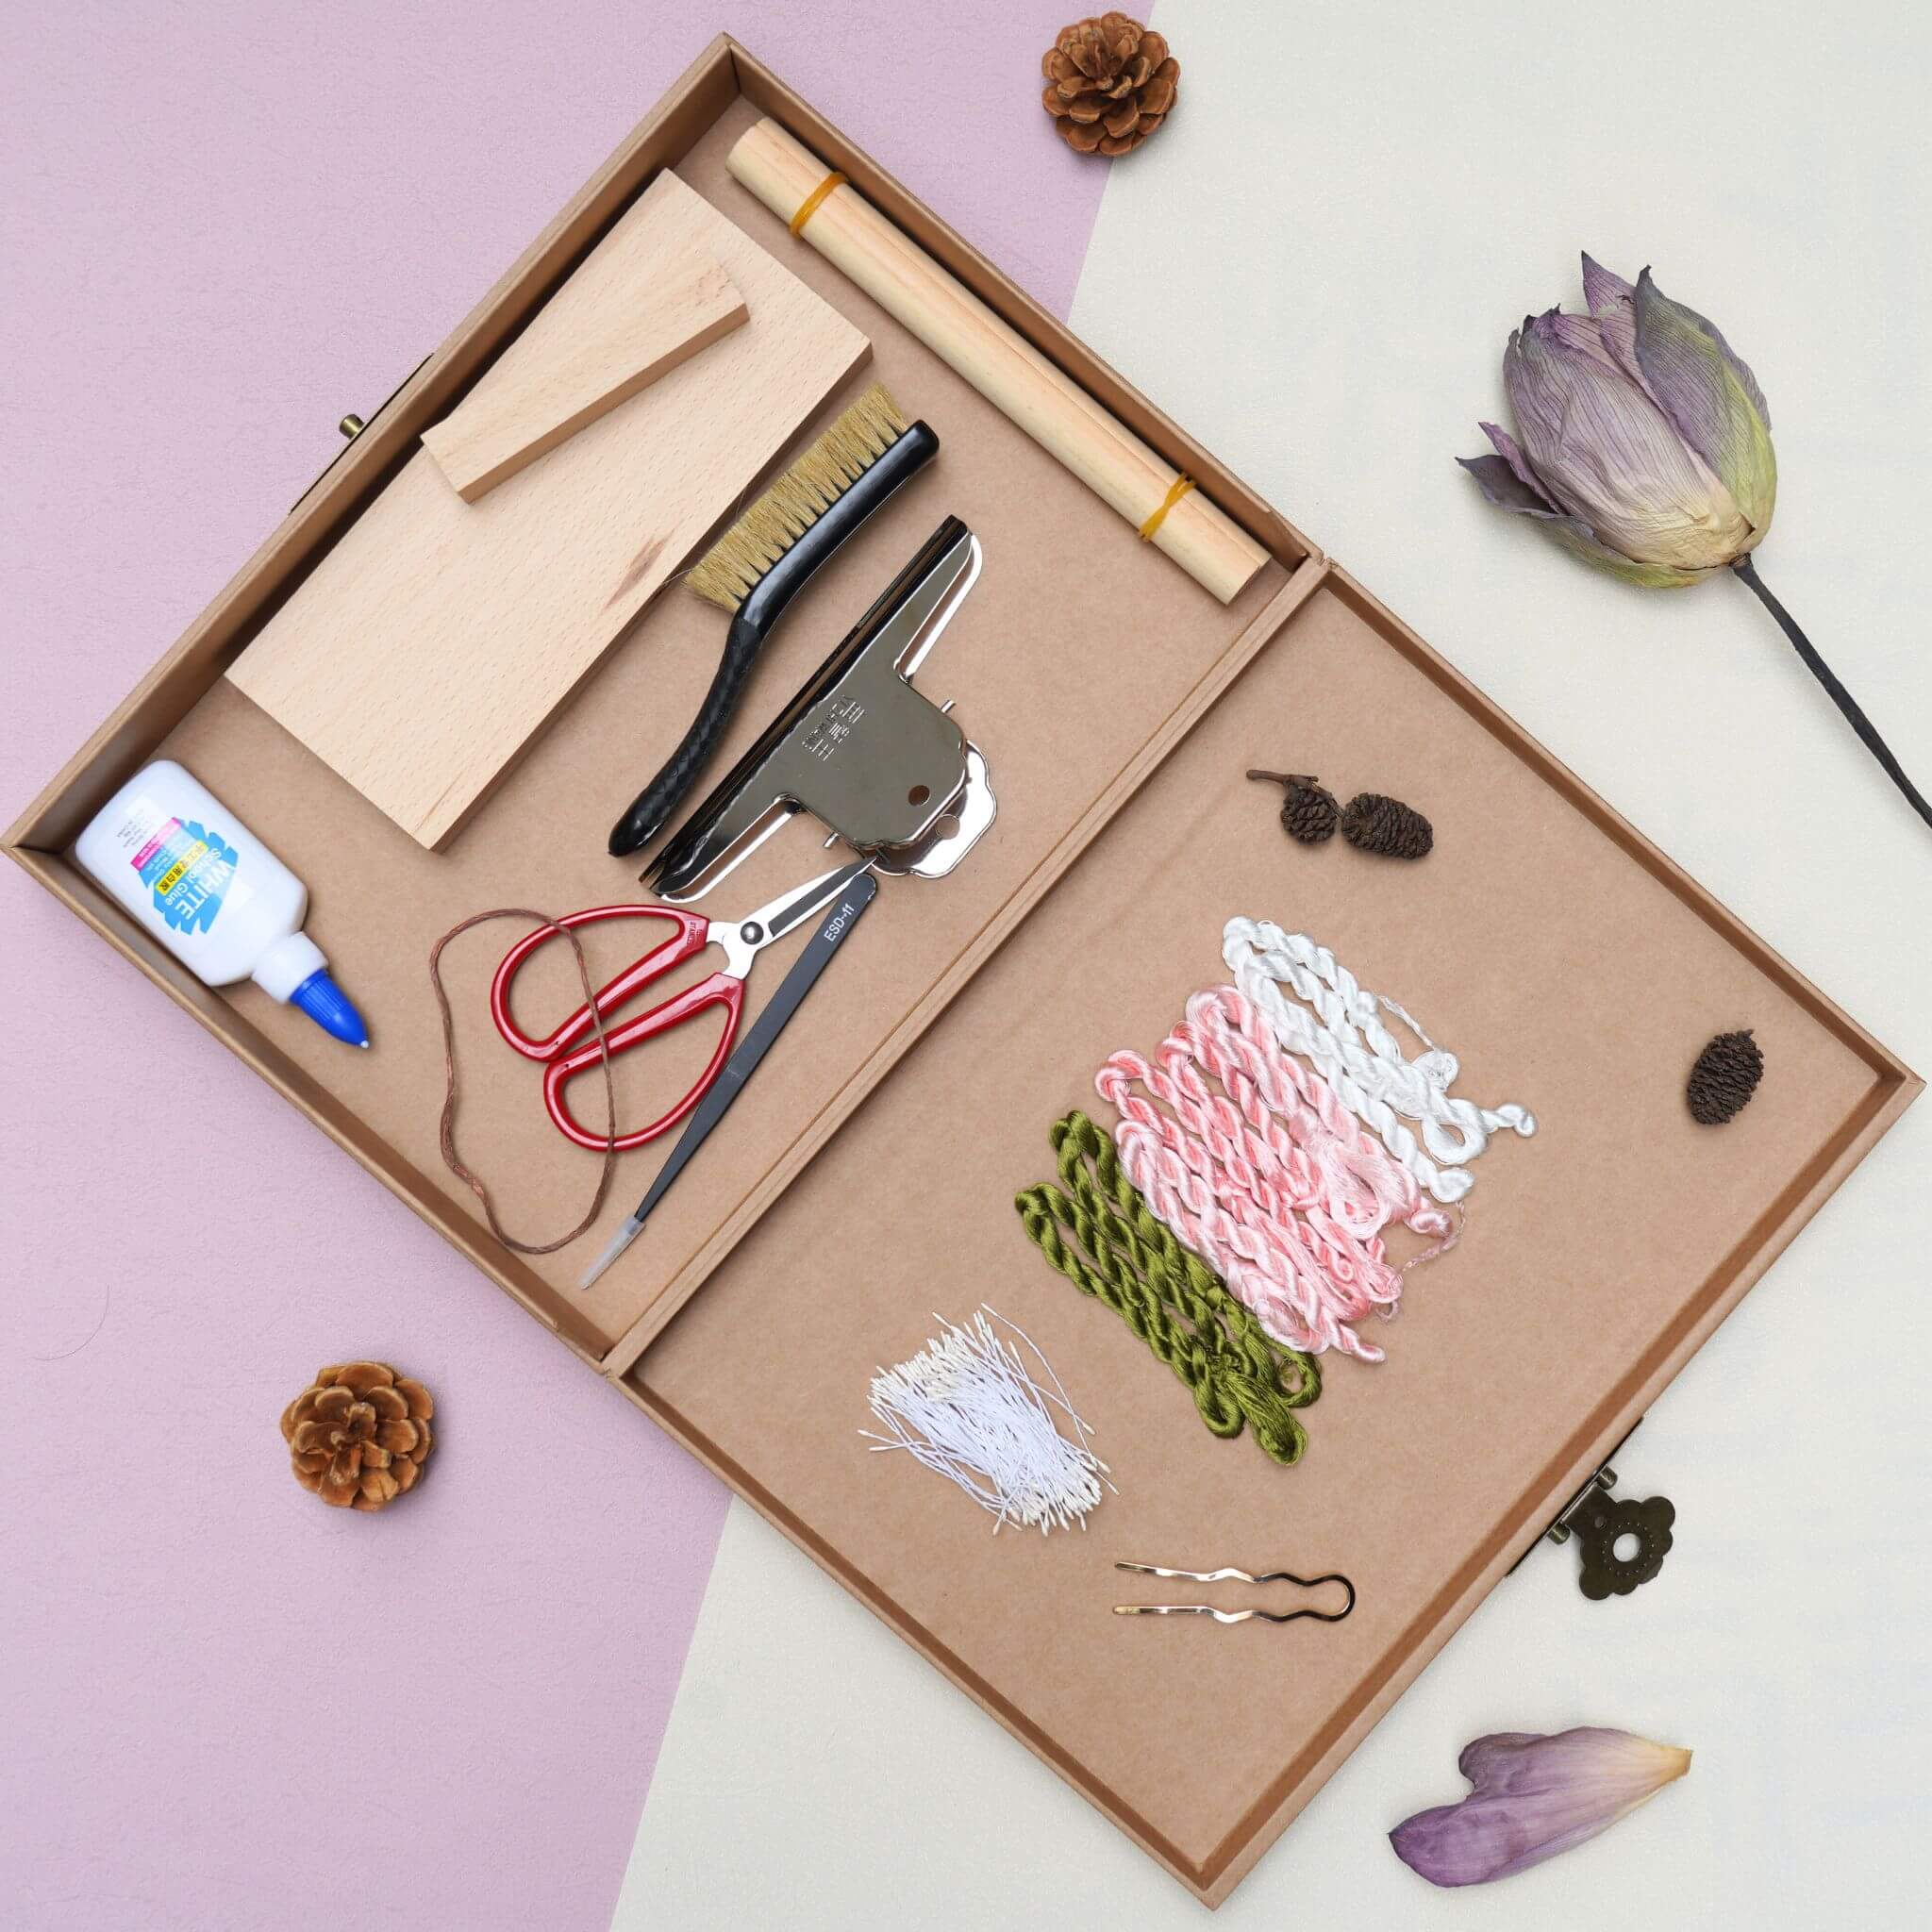
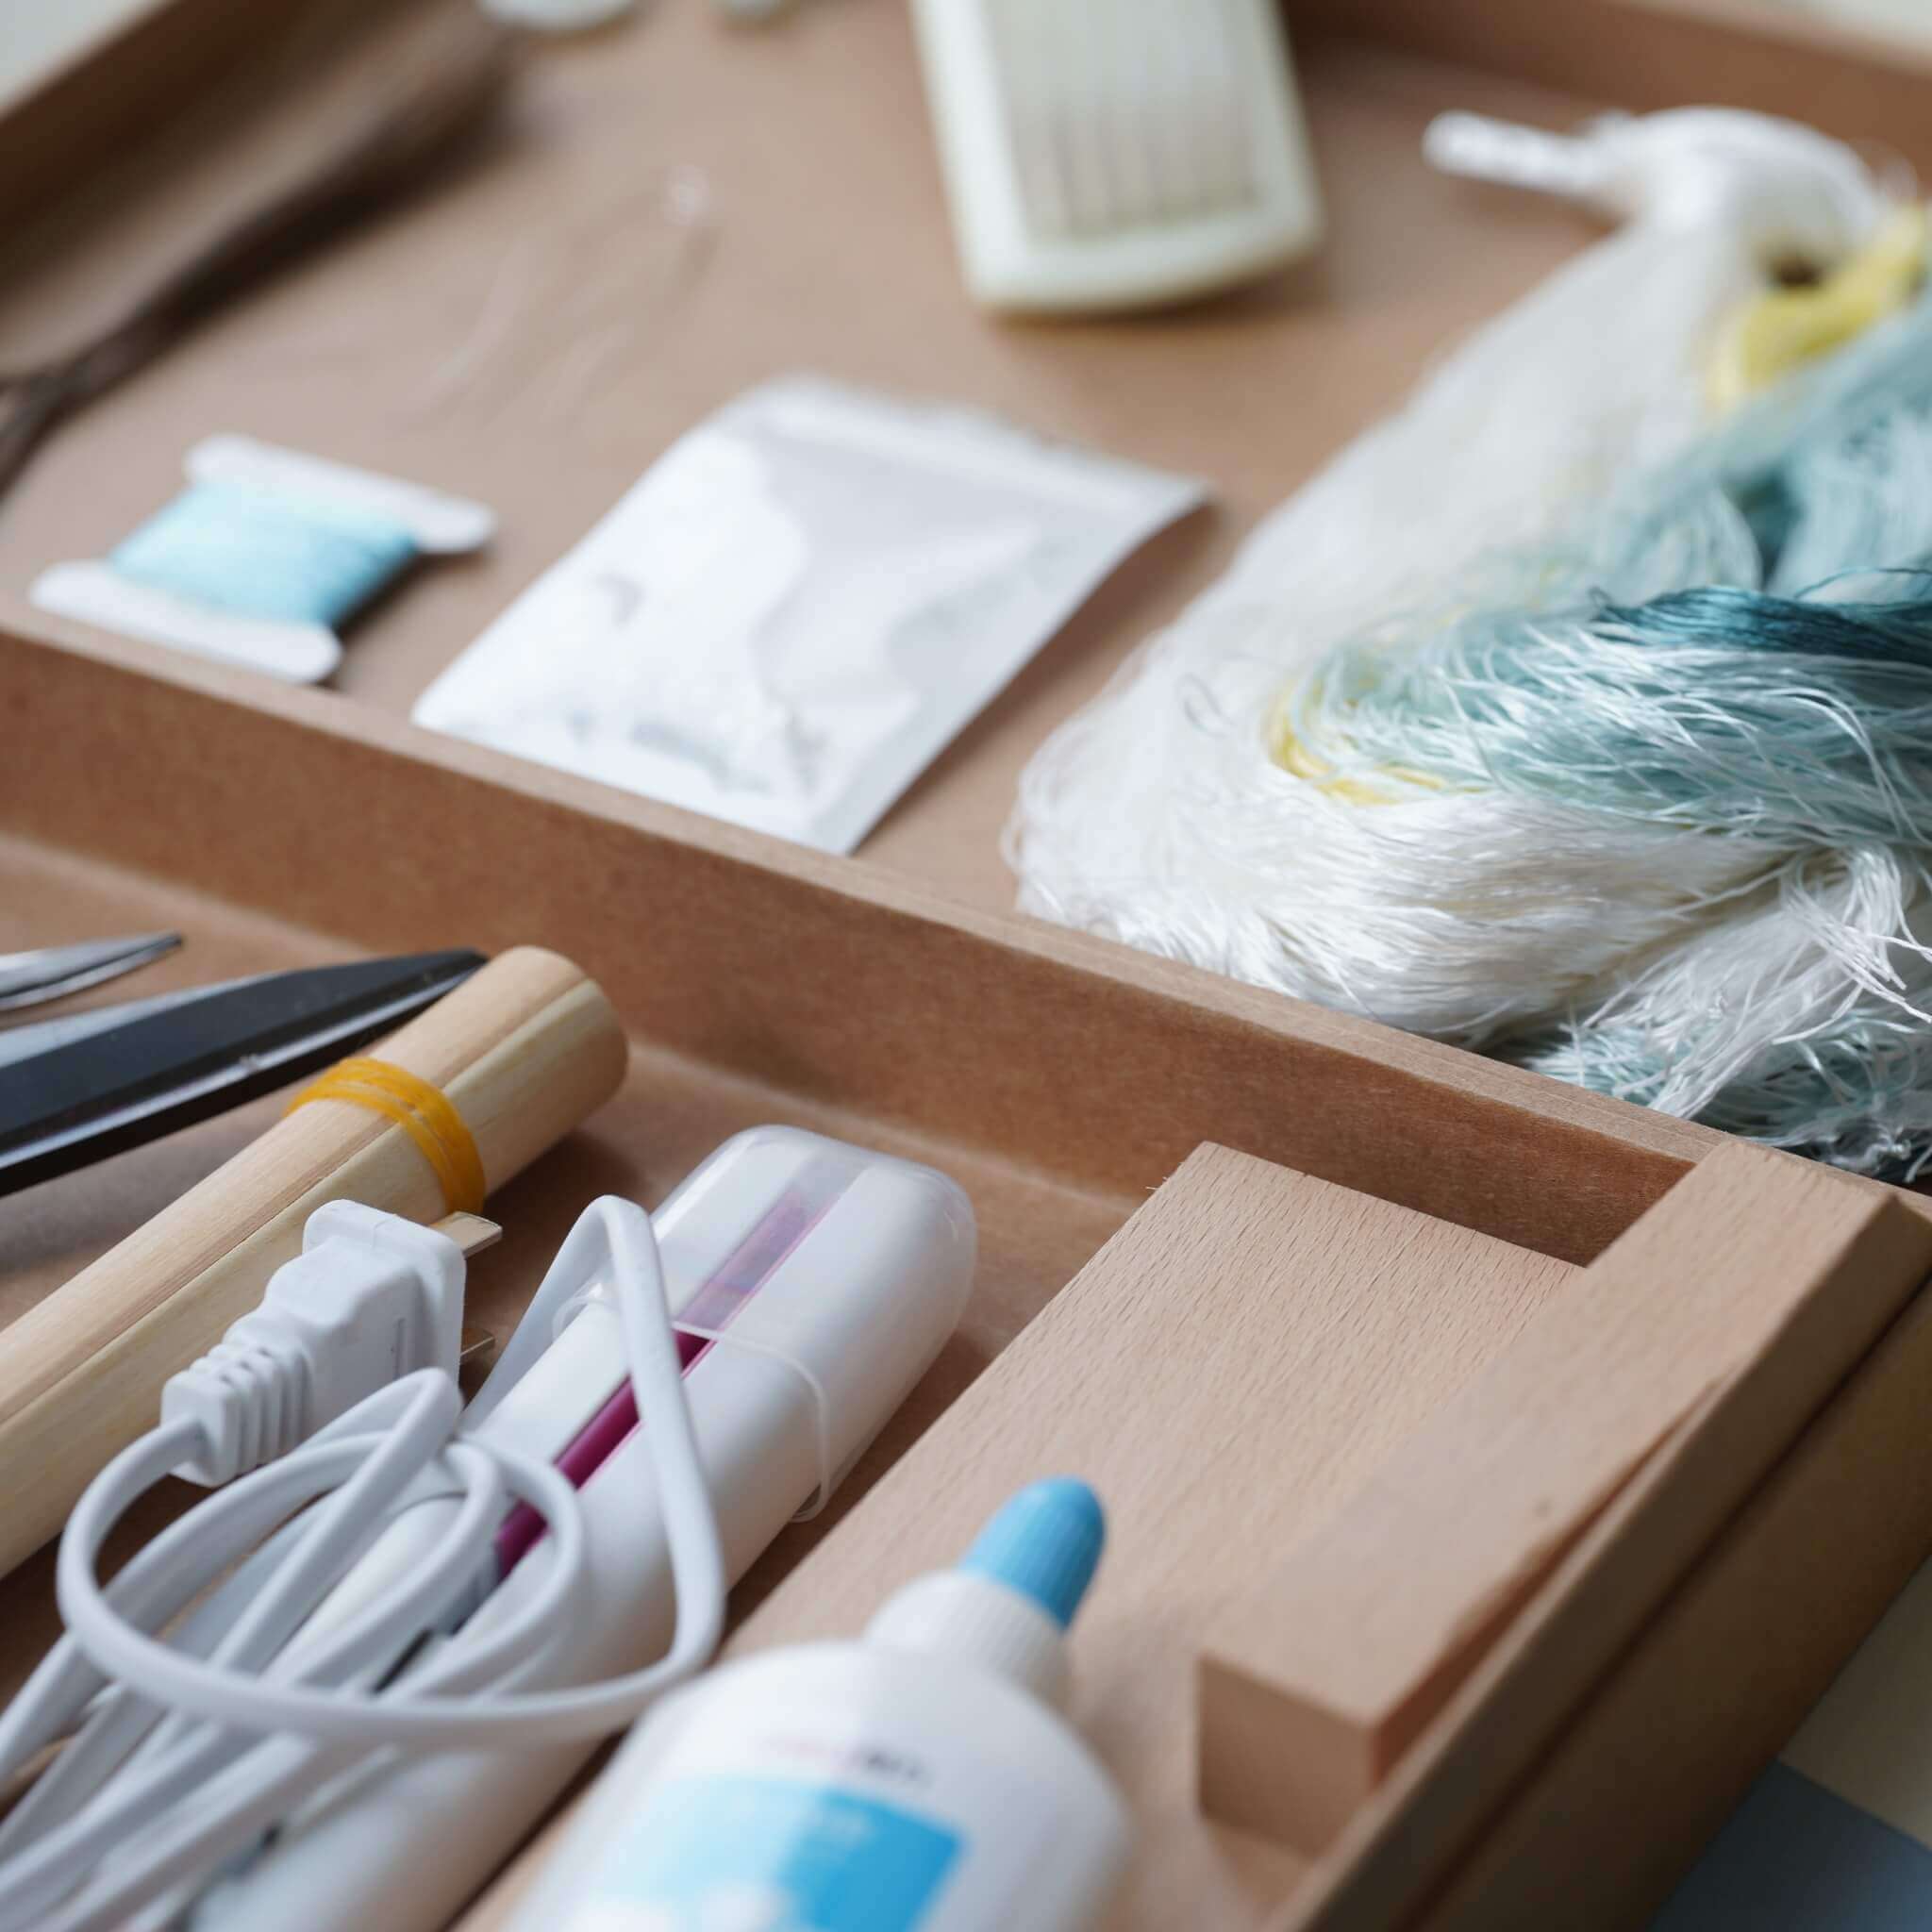
If you’ve purchased our Ronghua Toolkit, you already have everything required!
If not, prepare the following tools:
- Bristle brush (Medium to soft hardness)
- Flat iron (the one you use to straighten your hair)
- Tweezers
- At least 2 pairs of Scissors
- wooden sticks / pencils / chopsticks
- Hair spray or diluted white glue (1:2-1:3 with water or alcohol)
- Big clips (around 15cm)
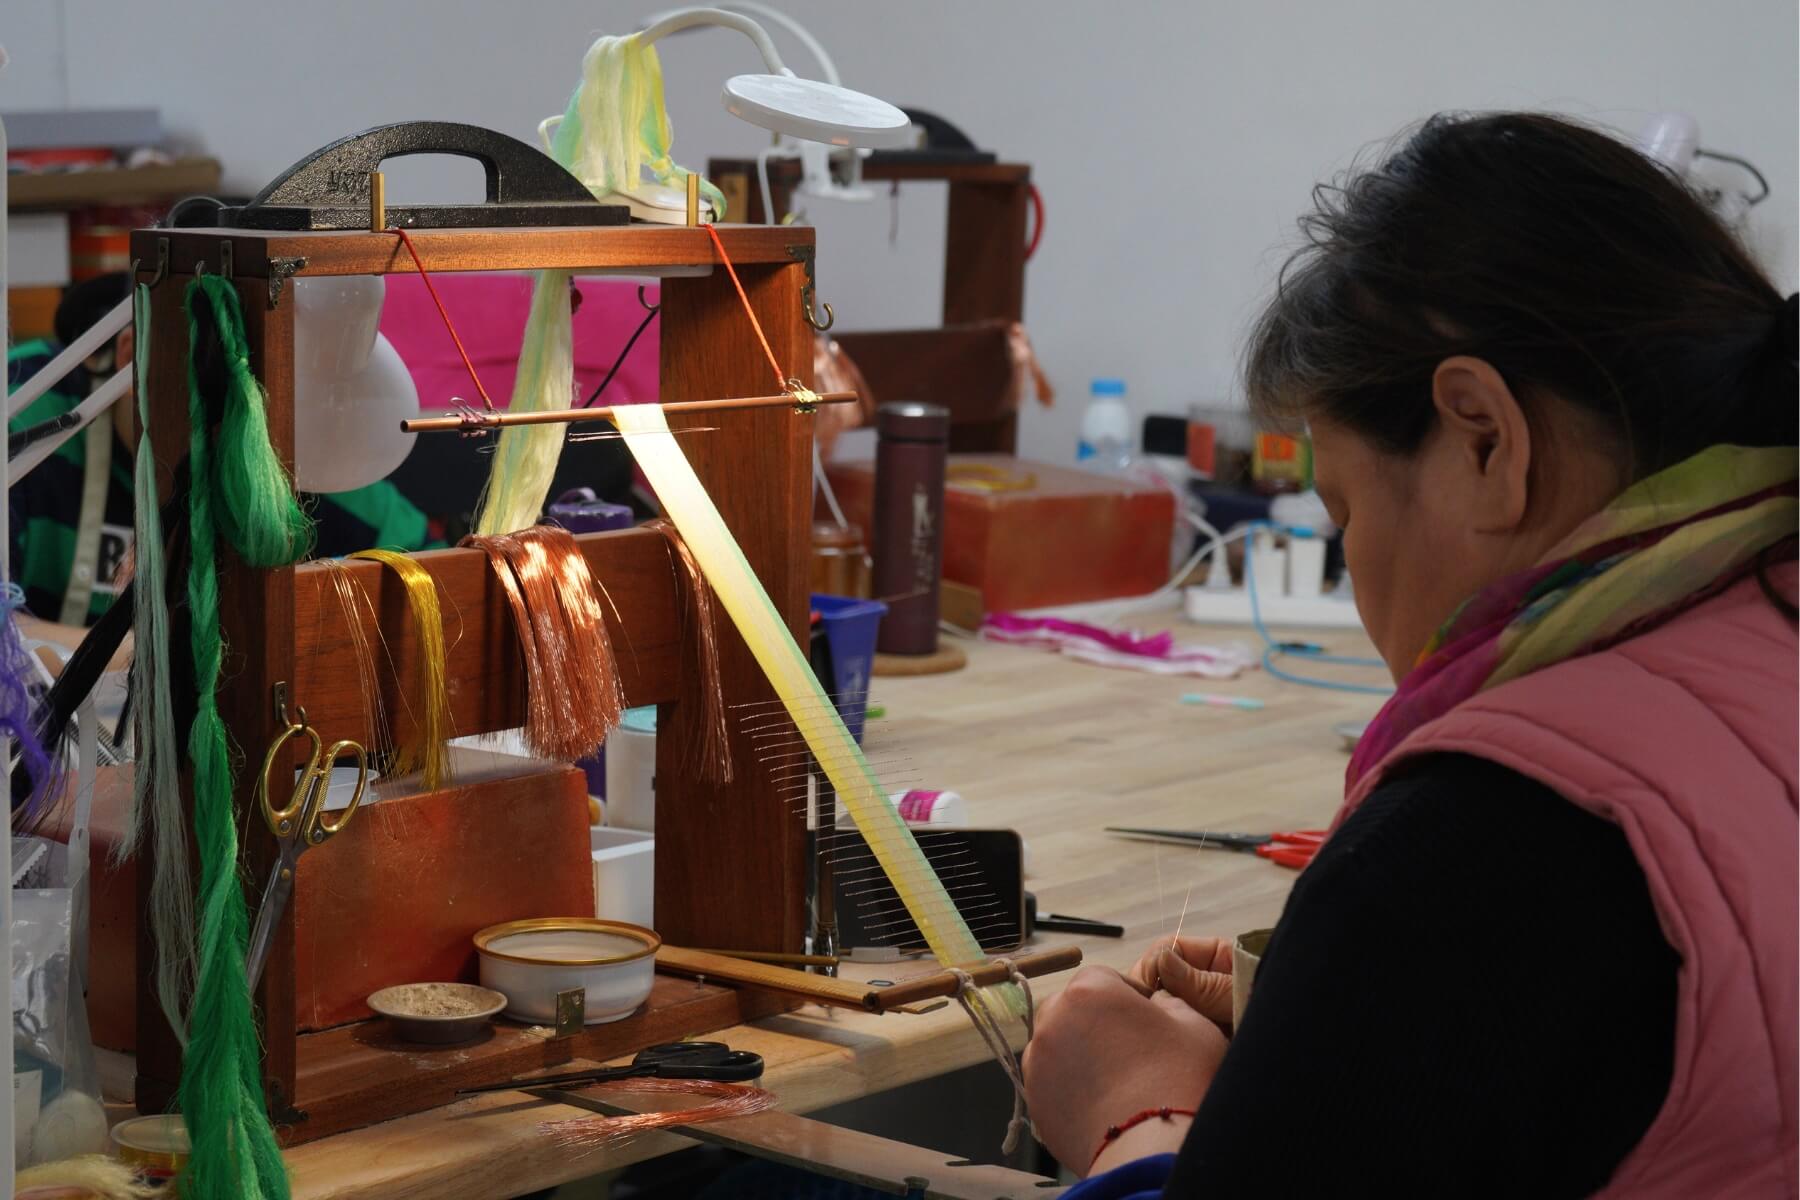
- Twisting boards and wooden blocks (for even tension)
- Anti-slip powder (optional but helpful)
Full Tutorial Video
Step. 1 Align and Arrange the Silk Threads

Step. 2 Group and Prepare the Threads

Step. 3 Make Silk Rows


Step. 4 Brush the Silk


Step. 5 Attach Copper Wires
Step. 6 Cut the Silk Strips

Step. 7 Center and Twist the Strips


Step. 8 Shape the Wings and Tail Feathers


Step. 9 Sculpt the Clay Body and Head

Step. 10 Prepare the Raw Silk


Step. 11 Attach the Plumage and Mount the Wings


Now we can begin applying the brown and white plumage. Prepare a small wooden stick and use it to pick up a little adhesive. Spread the adhesive over a small area of the bird’s body rather than covering a large area all at once.

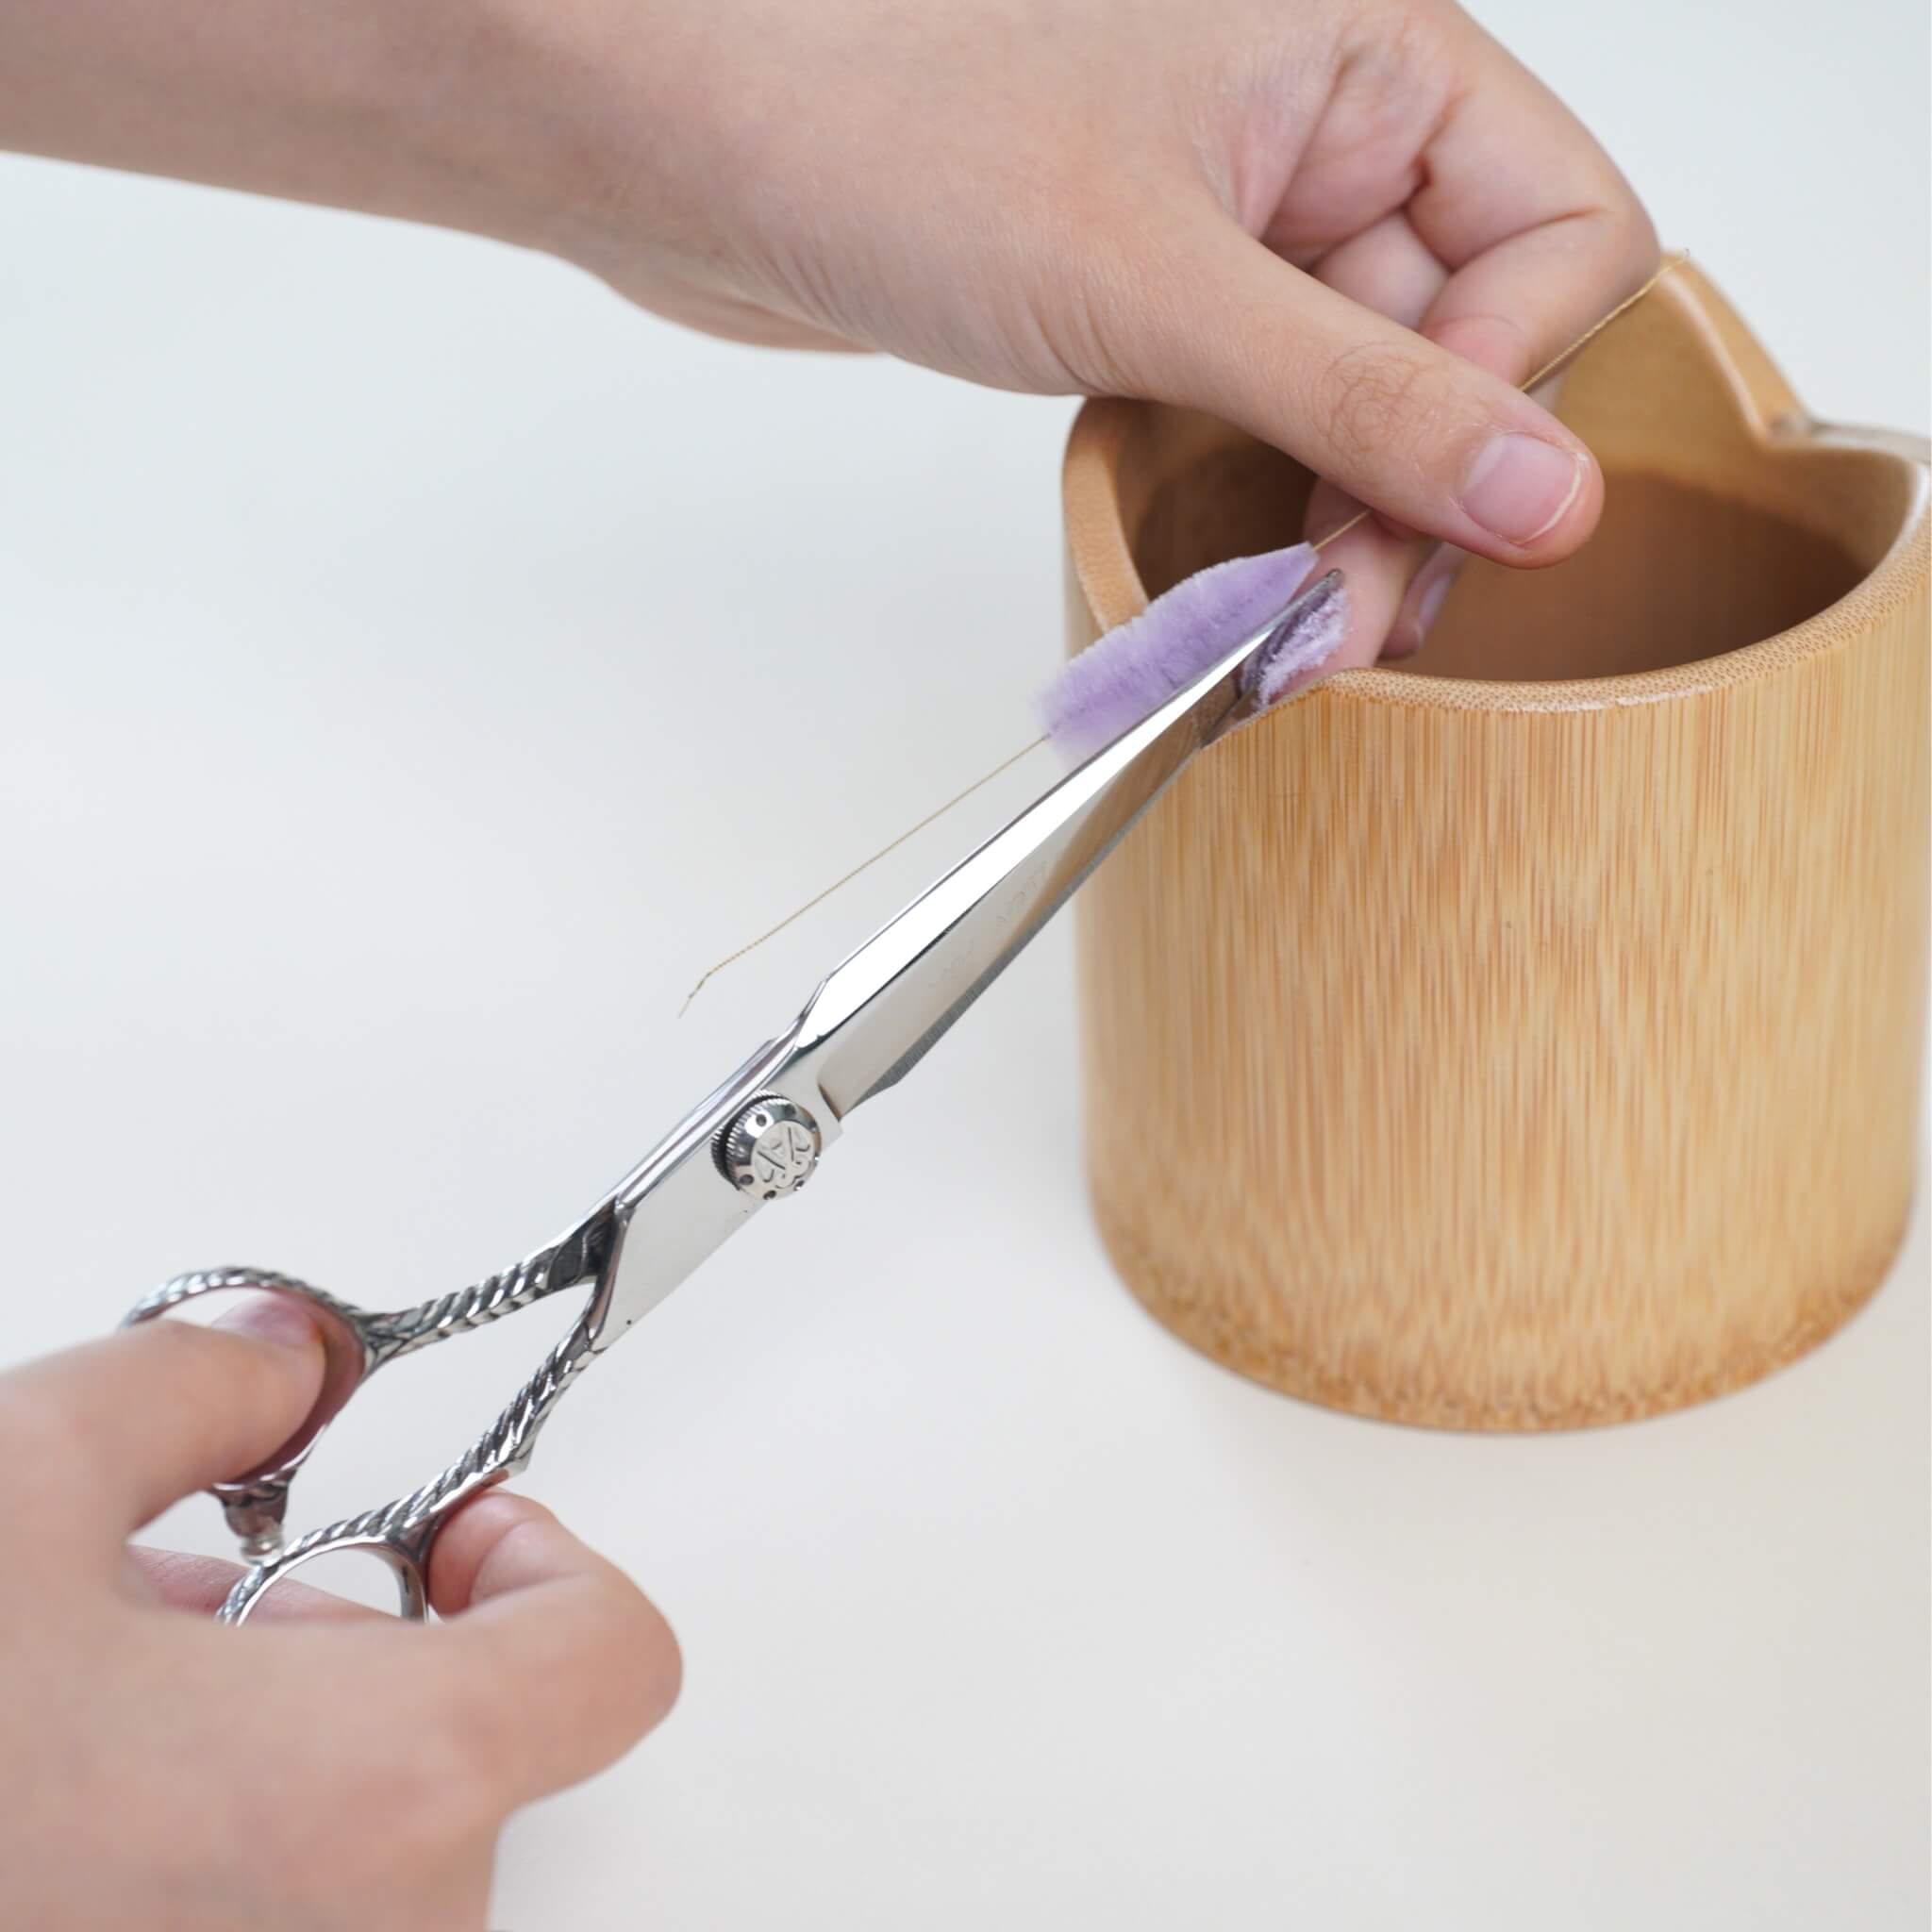
Take the brown raw silk and cut it into pieces approximately 1 cm long. Brush a little adhesive onto the base of each piece, then gently push the silk forwards so that the ends form a smooth, even transition.
Try to cut every group of raw silk to the same length. Continue attaching the remaining groups in exactly the same way, taking care not to let the raw silk extend beyond the guideline we drew earlier.
If a group of raw silk is not positioned correctly, gently remove it with tweezers and attach it again. Once the brown raw silk reaches the point shown in here, you can pause.

Next, begin attaching the off-white raw silk to the lower section using the same method. Keep the pieces as consistent in length as possible.

The raw silk must be attached from the back of the bird towards the front. Working from back to front allows each new layer of silk to overlap the previous one neatly.
Remember to cover all the small corners and edges as well. It is very important to keep every cut group of raw silk as consistent in length as possible.
Attaching all the raw silk does take quite a bit of time, so please be patient and work through it slowly.
A robin has a patch of orange feathers across its breast, so we need to leave this area uncovered for the orange silk later.
Next, we can prepare to attach the wings. First, use the mini iron to give each wing a gentle curve. Place the wing against the body and check whether the curve fits the bird’s shape. If it does not fit closely, carefully adjust it with the mini iron.

The end of the wing should not extend beyond the tail, so trim away any section that is too long. Apply adhesive to the inner side of the wing, then attach it firmly to the bird’s body.

As you move towards the front, pay close attention to the direction of the silk. All the silk should fan out in a radial pattern, converging towards the position of the beak.
Attach a layer of raw silk over the front edge of the wing to cover the join, then continue attaching the brown raw silk.

Stop when you reach approximately the position shown in the video.

Next, finish attaching the remaining off-white raw silk. I recommend extending the off-white silk slightly farther inwards than I did here. If the off-white area is too small, the pale feathers will not be visible enough from the front, which can make the bird’s face look larger, like the example on the left.
Use a little more off-white silk and bring it slightly farther towards the front.

Now we can begin attaching the orange raw silk. Start with the darker orange shade and continue with it for about two layers. Then switch to the lighter shade to create more depth.
In the reference image in the upper-left corner, you can see two shades of orange on the bird’s breast. I forgot to change colours while filming this tutorial, so make sure to switch to the lighter orange after the first two layers.
Arrange all the silk in a radial pattern so that it converges towards the beak.
 I used a little too little off-white silk and too much orange, so the orange feathers ended up covering most of the head. This makes the bird’s head and face look quite large. Using more off-white silk will help avoid this.
All the raw silk has now been attached.
Step. 12 Attach the Bird Feet


Step. 13 Trim the Silk and Attach the Feet

Step. 14 Craft the Beak, Shading, and Final Details


Laisser un commentaire
Tous les commentaires sont modérés avant d'être publiés.
Ce site est protégé par hCaptcha, et la Politique de confidentialité et les Conditions de service de hCaptcha s’appliquent.