

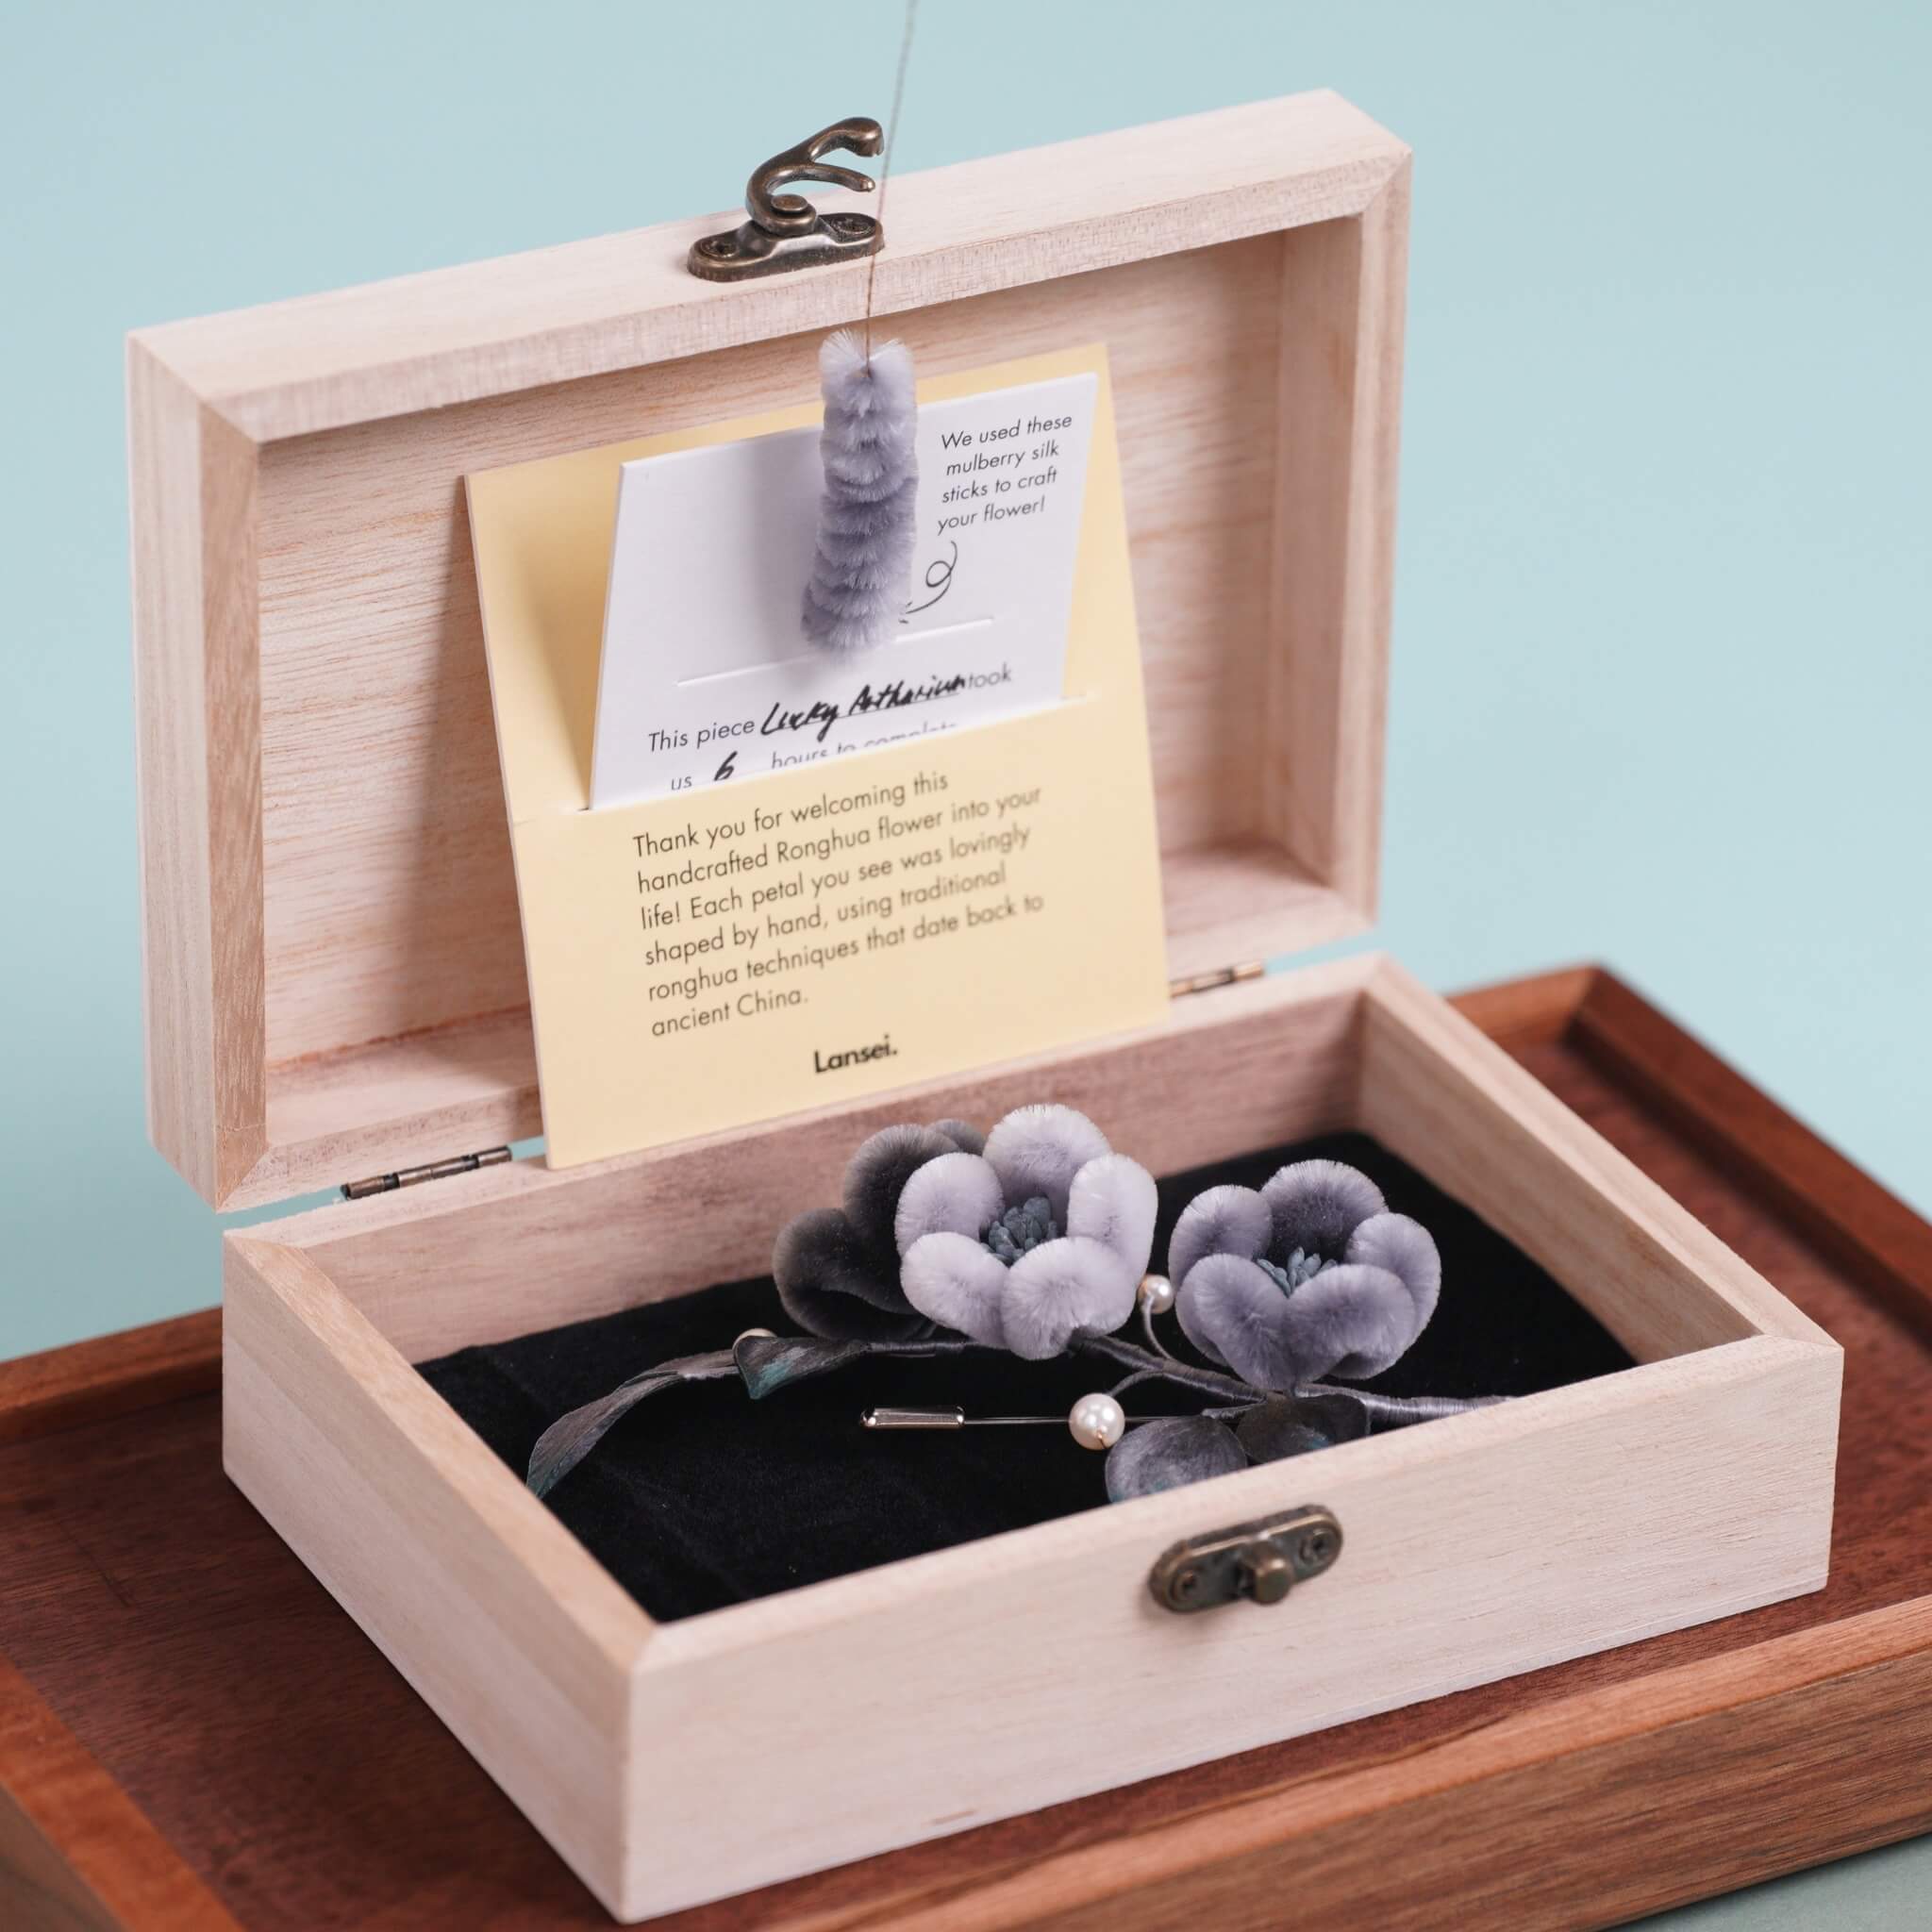

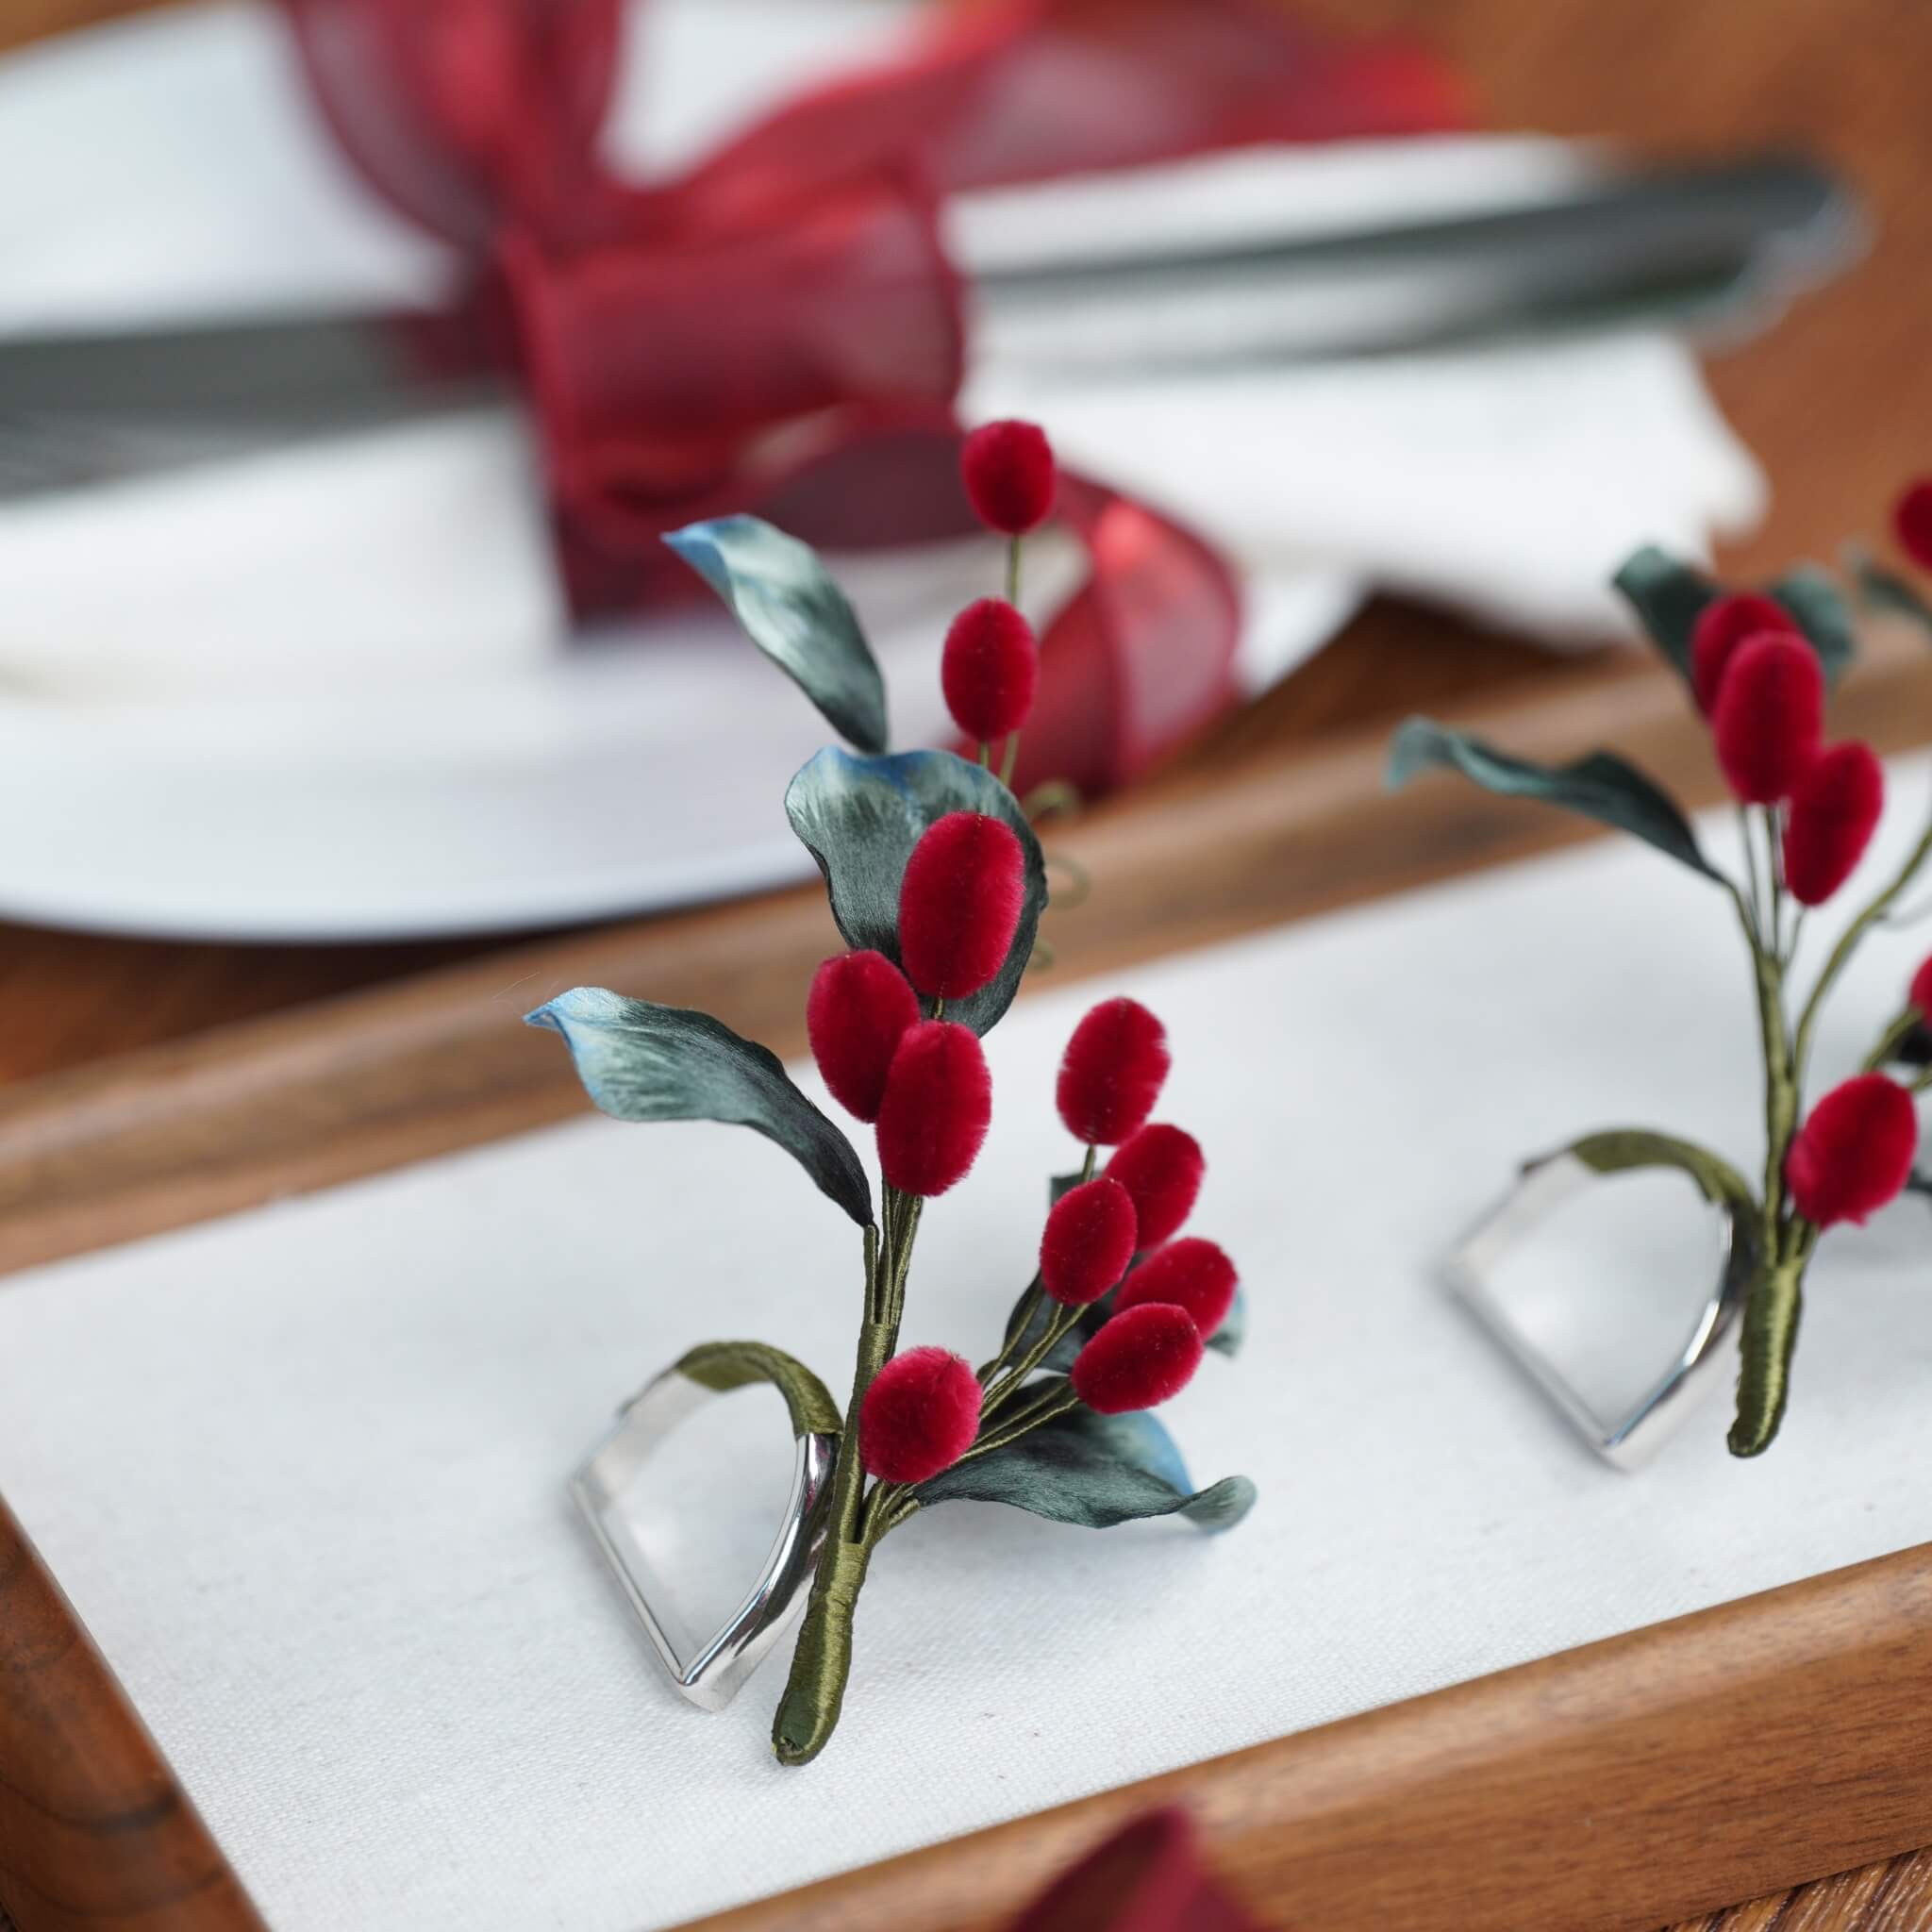
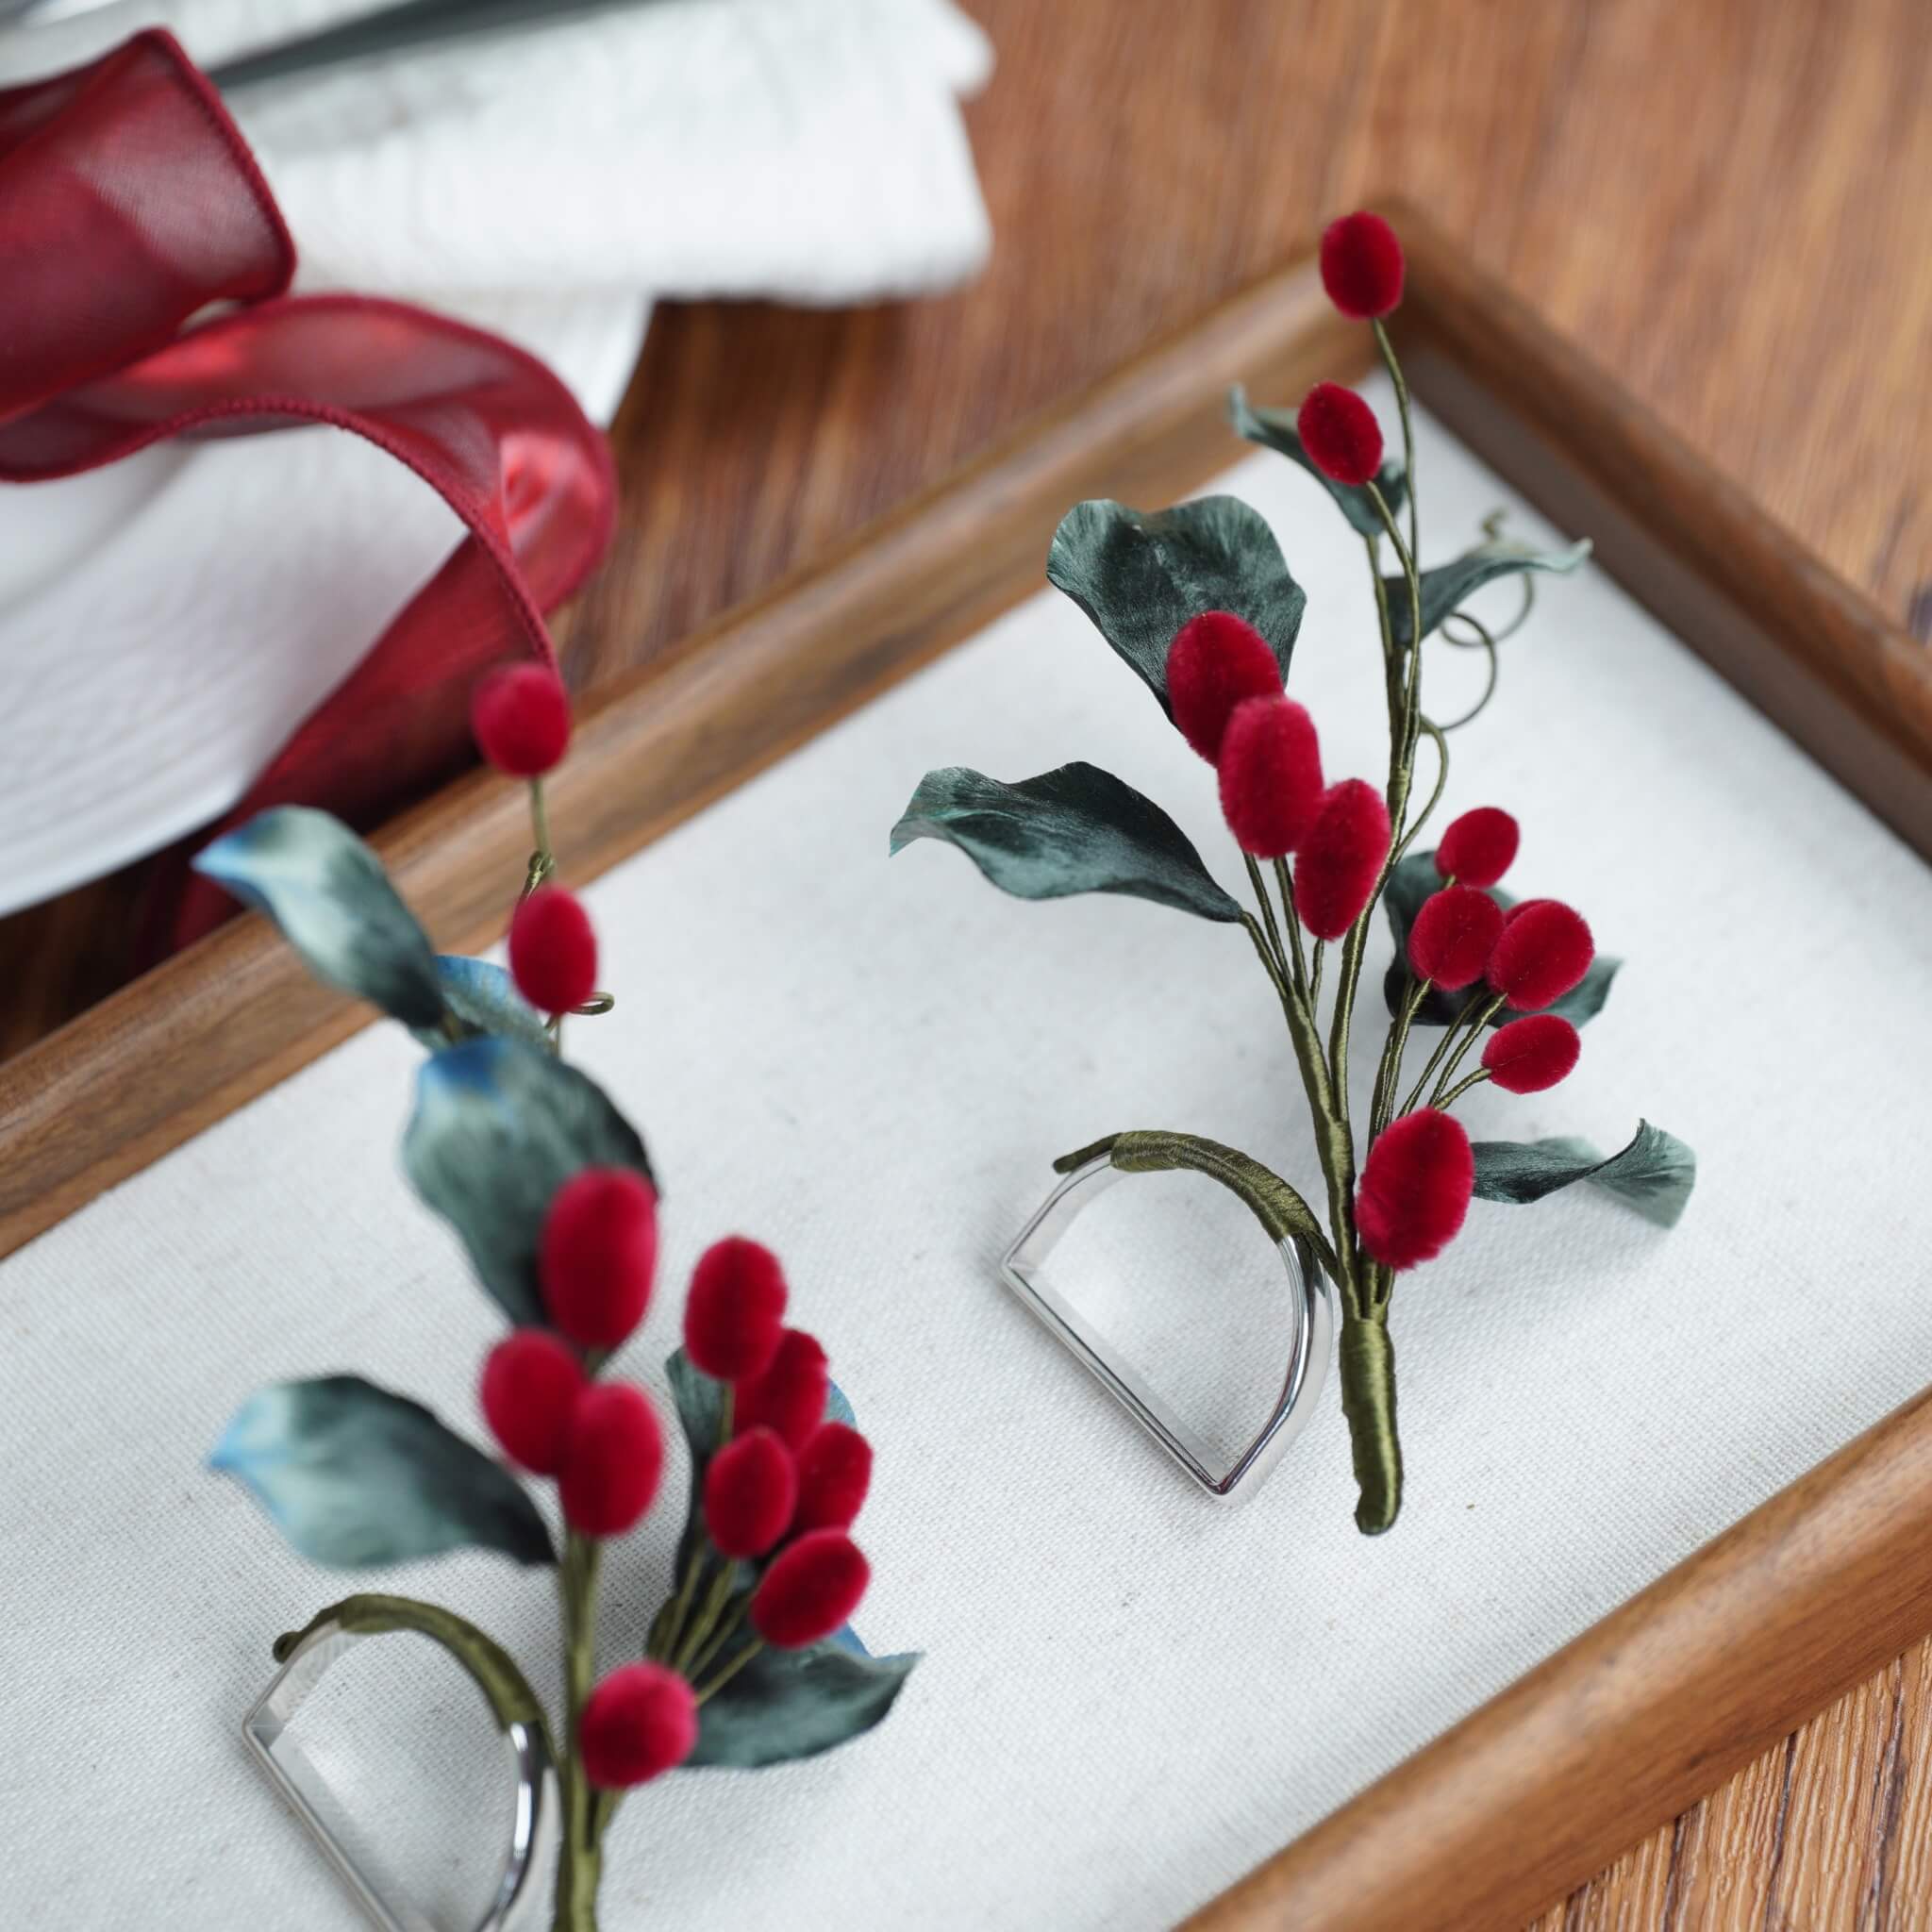
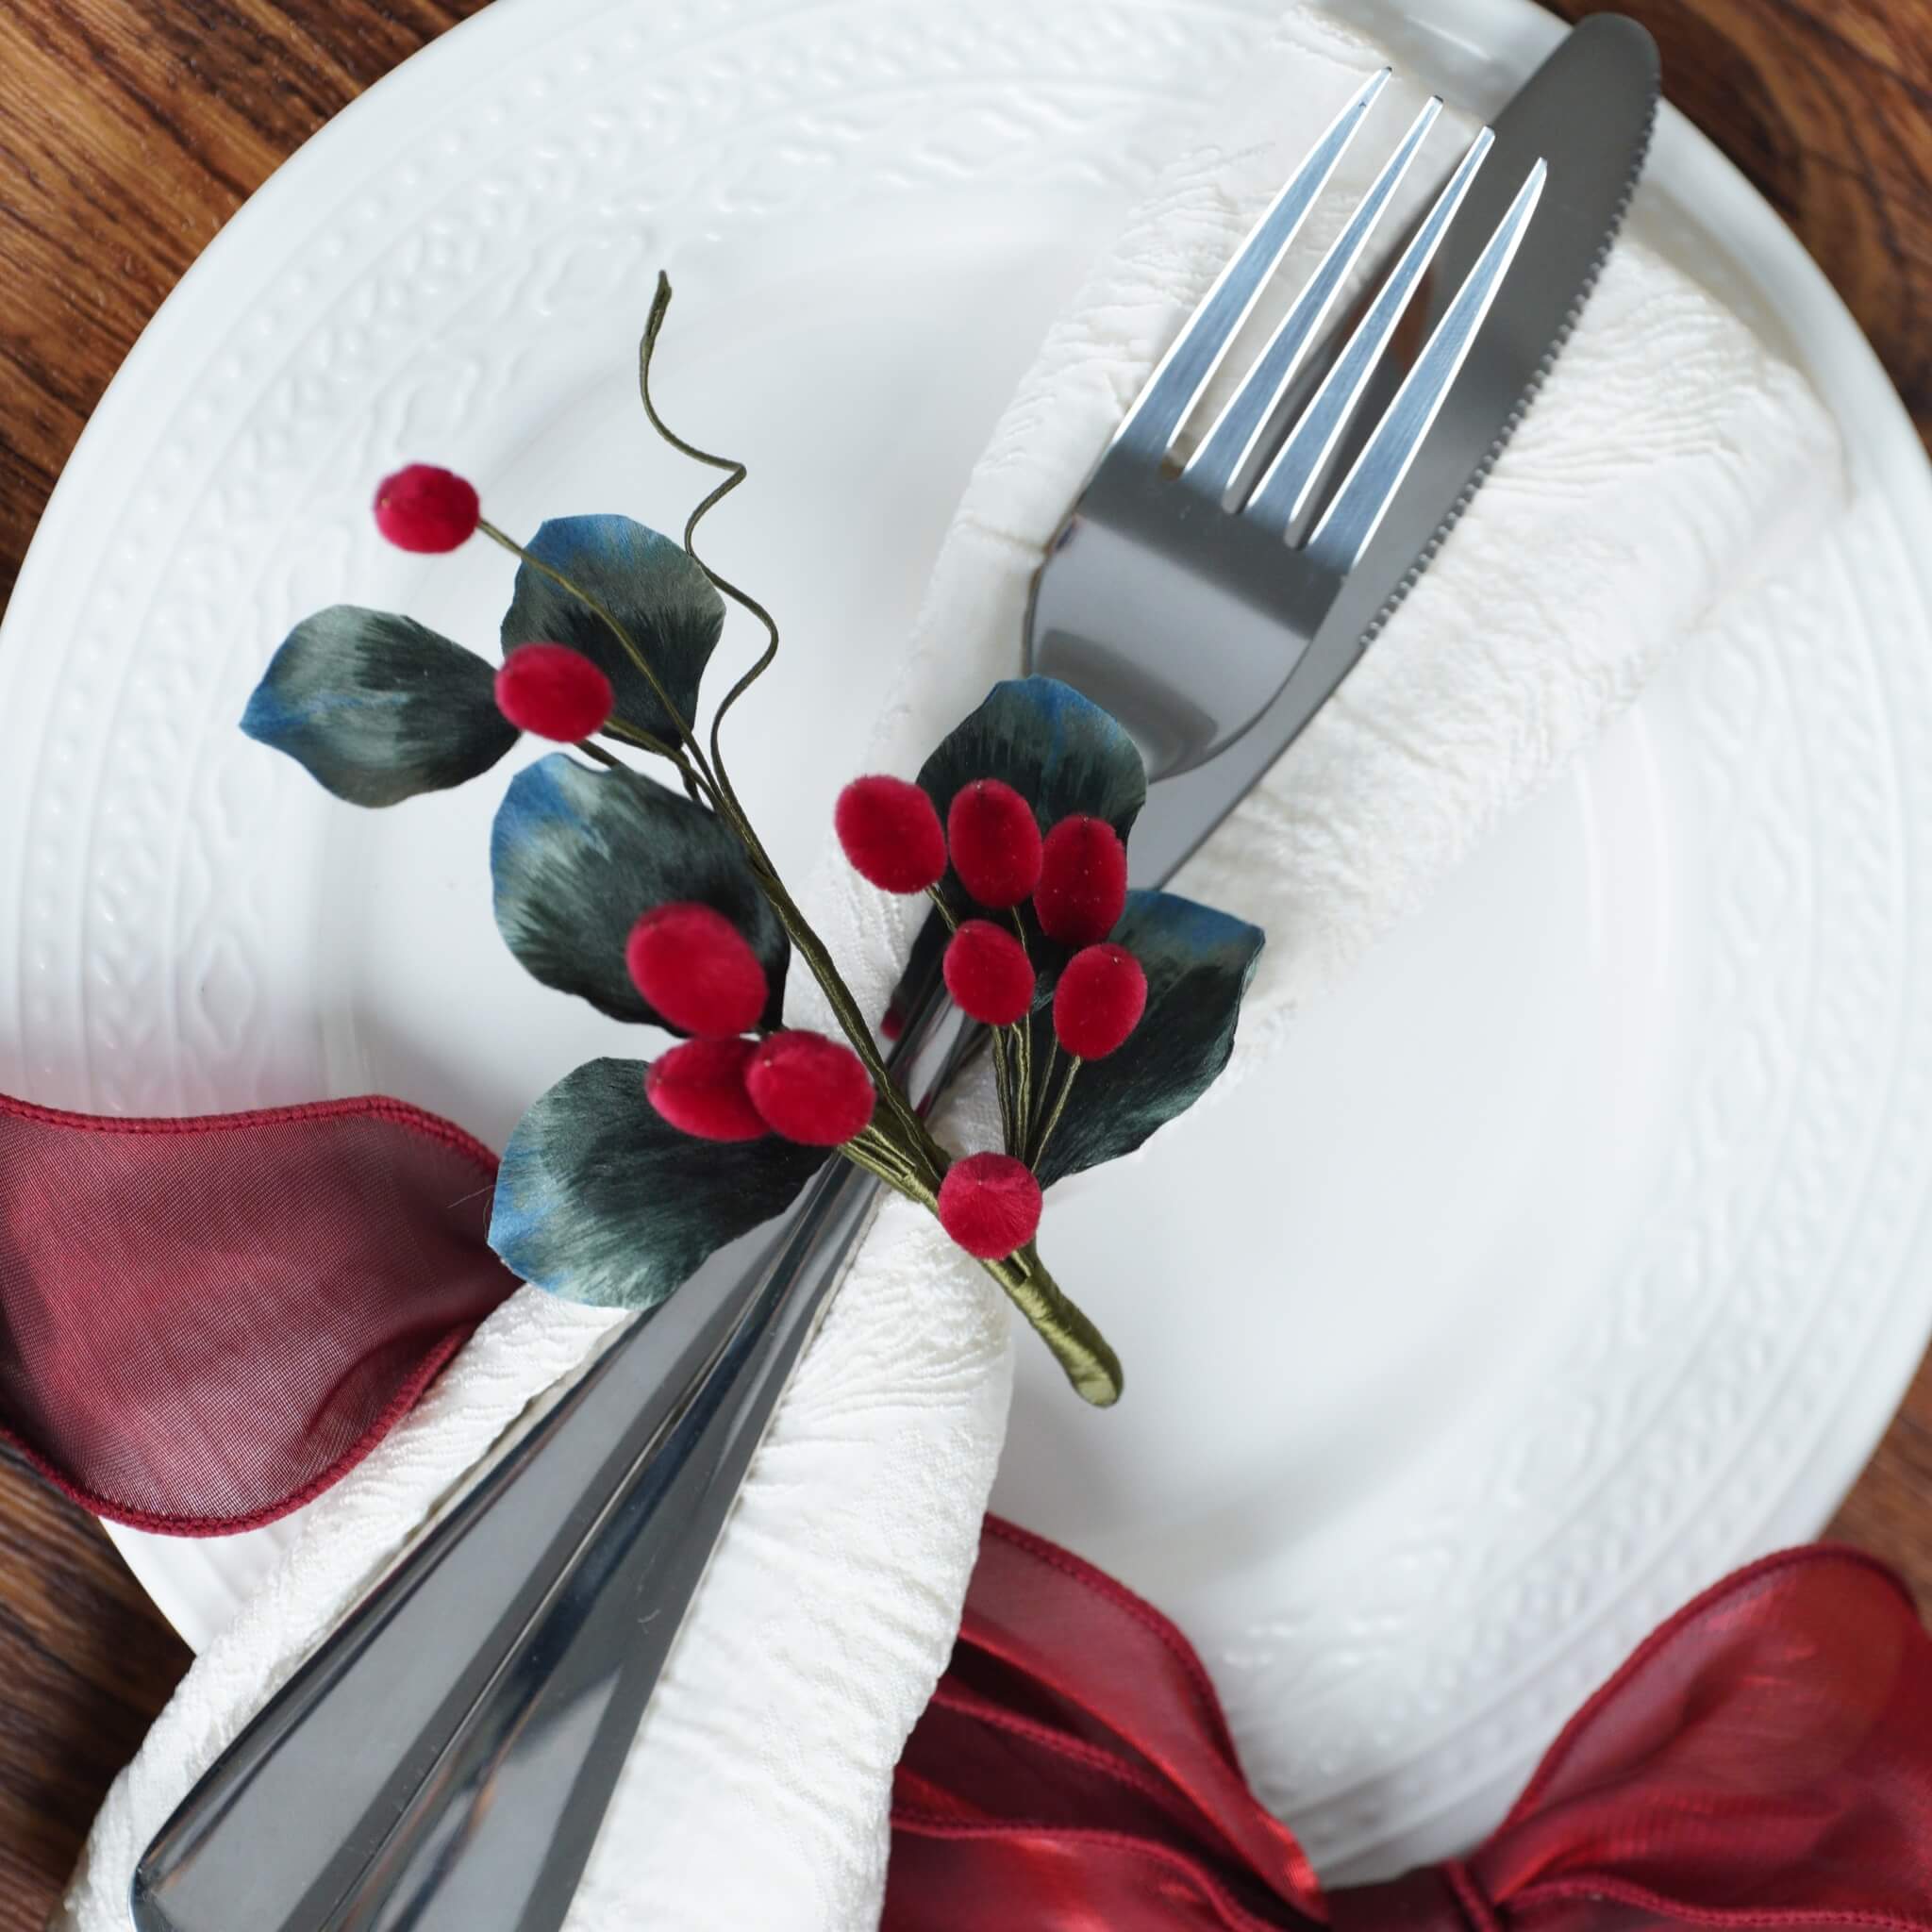
Délicat, festif, et saupoudré d'une touche de magie hivernale — la pièce Snowy Holly ronghua est une façon charmante d'illuminer votre table de fête ou votre tenue. Des baies rouges brillantes et des feuilles vertes scintillantes se combinent dans un design à la fois élégant et ludique. Qu'elle soit portée en broche ou enroulée autour d'une serviette, cette petite décoration ajoute une lueur artisanale à n'importe quel décor.
Préparation : ce dont vous aurez besoin
Si vous avez acheté notre Ronghua Toolkit, vous avez déjà tout ce qu'il faut !
Sinon, préparez les outils suivants :
- Brosse à poils (dureté moyenne à douce)
- Fer à lisser (celui que vous utilisez pour lisser vos cheveux)
- Pince à épiler
- Au moins 2 paires de ciseaux
- bâtons en bois / crayons / baguettes
- Laque ou colle blanche diluée (rapport 1:1,15–1:1,2)
- Grandes pinces (environ 15 cm)
- Planches à torsader et blocs en bois (pour une tension uniforme)
- Poudre antidérapante (optionnelle mais utile)
Vidéo tutoriel complète
Étape 1. Alignez et disposez les fils de soie
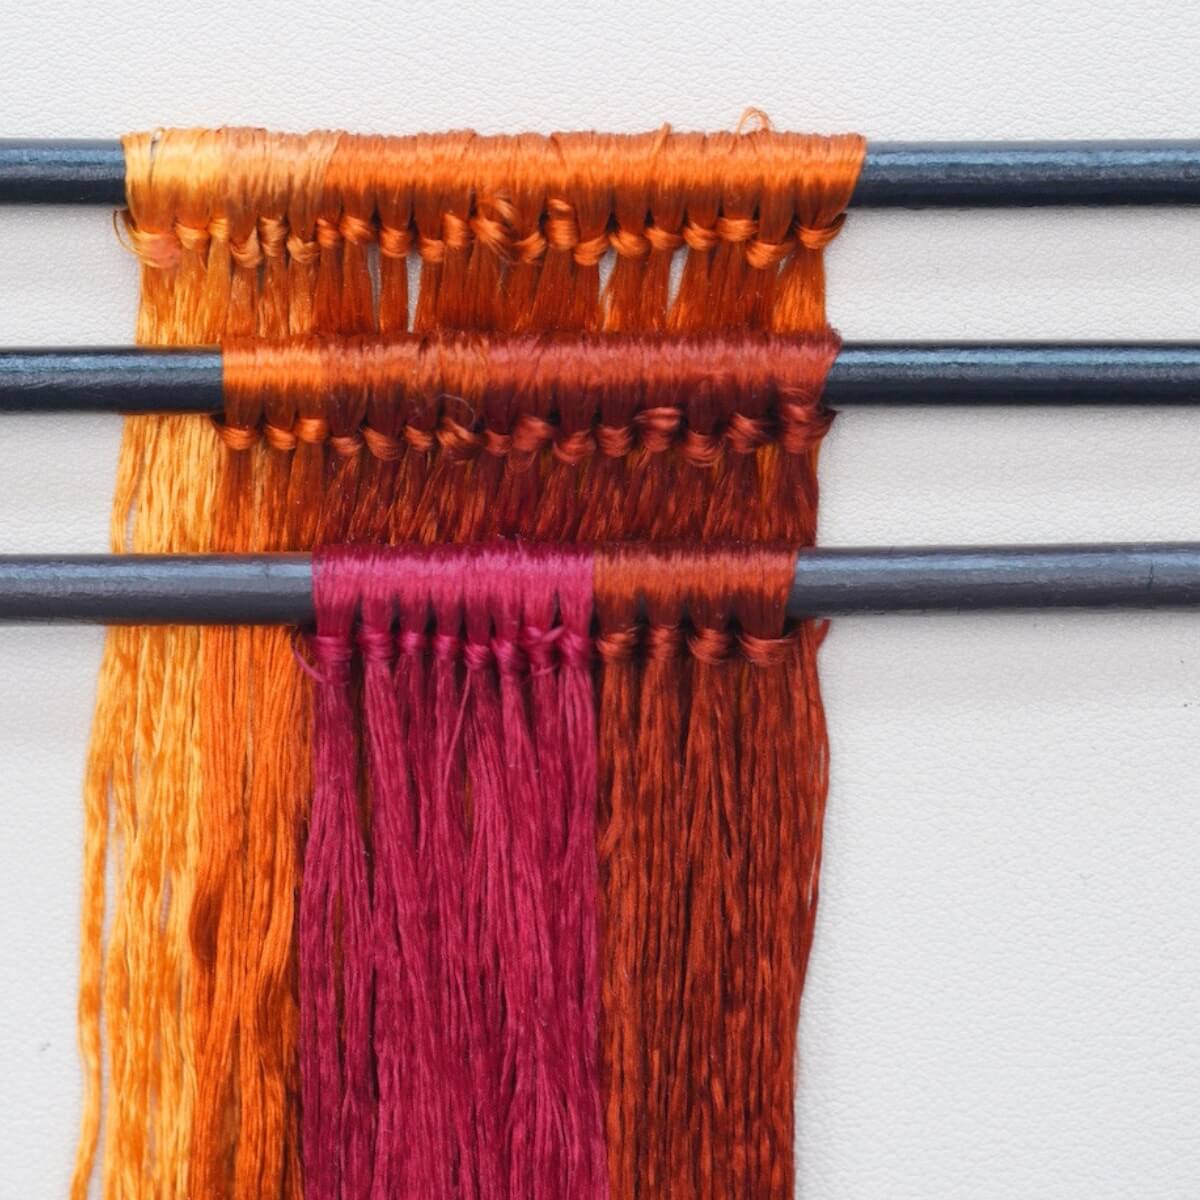
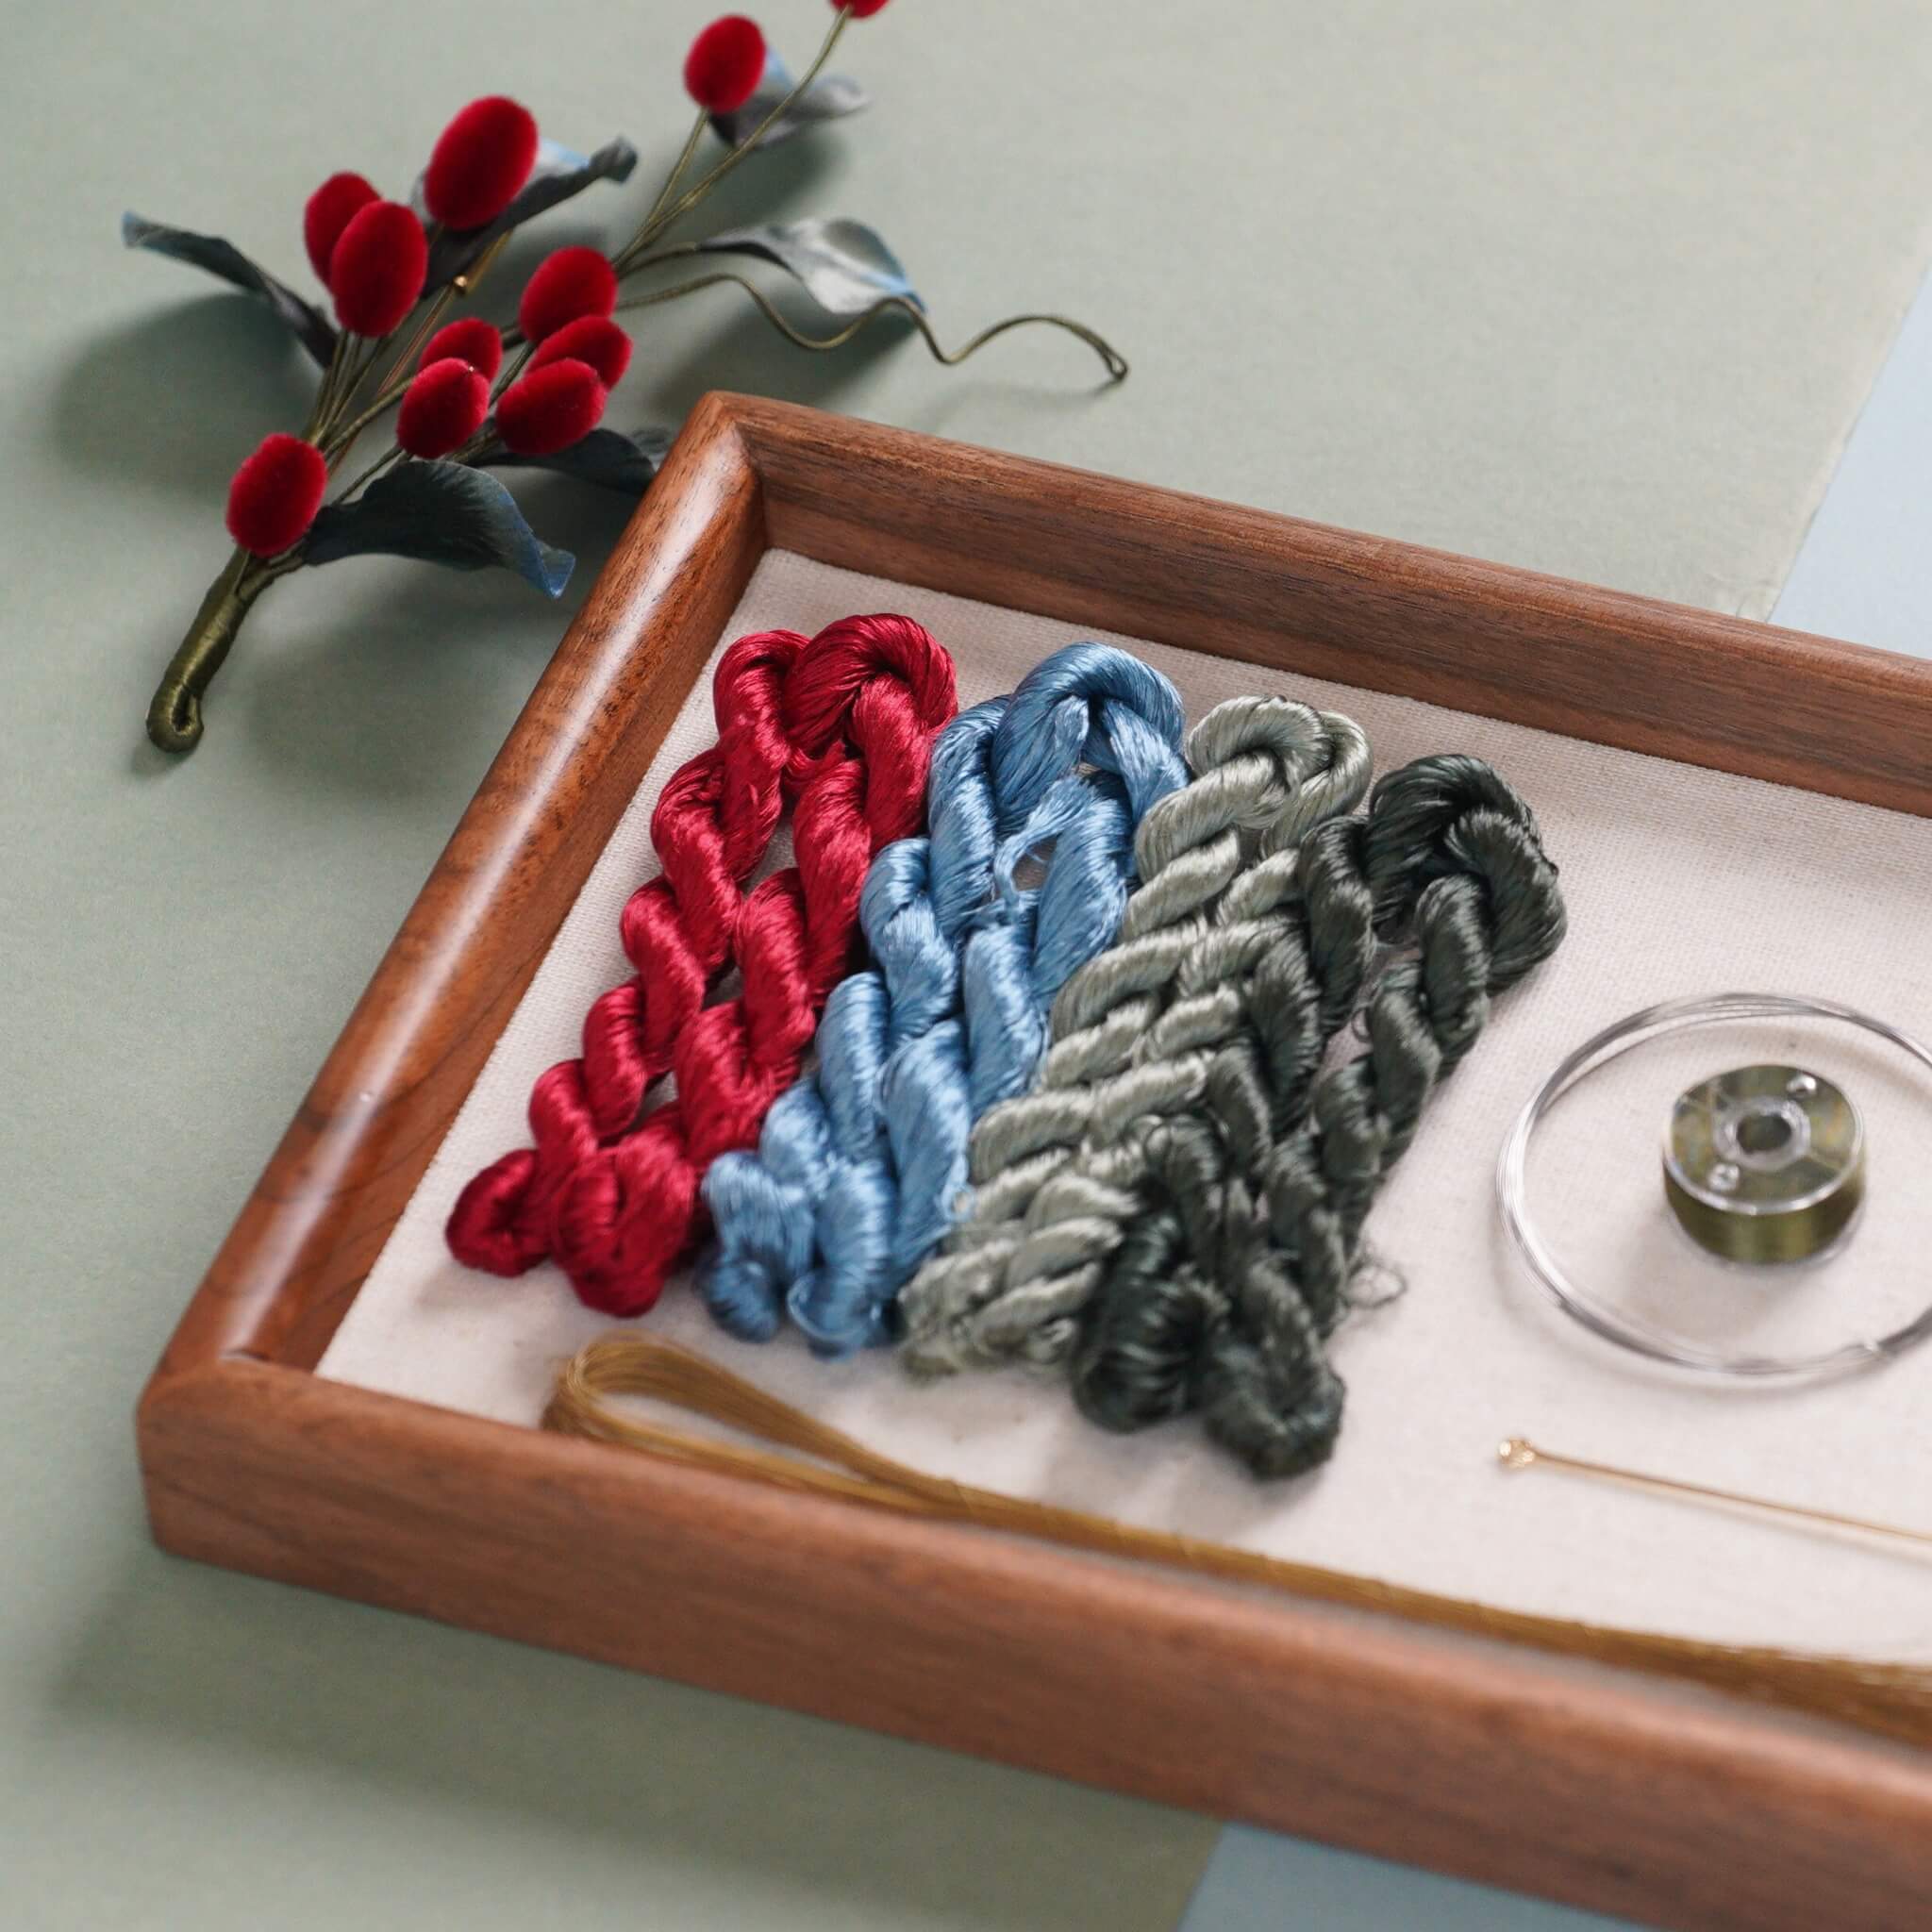
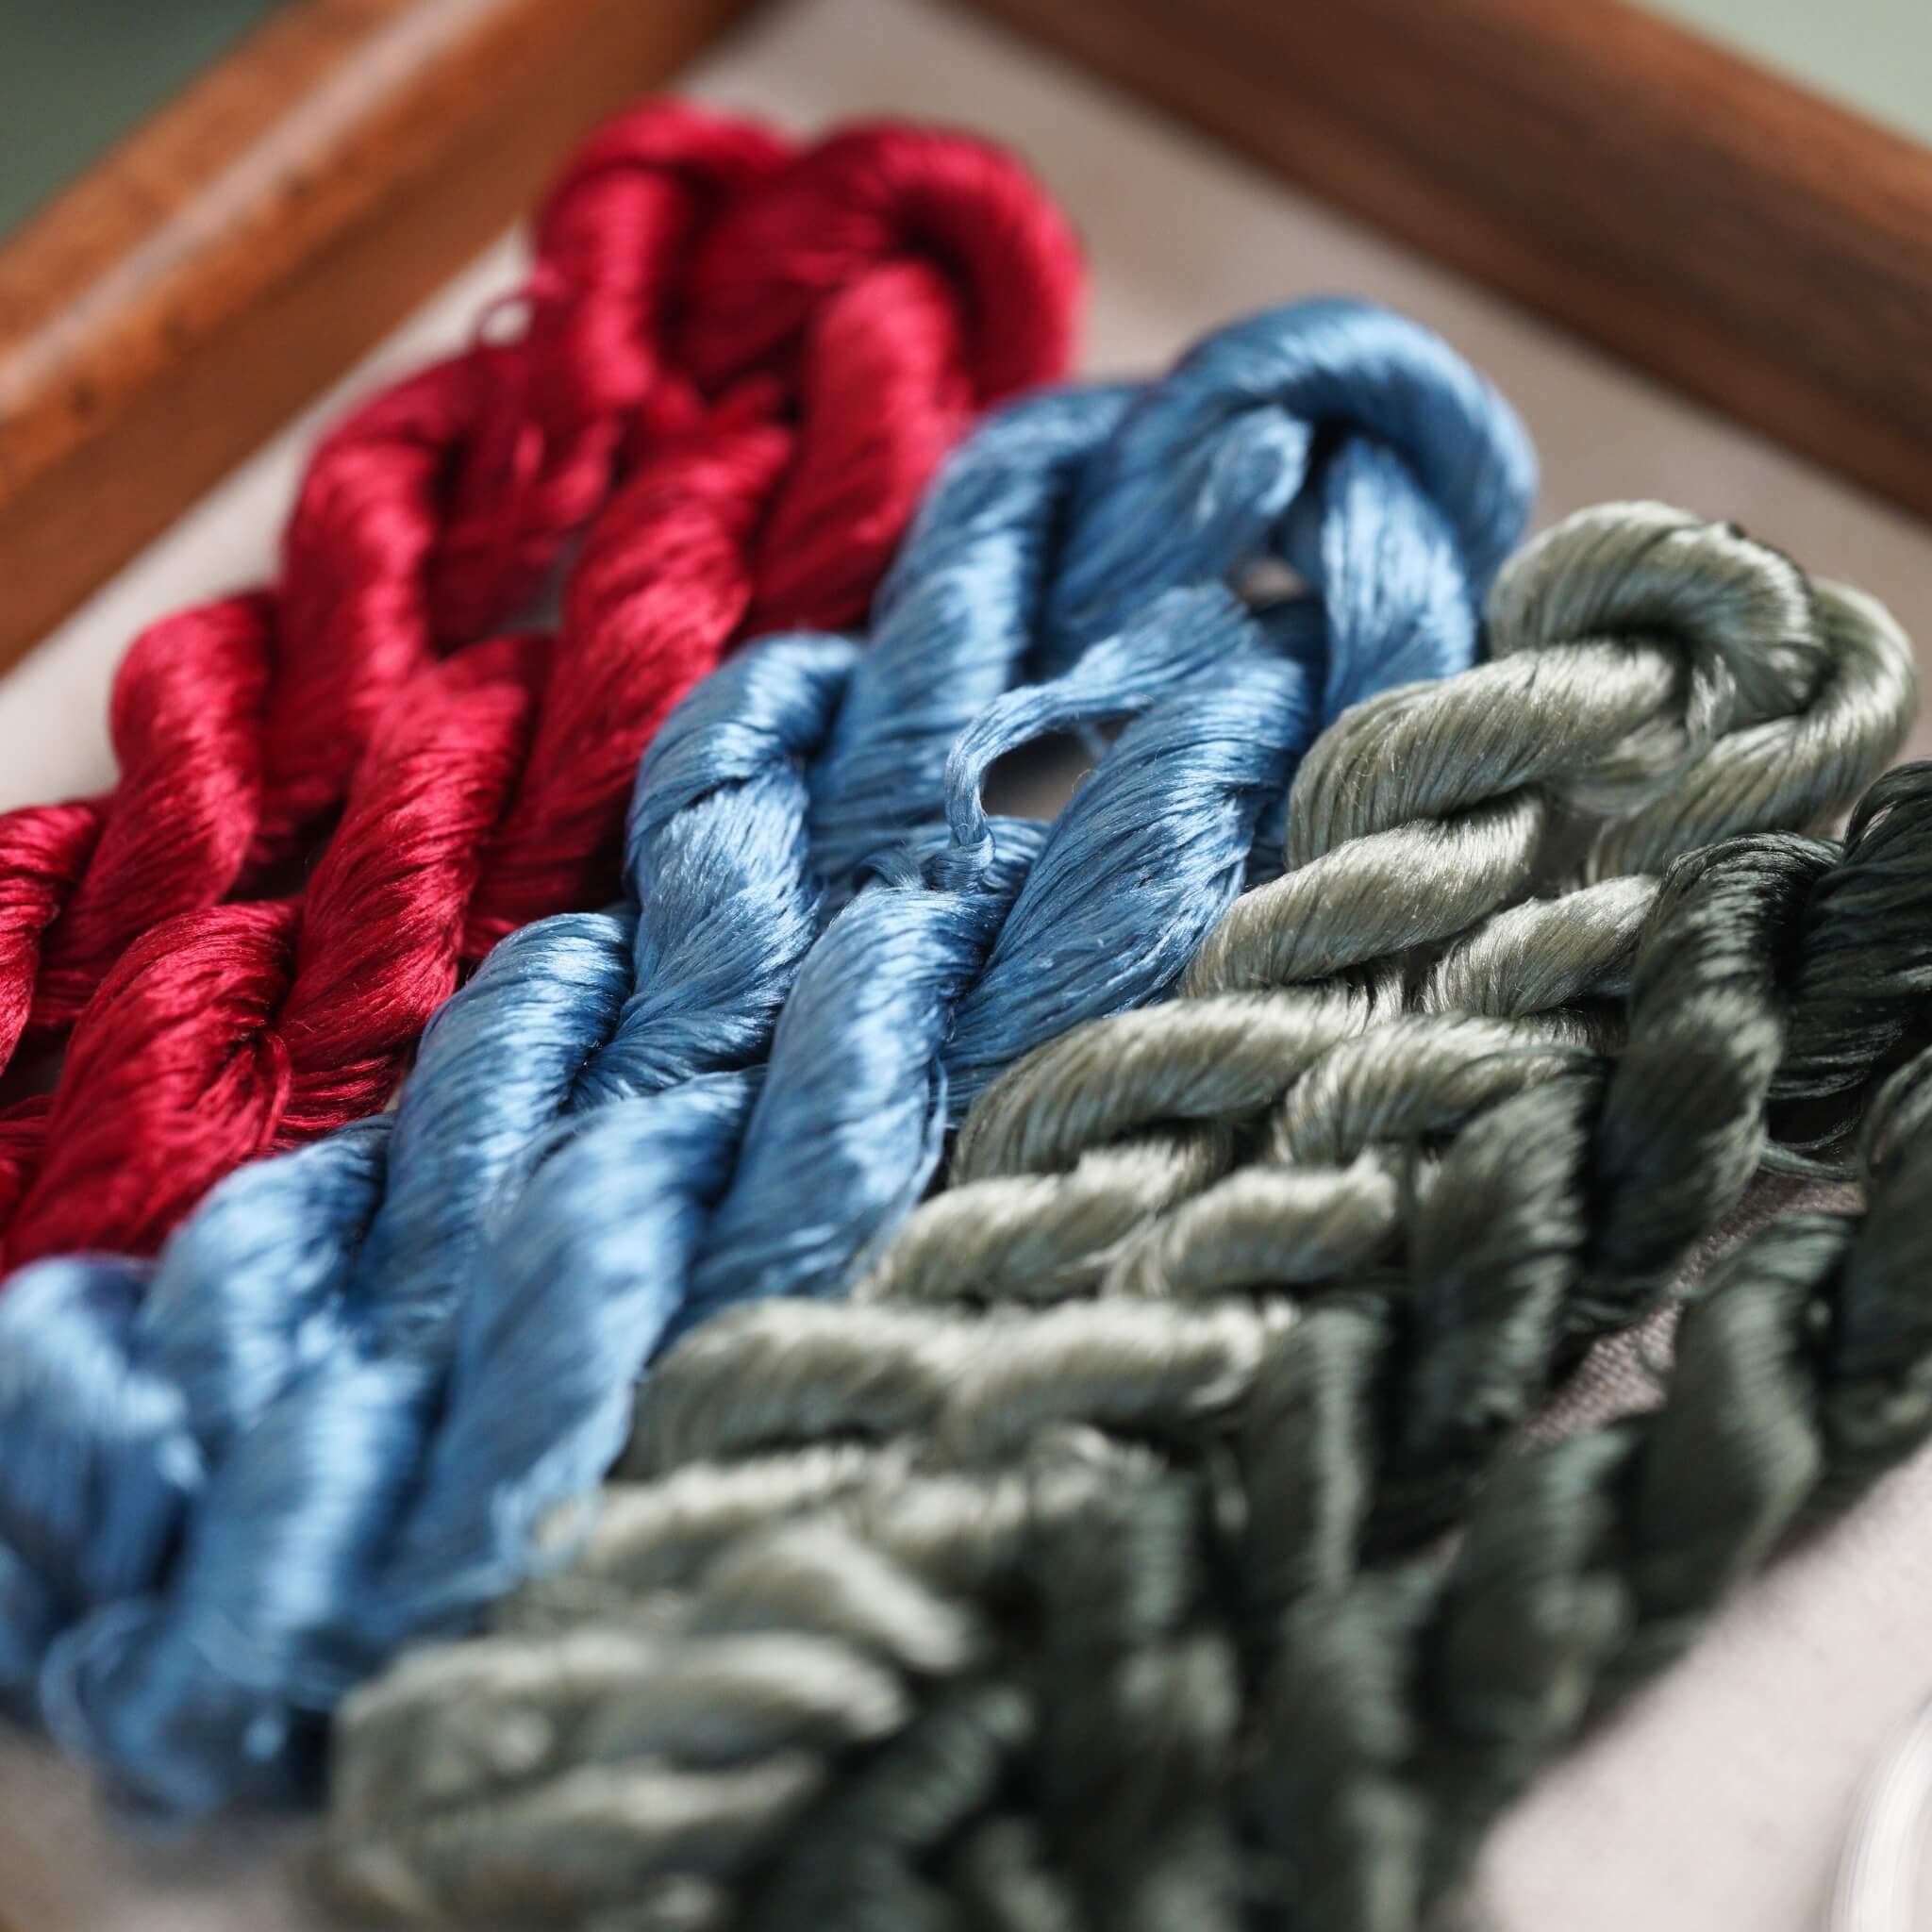
Commencez par dénouer vos fils de soie. Localisez le nœud à une extrémité de chaque paquet et coupez-le soigneusement. Ce projet utilise 6 couleurs de soie pour créer 3 rangées de soie. Reportez-vous au schéma des couleurs ci-dessous pour les détails de la combinaison des fils.

Étape 2. Regroupez et préparez les fils
Chaque paquet de soie est composé de petites structures filamenteuses — ce sont vos mèches individuelles.
Alignez soigneusement toutes les mèches et attachez-les autour d'un bâton fin, en gardant les extrémités égales. Évitez les longueurs inégales — cela garantit une texture uniforme par la suite.

Étape 3. Fabriquez les rangées de soie
Répétez le processus ci-dessus pour créer trois rangées de soie au total. N'oubliez pas de vous référer aux données fournies dans le schéma pour les rangées suivantes, car chacune diffèrera légèrement. Voici les rangées de soie finies que nous avons réalisées.

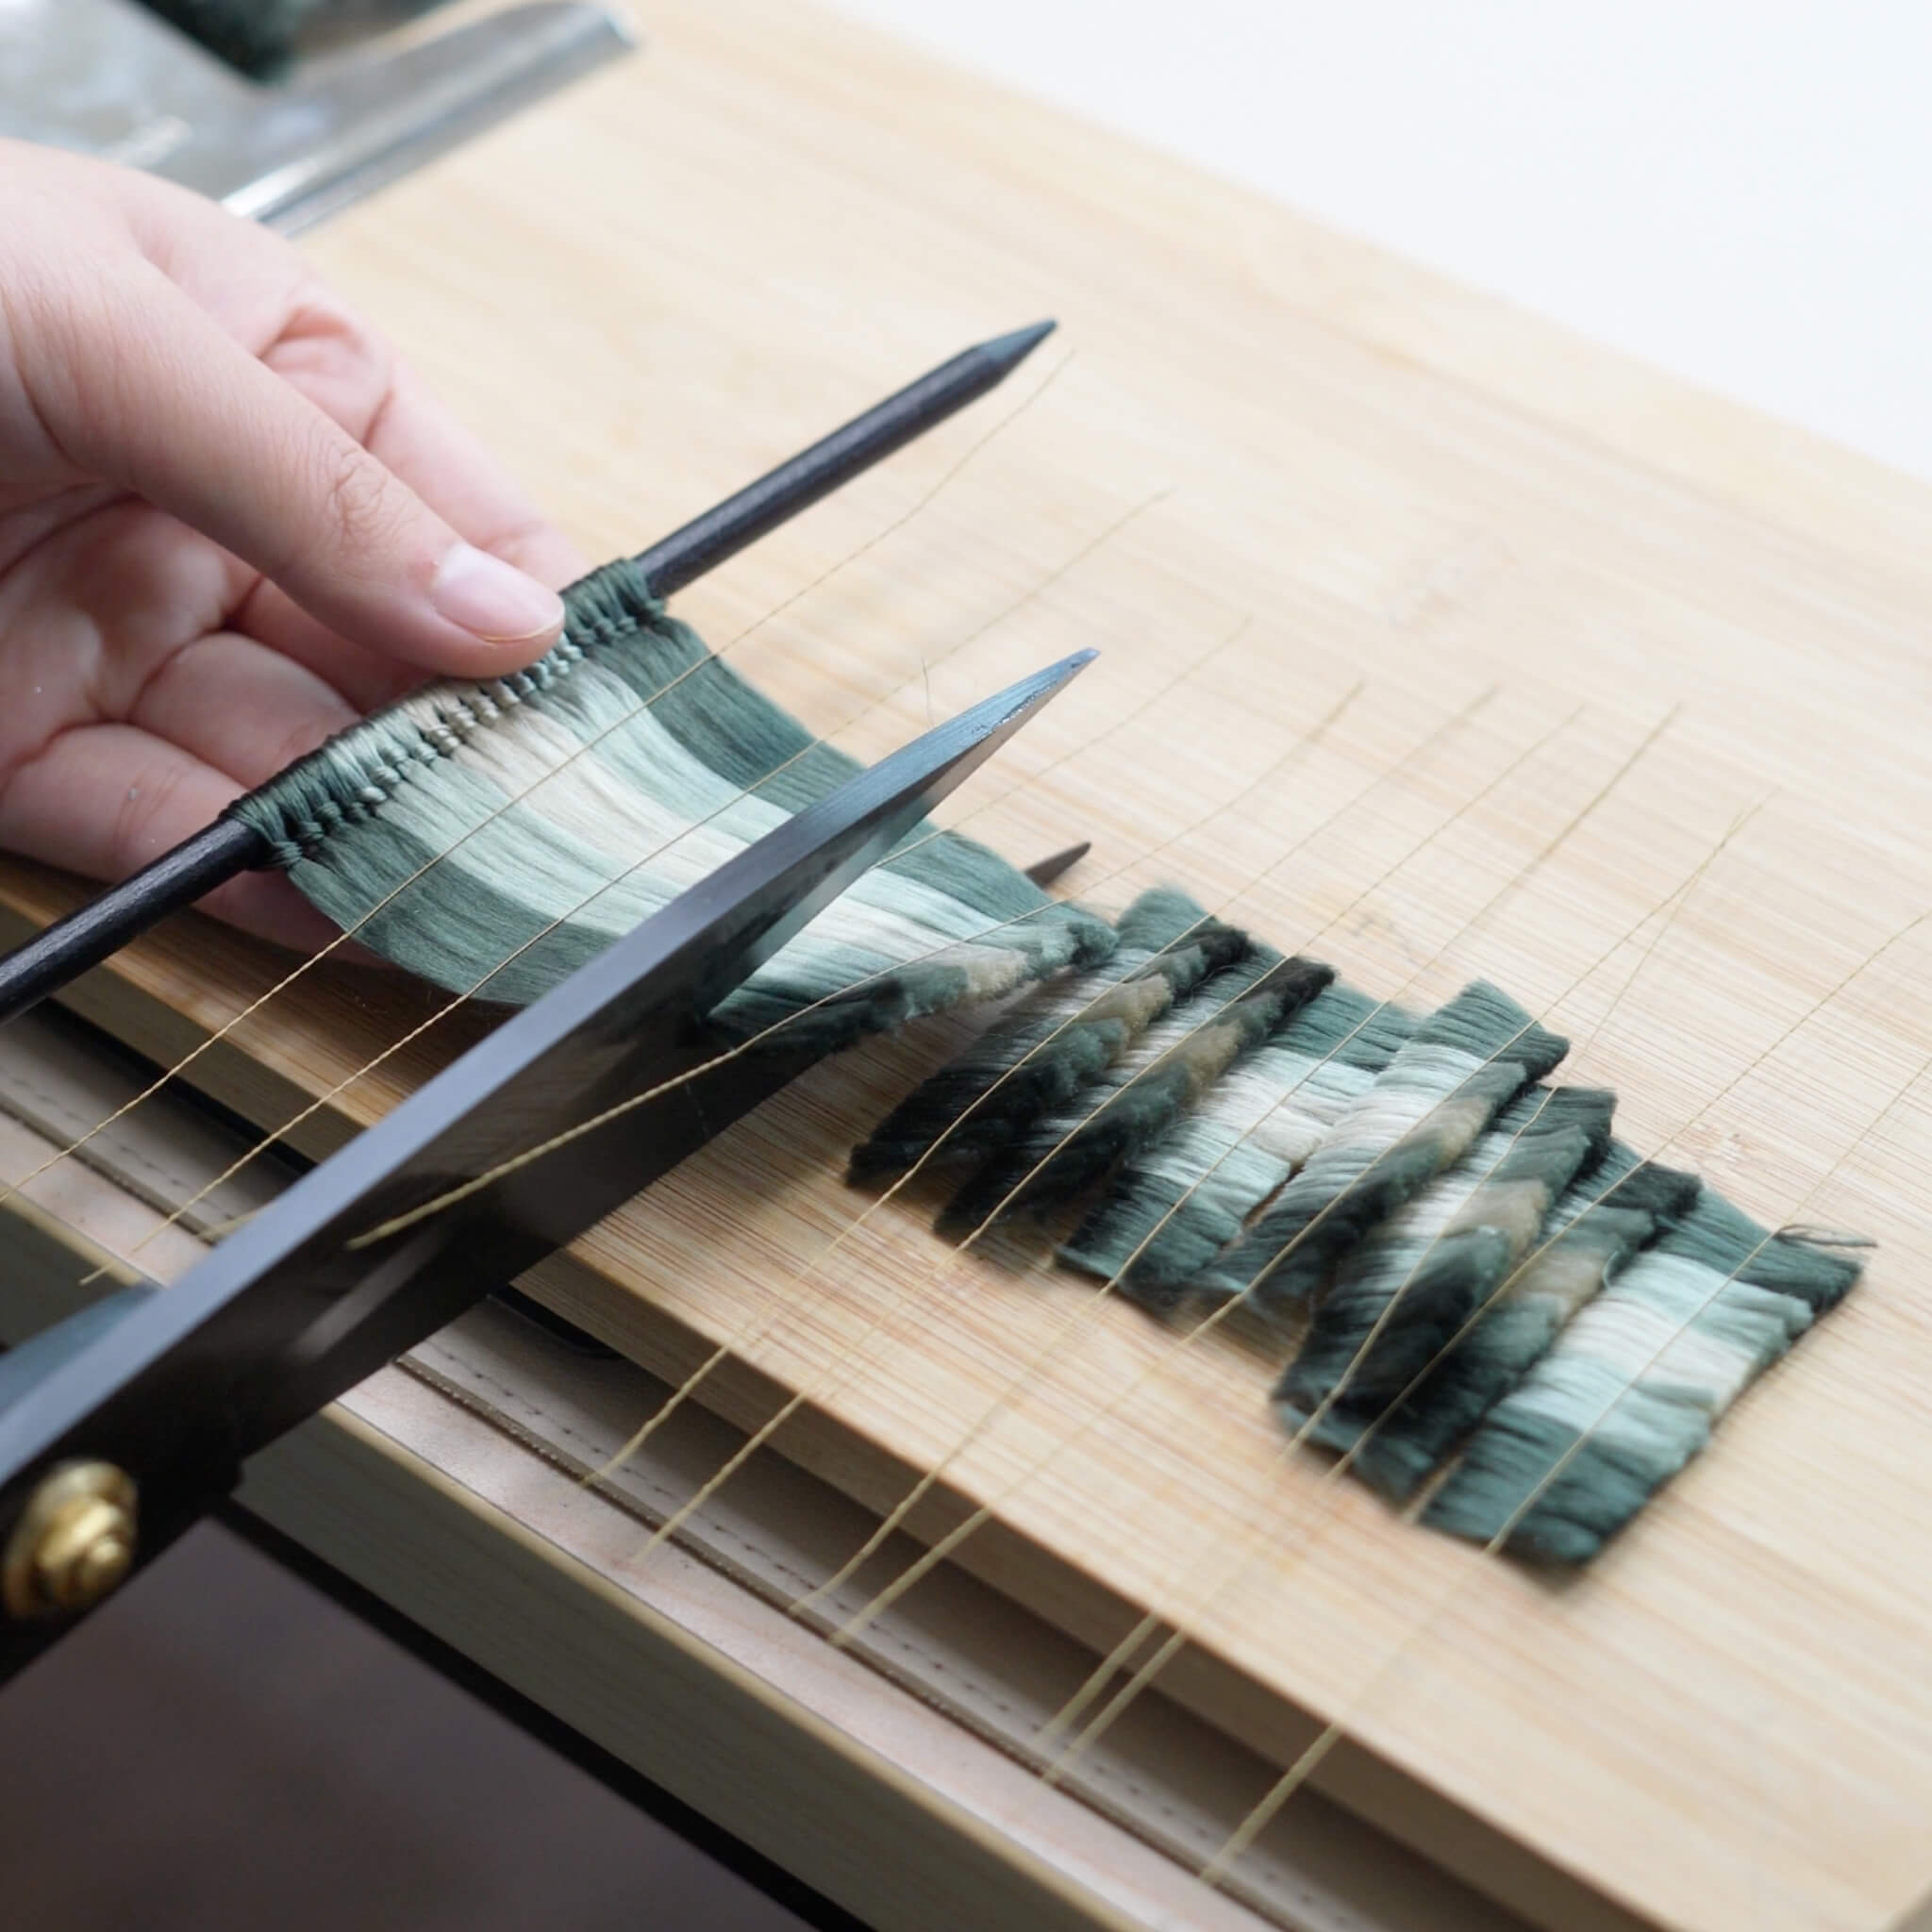
Étape 4. Brossez les rangées de soie
Fixez une rangée de soie sur votre support à l'aide de grandes pinces métalliques - si vous n'avez pas le support en bois ronghua, ce n'est pas un problème ! Vous pouvez consulter notre vidéo sur des solutions alternatives au support.
Tenez les extrémités des fils d'une main et brossez doucement mais fermement de haut en bas. Ne soulevez pas la brosse en cours de route. Une légère brume d'eau empêchera l'électricité statique. Vous pouvez appliquer un peu de pression — les fils de soie sont plus résistants qu'ils n'en ont l'air ! Assurez-vous de brosser les deux côtés, avant et arrière, jusqu'à ce que la rangée soit lisse et duveteuse.

Chacun utilise une brosse et une vitesse de main différentes, donc le temps nécessaire pour compléter cette étape varie aussi. En me prenant comme référence, il m’a fallu environ 10 minutes pour brosser cette rangée de soie. Quand vous sentez que les cheveux sont doux et duveteux, vous pouvez arrêter et vérifier. Lorsqu’il n’y a plus de distinction linéaire complète entre les fils, c’est prêt :)
Étape 5. Fixez les fils de cuivre
Quand vous sentez que la soie est suffisamment brossée, fixez sa queue avec une autre grande pince à votre table ou à tout ce qui peut aider à la tendre. Sortez un fil de cuivre de l’extrémité pliée de la rangée et redressez-le. Torsadez la partie pliée en une spirale d’environ 3 cm. Pincez les fils de soie entre deux fils de cuivre et torsadez fermement le côté opposé. Tirez les deux fils bien tendus et continuez à torsader jusqu’à ce qu’ils fusionnent en un seul. N’oubliez pas, la direction de torsion pour les extrémités gauche et droite est opposée.
L'espacement doit être comme montré à l'étape 1.
Si vous avez de la poudre antidérapante, il sera beaucoup plus facile d'y tremper vos doigts et de les tordre.
Nous vous recommandons vivement de regarder le tutoriel vidéo pour cette étape :)
Une fois terminé, retirez la rangée de soie du support et étalez-la à plat.
Étape 6. Coupez les bandes de soie
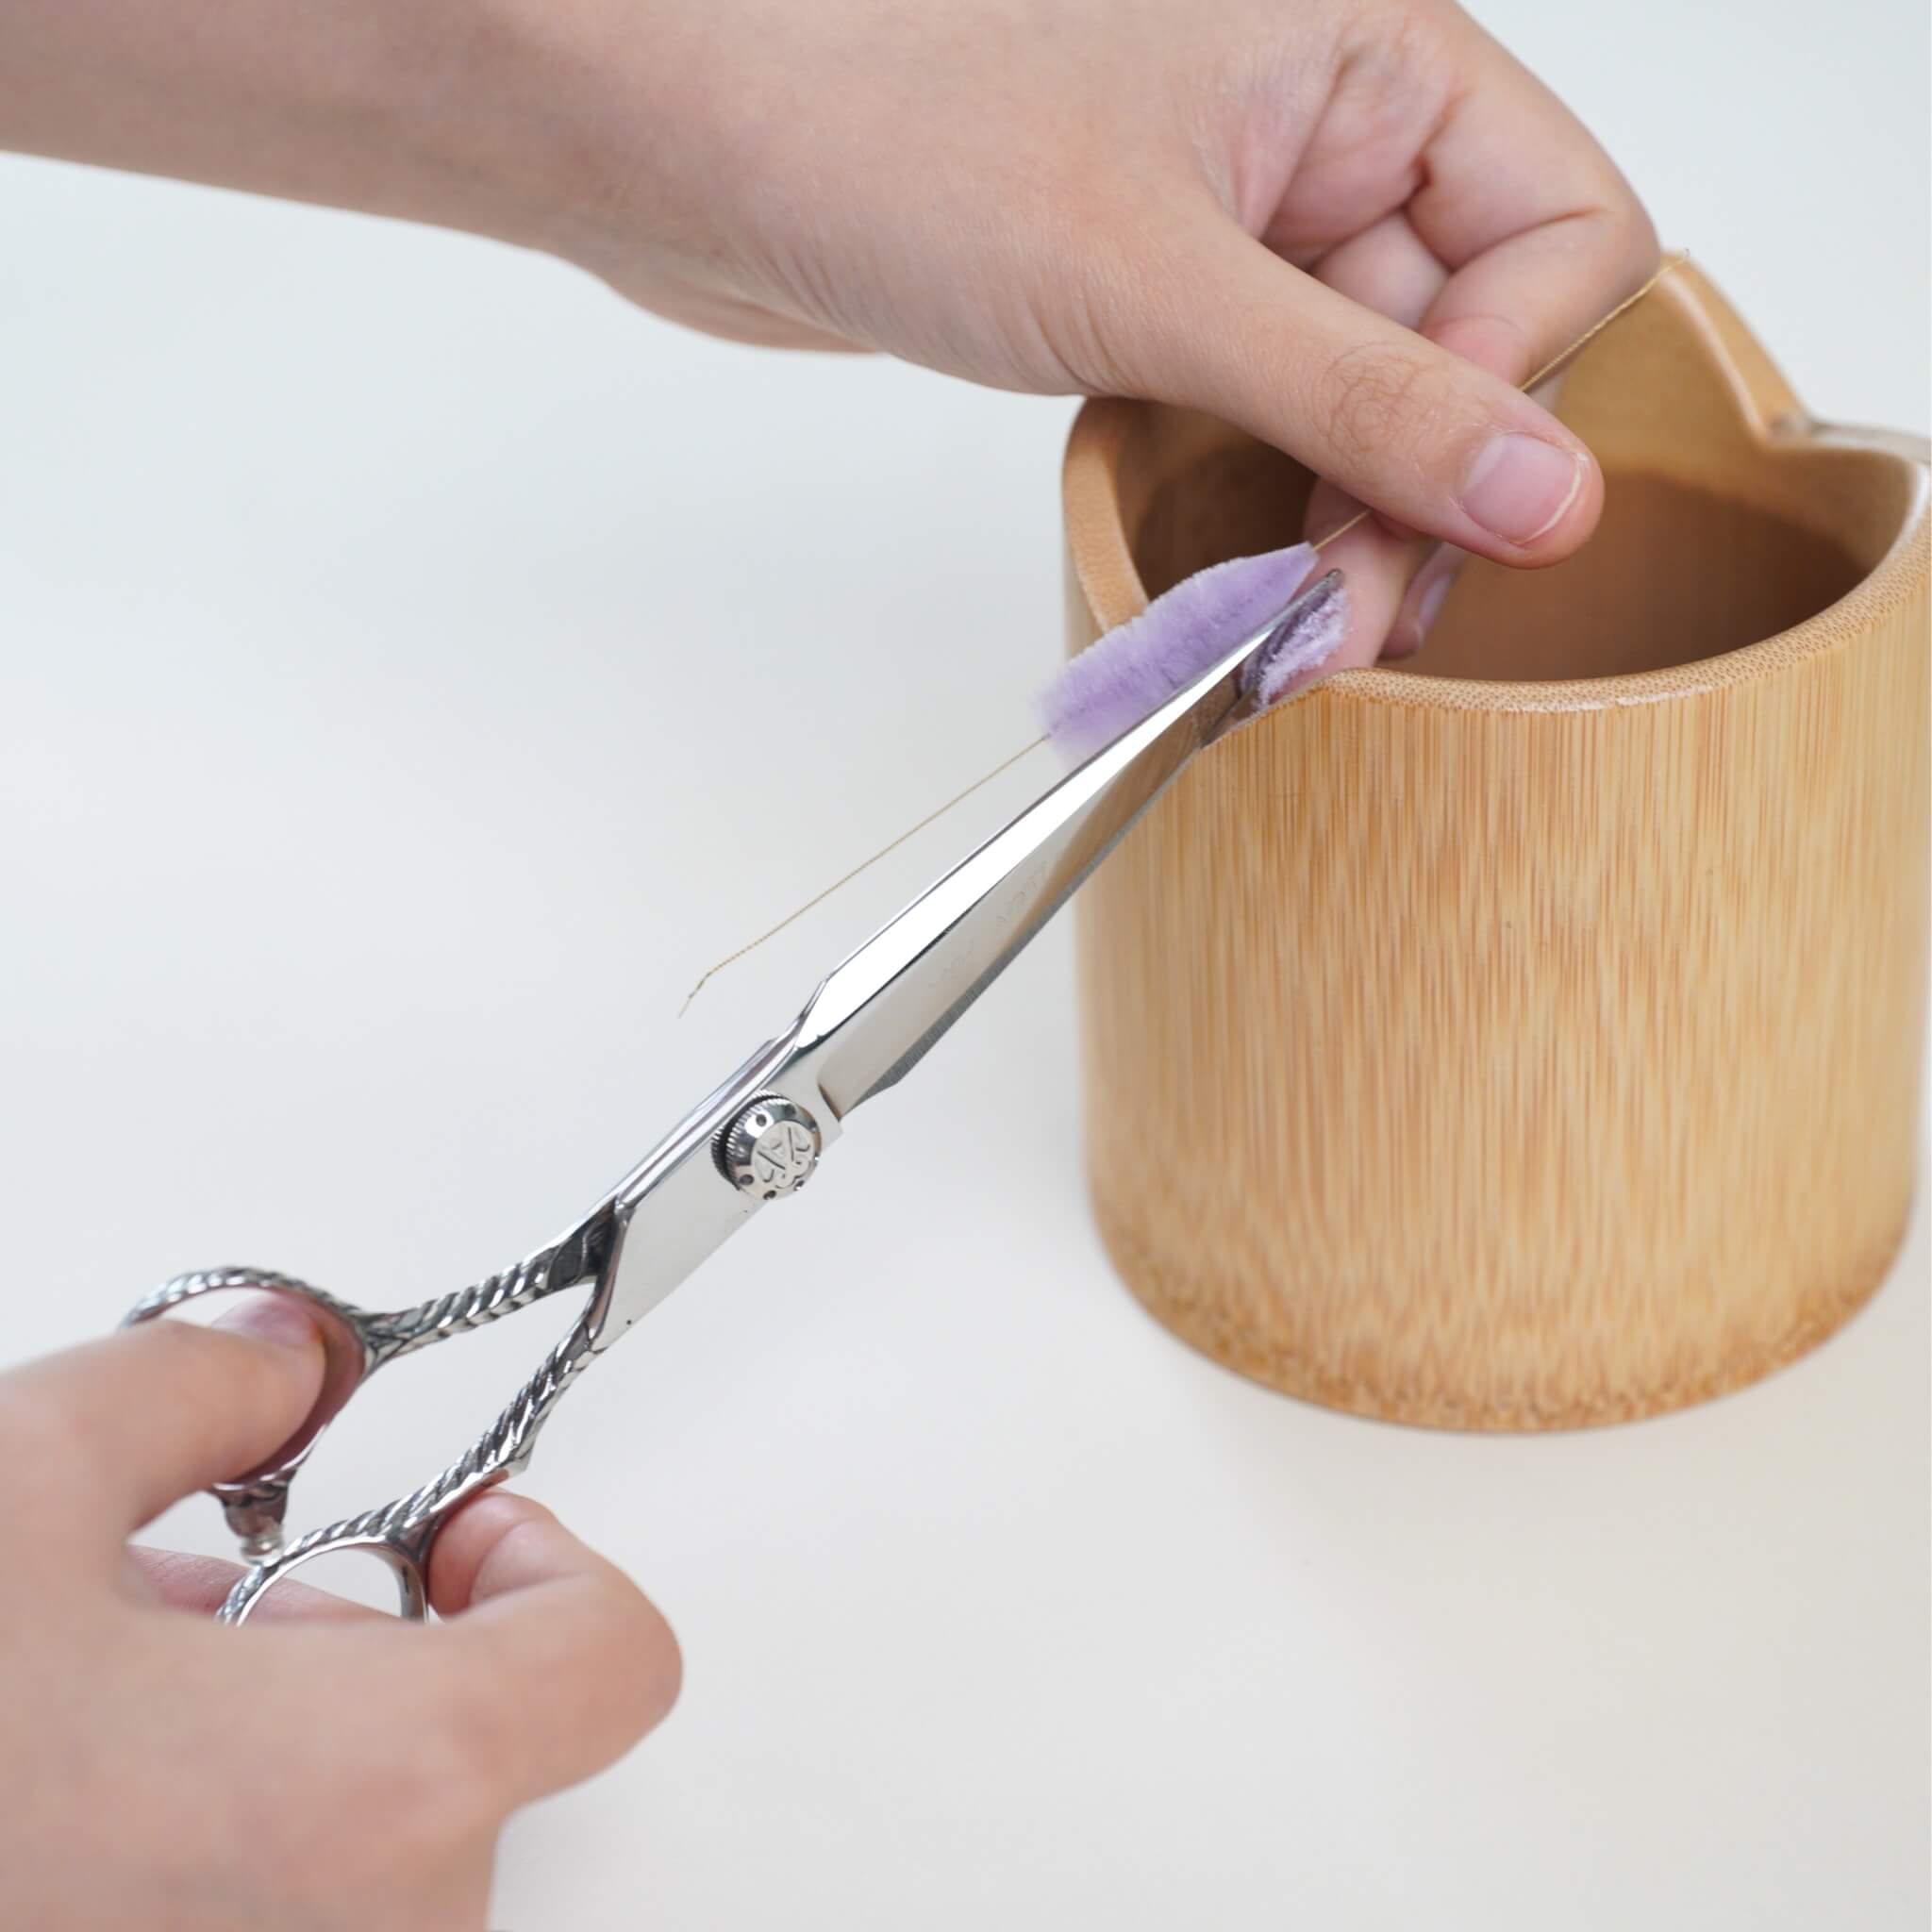
Taillez proprement l’extrémité de la rangée, puis coupez entre chaque paire de fils de cuivre pour créer des bandes de soie uniformes. Lors de la coupe, les ciseaux doivent être placés au milieu de deux fils de cuivre, sinon la largeur des bandes de soie sera inégale.
Si des fils collent à vos ciseaux, nettoyez-les — c’est généralement causé par de l’électricité statique ou des résidus. Coupez rapidement et proprement pour des bords lisses. Ne touchez pas le fil ou il pourrait se déplacer.

Étape 7. Centrez et torsadez les bandes
Alignez le fil de cuivre au centre de chaque bande en utilisant une surface plane ou un bloc de bois.
Une fois centré, tournez les deux mains dans des directions opposées pour serrer.

Ensuite, placez la partie en cuivre entre les planches de torsion et continuez à torsader dans la même direction. Arrêtez-vous lorsque le fil devient ferme — trop torsader peut le casser. Comment savoir si c’est assez serré ? Si le fil de cuivre est bien serré, il ne devrait apparaître que faiblement. S’il est très visible, ce n’est pas assez serré.

Étape 8. Aplatissez les bandes
Pliez la bande de soie en deux, alignez bien les extrémités, et torsadez à nouveau le fil de cuivre pour la sécuriser. Utilisez une pince à épiler pour pincer légèrement à la base de la bande afin de serrer la base.
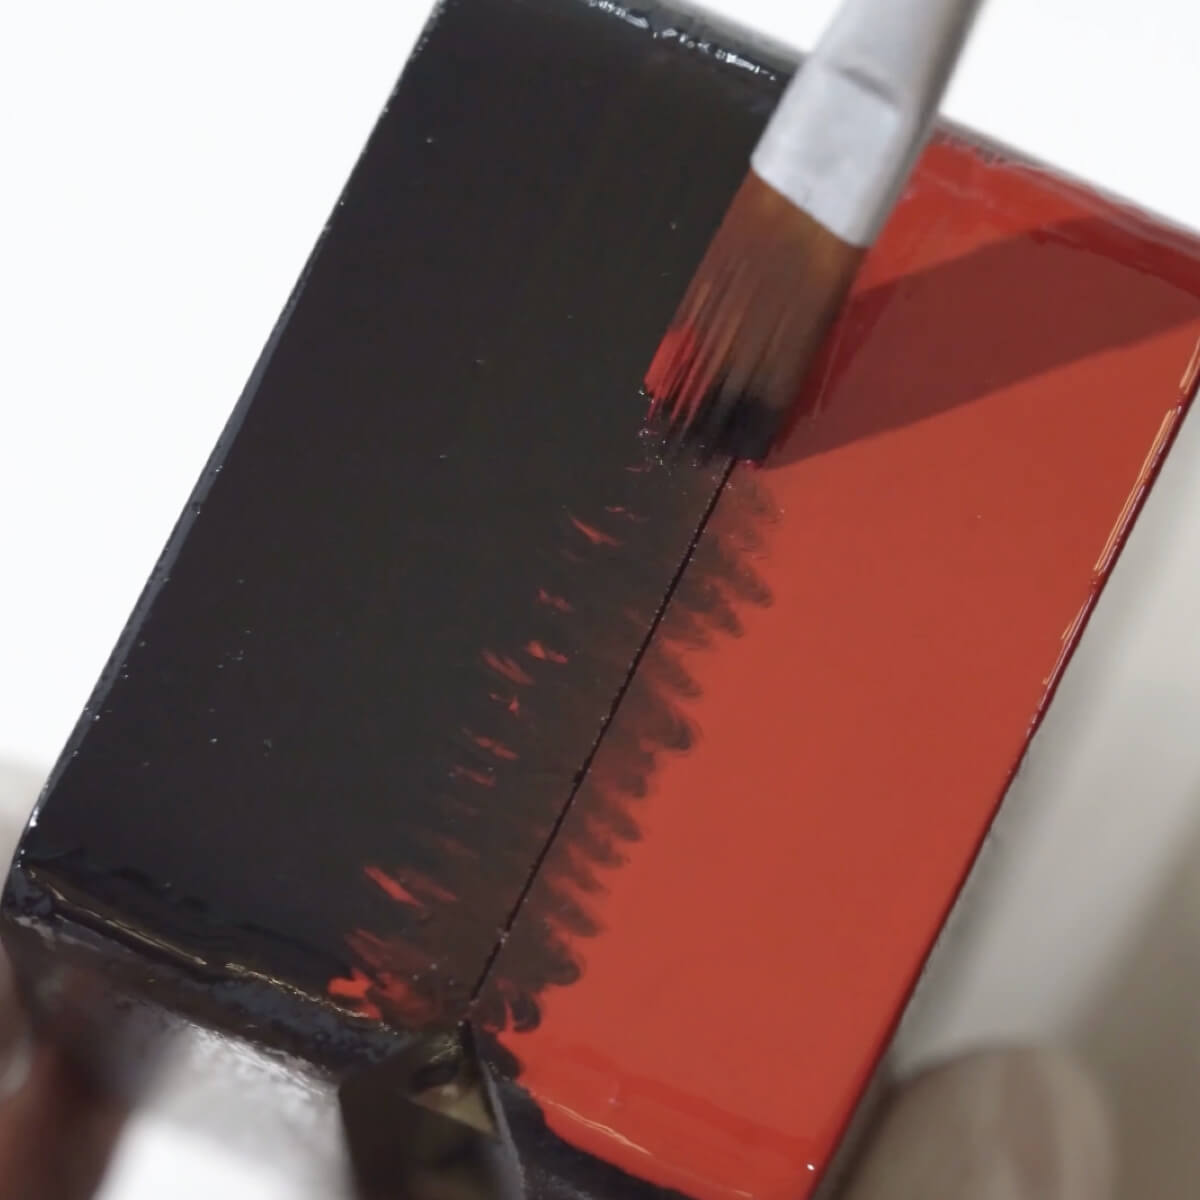
Une fois que le mini fer à lisser est chauffé, aplatissez les bandes de soie qui doivent l’être. Il est important de commencer à repasser depuis le bas de la bande et de remonter vers le haut. Si vous trouvez que ce n’est pas assez plat, vous pouvez répéter le processus. Le ruban adhésif sur le mini fer sert juste à le protéger des rayures causées par les fils de cuivre — il est tout à fait possible d’utiliser un fer sans ruban. Les bandes de soie rouges n’ont pas besoin d’être aplaties.

Ensuite, nous devons tremper les bandes aplaties.
Préparez votre solution de fixation :
- Utilisez soit de la laque, soit
- Colle blanche diluée avec de l'eau ou de l'alcool (rapport 1:1,15 ou 1:1,2)
Faites tremper les bandes aplaties dans une solution de gel coiffant, en vous assurant que le liquide pénètre bien les fibres. Essuyez l’excès de gel.

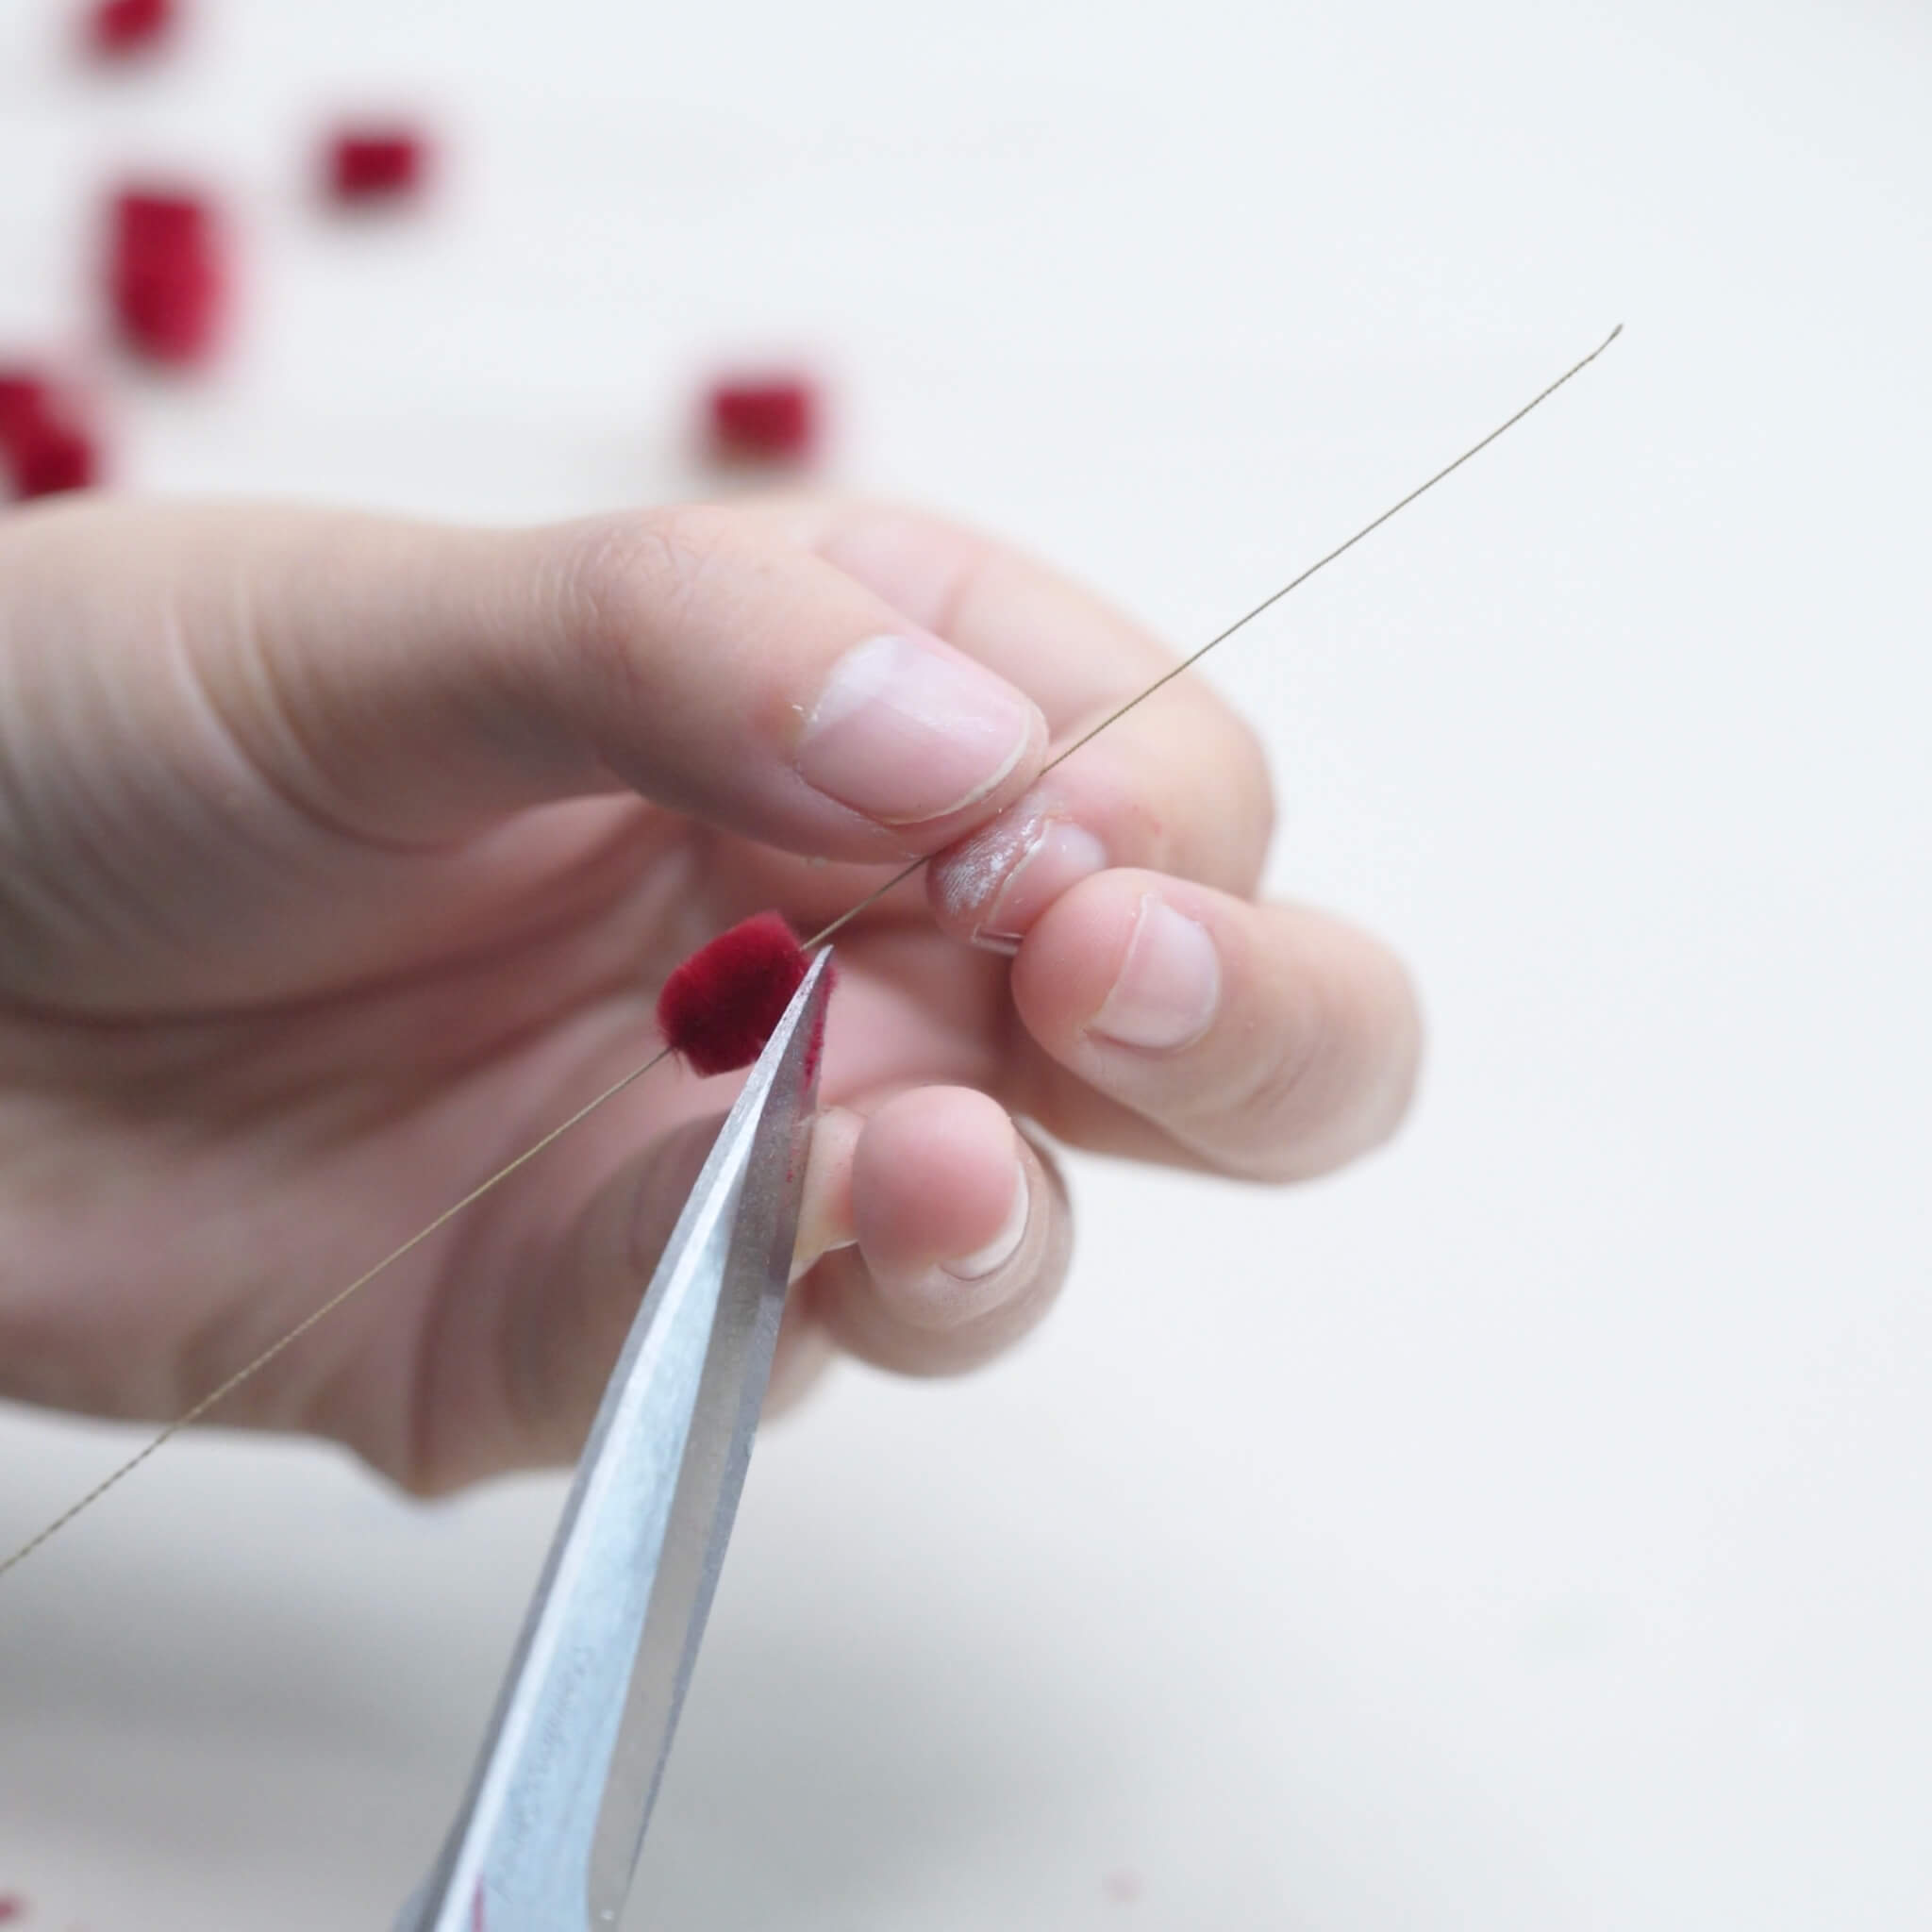
Étape 9. Effilez les bandes
Nous devons maintenant effiler les bandes de soie. Coupez chaque bande de façon à ce qu'elle soit plus large au milieu et plus étroite aux deux extrémités. Les deux types de bandes de soie rouges doivent être coupés en forme identique.

Pliez-les en deux et torsadez les extrémités pour les sécuriser.
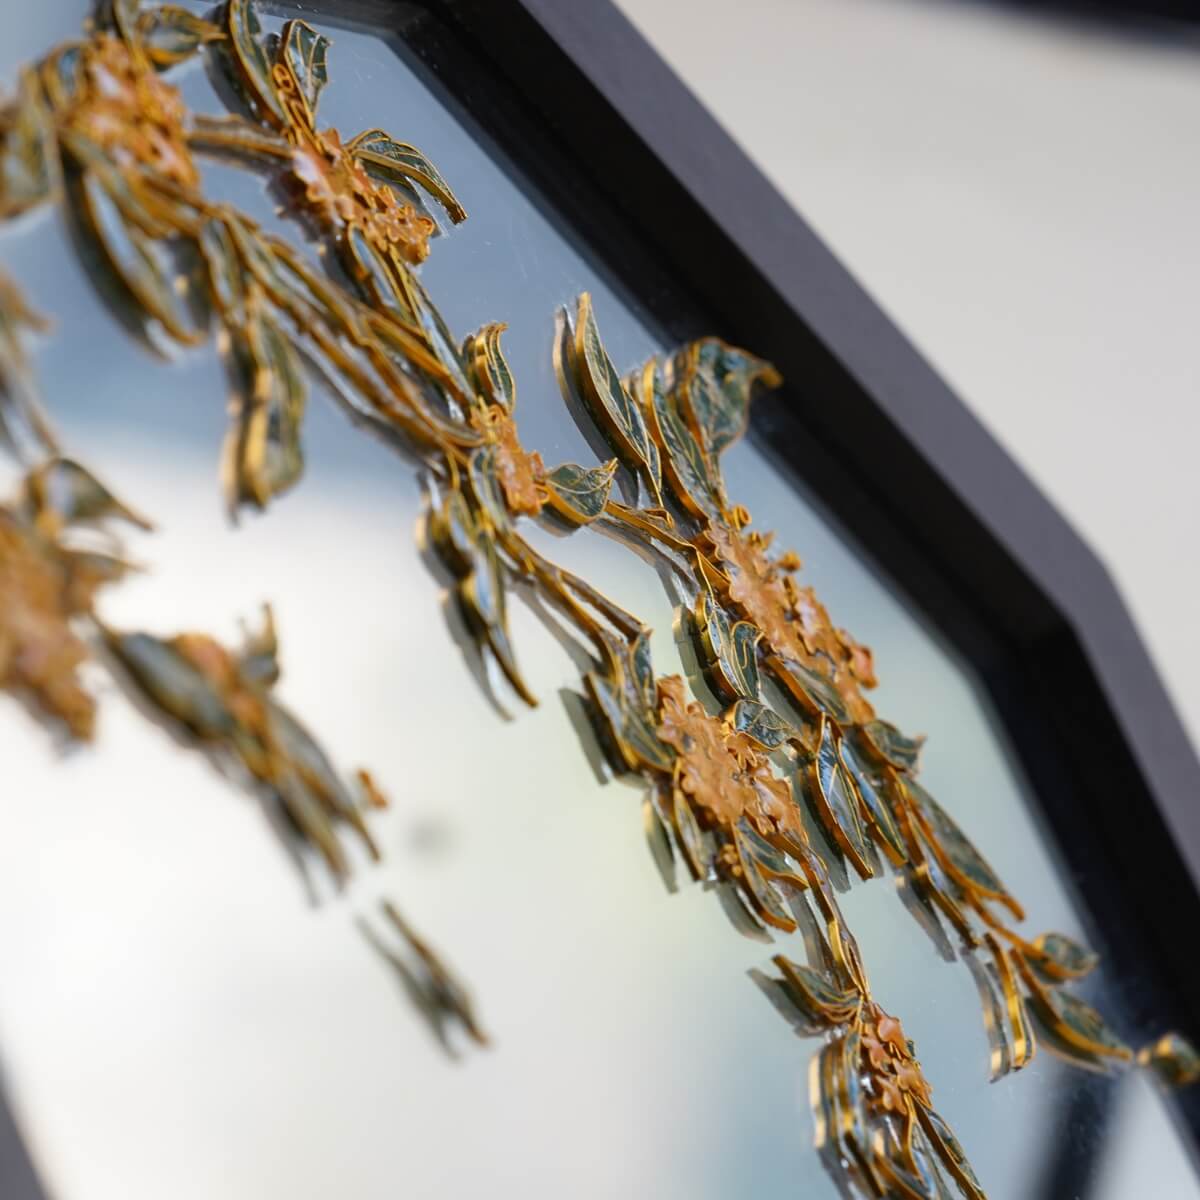
Étape 10. Fabriquez les feuilles
Nous allons commencer à fabriquer les feuilles en faisant d'abord le contour.
Coupez un morceau de fil de cuivre, légèrement plus long que ce que vous pensez nécessaire. Pliez-le en deux et torsadez-le. La longueur torsadée doit être plus longue que la largeur de votre grande planche à torsader ou à rouler. Vous pouvez utiliser un peu de tissu pour aider à pincer et tenir l'extrémité gauche du fil de cuivre pendant que vous le serrez avec une planche en bois.

Dessinez un motif de feuille sur du papier. La taille du motif ne doit pas être plus grande que votre bande de soie verte. Façonnez le fil de cuivre selon ce motif. Il est préférable de faire des feuilles grandes, moyennes et petites ; si cela vous semble trop compliqué, vous pouvez aussi toutes les faire de la même taille. N'oubliez pas d'utiliser les doigts de votre autre main pour tenir et stabiliser le fil pendant le façonnage. Une fois terminé, soulevez-le et ajustez un peu la forme.

Nous allons maintenant fabriquer les feuilles avec les bandes aplaties. Appliquez de la colle pour bijoux le long du bord du cadre en fil de cuivre. Placez le fil sur la bande de soie verte et pressez fermement pour que la soie adhère bien. Prenez ensuite un fil de cuivre droit, appliquez de la colle dessus et placez-le au centre de la feuille — cela servira de nervure principale et de support. Attendez environ 15 minutes, puis utilisez à nouveau le fer pour presser la feuille. Cela renforce non seulement la liaison de la colle, mais donne aussi une légère courbure à la bande de soie.

Une fois que tout est sec et bien fixé, coupez toute la soie dépassant du fil de cuivre pour ne laisser que la forme nette de la feuille.
Étape 11. Assembler la pièce
Nous pouvons maintenant assembler le houx. Enroulez la tige principale en cuivre avec du fil de soie. Vous pouvez regrouper plusieurs brins de fil pour que l'enroulement soit plus rapide et plus fluide. Commencez à fixer les bandes de soie rouges — ce sont vos baies.
Mélangez les deux nuances de rouge, en les disposant dans l'ordre montré dans la vidéo ou en un dégradé naturel. Utilisez les feuilles plus petites en haut et les plus grandes en descendant, pour que la composition soit équilibrée.

Utilisez des ciseaux pour couper le fil de cuivre inférieur en biais. Continuez à enrouler le fil vers le bas jusqu'à la fin, puis remontez en enroulant. Pliez l'extrémité du fil de cuivre et continuez à enrouler pour sécuriser la partie pliée.
Pour finir sans trace, Prenez un autre morceau de fil de cuivre, pliez-le en deux et placez-le à côté des fils existants. Continuez à enrouler, en vous assurant que le fil couvre complètement le fil de cuivre plié. Lorsque vous êtes prêt à finir, passez le fil de travail à travers la boucle de ce fil plié et tirez-le — cela cache l'extrémité du fil à l'intérieur de l'enroulement. Enfin, coupez l'excédent de fil.
Nous vous recommandons vivement de regarder le tutoriel vidéo pour cette étape :)
Ajustez la position des feuilles pour que la composition paraisse naturelle. Utilisez une pince à épiler pour ajuster les baies rouges également. Évitez que les bandes de soie ne se pressent trop l'une contre l'autre, sinon leurs formes peuvent facilement se déformer. Utilisez votre doigt pour tamponner un peu de poudre de mica sur les feuilles afin d'ajouter un léger éclat givré. Et voilà, une pièce de houx en soie est terminée.
Étape 12. Fixer la pièce à l'anneau
Pour le fil utilisé ici, deux fils de cuivre sont torsadés en un seul pour plus de solidité. Enroulez la fleur et l'anneau de serviette ensemble en utilisant ce fil torsadé. Veillez à bien tendre le fil au fur et à mesure et à garder les tours serrés sans espaces. Il est préférable d'utiliser un fil légèrement plus long pour que la fixation soit plus sûre. Une fois terminé, coupez l'excédent de fil et pressez fermement les extrémités. Coupez les parties encore pointues.
Si vous n'êtes pas à l'aise avec la fixation au fil de cuivre, vous pouvez utiliser du fil à coudre à la place.

Astuce : si vous souhaitez en faire une broche plutôt qu'un anneau de serviette, la méthode de fixation est essentiellement la même.
Allez-y, essayez donc !


Laisser un commentaire
Tous les commentaires sont modérés avant d'être publiés.
Ce site est protégé par hCaptcha, et la Politique de confidentialité et les Conditions de service de hCaptcha s’appliquent.