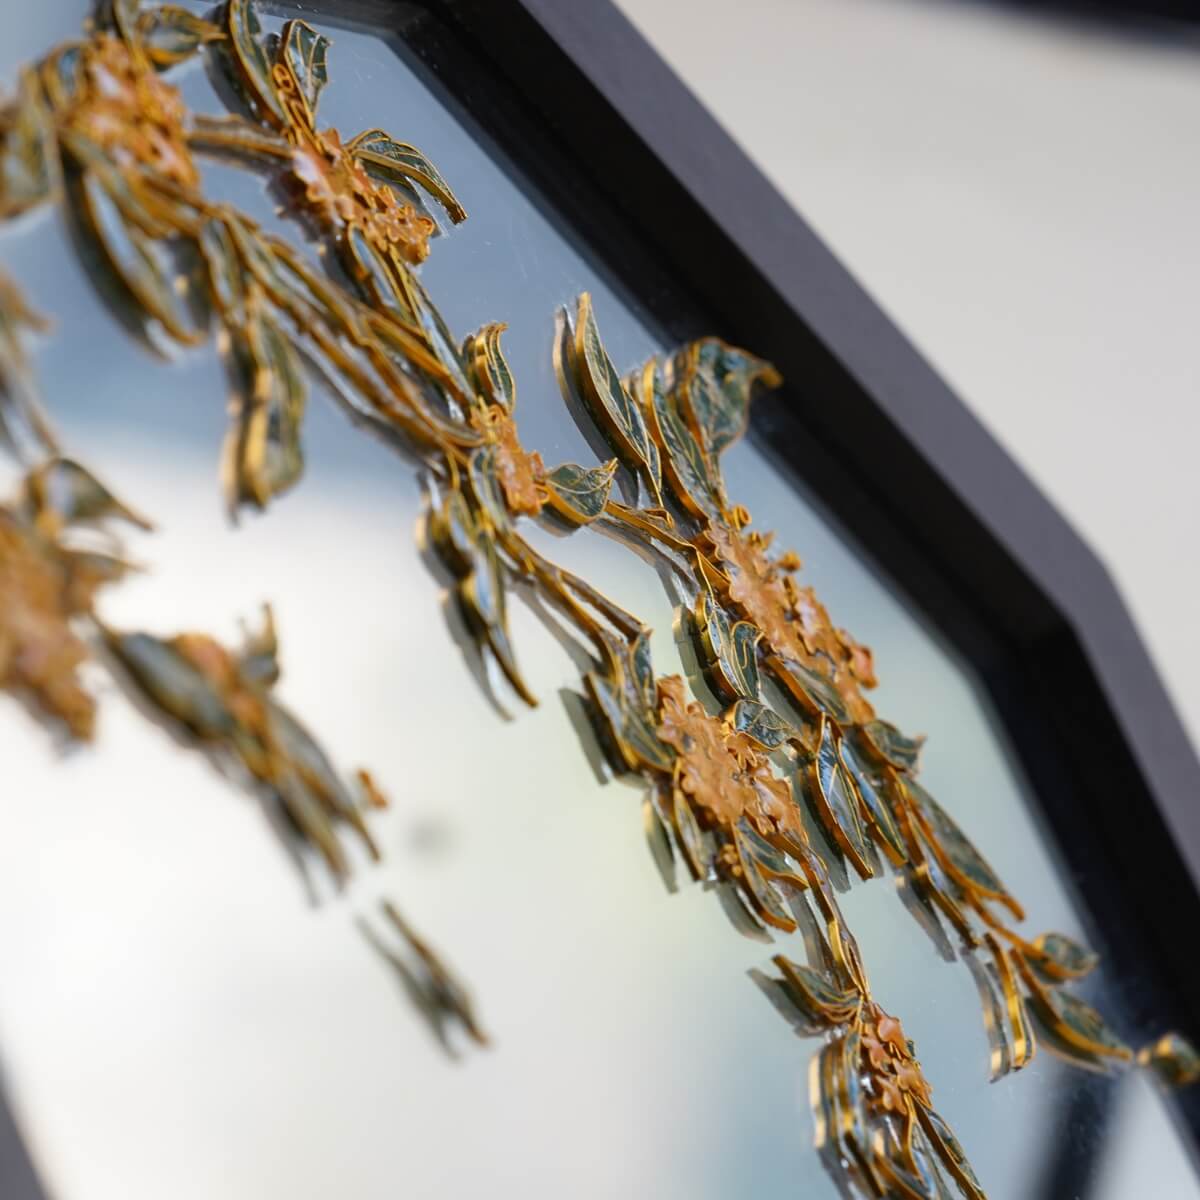


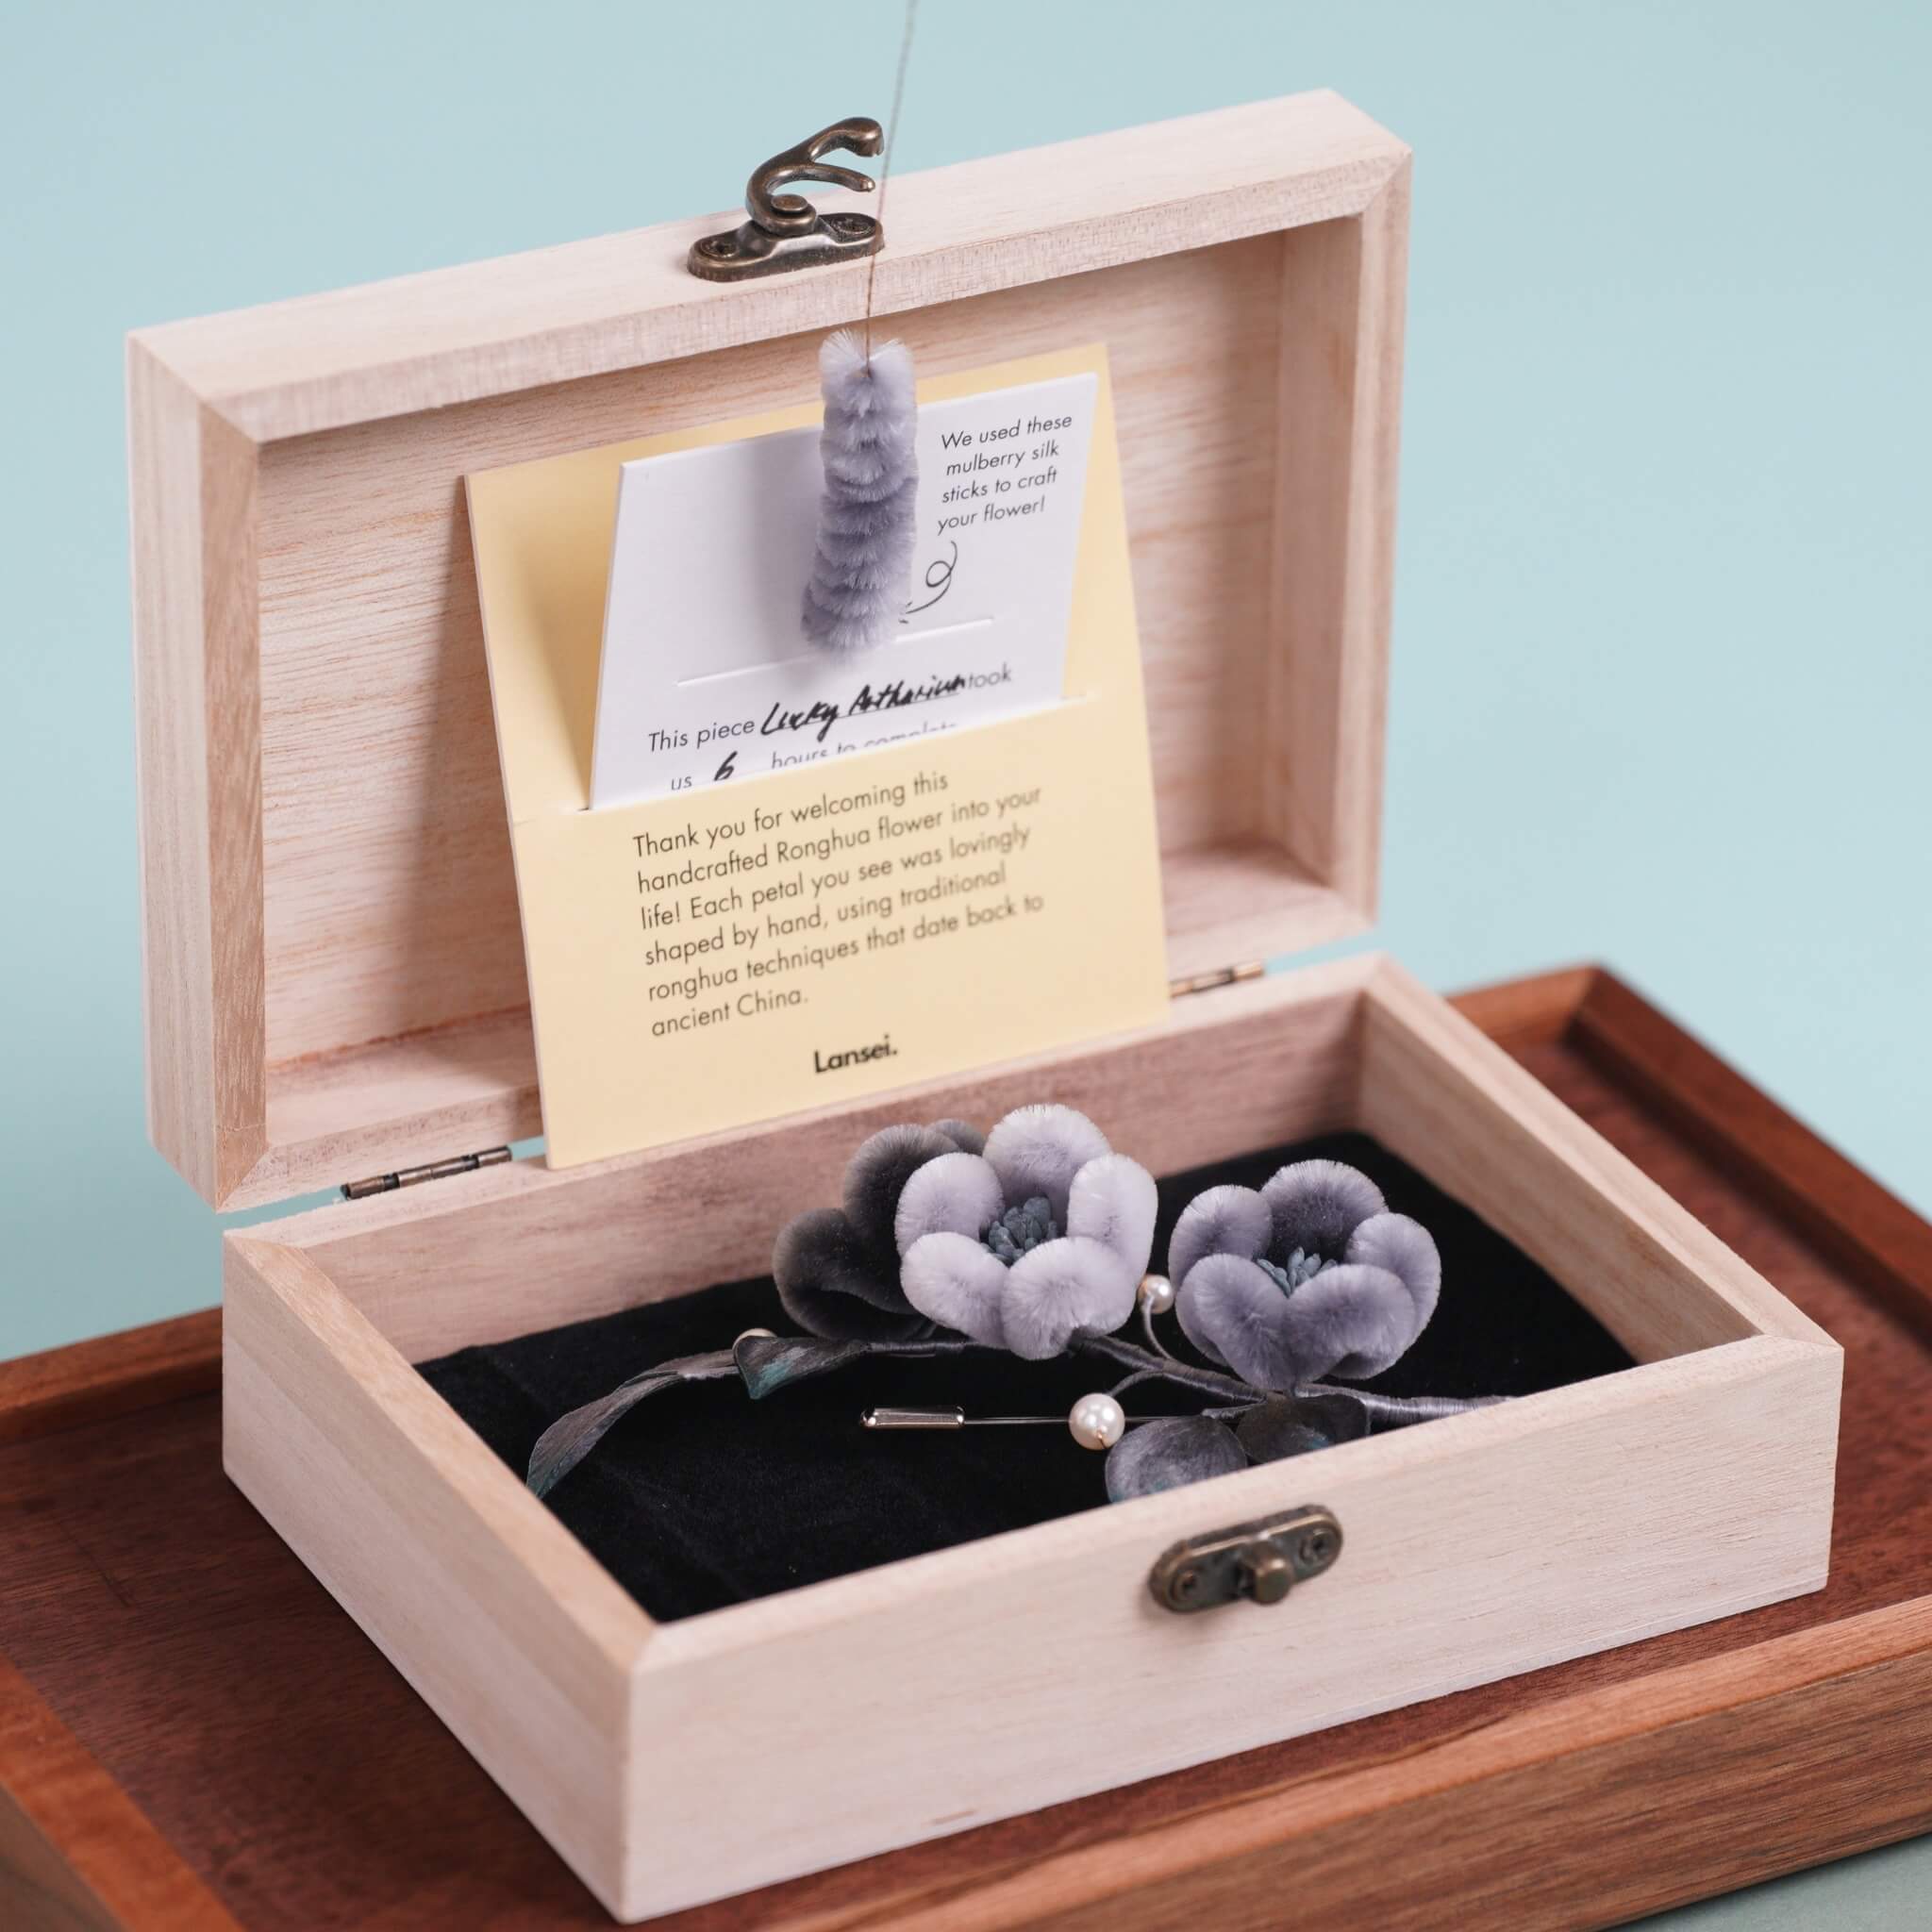

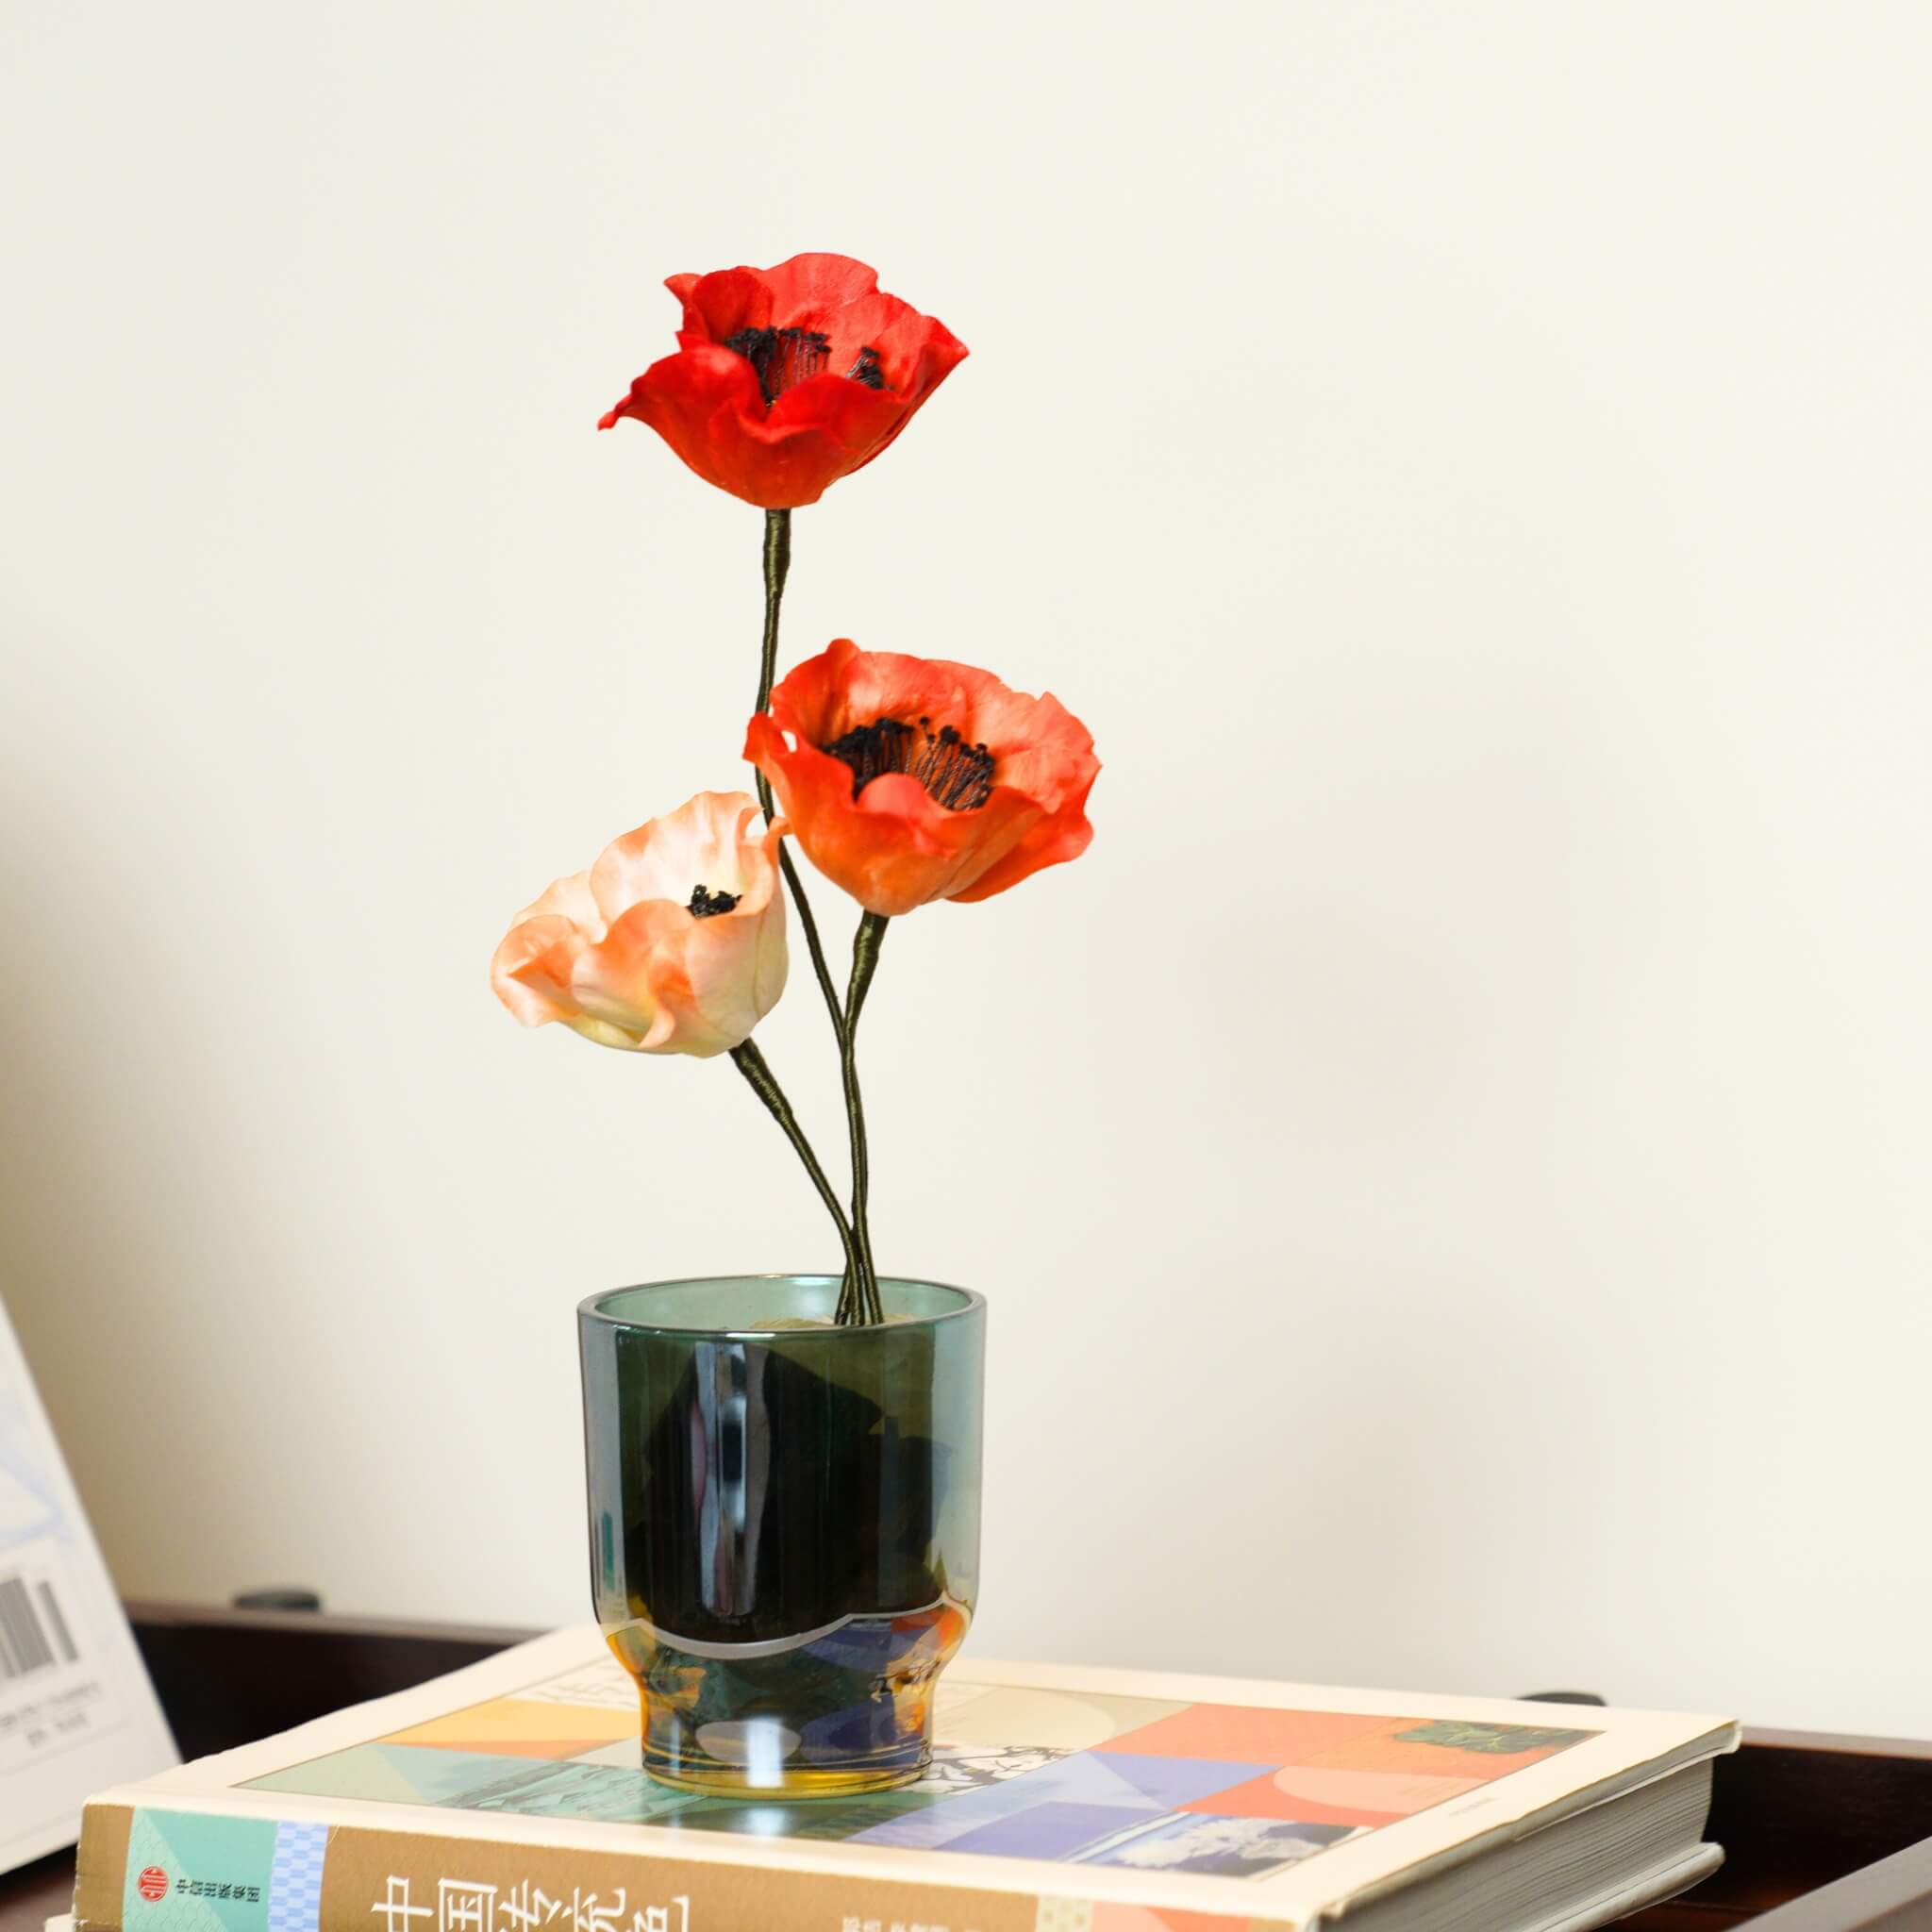
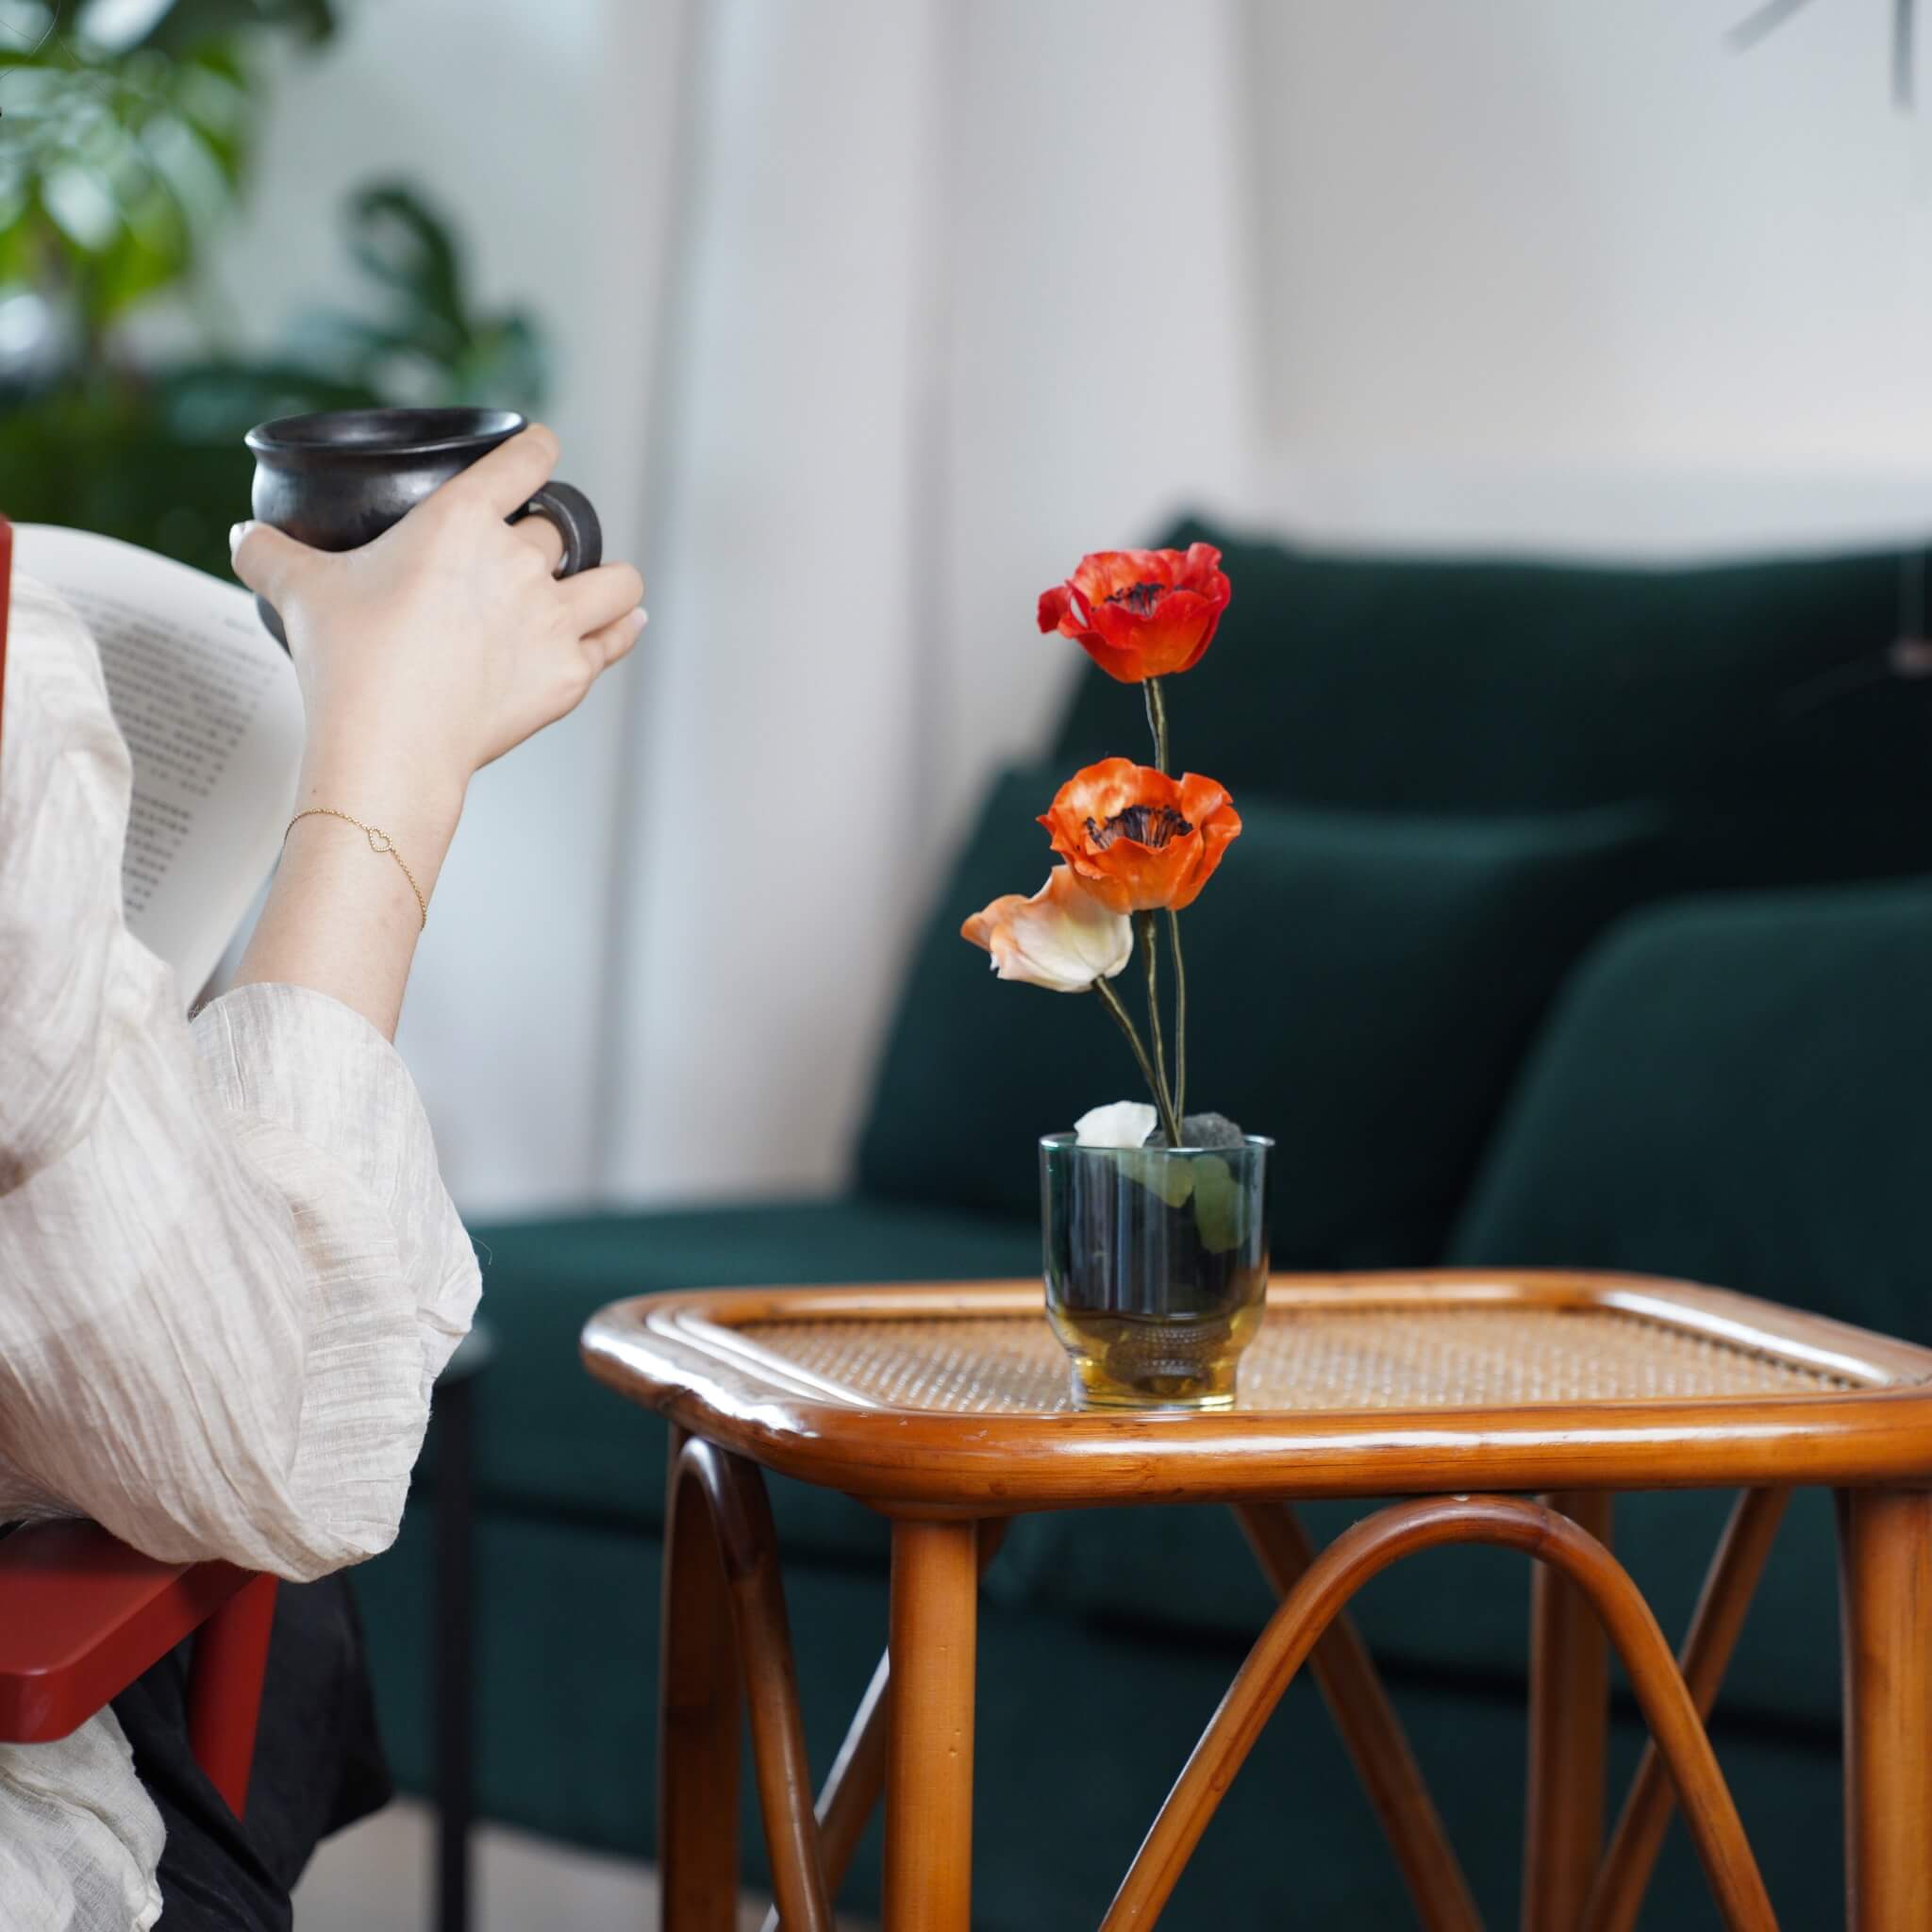
The bellflower hairpin is a delicate accessory inspired by the gentle, drooping form of bell-shaped blossoms. With its soft curves and understated elegance, it captures a sense of quiet grace and natural movement. Often associated with humility and lasting beauty, the bellflower motif brings a subtle, refined charm to the hair.
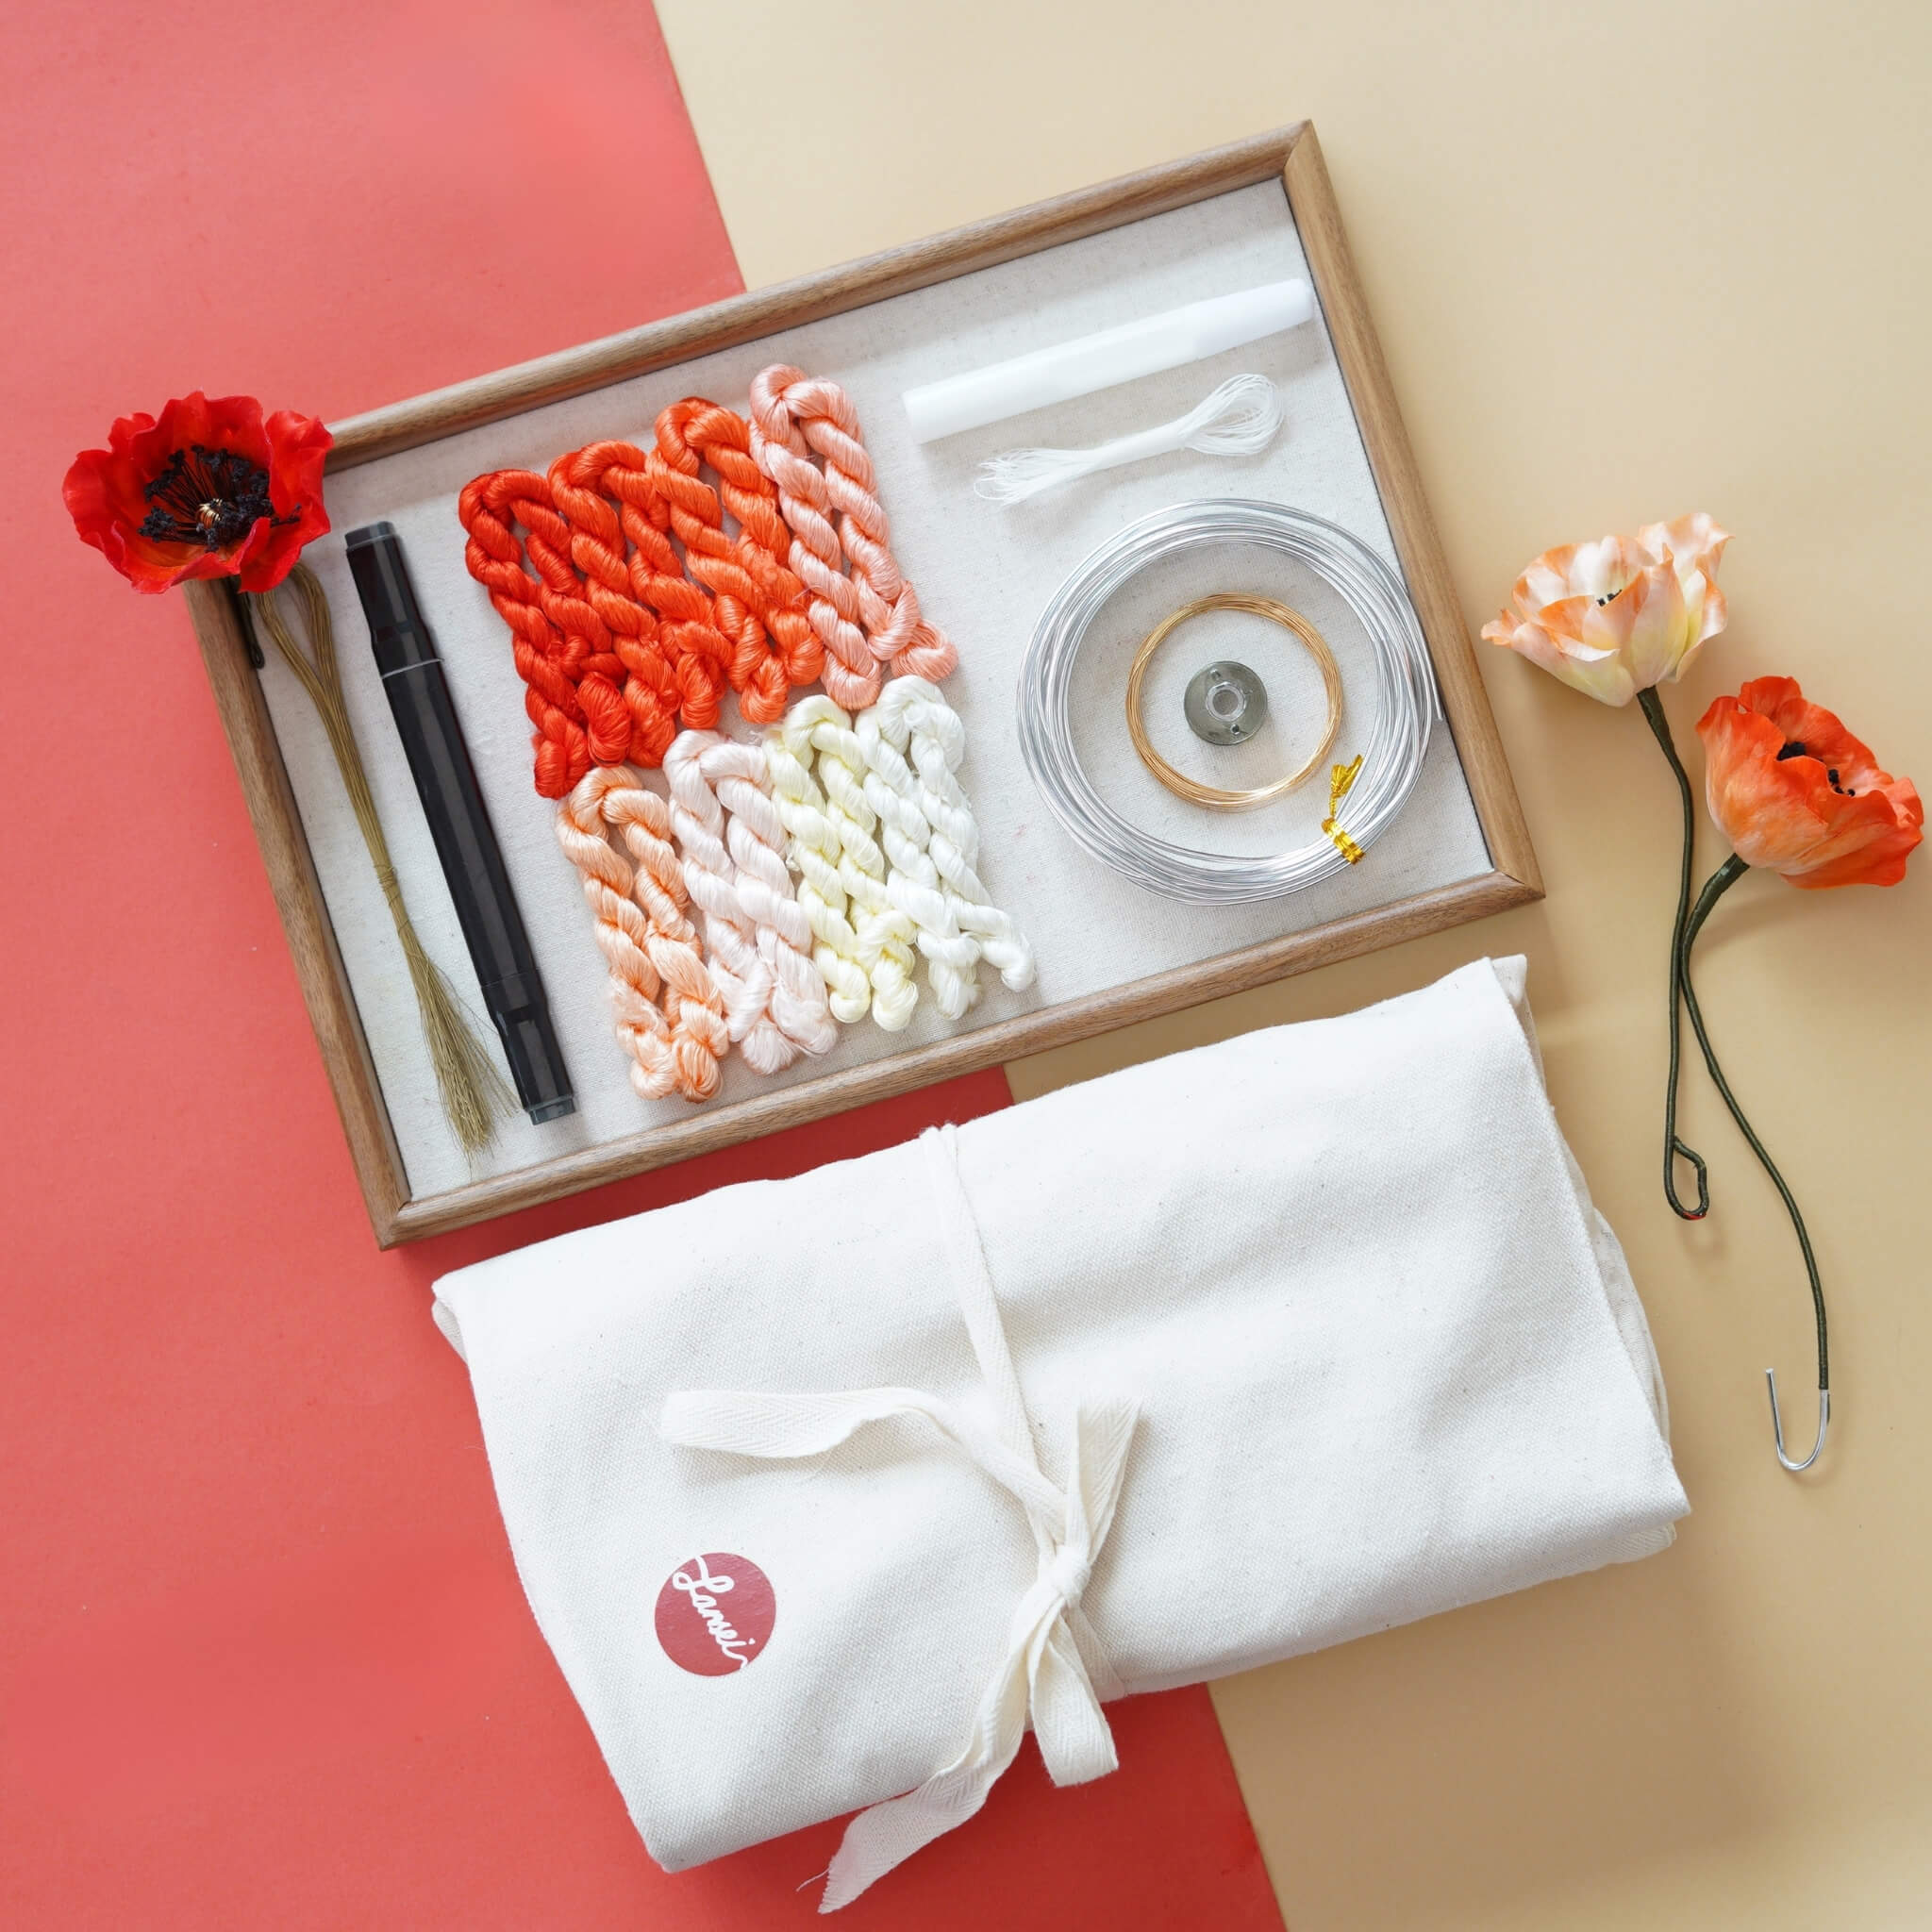
Preparations: What You’ll Need
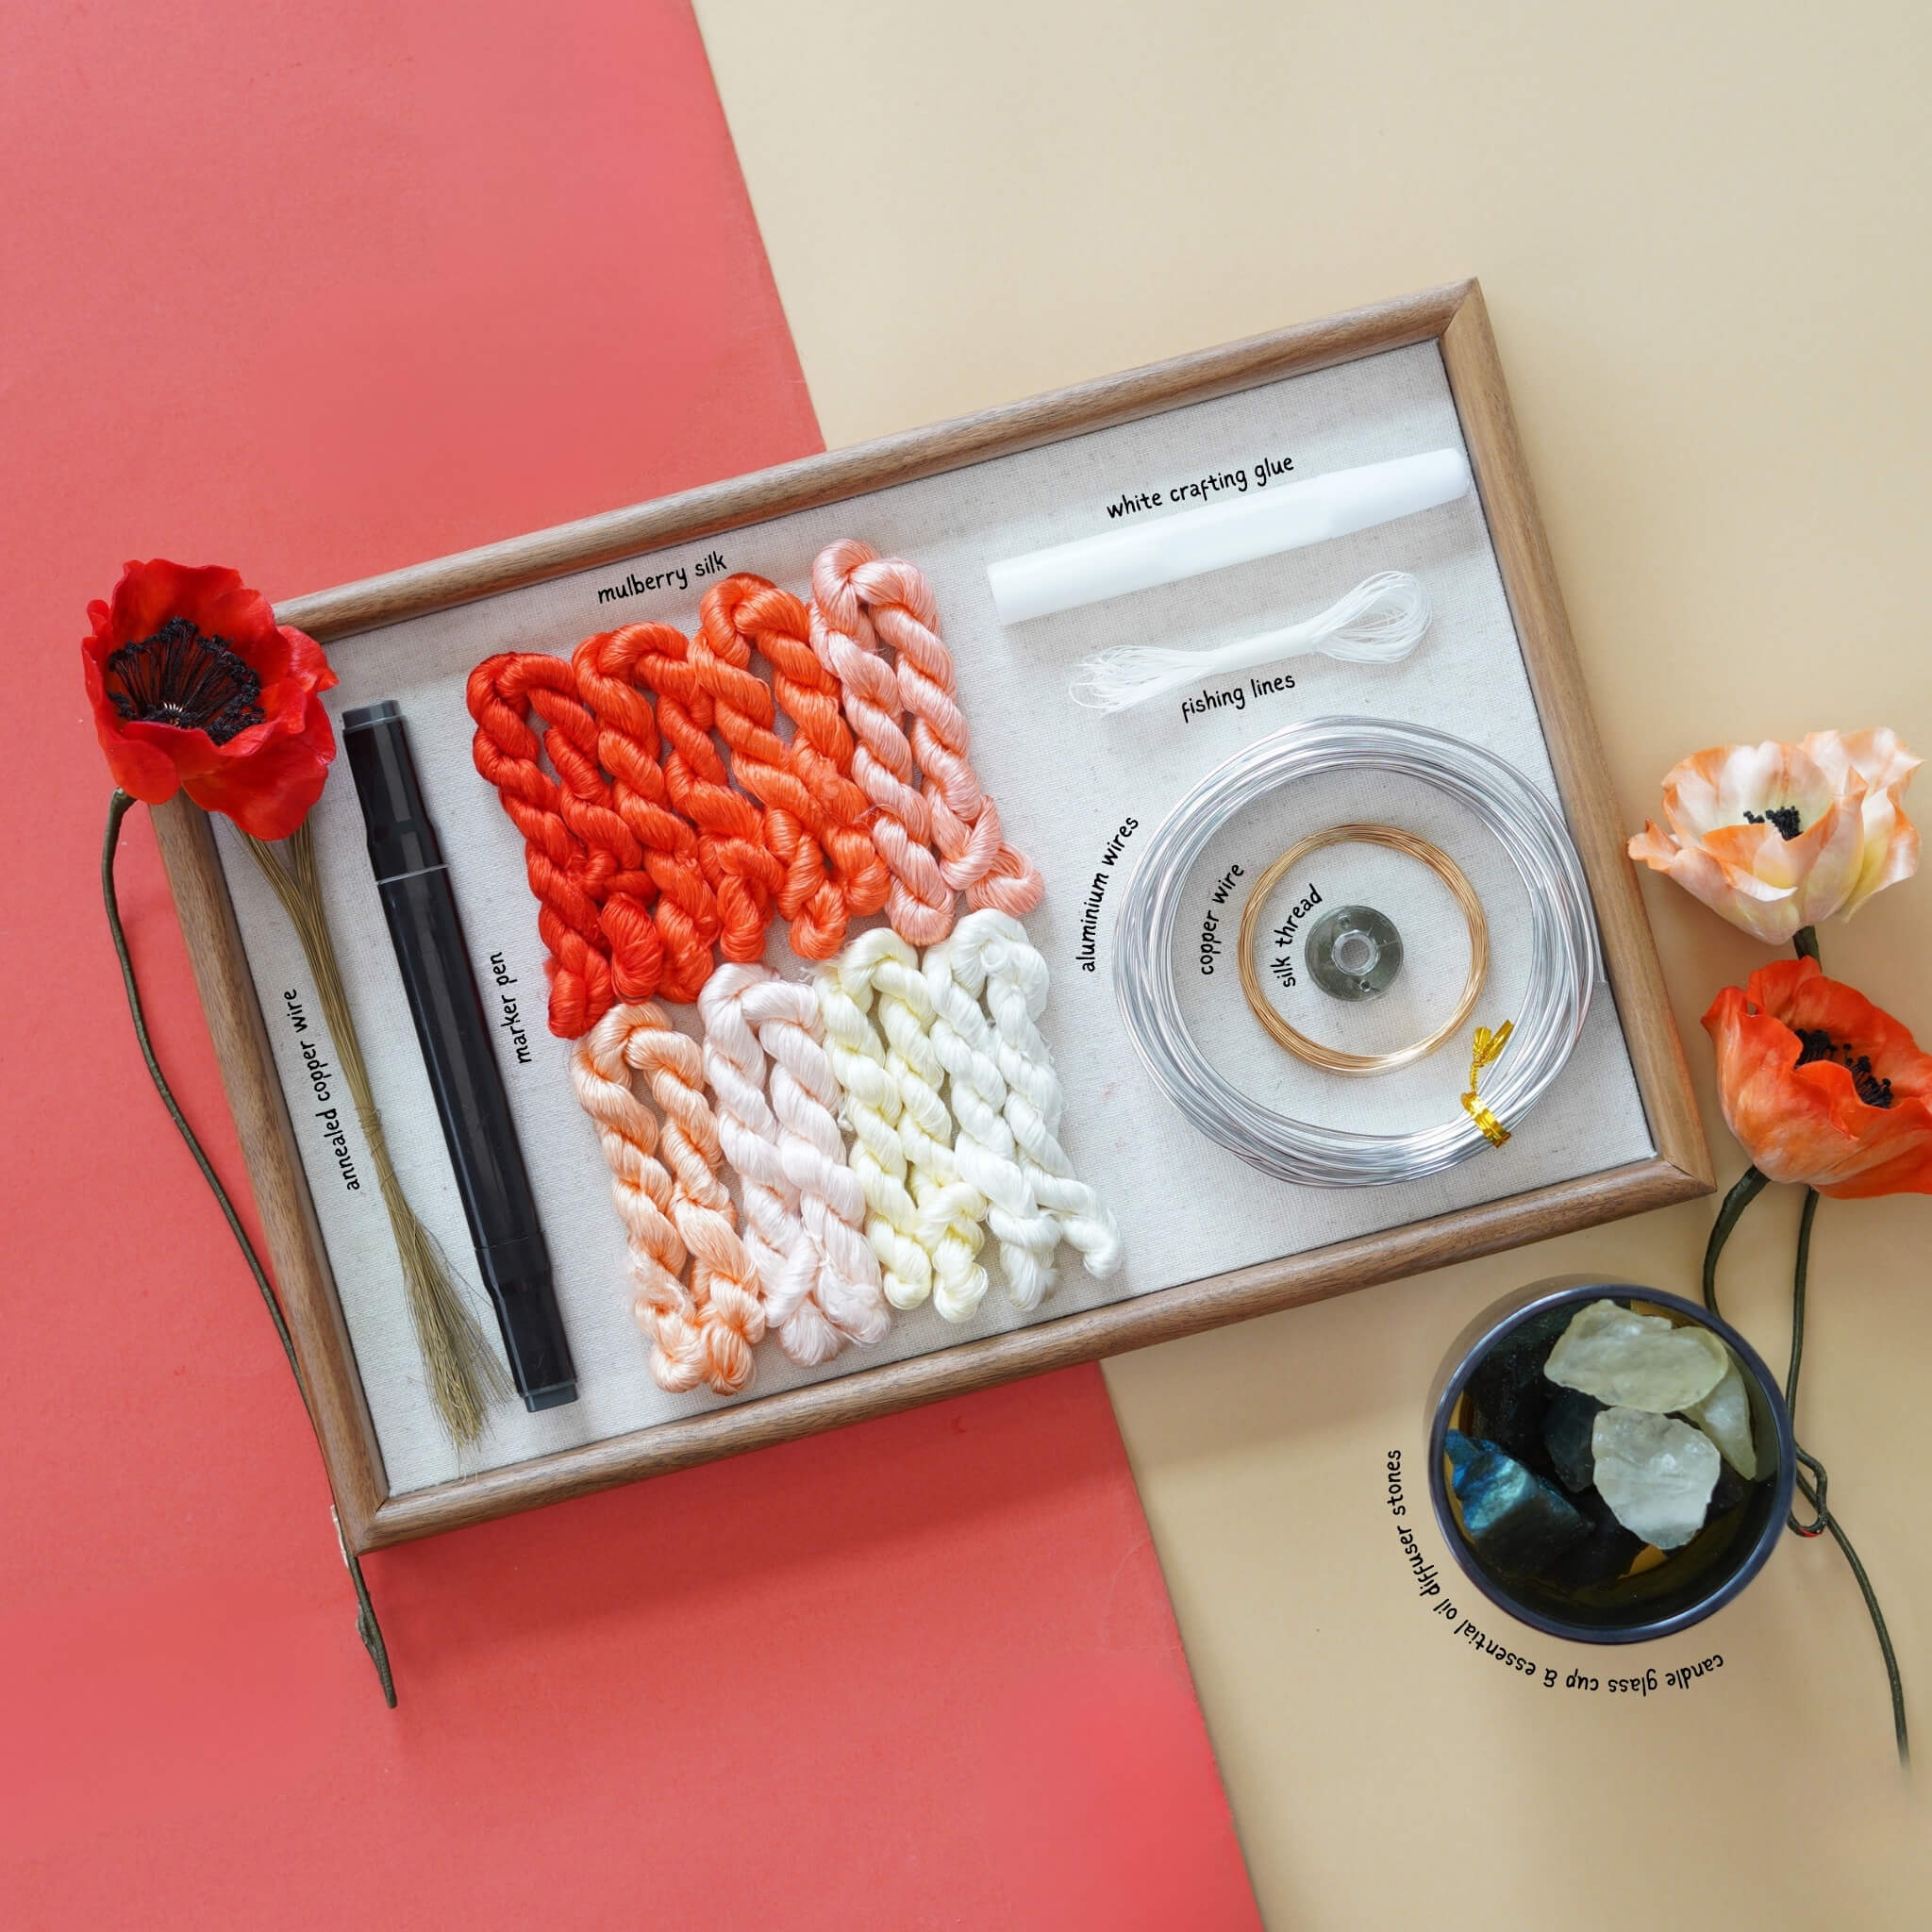
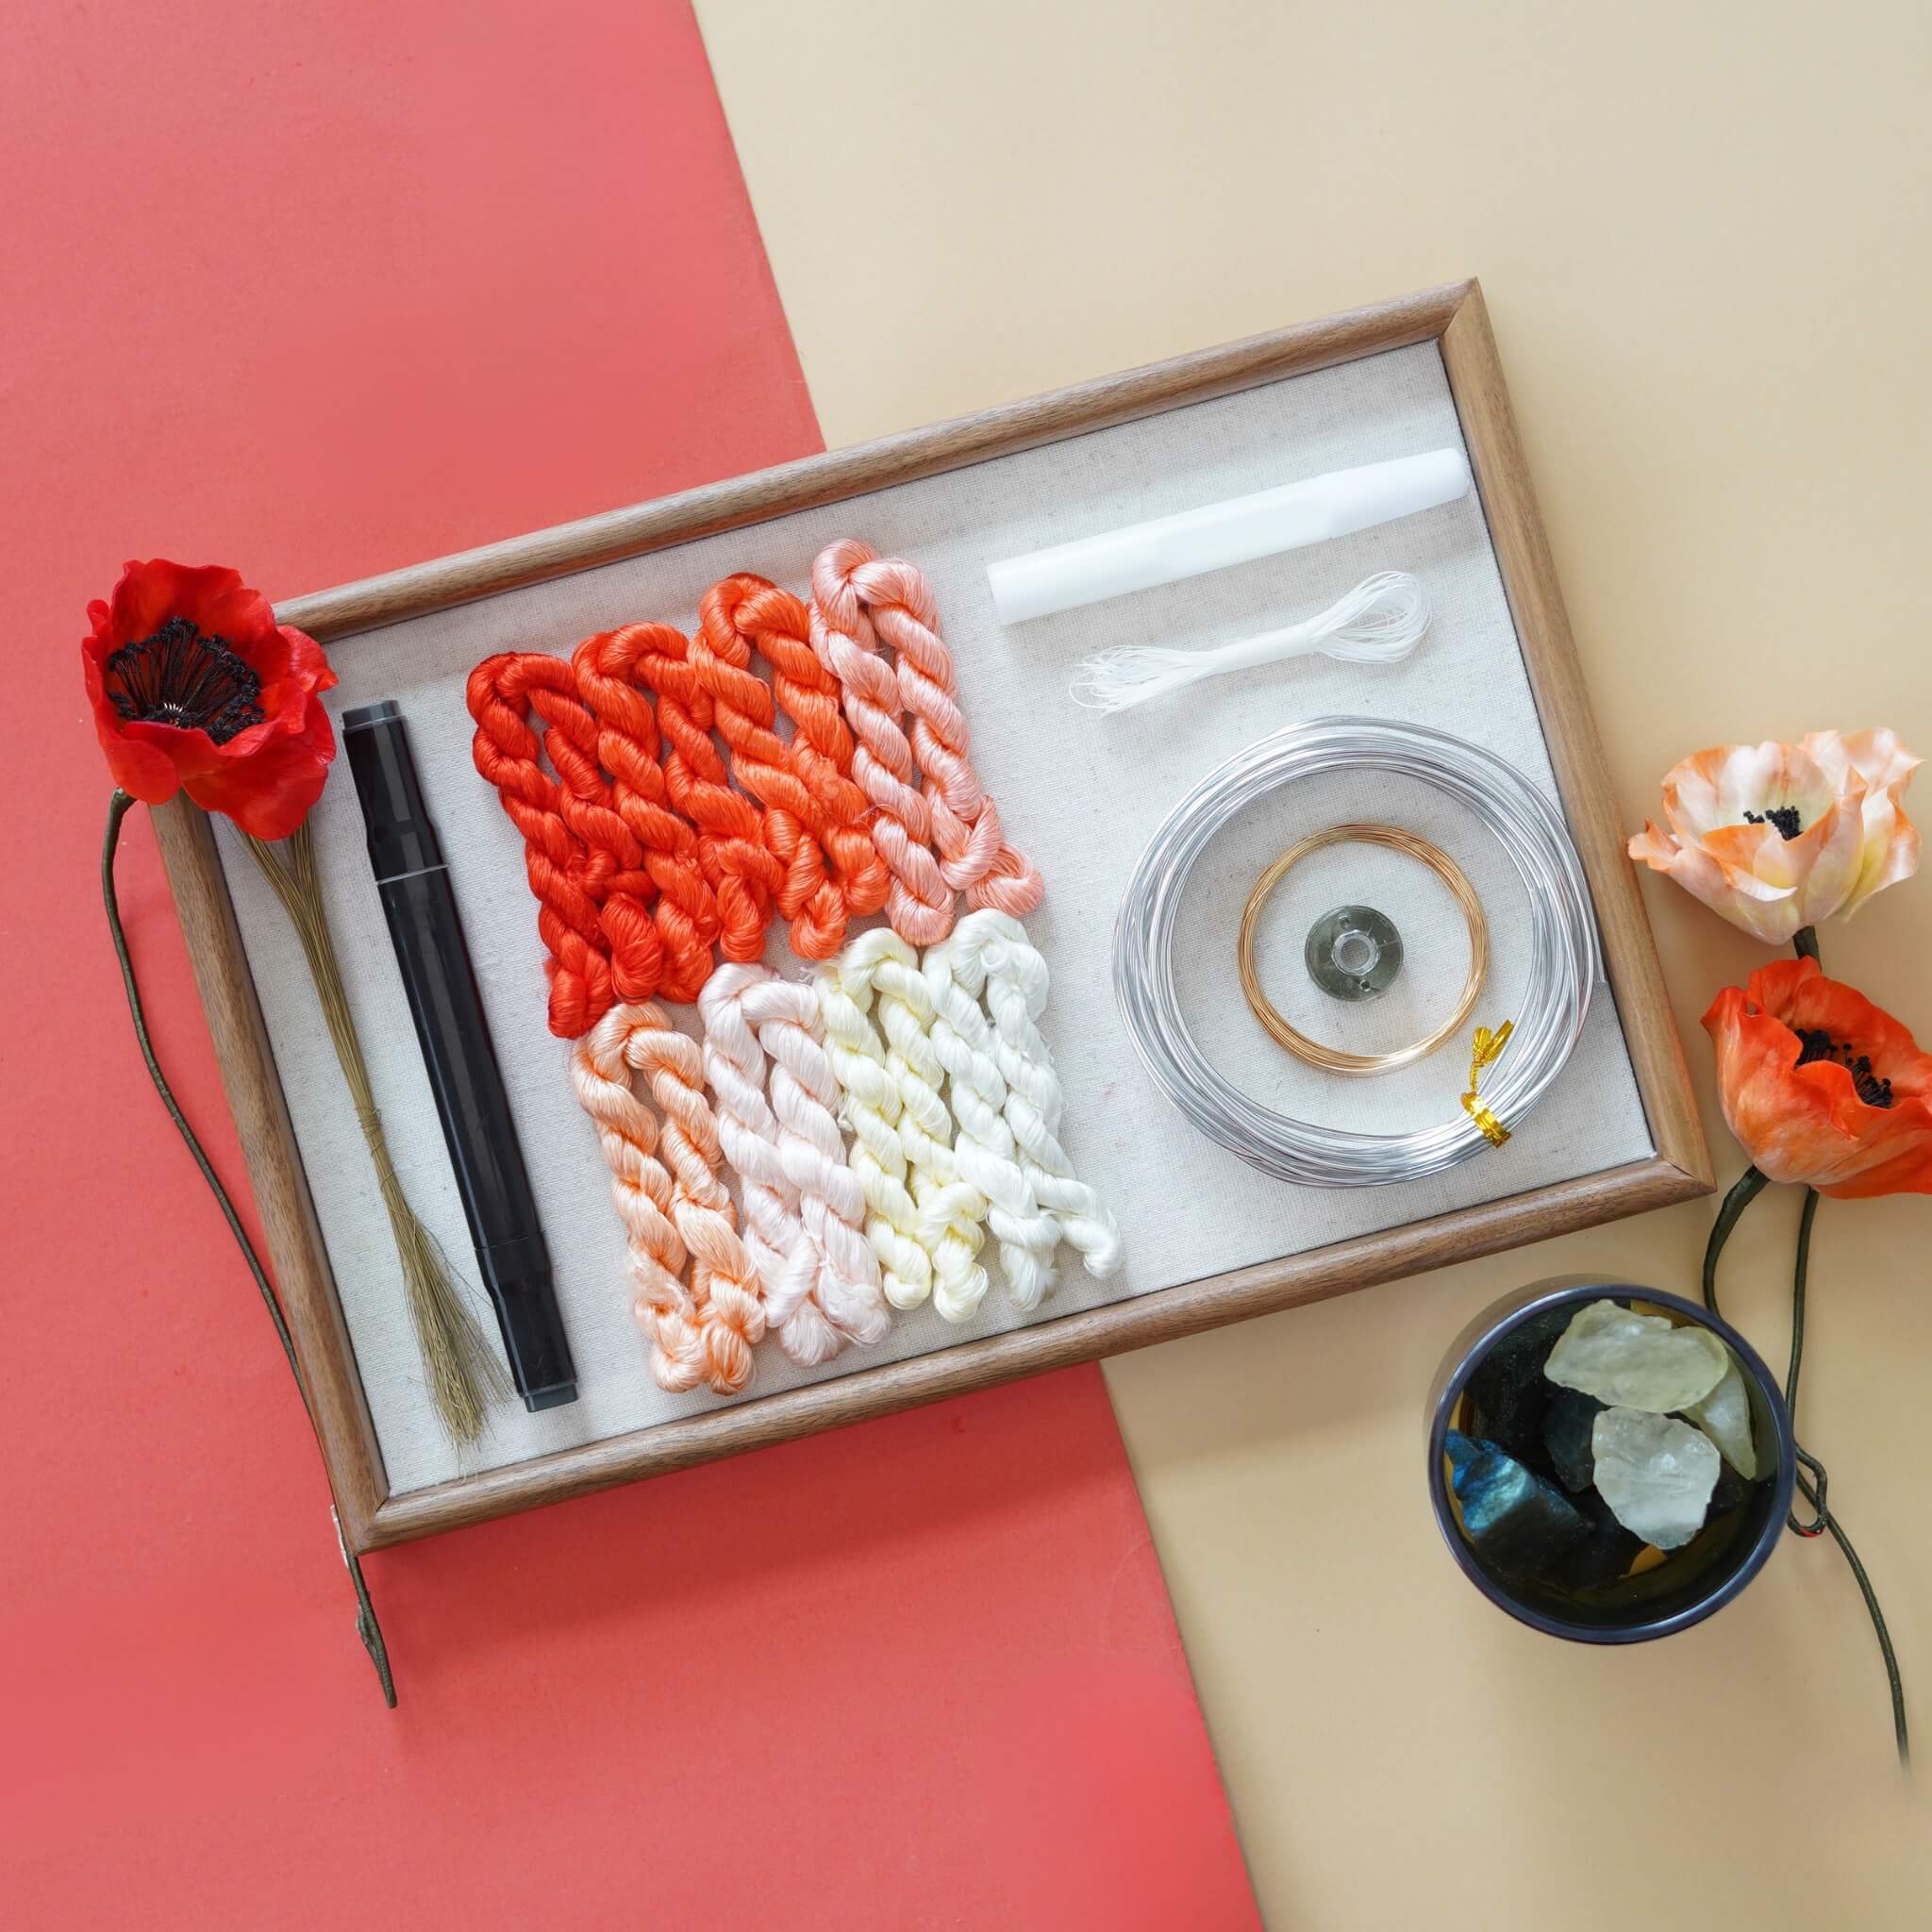
If you’ve purchased our Ronghua Toolkit, you already have everything required!
If not, prepare the following tools:
- Bristle brush (Medium to soft hardness)
- Flat iron (the one you use to straighten your hair)
- Tweezers
- At least 2 pairs of Scissors
- wooden sticks / pencils / chopsticks
- Hair spray or diluted white glue (1:2-1:3 with water or alcohol)
- Big clips (around 15cm)
- Twisting boards and wooden blocks (for even tension)
- Anti-slip powder (optional but helpful)
Full Tutorial Video
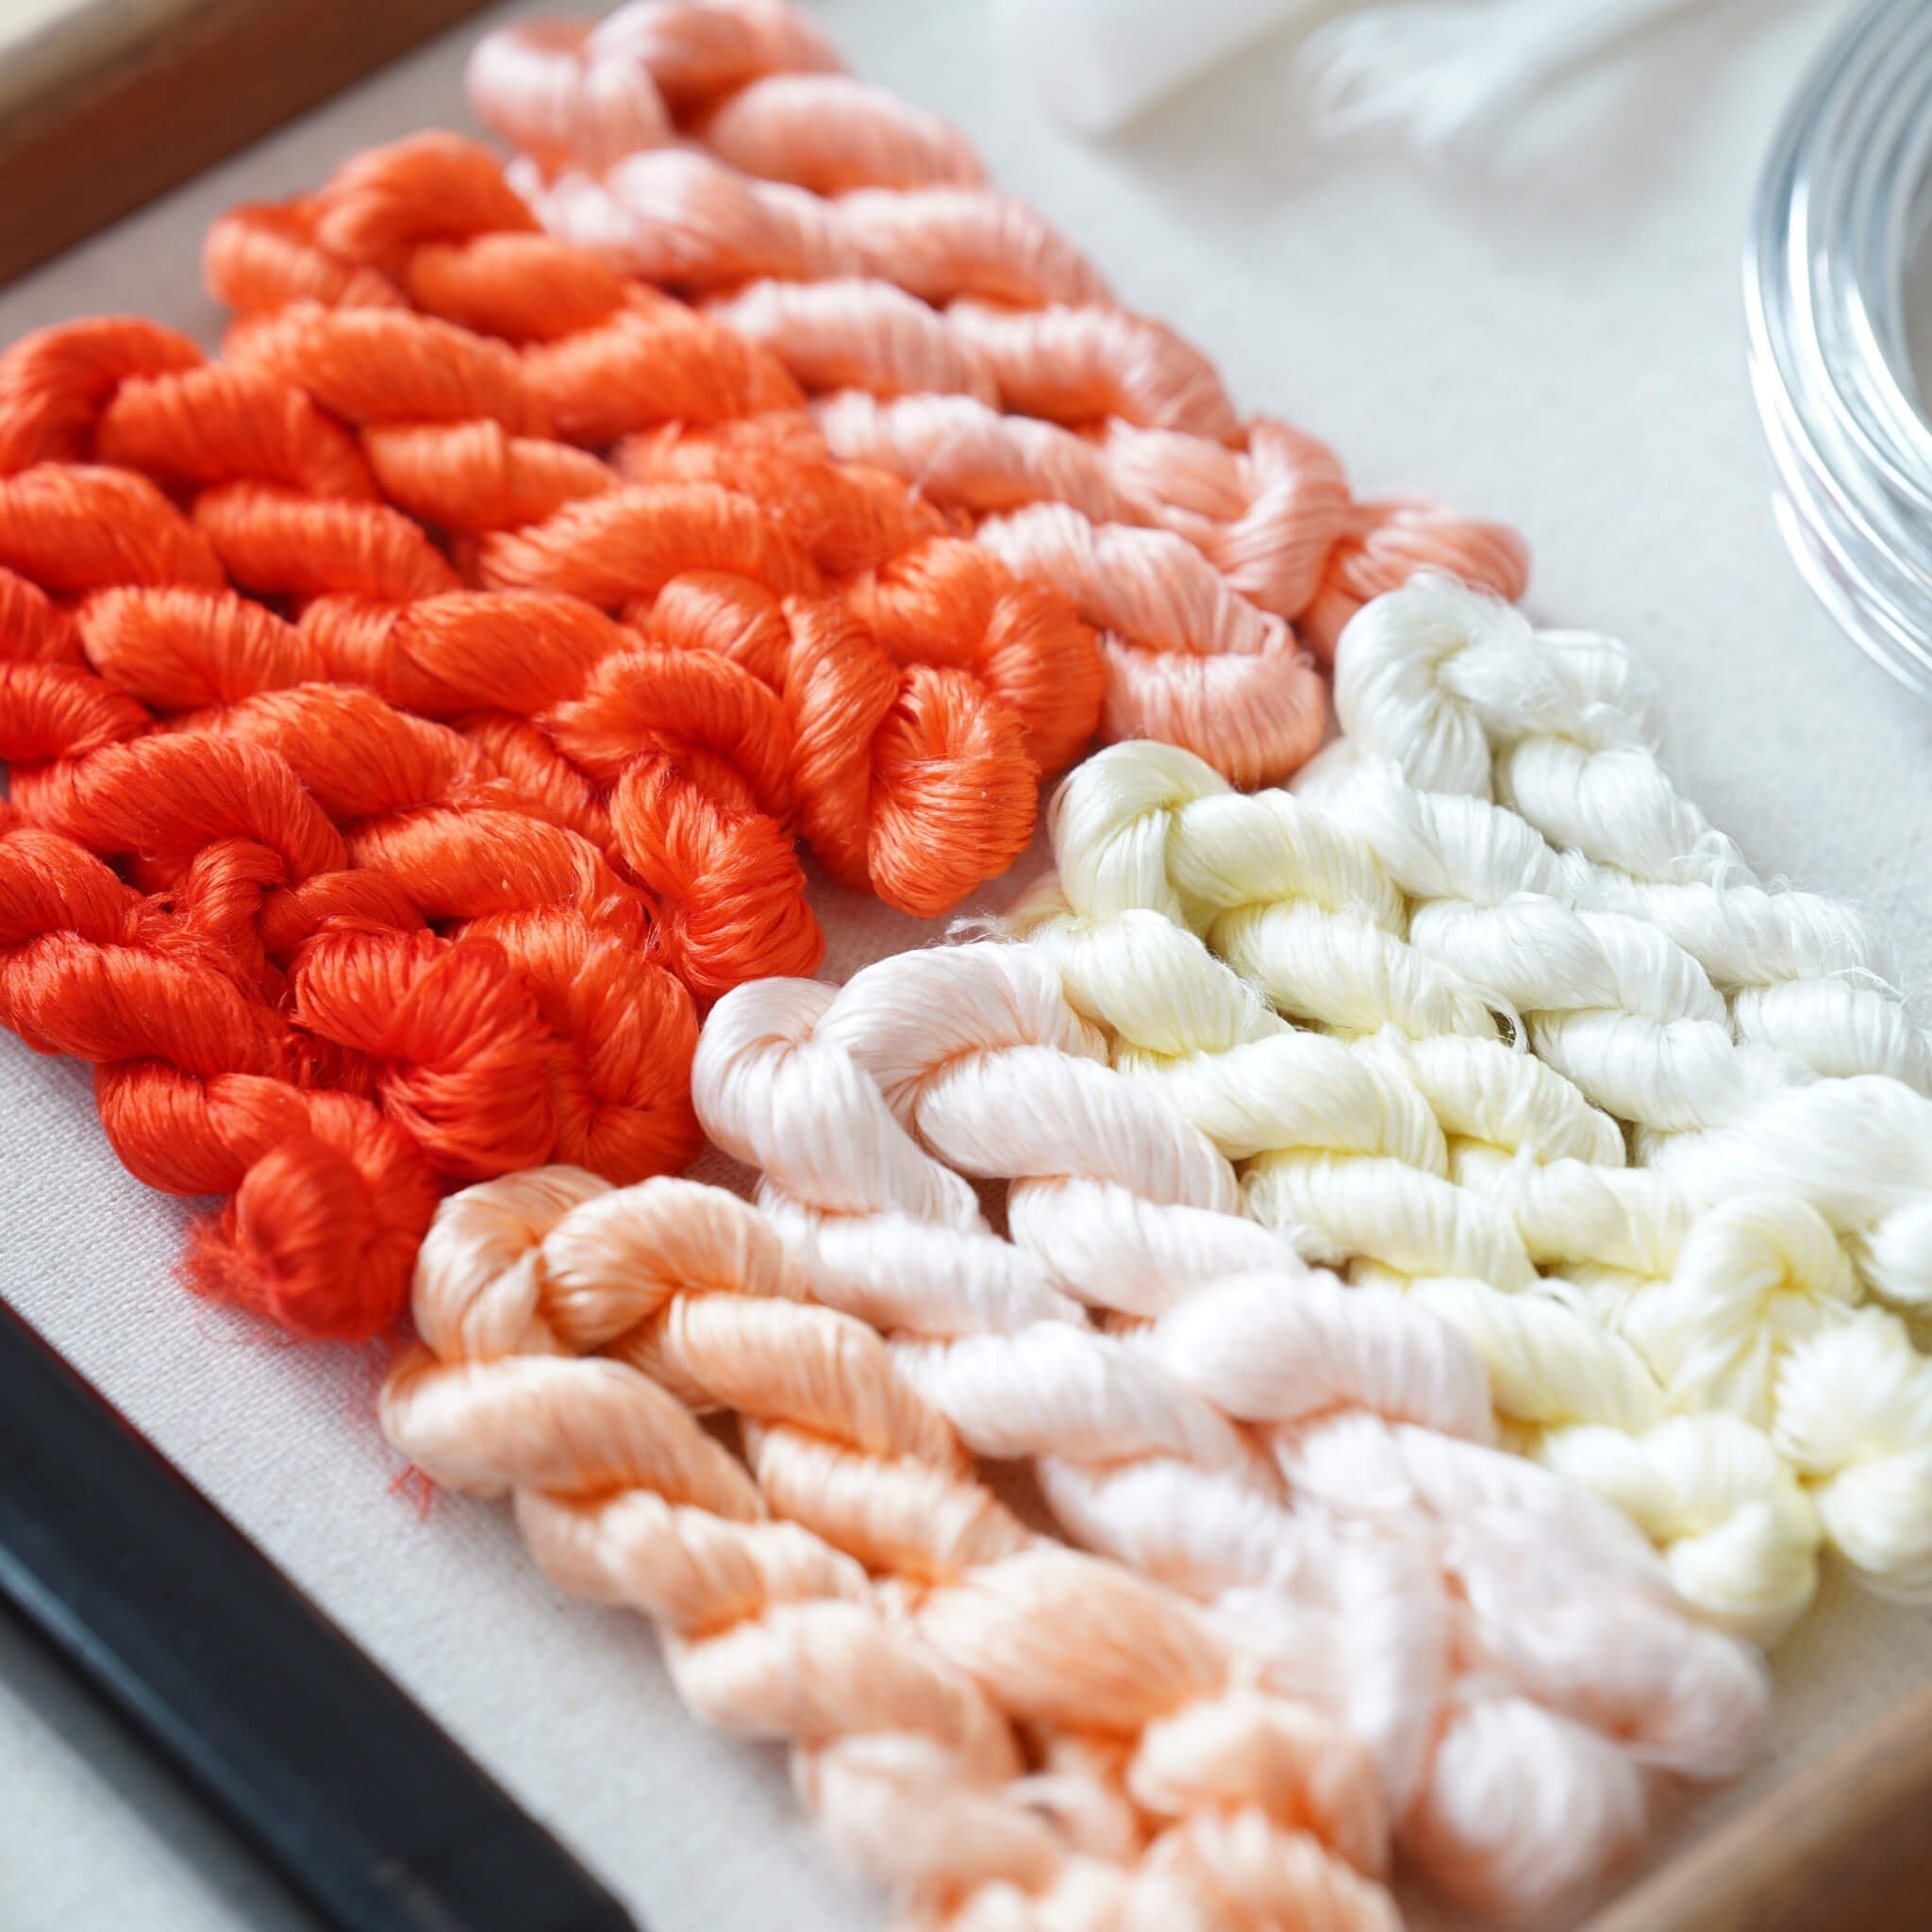
Step 1. Align and Arrange the Silk Threads
Start by untying your silk threads. Locate the knot at one end of each bundle and cut it open carefully. Refer to the color diagram below for reference.
The second and the fourth rows do not need to be cut twice. For the rest, you do.

Step 2. Group and Prepare the Threads
Each silk bundle consists of tiny strand-like structures — these are your individual strands. Align all strands neatly and tie them around a thin stick, keeping the ends even. Avoid uneven lengths — this ensures consistent texture later on.

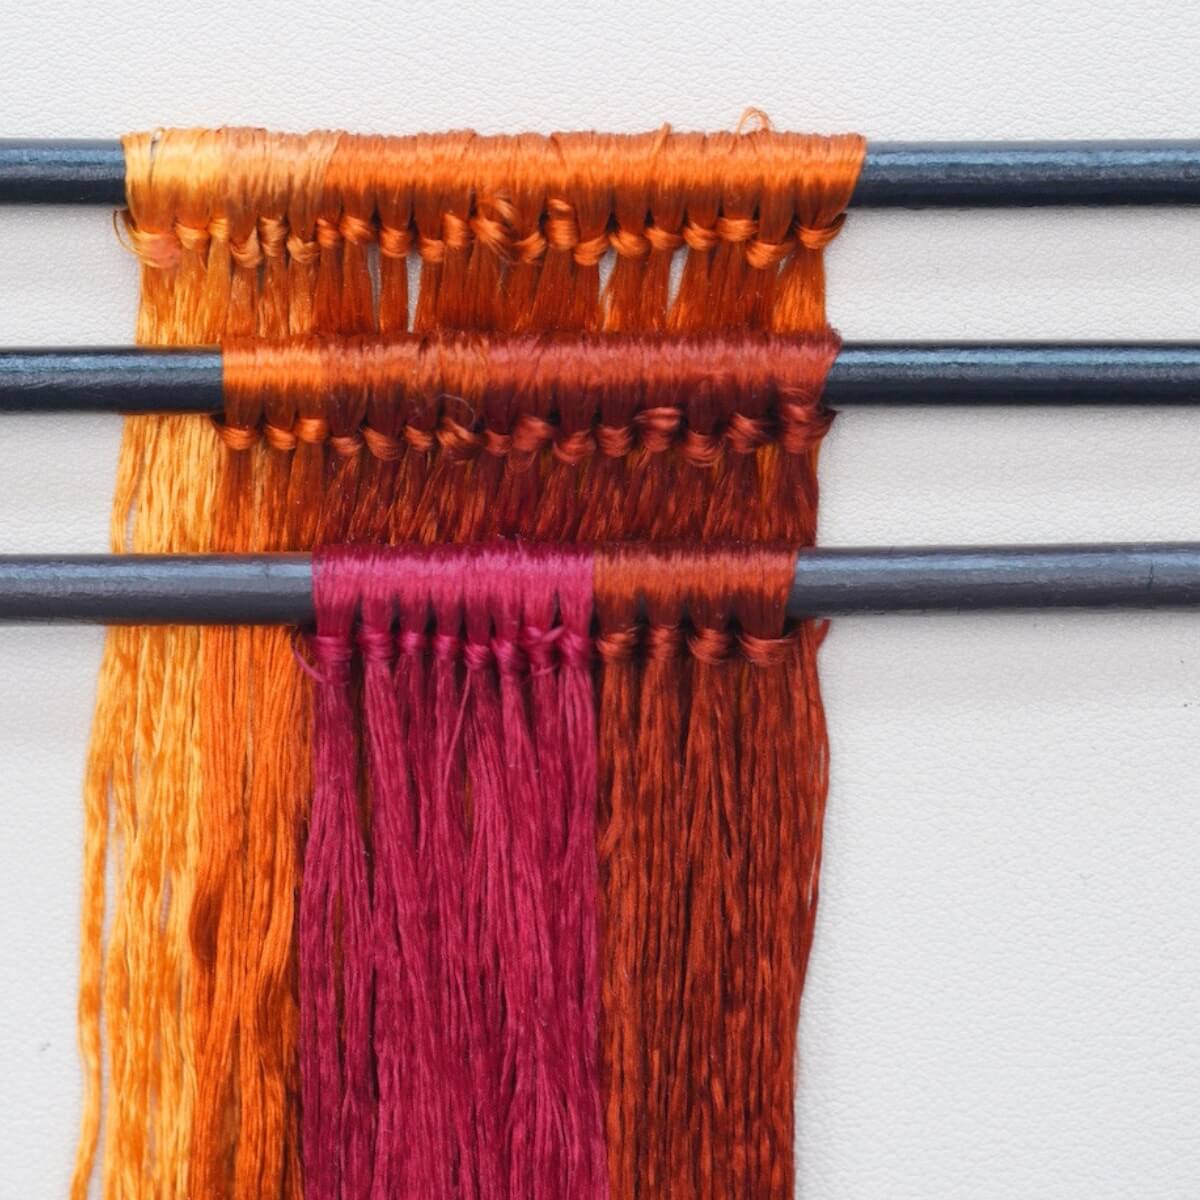
Step 3. Make Silk Rows
Repeat the above process to create your silk rows. Remember to refer back to the data provided in the diagram for the following rows, as each will differ slightly. Below are the finished silk rows we made.

Step 4. Brush the Silk
Use your bristle brush to comb the silk rows. Continue brushing for about 10 minutes until the silk is smooth, fluffy, and free of tangles. If the silk becomes static, use a spray bottle to lightly mist the air (not the silk directly) with water.

When it’s done, it should look like this:

Step 5. Attach Copper Wires
When you feel that the silk is brushed enough, secure its tail with another big clip to your table or anything that can help stretch it taut. Take out one copper wire from the folded end of the row and straighten it. Twist the folded part into a spiral of about 3 cm. Clamp the silk threads between two copper wires and twist the opposite side tightly.
Pull both wires taut and continue twisting until they merge into one. Remember, the twisting direction for the left and right end are opposite.
The spacing should be the same as shown in step 1.
You can watch our video tutorial for this step:)
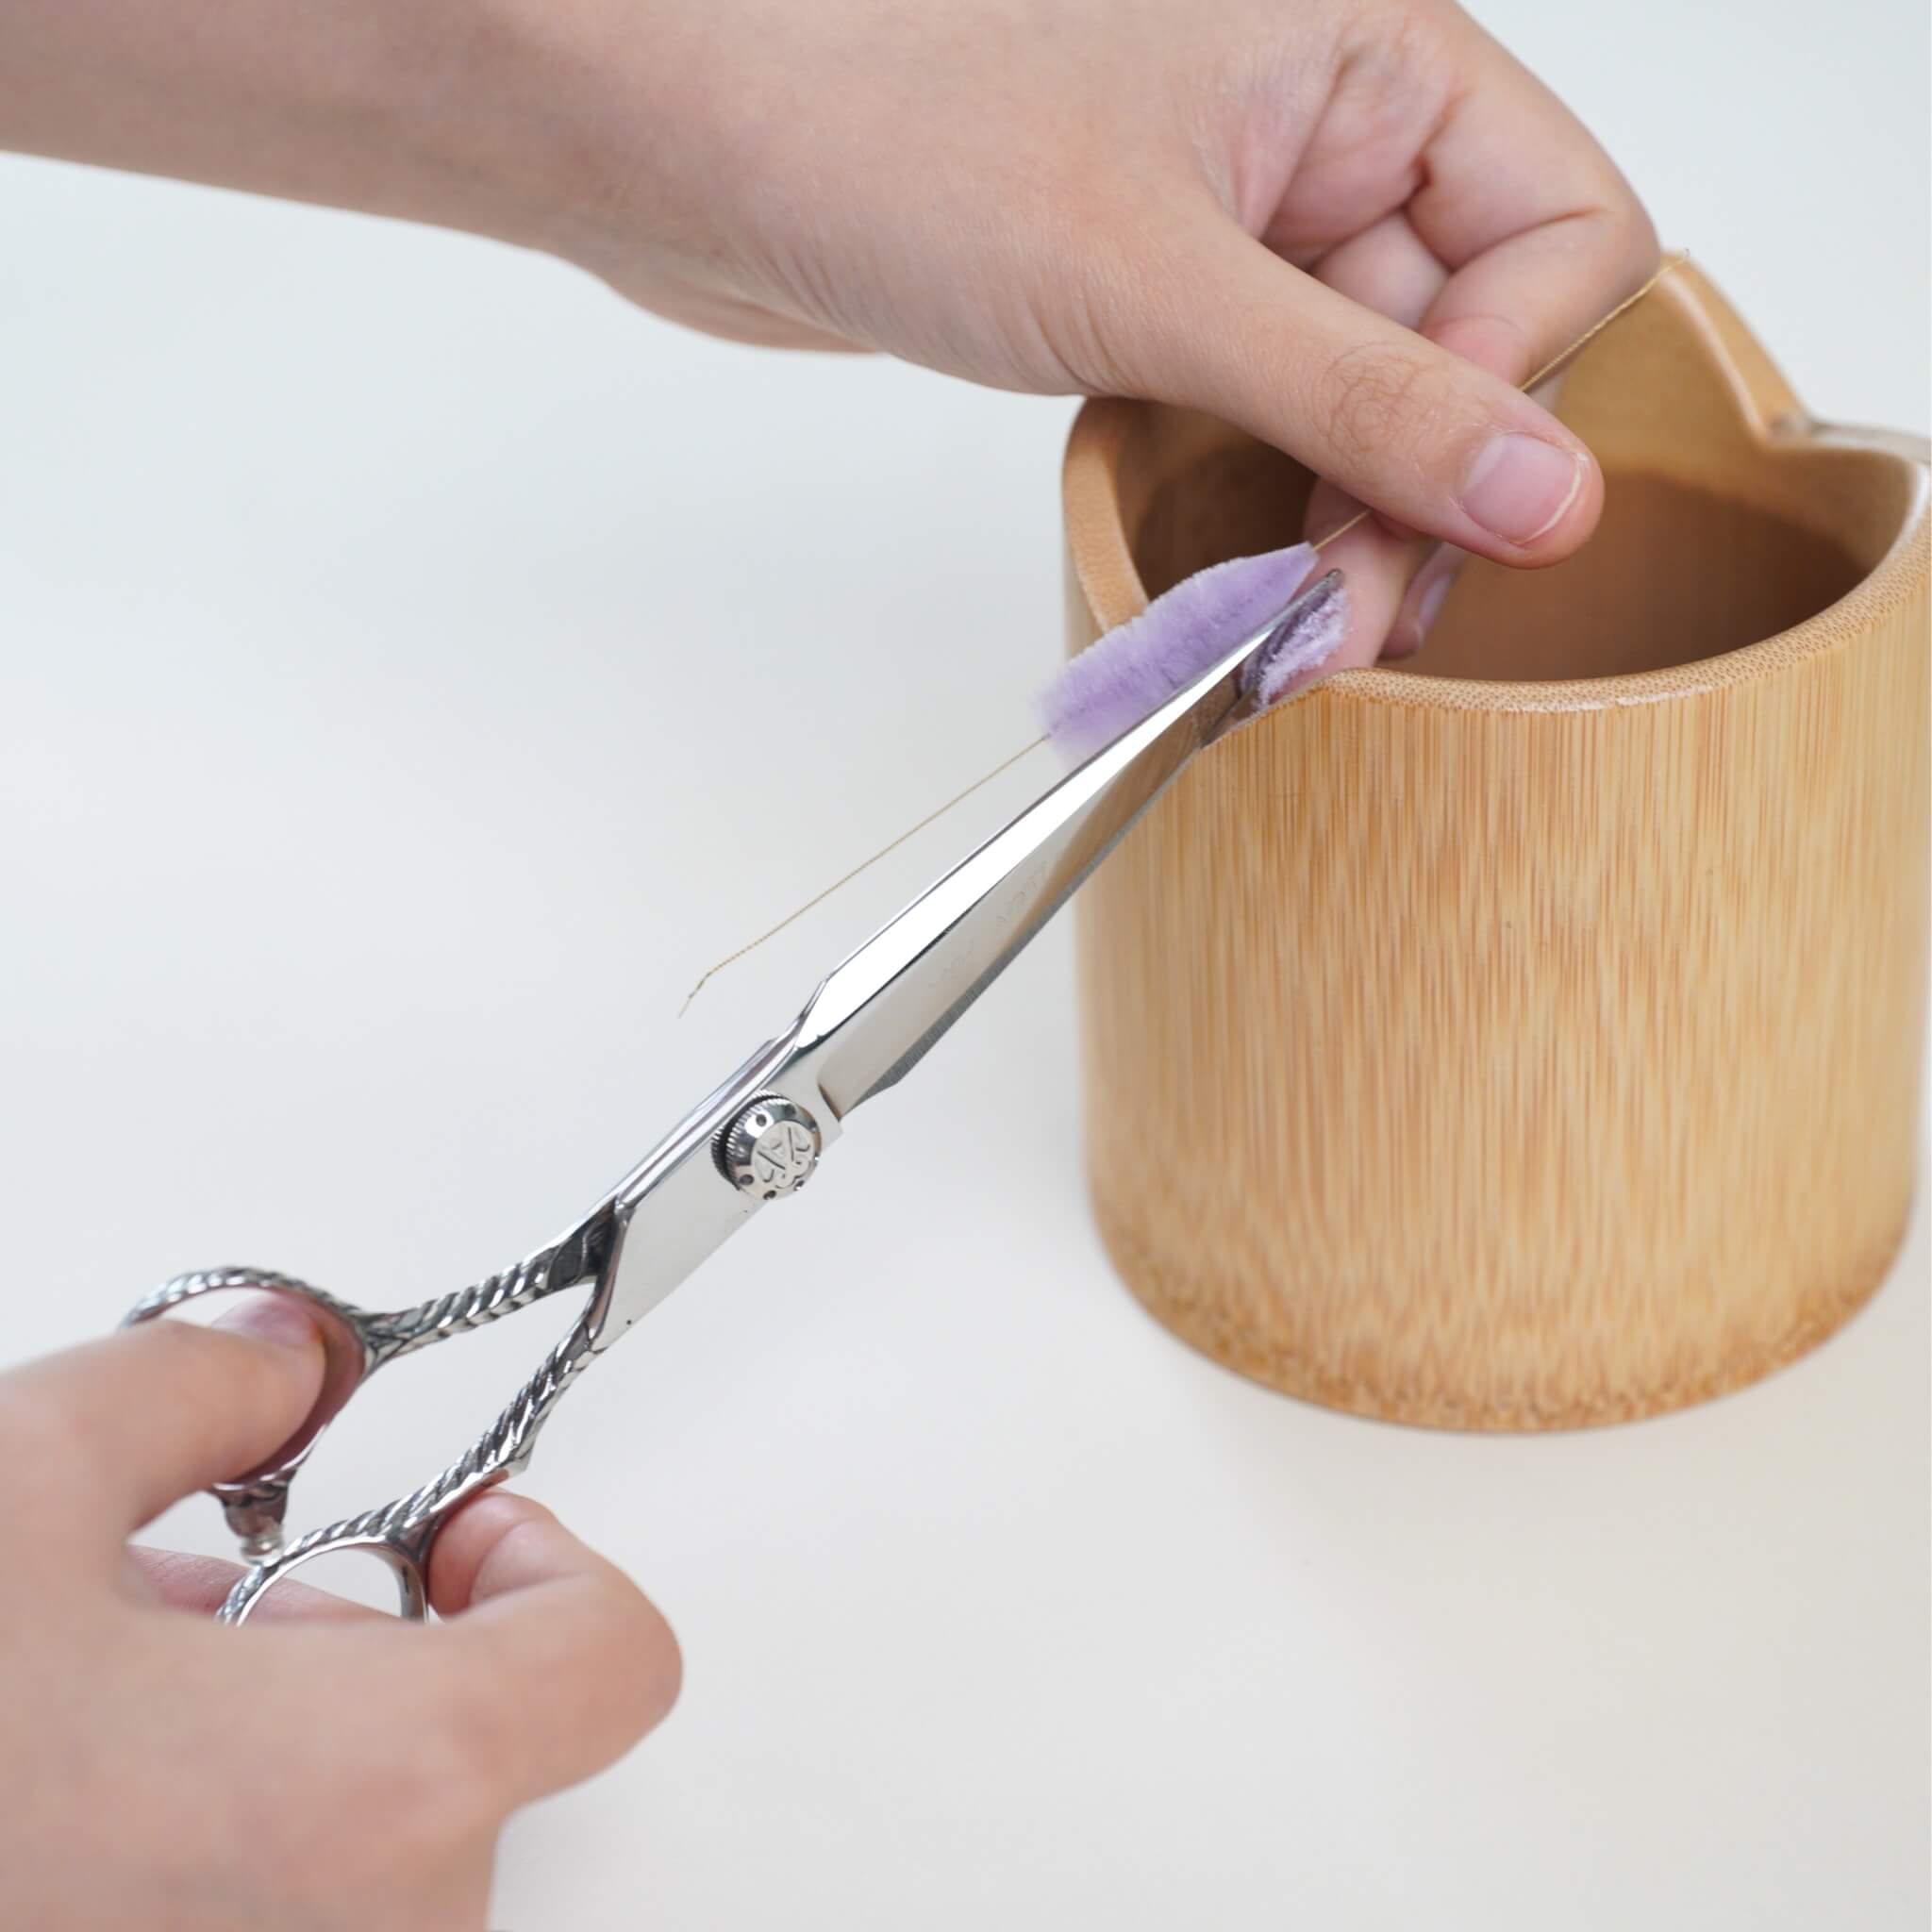
Step 6. Cut the Silk Strips
Trim the row’s end neatly, then cut between each pair of copper wires to create even silk strips. When cutting, the scissors must be placed in the middle of two copper wires, otherwise the width of the silk strips will be inconsistent. Cut quickly and cleanly for smooth edges.

Step 7. Center and Twist the Strips
Align the copper wire to the middle of each strip using a flat surface or wooden block.
 Once centered, twist both hands in opposite directions to tighten. Next, place the copper part between the twisting boards and continue twisting in the same direction. Stop when the wire feels firm. If tightened properly, the copper wire should only faintly show.

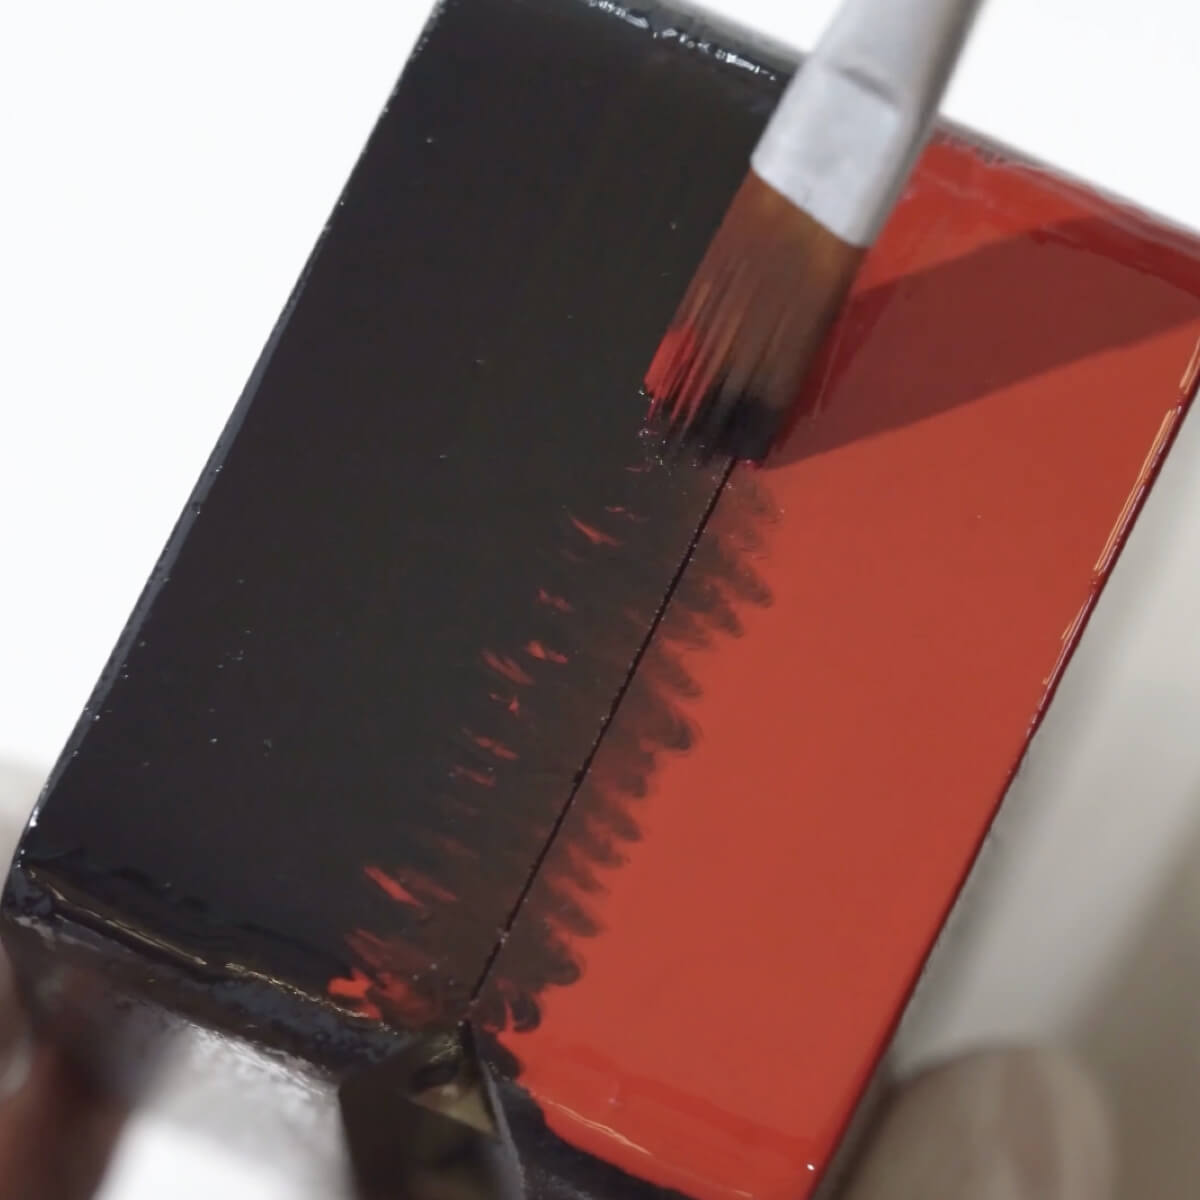
Step 8. Flatten and Set the Strips
Begin by cutting off all the copper wire on the purple end of each strip. For solid-colored strips, you can trim either side, but always cut as close to the edge as possible. The thin purple and yellow strips do not need their wire removed. Once trimmed, flatten all the strips using a heated flat iron, pressing from back to front until they appear smooth and free of visible layers. For thicker strips, hold the pressure a little longer.
 Finally, neaten the wire ends at the base. Next, prepare a setting solution. You can use hairspray, or mix white glue with alcohol or water (1:2/1:3) until it becomes slightly tacky. Soak each strip thoroughly, then use tweezers to remove any excess liquid. Place them upright to dry, keeping them straight and flat.

Step 9. Shape the Leaves and Sepals
Once prepared, begin shaping the green strips into leaves. Use tweezers to gently curve the top, then fold the bottom slightly inward so the strip forms a soft “S” shape when viewed from the side. You will need four leaves like this.

For the sepal pieces, curve the center inward and push the edges outward slightly to complete the shape. In total, prepare around 40 petals following this form.
 After they are dried, trim and shape the leaves & sepal pieces as shown:


Step 10. Taper the Tips and Buds
Now move on to shaping the strip tips. Rest the strip and scissors against a stable surface and trim while slowly rotating. Shape them to be wider in the middle and pointed at both ends; you’ll need four strips in this shape.

For the flower buds, shape the green end into a sharper point and the purple end into a more rounded form. Prepare six pieces like this.

Align the purple strips neatly and tie them together with silk thread. Wrap downward, secure with a knot, and apply a small amount of glue inside. Bring the strips together and secure the opposite end. Make two buds total.

Step 11. Prepare the Flower Cores
Prepare the flower cores by cutting them in half and gathering about 7–8 strands. Wrap these around the outside of a yellow strip, adjusting them so they are evenly distributed. Secure everything firmly with silk thread and tie off. Make four of these cores in total.

Step 12. Refine and Set Petal Shapes
Once all pieces are fully dry, refine their shapes with sharp scissors. The purple strips should be pressed once more with a flat iron; their base should be slightly rounded, tapering toward the top. Prepare 24 purple pieces.

Set the shape again by soaking the strips in small batches. Remove excess liquid, then gently curve the yellow portion inward and the purple portion outward. Push the edges inward slightly to form petal shapes.

Step 13. Assemble the Flowers
Apply glue along the edge of one petal. For the next petal, apply glue on the inner right side only, then attach the two together with aligned bases. Continue this process, alternating glue application and overlapping the wires at the base.

After attaching five petals, insert the flower core, secure it with silk, and attach the final petal by applying glue on both sides.

Make four flowers in total. Trim away excess copper wire at an angle. Attach the small light green petals around the base (about eight per flower). Add a 4 mm copper wire at the base for support and wrap silk thread downward about 3 cm.

Step 14. Final Branching and Assembly
Attach a copper wire to the leaves and wrap securely. Assemble the filler pieces and buds together using four strands of silk thread.

Arrange the flowers and leaves at slightly different heights for a natural composition, ensuring some face left and others right. Attach the leaves to the arrangement and wrap the silk thread down to the base.

Adjust the flowers for balance and lightly seal the tied areas with a flame if needed. Fold the bottom wire in half and use four strands of thread to bind everything together.
Step 15. Attach the Piece to the Accessory
Finally, attach the arrangement to a hairpin, wrapping horizontally so it sits naturally. Keep the thread tight and evenly layered.

To finish, place a folded silk thread along the hairpin and wrap forward several turns. Thread the silk through the loop and pull it tight, then trim any excess.
You can watch our video tutorial for this step:)
Lightly seal the ends or apply a bit of hairspray to prevent slipping. Brush a small amount of hairspray over the wrapped area for extra hold.
And that completes the piece. Enjoy your beautiful Bellflower Hairpin! 🌸


Laisser un commentaire
Tous les commentaires sont modérés avant d'être publiés.
Ce site est protégé par hCaptcha, et la Politique de confidentialité et les Conditions de service de hCaptcha s’appliquent.