

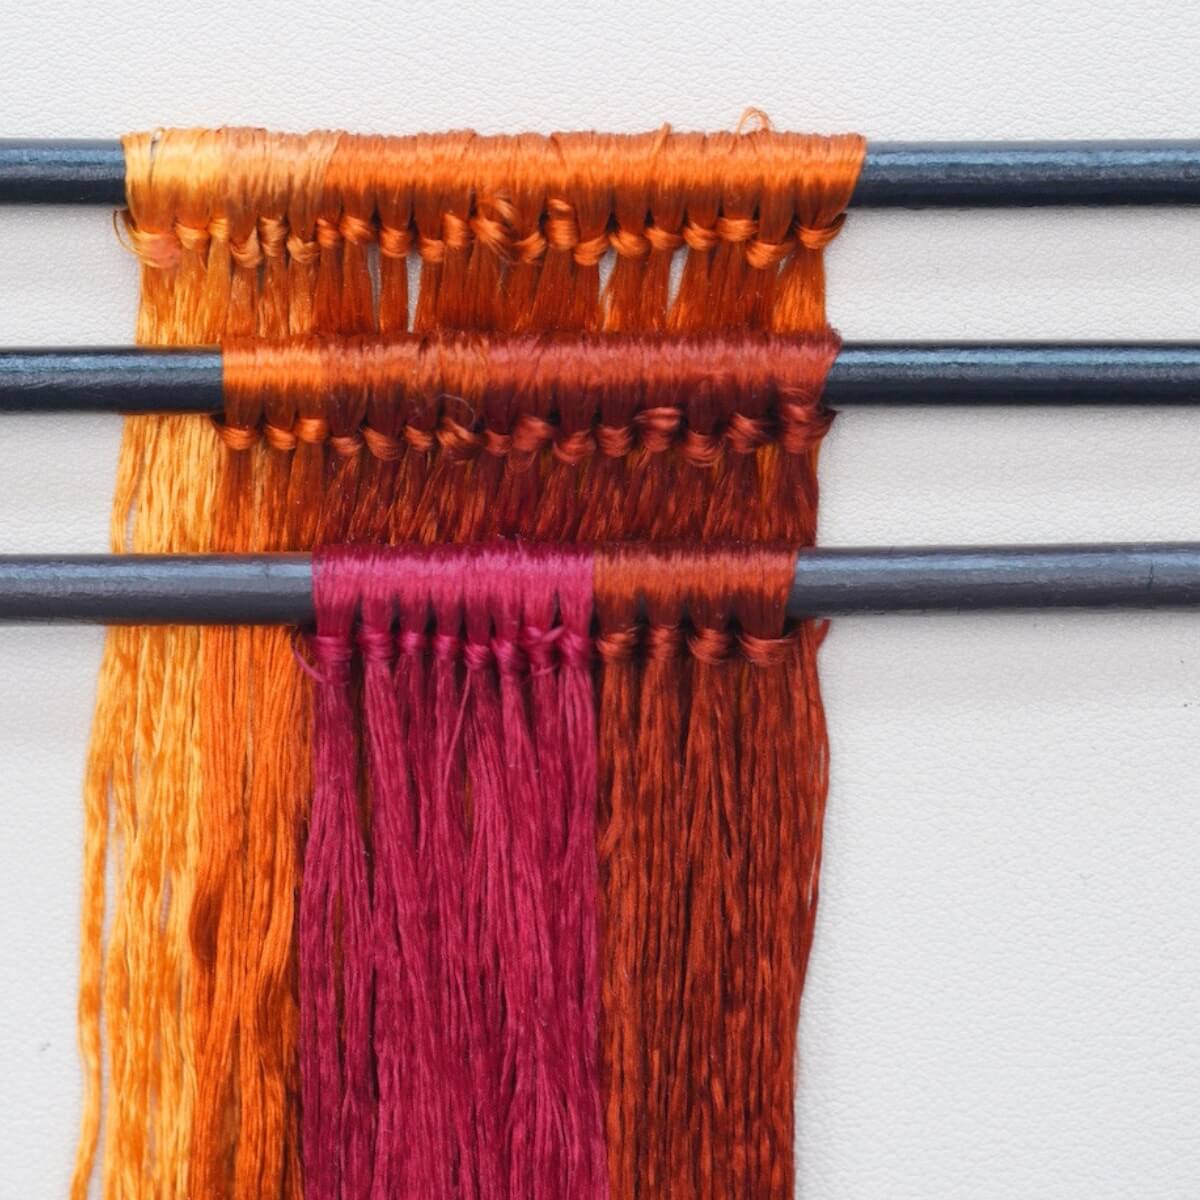
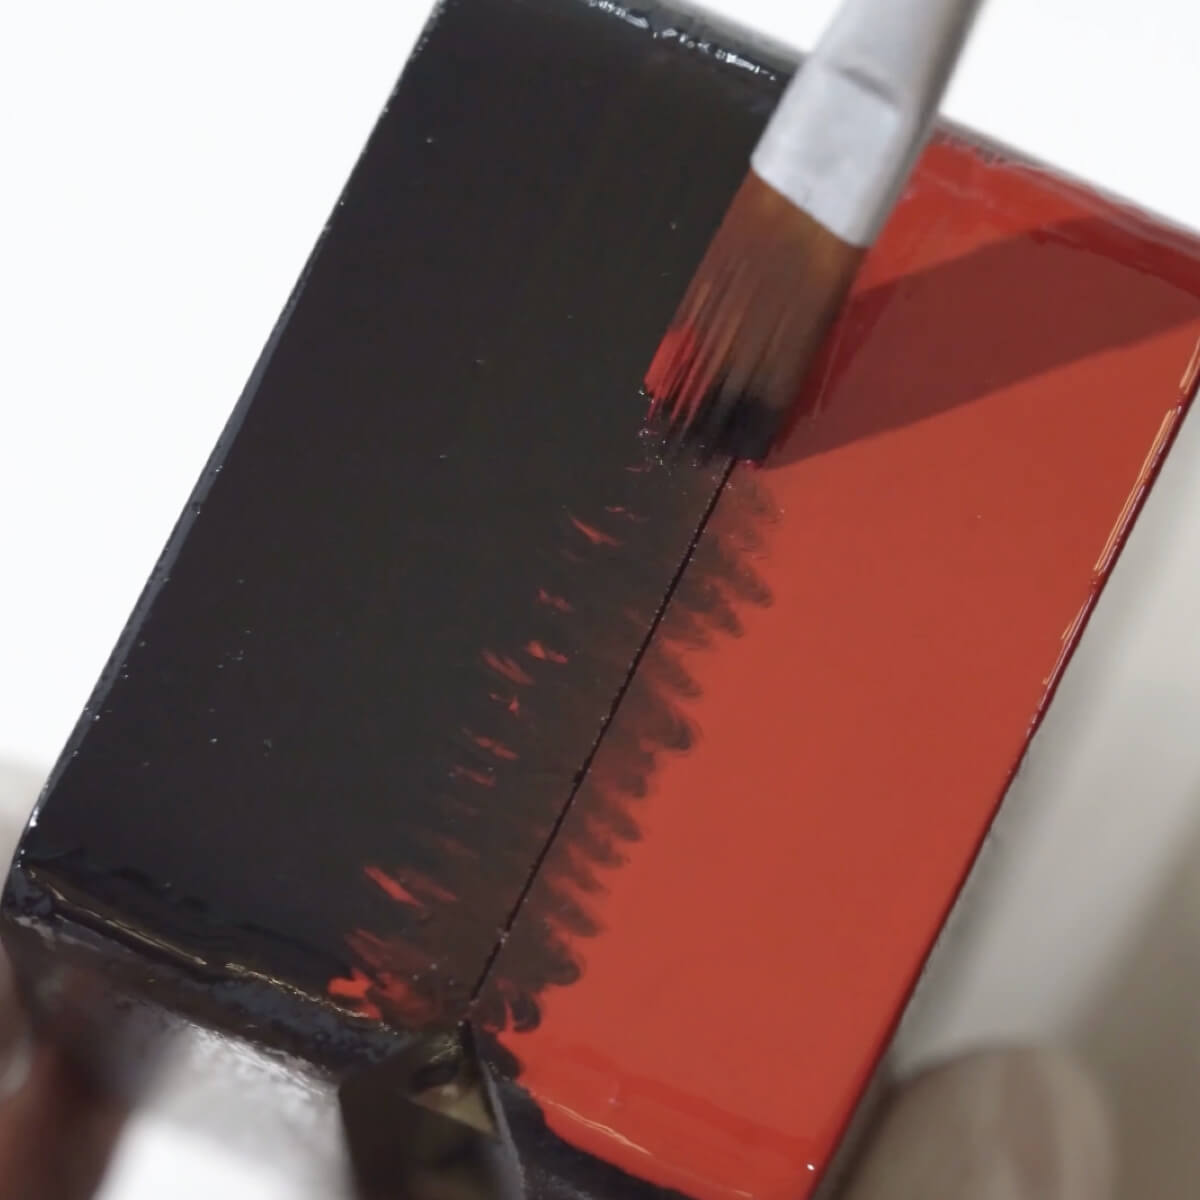
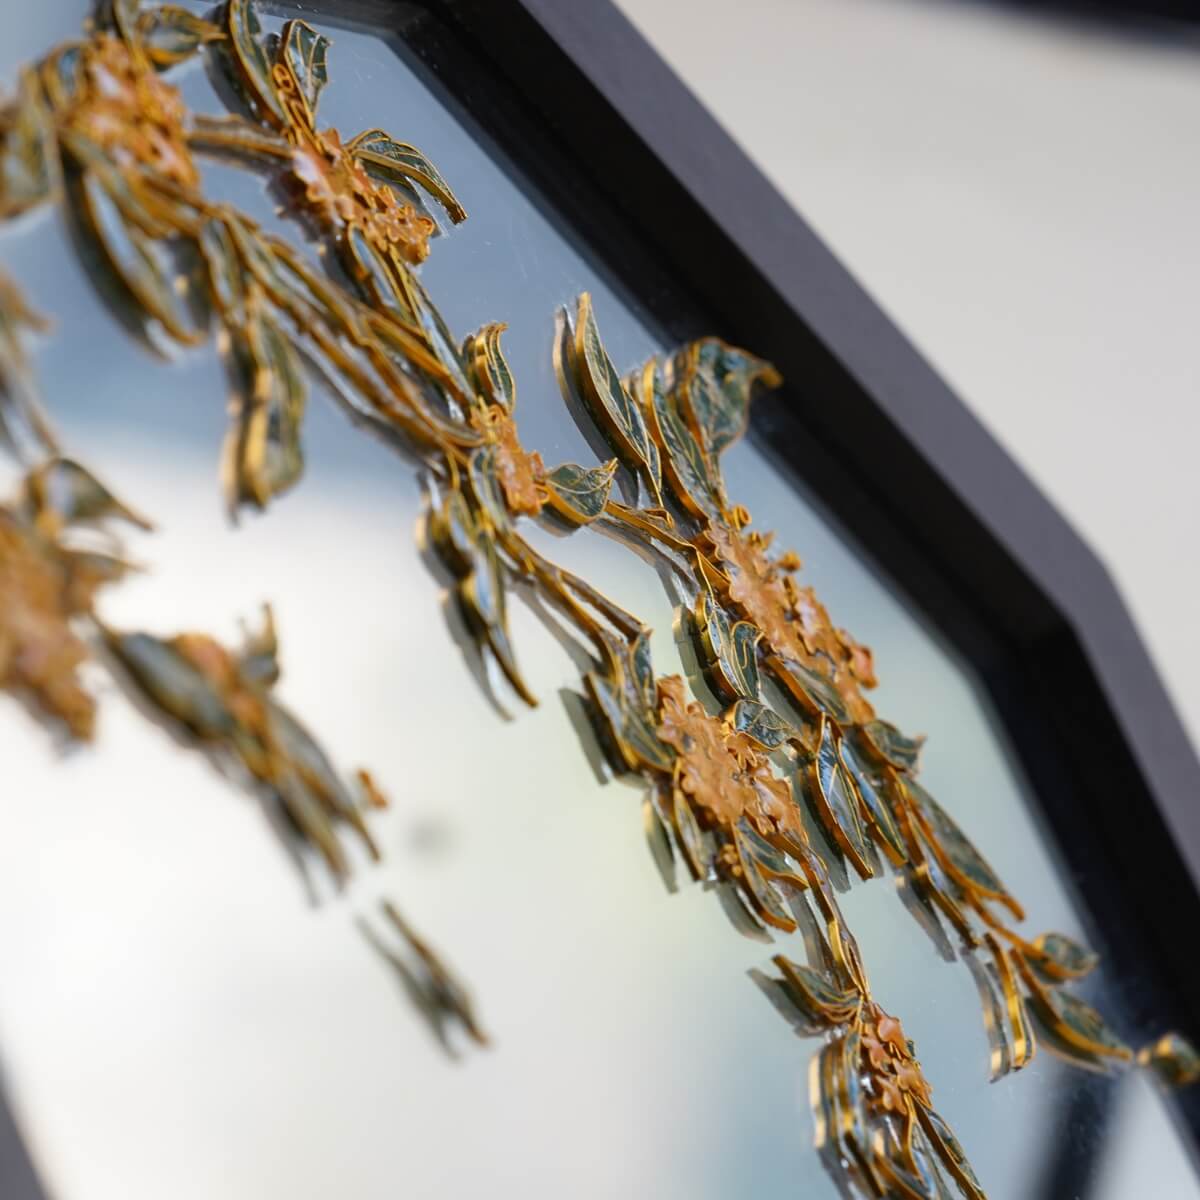
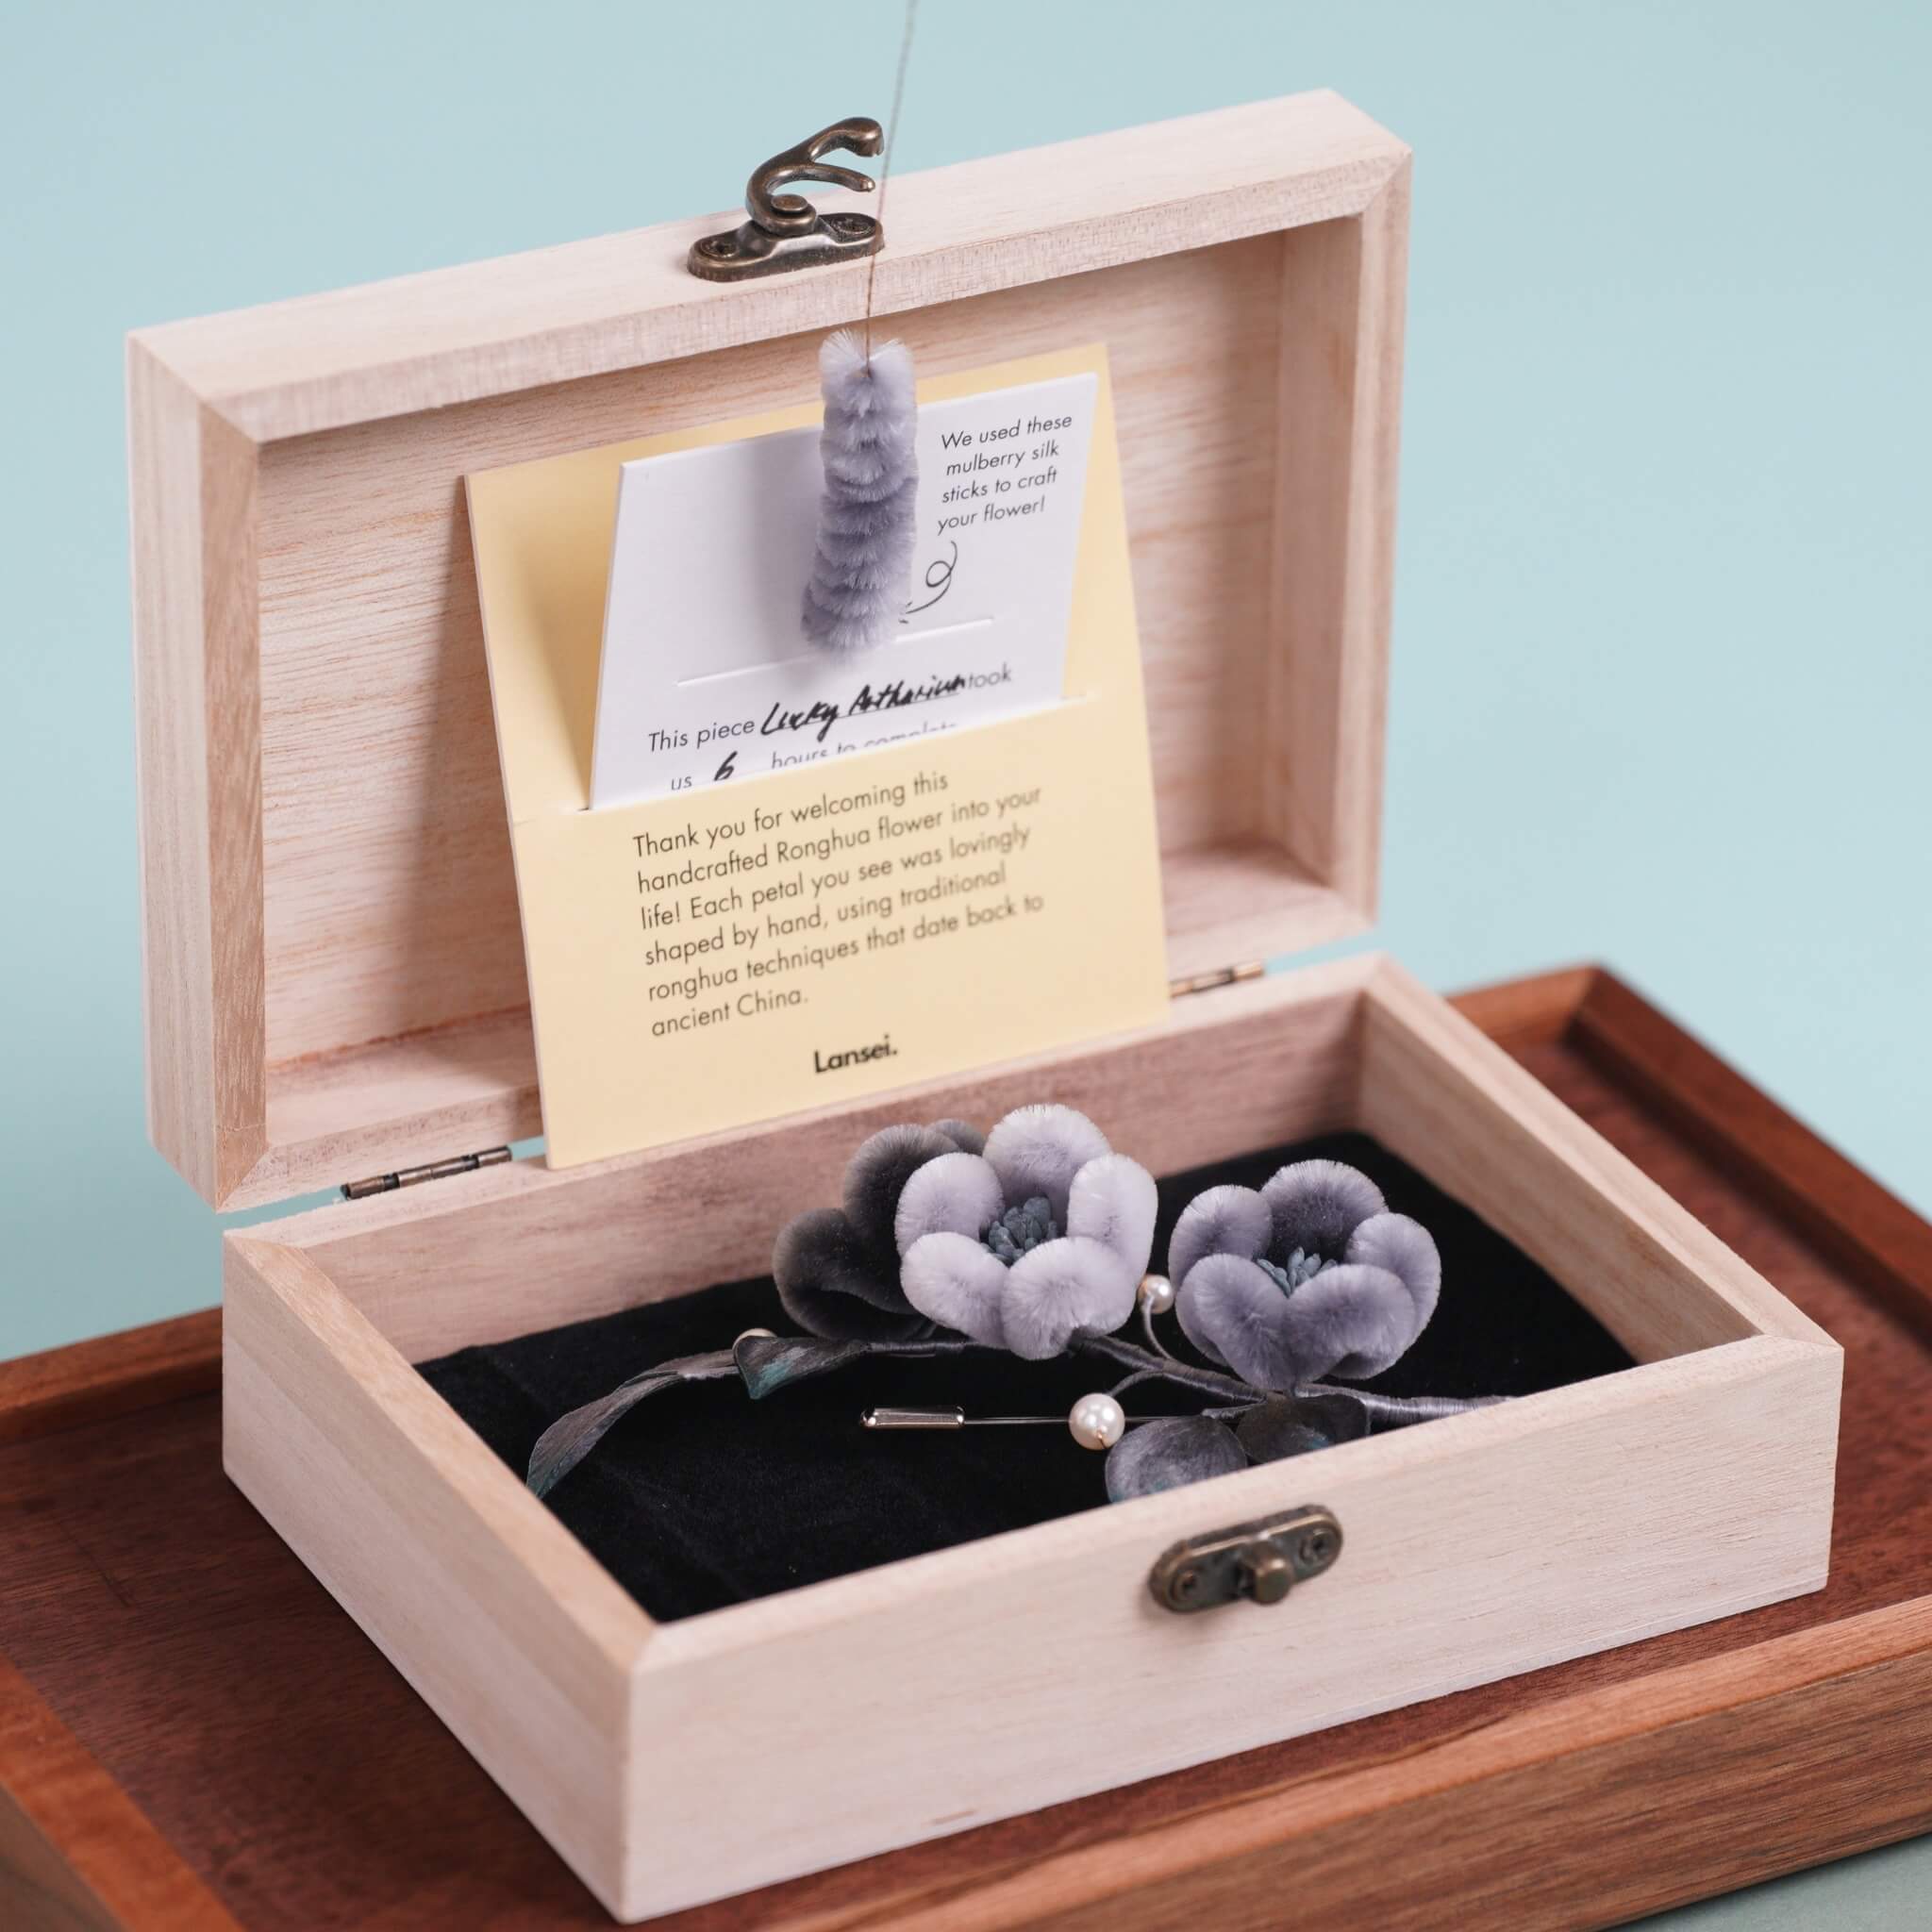
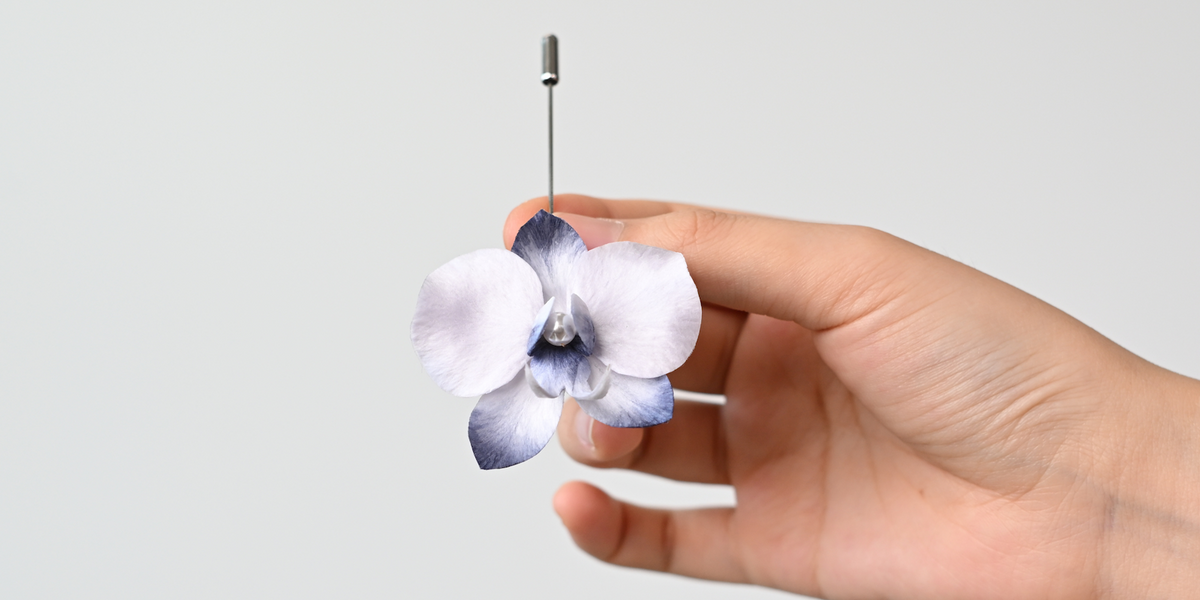
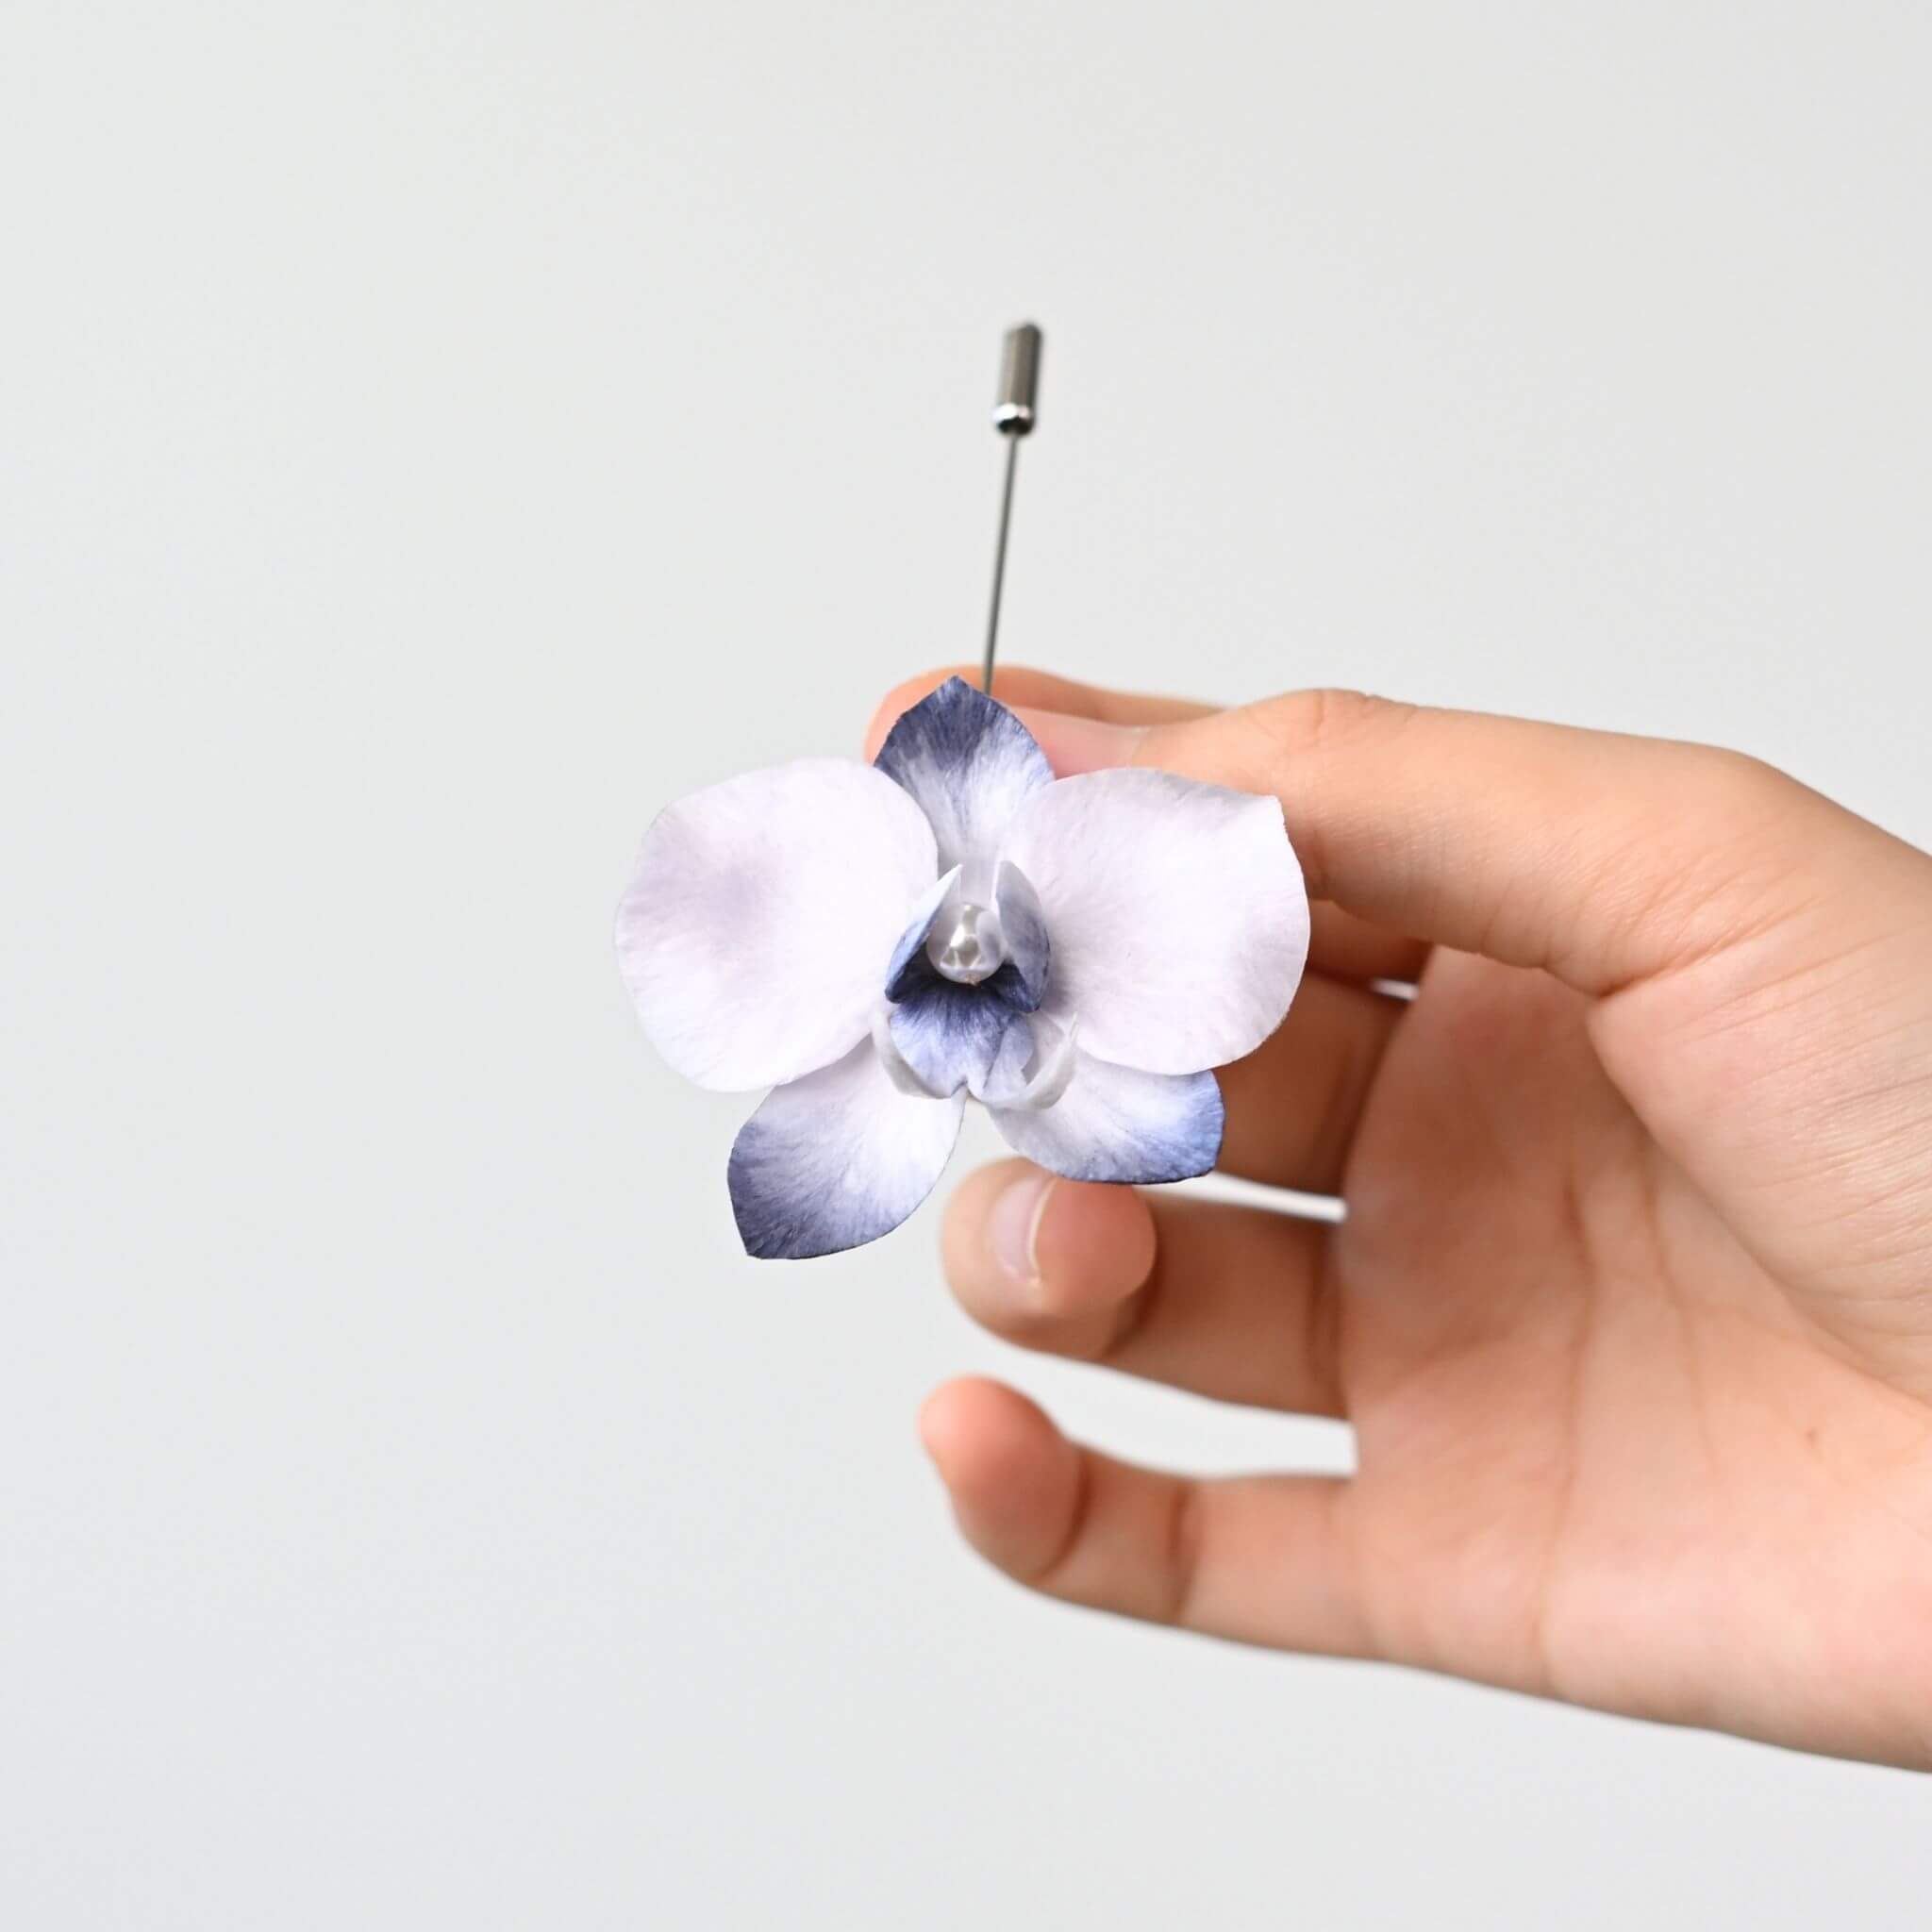
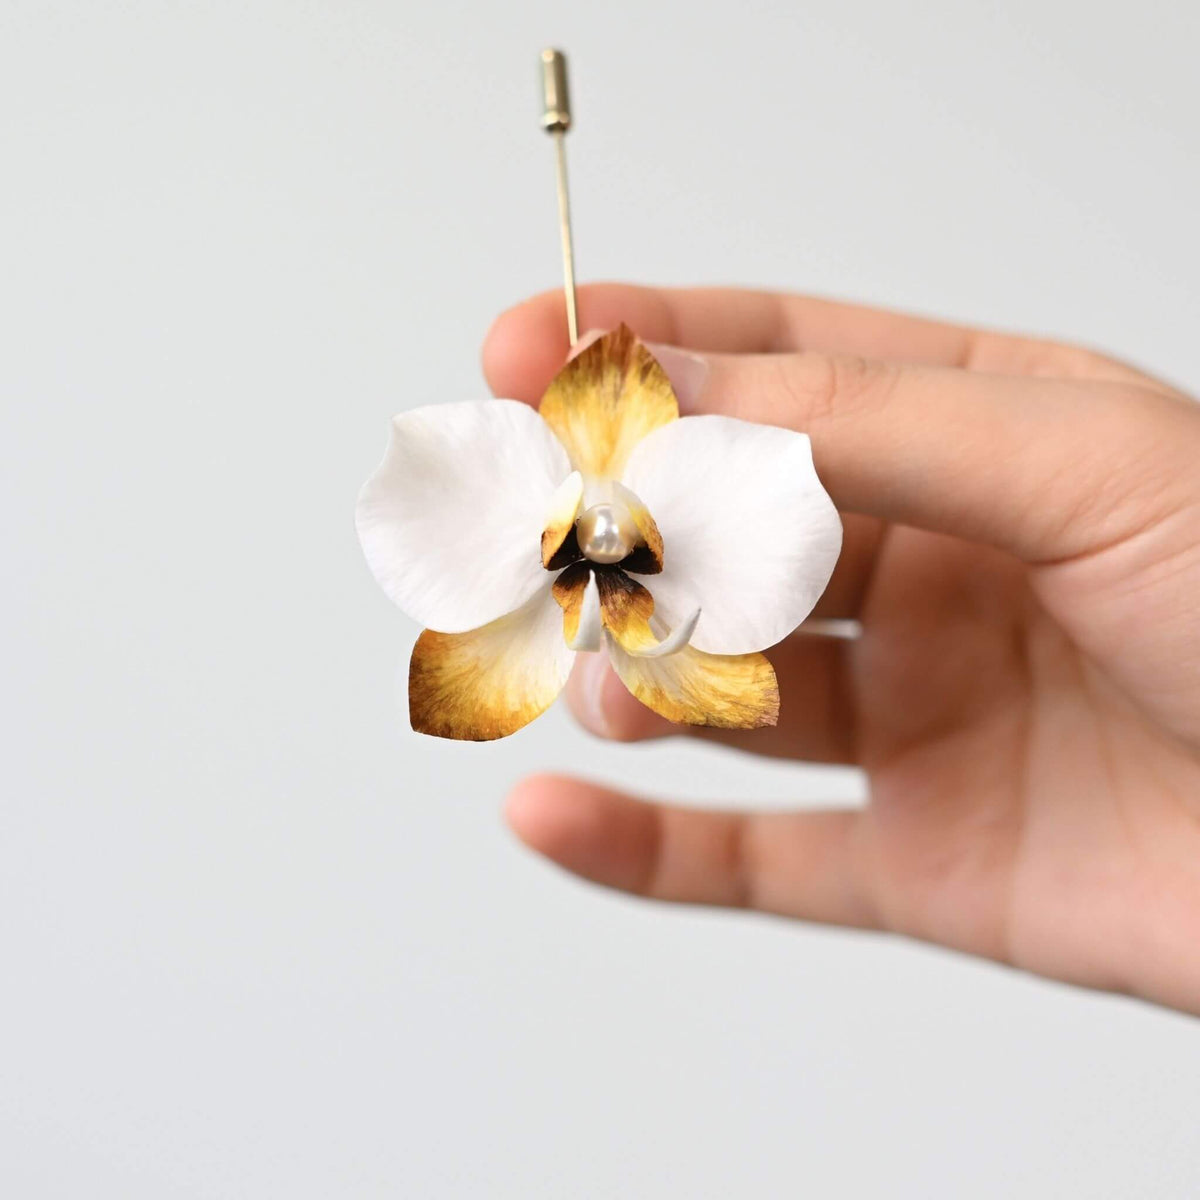
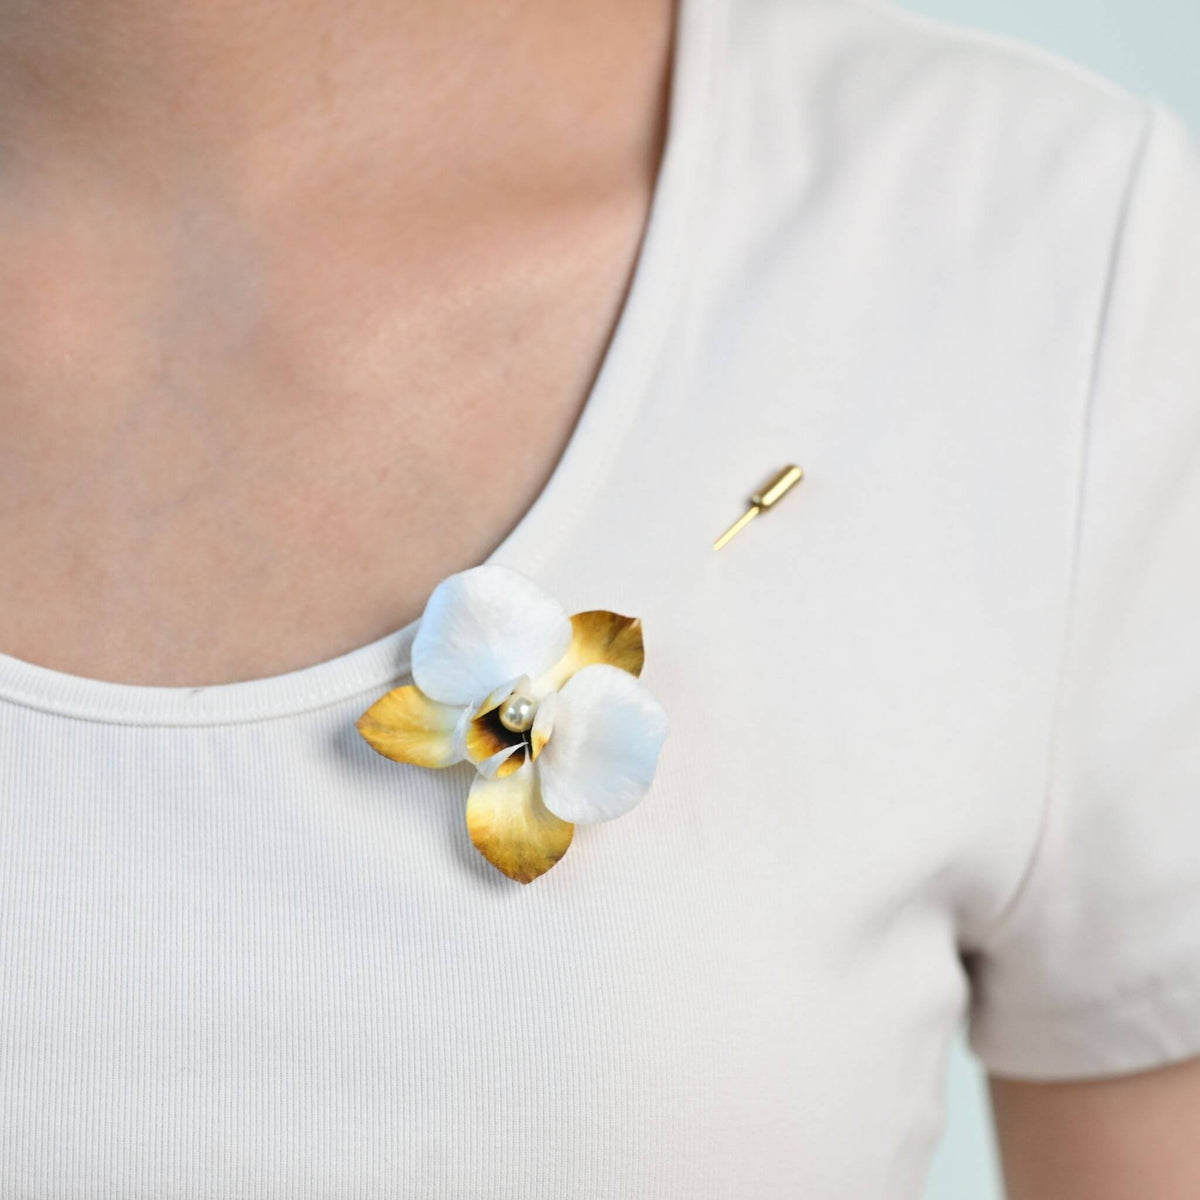
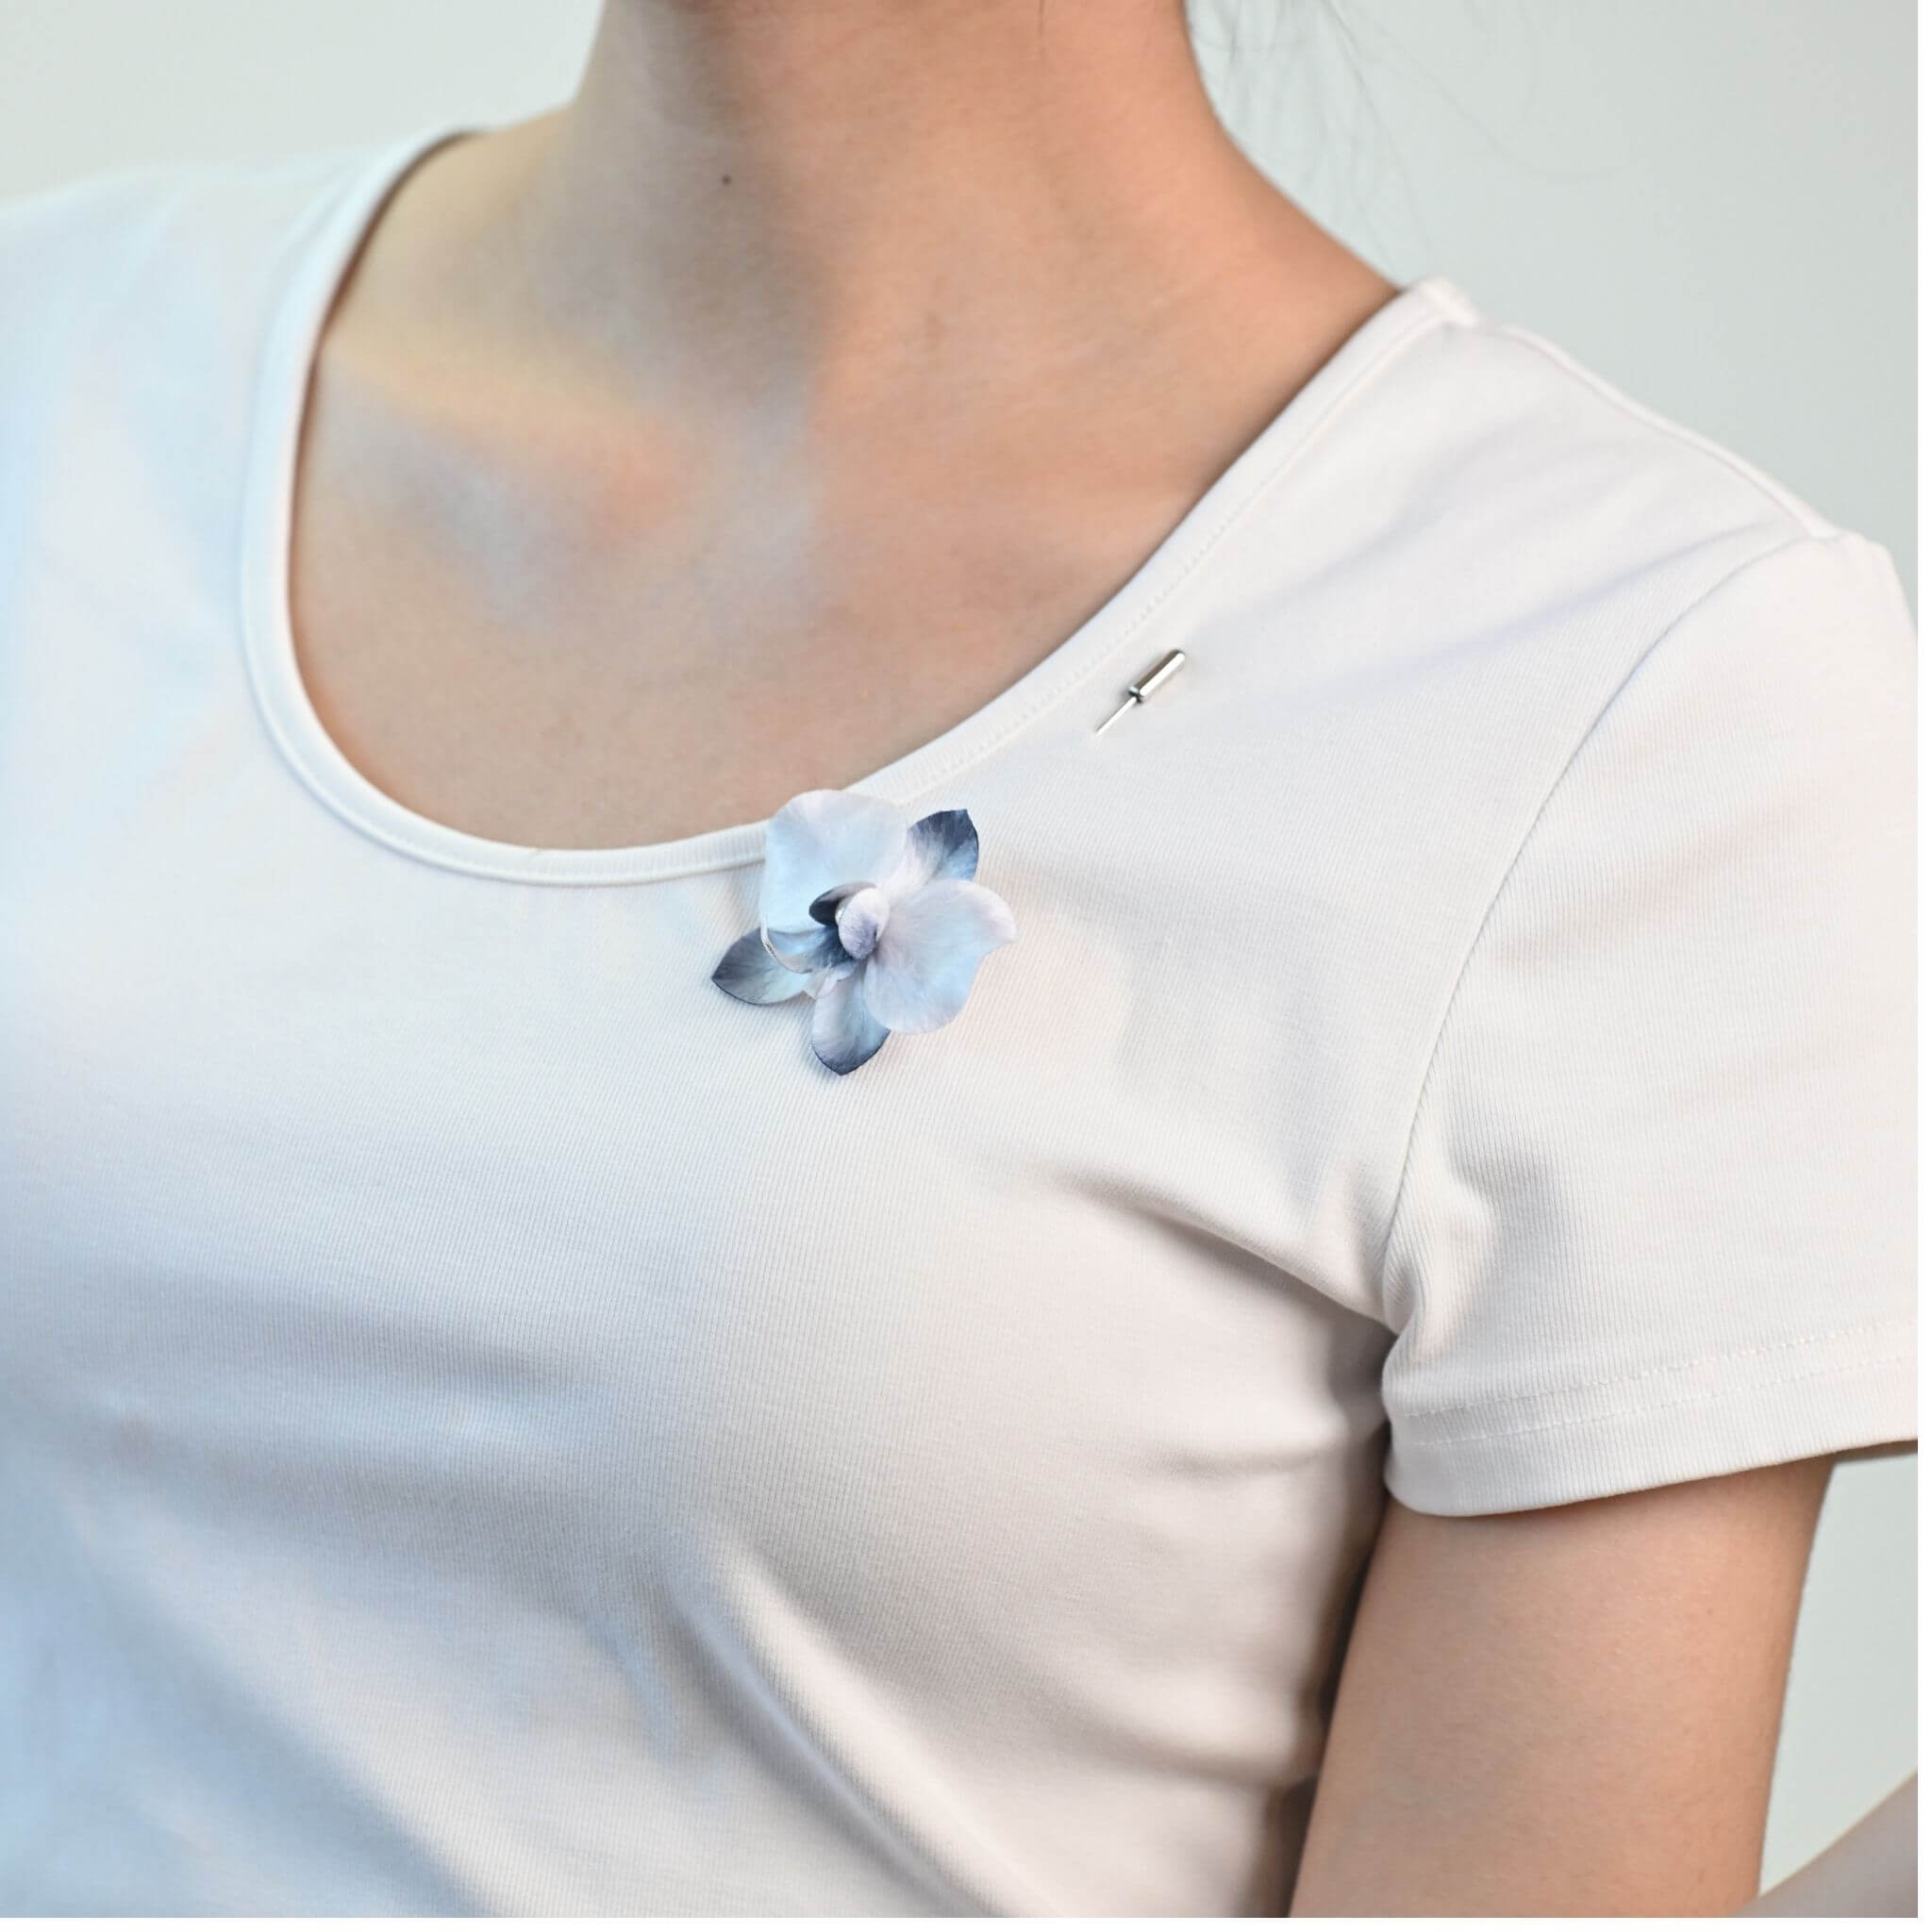
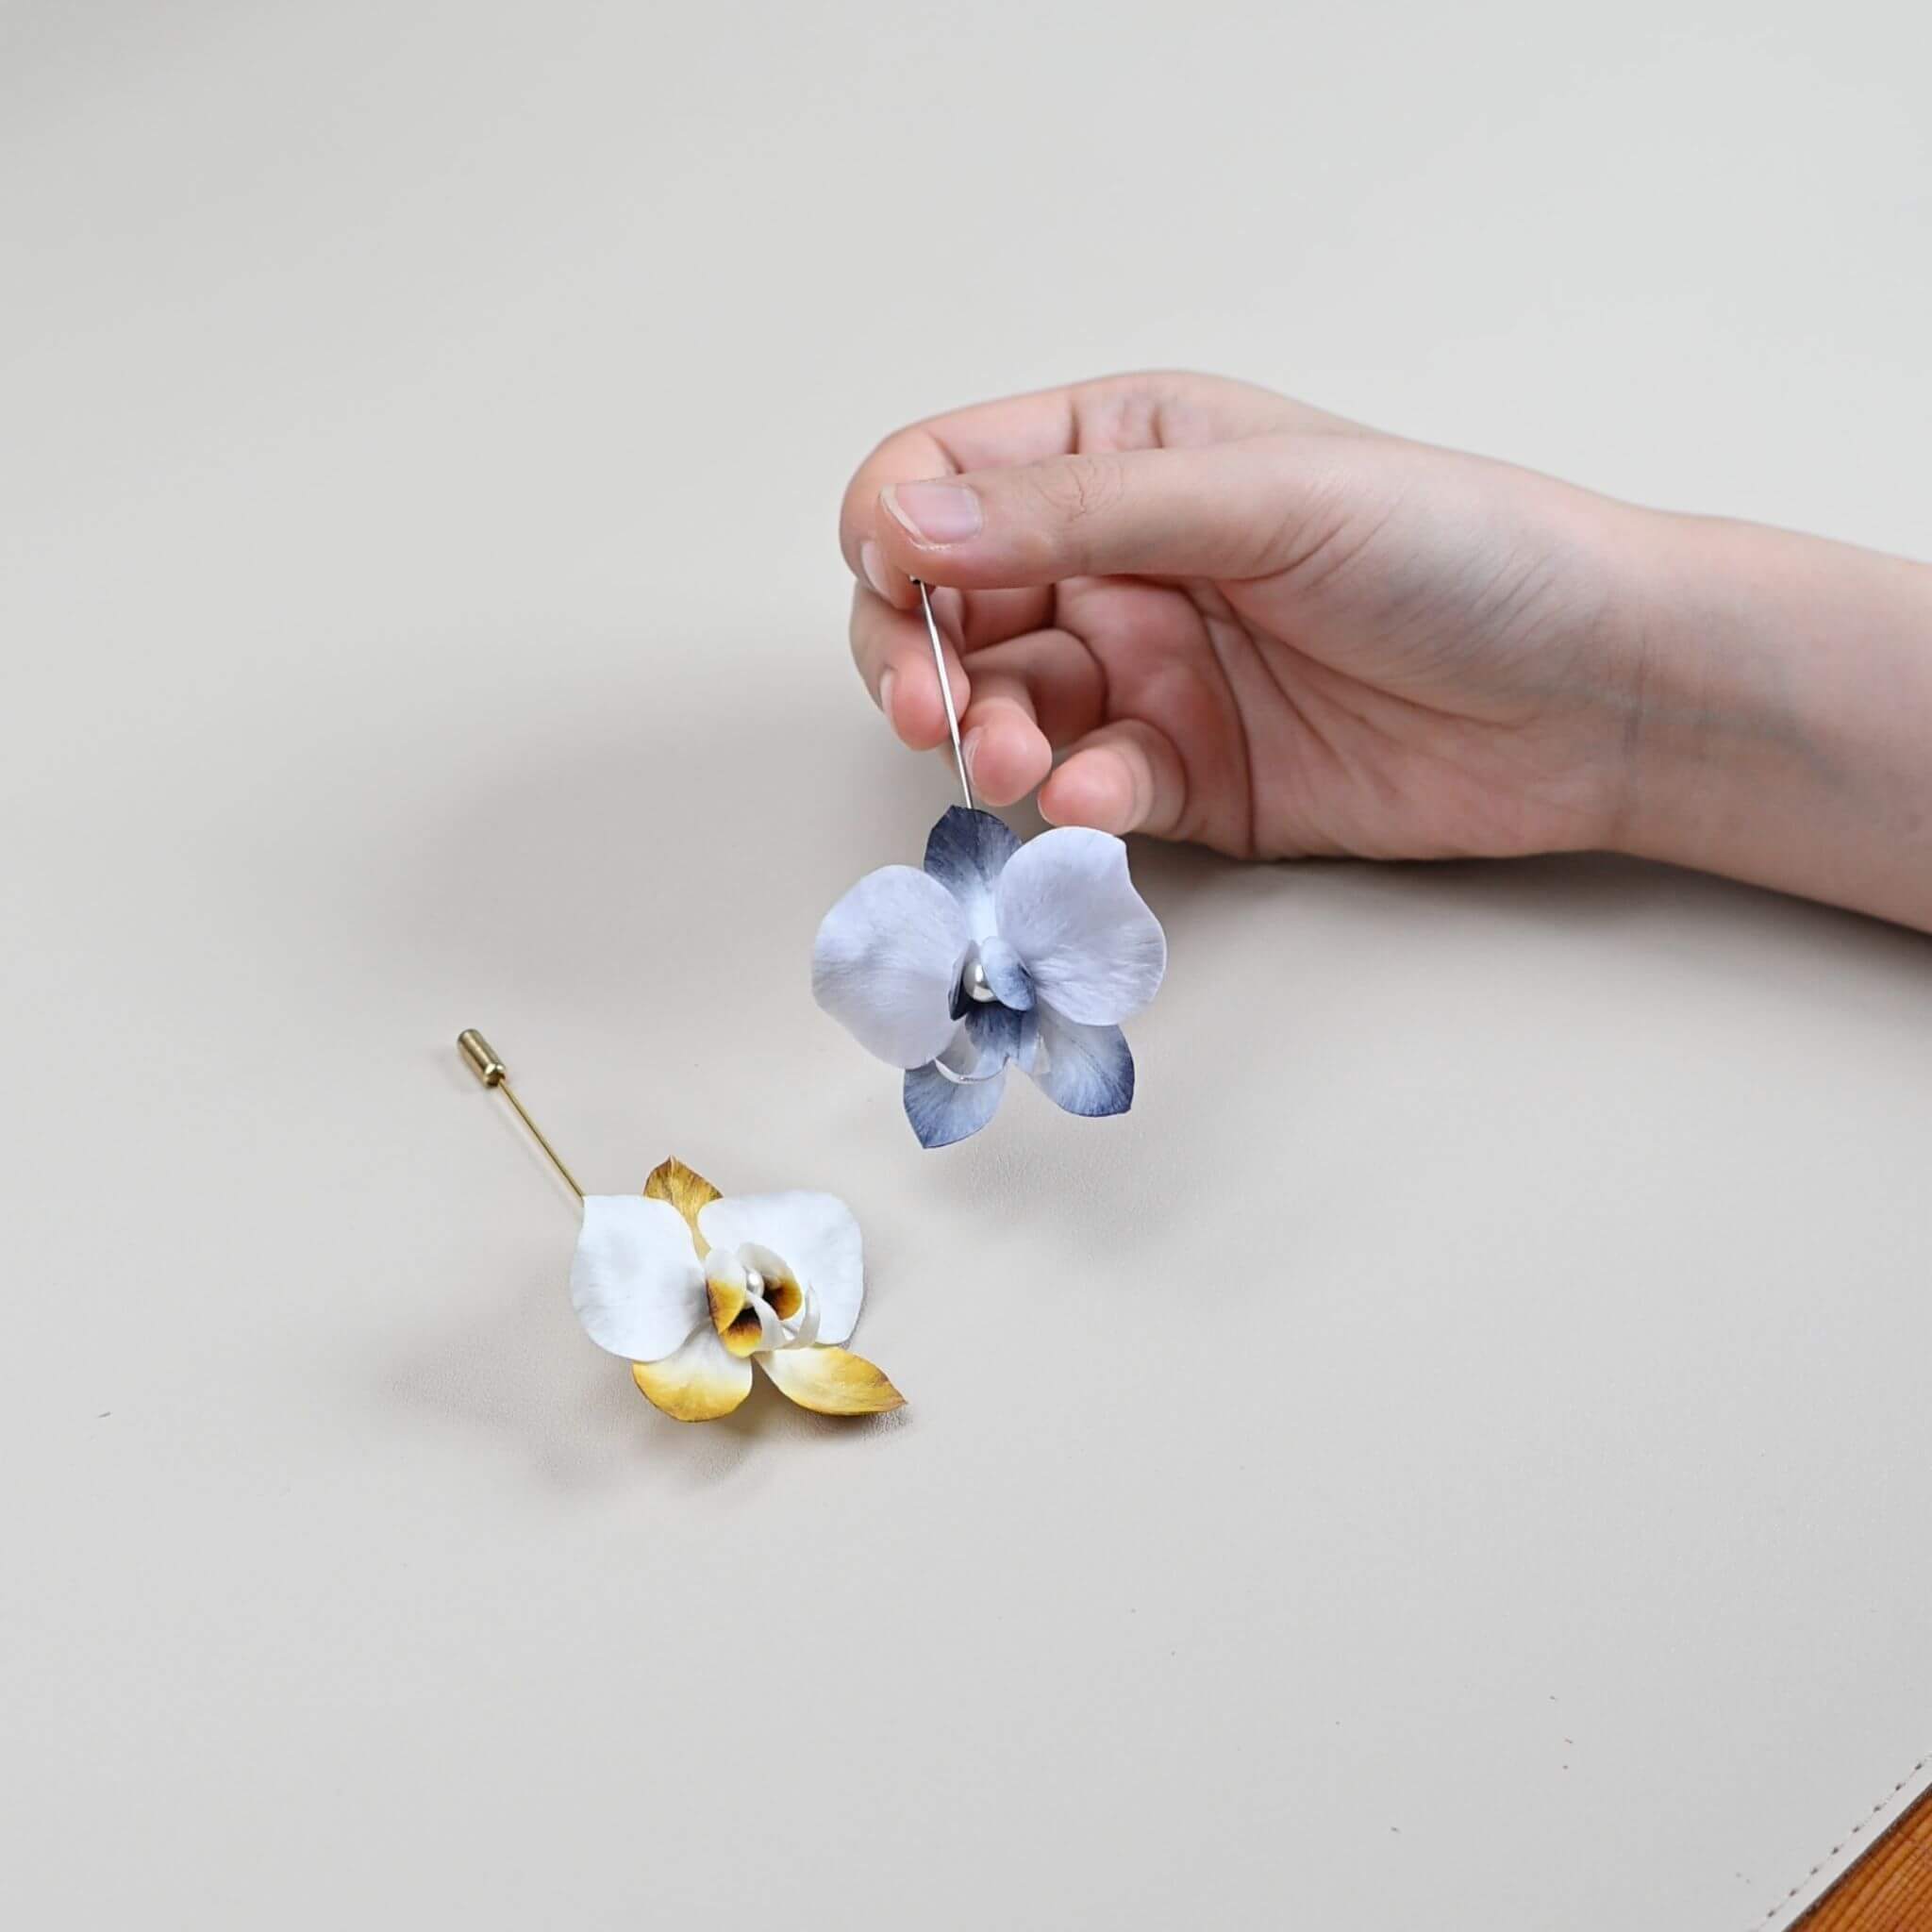
This delicate Butterfly Orchid brooch brings together elegant silk petals and a lustrous shell pearl center. Using traditional Ronghua techniques, each petal is carefully shaped and arranged to create a graceful, natural-looking bloom. A lovely little piece of floral craftsmanship, perfect for adding a touch of handmade elegance to your everyday style.
The best part? With the petals pre-made for you, this Ronghua kit is simple and relaxing to complete. Just enjoy the moment your flowers come together!
Preparation: What You’ll Need
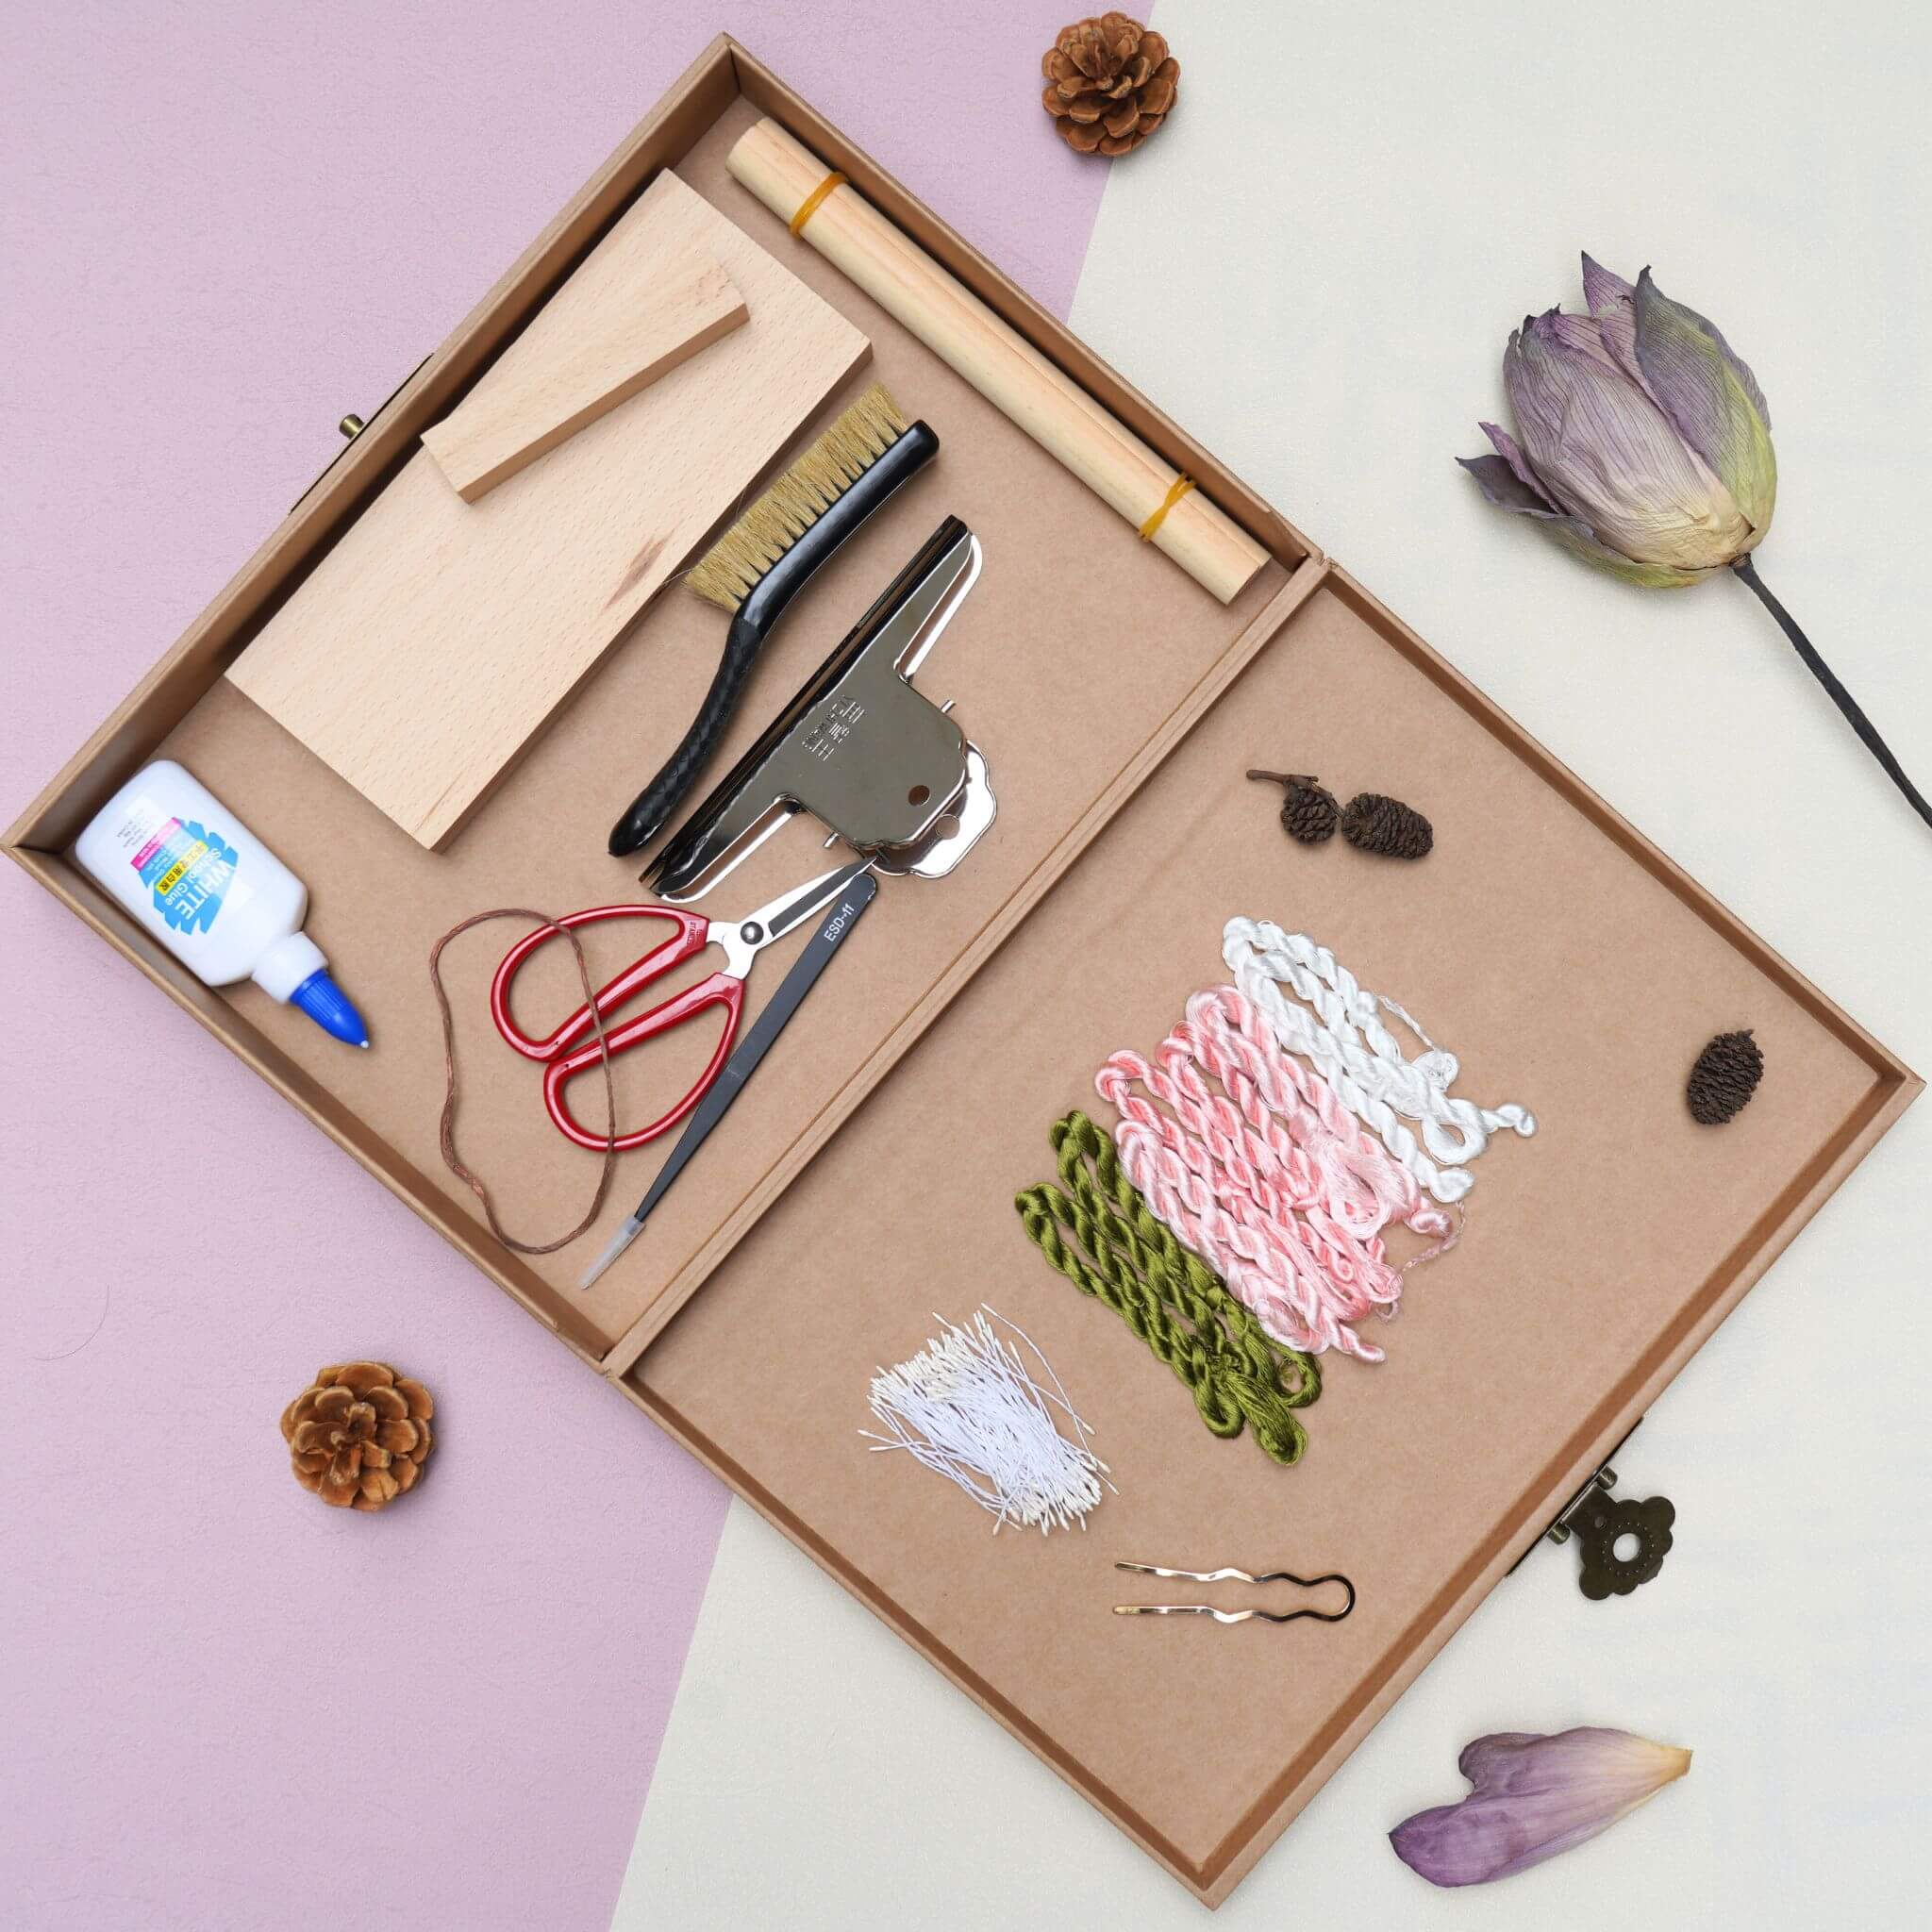
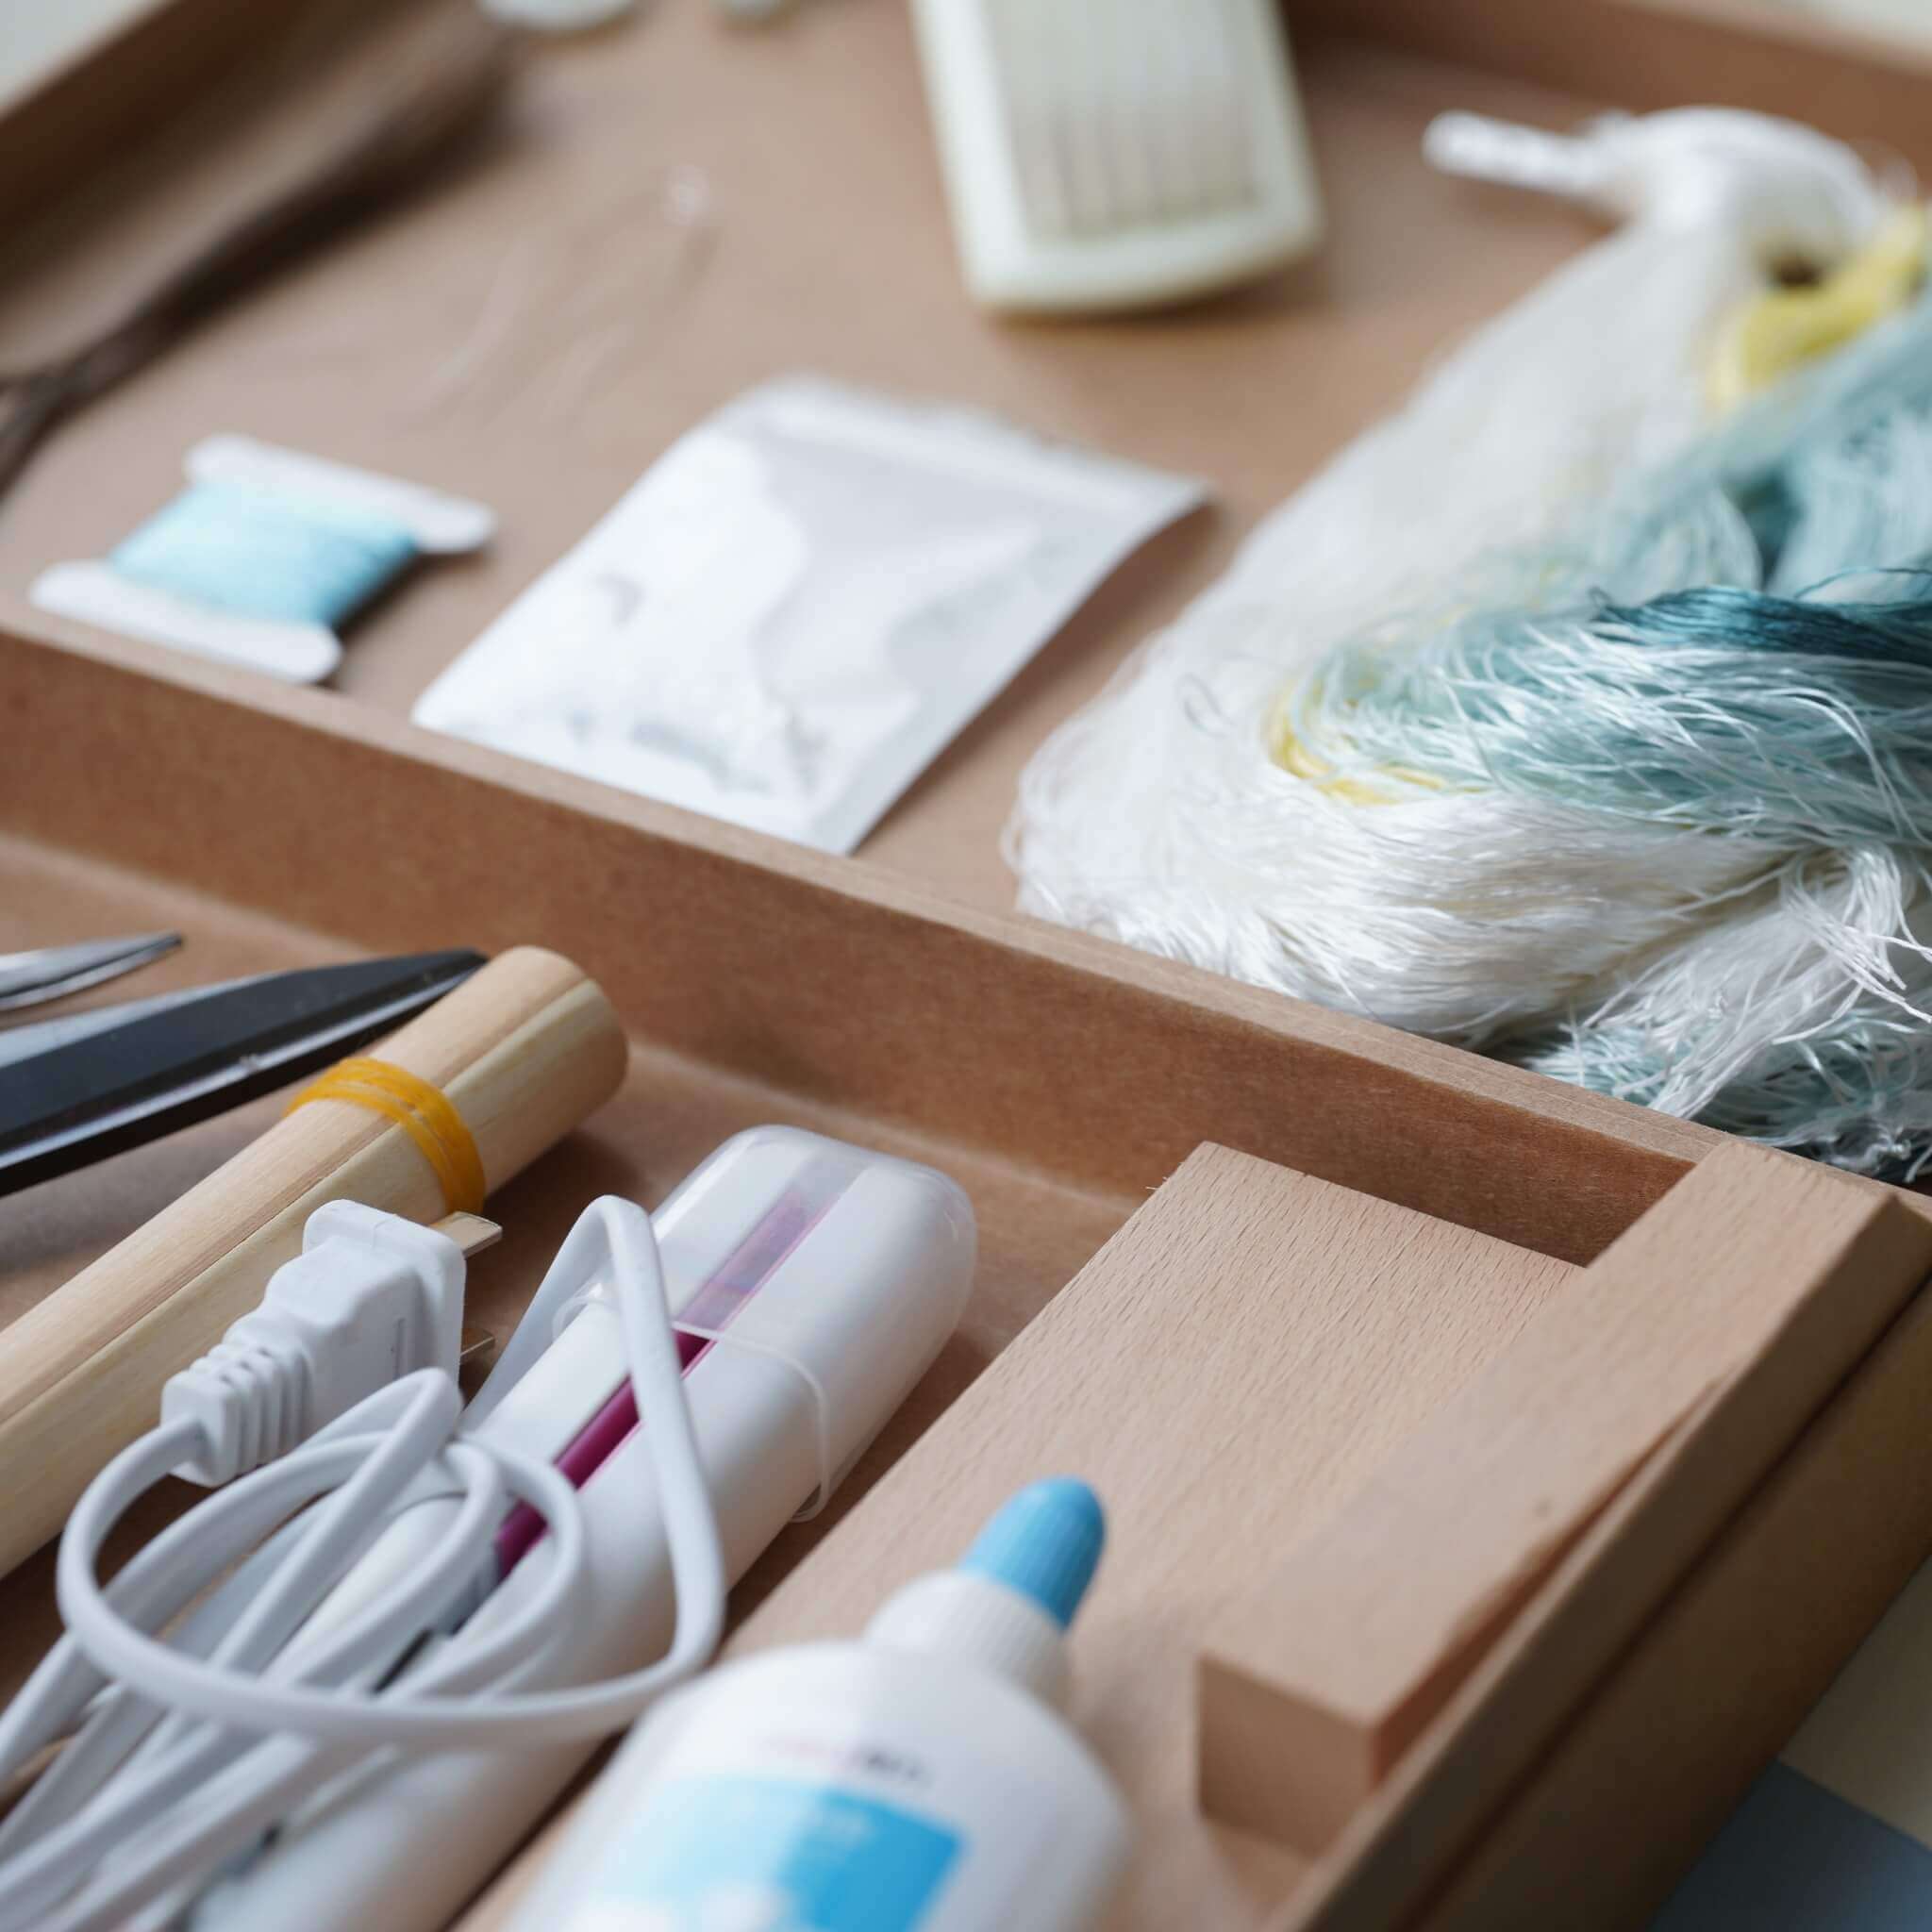
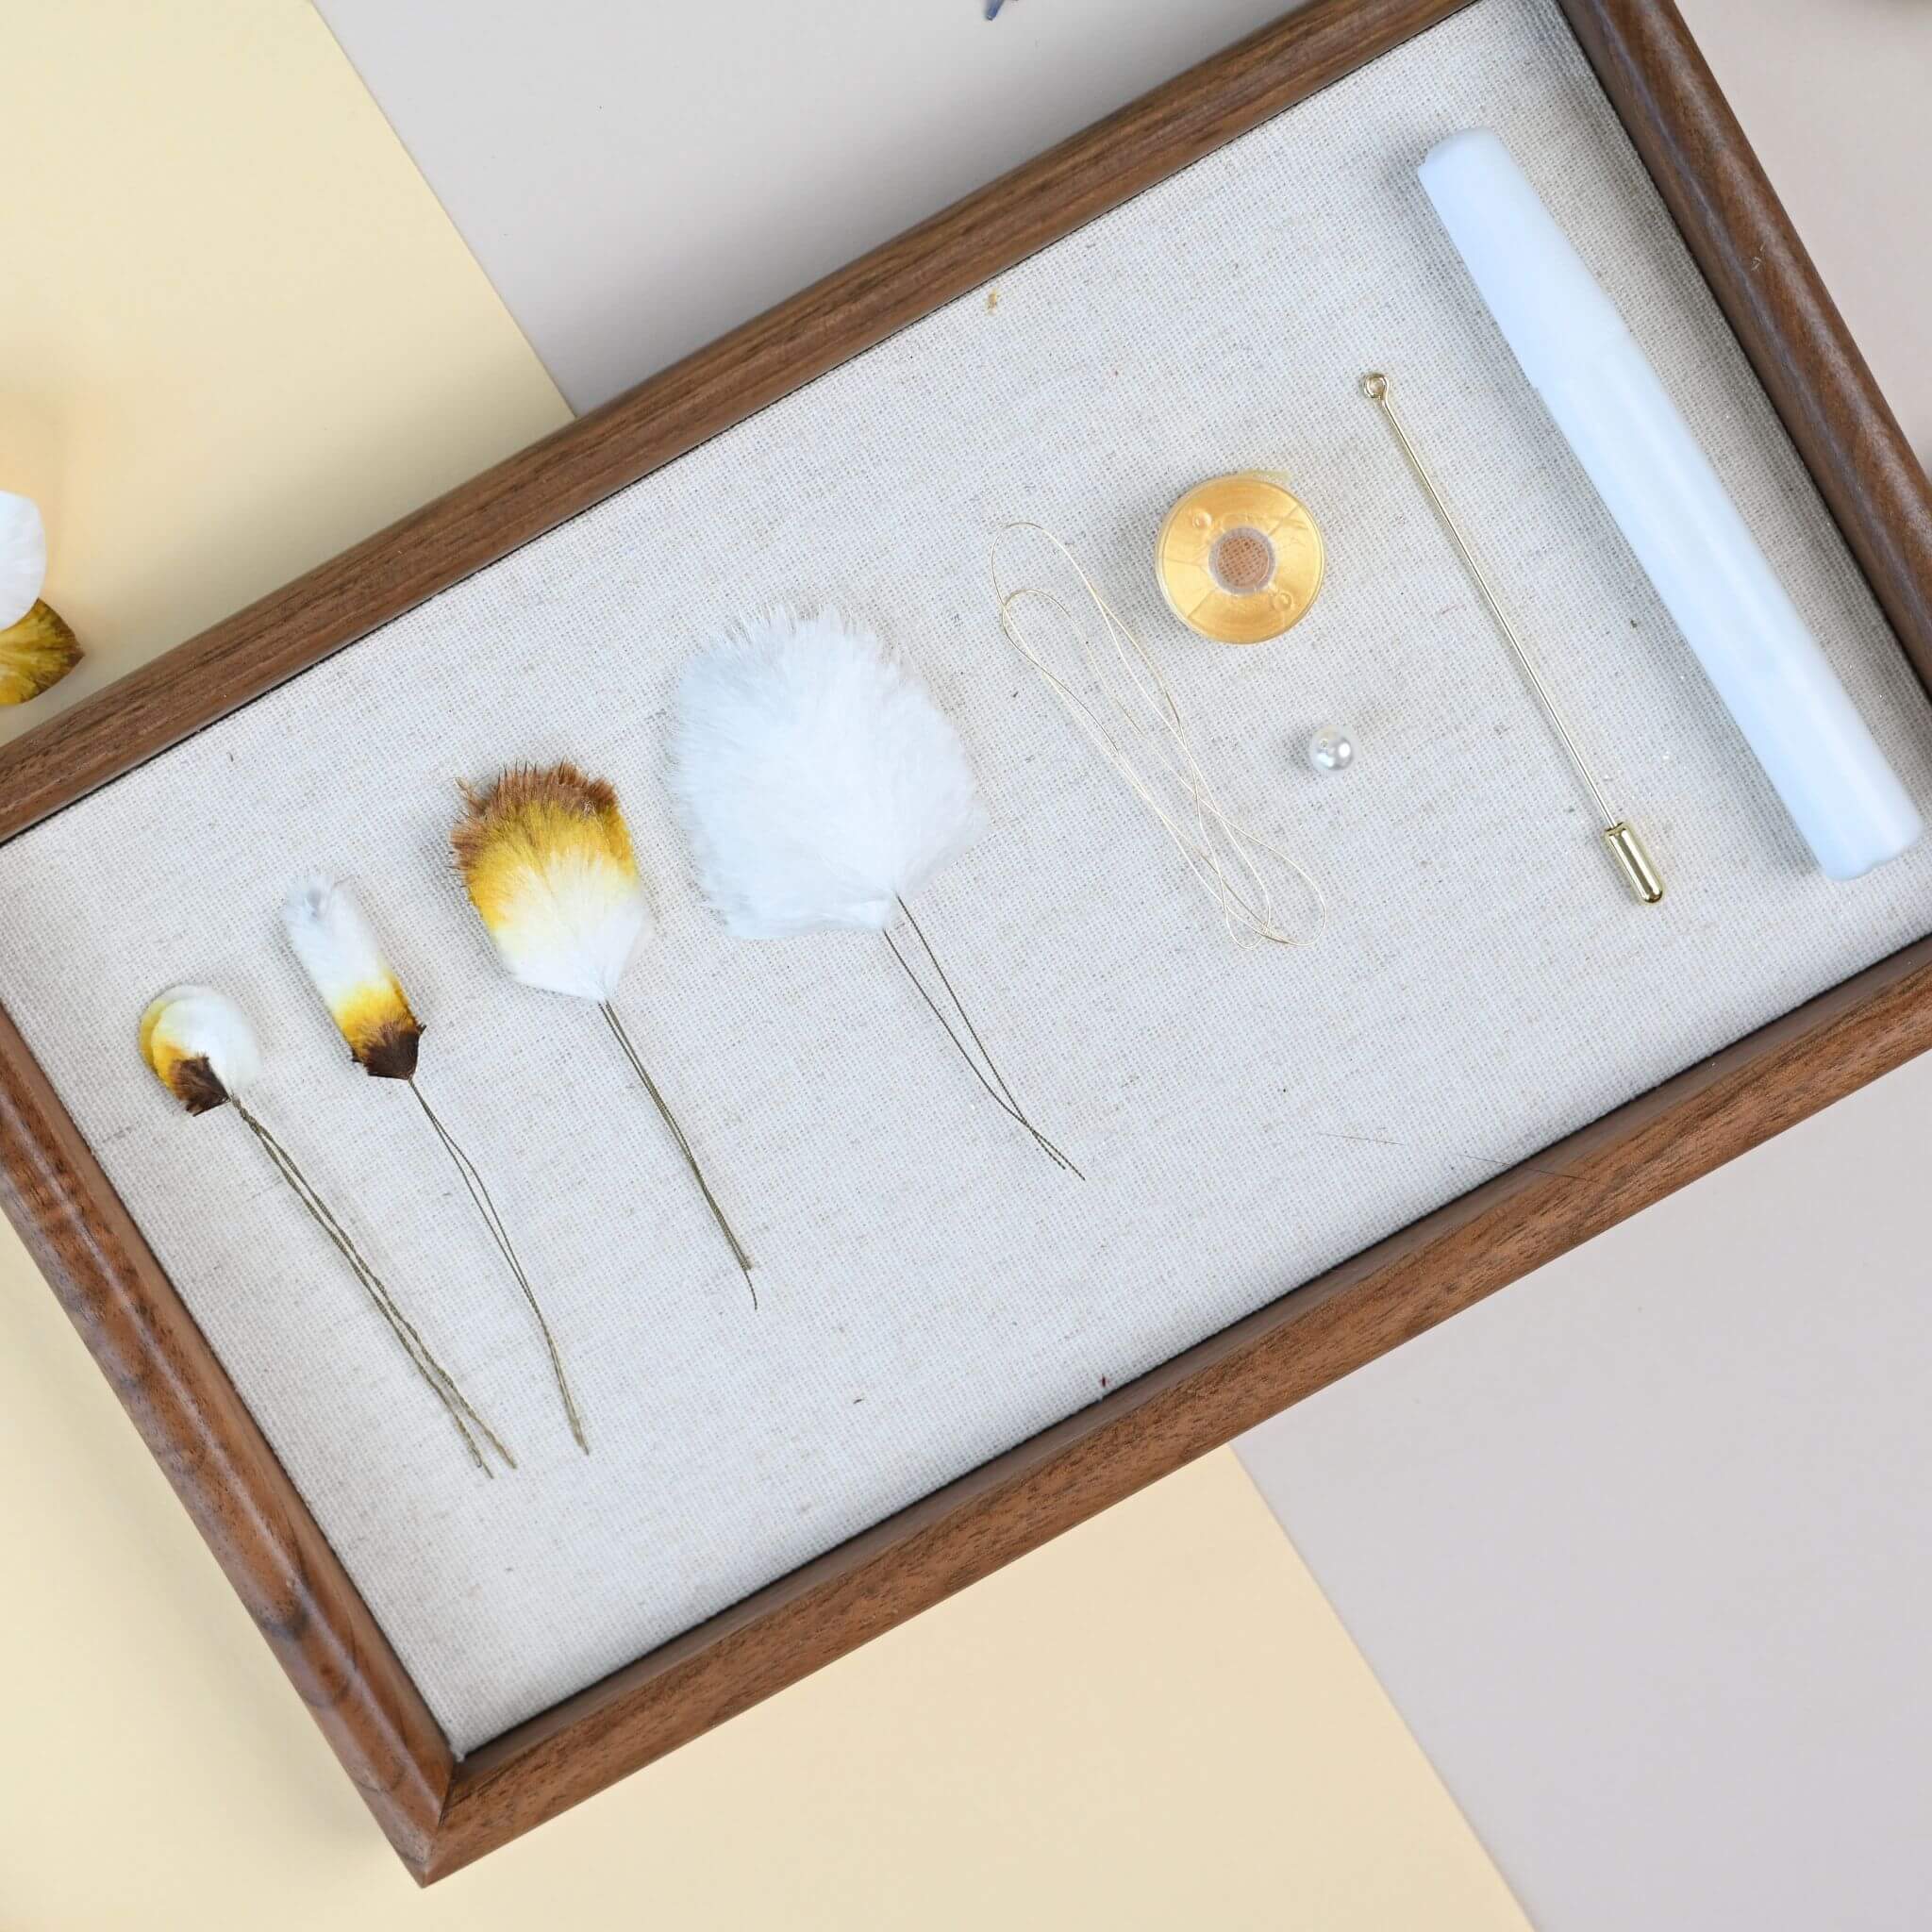
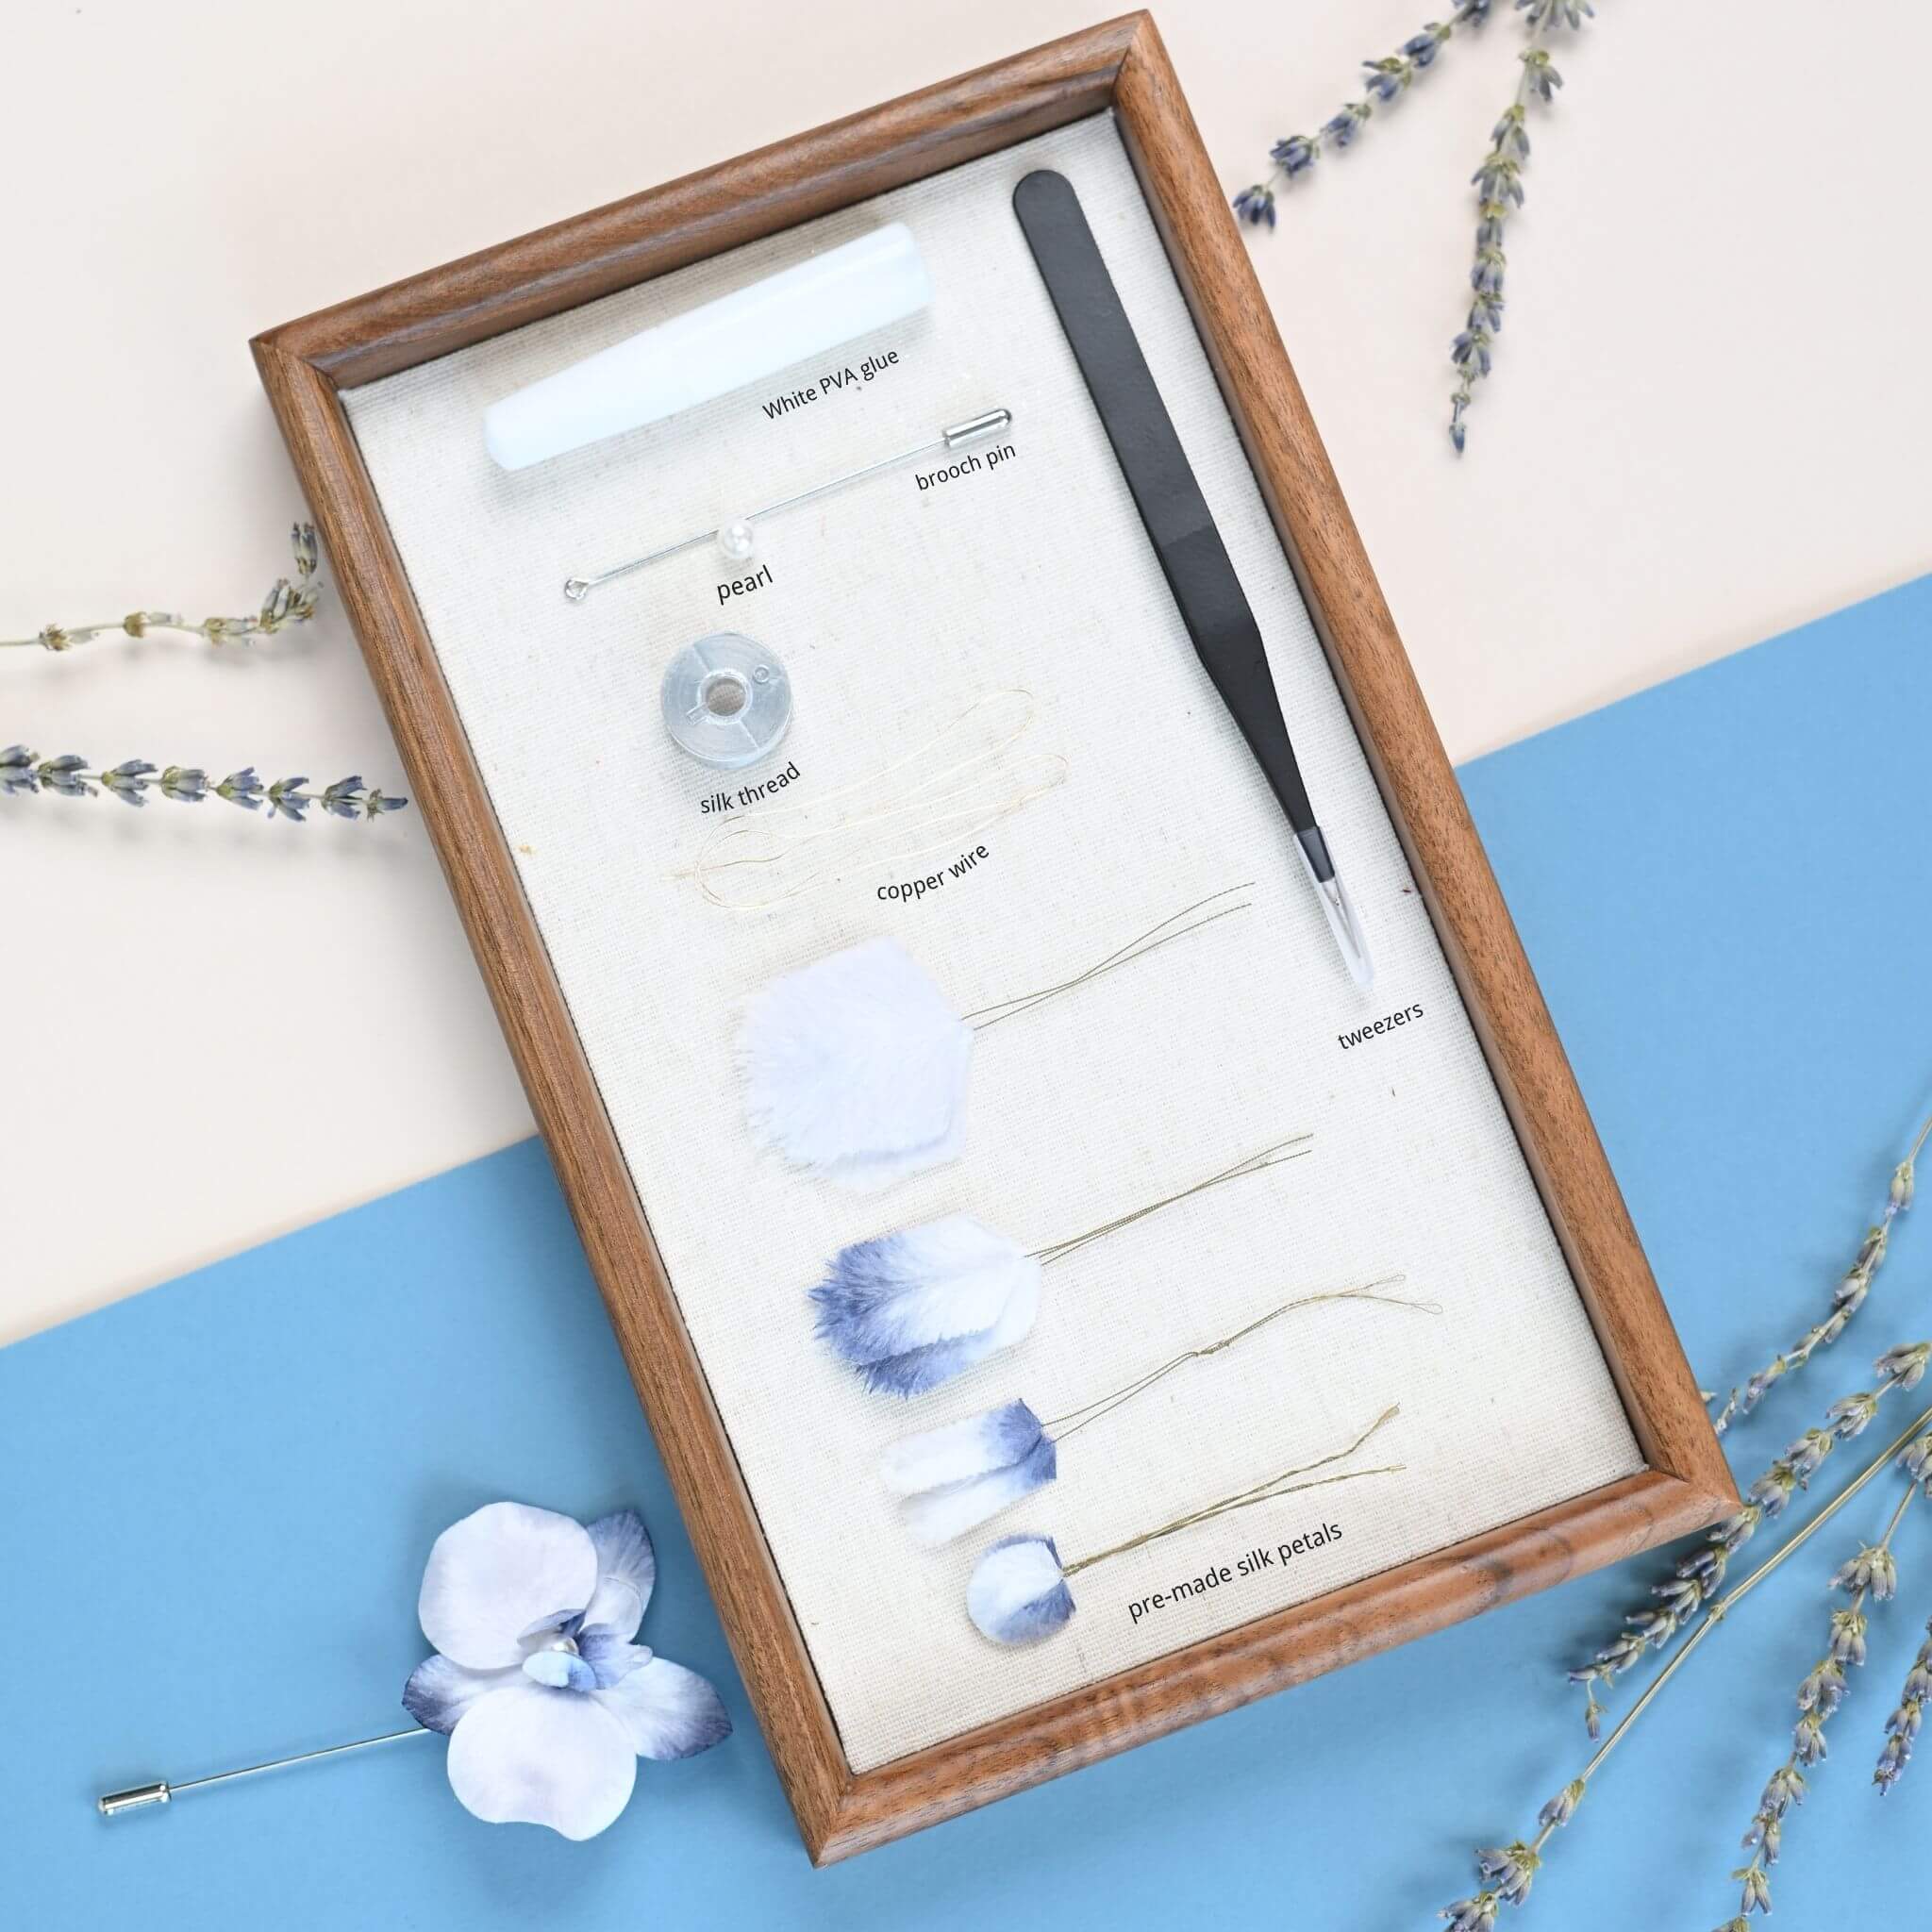
Let’s first take a look at all the materials included in the kit. You’ll find one tube of white glue, one brooch pin, one roll of silk thread, a piece of colour-preserving copper wire, and one shell pearl. There are also two large white silk strips, three medium-sized silk strips, two small dark-coloured silk strips, and two small round silk strips.
Full Tutorial Video
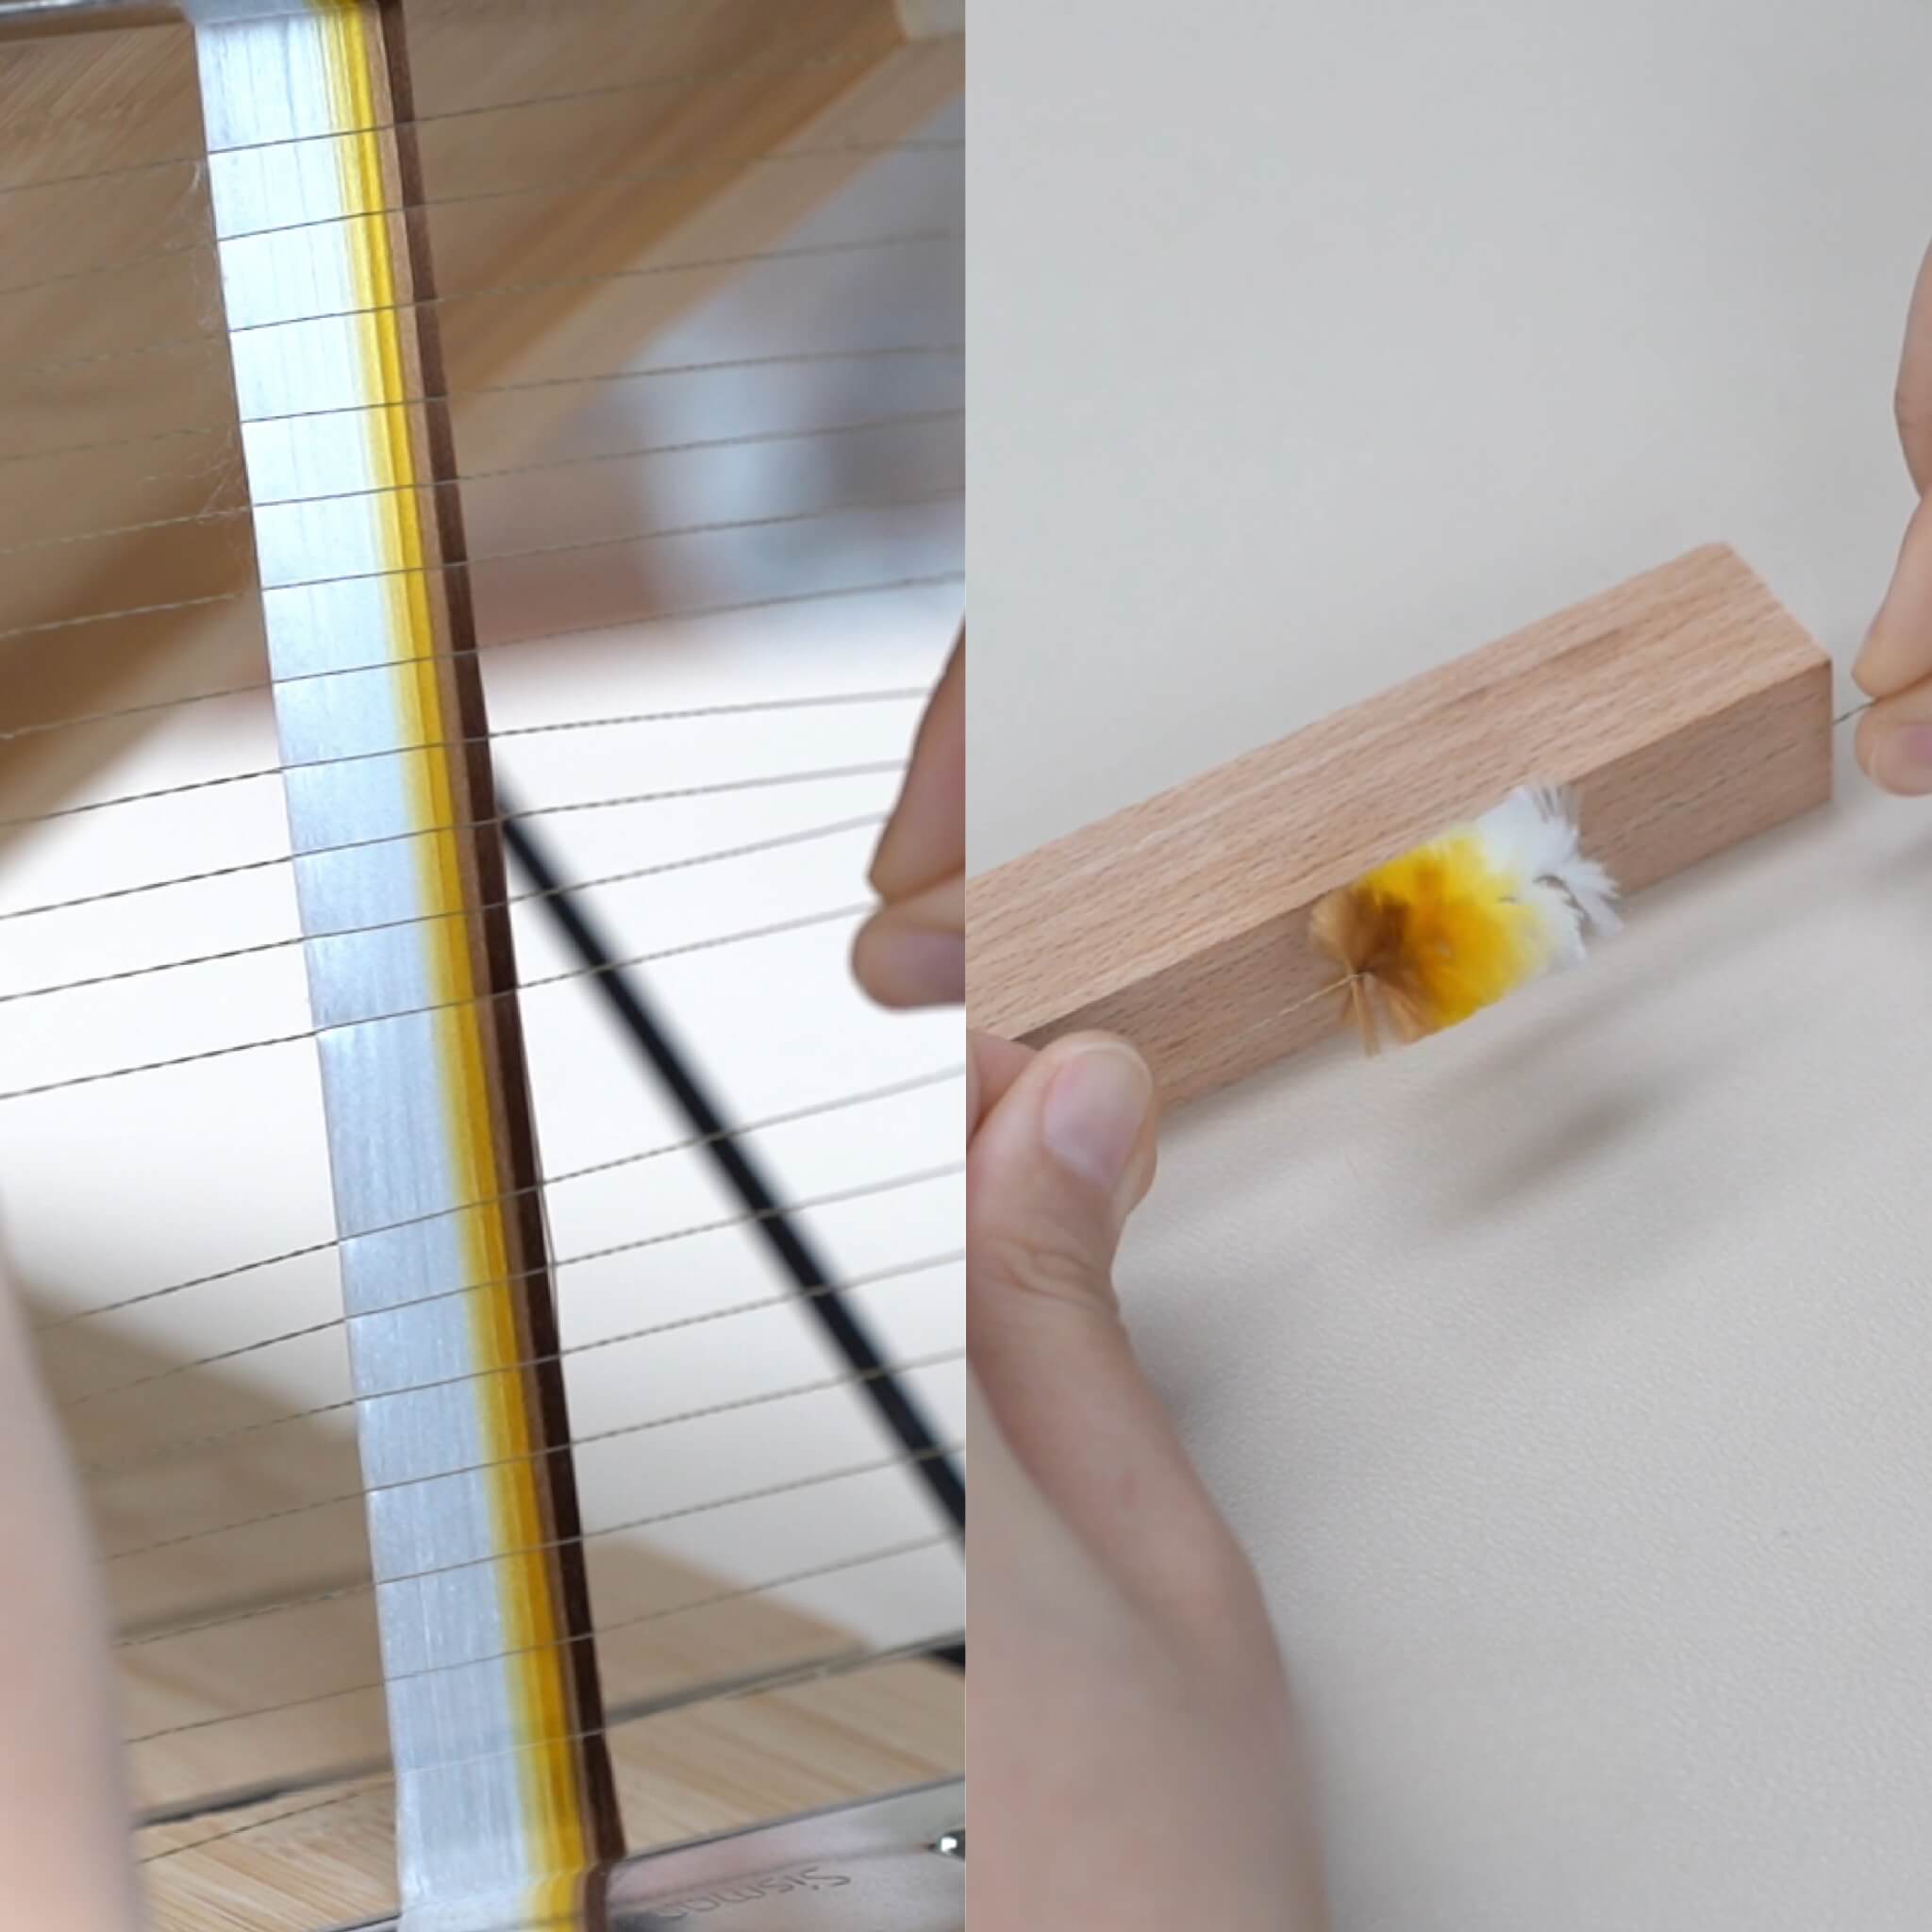
Step. 1 Flatten the Strips
Press the petals flat with iron again.

Soak the petals briefly in the hair-spray shaping liquid, or diluted white glue with water or alcohol, making sure they’re fully saturated. Once soaked, the petals become soft and easier to shape.

Step. 2 Shape the Strips
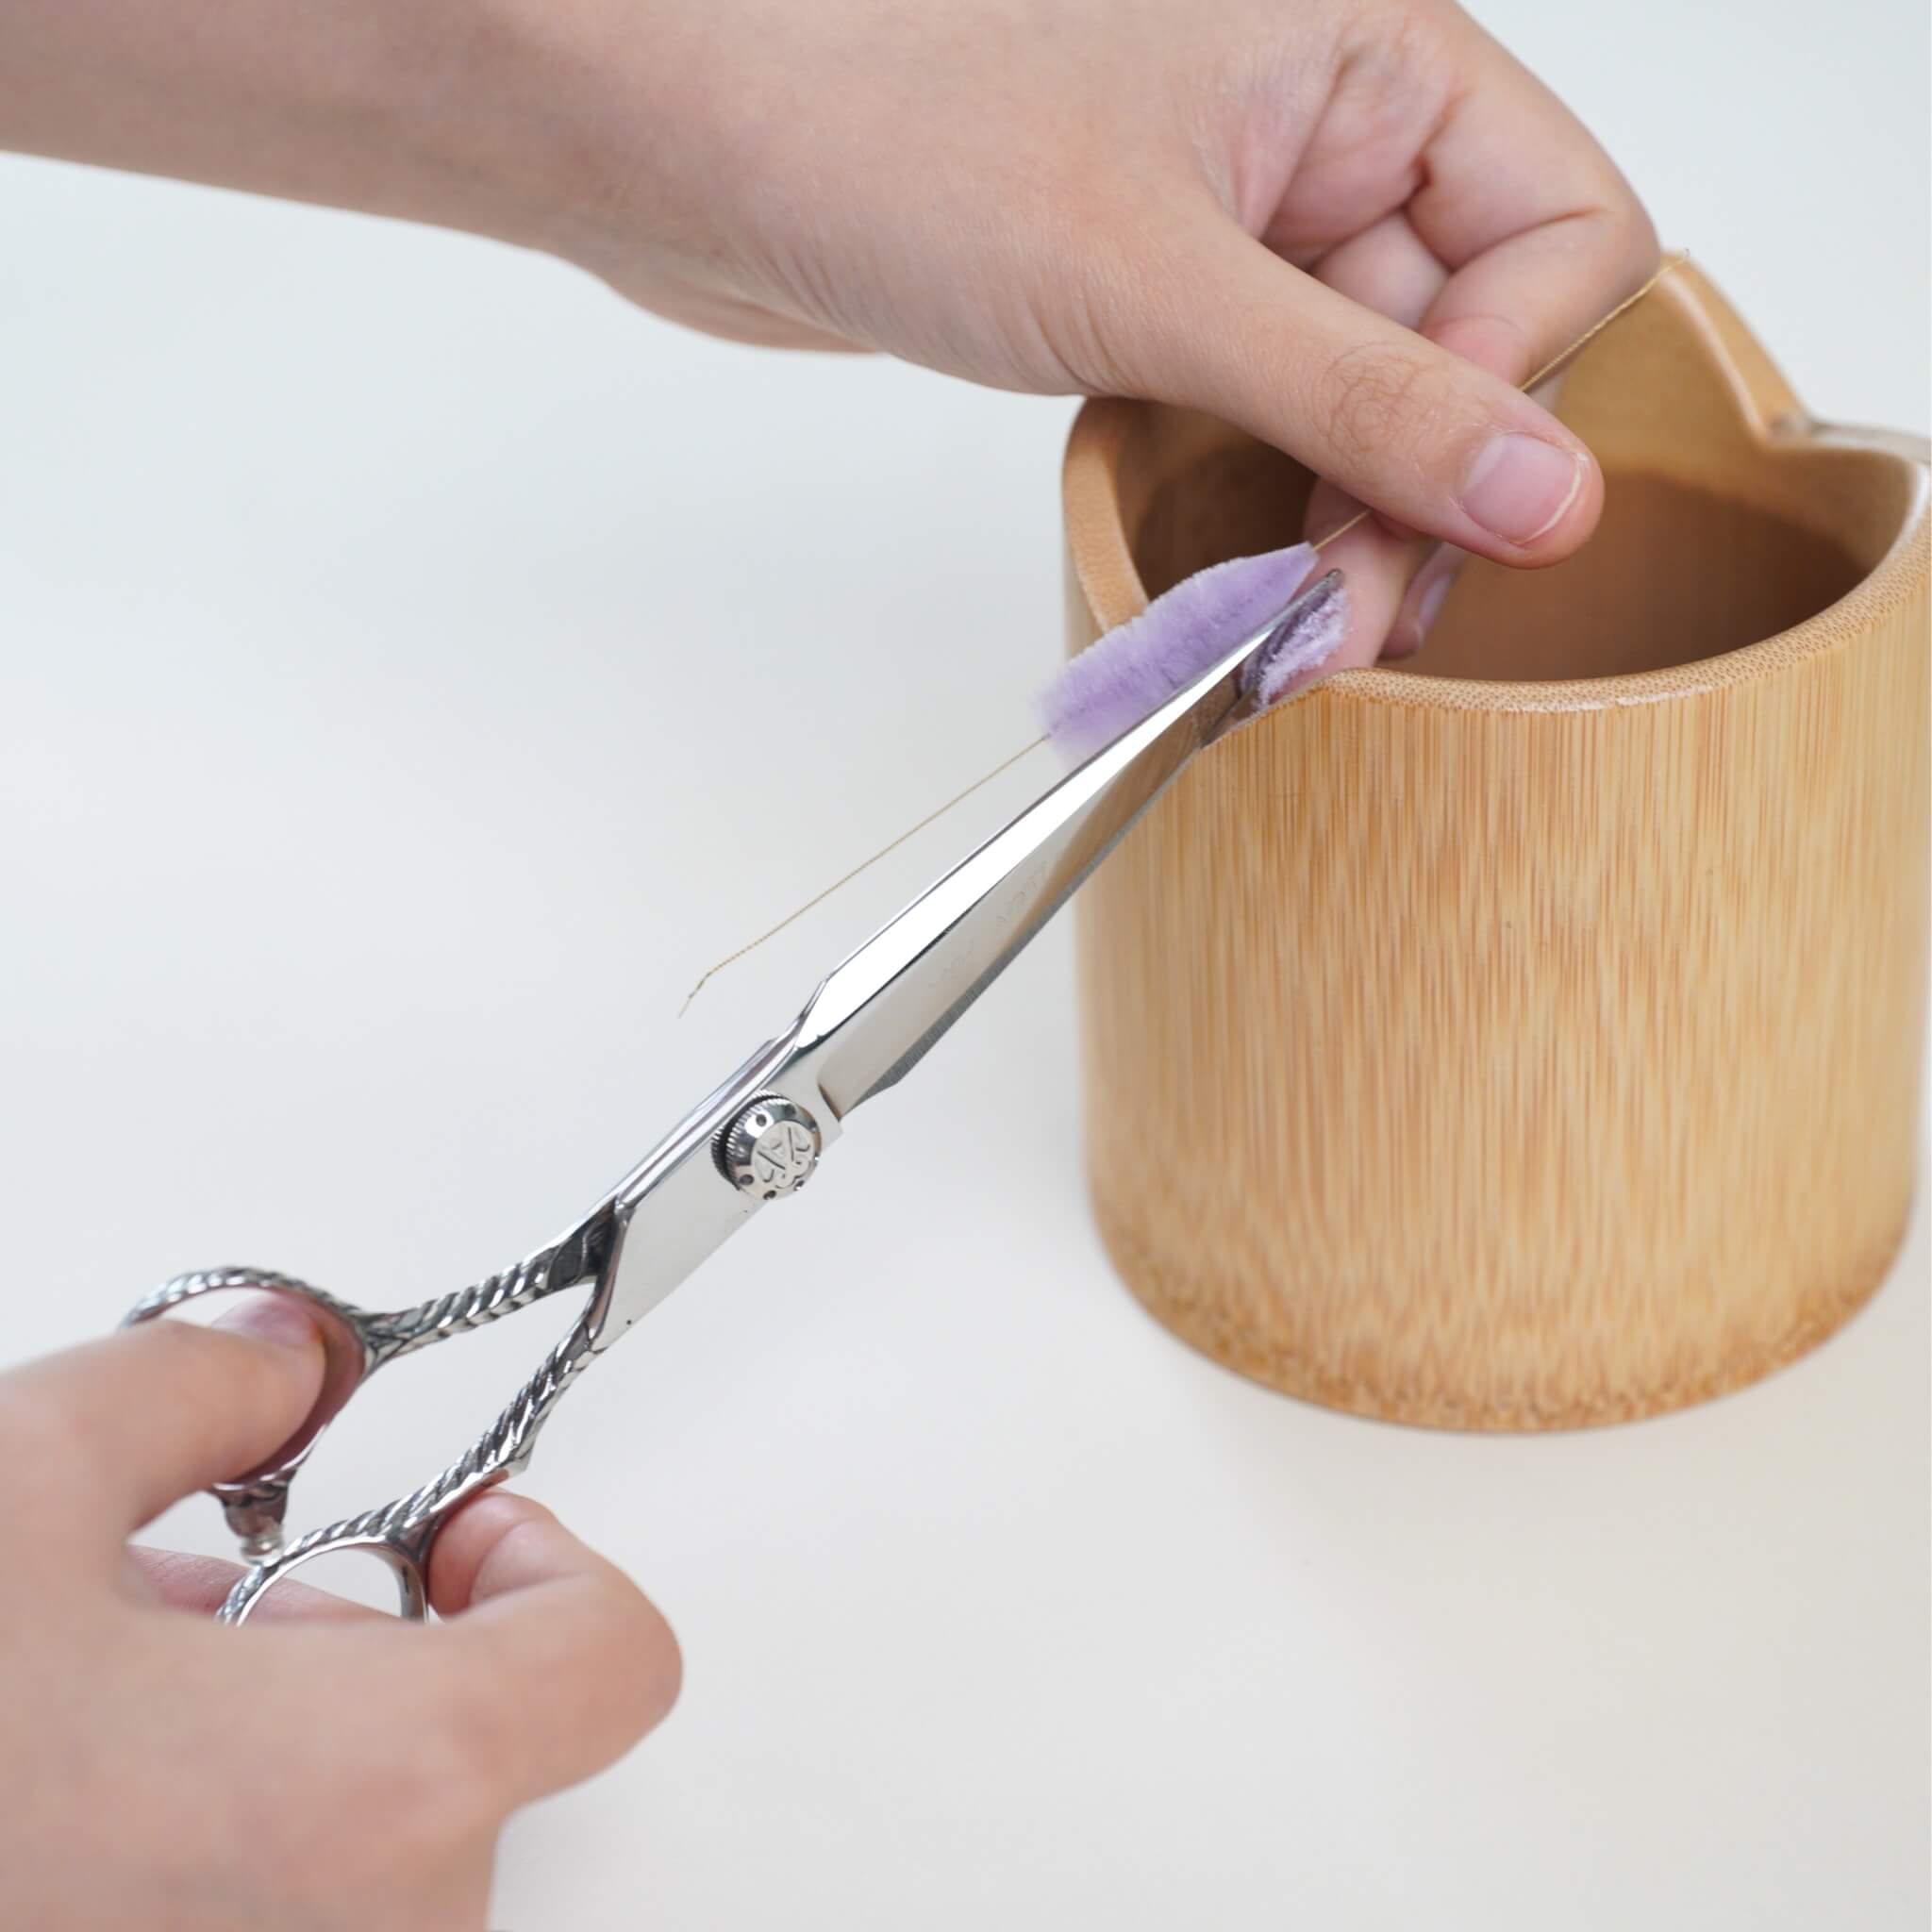
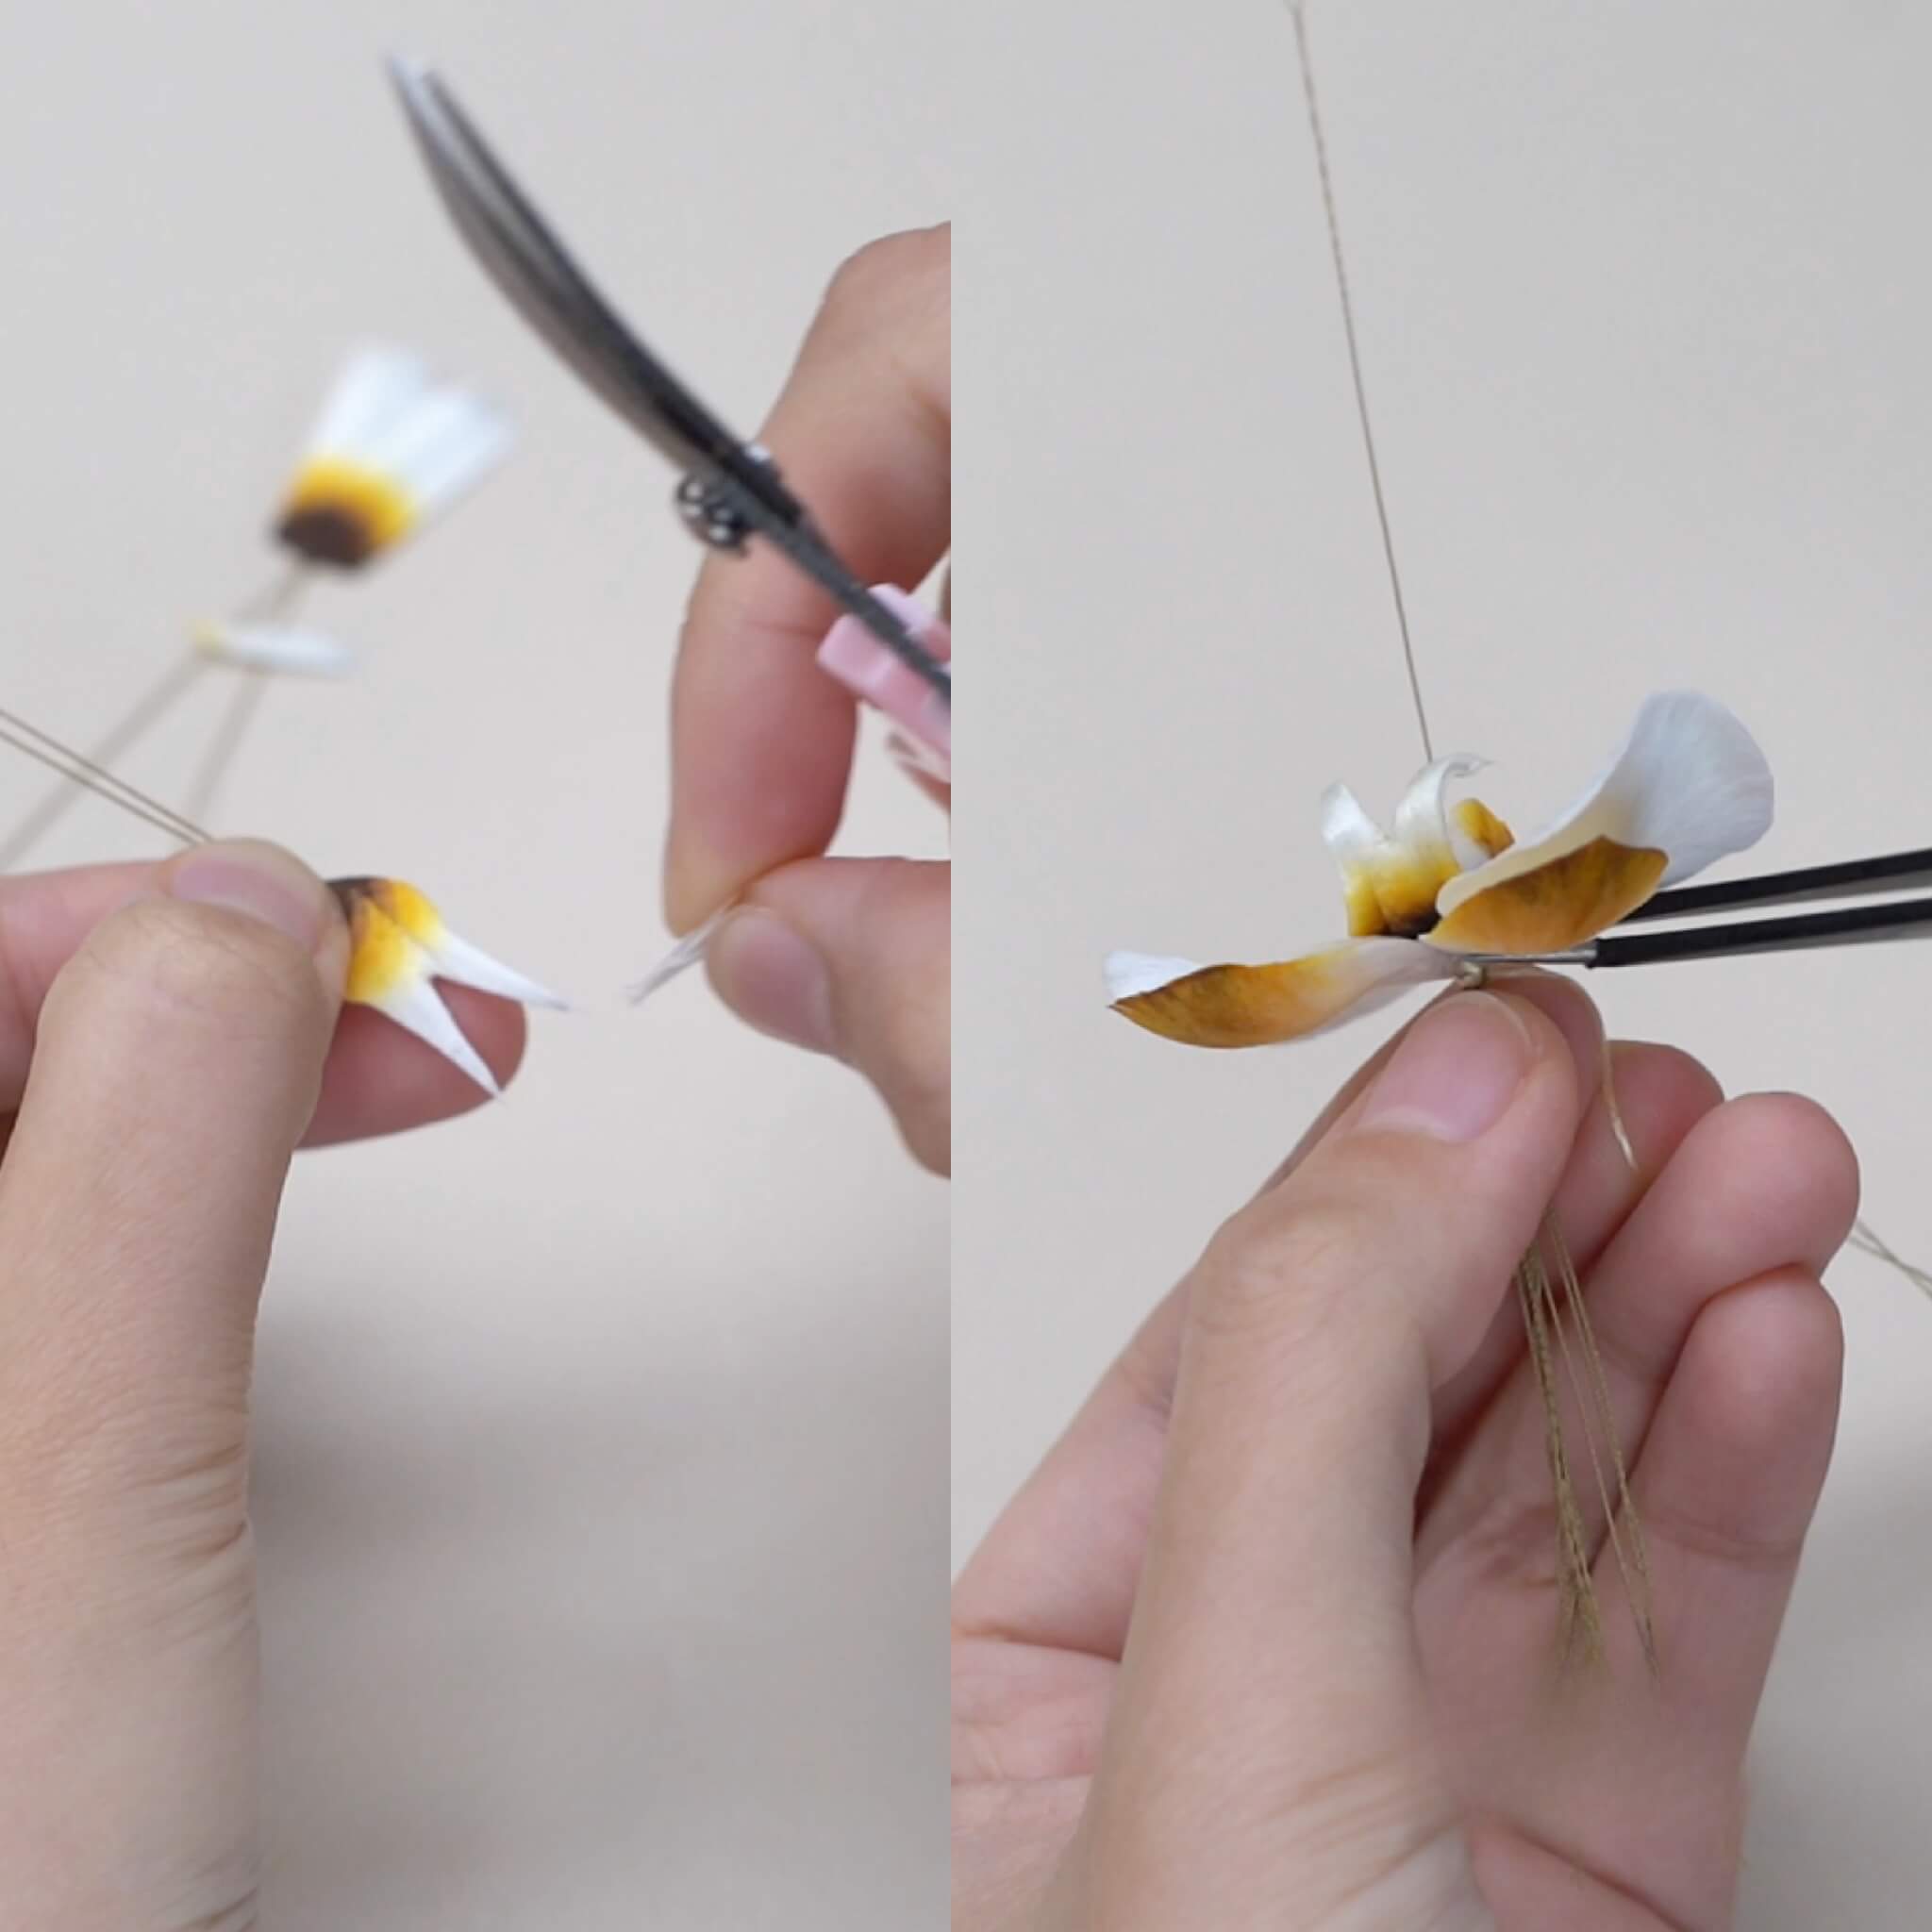
Carefully trim the silk strips into the correct petal shapes.


For the longer strips, put glue on the edges and stick them together.

Then trim them into this.

Once you’ve finished trimming, set the petals again and gently shape them into natural curves, then wait for them to dry completely.


Step. 3 Create the Pearl Center
Once the silk strips are completely dry, we can start assembling the flower. First, thread the shell pearl onto the colour-preserving copper wire and twist the wire tightly to hold the pearl securely in place. Take a short piece of silk thread and fold it in half, then use it to secure the pearl.

Step. 4 Assemble the Orchid Petals
Next, assemble the petals in the same order shown in the video. Make sure the bases of all the petals are neatly aligned, then use the silk thread to bind them tightly together. Pay close attention to the order of the petals as you assemble them, ensuring the three medium-sized petals are tucked behind the larger petals.

Step. 5 Wrap and Lock the Stem
Now, carefully wrap the silk thread around the stem, making sure to cover all the copper wire without leaving it too long. Wrap the thread all the way to the end of the copper wire, then wrap it back in the opposite direction, and fold the end of the copper wire back on itself.
To finish the stem, take another short piece of copper wire and fold it in half, place it in the position shown in the video, continue wrapping with the silk thread, pass the thread through the loop of the folded copper wire, pull the wire out to draw the thread through and secure it, and trim away any excess silk thread.
Step. 6 Attach the Brooch Pin
Next, we’ll attach the Butterfly Orchid to the brooch pin. Fold the silk thread in half and secure it onto the brooch pin, then position the orchid on the pin. For the first round, simply bind the flower in place, keeping the thread pulled nice and tight. On the second round, wrap more carefully to make sure all the gaps are completely covered.

Step. 7 Final Adjustments
Finish the wrapping using the same method as before: pass the silk thread through the folded copper wire loop, then pull the wire out to secure the thread. Finally, adjust the position and angle of the Butterfly Orchid as needed. If you notice any fuzzy edges, you can gently singe them with a small flame. And that’s it! Your Butterfly Orchid brooch is finished.


Laisser un commentaire
Tous les commentaires sont modérés avant d'être publiés.
Ce site est protégé par hCaptcha, et la Politique de confidentialité et les Conditions de service de hCaptcha s’appliquent.