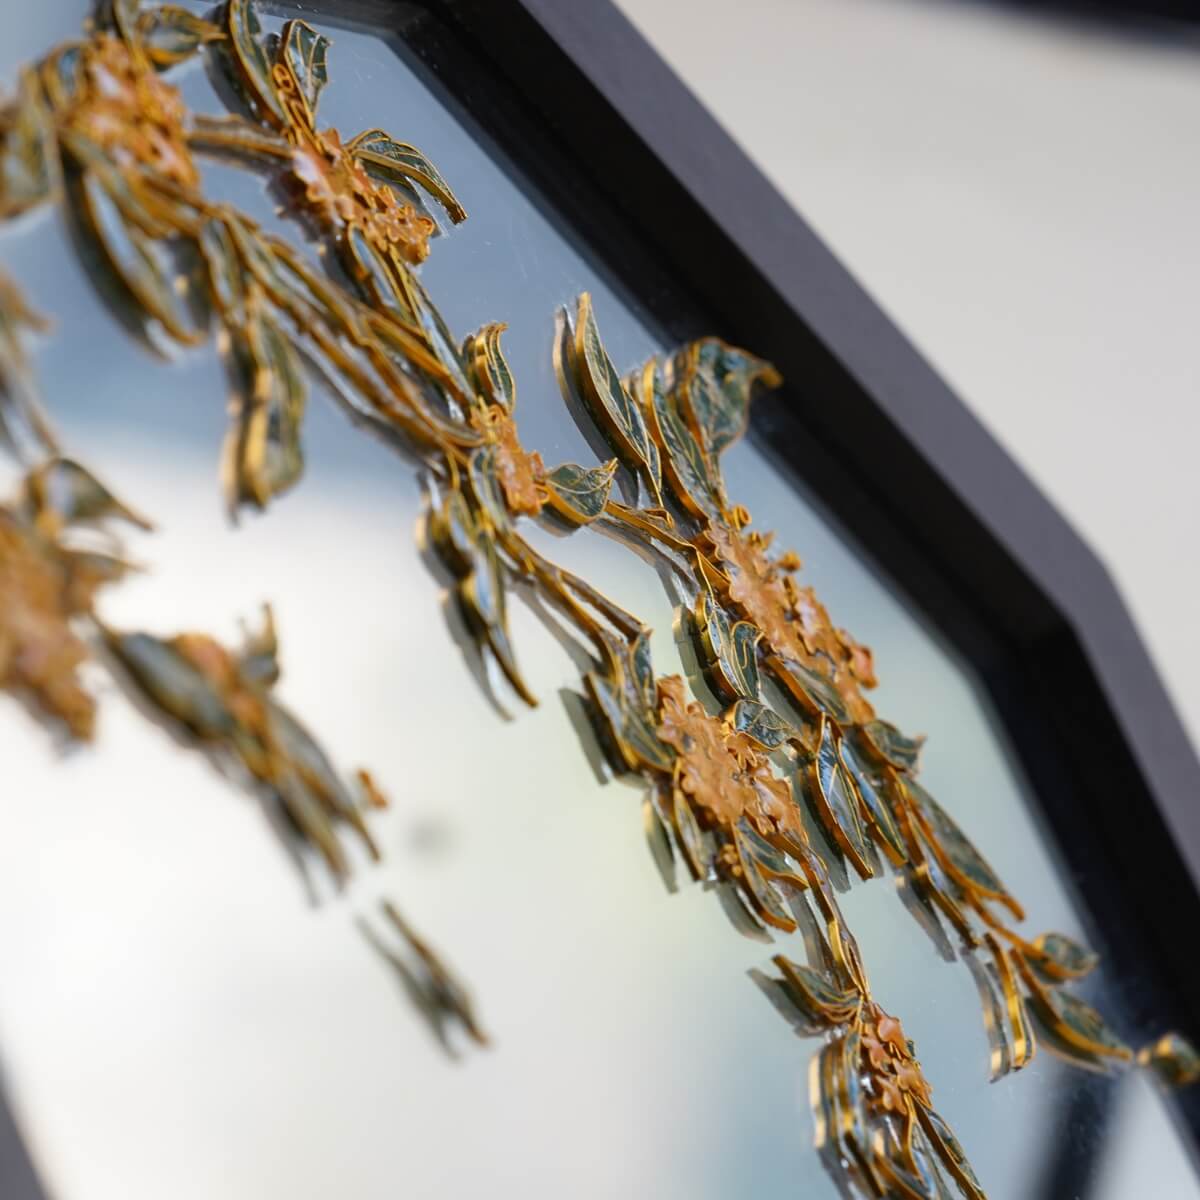


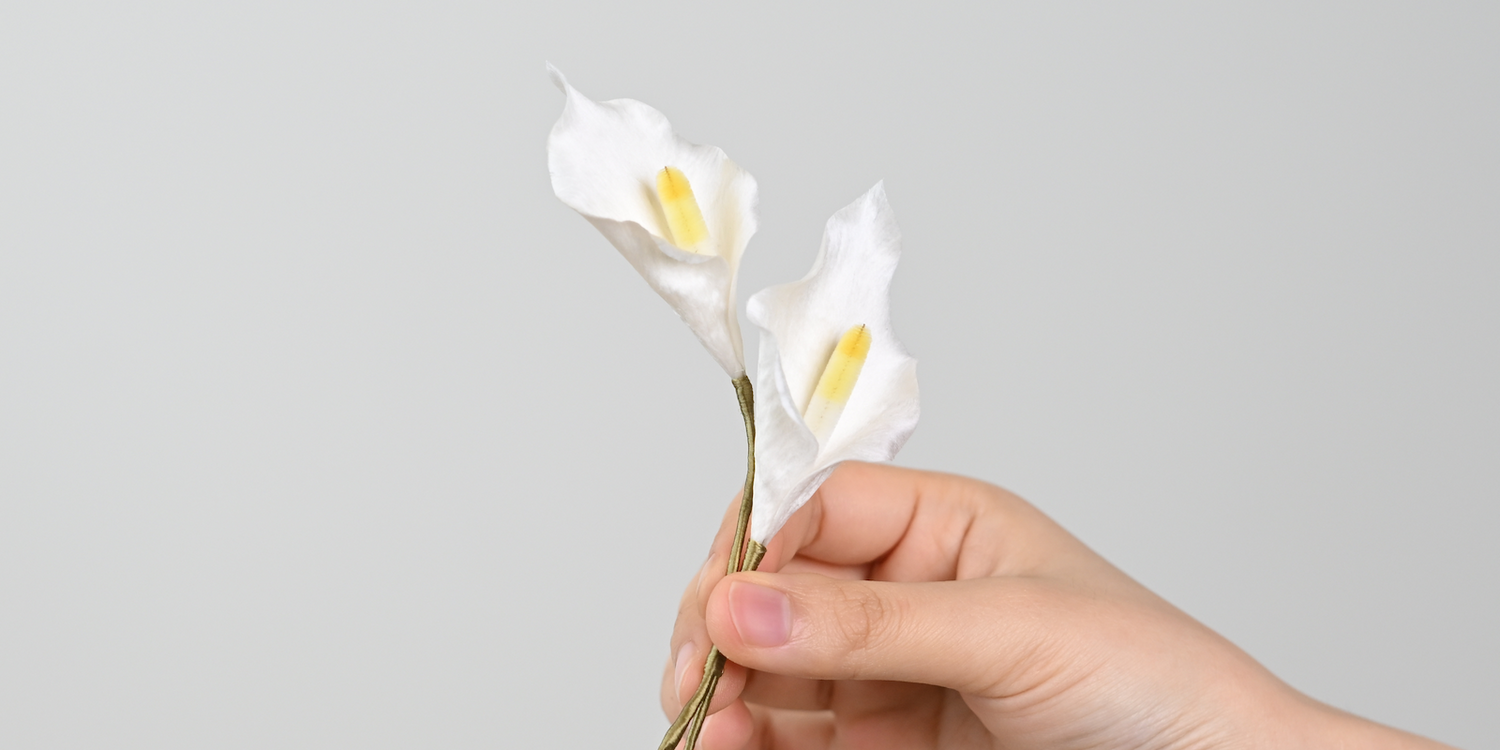
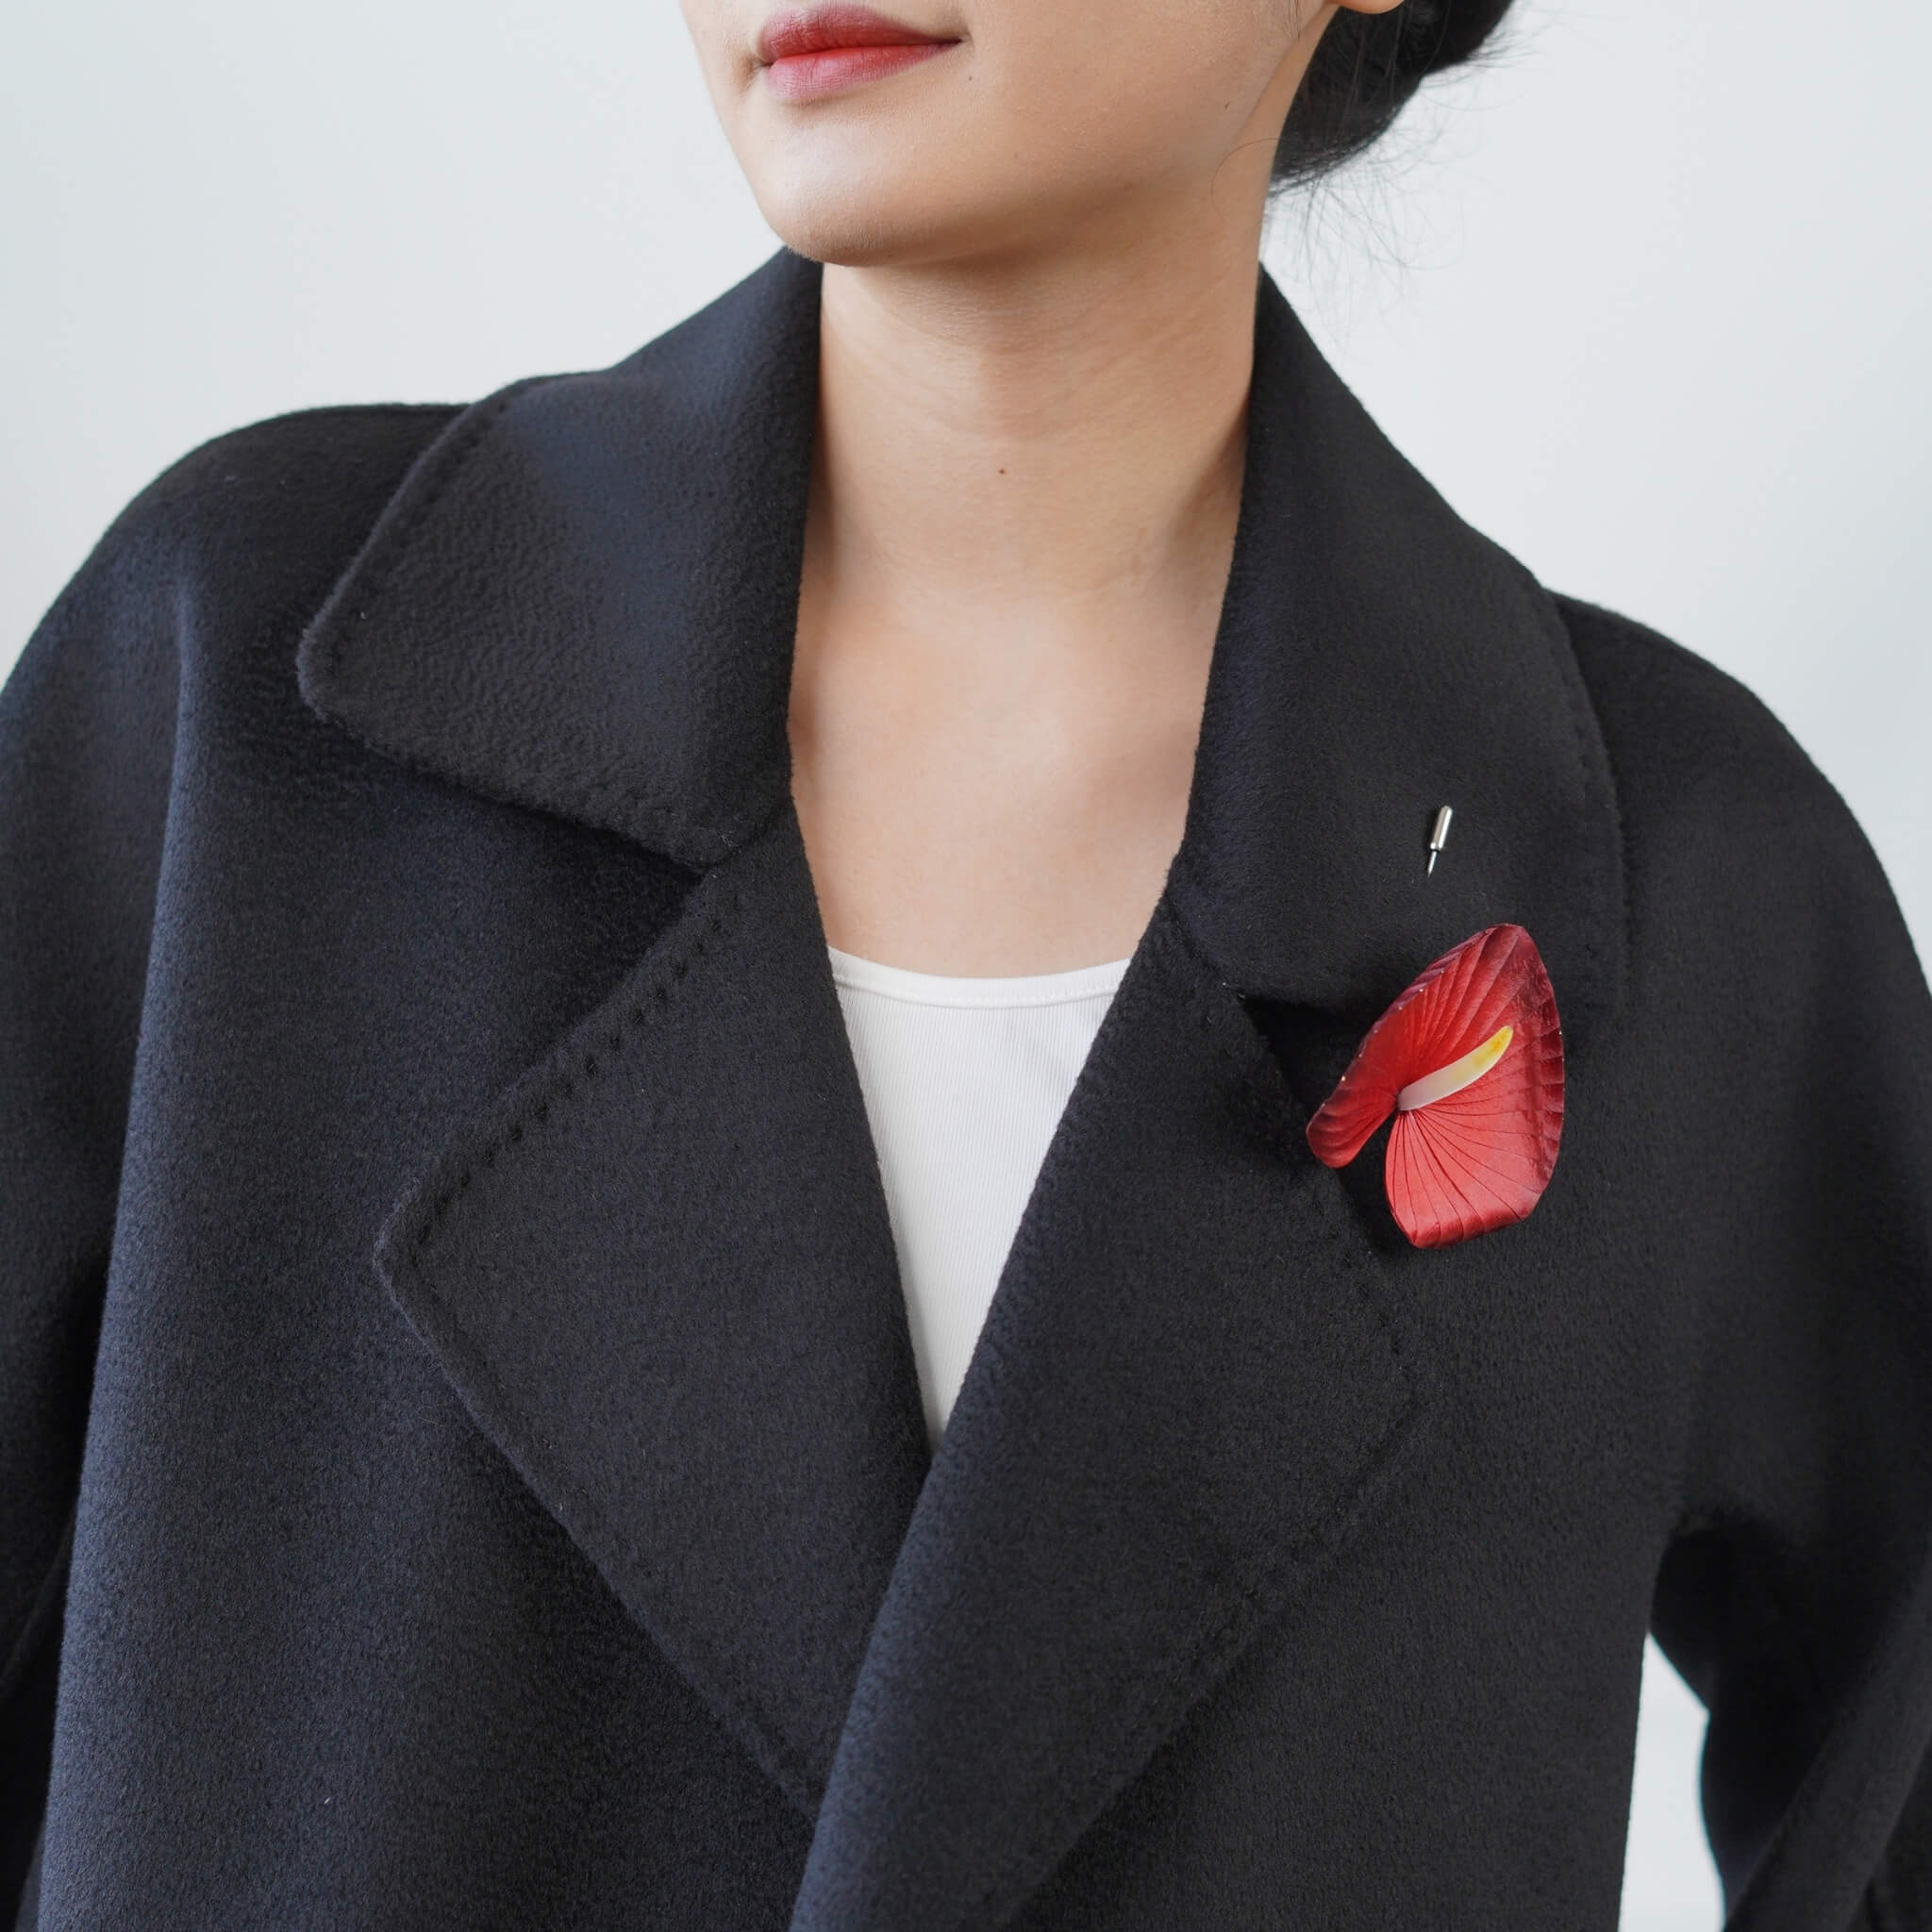
Calla lilies are admired for their simple yet elegant form, with a single curved petal wrapping gracefully around a central spadix. Their clean lines and sculptural shape give them a timeless beauty that feels both modern and classic. In the language of flowers, calla lilies are often associated with purity, devotion, and graceful strength.
Preparations: What You’ll Need
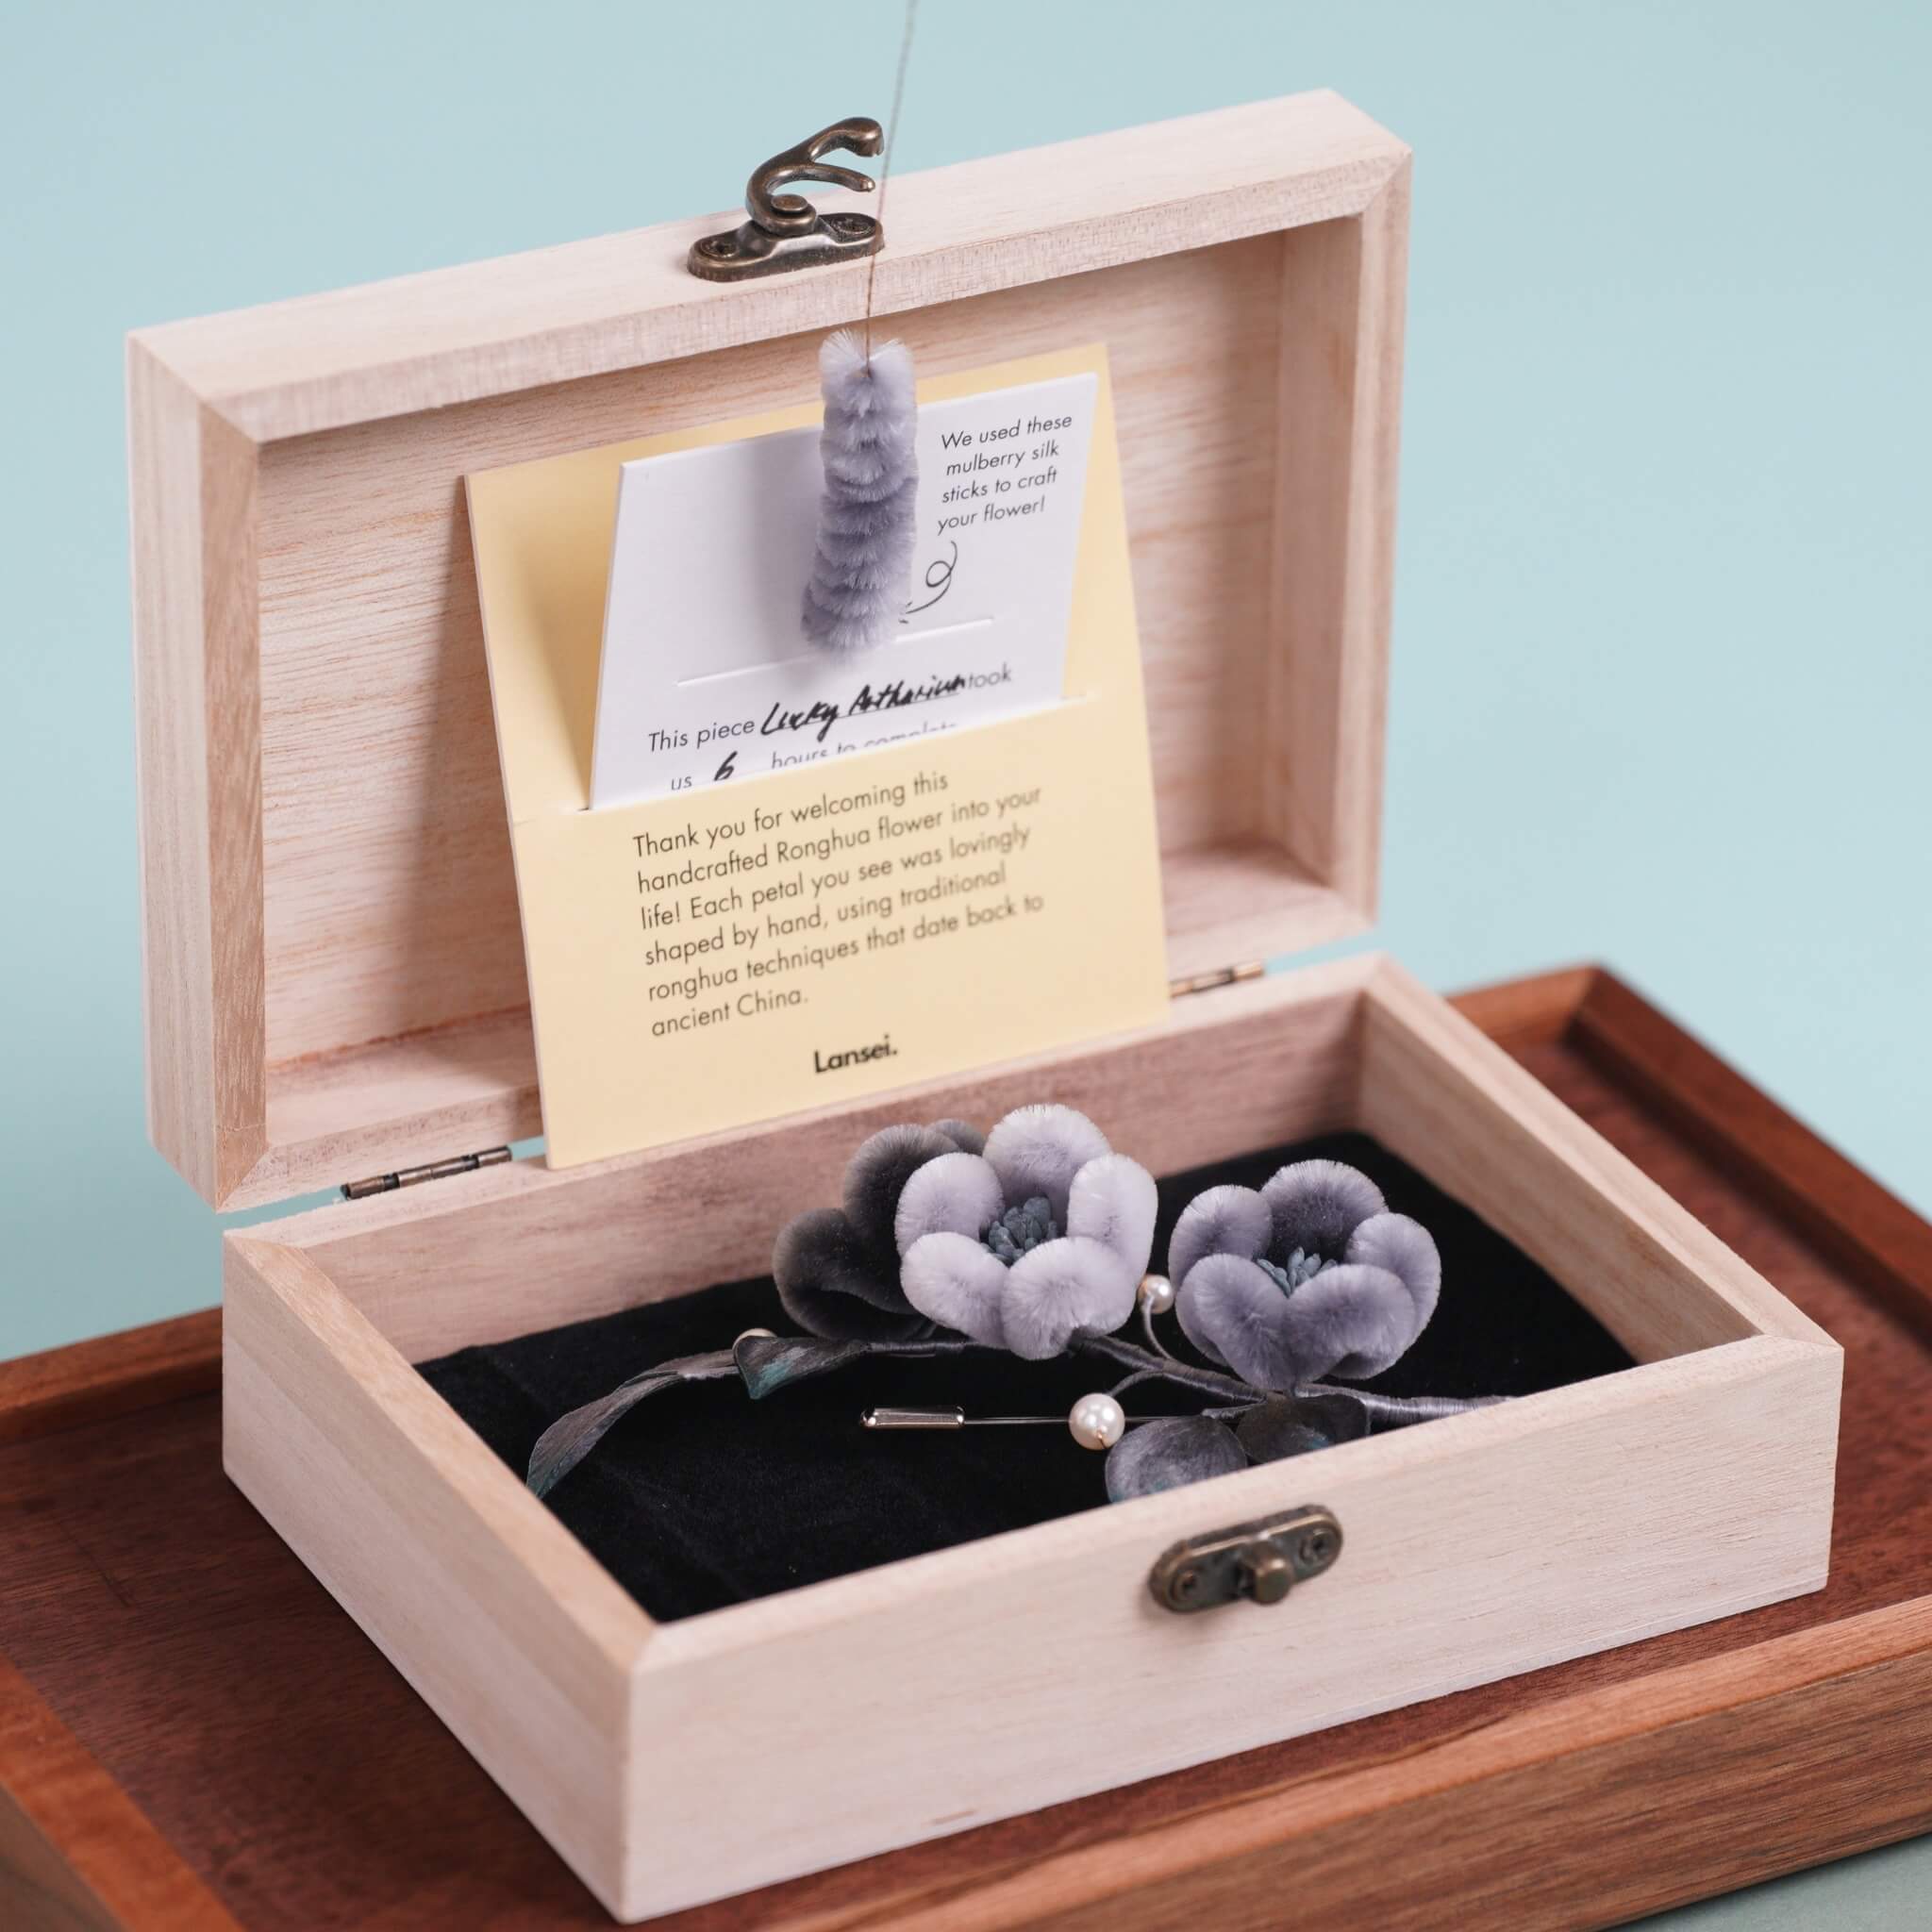
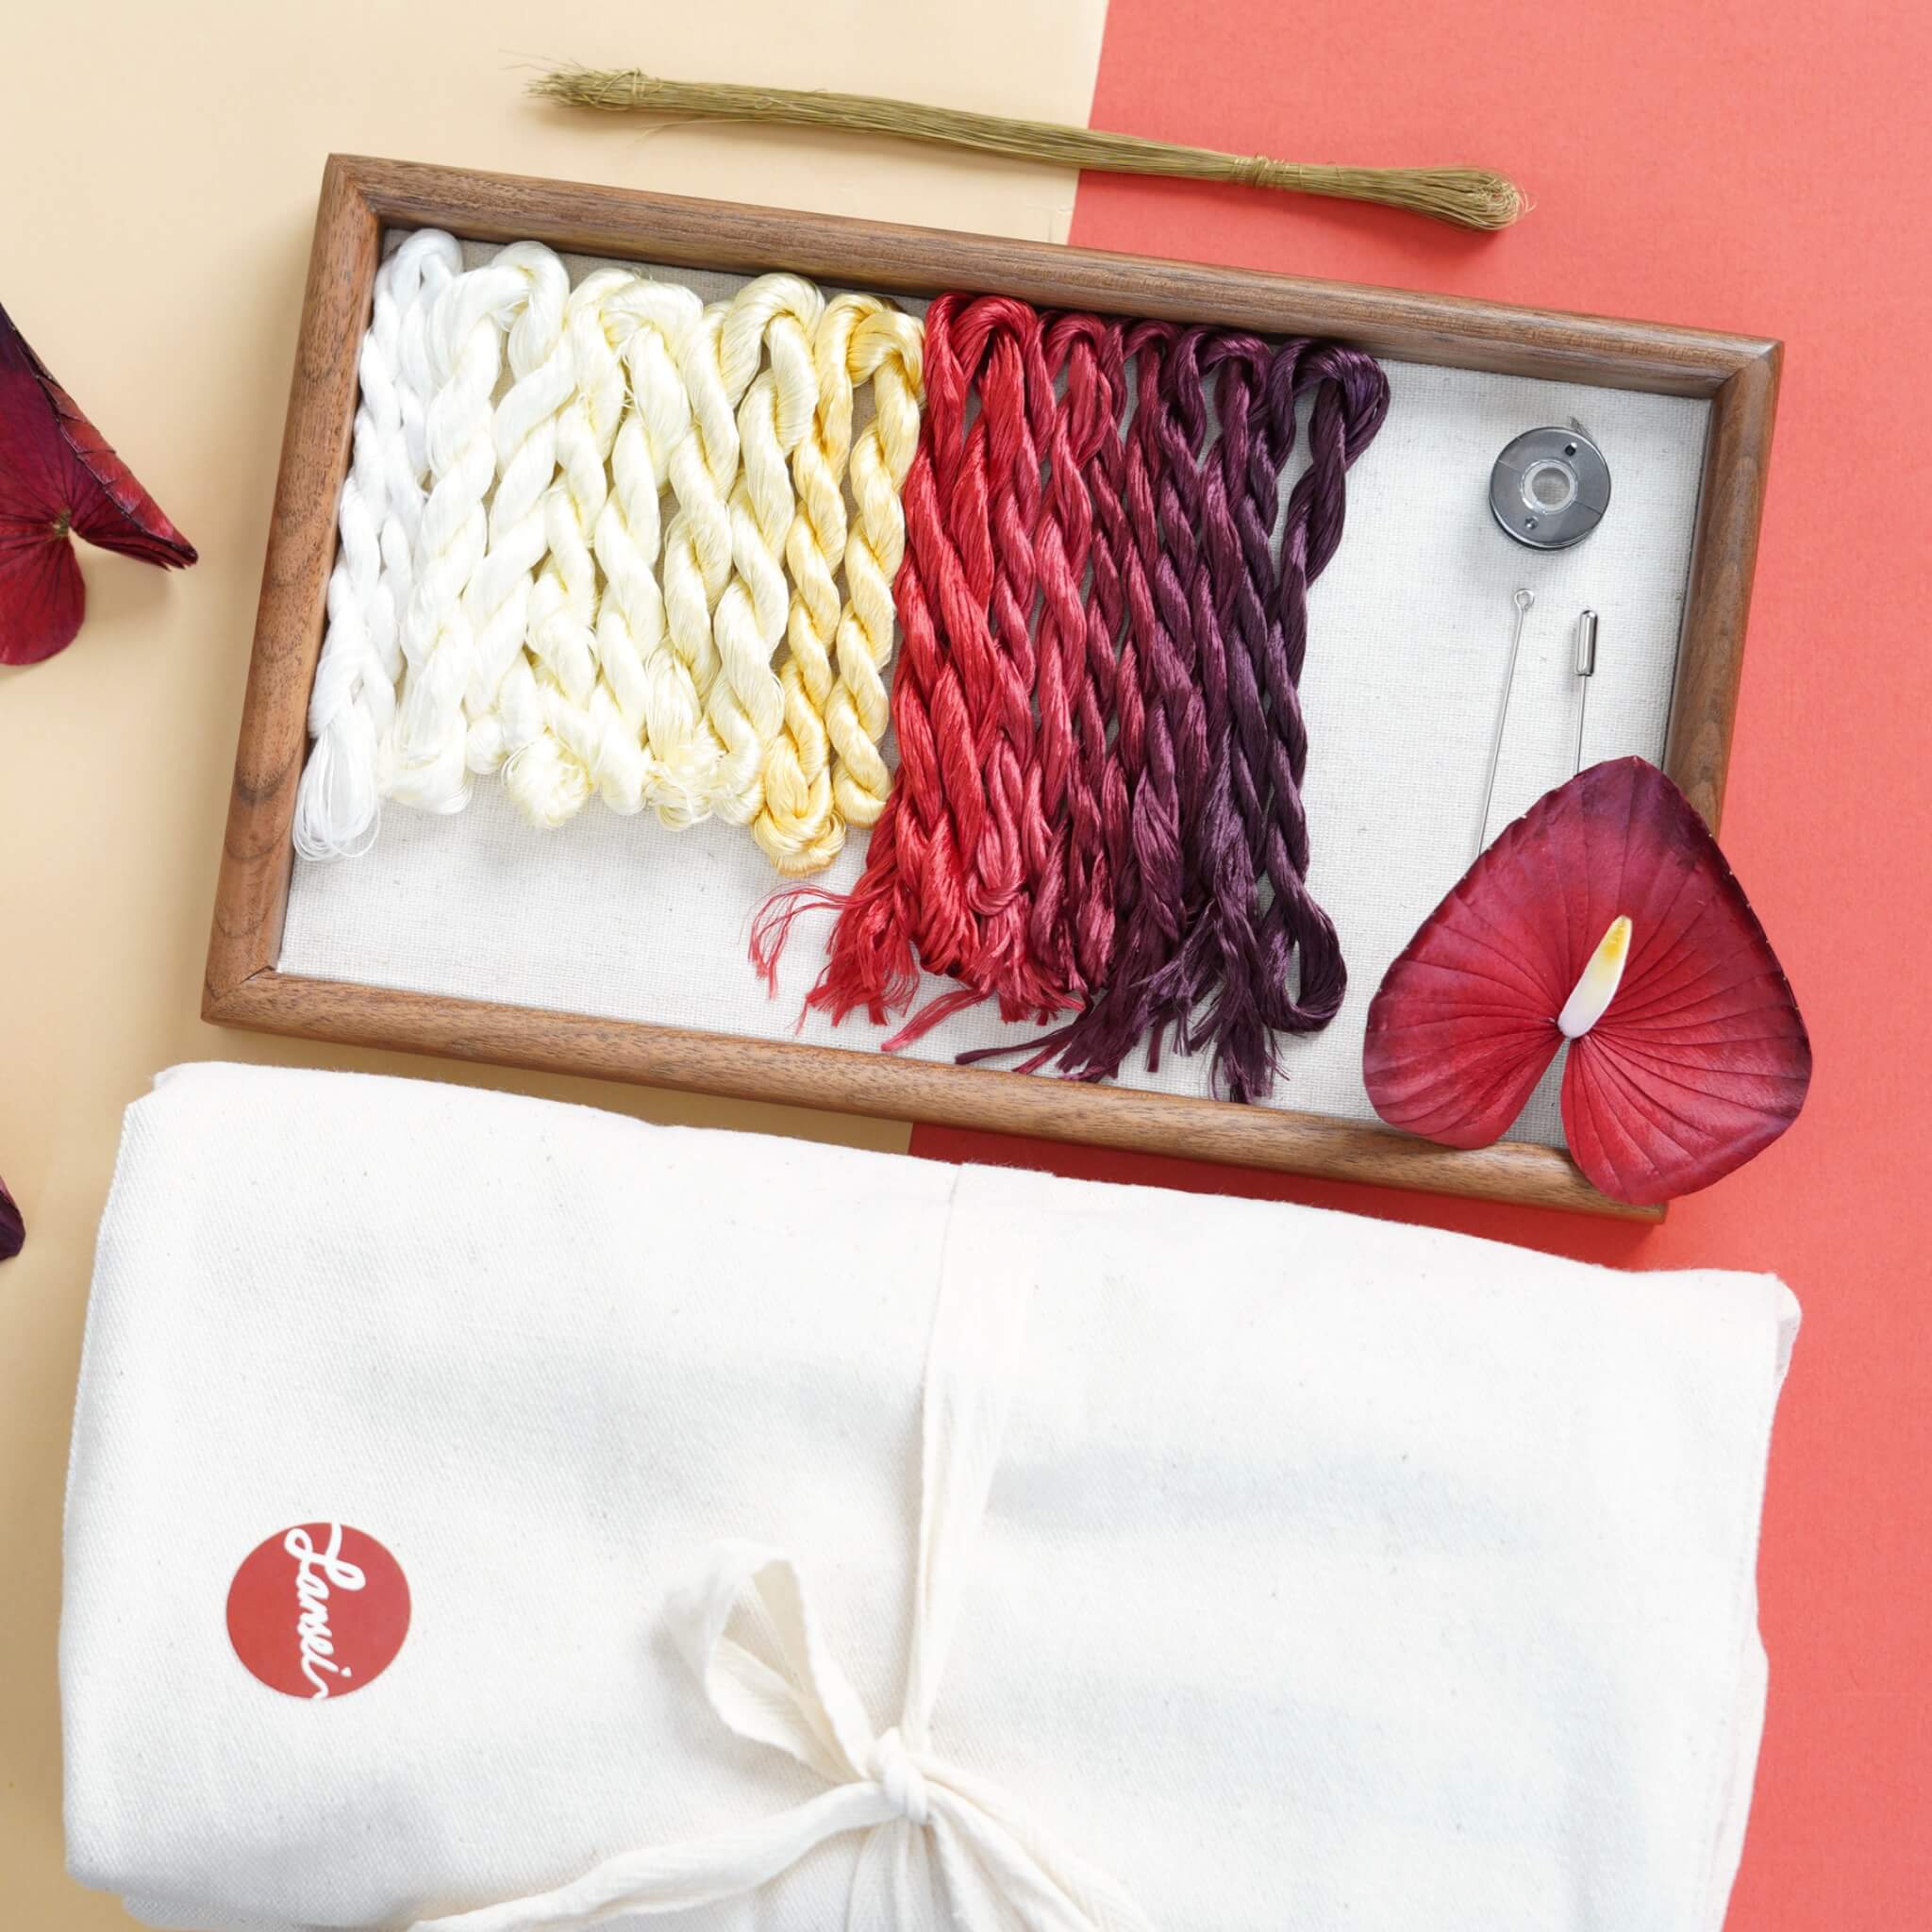
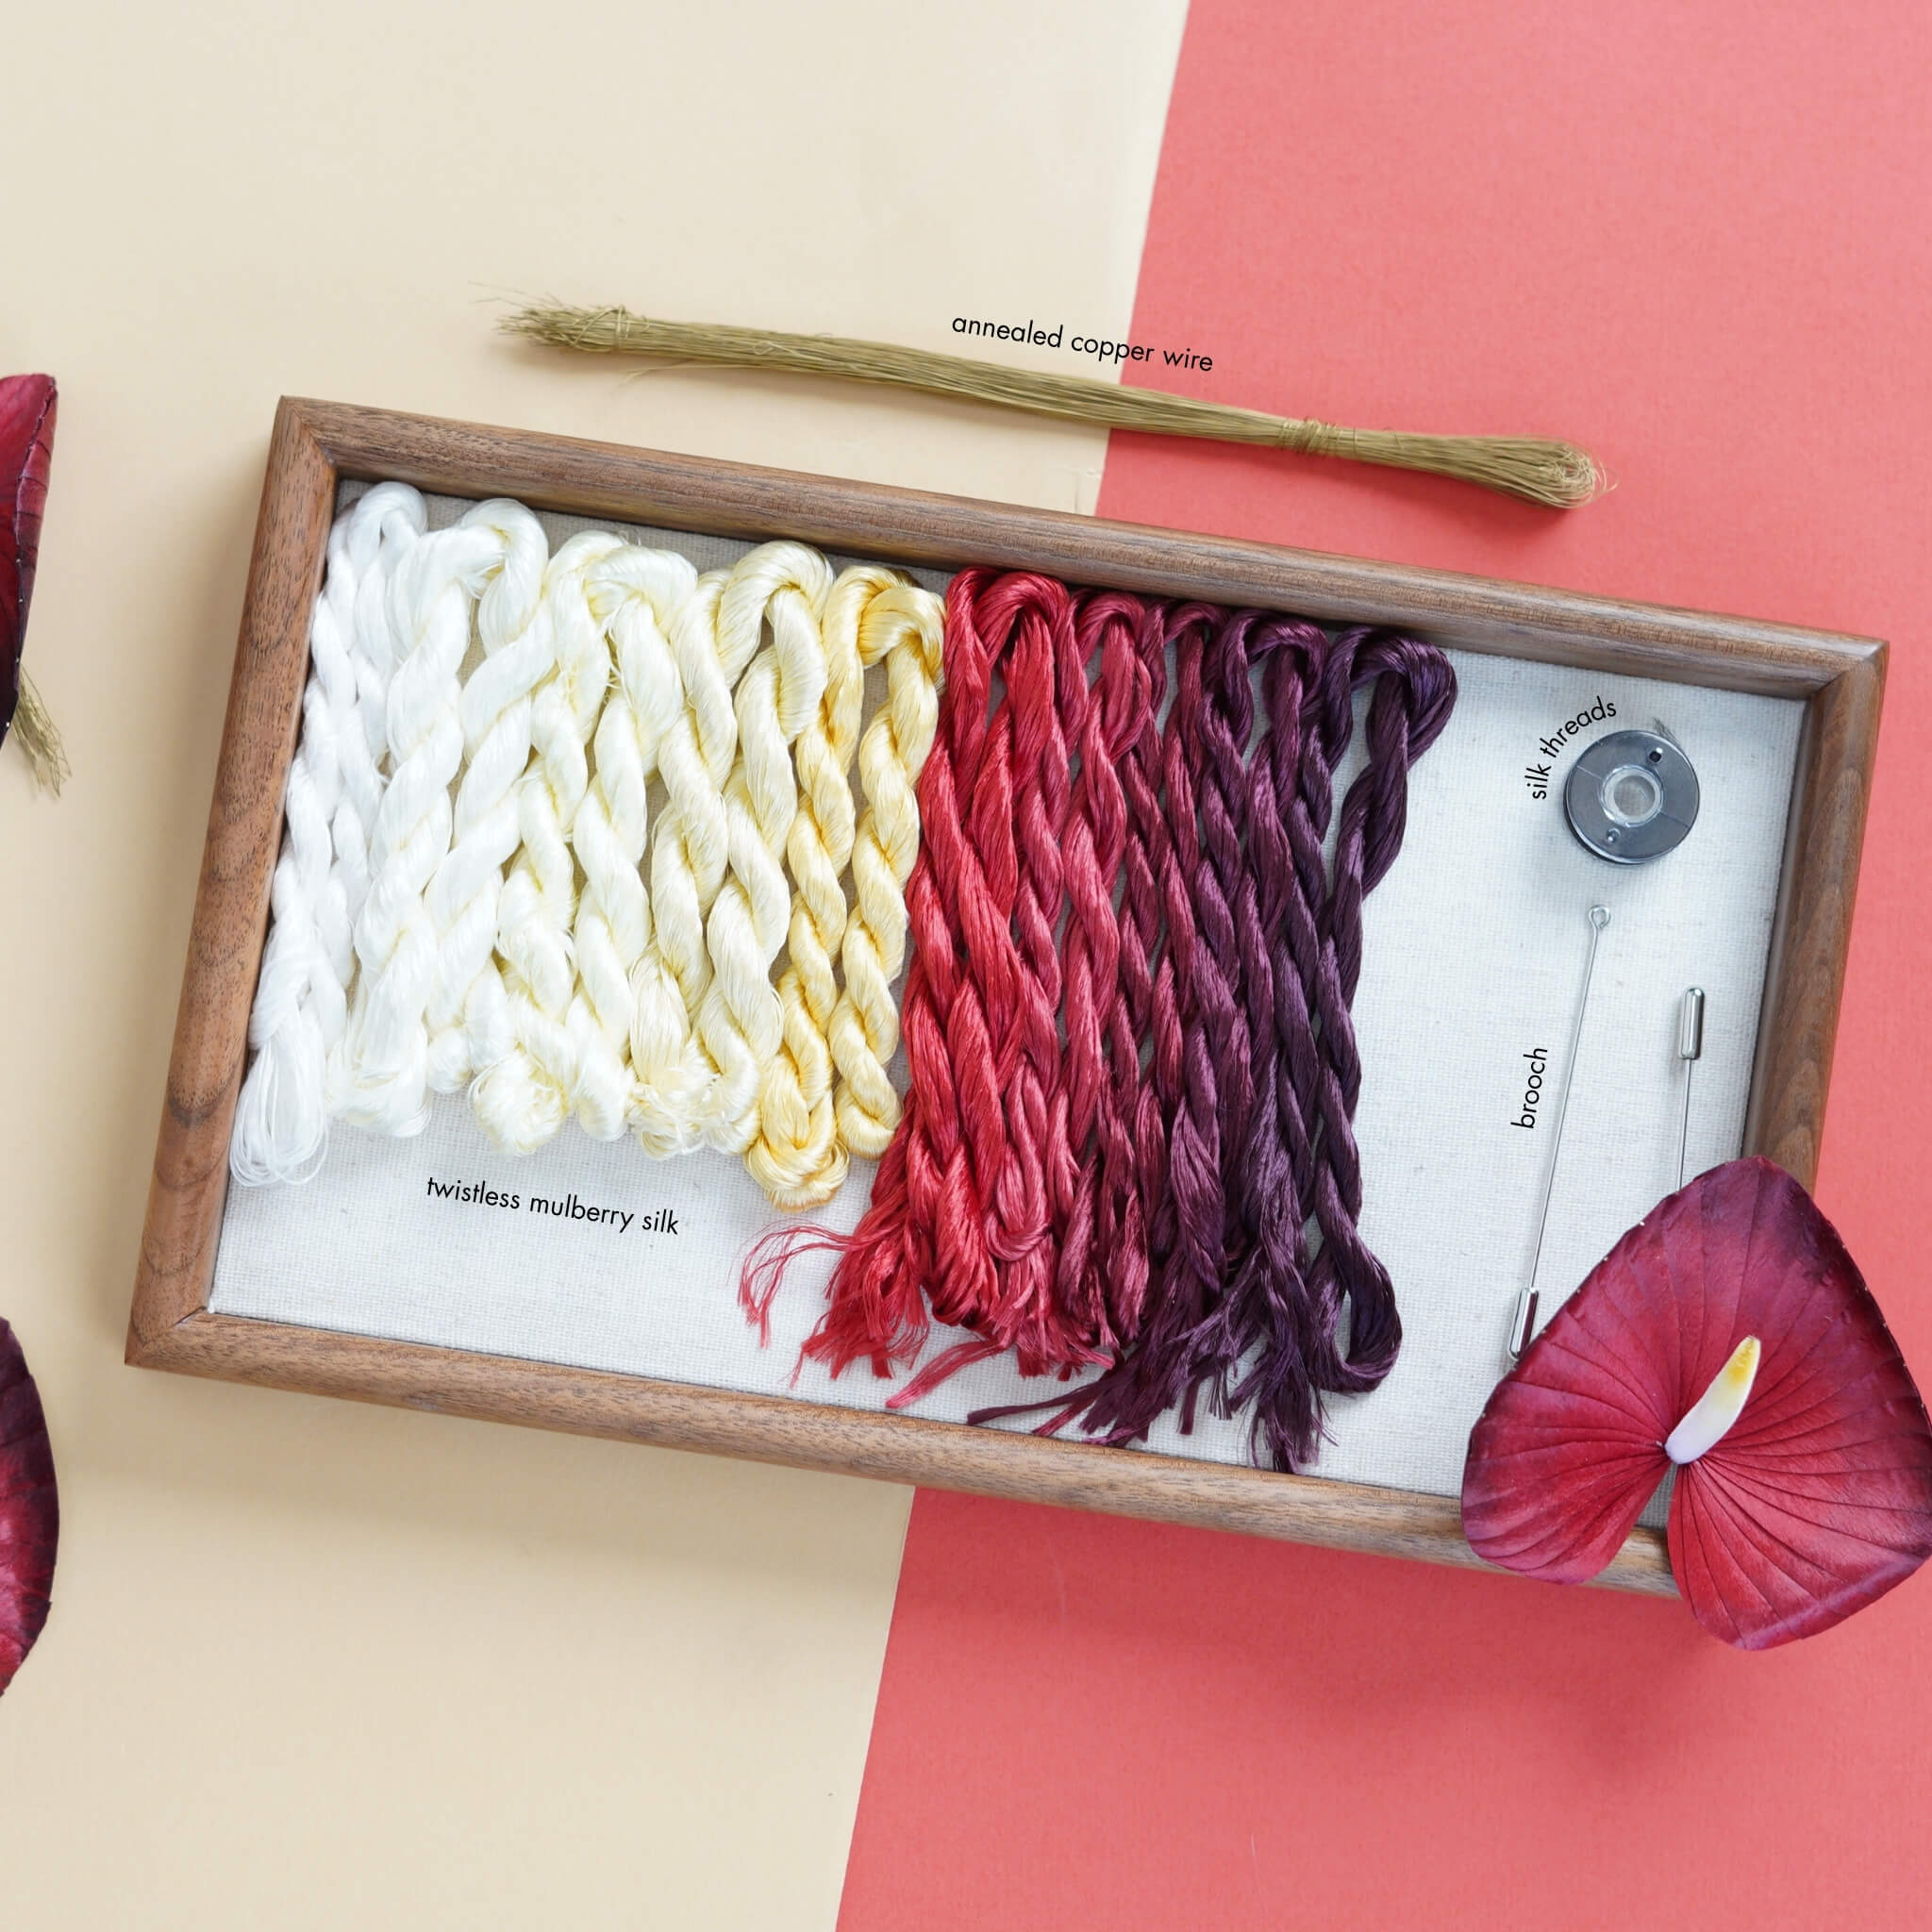
If you’ve purchased our Ronghua Toolkit, you already have everything required!
If not, prepare the following tools:
- Bristle brush (Medium to soft hardness)
- Flat iron (the one you use to straighten your hair)
- Tweezers
- At least 2 pairs of Scissors
- wooden sticks / pencils / chopsticks
- Hair spray or diluted white glue (1:2-1:3 with water or alcohol)
- Big clips (around 15cm)
- Twisting boards and wooden blocks (for even tension)
- Anti-slip powder (optional but helpful)
Full Tutorial Video
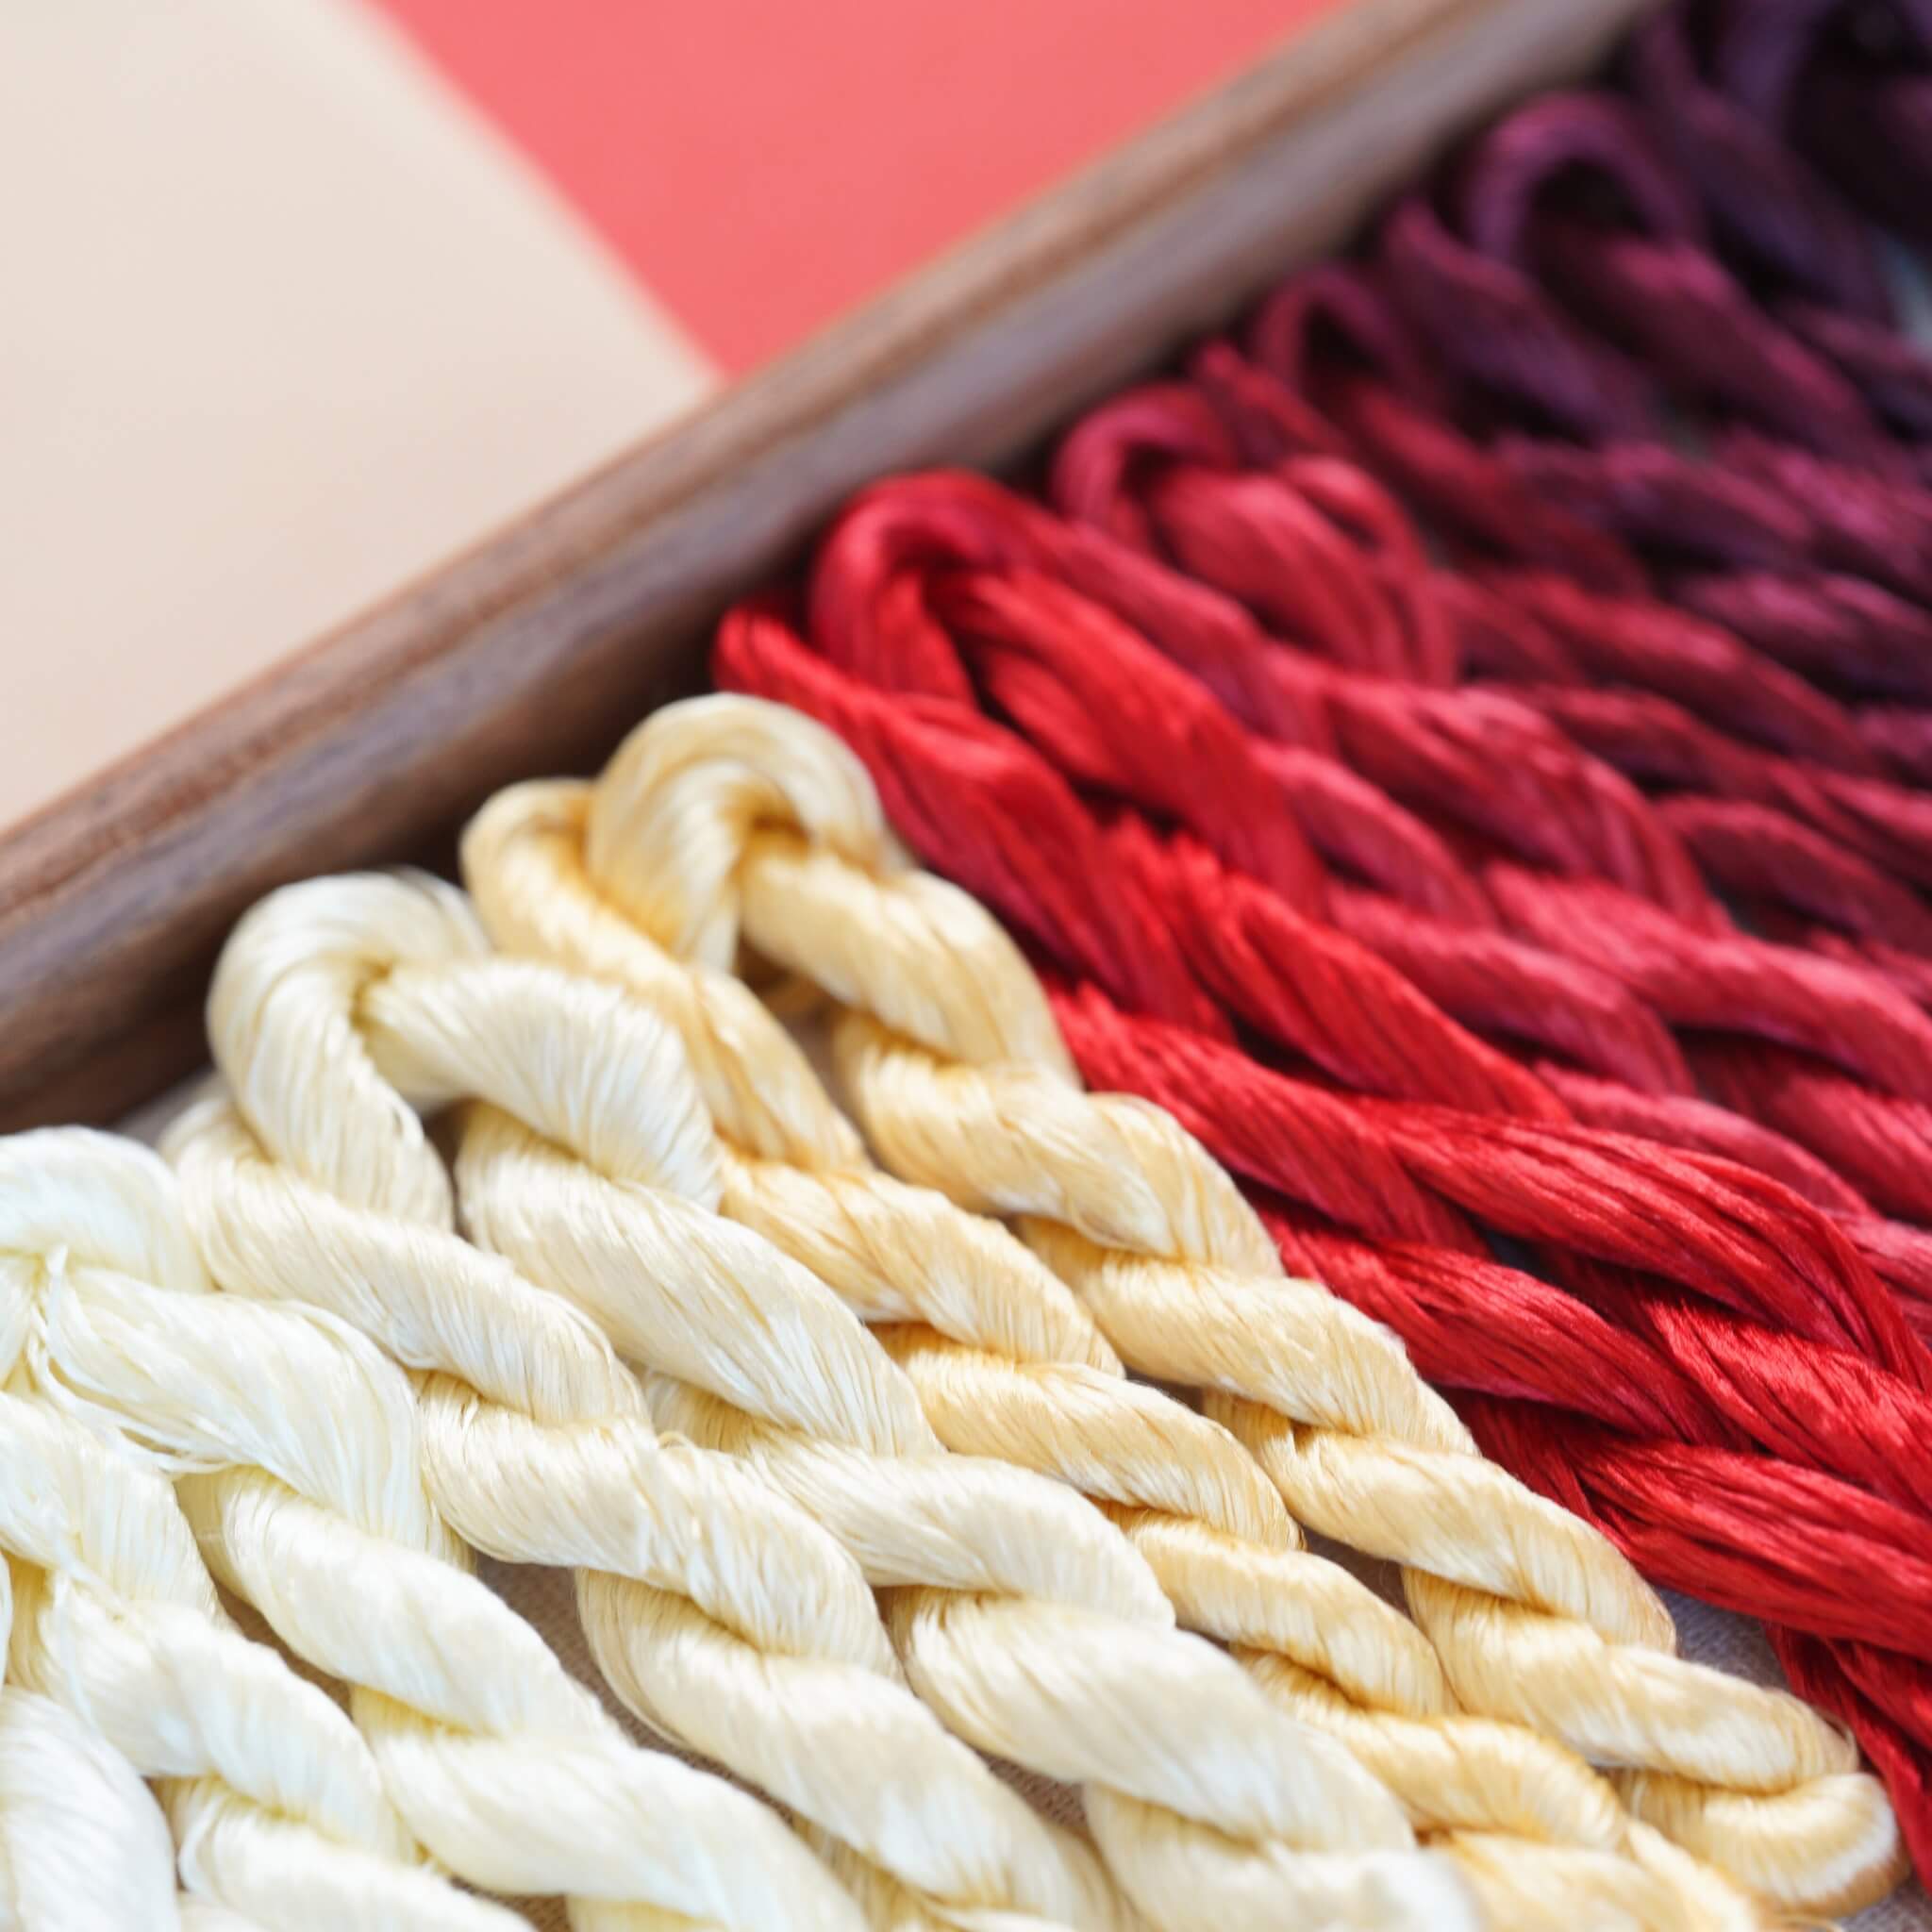
Step 1. Align and Arrange the Silk Threads
Begin by untying your silk threads and locating the knot at one end of each bundle. Carefully cut the knot open and ensure all strands are straightened. Prepare your silk bundles according to the diagram below.

Step 2. Group and Prepare the Threads
Each silk bundle is composed of many tiny individual strands. Align these strands carefully and tie them around a small stick or pencil, ensuring the ends are perfectly flush. Keeping the lengths even is vital for a consistent texture during the brushing process.

Step 3. Make Silk Rows
Proceed to group the threads into distinct rows. You will need to prepare separate rows for the flower centers and the petals. Ensure that each row is organized according to the diagram in step 1.

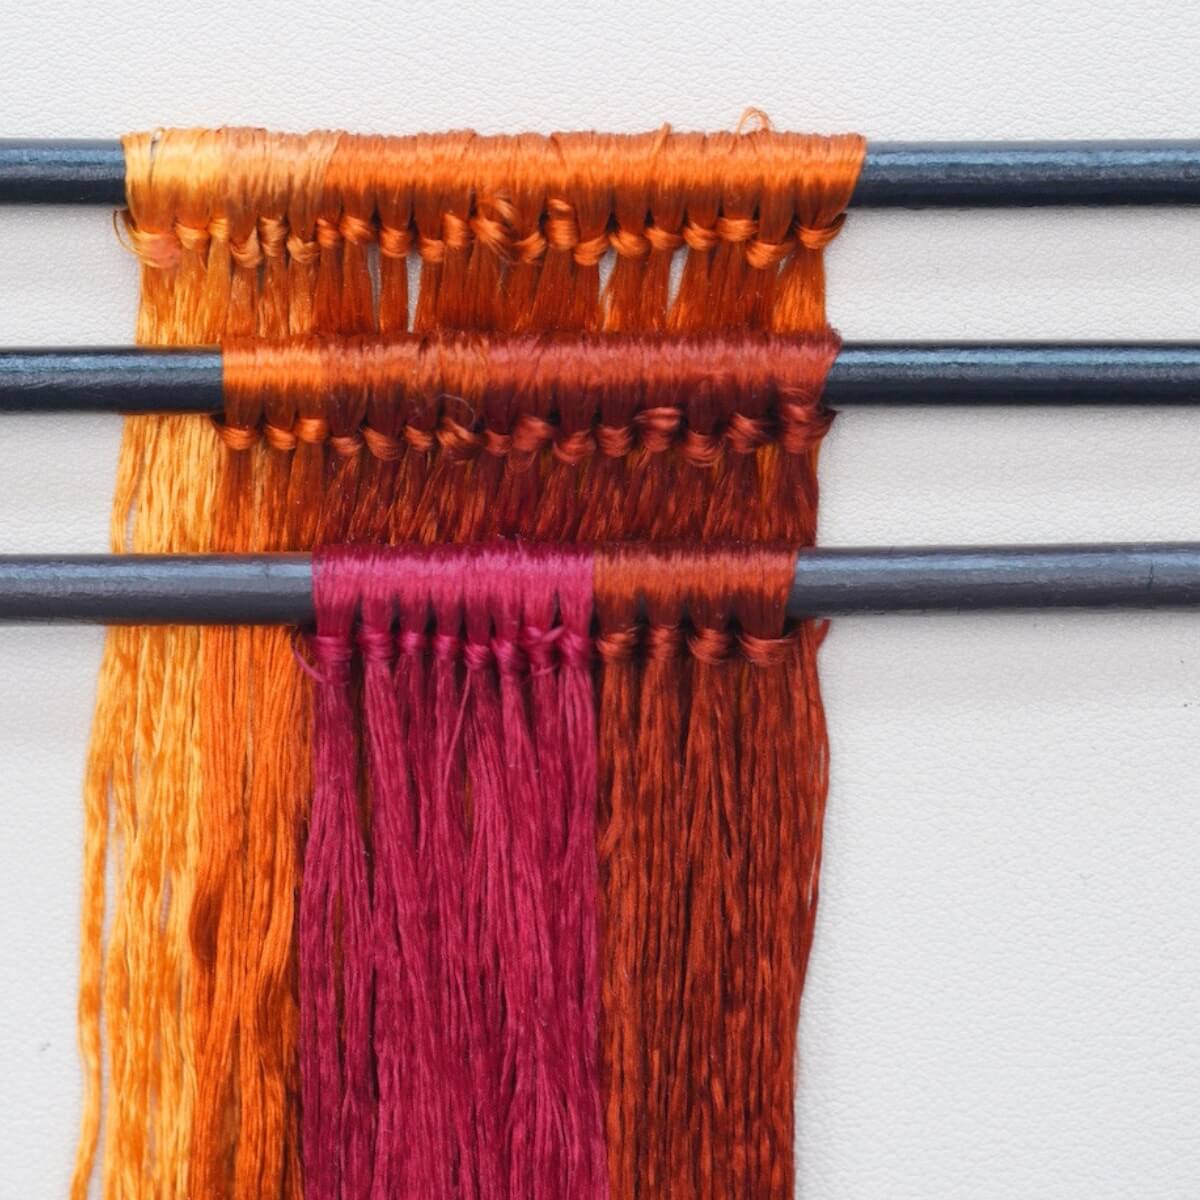
Step 4. Brush the Silk
Attach your silk rows securely to a stand or a flat surface. Using a bristle brush, comb the silk thoroughly from top to bottom. Continue brushing until the silk is completely smooth, fluffy, and free of any tangles. If the silk becomes static, mist the surrounding air lightly with water.
After brushing, it should look like this:

Step 5. Attach Copper Wires
When you feel that the silk is brushed enough, secure its tail with another big clip to your table or anything that can help stretch it taut. Take out one copper wire from the folded end of the row and straighten it. Twist the folded part into a spiral of about 3 cm. Clamp the silk threads between two copper wires and twist the opposite side tightly. Pull both wires taut and continue twisting until they merge into one.
Remember, the twisting direction for the left and right end are opposite. The spacing should be the same as shown in step 1.
You can watch our video tutorial for this step:)
Step 6. Cut the Silk Strips
Using a pair of scissors designated for silk, trim away the excess thread from the row ends. Cut through the silk exactly in the middle of each wire twist to separate the row into individual silk strips. Never use these scissors on copper wire, as this will dull the blades and cause the silk edges to fray.

Step 7. Center and Twist the Strips
Lay each silk strip on a flat surface and ensure the copper wire is perfectly centered. Twist the wires by hand to tighten the grip on the silk, then place the strip between two twisting boards.

Roll the boards firmly to twist the wire until it is tightly embedded and nearly invisible within the silk.

Step 8. Flatten the Silk Strips
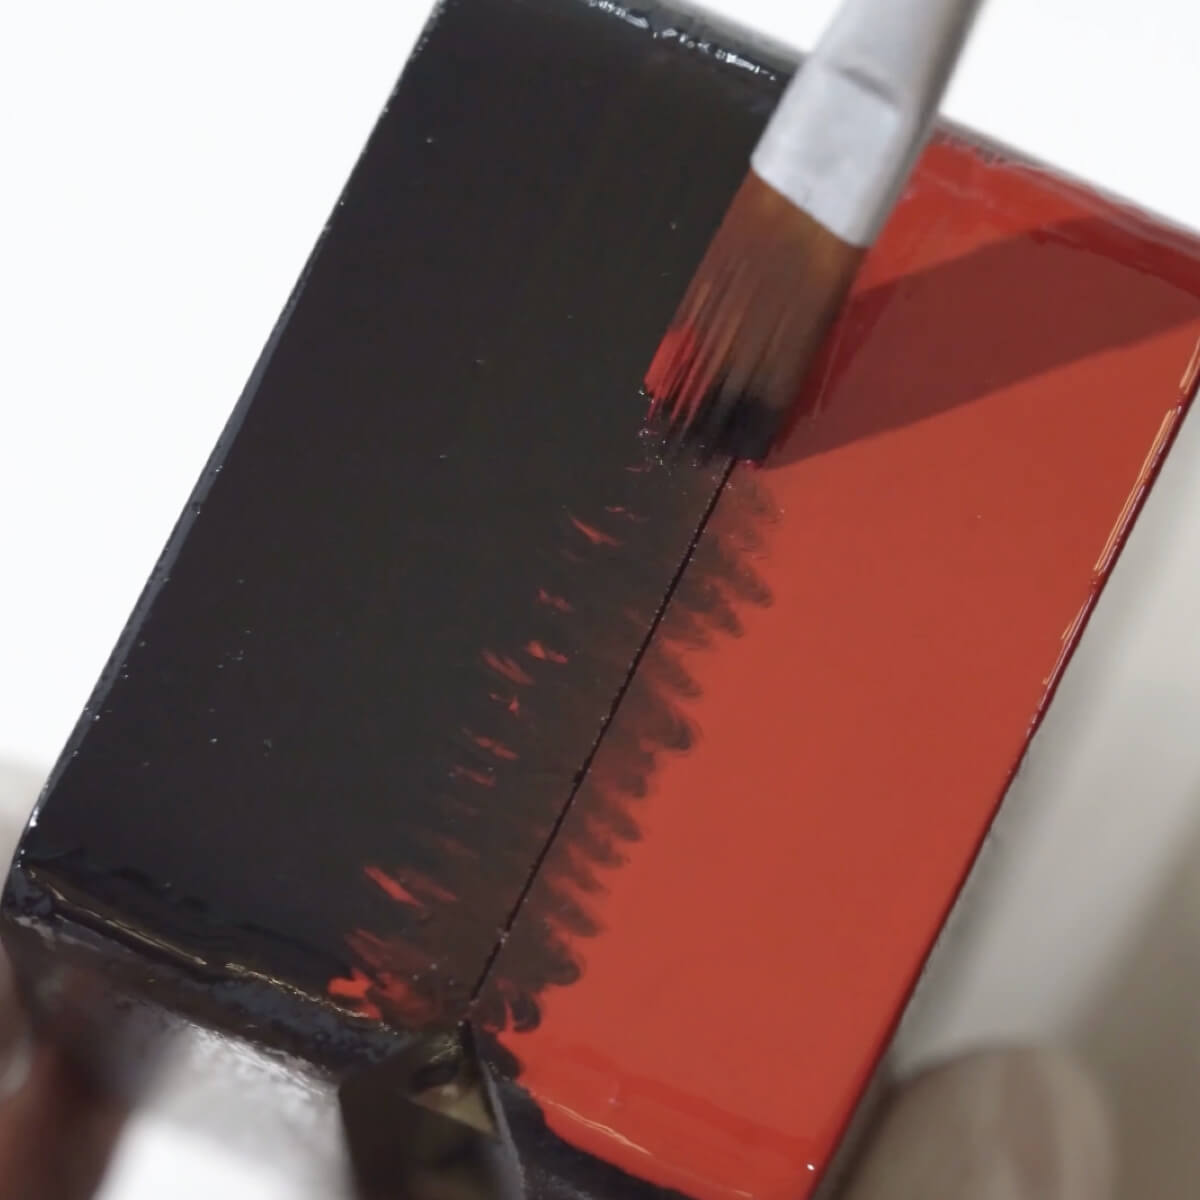
Trim the edges of your silk strips neatly with scissors; uneven edges will result in a rough, fuzzy appearance after pressing. Use a heated flat iron to press the strips flat, moving systematically from the back to the front.

Place the strips onto a silicone mat and brush a clear, fragrance-free hairspray evenly across the surface of the silk. Ensure each strip is fully saturated to guarantee the silk is properly set. Tape the strips and hang them upside down to dry.

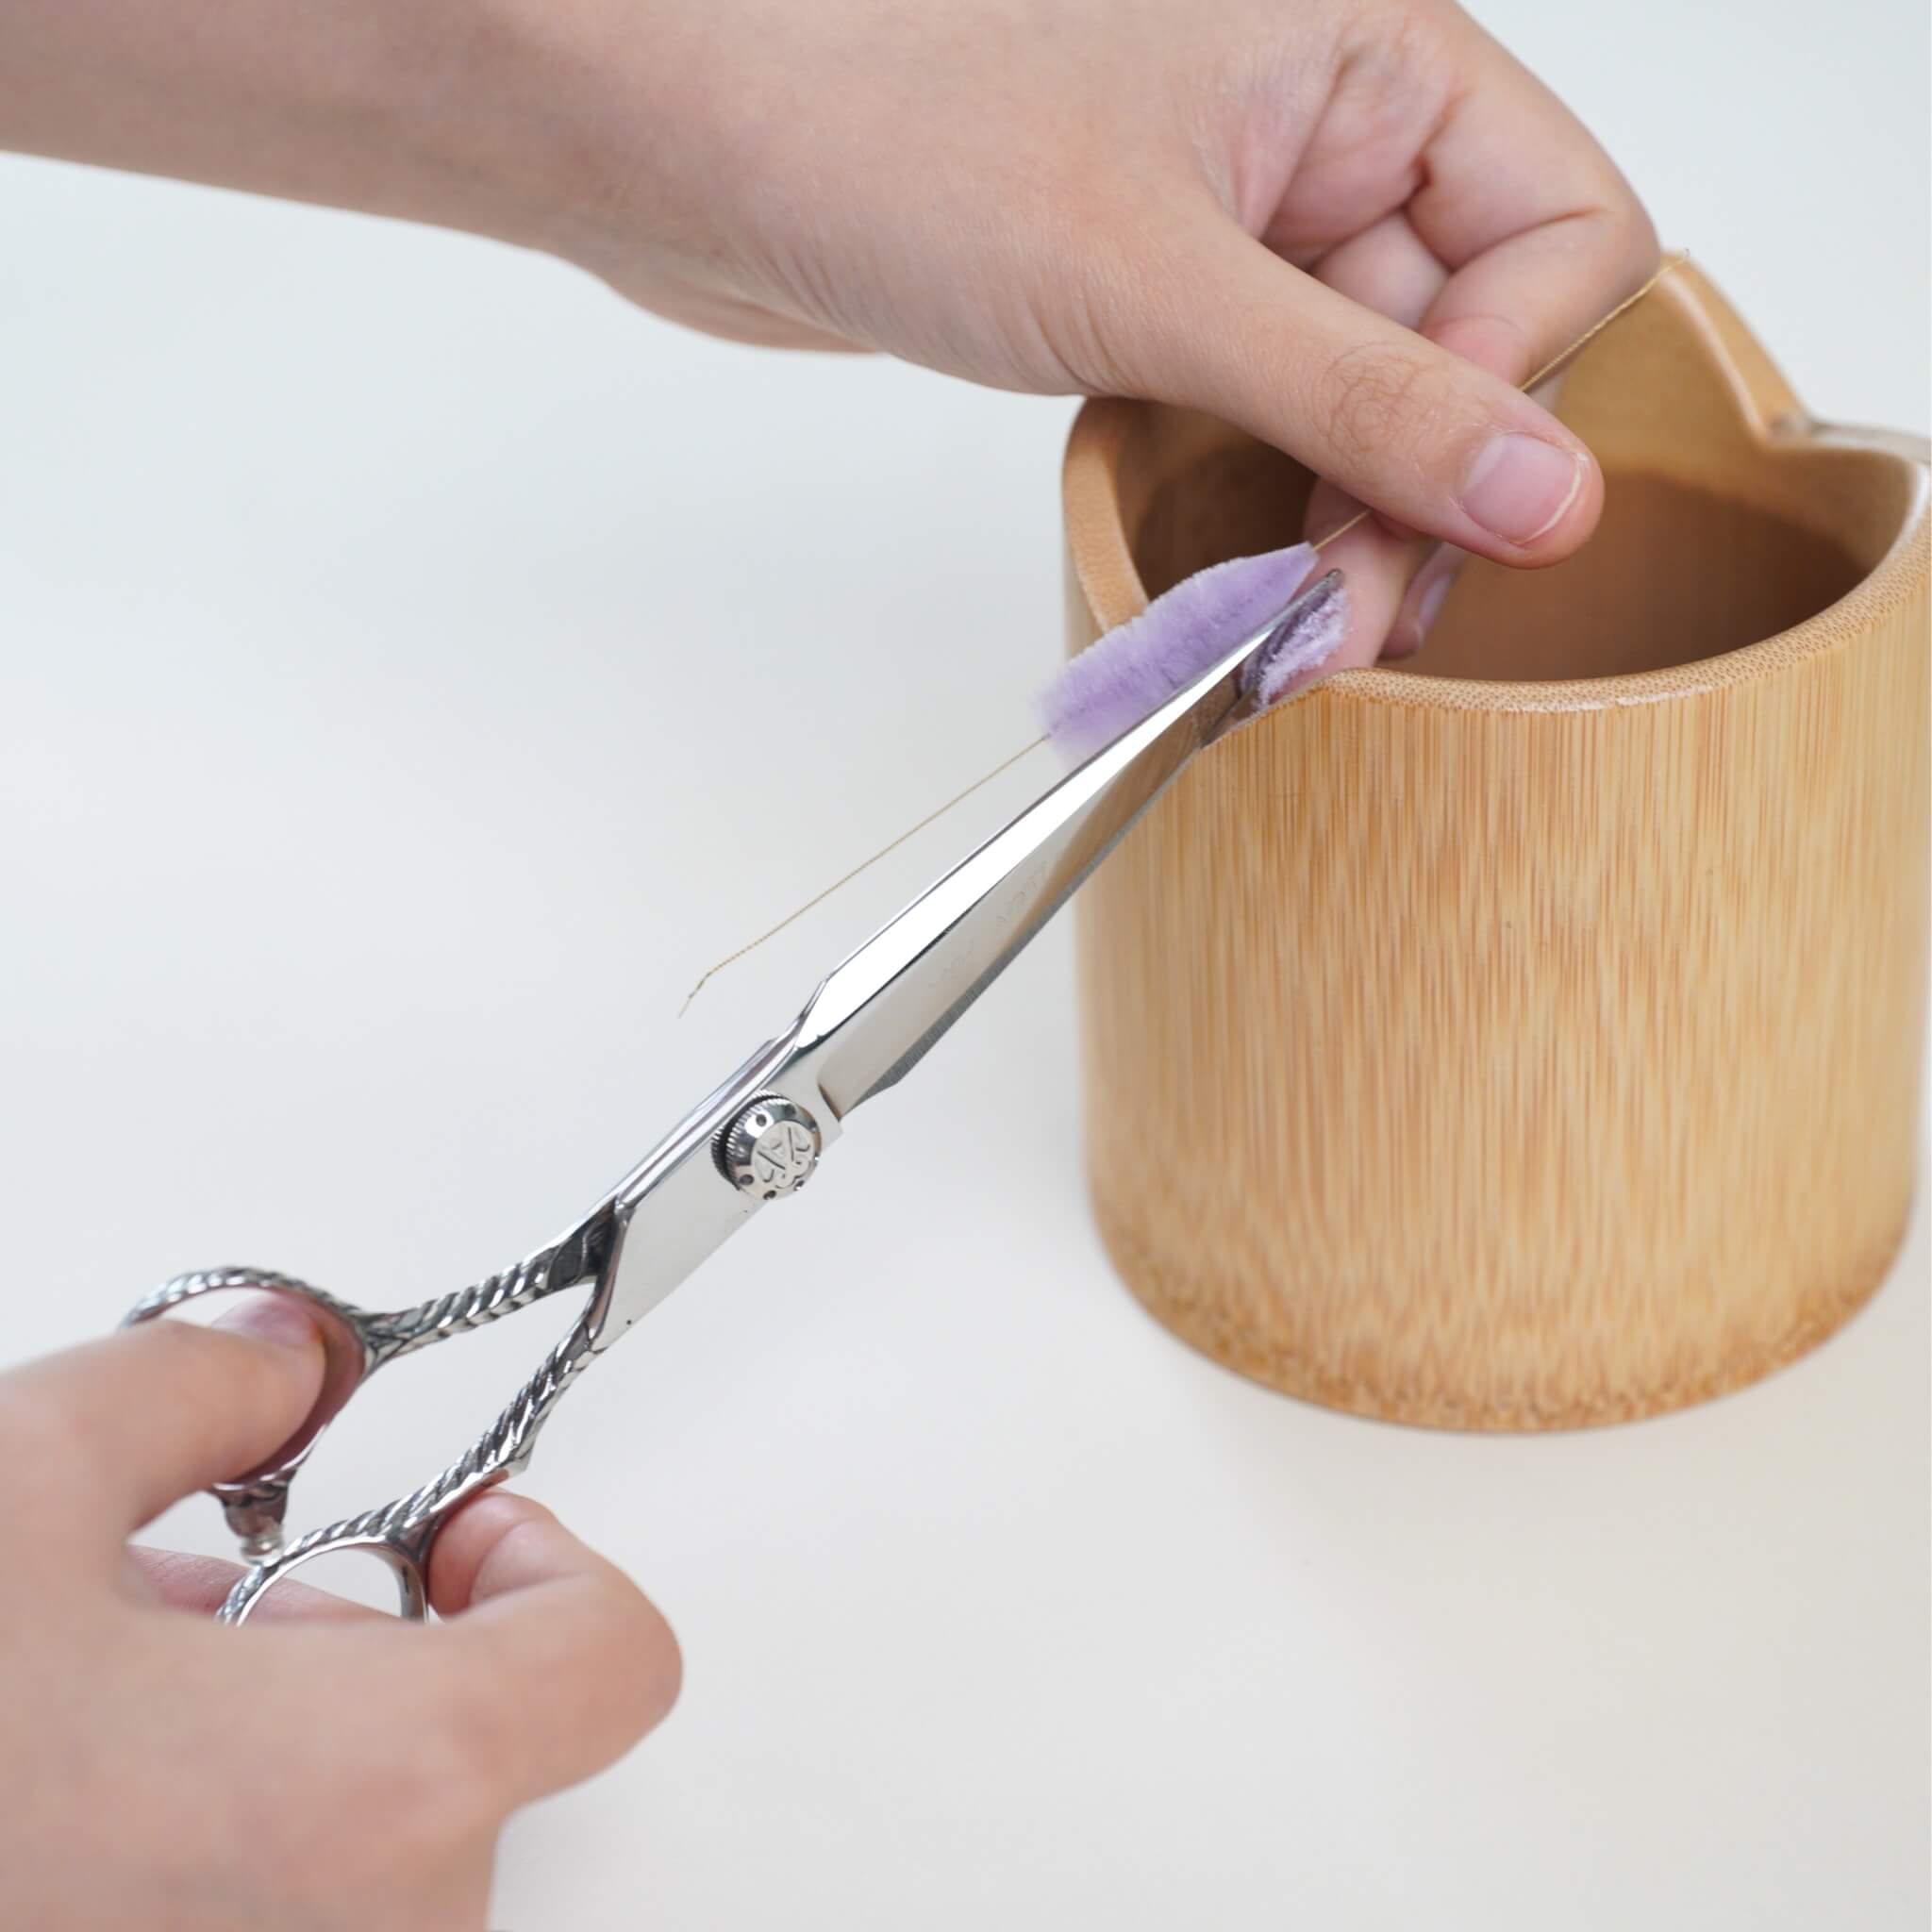
Step 9. Shape the Flower Centers
Rest a strip against the notch of a bamboo tube and rotate it while trimming. Trim the strip so the yellow end remains the widest part, while the white end is gradually tapered into a narrower shape, creating a teardrop form.

Prepare one center for every flower you intend to create.
Step 10. Shape the Petals
Press the dried strips again with a heated flat iron to ensure they are as smooth and flat as possible.
Trim each petal into the required shape using a sharp pair of scissors that has never been used on copper wire.

Apply a full coat of hairspray to the petals; while they are still damp, use tweezers to curve both sides inward and pinch the tip to create a point. You may curl portions of the edges inward or outward and bring the base sides together so the petal wraps around itself into a cone.

Hang the shaped petals upside down to dry completely, and lightly refine the edges if necessary once dry.
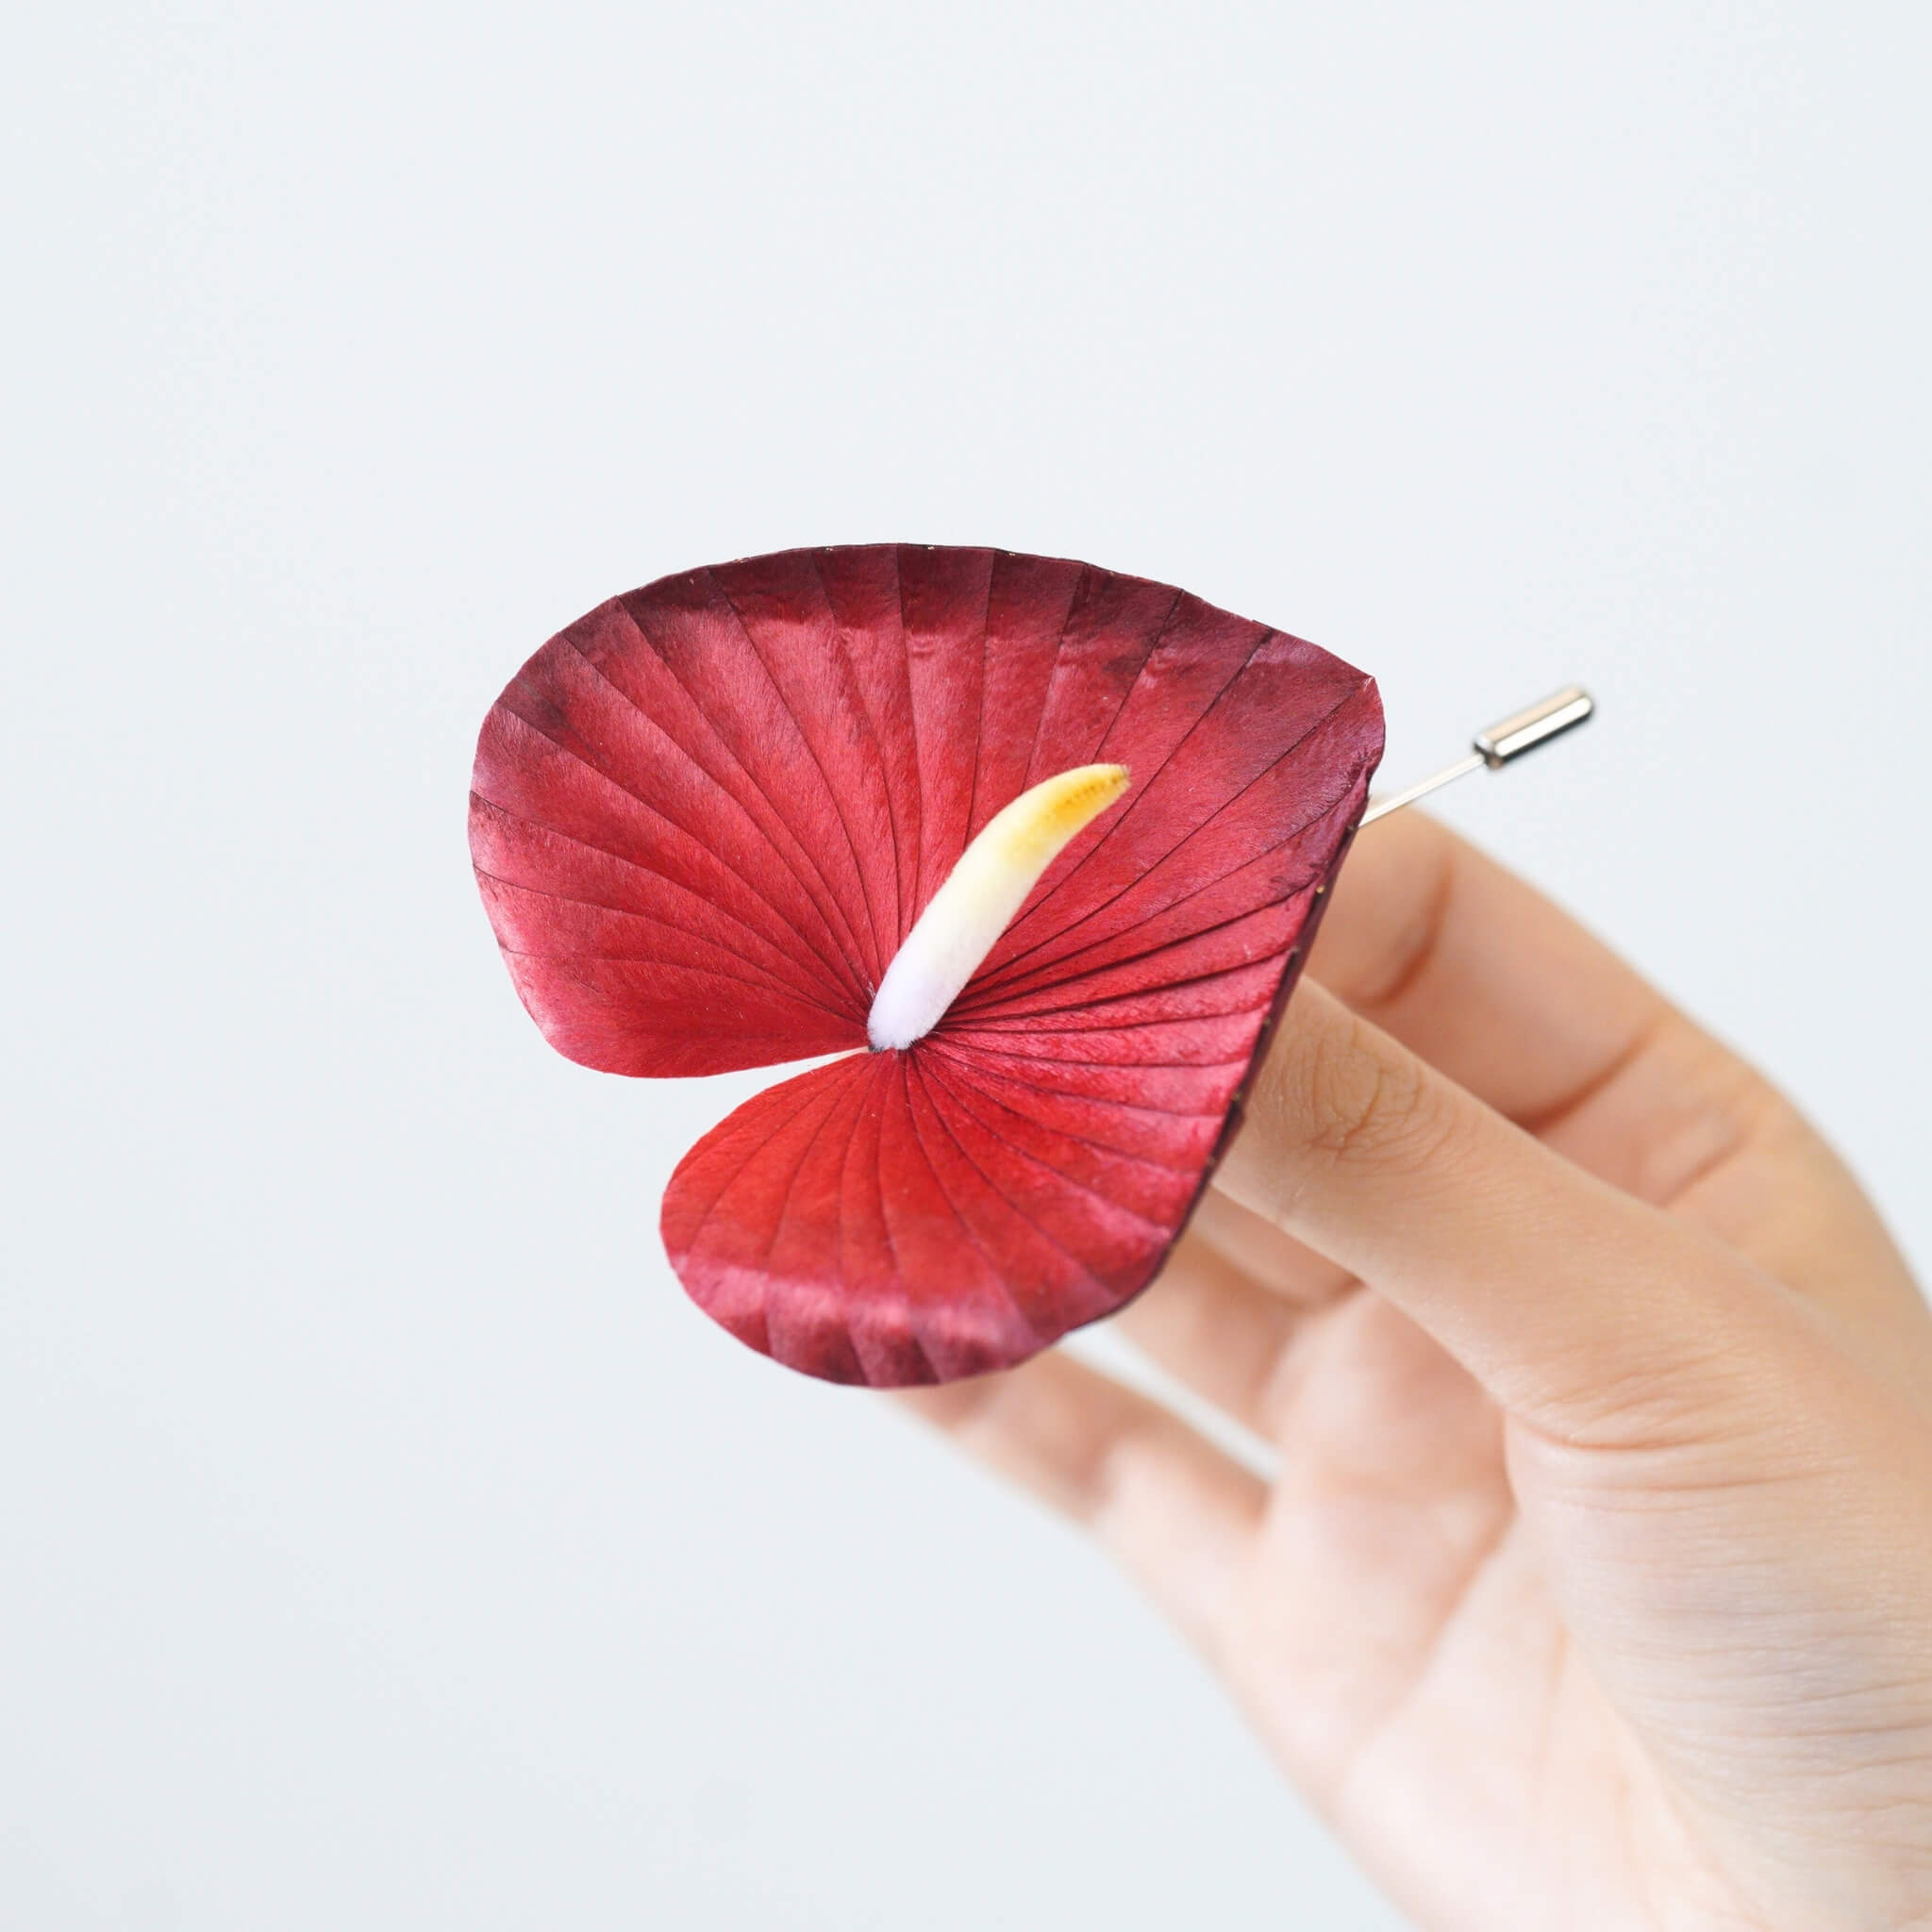
Step 11. Assemble the Calla Lilies
Place a finished flower center in the middle of a shaped petal. Using a 0.5 mm copper wire cut to 8–10 cm, fold a piece of silk thread in half, place the wire at the base of the flower, and wrap the silk thread around the wire—working upward a few turns before wrapping downward. When the stem is of a suitable length, tie off the thread and trim the excess wire from the center.

Step 12. Assemble the Piece
For earrings, arrange three flowers at staggered heights and secure them with silk thread, trimming any unnecessary wires.

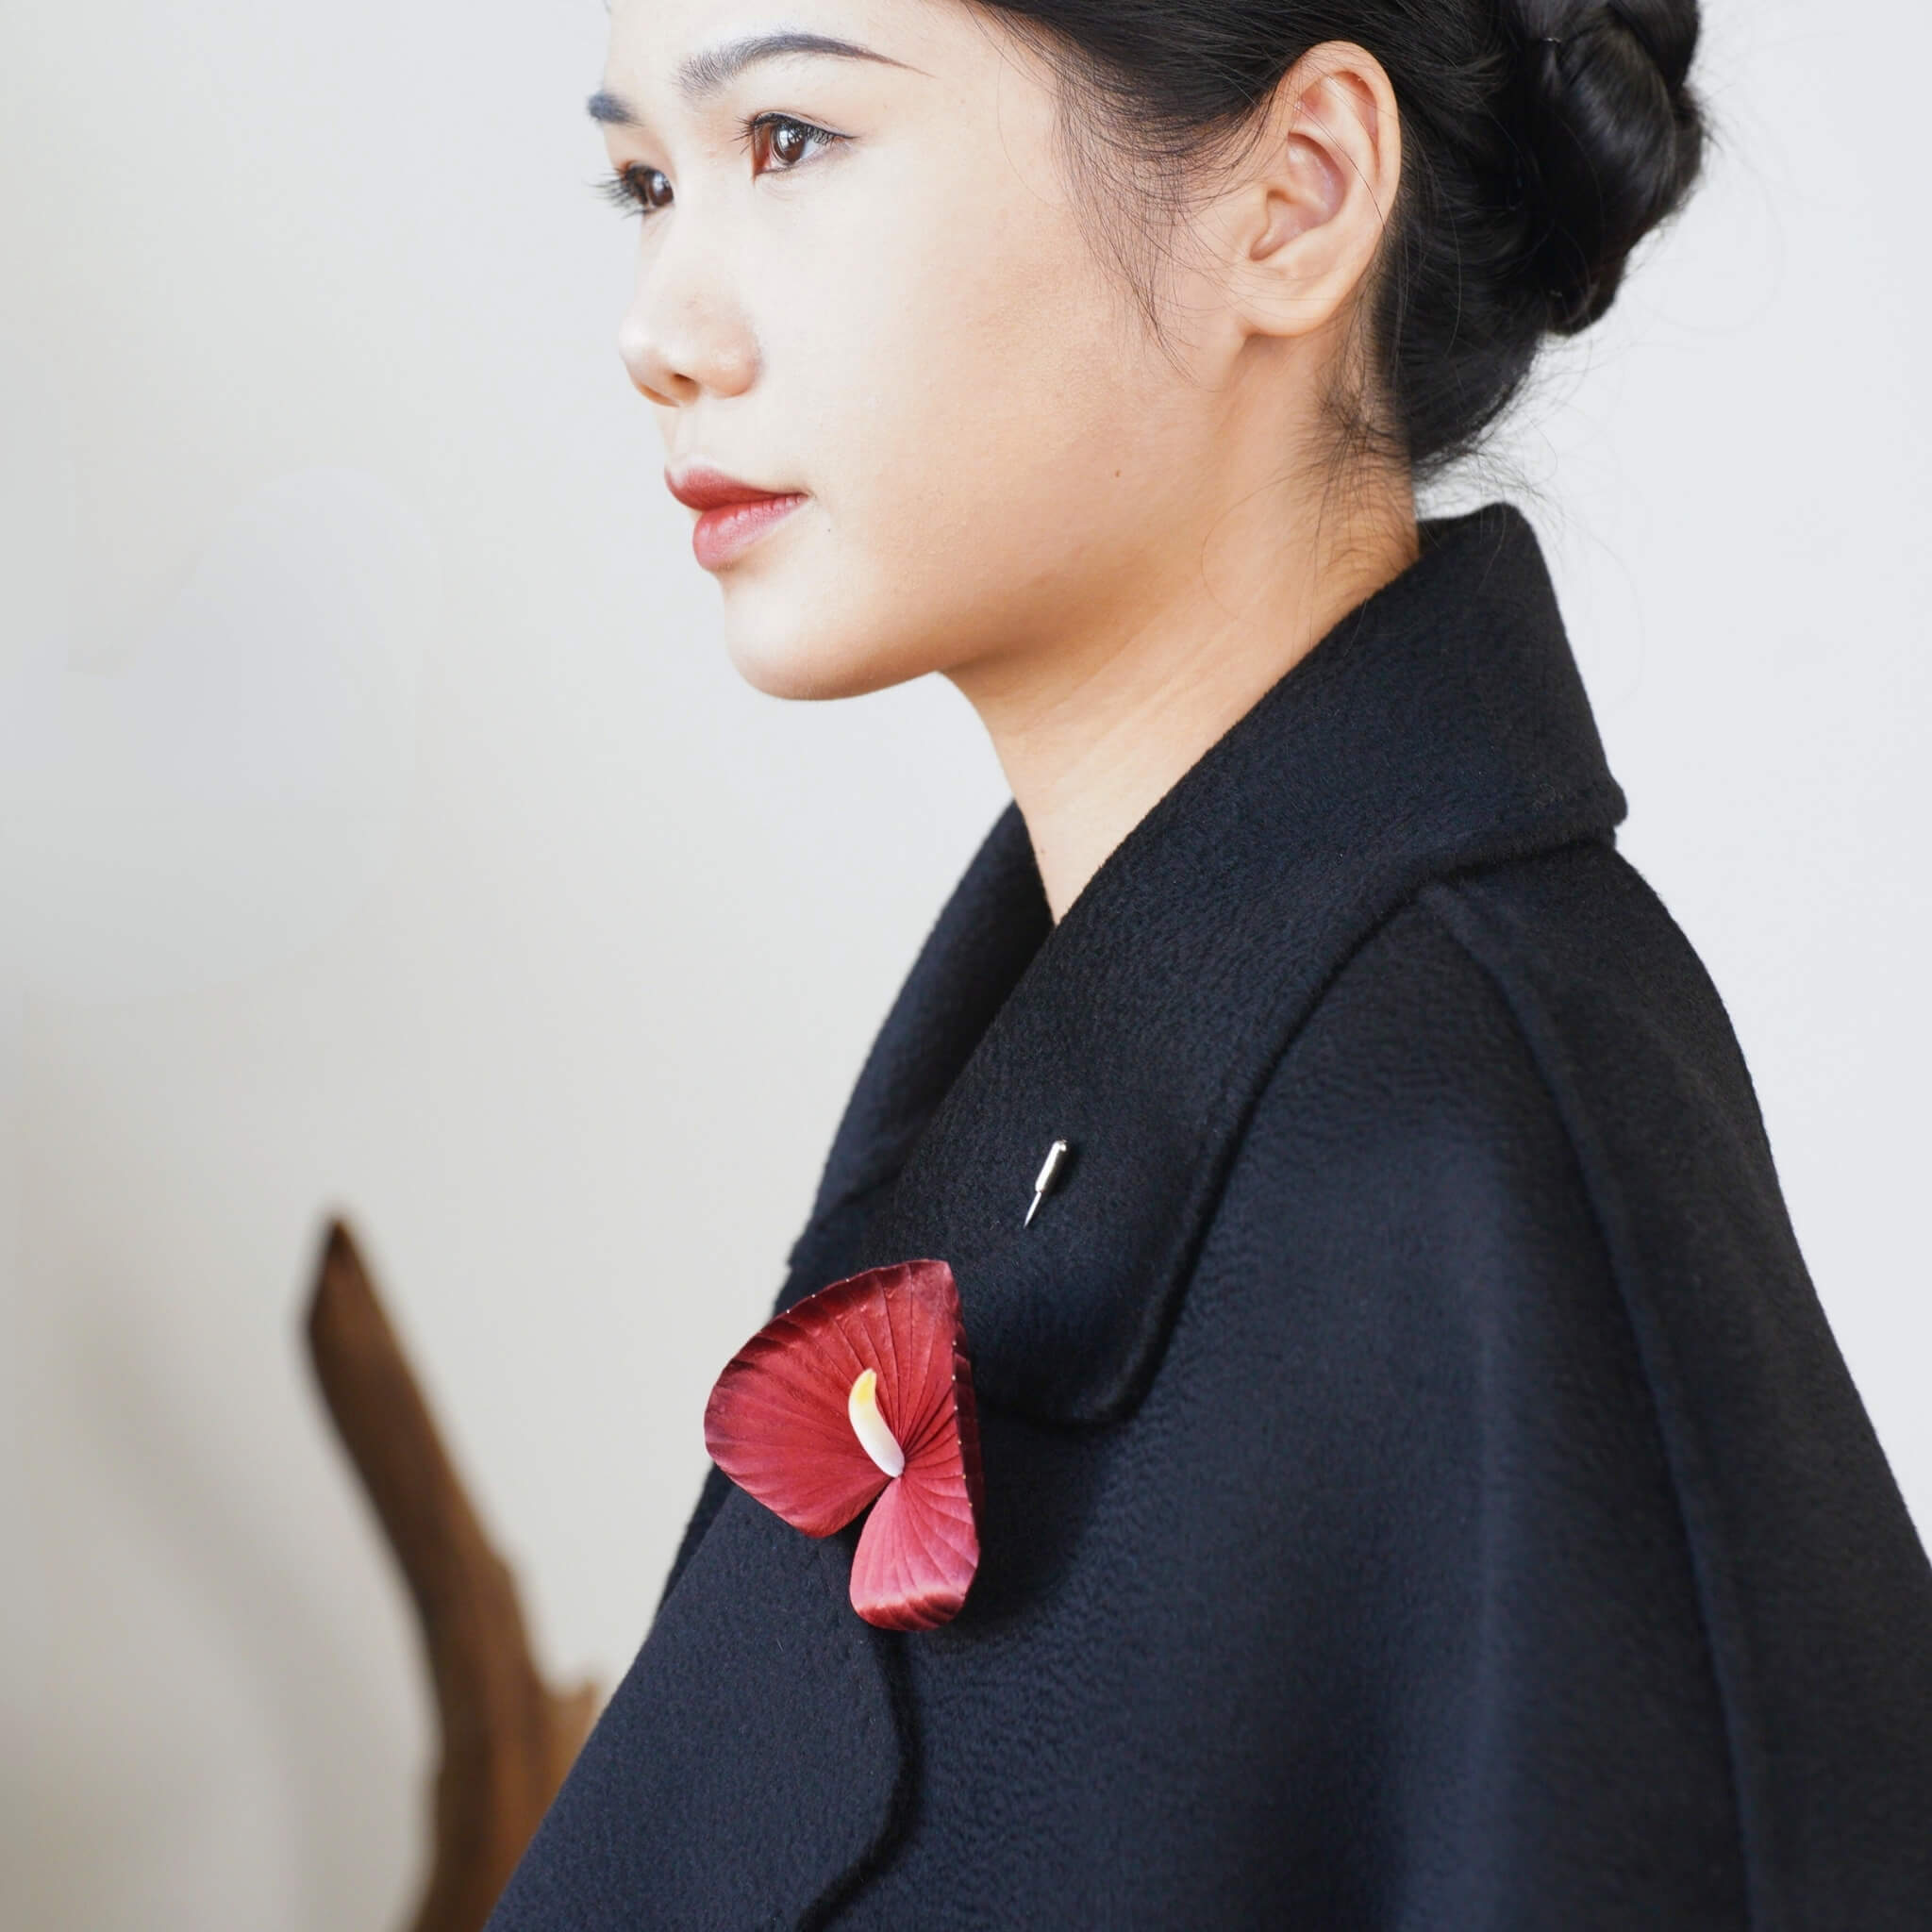
For a brooch, wrap the remaining wires with fresh silk thread and singe any fuzzy edges with a lighter. Wrap the stems securely and bend them into soft, natural curves to achieve your desired arrangement.
To finish, use a folded loop of fine copper wire or silk thread. Wrap several more turns over the loop, pass the silk thread through it, and pull the loop through to secure the end.
You can watch our video tutorial for this step:)
Step 13. Assemble the Piece to the Accessory
Attach your piece to the desired accessory (earclips or brooch pin).Position it behind the flowers and tie it firmly in place with silk thread.
Finally, lightly brush hairspray over the wrapped thread areas to prevent loosening, then adjust the final shape. Your calla lily piece is now complete.


Laisser un commentaire
Tous les commentaires sont modérés avant d'être publiés.
Ce site est protégé par hCaptcha, et la Politique de confidentialité et les Conditions de service de hCaptcha s’appliquent.