

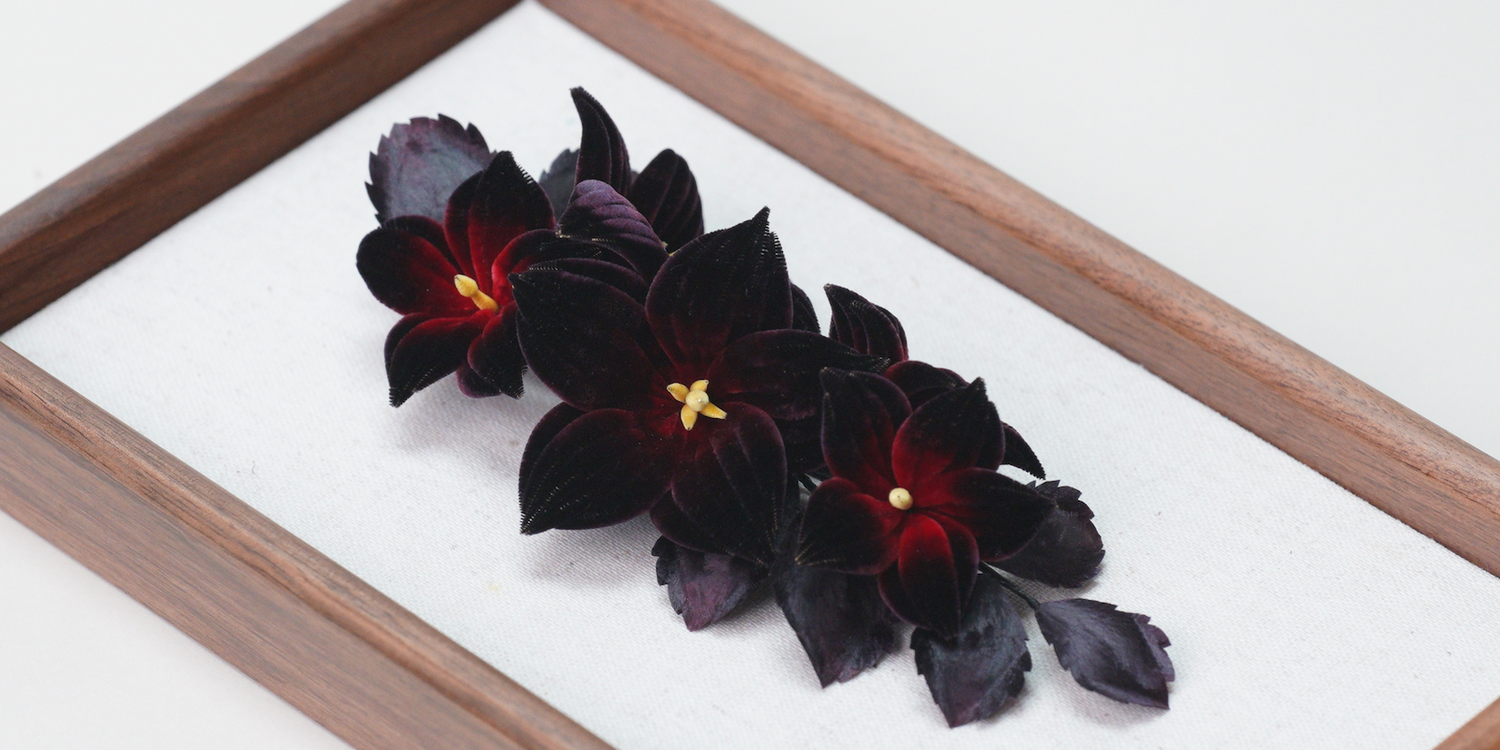
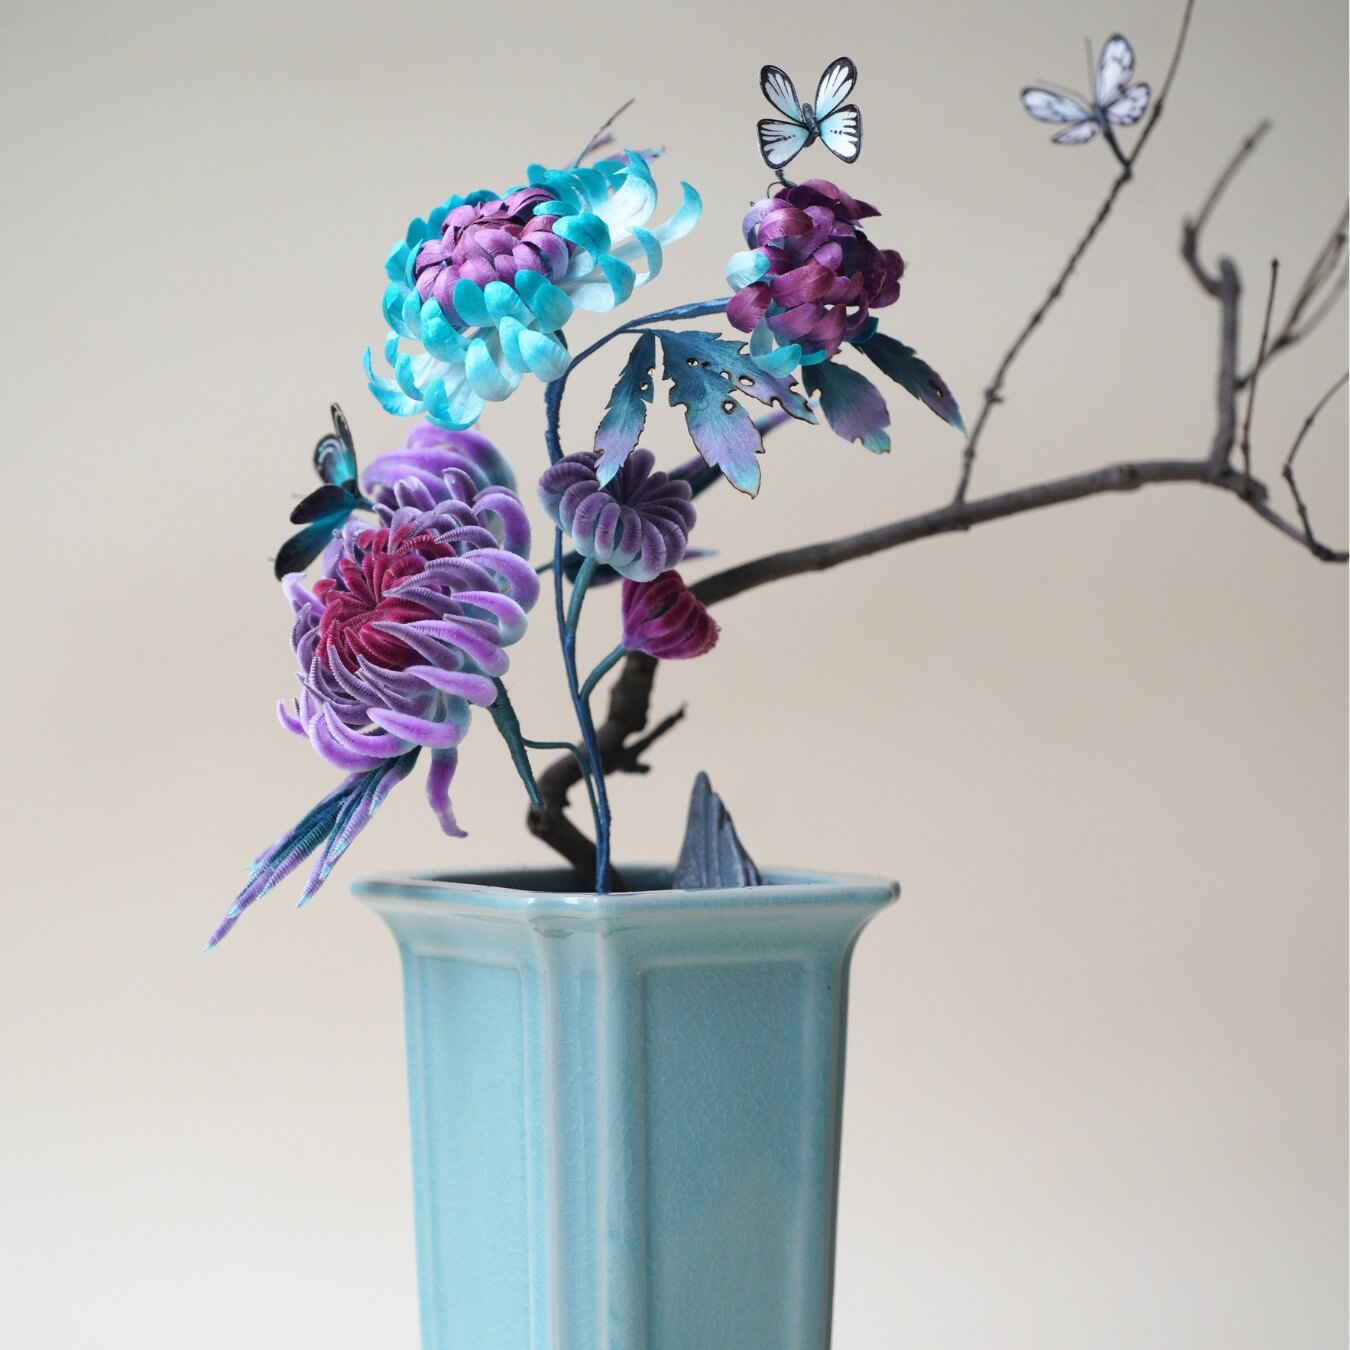
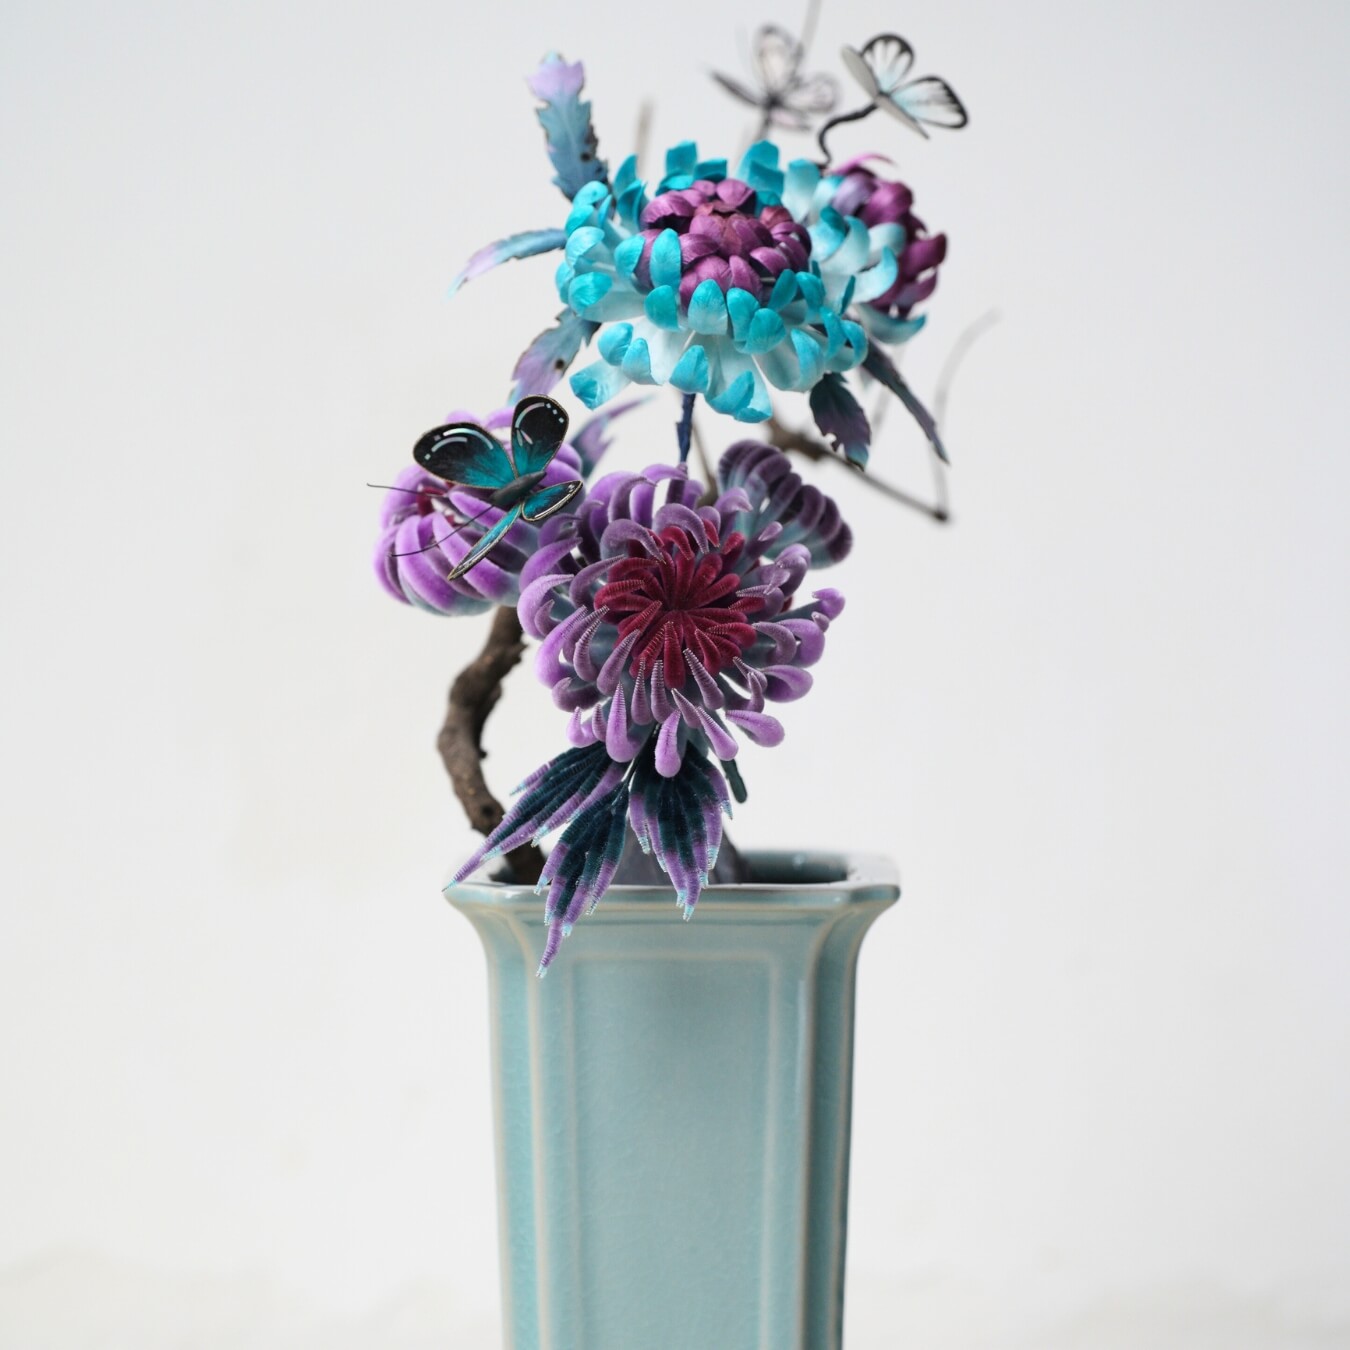
Sombre, veloutée et infiniment intrigante — la broche Datura Love est une pièce audacieuse inspirée par la beauté mystérieuse des fleurs nocturnes. Ses tons cramoisis profonds et sa texture douce en velours la rendent à la fois romantique et captivante.
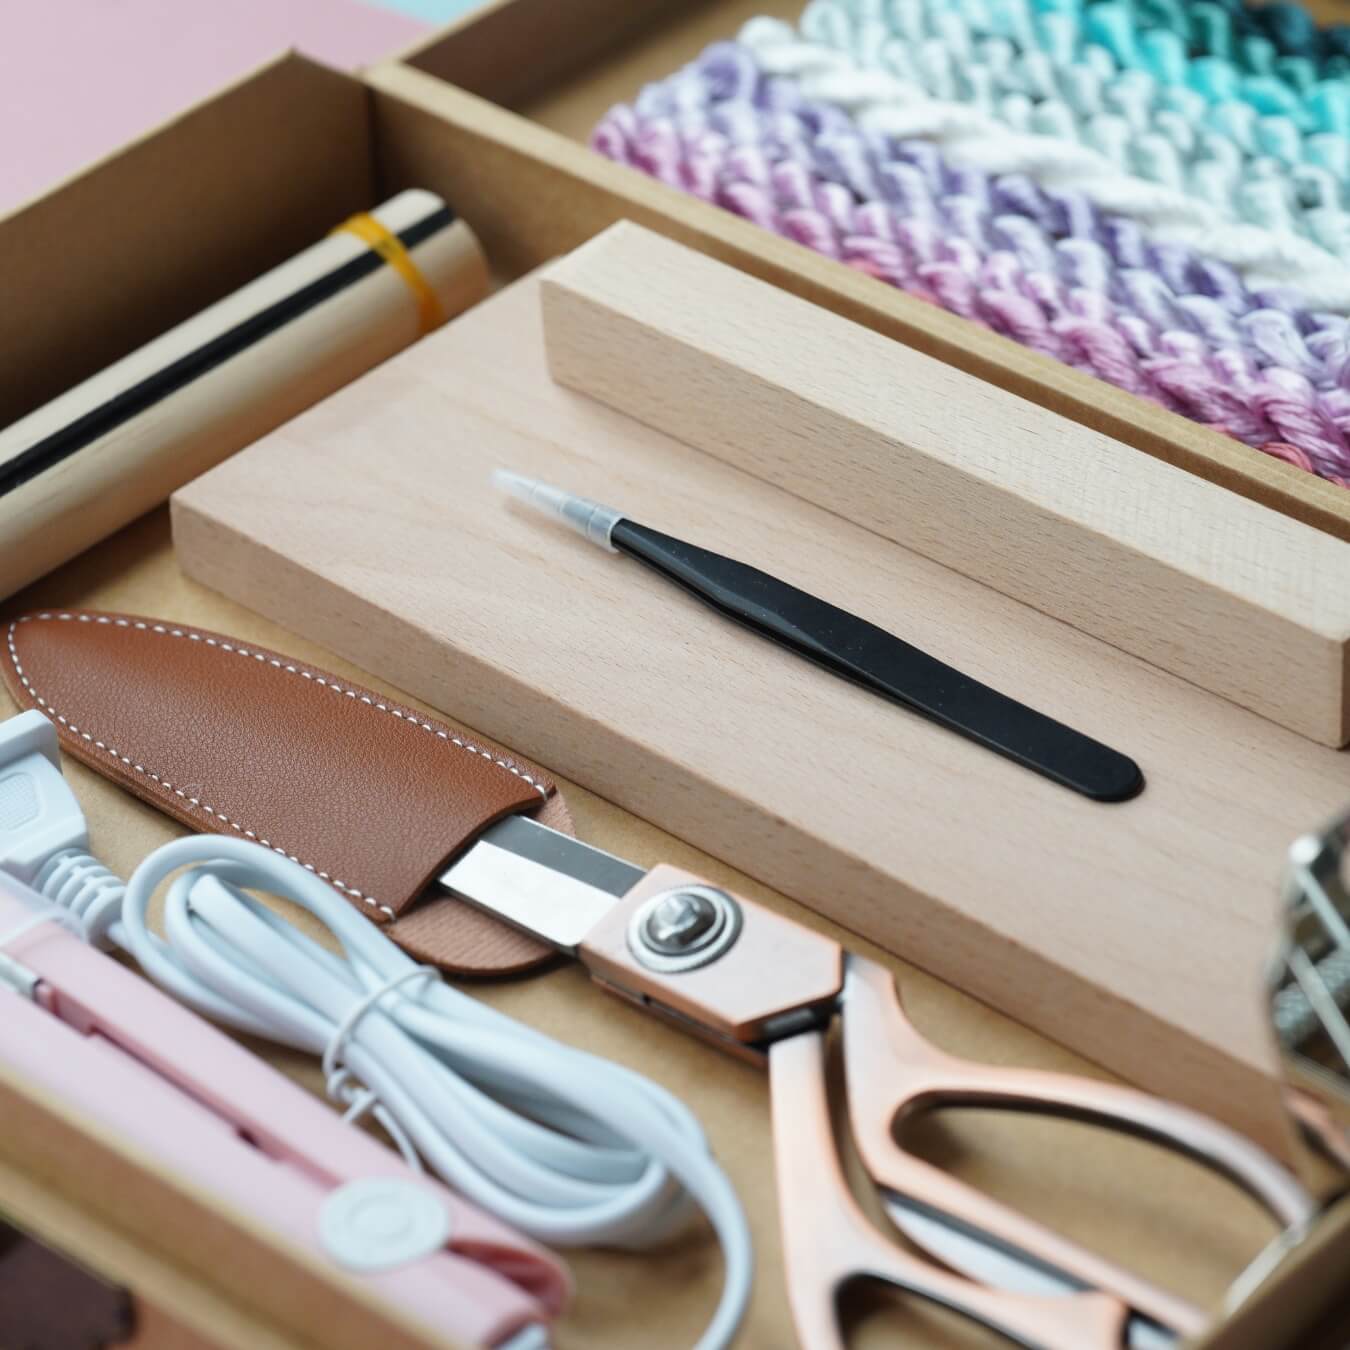
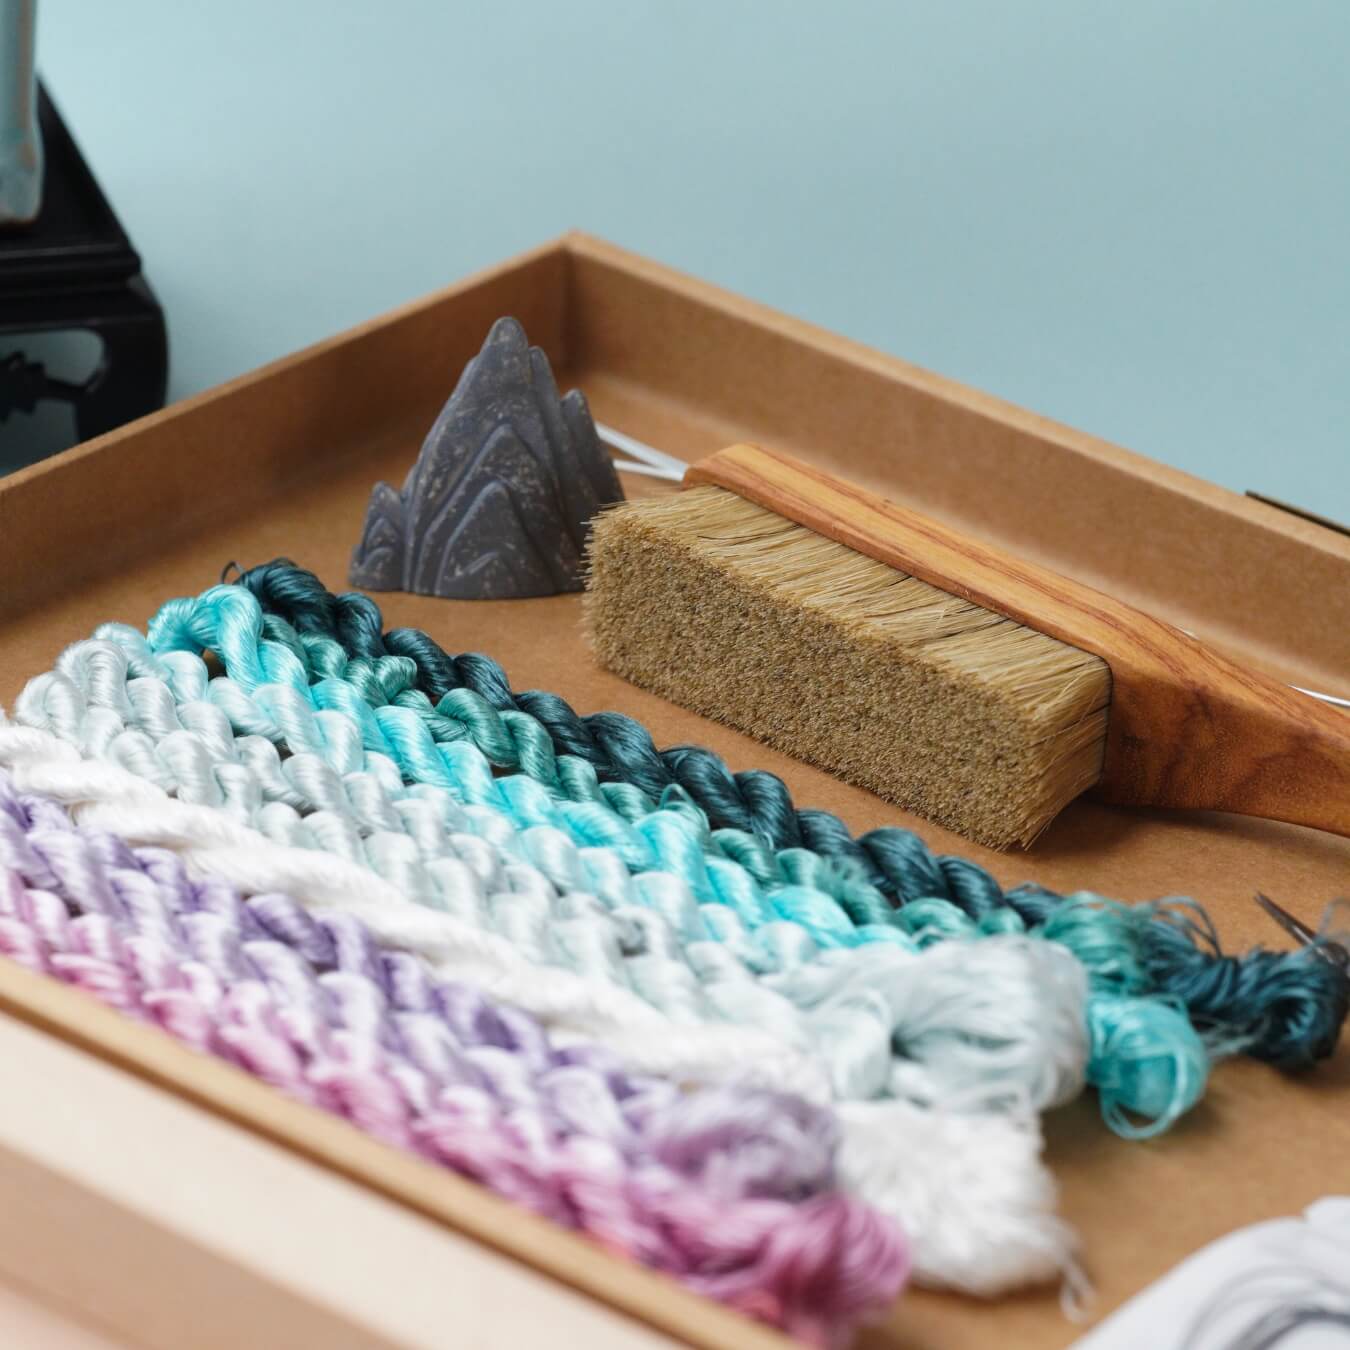
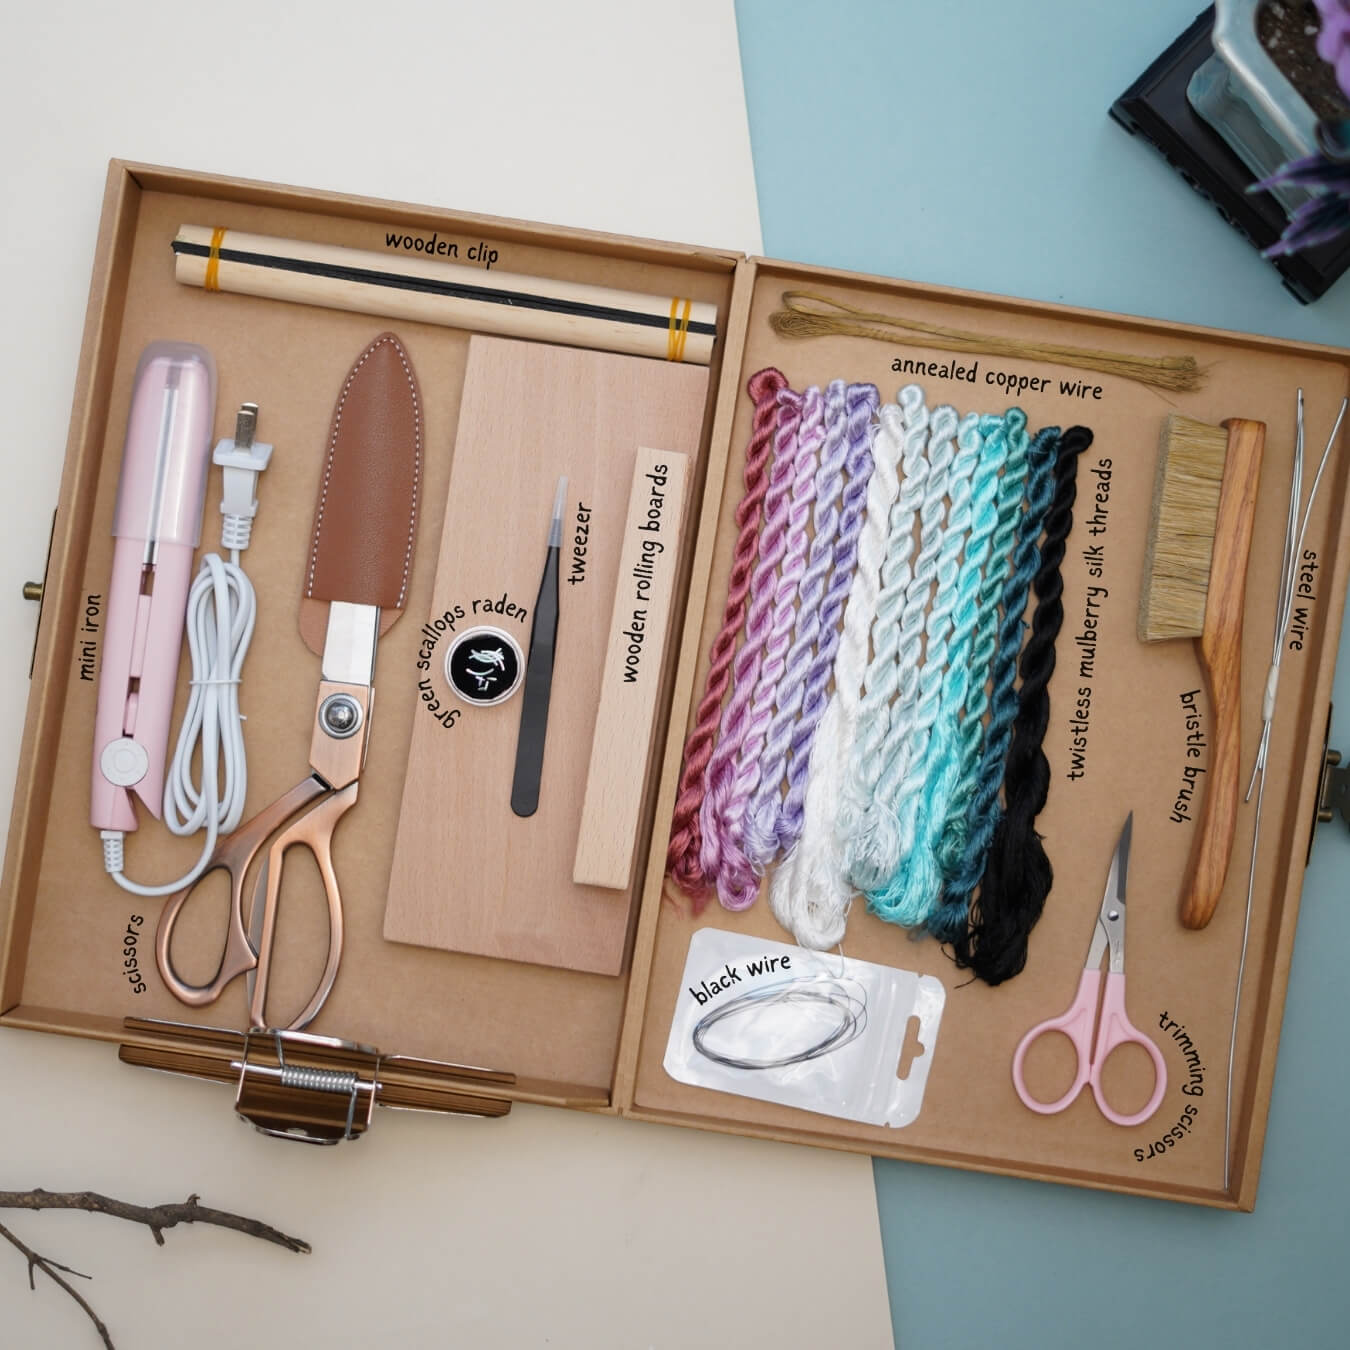
Préparation : ce dont vous aurez besoin
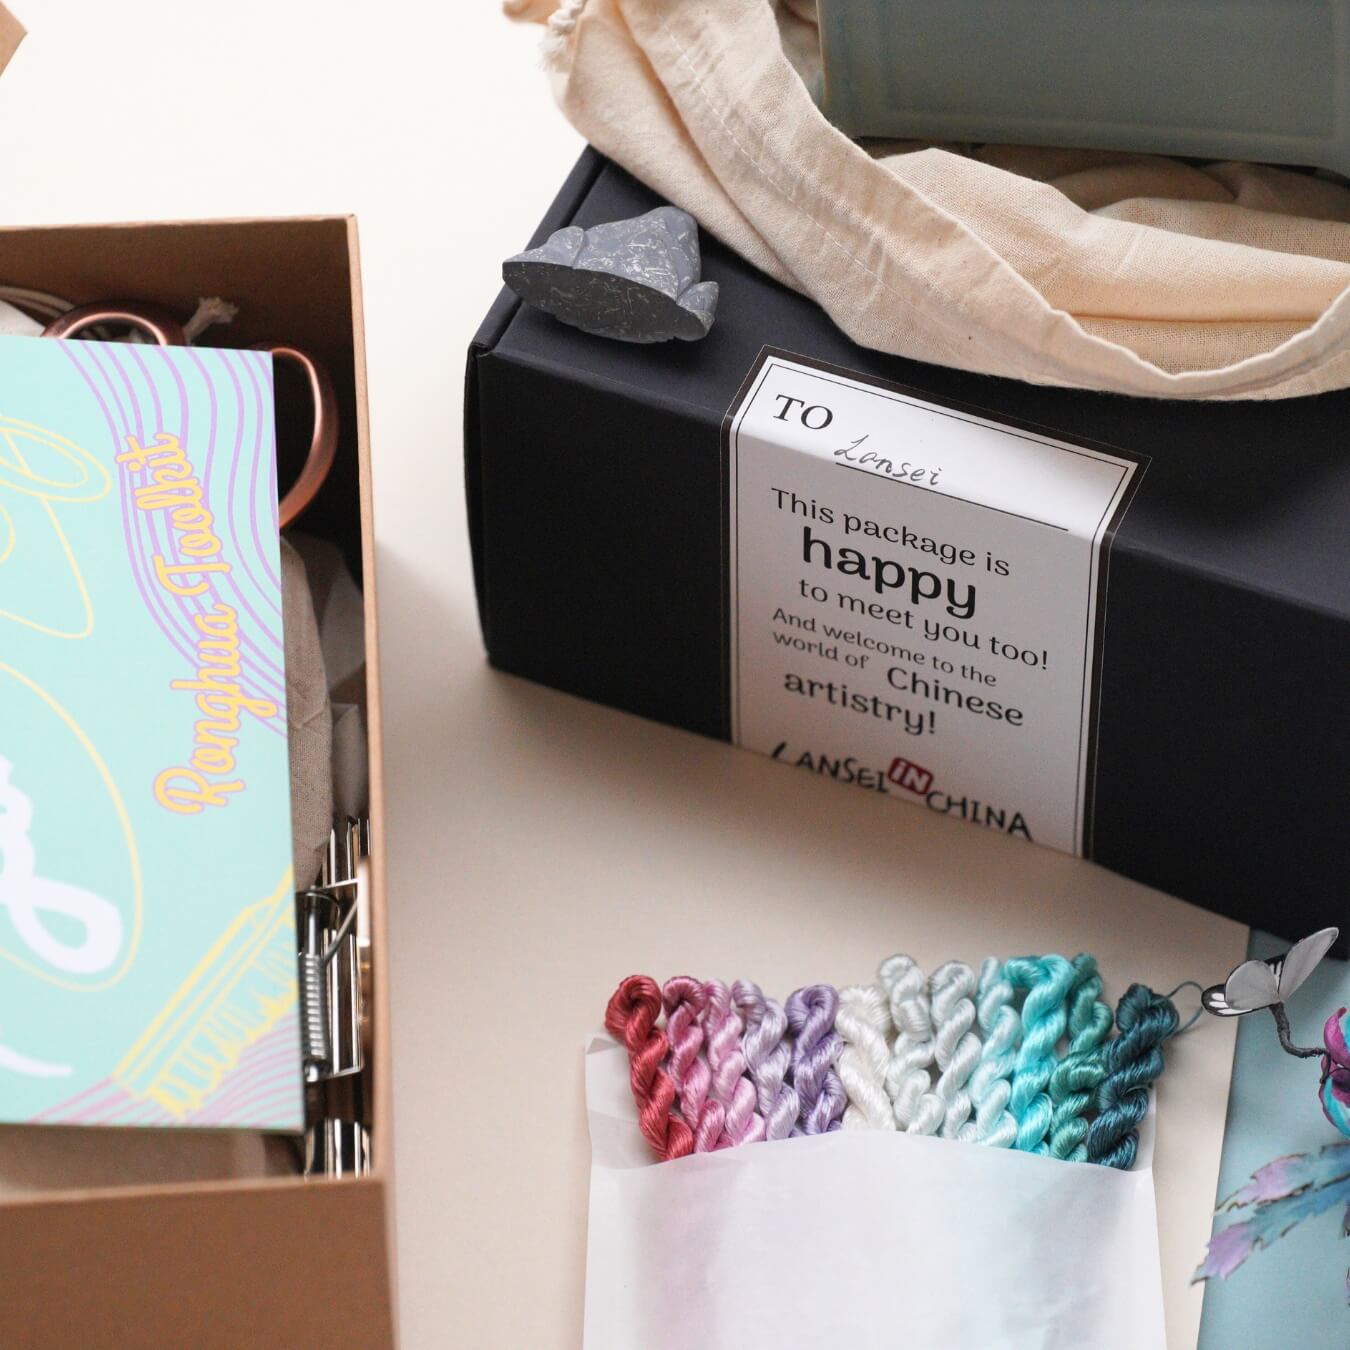
Si vous avez acheté notre kit Ronghua, vous avez déjà tout ce qu'il faut !
Sinon, préparez les outils suivants :
- Brosse à poils (dureté moyenne à douce)
- Fer à lisser (celui que vous utilisez pour lisser vos cheveux)
- Pinces à épiler
- Au moins 2 paires de ciseaux
- Bâtons en bois / crayons / baguettes
- Laque ou colle blanche diluée (rapport 1:1,15–1:1,2)
- Grandes pinces (environ 15 cm)
- Planches à torsader et blocs de bois (pour une tension uniforme)
- Poudre antidérapante (optionnelle mais utile)
Vidéo tutoriel complète
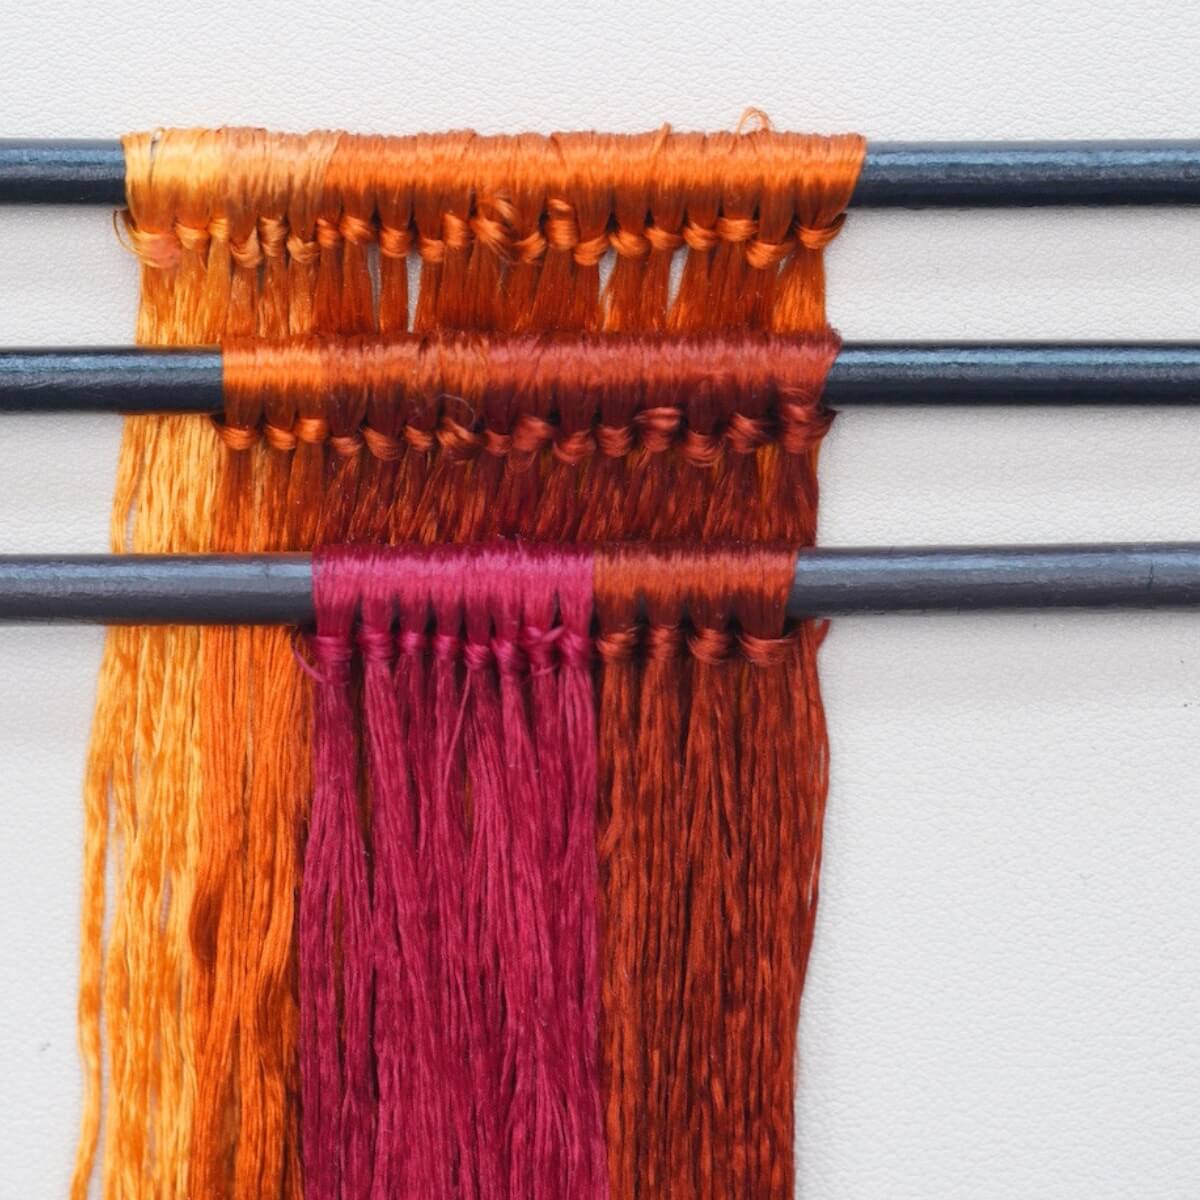
Étape 1. Alignez et disposez les fils de soie
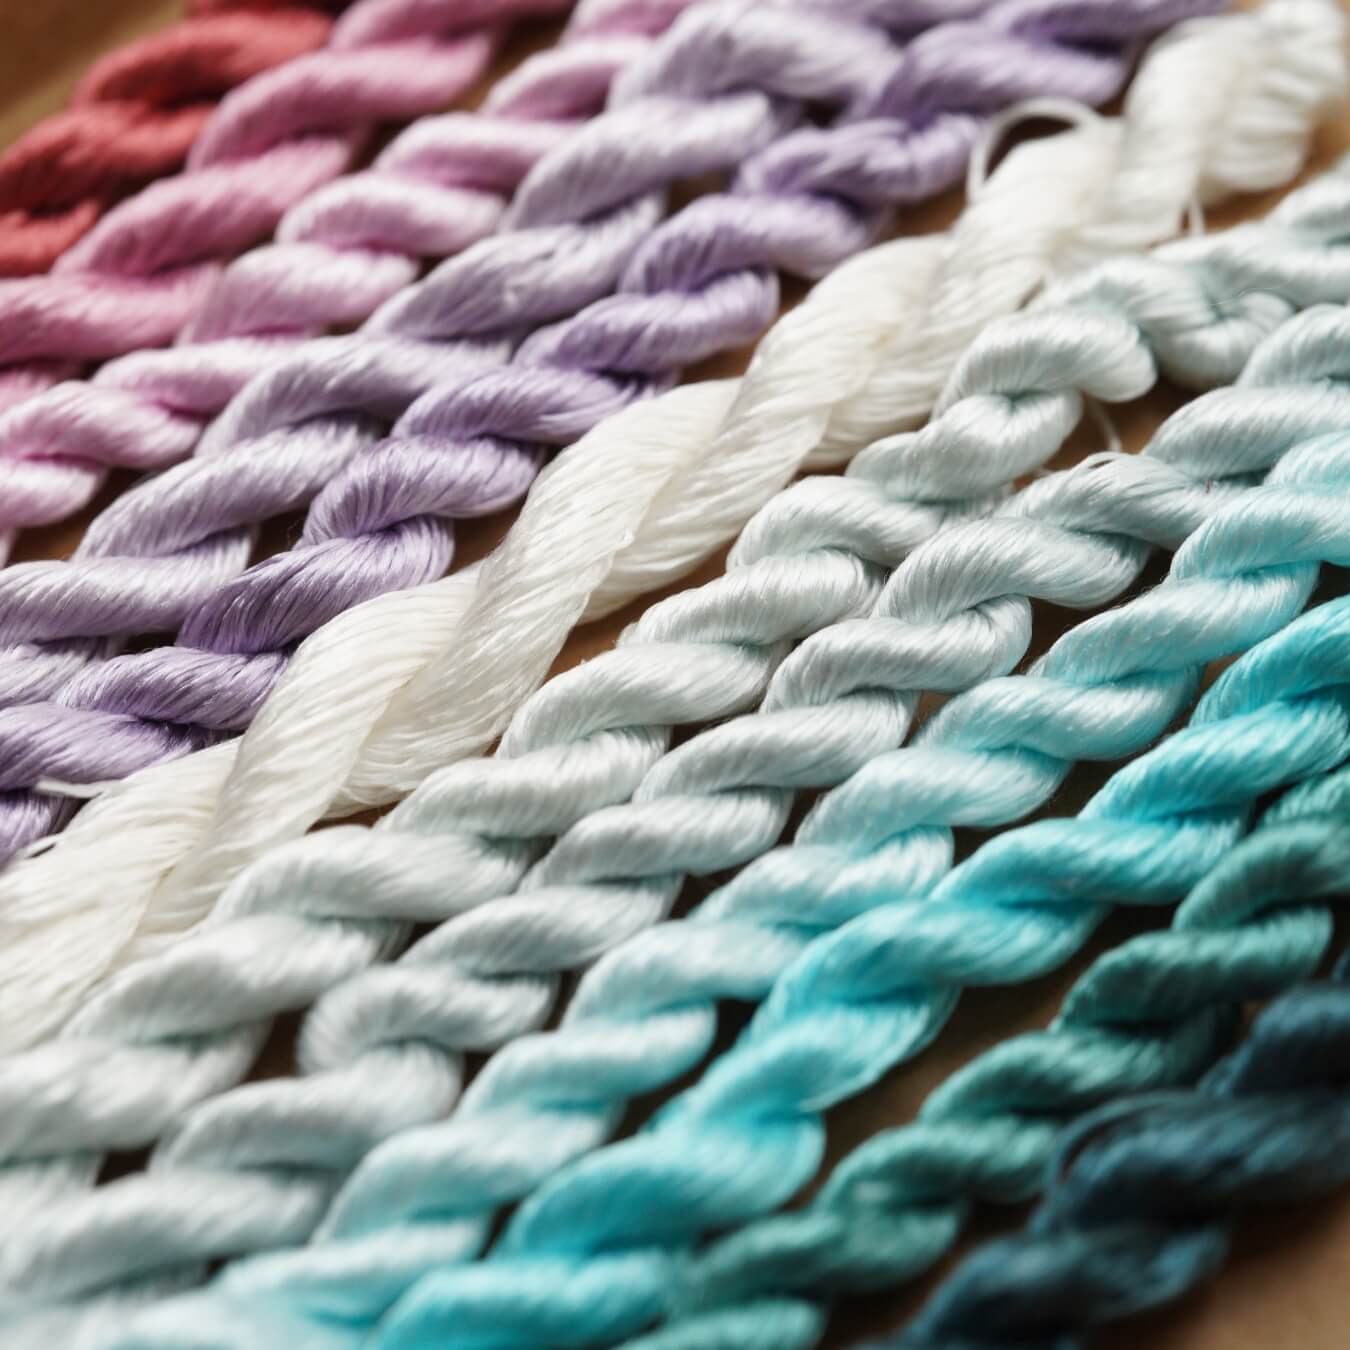
Commencez par dénouer vos fils de soie. Localisez le nœud à une extrémité de chaque faisceau et coupez-le soigneusement. Ce projet utilise neuf couleurs de soie pour créer quatre rangées de soie - deux pour les fleurs, une pour les feuilles, et une pour les étamines. Consultez le diagramme des couleurs ci-dessous pour les détails de la combinaison des fils.

Étape 2. Regroupez et préparez les fils
Chaque faisceau de soie est composé de petites structures en forme de brins — ce sont vos brins individuels.
Alignez soigneusement toutes les mèches et attachez-les autour d’un bâton fin, en gardant les extrémités égales. Évitez les longueurs inégales — cela garantit une texture de pétale uniforme par la suite.

Étape 3. Faire les Rangées de Soie
Répétez le processus ci-dessus pour créer quatre rangées de soie au total : 1 rangée pour la petite fleur, 1 rangée pour la grande fleur, 1 rangée pour les étamines, et 1 rangée pour les feuilles. N'oubliez pas de vous référer aux données fournies dans le diagramme pour les rangées suivantes, car chacune diffèrera légèrement. Voici les rangées de soie finies que nous avons réalisées.

Étape 4. Brosser les Rangées de Soie
Fixez une rangée de soie sur votre support à l’aide de grandes pinces métalliques - si vous n’avez pas le support en bois ronghua, ce n’est pas grave ! Vous pouvez consulter notre vidéo sur des solutions alternatives au support.
Tenez les extrémités des fils d'une main et brossez doucement mais fermement de haut en bas. Ne soulevez pas la brosse en cours de route. Une légère brume d'eau empêchera l'électricité statique. Vous pouvez appliquer un peu de pression — les fils de soie sont plus résistants qu'ils n'en ont l'air ! Assurez-vous de brosser les deux côtés, avant et arrière, jusqu'à ce que la rangée soit lisse et duveteuse.

Chacun utilise une brosse et une vitesse de main différentes, donc le temps nécessaire pour compléter cette étape varie aussi. Pour ma part, il m’a fallu environ 10 minutes pour brosser cette rangée de soie. Quand vous sentez que les fibres sont douces et duveteuses, vous pouvez arrêter et vérifier.
Lorsqu'il n'y a plus de distinction linéaire complète entre les fils et qu'ils commencent à coller les uns aux autres, c'est prêt :)
Voici ce que ressent un fil de soie brossé :

Étape 5. Fixer les Fils de Cuivre
Lorsque vous sentez que la soie est suffisamment brossée, fixez sa queue avec une autre grande pince à votre table ou à tout ce qui peut aider à la tendre. Sortez un fil de cuivre recuit de l'extrémité pliée de la rangée et redressez-le. Tordez la partie pliée en une spirale d'environ 3 cm. Pincez les fils de soie entre deux fils de cuivre et tordez fermement le côté opposé. Tirez les deux fils bien tendus et continuez à tordre jusqu'à ce qu'ils fusionnent en un seul. N'oubliez pas, la direction de torsion pour les extrémités gauche et droite est opposée.
L'espace entre les fils de cuivre pour les étamines doit être de 0,5 cm. Dans la rangée pour les feuilles, l'espacement doit être de 1,8 cm. Pour les deux rangées pour les fleurs, l'espacement entre les fils de cuivre doit être de 5 mm.
Si vous avez de la poudre antidérapante, il sera beaucoup plus facile d'y tremper vos doigts et de les tordre. (Nous vous recommandons vivement de regarder le tutoriel vidéo pour cette étape :)
Une fois terminé, retirez la rangée de soie du support et étalez-la à plat.
Étape 6. Couper les Bandes de Soie
Coupez proprement l'extrémité de la rangée, puis coupez entre chaque paire de fils de cuivre pour créer des bandes de soie uniformes. Lors de la coupe, les ciseaux doivent être placés au milieu de deux fils de cuivre, sinon la largeur des bandes de soie sera inégale. Si des fils collent à vos ciseaux, nettoyez-les — c’est généralement causé par l’électricité statique ou des résidus. Coupez rapidement et proprement pour des bords lisses.

Étape 7. Centrer et Tordre les Bandes
Alignez le fil de cuivre au centre de chaque bande en utilisant une surface plane ou un bloc de bois.
Une fois centré, tournez les deux mains dans des directions opposées pour serrer.

Ensuite, placez la partie en cuivre entre les planches à torsader et continuez à torsader dans la même direction. Arrêtez-vous lorsque le fil est ferme — trop torsader peut le casser.

Étape 8. Aplatissez les bandes de soie
Seulement le Les bandes de soie utilisées pour les feuilles doivent être aplaties.
Coupez une extrémité du fil de cuivre. Chauffez votre fer à lisser et pressez doucement la bande de bas en haut. Déplacez-vous lentement et uniformément — repassez si nécessaire pour une finition parfaitement plate. Taillez les fibres de soie lâches pour un aspect net.

Étape 9. Renforcez les bandes
Préparez votre solution de fixation :
- Utilisez soit de la laque, soit
- Colle blanche diluée avec de l’eau ou de l’alcool (rapport 1:1,15 ou 1:1,2)
Faites tremper les bandes de soie aplaties pour les feuilles, laissez-les absorber la solution, puis grattez l’excès. Faites-les sécher debout à l’air libre.

Étape 10. Fabriquez l’étamine
Pour l’étamine, utilisez 9 brins par groupe, 4 groupes au total. Enroulez les fils de cuivre avec un espacement de 0,5 cm et torsadez-les fermement sur la planche à torsader.
1. Ensuite, taillez progressivement les pointes pour rendre les bandes fines aux deux extrémités et plus larges au milieu. Tenez le fil de cuivre d’une main et faites-le tourner à vitesse constante. Utilisez l’autre main pour manipuler les ciseaux. Au début, les ciseaux sont presque parallèles au bord de la bande de soie — taillez d’abord les bavures excessives, puis augmentez progressivement l’angle d’inclinaison pour tailler la pointe de la bande. Tenez les ciseaux près de la bande et inclinez-les légèrement vers l’avant. Taillez en faisant tourner la bande.


Étape 11. Fabriquez les feuilles
Au moment où vous aurez fini de travailler les bandes de soie ci-dessus, les bandes aplaties pour les feuilles devraient déjà être sèches. Maintenant, façonnons les feuilles ! Pressez chaque bande avec le fer à lisser à nouveau et utilisez de petits ciseaux pour les découper en forme de feuilles. Travaillez lentement et patiemment — plus la coupe est nette, plus vos pétales auront un aspect naturel. Ensuite, taillez les bords en un motif dentelé.
Voici la forme finale de la feuille.

Utilisez le fer à lisser pour donner une petite courbe aux feuilles. Pincez légèrement les bords des feuilles avec le fer également. Vous aurez besoin d’un total de 7 feuilles.

Étape 12. Fabriquez les pétales

Il est maintenant temps d'assembler les bandes en pétales. Chaque petit pétale utilise 4 bandes courtes. Utilisez des fils de soie pour attacher une extrémité des bandes ensemble et assurez-vous que les extrémités des bandes sont alignées. Les grands pétales sont assemblés de la même manière, mais chaque grand pétale nécessite une bande supplémentaire — un total de 5 bandes.

Vous aurez besoin de 10 grands pétales et 15 petits pétales au total.
Maintenant, nous allons coller les bandes en forme de pétale. Trempez un fil de cuivre dans de la colle blanche et appliquez-la sur le côté de la bande. Faites attention lors de l'application de la colle — ne la déplacez pas hors centre. Pressez les bandes ensemble.

Enroulez le fil de cuivre supérieur du pétale avec des fils de soie pour le fixer. Répétez la même méthode pour les autres pétales.
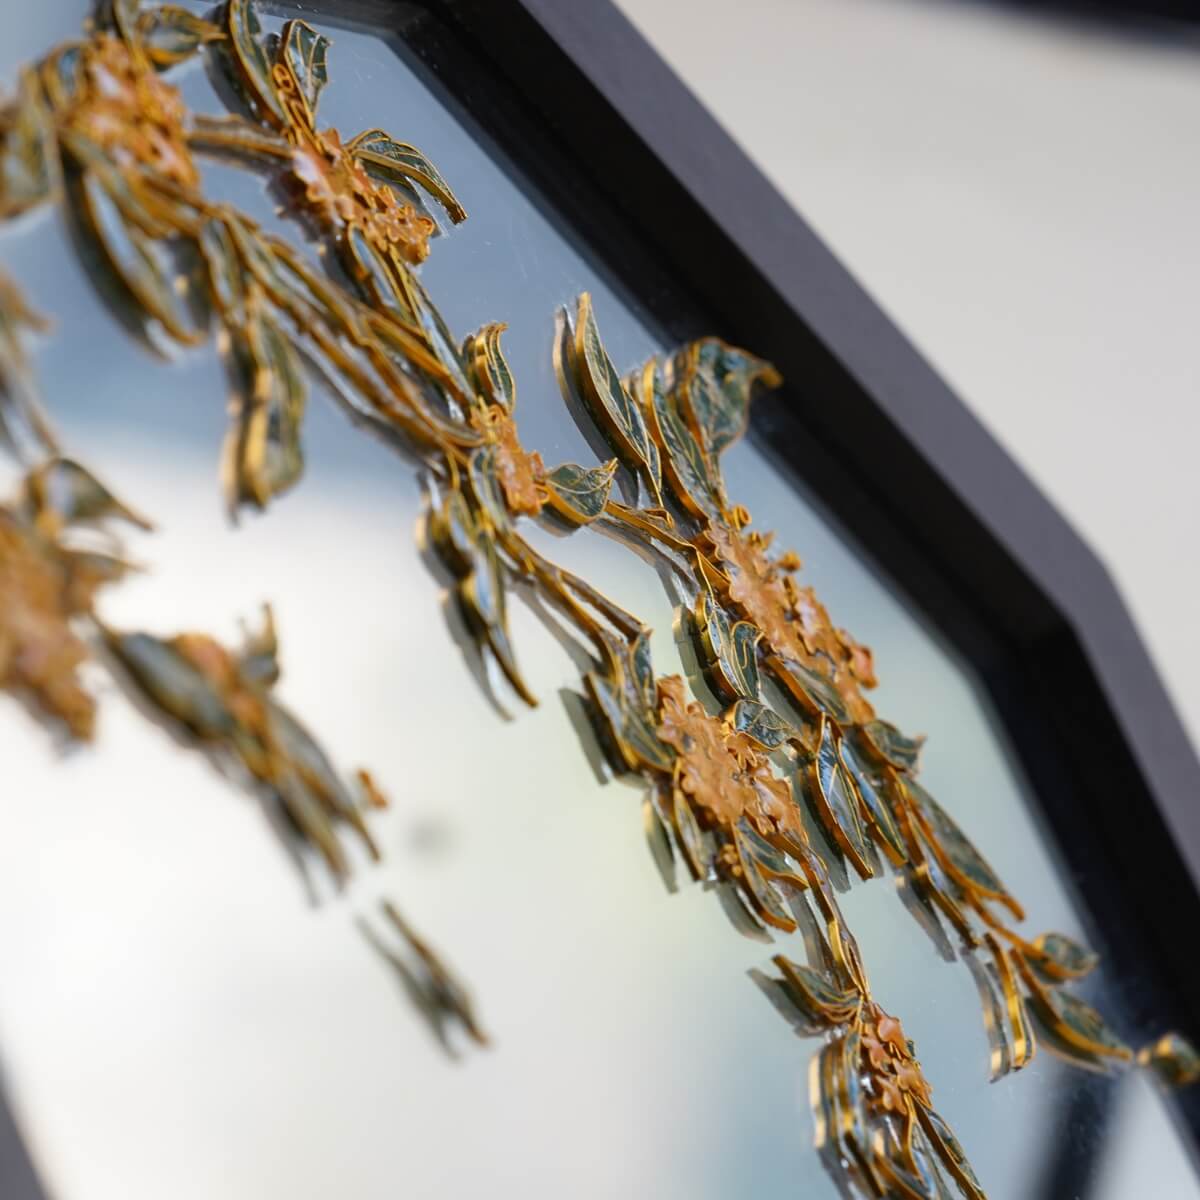
Étape 13. Assembler les fleurs
Une fois que tous les pétales, feuilles et étamines sont formés et secs, il est temps d'assembler ! Prenez votre fil de soie violet et commencez à enrouler depuis l'extrémité pliée.
1. Commencez par assembler les étamines. La grande datura a 5 étamines au centre. L’étamine du milieu doit être légèrement plus haute. Chaque fleur a 5 pétales. Assemblez-les un par un. Ajoutez un composant à chaque fois que vous enroulez — ne sautez aucun ! Après avoir assemblé les pétales, ajustez légèrement leur position. Repliez les bords des pétales vers l'extérieur.

Notez que la petite datura n'a qu'une seule étamine au centre.
Coupez tout excès de fil et de fil métallique, et la partie fleur est terminée.
2. Passons maintenant aux feuilles. Prenez un morceau de fil d'acier et fixez-y les feuilles. Assemblez les feuilles à des hauteurs décalées. La partie supérieure utilise uniquement des feuilles de petite taille.

Assemblez les fleurs en enroulant les fils de soie selon l'ordre indiqué dans le schéma. Lors de l'assemblage, faites attention à l'orientation des fleurs de chaque côté. Essayez de faire en sorte que les fleurs adjacentes soient orientées dans des directions différentes.
Sortez les feuilles préassemblées. Placez les feuilles sous la deuxième fleur. Ajoutez deux feuilles supplémentaires à l'extrémité.
Nous utilisons une technique spéciale pour nouer le fil sans laisser de trace. Pour cela, vous devrez prendre un petit morceau de fil de cuivre ou de fil et le plier en deux. Couvrez le fil de cuivre / le fil lorsque vous continuez à enrouler. Pour finir, passez le fil restant à travers la petite boucle du fil de cuivre. Puis tirez rapidement le fil de cuivre hors de la queue. Les extrémités du fil restent à l'intérieur des fils de soie enroulés. Vous pouvez couper en toute sécurité le fil de soie exposé et tailler tout excès.

(Nous vous recommandons vivement de regarder le tutoriel vidéo pour cette étape :)
Étape 14. Fixer les fleurs à la broche

Étape 15. Ajustements finaux
Utilisez une pince à épiler pour tordre et positionner délicatement les fleurs afin qu'elles soient orientées dans la bonne direction. Ajustez les pétales pour leur donner une forme naturelle.
Et voilà — votre broche Fleur d'Amour Datura est terminée ! 🌸


Laisser un commentaire
Tous les commentaires sont modérés avant d'être publiés.
Ce site est protégé par hCaptcha, et la Politique de confidentialité et les Conditions de service de hCaptcha s’appliquent.