

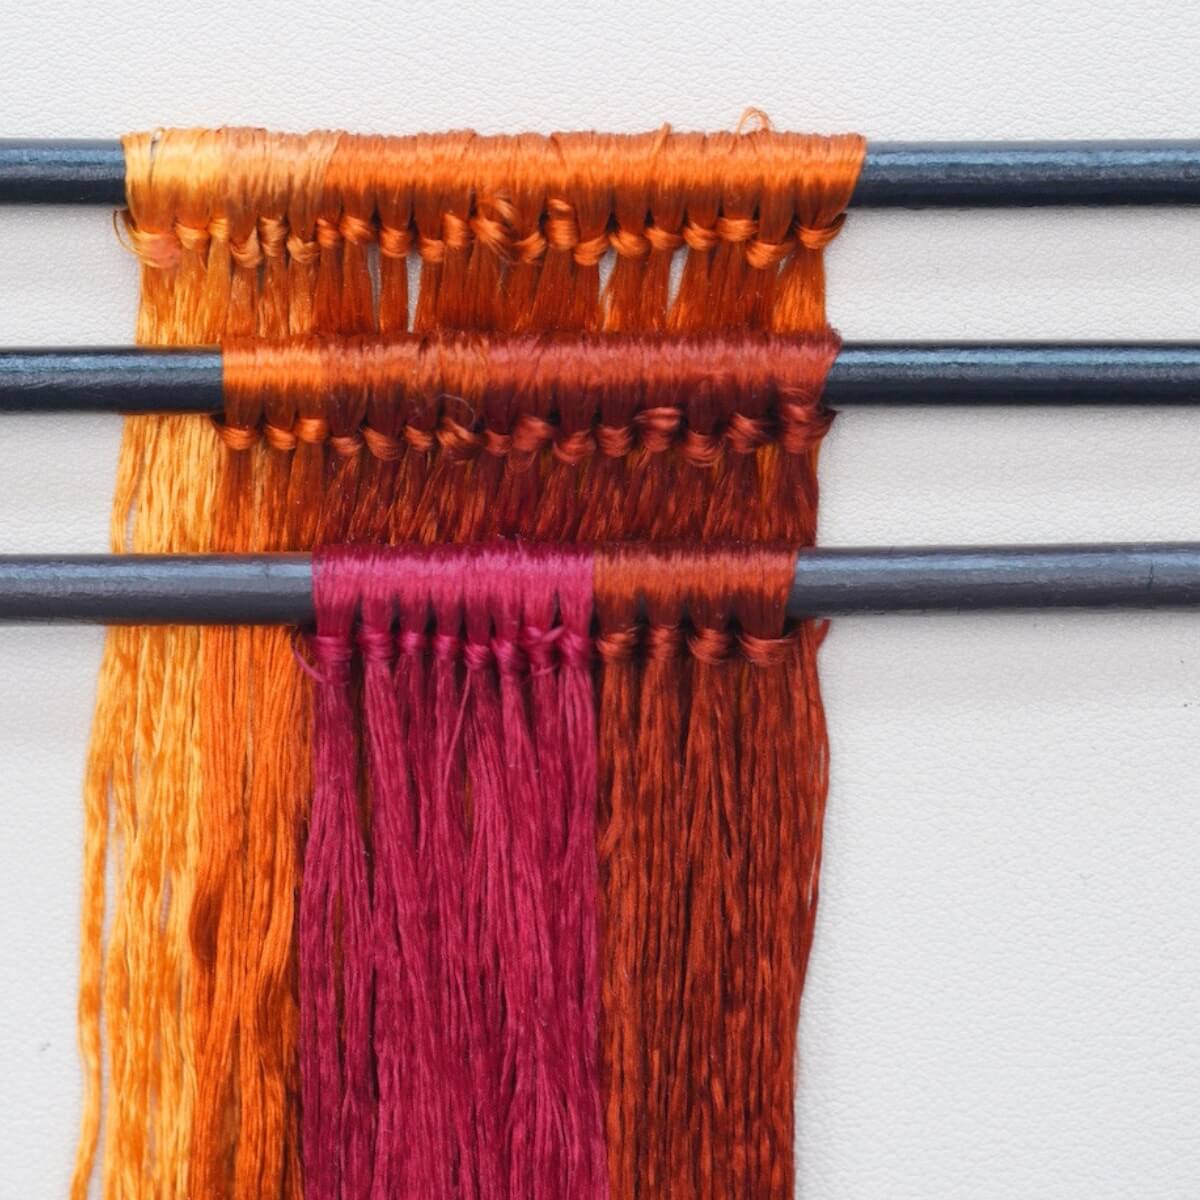
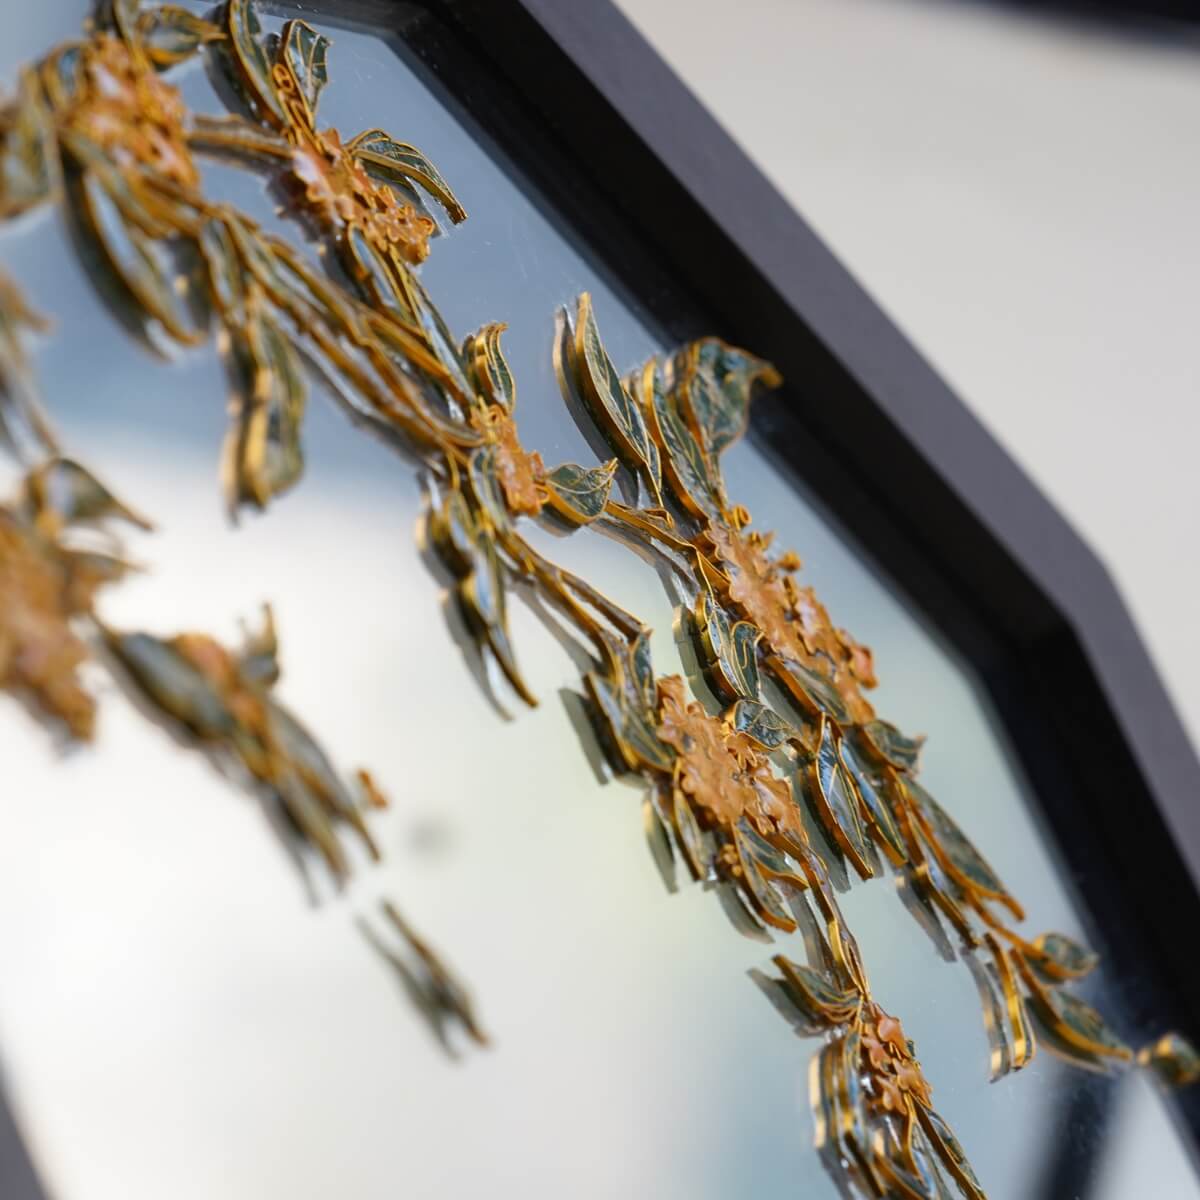

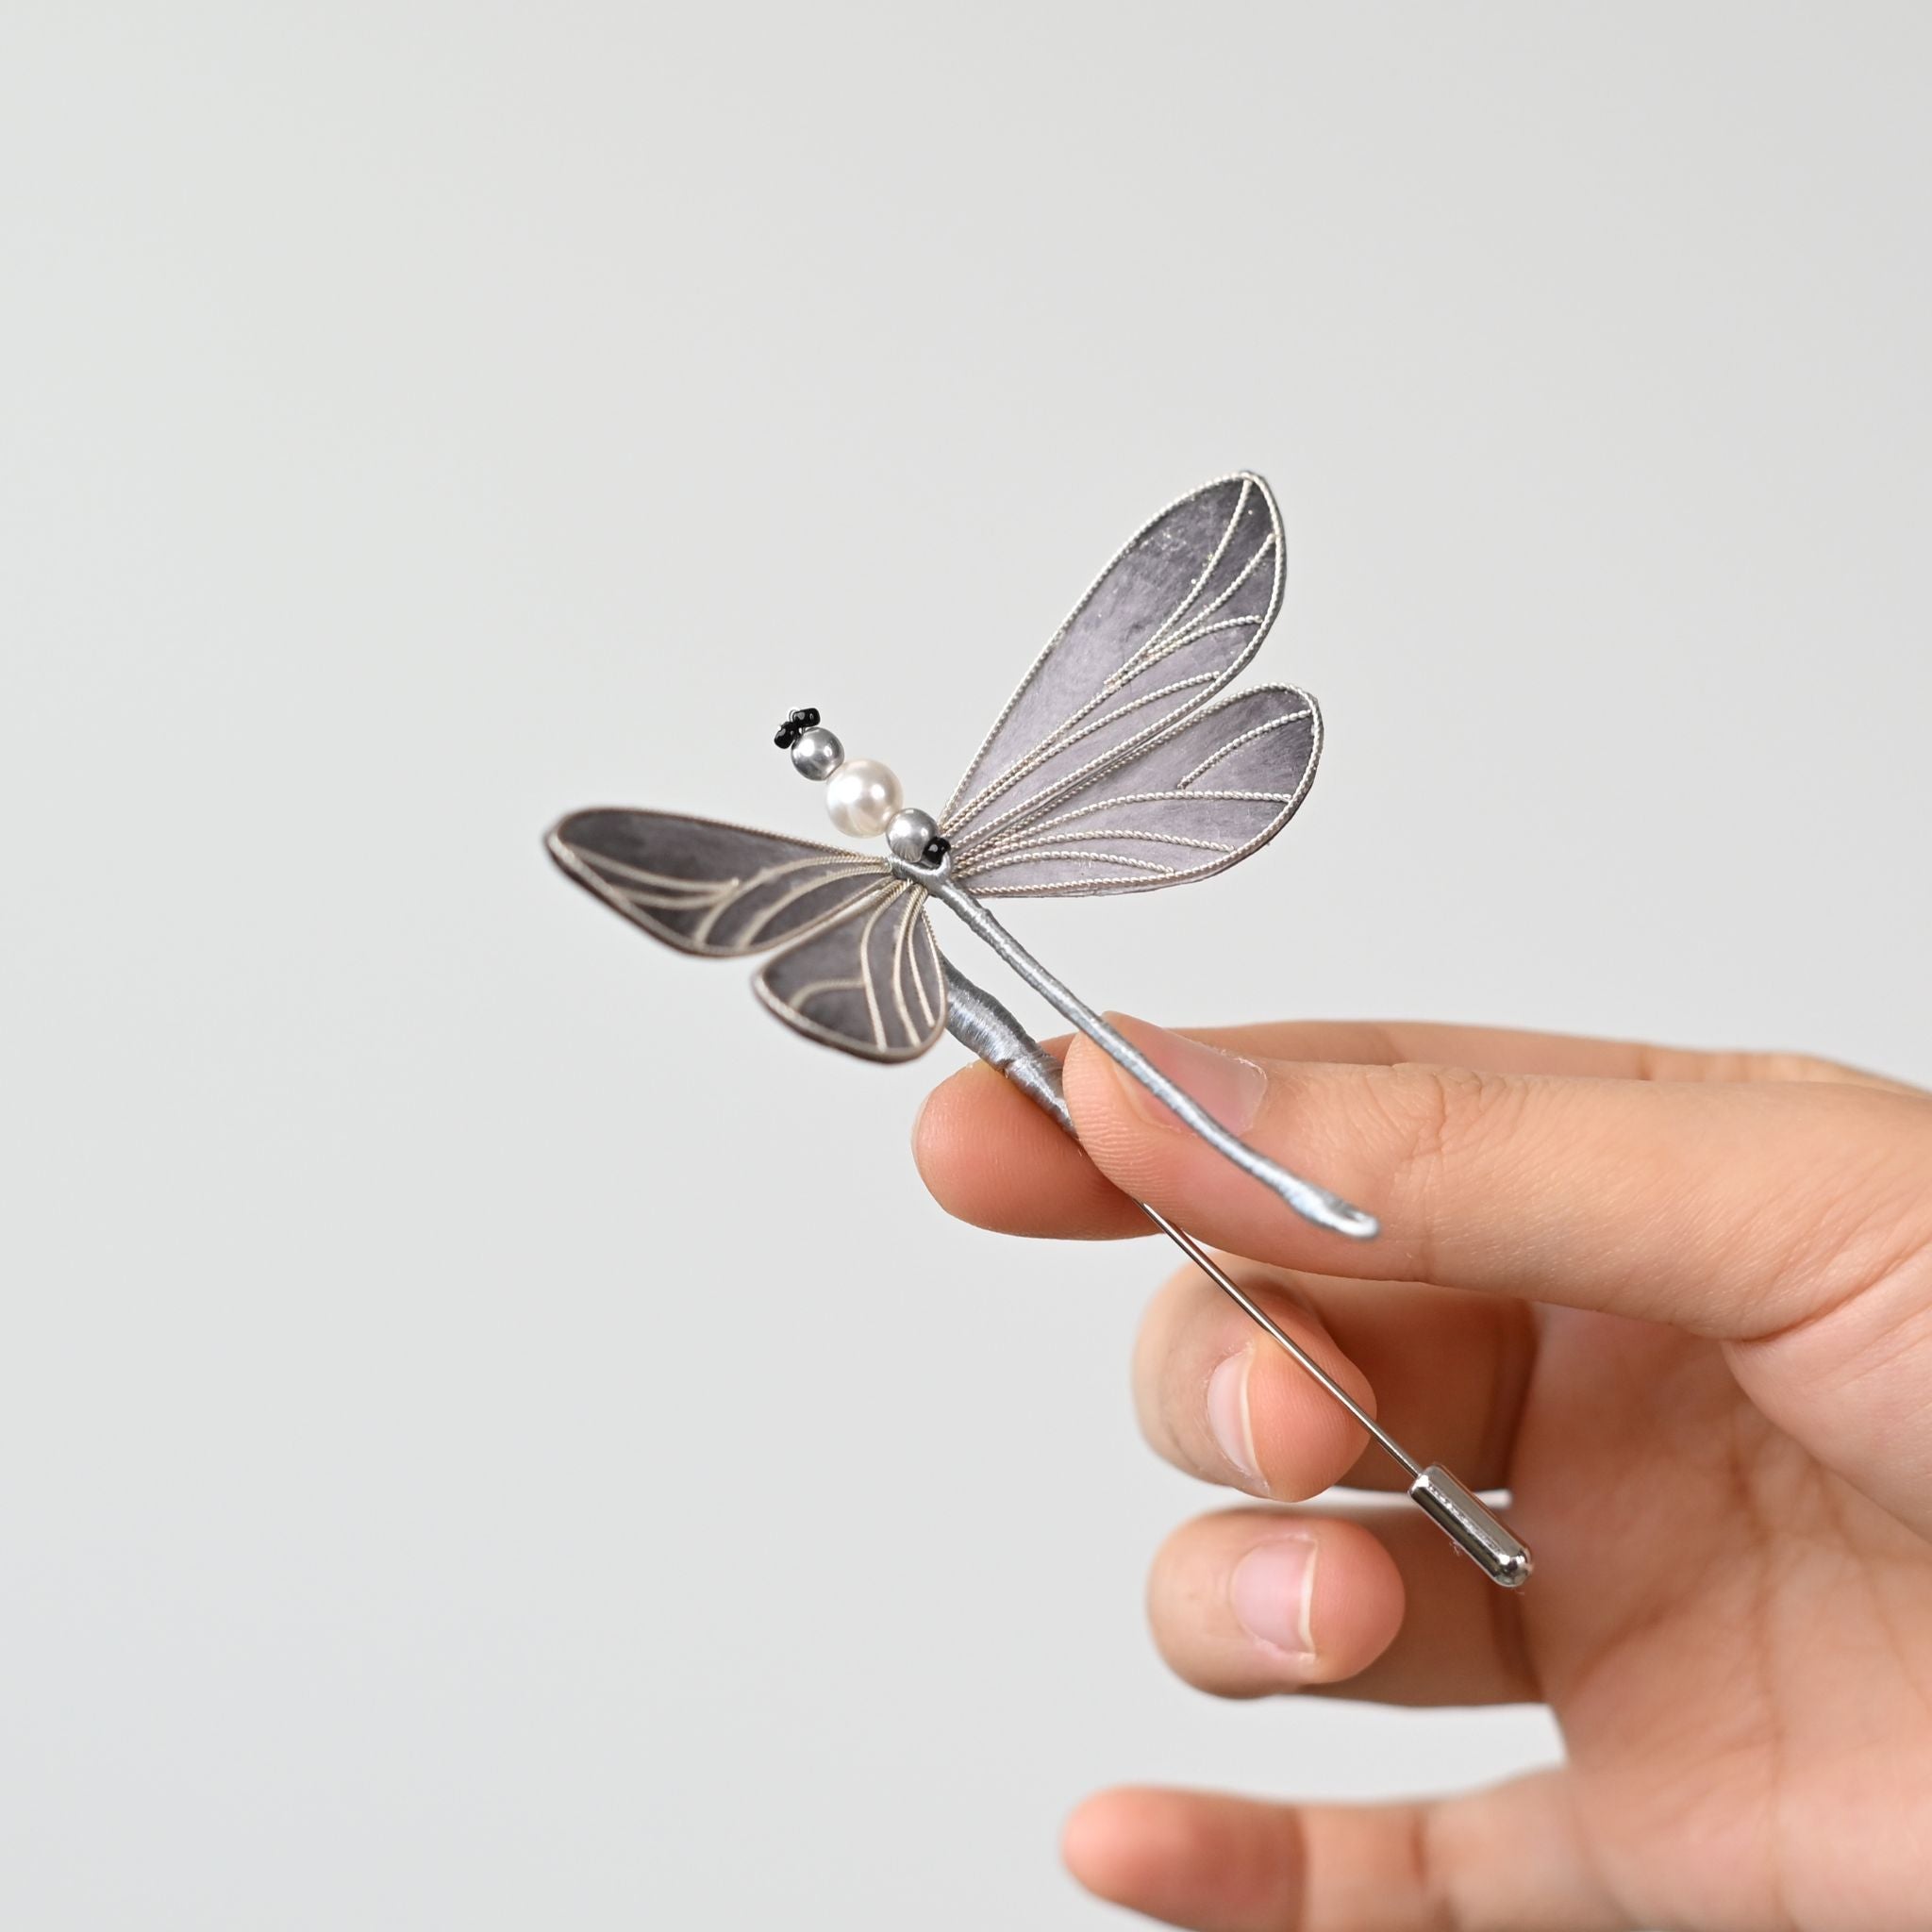
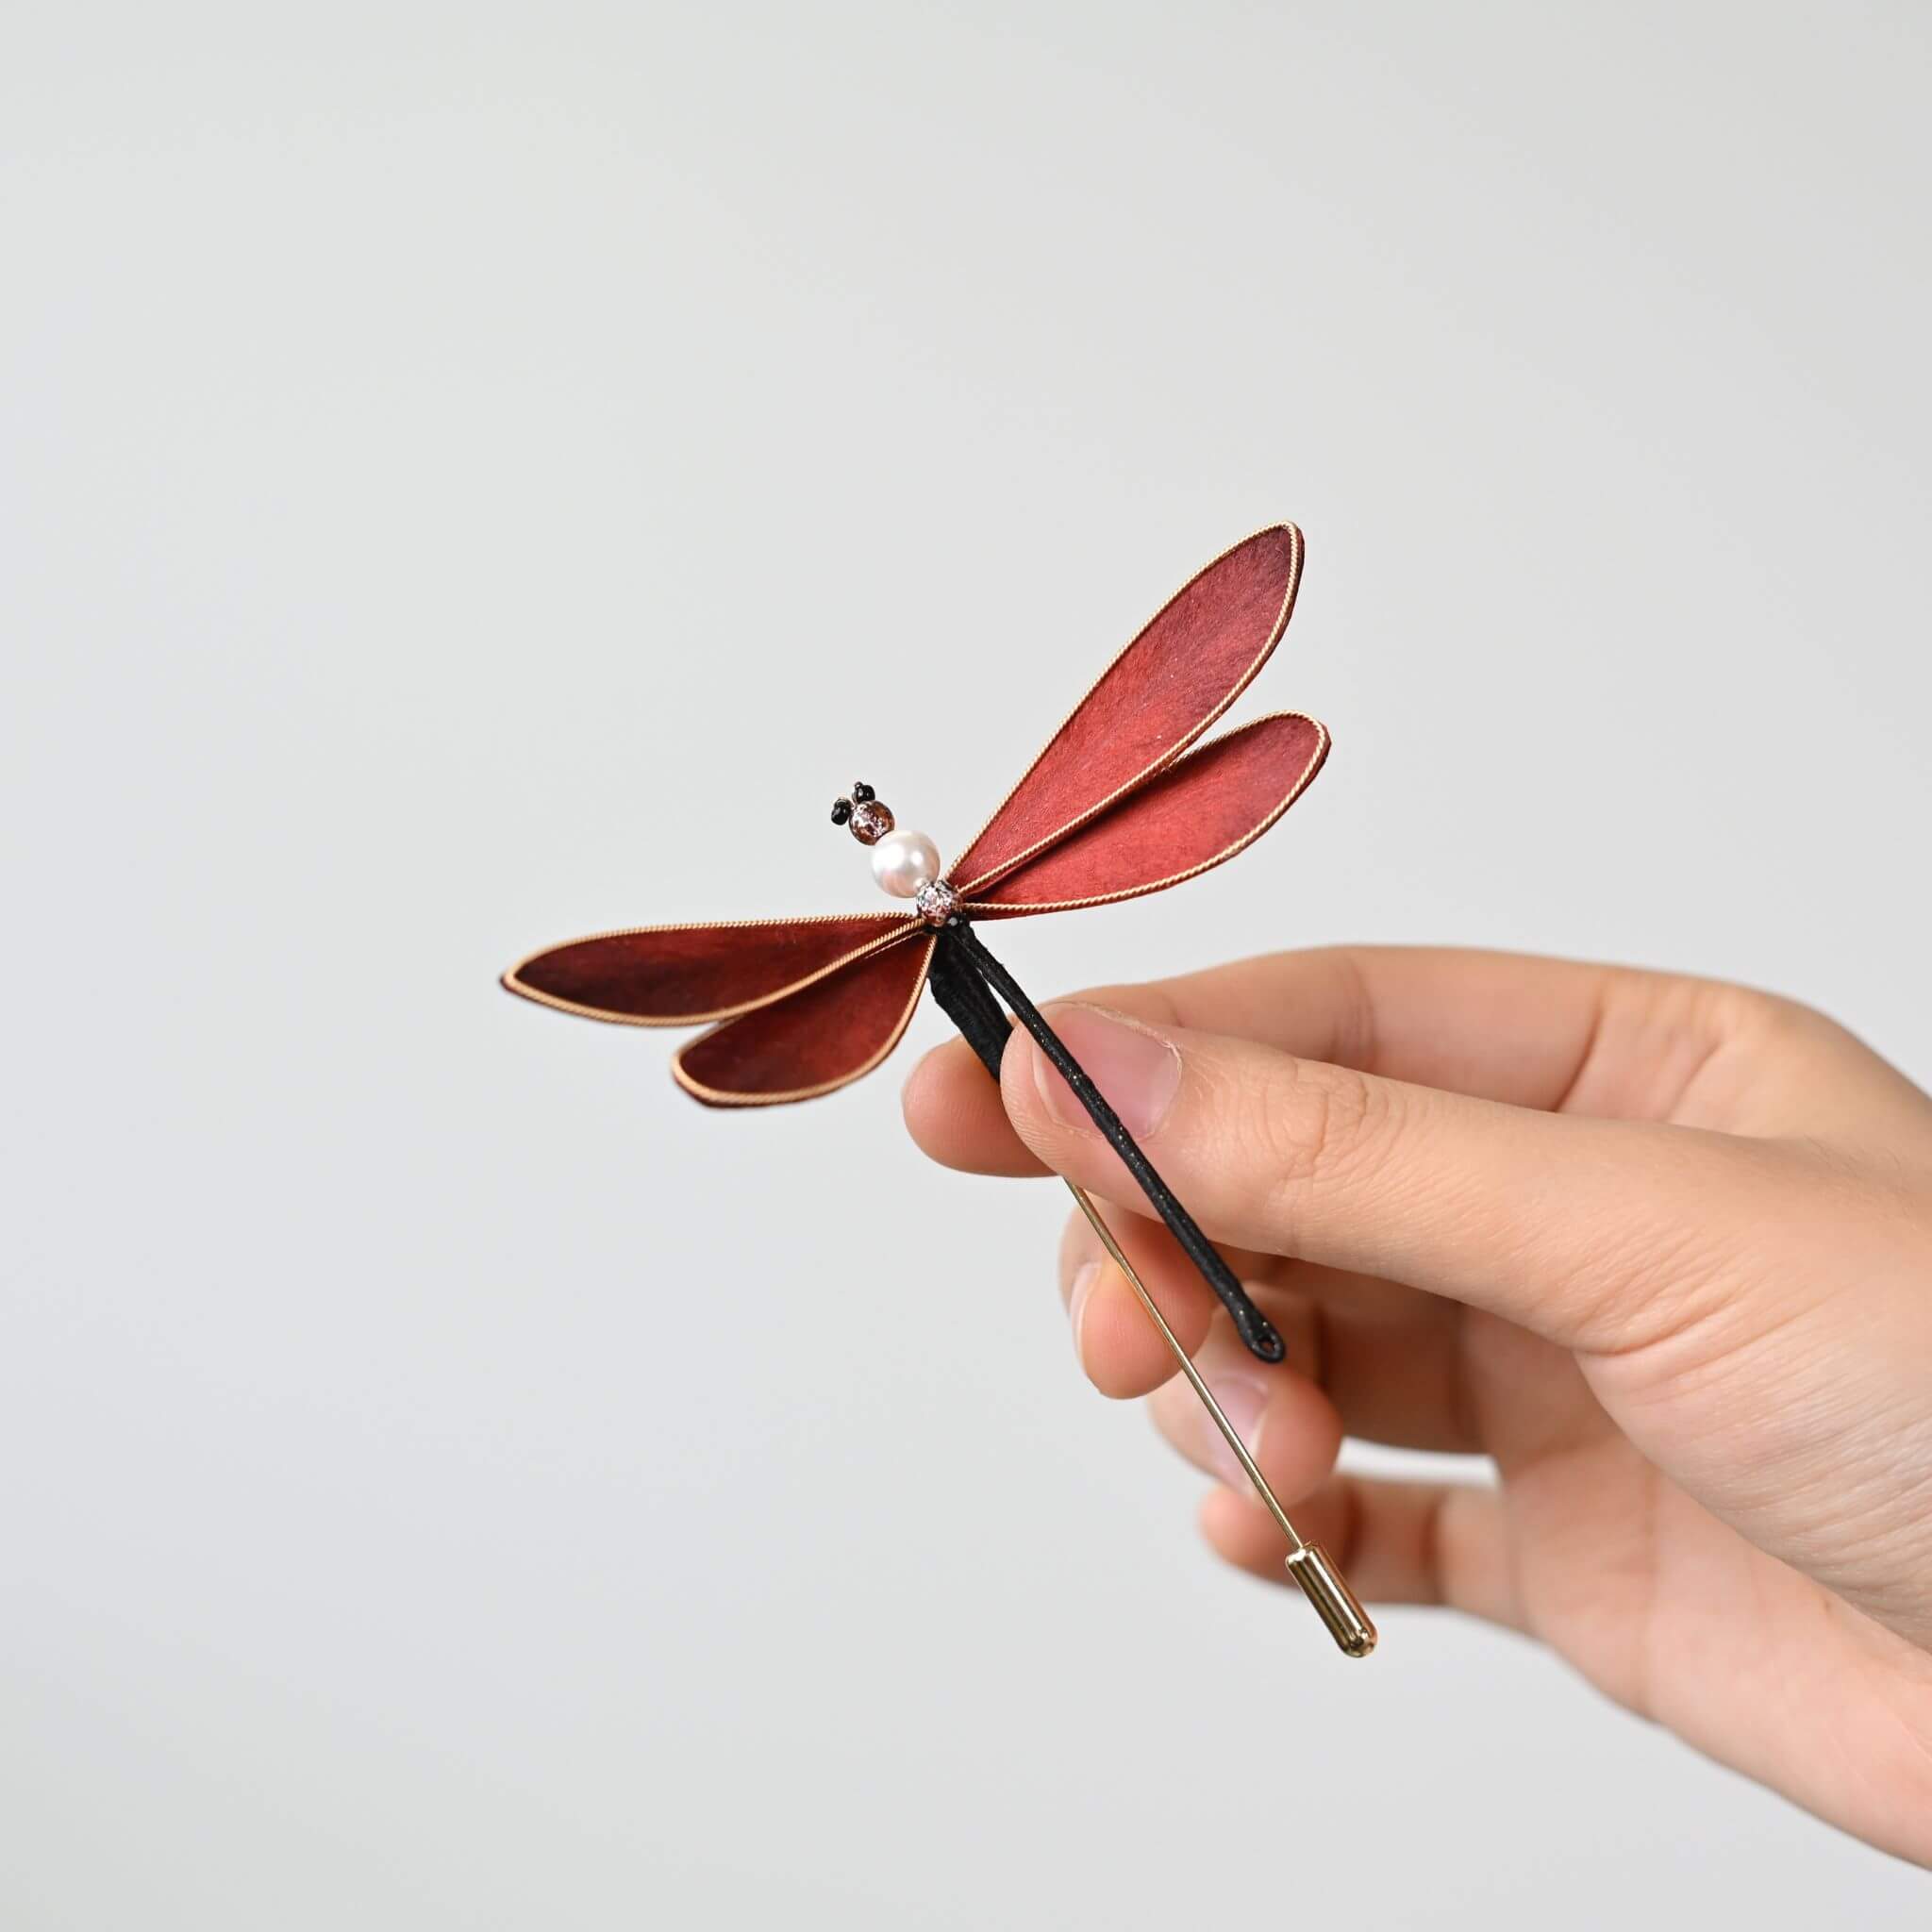
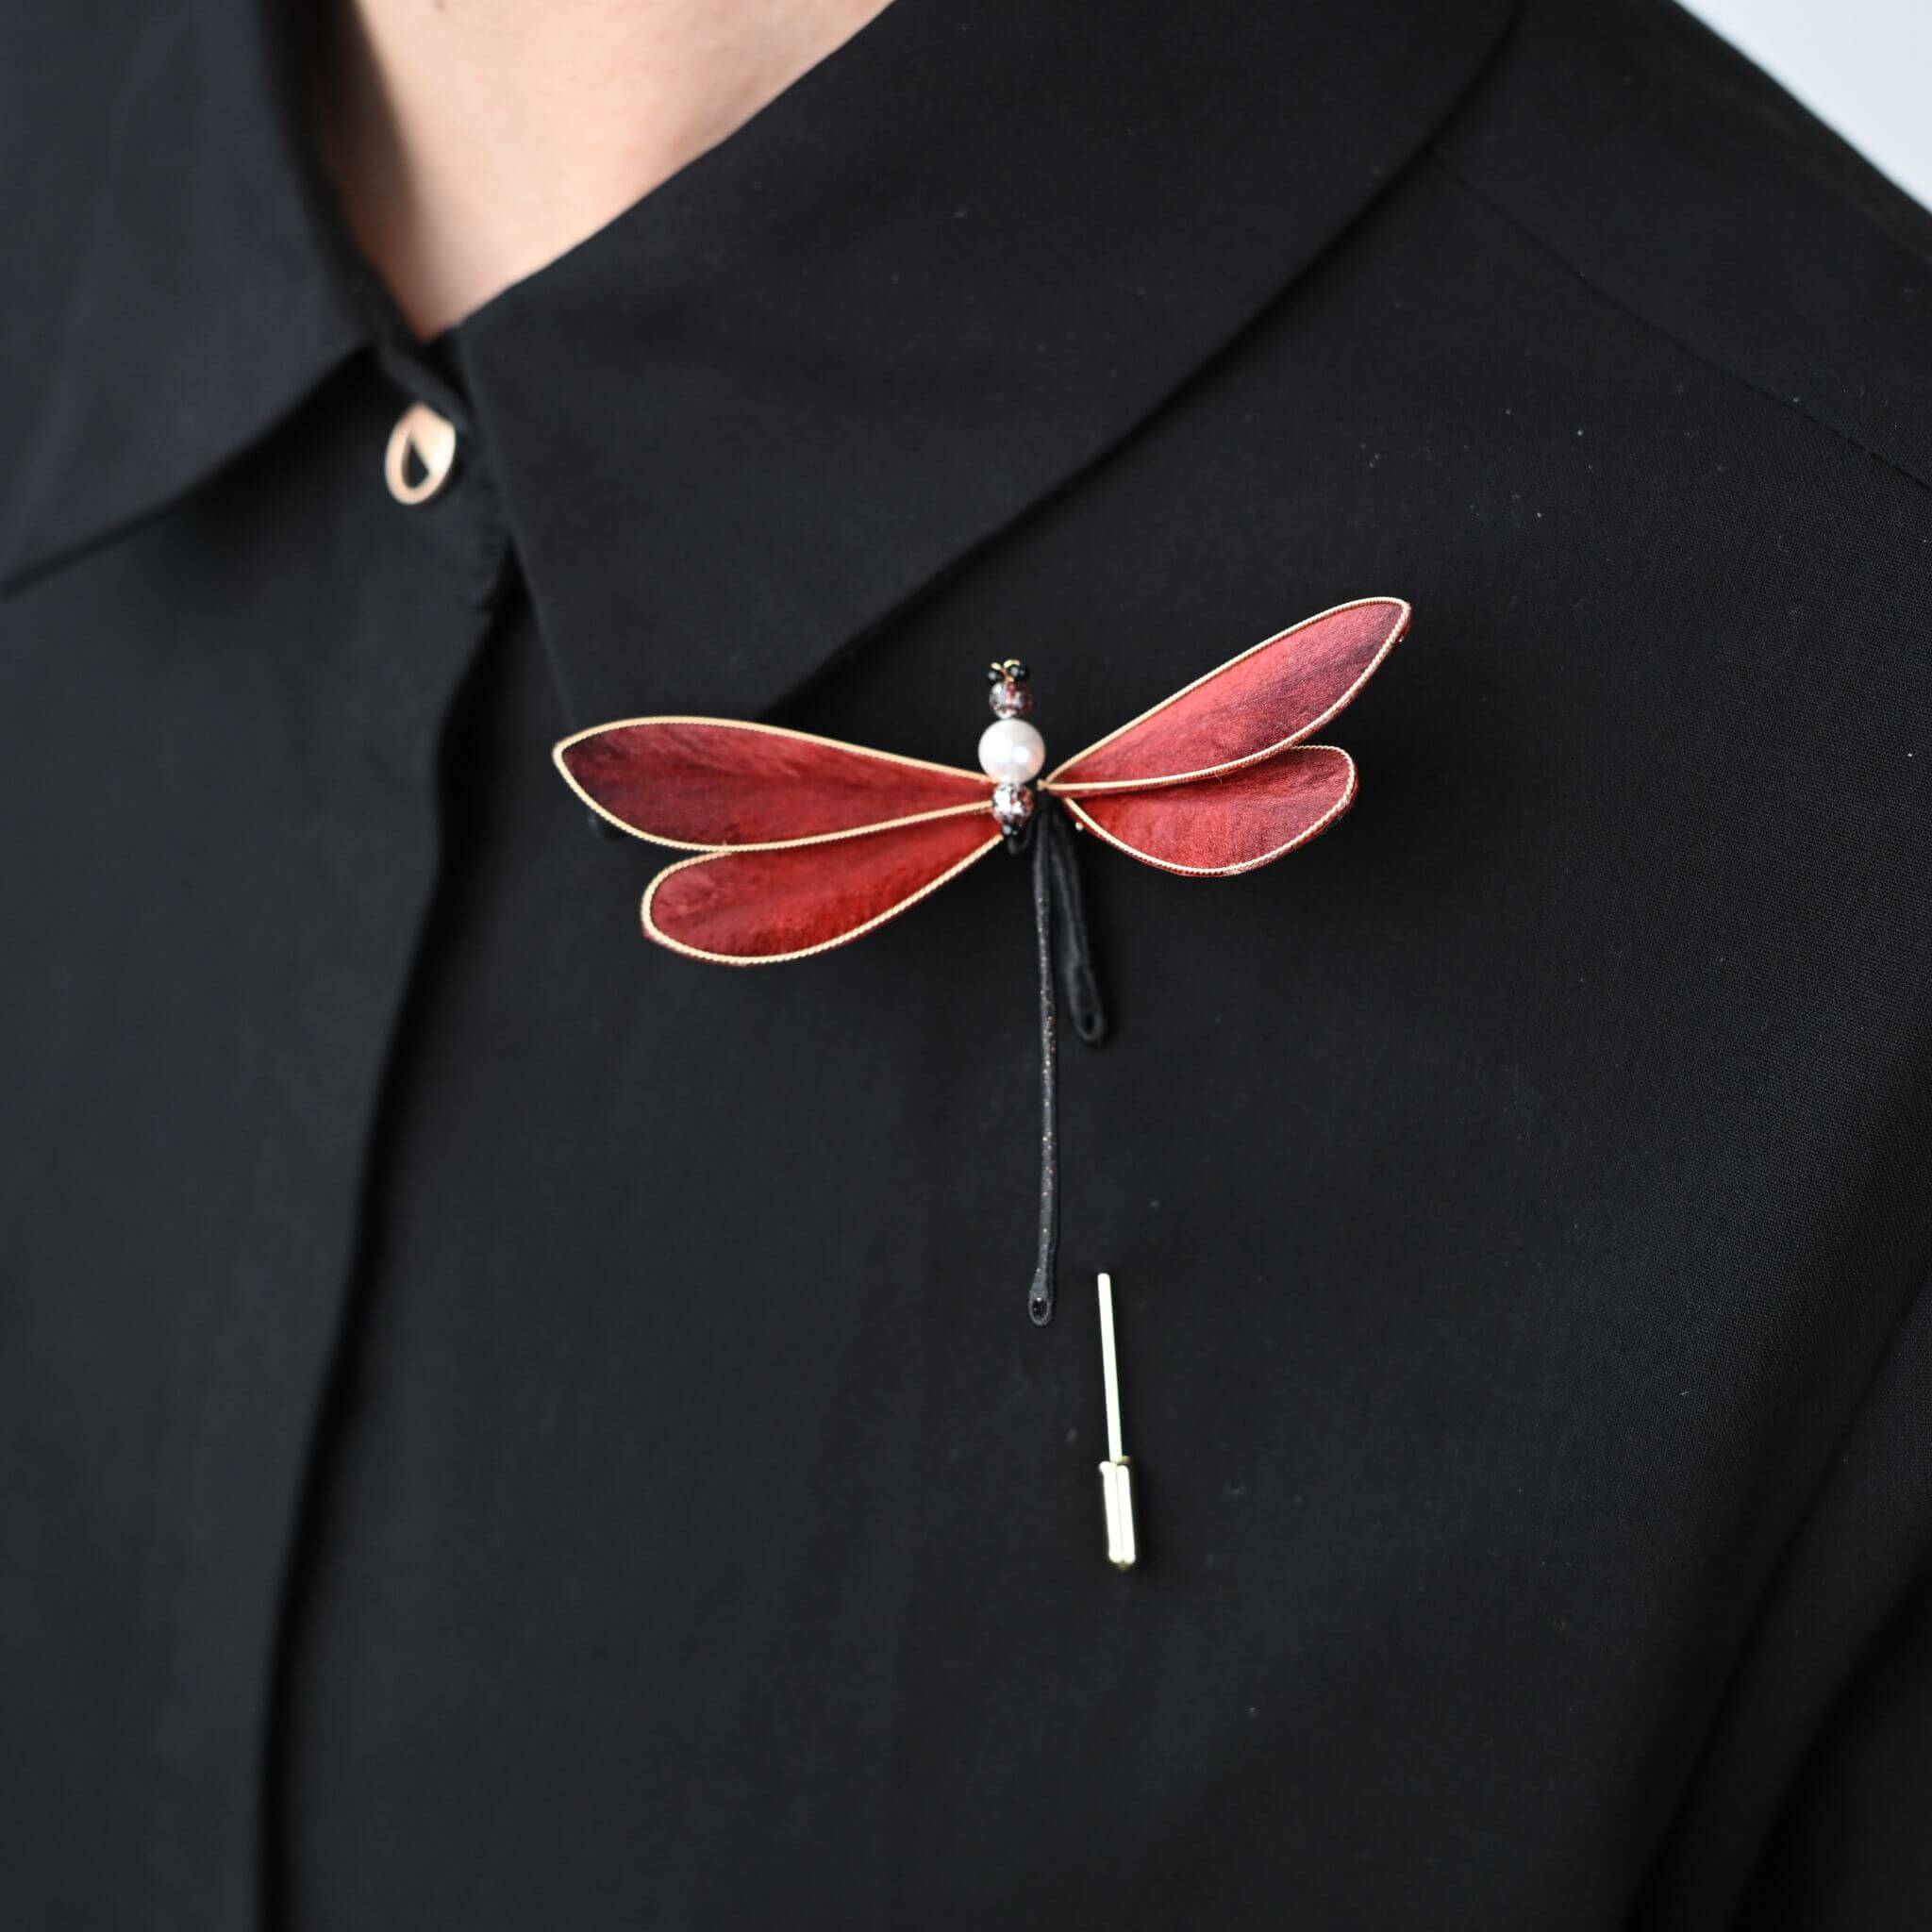
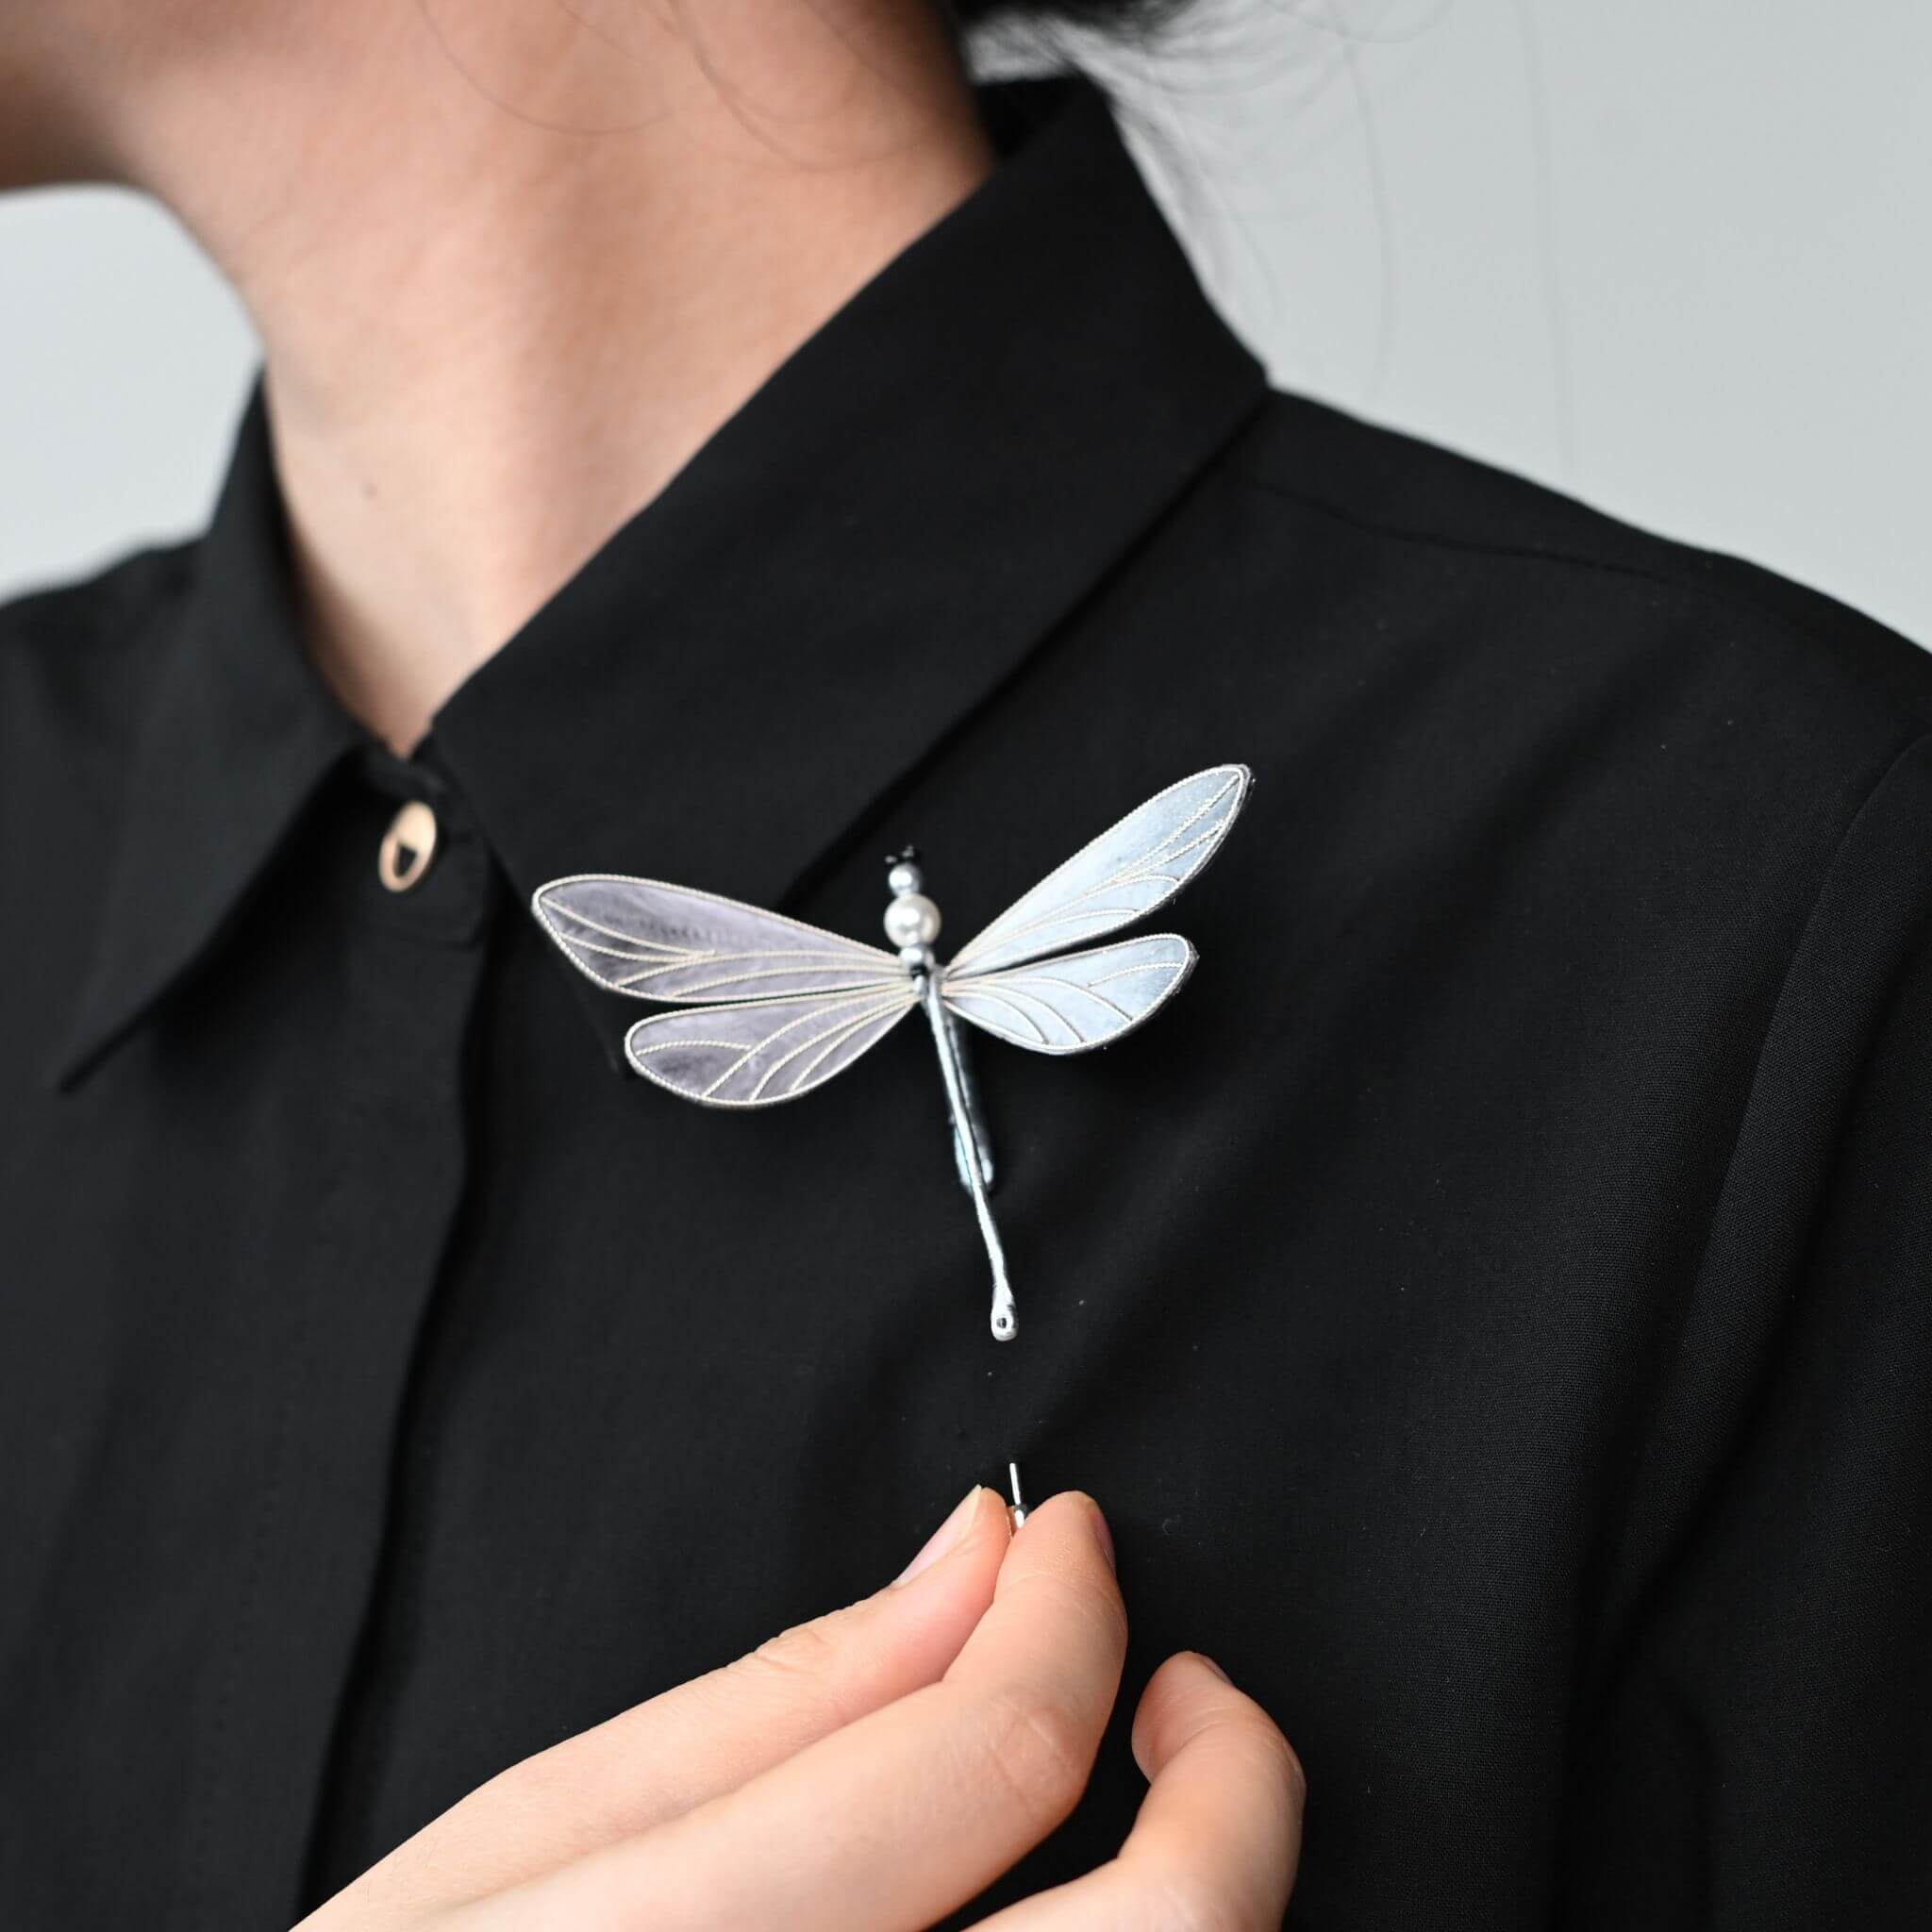
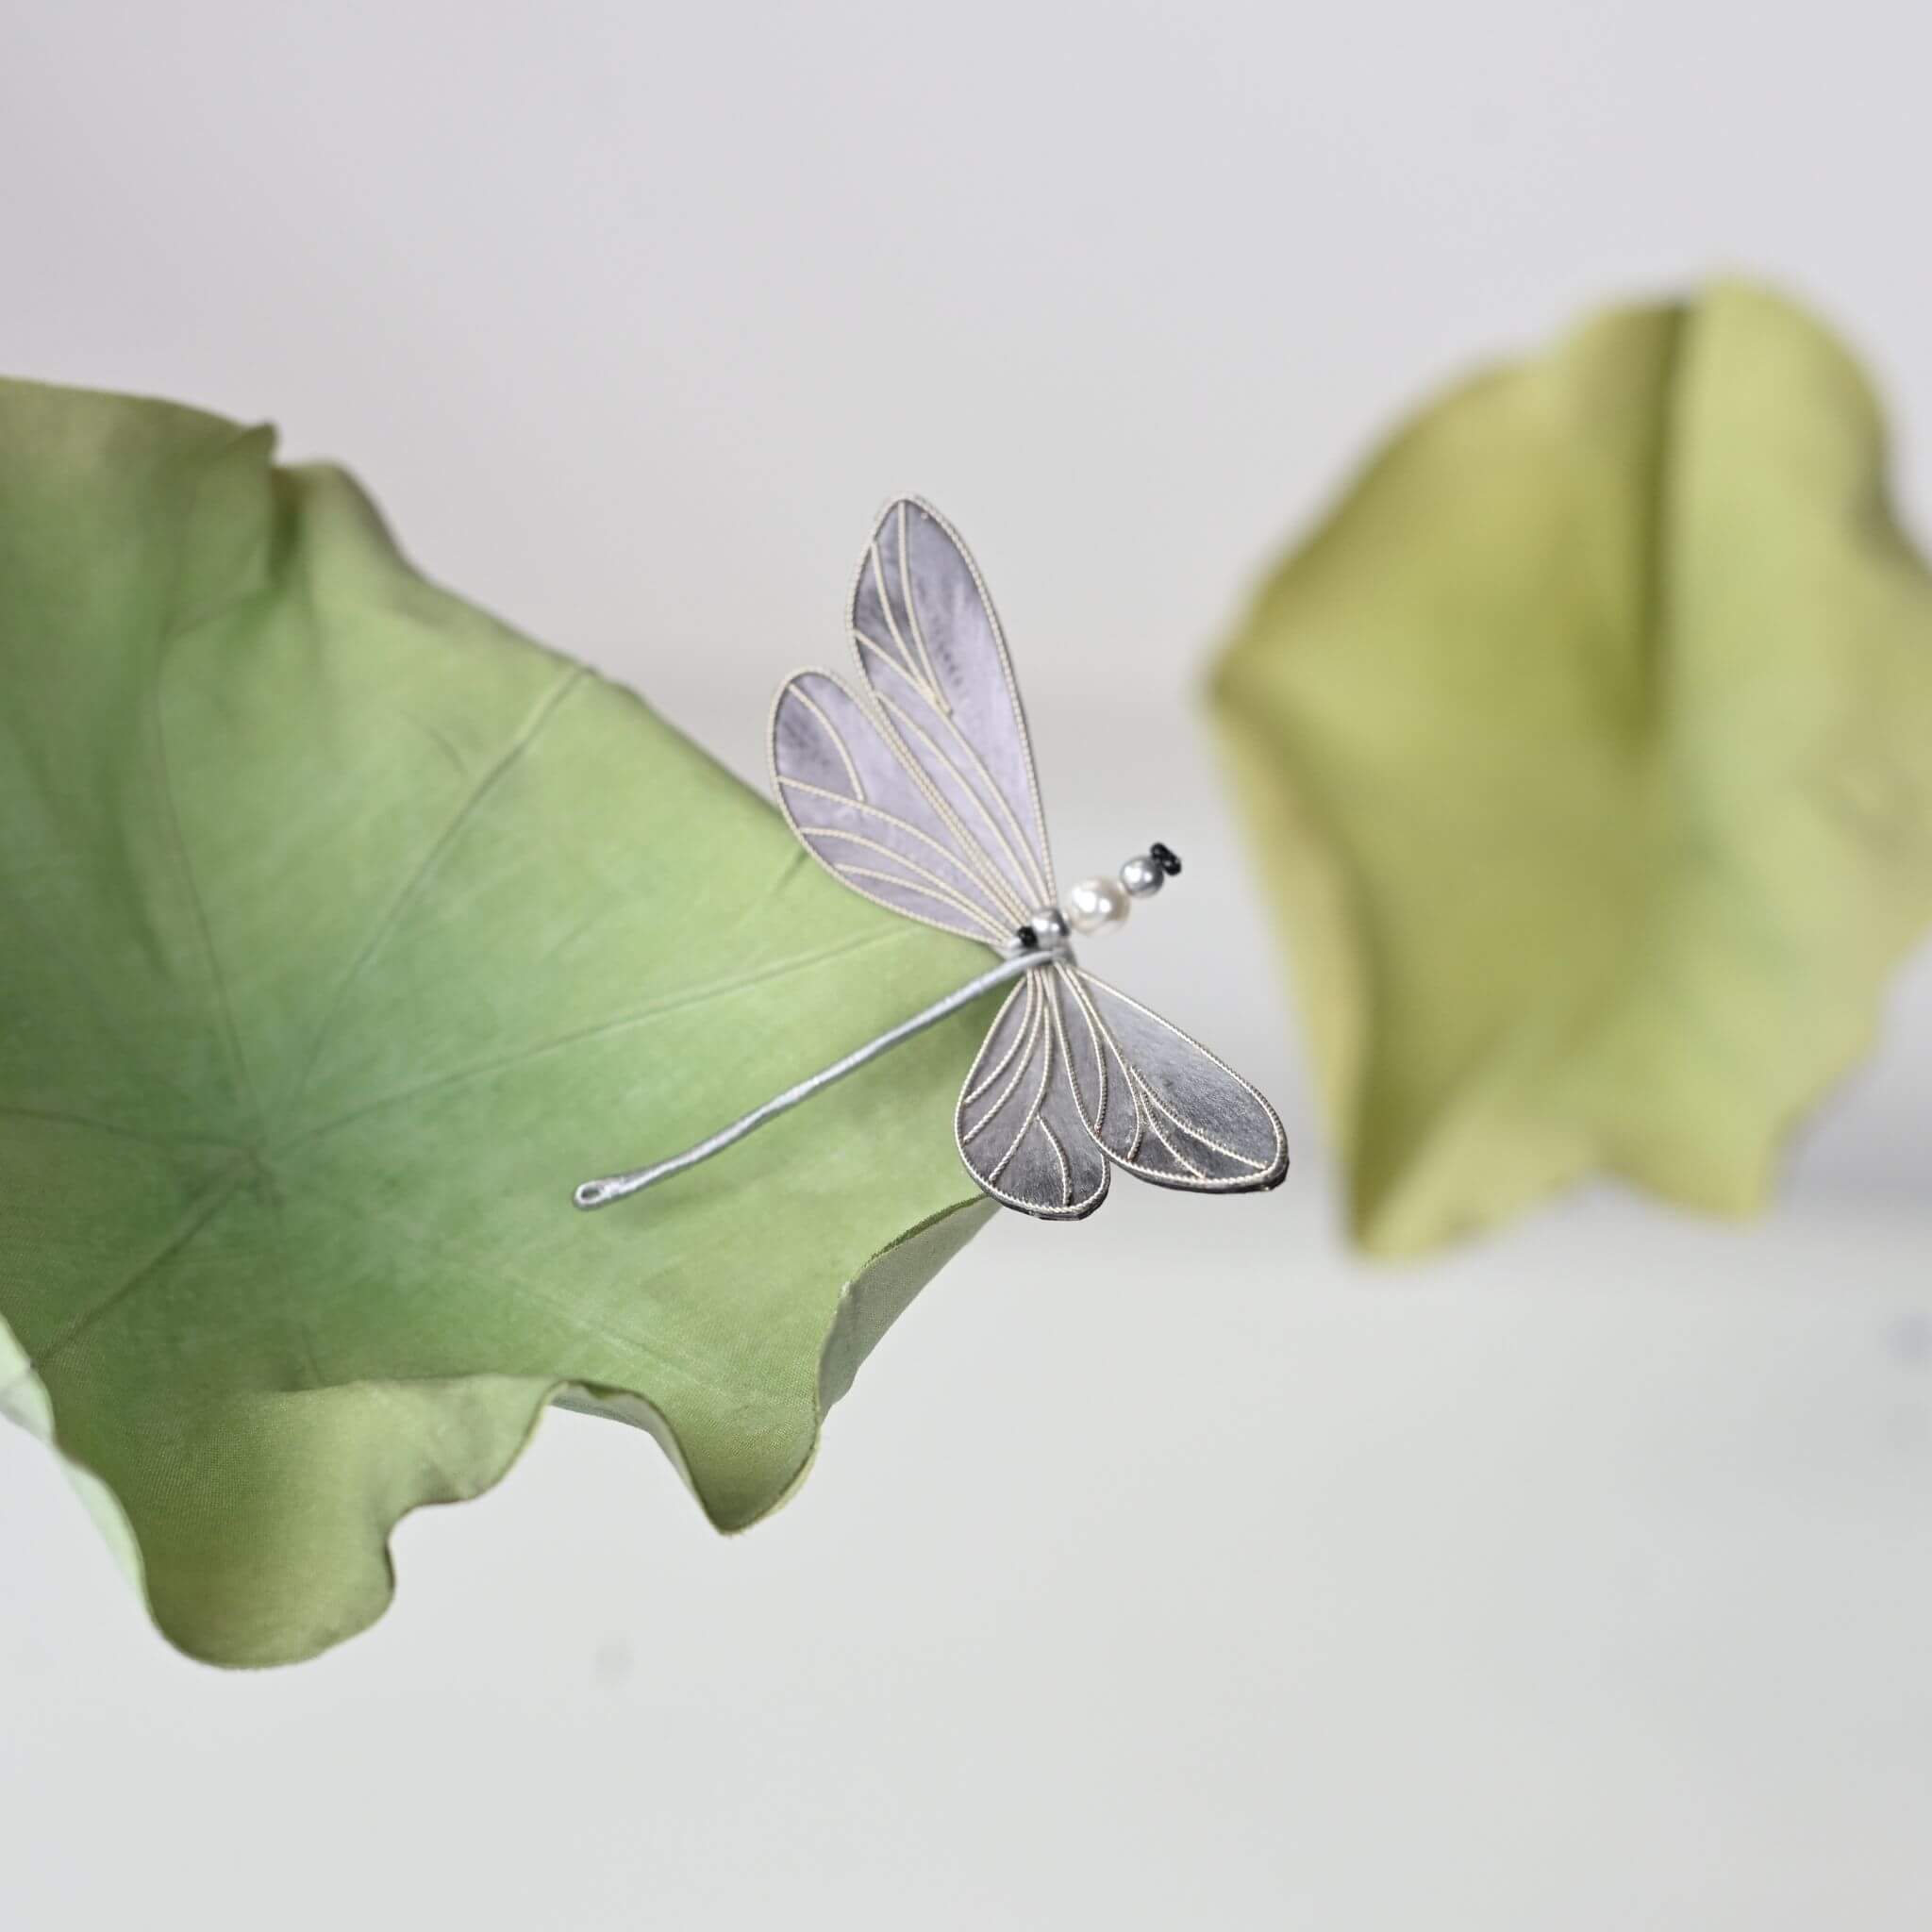
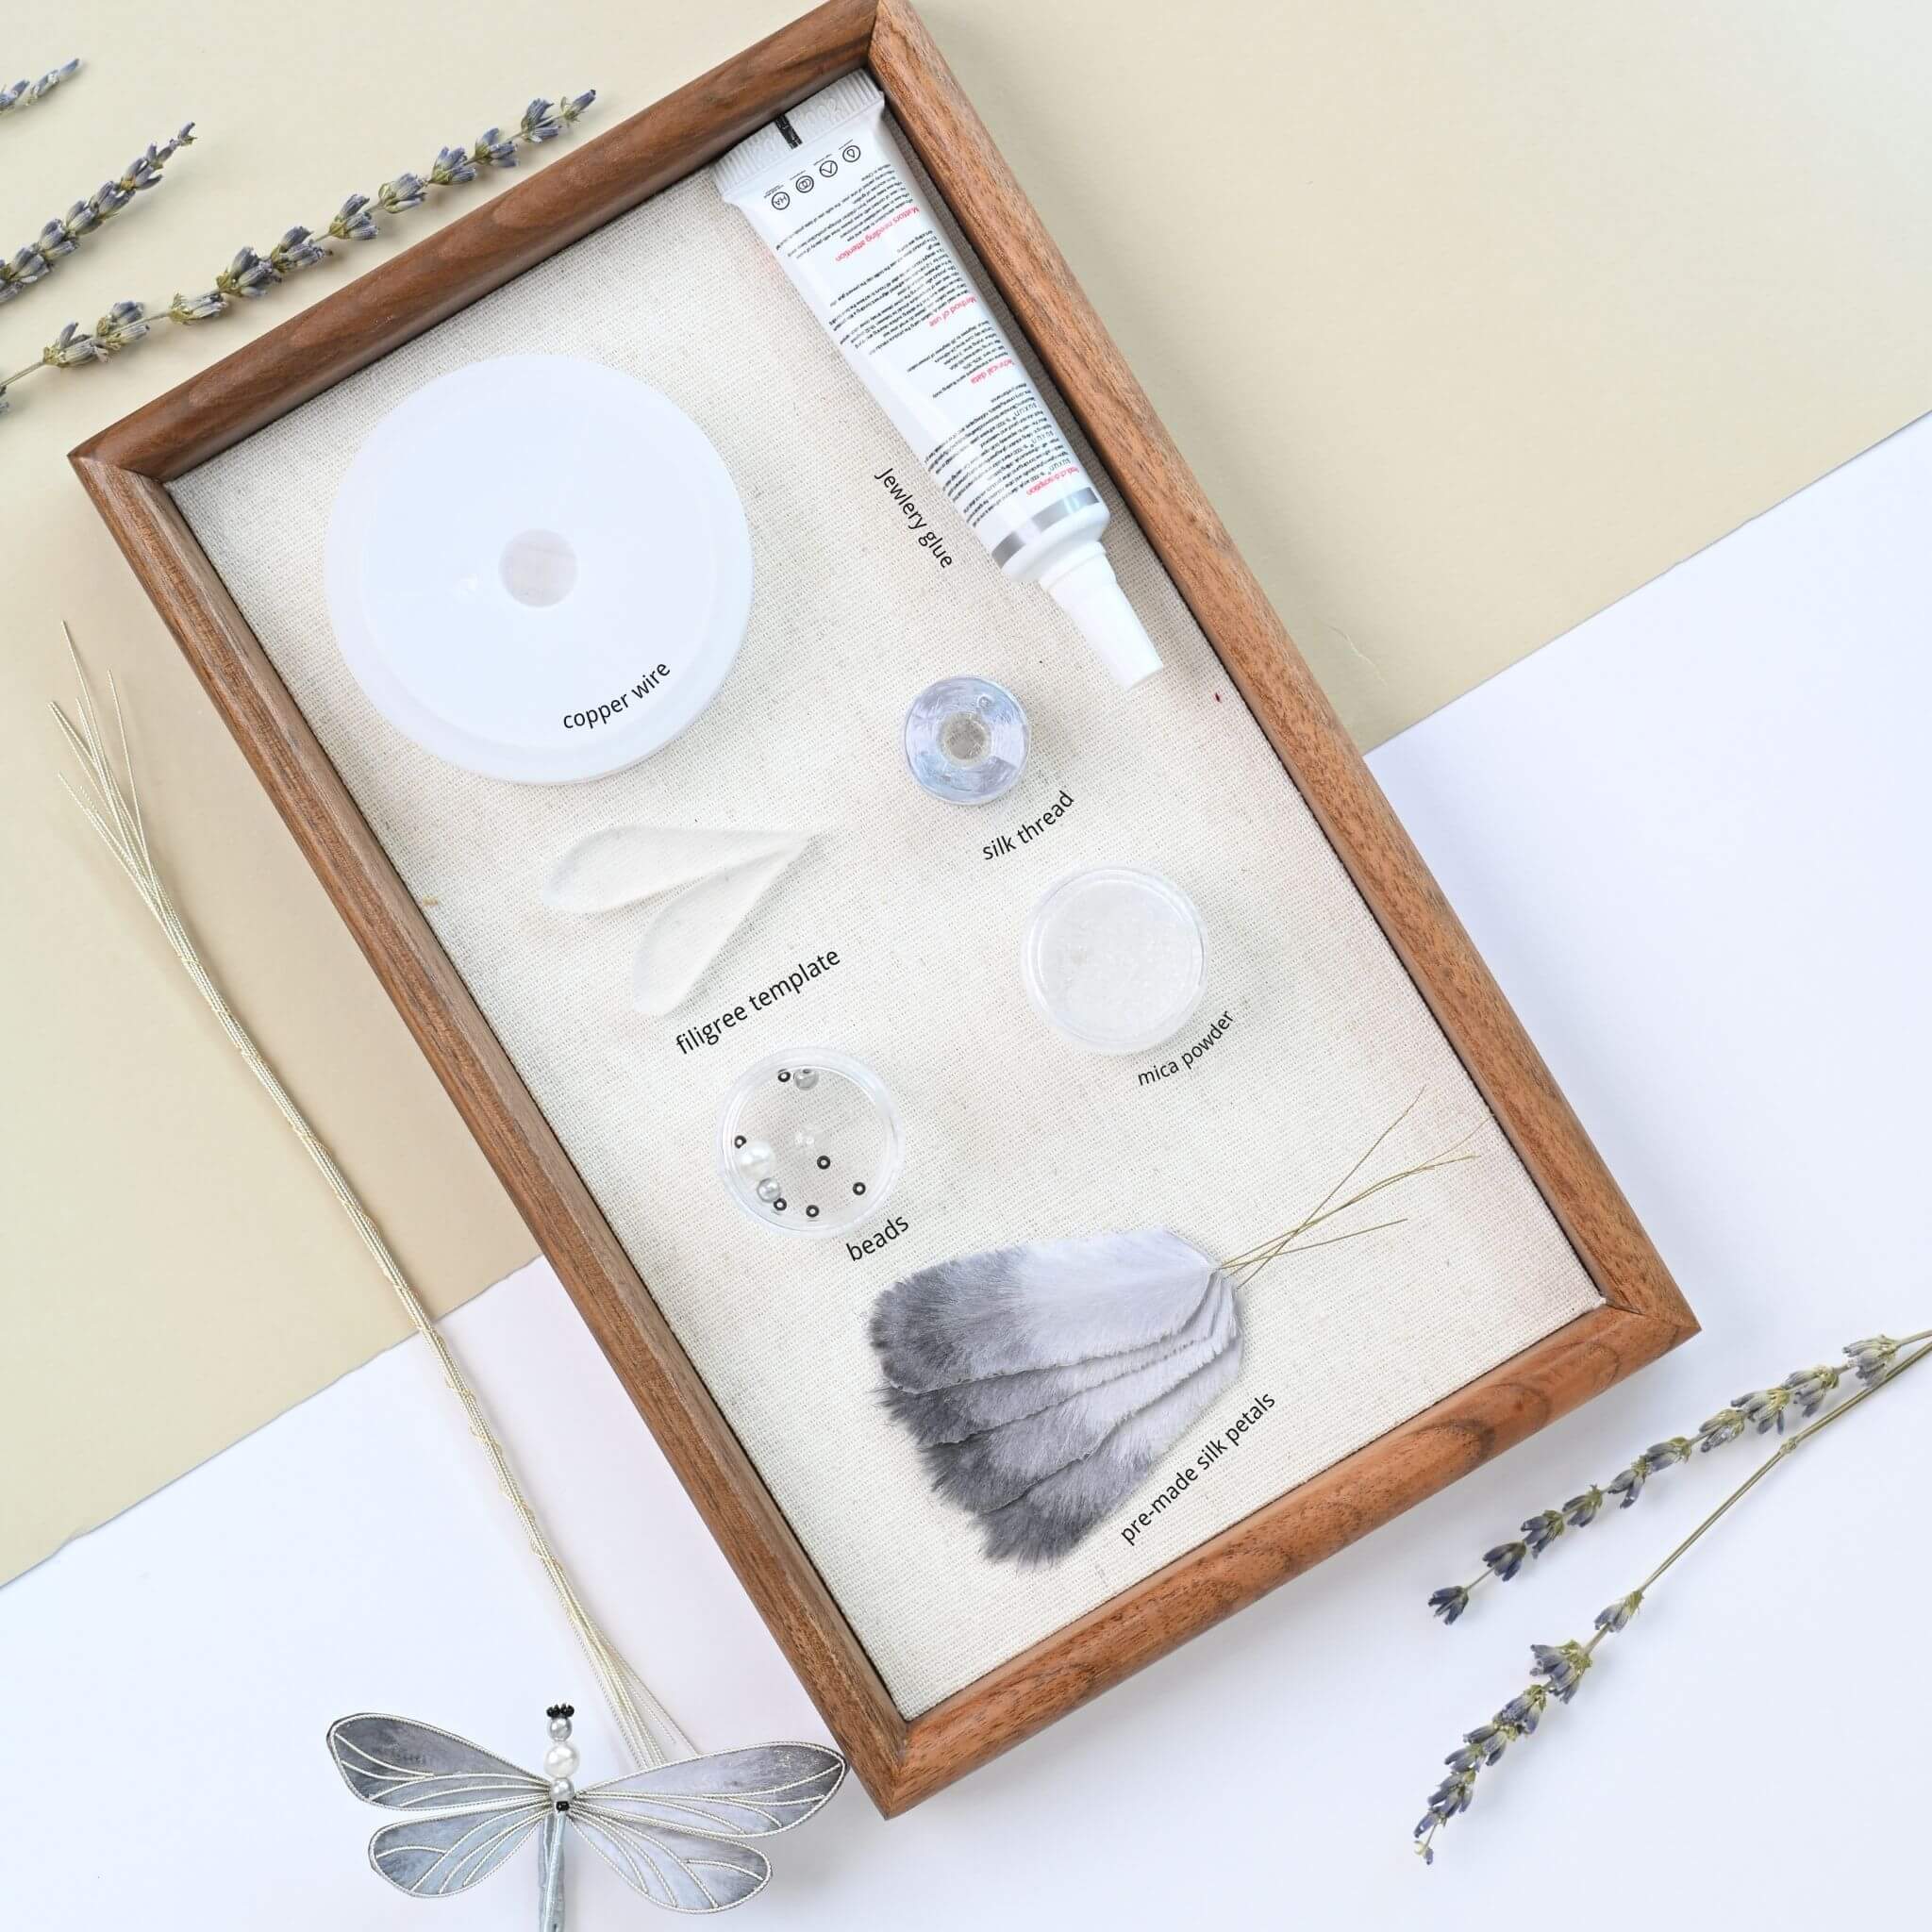
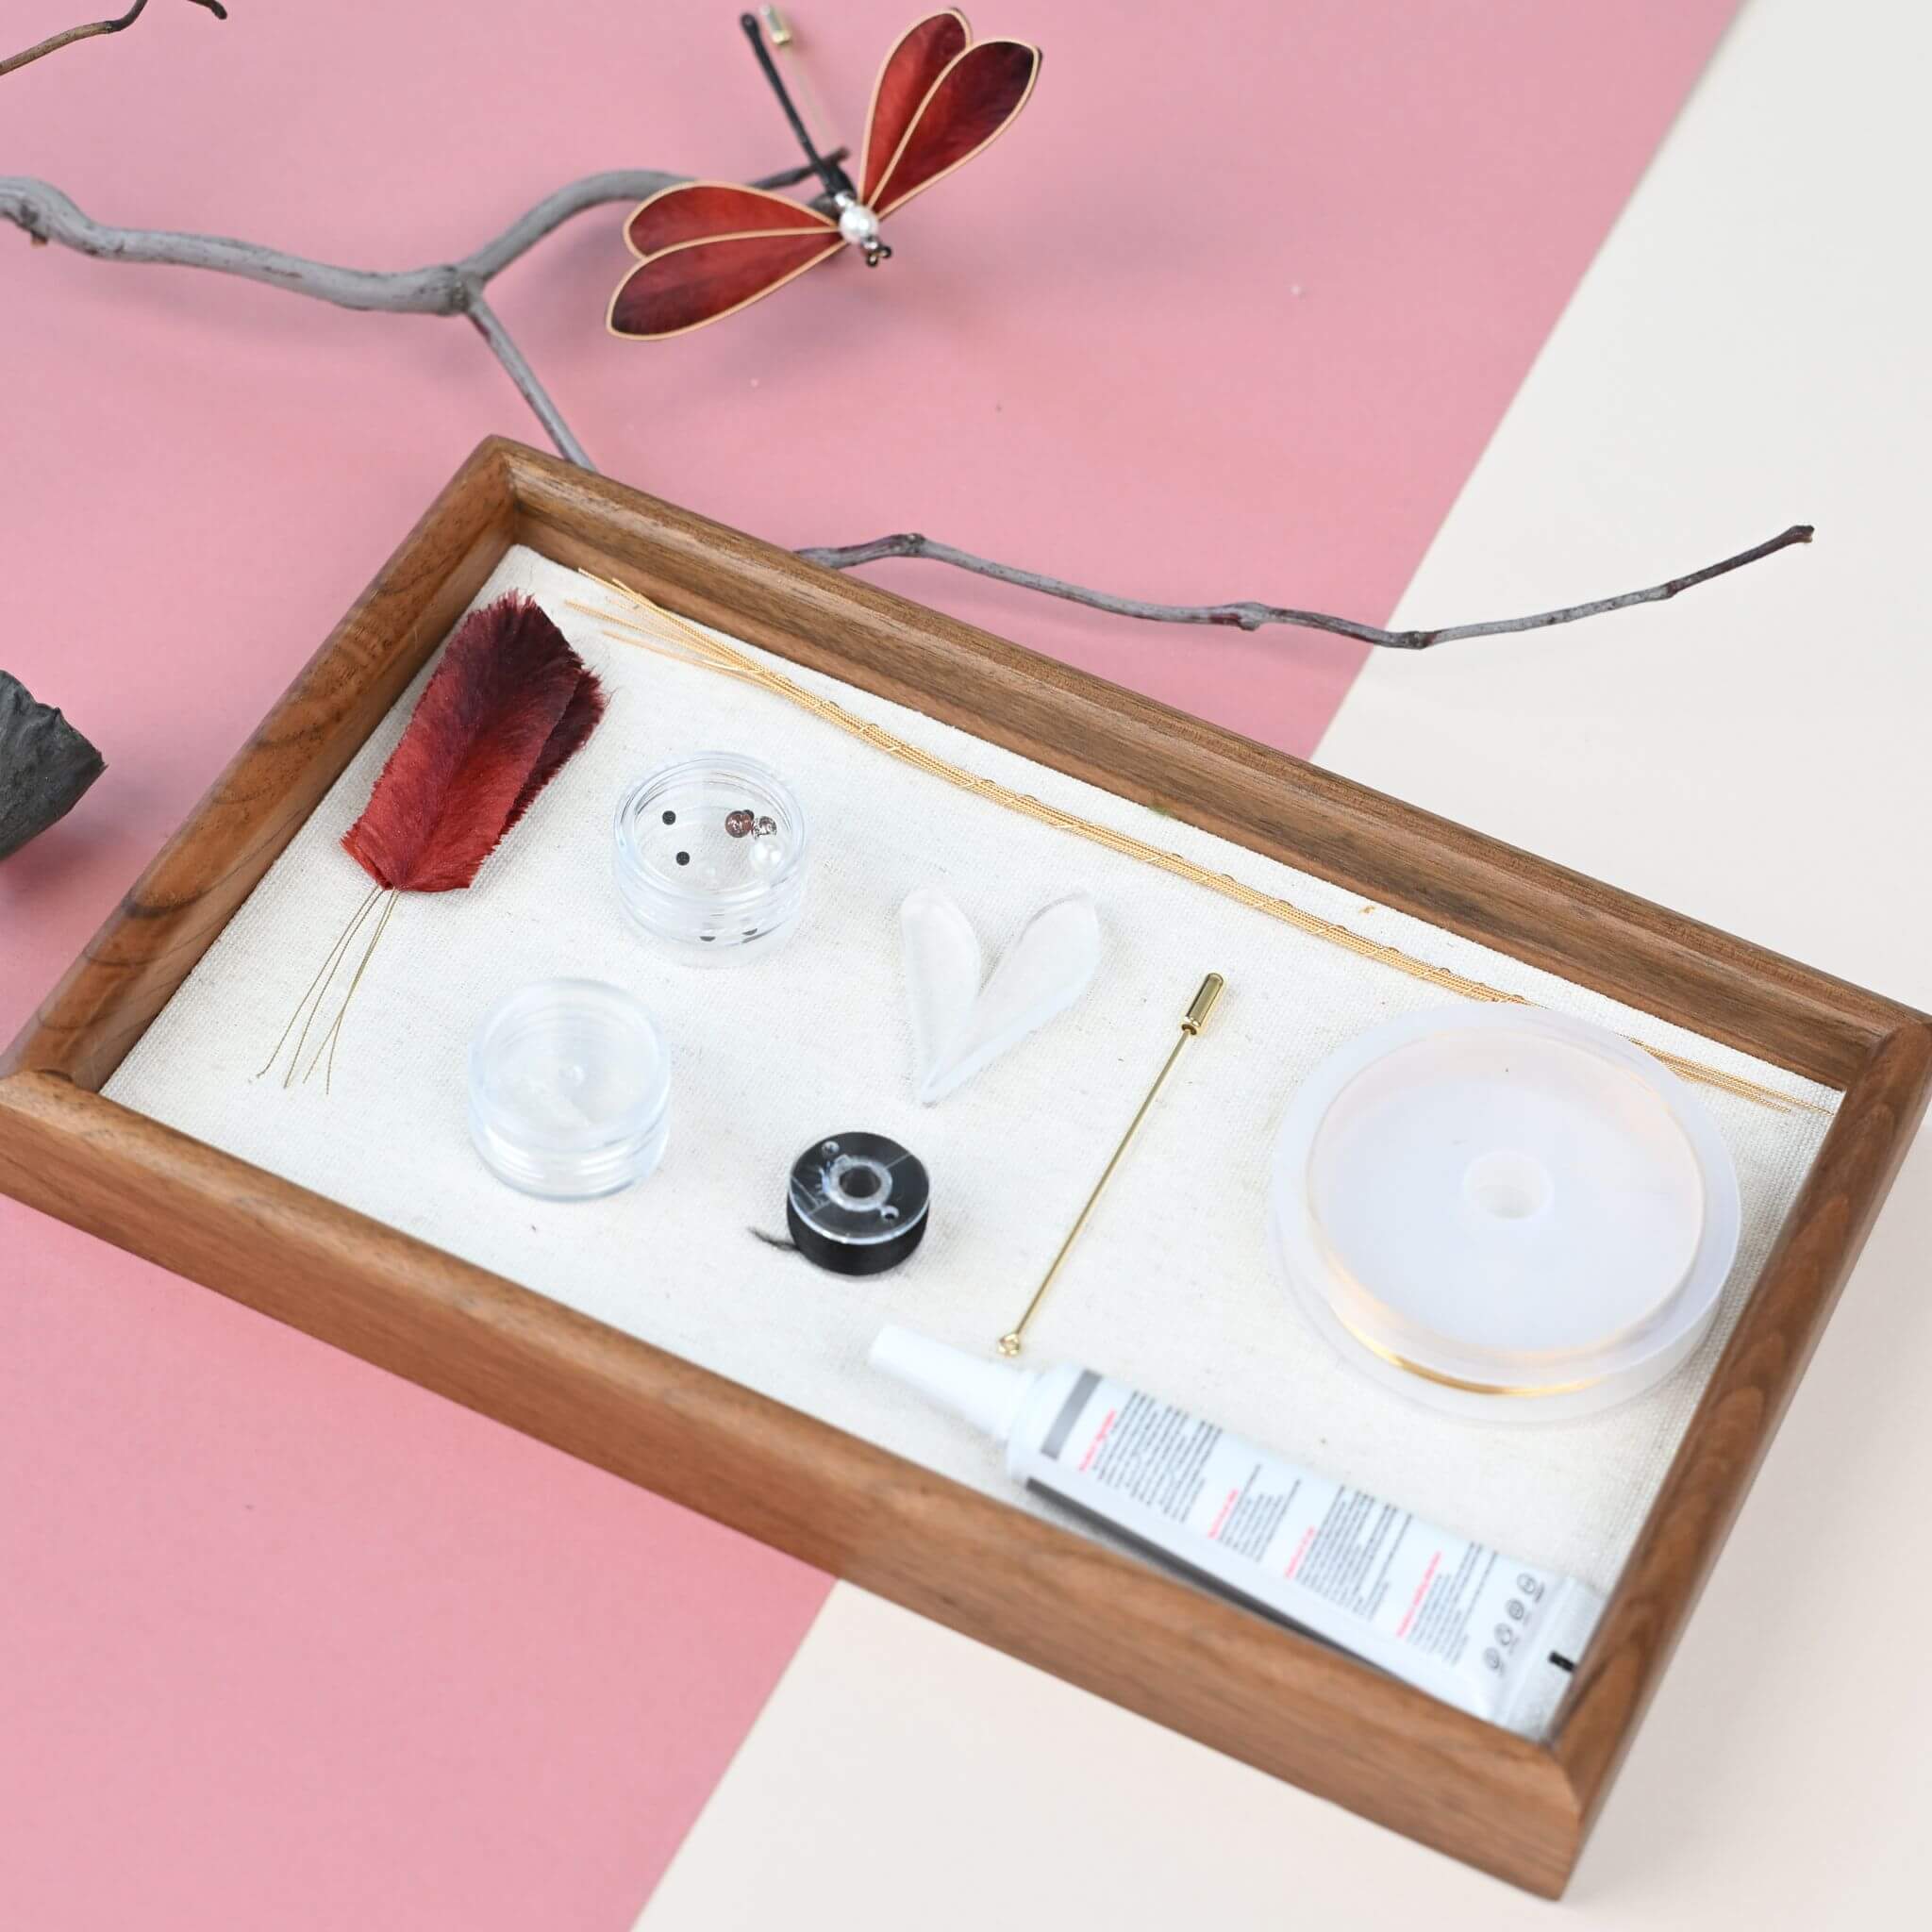
This delicate filigree dragonfly brooch combines intricate copper-wire wings with a shimmering beaded body. Each wing is carefully shaped and decorated by hand, creating an elegant, lace-like pattern.
If you are new to Ronghua, this one is for you! This project uses pre-made components, so you can skip (a lot of!) complicated steps of traditional Ronghua and just enjoy the process of making a dragonfly come alive in your own hands.
Full Tutorial Video
Step. 1 Shape the Wing Wire Frames
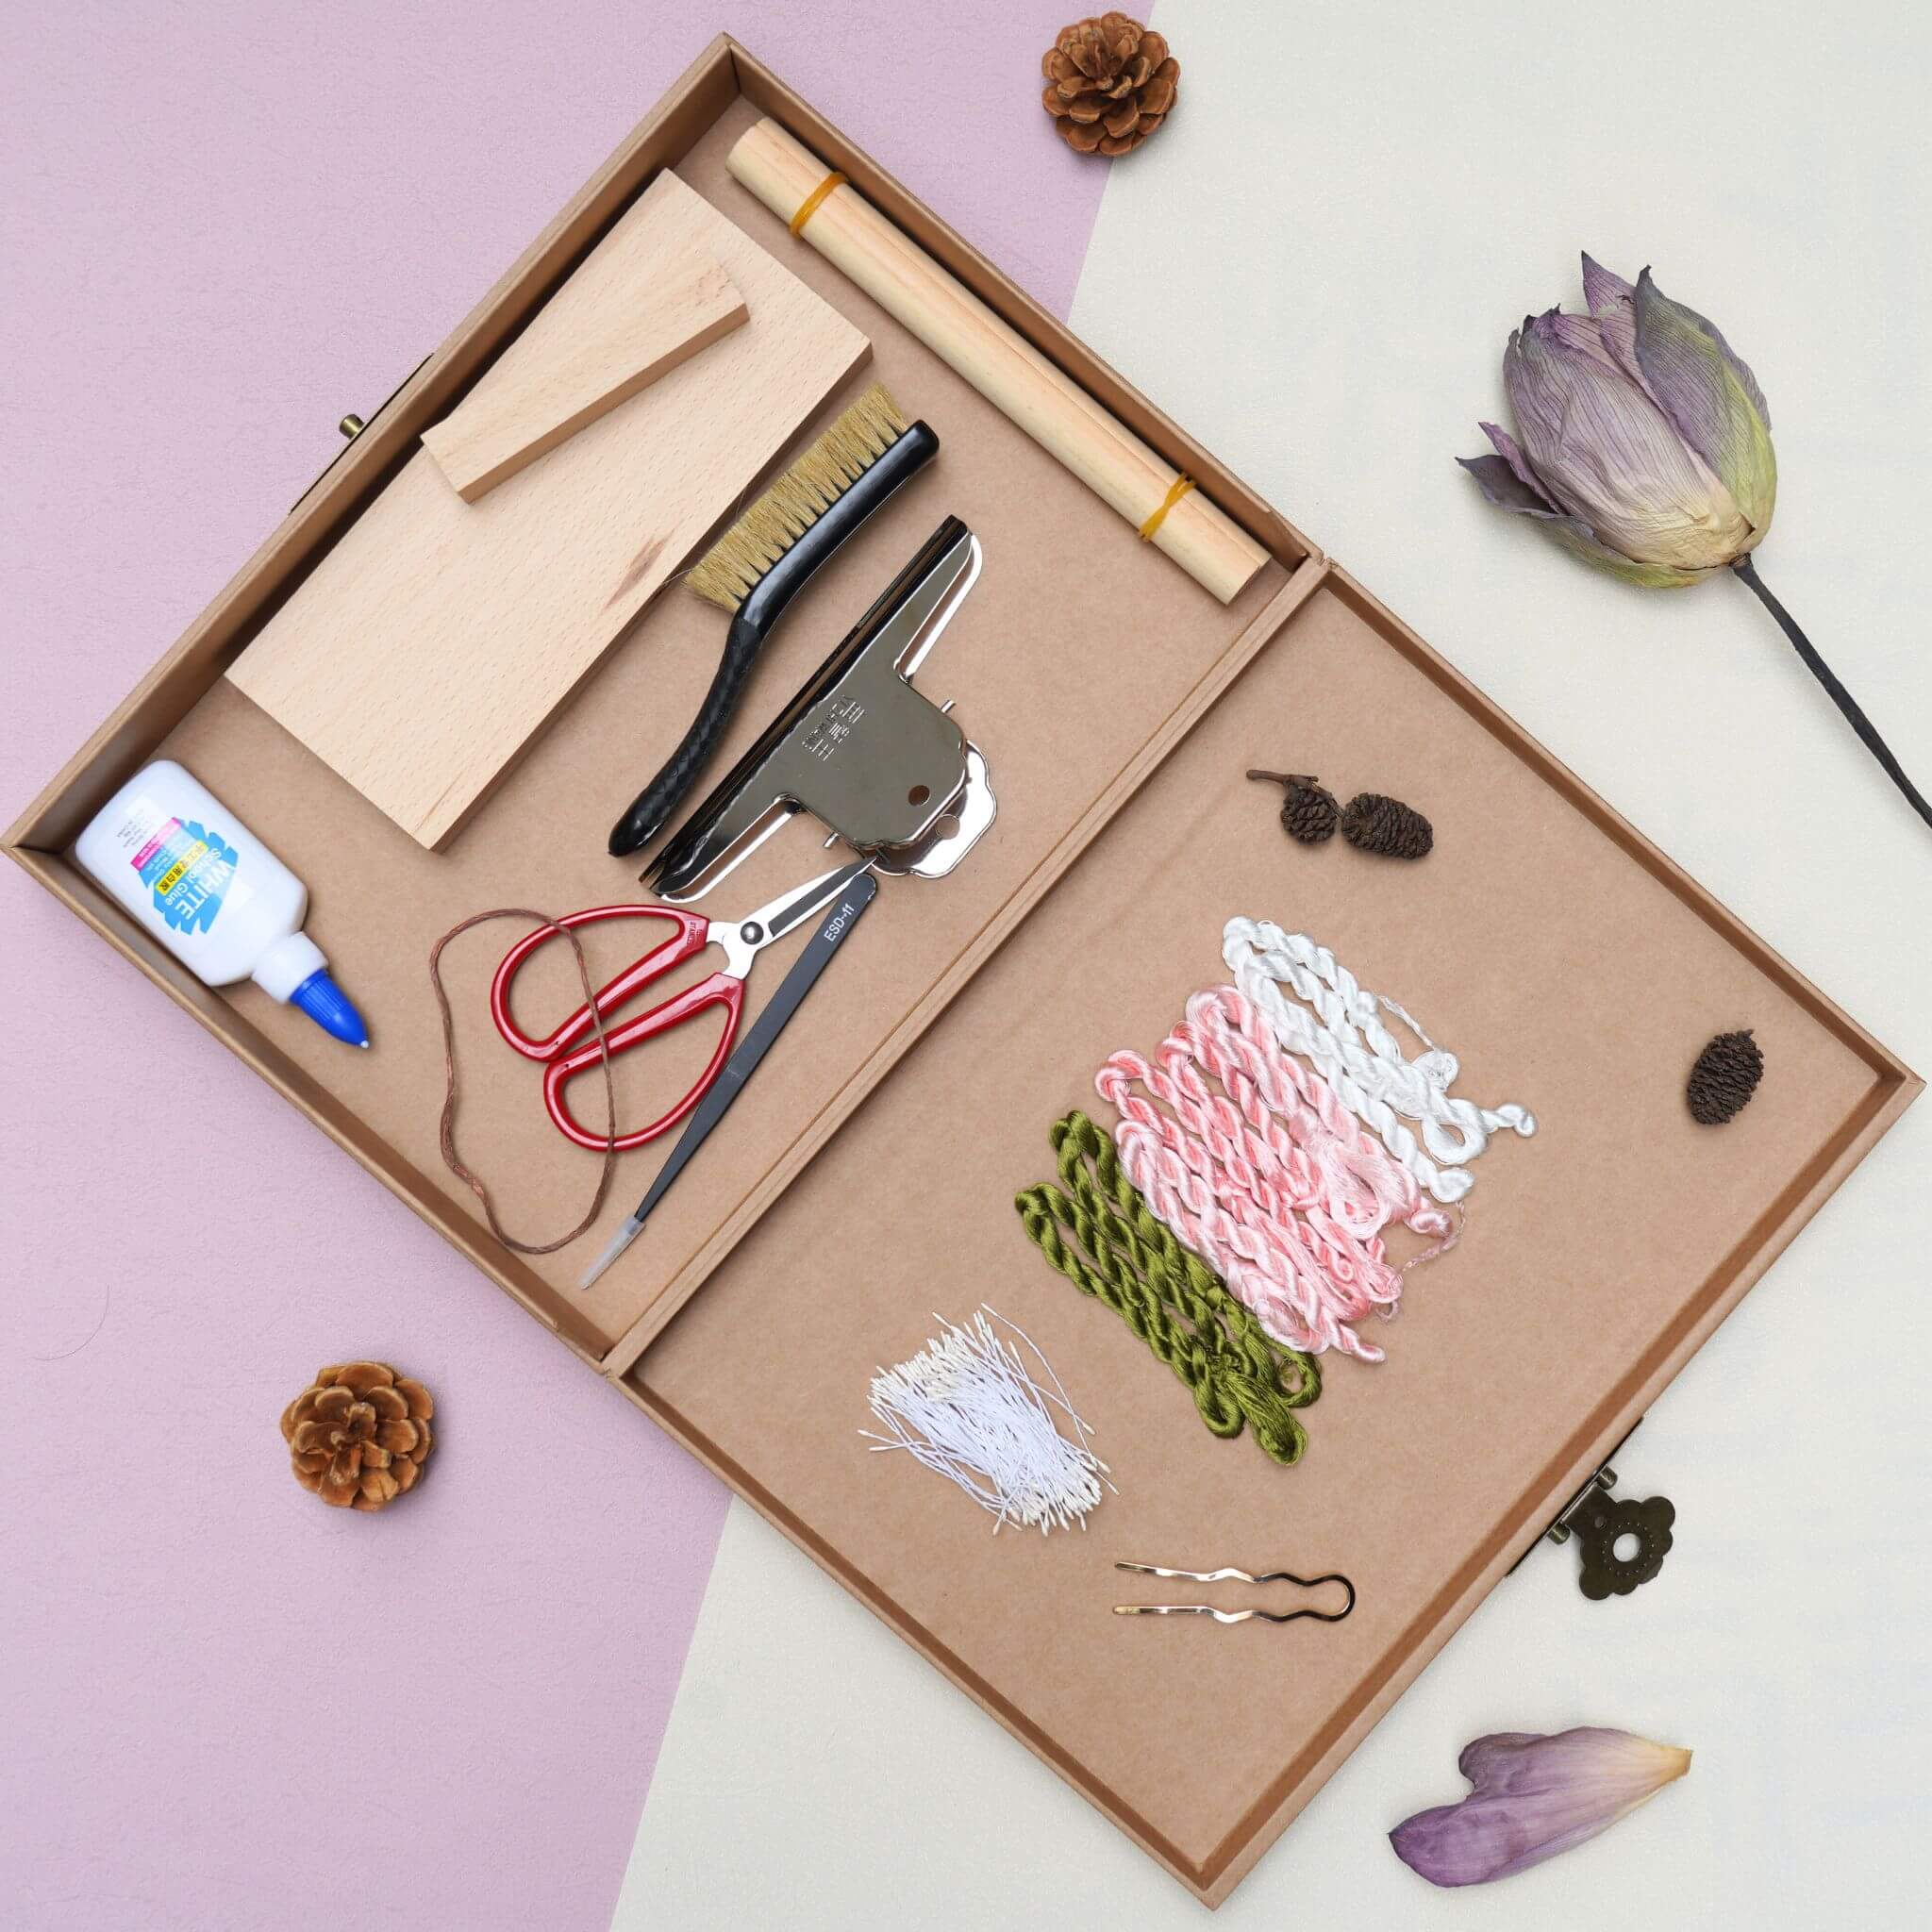
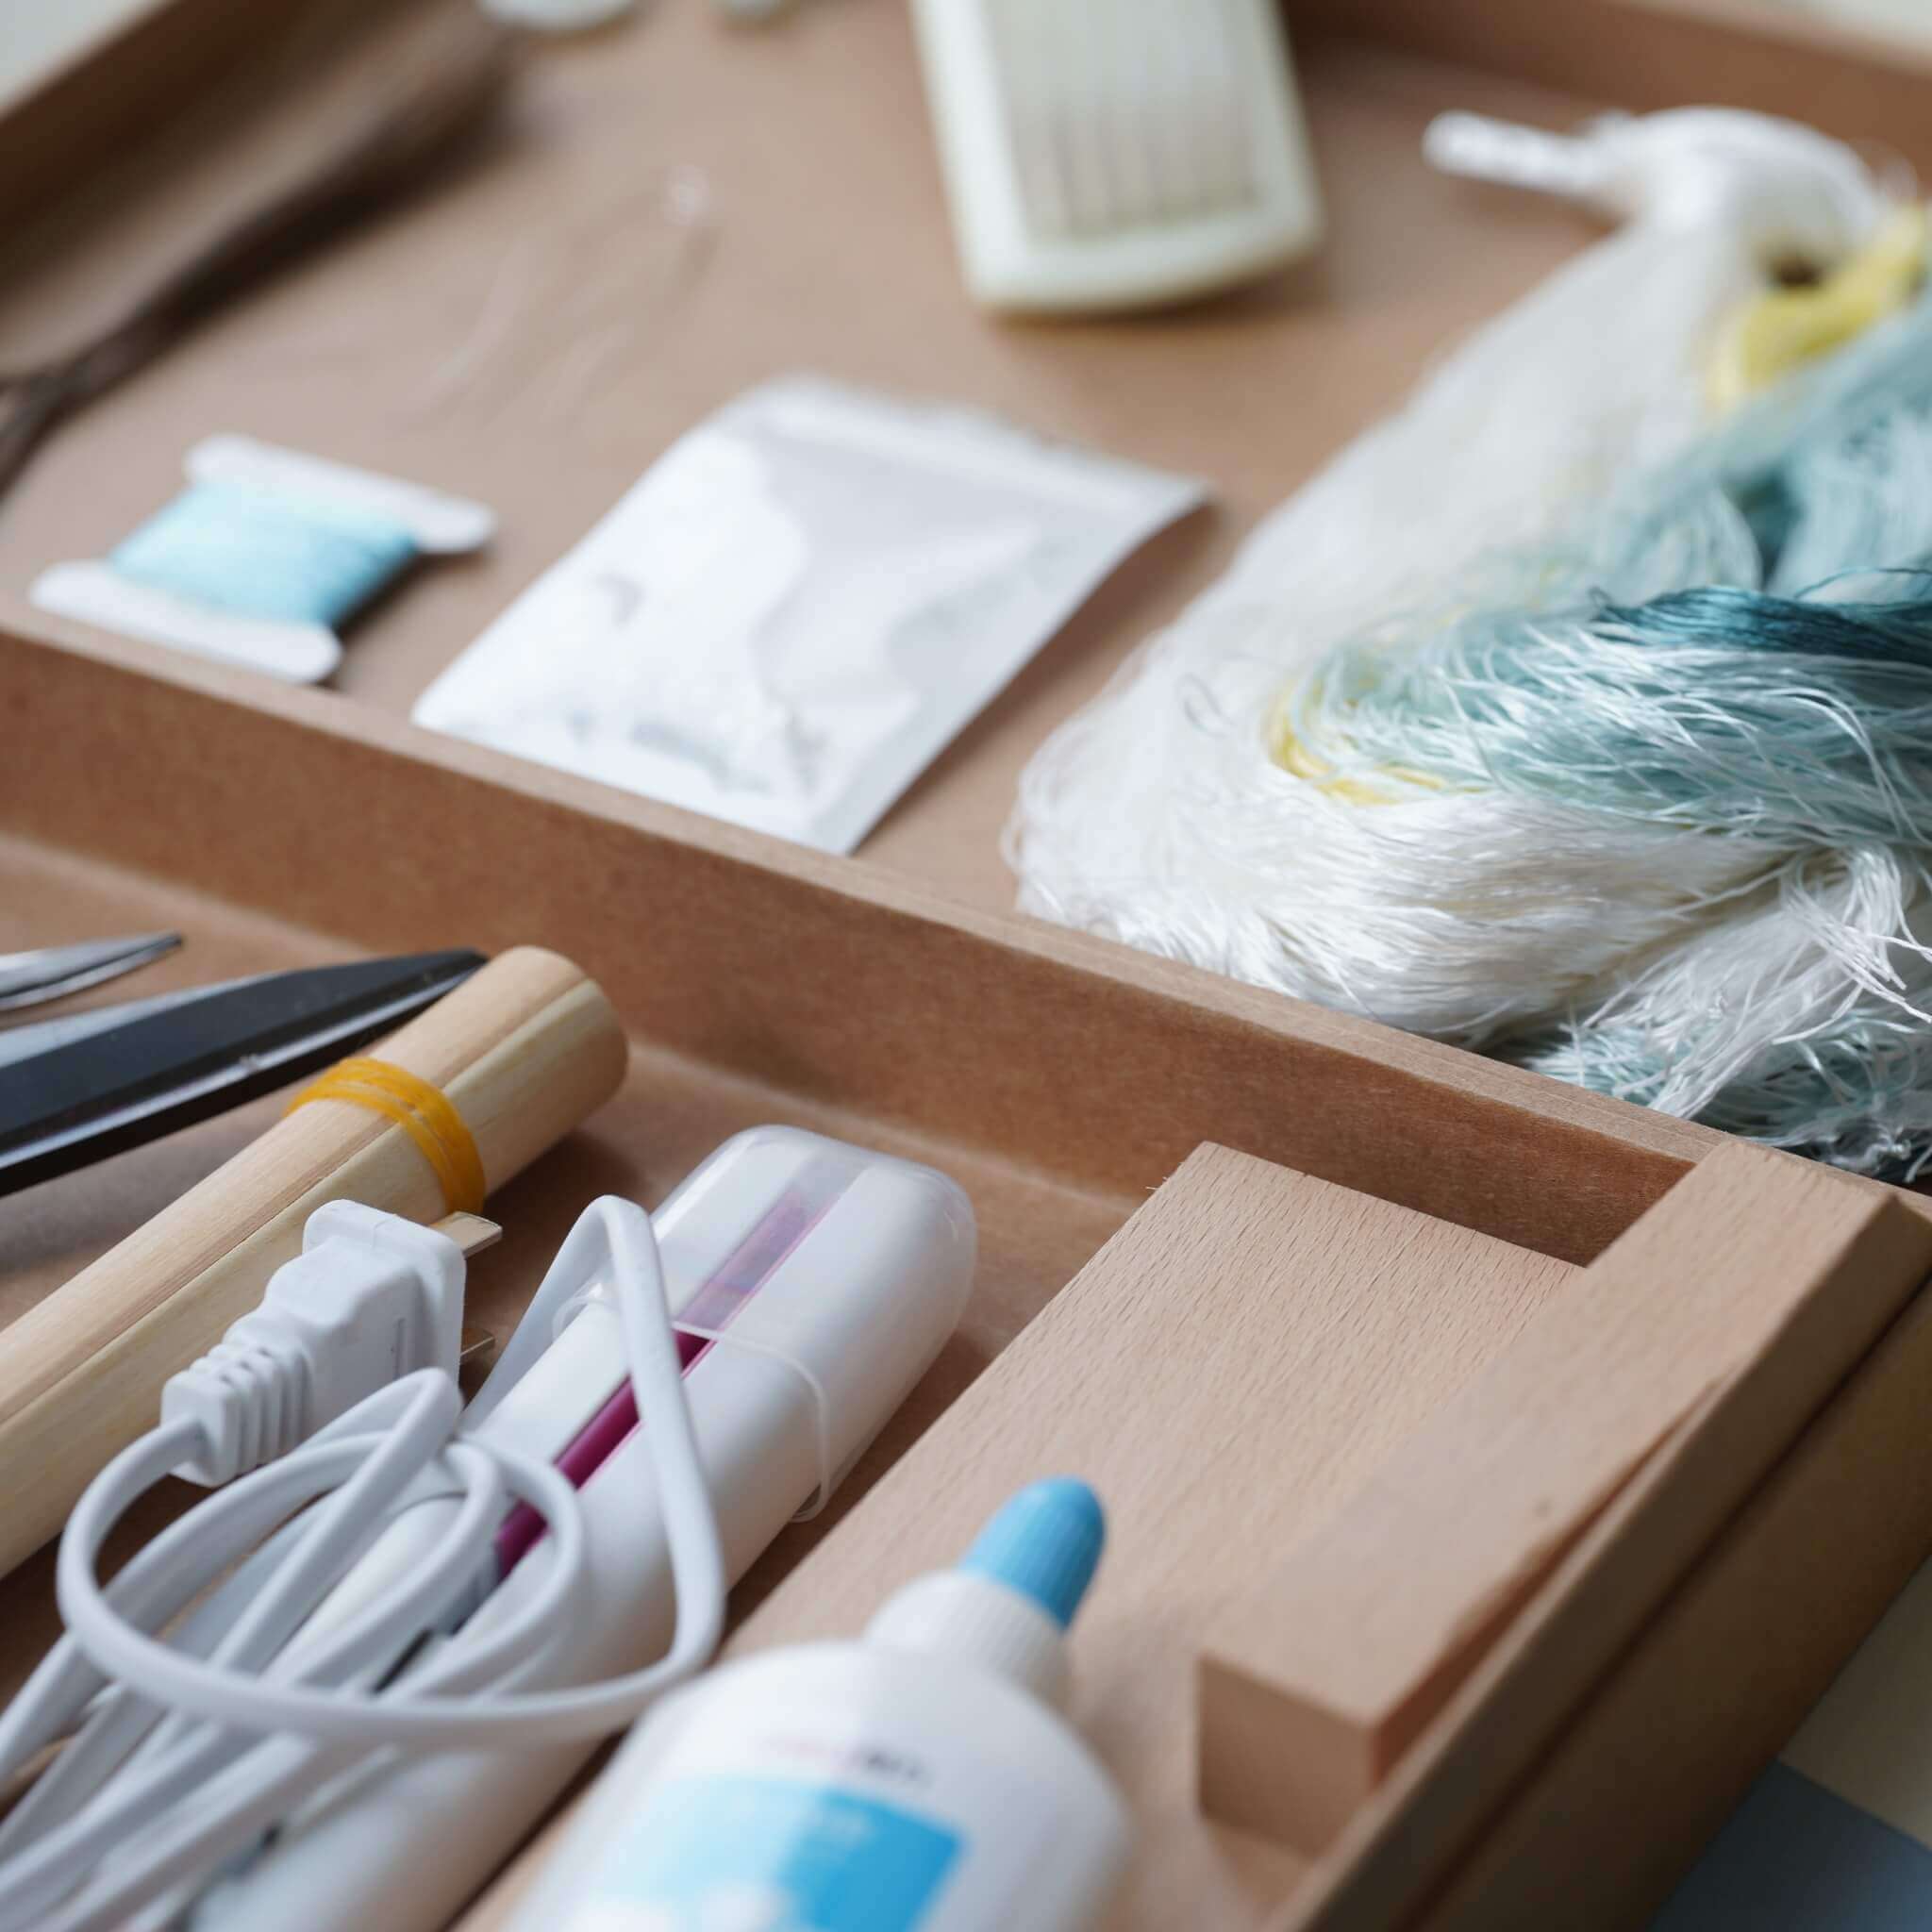
First, take out the moulds and the twisted copper wire. Shape the copper wire around the mould to form the outline of a dragonfly wing.

Twist the wire tightly and make sure there are no gaps between the wire and the mould, then trim off the excess wire, keeping the ends as short as possible. Since a dragonfly has four wings in total, make four wire frames using the correct mould for the upper and lower wing shapes.
Step. 2 Glue the Wings to the Silk Sheet
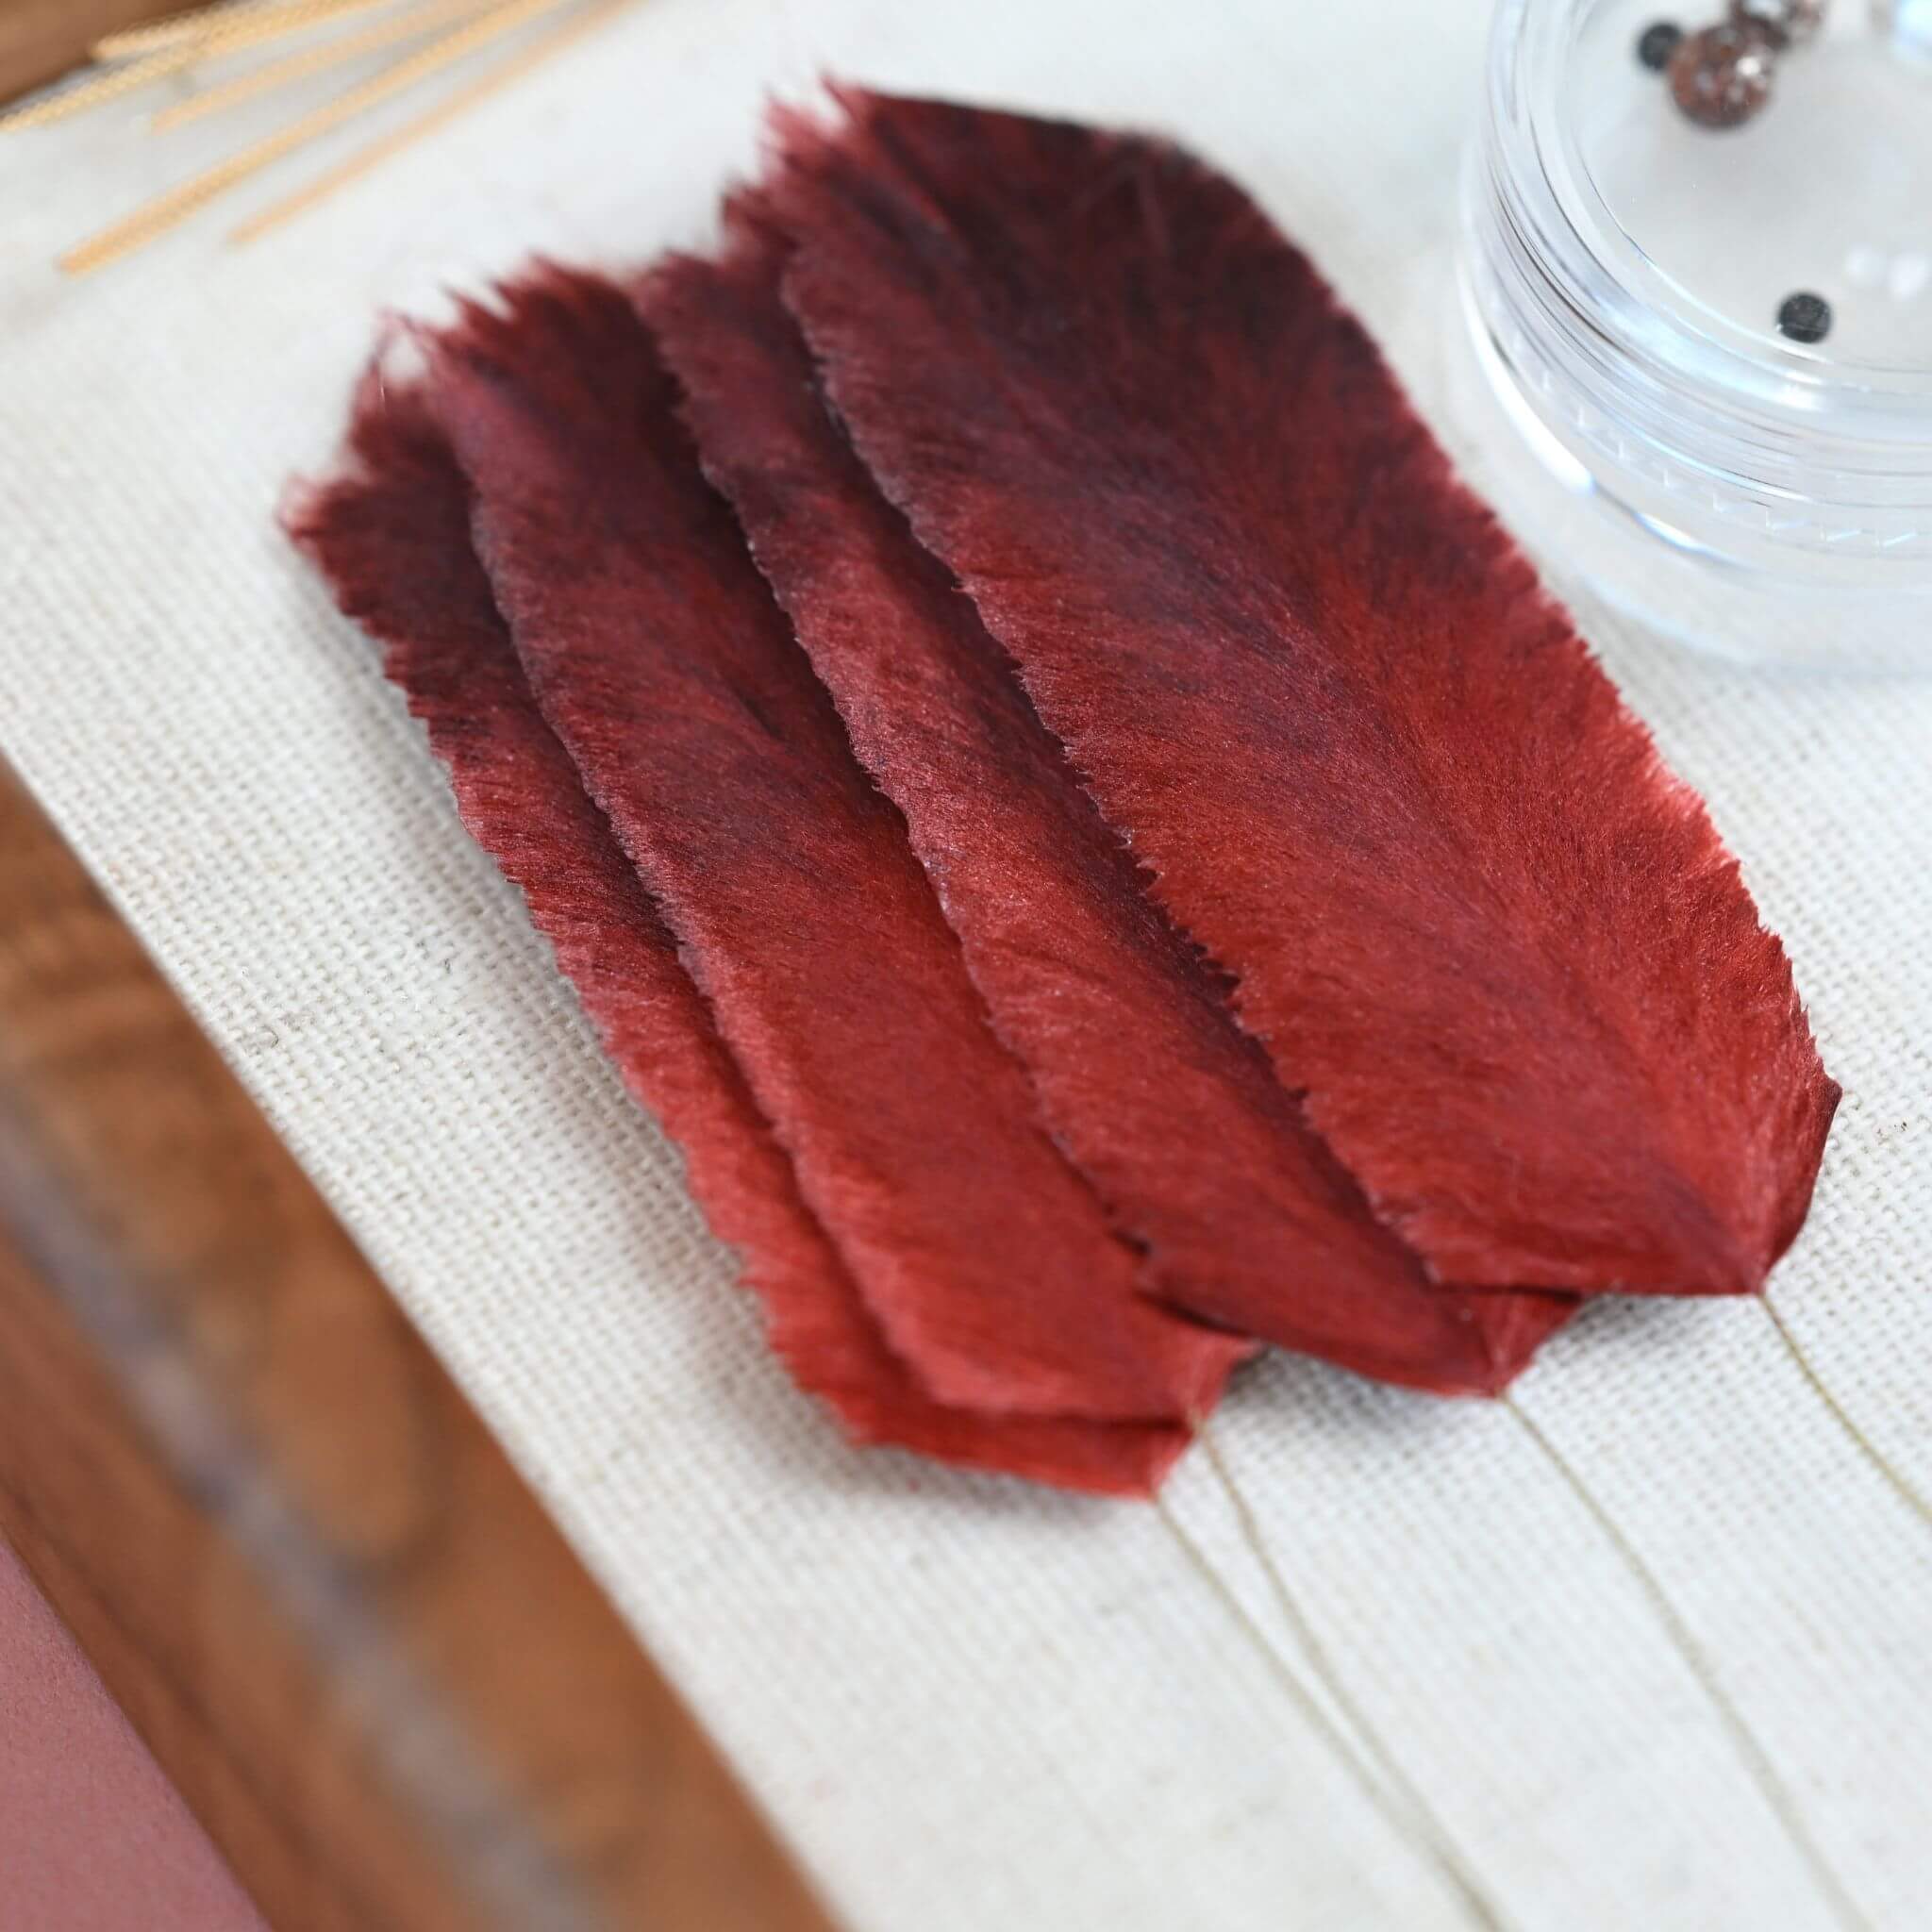
Take out the jewellery glue and apply a thin layer along the edges of the copper wire, using just enough to cover the wire without letting it spill over the edges. Carefully glue each frame onto the silk sheet, paying close attention to mirror-image directions for the left and right wings. Once the glue is completely dry, press the silk once with the flat iron to help everything bond securely.

Step. 3 Add Patterns and Trim Excess Silk
Add decorative patterns to the wings using copper wire with gentle curves, applying a little glue to secure them (or skip this step if preferred).

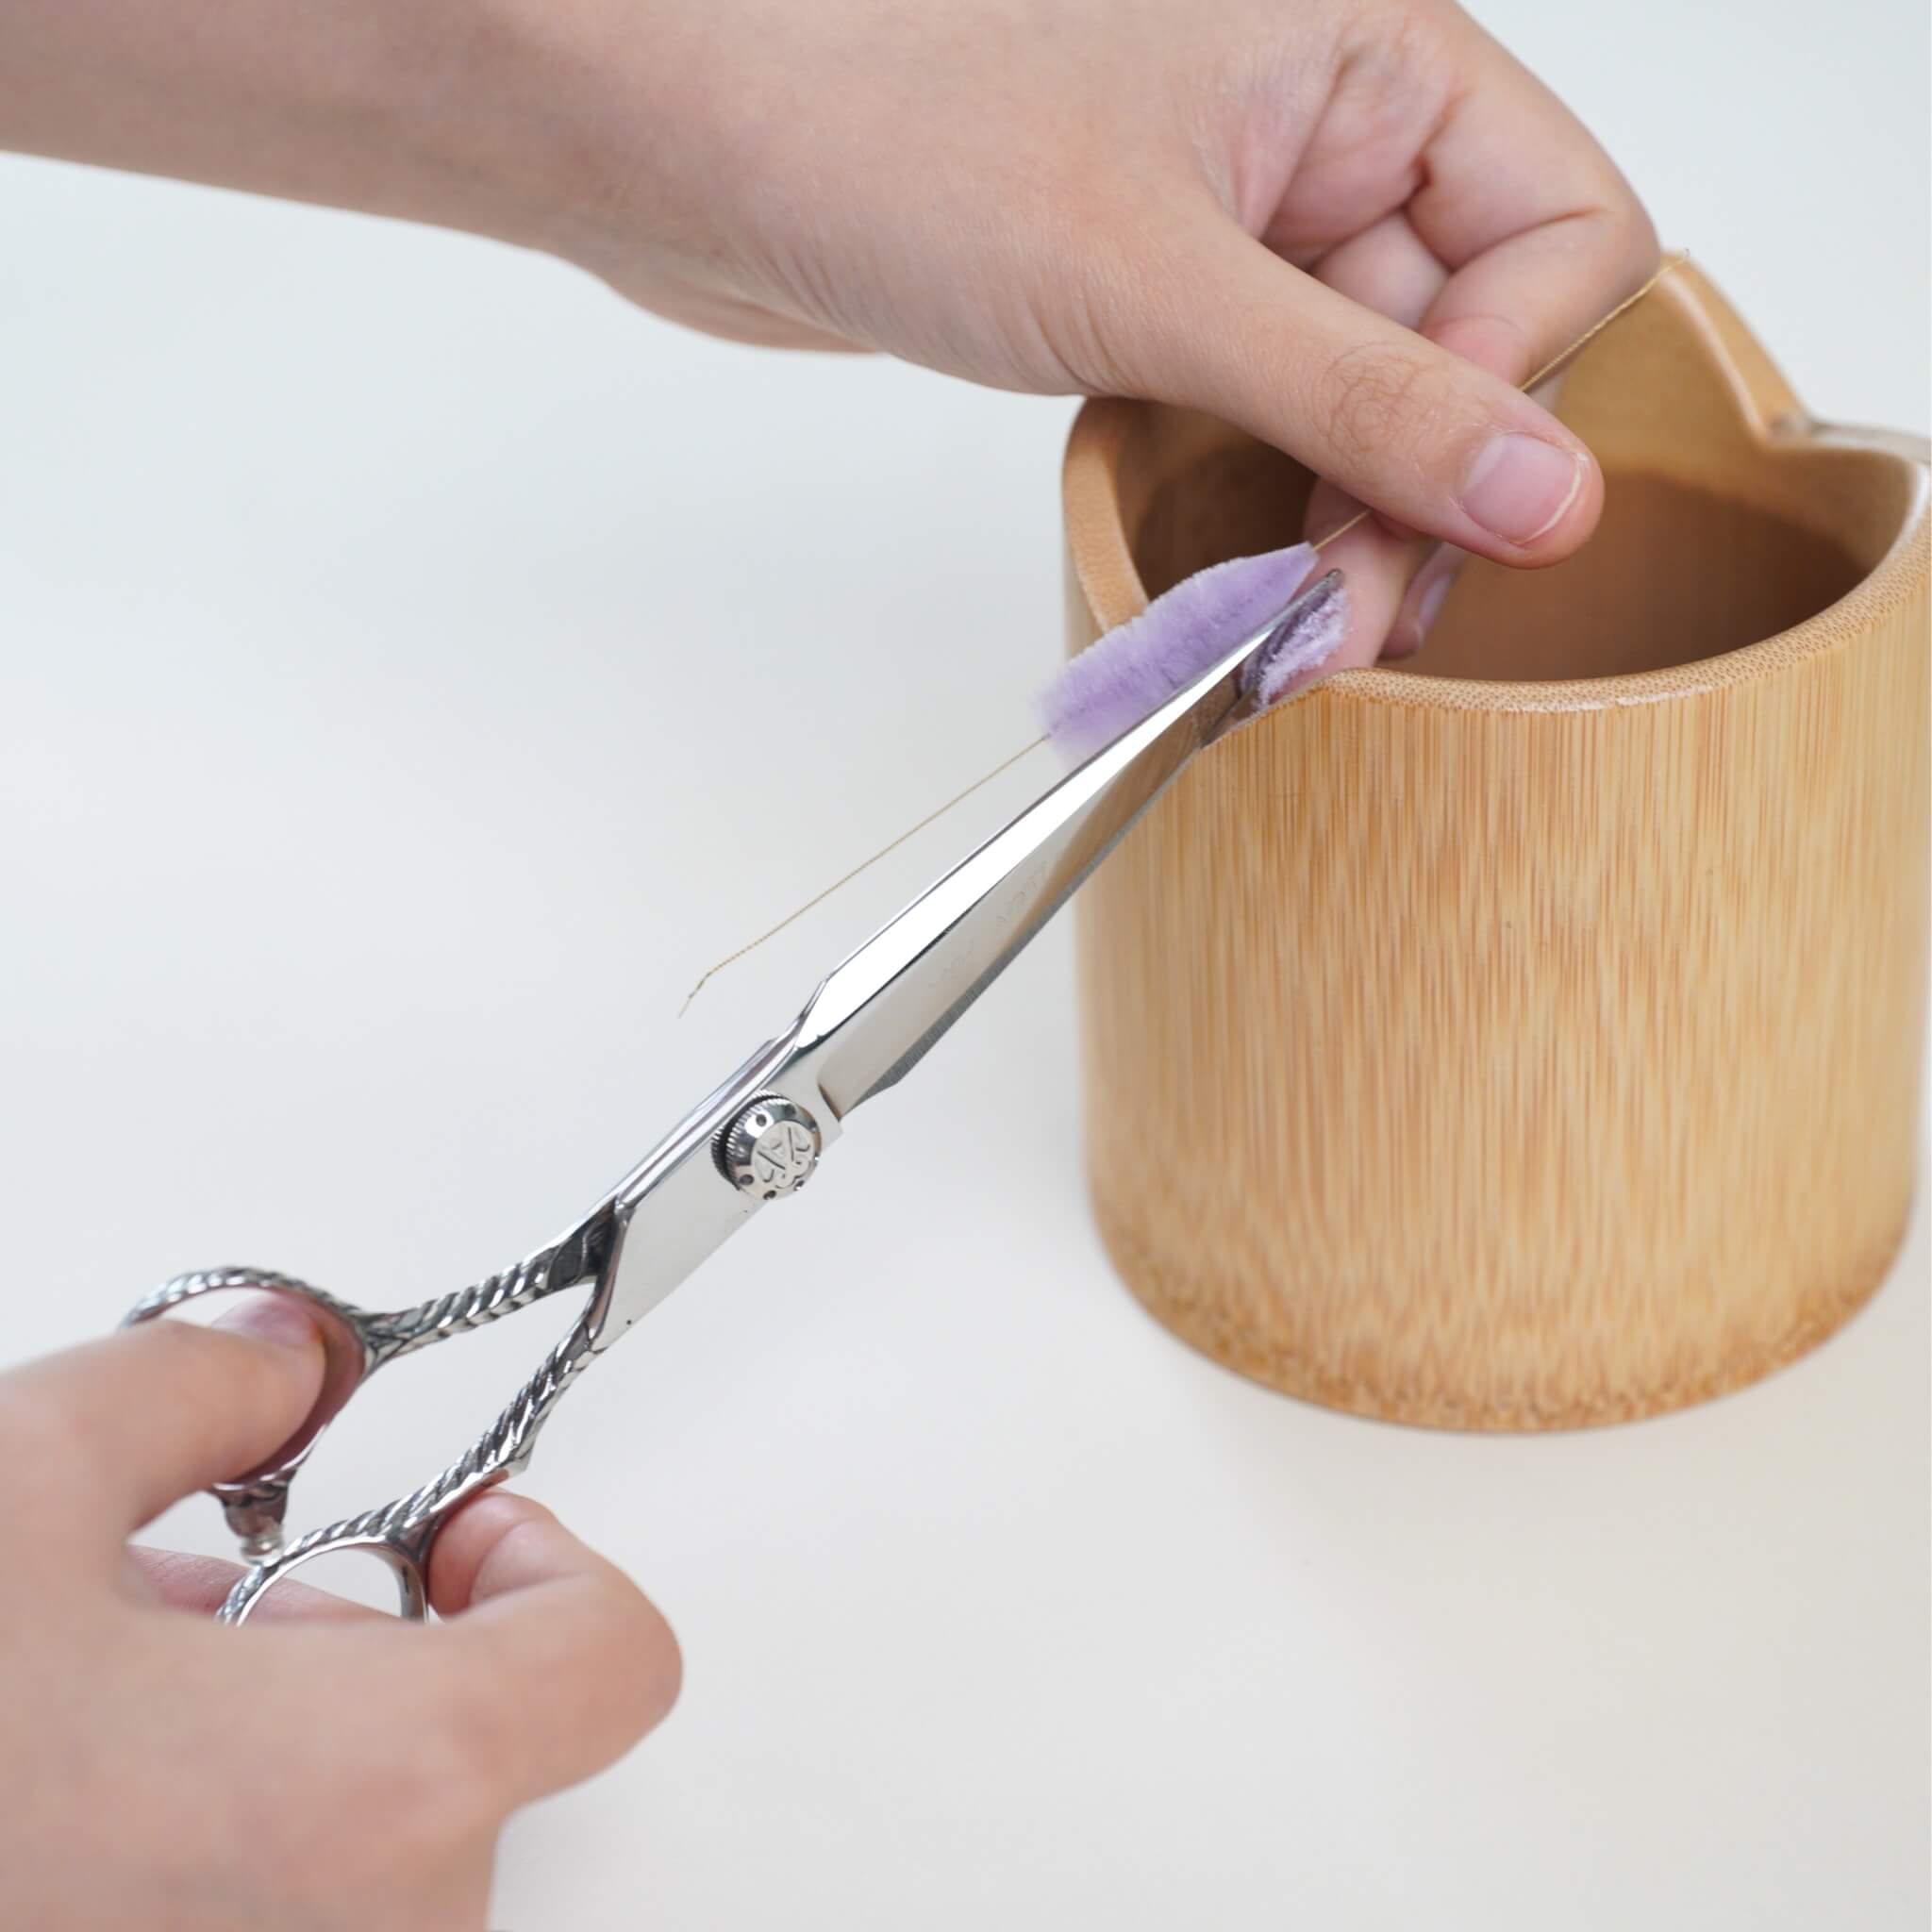
Once the glue has dried, press the silk pieces again with the heated flat iron, using a needle tip to carefully remove any excess warm glue. Finally, use a sharp pair of scissors to trim away the excess silk around the wire frames.

Step. 4 Construct the Dragonfly Body
Take out the 0.3 mm copper wire and cut two pieces. Thread one small black bead onto the middle of each piece of wire, take one larger bead and thread both sets of copper wire through it, followed by one large white pearl, and continue threading beads in the order shown in the video, finishing with one small black bead.

Take a length of black silk thread, fold it in half twice, and use it to wrap around and cover the exposed copper wire completely.
Step. 5 Form the Tail and Assemble the Wings
Fold a copper wire over two or three times, cut through the folded wire, and wrap silk thread around its middle before folding in half to form the tail (about the same length as the brooch base).

Tie the tail and body together securely with silk thread, adjust their overall shape, and use another length of silk thread to attach the four wings to the dragonfly's body, pulling the thread tightly to keep everything firm.

Use scissors to trim the copper-wire ends at a slight angle, wrap the silk thread all the way down to the bottom, and start wrapping back up again. Finish the wrapping by taking a short piece of copper wire, folding it in half, placing it in position, passing the silk thread through the loop, and pulling the wire out to draw the thread neatly underneath.
Step. 6 Attach the Piece to the Brooch
Attach the dragonfly to the brooch base by wrapping the thread firmly on the first pass and applying a little glue to help it stick. Once the glue has dried slightly, wrap back over the area to cover all gaps, finishing with the folded copper wire loop method and singing away any fuzzy thread ends with a lighter if available.

Adjust the dragonfly and brooch base level, gently apply a bit of glitter to the body or wings with your fingertip, and optionally apply a little hairspray to the black wrapped-thread area to set it. Your filigree dragonfly brooch is finished!



Laisser un commentaire
Tous les commentaires sont modérés avant d'être publiés.
Ce site est protégé par hCaptcha, et la Politique de confidentialité et les Conditions de service de hCaptcha s’appliquent.