

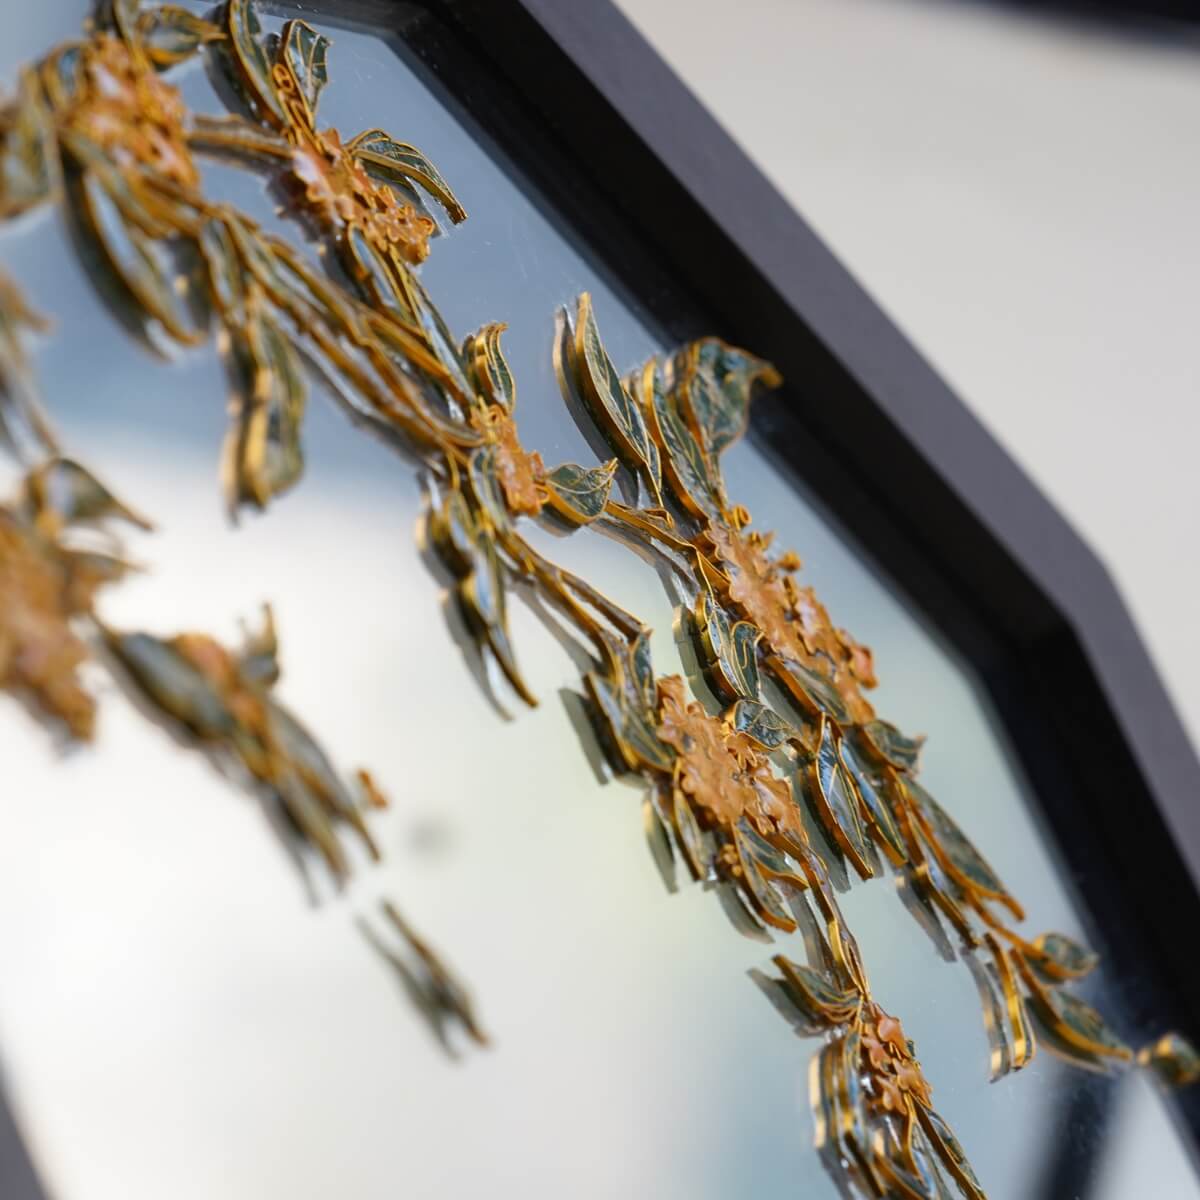
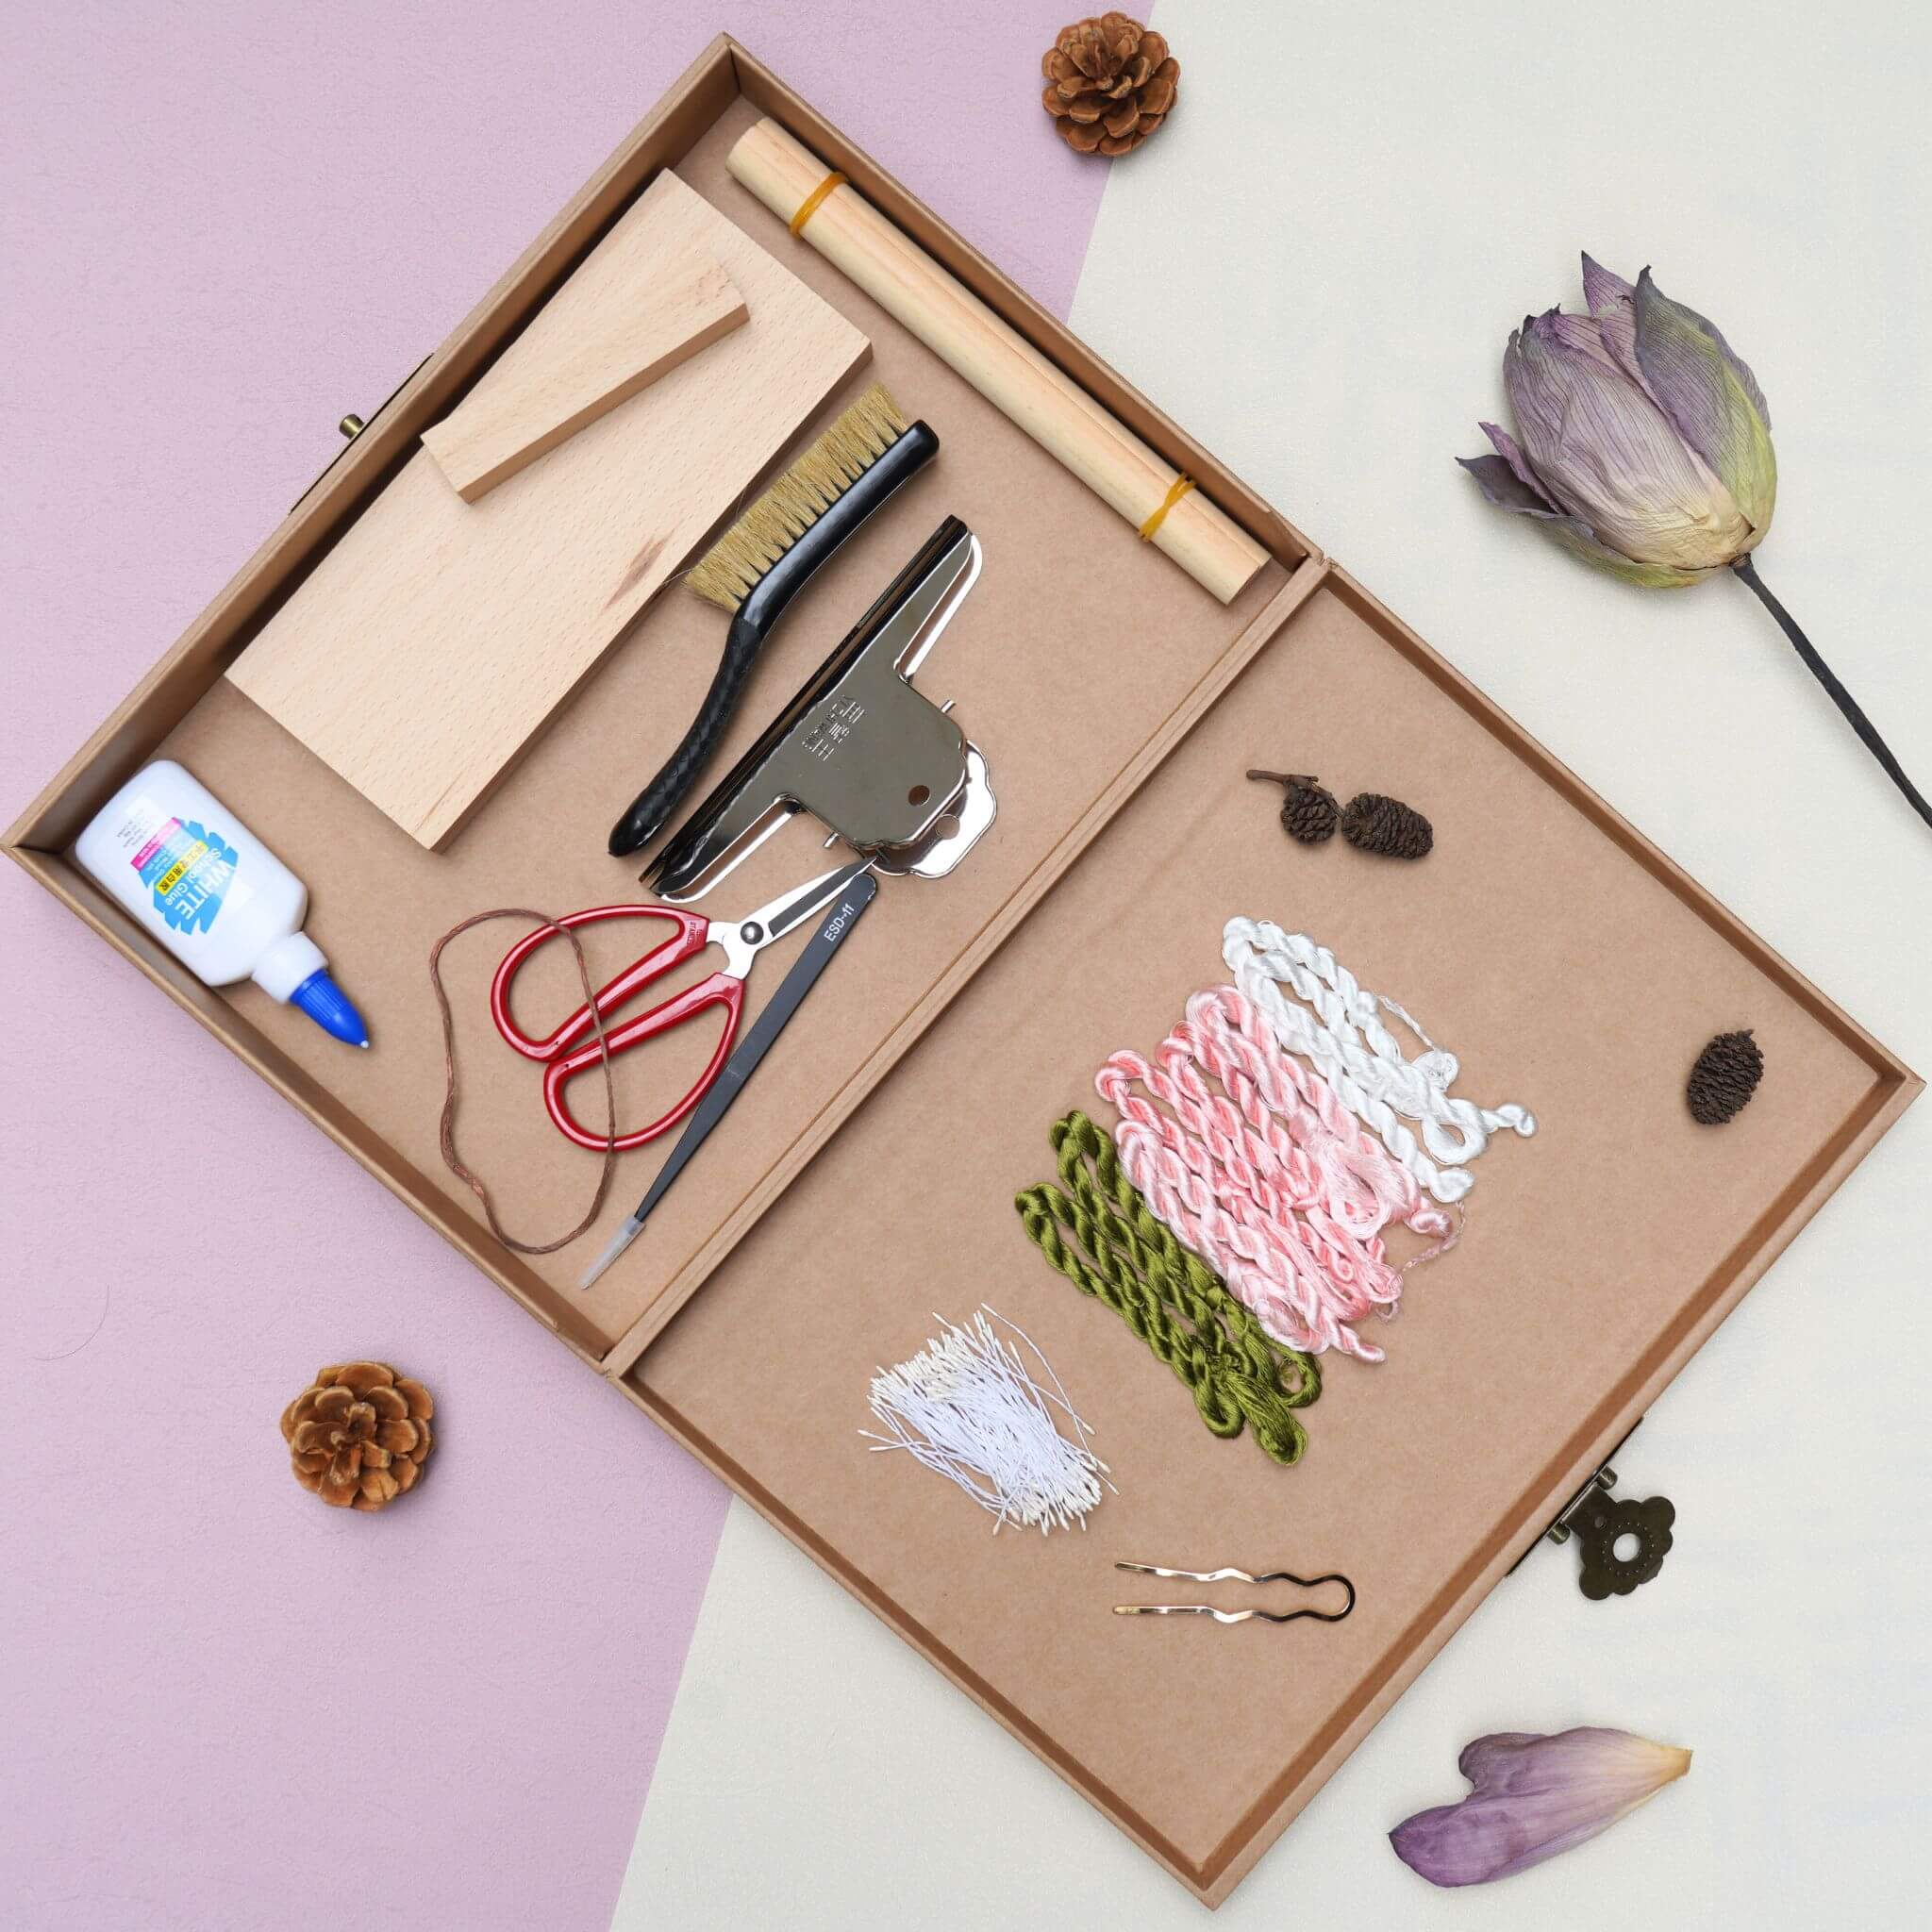
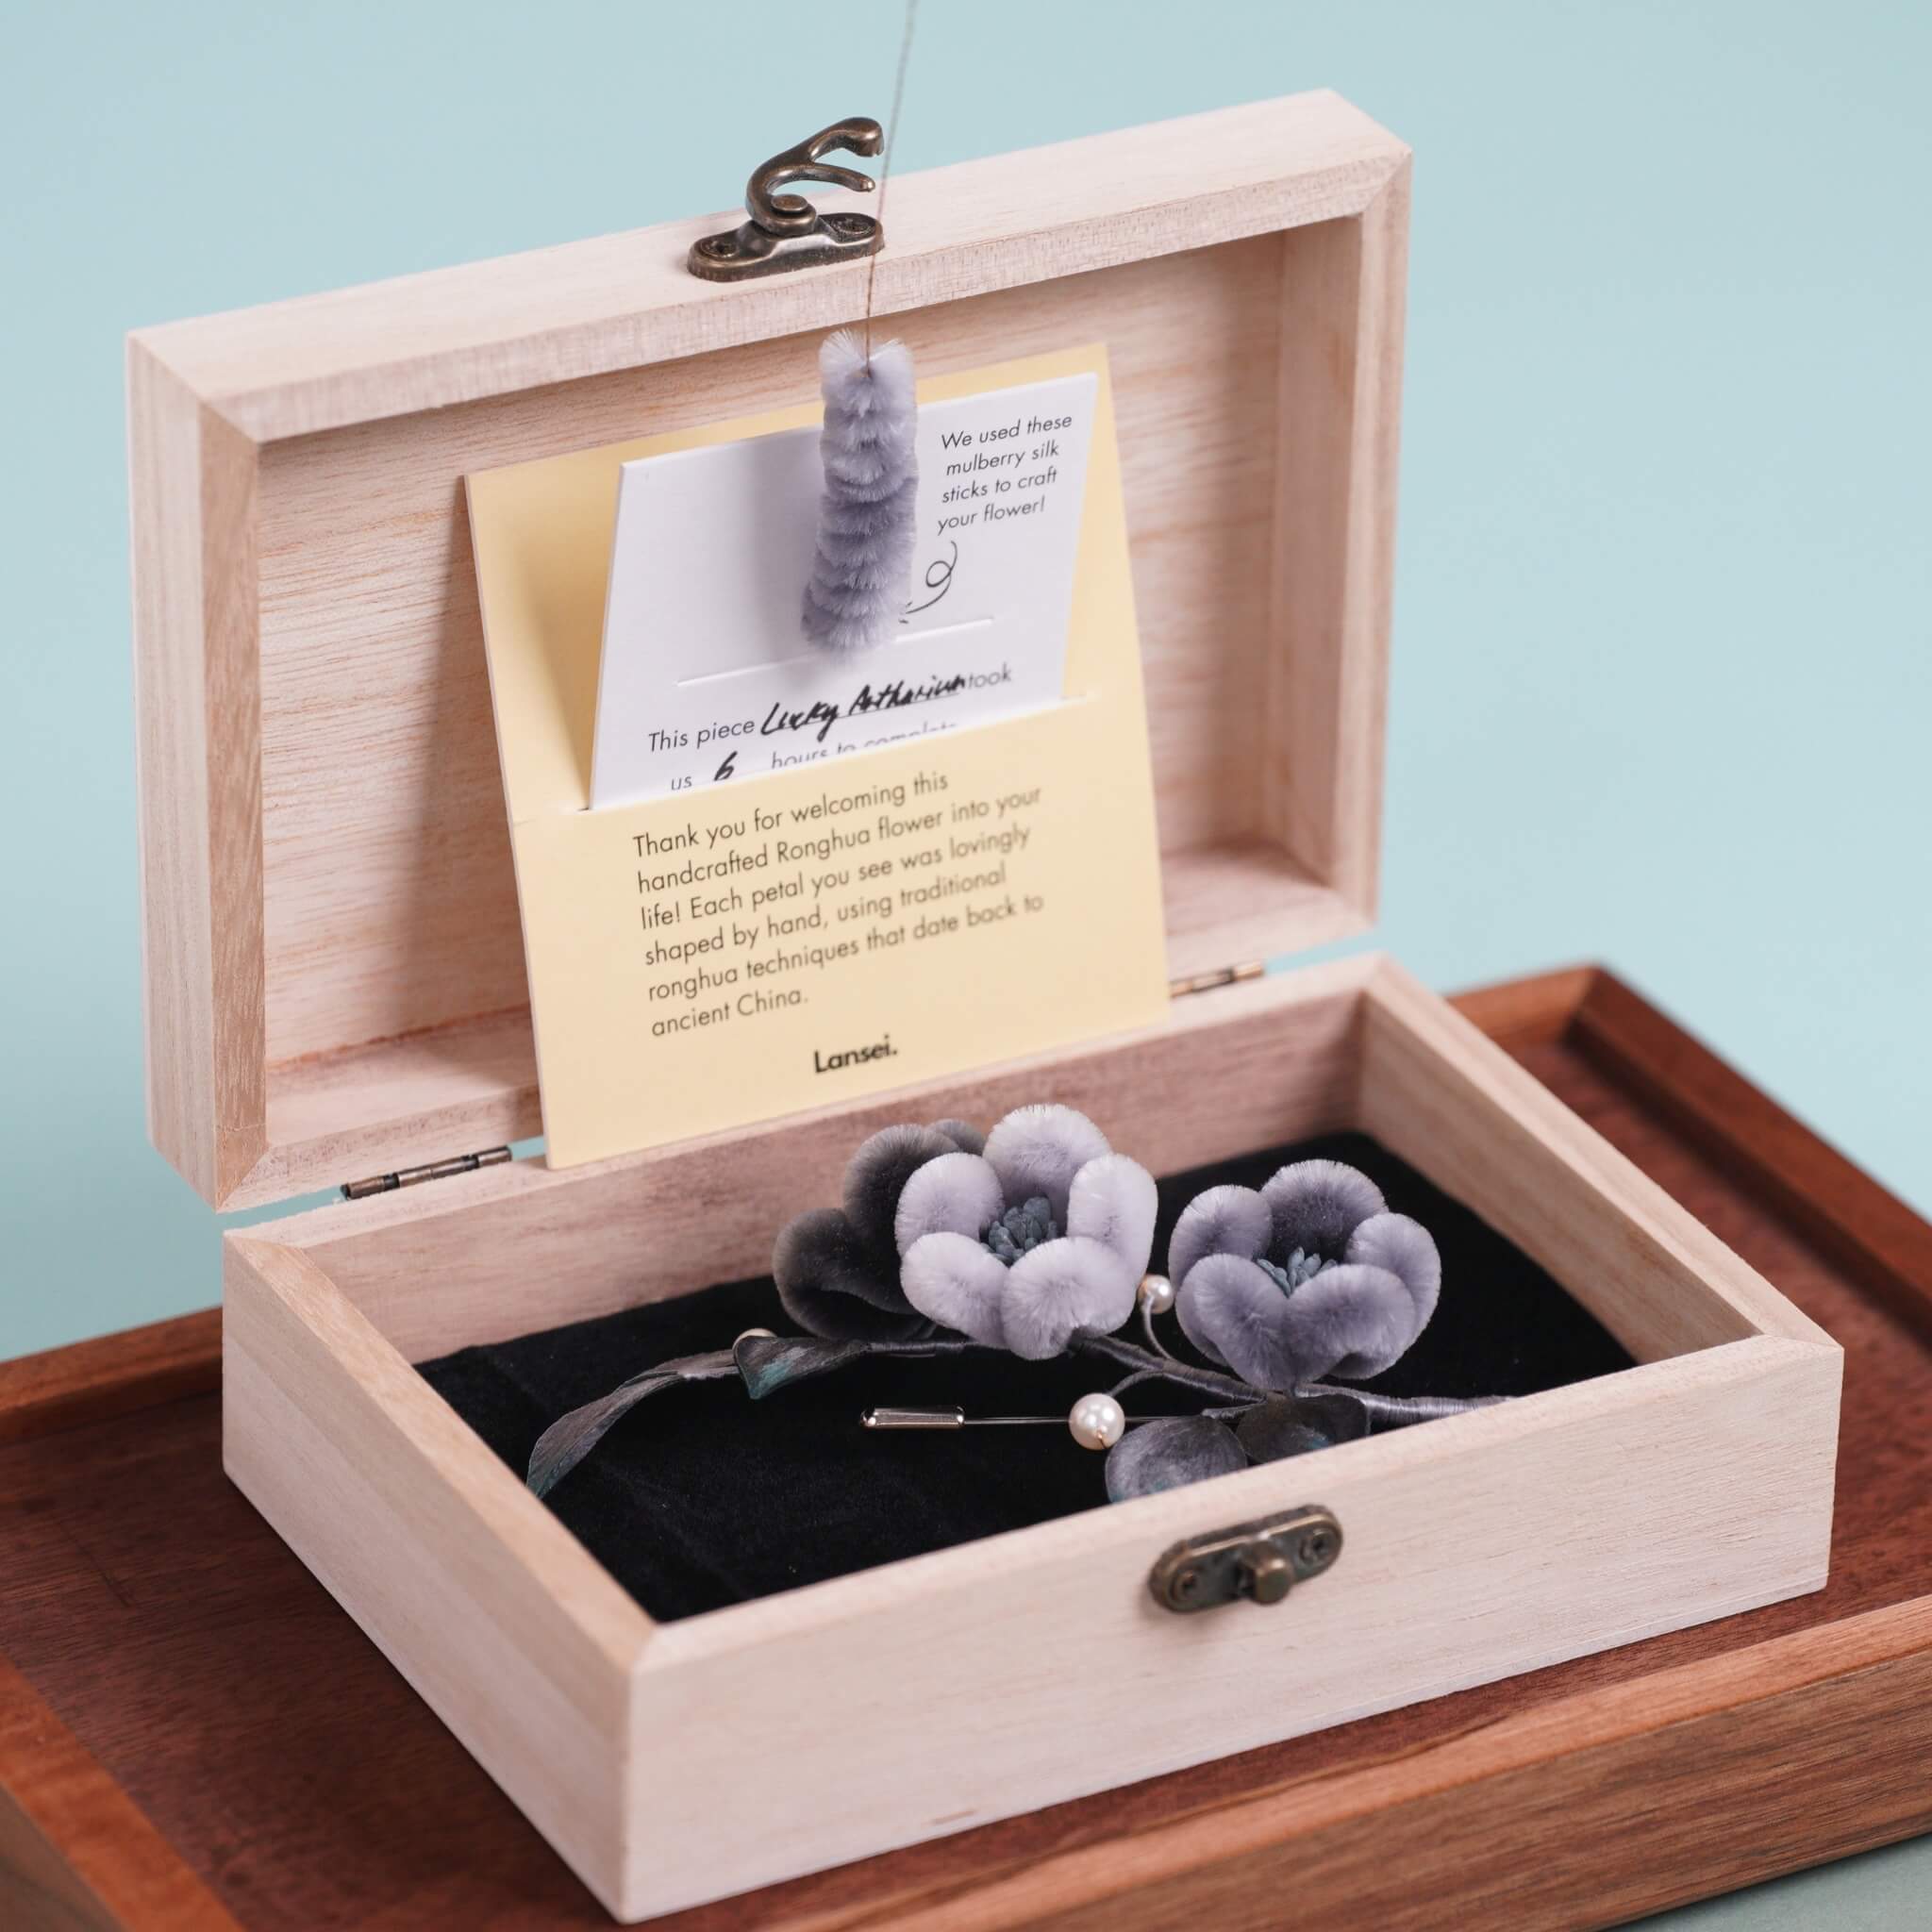

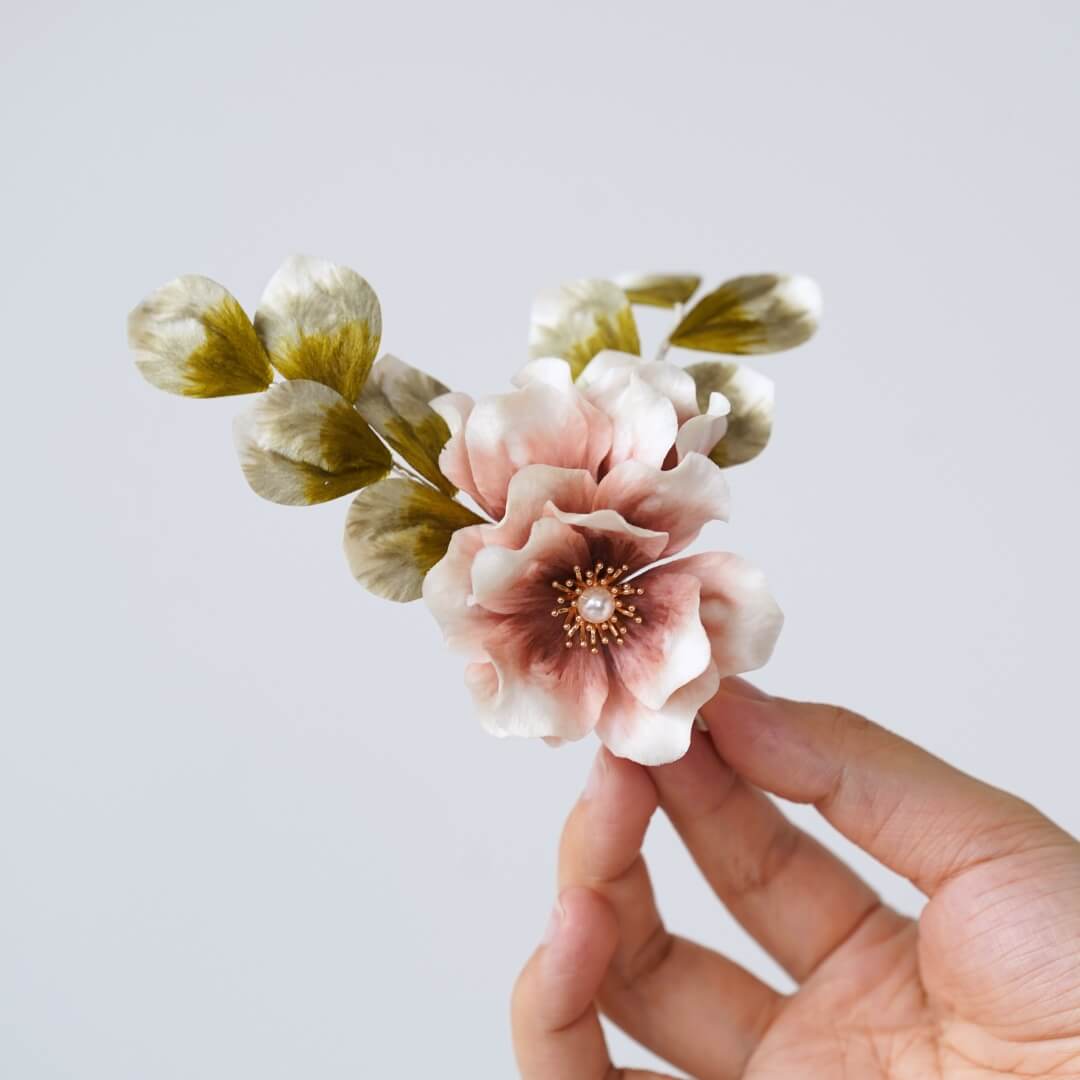
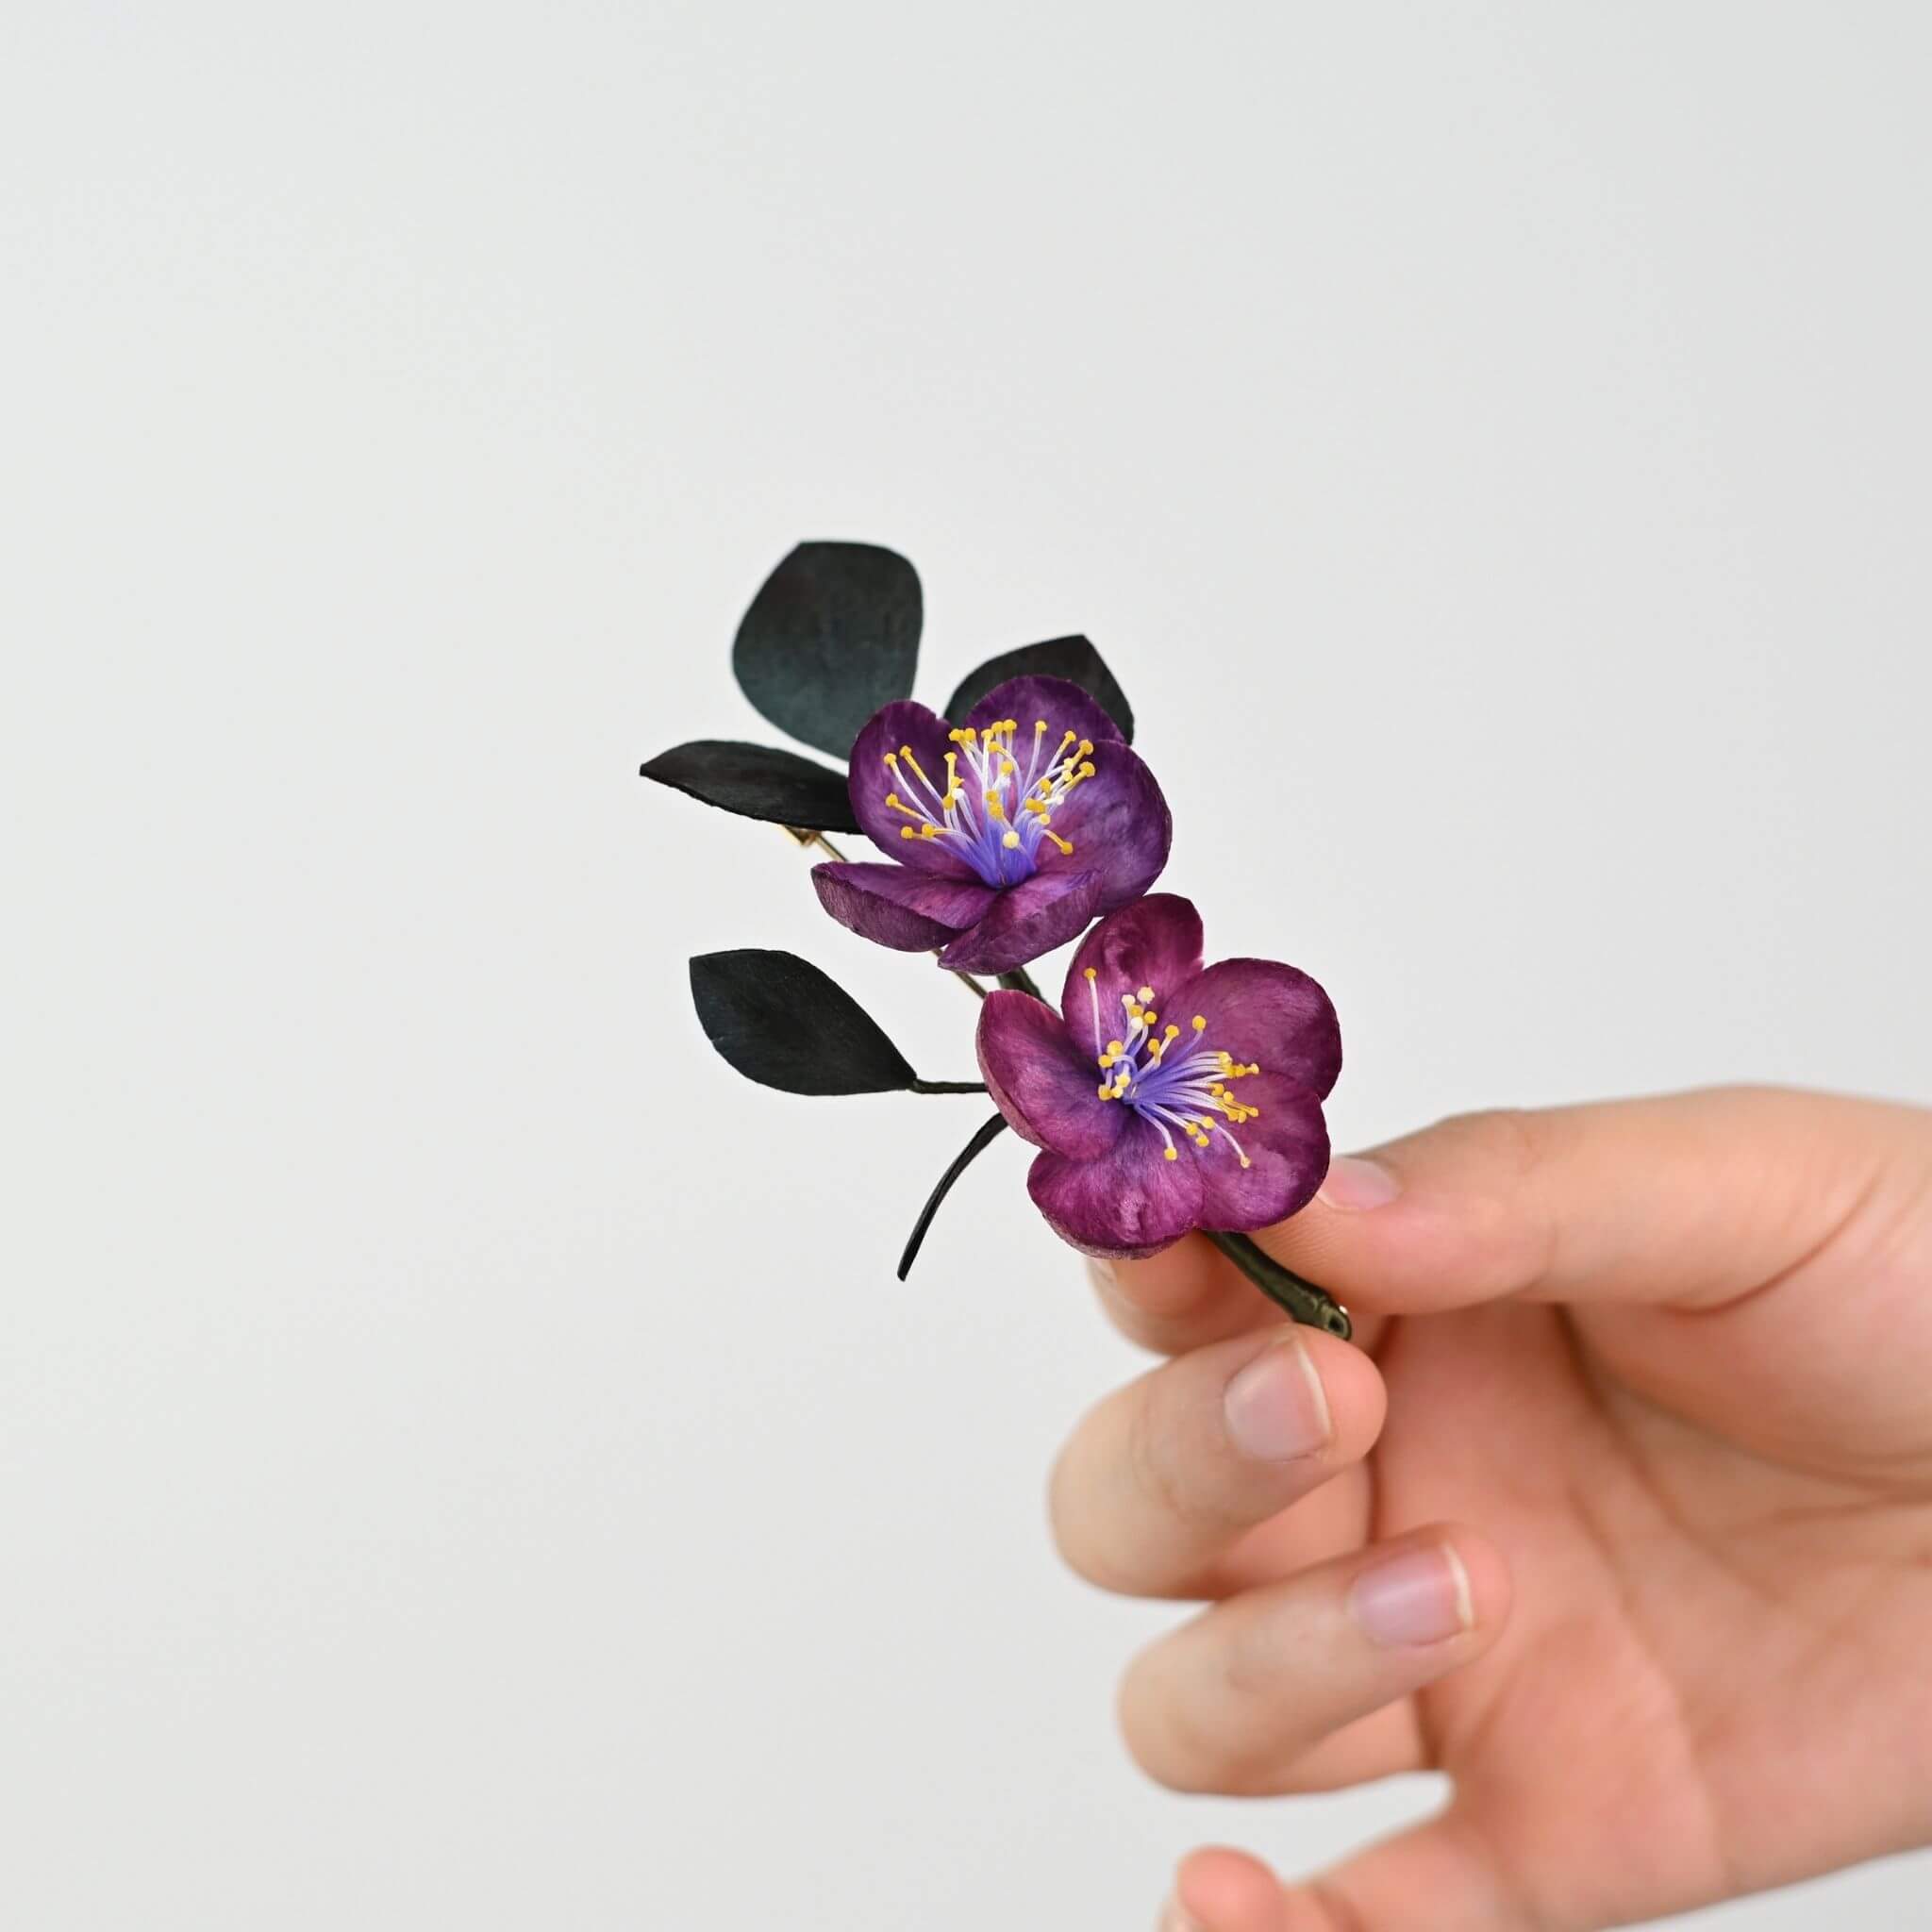
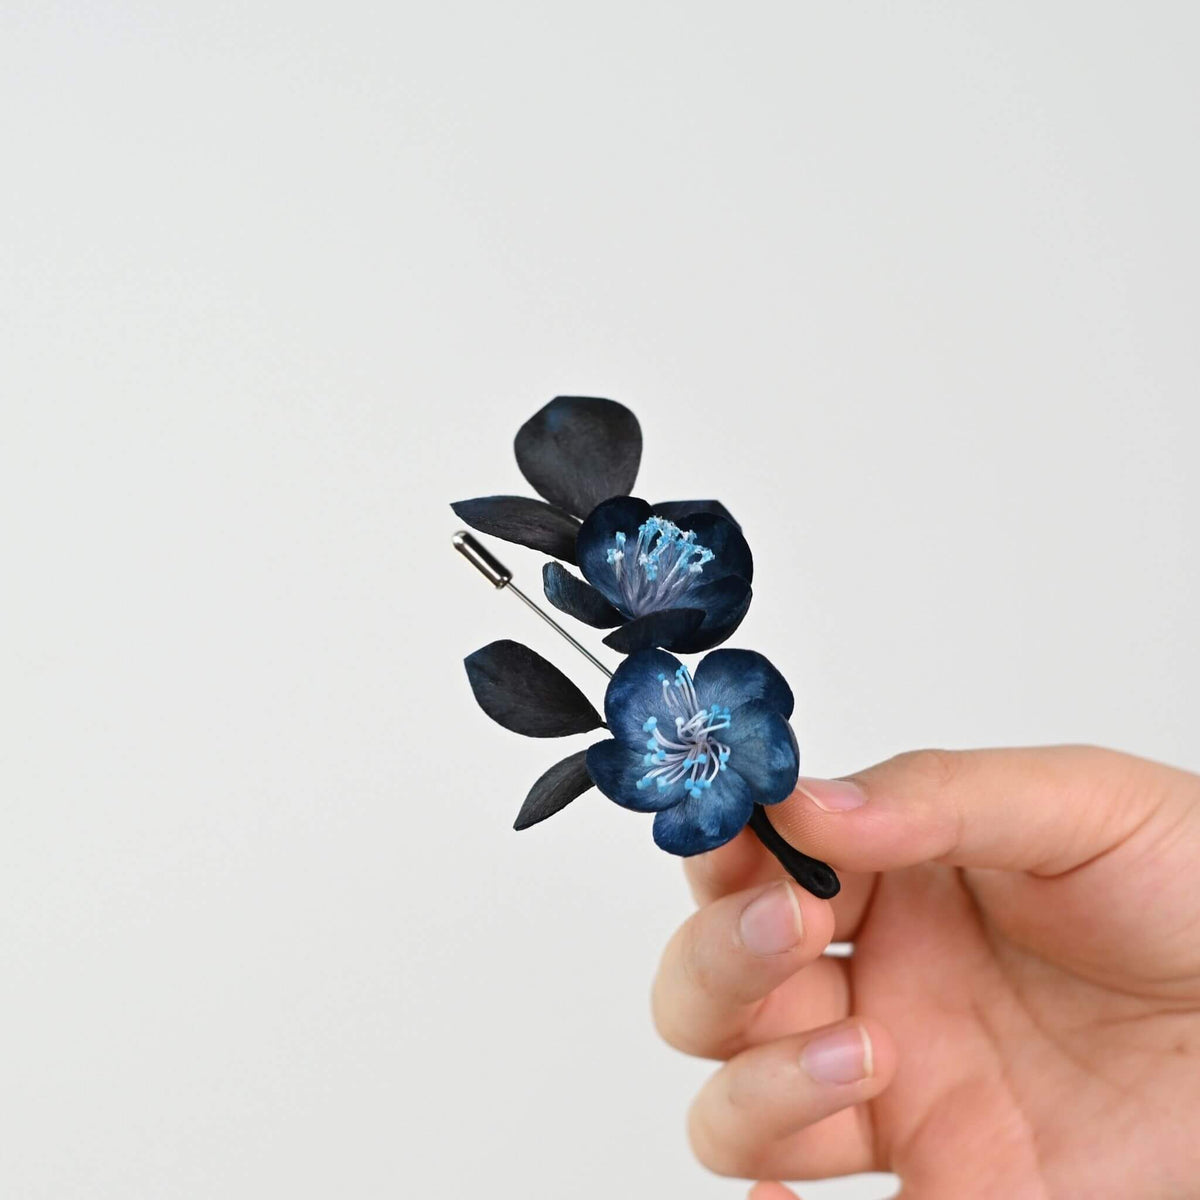
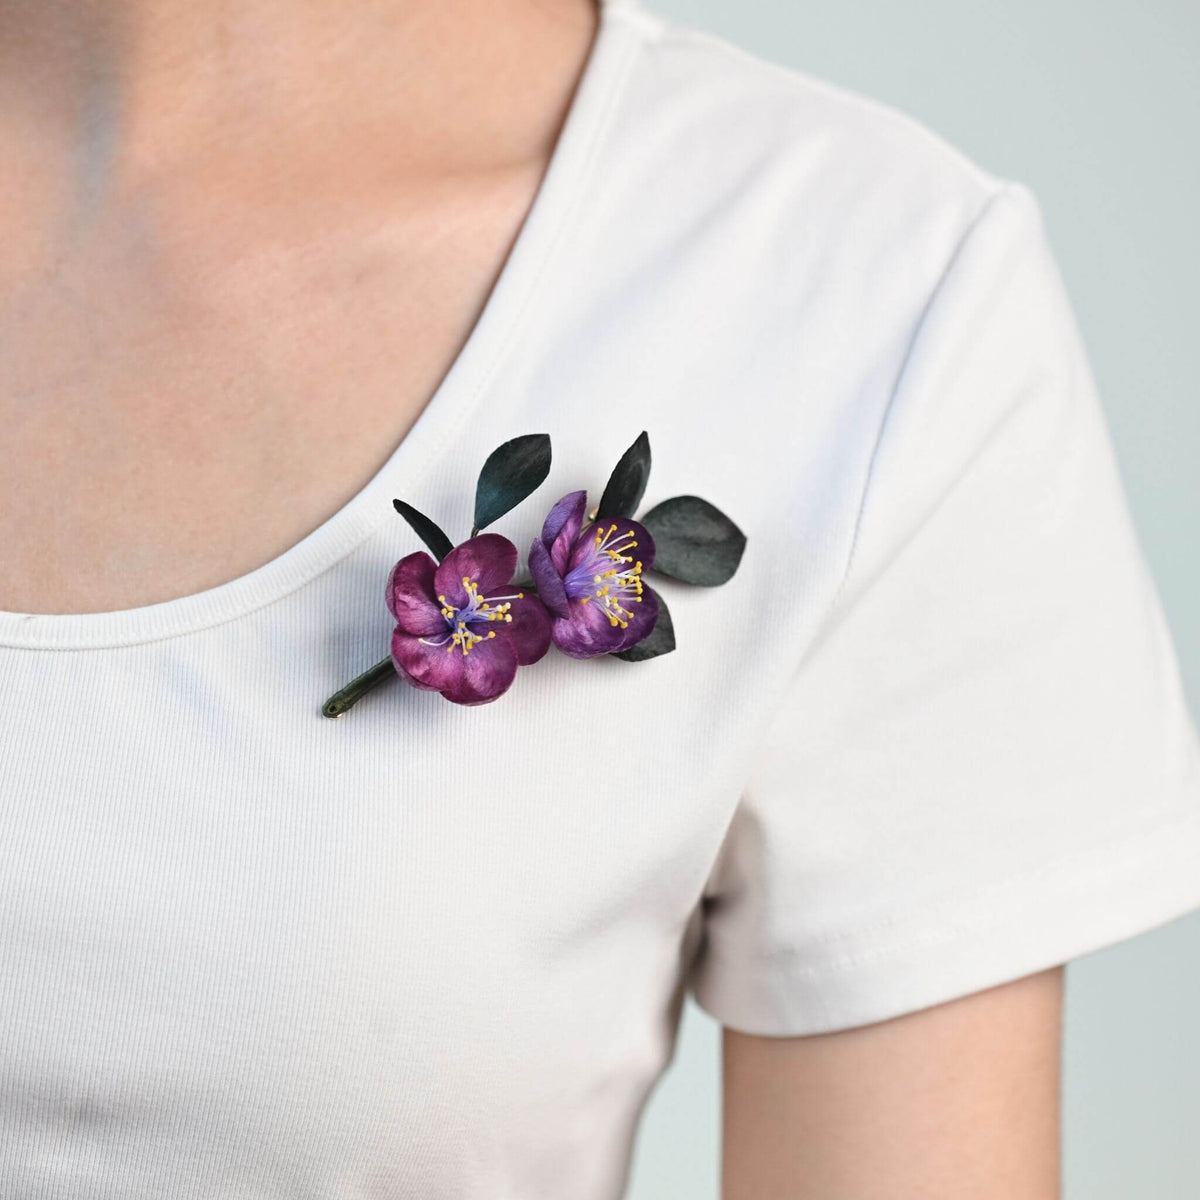
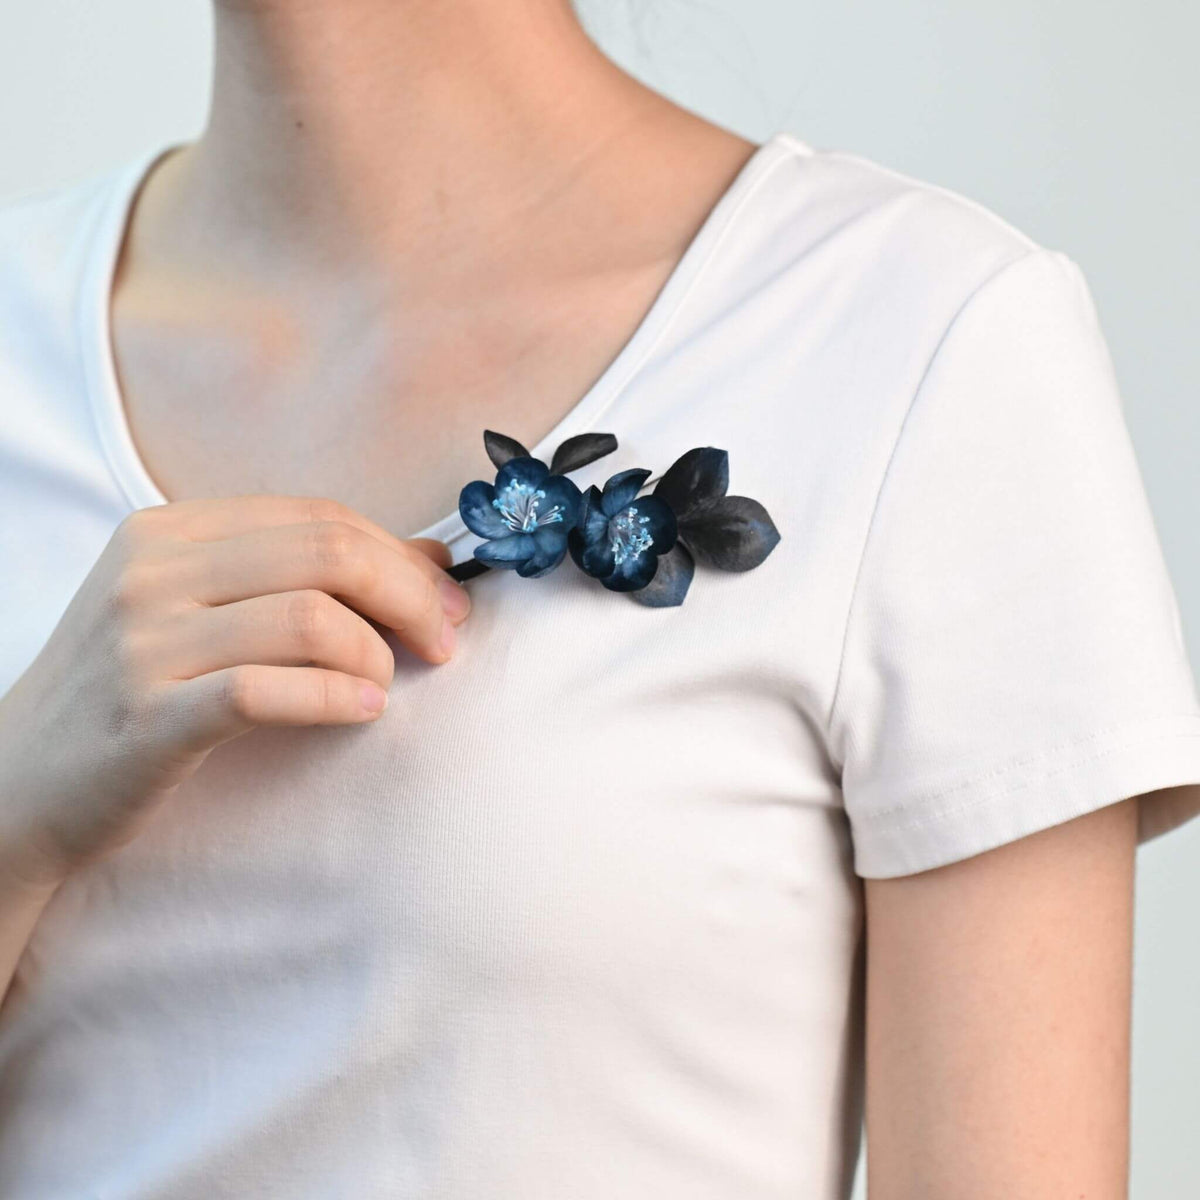
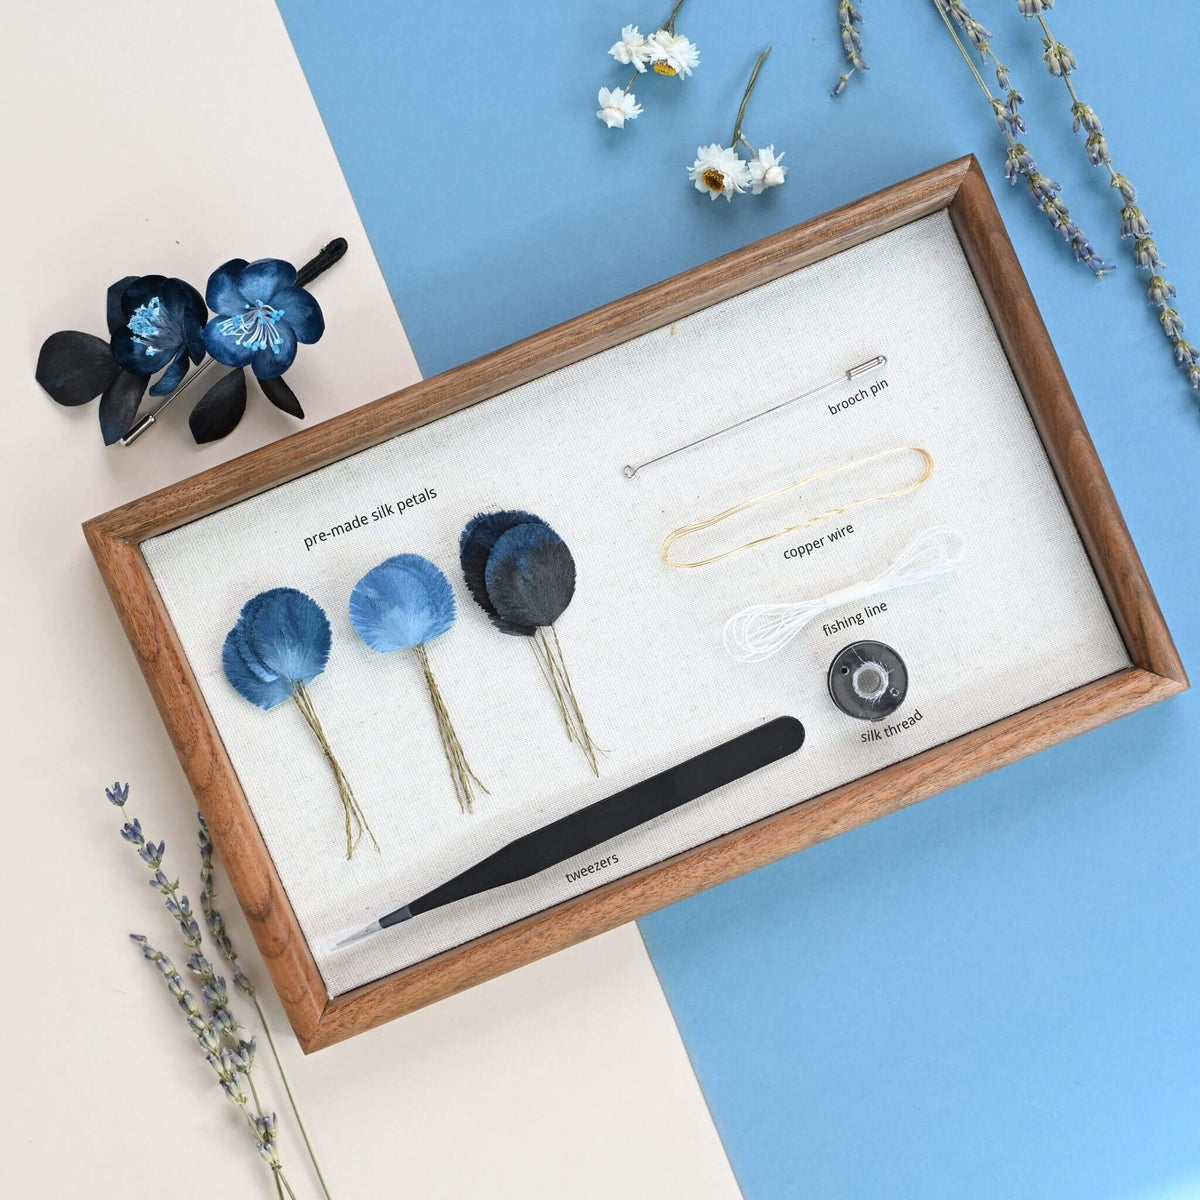
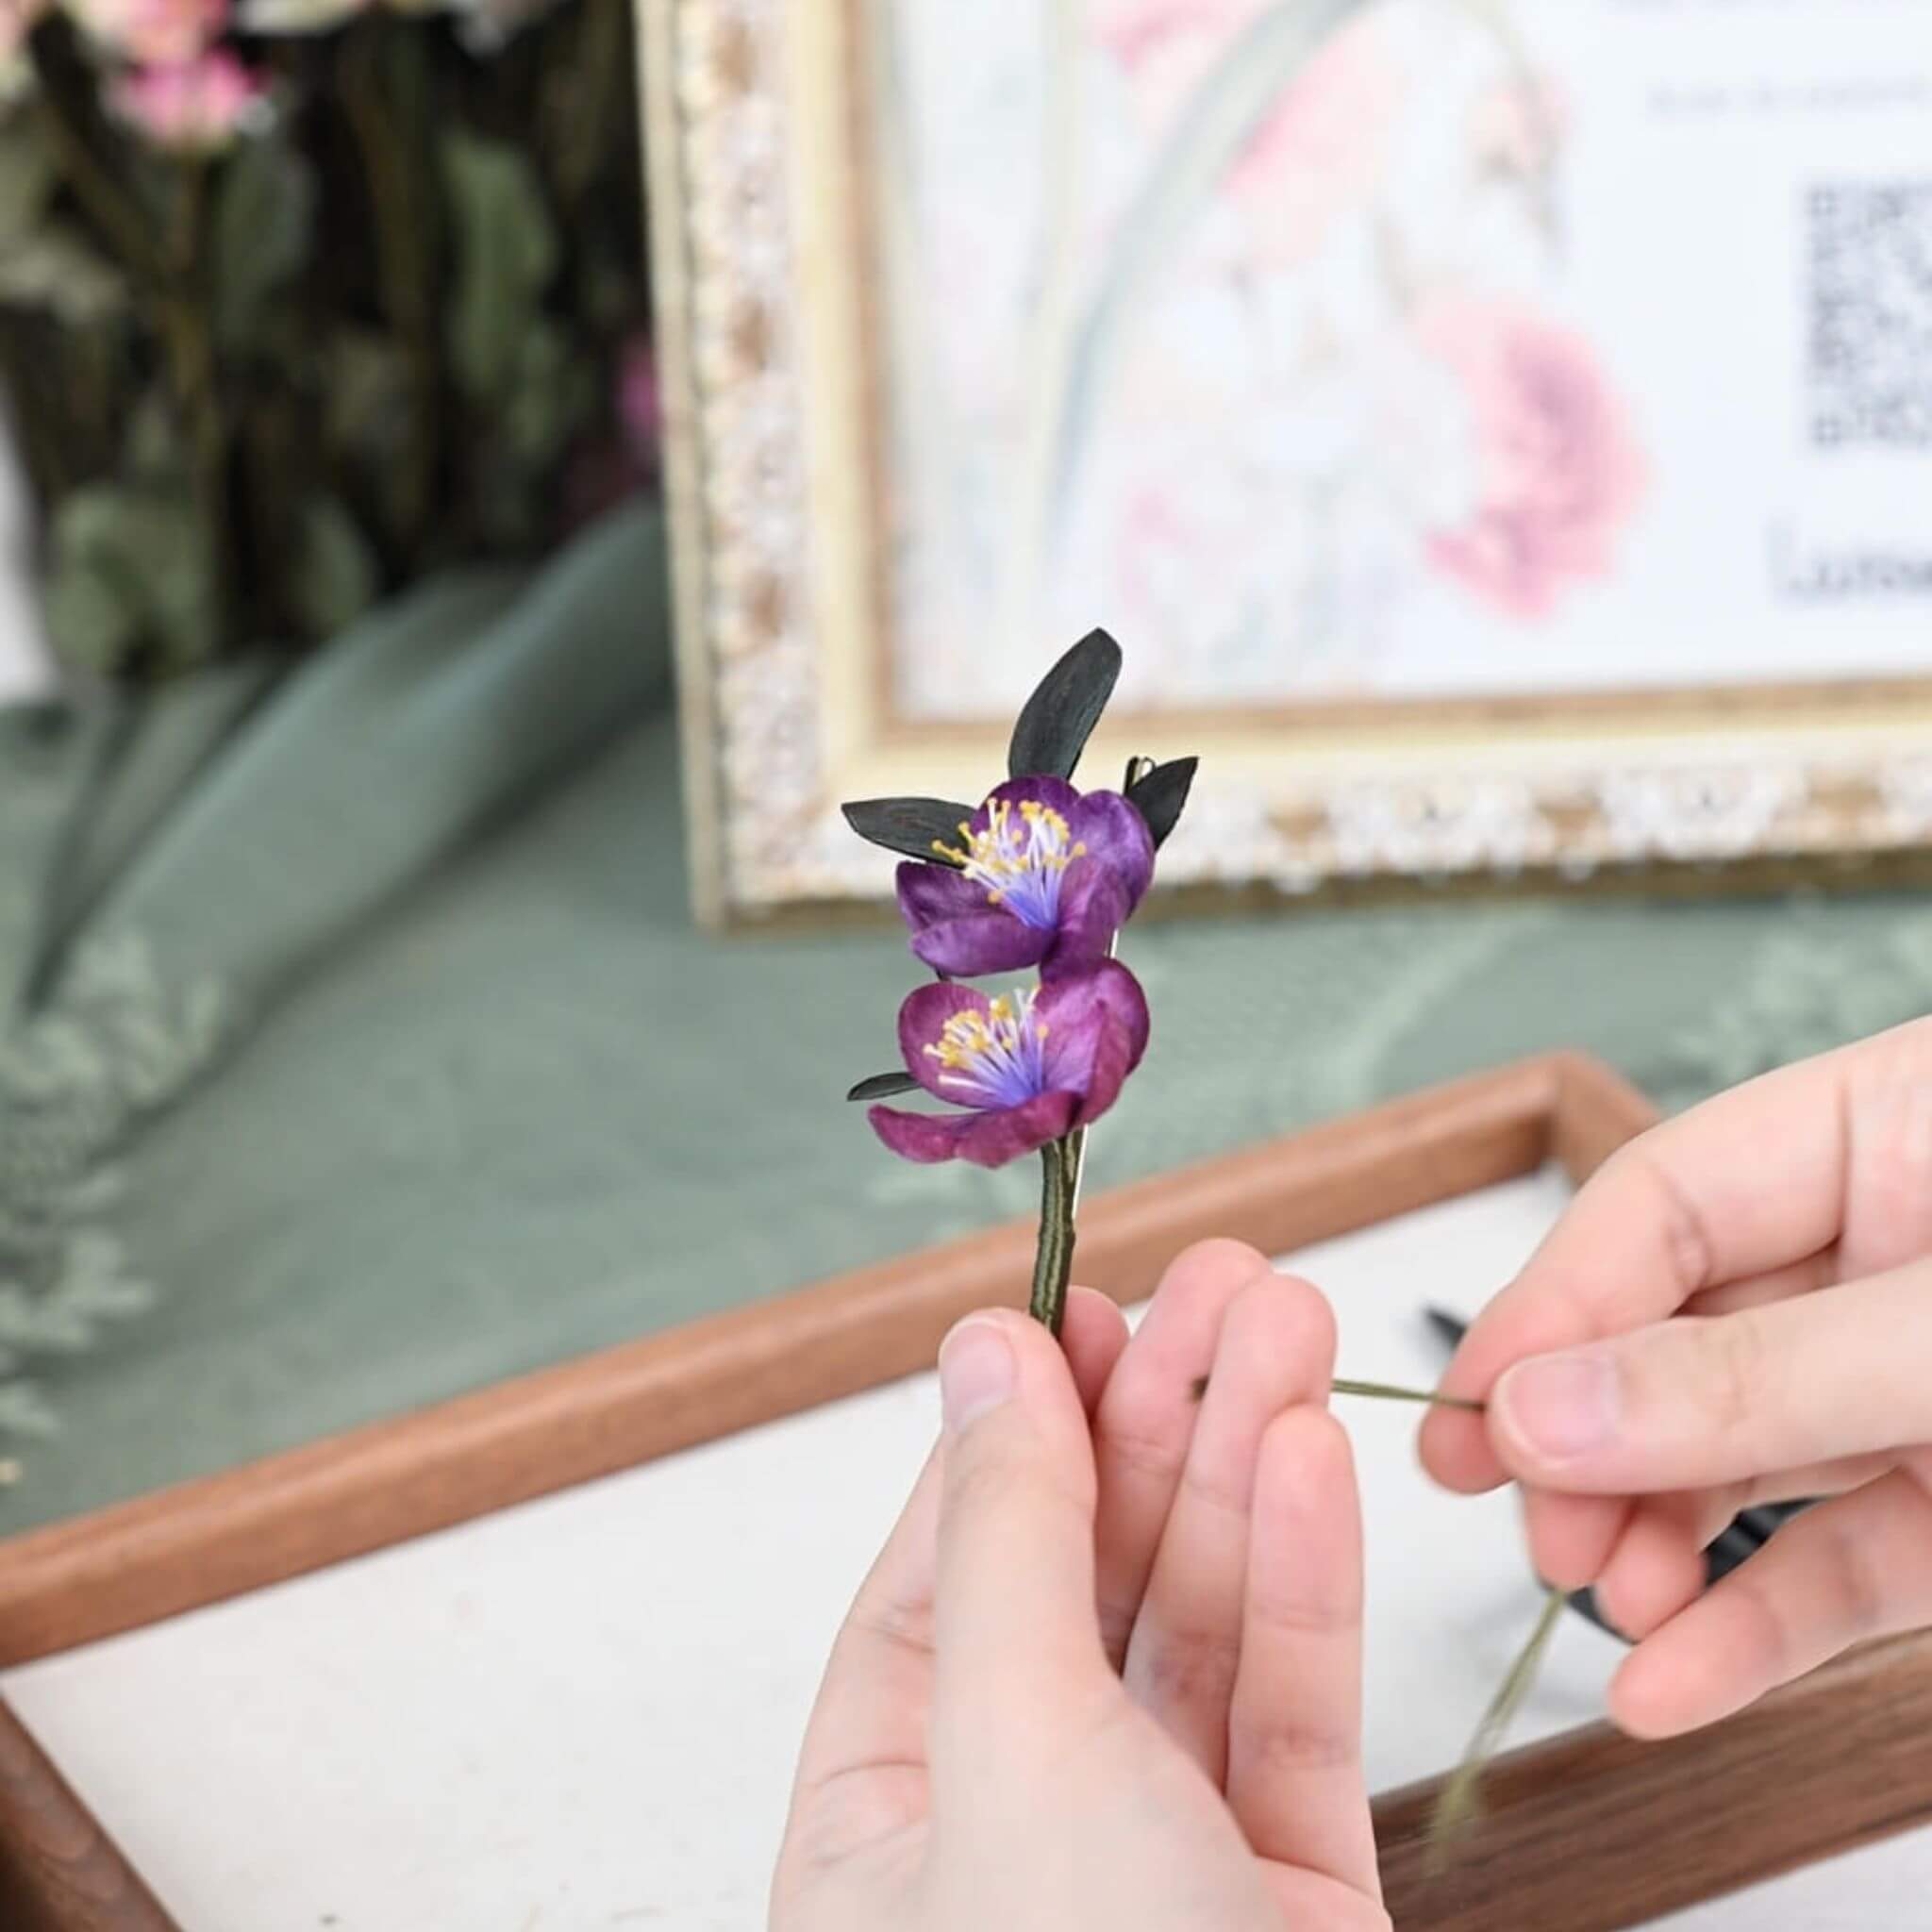
This delicate Rose Myrtle brooch brings together soft silk petals and gentle pink tones to create a charming little bloom. Each petal is carefully shaped by hand, with delicate green leaves adding a natural touch.
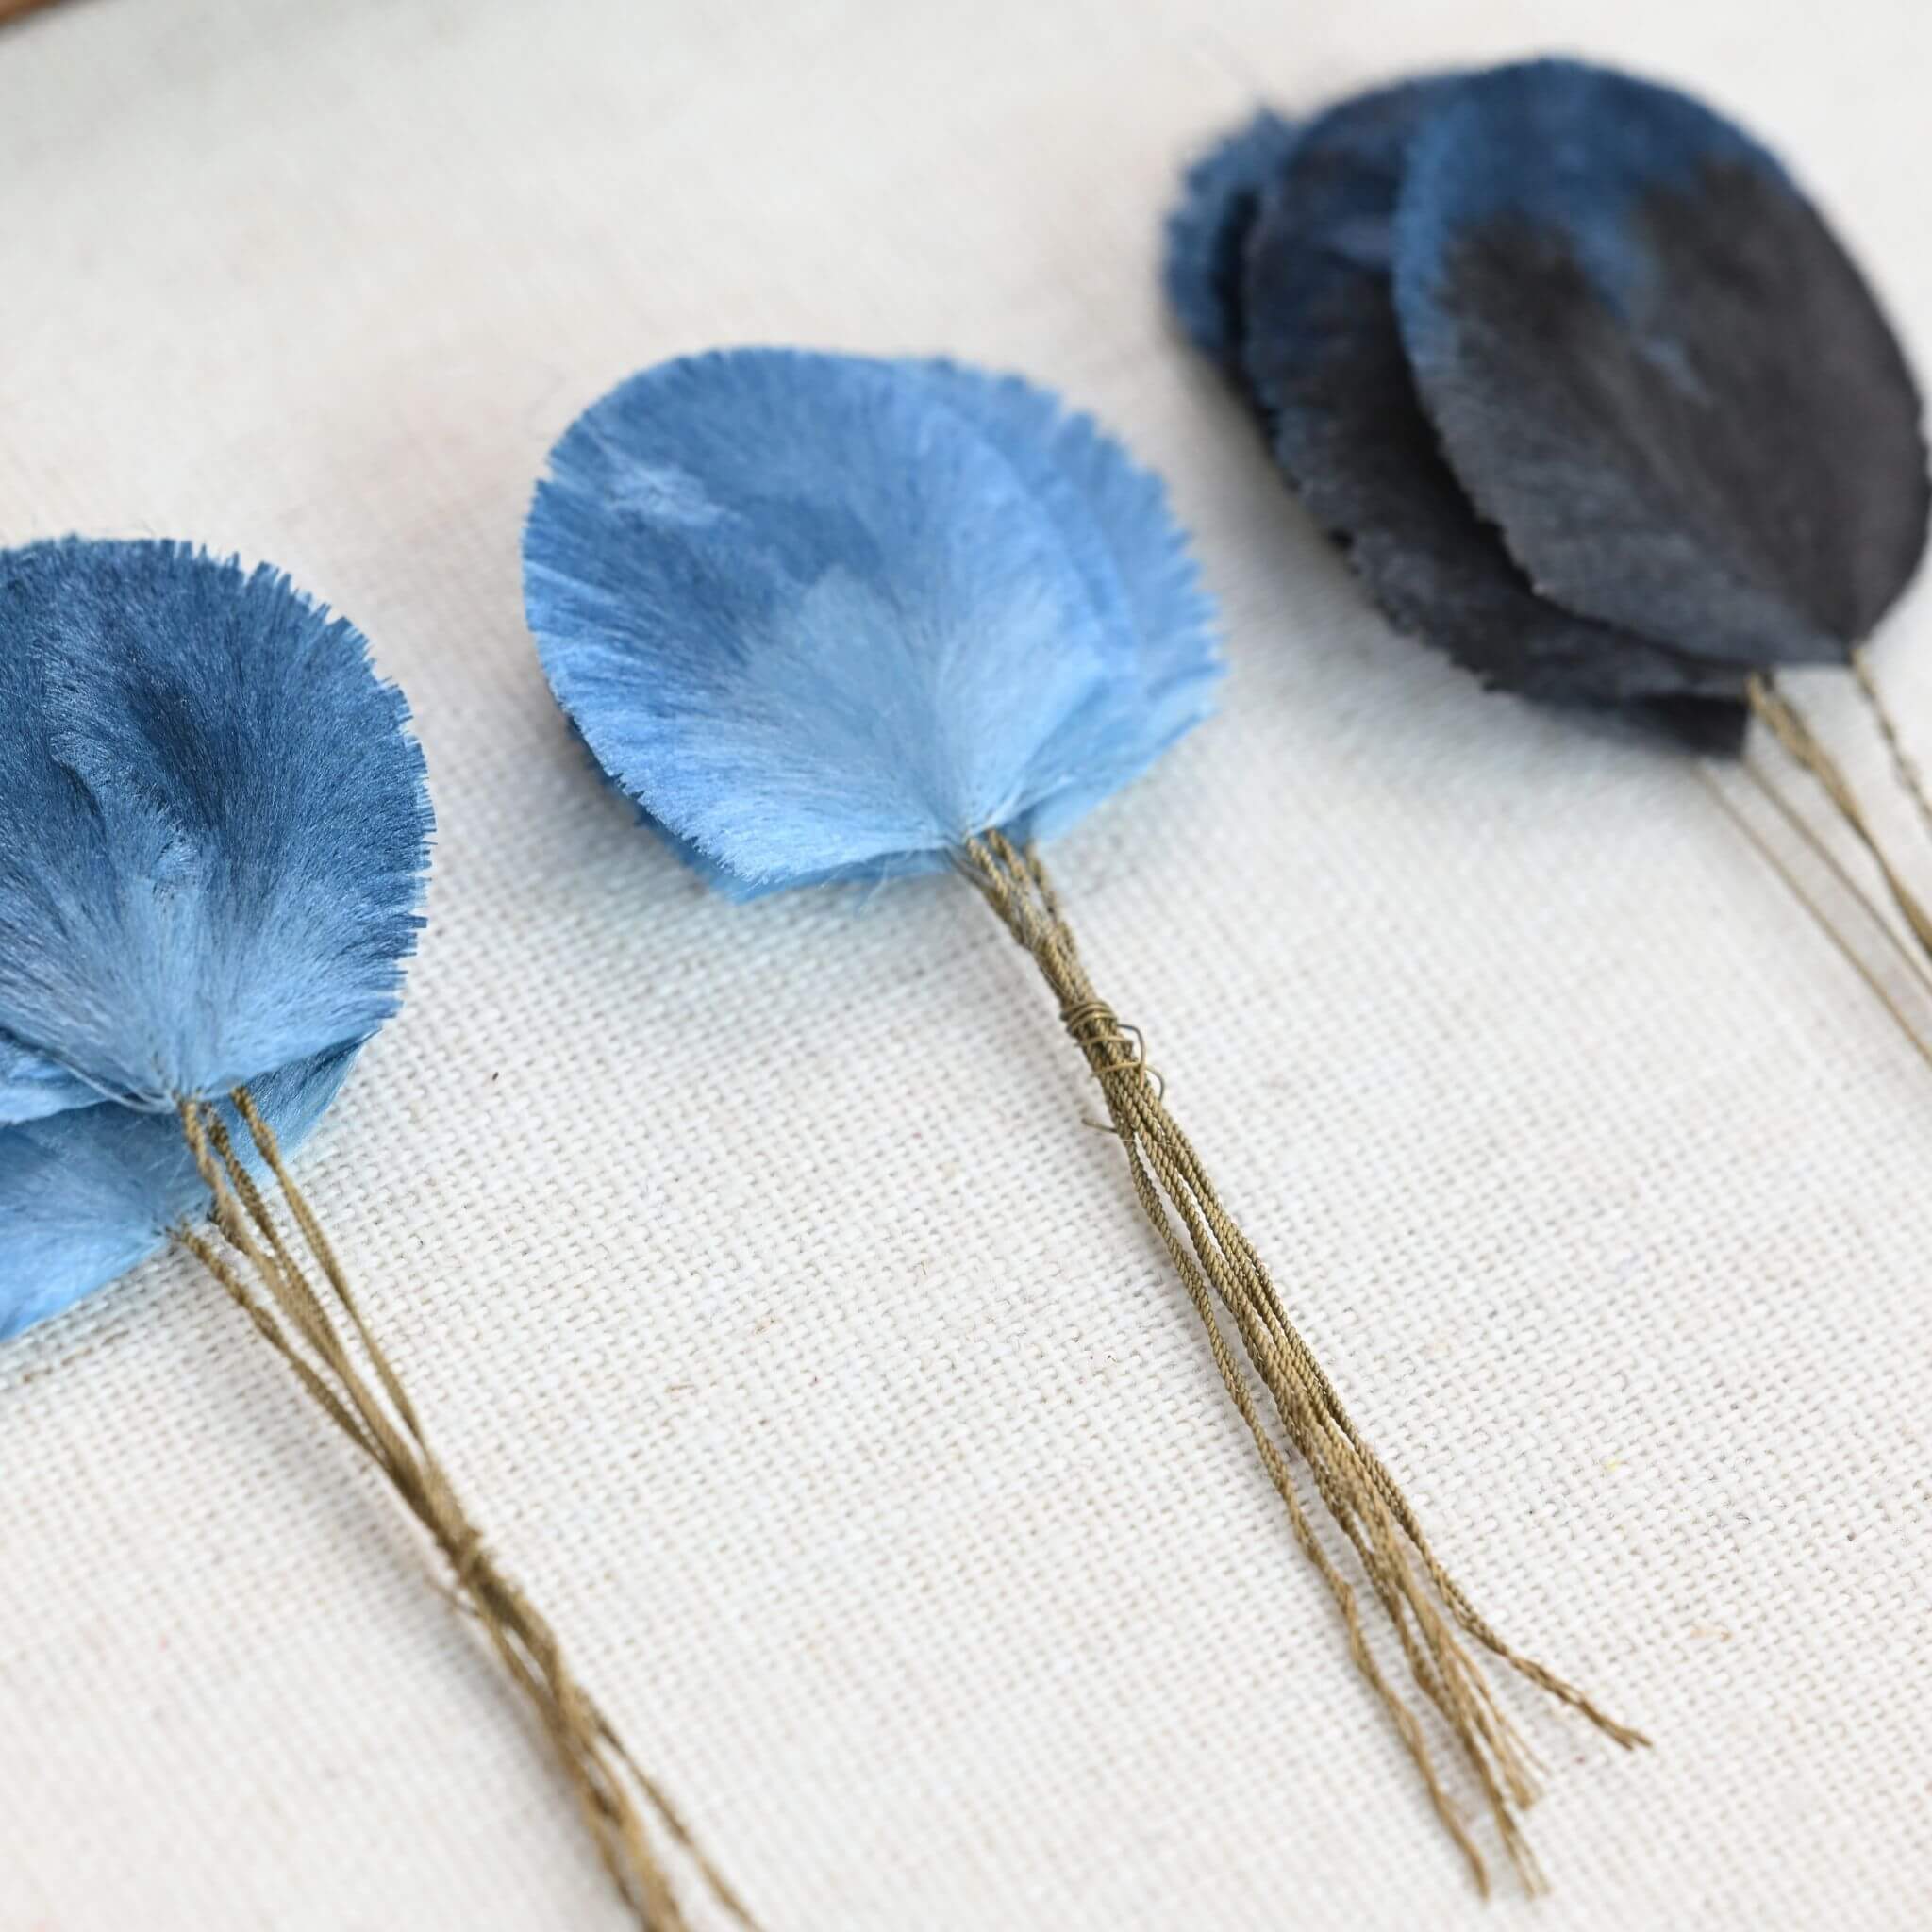
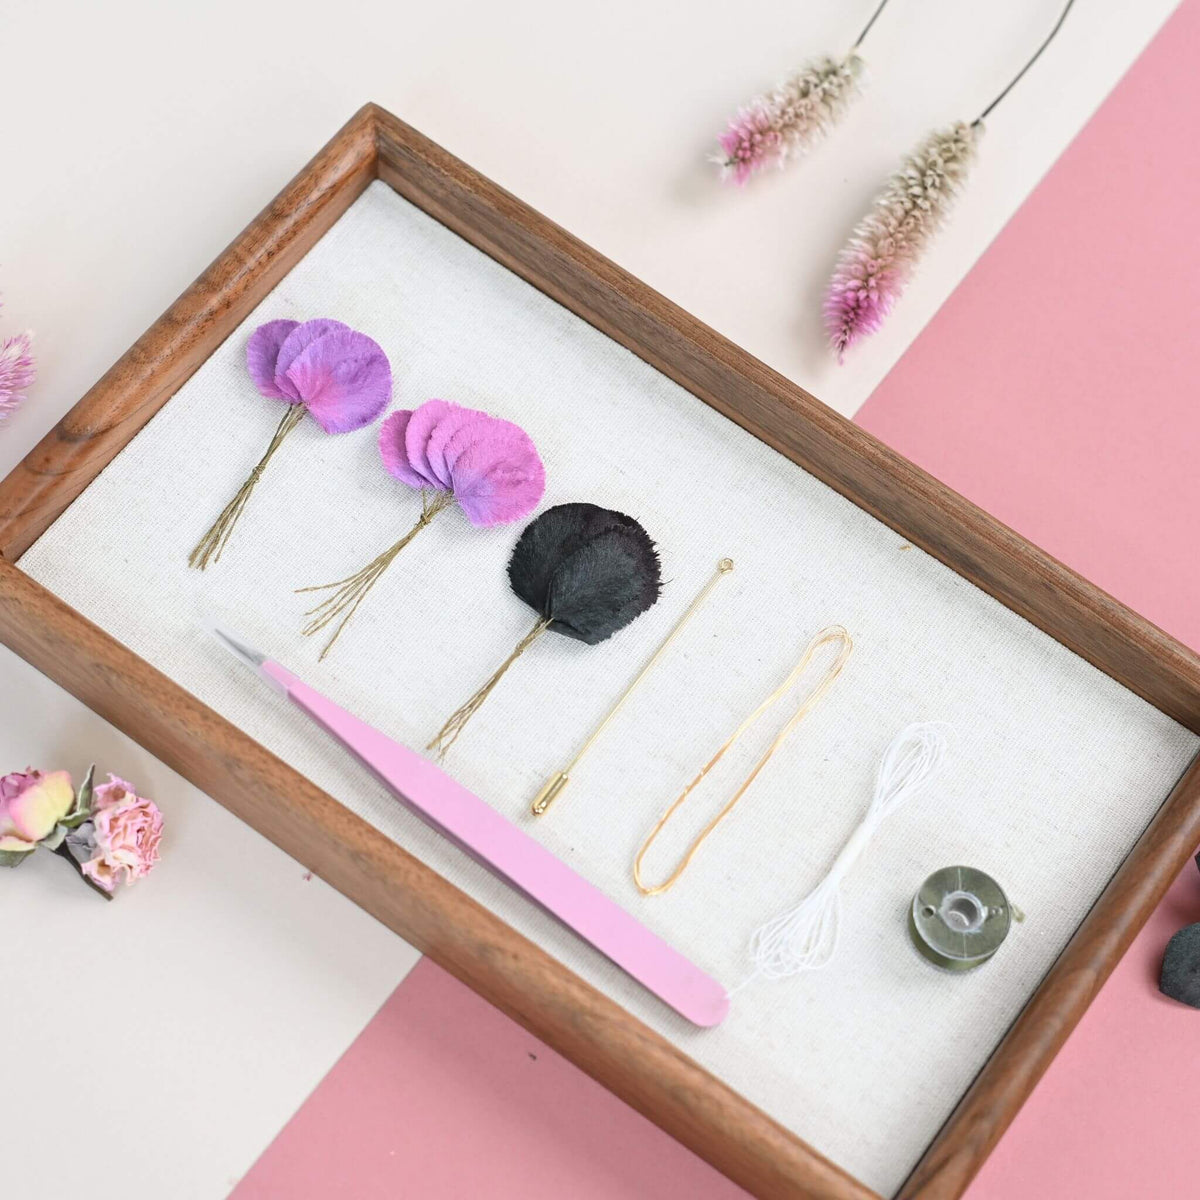
The best part? With the petals pre-made for you, this Ronghua kit is simple and relaxing to complete. Just shape, assemble, and enjoy the moment your blossoms come together.
Full Tutorial Video
Step. 1 Press and Trim the Petals and Leaves
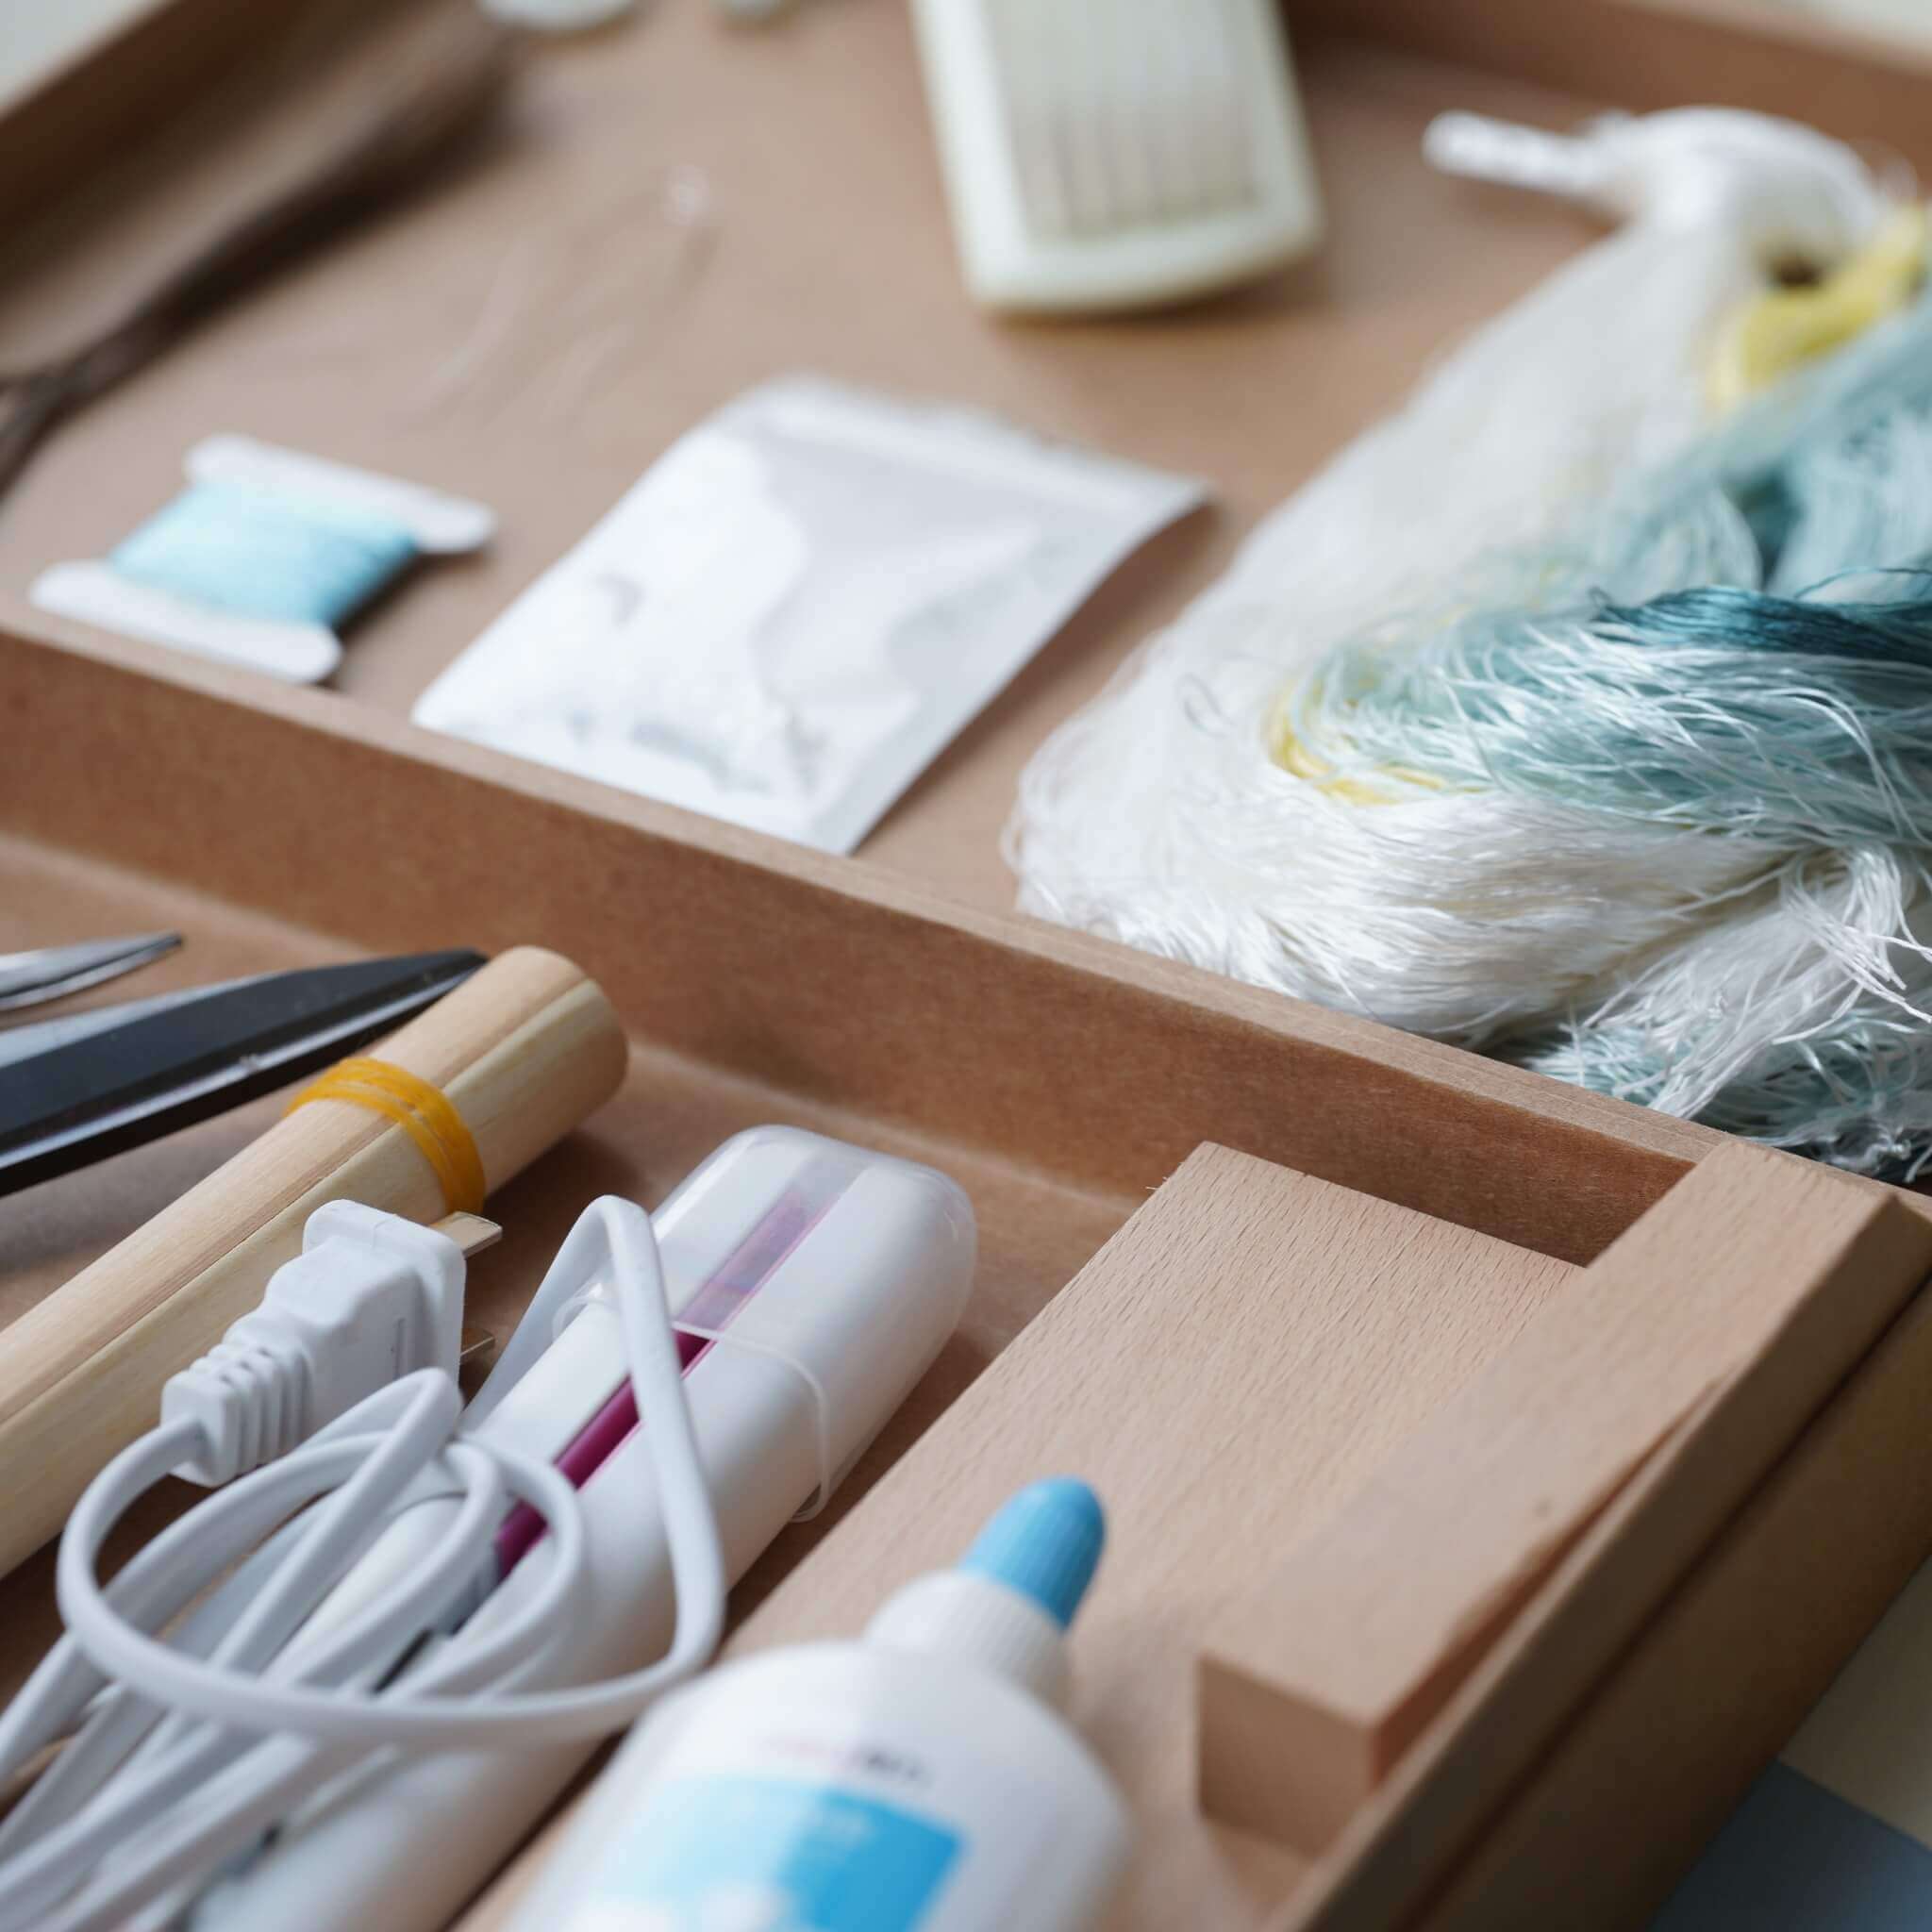
First, use the heated flat iron to press each petal once to make them thinner and flatter.

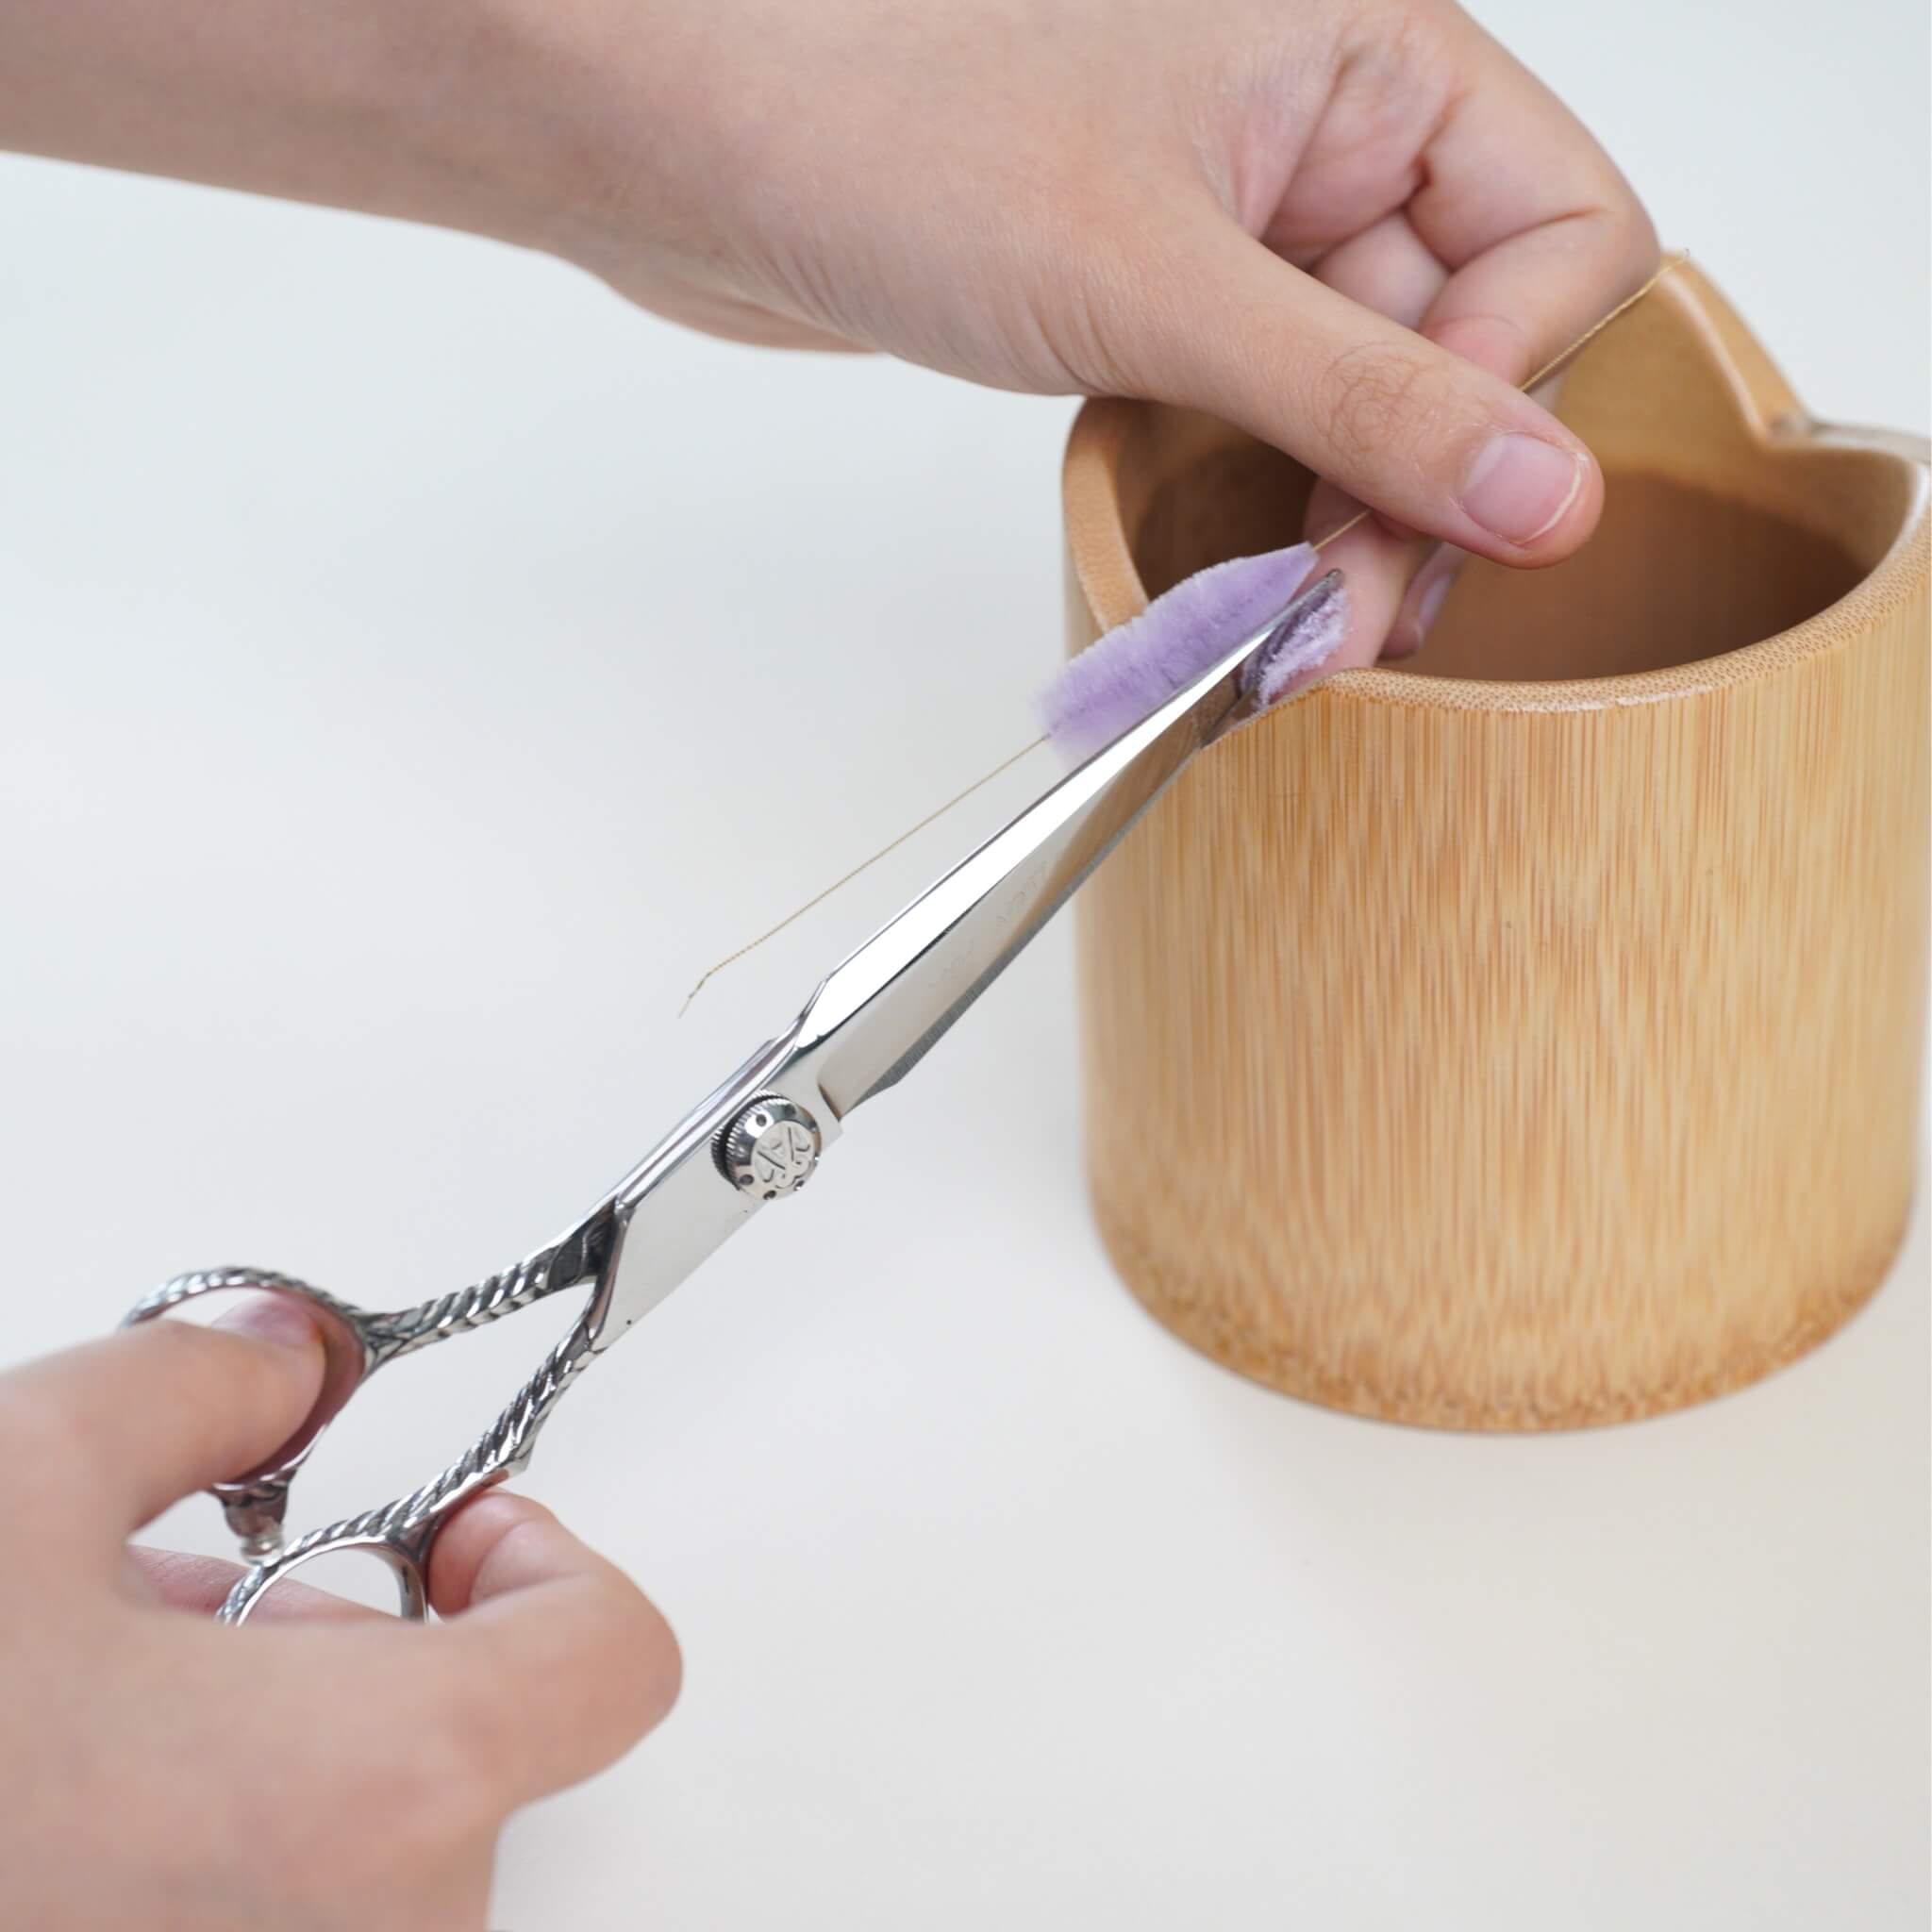
Next, trim the petals into shape with a sharp pair of scissors, ensuring the edges are neat and even.

For the leaves, trim the green silk strips so that the middle is wider and both ends taper to a point.

Once the petals are trimmed, place them in hairspray and let them soak until fully saturated.

Step. 2 Shape the Petals
Use a pair of tweezers to gently shape each petal by curving it into a soft, rounded shape, bringing both sides inward to make it look fuller, and folding the base of the petal slightly outward.

Repeat the same steps for the remaining petals.
Step. 3 Create the Flower Centers
Take out the copper wire and cut it into suitable lengths. Using white fishing line for the flower centers, wrap the fishing line around your fingers several times, place the copper wire across the middle of the loops, and secure it.

Twist the copper wire tightly, then cut through the fishing-line loops to open them up, making two flower centers in total. Color the lower half of the fishing line purple and the tips yellow, and once dry, very gently singe the tips with a lighter.

Step. 4 Curve and Assemble the Leaves
Use the flat iron to gently curve the leaves, then start assembling the leaf branches.

Prepare some silk thread and attach the leaves one at a time, leaving a little space between each one and varying their heights for a natural look.

Create one branch with three leaves and another with two smaller leaves, remembering to add a piece of copper wire inside each stem for support.

Step. 5 Assemble the Flowers
Align the base of each petal with the base of the flower center, then layer the petals one over another with five petals per flower. Assemble the two small flowers carefully, noting their slightly different colors as shown in the video.

Take a long piece of dark green silk thread folded in half and follow the assembly order to attach the flowers and leaves one by one, keeping the silk thread smooth and neatly aligned.

Trim the excess copper wire at a diagonal angle, wrap down to the right position, wrap back in the opposite direction, and fold the copper wire at the end back on itself.
Step. 6 Attach the Brooch Pin
Firmly bind the brooch pin in place with tight thread wrapping.

Step. 7 Finishing and Securing
Finish the wrapping by taking a short piece of copper wire folded in half, continuing to wrap over it, passing the thread through the loop, pulling the wire out to draw the thread through neatly, and trimming away any excess thread. Gently singe any fuzzy or frayed edges with a lighter, and your brooch is finished!


Laisser un commentaire
Tous les commentaires sont modérés avant d'être publiés.
Ce site est protégé par hCaptcha, et la Politique de confidentialité et les Conditions de service de hCaptcha s’appliquent.