

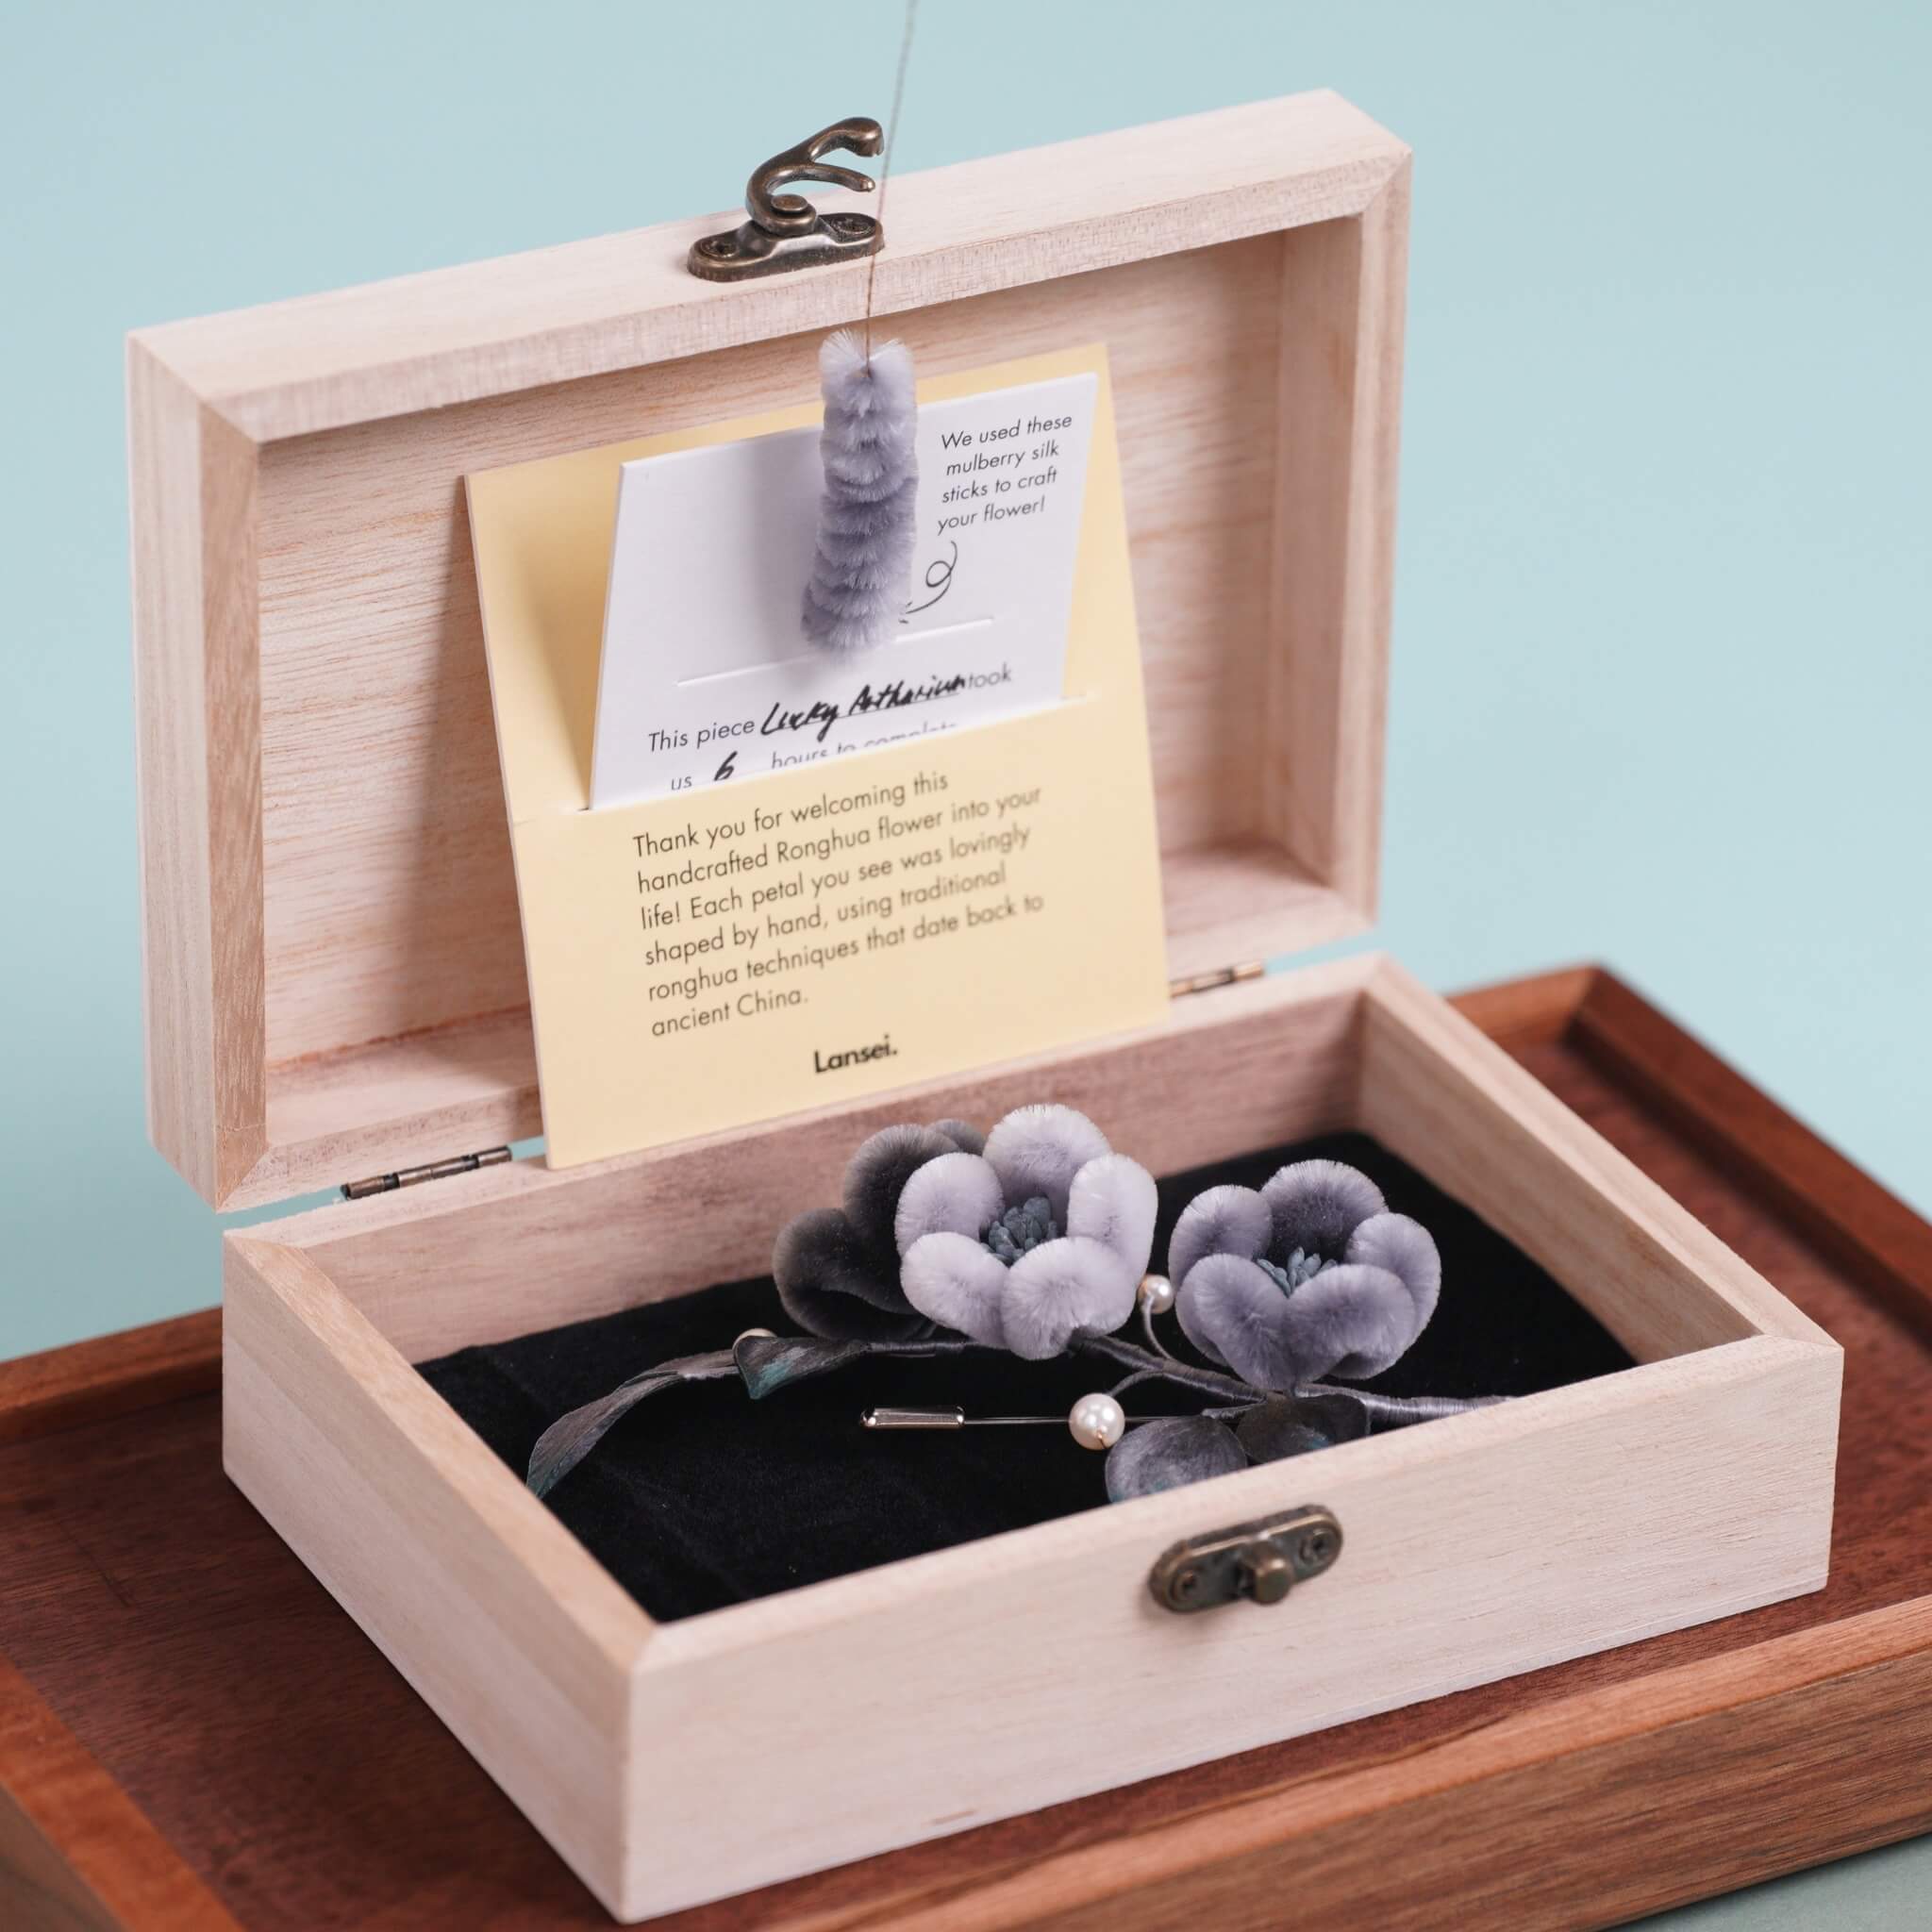
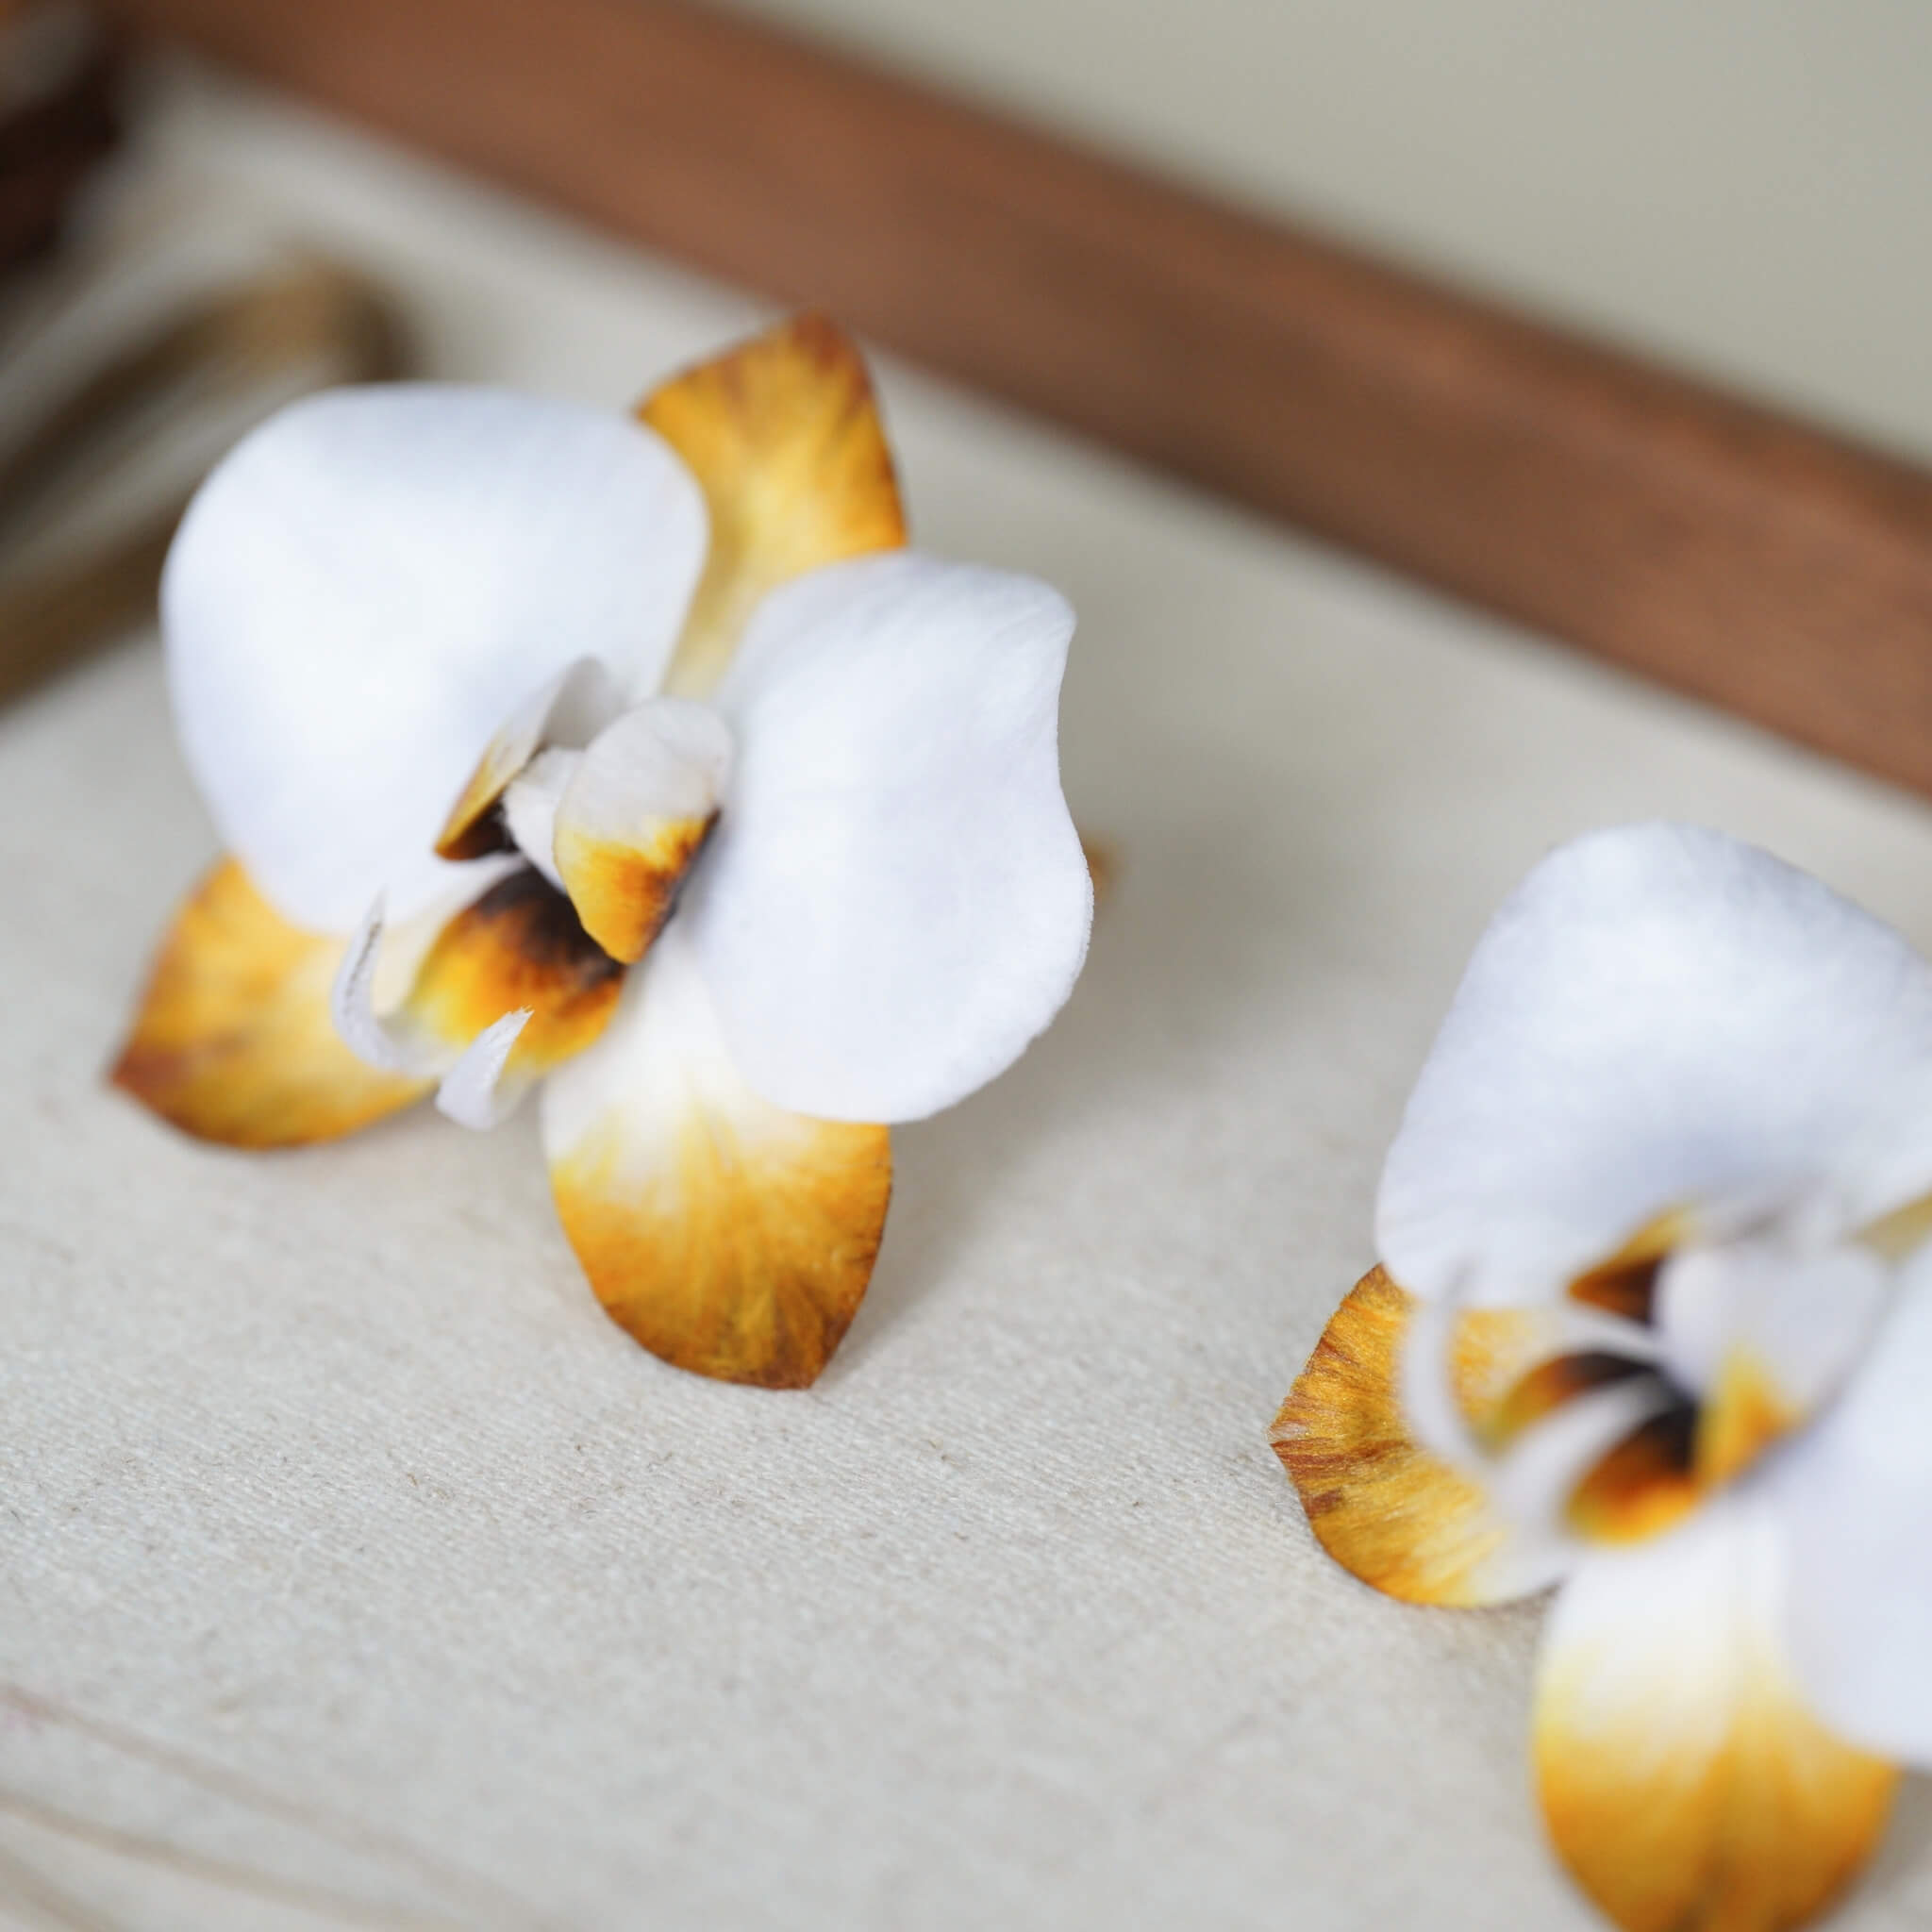
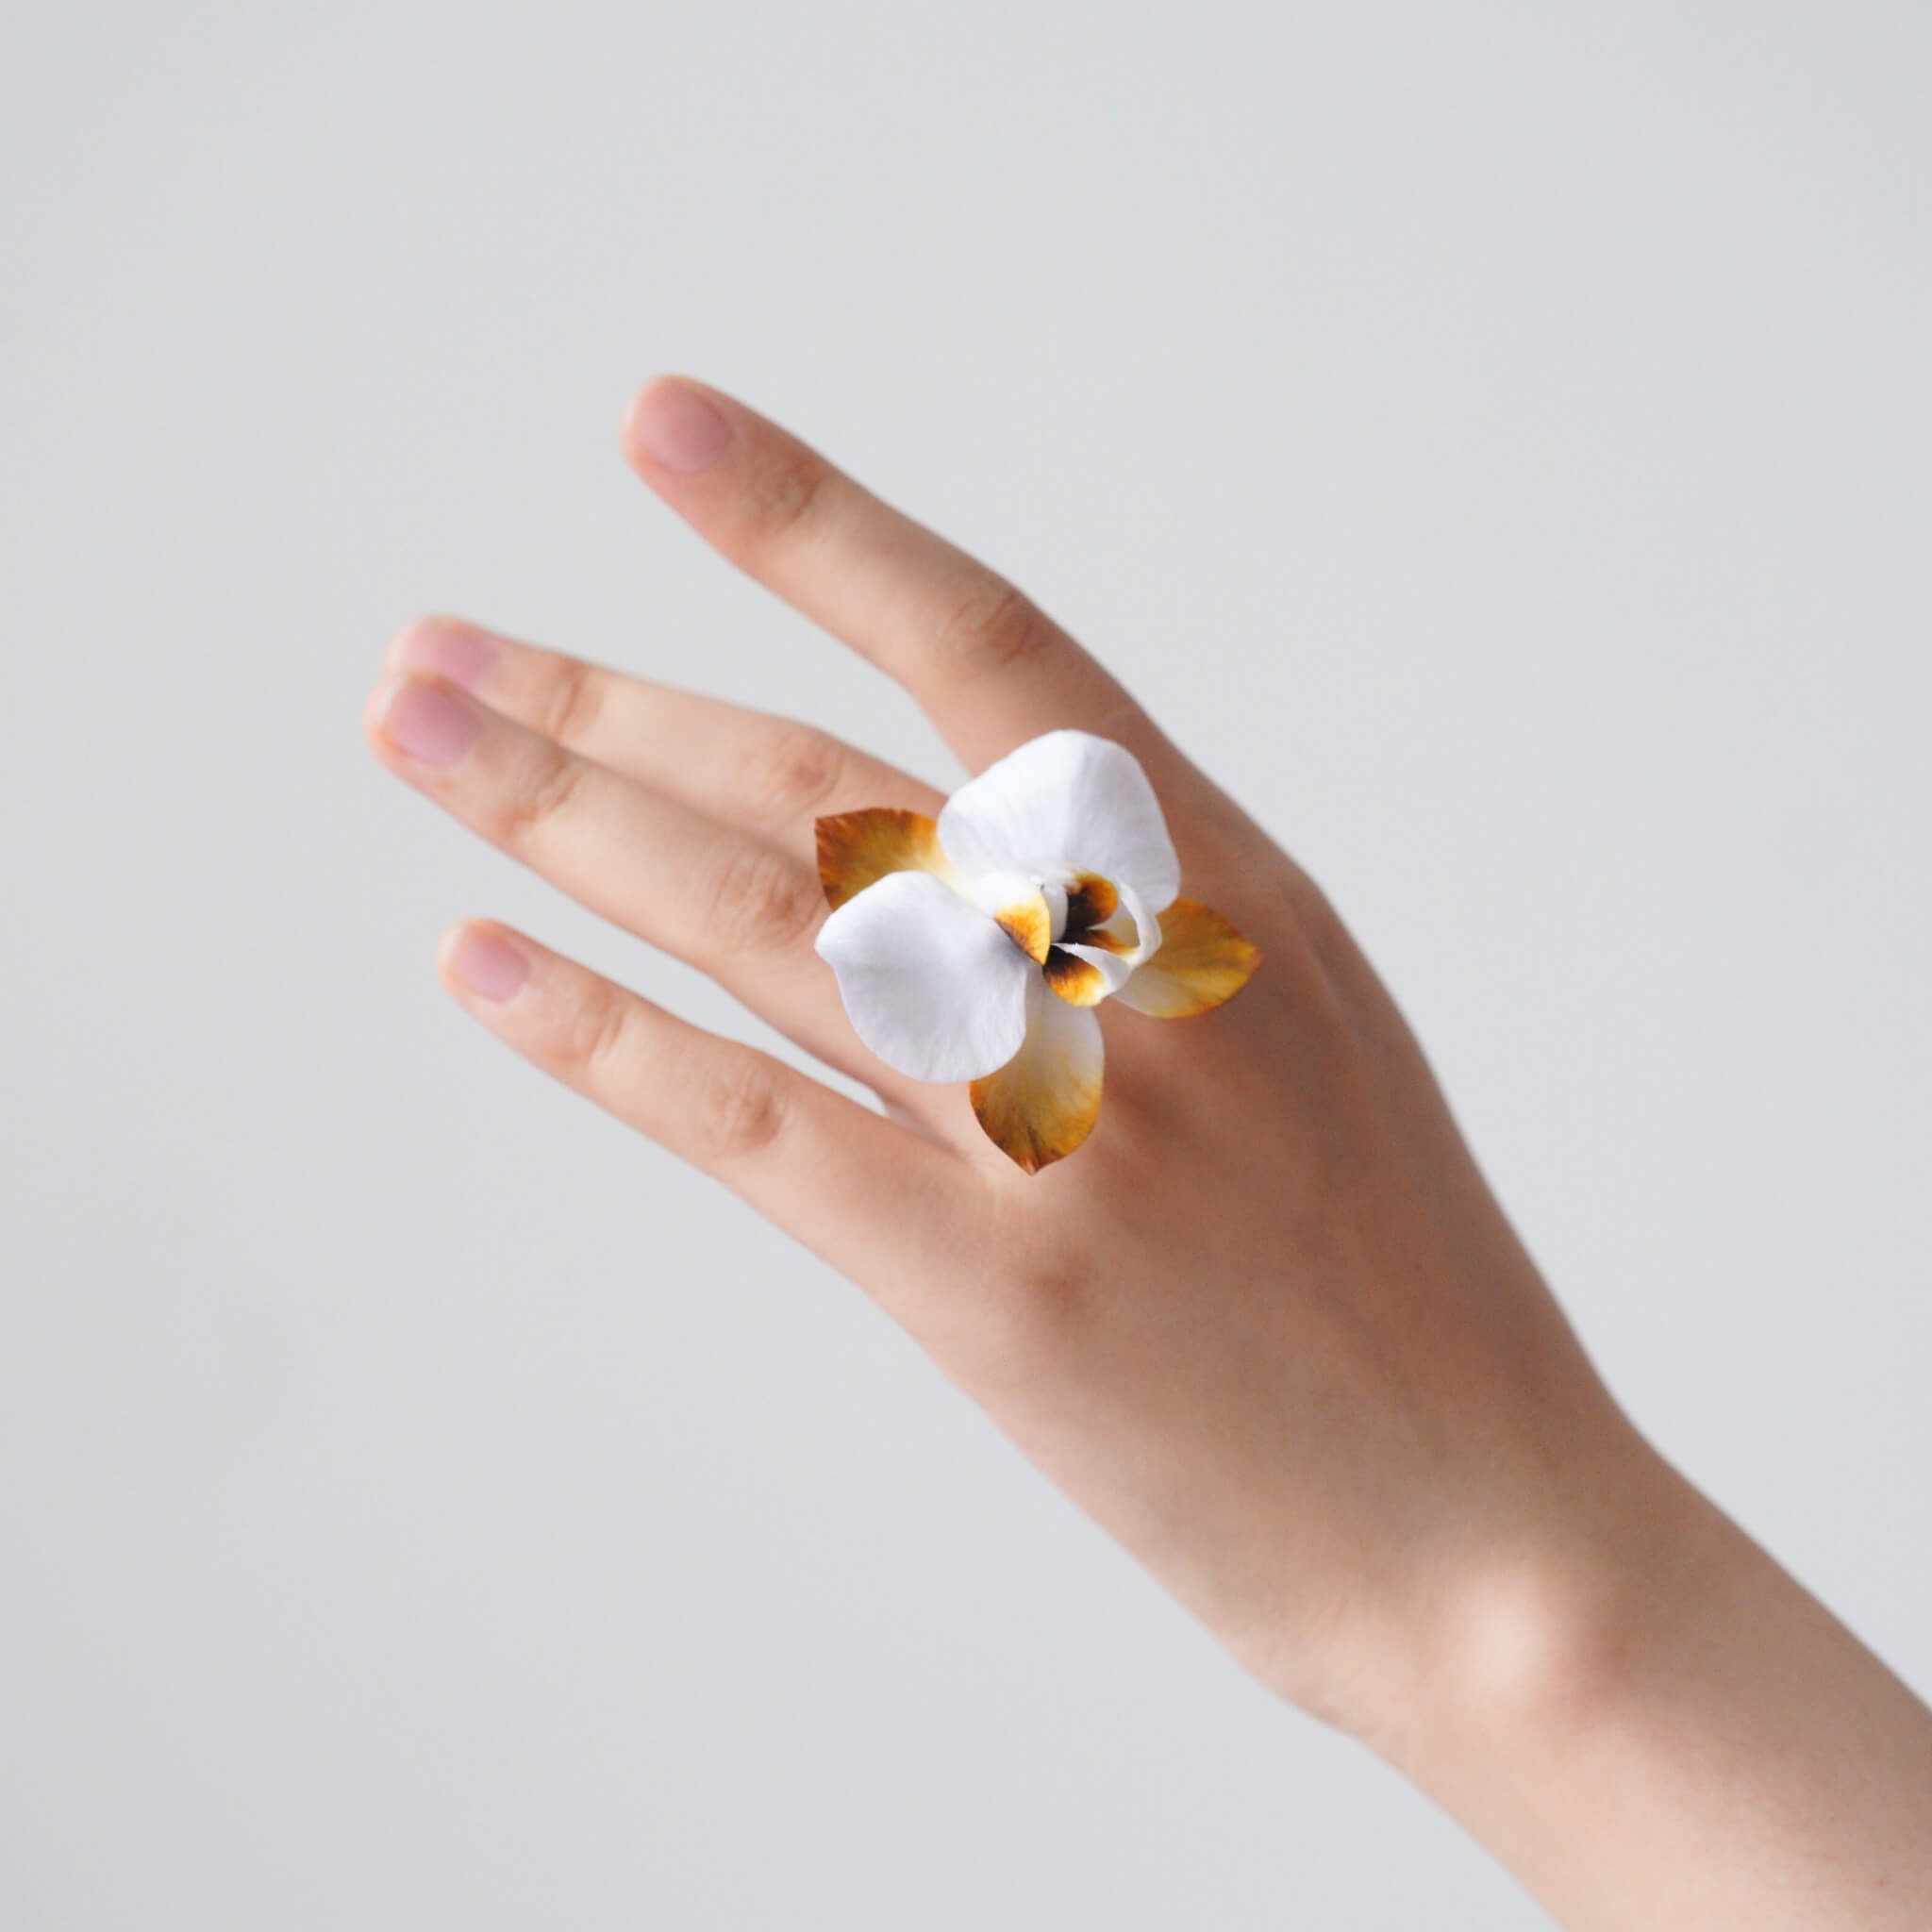
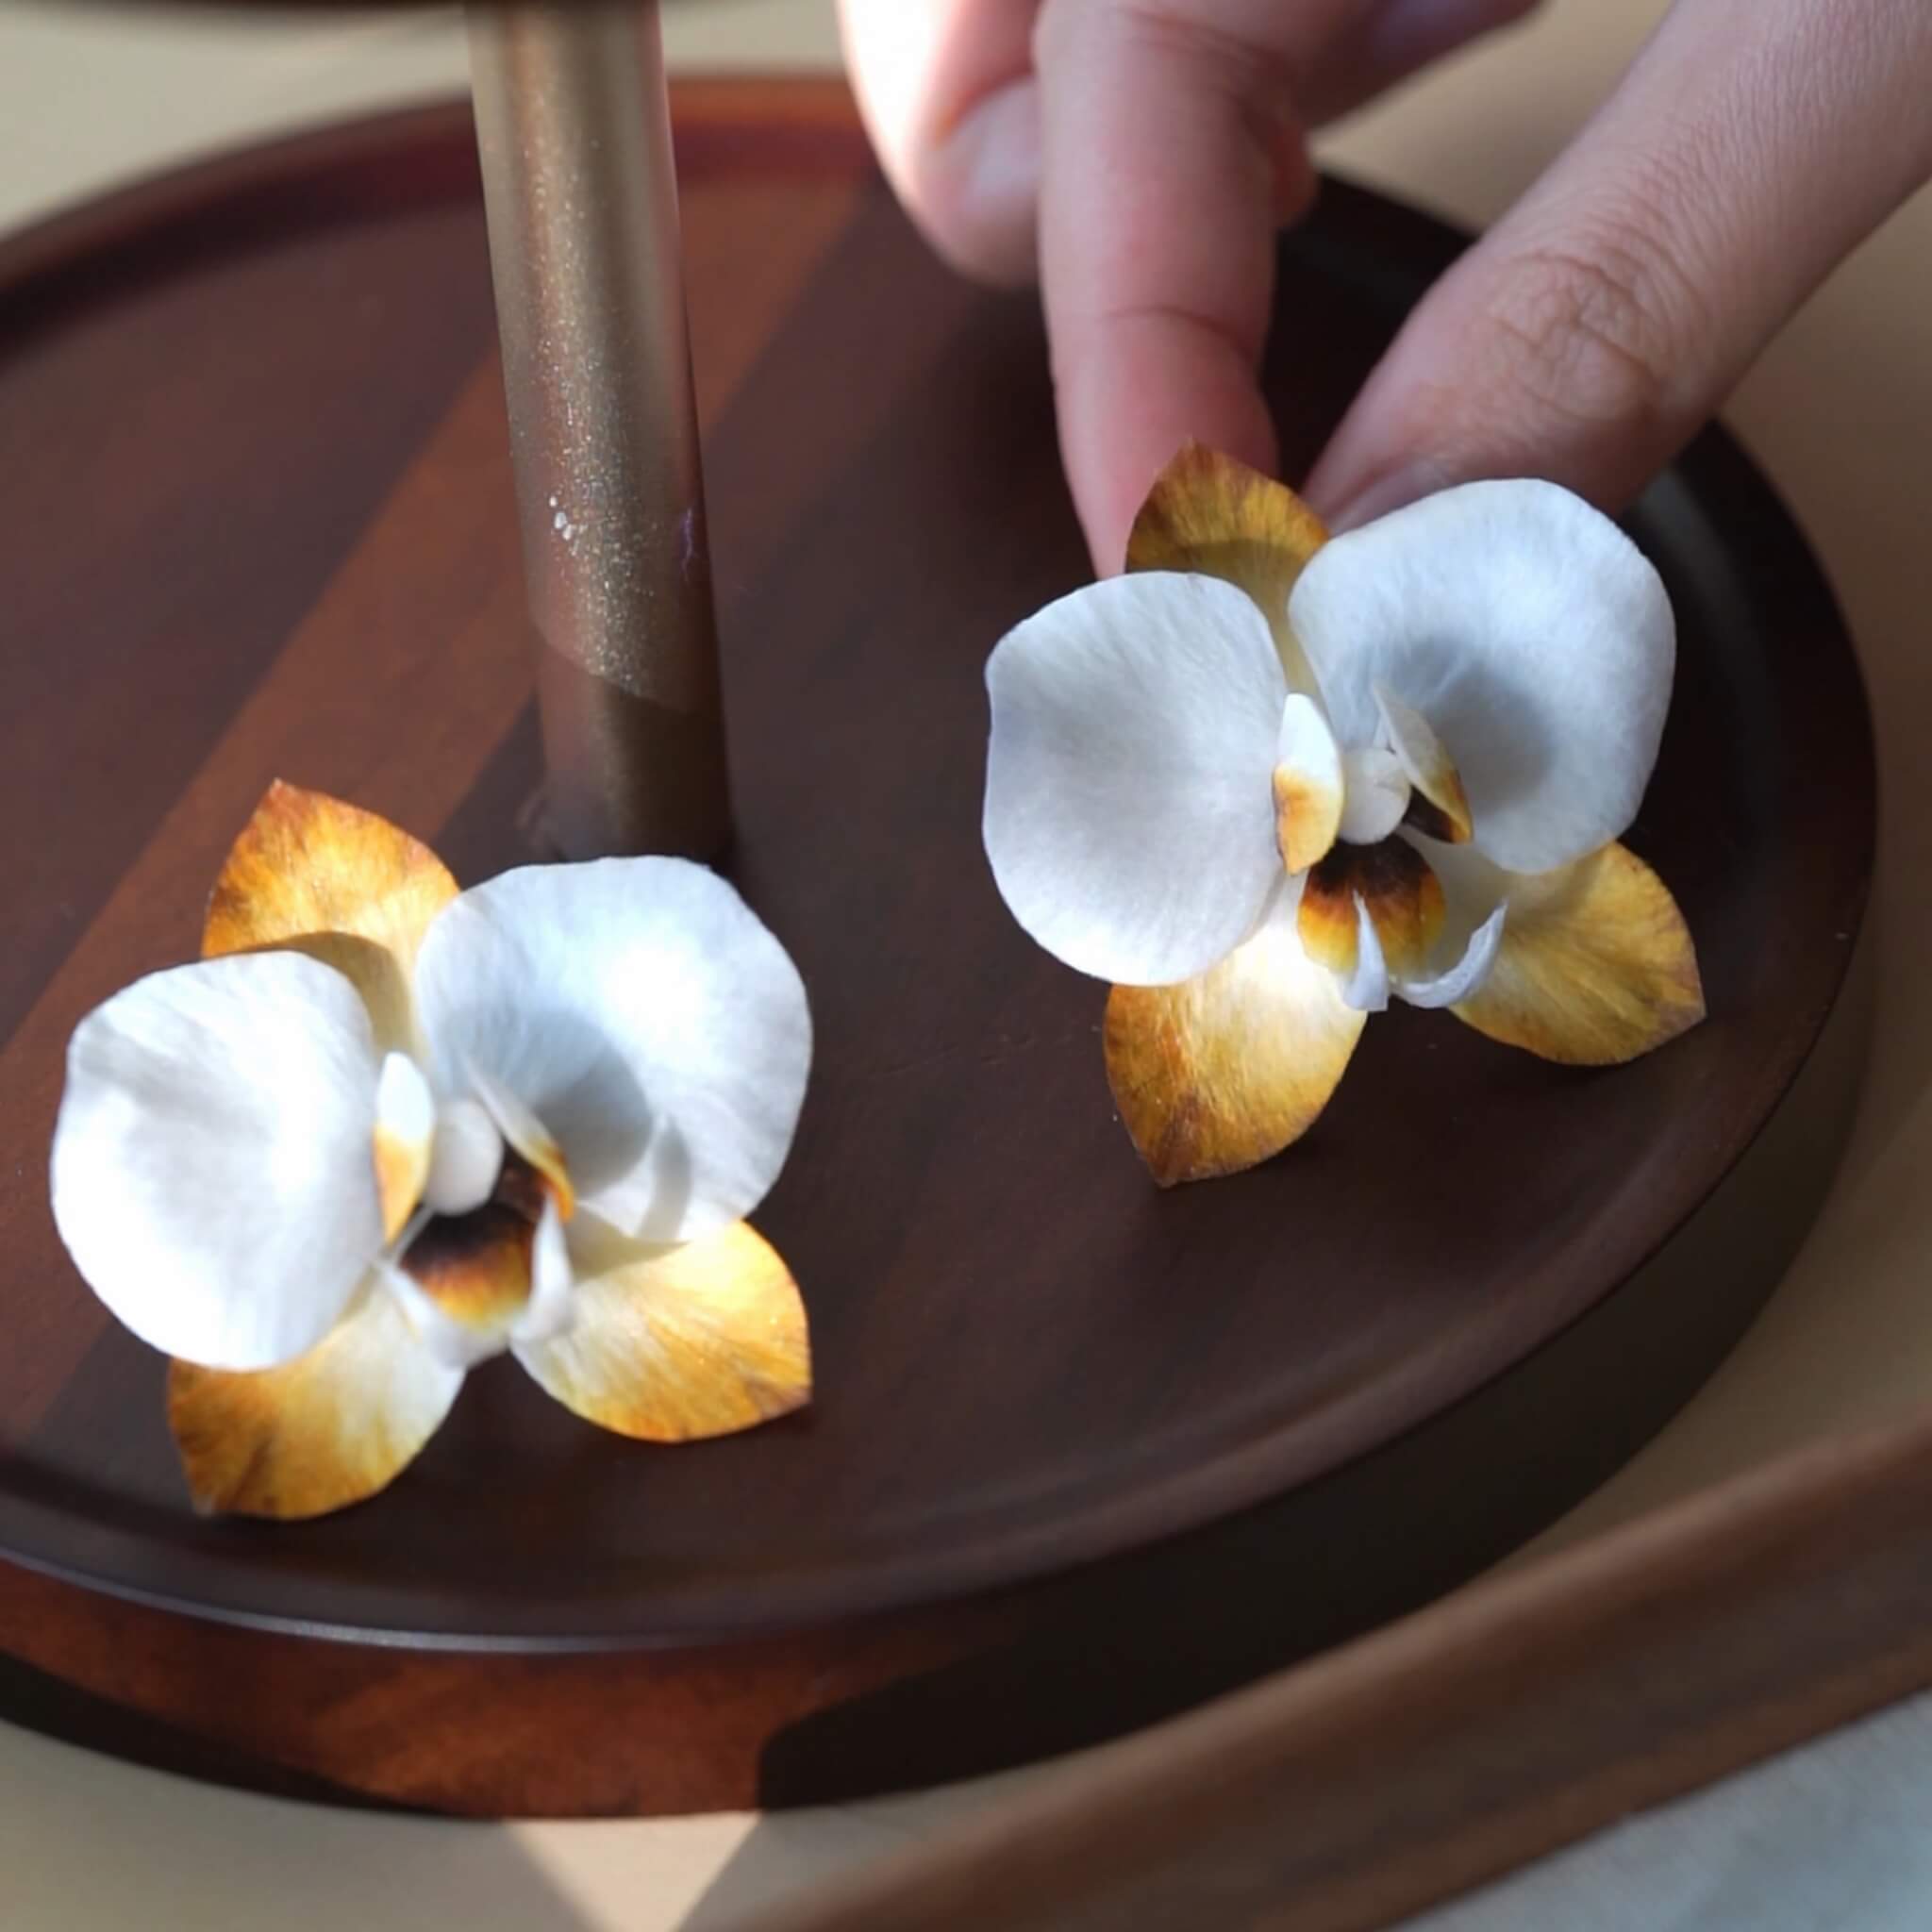
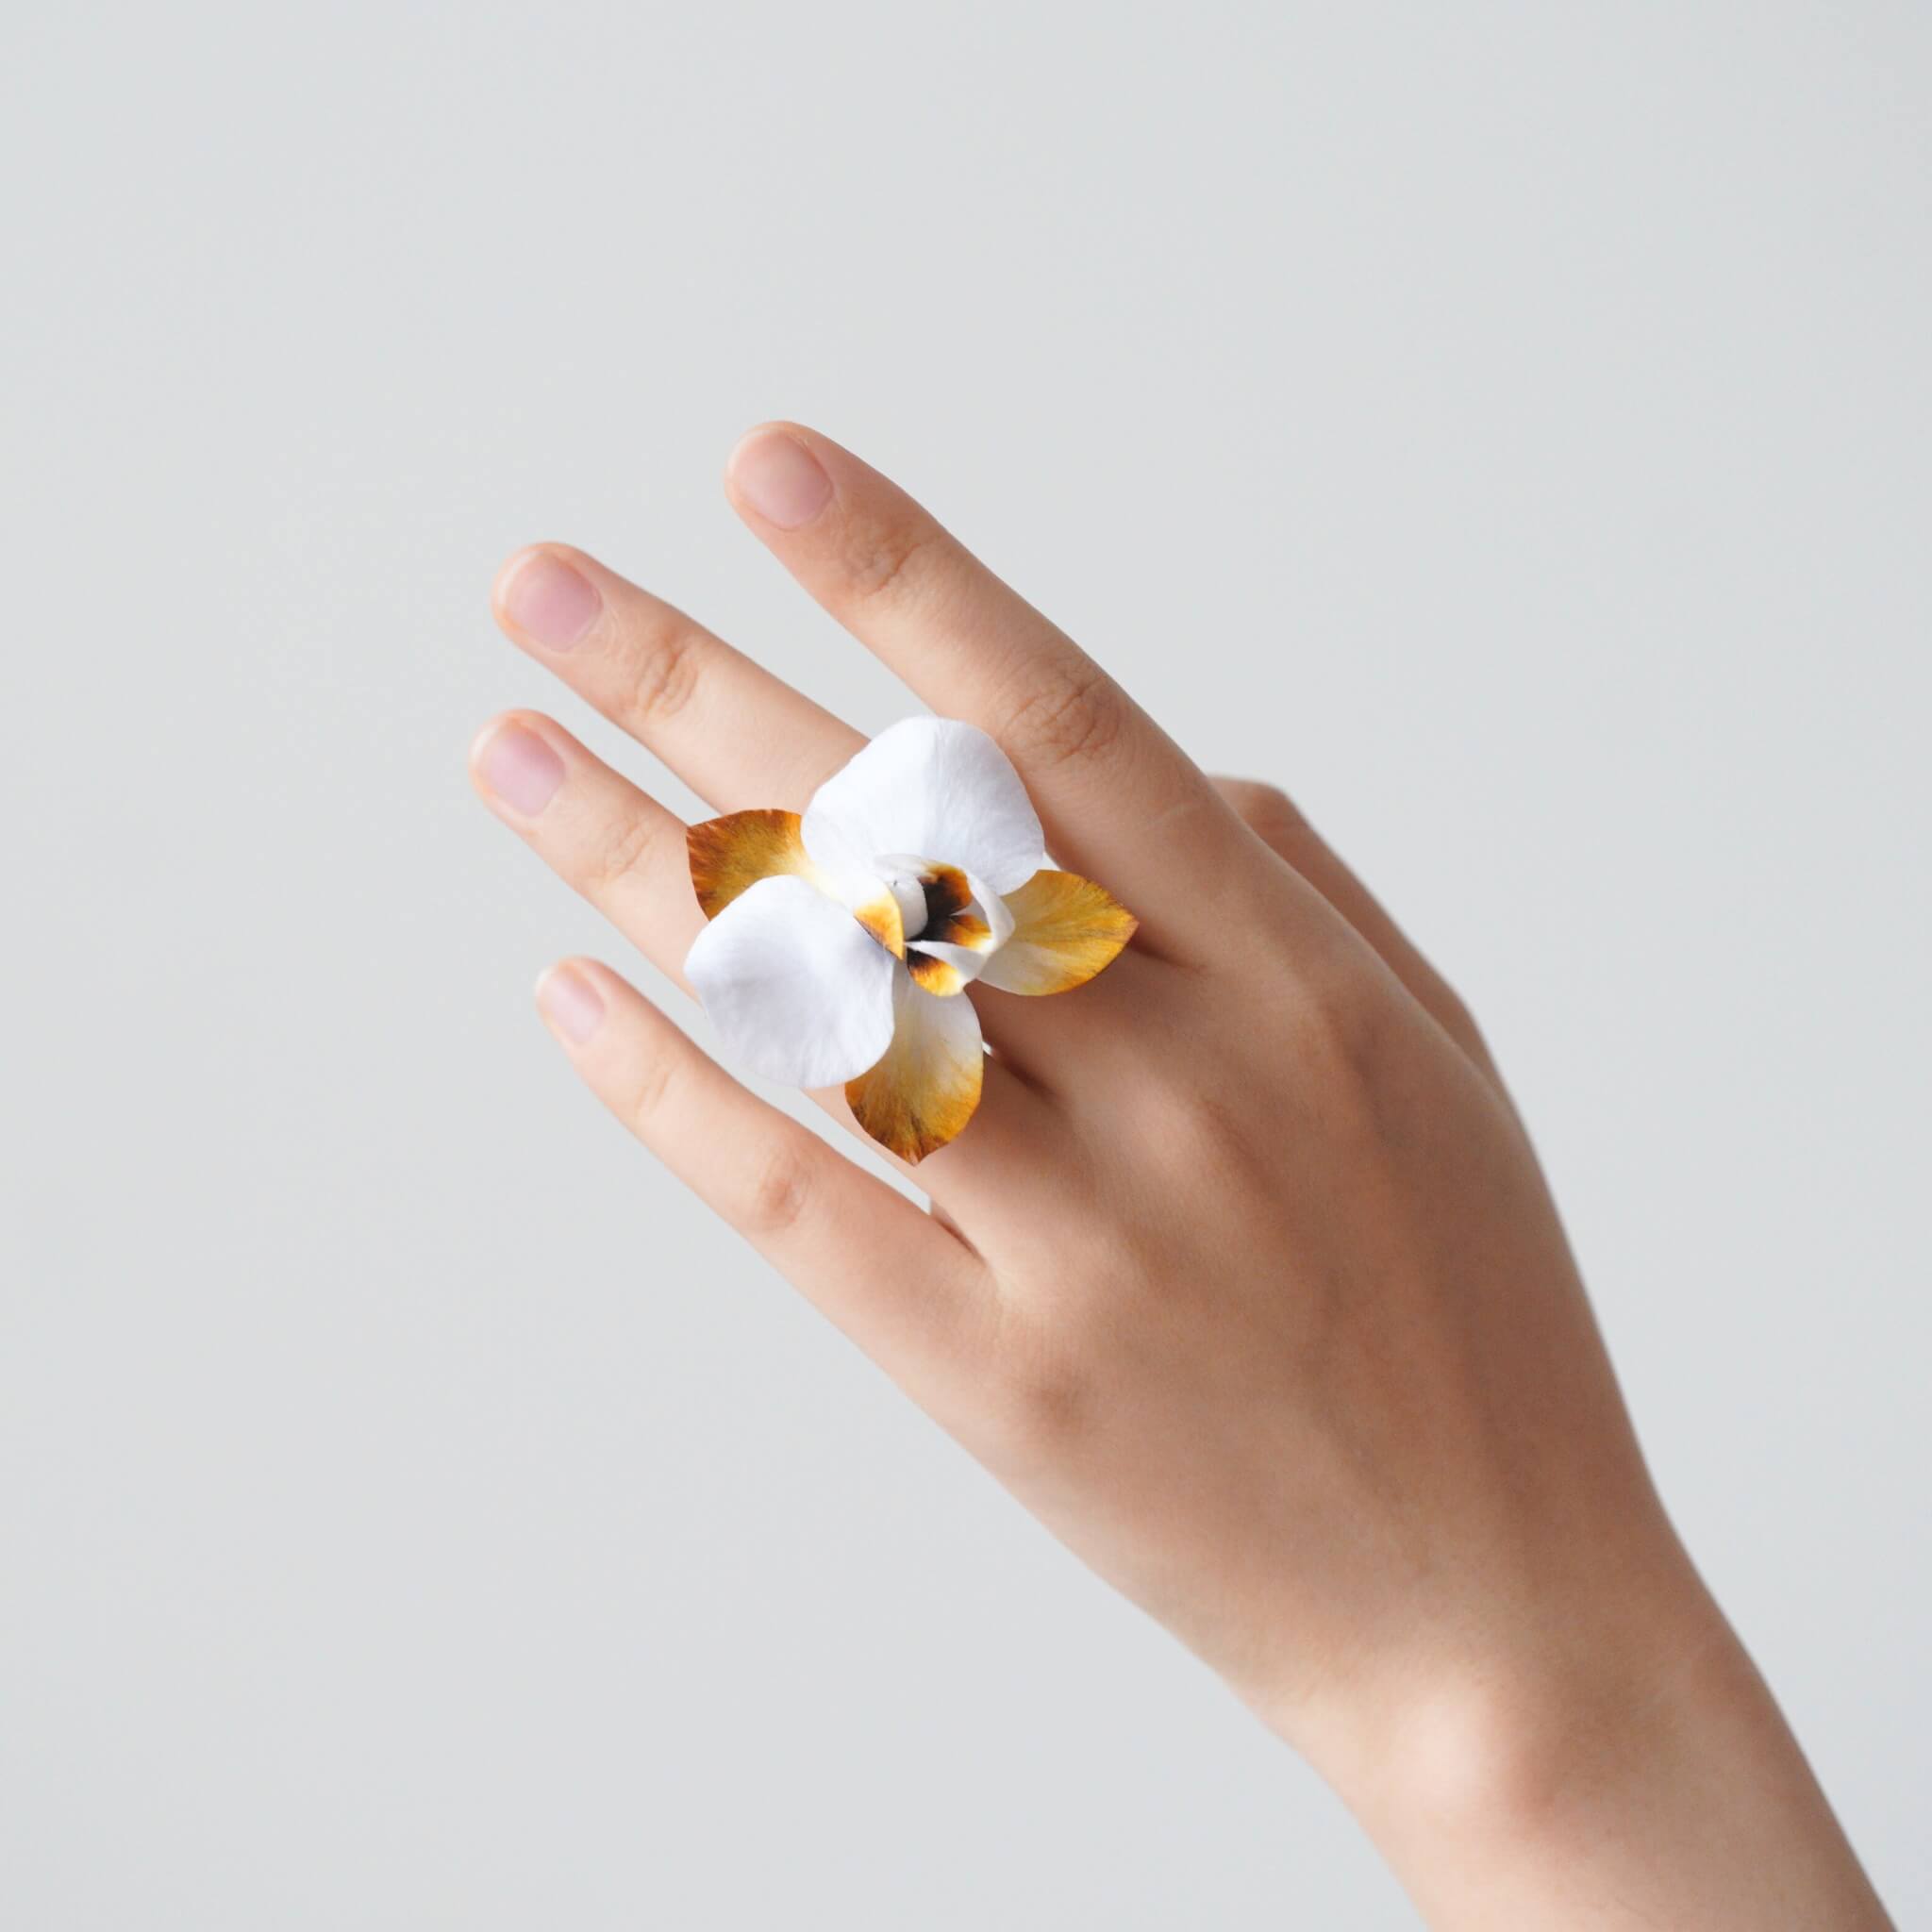
Inspiré par les gouttes de pluie scintillant sur les feuilles de lotus, Summer Raindrops combine la douceur de la soie avec la subtile brillance de la feuille d'argent. Ce projet vous guide à chaque étape — de la formation de feuilles délicates à l'ajout d'une finition argentée qui capte la lumière comme l'eau après la pluie.
Préparation : ce dont vous aurez besoin
Si vous avez acheté notre Ronghua Toolkit, vous avez déjà tout ce qu'il faut !
Sinon, préparez les outils suivants :
- Brosse à poils (dureté moyenne à douce)
- Fer à lisser (celui que vous utilisez pour lisser vos cheveux)
- Pince à épiler
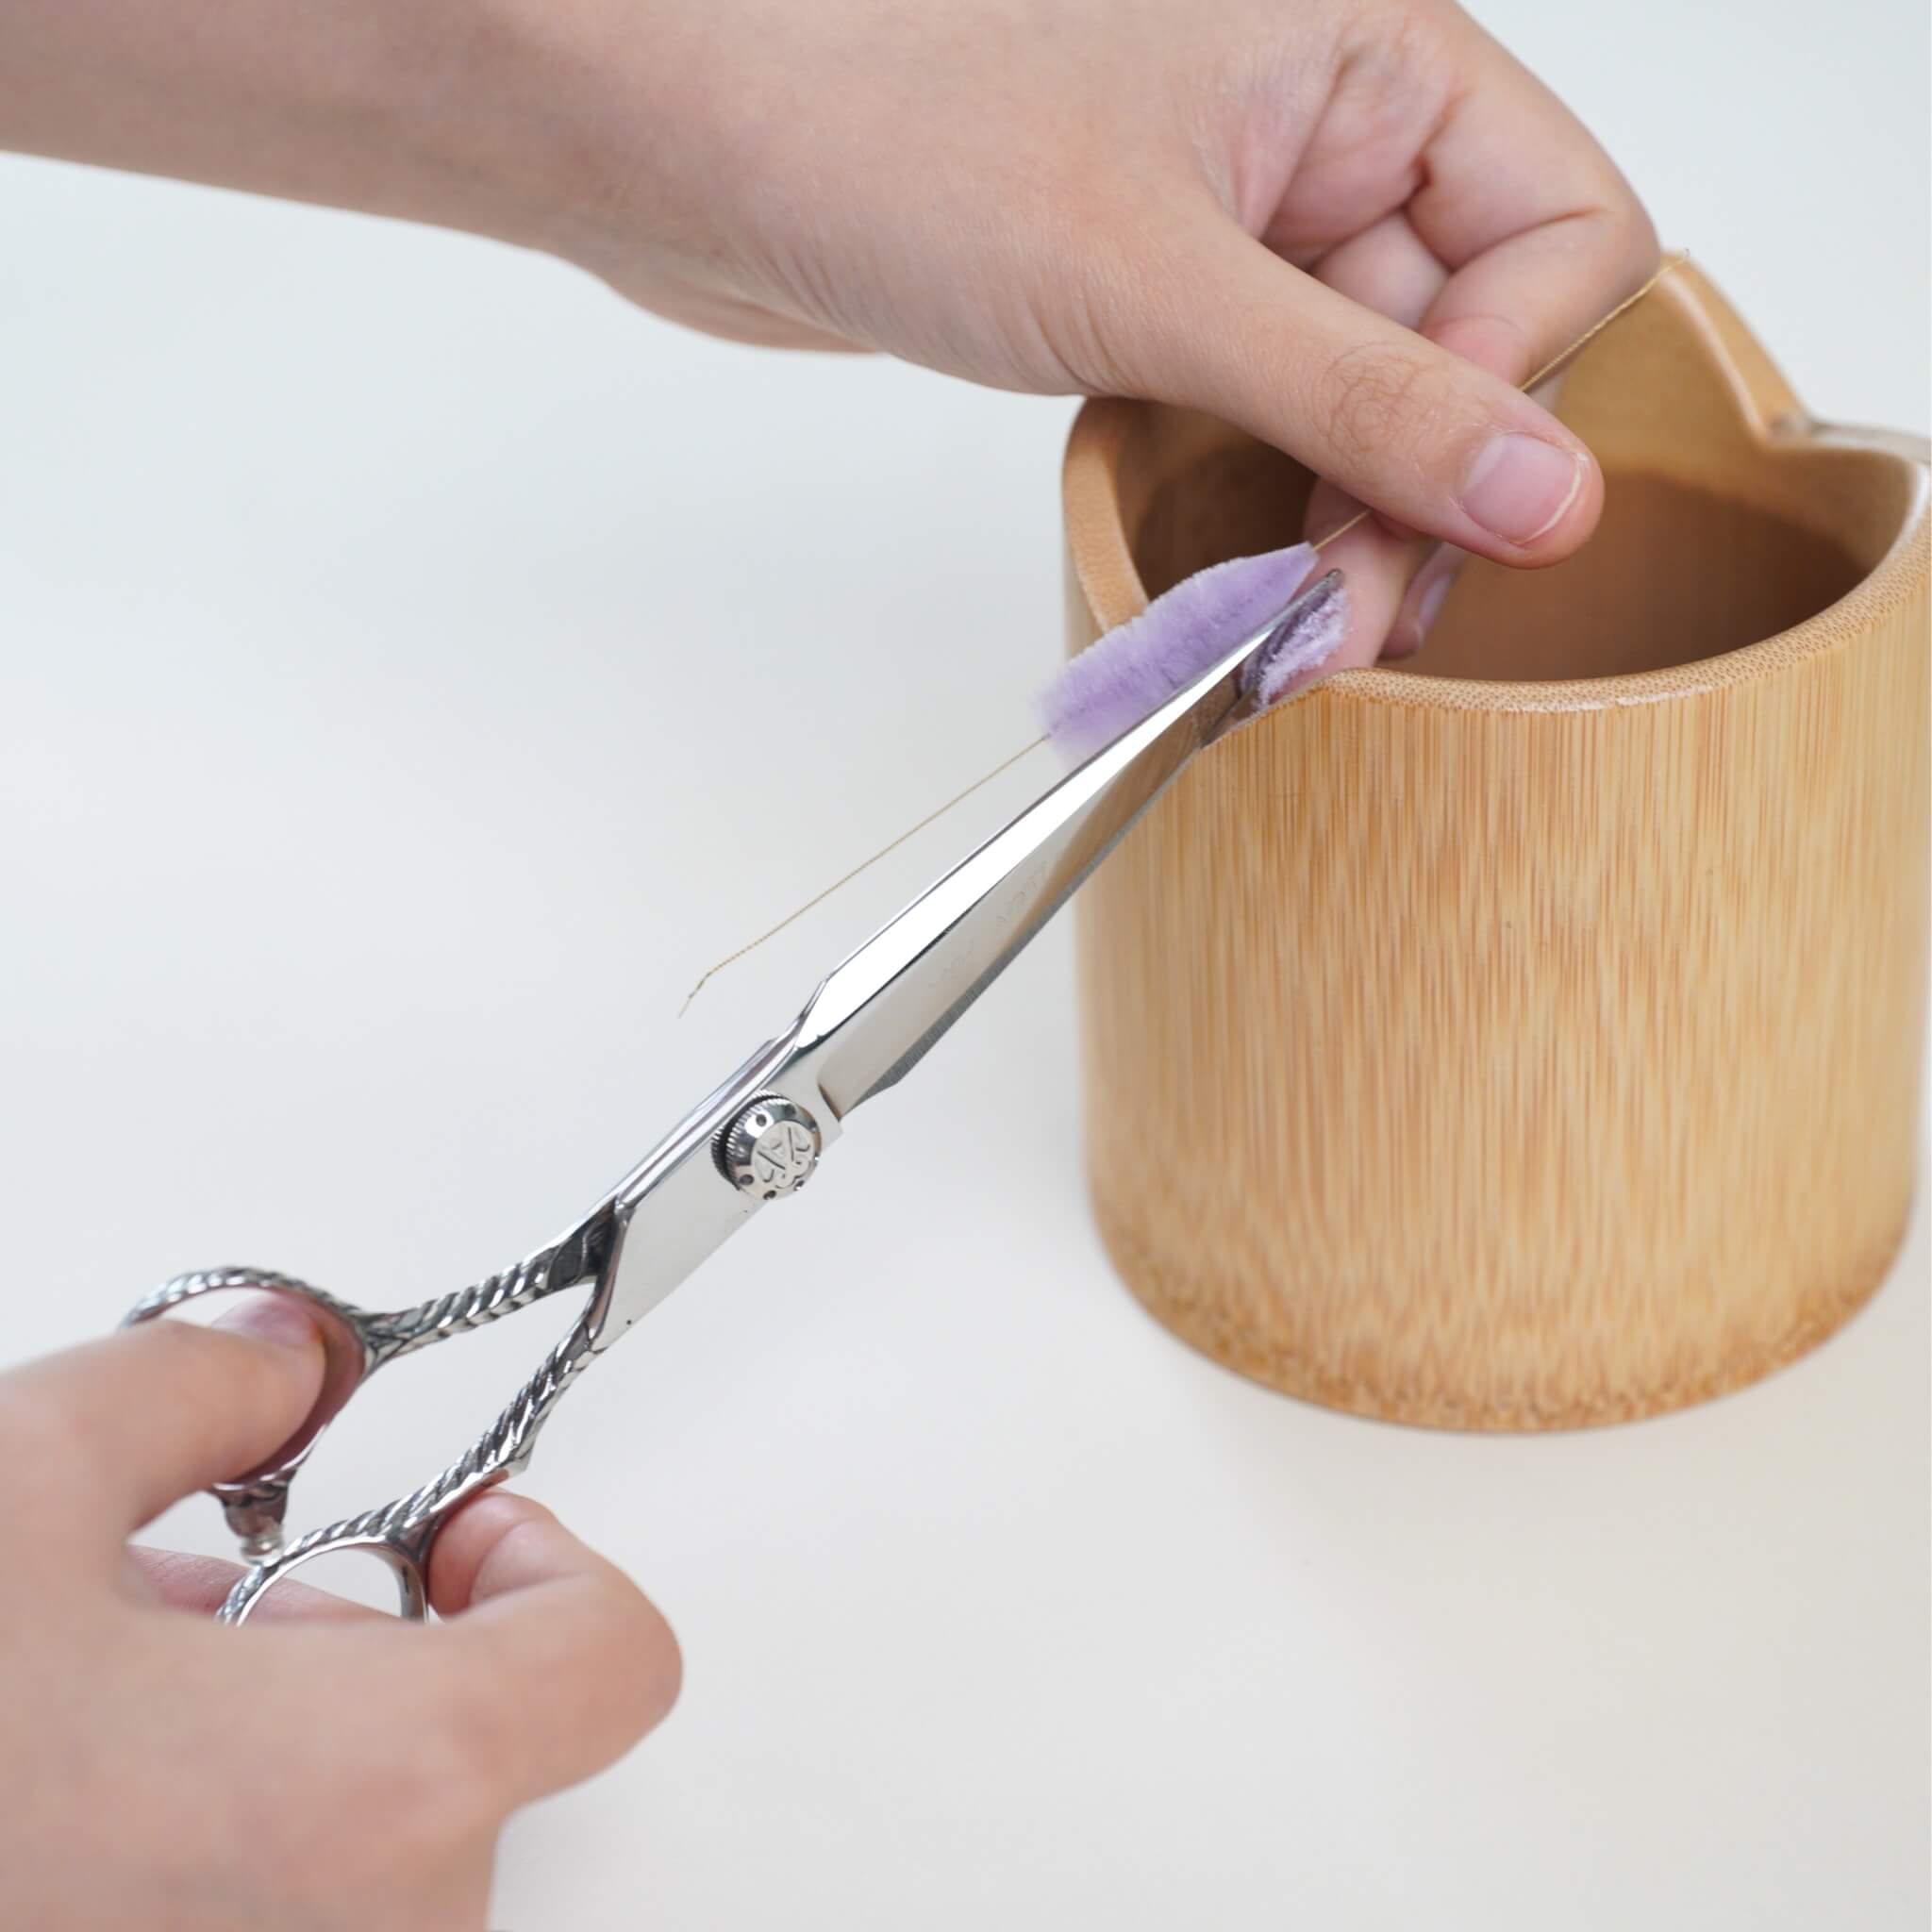
- Au moins 2 paires de ciseaux
- bâtons en bois / crayons / baguettes
- Laque ou colle blanche diluée (rapport 1:1,15–1:1,2)
- Grandes pinces (environ 15 cm)
- Planches à torsader et blocs en bois (pour une tension uniforme)
- Poudre antidérapante (optionnelle mais utile)
Vidéo tutoriel complète
Étape 1. Alignez et disposez les fils de soie
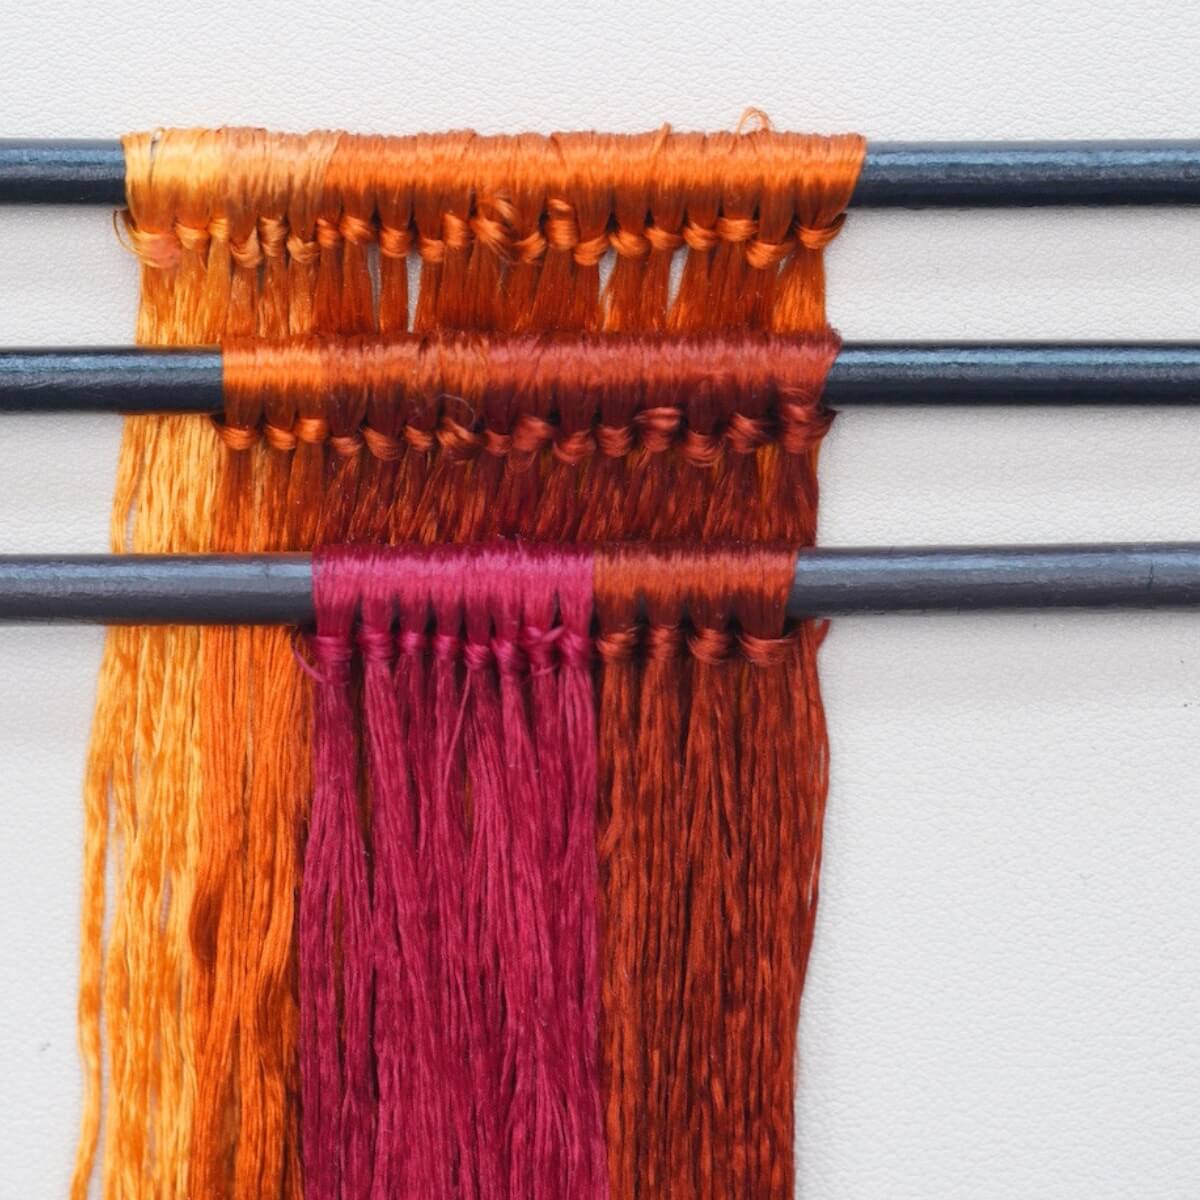
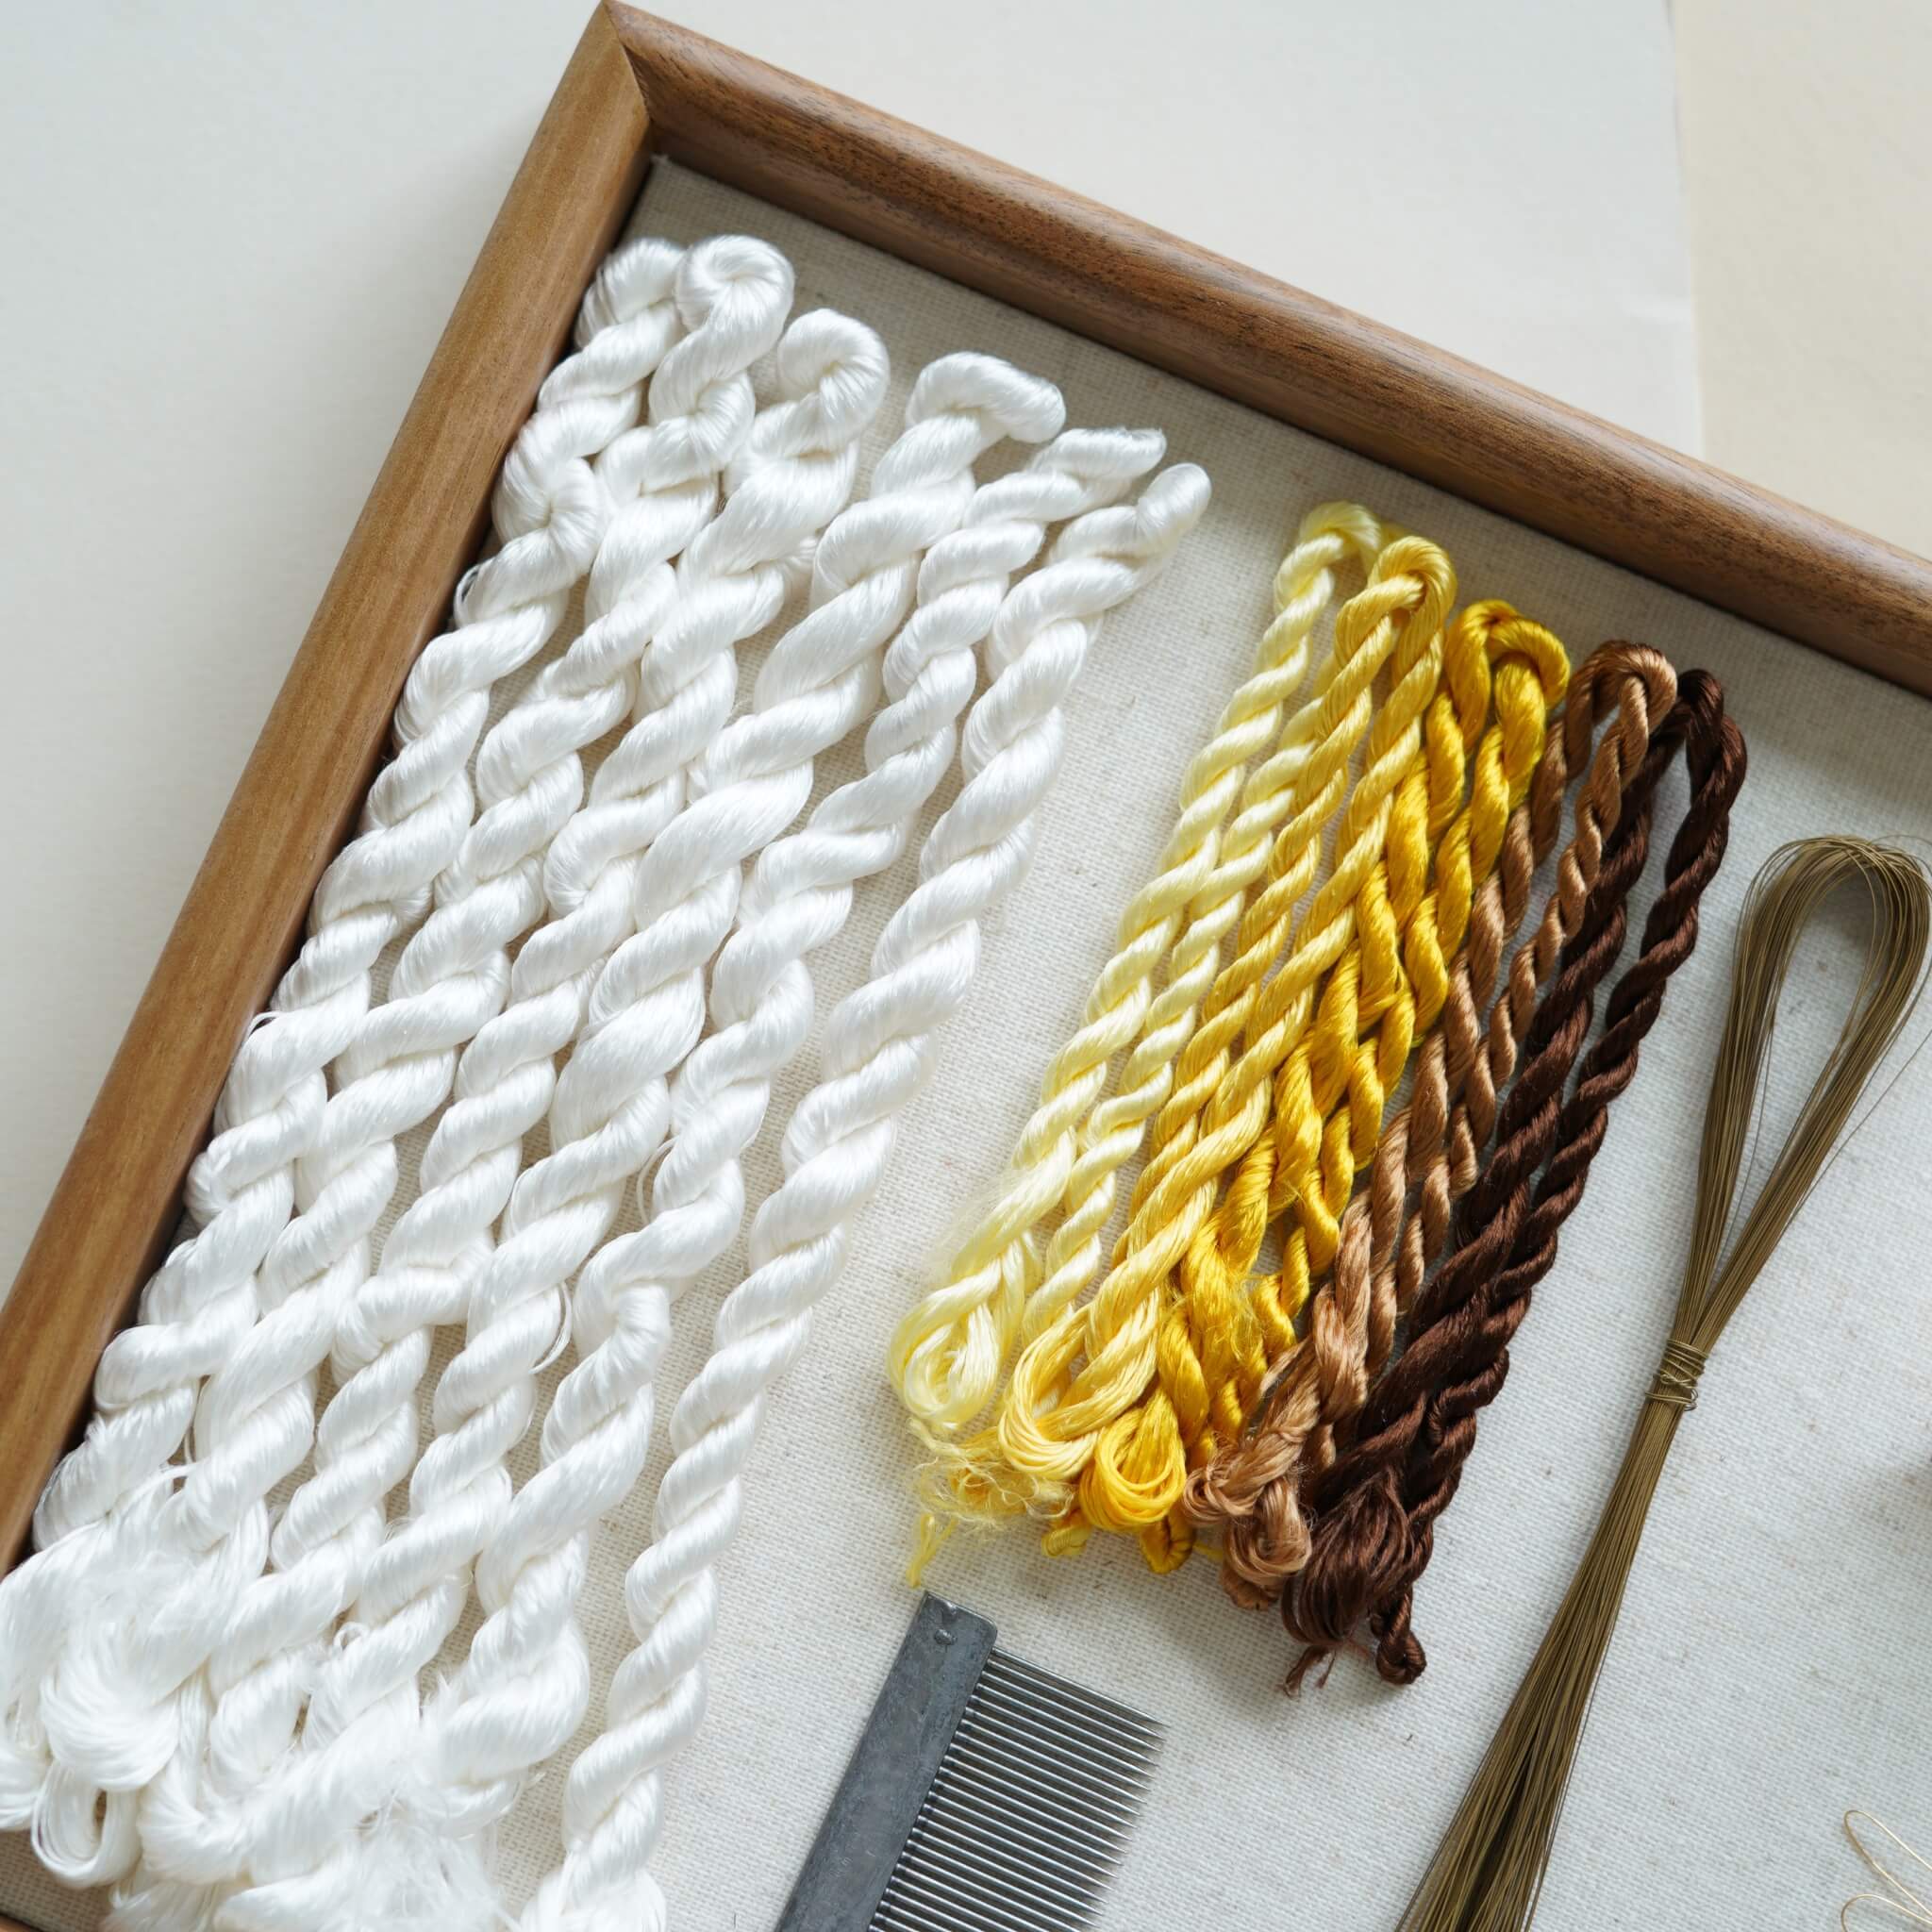
Commencez par dénouer vos fils de soie. Localisez le nœud à une extrémité de chaque paquet et coupez-le soigneusement. Ce projet utilise 3 couleurs de soie pour créer 3 rangées de soie. Reportez-vous au diagramme des couleurs ci-dessous pour les détails de la combinaison des fils.

Étape 2. Regroupez et préparez les fils
Chaque paquet de soie est composé de petites structures filamenteuses — ce sont vos mèches individuelles.
Alignez soigneusement toutes les mèches et attachez-les autour d'un bâton fin, en gardant les extrémités égales. Évitez les longueurs inégales — cela garantit une texture uniforme par la suite.

Étape 3. Fabriquez les rangées de soie
Répétez le processus ci-dessus pour créer trois rangées de soie au total. N'oubliez pas de vous référer aux données fournies dans le schéma pour les rangées suivantes, car chacune diffèrera légèrement. Voici les rangées de soie finies que nous avons réalisées.

Étape 4. Brossez les rangées de soie
Fixez une rangée de soie sur votre support à l'aide de grandes pinces métalliques - si vous n'avez pas le support en bois ronghua, ce n'est pas un problème ! Vous pouvez consulter notre vidéo sur des solutions alternatives au support.
Tenez les extrémités des fils d'une main et brossez doucement mais fermement de haut en bas. Ne soulevez pas la brosse en cours de route. Une légère brume d'eau empêchera l'électricité statique. Vous pouvez appliquer un peu de pression — les fils de soie sont plus résistants qu'ils n'en ont l'air ! Assurez-vous de brosser les deux côtés, avant et arrière, jusqu'à ce que la rangée soit lisse et duveteuse.

Chacun utilise une brosse et une vitesse de main différentes, donc le temps nécessaire pour compléter cette étape varie aussi. Pour ma part, il m'a fallu environ 10 minutes pour brosser cette rangée de soie. Quand vous sentez que les cheveux sont doux et duveteux, vous pouvez arrêter et vérifier. Lorsqu'il n'y a plus de distinction linéaire complète entre les fils et qu'ils commencent à coller les uns aux autres, c'est prêt :)
Voici ce que ressent un fil de soie brossé :

Étape 5. Fixez les fils de cuivre
Lorsque vous sentez que la soie est suffisamment brossée, fixez sa queue avec une autre grande pince à votre table ou à tout ce qui peut aider à la tendre. Sortez un fil de cuivre de l'extrémité pliée de la rangée et redressez-le. Enroulez la partie pliée en une spirale d'environ 3 cm. Pincez les fils de soie entre deux fils de cuivre et tordez fermement le côté opposé. Tirez les deux fils bien tendus et continuez à tordre jusqu'à ce qu'ils fusionnent en un seul. N'oubliez pas, la direction de torsion pour les extrémités gauche et droite est opposée.

L'espacement entre les fils doit être de 5 cm.
Si vous avez de la poudre antidérapante, il sera beaucoup plus facile d'y tremper vos doigts et de la tordre. (Nous vous recommandons vivement de regarder le tutoriel vidéo pour cette étape :)
Une fois terminé, retirez la rangée de soie du support et étalez-la à plat.
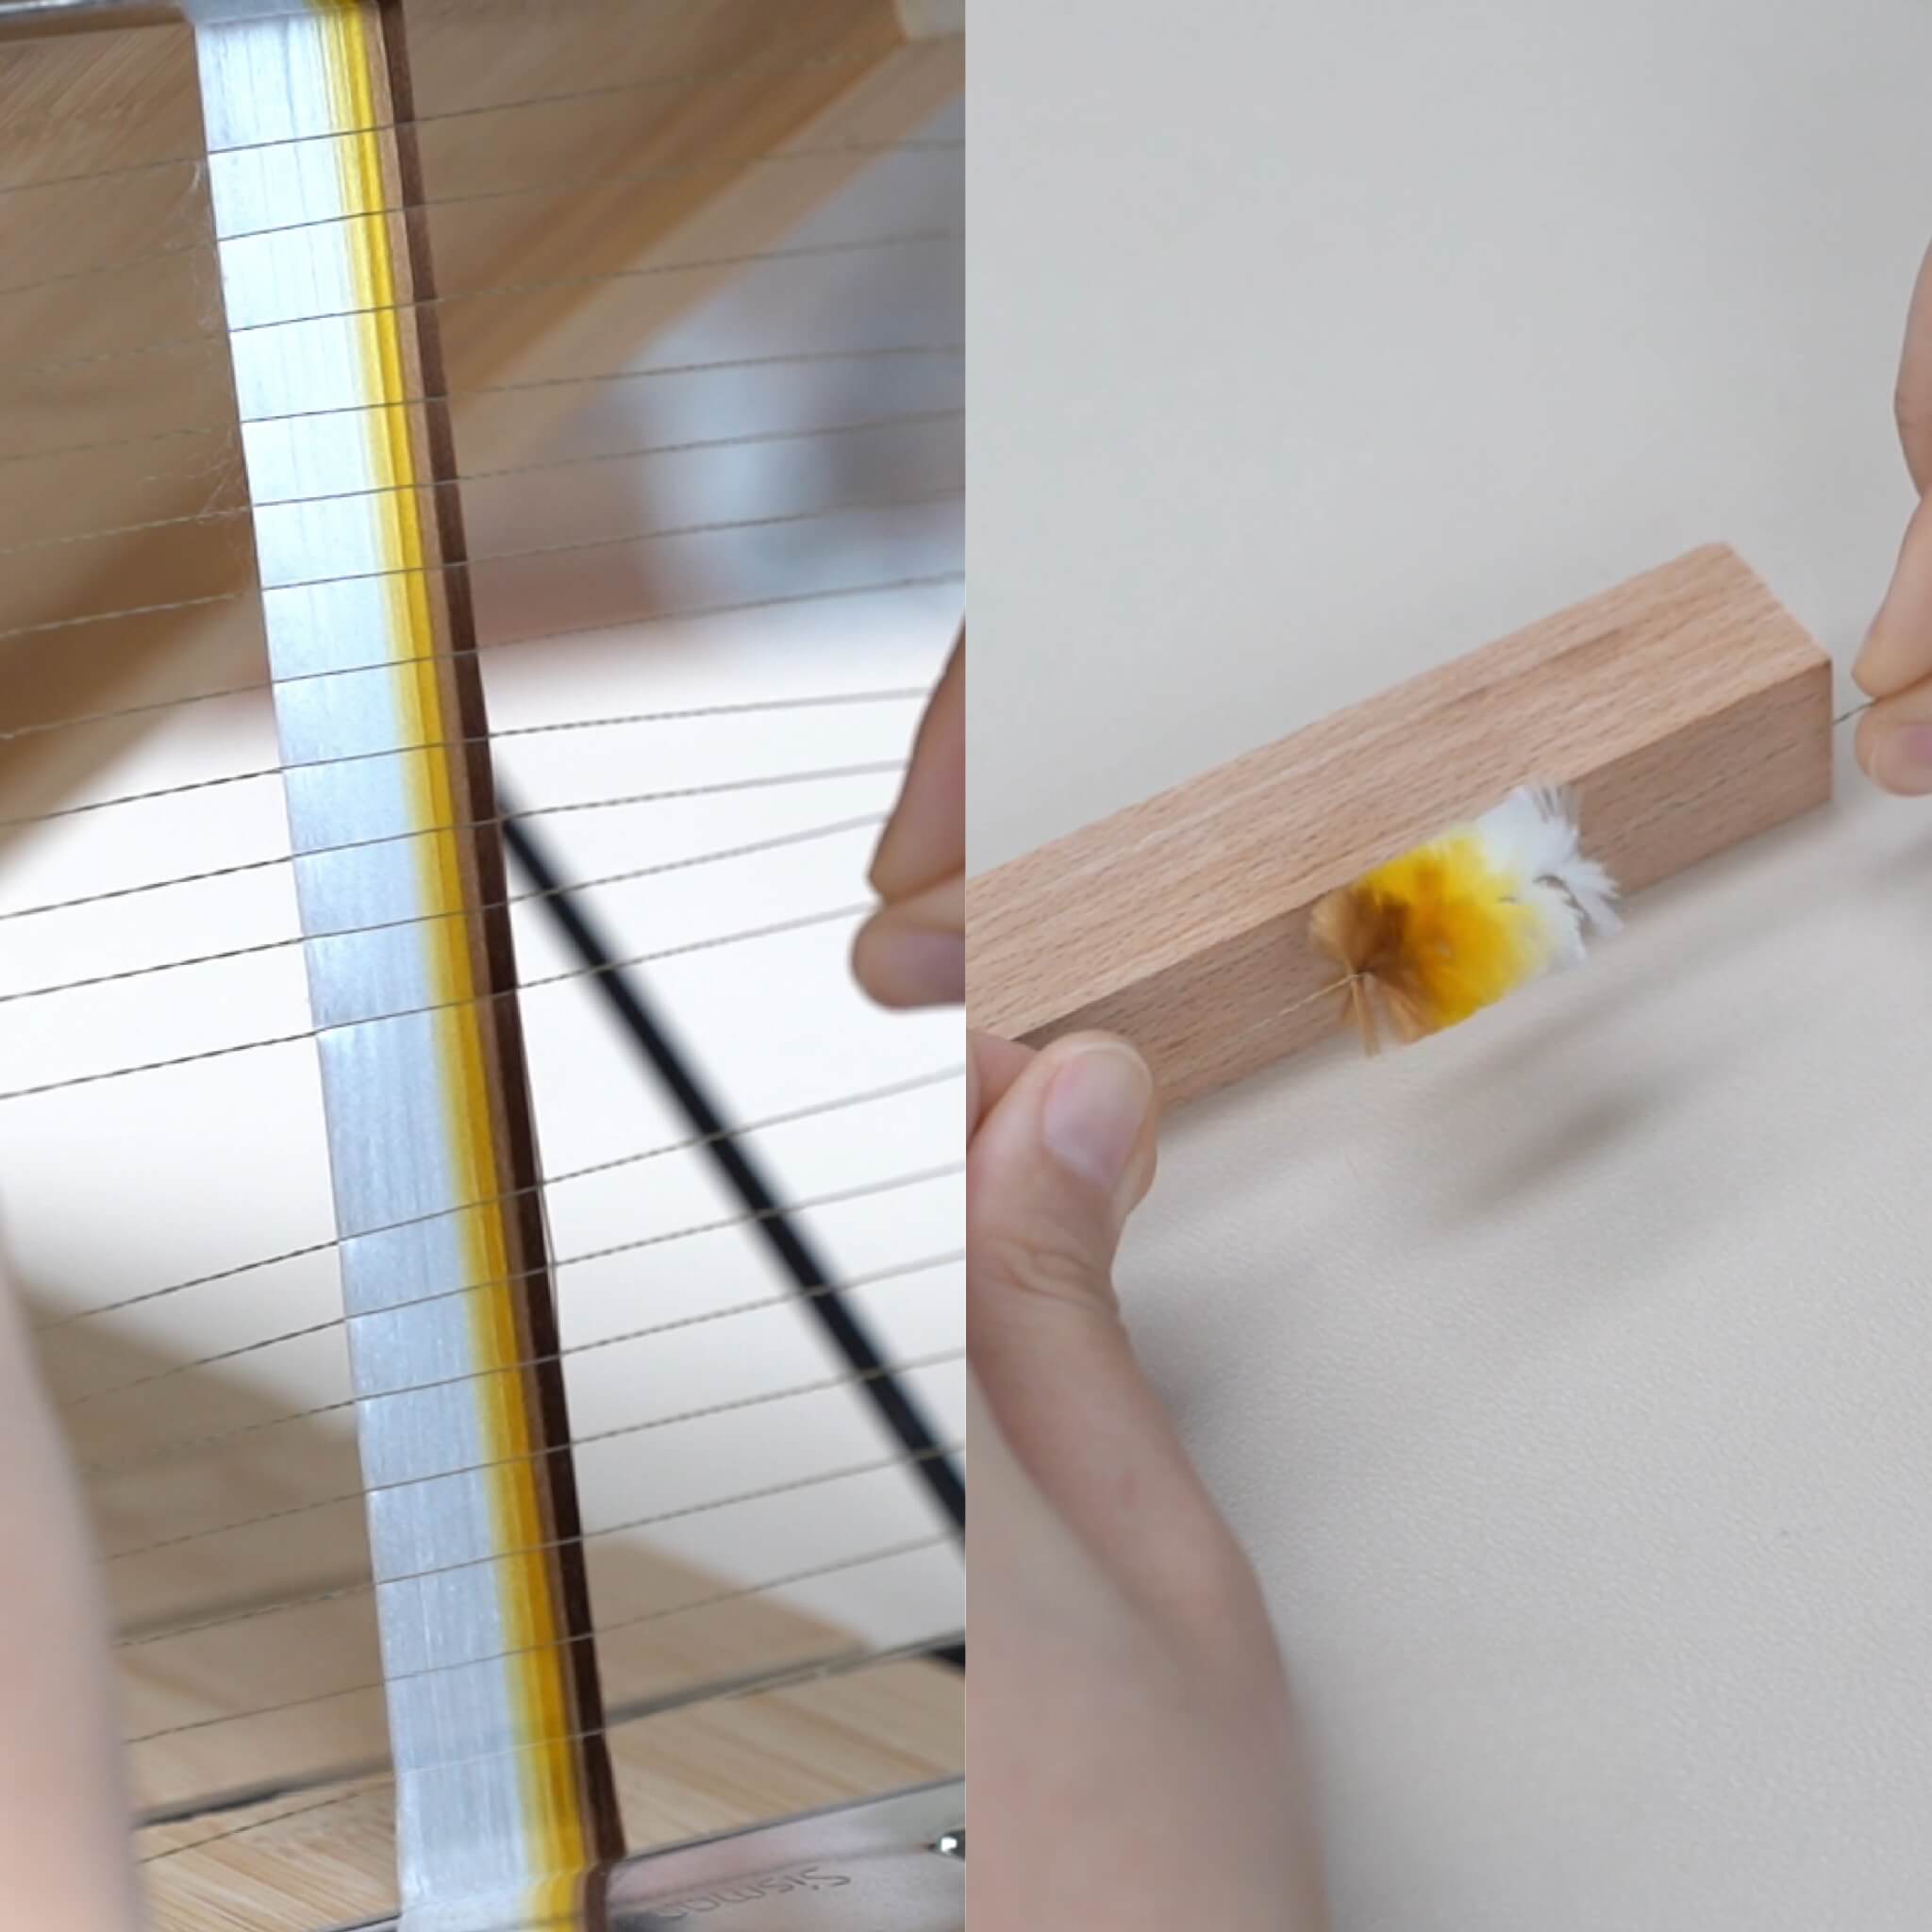
Étape 6. Coupez les bandes de soie
Coupez proprement l'extrémité de la rangée, puis coupez entre chaque paire de fils de cuivre pour créer des bandes de soie uniformes. Lors de la coupe, les ciseaux doivent être placés au milieu de deux fils de cuivre, sinon la largeur des bandes de soie sera inégale. Si des fils collent à vos ciseaux, nettoyez-les — c'est généralement causé par l'électricité statique ou des résidus. Coupez rapidement et proprement pour des bords lisses. Ne touchez pas le fil sinon il pourrait se déplacer.

L'espacement entre les fils de cuivre est important, ce qui peut rendre plus difficile de maintenir la soie en place. Assurez-vous de serrer davantage les fils avec une pince à épiler si nécessaire.
Étape 7. Centrez et torsadez les bandes
Placez la partie en cuivre entre les planches à torsion et continuez à tordre dans la même direction.

Si vous avez réalisé certains de nos autres projets Ronghua, vous remarquerez que les bandes duveteuses ont un aspect beaucoup plus désordonné que dans beaucoup d'autres projets. Mais ne vous inquiétez pas : c'est fait exprès. Rangez les bandes duveteuses avec une pince à épiler ou un peigne fin. Peignez doucement les fibres ou vous risquez de les arracher. Coupez les bords irréguliers pour les rendre lisses et arrondis.

Étape 8. Aplatissez les bandes
Toutes les bandes de soie doivent être aplaties. Coupez une extrémité du fil de cuivre. Chauffez votre fer à lisser et pressez le duvet à plat. Déplacez-vous lentement et uniformément.

Après avoir aplati, coupez une extrémité du fil de cuivre.
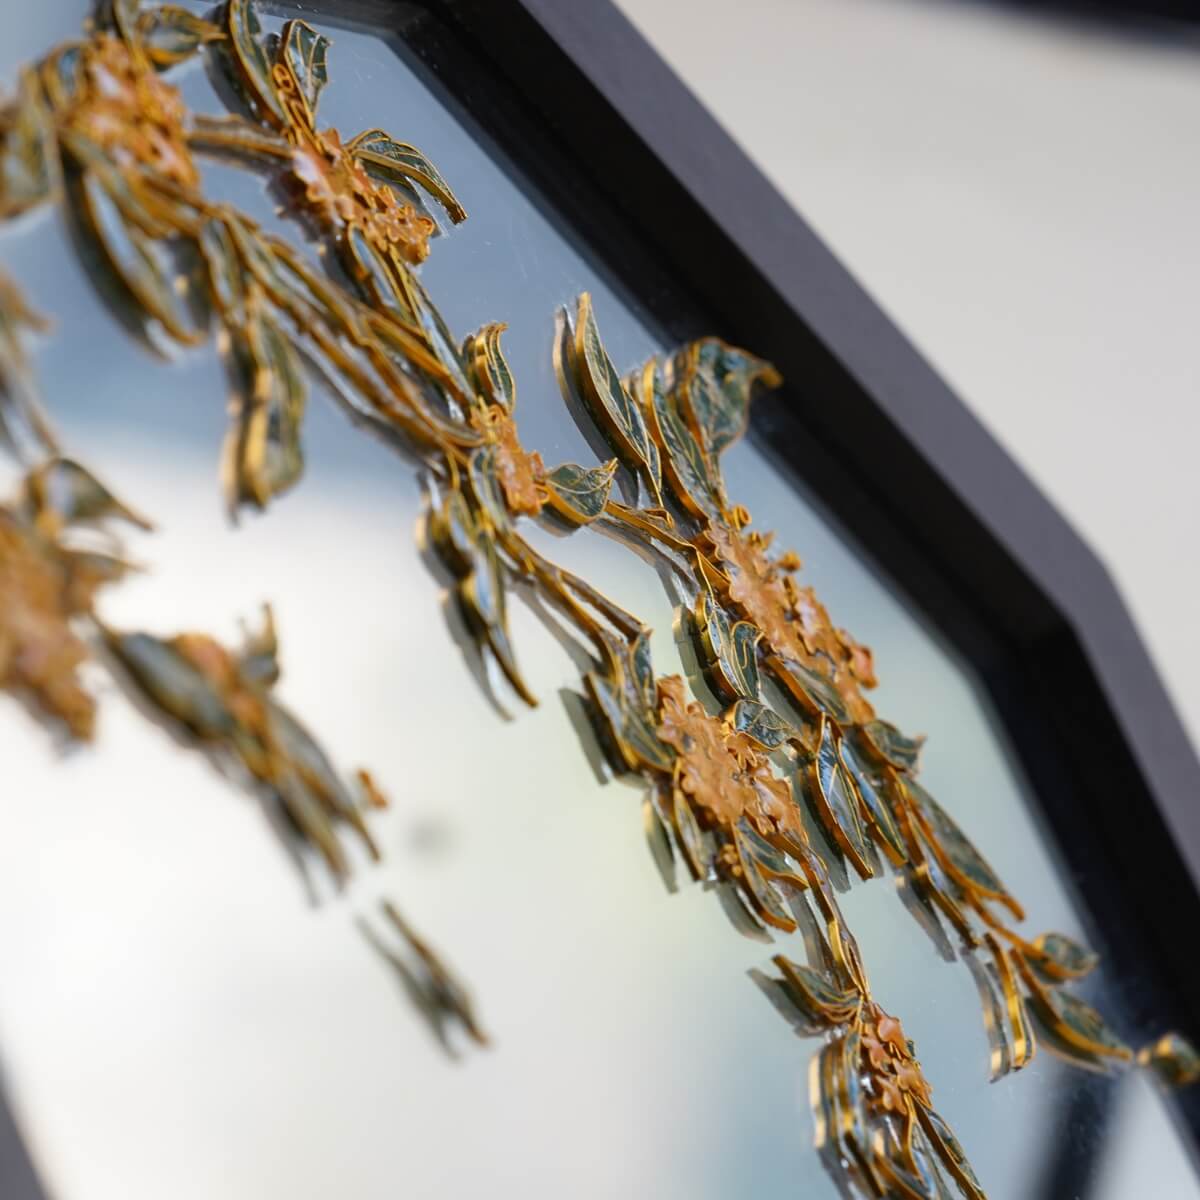
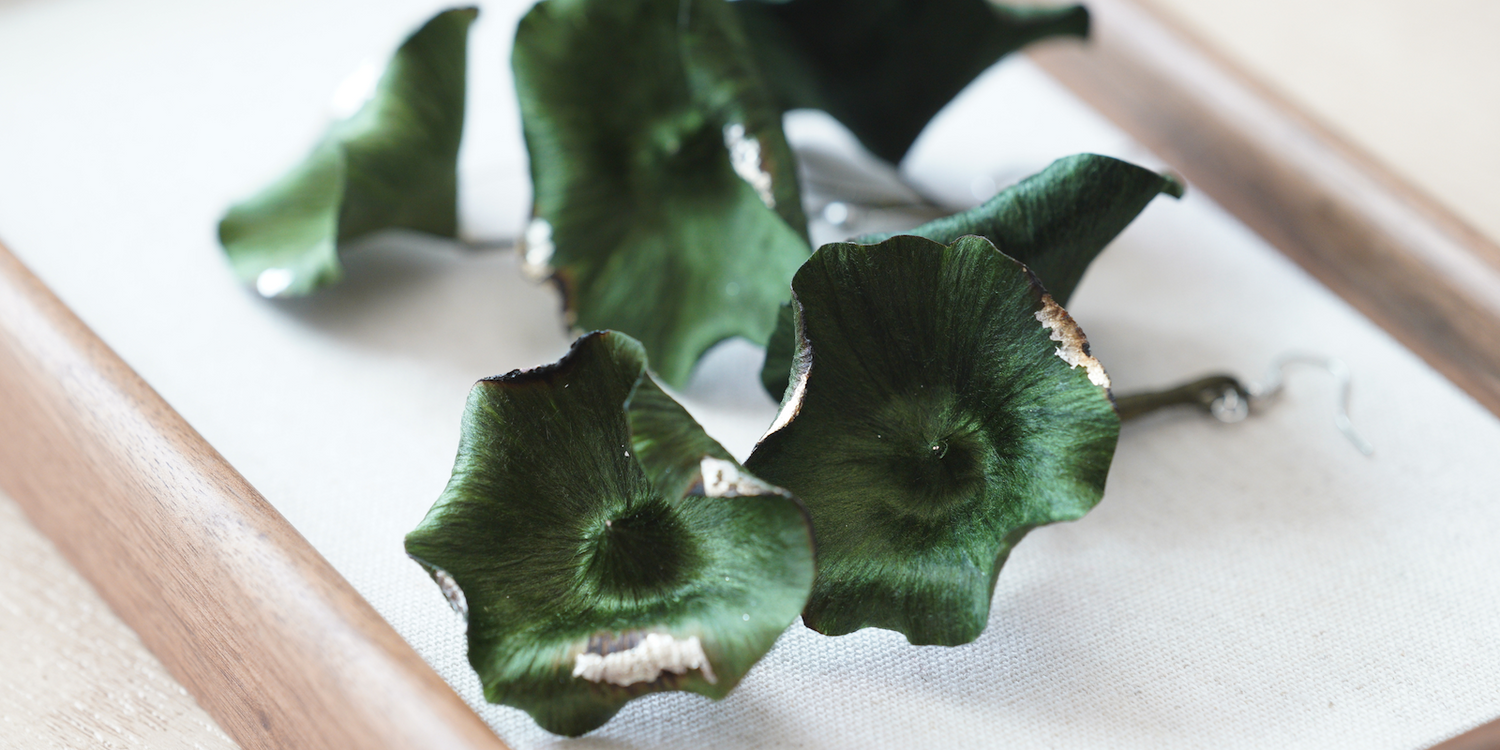
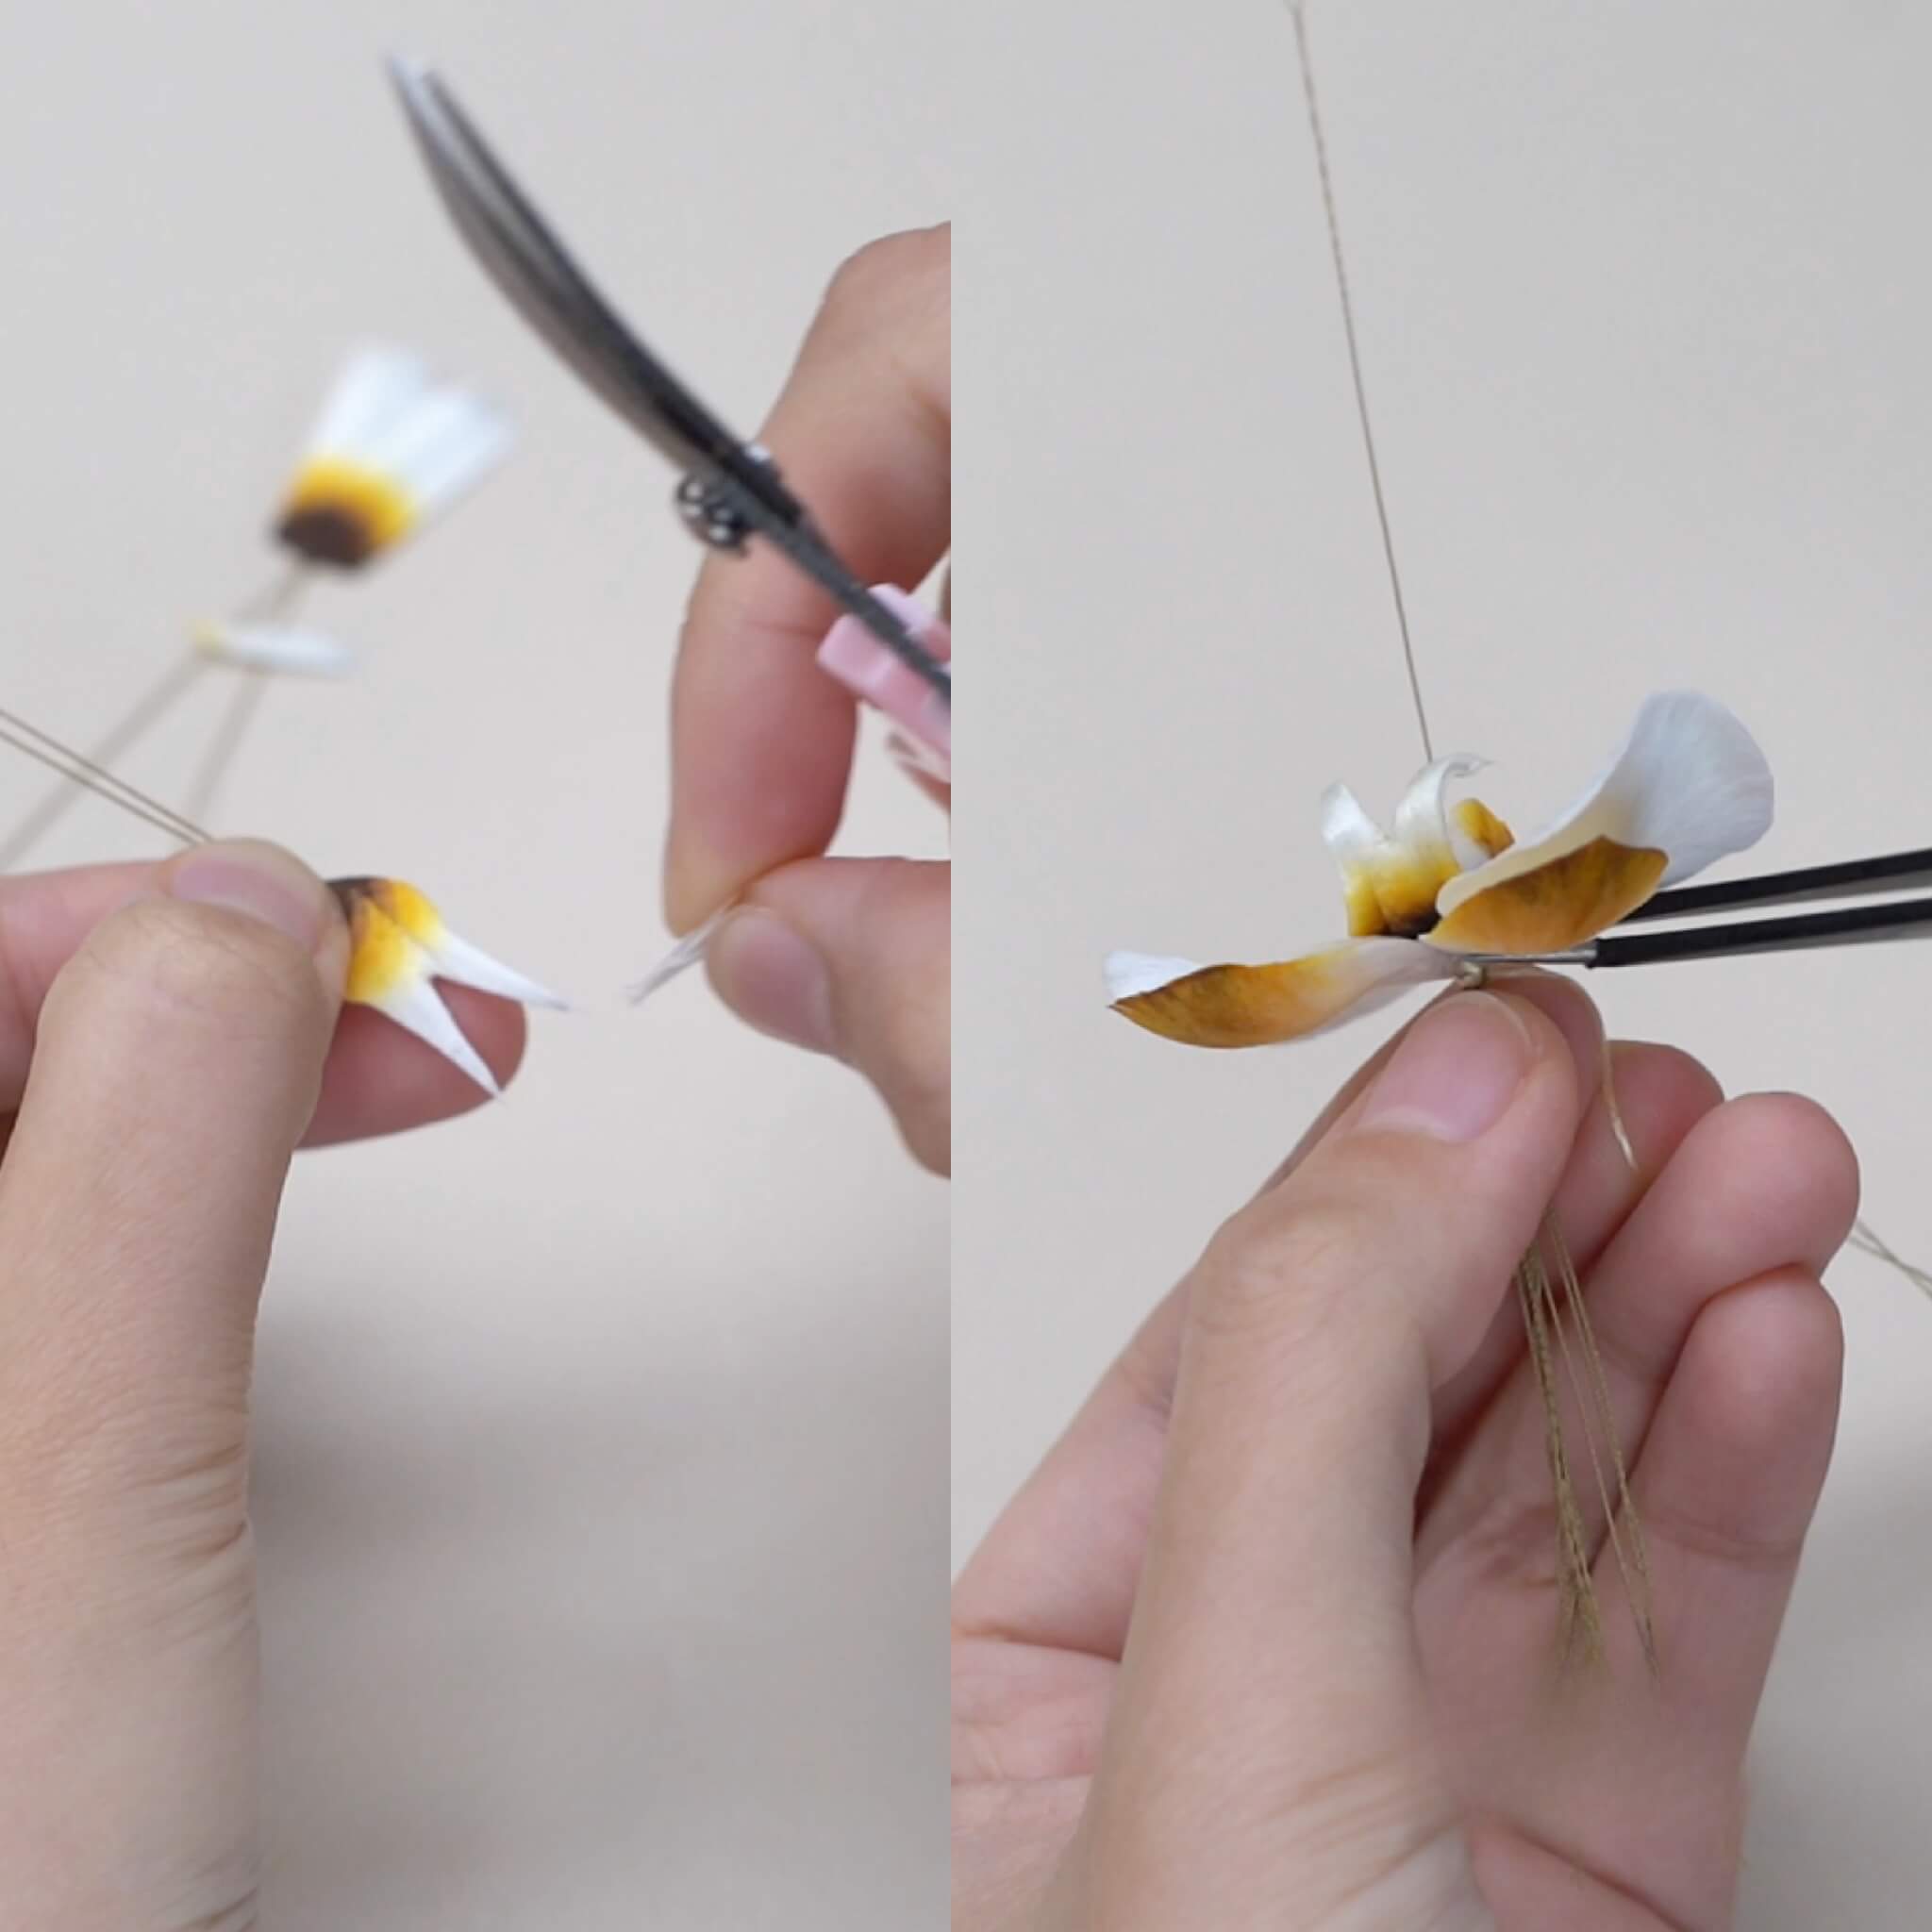
Étape 9. Façonnez les feuilles
Ensuite, nous devons renforcer les bandes aplaties.
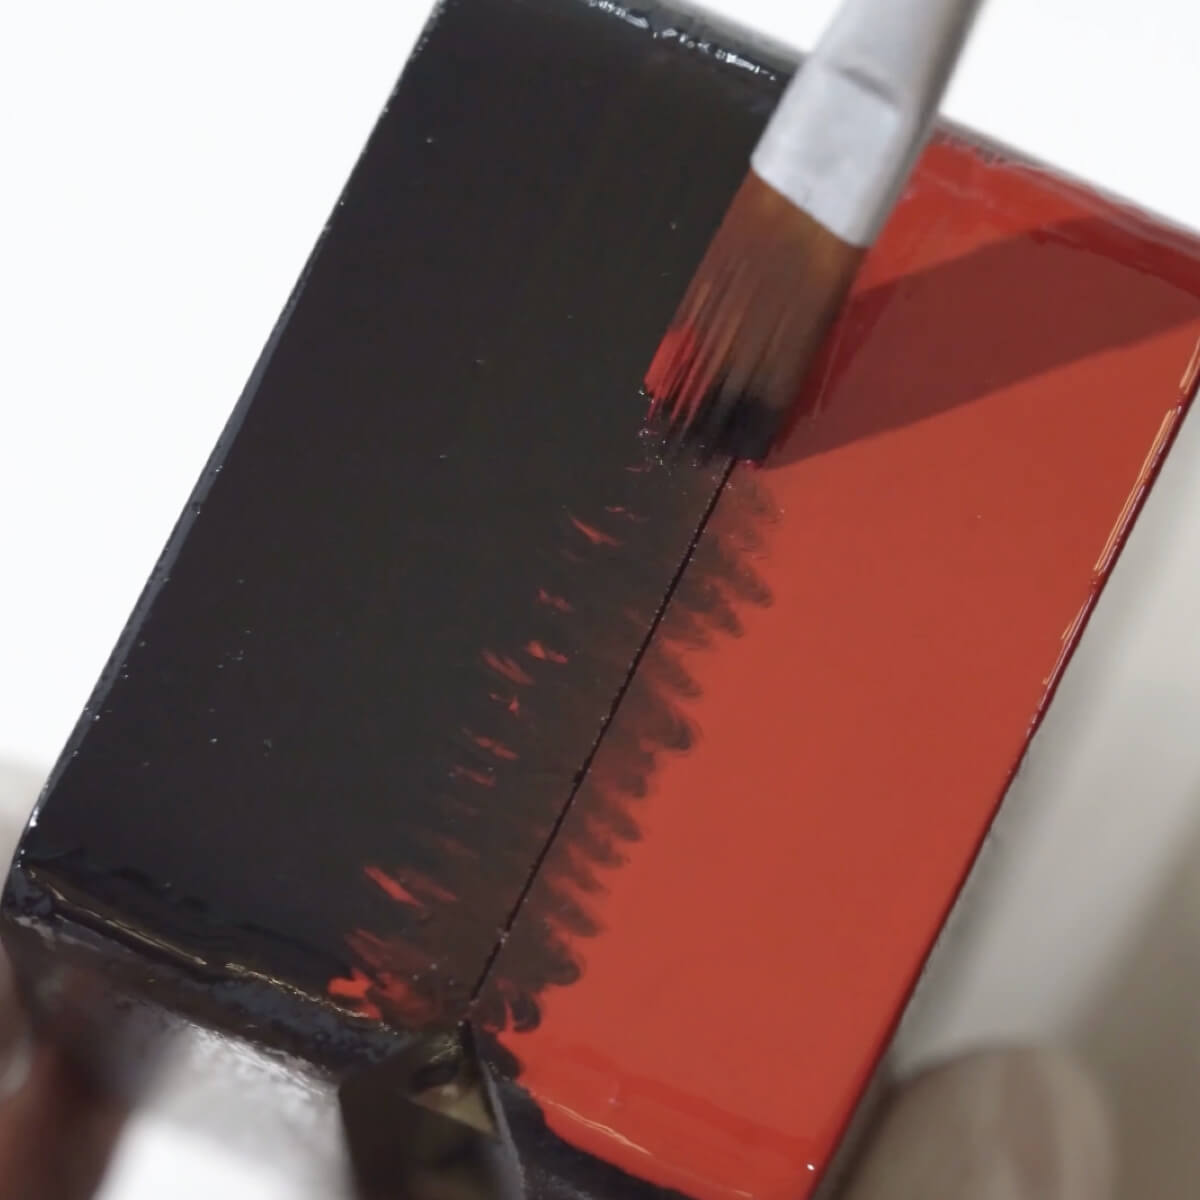
Préparez votre solution de fixation :
- Utilisez soit de la laque, soit
- Colle blanche diluée avec de l'eau ou de l'alcool (rapport 1:1,15 ou 1:1,2)
Vaporisez la solution sur les feuilles jusqu'à ce qu'elles soient complètement mouillées. Posez le côté sans fil des feuilles humides sur votre table et soulevez-le légèrement pour lui donner une forme initiale de feuilles de lotus.

Tant qu'ils sont encore humides, façonnez les bandes en utilisant la méthode « concave humide » :
- Pressez l'excès de solution avec une pince à épiler.
- Formez des courbes naturelles le long des bords des pétales pendant qu'ils sont humides.
Pincez et formez des courbes ondulées le long du bord pour imiter une vraie feuille de lotus.
(Nous vous recommandons vivement de regarder le tutoriel vidéo pour cette étape :)
Puis collez-les pour les faire sécher à l'air. Une fois sèches, coupez les bords effilochés ou tout fil dépassant.
Étape 10. Fabriquez les tiges des feuilles
Prenez un morceau de fil de cuivre de 0,4 mm et pliez-le en deux. Attachez-le solidement à la base de la feuille pour ajouter de la structure et du support, en laissant la tige légèrement plus longue pour plus de flexibilité lors de l'assemblage ultérieur. Enroulez soigneusement toute la tige avec du fil de soie. Une fois enroulé, vous pouvez brièvement passer le fil à la flamme d'un briquet pour fixer les fibres en place — faites attention à ne pas brûler la soie.

Étape 11. Faire les tiges à perles
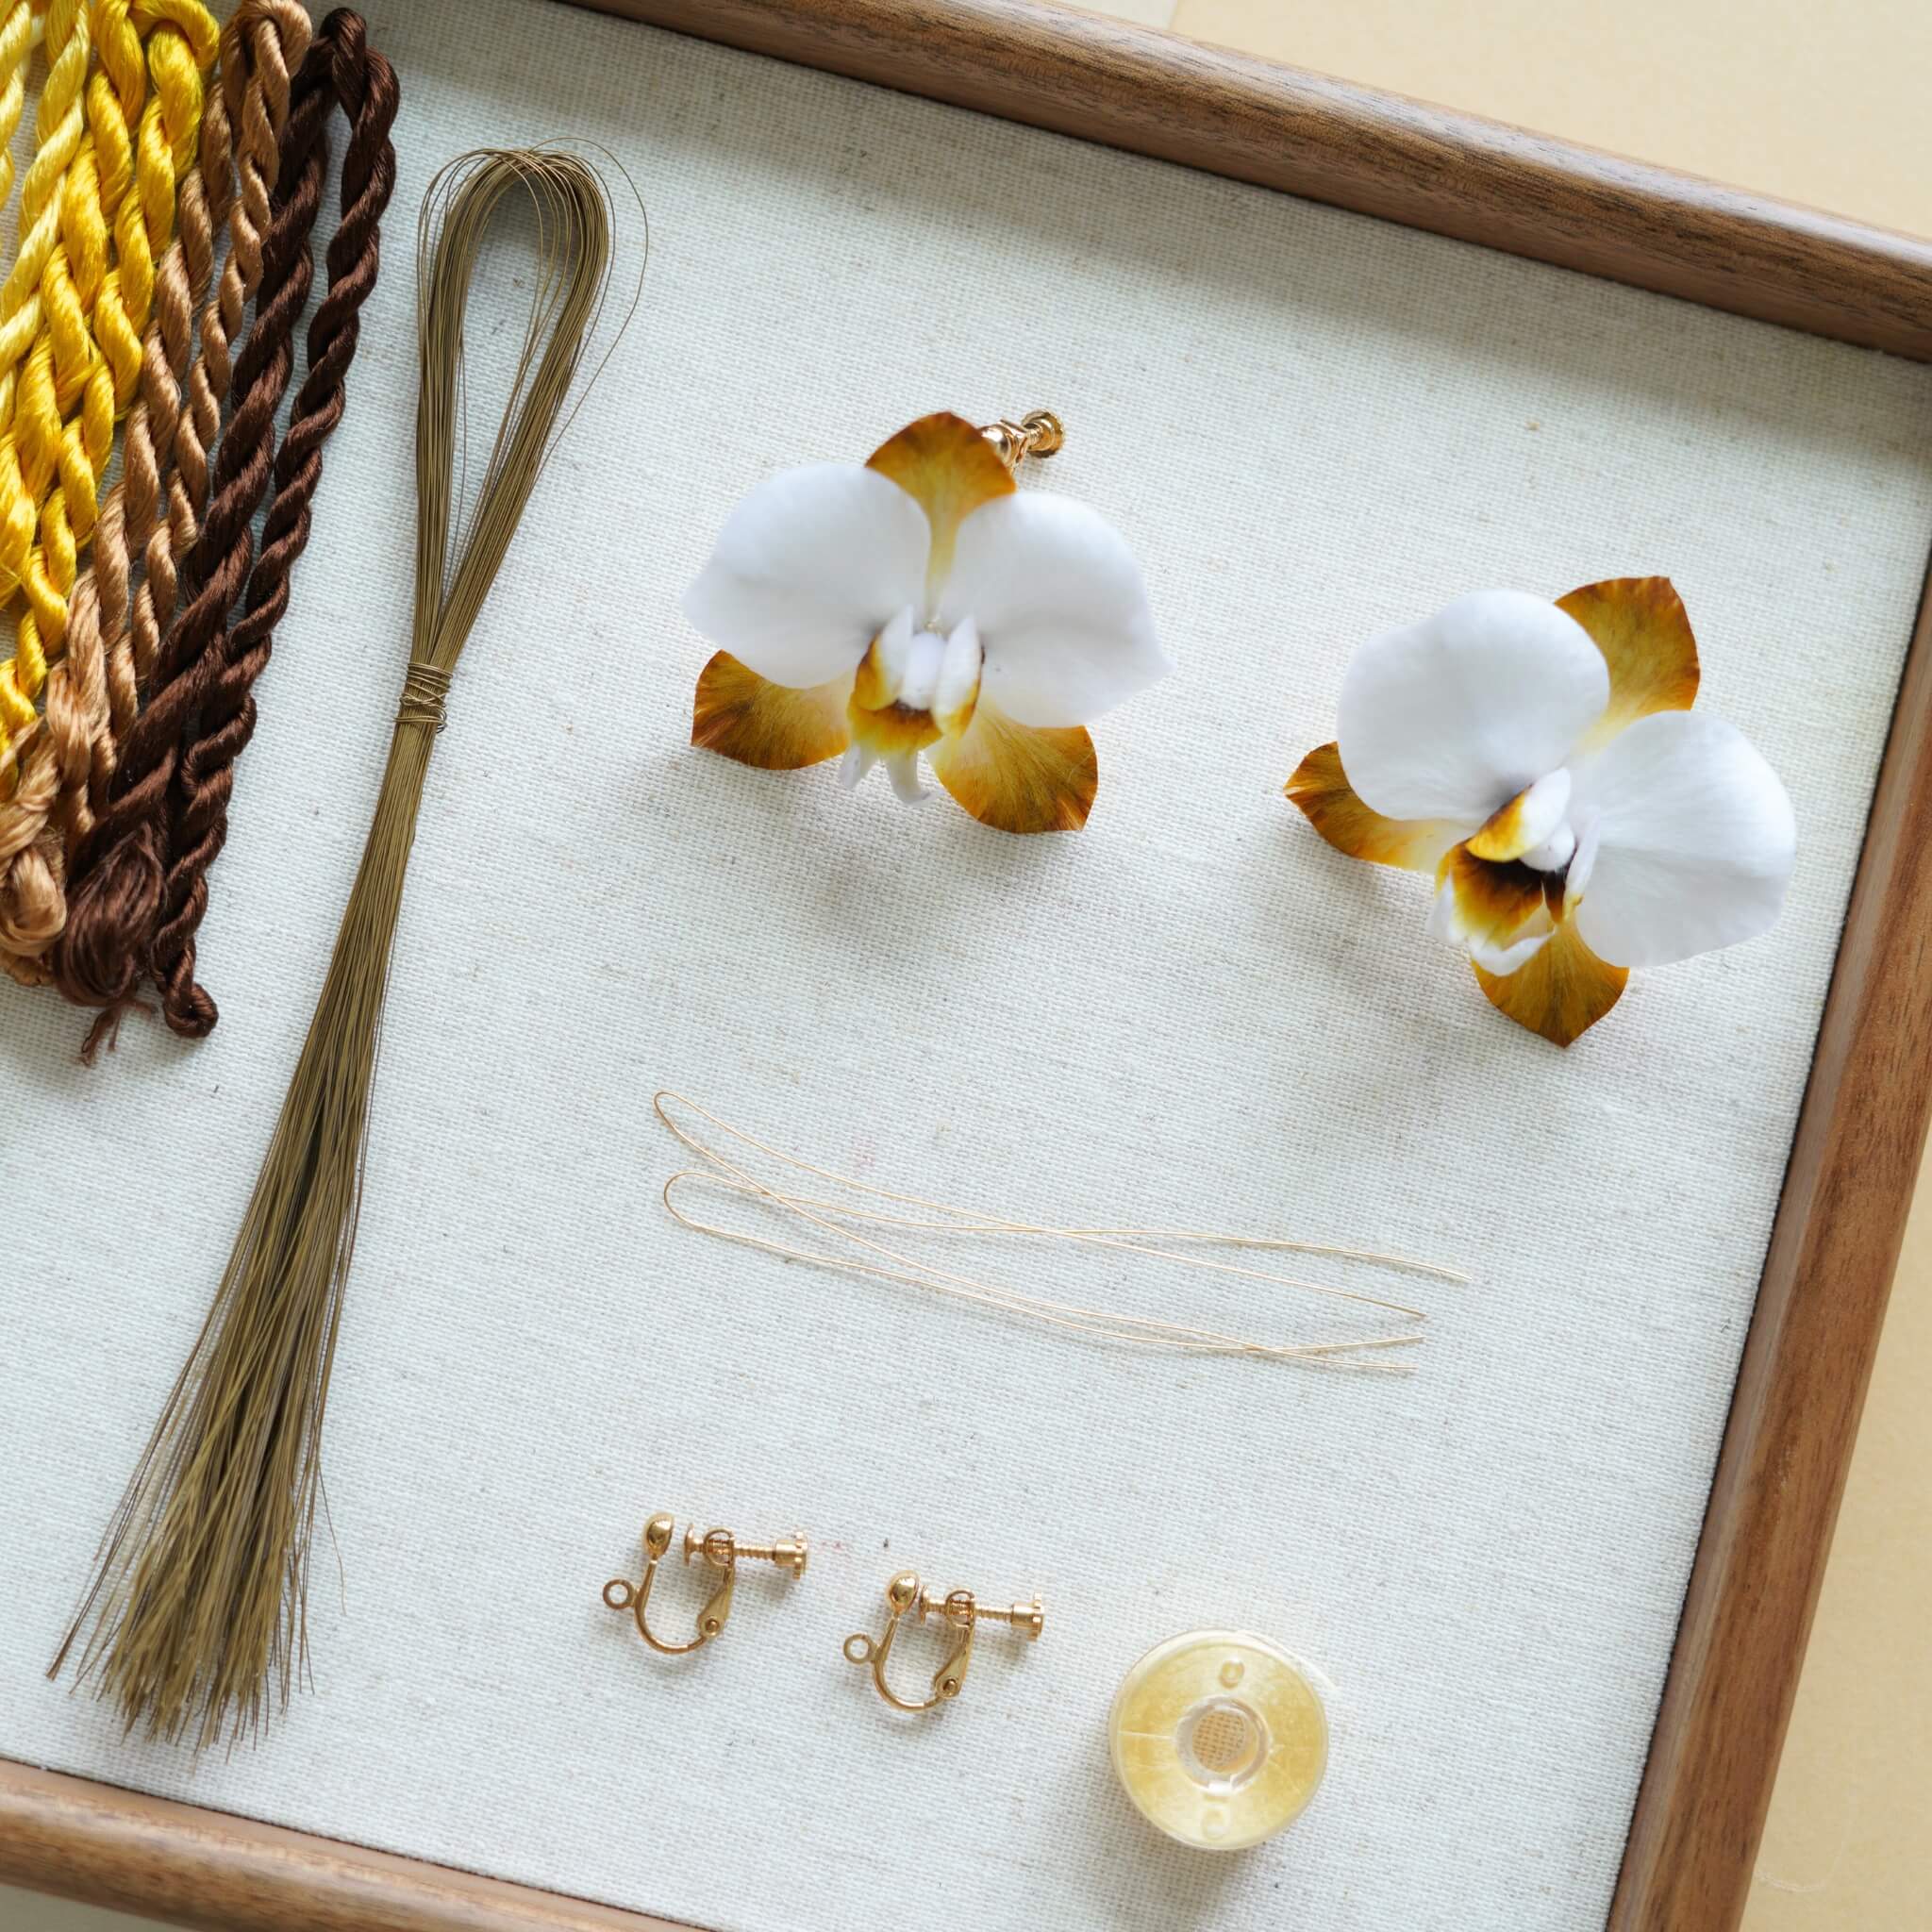
Coupez plusieurs morceaux de fil de cuivre à peu près de la même longueur que vos tiges de feuilles. Enfilez une perle argentée sur chaque fil, tordez fermement les extrémités pour la sécuriser, puis roulez la partie tordue sur la planche à frotter pour lisser et façonner. Répétez le même processus pour faire six tiges perlées au total.


Laisser un commentaire
Tous les commentaires sont modérés avant d'être publiés.
Ce site est protégé par hCaptcha, et la Politique de confidentialité et les Conditions de service de hCaptcha s’appliquent.