

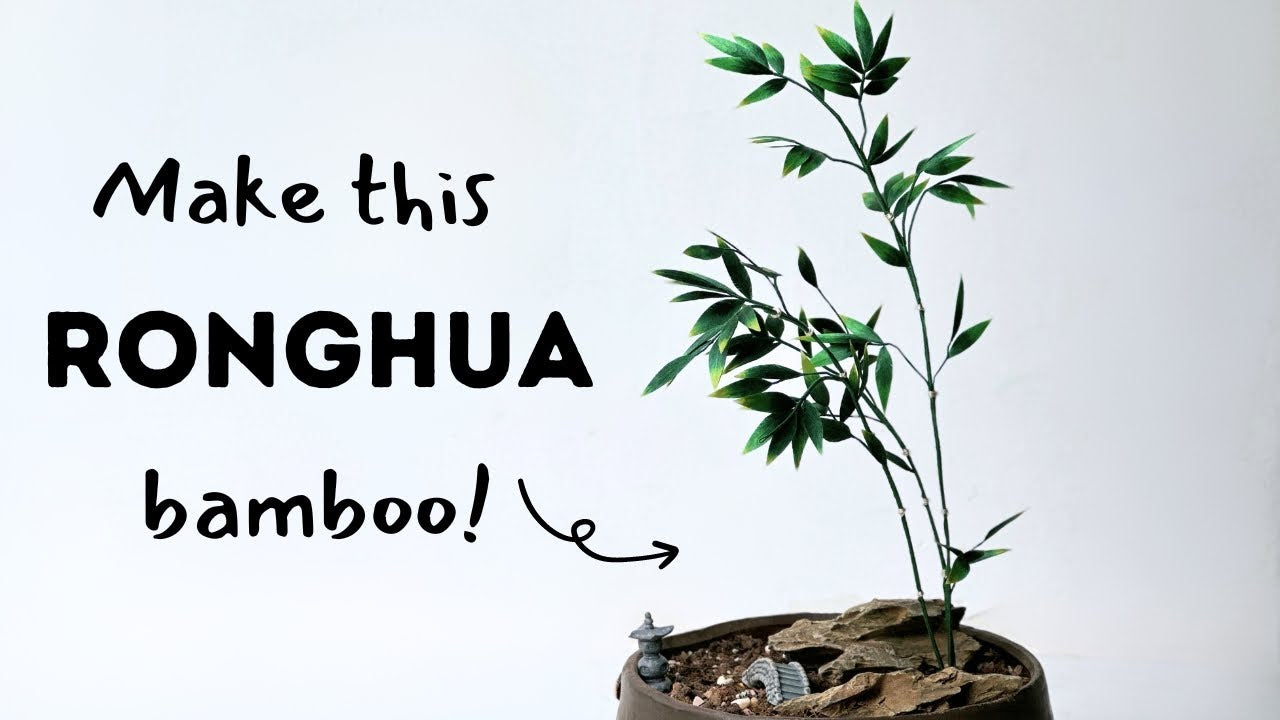
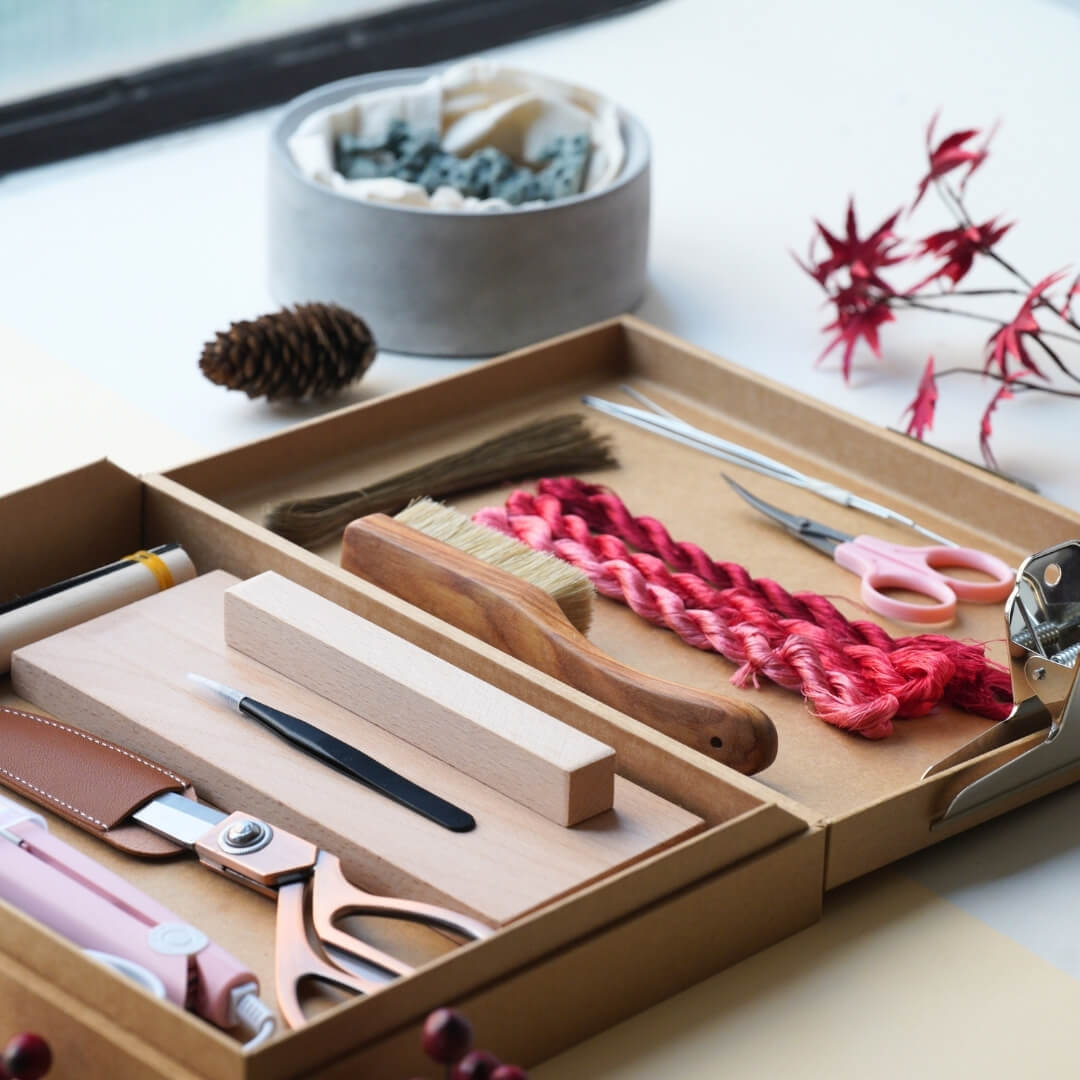
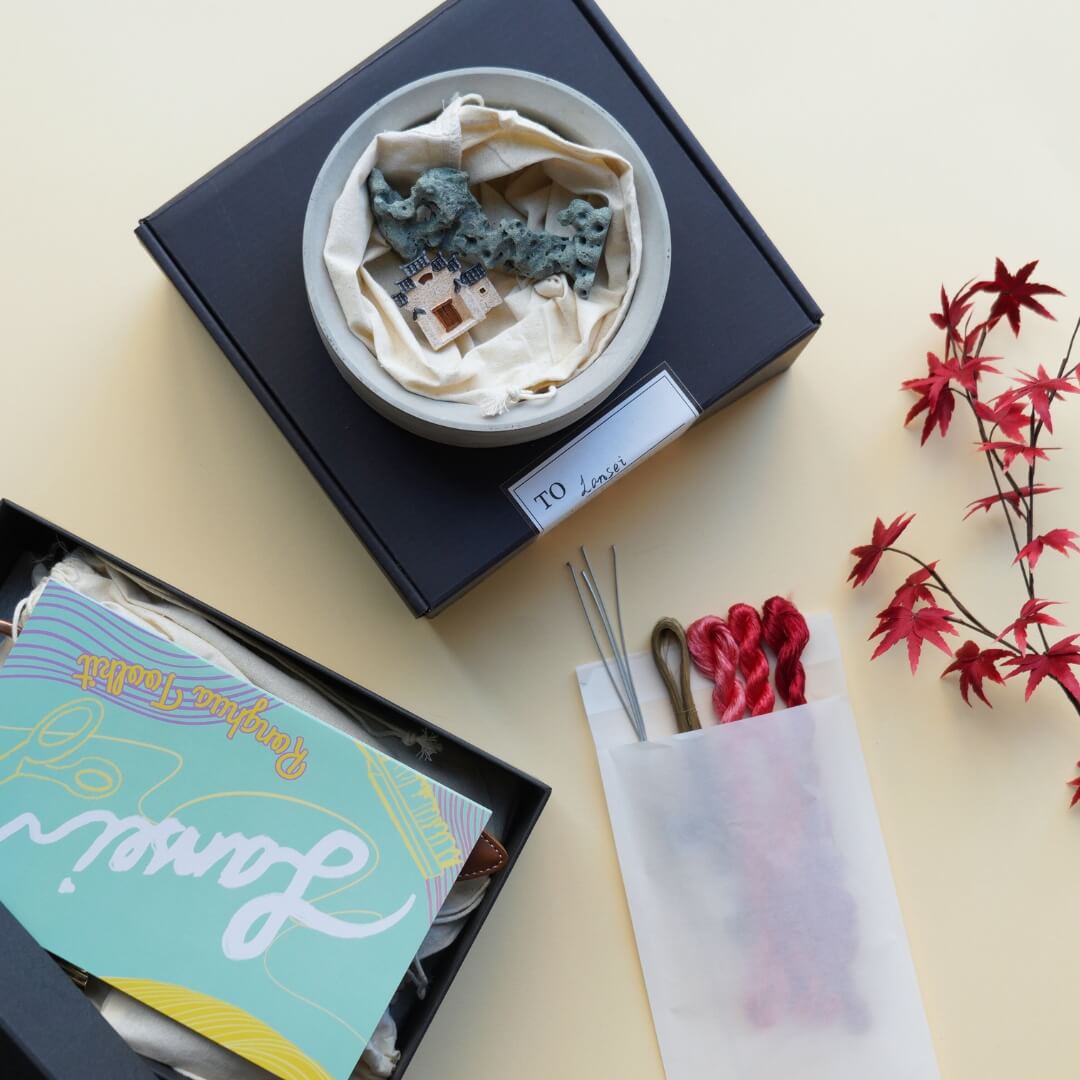
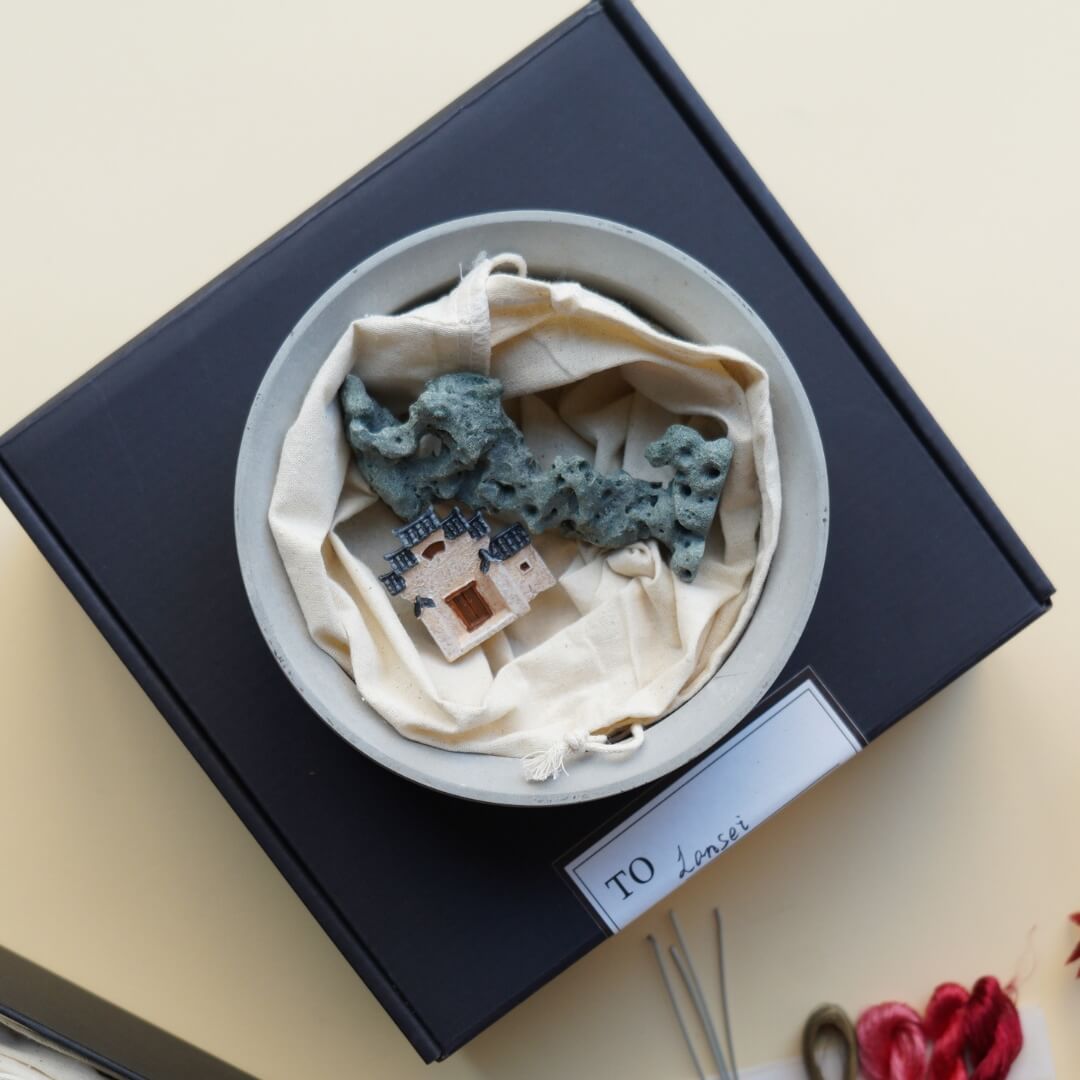
Apprenez à créer d'adorables penjing/bonsaïs en utilisant la technique traditionnelle de fabrication Ronghua ! Dans ce tutoriel étape par étape, nous vous guiderons à travers la préparation des bandes de soie, le brossage, la mise en forme et l'assemblage de votre propre Bamboo Bonsai/Penjing.
Étape 1 : Organiser les fils de soie et fabriquer la bande de soie 00:00~01:06
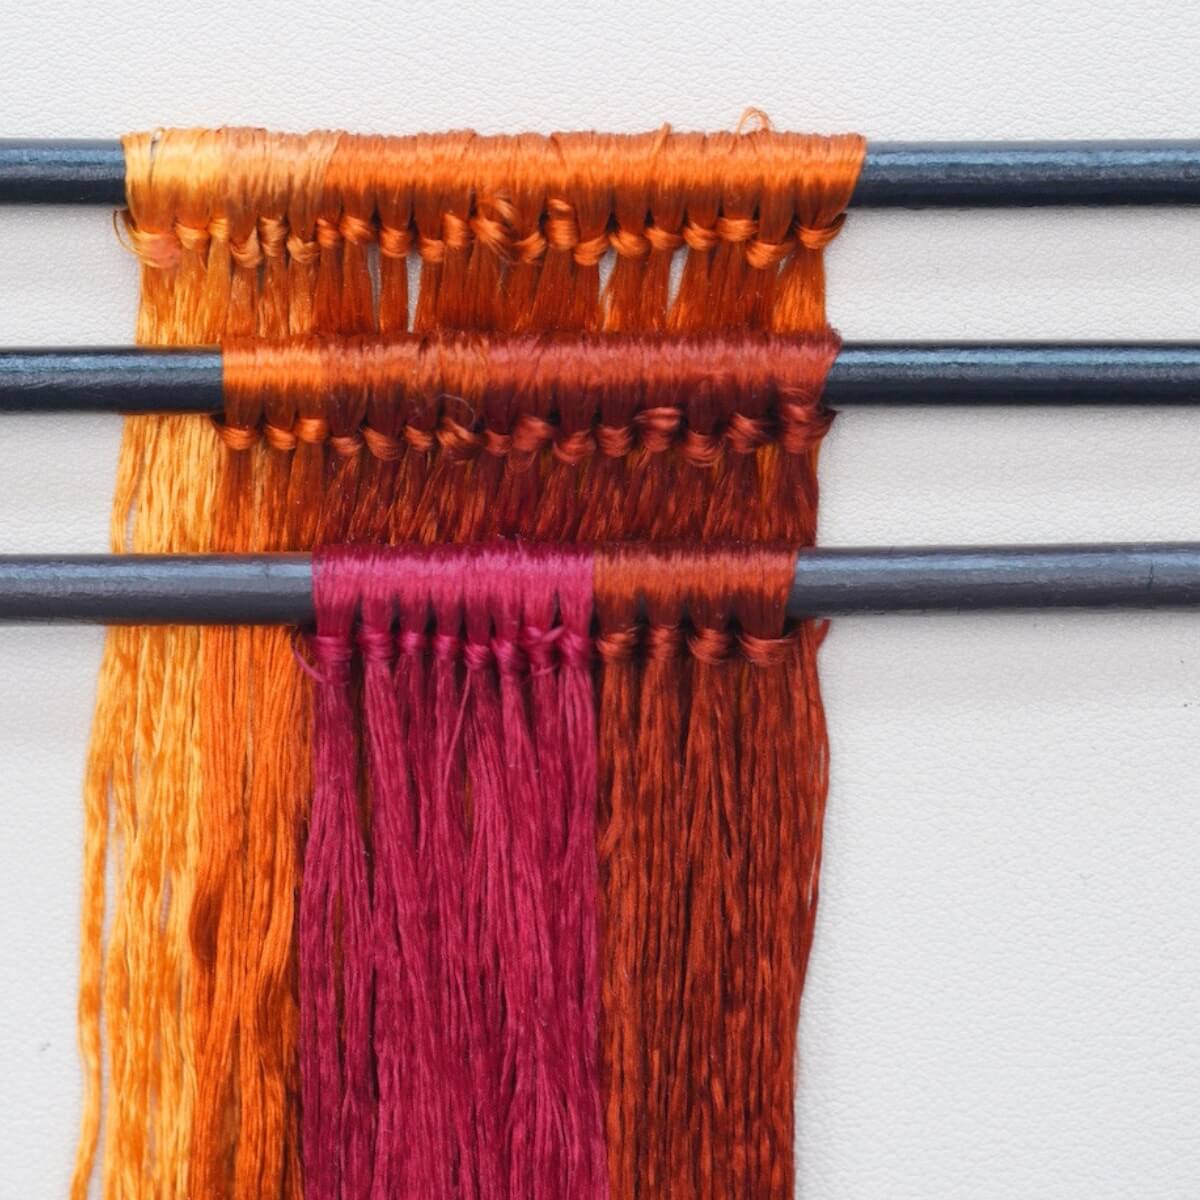
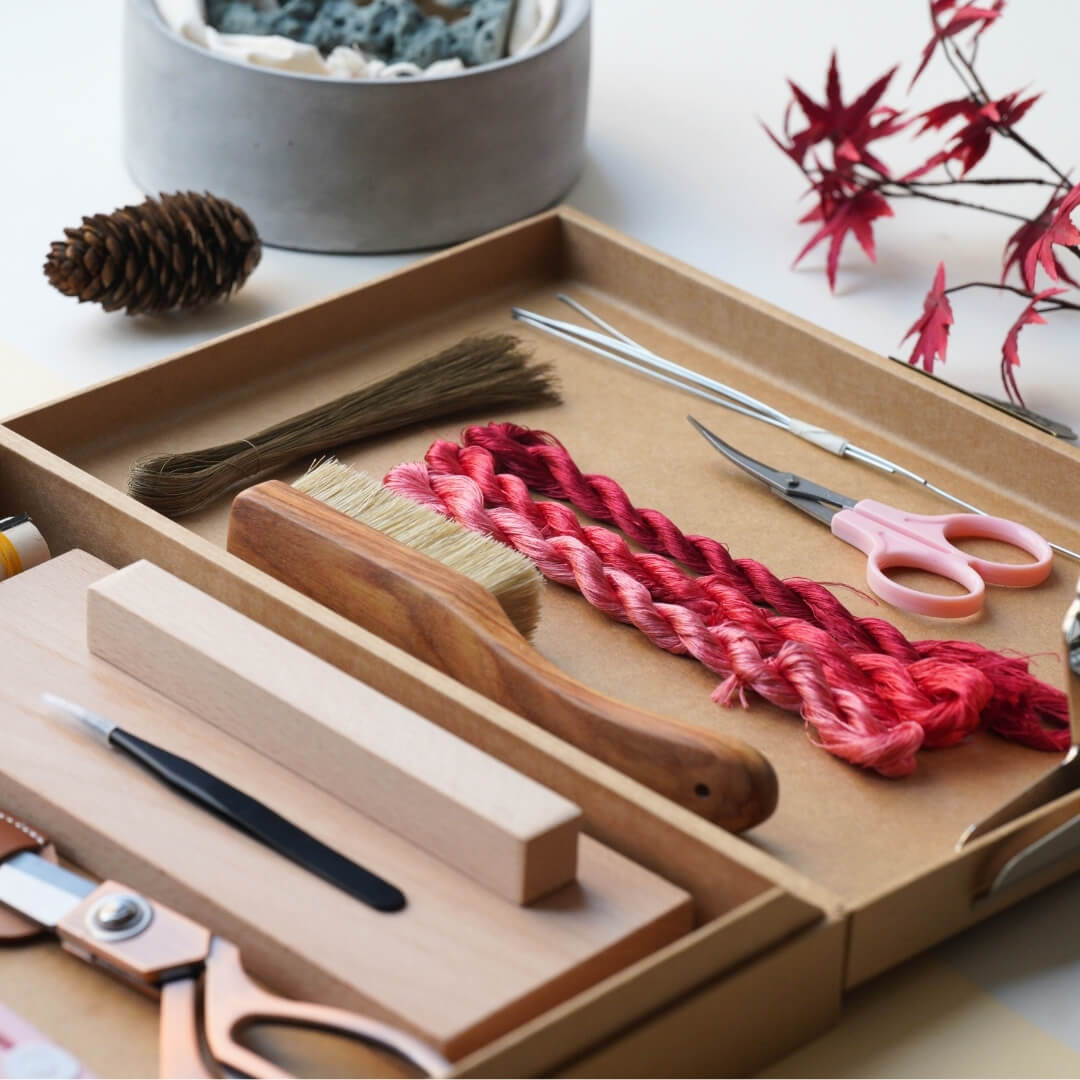
Le bambou utilise des fils de soie regroupés par groupes de cinq, avec un total de 21 groupes. Deux rangées de soie doivent être préparées. Comme la rangée de soie est un peu large, je l'ai brossée en deux sections, gauche et droite. Vous pouvez vaporiser un peu d'eau pendant le brossage pour aider à prévenir l'électricité statique. Les deux côtés, avant et arrière, doivent être brossés. Une fois que les fils ont l'air duveteux et ont un éclat doux, le brossage est terminé.


Étape 2 : Fabriquer les bandes de soie 01:07~04:02
Utilisez une pince pour fixer la bande de soie et ajustez l'espacement de haut en bas pour assurer une largeur constante. Puis fixez-la en place avec une pince en forme de montagne. Pliez le fil de cuivre en deux et redressez-le. Tordez l'extrémité fermée sur environ 2 à 3 cm. Lors de la fixation du fil de cuivre, assurez-vous de le garder tendu. Tordez le fil fermement en faisant tourner les deux mains dans des directions opposées. Il est important de bien fixer le fil de cuivre, sinon cela affectera les étapes suivantes.

Lors de la coupe de la bande de soie, vous pouvez la soutenir d'une main tout en coupant avec l'autre. Si la bande semble trop longue à manipuler, vous pouvez la couper en deux d'abord. Alignez les deux extrémités de la bande de soie coupée, puis tordez-la doucement en tournant les deux mains dans des directions opposées. N'appliquez pas trop de force en tordant, sinon le fil de cuivre pourrait se casser.

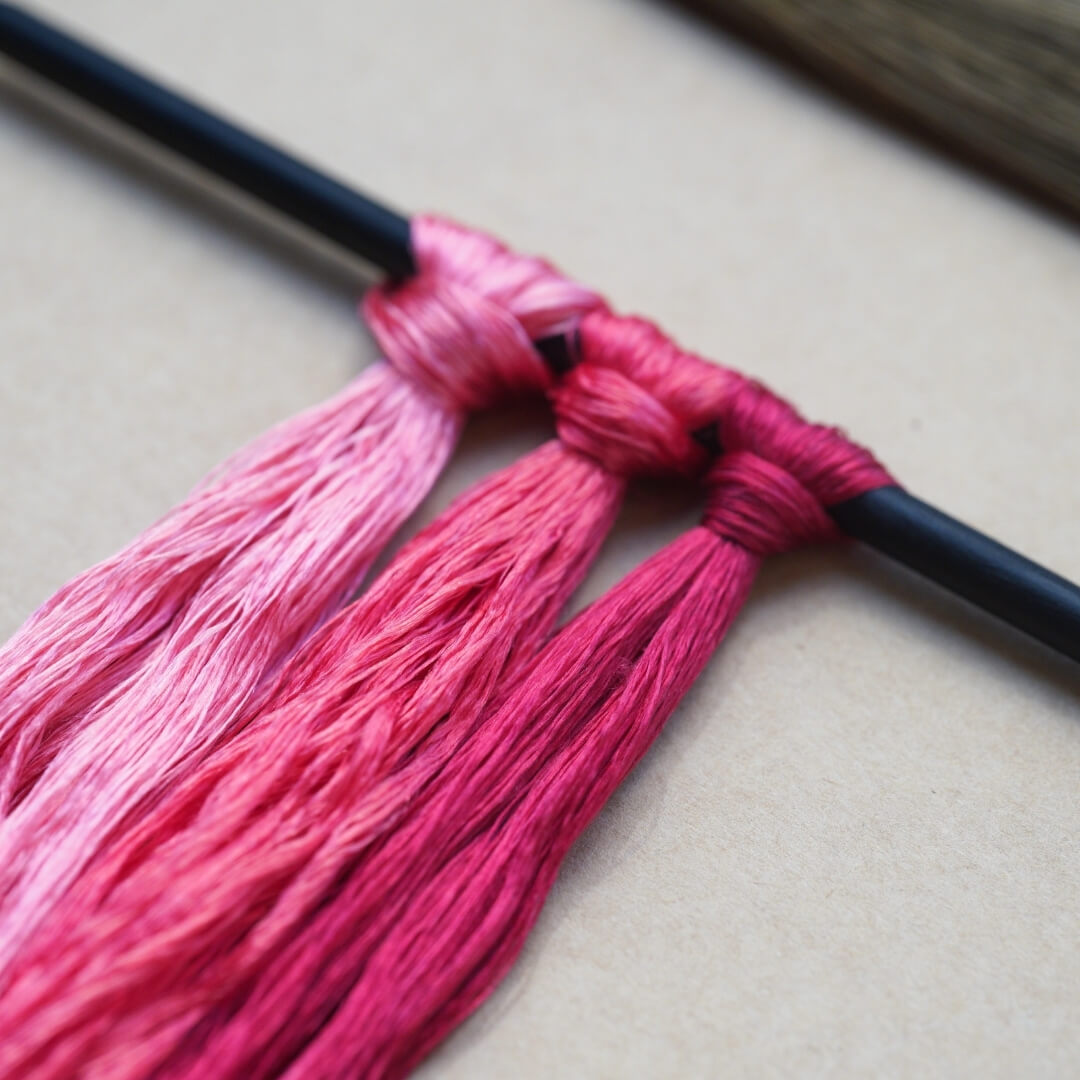
Étape 3 : Fabriquer les feuilles de bambou 04:03~06:22
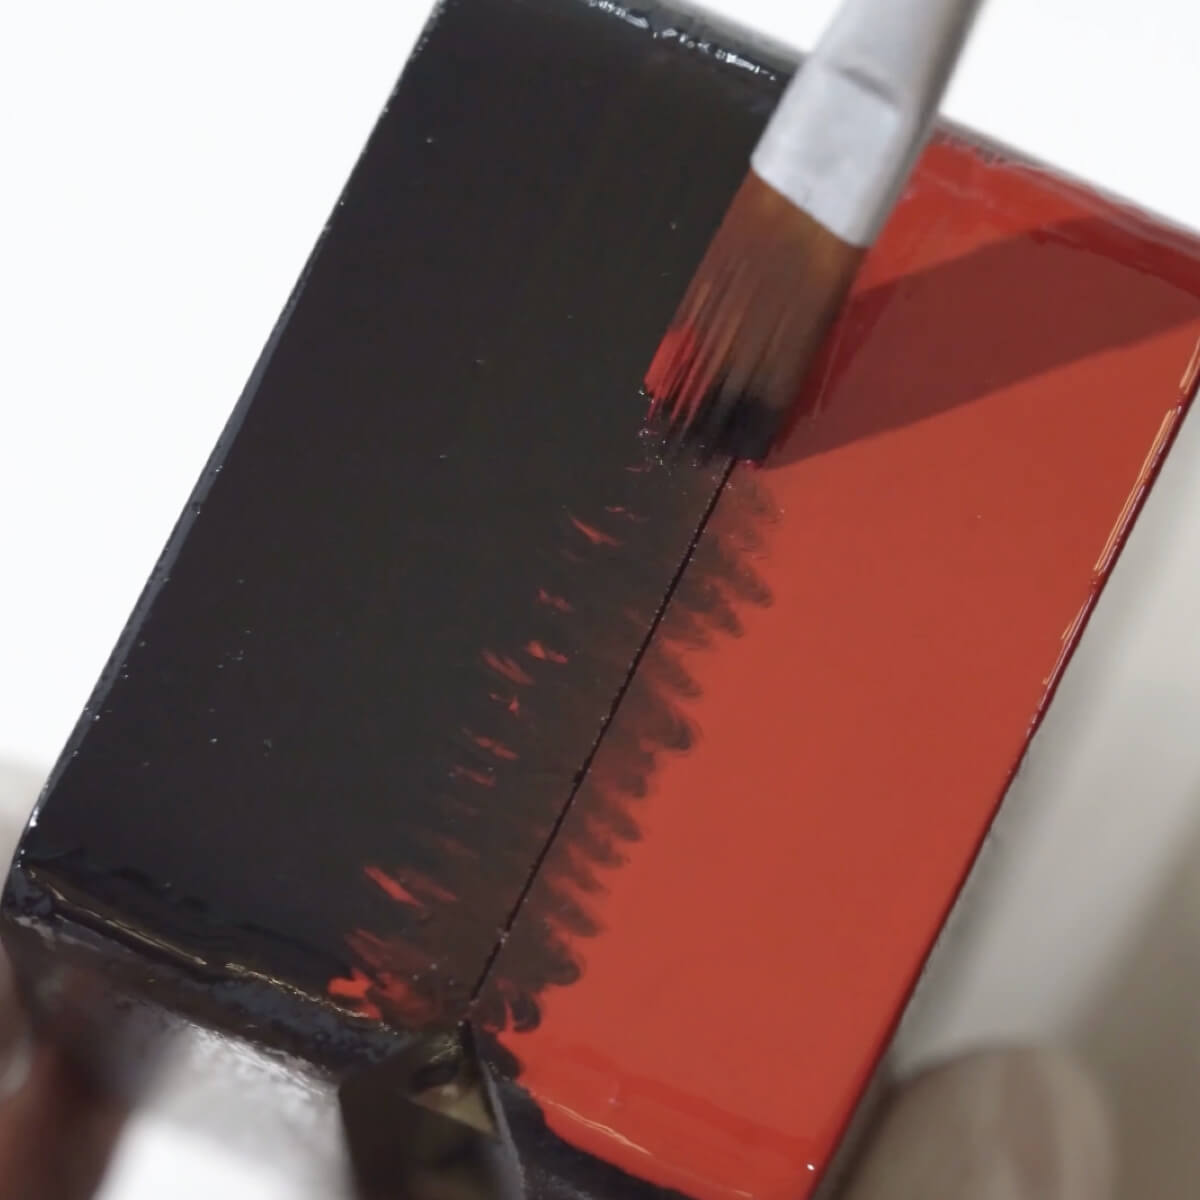
Coupez la bande de soie en deux. Utilisez un mini fer à repasser pour aplatir la bande de soie. La bande de soie aplatie doit avoir une finition brillante. Appliquez uniformément du liquide de mise en forme sur la bande de soie. Si vous n'avez pas de liquide de mise en forme, vous pouvez utiliser de la laque ou de la colle blanche diluée avec de l'eau. Une fois enduites, laissez les bandes de soie sécher. Il est préférable de les placer à la verticale plutôt que de les poser à plat. Après séchage, repassez à nouveau les bandes de soie pour les aplatir encore plus. Puis, taillez-les en forme de feuilles de bambou. La caractéristique des feuilles de bambou est leur forme longue et étroite—évitez de rendre les feuilles trop arrondies. Enfin, pressez doucement chaque feuille de bambou avec le fer pour lui donner une légère courbure.

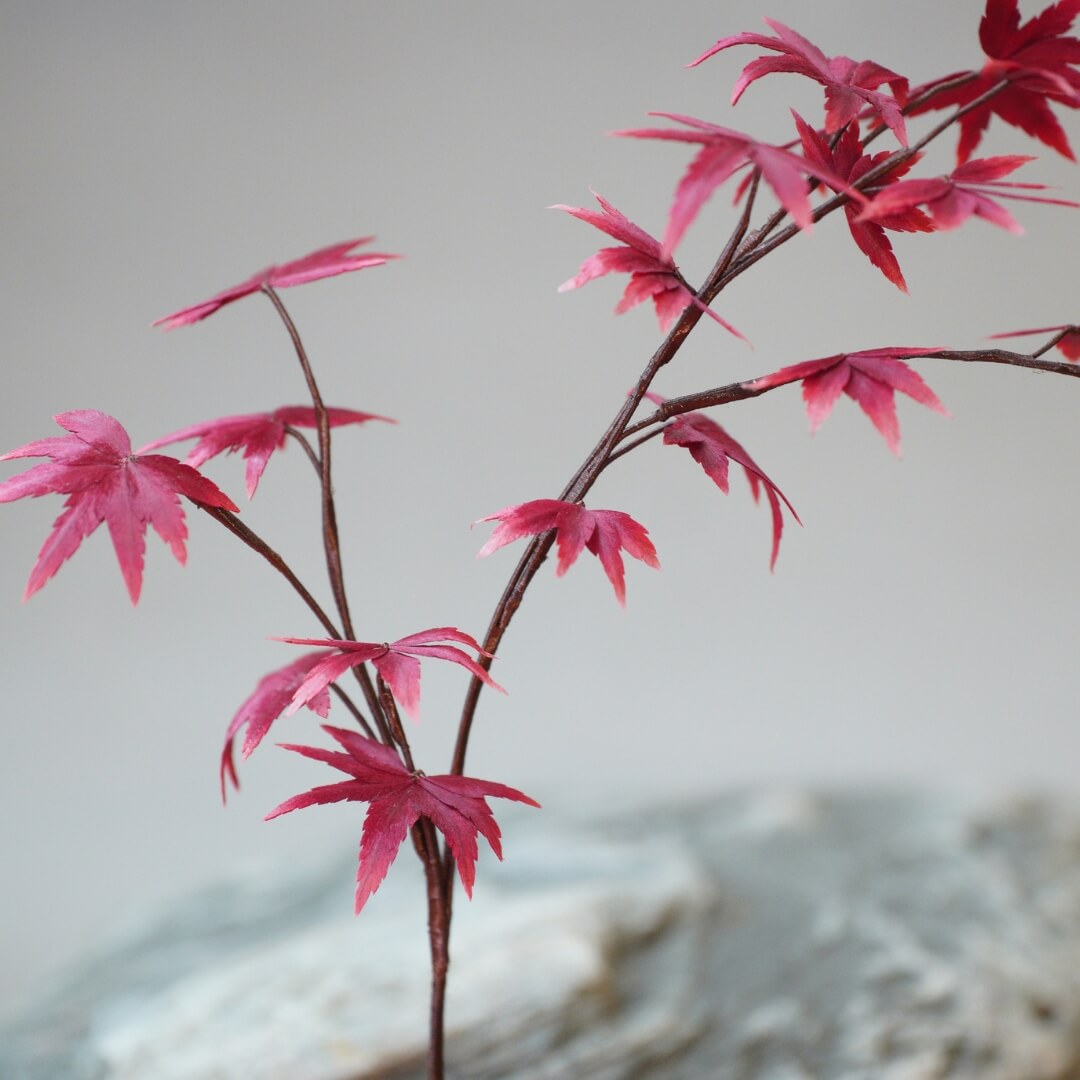
Étape 4 : Assembler les feuilles de bambou 06:23~fin
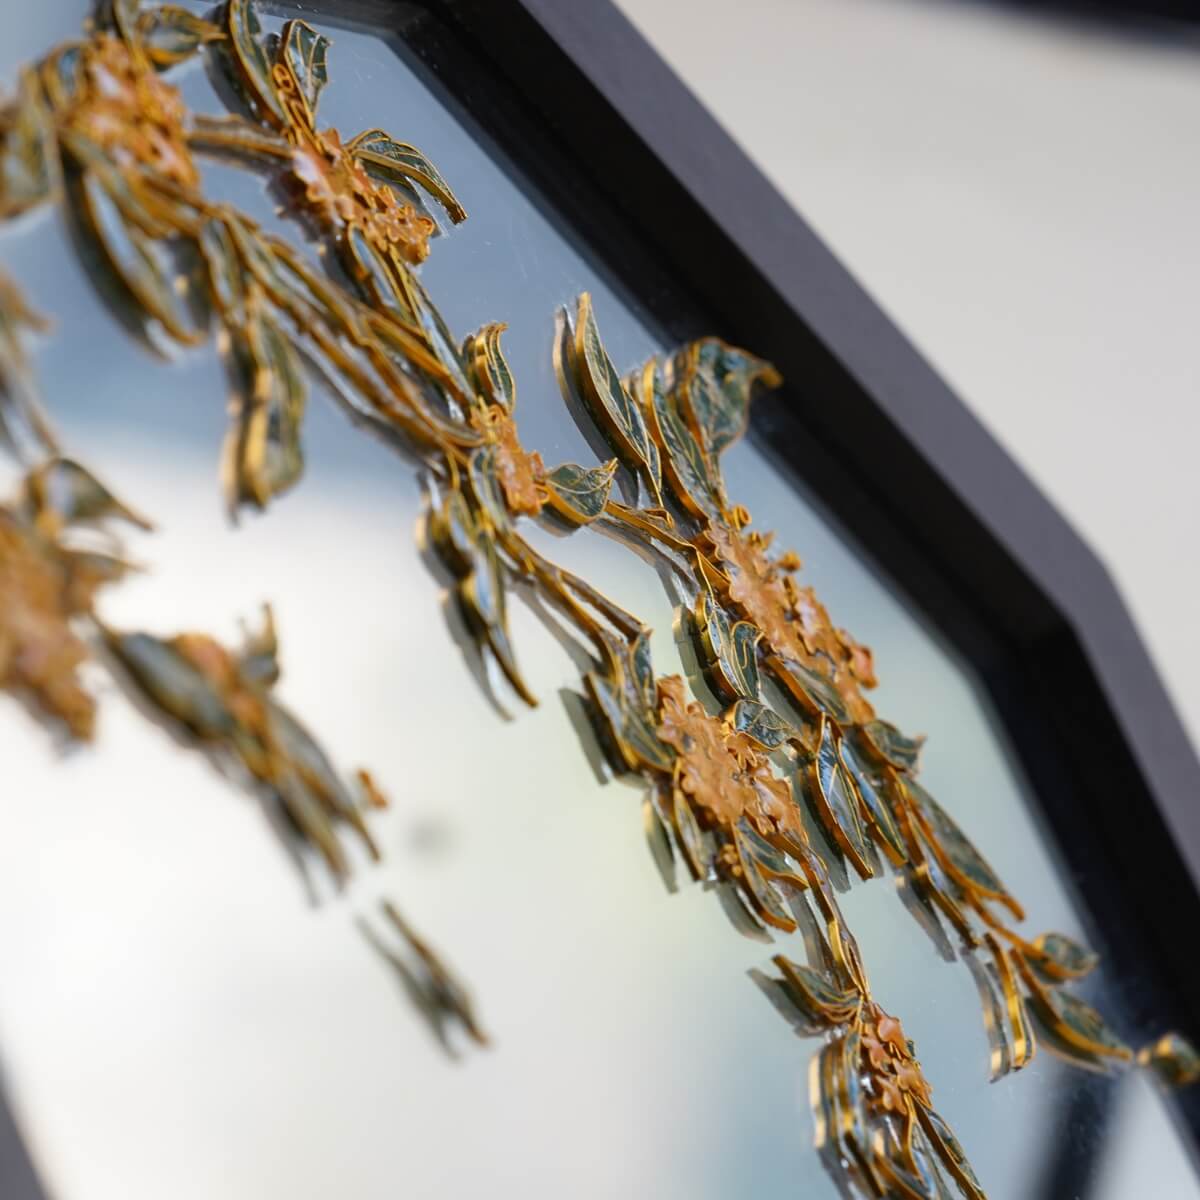
Maintenant, nous allons assembler les petites branches de bambou. Vous pouvez arranger et combiner les feuilles librement—commencez par regrouper les feuilles ainsi. Nous allons assembler les feuilles de bambou pour former une tige de bambou complète. Tout d'abord, préparez quelques fils de cuivre épais et coupez les deux extrémités de chaque fil en biseau. Attachez les petites branches aux fils de cuivre épais. Ensuite, connectez un morceau de fil de cuivre de 0,4 mm. Ce fil fin sera utilisé pour créer les nœuds du bambou.
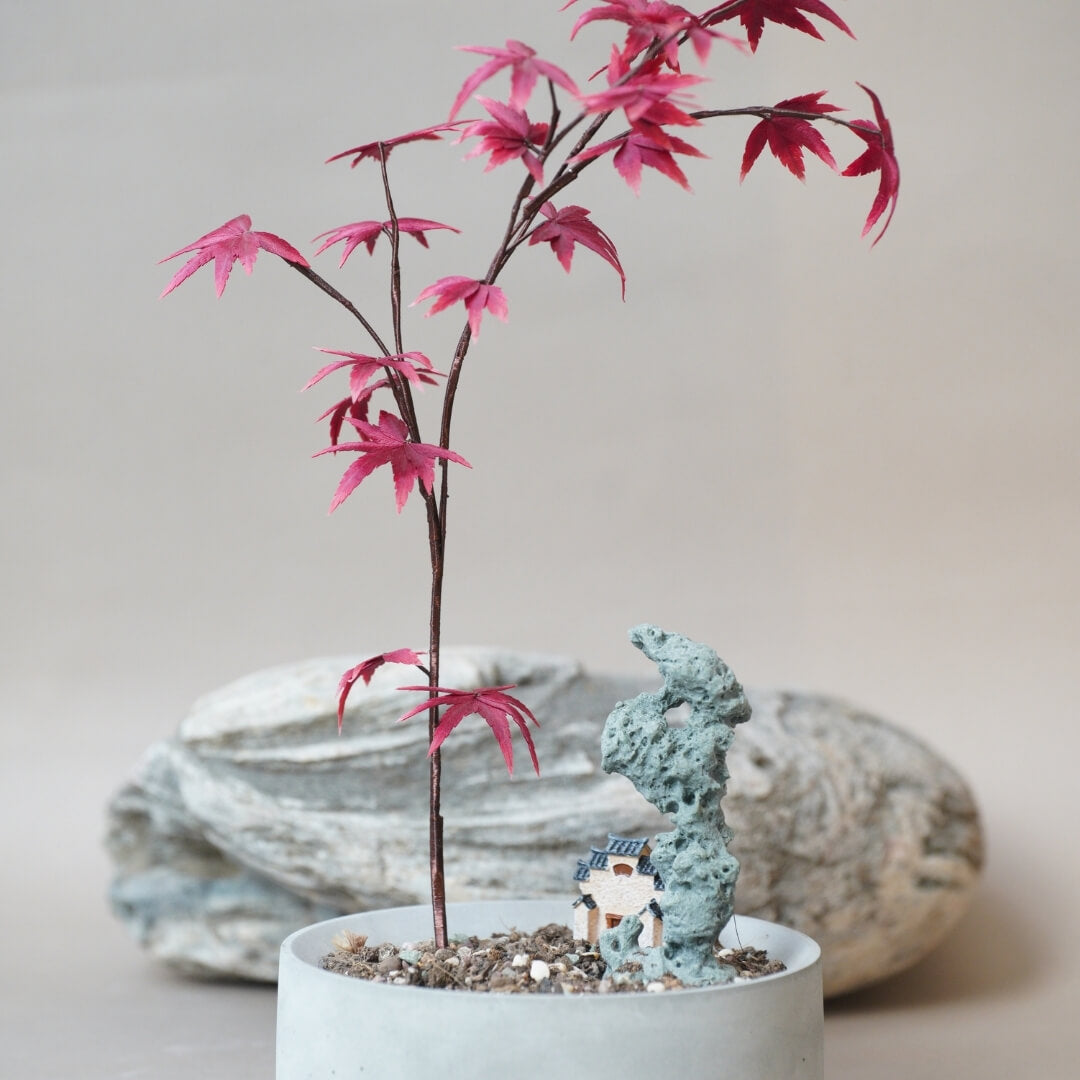
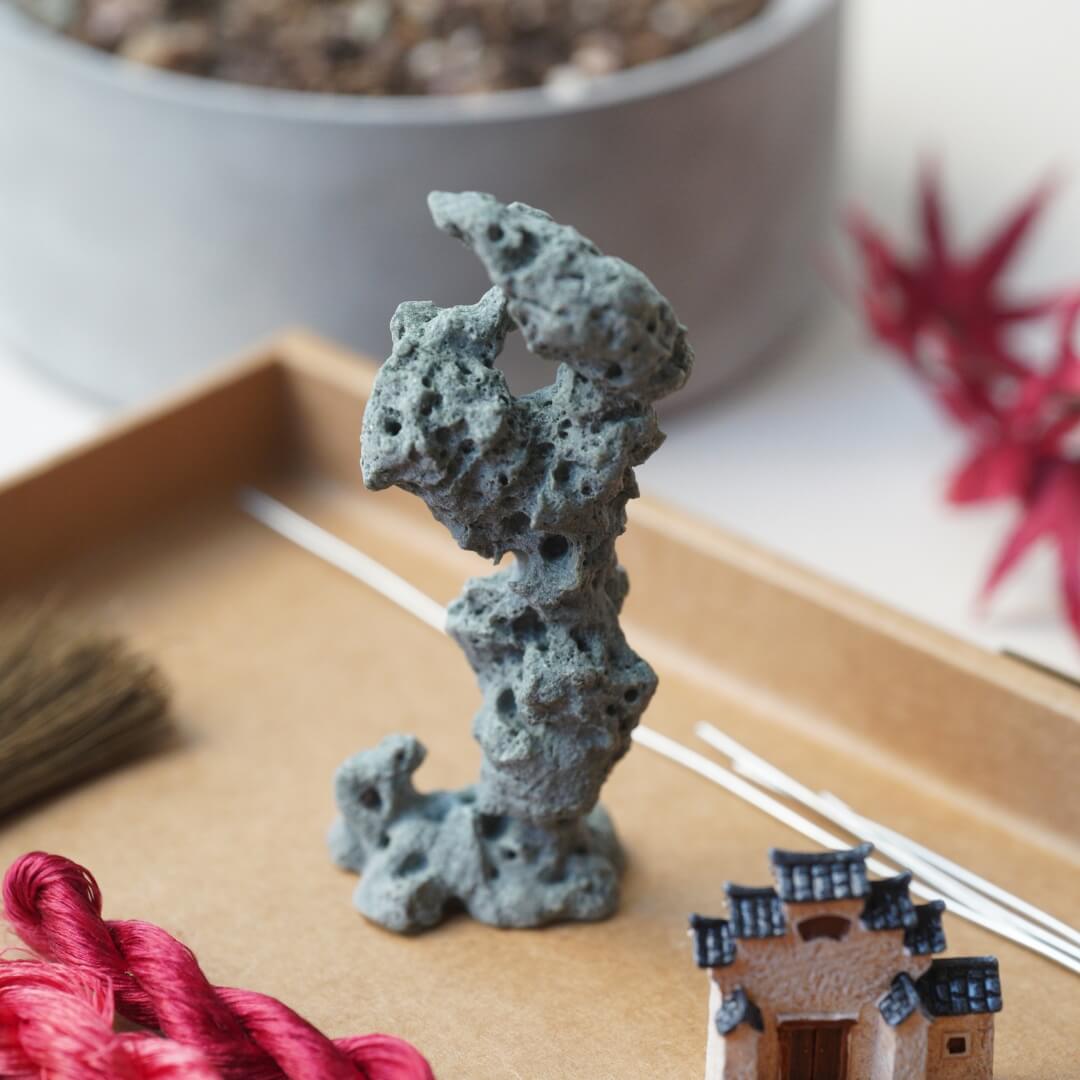
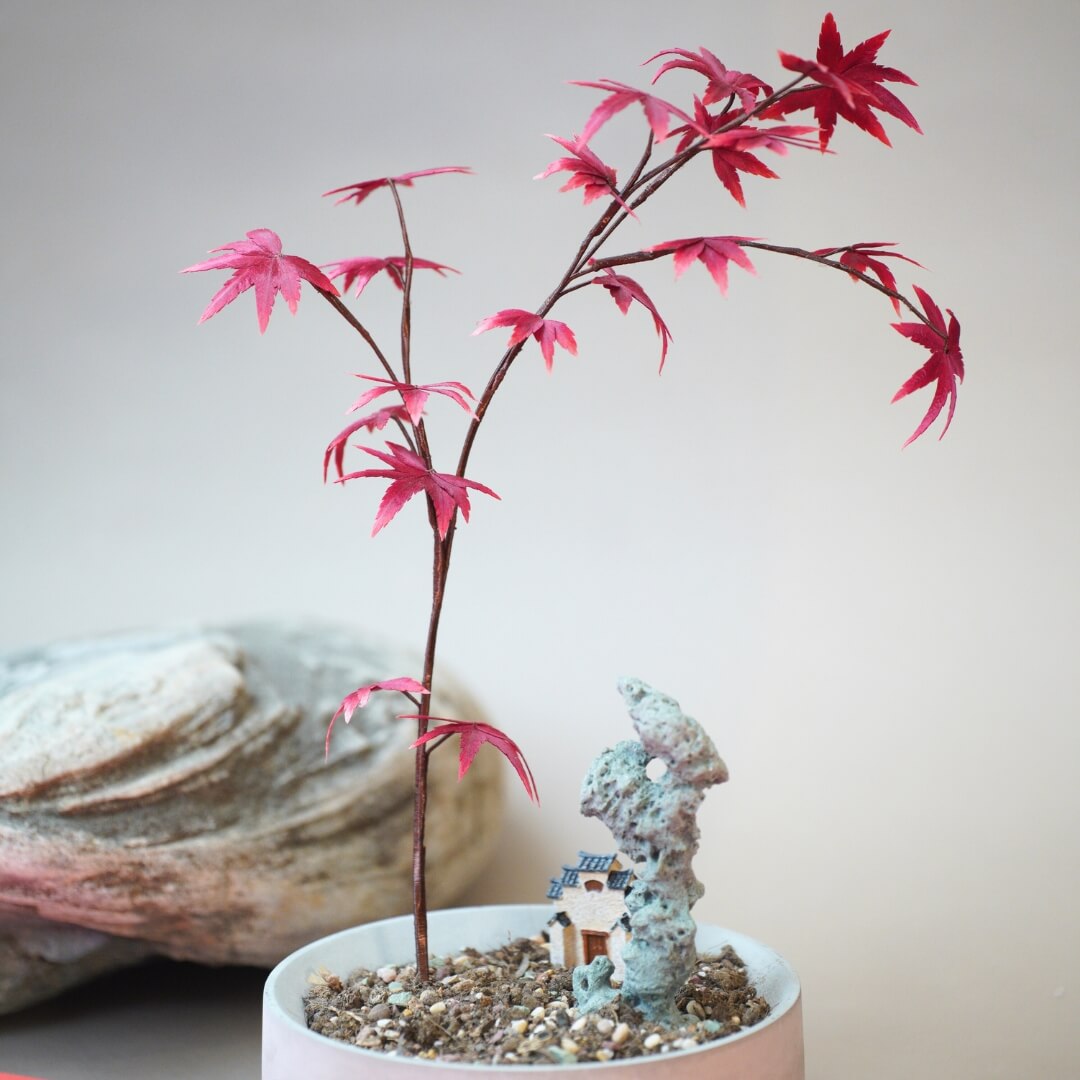
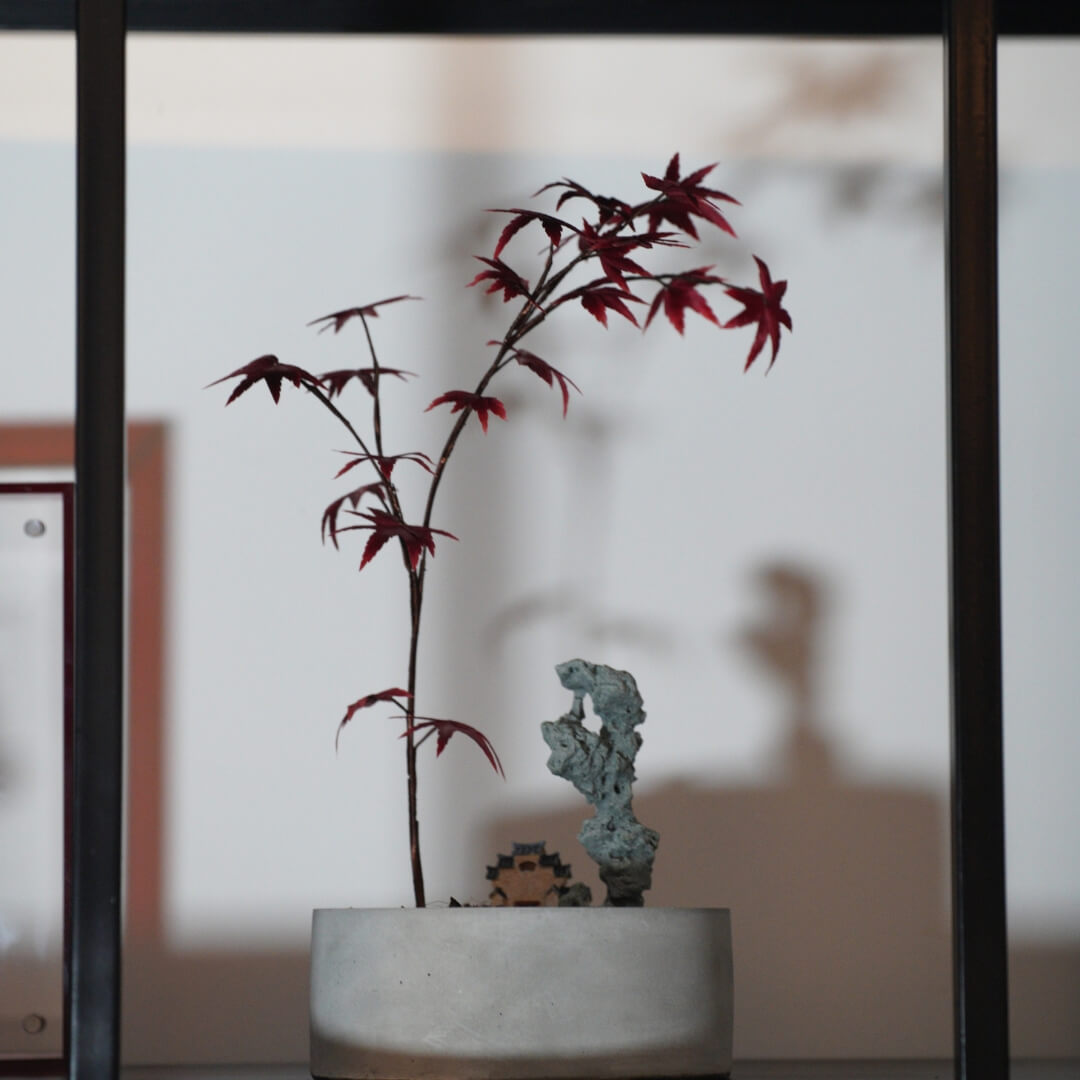
Pour faire les nœuds, enroulez le fil de cuivre fin autour de la tige environ cinq fois. Une fois le nœud enroulé, utilisez du fil de soie pour couvrir et cacher le fil de cuivre. Insérez le bambou fini dans un pot de fleurs, et le bambou est complet.

Si vous avez terminé votre produit DIY, bienvenue pour montrer votre travail incroyable à nous et obtenir des coupons pour le reste de nos kits DIY !
INS@lanseichina
Pinterest@lanseichina


Laisser un commentaire
Tous les commentaires sont modérés avant d'être publiés.
Ce site est protégé par hCaptcha, et la Politique de confidentialité et les Conditions de service de hCaptcha s’appliquent.