Note: If you need a English version, please contact us and get your English video tutorial~
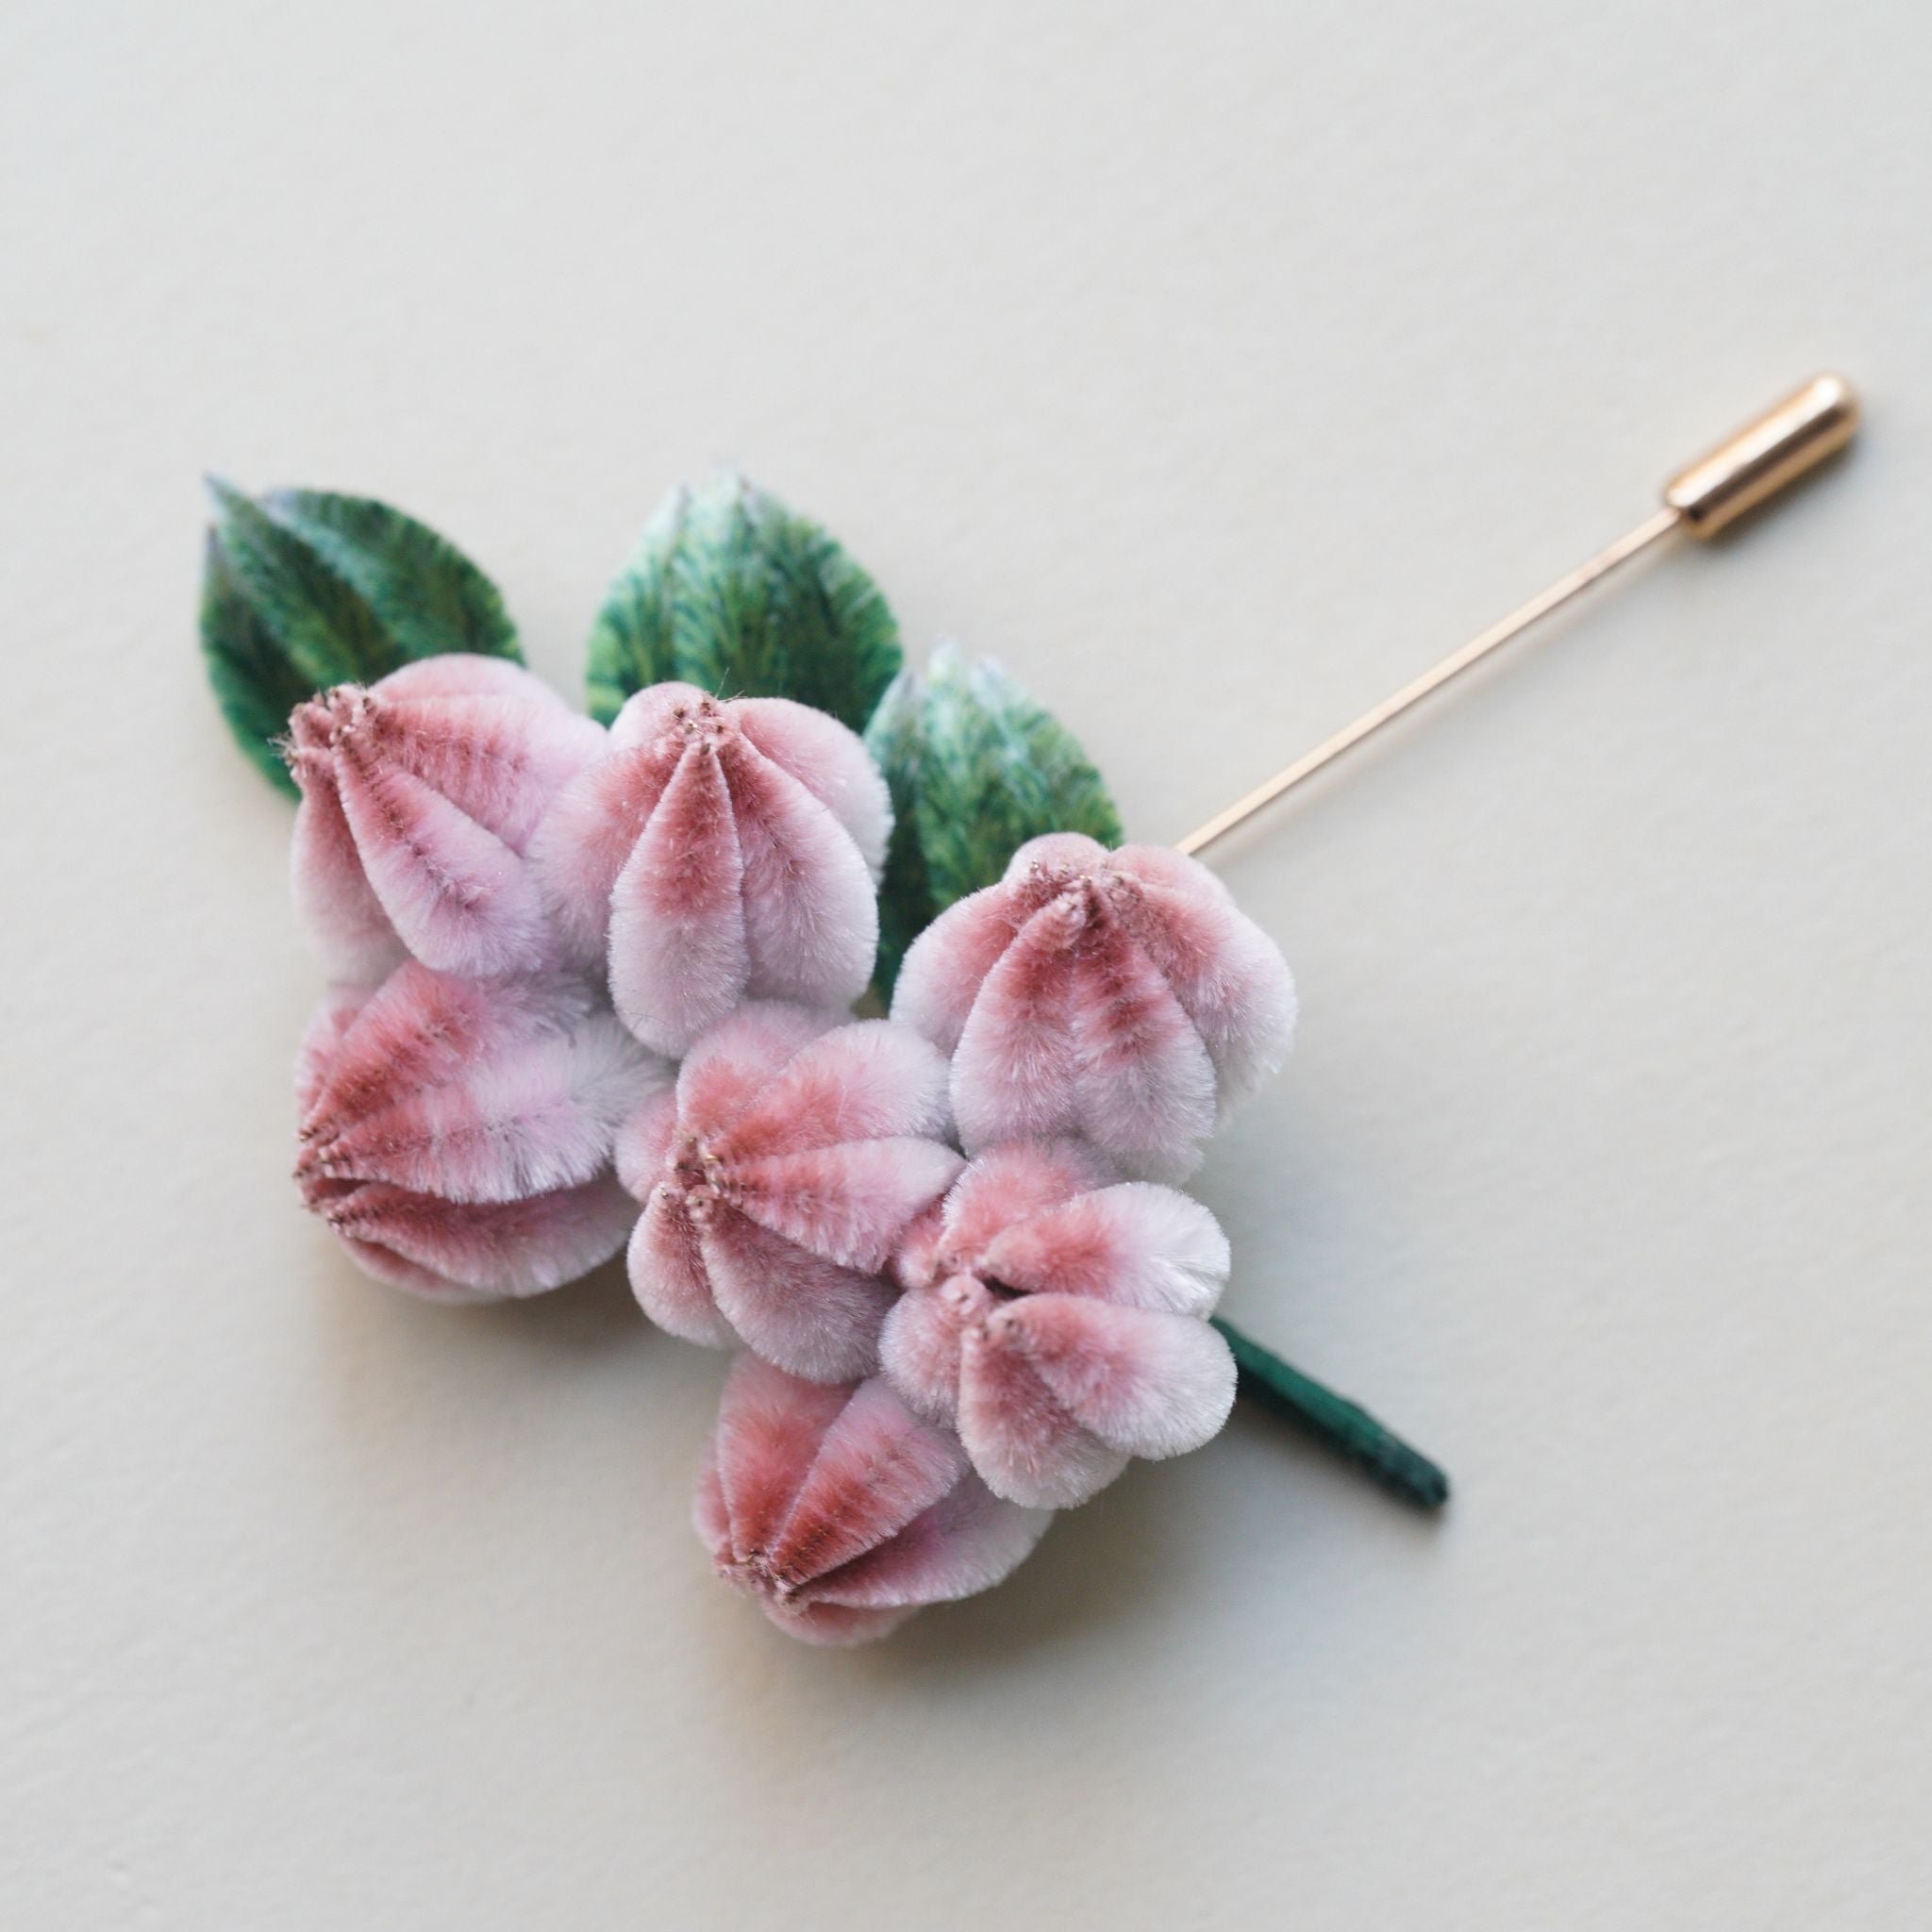
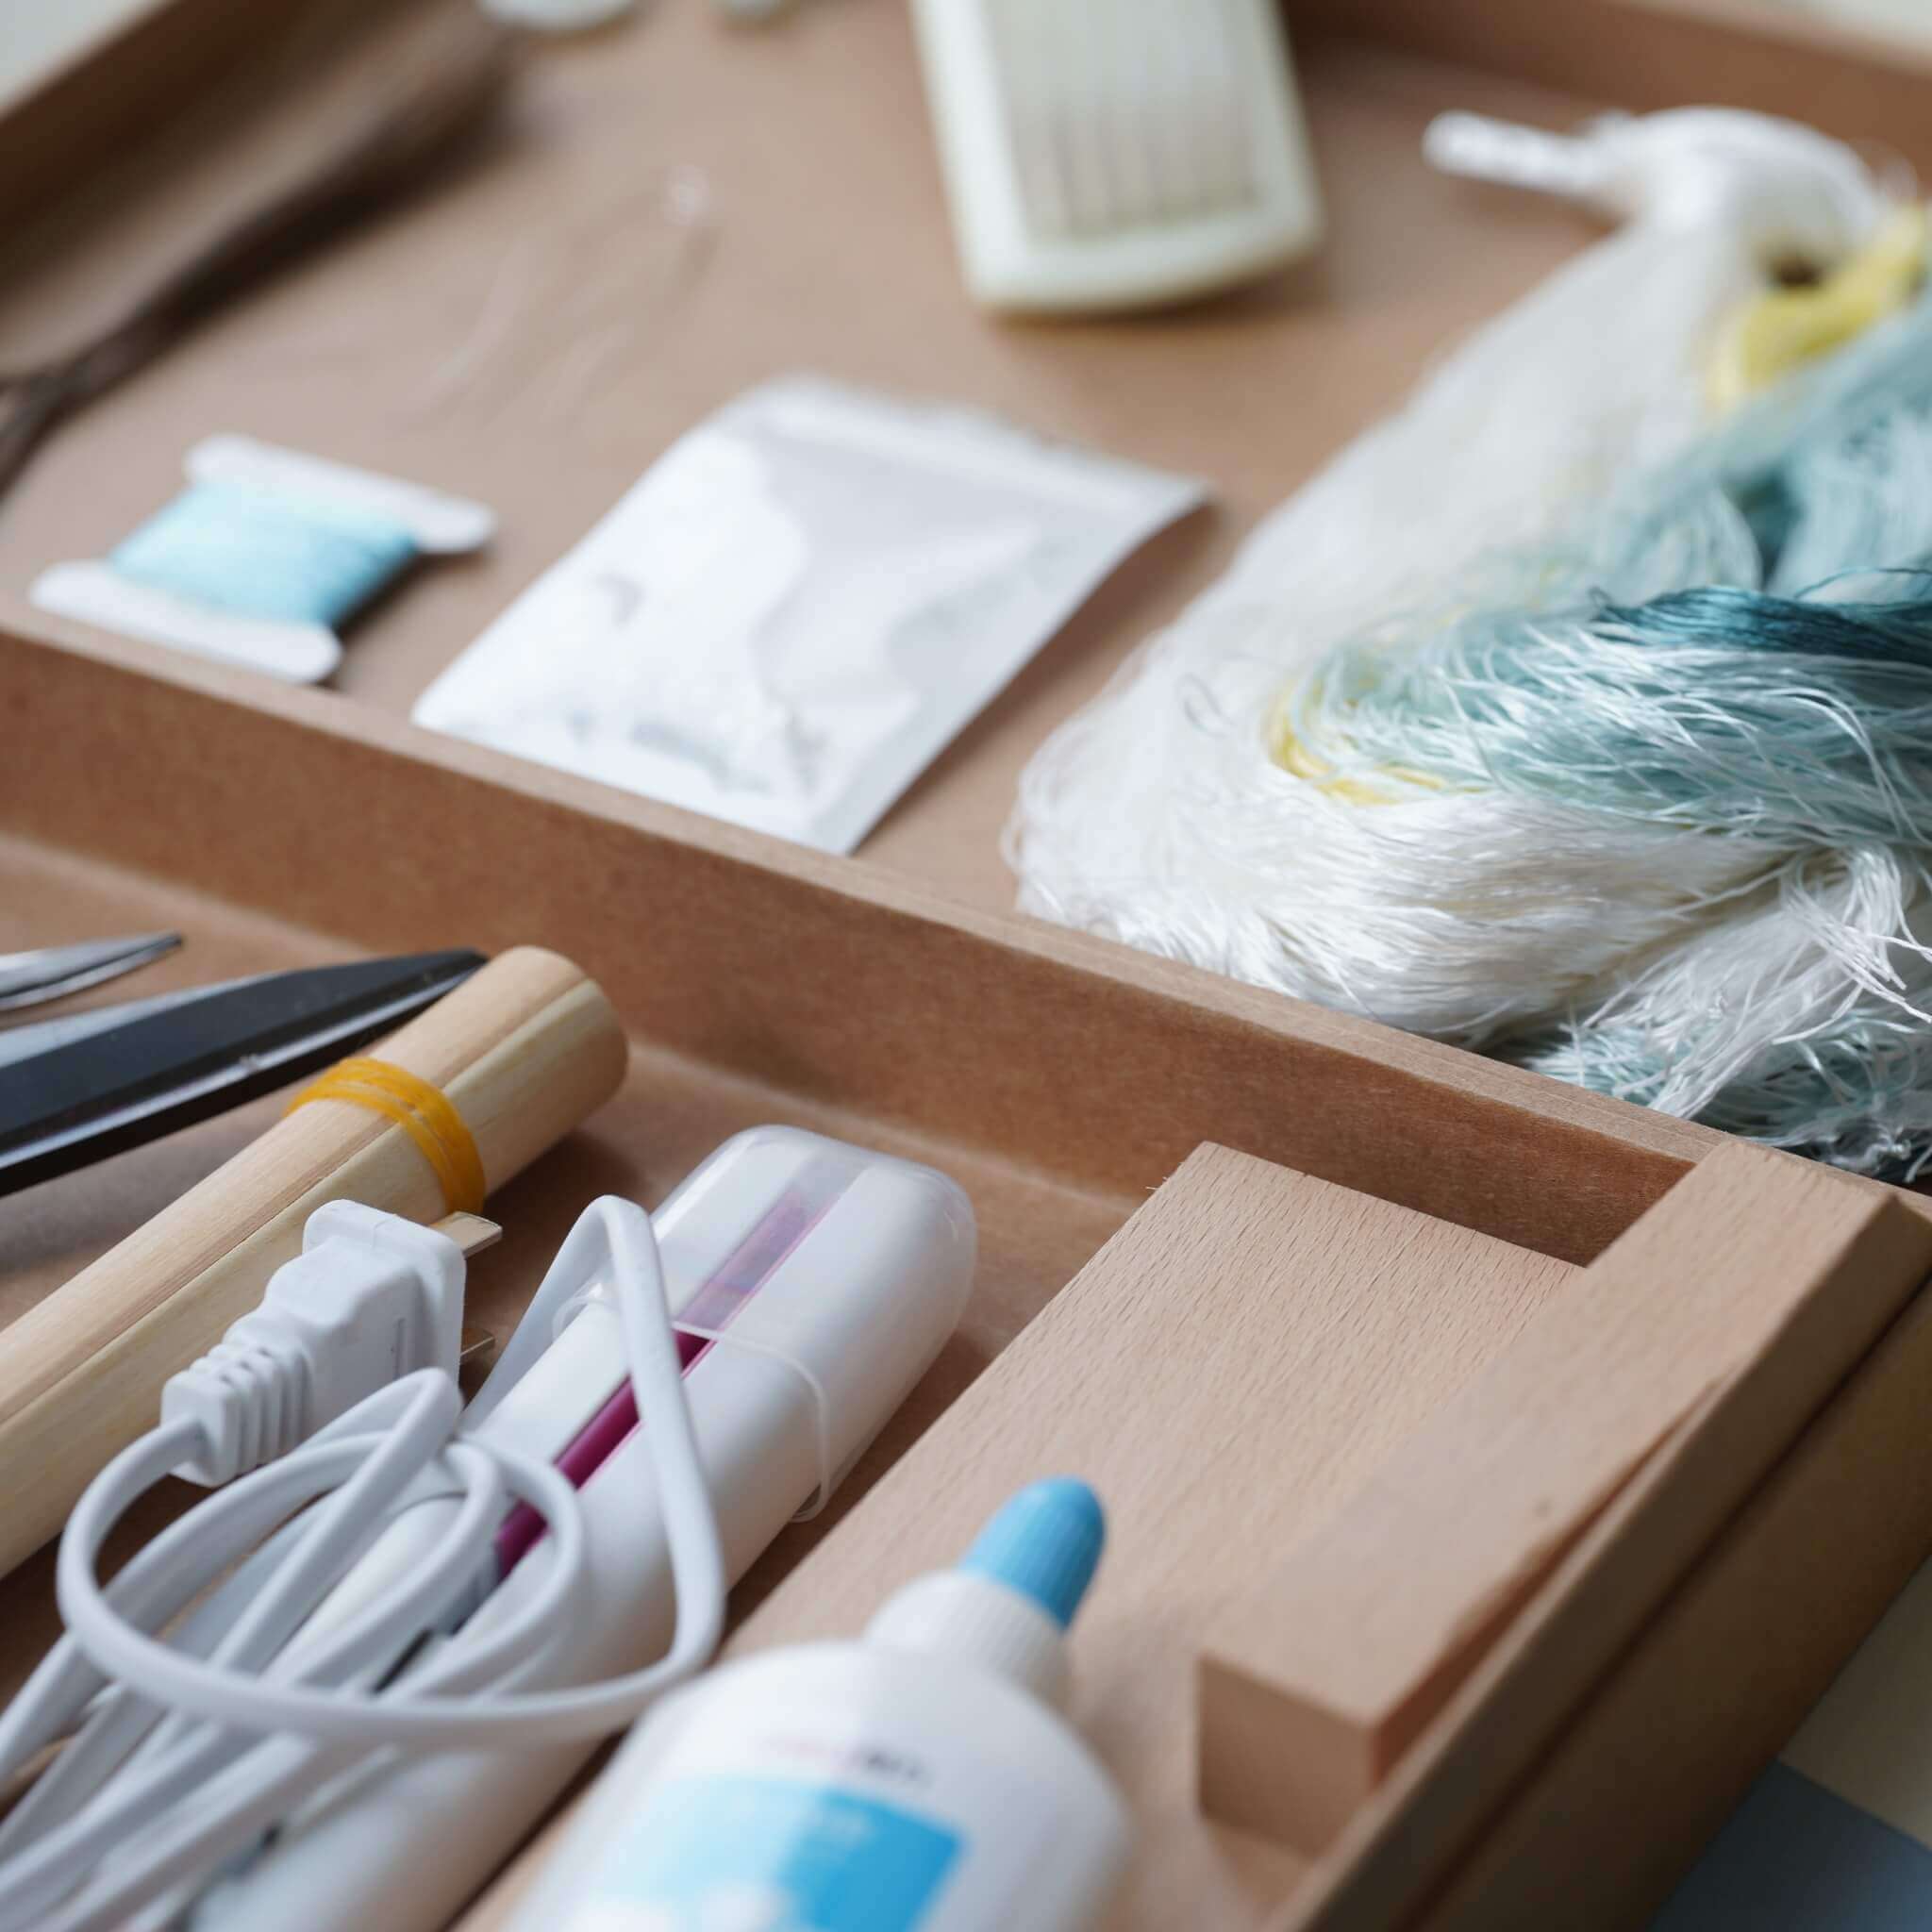
DIY kit purchase: Chinese Ronghua Pink Bloom Hairpin (lanseichina.com)
Leaf preparation 00:00 - 01:03
- Cut ten strands of embroidery thread, grouped into eight sets, for the leaf veins.
- Ensure that the copper wire spacing is suitable.
- Flatten the leaf veins with a spray of water, then shape them by flattening and bending.
- Trim the leaves into the desired shape.
Petal preparation 01:03 - 07:53
- Cut nine sets of strands for the small petals and eleven sets for the large petals.
- Ensure that the spacing between the petals is suitable.
- Flatten the petals with a spray of water, then trim them into the desired shape.
- Use a hairpin to create curves in the petals.
- Pay attention to the details of the process.
- Use a hairpin to create curves in the petals, rotating them with your hand.
- Repeat the same process for all the petals, allowing for slight variations.
- Take a bead and thread it onto the copper wire, twisting it into a spiral shape.
- Thread the wire through the hole in the center of the flower.
- Start assembling the flower, making sure to hold the wire tightly with your left hand to prevent the petals from becoming loose.
- Tighten the wire with each petal you bind.
- Start by binding four small petals for the first layer, making them relatively close together.
- Ensure that the base of the petals is on the same horizontal line.
- Proceed to bind six petals for the outer layer, crossing them over each other.
- As long as the base of the petals is in the correct position, it's okay if the petals don't look neat on top. They can be adjusted later.
- Hold the branches together and tie a simple knot.
- Cut the base at an angle to make it neater when combining and binding the wires.
- Use your fingers to adjust the shape of the flower.
- Similarly, cut the base of the flower center at an angle.
- Create two small flowers, each consisting of three small petals. Follow the same process as before.
- Set them aside for later use.
Leaf and flower assembly 07:53 - end
- Start binding the leaves, making sure not to expose the copper wire.
- Slowly rotate your left hand while slowly releasing the thread with your right hand.
- This step is simple, just pay attention to the spacing between the leaf blades.
- Repeat the process for a total of five leaves.
- Slowly release the thread with your left hand.
- Repeat the process for a total of two stems.
- Assemble the components.
- While binding, remember to hold the copper wire tightly and tighten the thread.
- The shaping process is simple.
- While binding, remember to hold the copper wire tightly and tighten the thread.
- Assemble the components.
- While binding, remember to hold the copper wire tightly and tighten the thread.
- Place the flower in the middle of the hairpin.
- When binding to the bamboo body of the hairpin, make sure it is perpendicular to prevent the thread from slipping.
- Use pliers to adjust the shape and spacing of the flowers and leaves.
- This hairpin is a gentle and delicate accessory.
- It has a soft glow under natural light and resembles ceramic.
If you finished your DIY product, welcome to show your awesome work to us and get coupons for the rest of our DIY kits!
INS@lanseinchina
Pinterest@Crafts of China


Leave a comment
All comments are moderated before being published.
This site is protected by reCAPTCHA and the Google Privacy Policy and Terms of Service apply.