


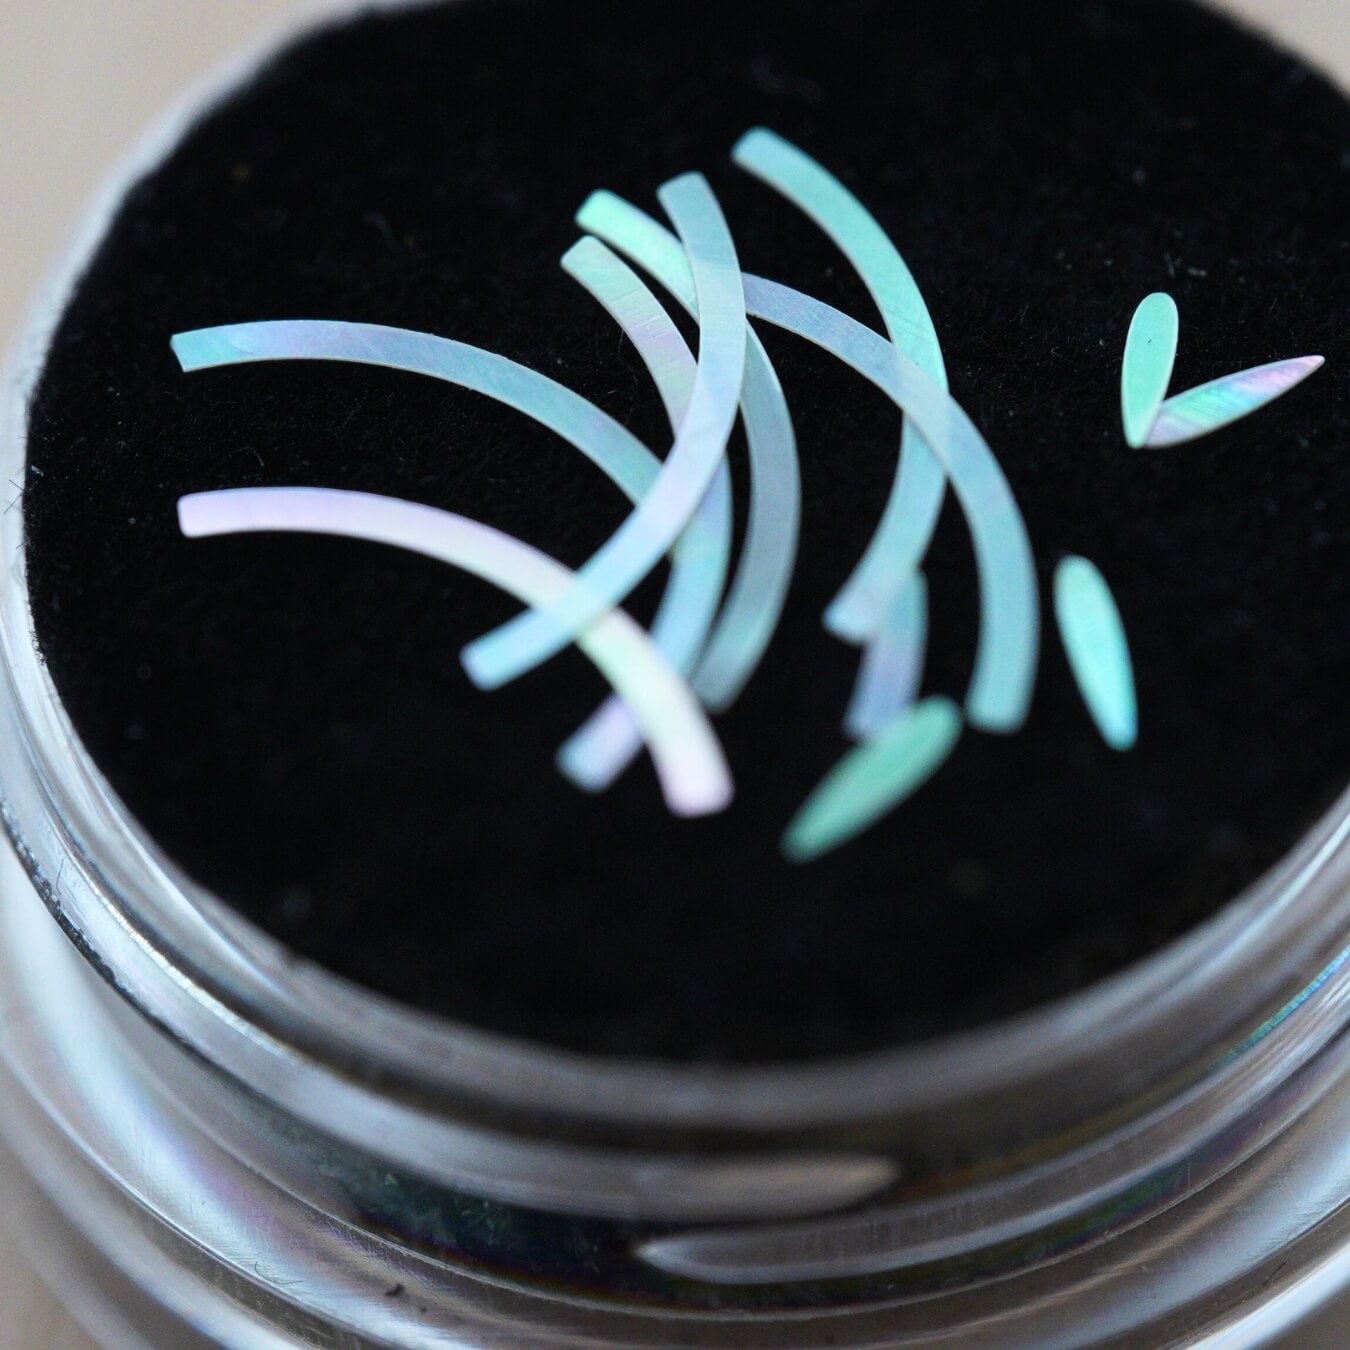
Chrysanthemums are the perfect flowers for fall, but those crafted from silk using the ronghua technique can last for many seasons! May these vibrant, lively chrysanthemums bring you prosperity and good fortune! This tutorial will teach you how to craft a fluffy chrysanthemum flower using mulberry silk and copper wire from scratch.
Step 1: Prepare Materials 0:00~0:30
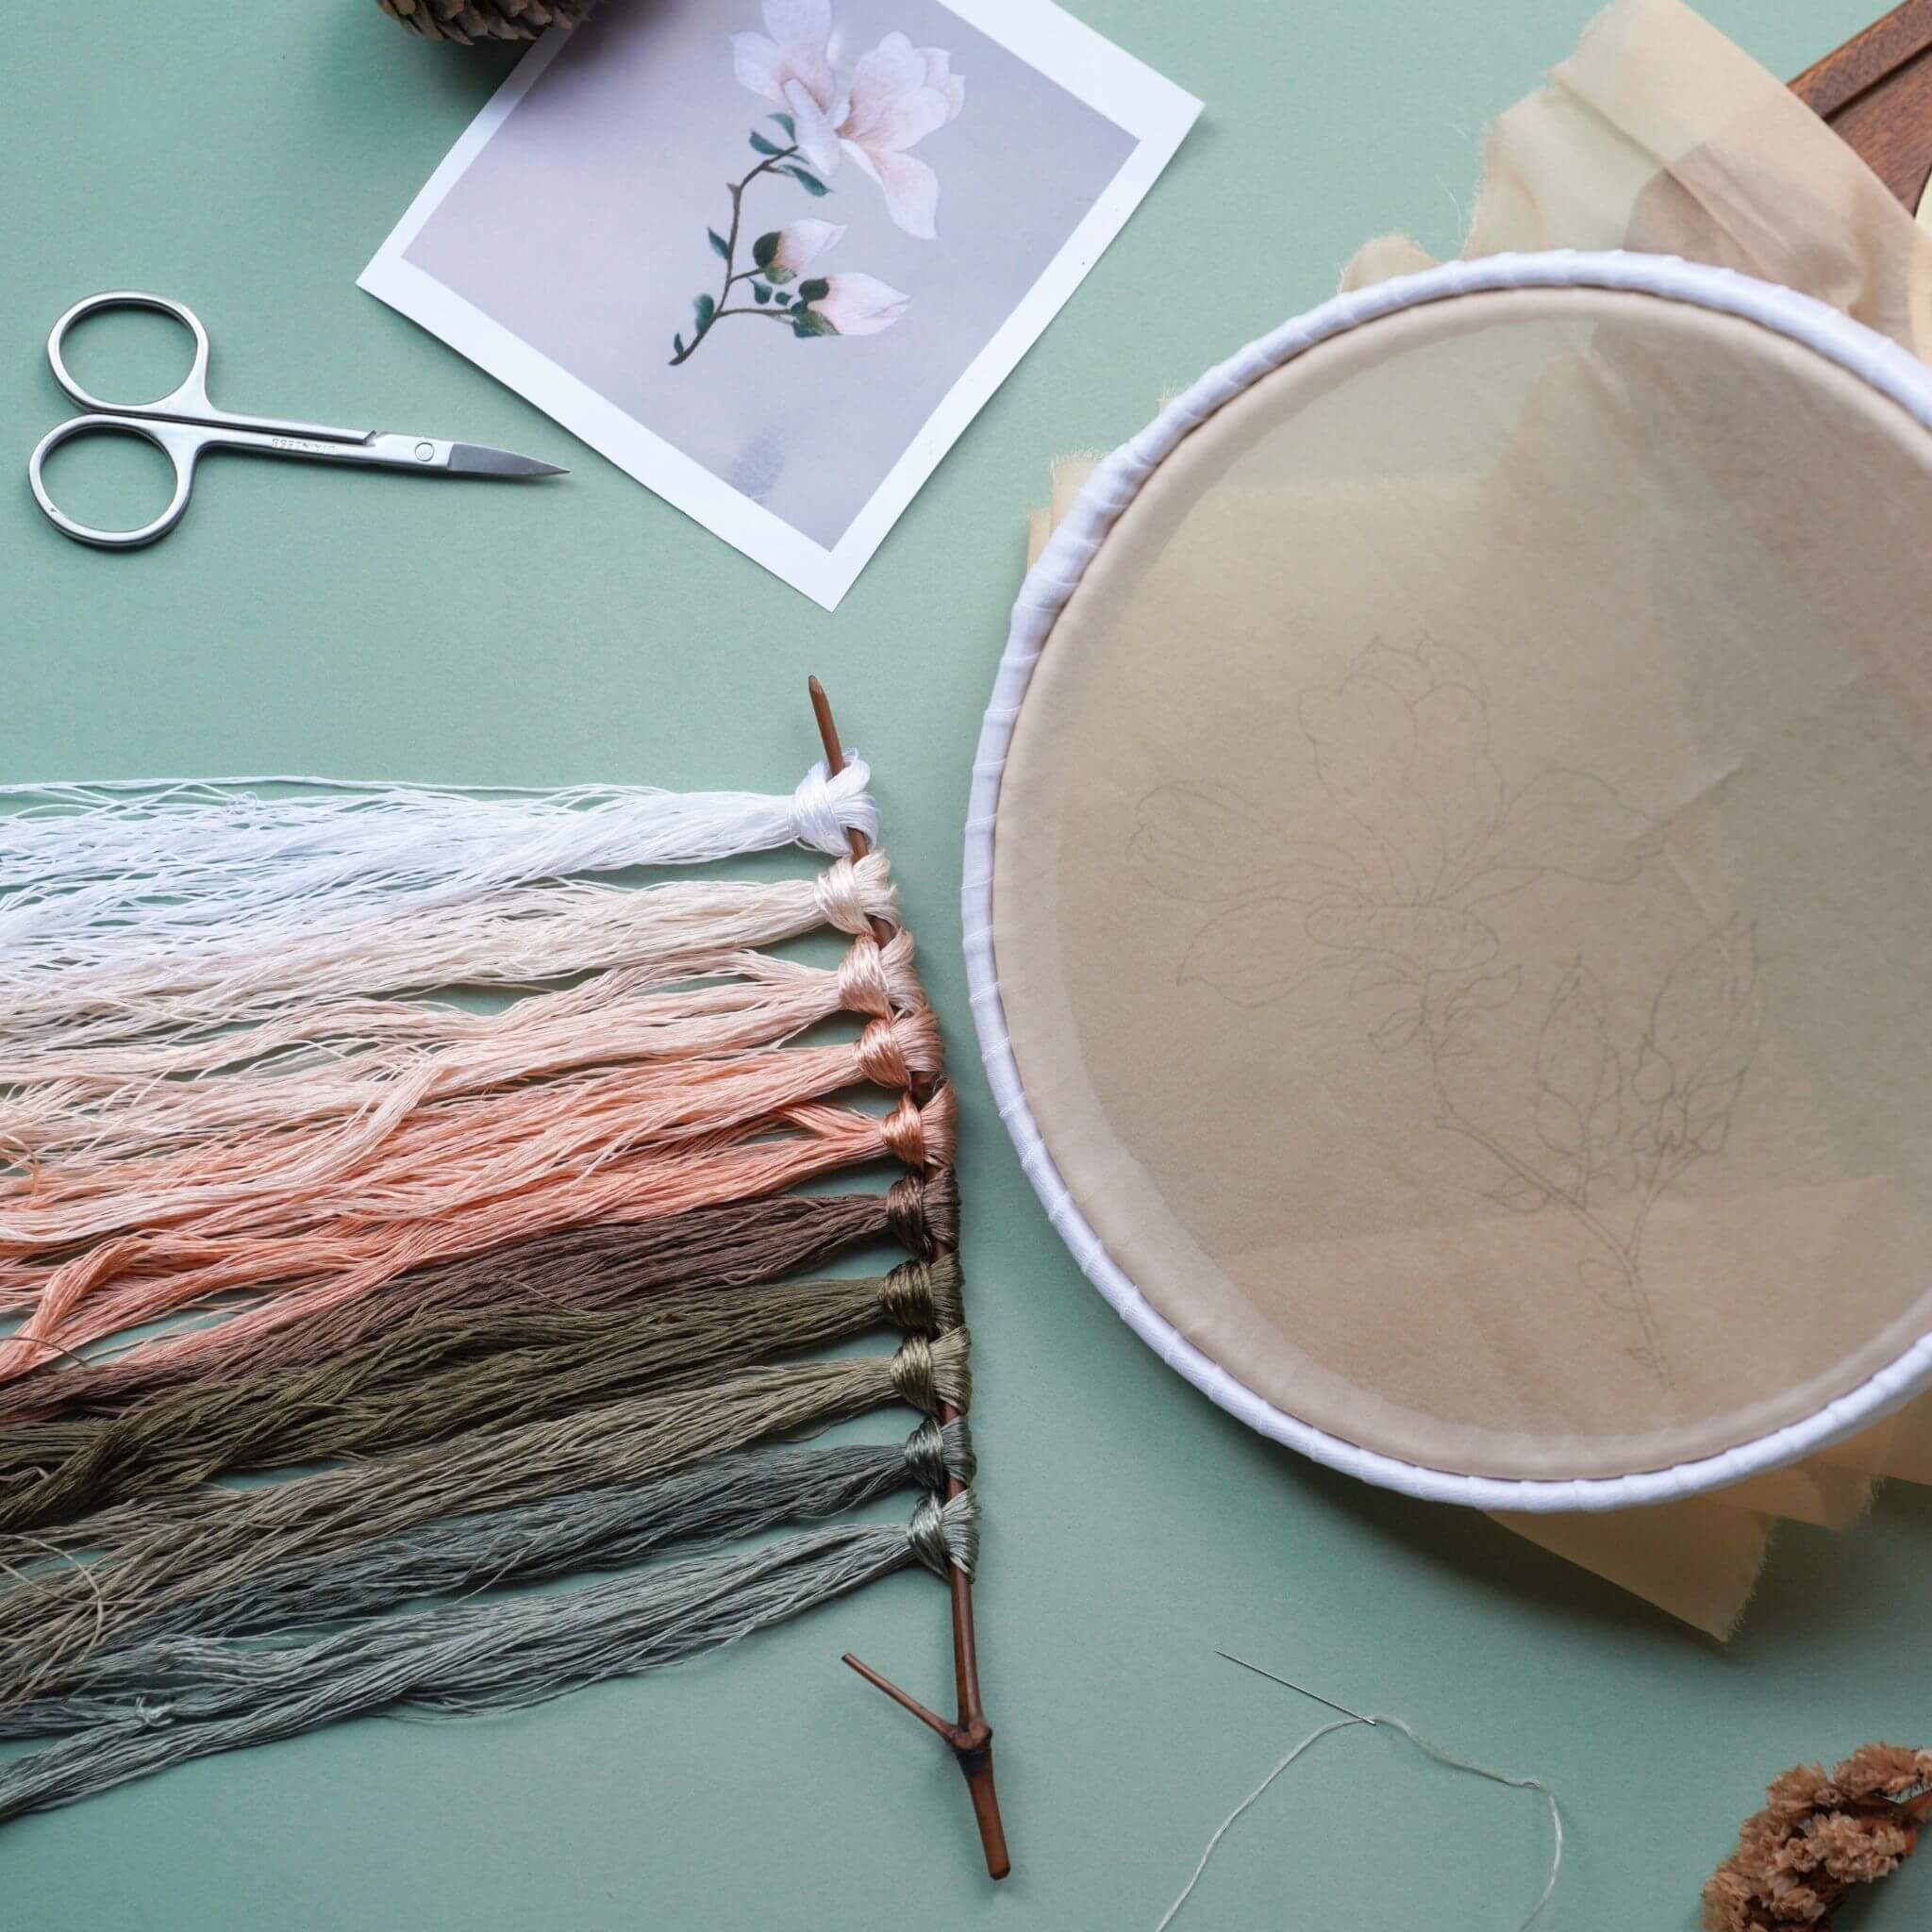
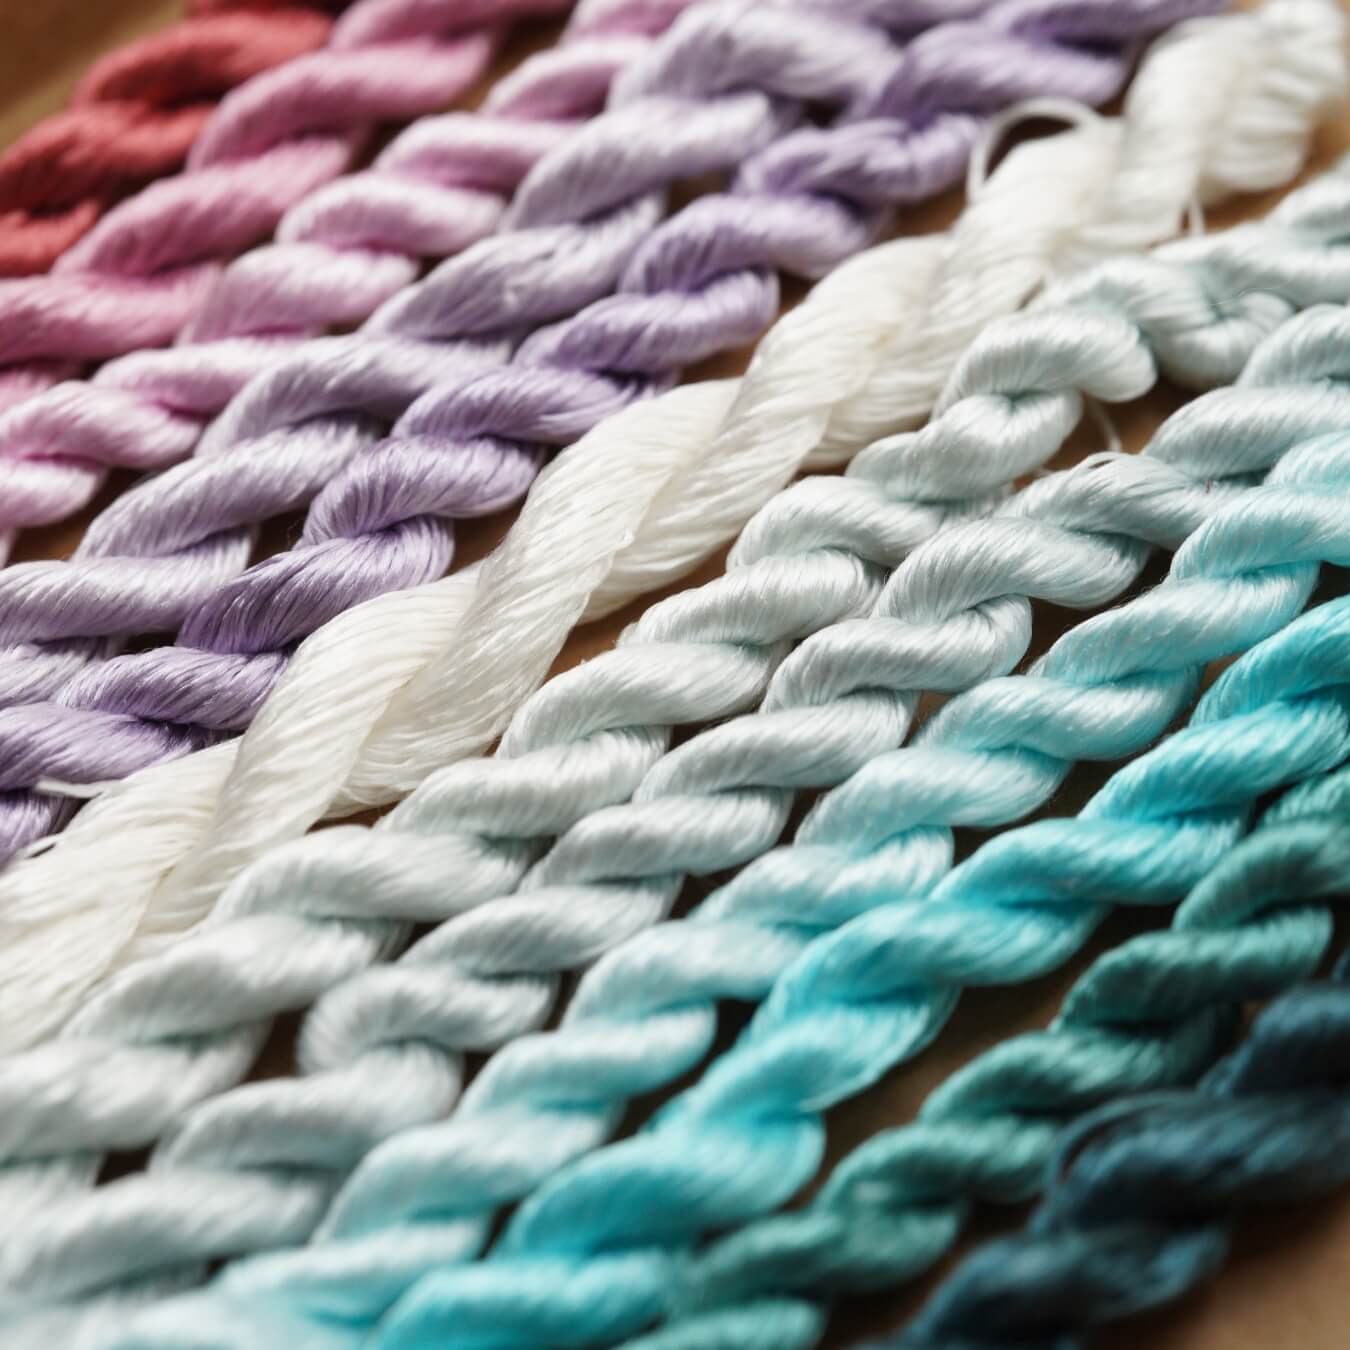
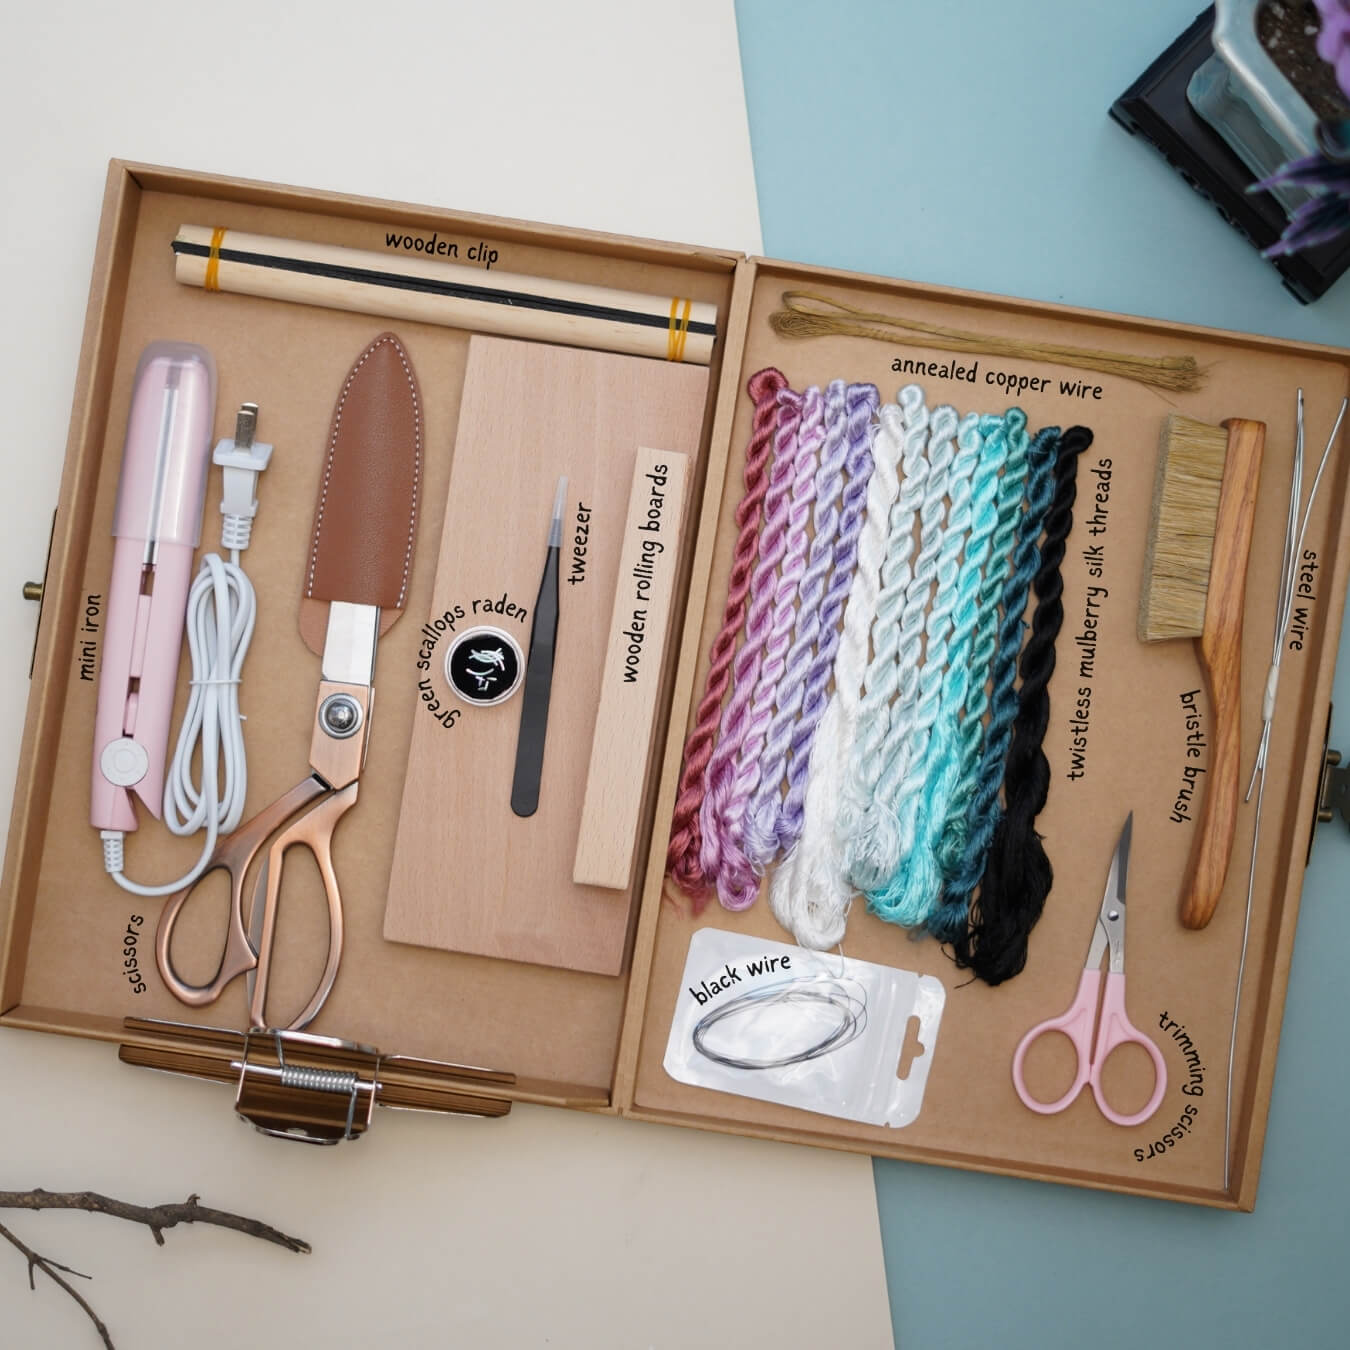
Prepare 4 silk ranks: 1 dark-colored silk rank for leaves. 3 light-colored silk ranks for chrysanthemum petals. Group 8 silk threads per bundle. Arrange bundles from left to right as: 14 groups, 13 groups, 9 groups, 17 groups. Ensure the threads are packed tightly together. Use clips to fix the silk ranks onto a frame. Smooth out the silk threads, making sure there are no knots.

Step 2: Brush the Silk Threads 0:31~2:09
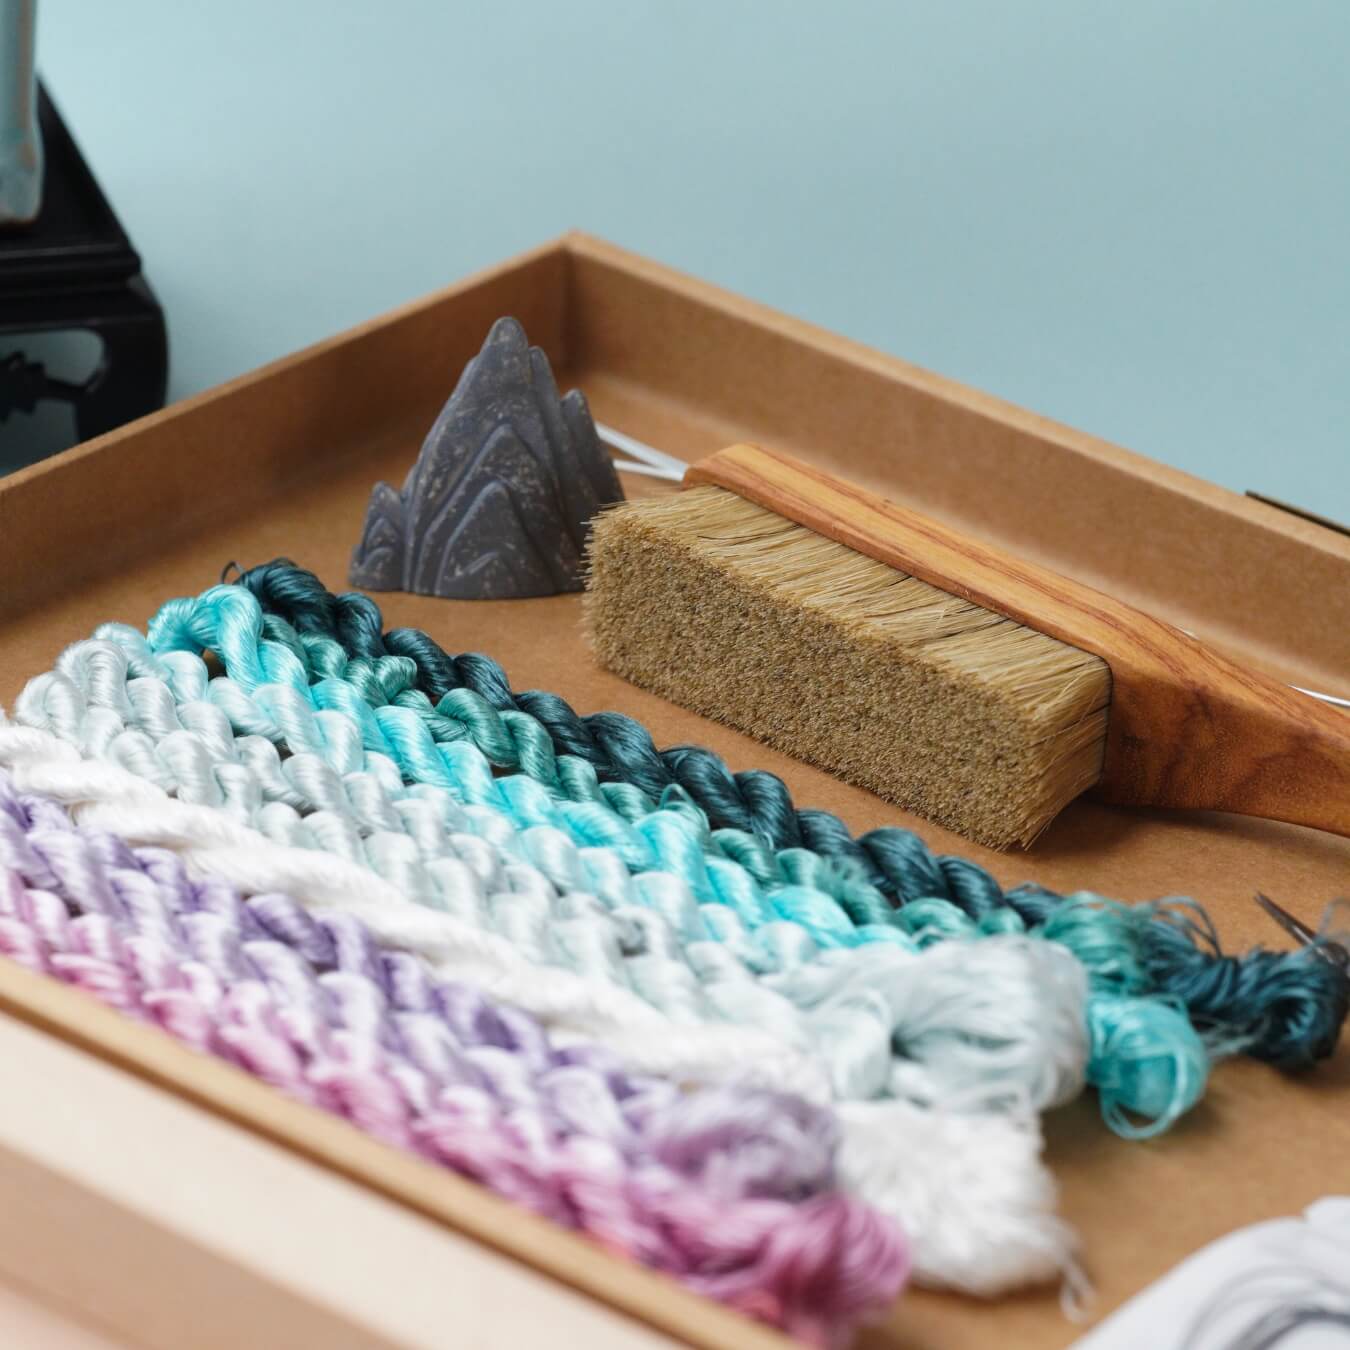
Lightly spray water on the silk threads. Use a brush to thoroughly brush from top to bottom, preventing tangles. No need to over-brush; just make the silk fluffy and shiny. Clip the silk threads with wooden clips and secure both ends with rubber bands. Slide the wooden clip to the bottom, straighten the silk rank, and clamp the bottom tightly.

Step 3: Tie the Copper Wire and Cut Silk Strips 2:10~7:10
Take a copper wire and fold it in half, twisting it into about 3–4 cm length. Make sure the copper wire is straightened before use. Pull both ends of the copper wire tight by hand and twist in opposite directions (you may sprinkle anti-slip powder for better friction). The spacing between wires determines the width of the silk ranks. Recommended width: 0.3–0.4 cm; thinner ranks create a more delicate look.

Use the “hang and cut” method: tie about 10 copper wires at a time, cut the ranks, then tie more. Align the two ends of the cut silk ranks with the copper wire centered. Slightly twist the copper wires so the silk ranks form a "test-tube brush" shape. Repeat this process until the entire row is cut. Rub the silk ranks several times on a silk rubbing board to create a fluffy texture. You will get about 250 silk strips in total.

Step 4: Tip Trimming (Shape Cutting) 7:11~11:03
Hold the silk strips with one hand and scissors with the other. Trim while rotating the strips, keeping the scissors tilted close to the strips. Differentiate uses: Dark-colored silk strips → Leaves. Thin strips → Flower stamens (innermost layer). Medium strips → Middle petals. Thick strips → Outer petals. Outer petals don’t need to be cut too thin to form a natural layered effect.

Step 5: Assemble the Flower 11:04~17:43
Make the Flower Bud: Use silk thread to wrap 12 silk strips at the base, tightening one by one. Wrap about 1–1.5 cm and then tie a knot. Bend the silk strips and fix with thread to form an unopened flower bud.

Assemble the Petals: Insert silk strips into the gaps of the upper layer one by one. After adding each strip, immediately wrap and tighten with silk thread. Assemble in order: inner layer → middle layer → outer layer. Outer silk strips are the longest and thickest. Finishing: Wrap all exposed copper wire parts with silk thread to tidy up the flower shape.

Step 6: Make the Leaves 17:44~22:15
Wrap silk strips layer by layer. Leave gaps between layers to increase three-dimensional effect. Tie knots to fix and cut off excess copper wire. Use glue (white PVA glue or jewelry glue) to stick adjacent silk strips together. White PVA glue dries slowly but allows adjustments. Jewelry glue dries fast but is less adjustable. After gluing, one small leaf is formed. Combine 3 small leaves into one complete chrysanthemum leaf. Finally, wrap the bottom and tie a knot to finish.

Step 7: Adjust the Flower Shape 22:16~24:22
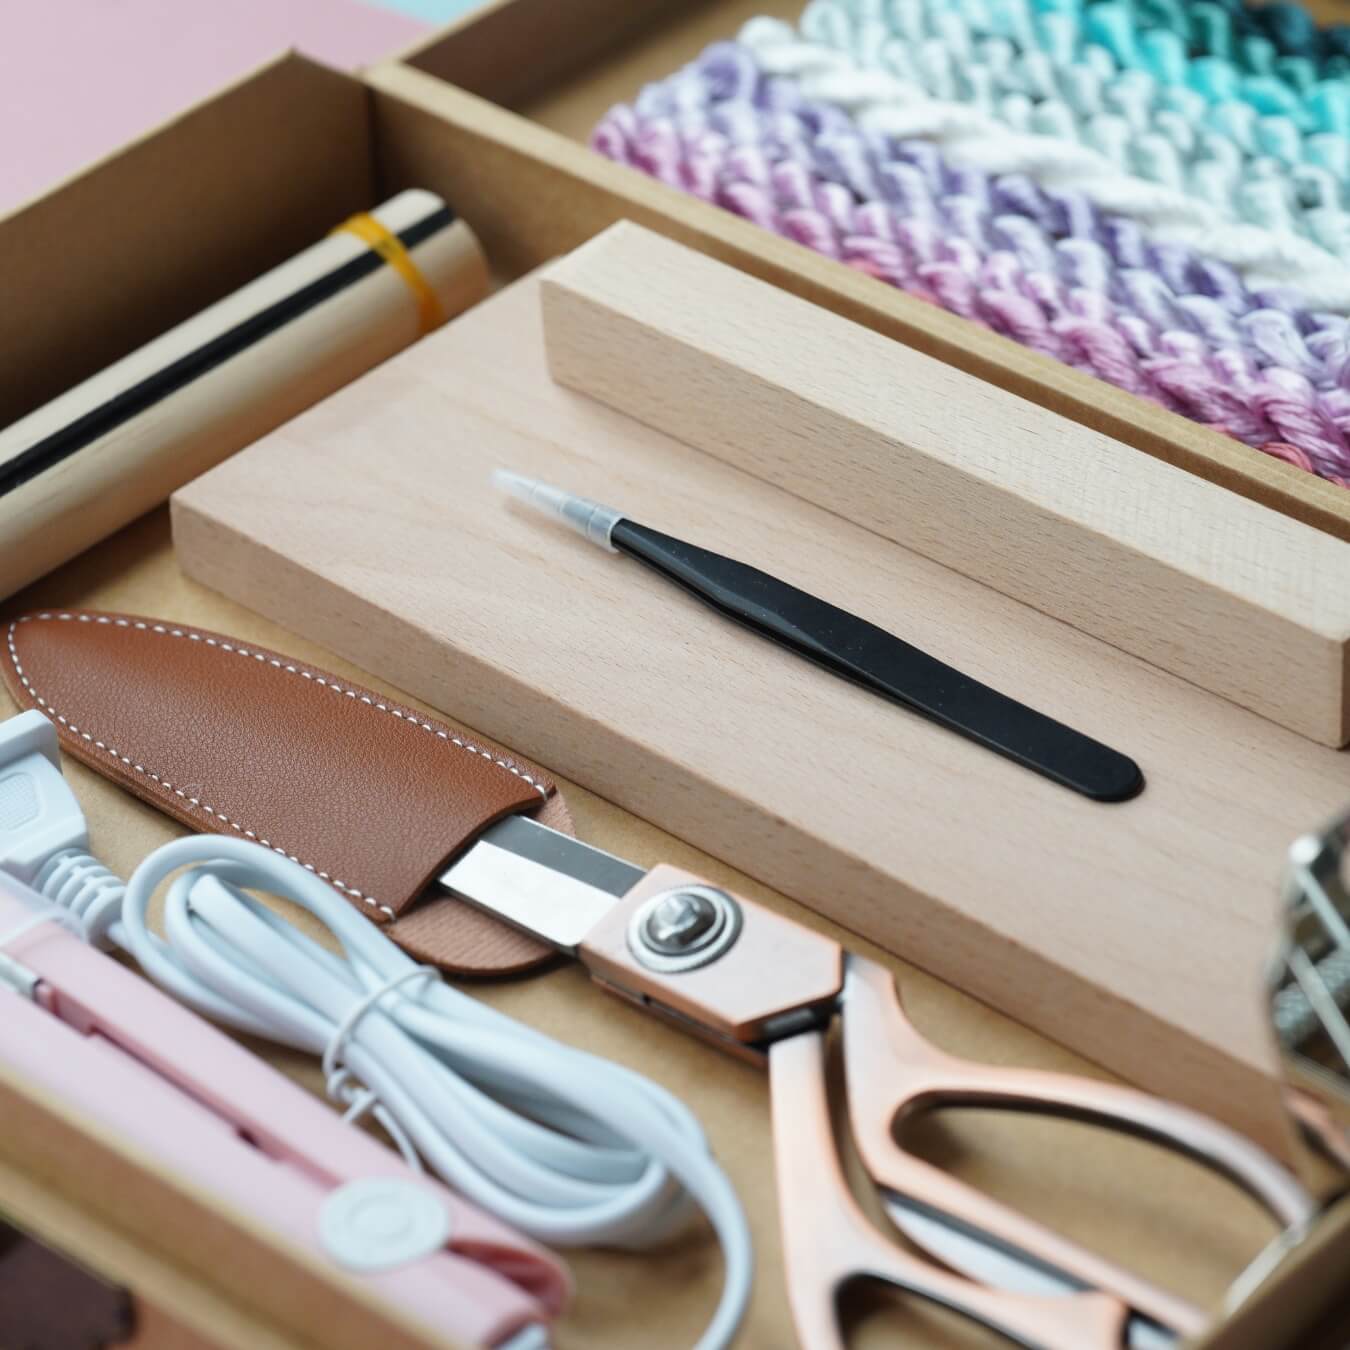
Cut off extra copper wire from the chrysanthemum. Use tweezers to gently bend the silk strips. Inner layer strips have a larger curve. Adjust the flower shape to make it more natural and fluffy.

Step 8: Butterfly and Overall Assembly 24:23~end
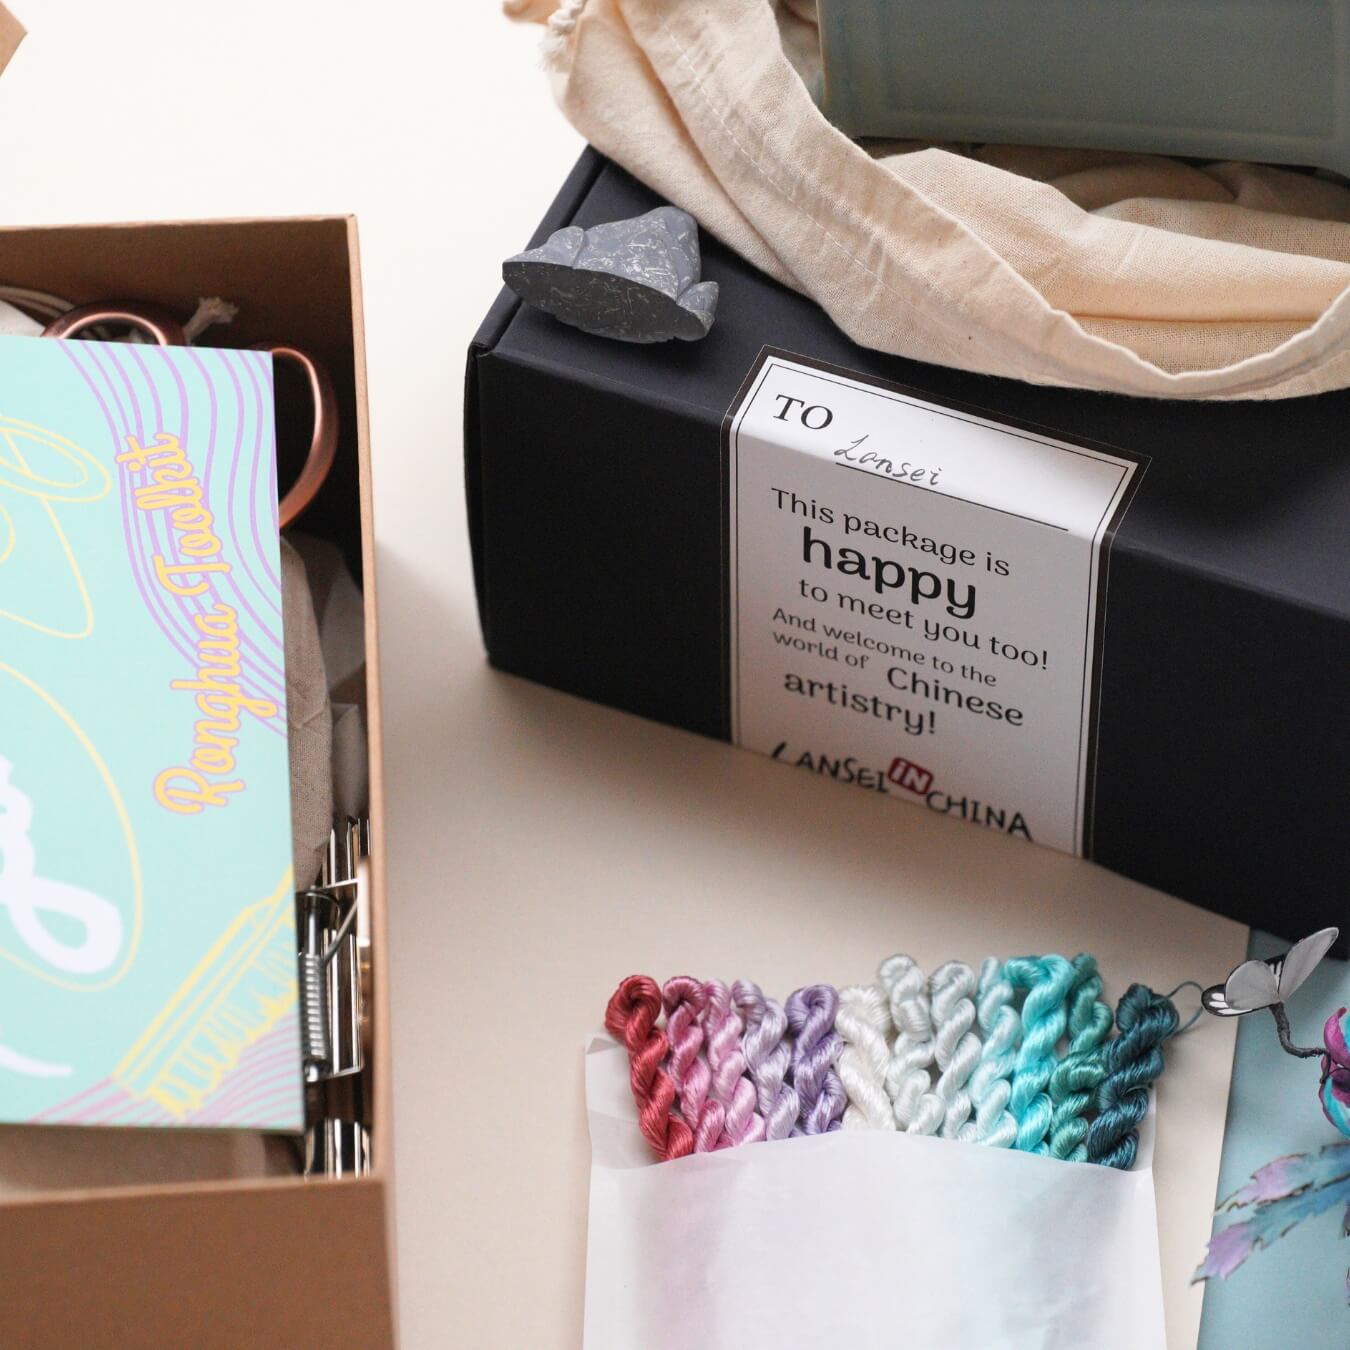
Prepare a butterfly decoration as an embellishment (can be made in advance - we have a seperate tutorial about crafting this one). Prepare 2 chrysanthemums, 2 leaves, and 1 butterfly.

Assembly: Use silk thread to connect the bottoms of the leaves. Wrap and combine small chrysanthemums with small leaves. If the flower stems are too short, extend the copper wire. When adding large chrysanthemums, leave some space to avoid crushing the shape. Add the last large leaf.

Finishing Techniques: Fold silk thread and wrap to cover joints. Pass the rest of the thread through holes and pull tight. Cut excess thread and use a lighter to burn off frayed ends.

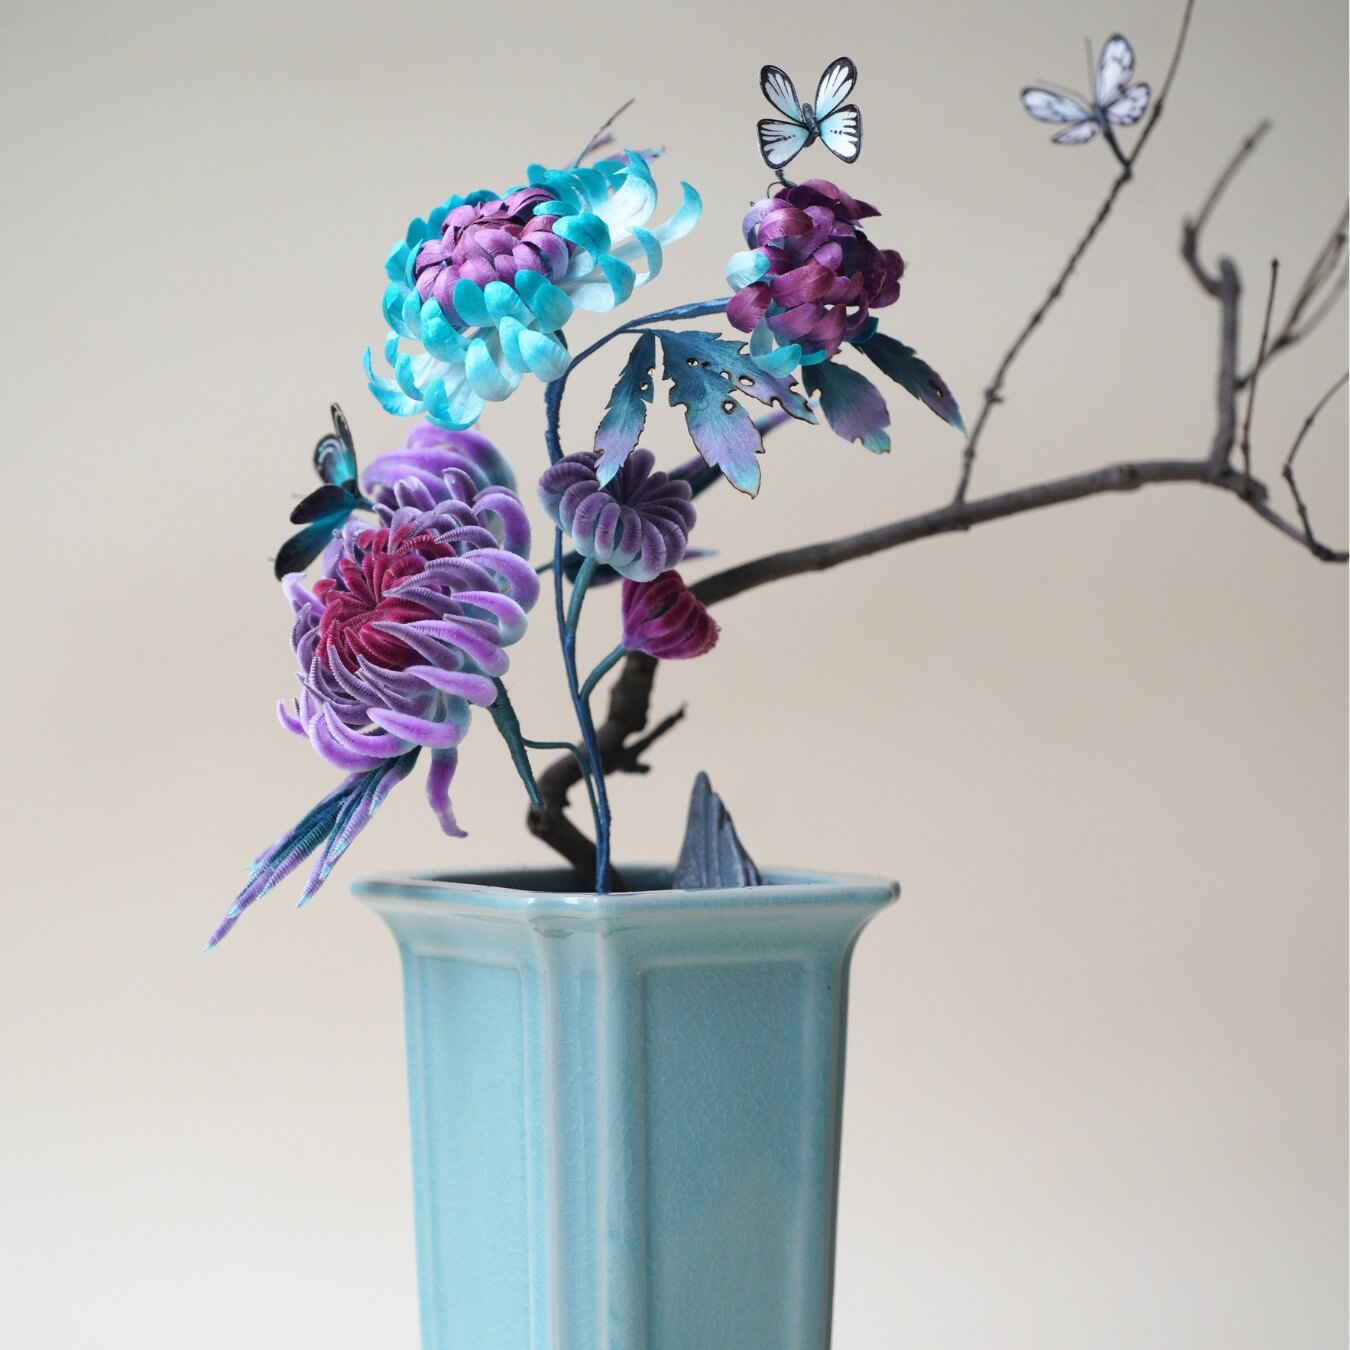
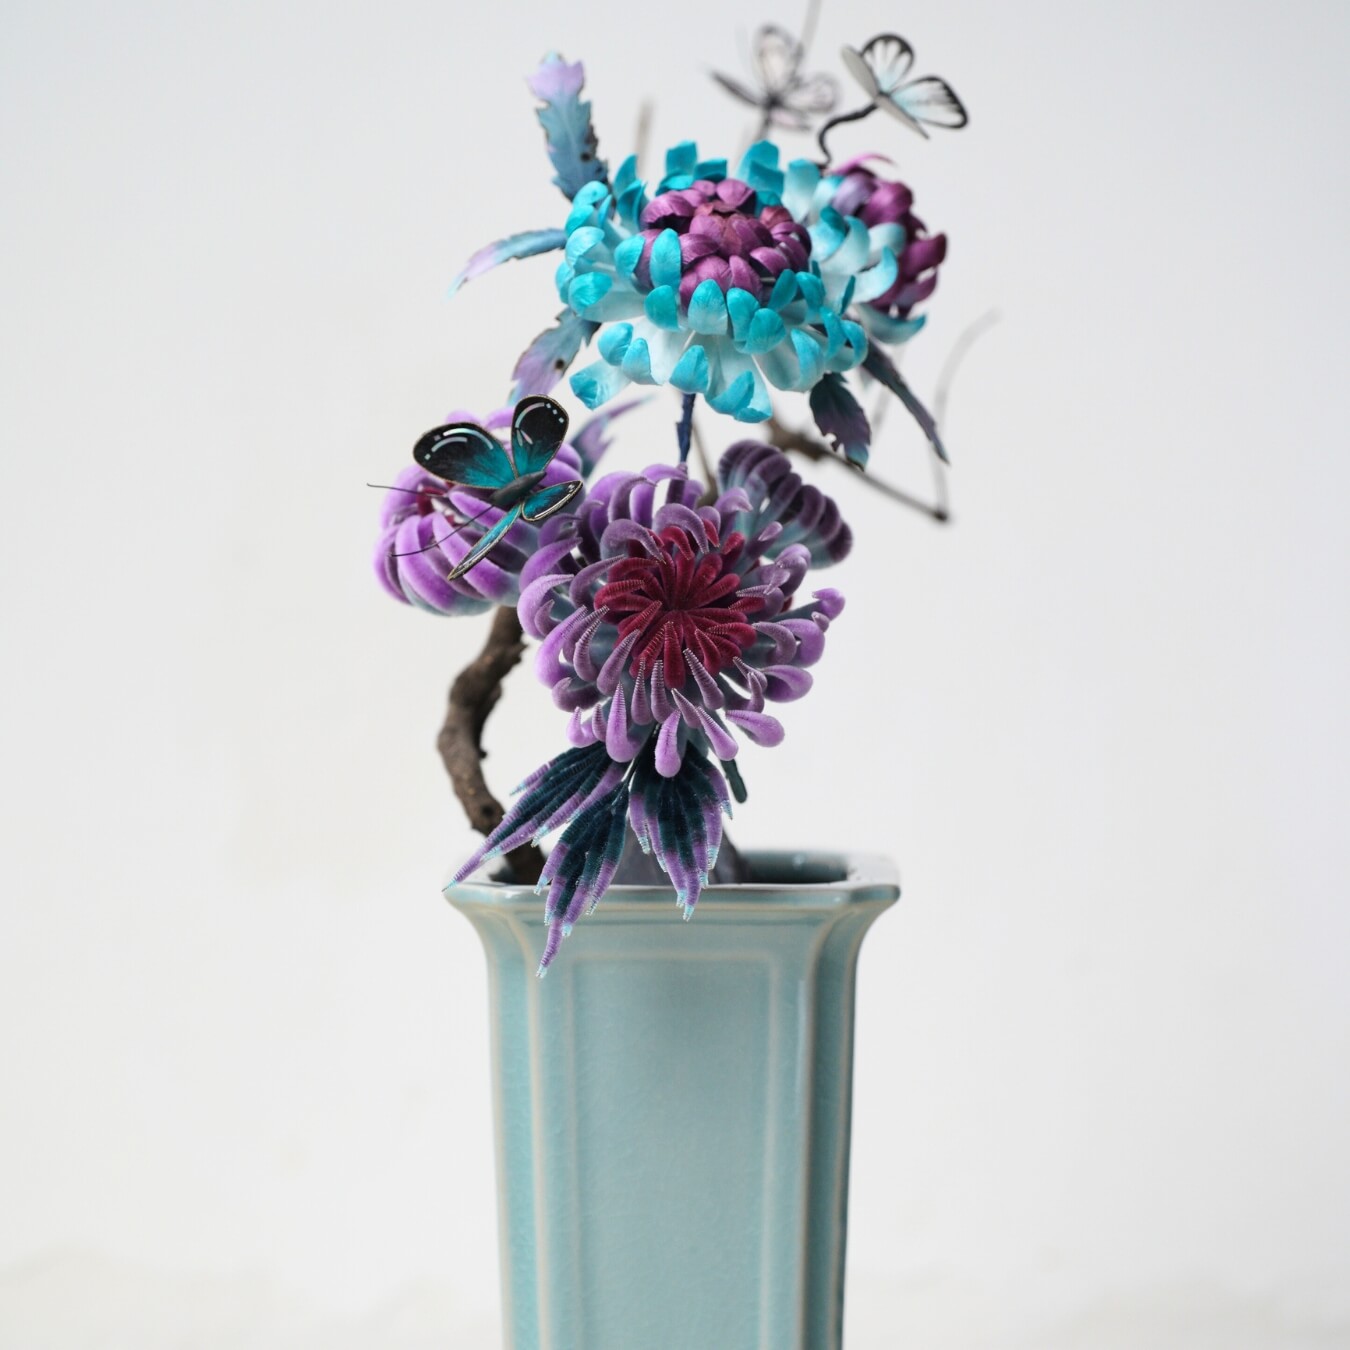
Completion and Display: Adjust the overall shape again to make the composition full and natural. The chrysanthemum flower is completed! Ready for display or gifting.
If you finished your DIY product, welcome to show your awesome work to us and get coupons for the rest of our DIY kits!
INS@lanseichina
Pinterest@lanseichina


