


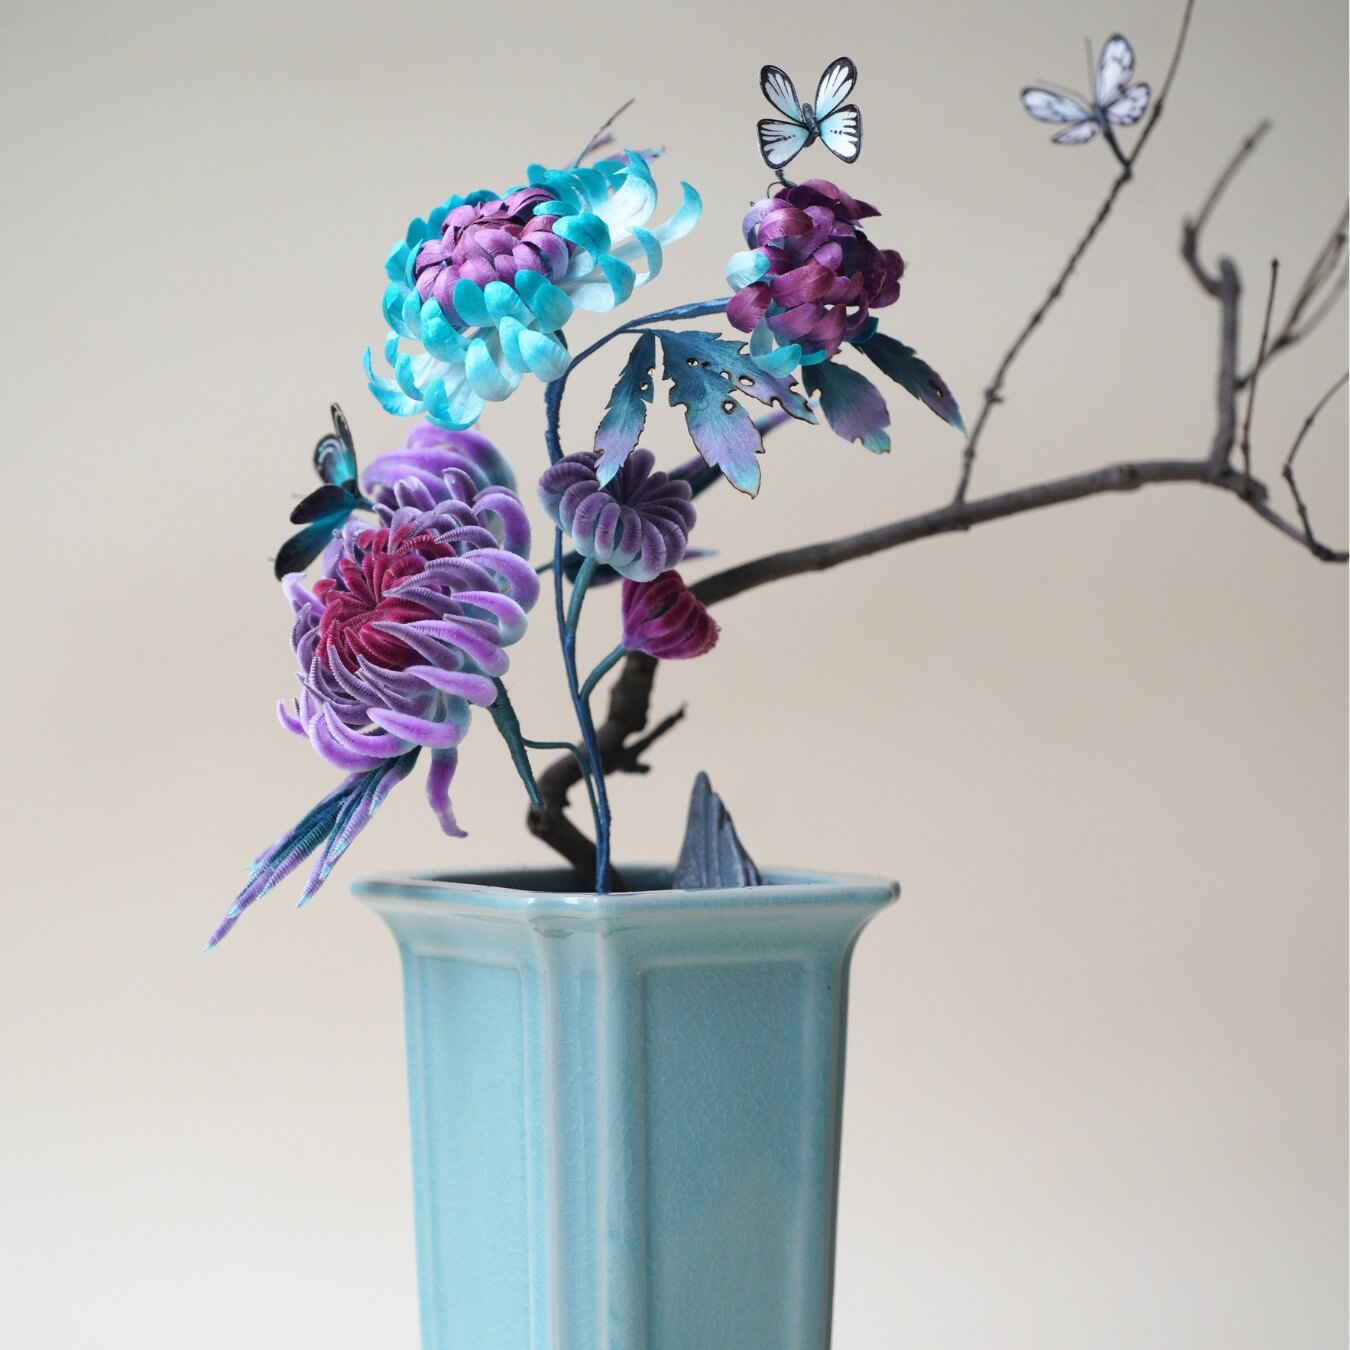
Chrysanthemums are the perfect flowers for fall, but those crafted from silk using the ronghua technique can last for many seasons! May these vibrant, lively chrysanthemums bring you prosperity and good fortune!
Step 1: Prepare the Silk Thread 0:00~0:12
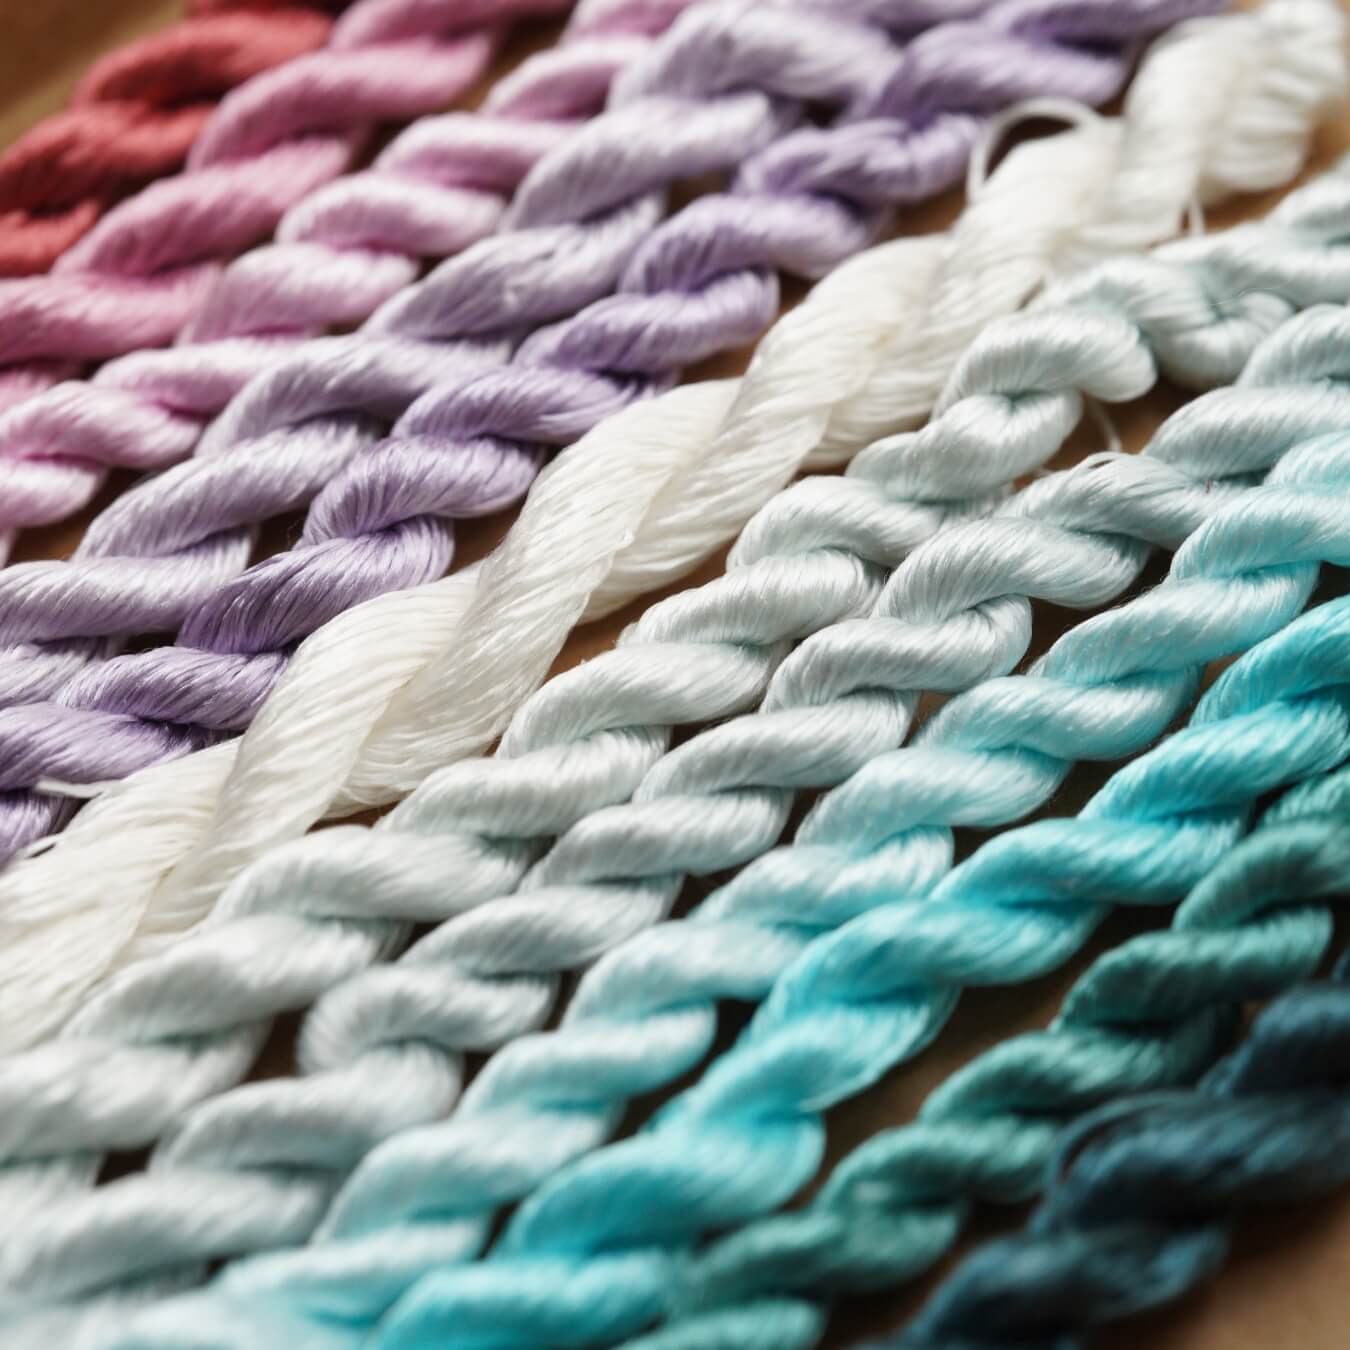
Sort the thread: Divide the silk thread into groups of five. The silk arrangements should not be perfectly symmetrical, one side should have more and the other less. Group the threads: From back to front, arrange the groups in the following order: 38, 22, 16, and 10 threads.

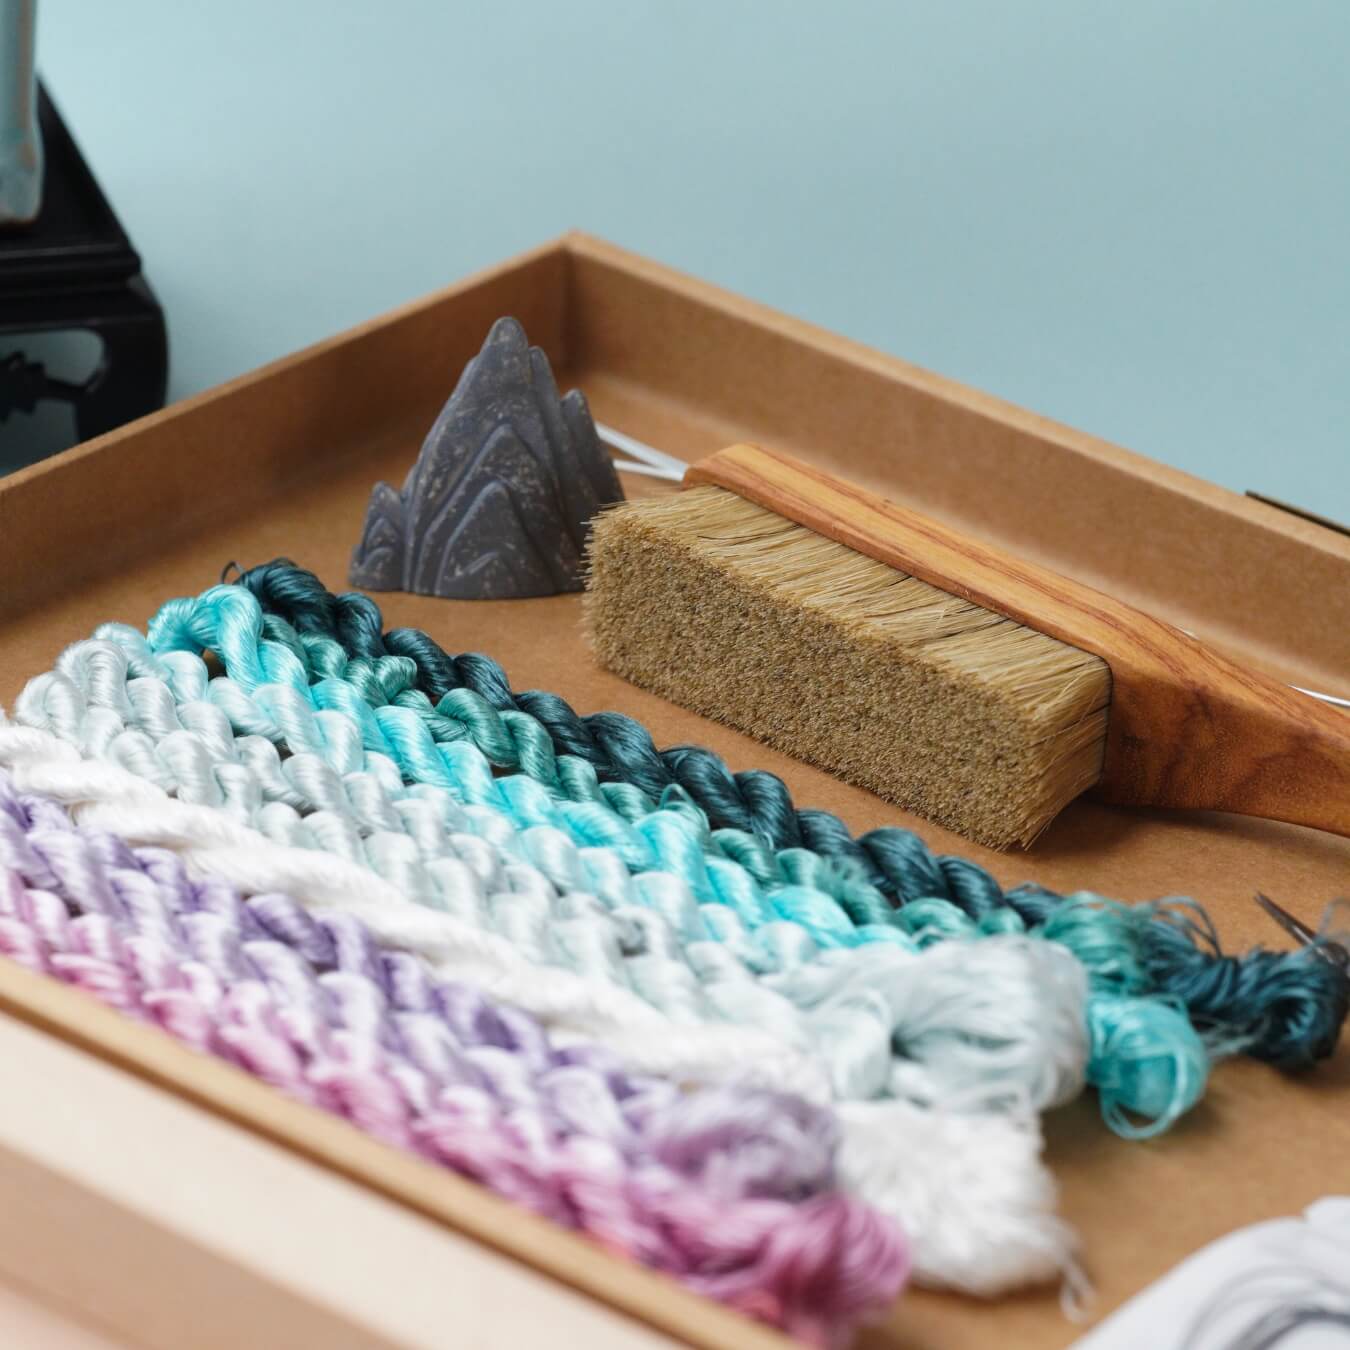
Step 2: Brush the Silk Threads 0:13~1:00
Use a bristle brush to brush the threads until they are fluffy and shiny. Make sure each strand is smooth with no tangles. If the thread bundle is too long, you can brush it in sections.

Step 3: Prepare the Copper Wire and Silk Strips 1:01~5:39
Tighten the copper wire: Ensure that the copper wire is tightly secured to avoid loosening. Twist the copper wire: Twist the wire in opposite directions with both hands to make the wire more secure. Adjust the copper wire spacing: For the leaves' silk strips, keep the copper wire spacing at around 1.5cm. For other parts, the copper wire spacing should be around 0.9cm.

Cut the silk strips: When cutting the strips, position the scissors between the two copper wires.


Step 4: Create the Flower Petals and Leaves 5:40~10:27
Create the Chrysanthemum. Petals Trim the petals: Cut the petals into teardrop shapes. Make sure they are consistent in size and shape. Create the Chrysanthemum Leaves. The chrysanthemum leaves have a more complicated shape. Start by trimming them into the basic leaf shape. Press the petals with a flower pressing tool to create a natural curve. If you don’t have a flower pressing tool, you can use a round stick. Trim the edges: Use an incense stick to burn a few small holes in the leaves, giving them a natural look. Burn the edges slightly for a more natural, irregular effect.

Step 5: Assemble the Chrysanthemum Leaves 10:28~11:15
Combine three to five leaves together, ensuring they have a natural, layered look. Wrap the copper wire around the base of the leaves to secure them in place.

Step 6: Assemble the Chrysanthemum Flowers 11:16~13:45
Add petals: For each new petal, wrap a piece of wire around the base to secure it. The inner petals should be placed closer together, while the outer petals should have more space between them. Align the petals with the gaps of the layer below them for a more natural look. Trim the copper wire at an angle to make it easier for the next step of assembly.

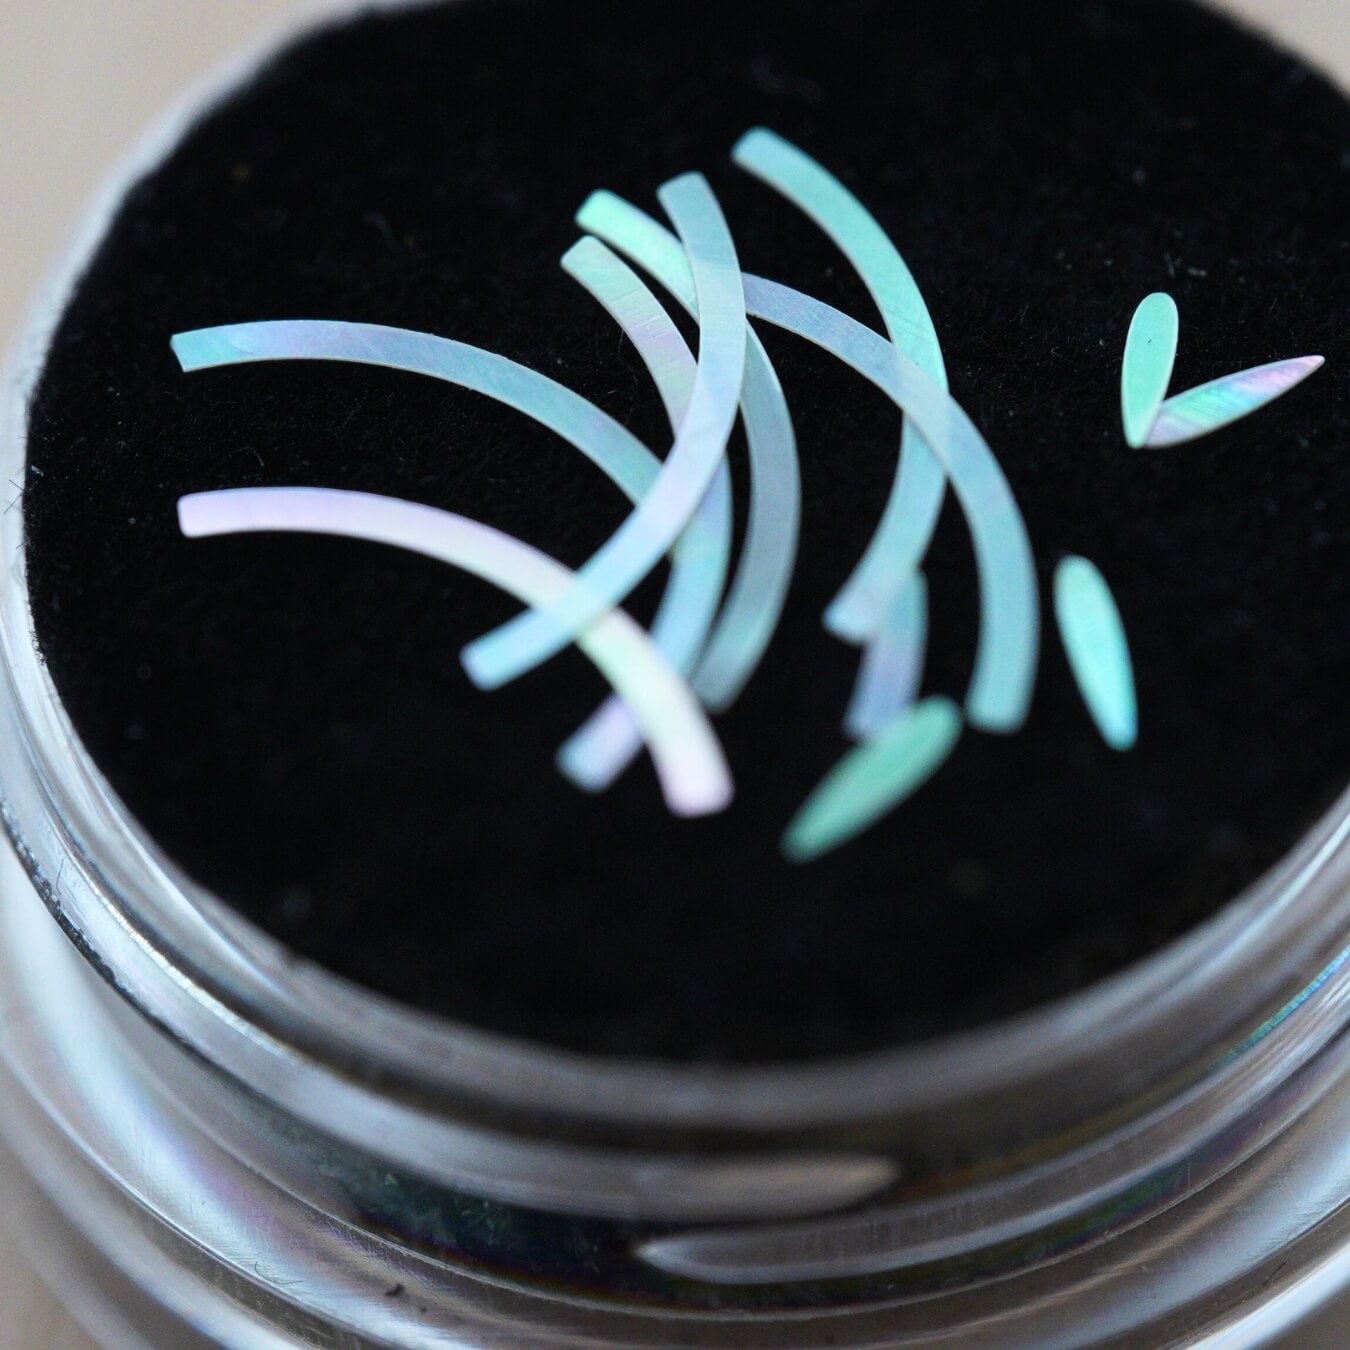
Step 7: Create the Butterfly 13:46~15:05
Shape the butterfly: Use copper wire to create the butterfly shape. Glue the white silk thread: Apply a small amount of jewelry glue to the copper wire, then press the white silk thread onto the wire. Press and secure: Use your hands to press the thread firmly against the wire. Trim excess thread: Cut off any extra silk thread to clean up the shape. Draw a pattern: Use the thread to create the desired pattern on the butterfly wings.

Step 8: Create the Butterfly Body 15:06~18:56
Take a piece of copper wire and fold it in half to the desired length of the butterfly’s body. Wrap it tightly with silk thread until you reach the shape shown in the picture.

Then fold it again and gently press the folded point with pliers to give the body a slight curve. Continue wrapping a few more turns to secure the shape. Next, take another piece of copper wire that’s slightly longer than the body (the extra part will become the antennae). Fold it in half, and align the folded end with the top of the butterfly’s body.

Tightly wrap the antennae wire together with the body using silk thread. Finally, trim off the excess at the folded tip of the antennae to create a clean look.

Assemble the wings and body: Attach the wings to the body and secure them with copper wire.

Step 9: Final Chrysanthemum and Butterfly Assembly 18:57~end
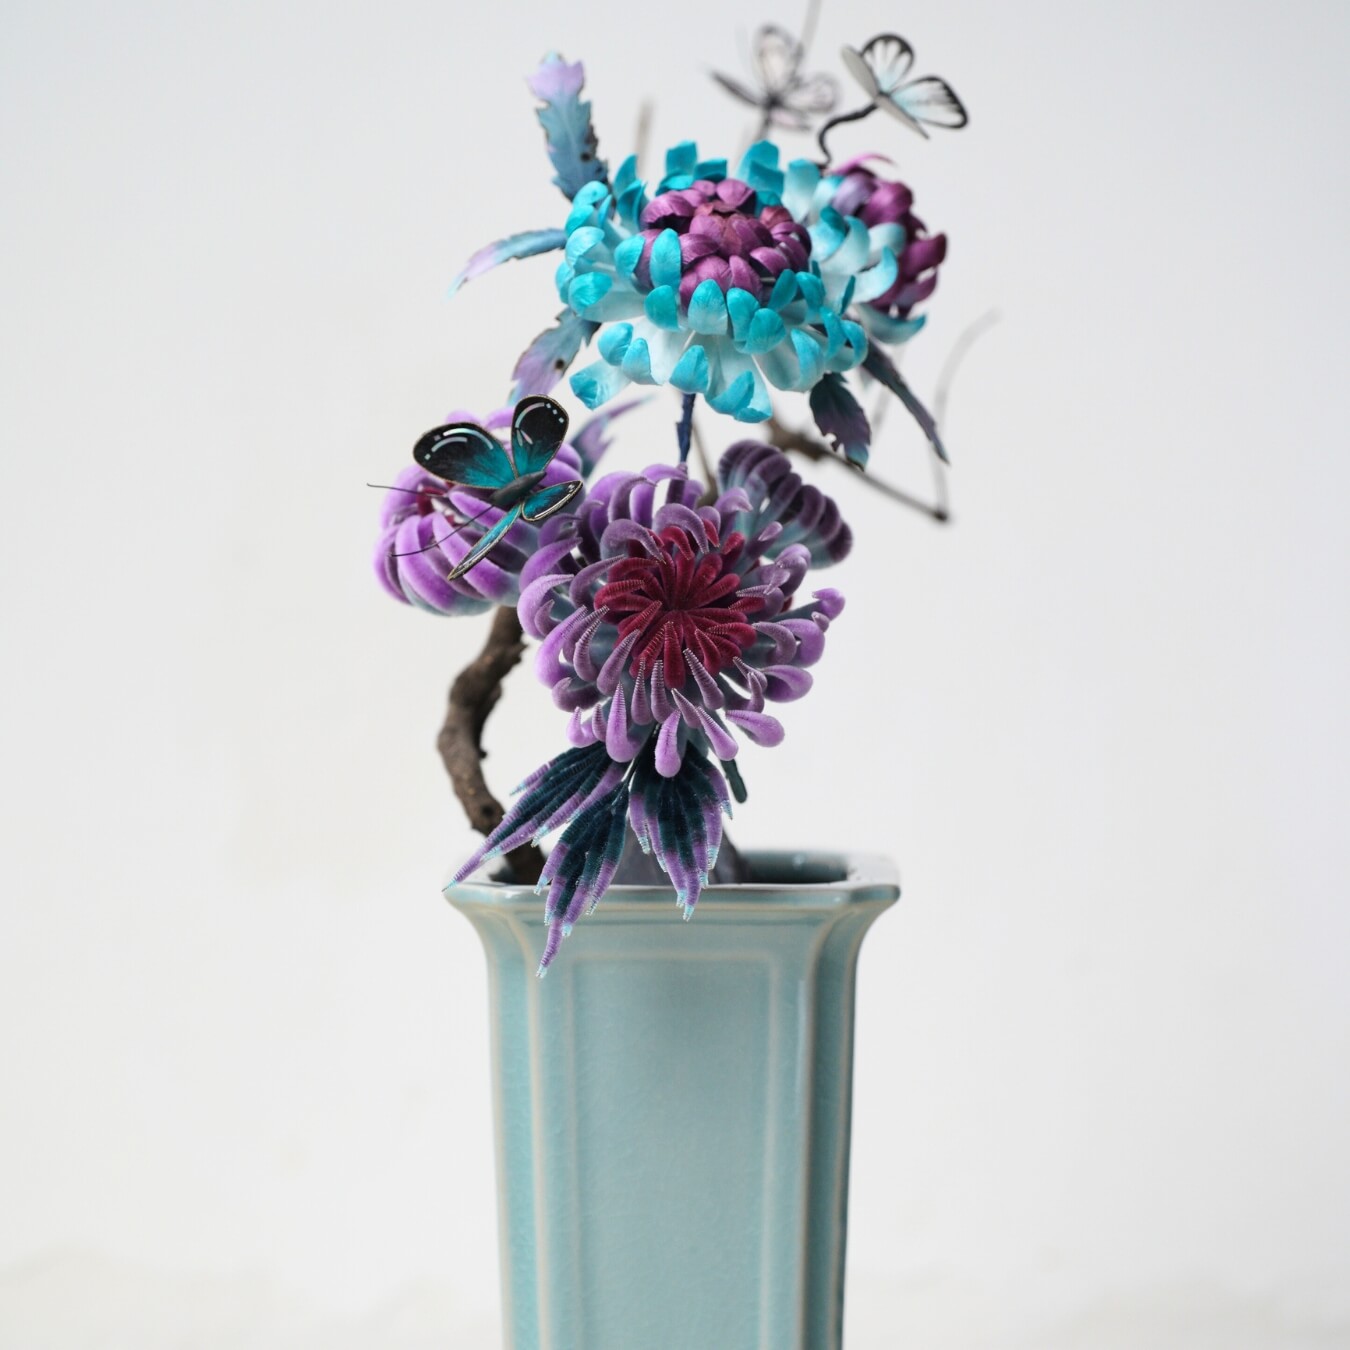
Create the stem: Cut a section of thick copper wire and attach it to the bottom of the chrysanthemum to extend the flower stem. Wrap with thread: Use thread to wrap the copper wire, securing it in place. Combine the flowers: Combine the fluffy chrysanthemum with the pressed chrysanthemum, creating a beautiful, full flower.


Tie off the threads: Once you have wrapped the wire at the base, tie it off and ensure everything is secure.

All Done! You have successfully created a beautiful chrysanthemum bonsai with lifelike flowers, natural leaves, and a cute butterfly. This can be used as home decor or a unique gift!
If you need images, video shooting tips, or further guidance on crafting the pieces, feel free to let me know!
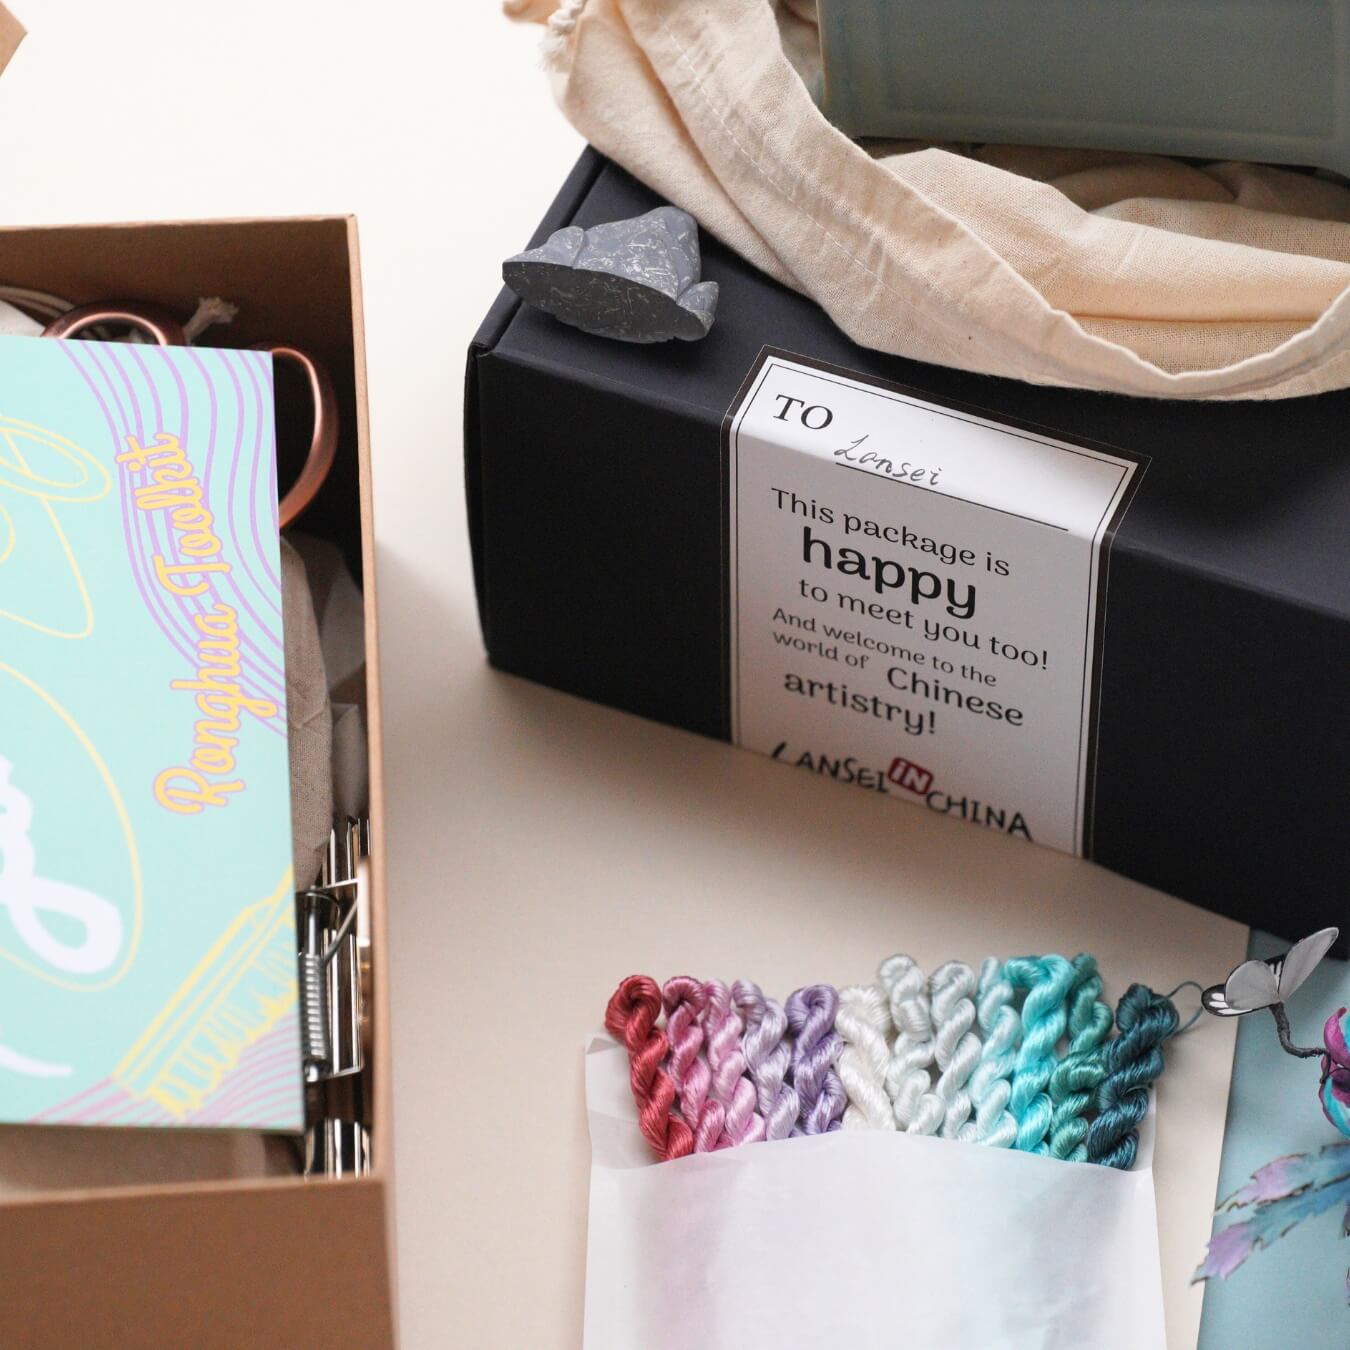
If you finished your DIY product, welcome to show your awesome work to us and get coupons for the rest of our DIY kits!
INS@lanseichina
Pinterest@lanseichina


