


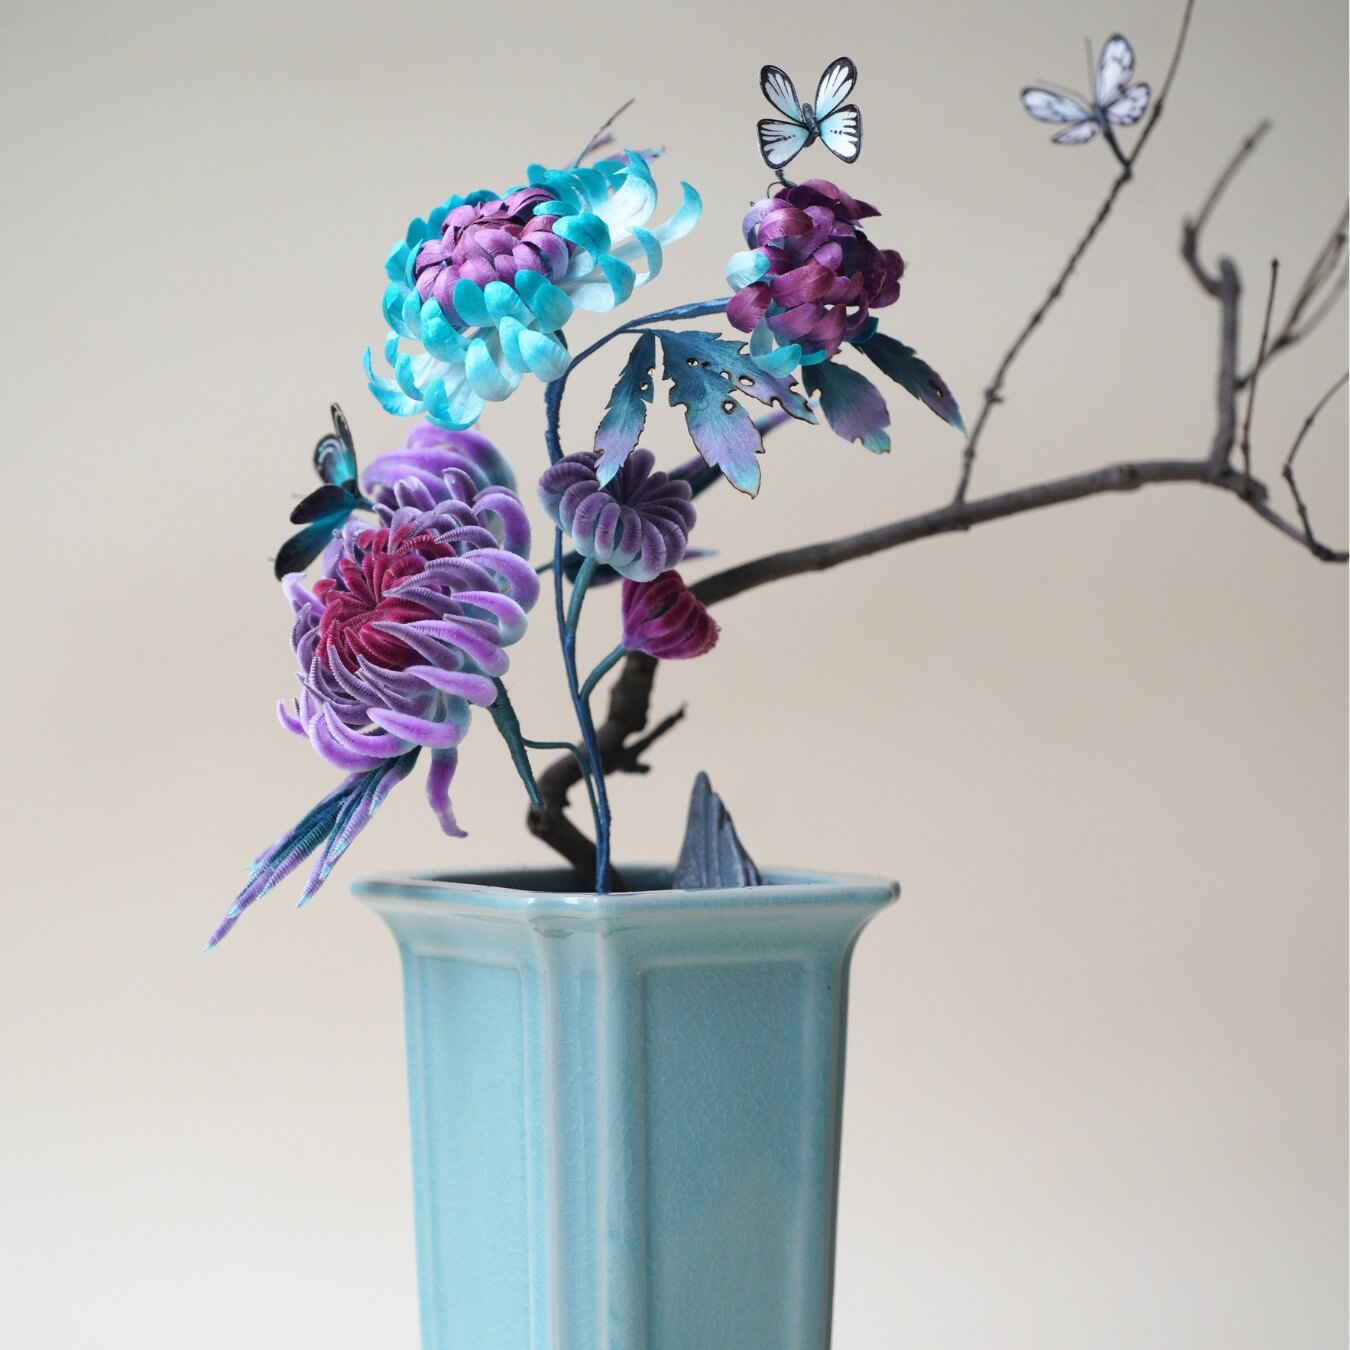
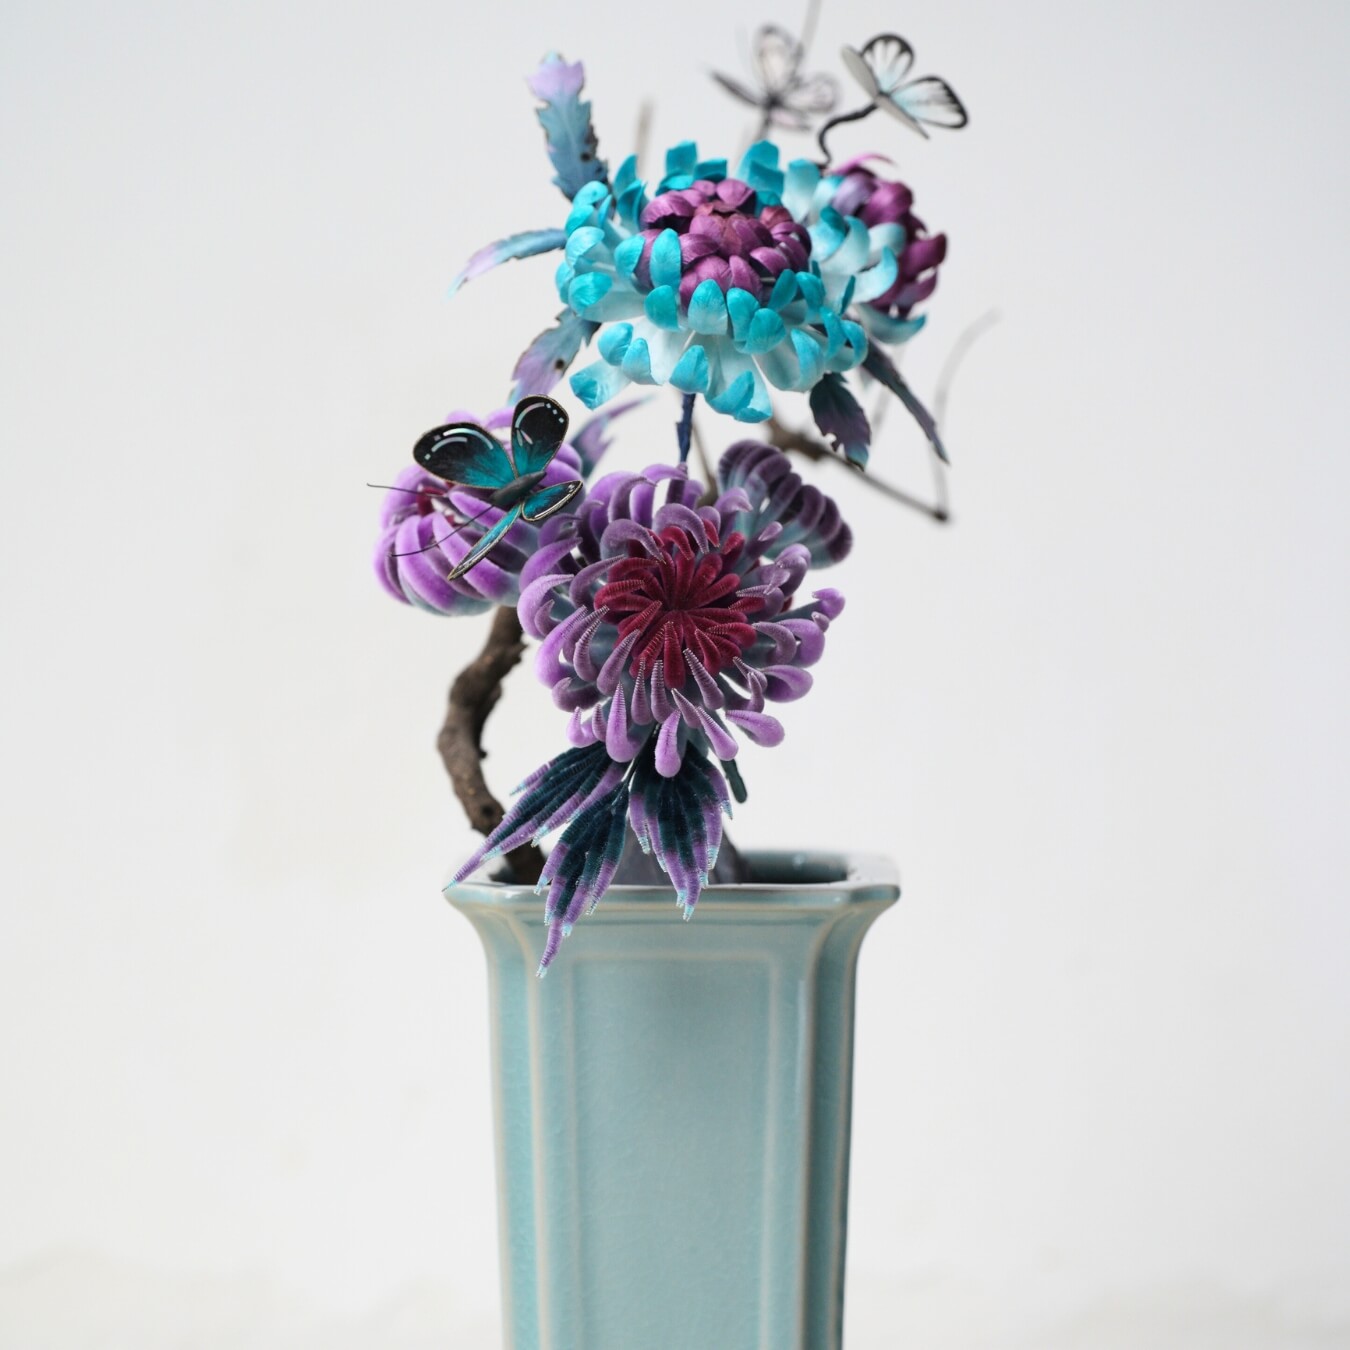
This mother-of-pearl butterfly is included in our Ronghua Chrysanthemum Bonsai/Penjing design.In this step-by-step tutorial, we’ll guide you through preparing the silk strips, brushing, shaping, and assembling this unique butterfly.
Step 1: Making the Silk Strips 00:00~00:29
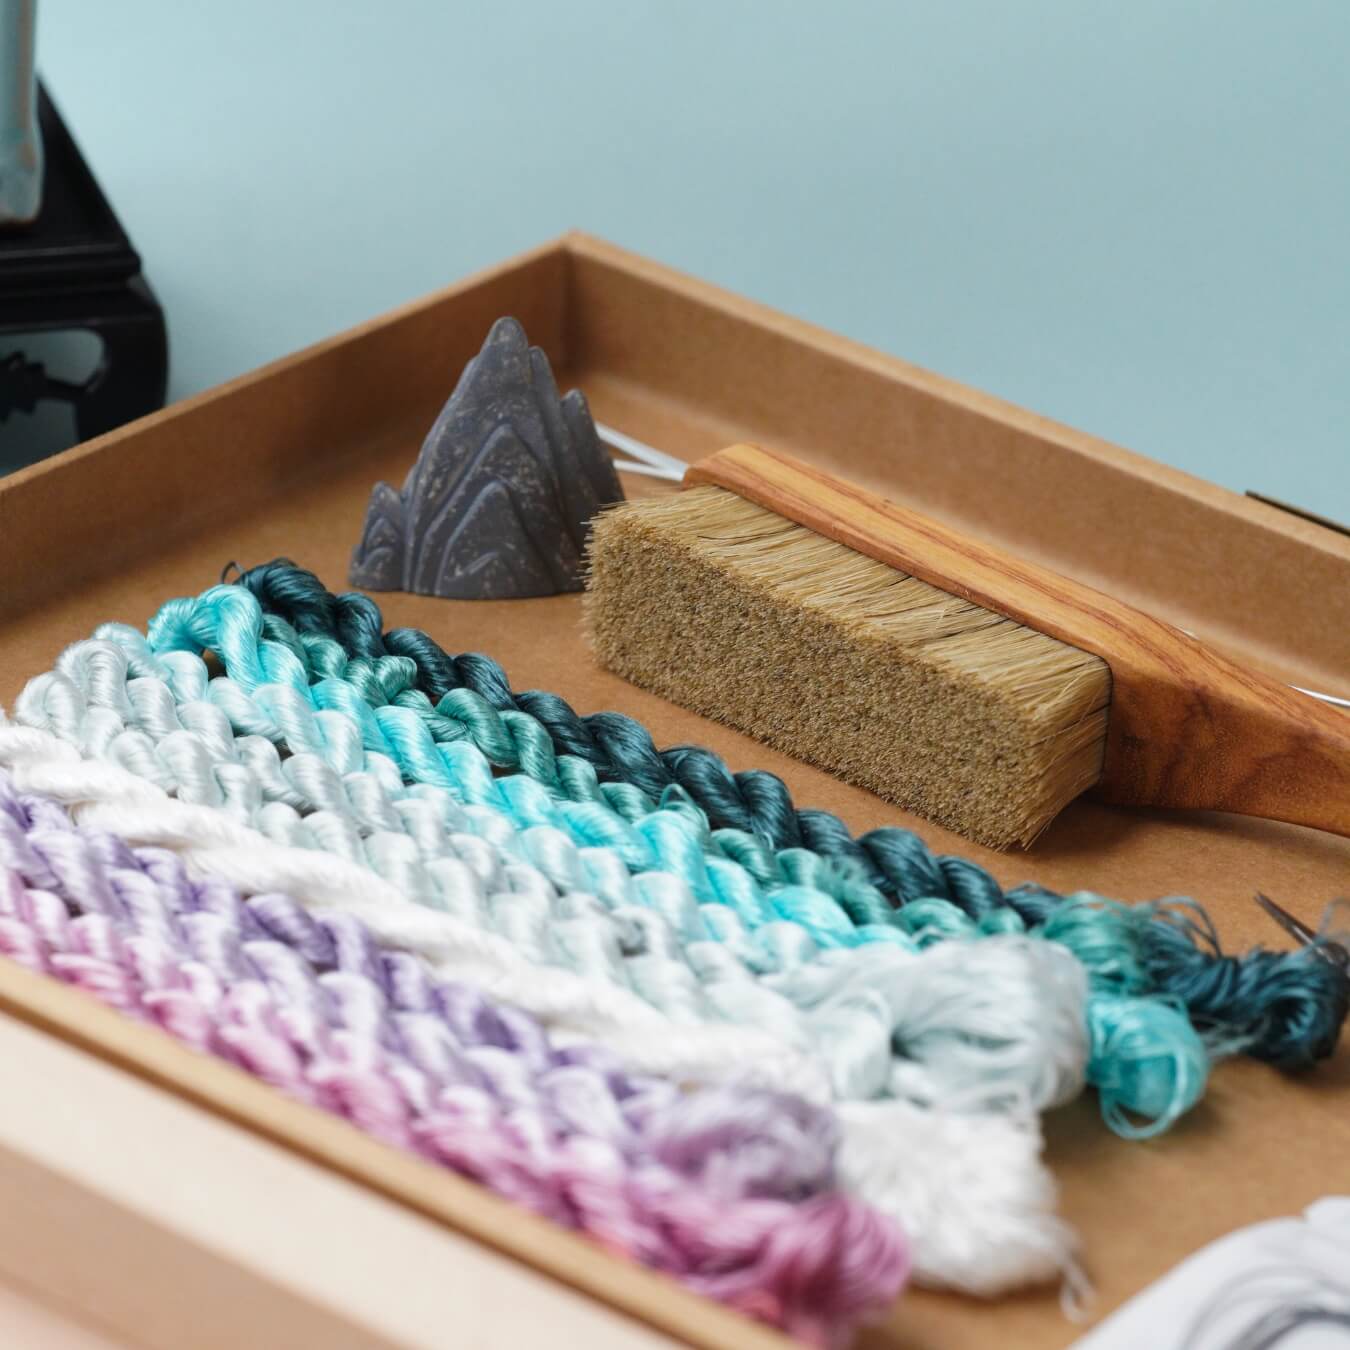
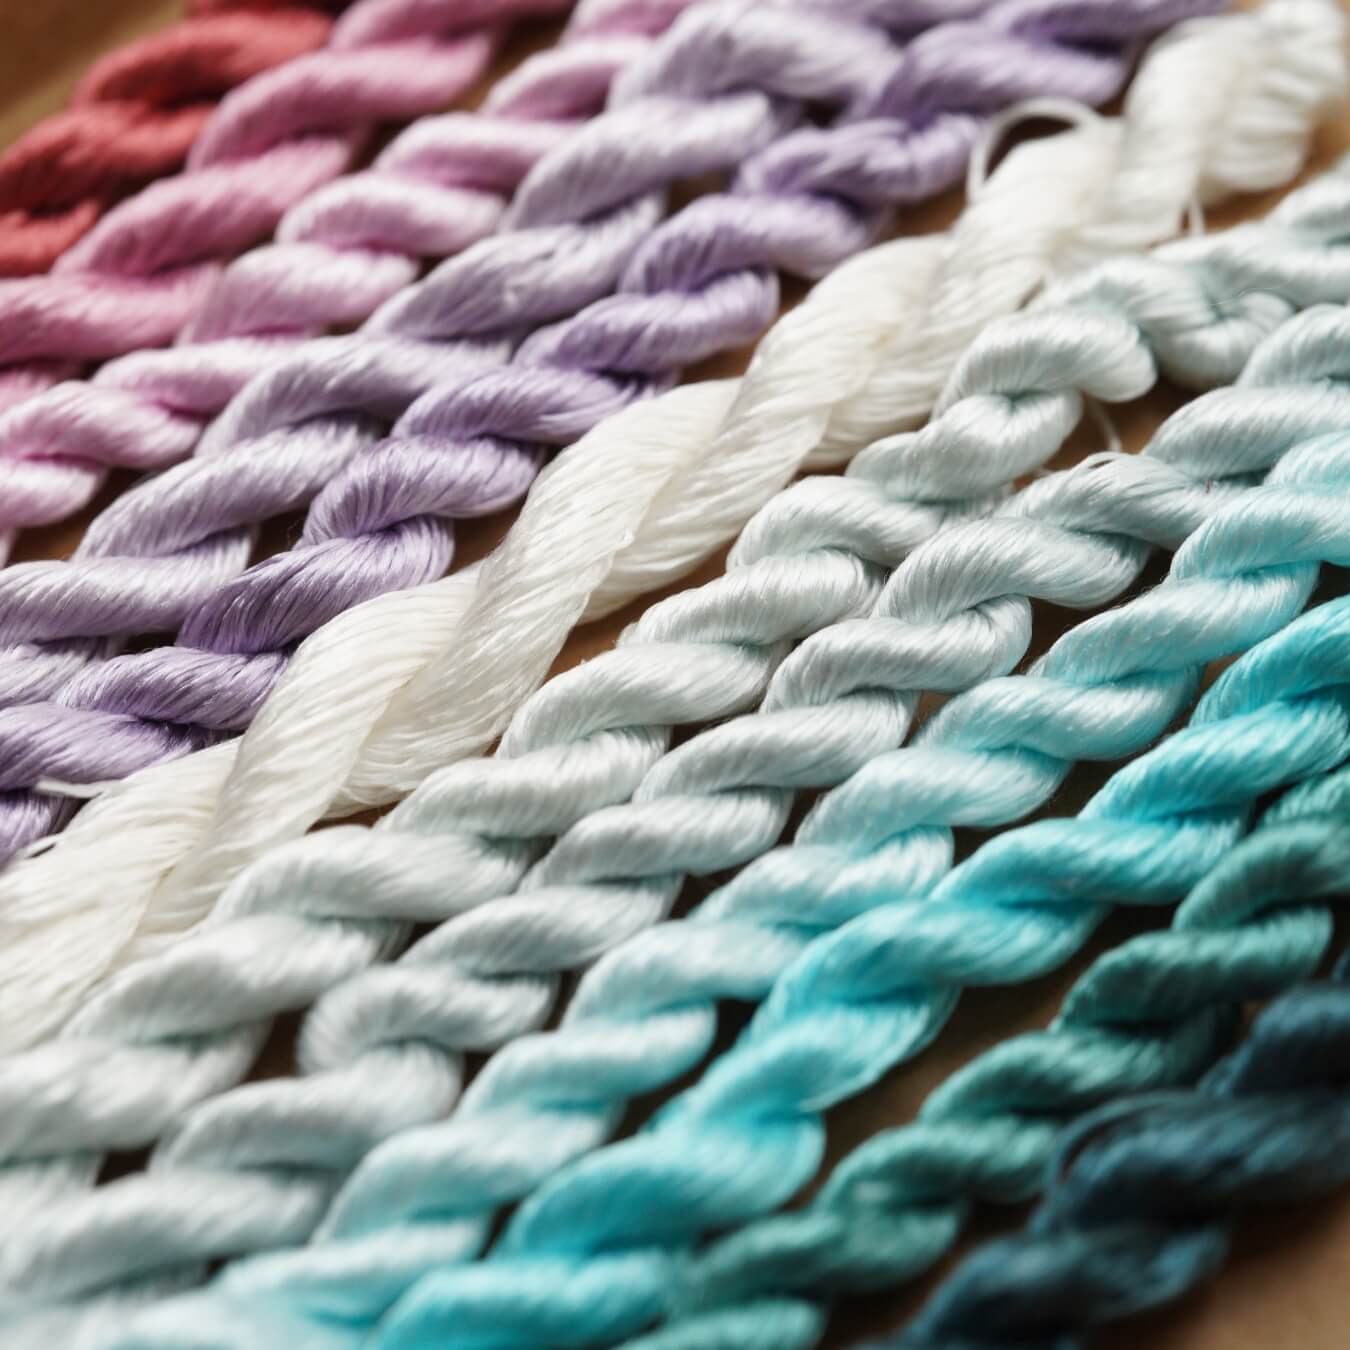
Five threads make up one group. From left to right, there are six groups of black, two groups of gray-blue in the middle, and two groups of sky blue on the far right. You can also use your preferred colors to make this inlaid butterfly, but avoid using too many bright colors. A large area of black is essential to highlight the mother-of-pearl inlay, so two or three groups of bright-colored threads should be enough.

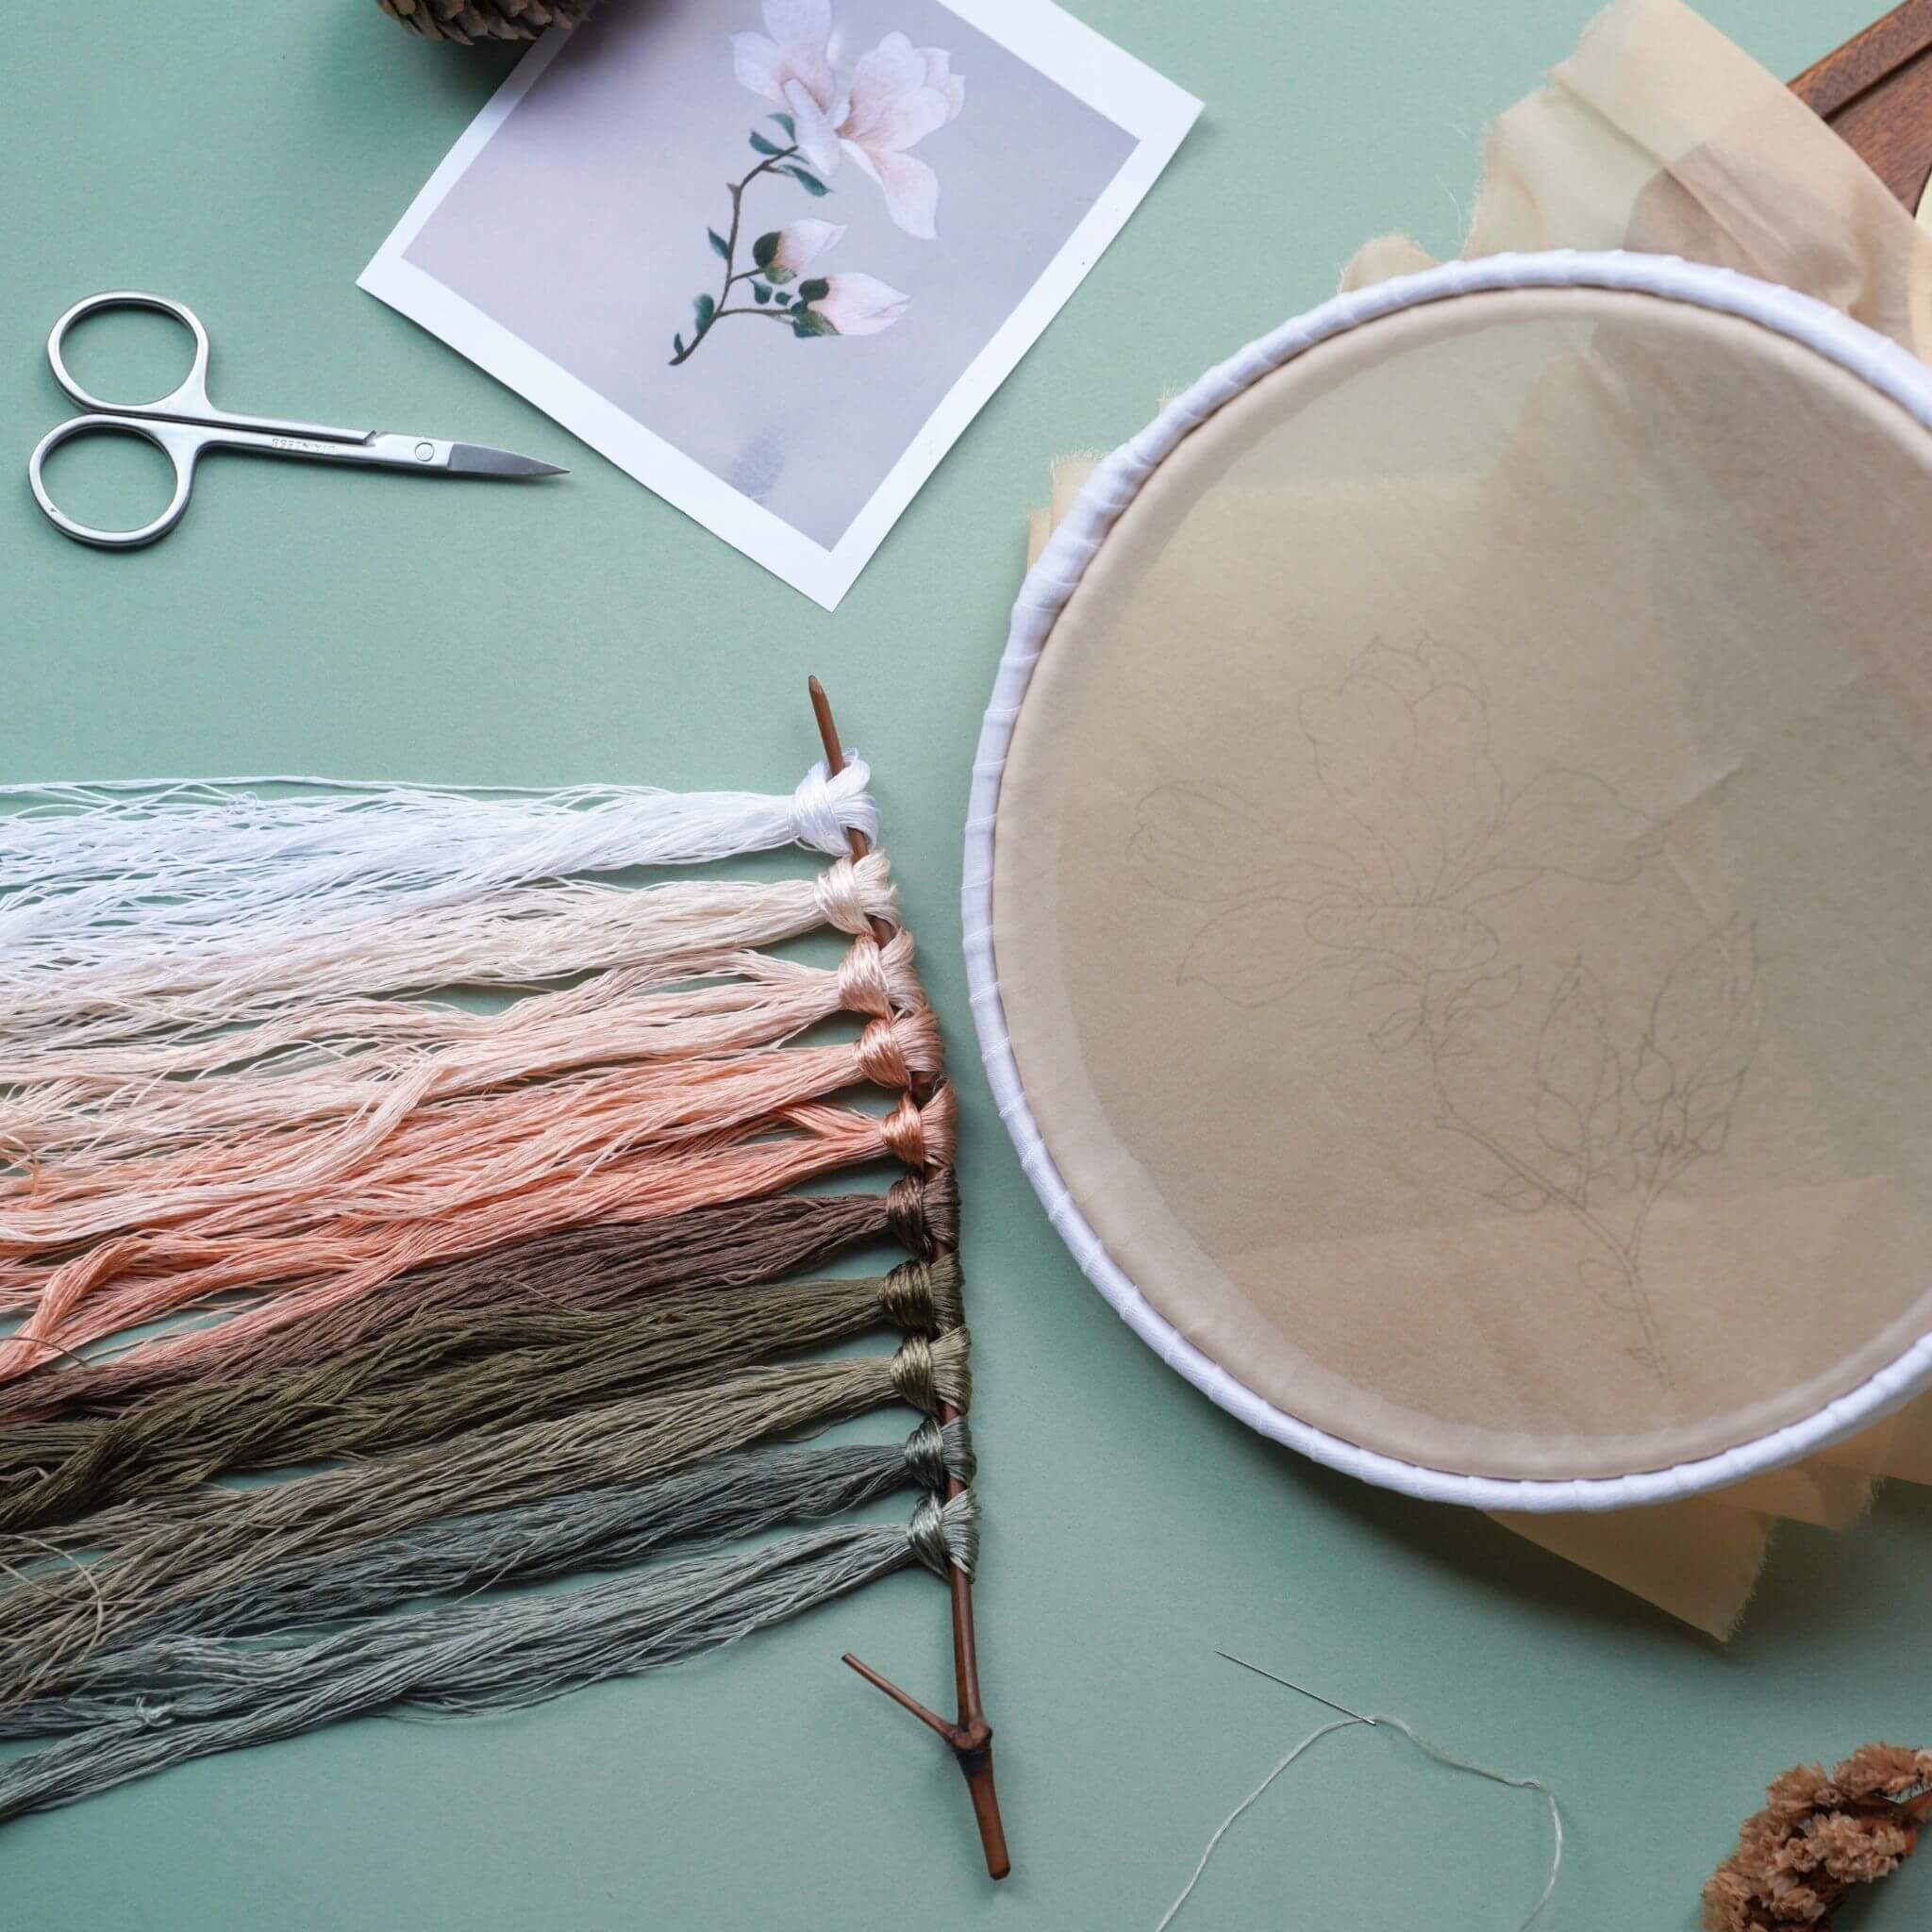
When brushing the silk threads, start from the top and brush all the way to the bottom. If you stop halfway, it can easily lead to tangling. The key is to brush the threads until they are fluffy and glossy.

Step 2: Making the Butterfly Wings 00:29~06:39
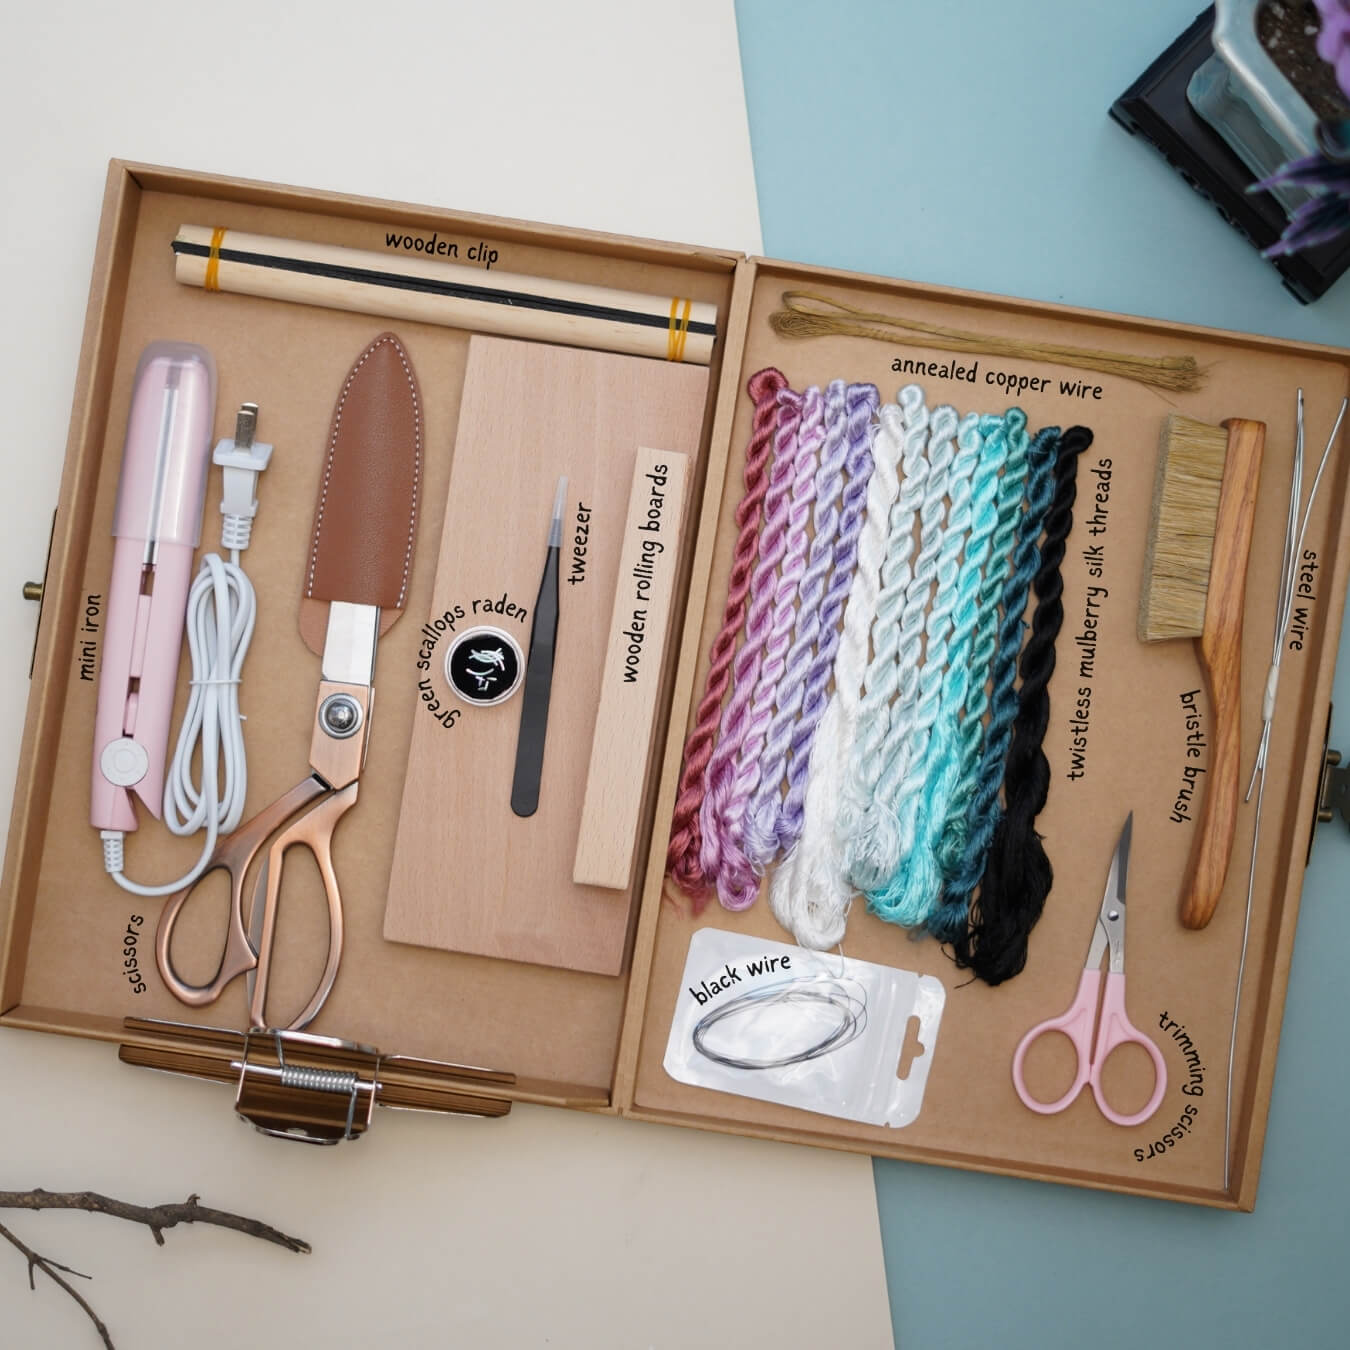
Before binding the copper wire, make sure to straighten the copper wire. Twist two copper wires together, then stretch the wire straight. Twist the copper wire tightly in opposite directions with both hands. The distance between the copper wires should be 2–2.5cm.

When cutting the silk strips, make sure the scissors cut directly in the middle of the two copper wires. After aligning the edges of the silk strips, tighten the copper wire. When twisting the silk strips, hold the tail end with one hand and twist with the other. Twist 3–4 times. If twisted too much, the copper wire may break. Cut the copper wire at the black end along the base of the silk strips.
When ironing, you need to press twice. The first pass should be light; don’t press too firmly. For the second pass, press the silk strips flat.

After flattening the silk strips, apply a setting spray. You can also use hairspray or dilute white glue with water in a 1:1.5 ratio as a substitute. After setting, place the silk strips on a sponge mat to dry.

Now, let’s make the wire inlay part. For the wire inlay, you can use color-retaining copper wire. The recommended thickness is 0.3–0.5mm. Fold the copper wire in half and twist the tail end tightly. Then, use a combing board to twist the copper wire tightly, creating a textured effect.
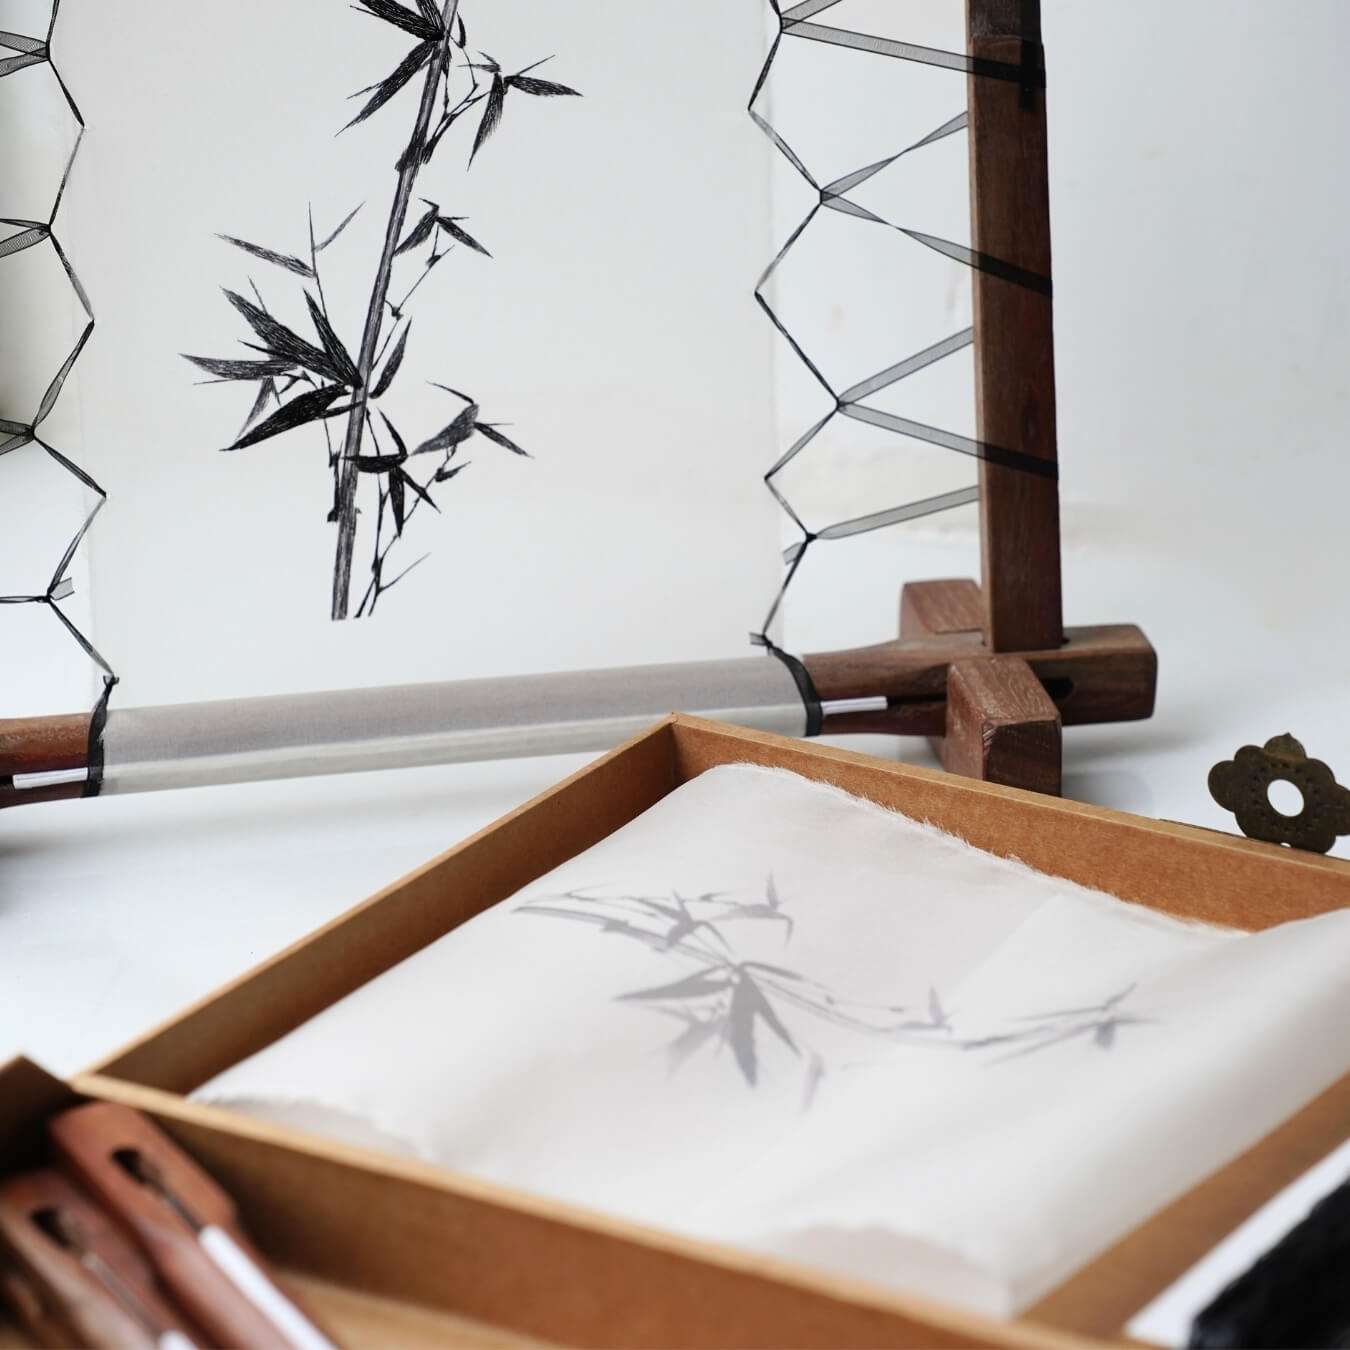
 You can print out a butterfly pattern or hand-draw it on paper. Trace the copper wire along the edges of the butterfly pattern, then twist the copper wire at the bottom to secure it.

Apply glue on the reverse side of the copper wire. Once the glue is half-dried, press the silk strips and copper wire together, holding them tightly for a few seconds.

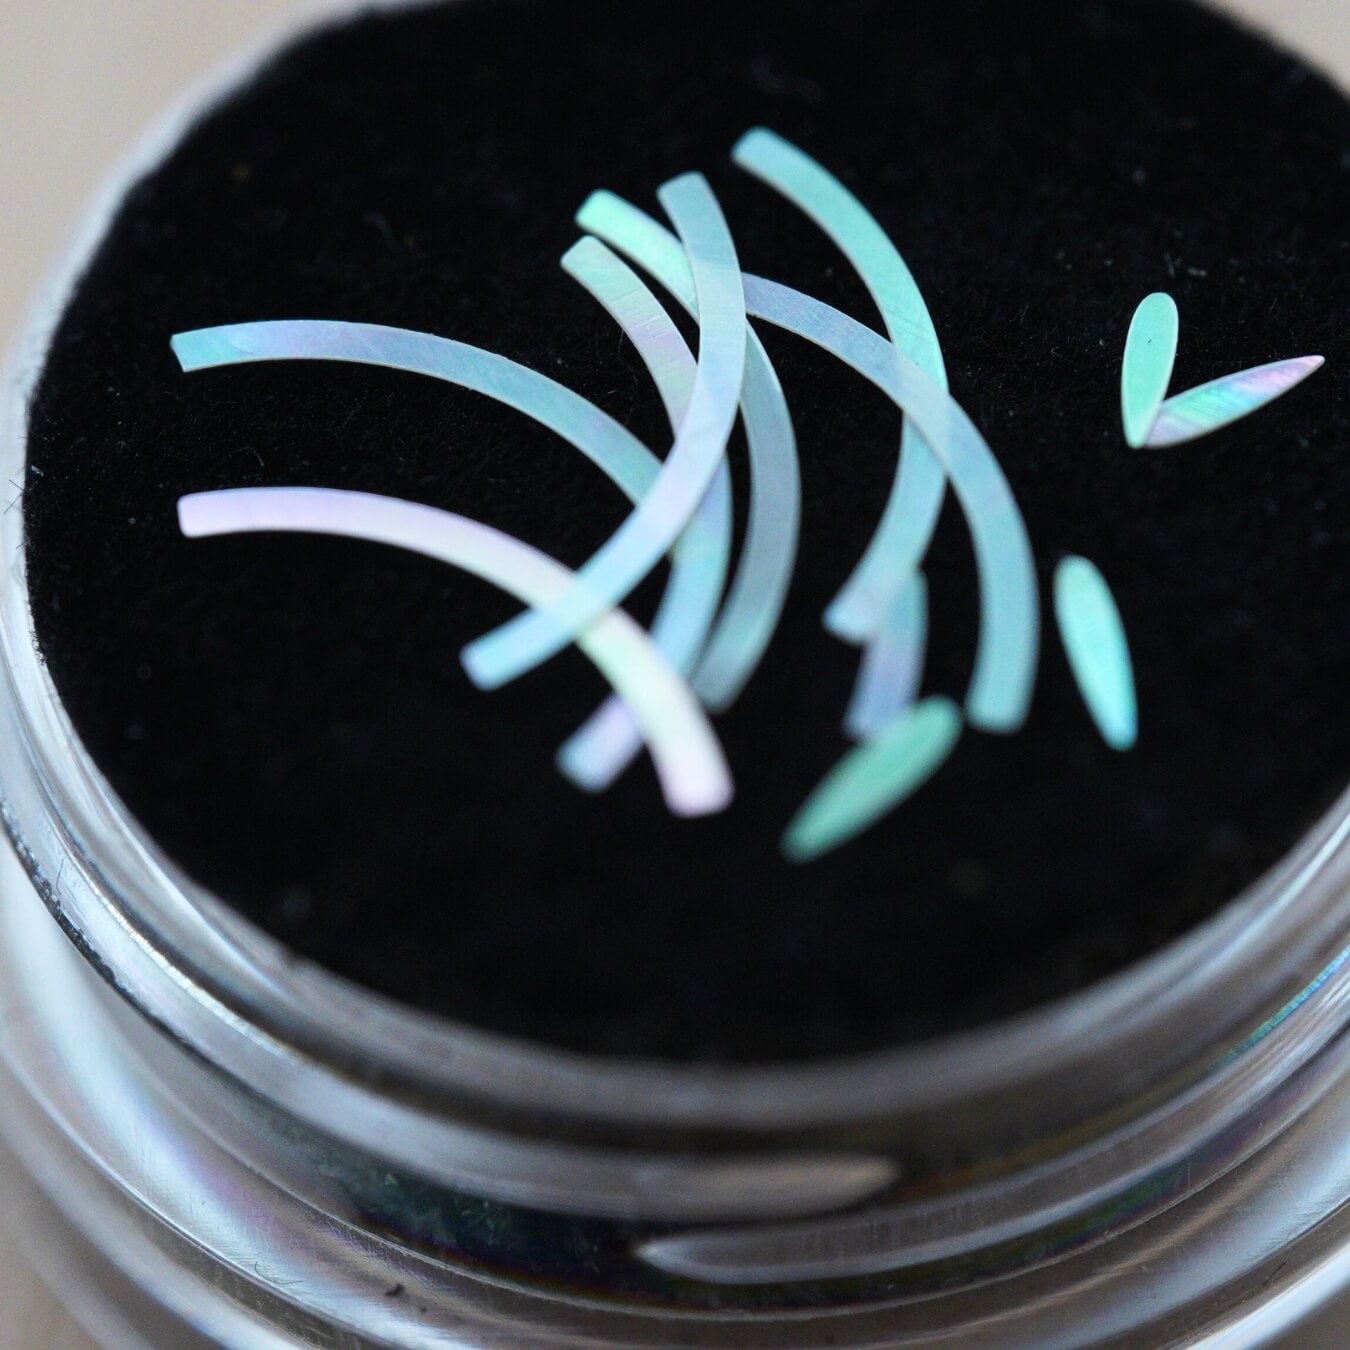
Next, apply the mother-of-pearl inlay. Dip the mother-of-pearl in white glue and stick it onto the silk strips. Don’t worry if there’s excess glue; once the white glue dries, it becomes semi-transparent and won’t be visible. The mother-of-pearl inlay is shiny, so it’s best to place it on the black areas to highlight its beauty. Once the inlay is applied, you can trim the excess silk strips.

Then, use thread to attach the top and bottom wings together. Just make sure they stay secure and don’t come apart.
Step 3: Making the Butterfly Body 06:39~08:54
Take a small piece of clay and roll it into a plump teardrop shape. Insert two copper wires into the clay to create the butterfly's antennae. The copper wire at the bottom is used to secure the body to the wings. Then, paint the entire white section black. You can also use small beads that you like to make the body of the butterfly.

Step 4: Assembling the Butterfly Wings and Body 08:54~end
It’s best to leave the copper wire at the bottom of the butterfly a little longer, as this will make it easier to combine the butterfly with other silk flowers. When finishing, tie a knot and trim the excess wire.

You can apply a little white glue at the finishing point to prevent slipping. Set the lighter to the lowest flame and gently burn it to remove any uneven fibers. The mother-of-pearl inlaid butterfly is now complete

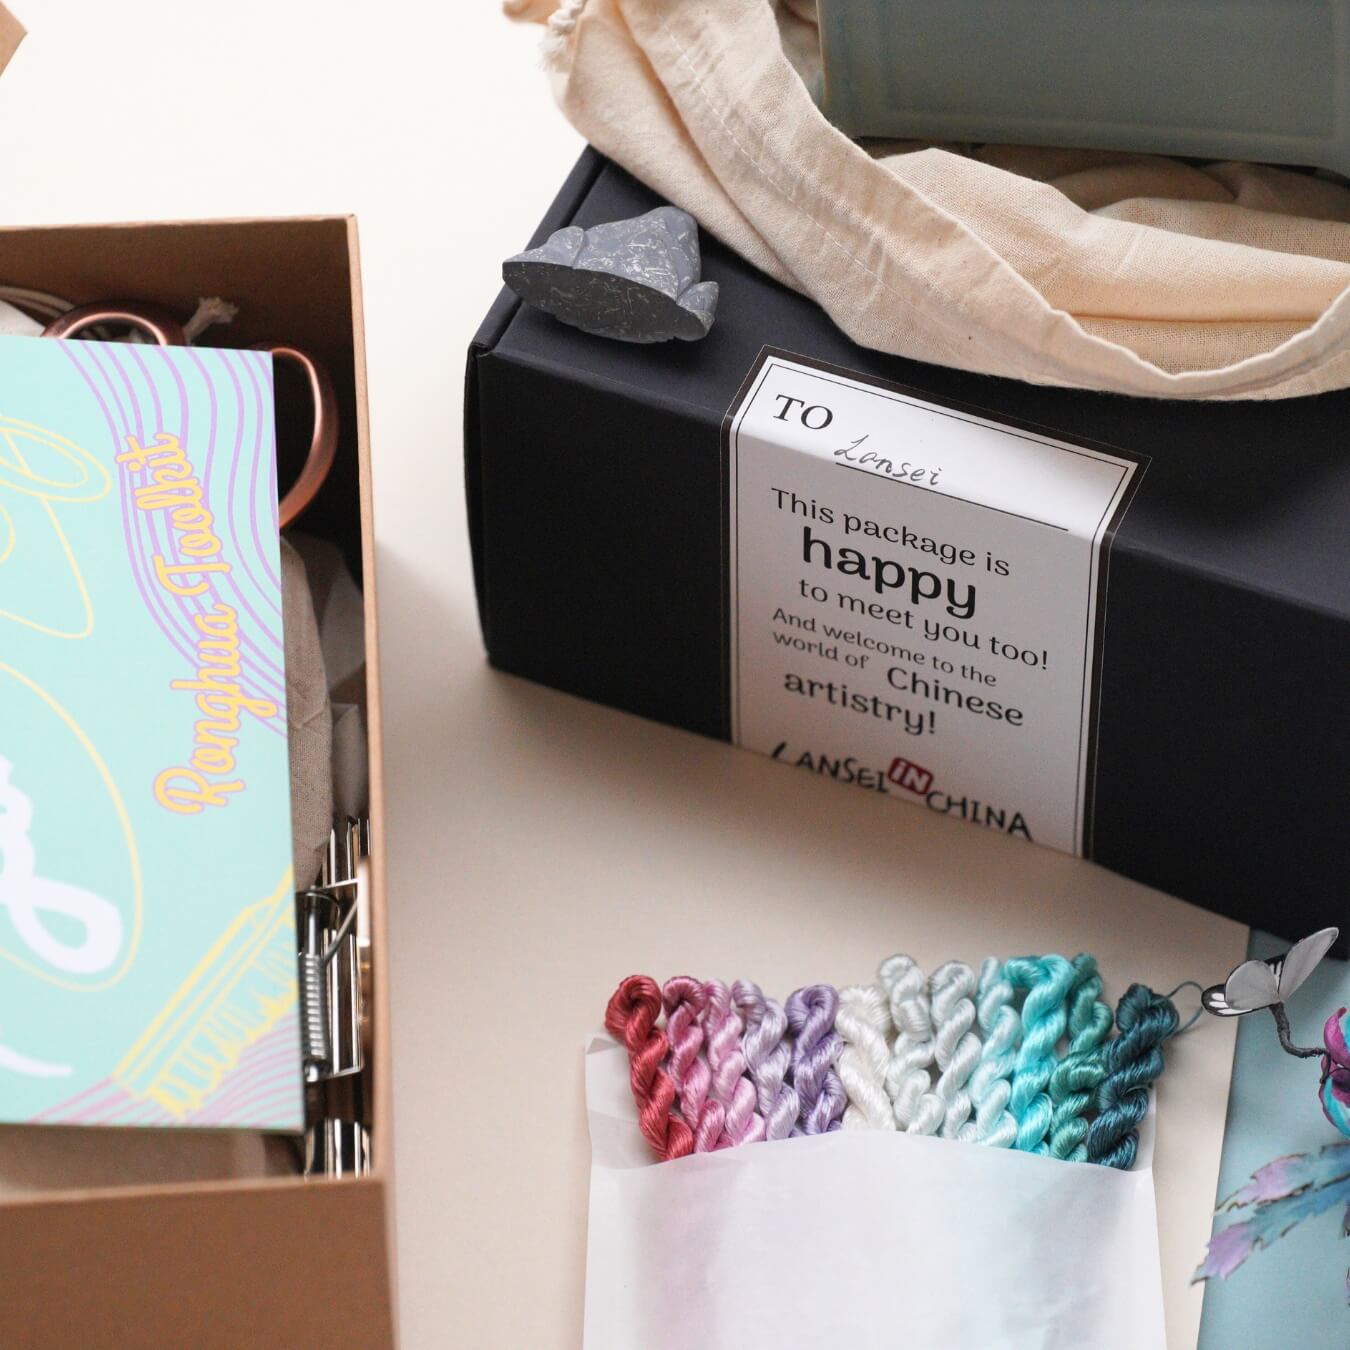
If you finished your DIY product, welcome to show your awesome work to us and get coupons for the rest of our DIY kits!
INS@lanseichina
Pinterest@lanseichina


