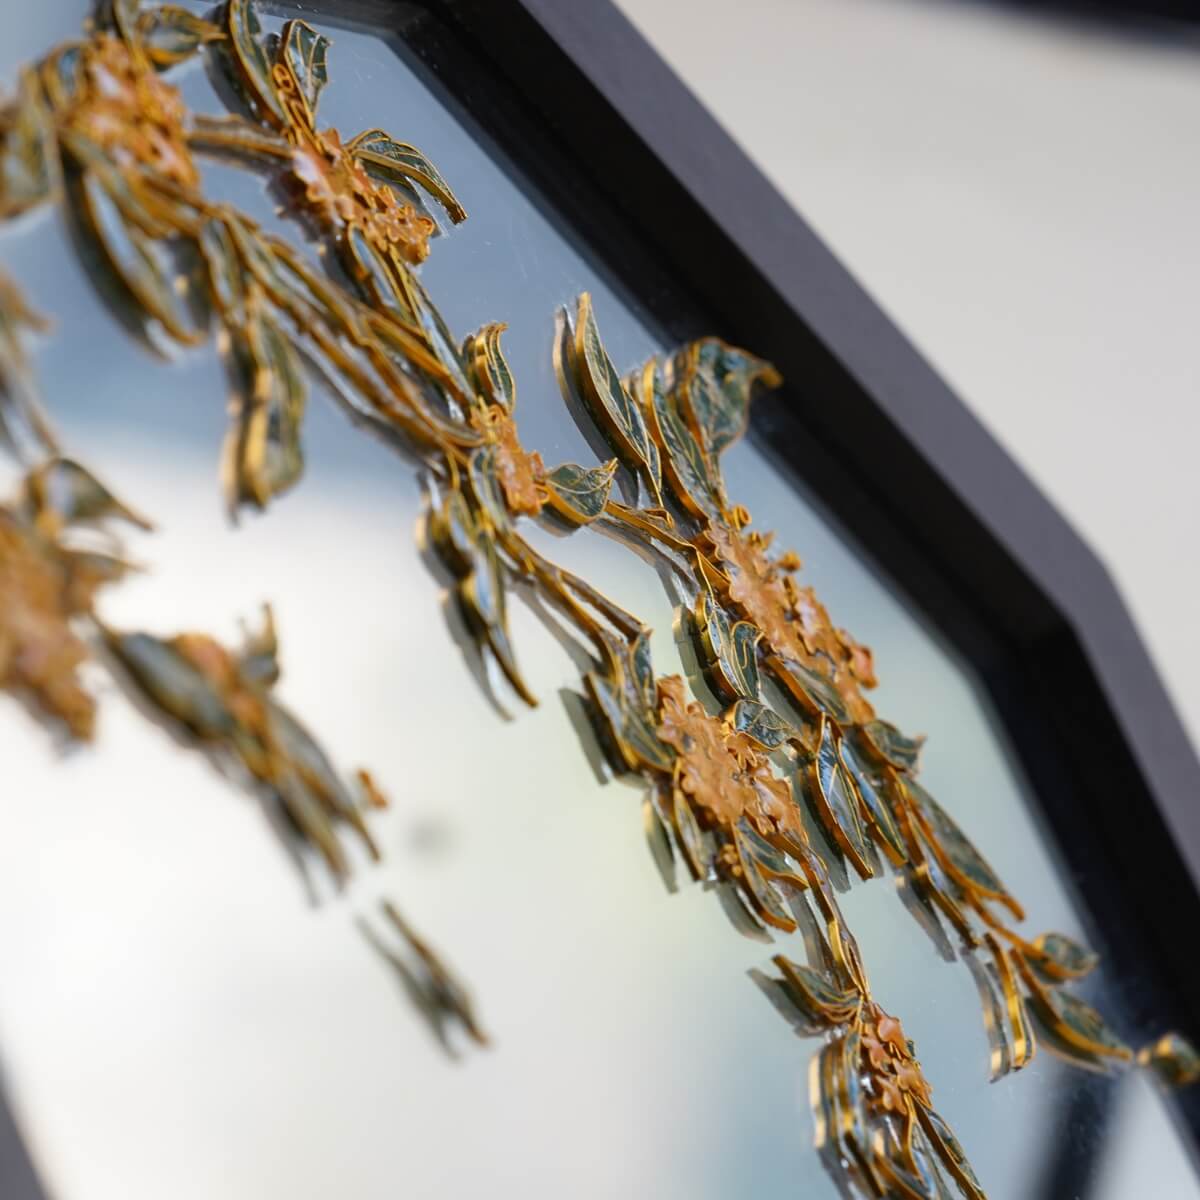


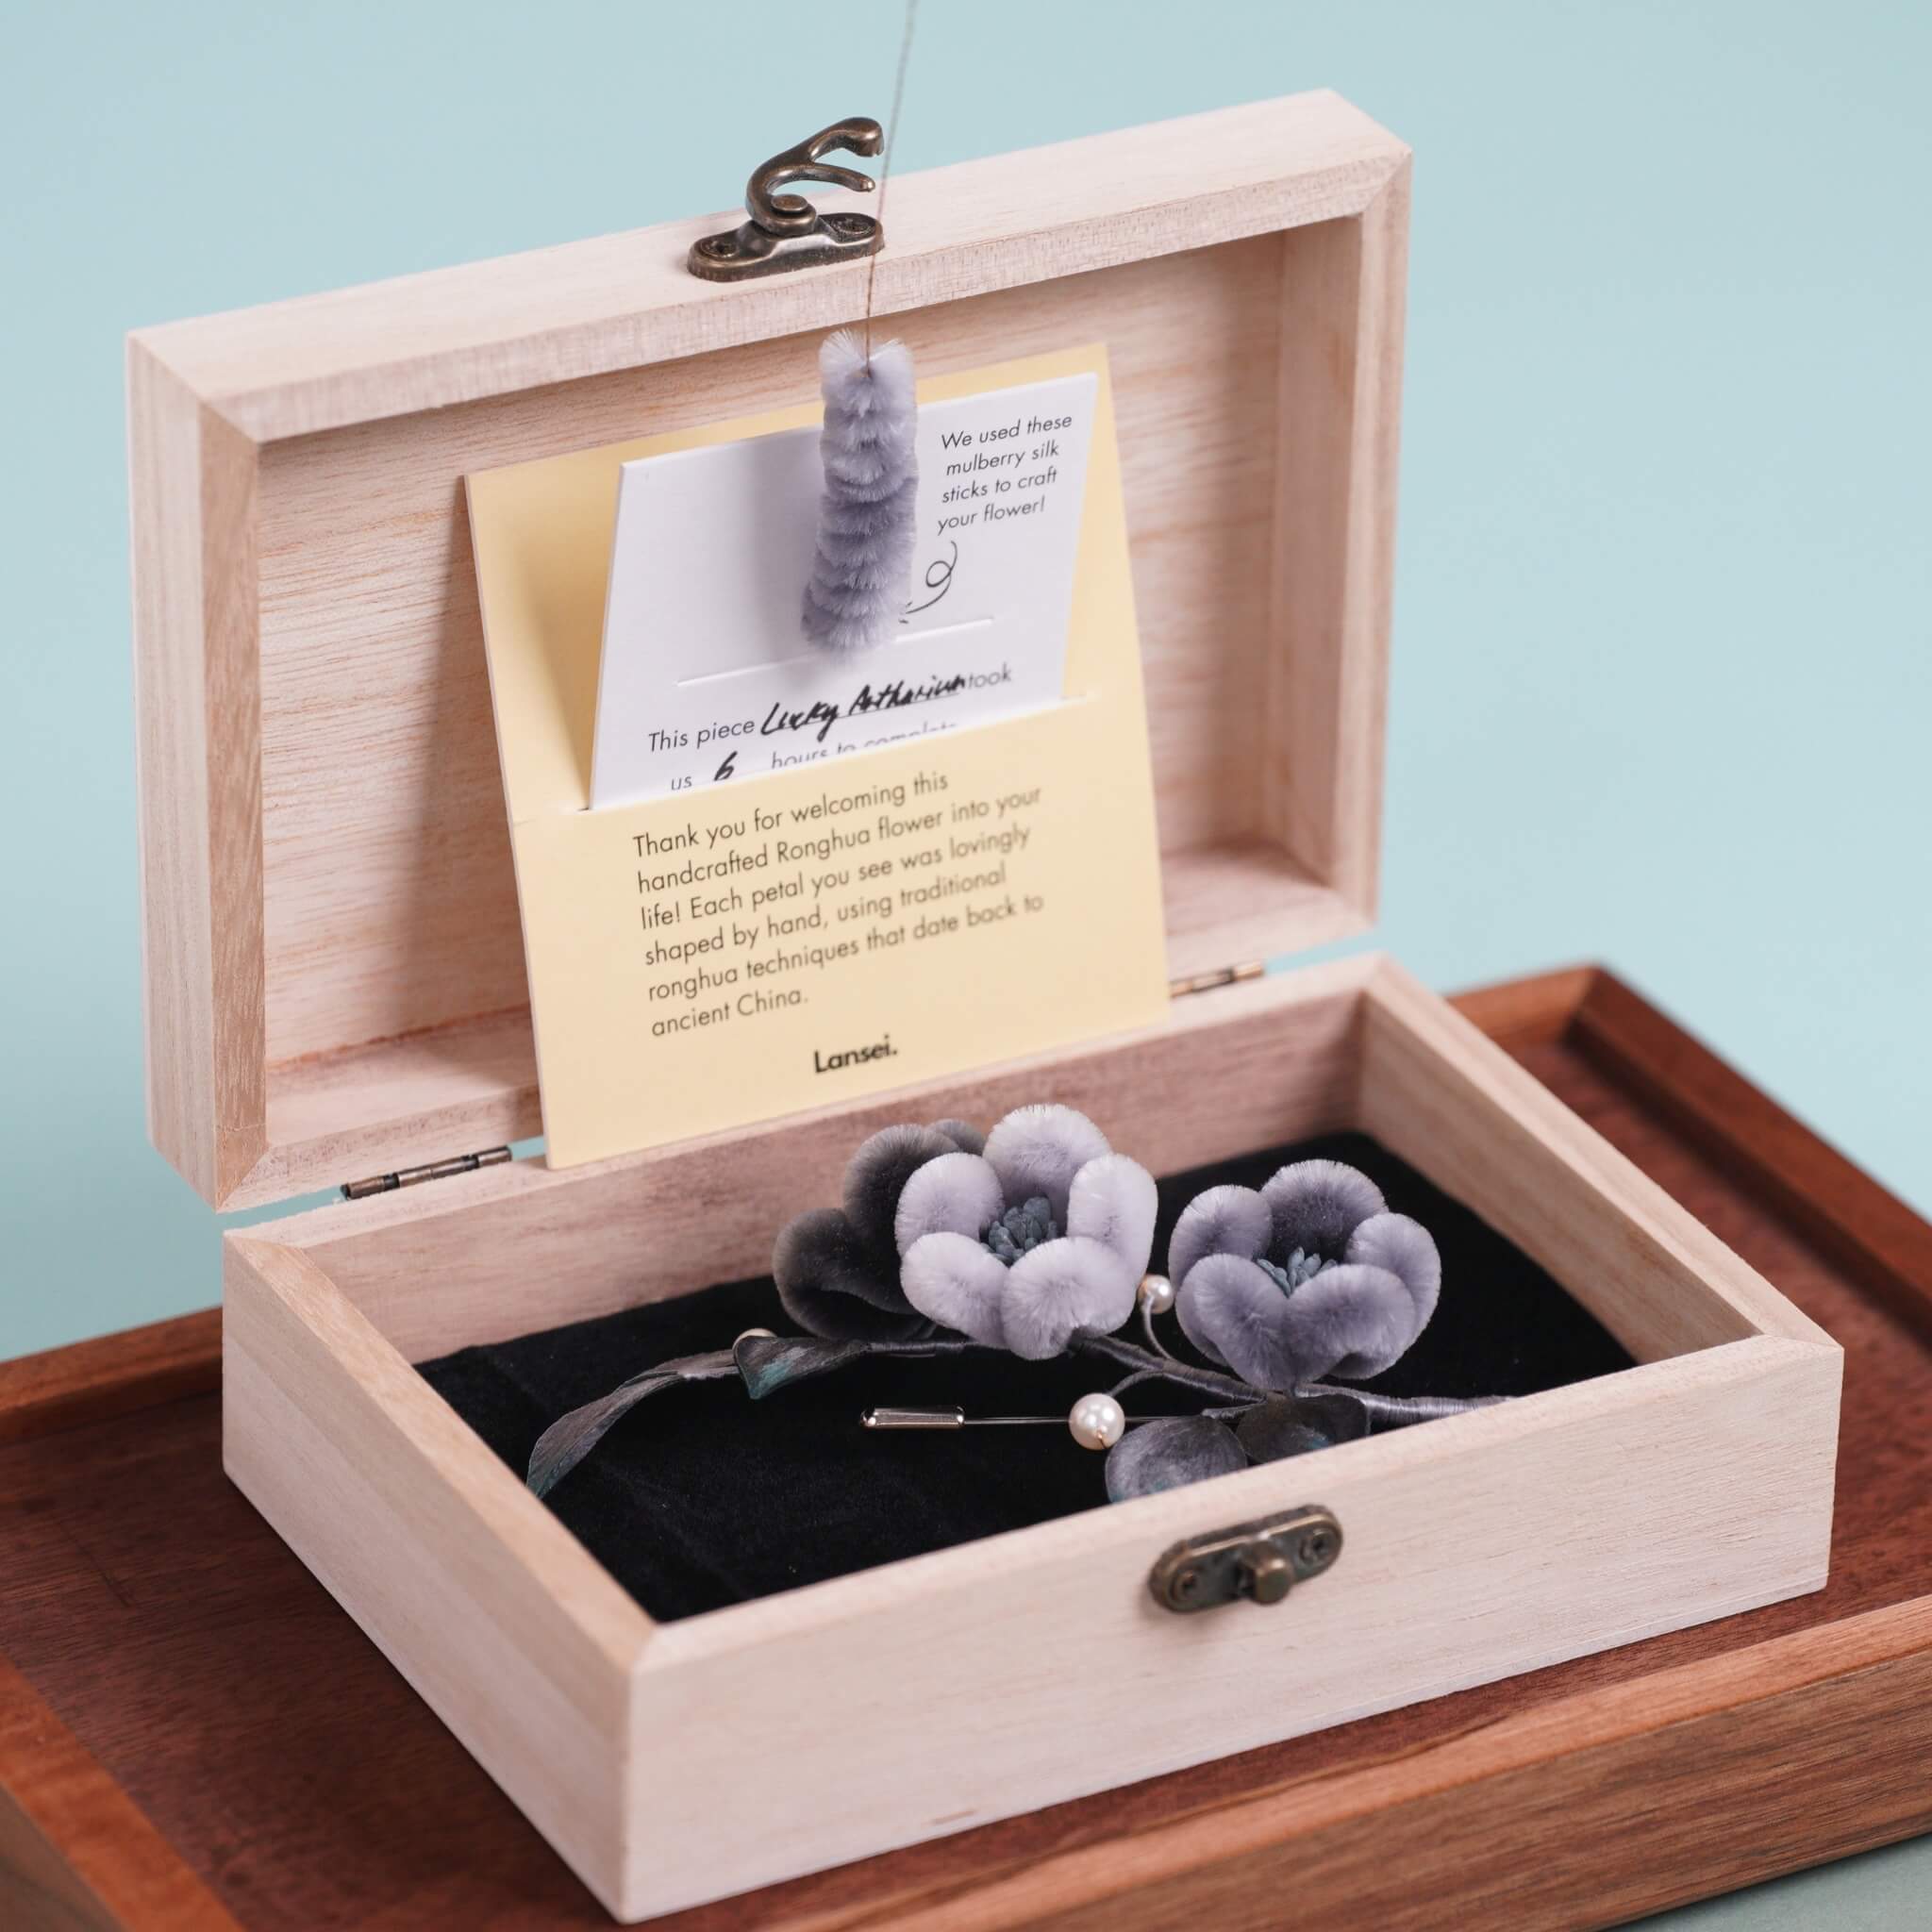

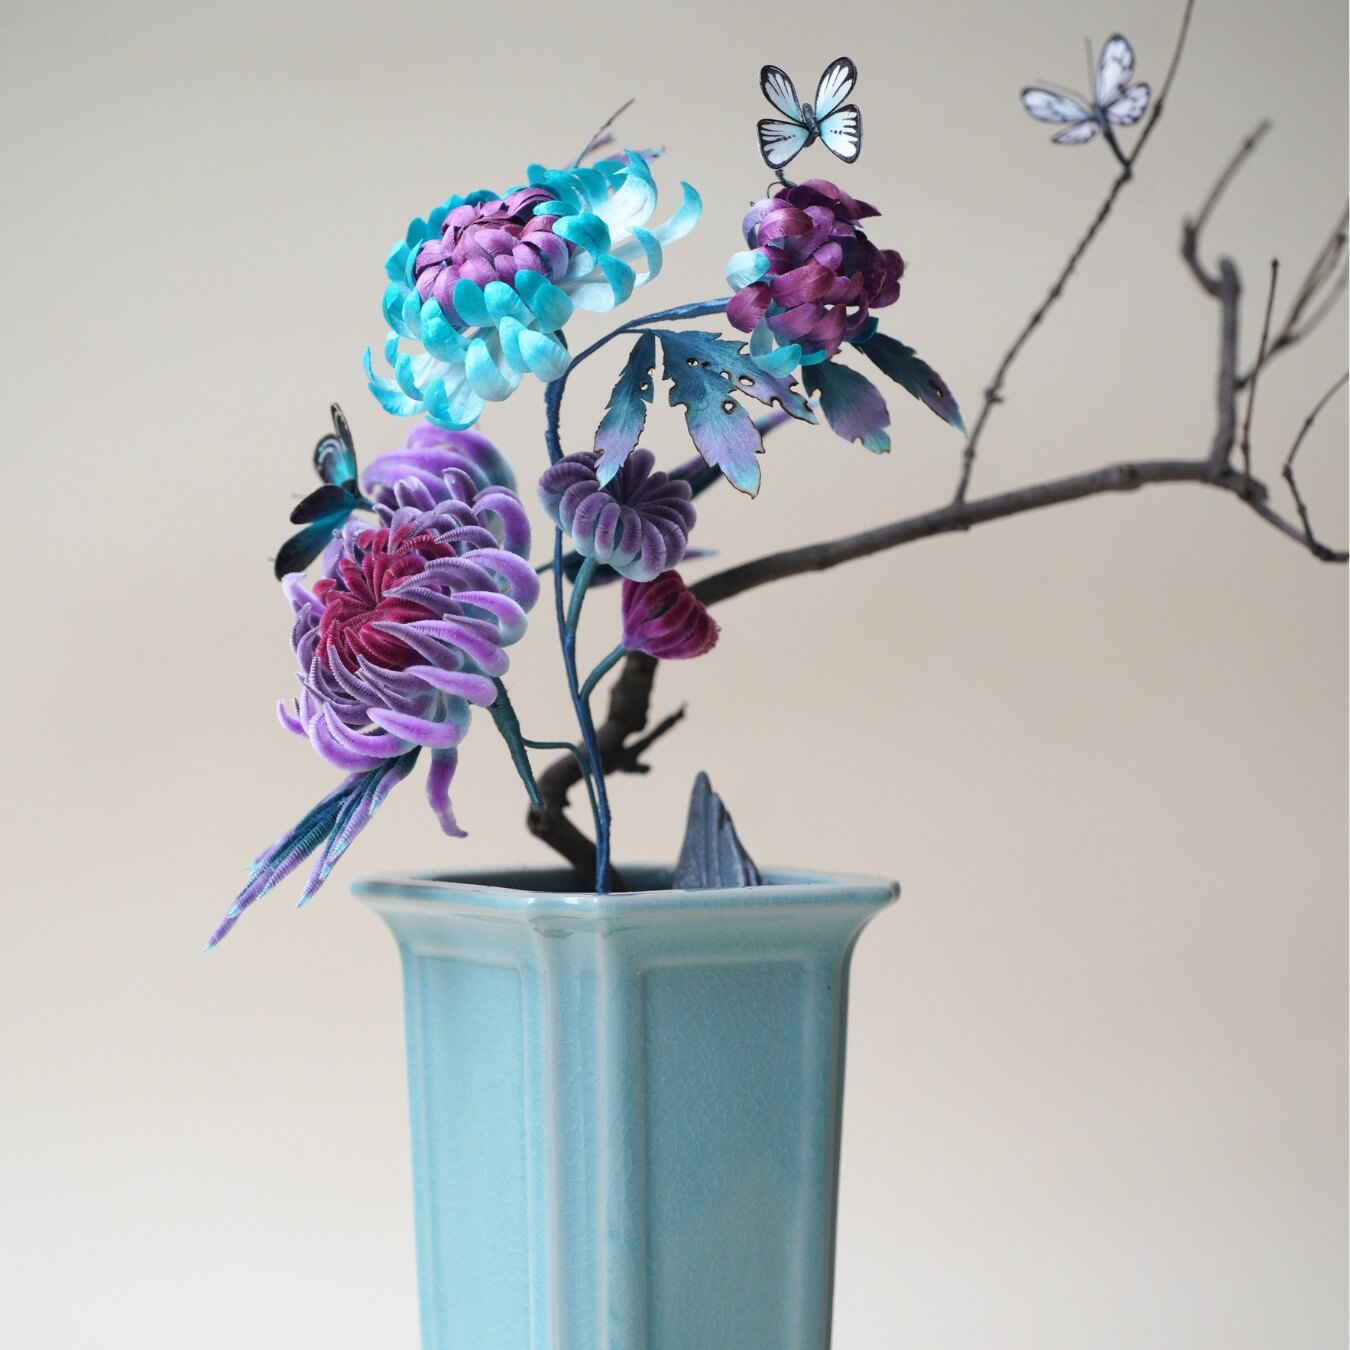
Elegant and timeless, the butterfly orchid seems to hover in mid-air, light as a breath. This bonsai project is a patient and rewarding build, where each petal is shaped with care to capture the orchid’s signature poise. A meditative piece that brings lasting calm and refinement into any space.
Preparation: What You’ll Need
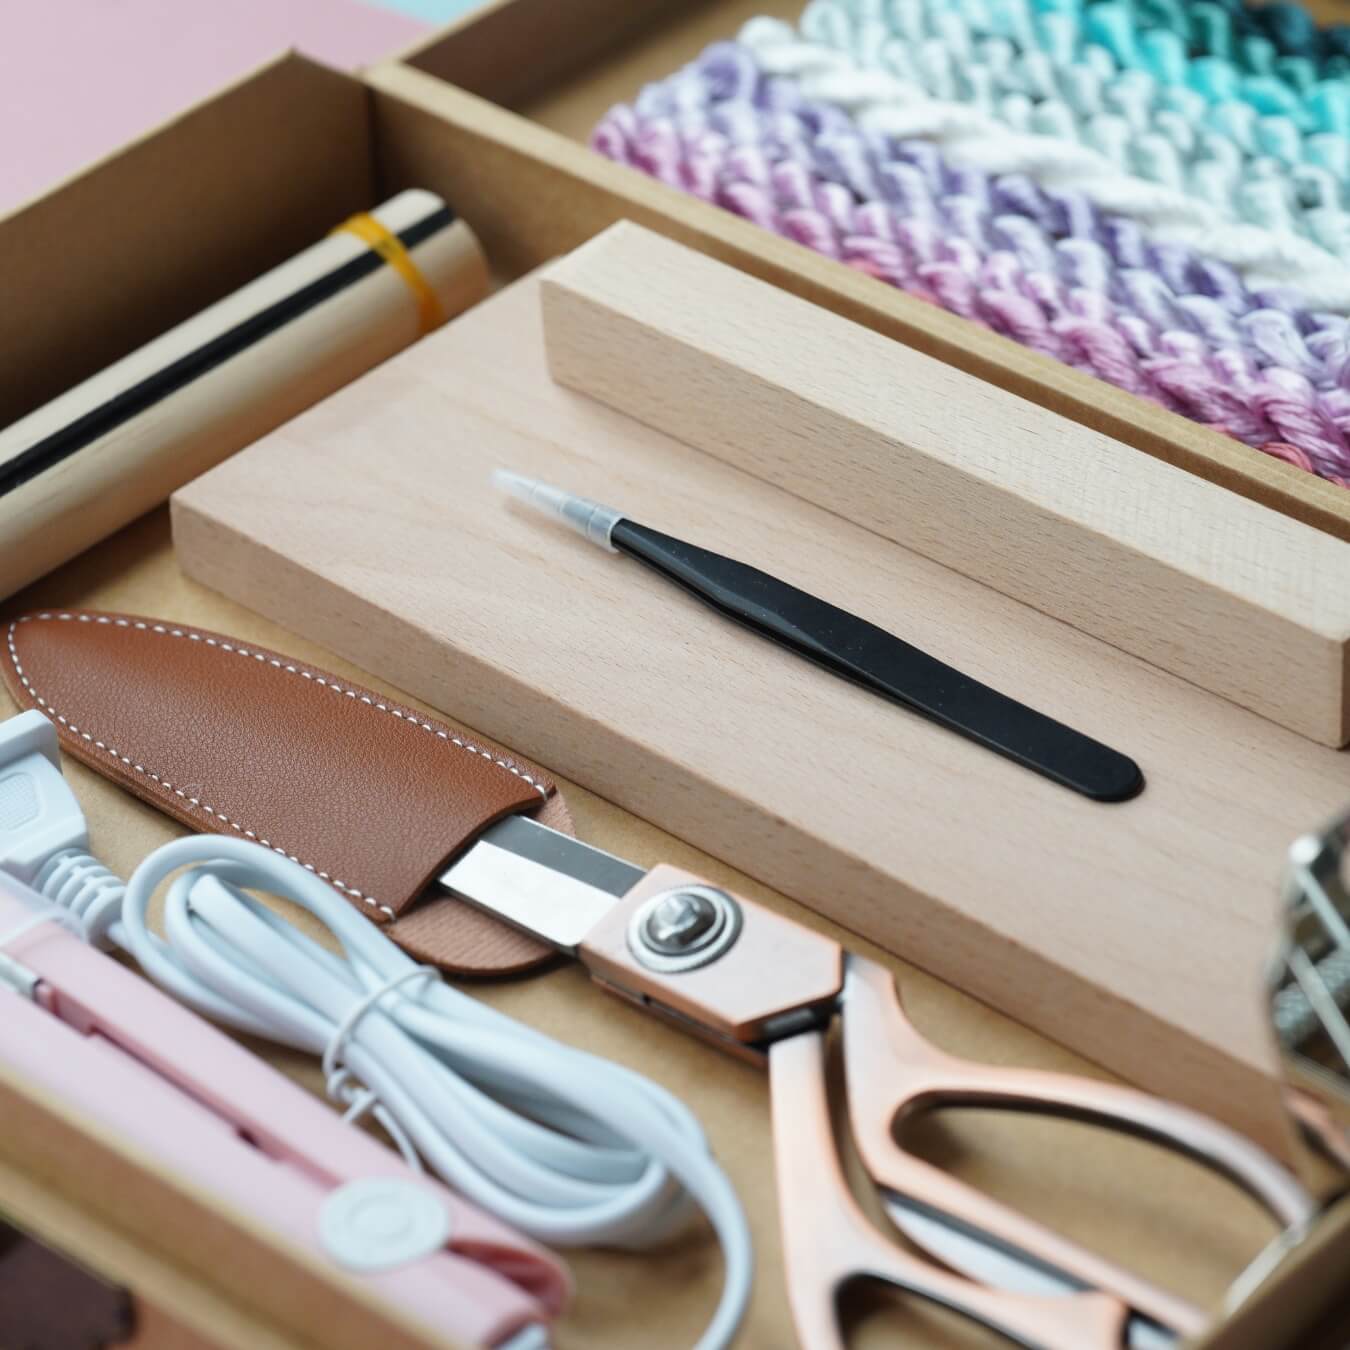
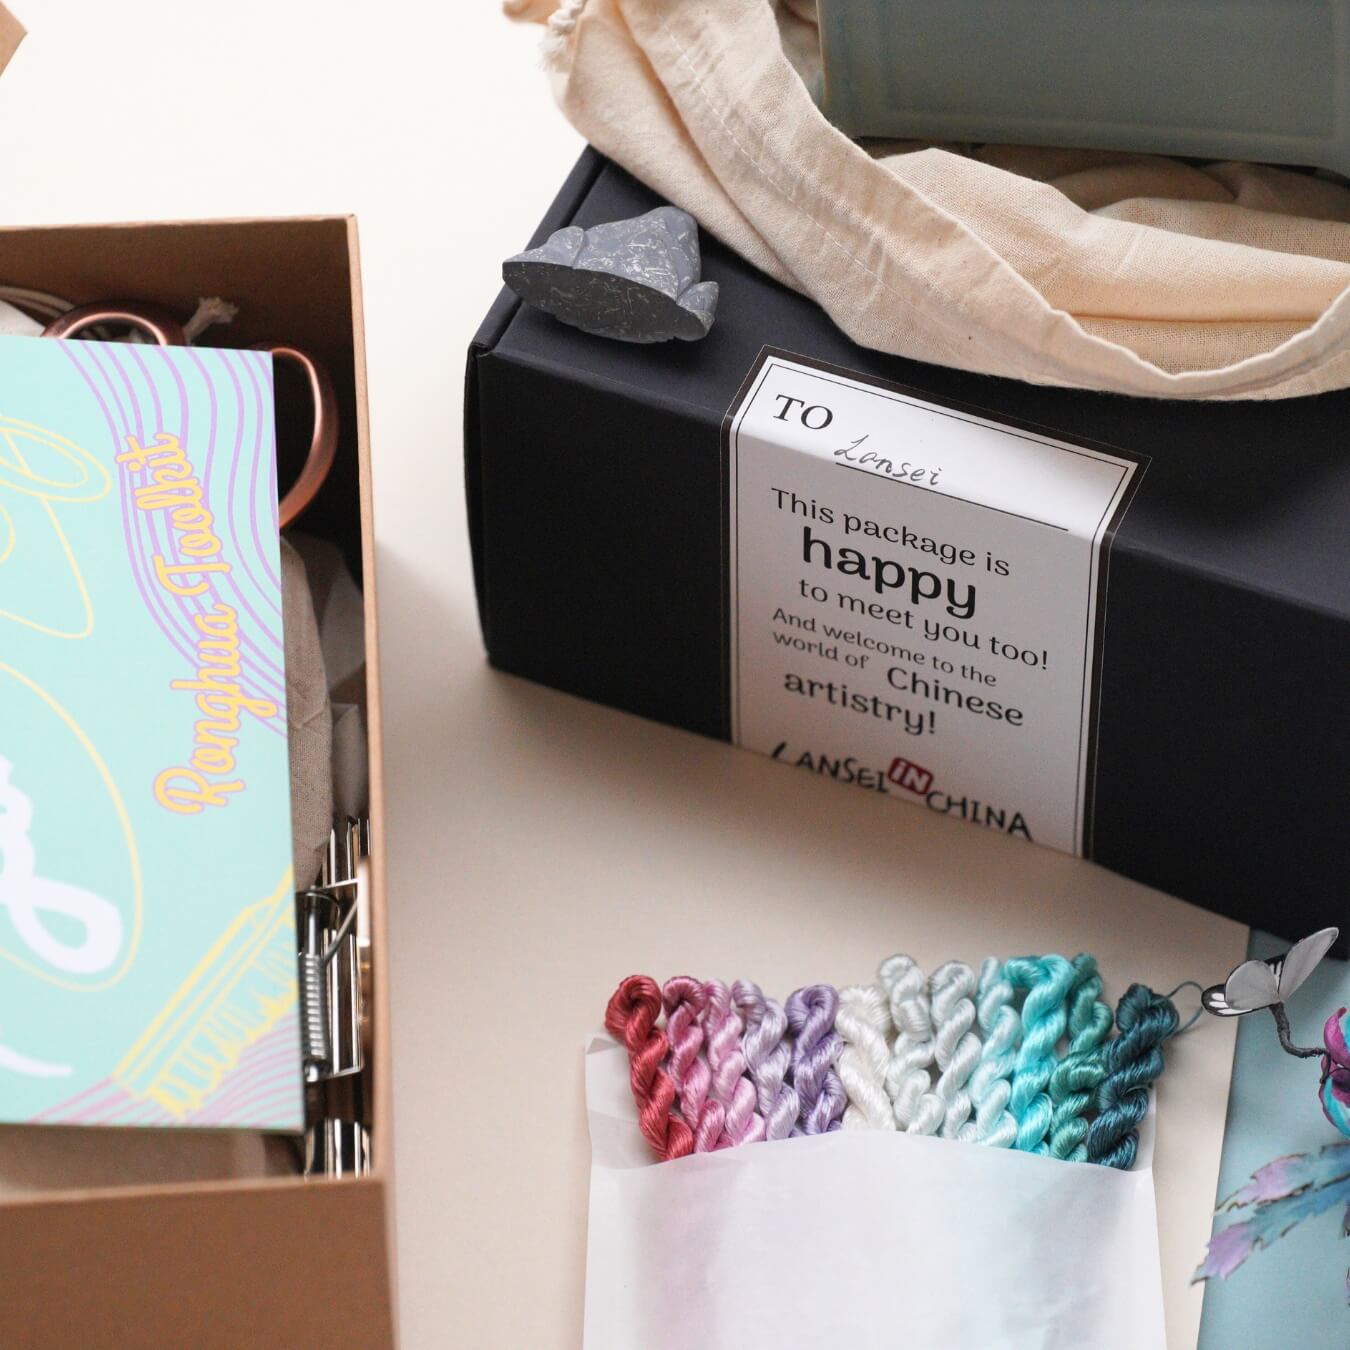
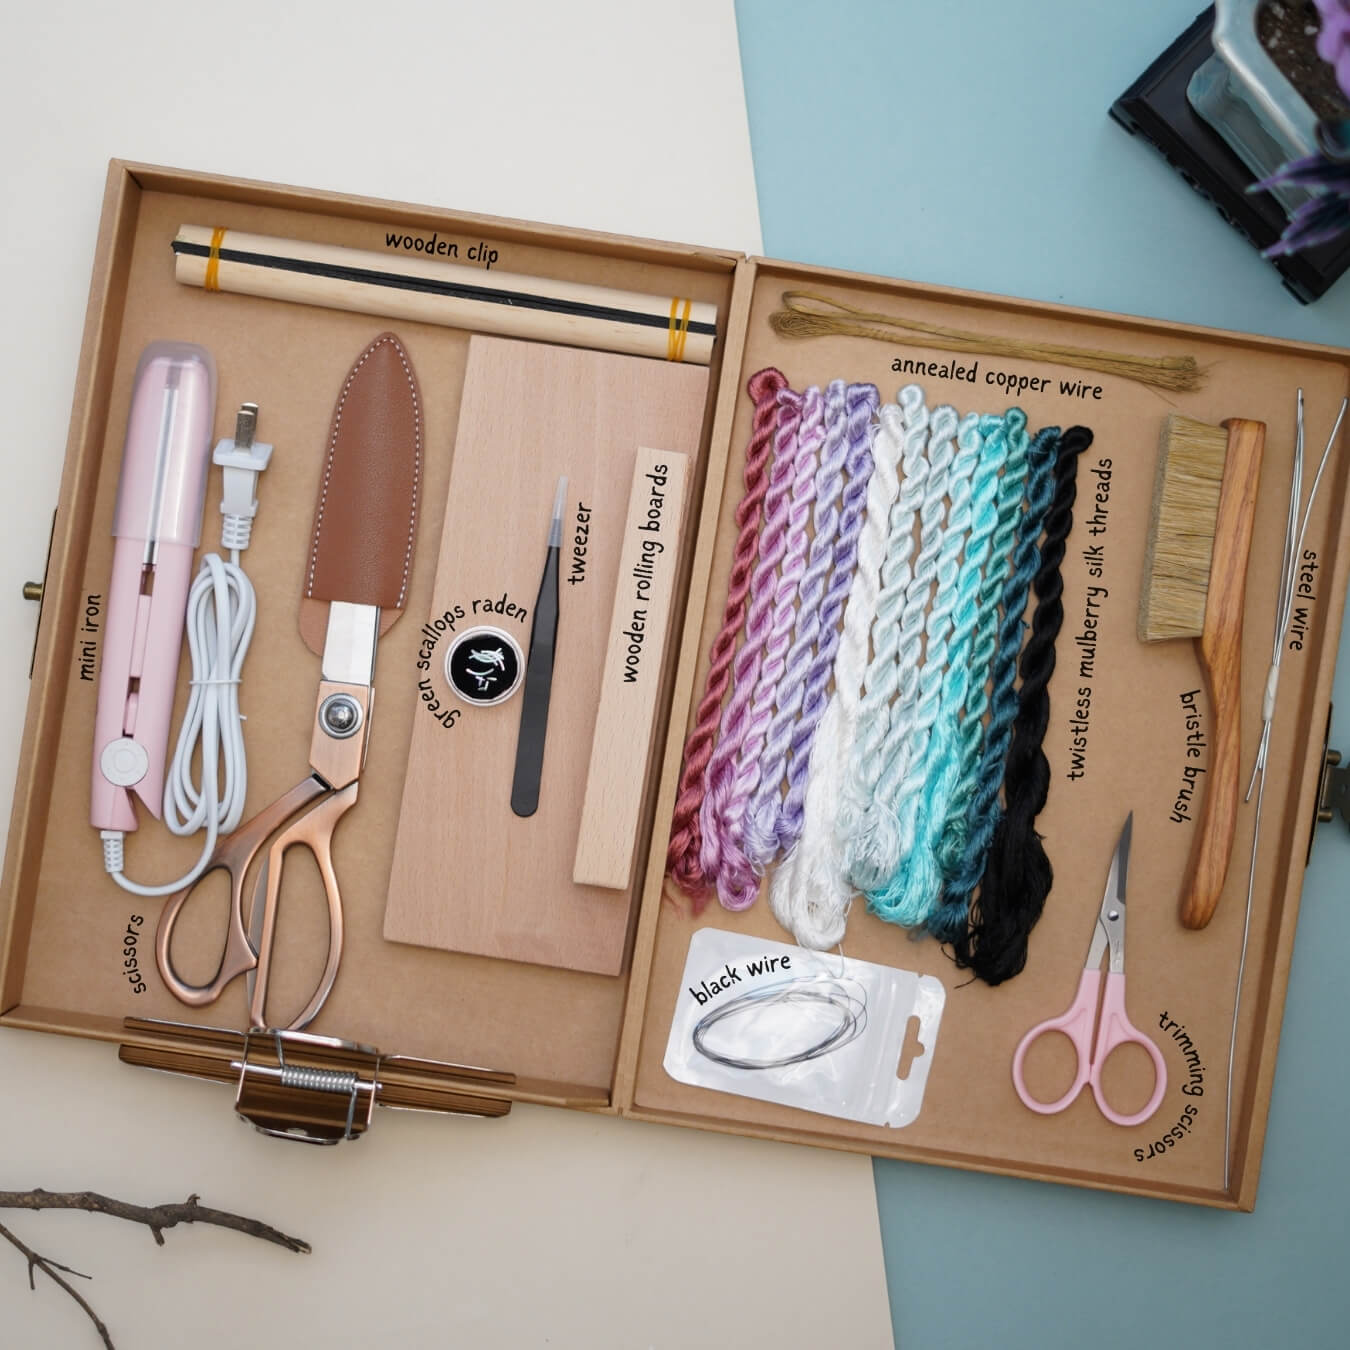
If you’ve purchased our Ronghua Toolkit, you already have everything required!
If not, prepare the following tools:
- Bristle brush (Medium to soft hardness)
- Flat iron (the one you use to straighten your hair)
- Tweezers
- At least 2 pairs of Scissors
- wooden sticks / pencils / chopsticks
- Hair spray or diluted white glue (1:1.15–1:1.2 ratio)
- Big clips (around 15cm)
- Twisting boards and wooden blocks (for even tension)
- Anti-slip powder (optional but helpful)
![]() Important Note Before You Start
Important Note Before You Start
Our material kit currently has an old version and a new version.
If your kit contains silk threads in multiple thicknesses (old version), you can simply follow the video tutorial when arranging the threads.
If your kit contains only one thickness of silk thread (new version), then you’ll need to refer to the Ronghua Manual for the correct thread arrangement.
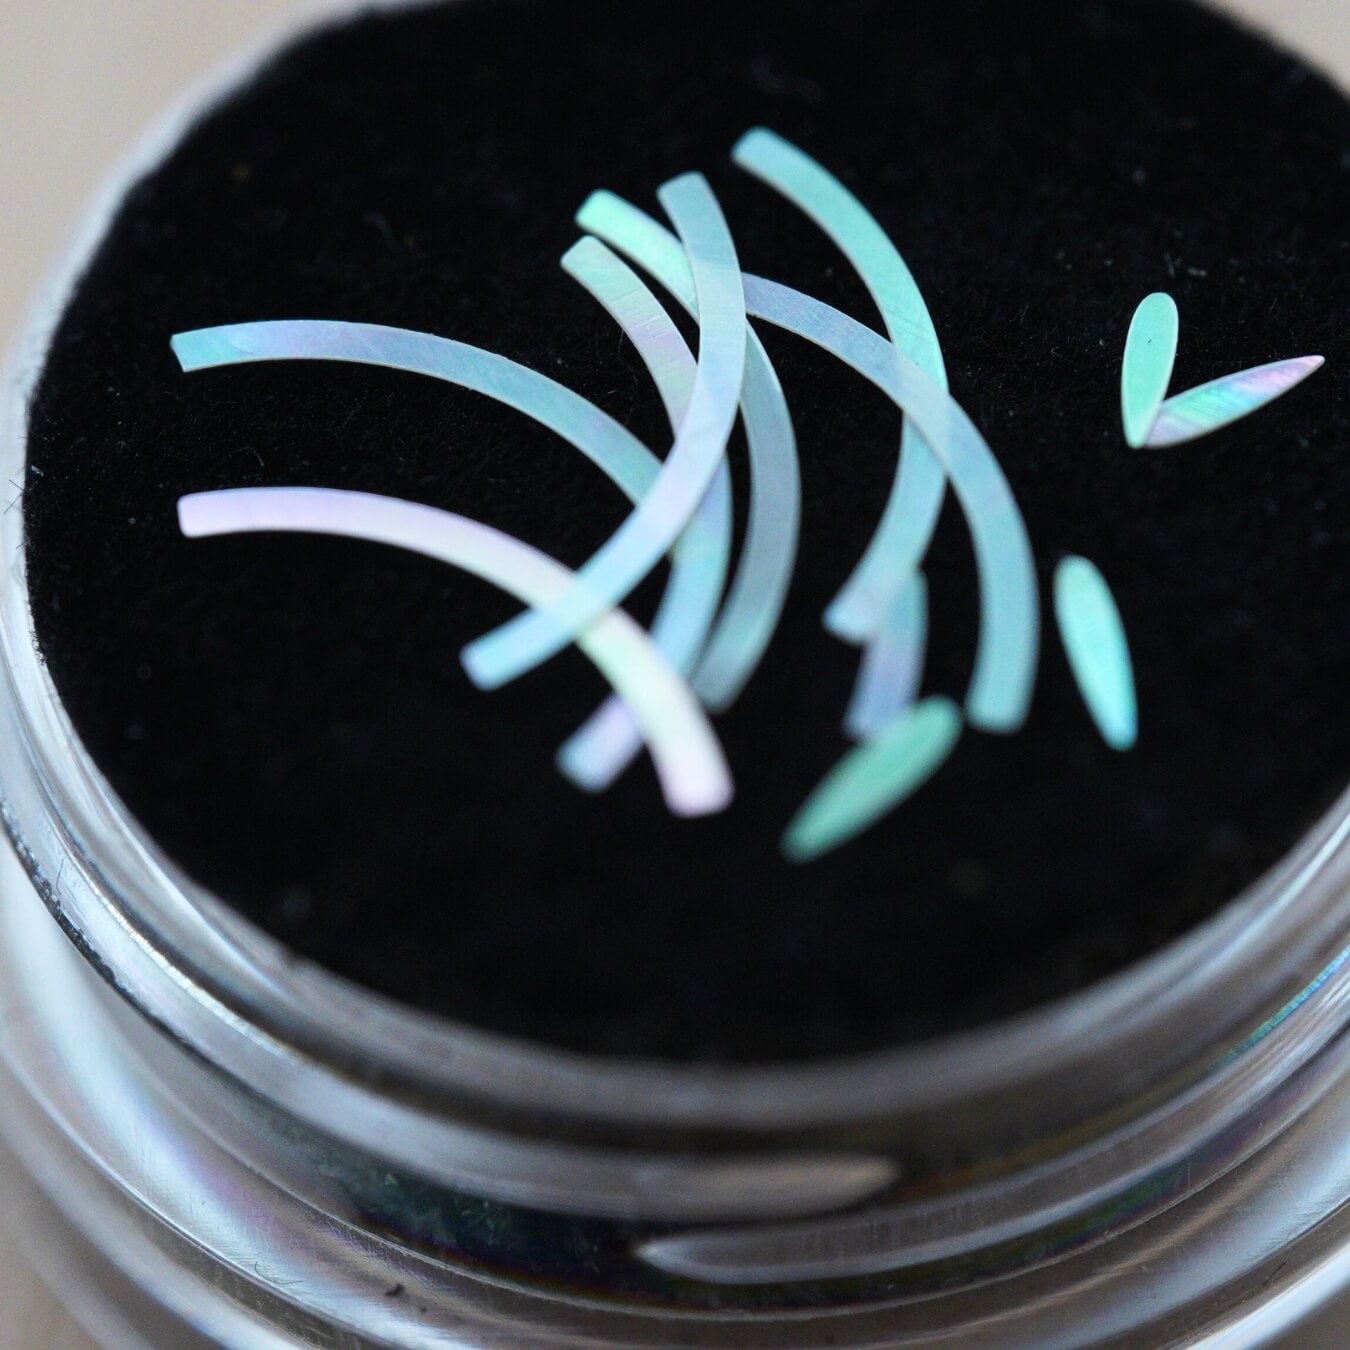
How to tell the difference between the two silk thread types:
One type feels slightly rougher to the touch. Each individual strand is finer, and several strands may stick together easily.
The other type feels smooth. Each individual strand is thicker, and strands do not stick together.
Full Tutorial Video
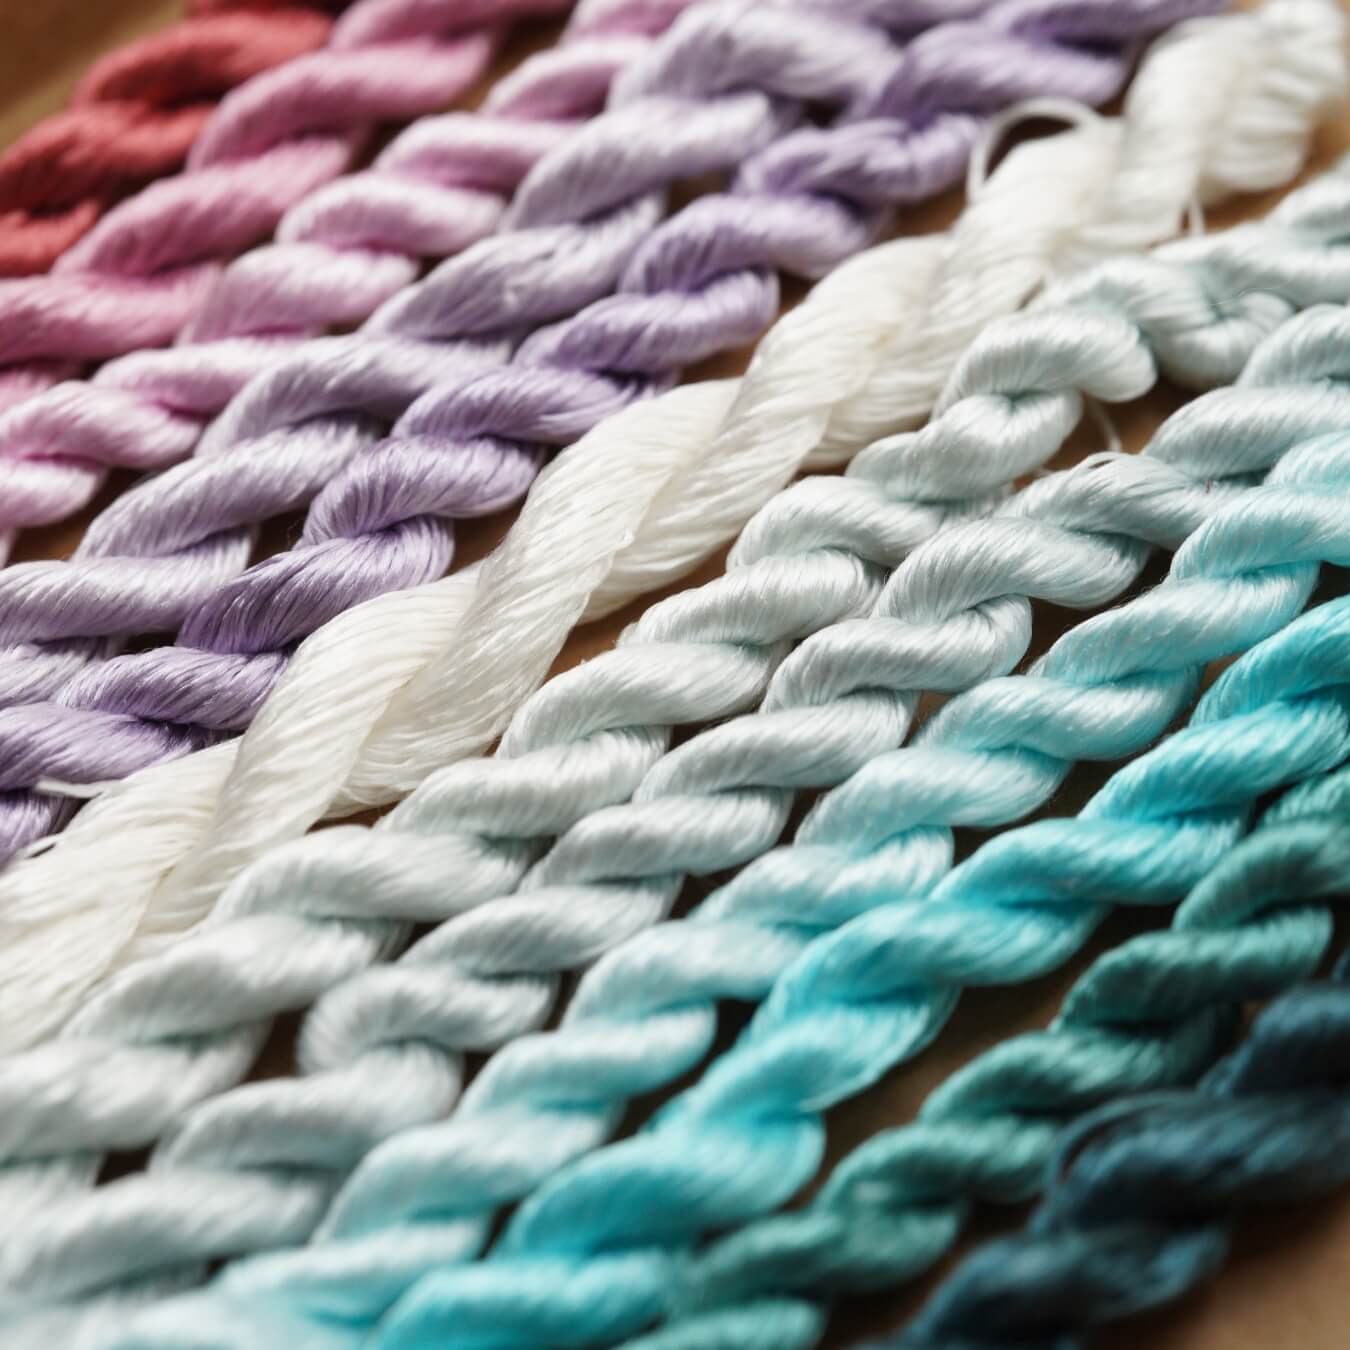
Step 1. Align and Arrange the Silk Threads
Start by untying your silk threads. Locate the knot at one end of each bundle and cut it open carefully. This project uses 6 silk rows, check the manual or video tutorial for color details.
Important: If you have received the updated Ronghua kit, refer to the colour diagram below for thread combination details. Otherwise, just follow the instructions in our video tutorial.

Step 2. Group and Prepare the Threads
Each silk bundle consists of tiny strand-like structures — these are your individual strands.
Align all strands neatly and tie them around a thin stick, keeping the ends even. Avoid uneven lengths — this ensures consistent texture later on.

Step 3. Make Silk Rows
Repeat the above process to create three silk rows in total. Remember to refer back to the data provided in the diagram for the following rows, as each will differ slightly. Below are the finished silk rows we made with the old version, but they may not be the same if you are using the new material kits. So be sure to double check which kit you receive.


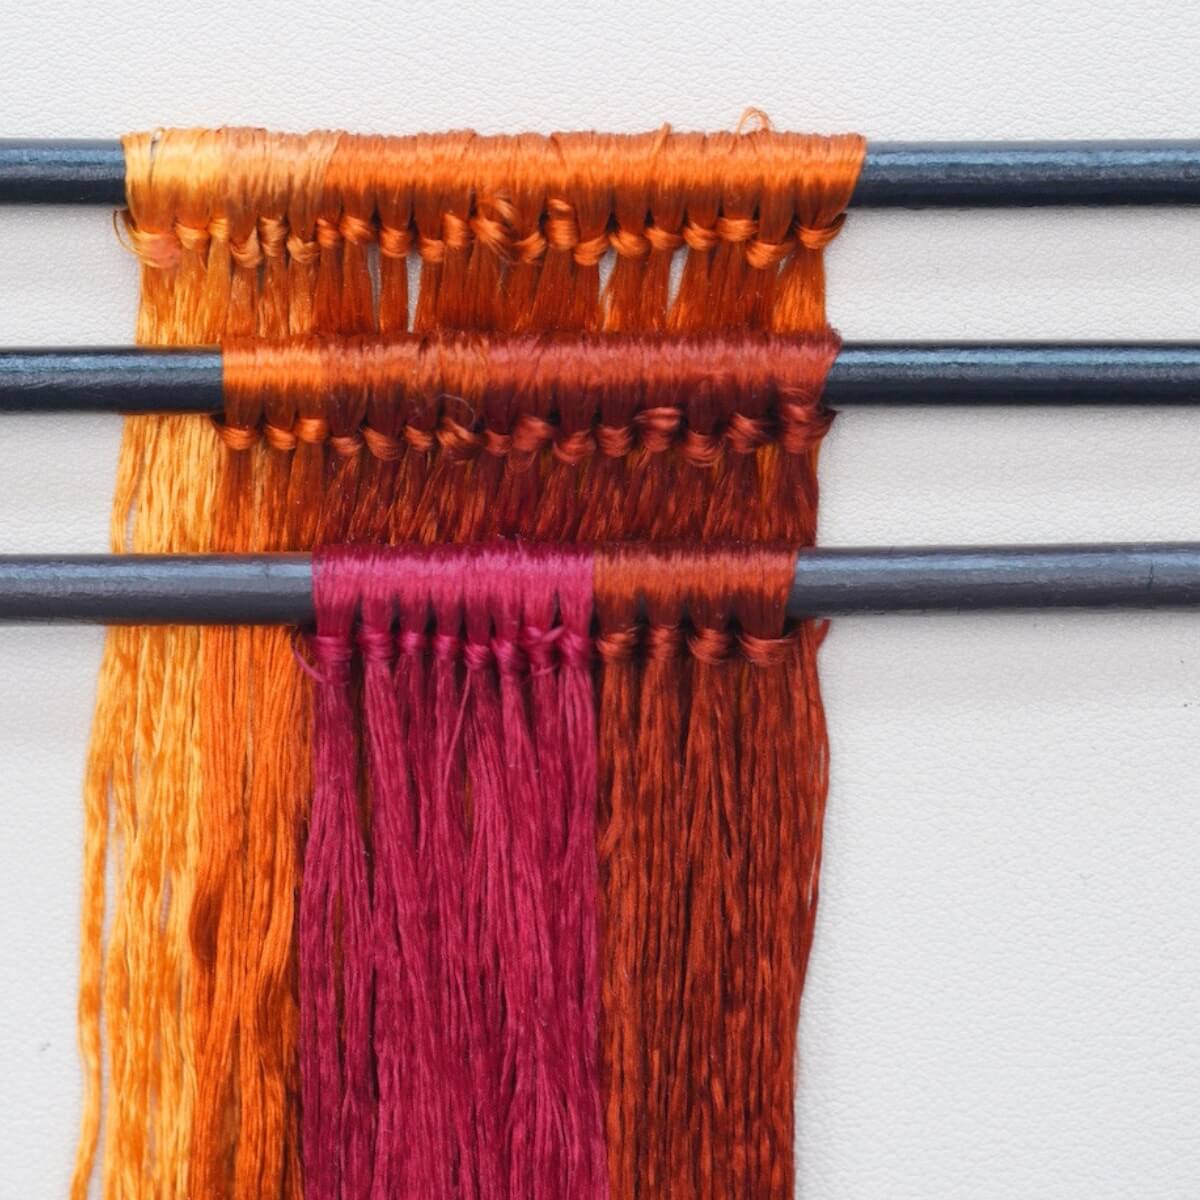
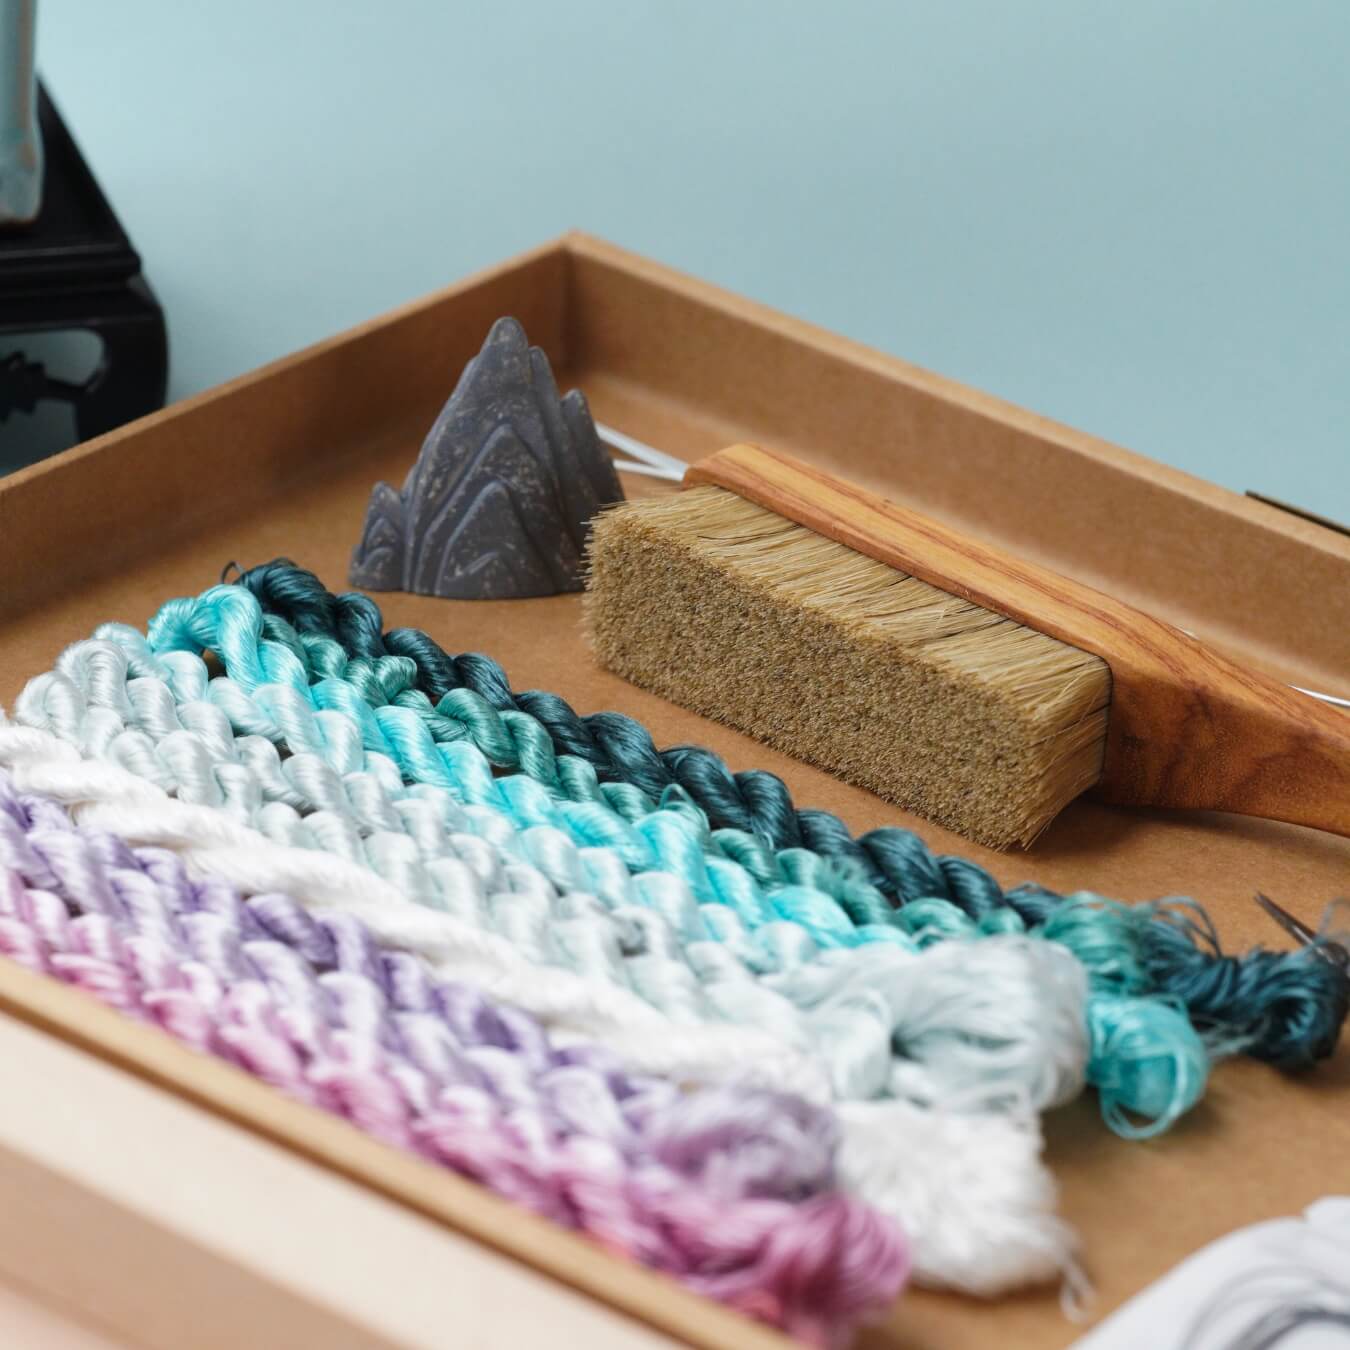
Step 4. Brush the Silk Rows
Fix one silk row onto your stand using big metal clips - if you don't have the wooden ronghua stand, that's totally fine! You can refer to our video about alternative solutions to the stand.
Hold the ends of the threads with one hand and brush gently but firmly from top to bottom. Don’t lift the brush midway. A light mist of water will prevent static. You can apply some pressure — silk threads are stronger than they look! Make sure to brush both the front and back sides until the row looks smooth and fluffy.

Everyone uses a different brush and hand speed, so the time it takes to complete this step is also different. Taking my situation as a reference, it took me about 10 minutes to brush this silk row. When you feel the hair is soft and fluffy, you can stop and check. When there is no complete linear distinction between the threads, it's ready:)

Step 5. Attach Copper Wires
When you feel that the silk is brushed enough, secure its tail with another big clip to your table or anything that can help stretch it taut. Take out one copper wire from the folded end of the row and straighten it. Twist the folded part into a spiral of about 3 cm. Clamp the silk threads between two copper wires and twist the opposite side tightly. Pull both wires taut and continue twisting until they merge into one. Remember, the twisting direction for the left and right end are opposite.
The spacing should be as shown in step 1.
If you have anti-slip powder, it will be much easier to dip your fingers in it and twist it.
We highly recommend you watch the video tutorial for this step:)
Once done, remove the silk row from the stand and lay it flat.
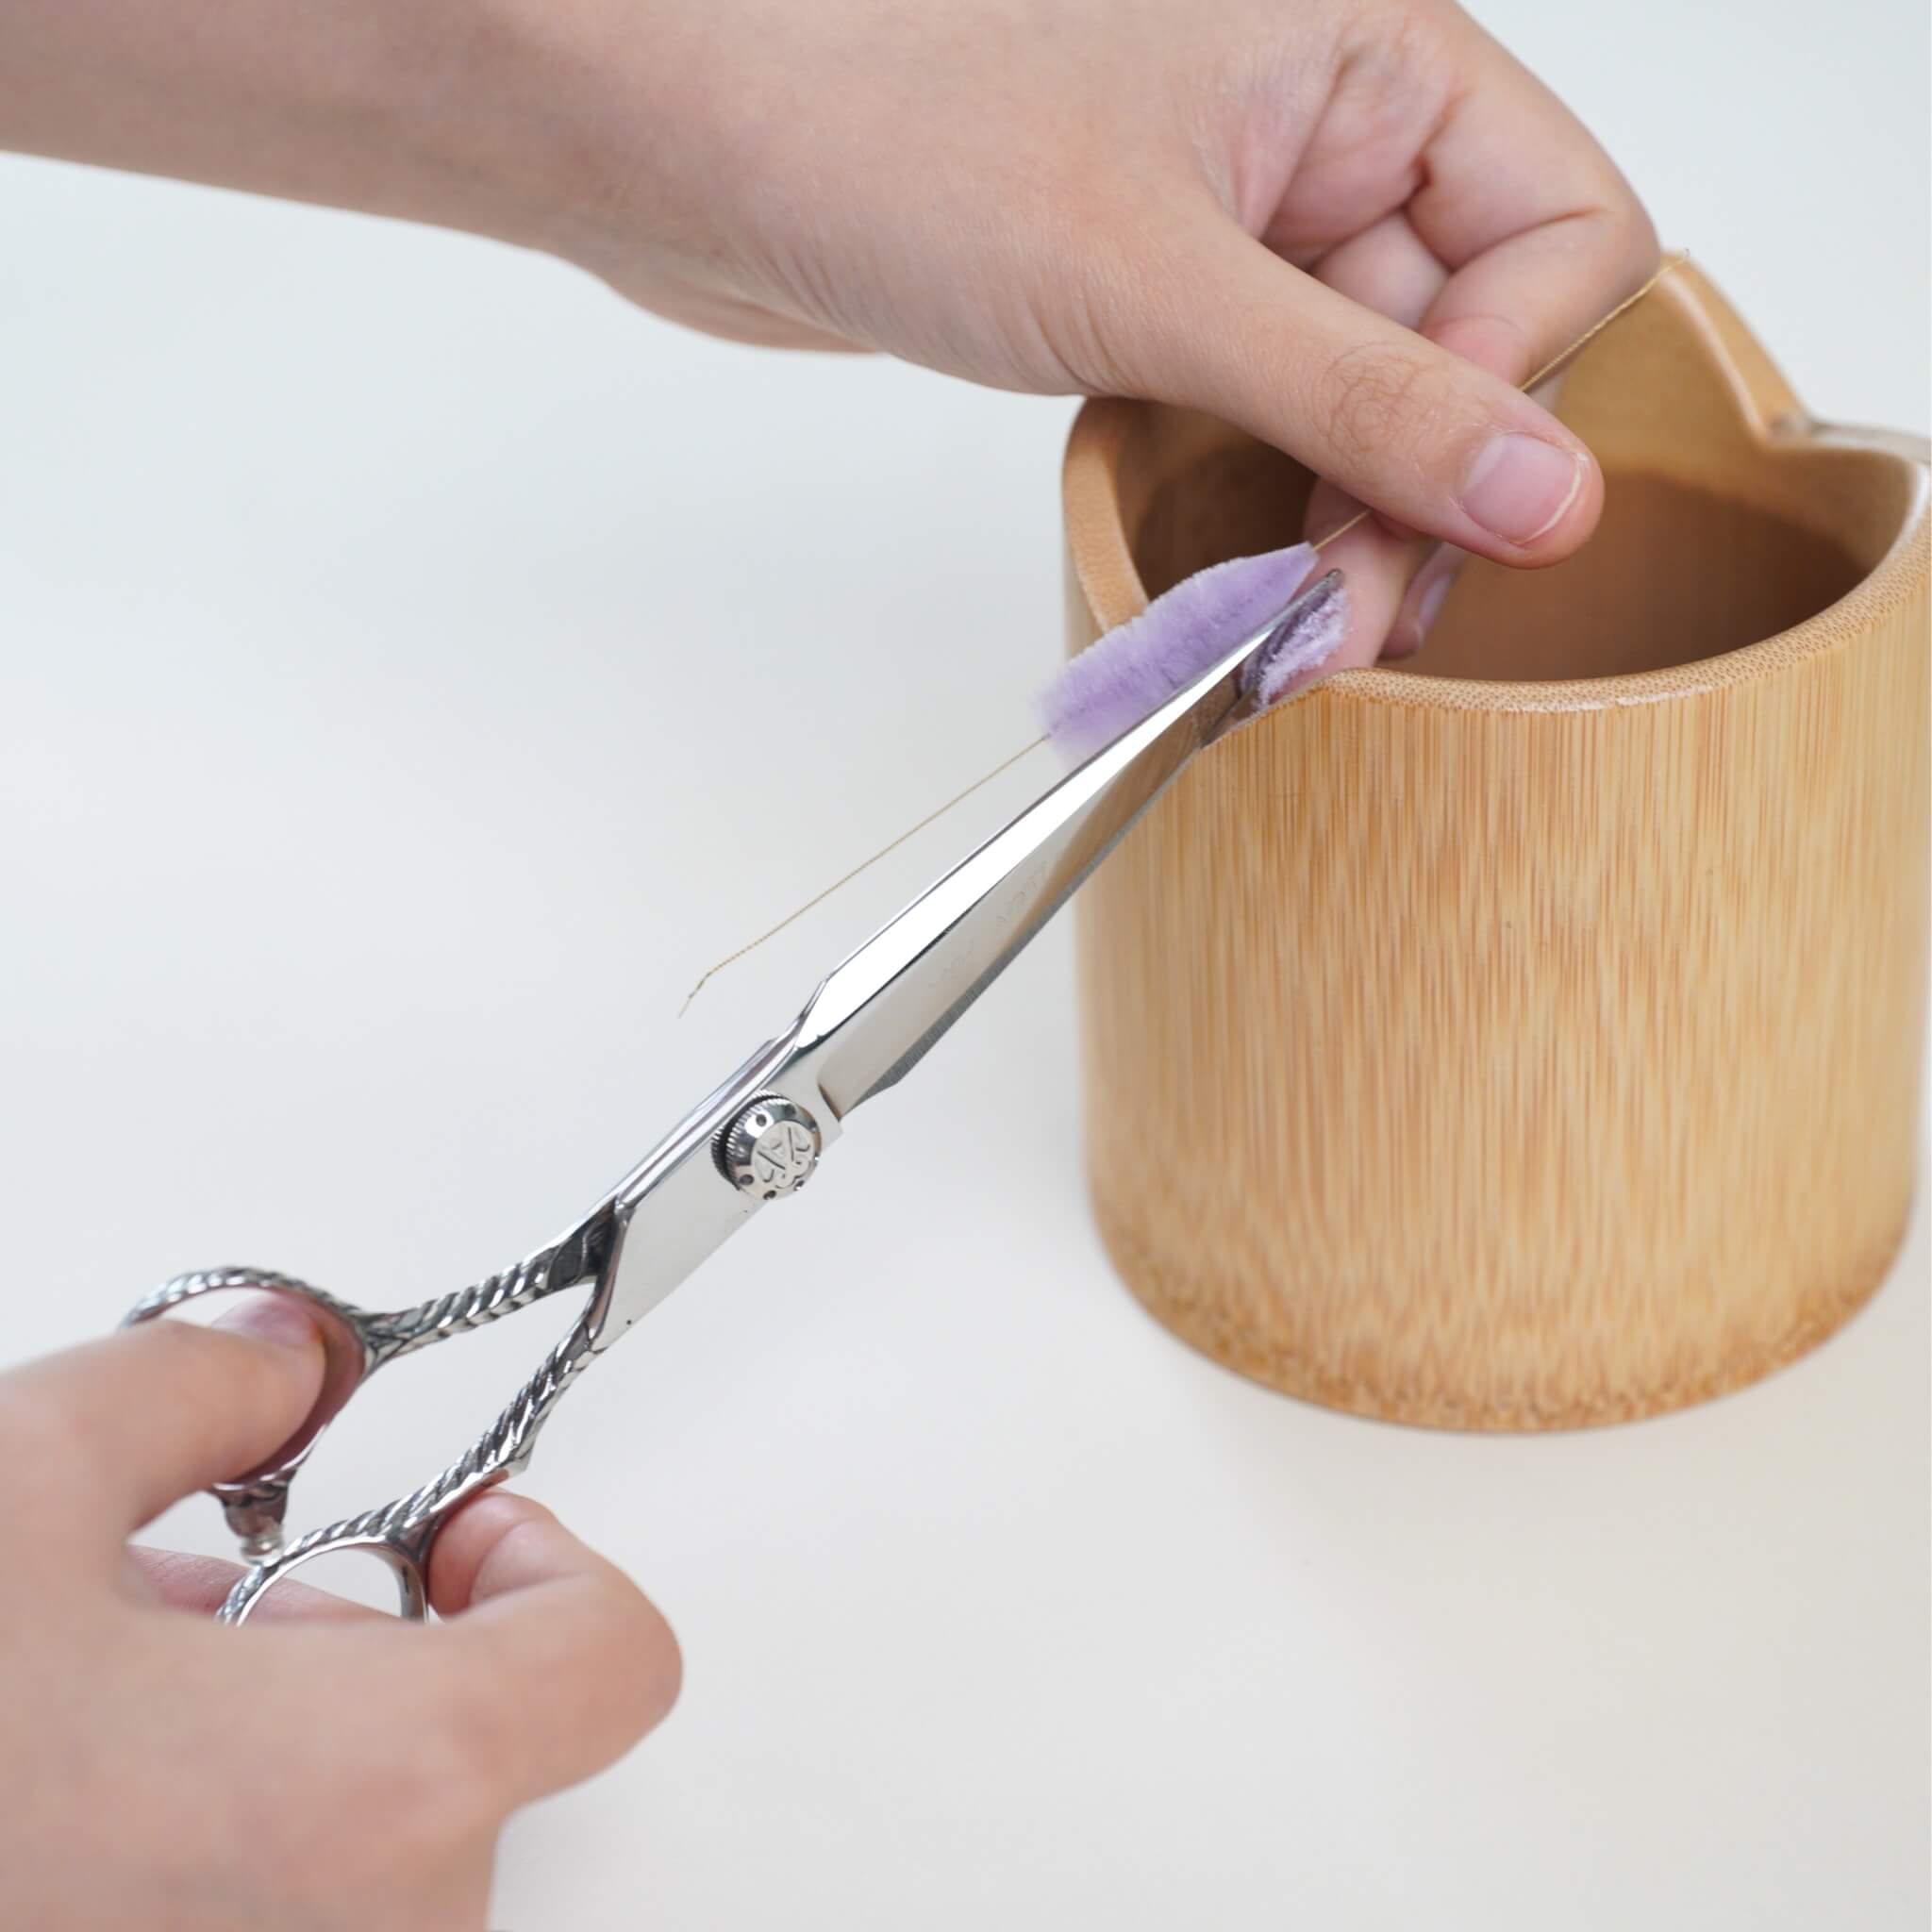
Step 6. Cut the Silk Strips
Trim the row’s end neatly, then cut between each pair of copper wires to create even silk strips. When cutting, the scissors must be placed in the middle of two copper wires, otherwise the width of the silk strips will be inconsistent.
If threads stick to your scissors, clean them — it’s usually caused by static or residue. Cut quickly and cleanly for smooth edges. Don't touch the wire or it may get displaced.

Step 7. Center and Twist the Strips
Align the copper wire to the middle of each strip using a flat surface or wooden block.
Once centered, twist both hands in opposite directions to tighten.

Next, place the copper part between the twisting boards and continue twisting in the same direction. Stop when the wire feels firm — twisting too far may cause it to break. How do you know if it is tightened enough? If tightened properly, the copper wire should only faintly show. If the copper wire is very visible, it’s not tight enough.

Step 8. Flatten the Strips
For symmetrical strips (first and fourth rows in the manual), fold them in half and twist the copper wire at the base. Use tweezers to gently smooth out the silk so the fibers sit neatly together.
Only two color groups need to be folded this way. For the remaining strips, cut off one end of the copper wire and lay them flat.

Trim according to the wire direction shown in the video, and keep each type of strip separated so they don’t get mixed up.
Flatten them all with a mini iron.

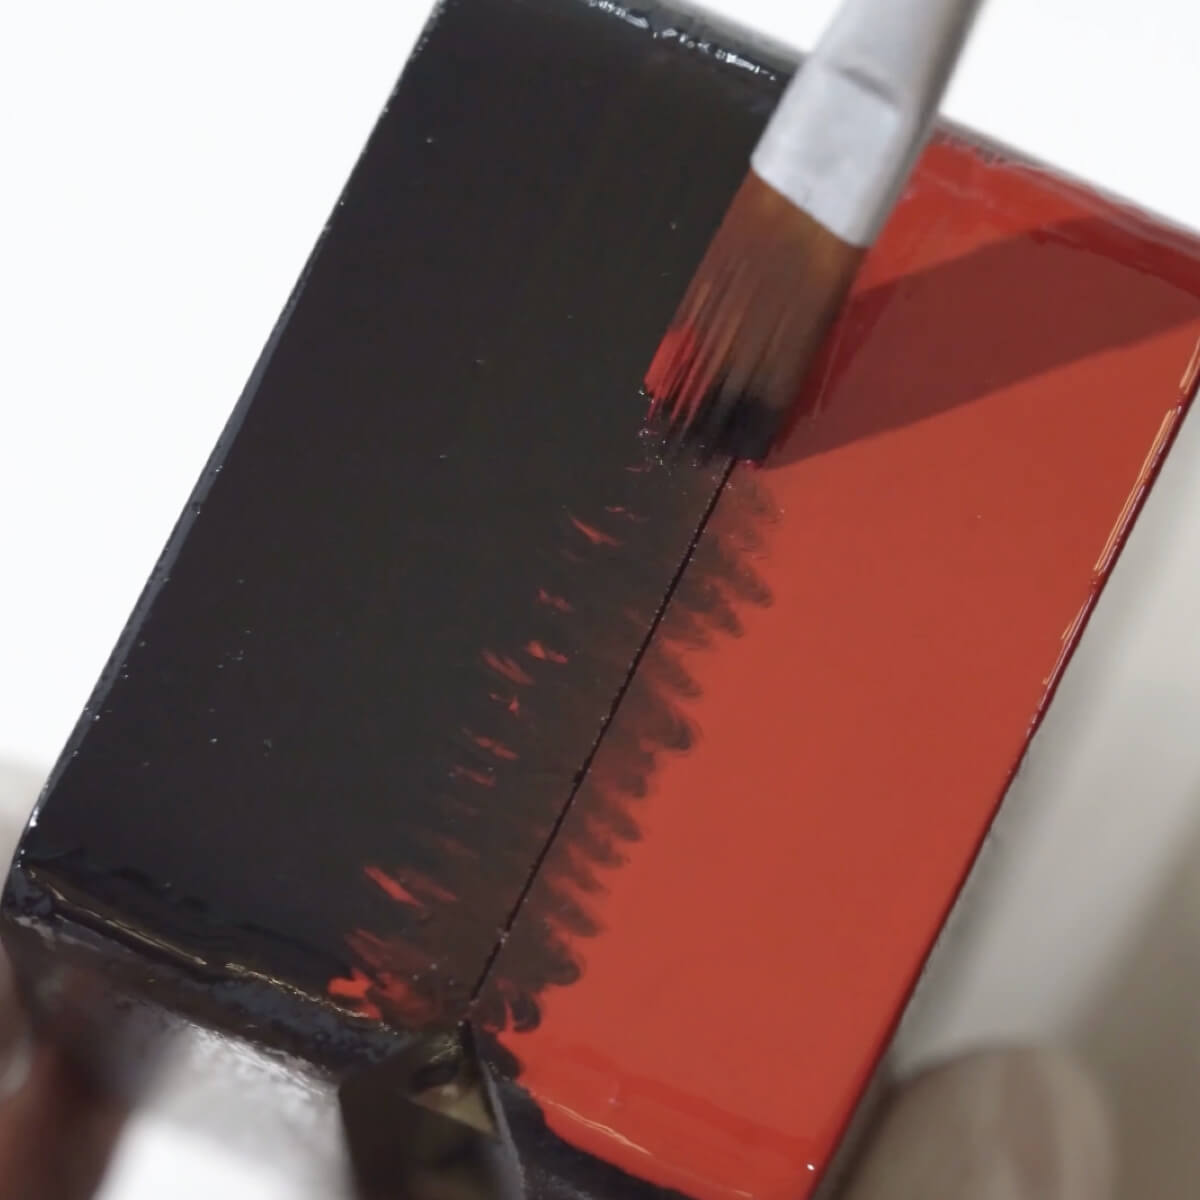
Dip all the prepared strips into the shaping liquid.
Prepare your setting solution:
- Use either hair spray, or
- Diluted white glue with water or alcohol (1:1.15 or 1:1.2 ratio)
Soak the flattened silk strips, let them absorb the solution, then scrape off the excess.
Use tweezers to remove any excess liquid before moving on.

Step 9. Shape the Petals
Start with the first type of strip. Shape it into a concave arc by gently pushing the edges outward, then set it aside to dry.
The second type is similar in color and shape, so use the same method.

For the next type, bend the strip slightly, push the bottom edge outward, and press the top edge inward. Repeat this shaping for the other blue-toned strips of the same kind.

The folded strips only need shaping liquid at this stage—no additional shaping is required yet. Stand all strips upright and let them dry completely.
Once dry, trim the petals into shape. For the two types of strips that are more bent, just trim off the frizzy edges. For these two, they should be wider at the top and narrower at the base.

This shape of petals are of two sizes. Petals used at the bottom of the flower should be slightly shorter.
Now we move on to the folded ones. Trim them like this.

Finally, use a straightening iron or wooden board to press the petals into a gentle arc, lightly turning the edges inward.

Step 10. Make the Buds
Set aside some petals to make the buds. Each bud uses three petals.
Soak these petals again in the shaping liquid, letting them sit a bit longer this time so they absorb fully. Dab them with a ball stylus or your fingers to press them into shape, then allow them to dry.

Once dry, assemble each bud by adjusting the petal positions until they form a compact shape.

Step 11. Make Flower Centers
Thread beads onto annealed copper wire and twist tightly to secure them. Prepare around ten flower centers in total.

Step 12. Assemble the Flowers
Follow your reference layout as you assemble.
Wrap the base of the copper wire several times to secure it. The bead goes in the middle, then the large curved petals (three pieces), then add the large symmetrical petals. Adjust each petal so the curved side faces forward. The lower petals should be slightly shorter than the upper ones.

Wrap silk thread at the base and tie it off securely. Repeat the same process to make the second orchid using the other color scheme.
Step 13. Make the Leaves
Use twist sticks (pipe cleaners) to form the leaves. Take four sticks and fold them in half. Thread one stick through the other three and twist to secure them together.

Wrap one stick around the base and cut off the excess, leaving a single stem. Bend the leaves into shape. You’ll need seven leaves in total: four light green and three dark green.

Step 14. Assemble the Branches
Take a piece of iron or aluminum wire and attach the buds first.

Then add the blue orchids one by one, spacing them slightly toward the front.

If your thread runs out, simply tie a new piece over the old one and continue wrapping—this helps prevent the base from loosening. Arrange the flowers so they alternate left and right rather than lining up straight. Place blue orchids toward the front and pink ones toward the back.
Each branch should include one bud, four blue orchids, and three large pink orchids. Make two branches in total.
Wrap extra wire at the bottom to thicken the stem. The lower section without flowers should be about twice as long as the upper, flowered section. Wrap the thread tightly, tie a knot, and trim away any excess wire.

Apply a small amount of white glue at the base to prevent unraveling (other glues work as well). Adjust the flower positions, bend the branches naturally, and lightly pass a low flame over the thread ends to clean up fraying.
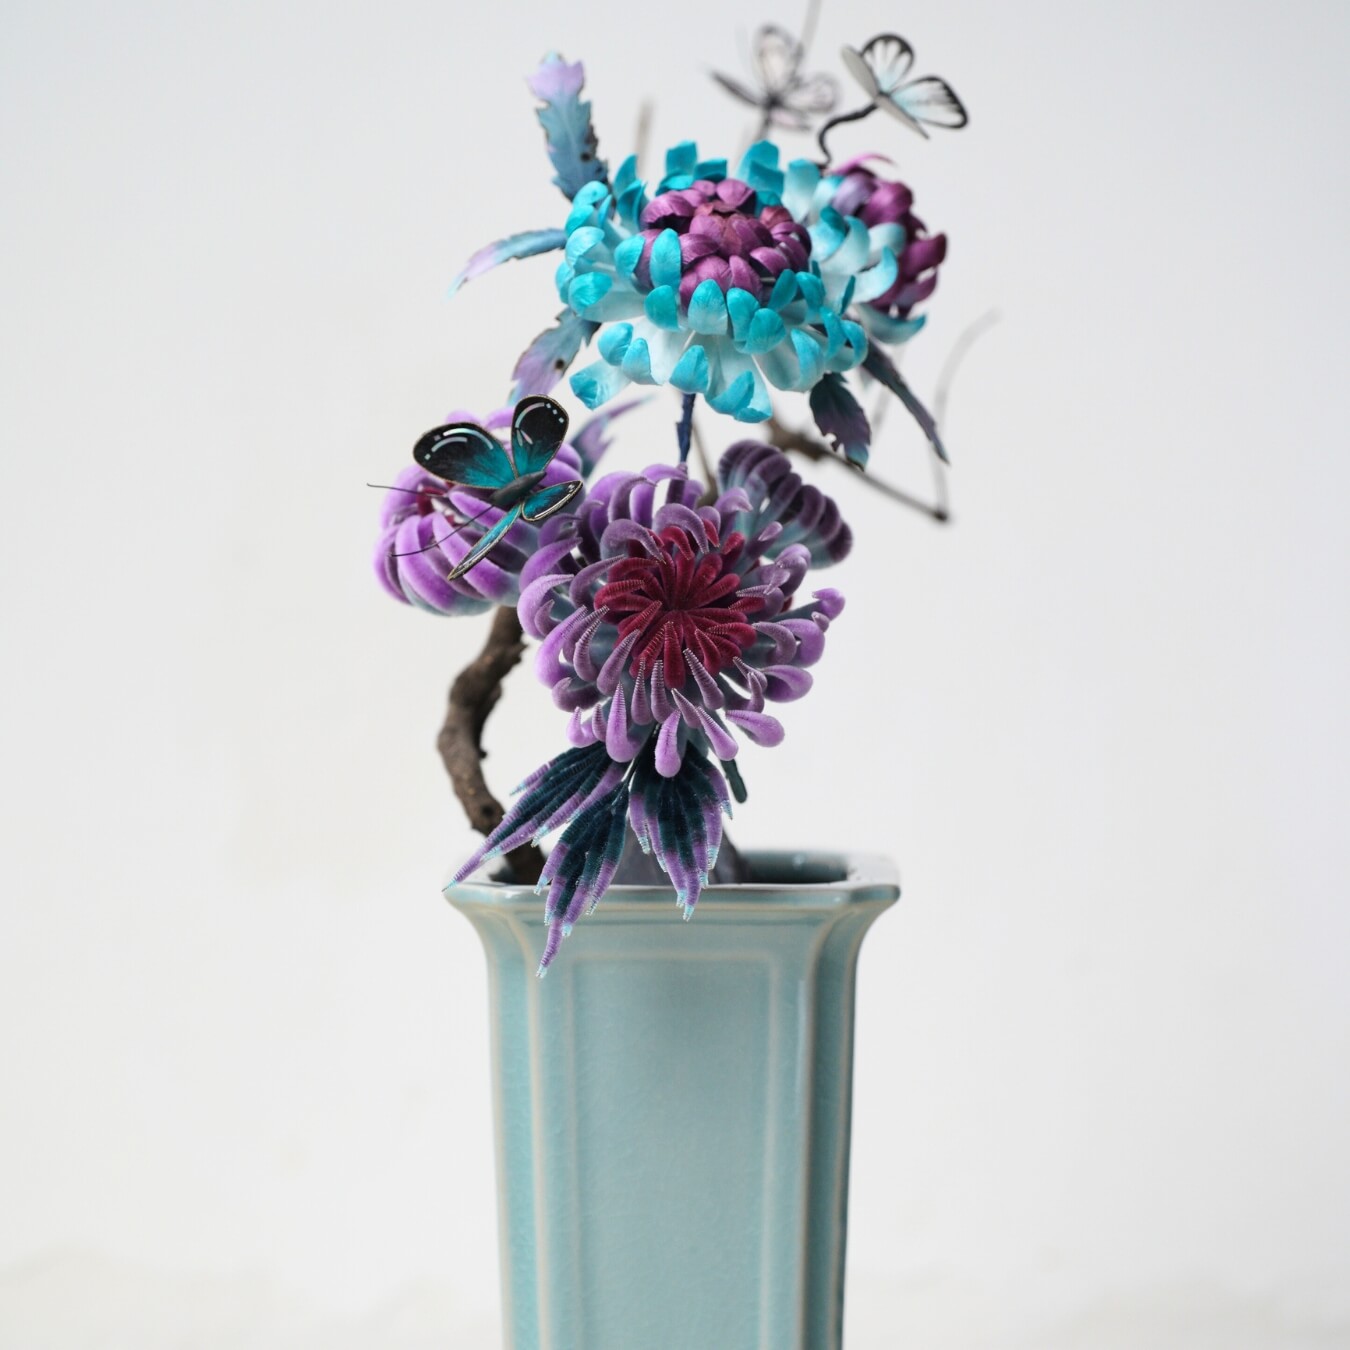
Step 15. Assemble the Piece
Bring the two finished flower stems together. The flowers shown here include some pre-made substitutes, but the materials listed are sufficient to make two full stems.
Secure the two stems together—there’s no need to wrap all the way down. Make sure all copper wires are hidden and tie off securely. Attach the leaves at the base using floral tape or additional wire (first layer: four light-colored leaves; second layer: three dark-colored leaves). Trim off any excess twist stick.
Wrap the stem with floral tape to conceal the wires and give it a clean finish. Gently bend the branches to give them a nice curve.
Adjust the leaf positions, place the finished arrangement into a flowerpot, and you’re done!


Leave a comment
All comments are moderated before being published.
This site is protected by hCaptcha and the hCaptcha Privacy Policy and Terms of Service apply.