

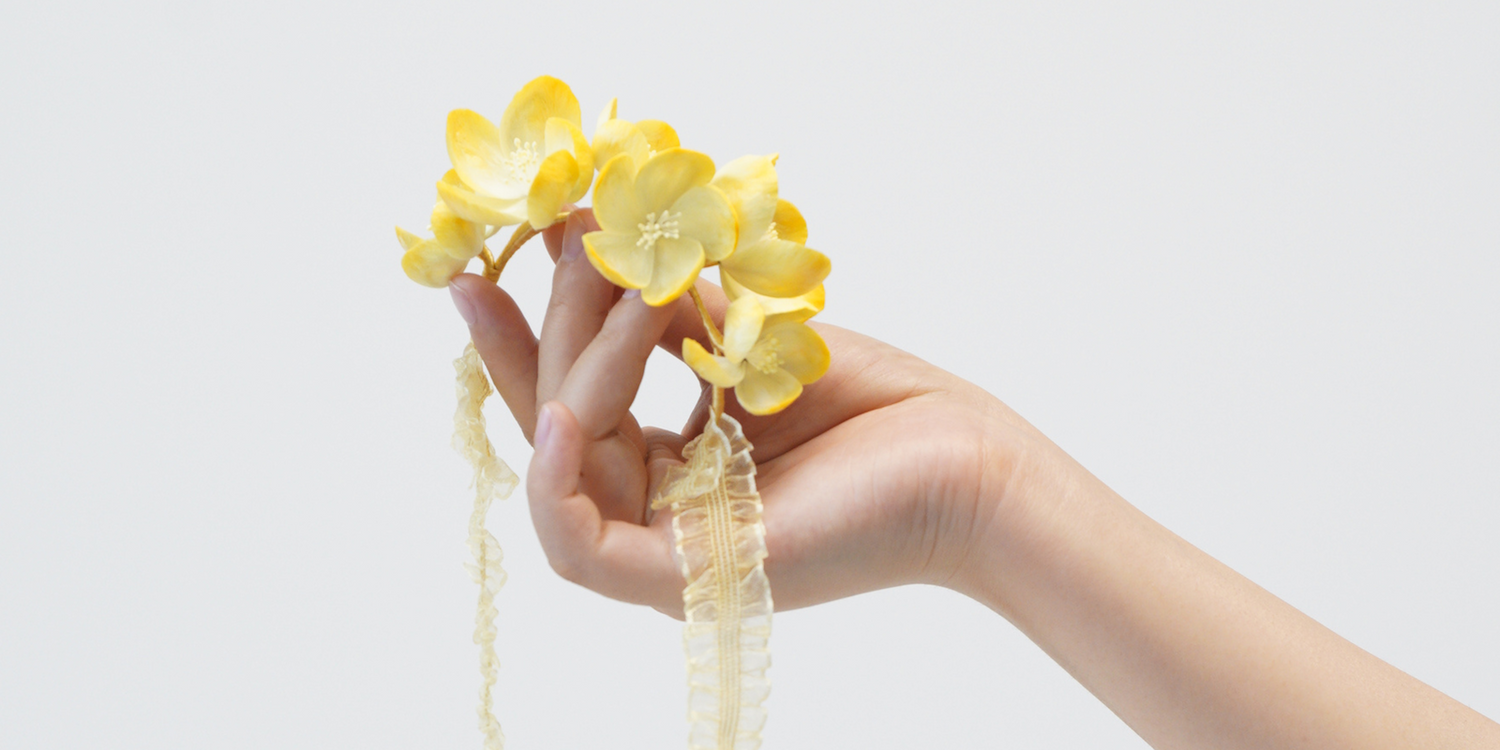
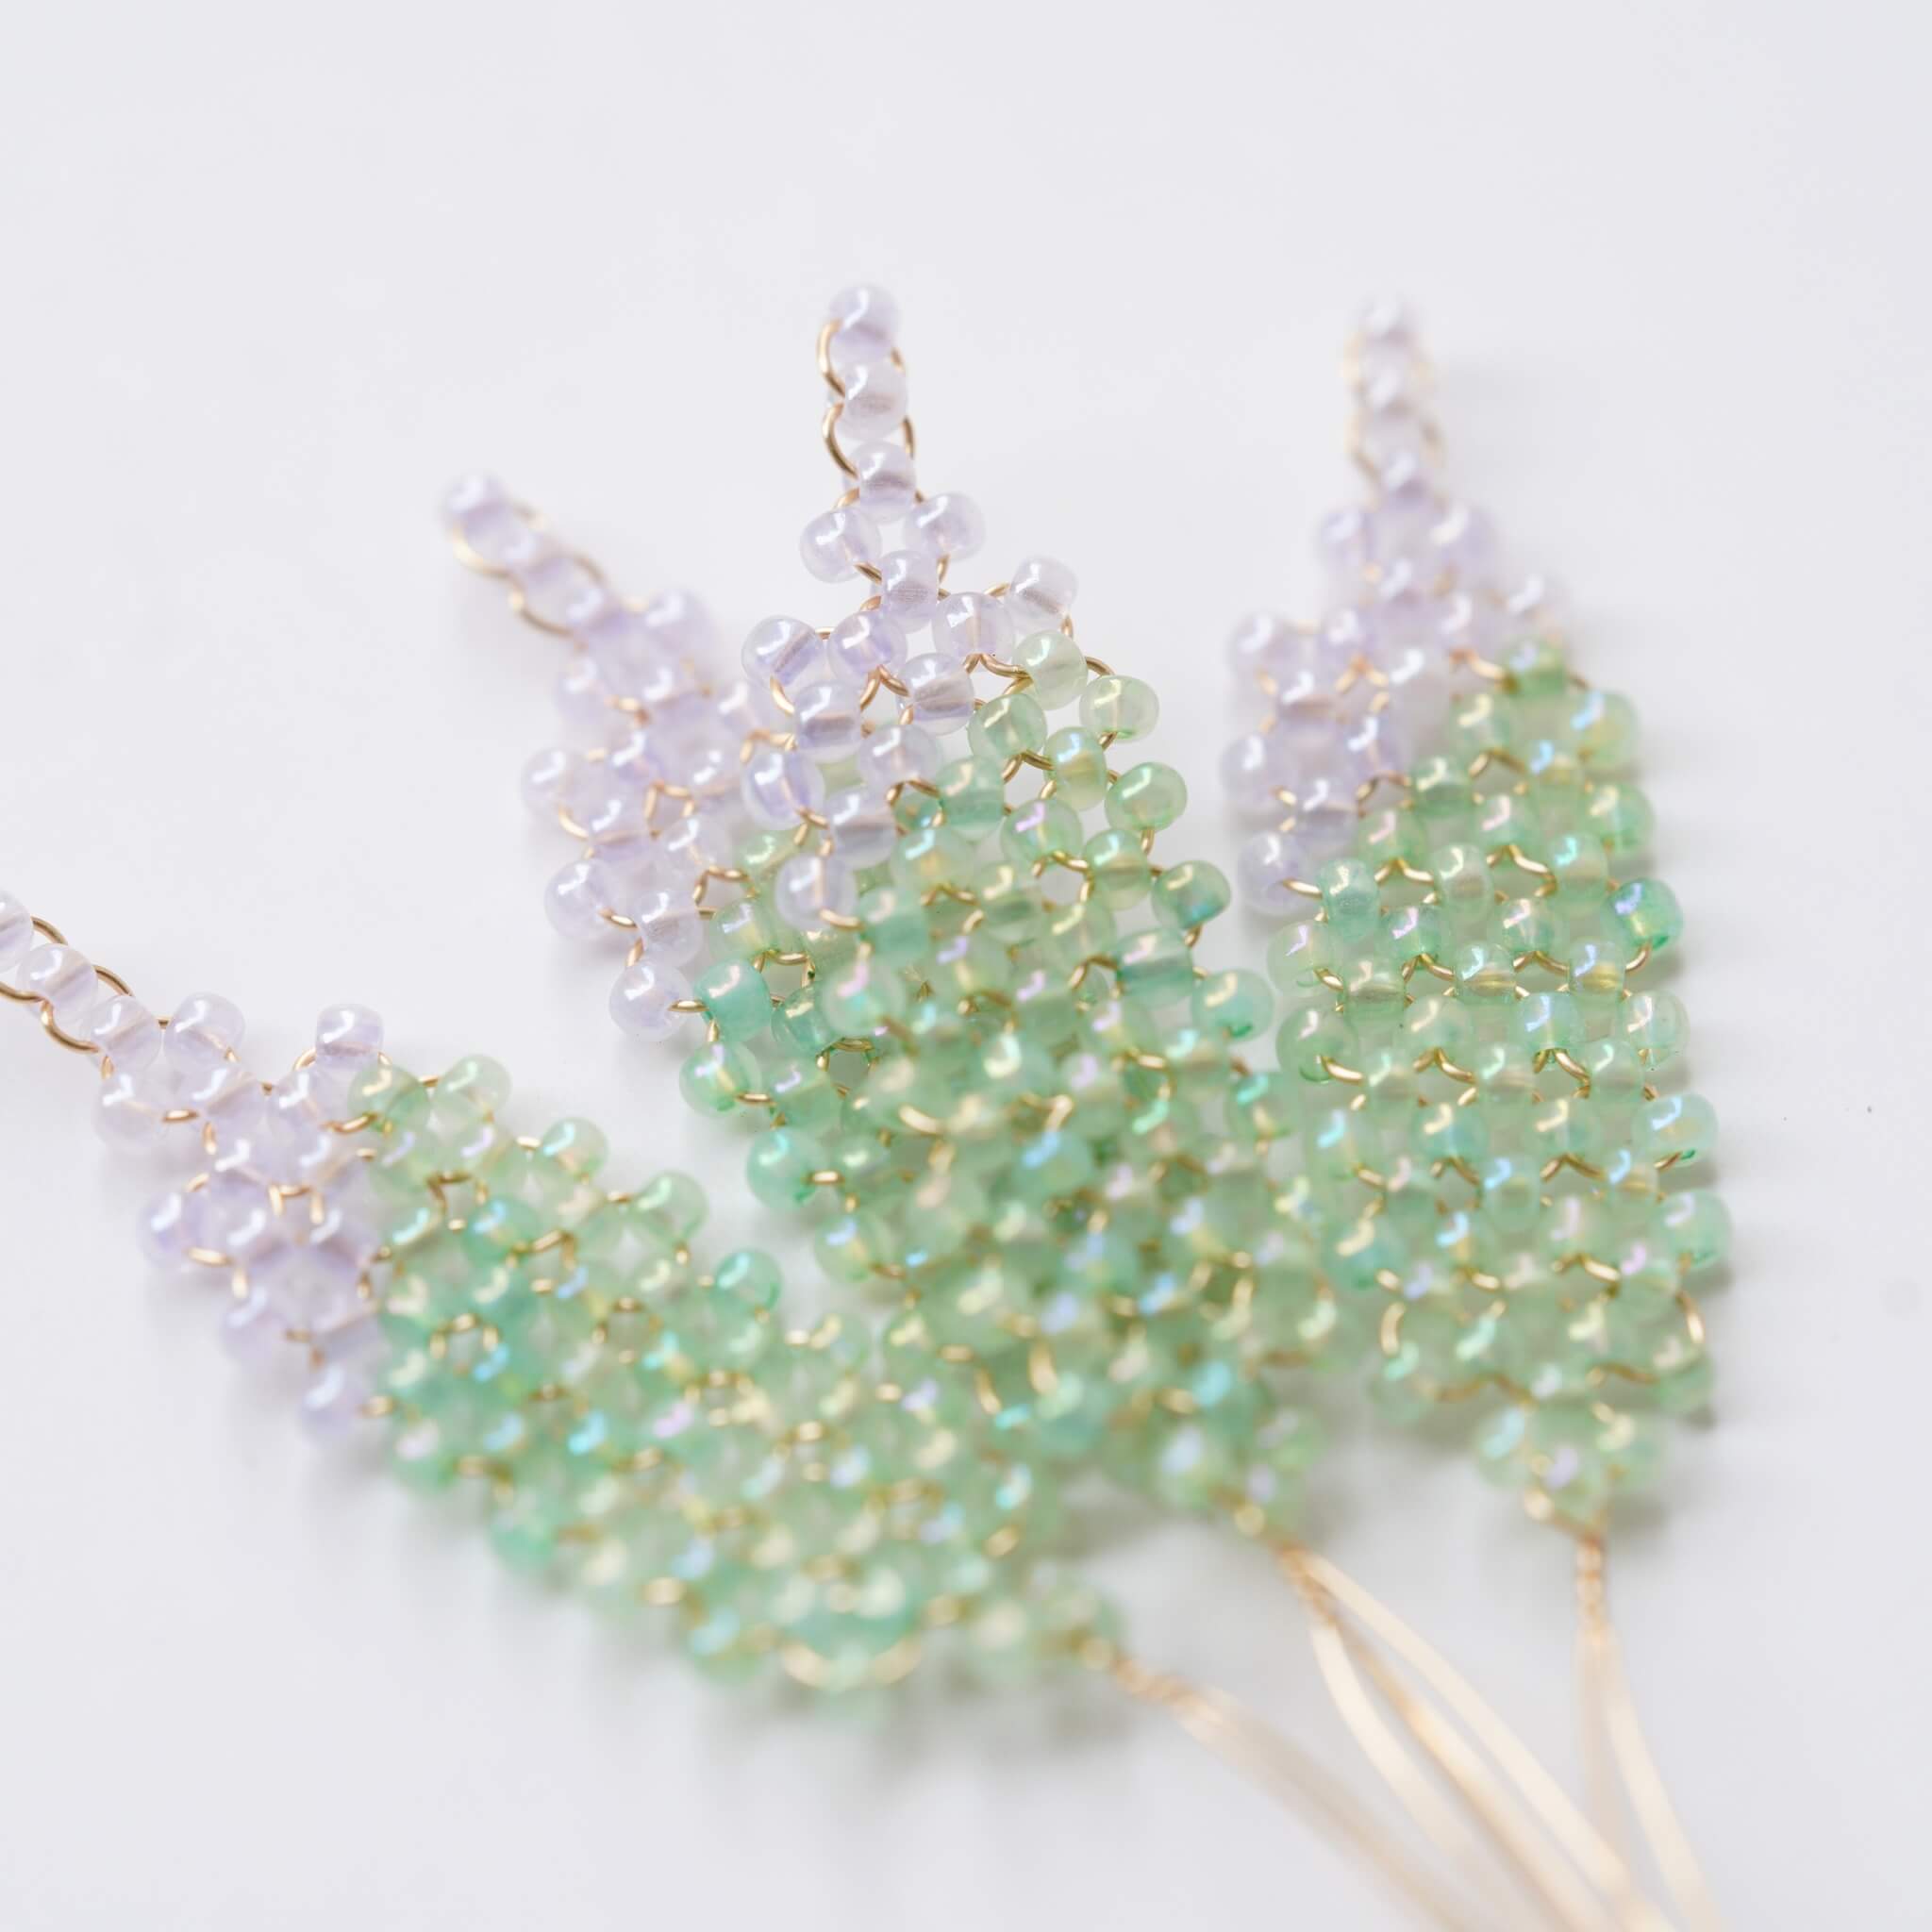
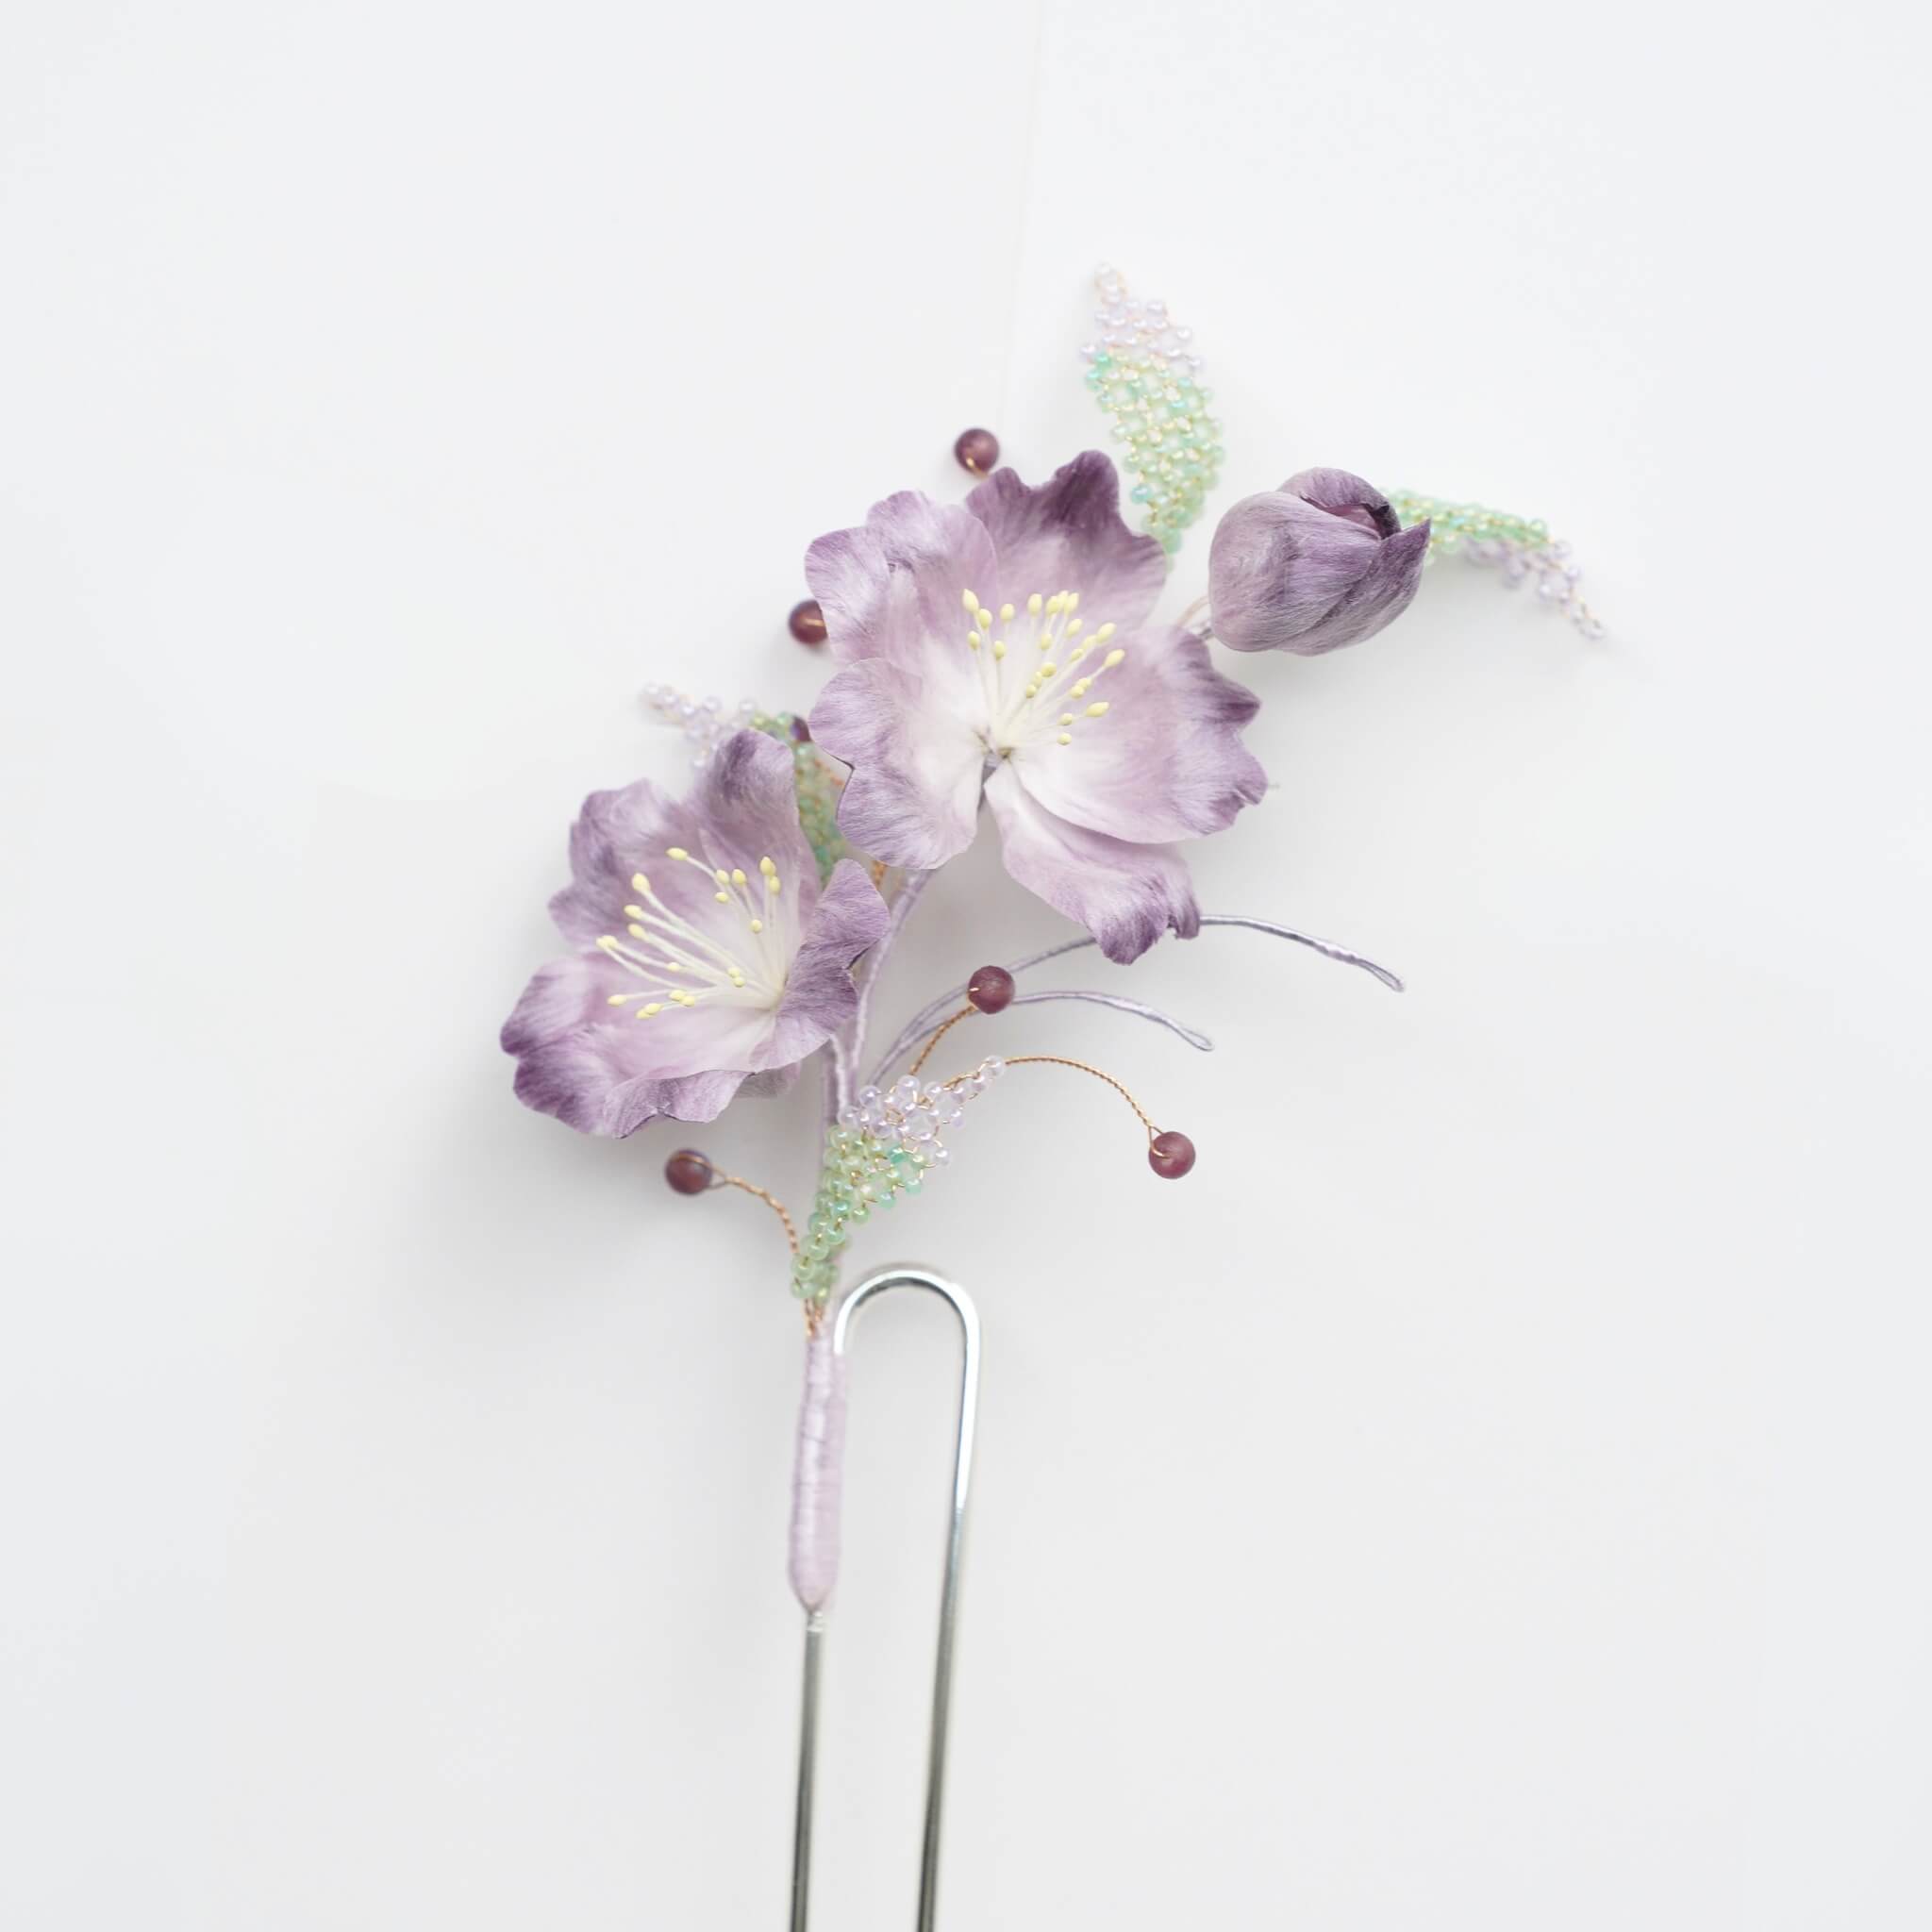
This yellow plum hairband has a quiet, fairy-tale warmth to it—soft, bright, and easy to wear. It feels like a little breeze on a golden day, whether you use it as a hairband or simply wrap it around your wrist.
The best part? With the petals pre-made for you, this Ronghua kit is simple and relaxing to complete. Just shape, assemble, and enjoy the moment your blossoms come together.
Preparation: What You’ll Need
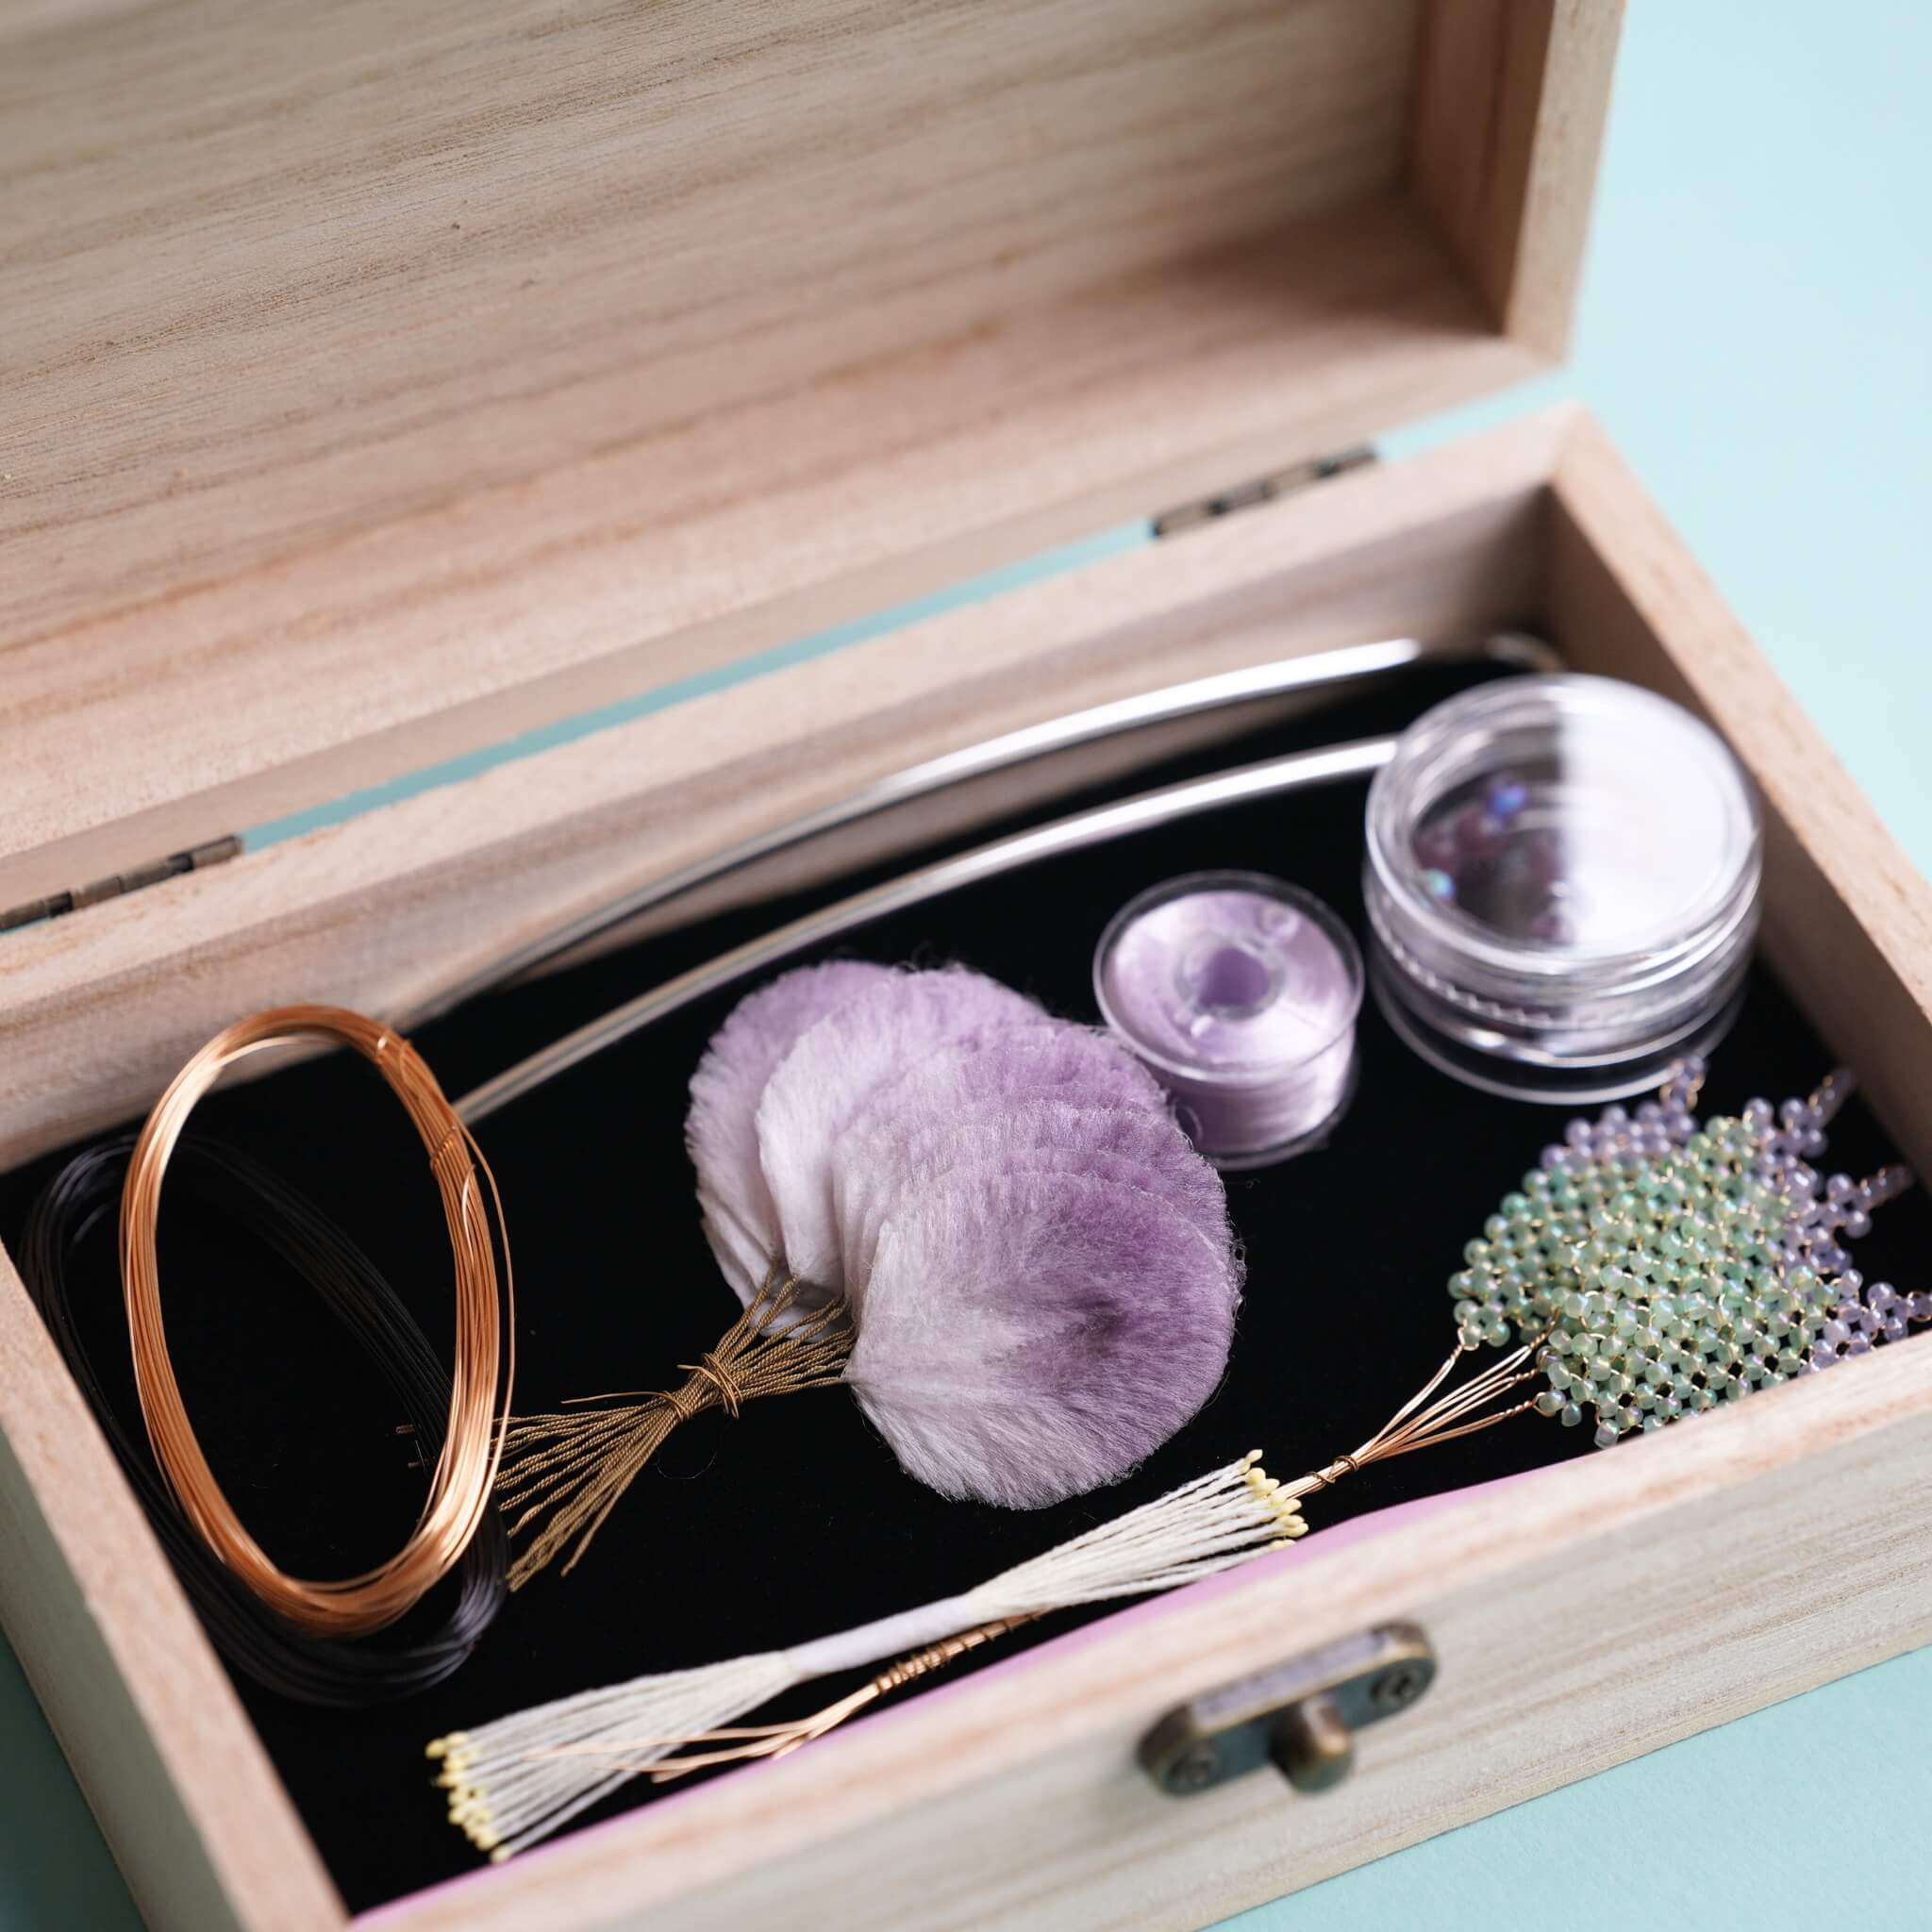
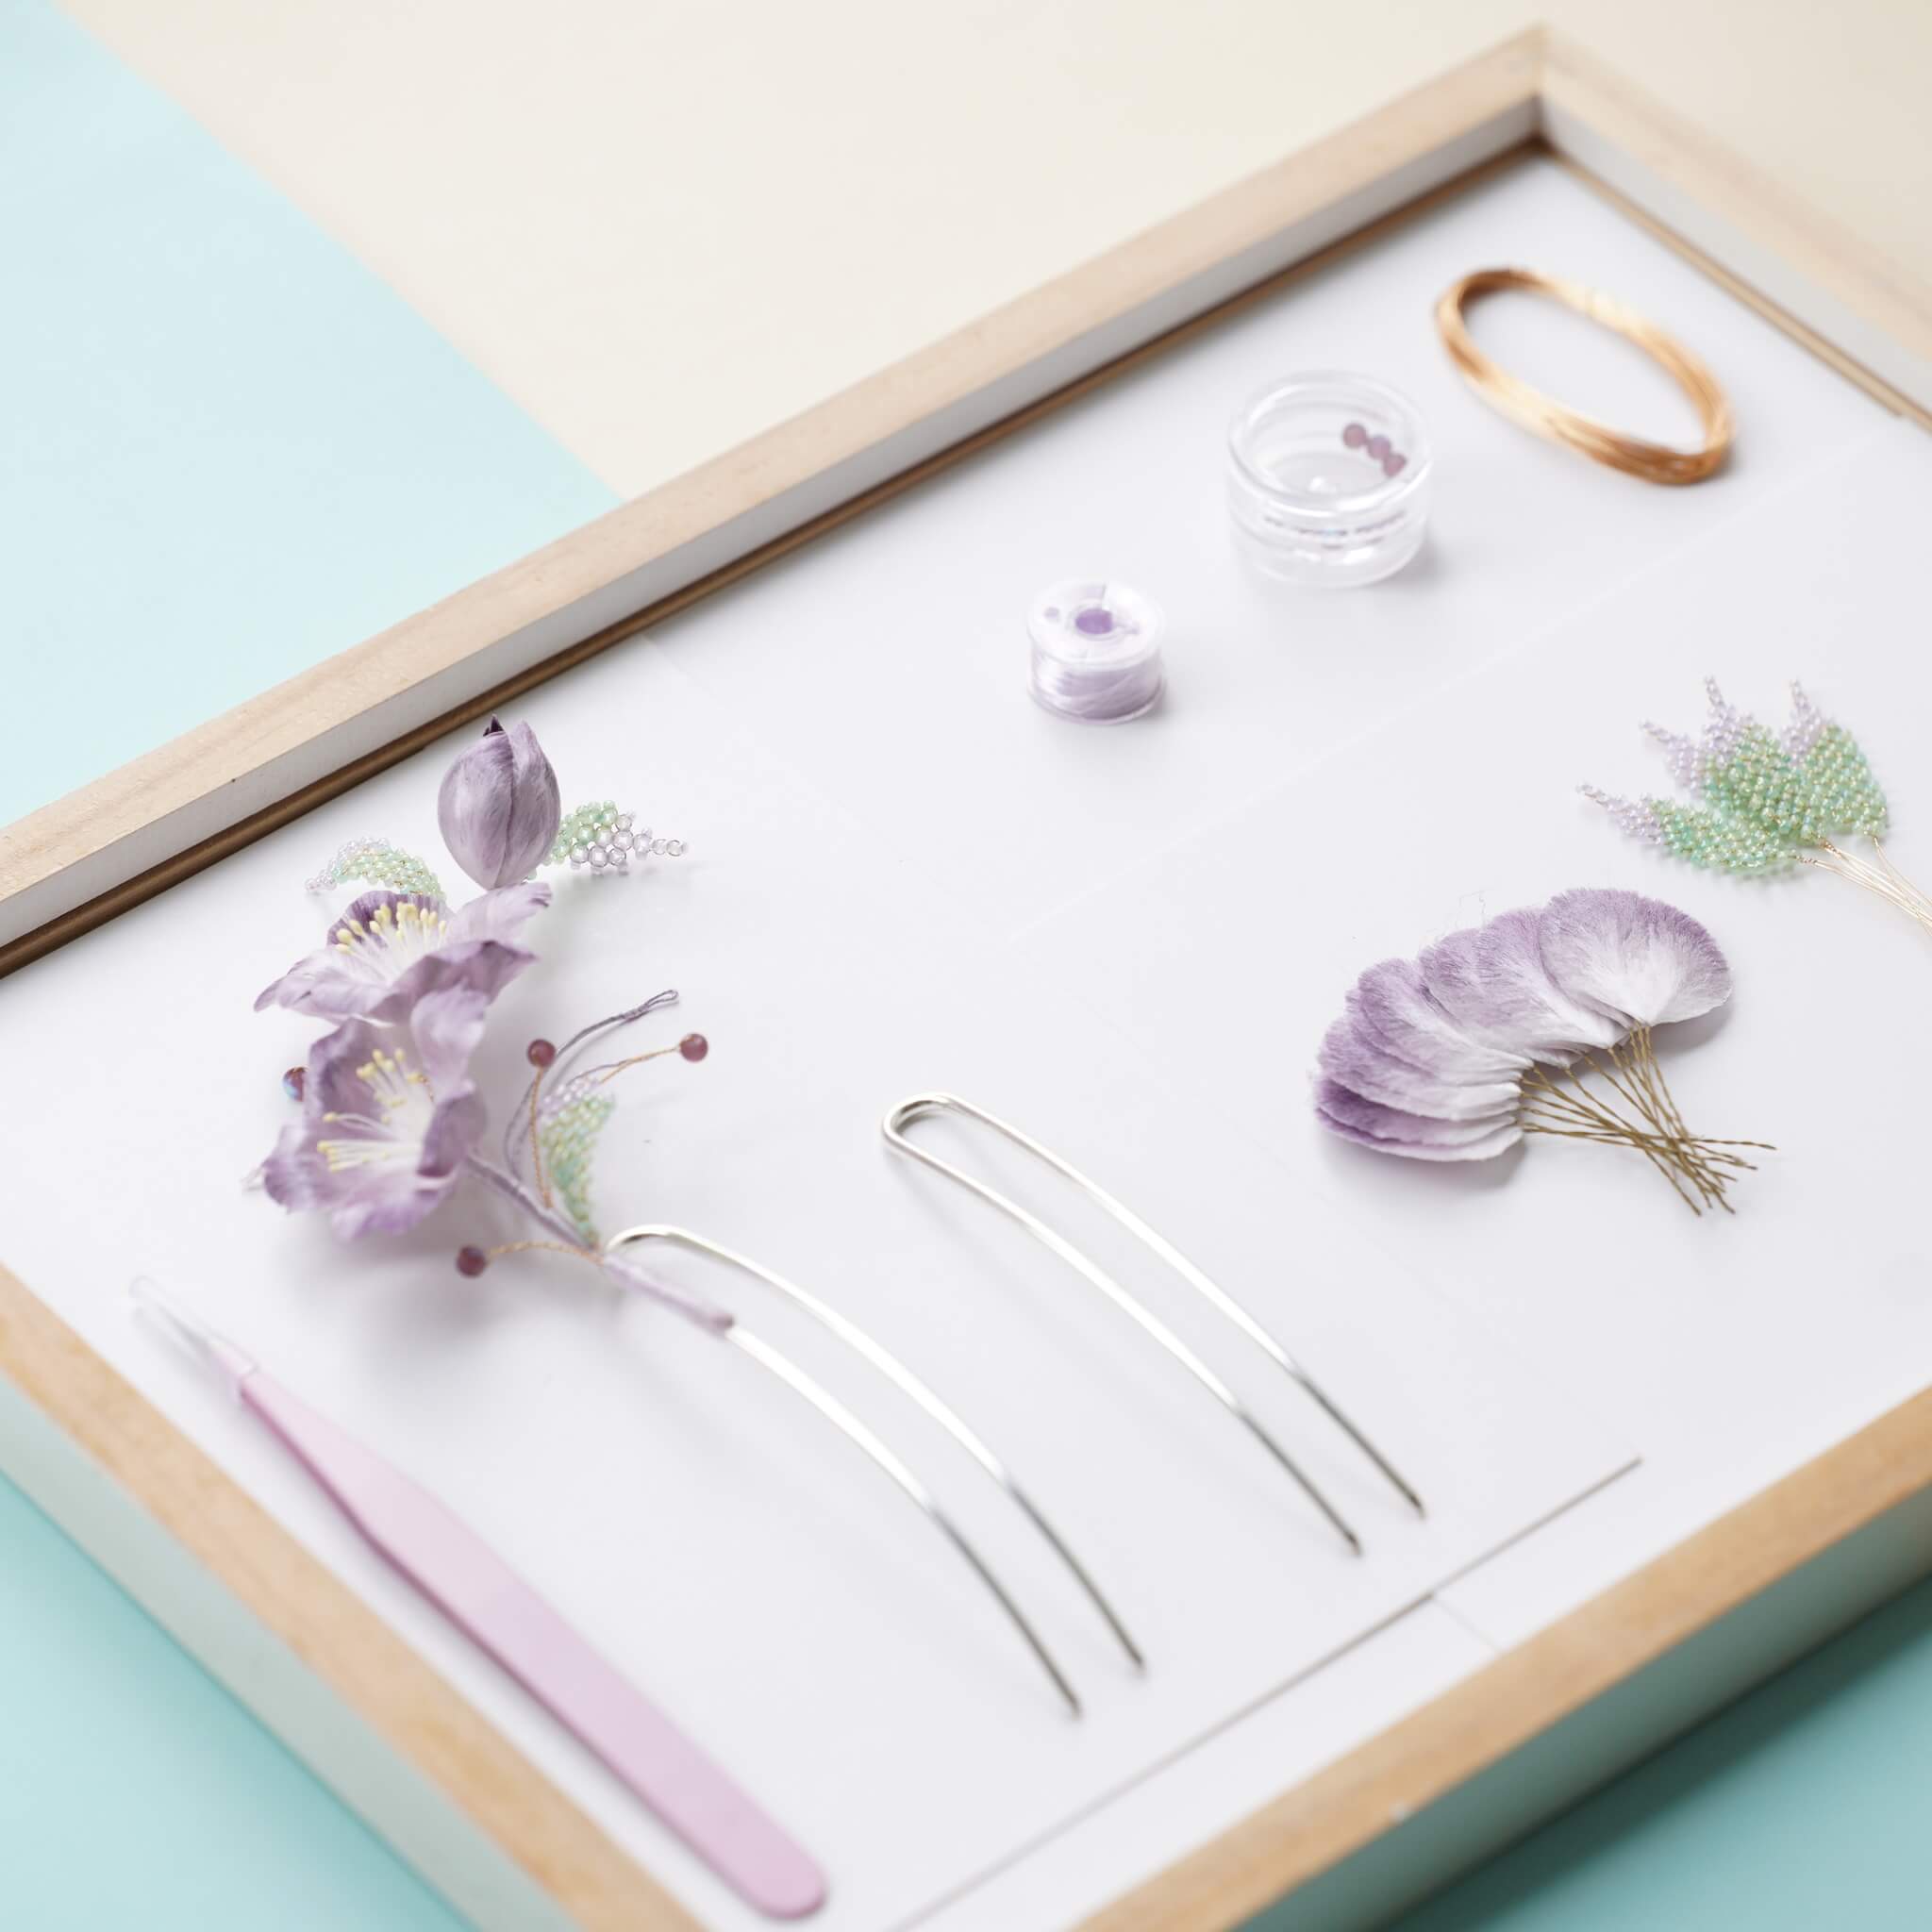
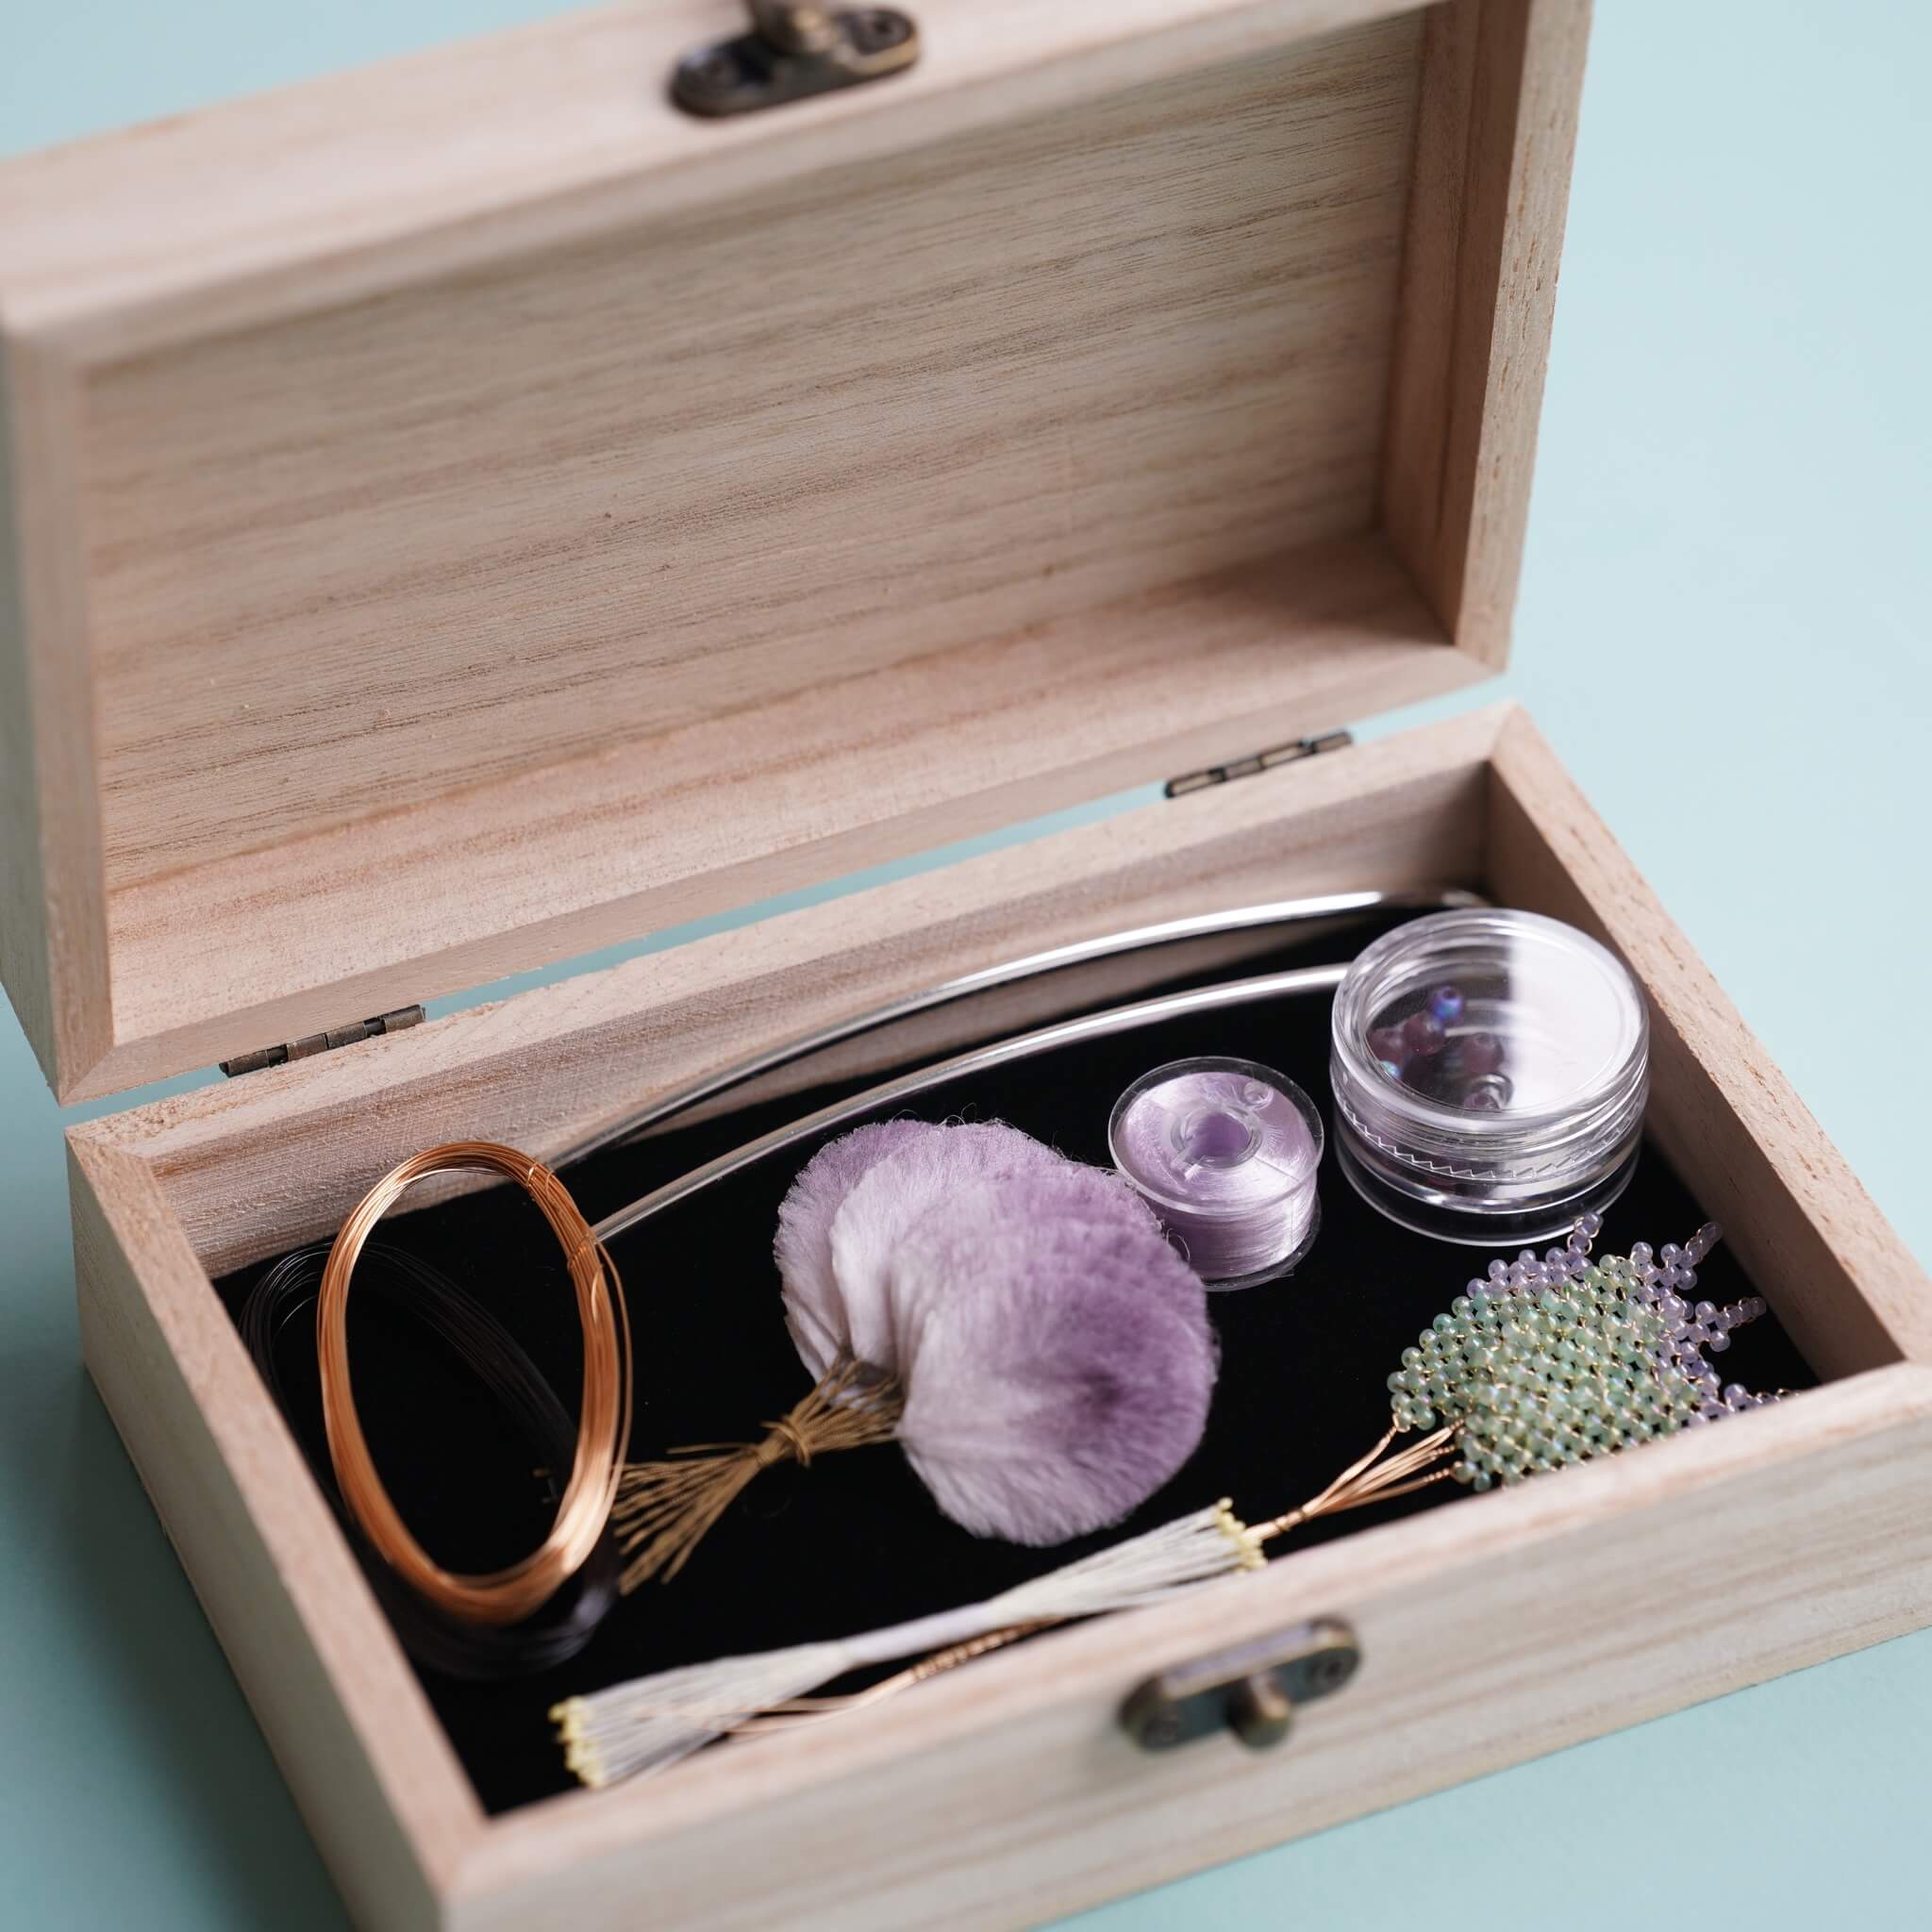
If you’ve purchased our Ronghua Toolkit, you already have everything required!
If not, prepare the following tools:
- Tweezers
- At least 2 pairs of Scissors
-
Ball Stylus
- Hair spray or diluted white glue (1:1.15–1:1.2 ratio)
Full Tutorial Video
Step 1. Shape the Petals
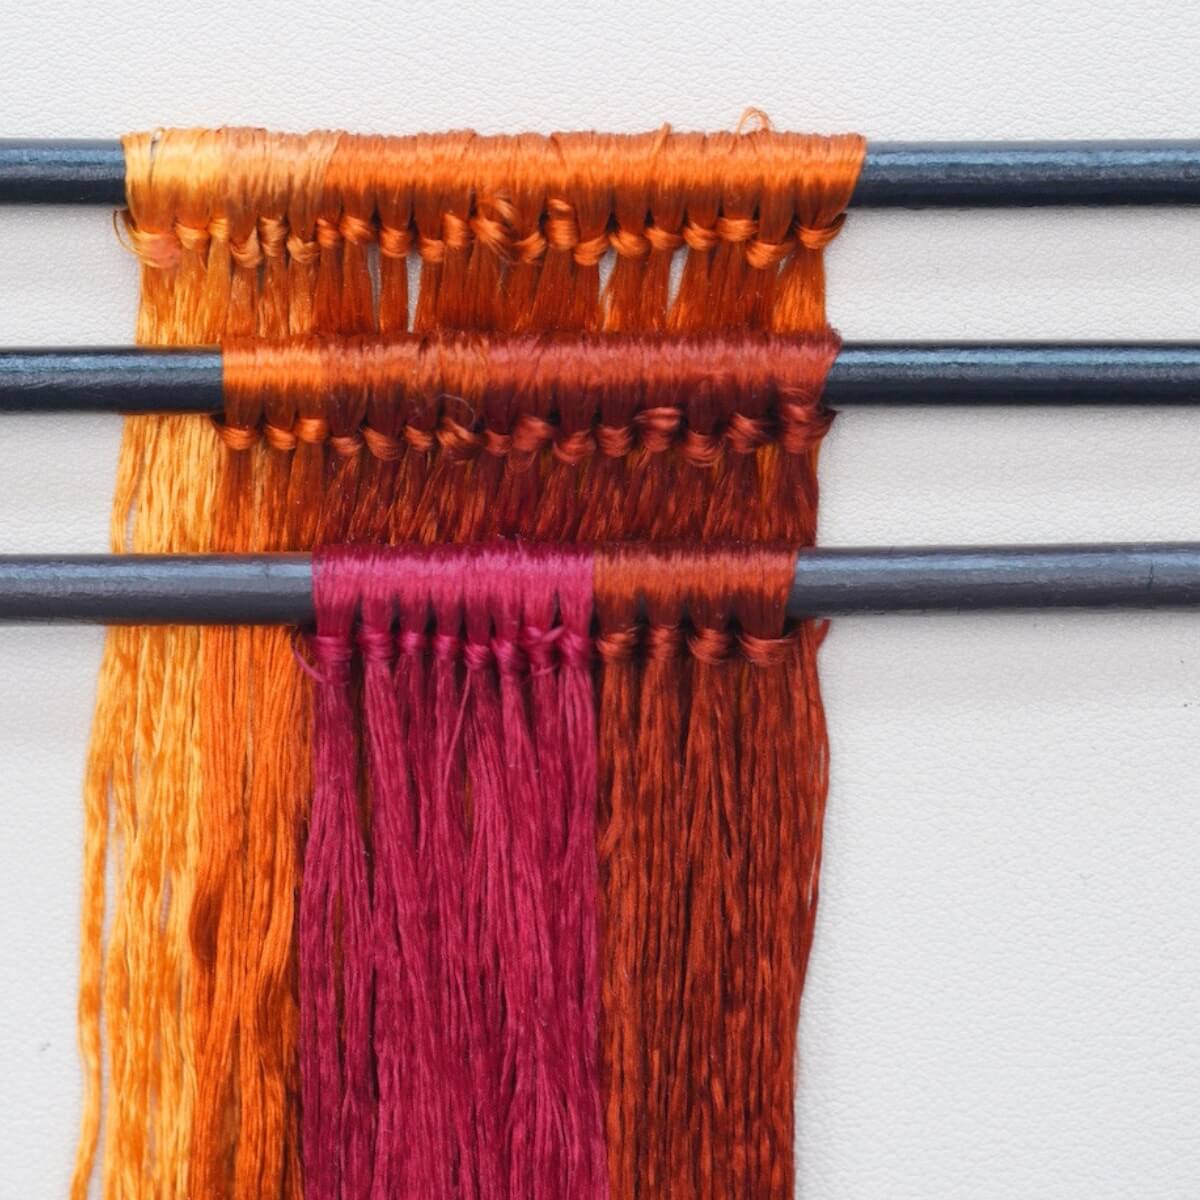
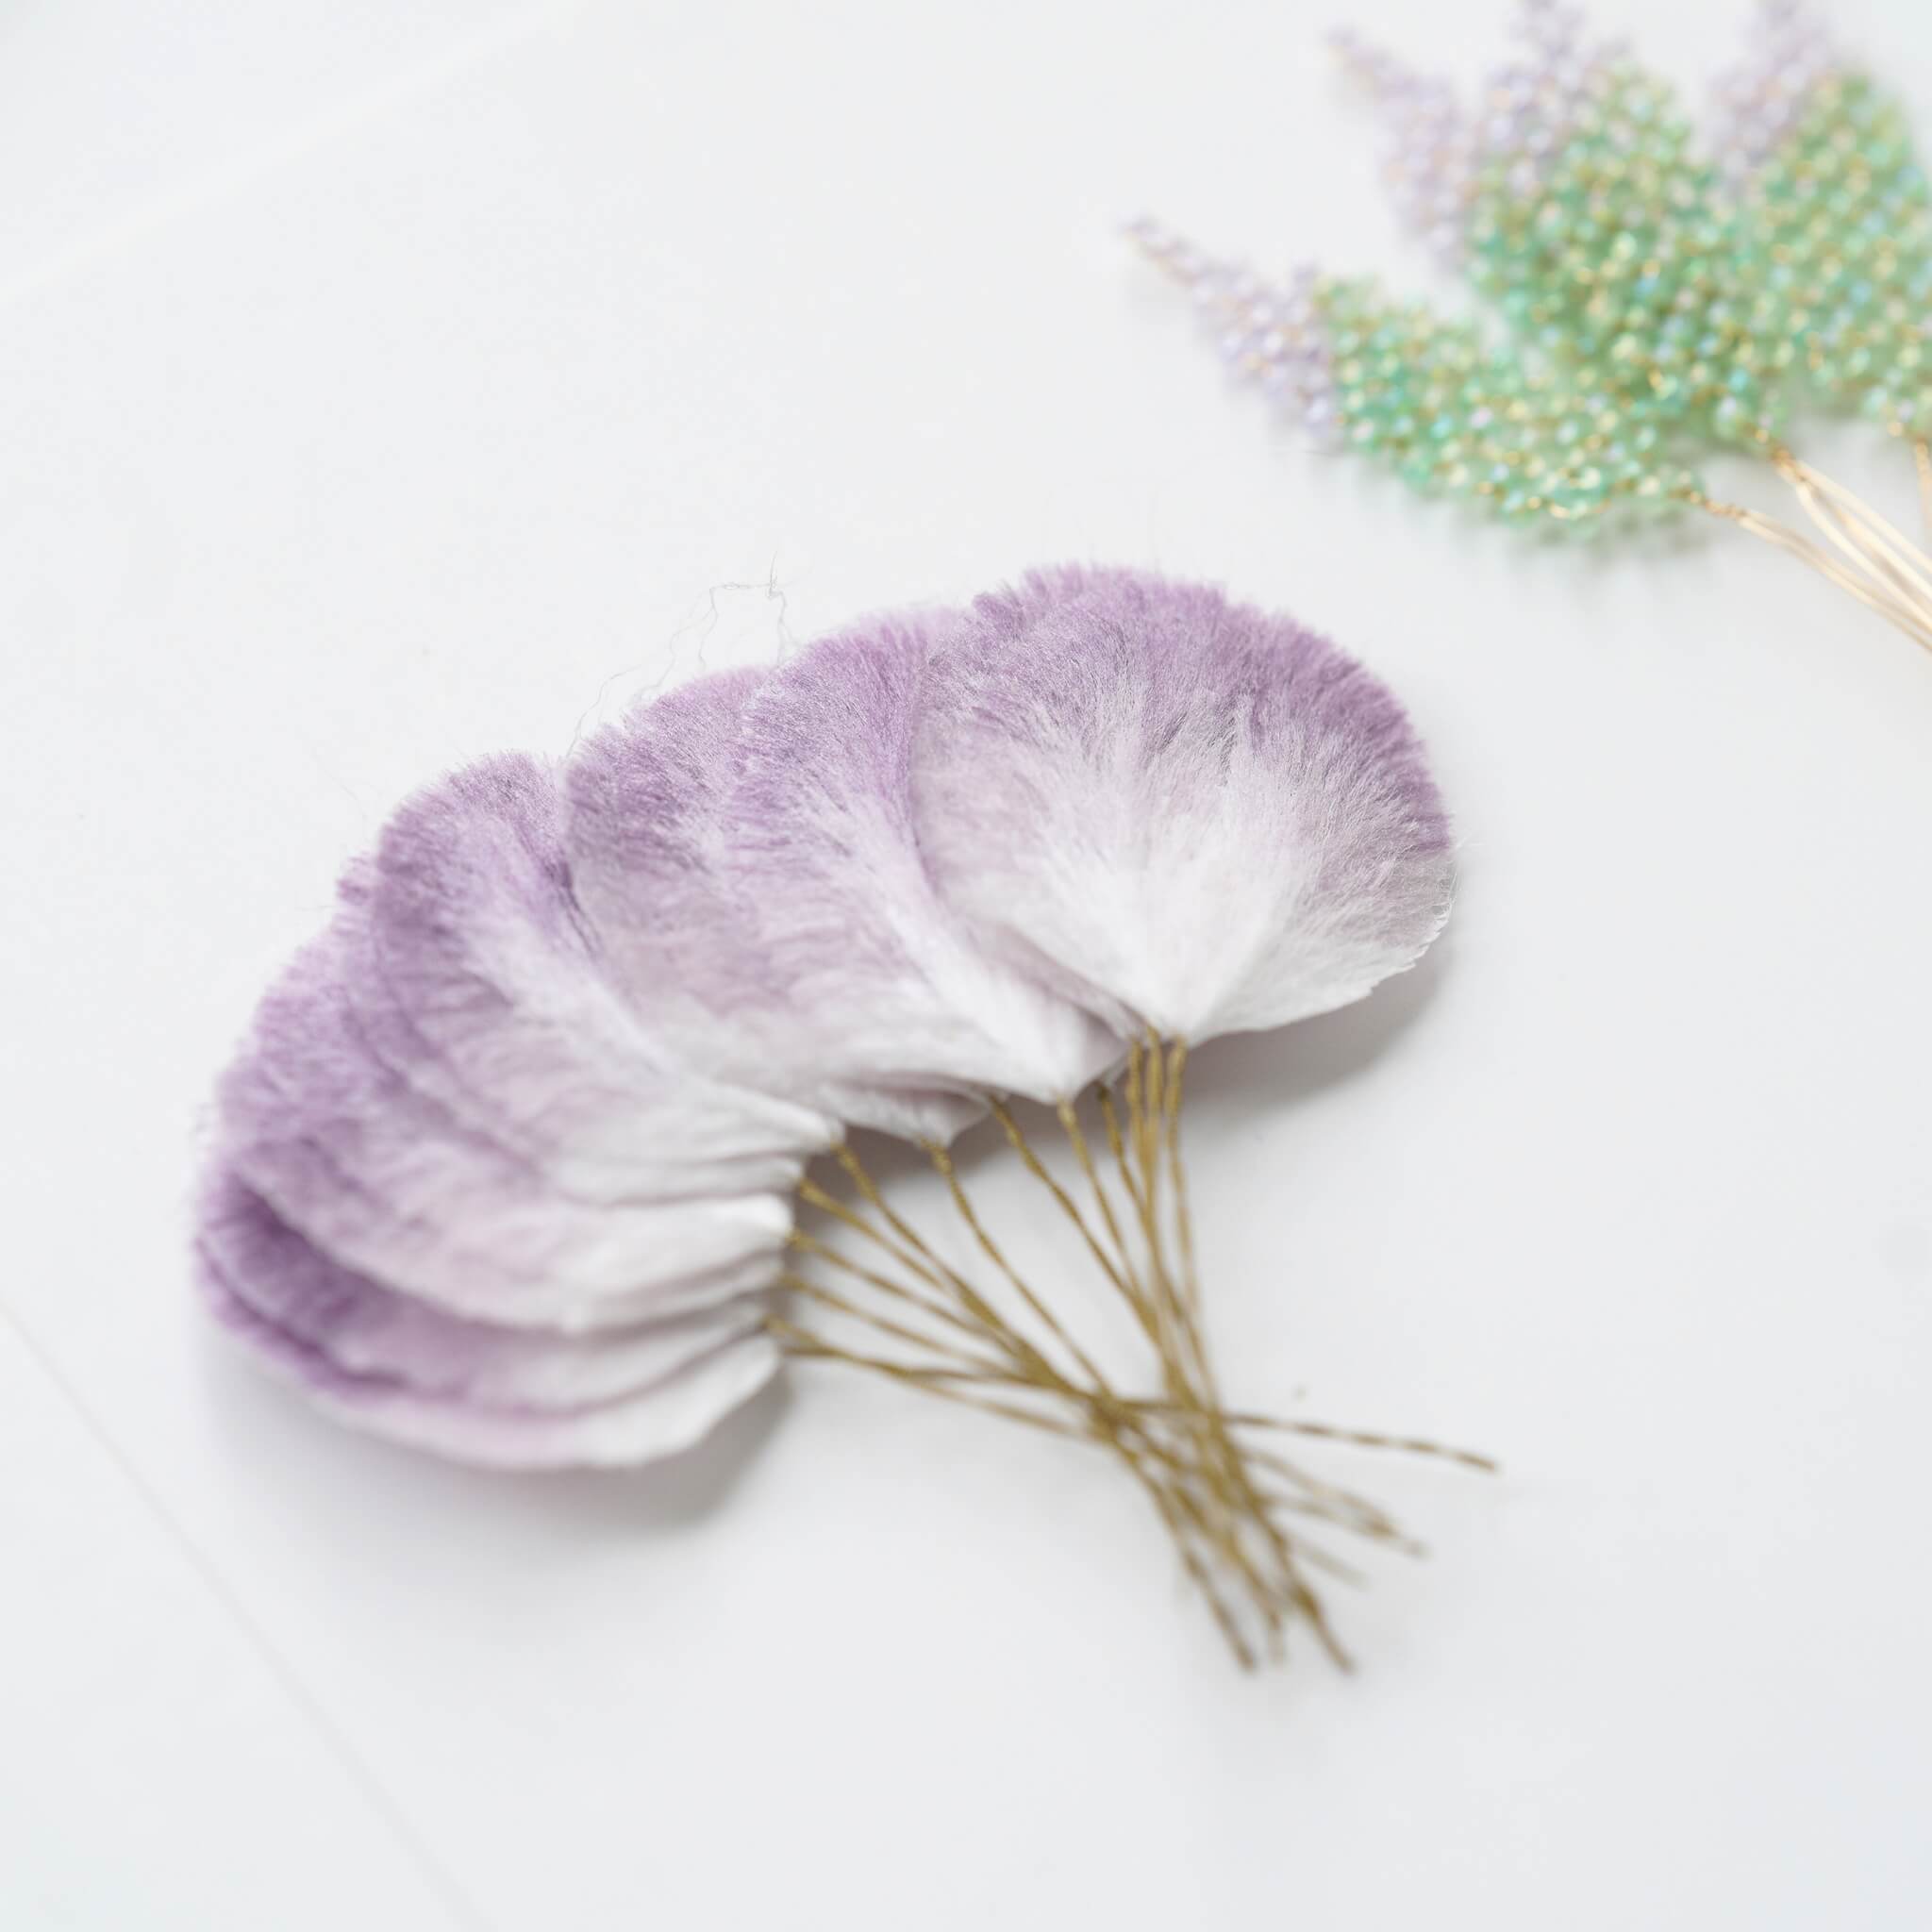
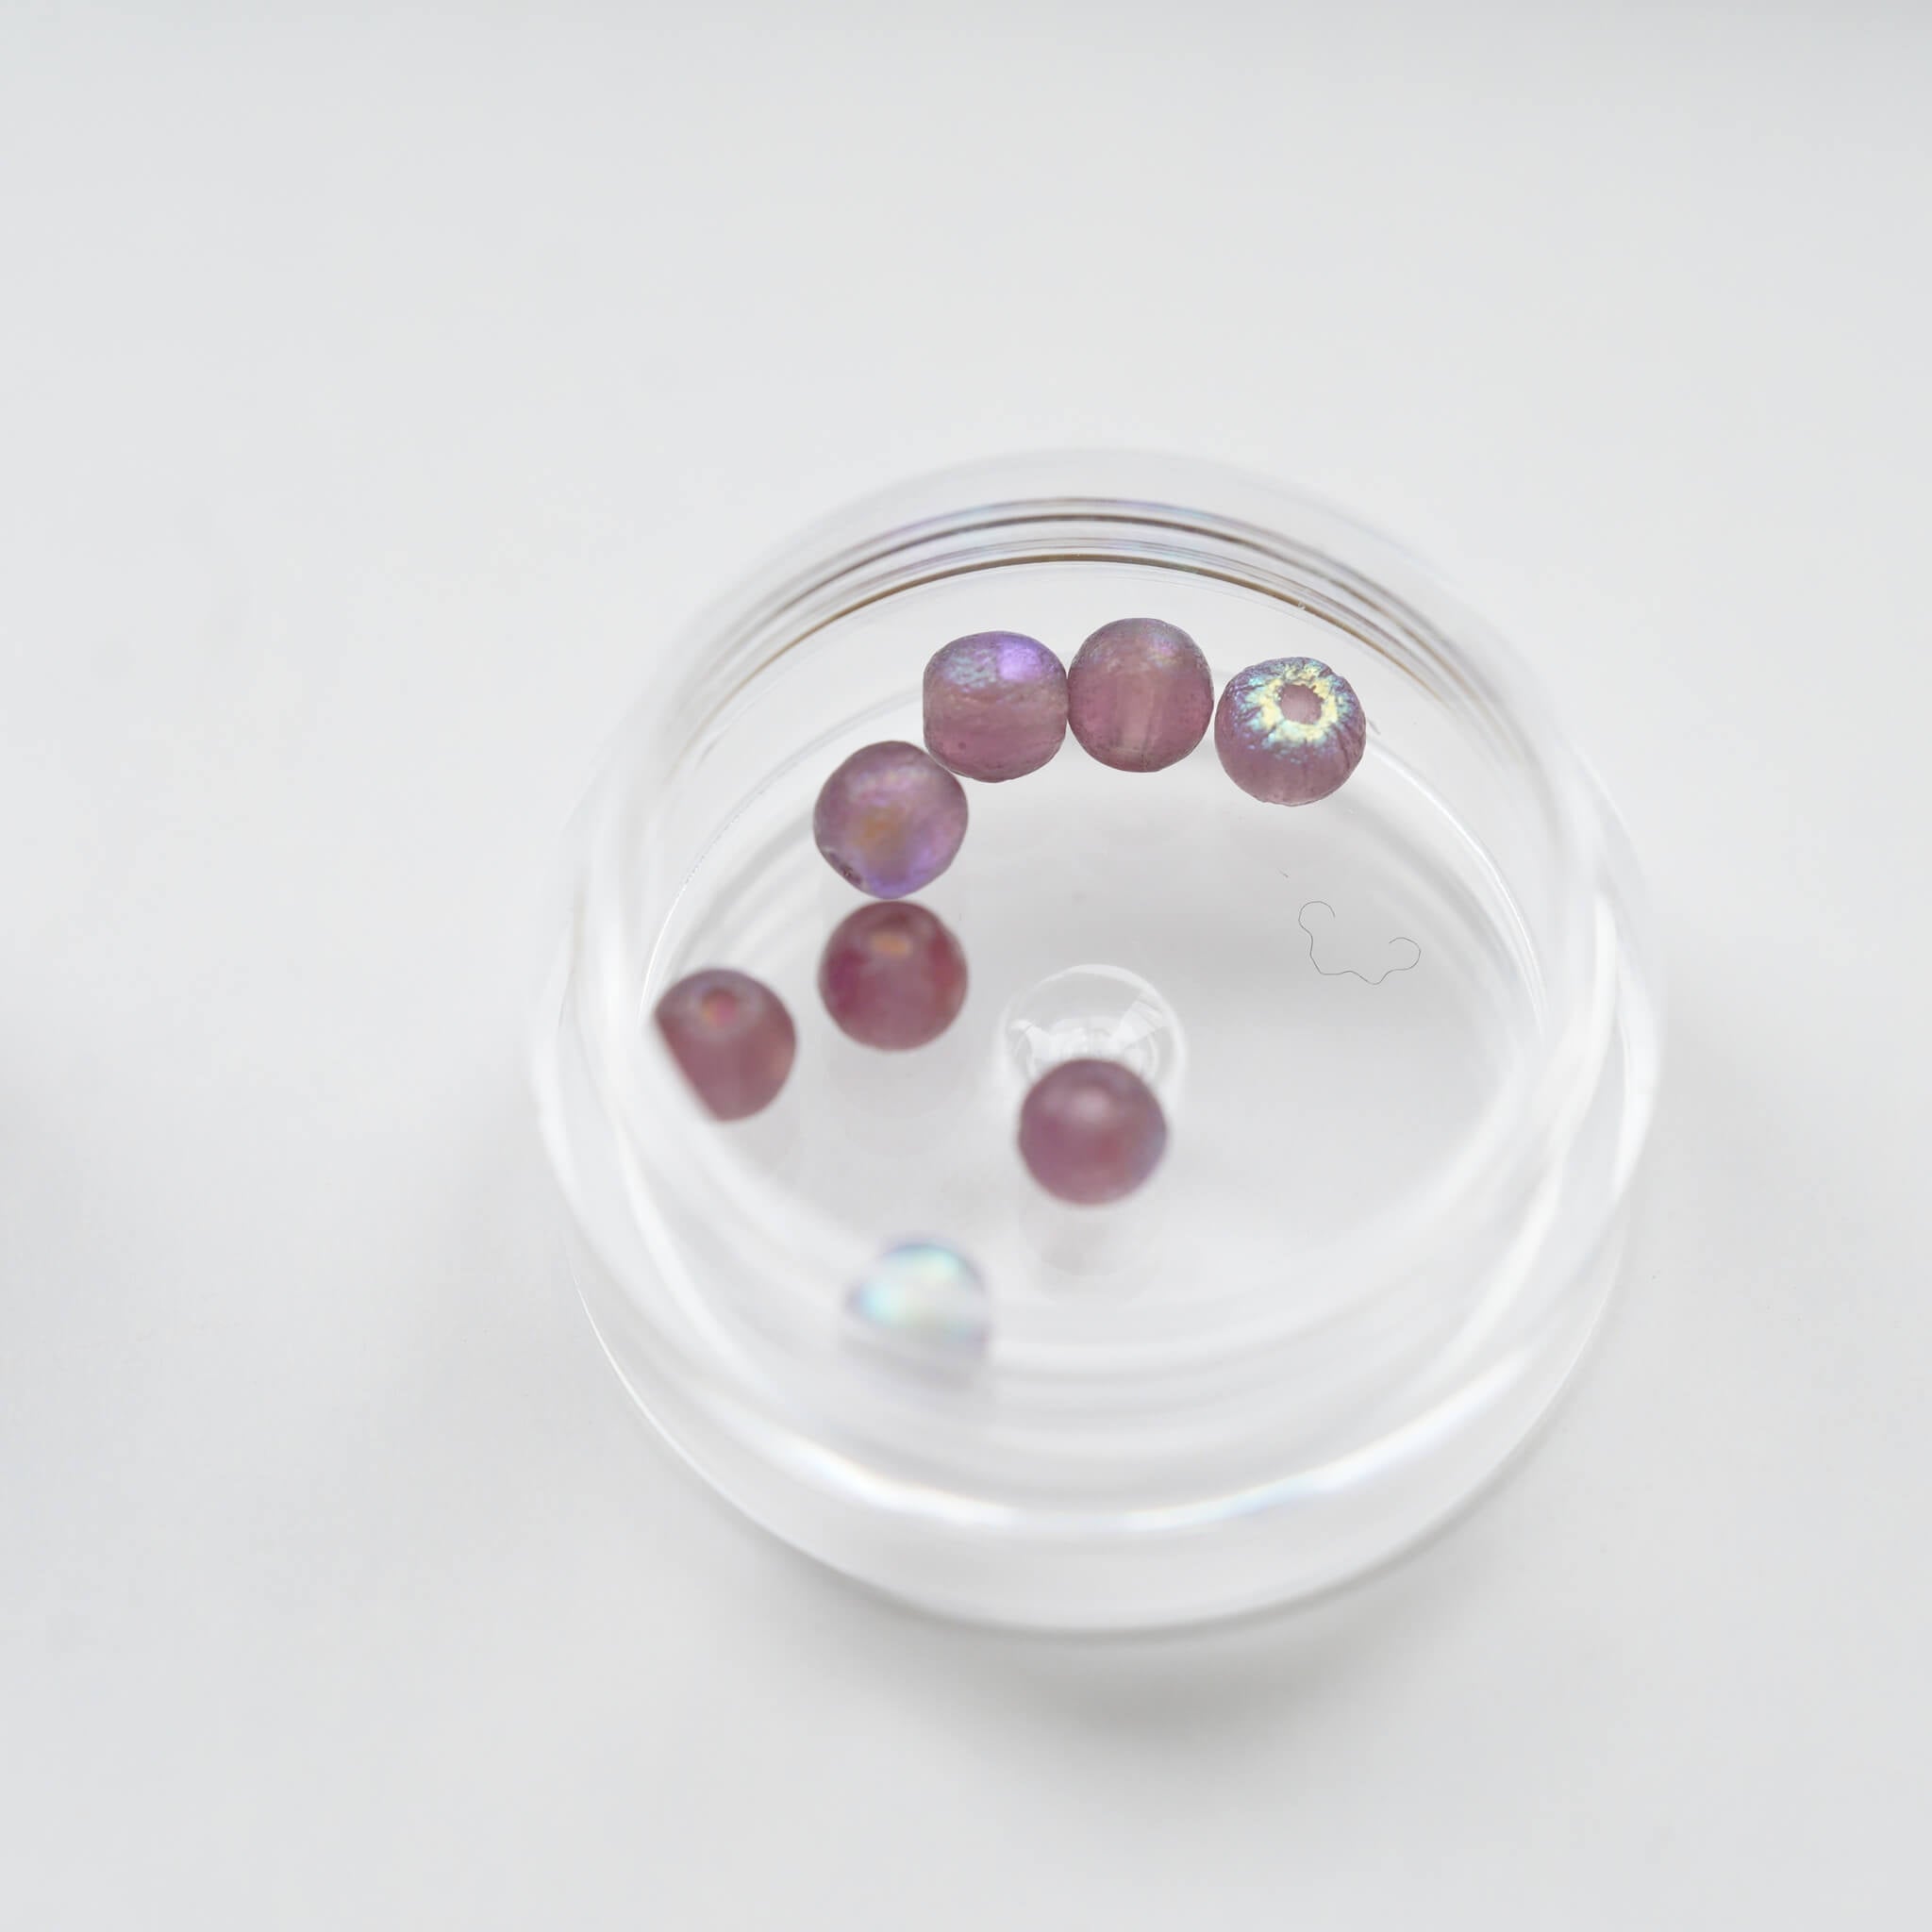
Begin by preparing the pre-made petals included in the kit—there’s enough for about six flowers. Soak the petals briefly in the hair-spray shaping liquid, or diluted white glue with water or alcohol (1:1.15/1:1.2 ratio), making sure they’re fully saturated. Once soaked, the petals become soft and easier to shape. For unshaped petals, a light soak is enough; for pre-shaped ones, leave them in a few extra seconds.

Use tweezers to lift the petals and shake off the excess liquid—this makes them thinner and smoother.
There are two shaping methods for the petals:
1. With tweezers, gently pinch each petal to create a natural curve, then push the silk inward from the edges to round the shape. Once a petal looks softly curved, place it upright to dry.

2. For the second method, soak the petals again and place one on a soft sponge pad. Use a ball stylus to gently press the center of the petal. Dab a bit of spray liquid on the ball tool first to prevent sticking. The petal may look uneven on the back—smooth it out with tweezers, then refine any uneven edges. Try both methods and choose the one you like best. Let all the petals dry until they harden.

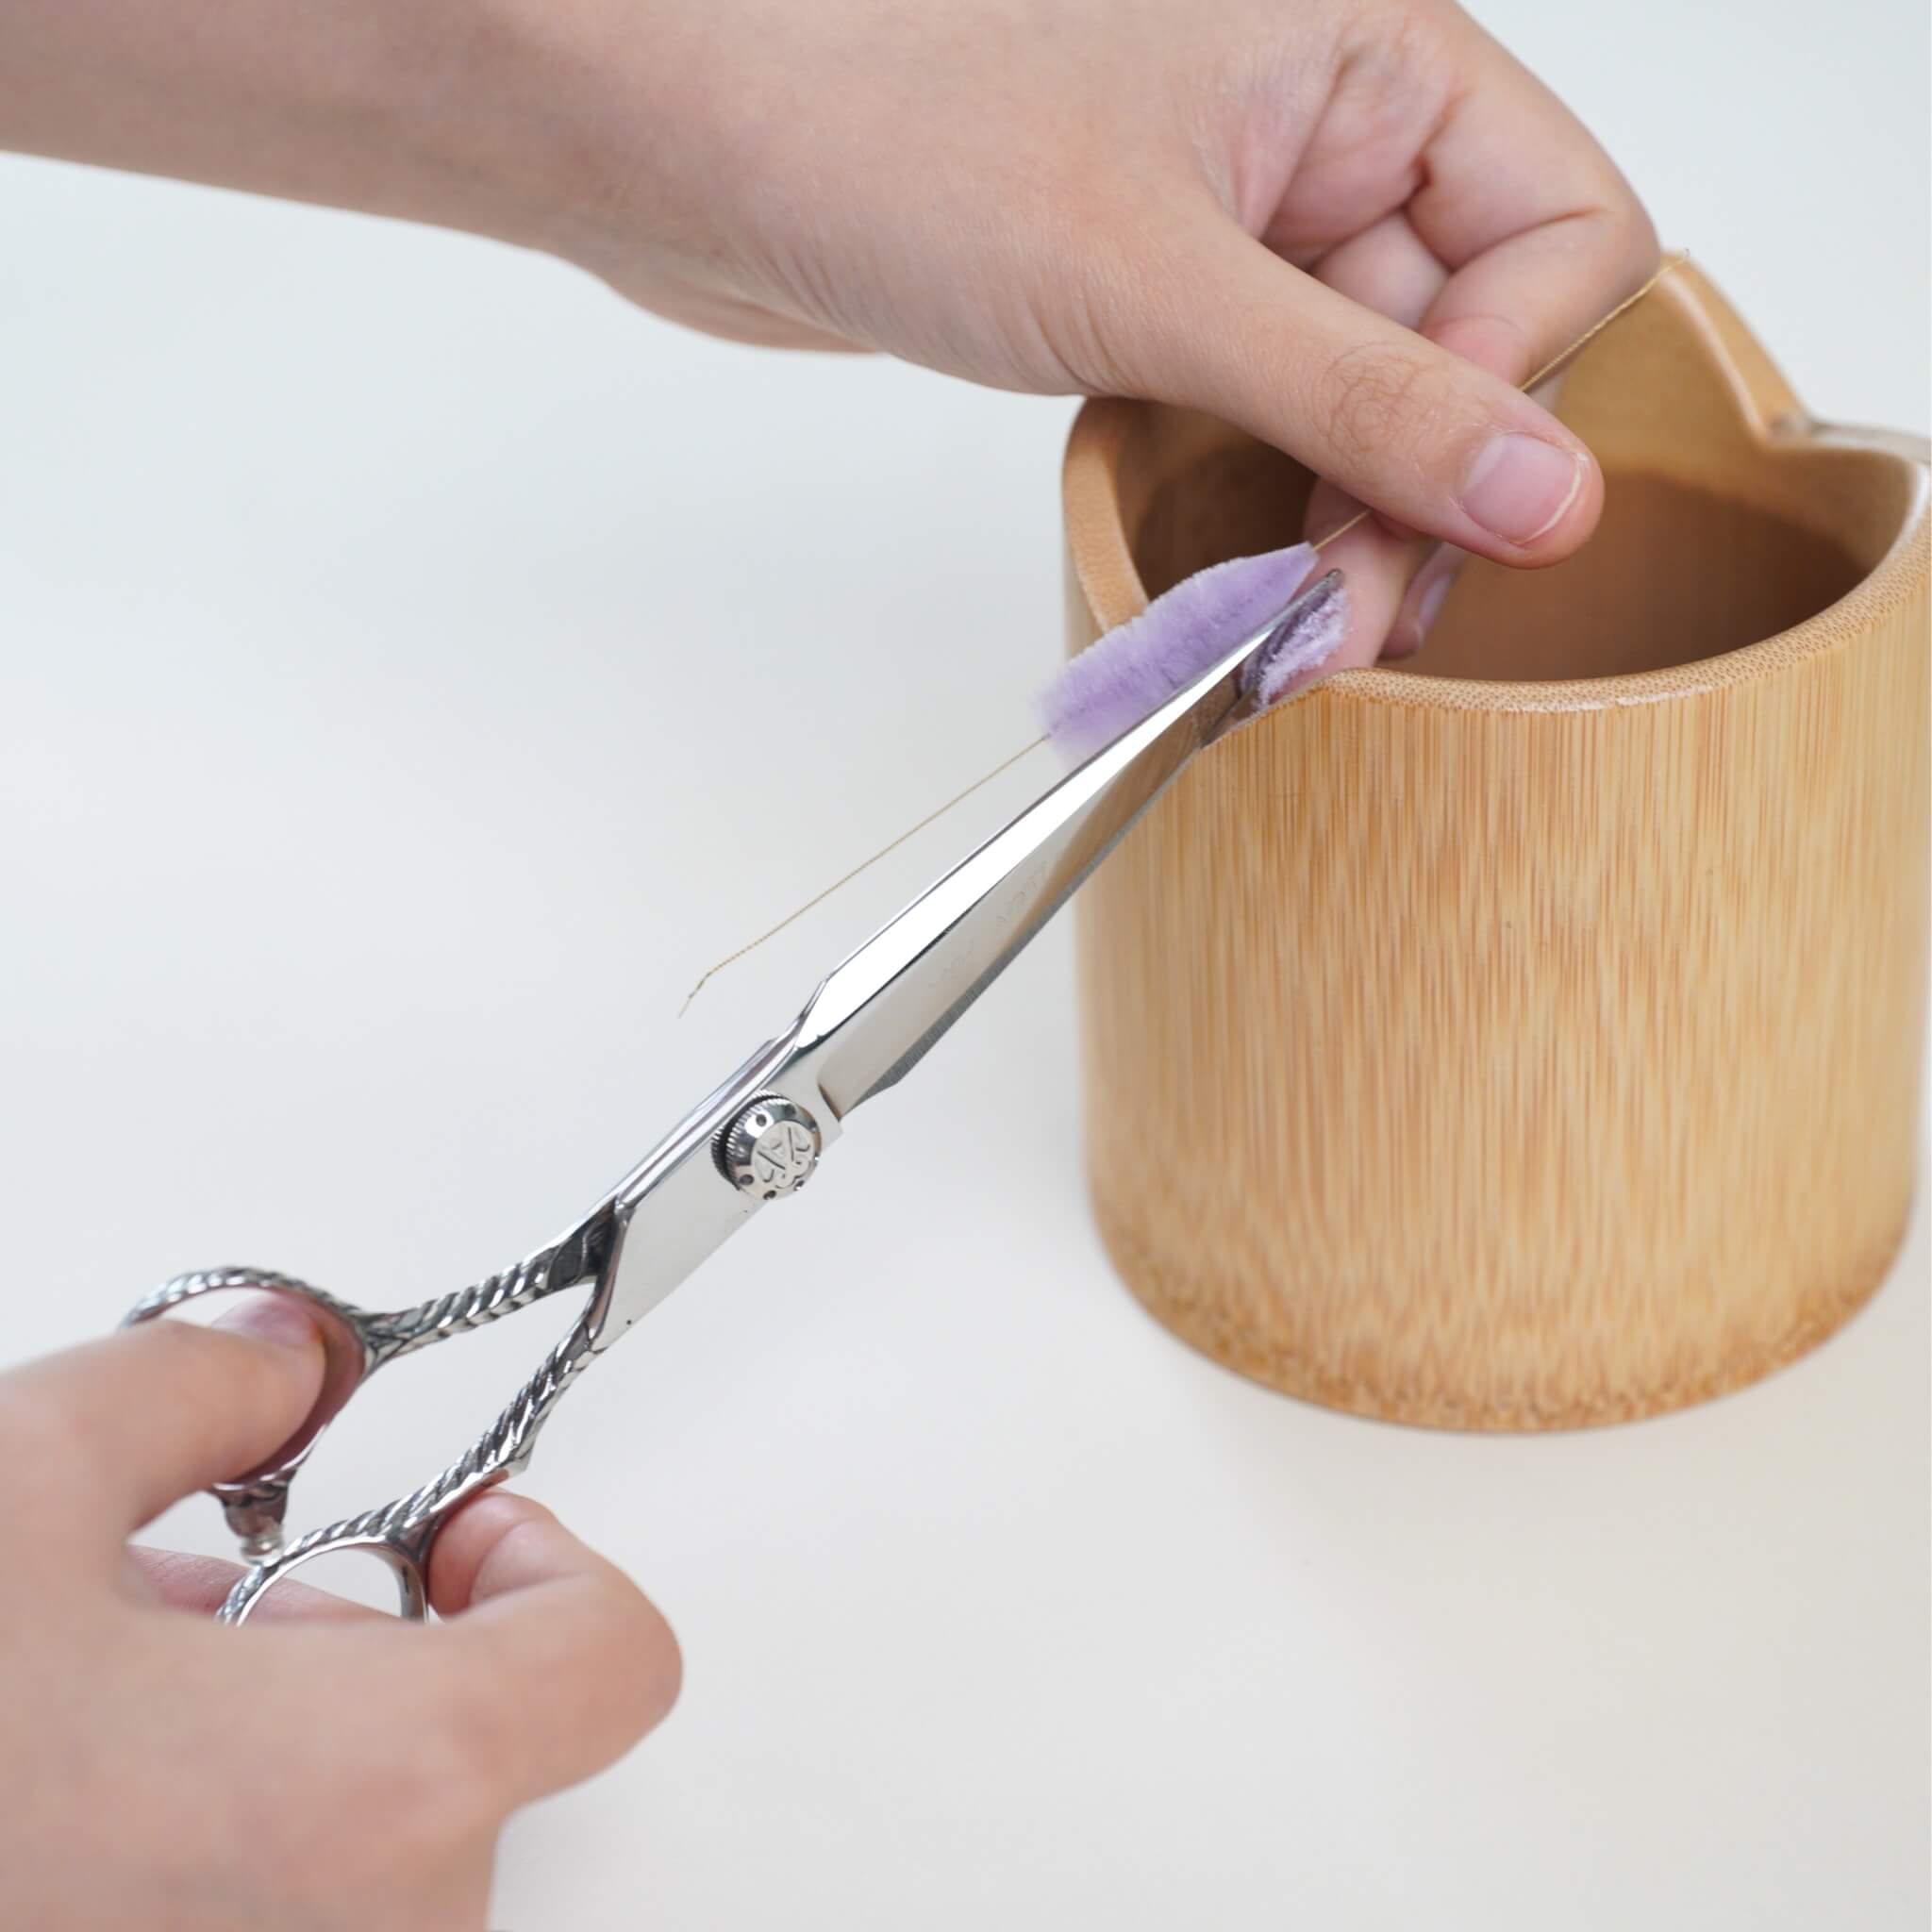
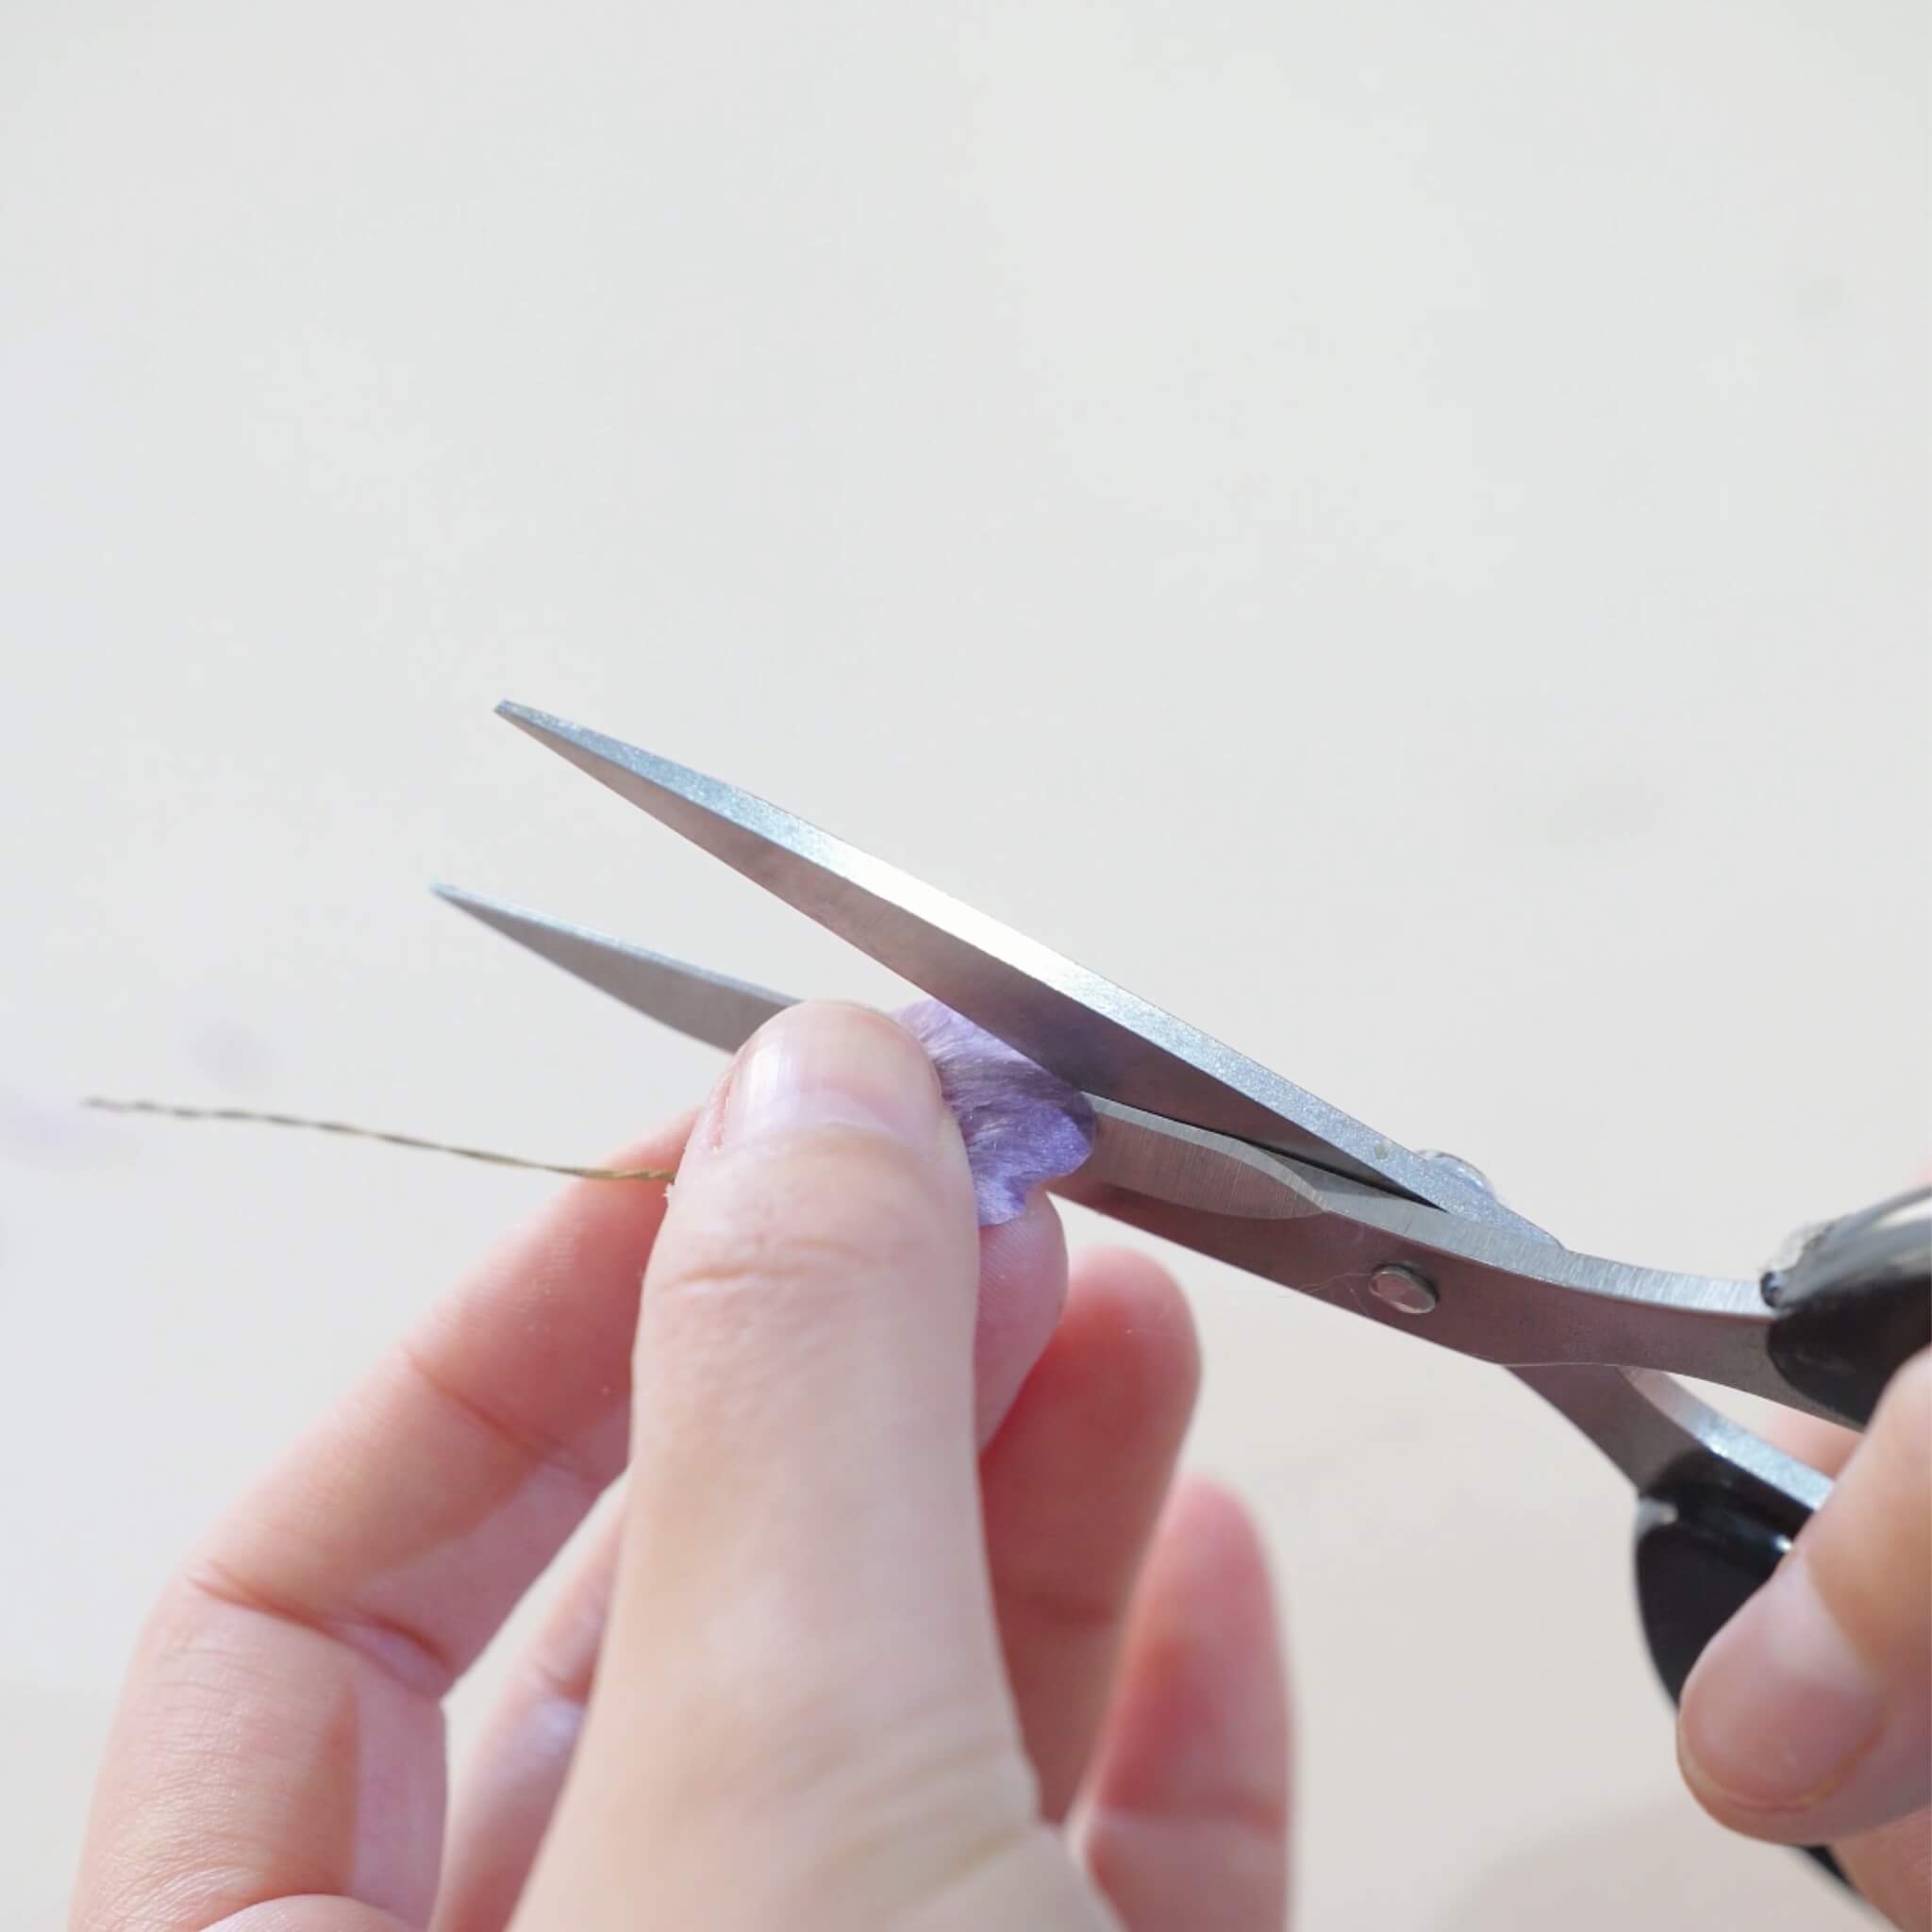
Once dry, trim the petal edges using small curved scissors. This helps the curves look more natural. Trim along the original shape, narrowing the petal slightly at the base. Trim all petals in the same way.

Step 2. Make the Flowers
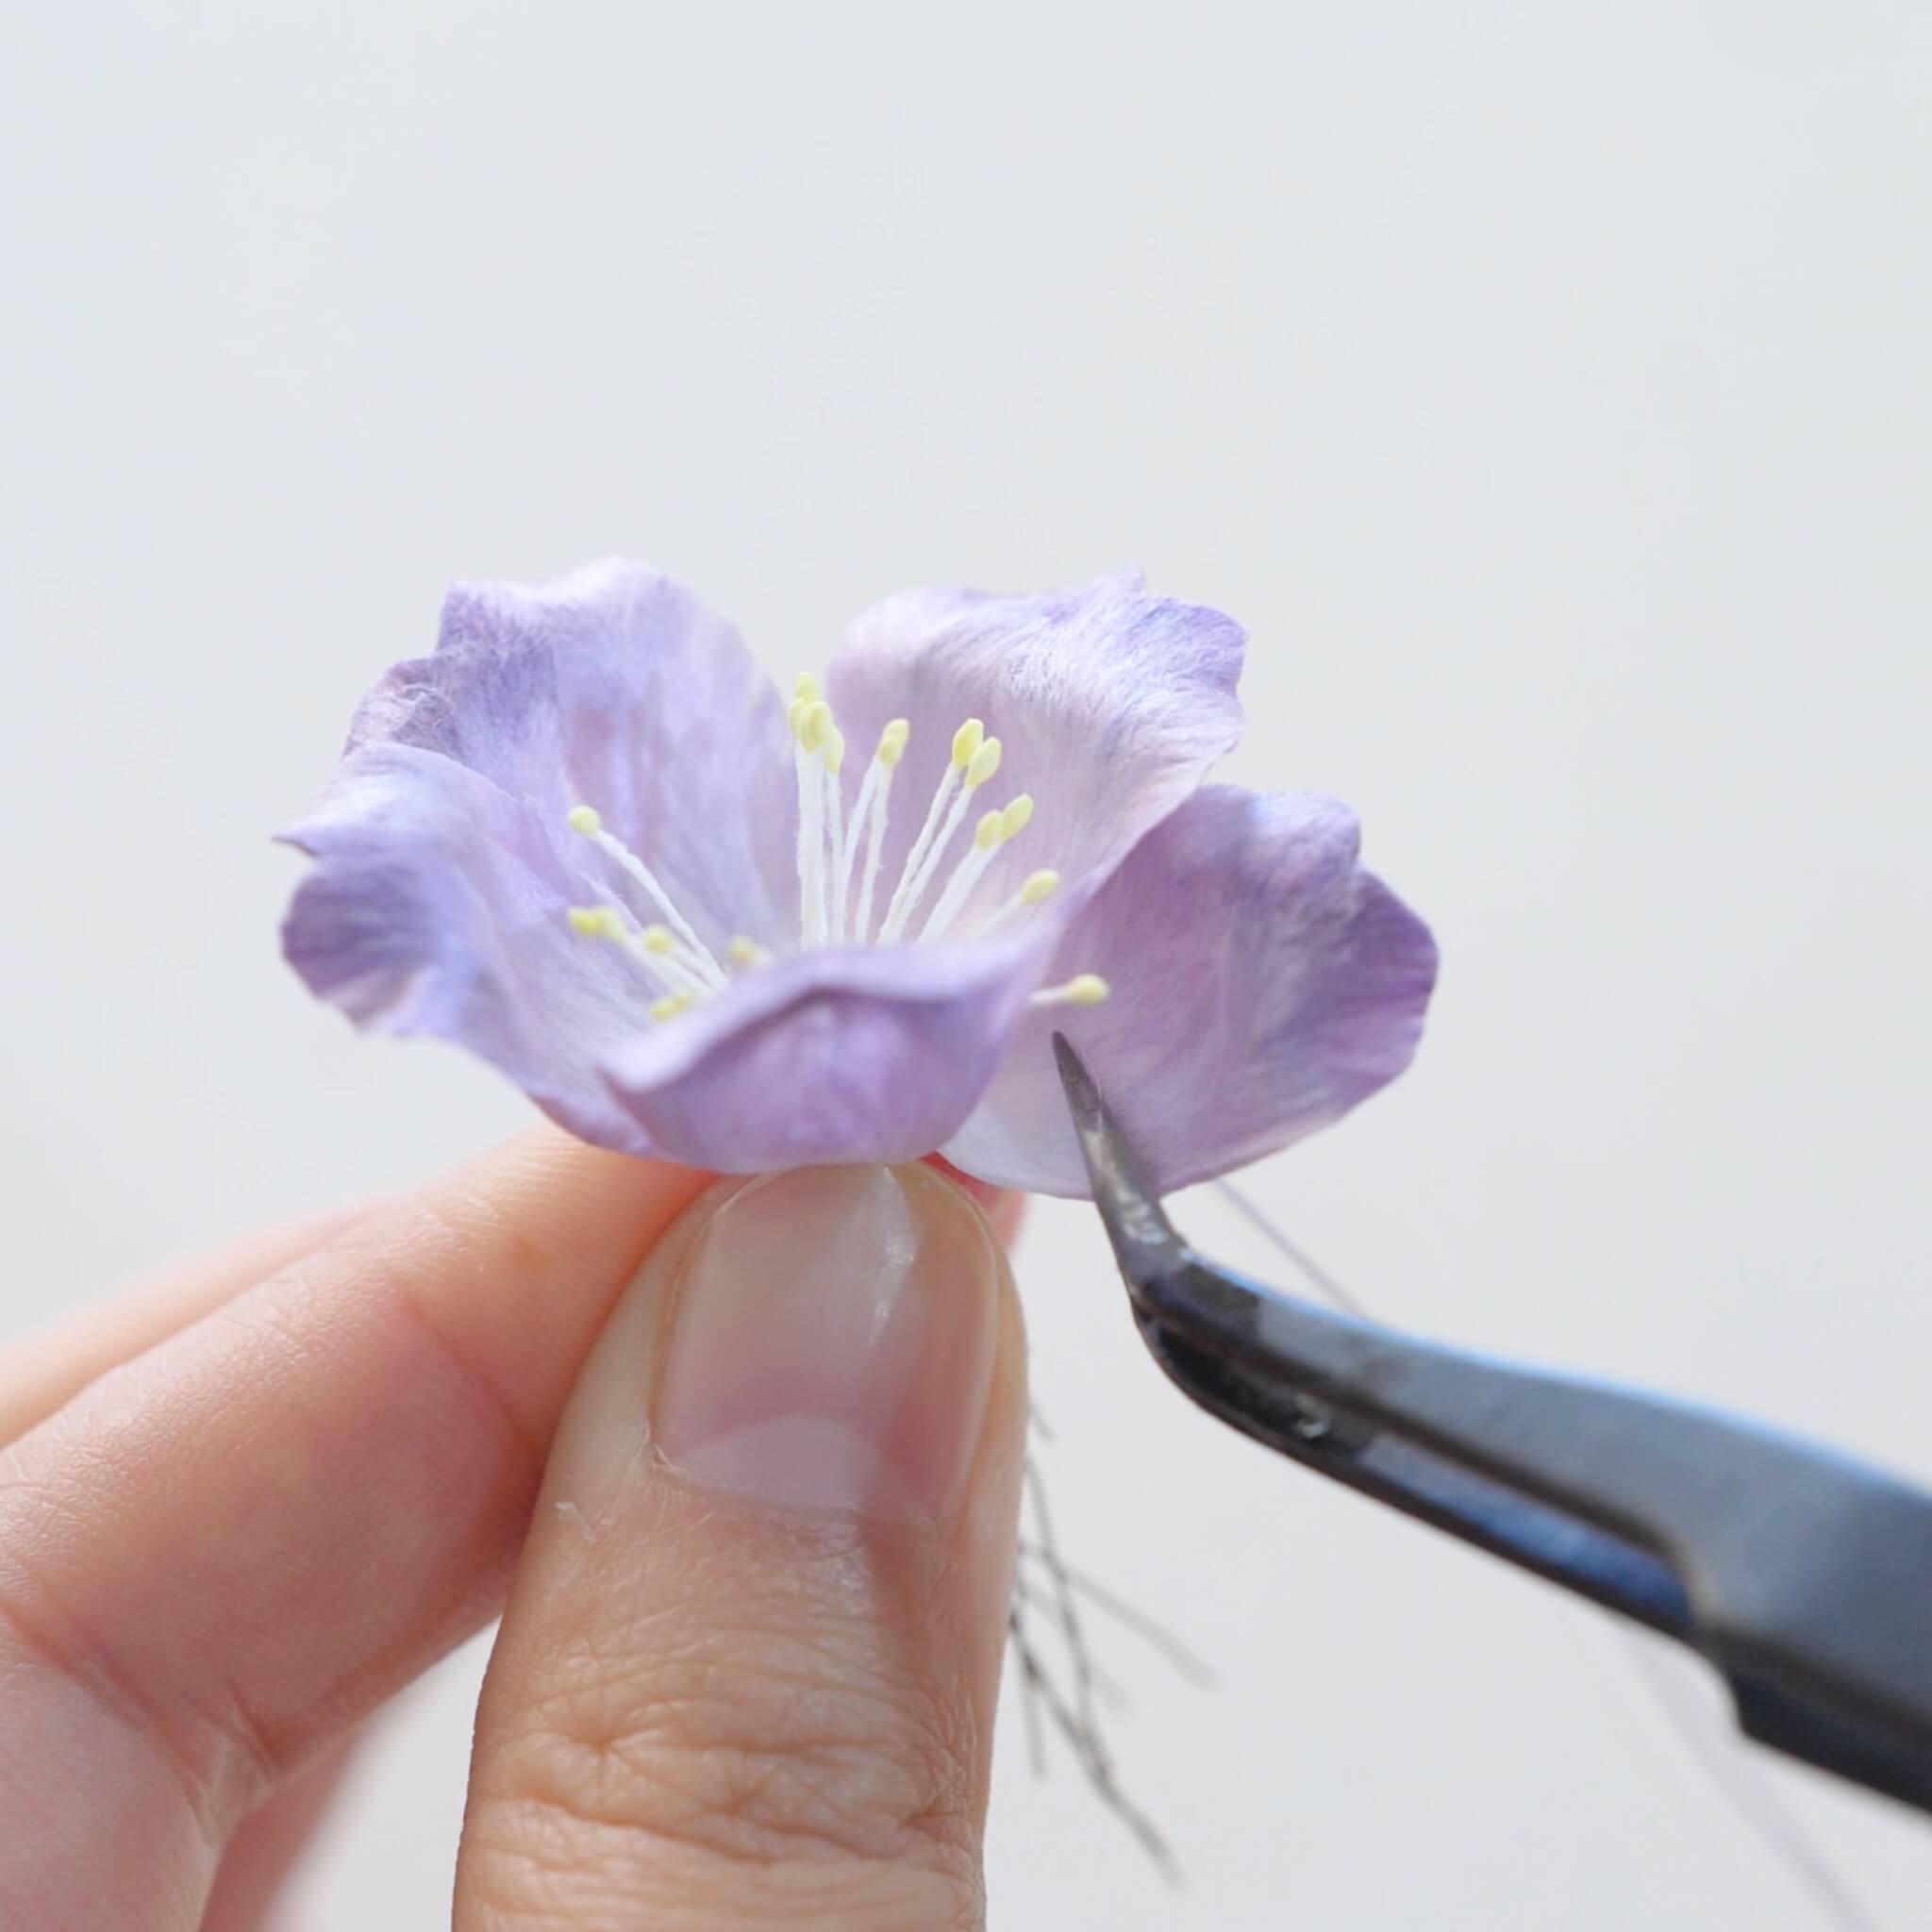
Prepare the flower centers and cut each center in half. Fold a short piece of thread and secure the flower center to it. Slightly spread open the flower center so it doesn’t bunch up.

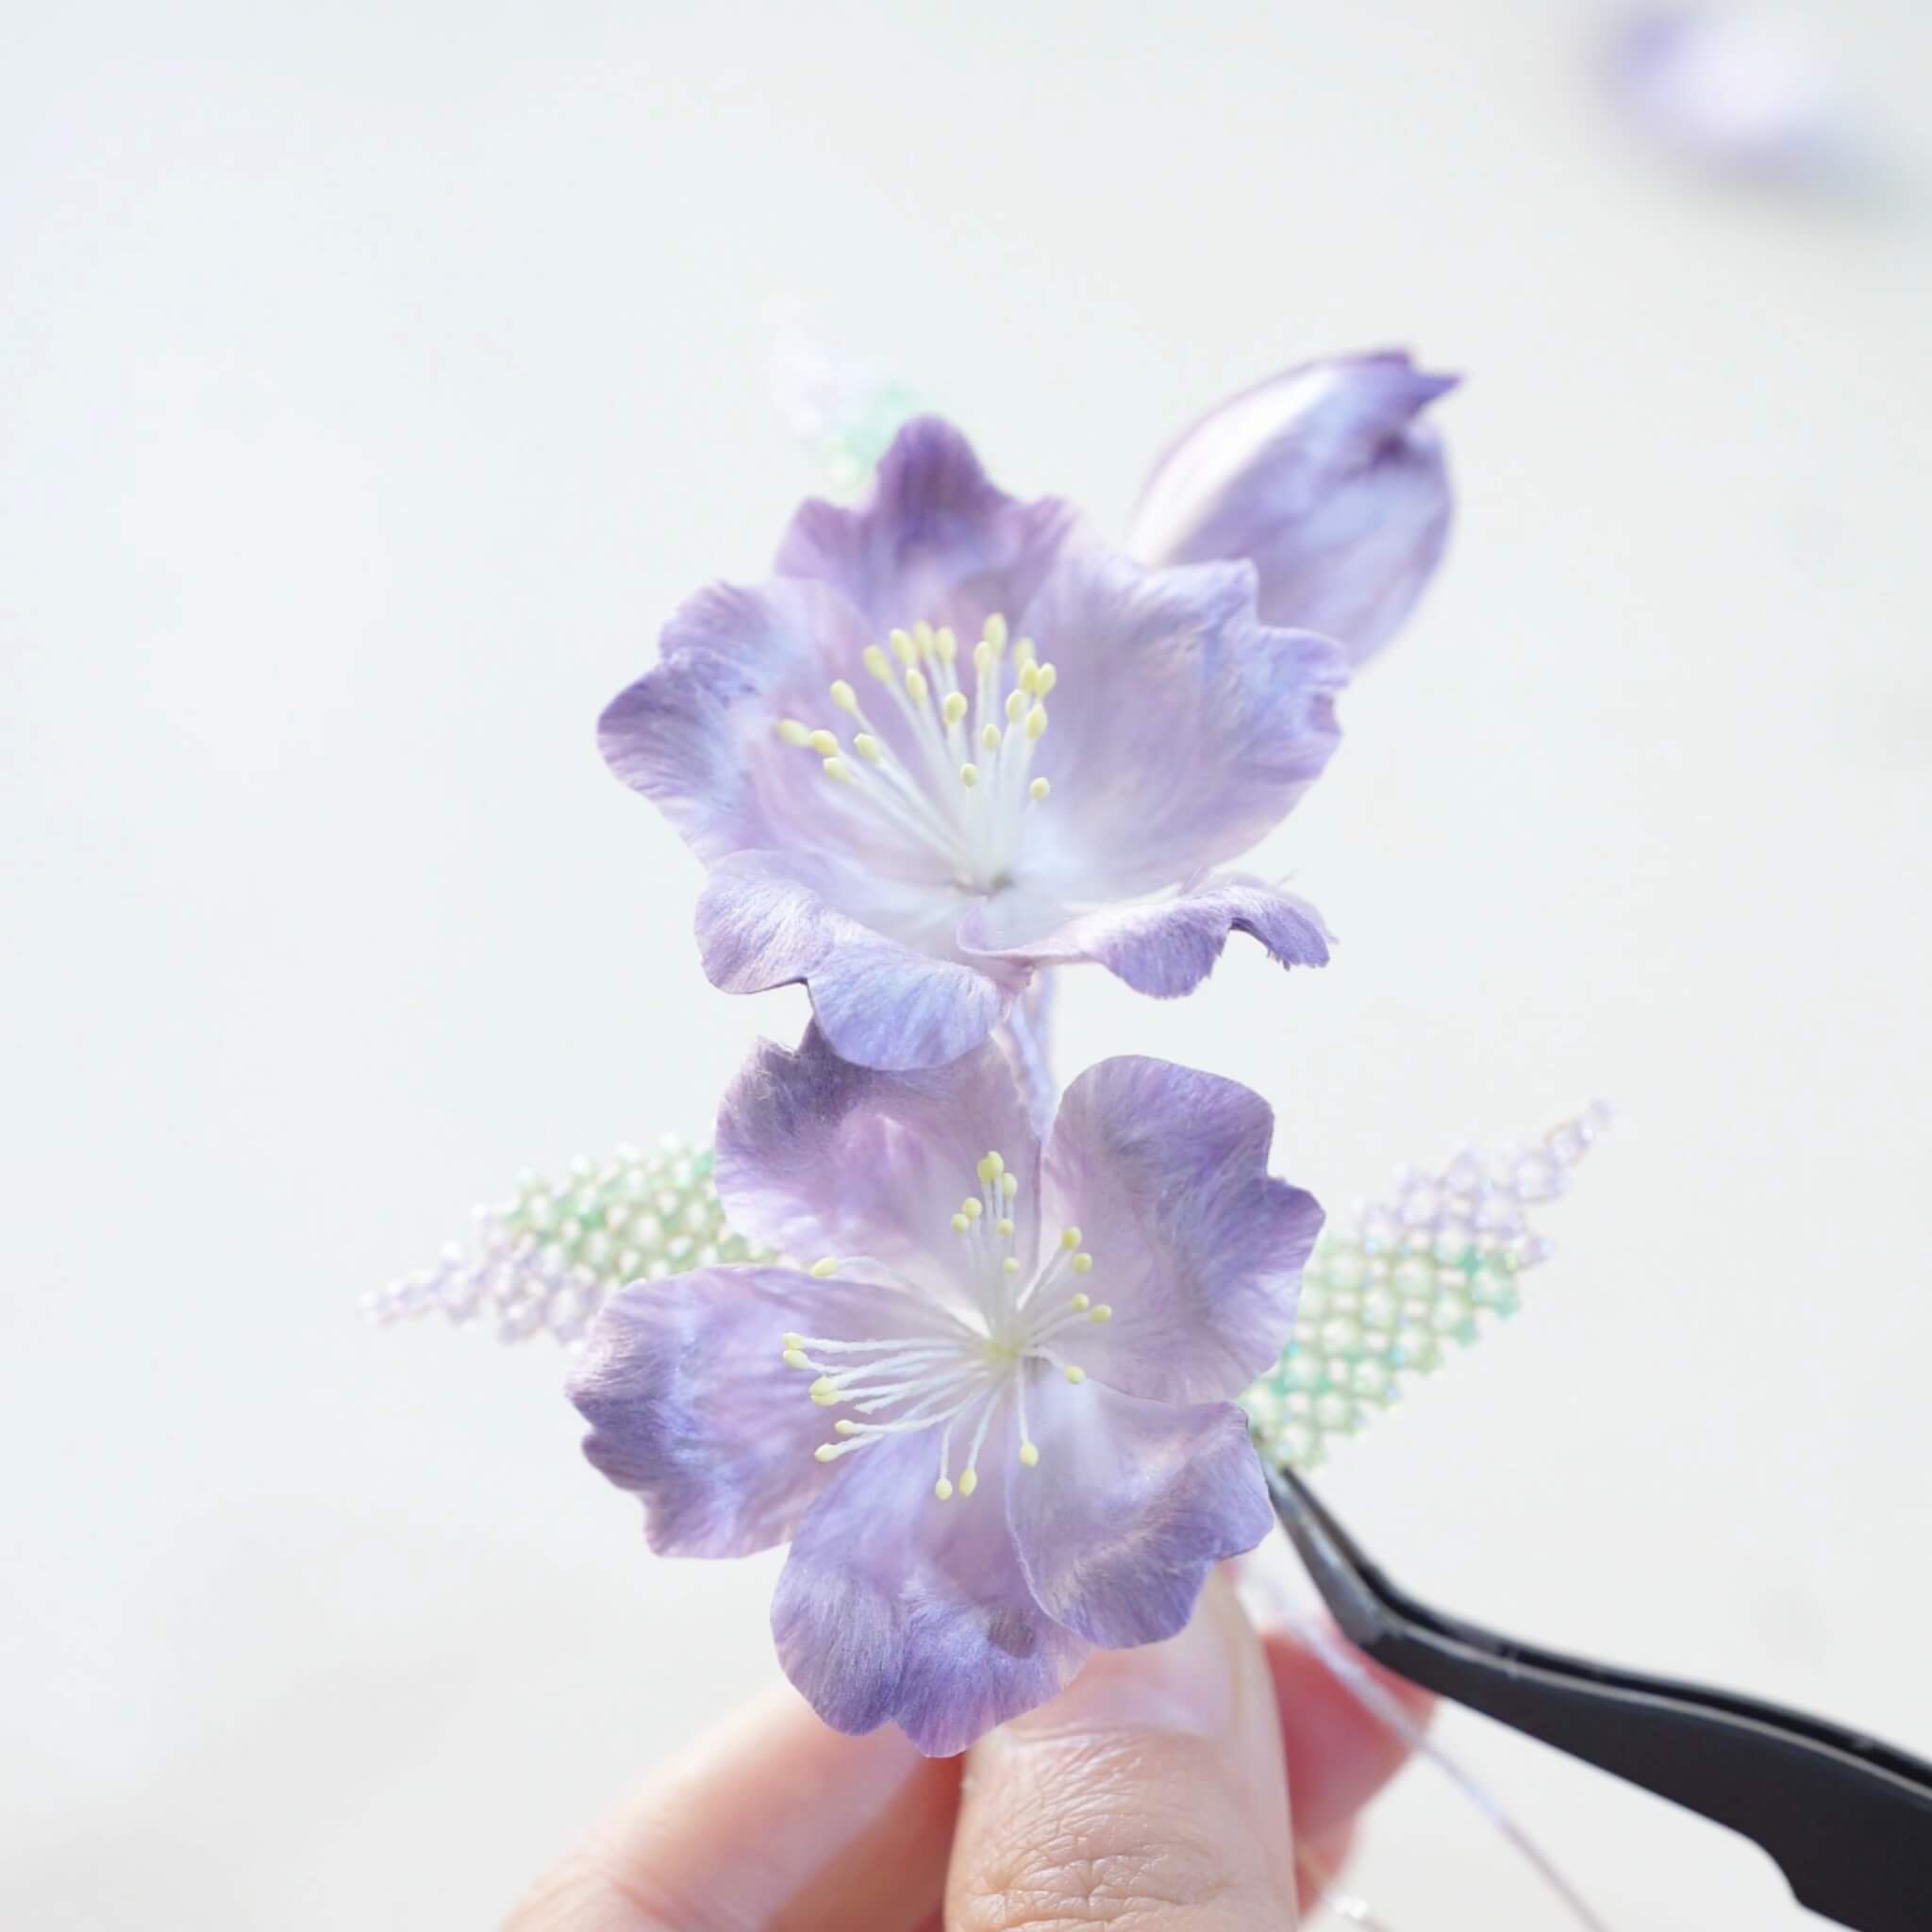
Attach the petals one by one around the center, wrapping tightly with thread after each addition to keep the flower firm. Each flower will have five petals in total. After finishing the layer, trim the thicker copper wire and the flower-center stem at an angle, then wrap the entire stem with thread. Tie a small knot to finish and cut off any excess thread.

Adjust the petals with your fingers so the five petals are evenly arranged and balanced. This completes one flower. Make the remaining flowers using the same method—you'll need six in total.
Step 3. Make the Stem
Cut a piece of steel wire about 20 cm long. Prepare two to three wires of the same length. Wrap the wire completely with thread, then fold it back to form a small round hole at the end. Continue wrapping tightly to secure the fold.

Step 4. Assemble the Piece
After wrapping about 3 cm, begin attaching the flowers.
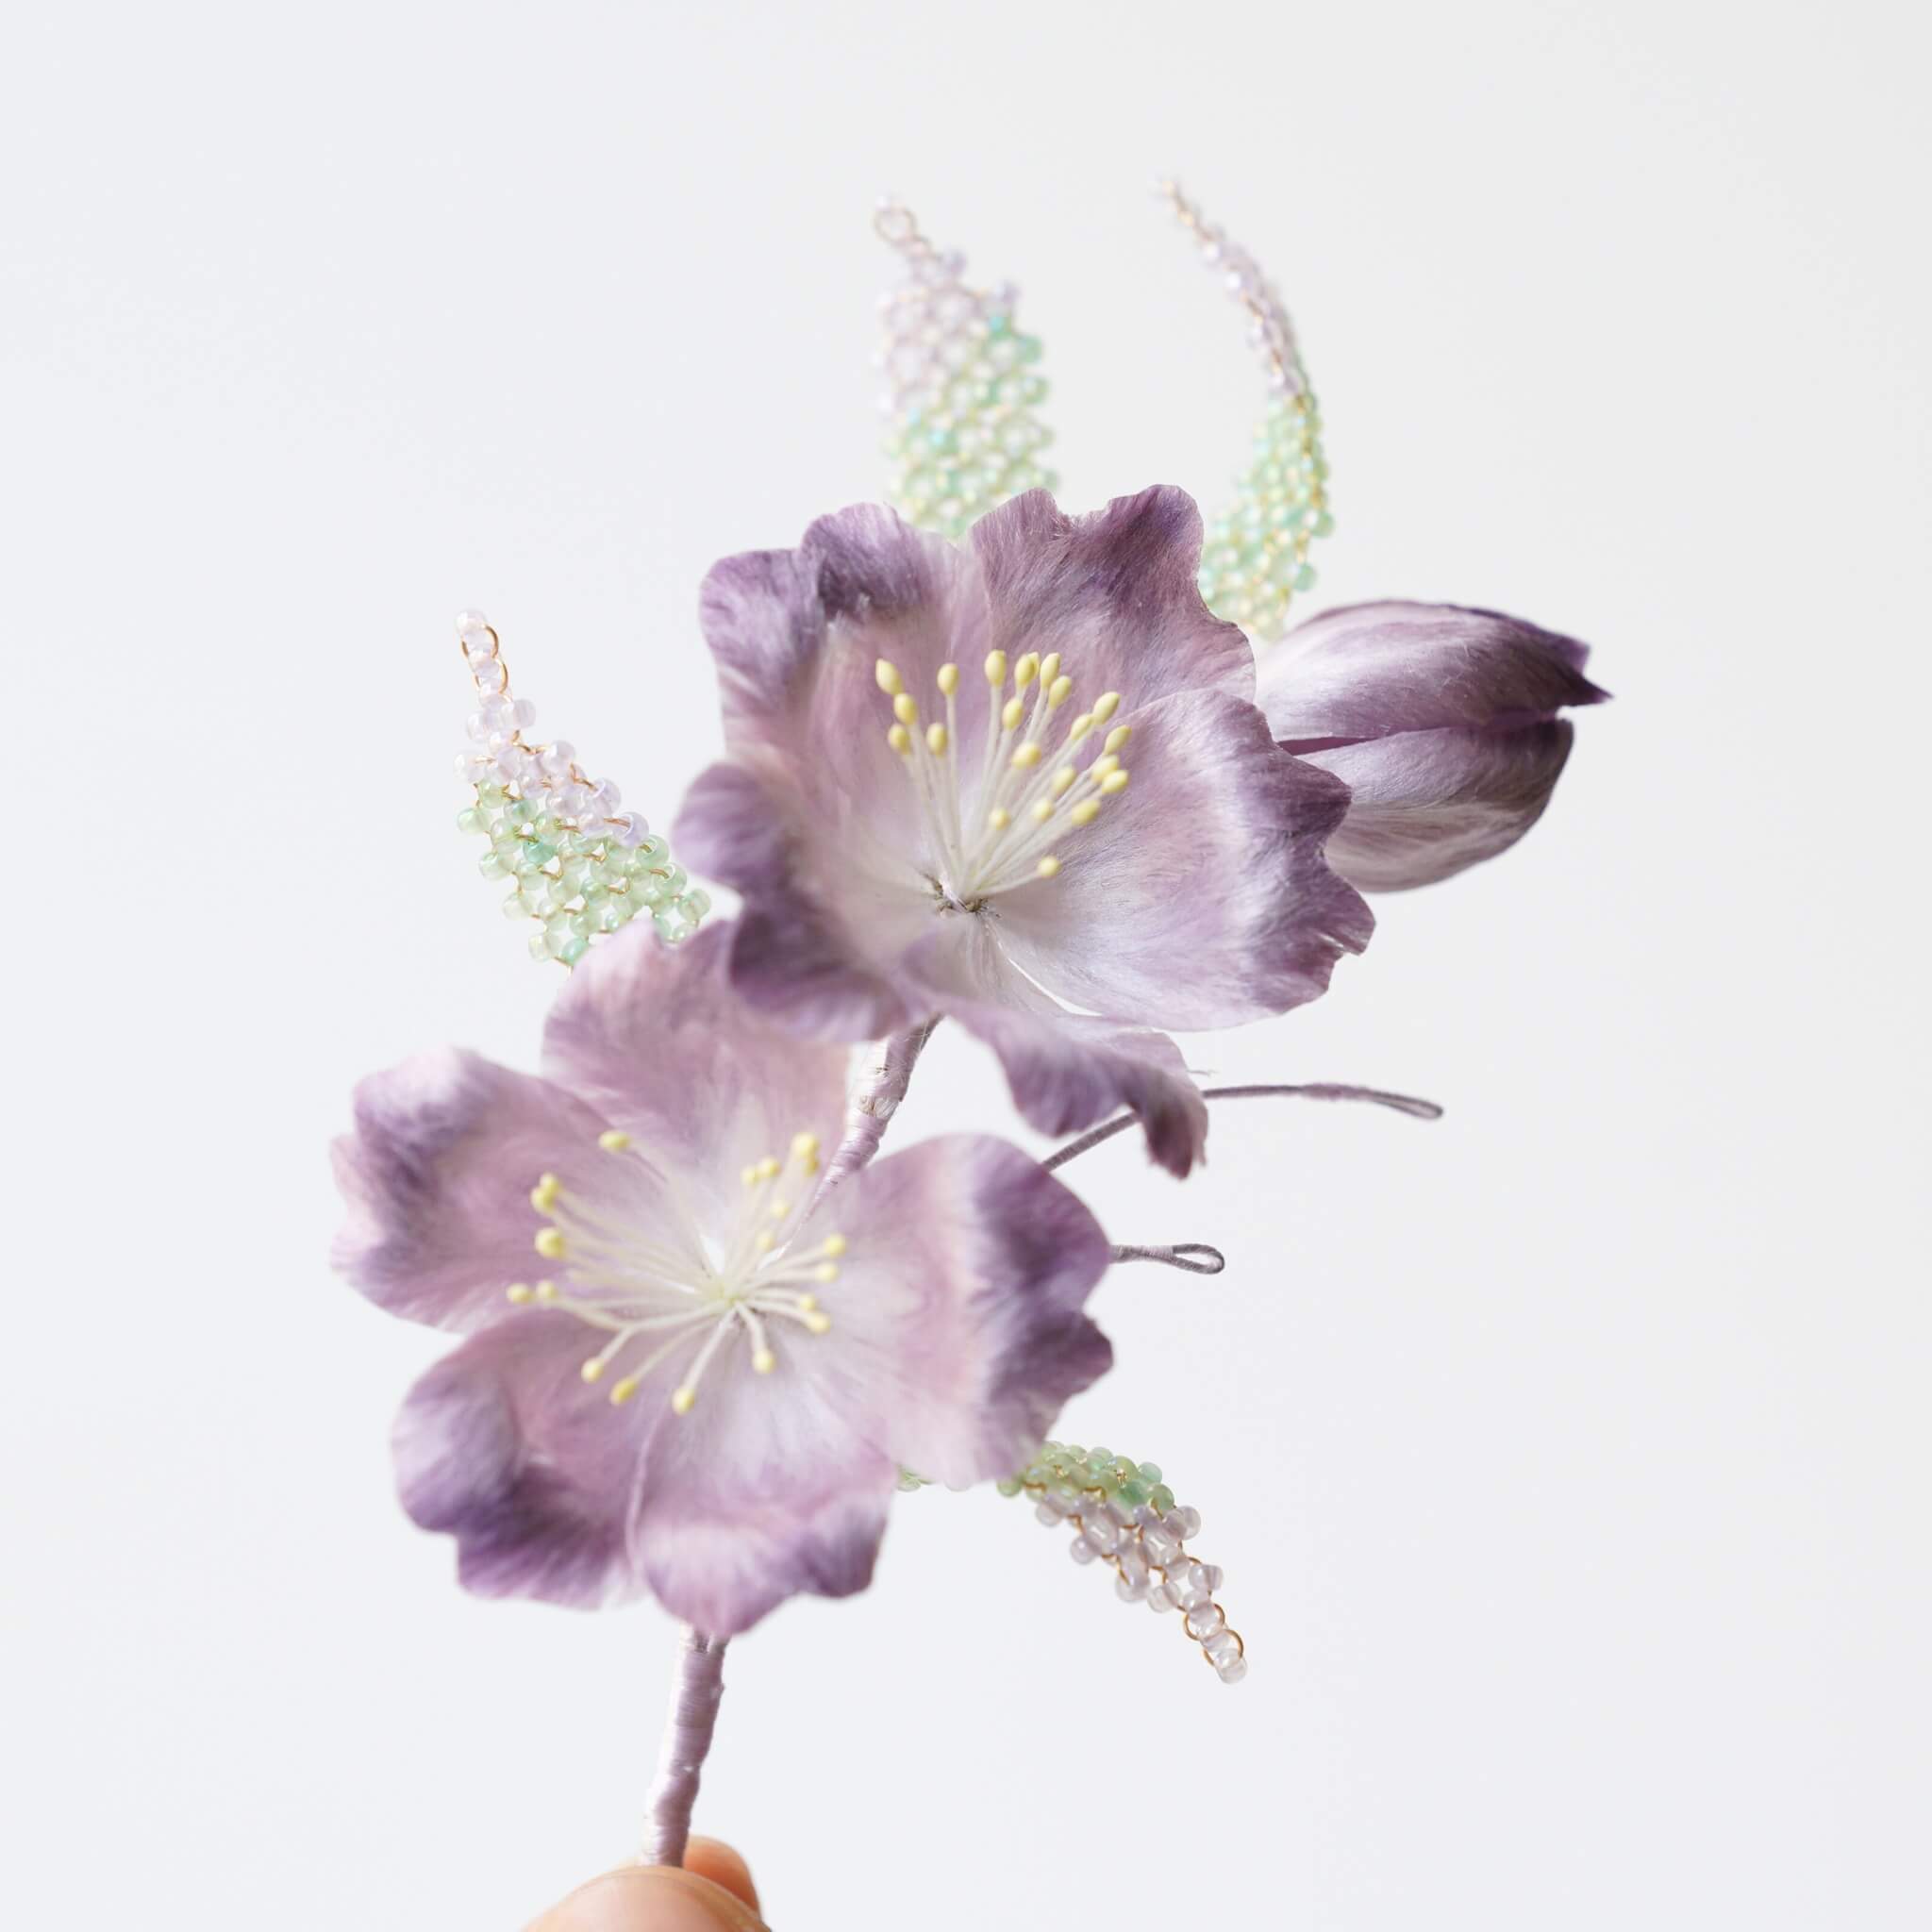
Place the flowers with a bit of distance between them, alternating larger and smaller ones for a natural rhythm. Continue binding until all flowers are attached.

To finish, bend the wrapped wire on the right into a smooth curve and continue wrapping thread until the end. Trim any excess wire.

Finish by tucking the thread into the copper wire. We use a special technique to tie the thread without any trace. To do this, you will need to take a small piece of copper wire or thread and fold it in half. Cover the copper wire / thread when continue wrapping. When finishing, pass the remaining thread through the small loop of the copper wire. Then quickly pull the copper wire out from the tail. The thread ends are left inside the wrapped silk threads. You can safely cut off the exposed silk thread, and trim off any excess.
(We highly recommend you watch the video tutorial for this step:)
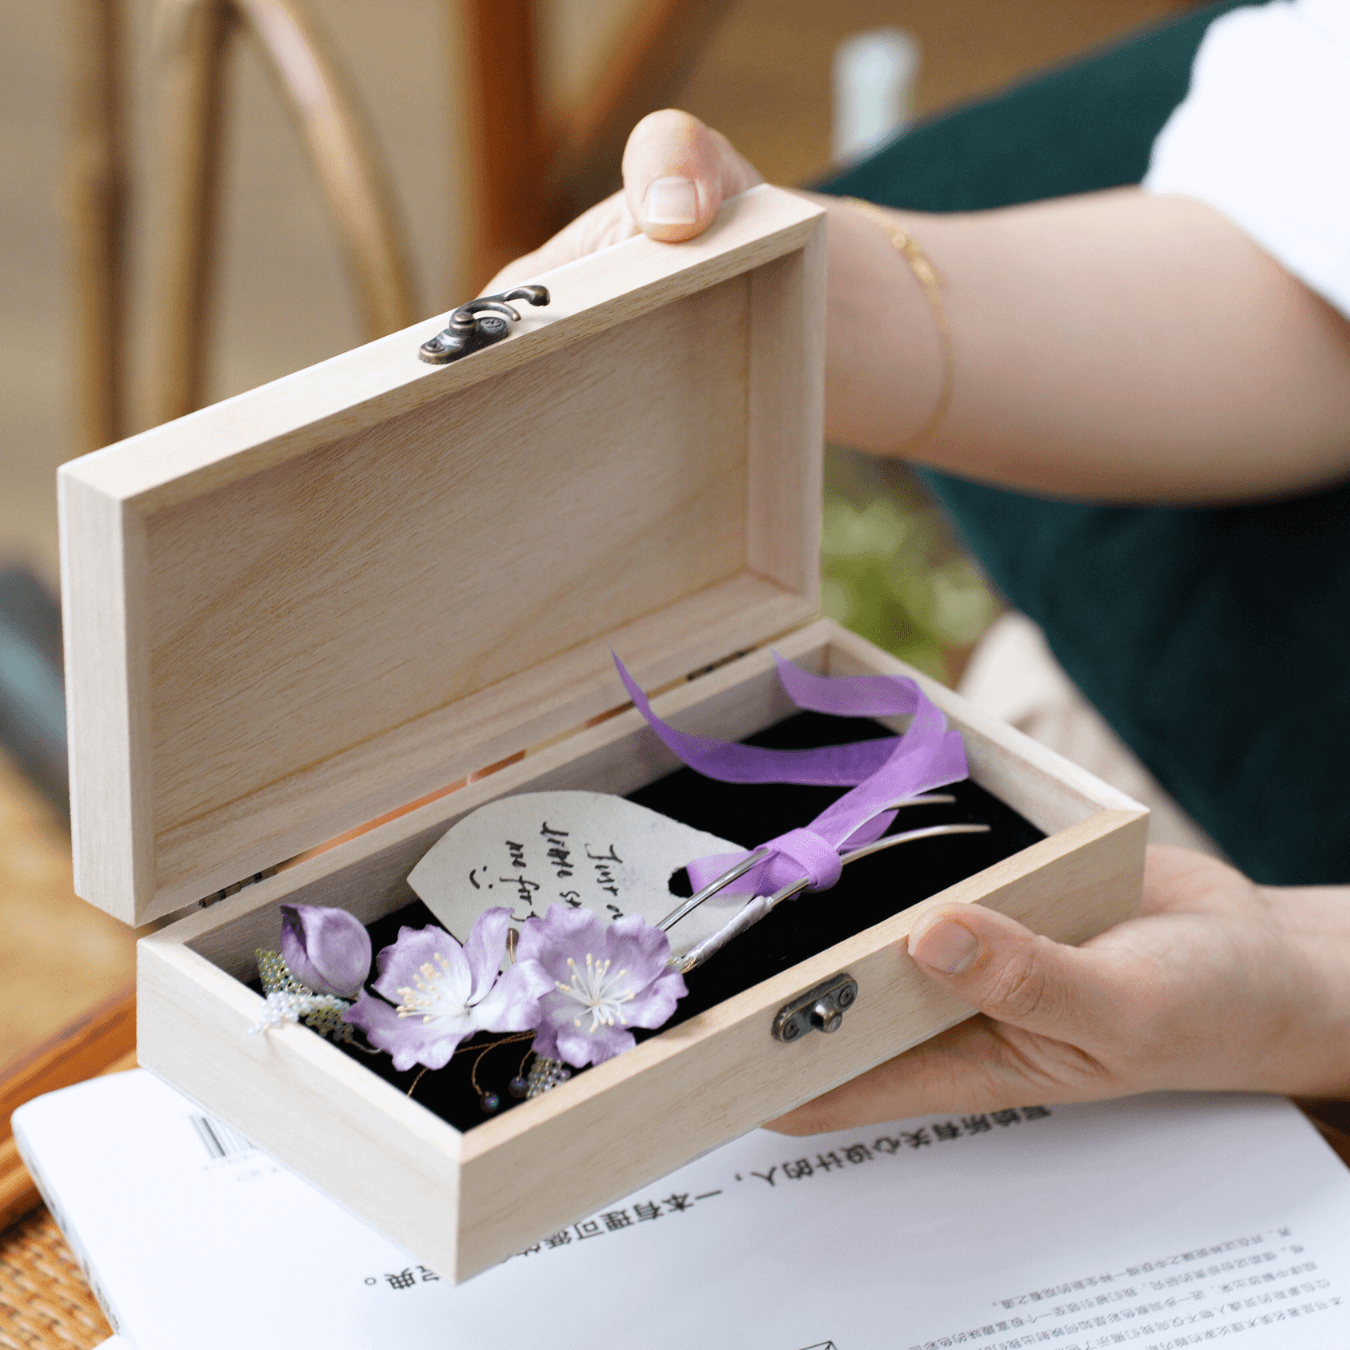
Make final adjustments to the flowers so they sit evenly and naturally. Take your ribbon and thread it through the small loops at both ends.

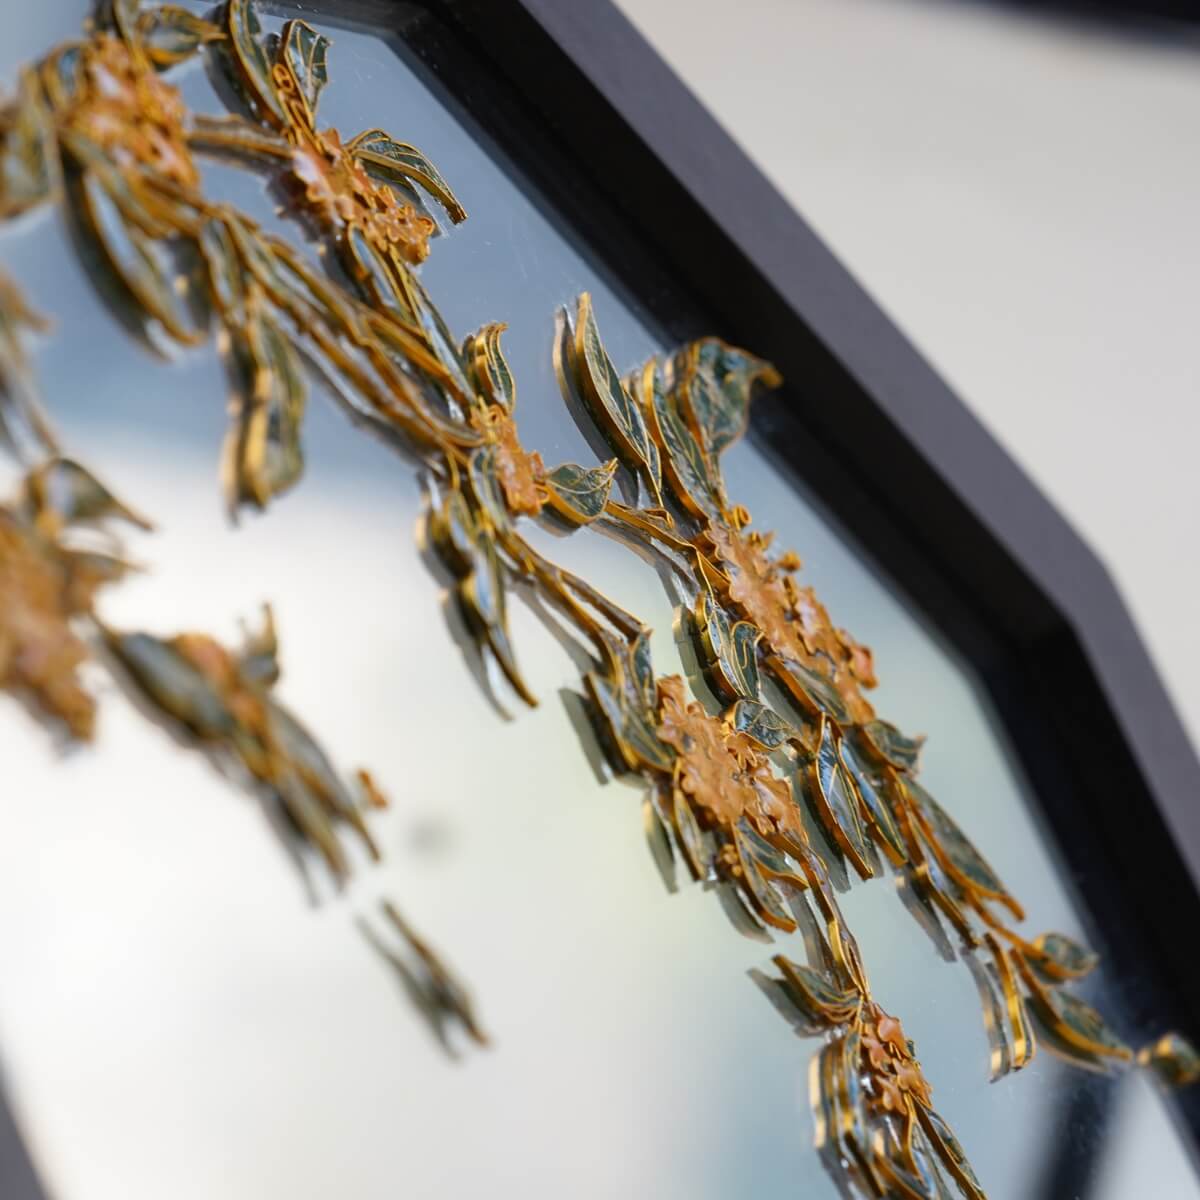
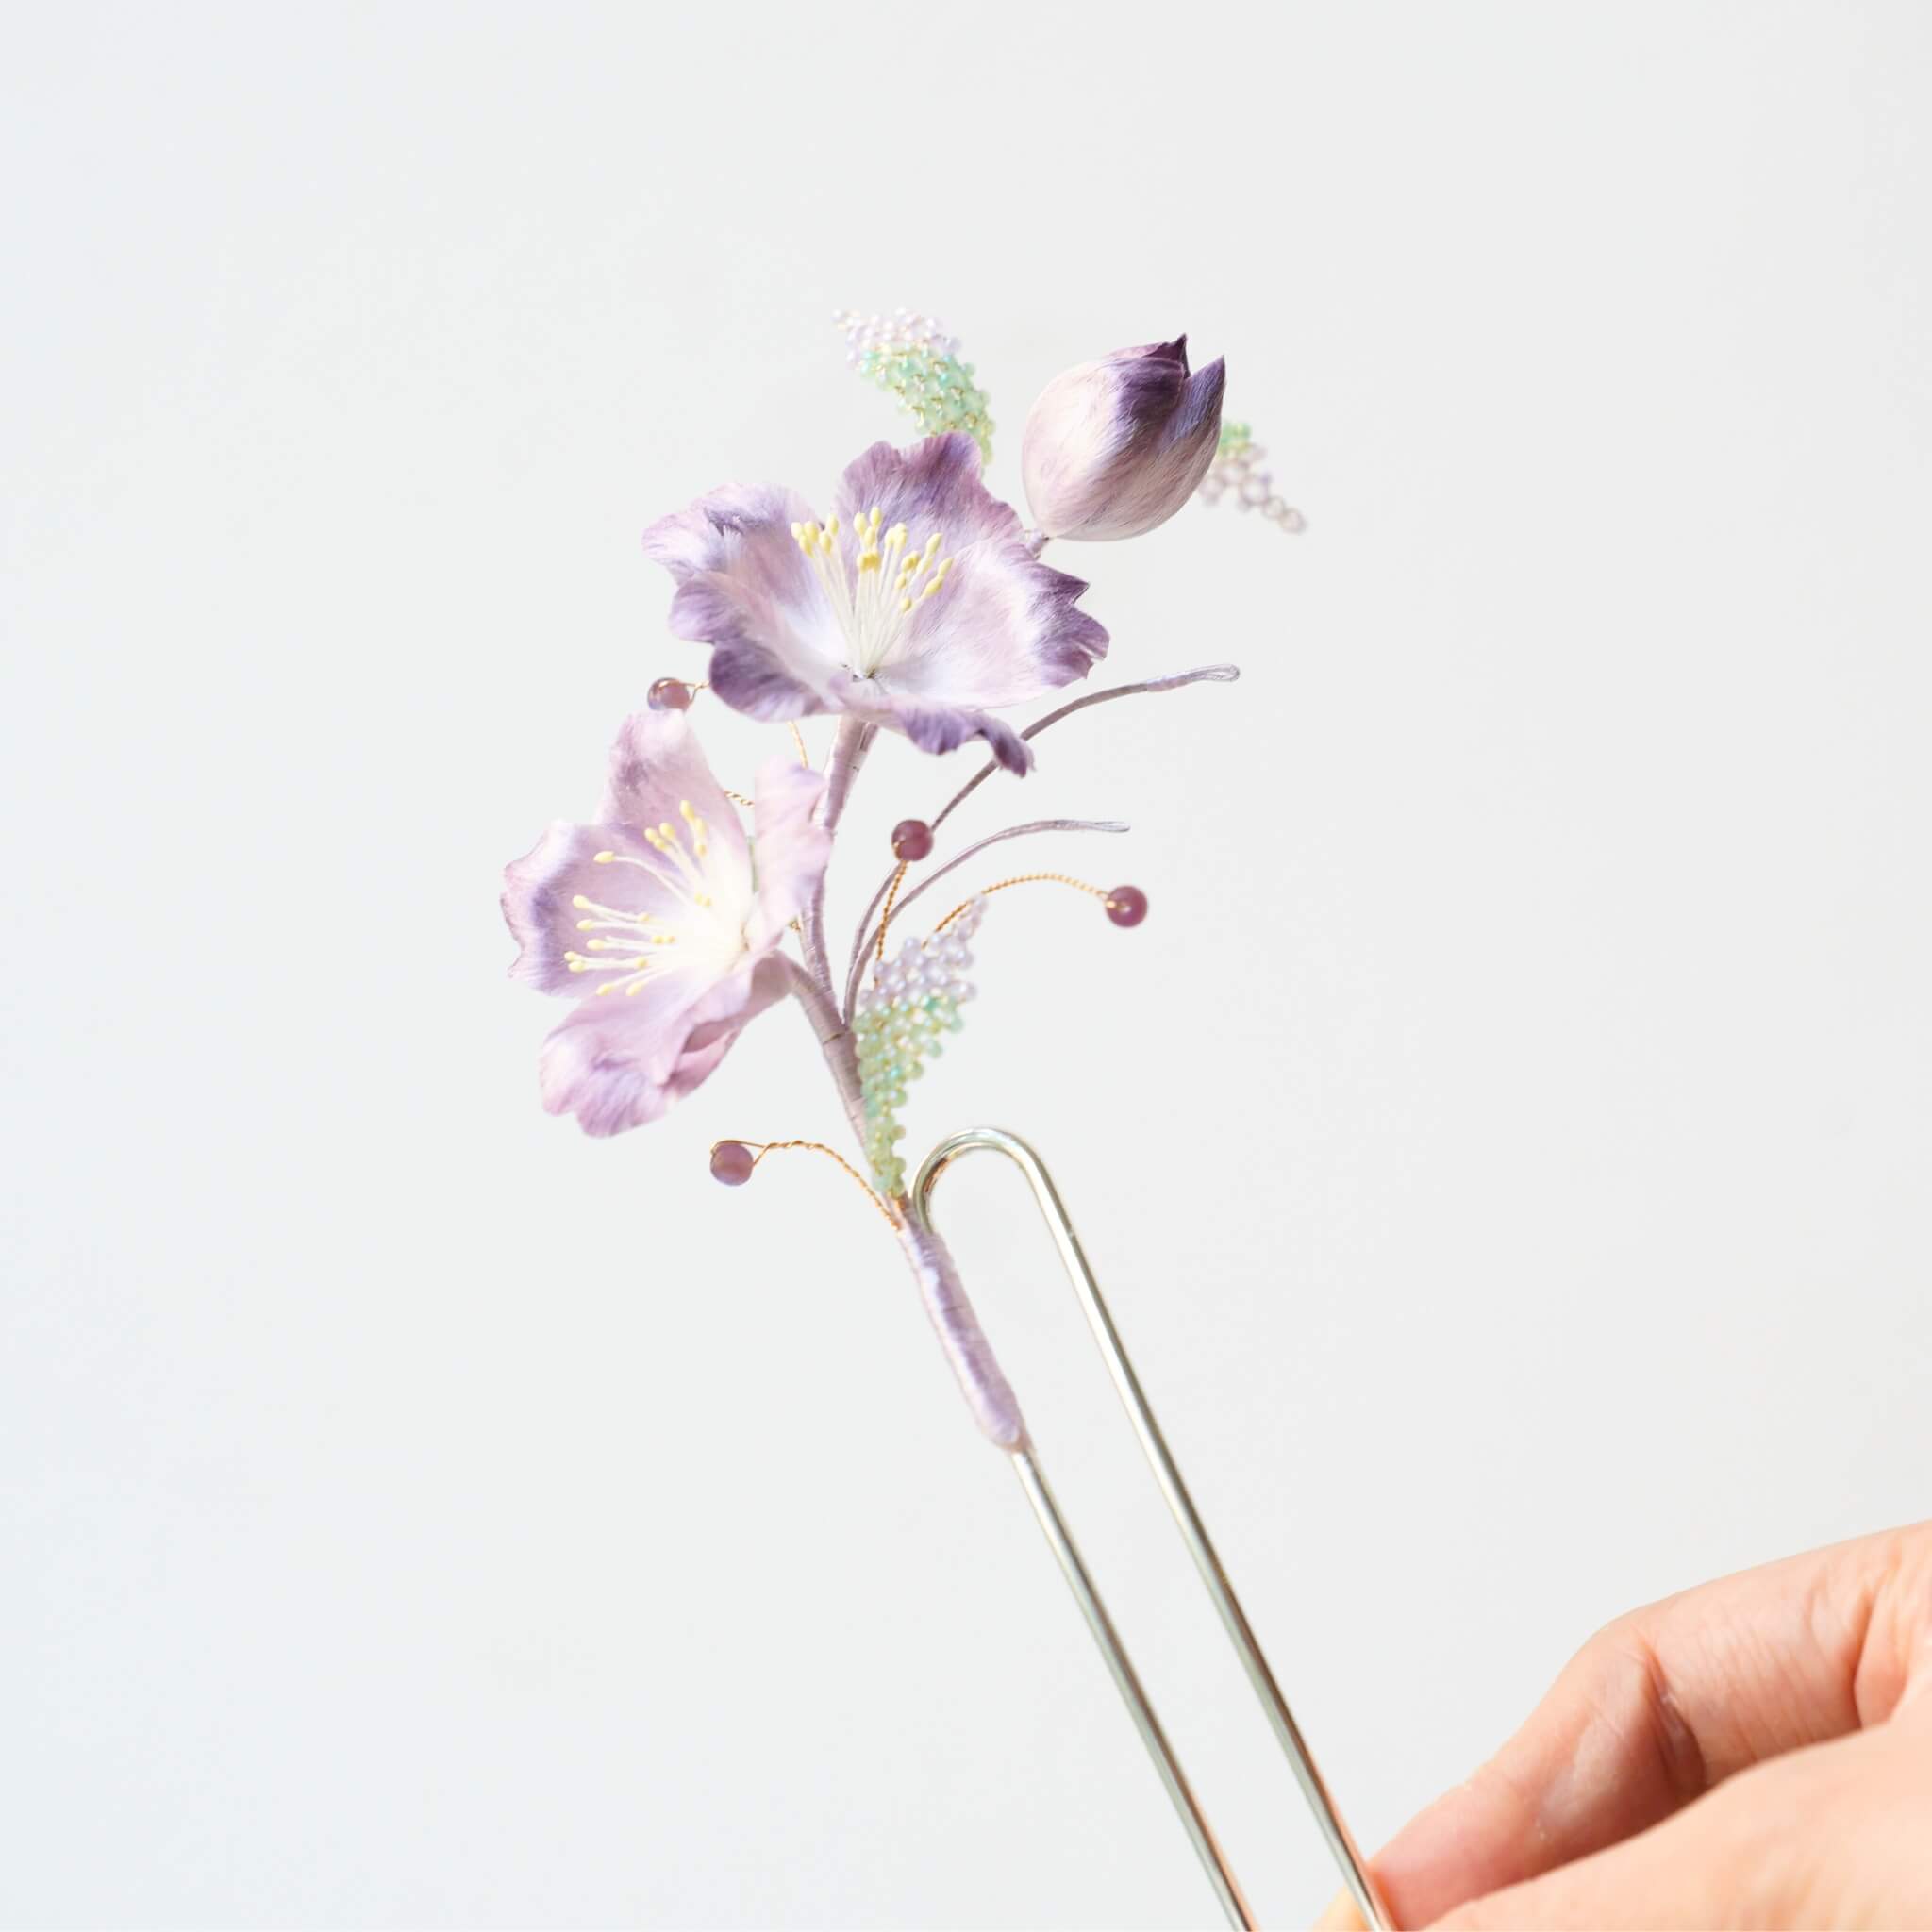
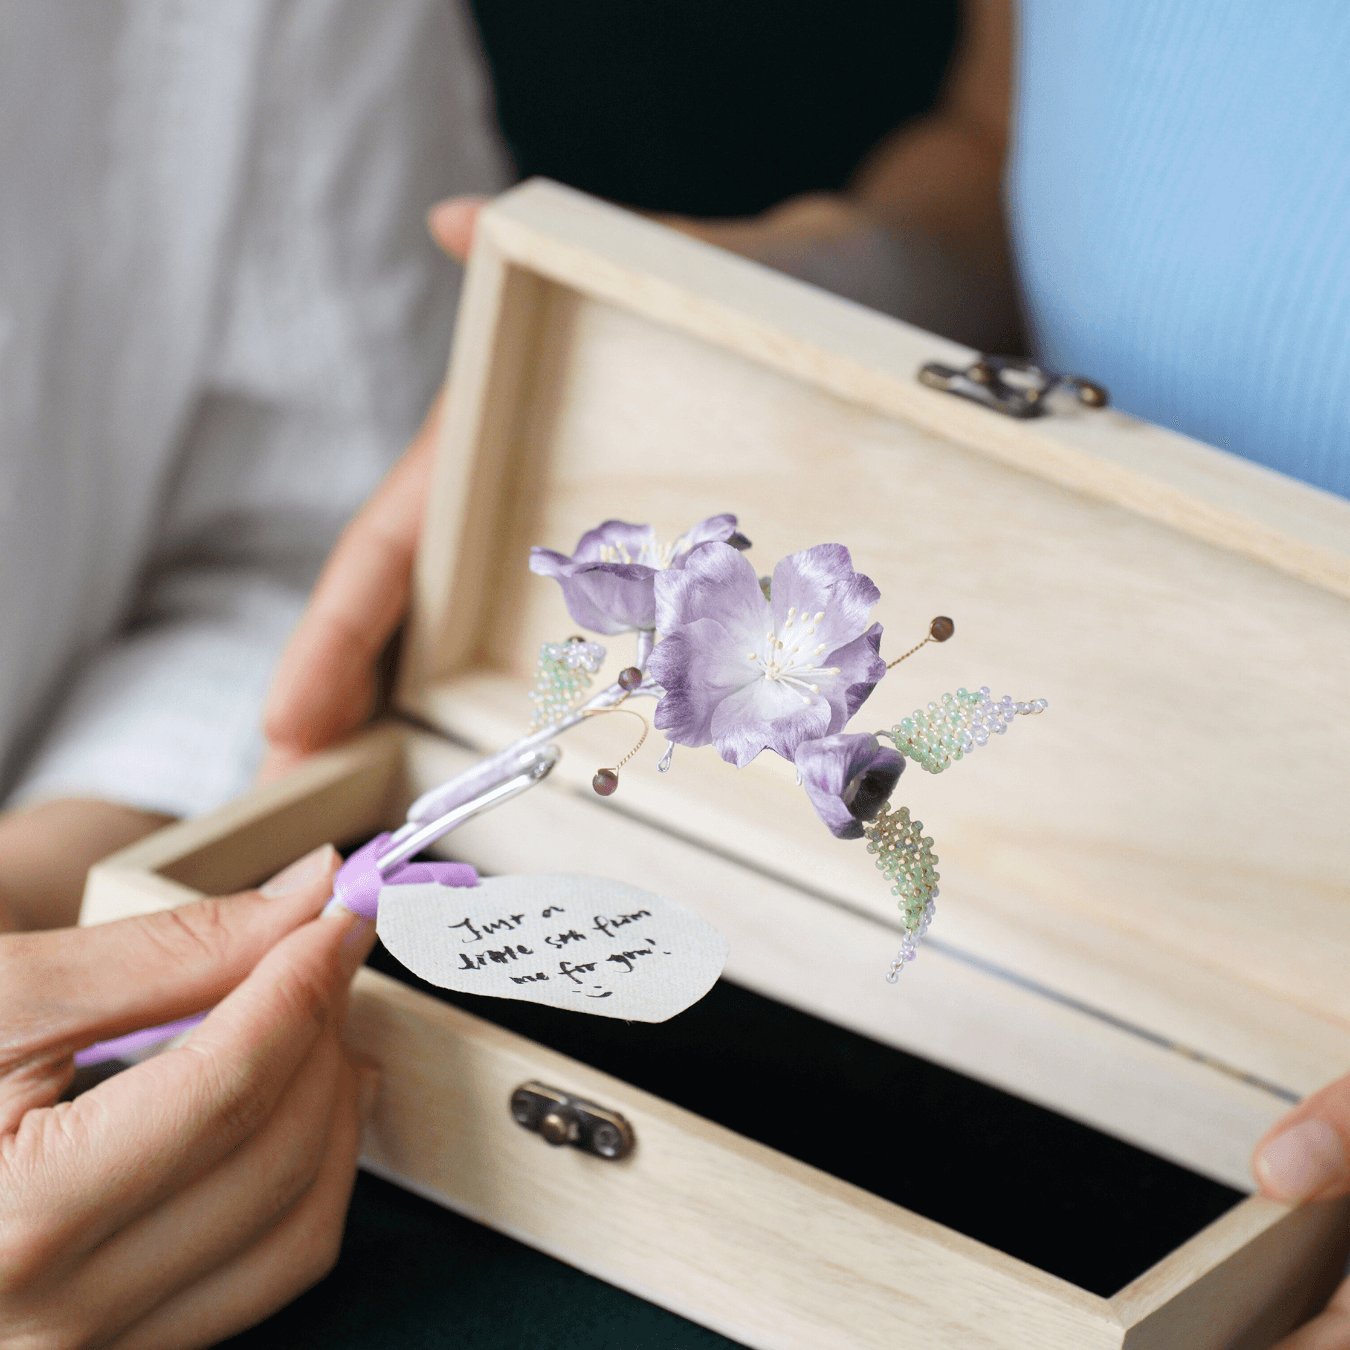
Once tied in place, your yellow plum blossom headband is complete!


Leave a comment
All comments are moderated before being published.
This site is protected by hCaptcha and the hCaptcha Privacy Policy and Terms of Service apply.